Community Brag Posts
Nightstands
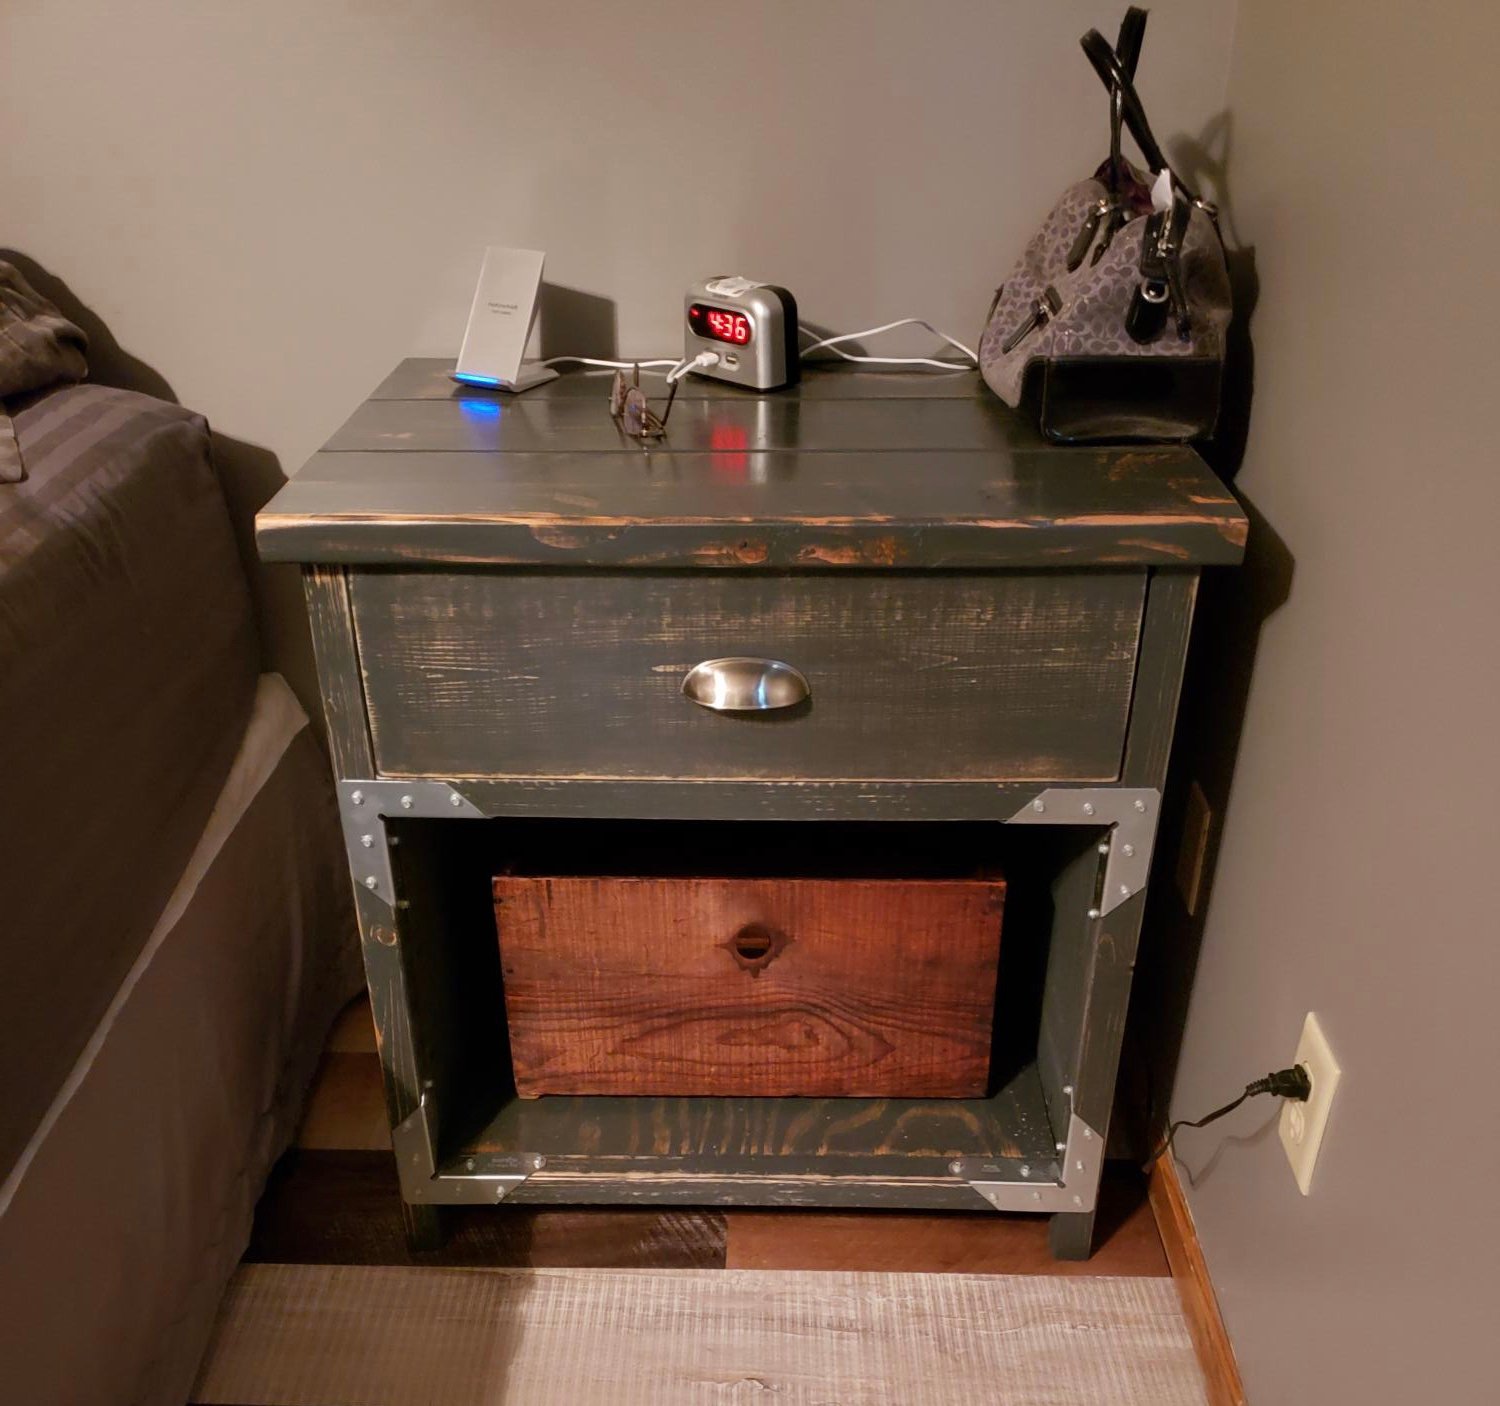
My husband built us new nightstands for our bedroom. Up next is a bed frame.
Tall Cascading Planter
Check out this beautiful tapered Ana White planter that I made! Her videos are amazing and simple to follow be sure to check her out.
Alex
East Fork Factory Cart
Okay, I didn't use the Factory Cart Coffee Table plan for my version, but since mine was inspired by the same piece as the Factory Cart Coffee Table, I decided to brag.
As is the case with all my projects, I used 100% "rescued" materials (salvage, leftovers from someone else's project, garage sales, dumpsters, curbside, etc). Wood, hardware, wheel and castors, glass, glue, finishes- all of it.
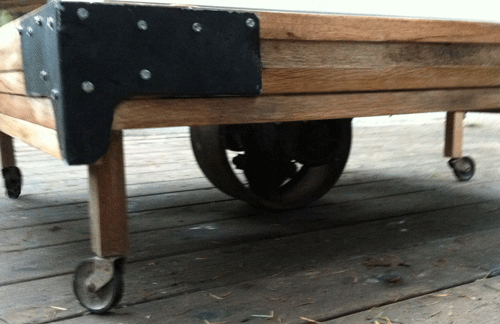
I painted the Simpson galvanized hangers on the corners with Rustoleum (color: oil rubbed bronze) over an automobile adhesion primer coat
Comments
Tue, 01/17/2012 - 08:46
Where did you find the big
Where did you find the big wheel? That is sooooo cool!
Fri, 01/20/2012 - 21:53
Factory Cart Coffee Table.
Really nice. I actually like the way you painted the Simpson galvanized hangers black. I would like to know the same as Pam the Goatherd. Where did you get the big wheel?
In reply to Factory Cart Coffee Table. by Martha Jones DW
Fri, 01/20/2012 - 23:24
Wheel
Got the wheel from a guy about 5 miles from here with a few acres packed full of all kinds of stuff. It's basically a junk yard for everything besides cars. Lots of super cool industrial-type stuff. Pretty tragic, really, since most of the stuff sits exposed to the elements year round. Anyway, I make sure my Tetanus shot is up-to-date, throw a few tools in my jacket, and go digging. I've scored a few times there. If you're near Battle Ground, WA let me know and I'll give you directions and the name of the dog that guards the joint in case you happen upon him.
In reply to Wheel by east fork spring
Sat, 01/21/2012 - 19:26
Wheel
Luky!Only other place i would have to go home to the Bronx and find this item in one of the junk stores.
Thank you for the kind offer, unfortunately I'm in Maryland. Only good thing comes out of this is the Maryland Sheep and Wool Festival the weekend of mothers day in May.
cabin table
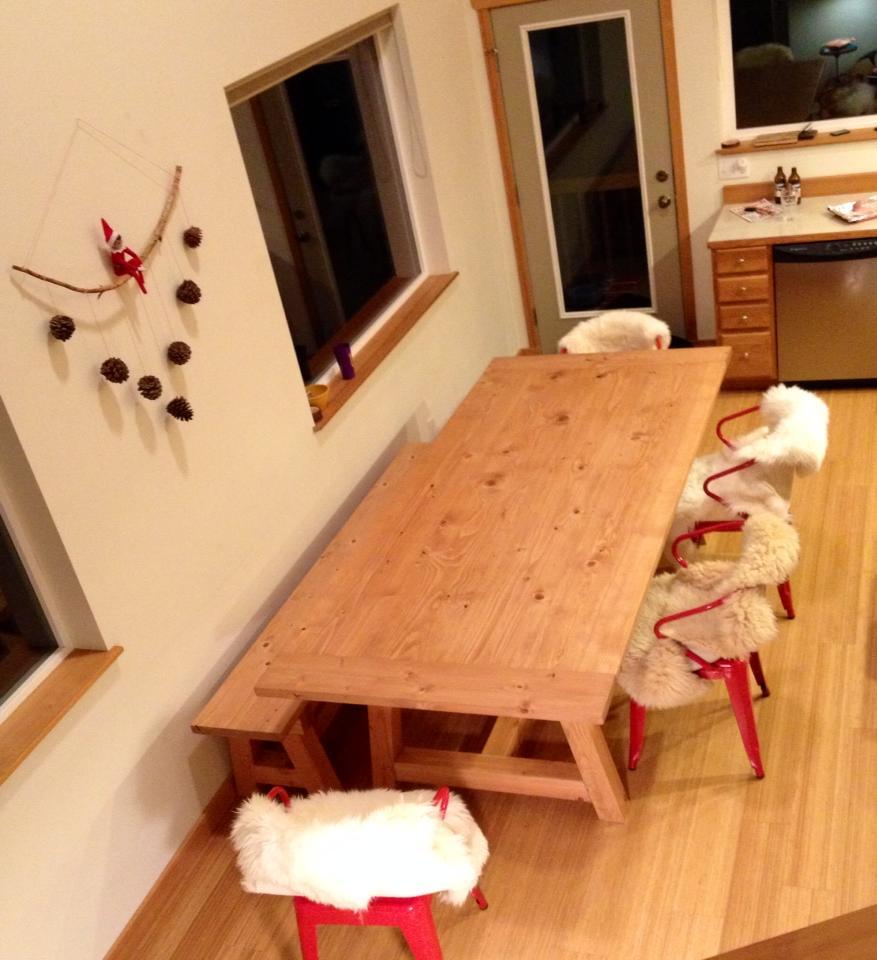
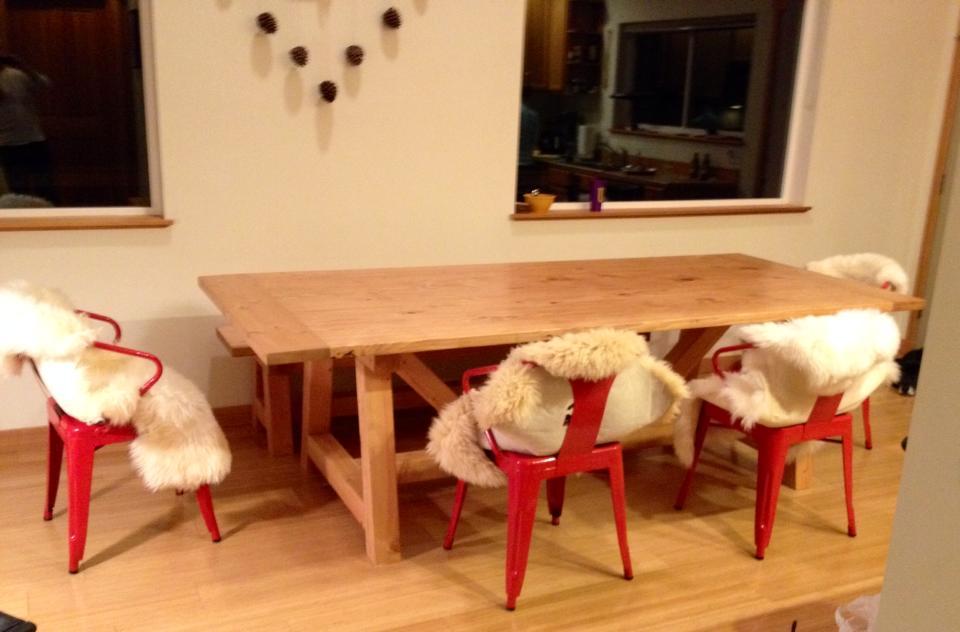
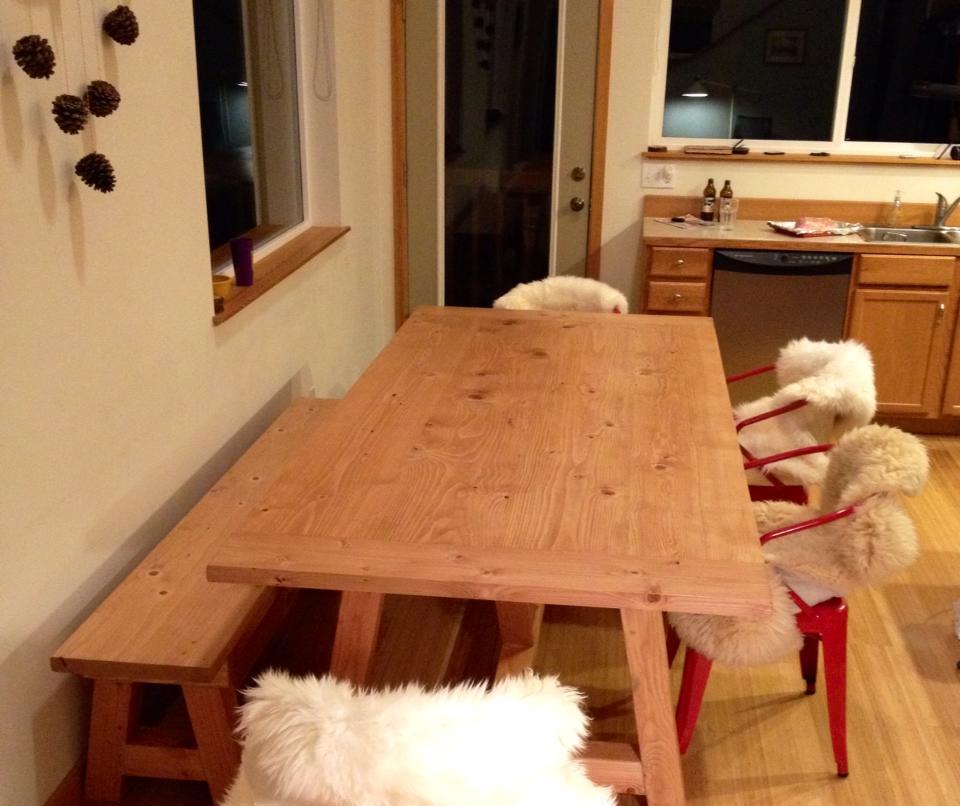
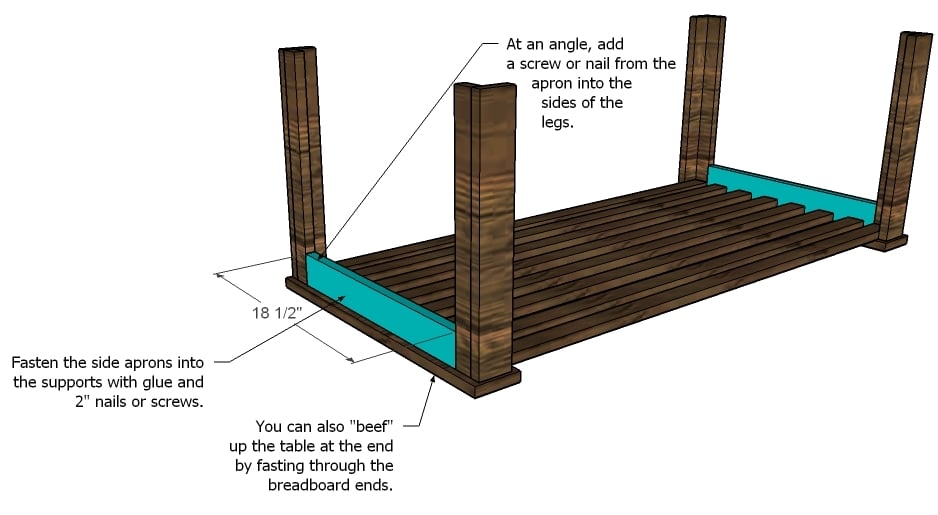
We ended up going with 4 2x12's for the table top and used 2x6's for the bread boards.
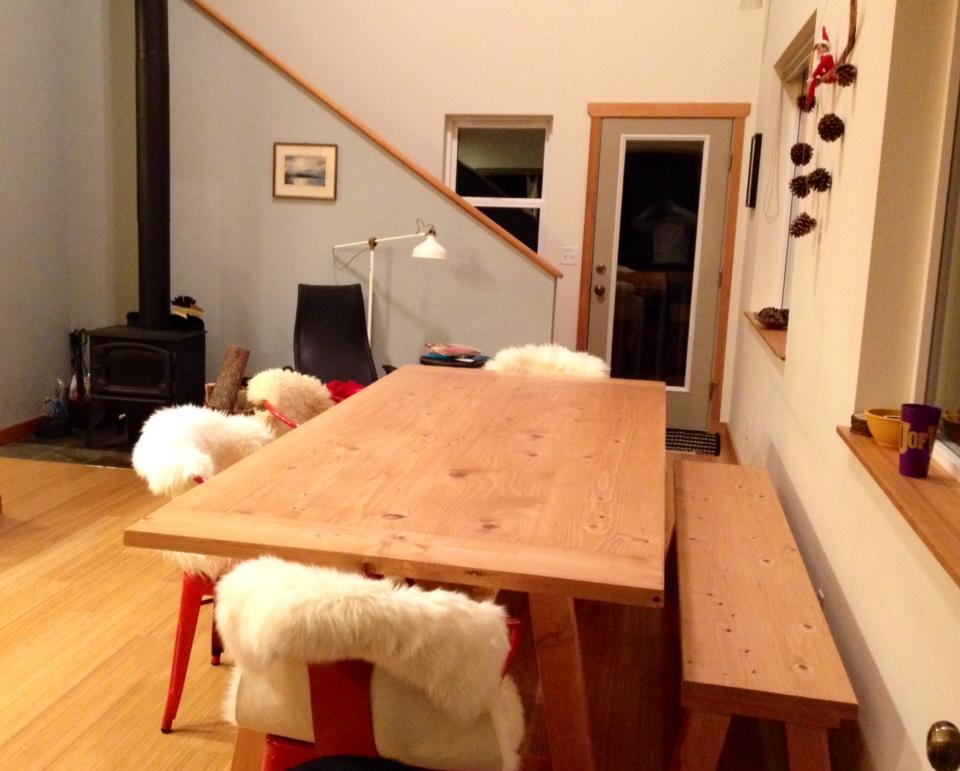
Built two headboards for my boys!
I'm not a carpenter by any stretch of the imagination. This is the first building project I've done in God knows how long. Having a brad nailer is almost a must. it make the assembly of this headboard a piece of cake. The hardest part by far for me was finding untreated 4x4's. especially since we wanted to leave them the natural color of the wood. I finally found a local lumber yard that also had a pallet shop where they make custom pallets for area businesses. They had some untreated 4x4's that they use to make pallets with. It took me quite a while to pick out some good ones from the bunch. Even after being very selective with the 4x4's I still had to take 80 grit sandpaper on a belt sander to them to get them to the finished product. They turned out great though. I would say that I'm a jack of all trades type of person, but had no experience building anything remotely close to furniture before. I am usually handy when it comes to figuring things out and doing work with my hands though. If you are looking for a good project to try out, then this one is a great one to start on. As for now, I don't plan to make the footboard and rails for this bed. These headboards cost me a total of about $52 or $53 each in materials. It took me a total of about 5-6 hours to build (2 hours of that was sanding on the 4x4's.)
Wall Mounted Hutch
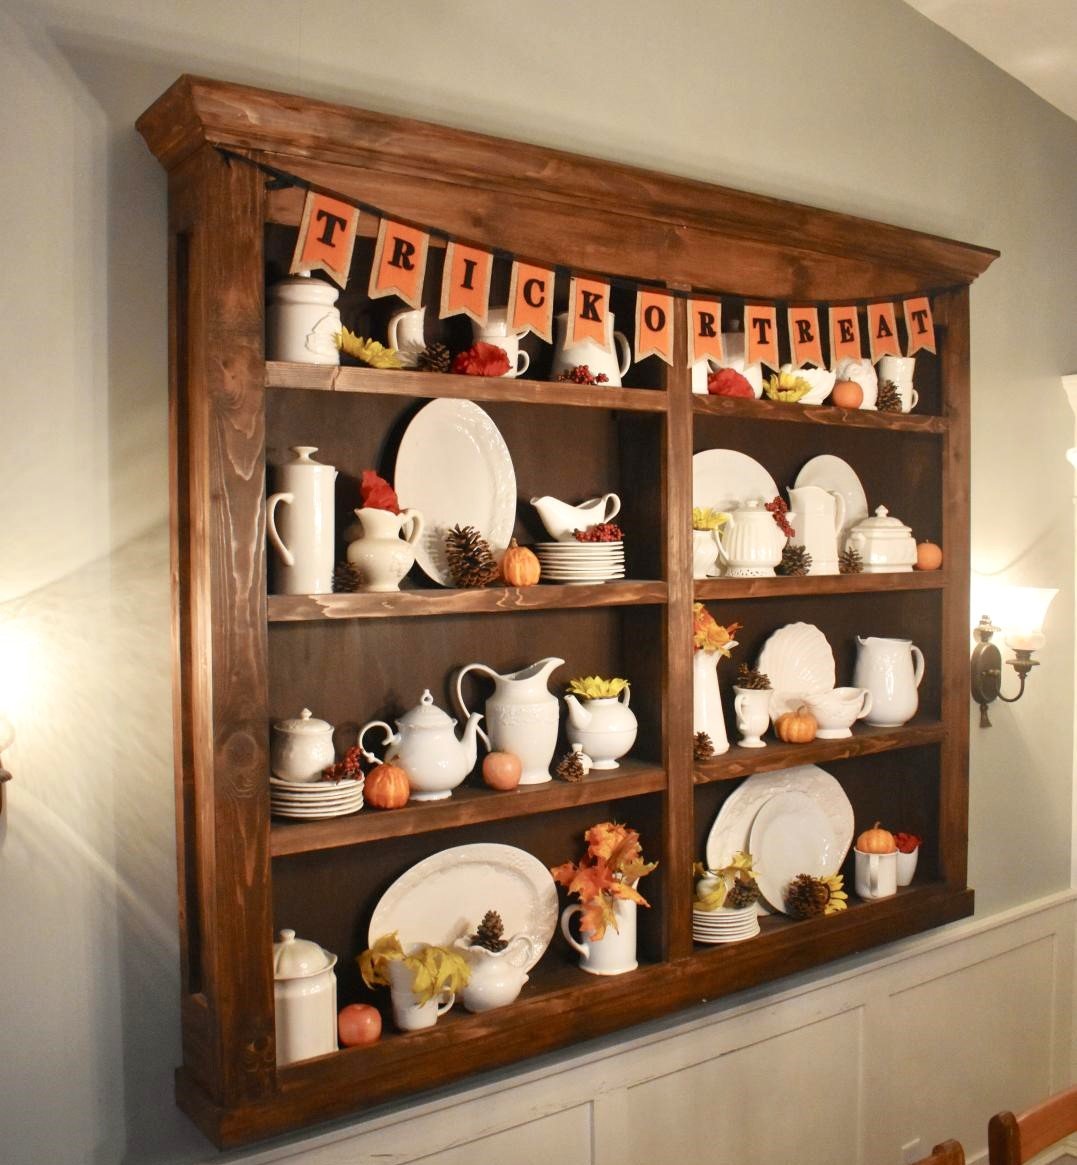
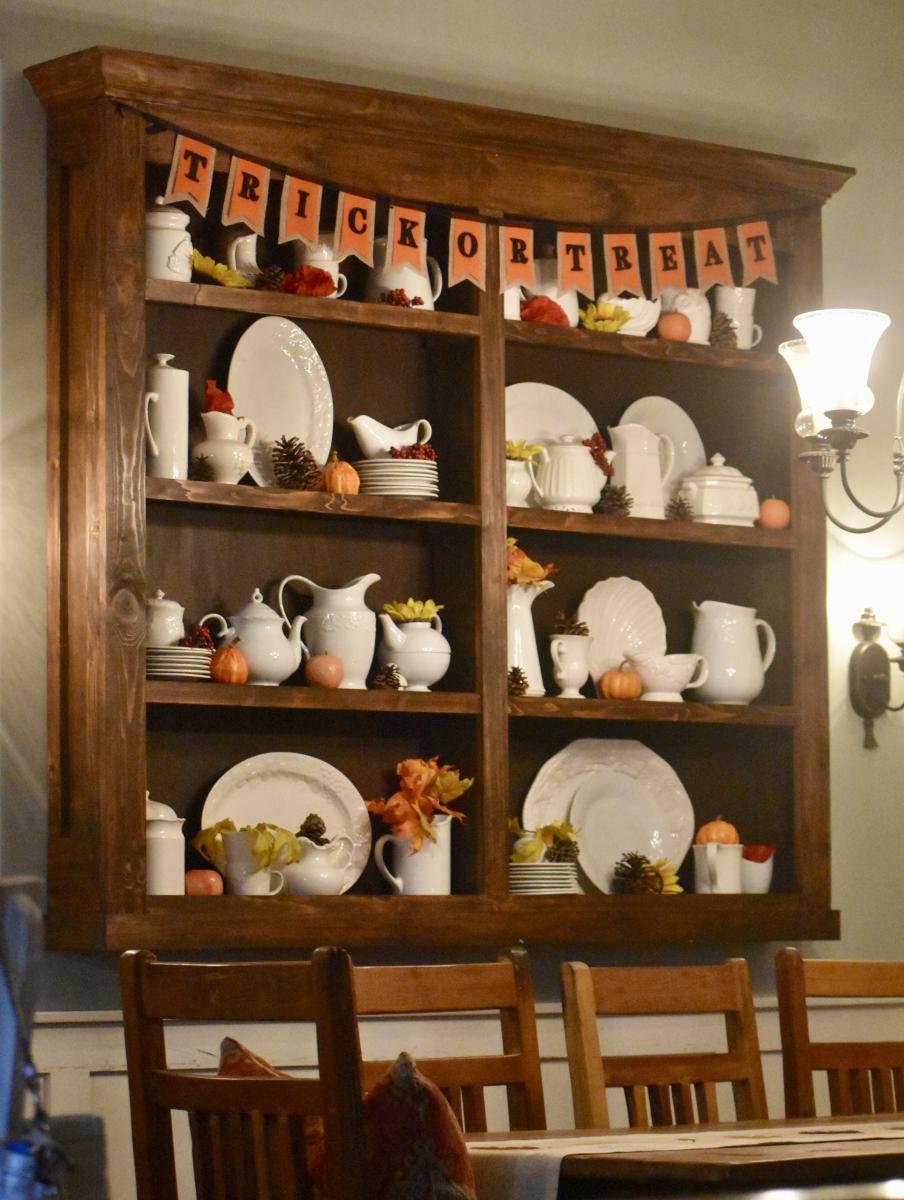
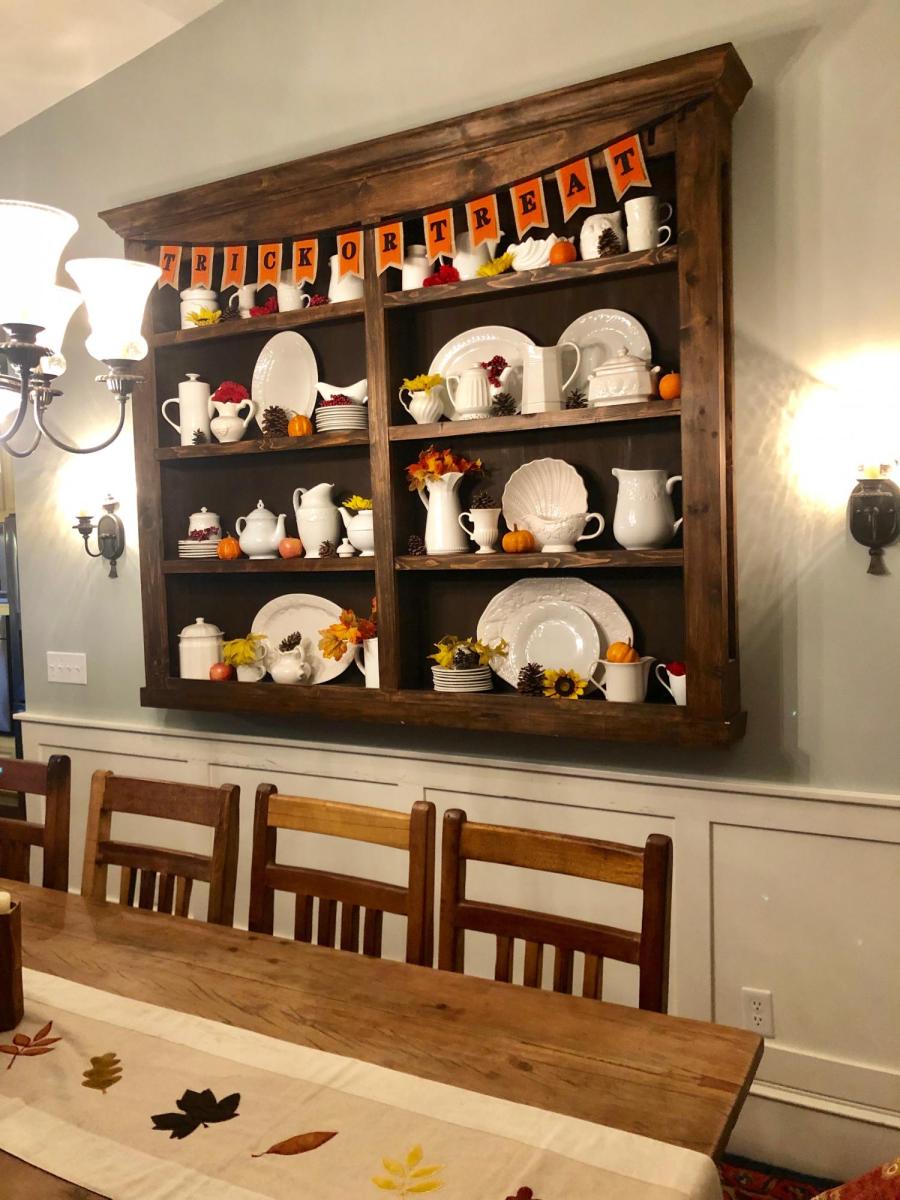
I wanted a china hutch in my dining room, but did not have the space. Instead, I built a wall-mounted hutch, which provided room for the dining room chairs to slide back from the table. I altered the plans to make the hutch less deep and added a trim piece along the bottom. My favorite part about this hutch is decorating it for every holiday and season. Thank you Ana White!
Comments
Wed, 10/02/2019 - 09:37
wow, this hutch is beautiful…
wow, this hutch is beautiful! I love how you built it without the base, makes sense in your space!
Mon, 11/04/2019 - 12:23
Thanks so much for…
Thanks so much for submitting this brag post! It was selected randomly for a $100 gift card - look out for that in your inbox shortly! Ana
Privacy planter
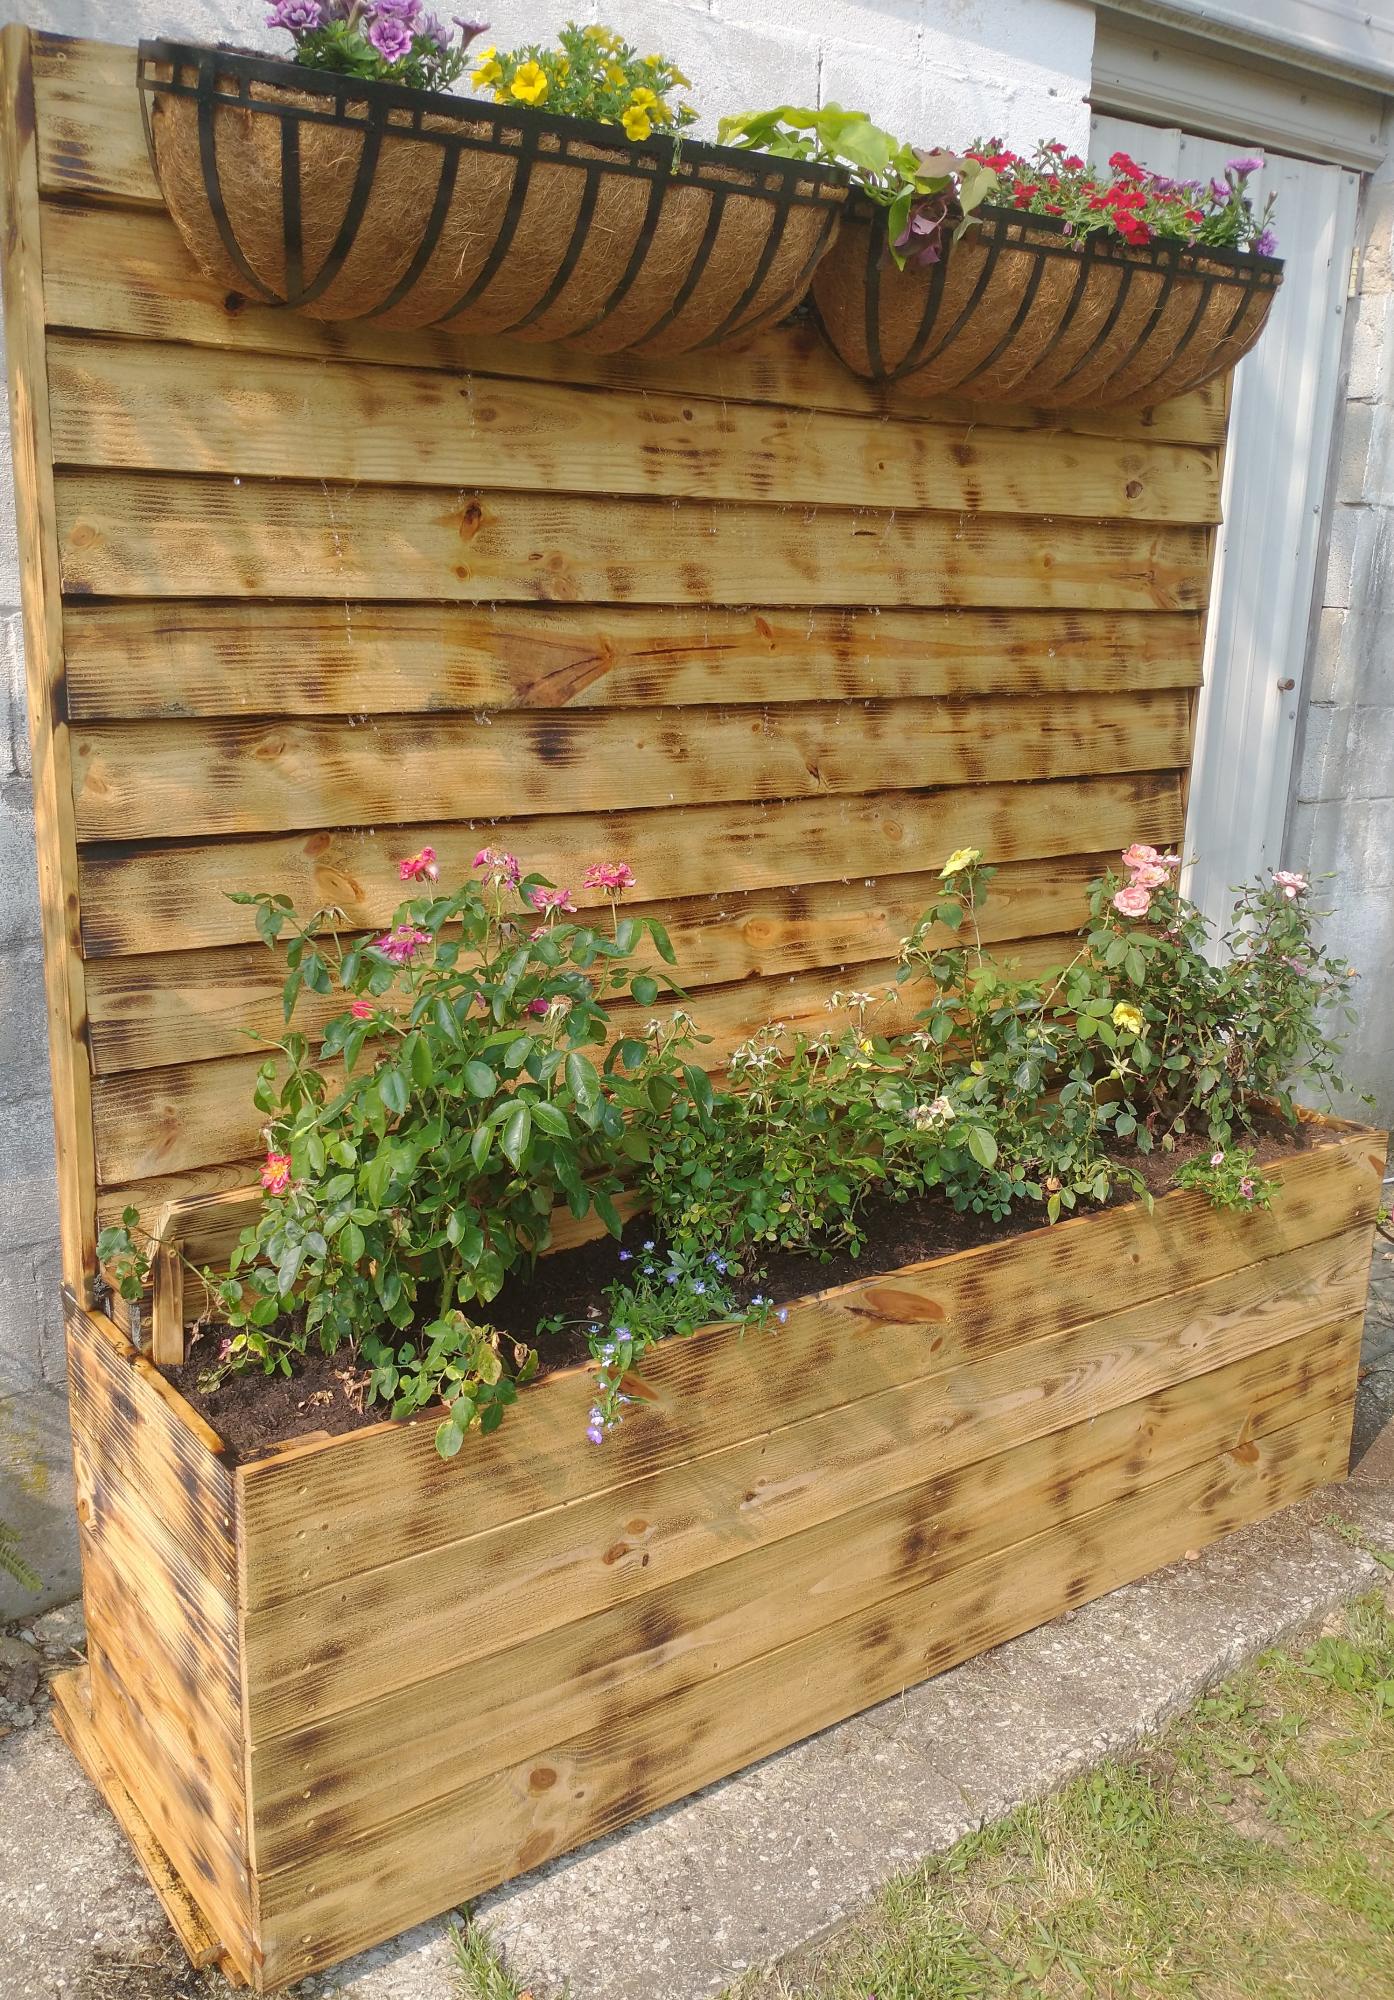
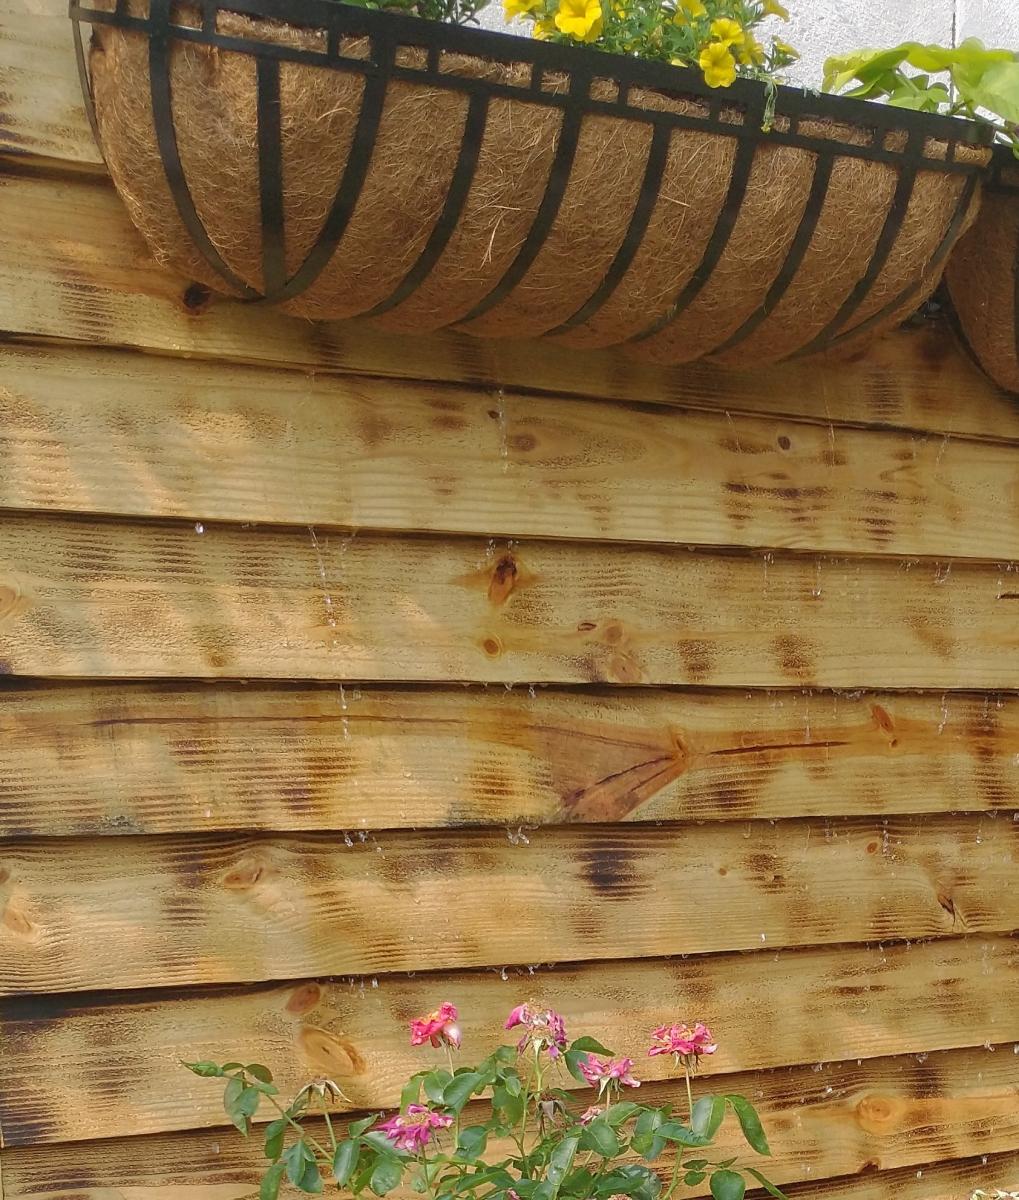
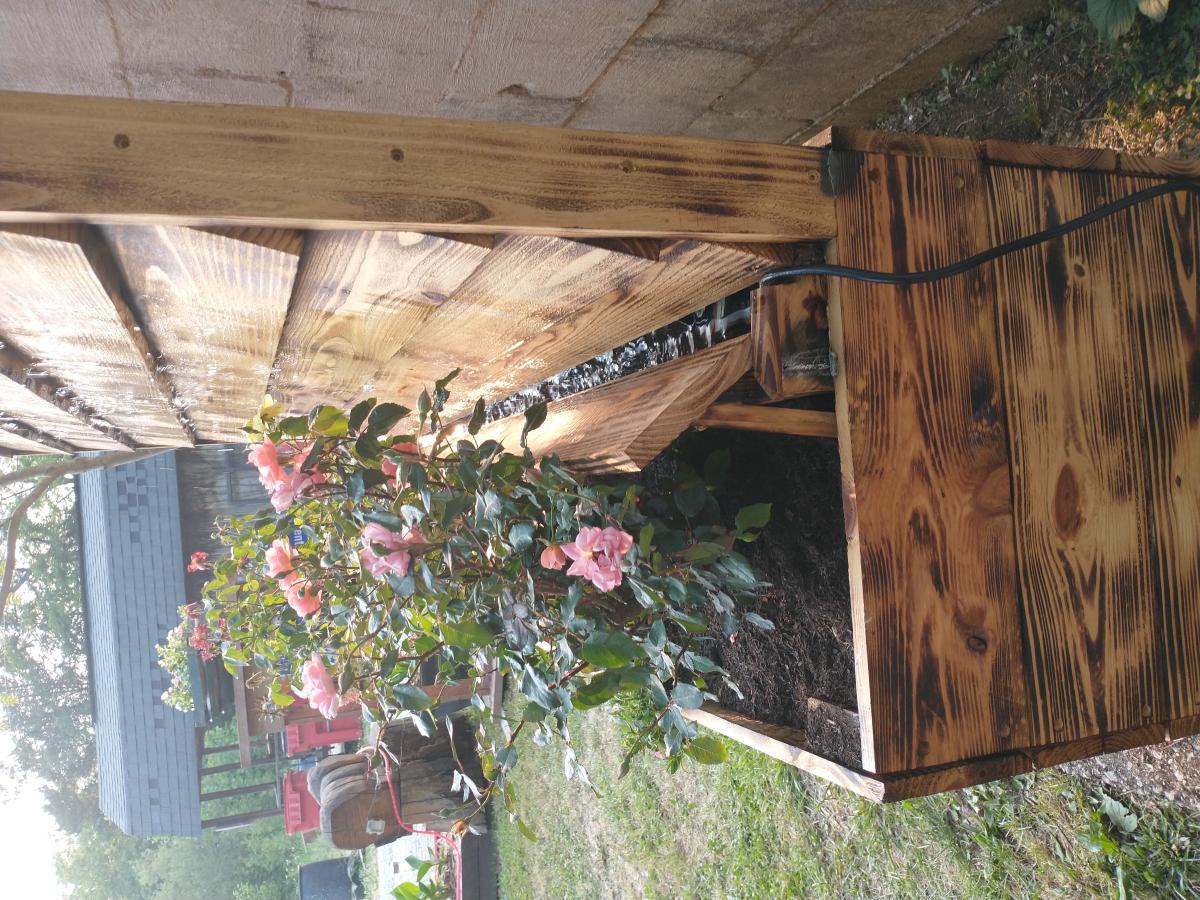
It's a take off of your privacy fence planter. But I added water to make it a water wall also.
Comments
Farmhouse Console Table
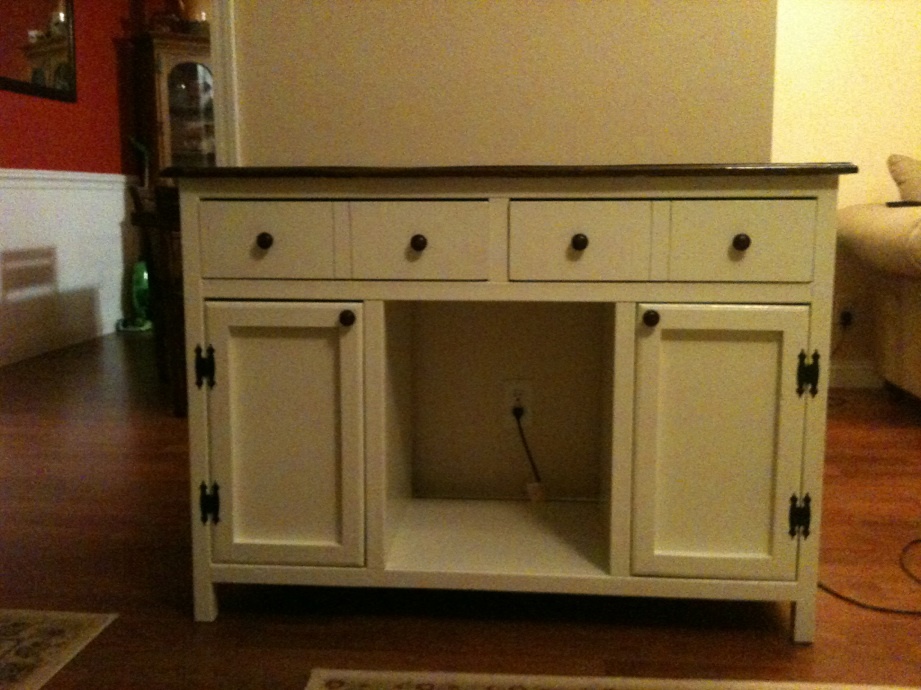
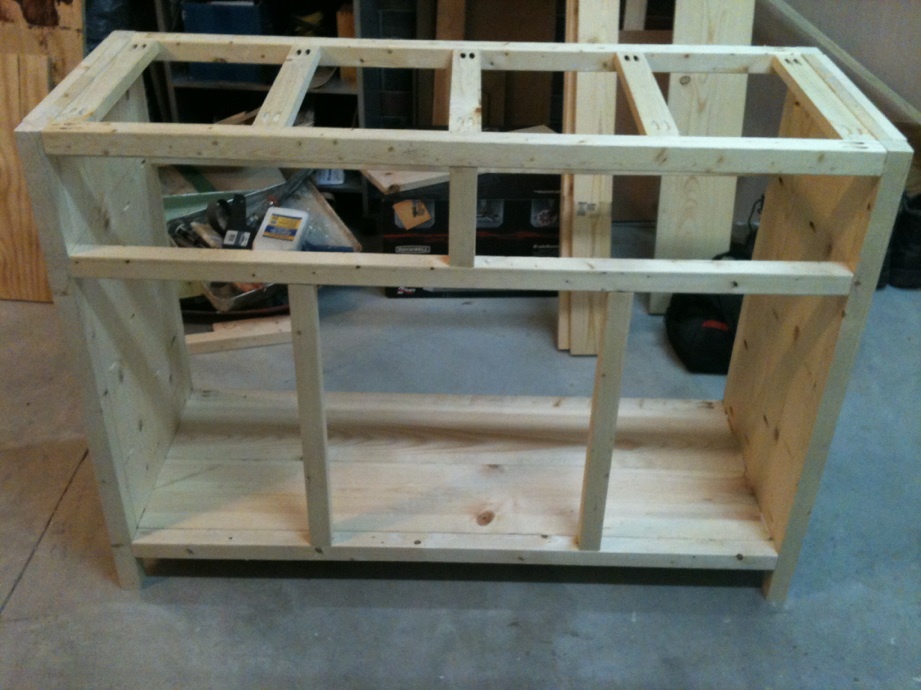
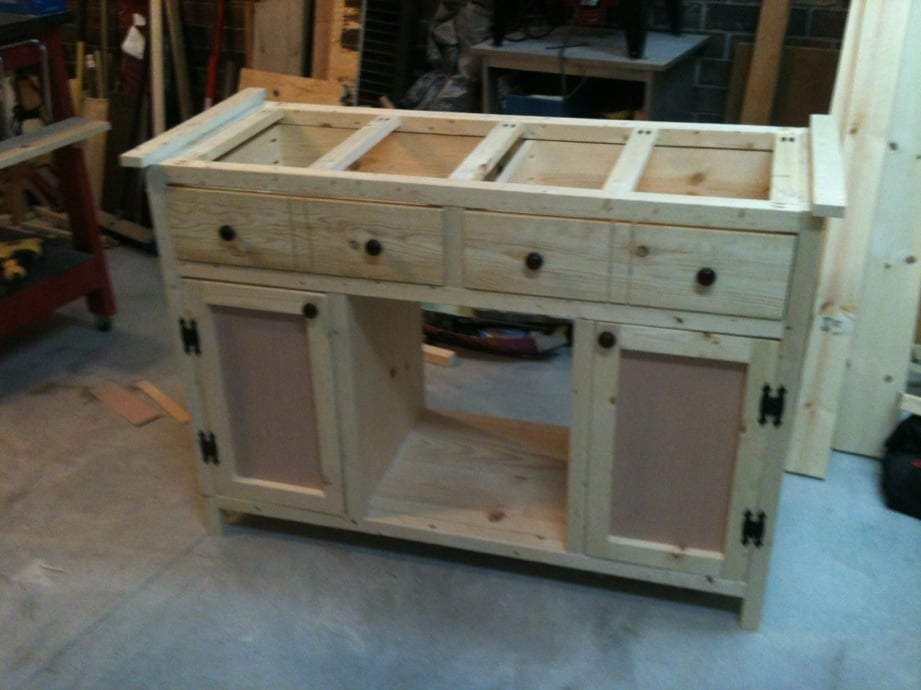
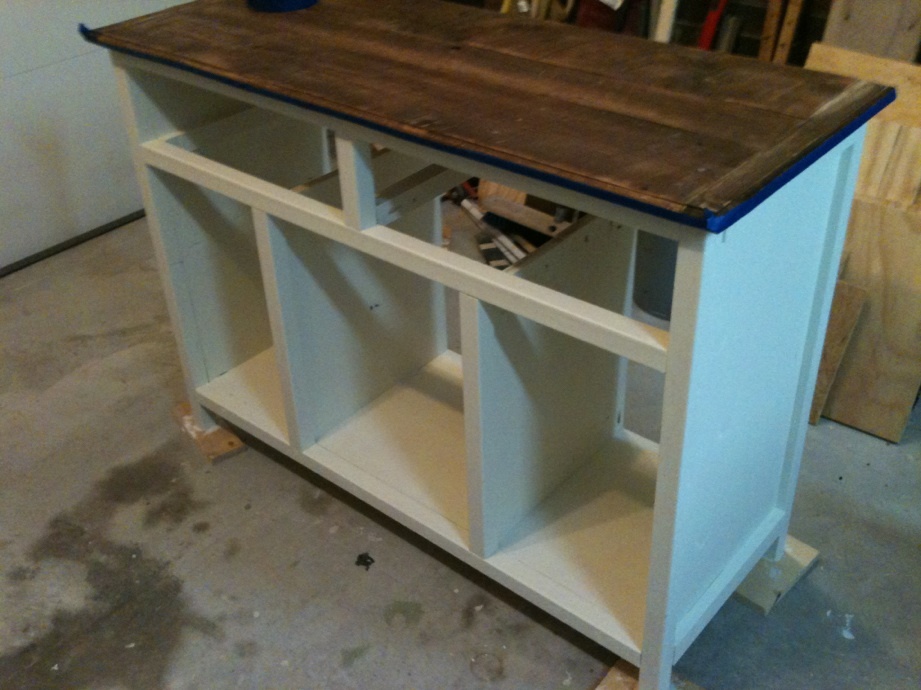
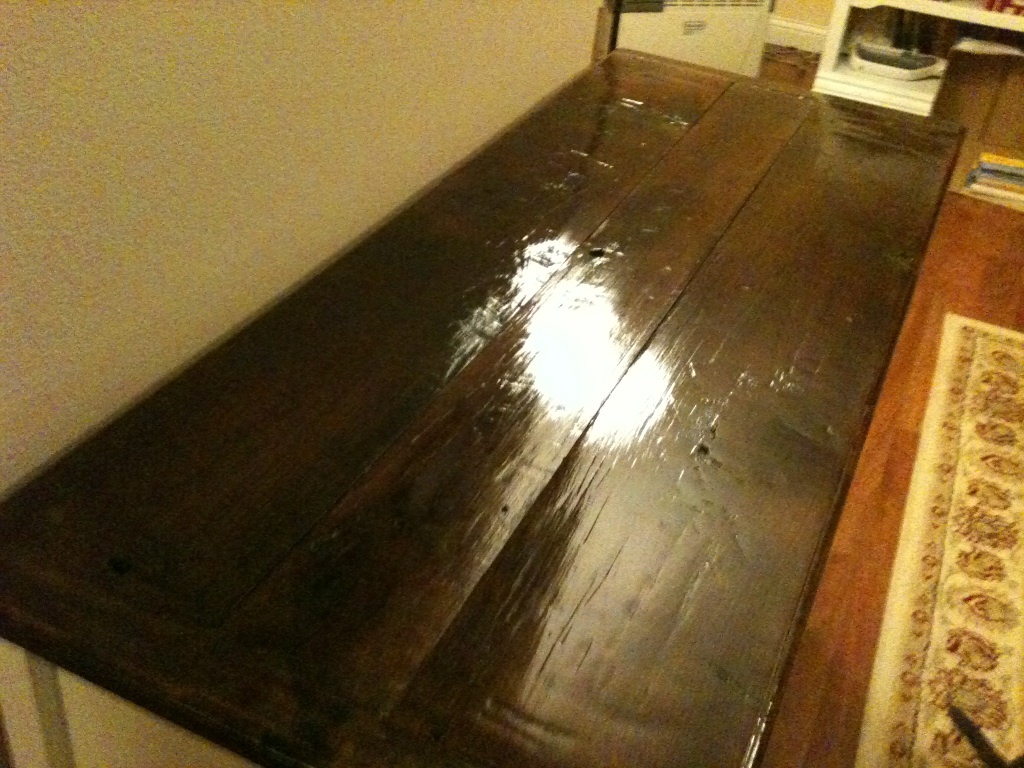
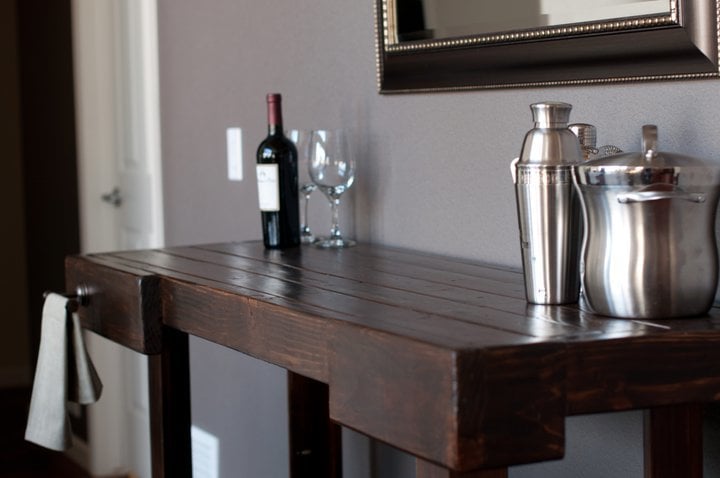
I've wanted a console table for a long time. My husband finally made me one! We liked the salsa console table, but it wasn't quite what we were looking for. He modified the farmhouse bedside table plan to get exactly what we were wanting. The top is made from reclaimed oak, stained to match the farmhouse dining table he made me in August.
Comments
Sat, 01/21/2012 - 12:08
Glossy top is nice!
Very nice job! I love the glossy top and the kitten is adorable!
Sun, 01/22/2012 - 16:44
Wow ! Just beautiful !
Your console is just perfect !
Il love the old stylish wood with white paint...
So perfectly vintage !
Sun, 01/22/2012 - 17:41
The table top is 47 1/2" long
The table top is 47 1/2" long and 19 1/4" wide. The base is 46" long, 17 1/2" deep and 33 1/4" tall.
Sat, 09/15/2012 - 18:56
Console Top
I was curious on what wood you used for the top. I seen you said reclaimed oak but I can't get 19 1/4 with 3 pieces. Could you tell me what the width of the pieces are? Btw, I love the dark glossy top with the off-white finish. Looks great.
Grand Rustic X Buffet
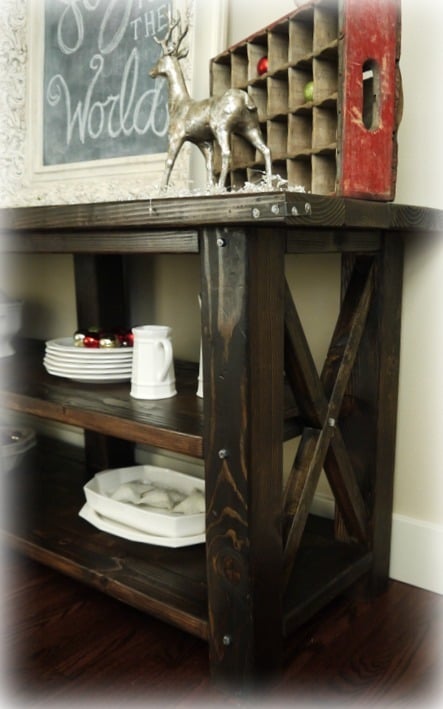
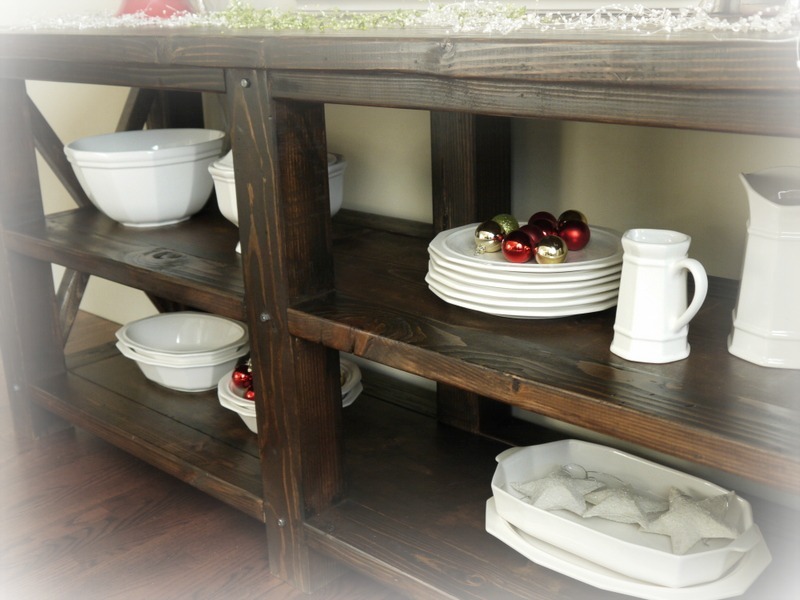
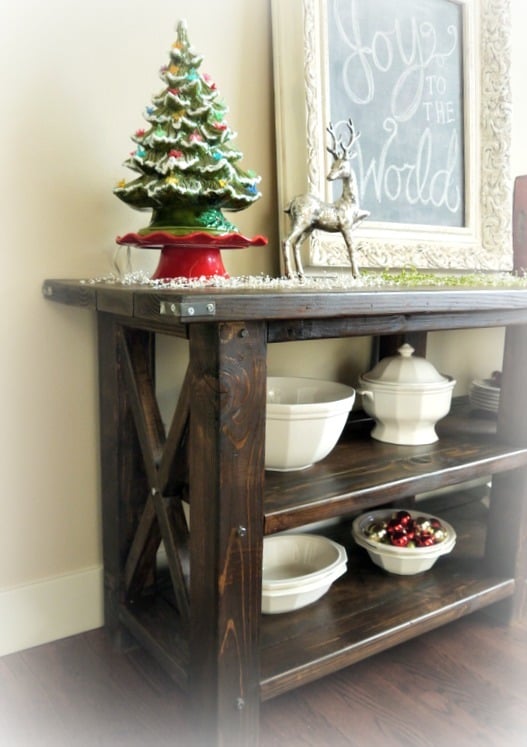
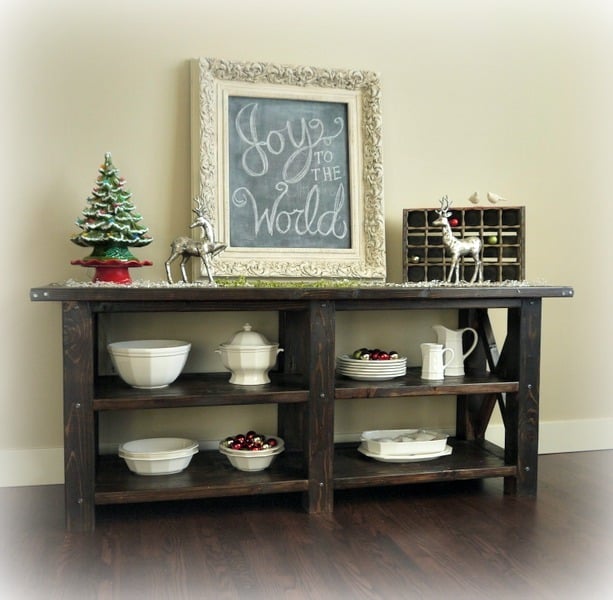
This modification of the Rustic X Console uses 4x4's for legs. The top is one extra 2x6 wide, and the horizontal cross-pieces are 2x4's. The whole thing is 72" wide. More photos on my blog: http://redhenhome.blogspot.com/2013/12/grand-rustic-x-buffet.html
Comments
Coffee table with toy storage
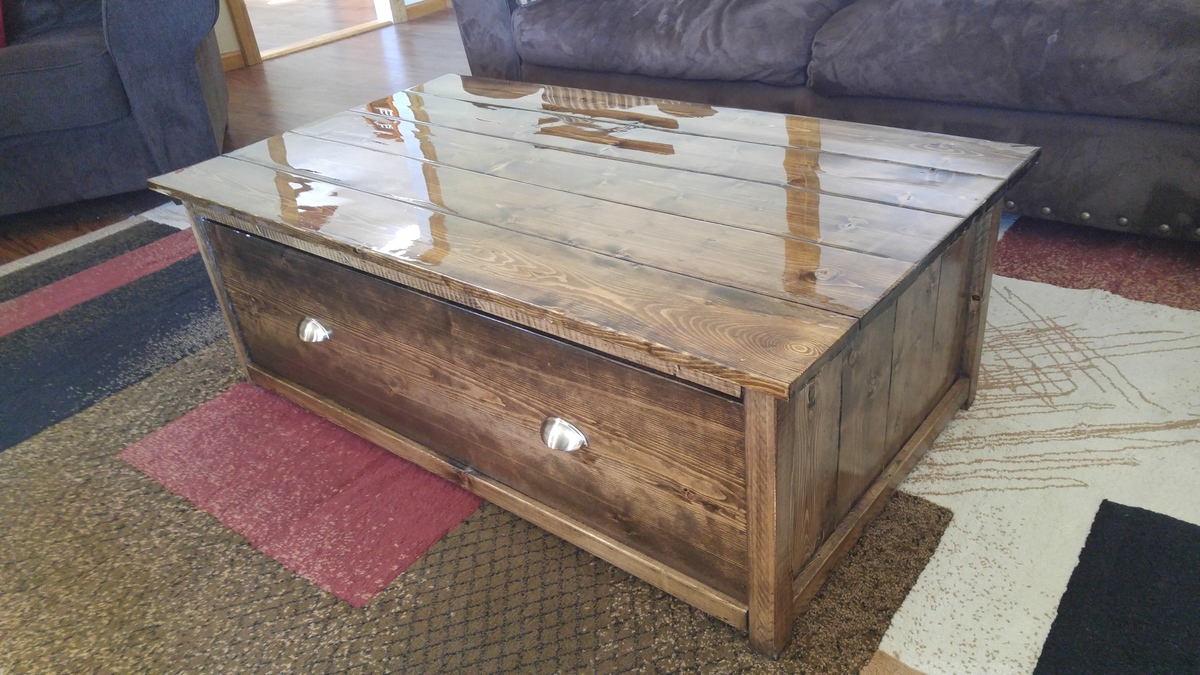
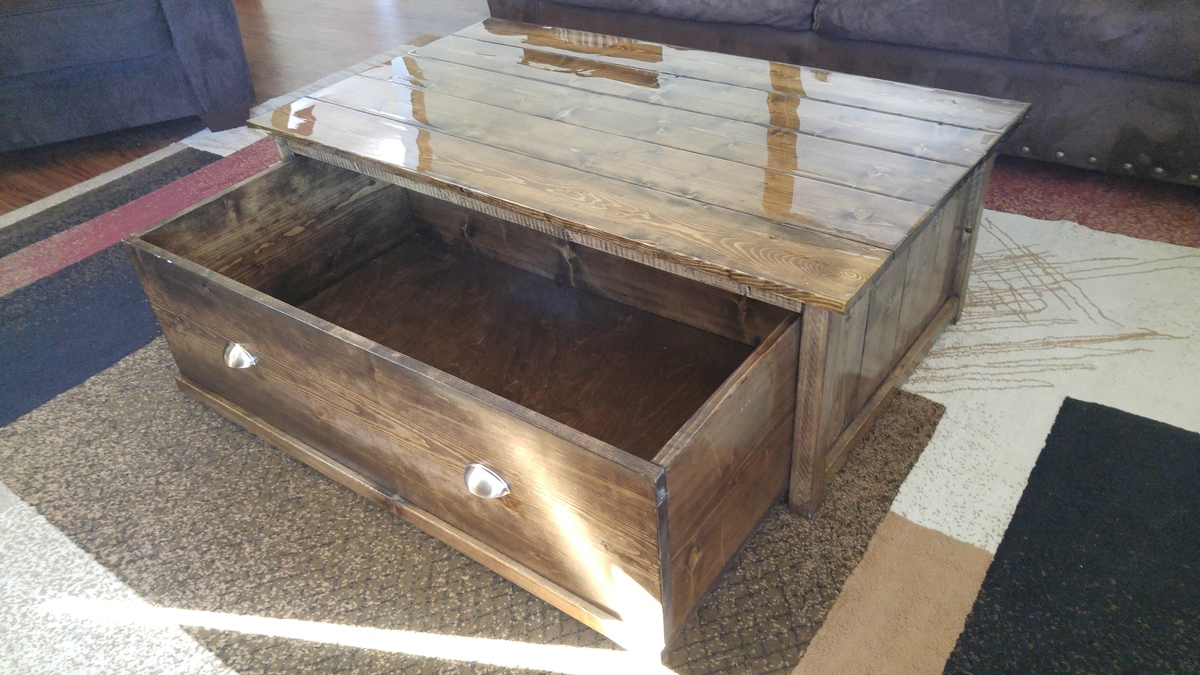
Coffee table with built in toy storage with glaze coat top
Outdoor Table
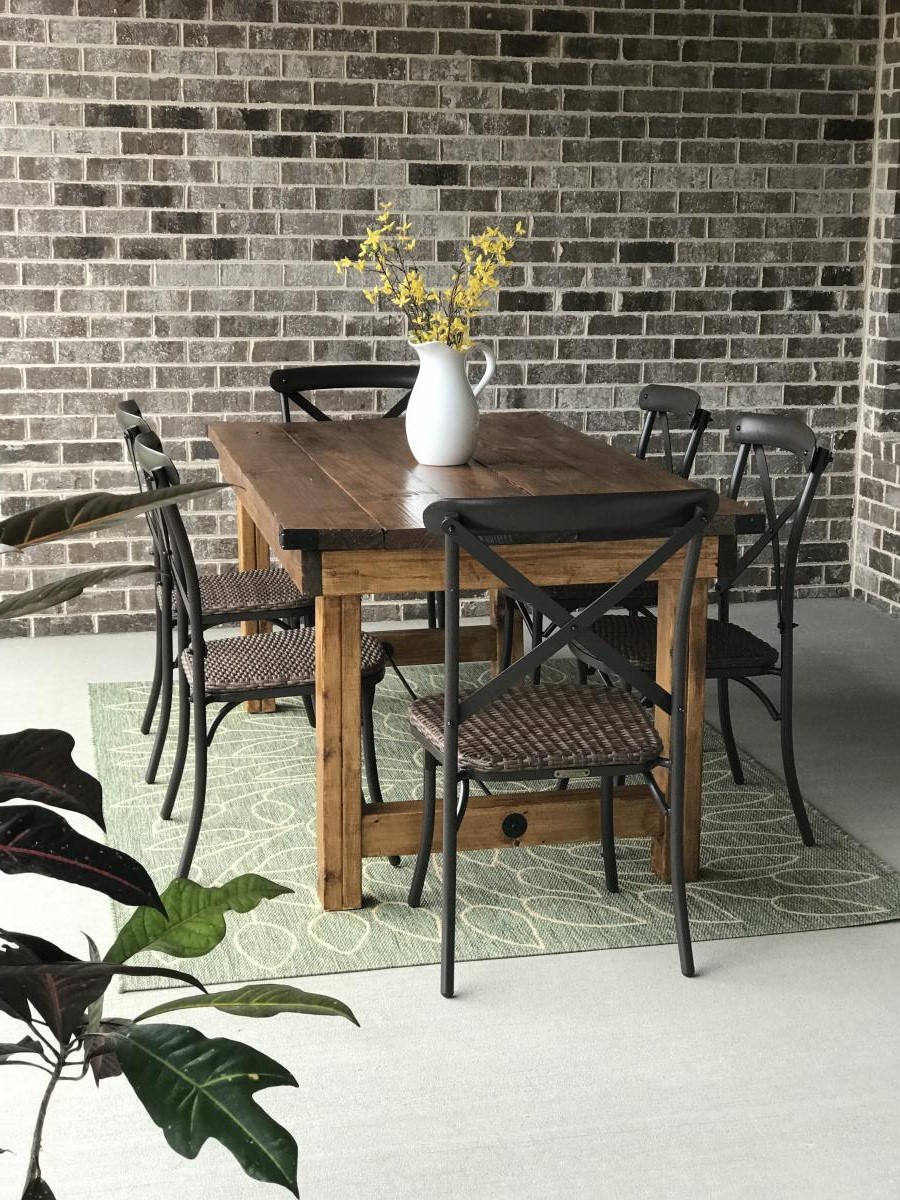
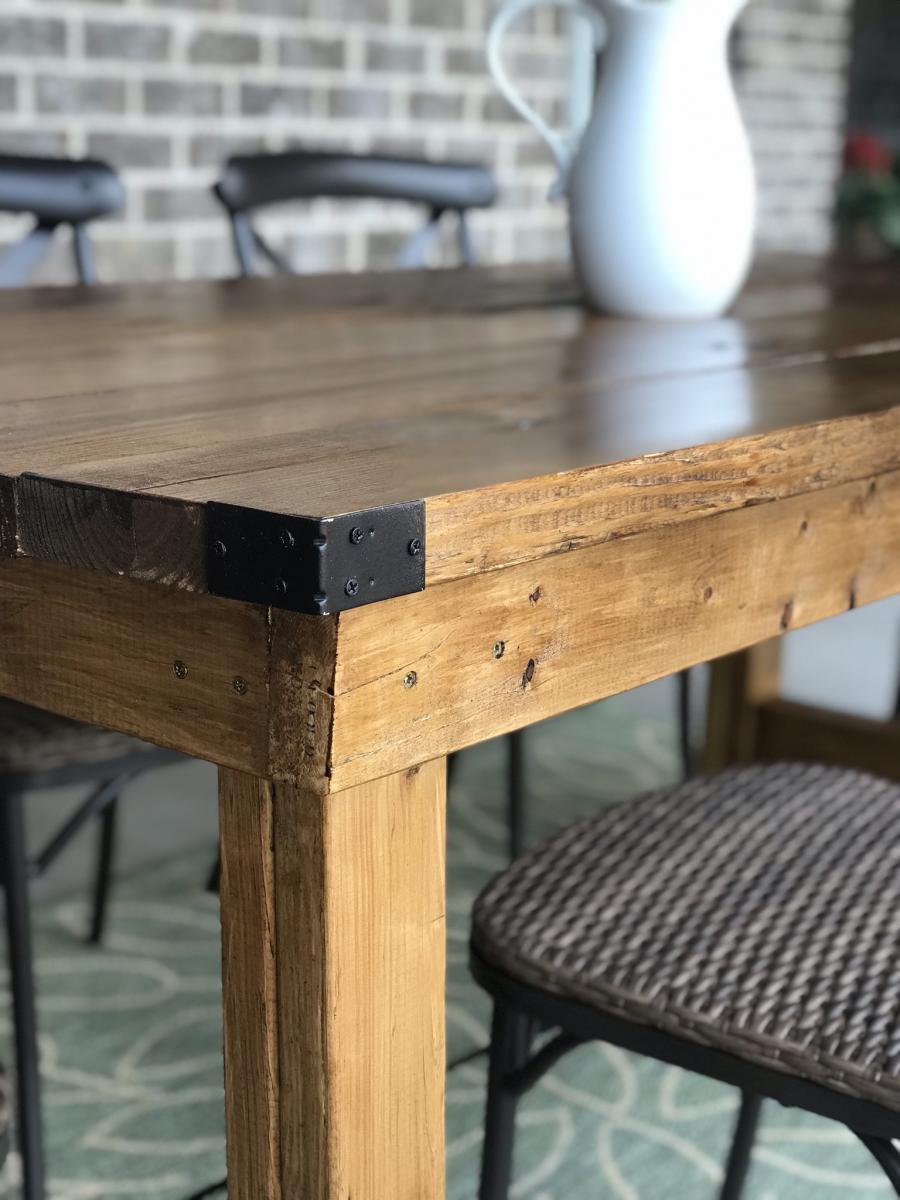
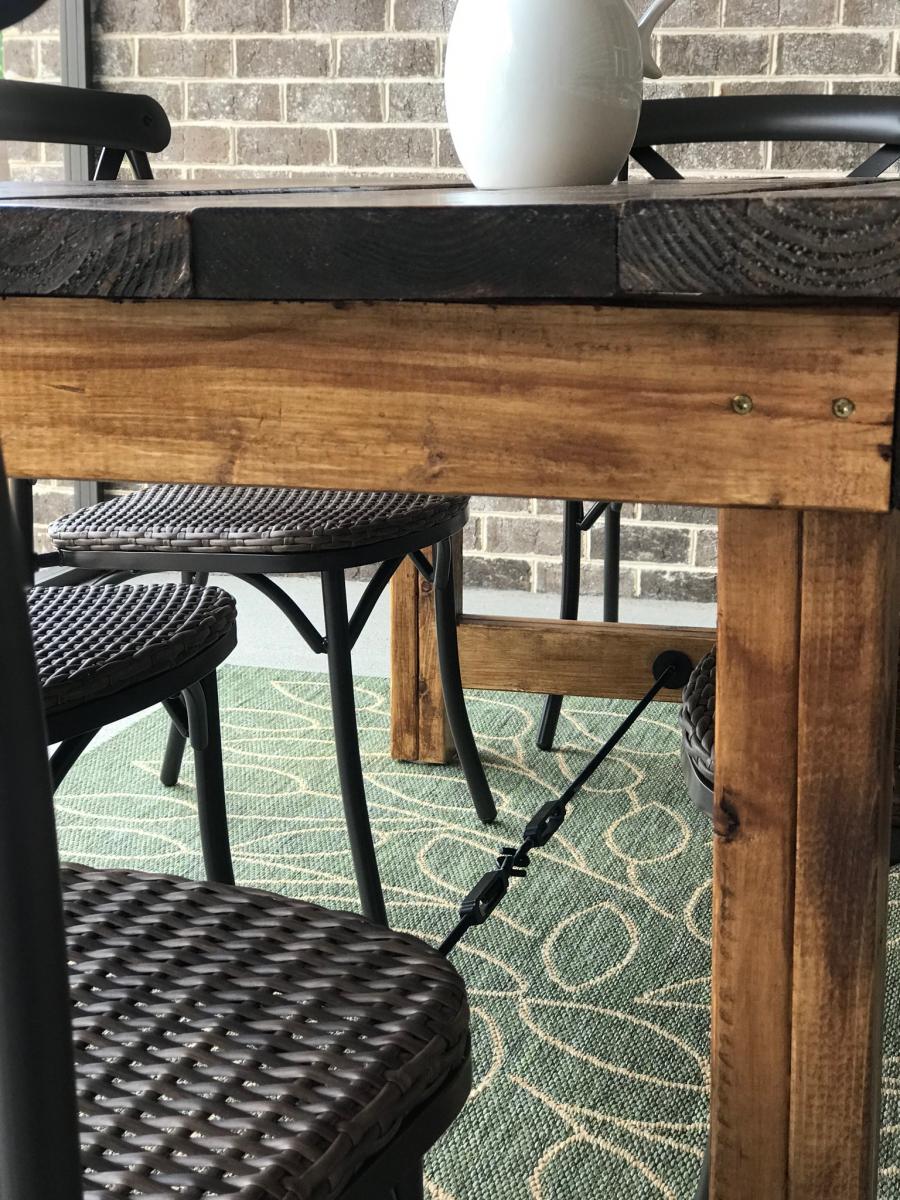
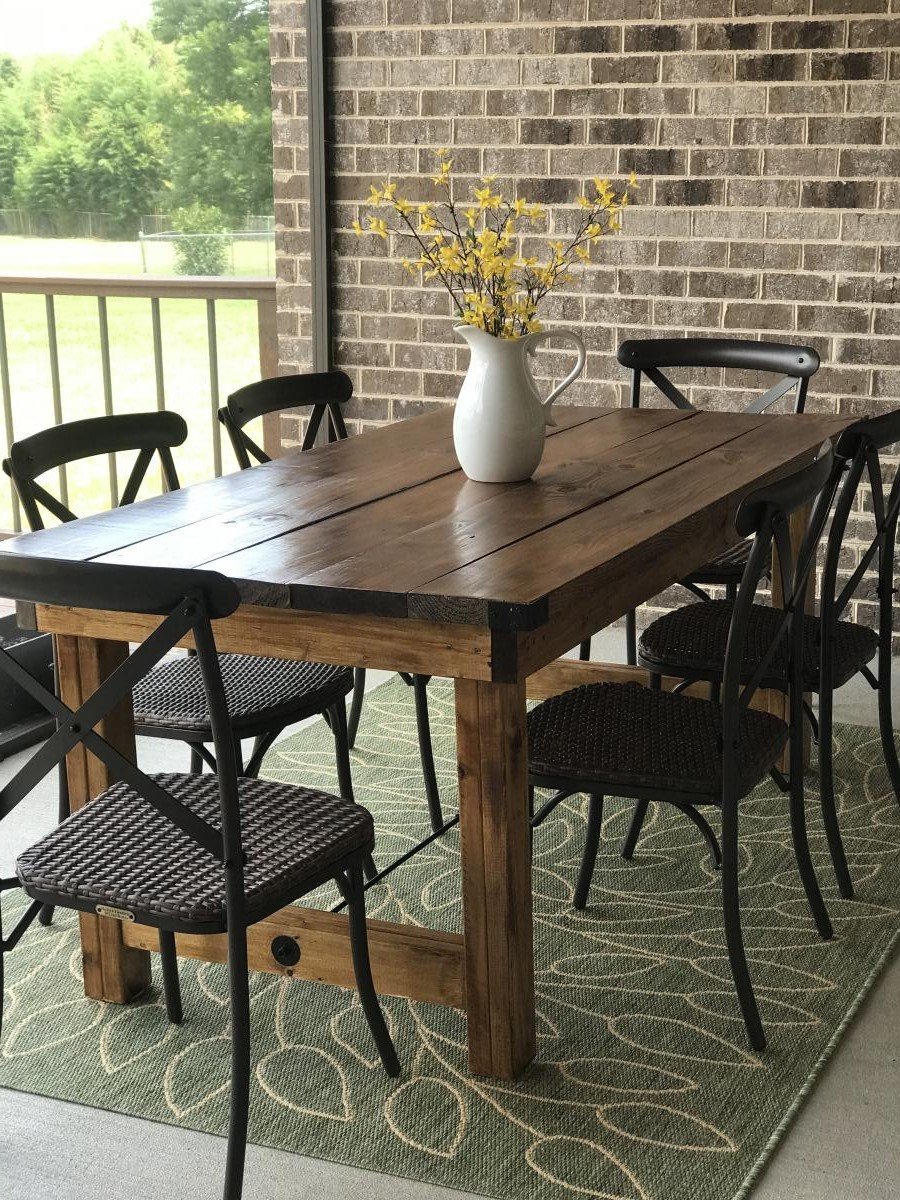
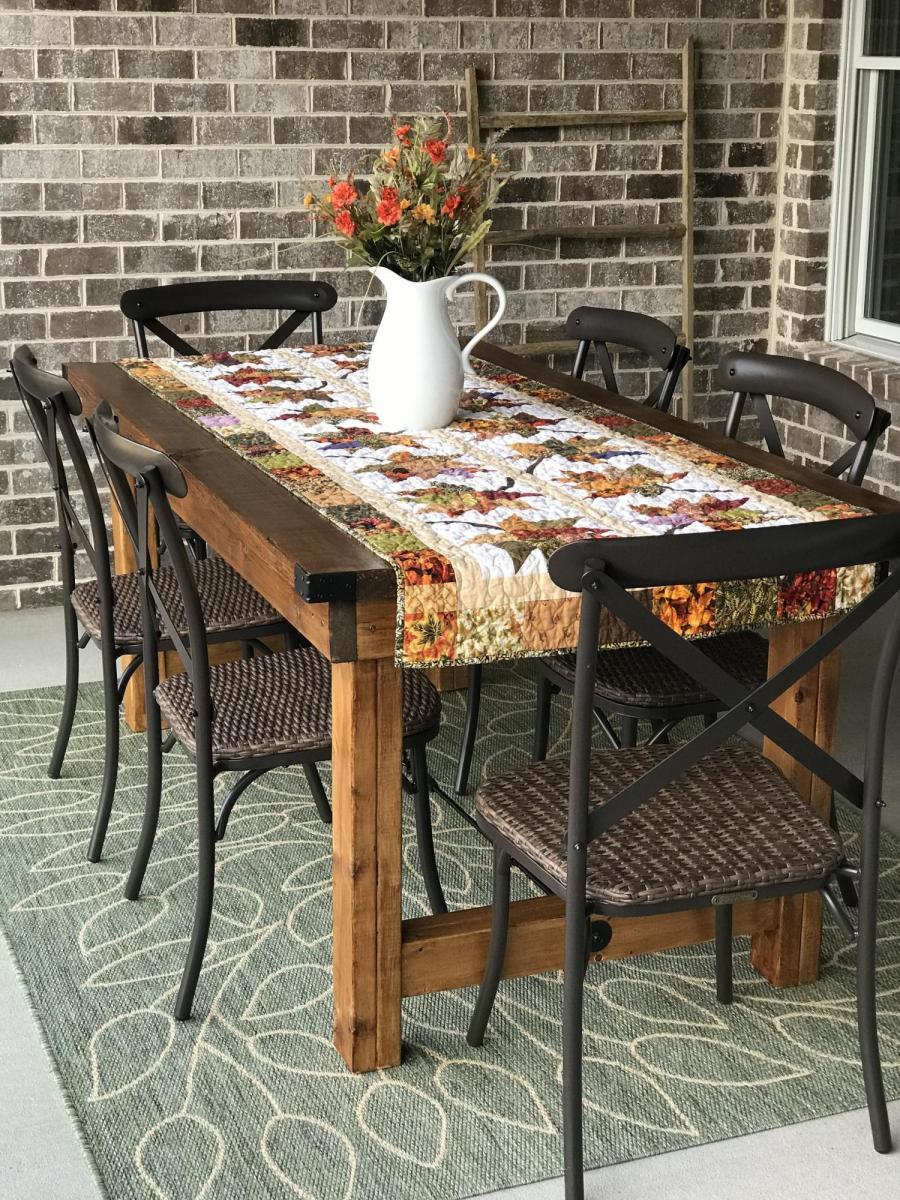
Made this outdoor table with Lowe’s lumber. Added some industrial accents like the metal rod and turnbuckle underneath and the metal corner brackets in each corner of the top. Spray painted the metal hardware black. I did incorporate the pocket holes for the table top.
Comments
Sun, 04/25/2021 - 09:41
I love the rugged look of…
I love the rugged look of the table! It looks great!
Camping life
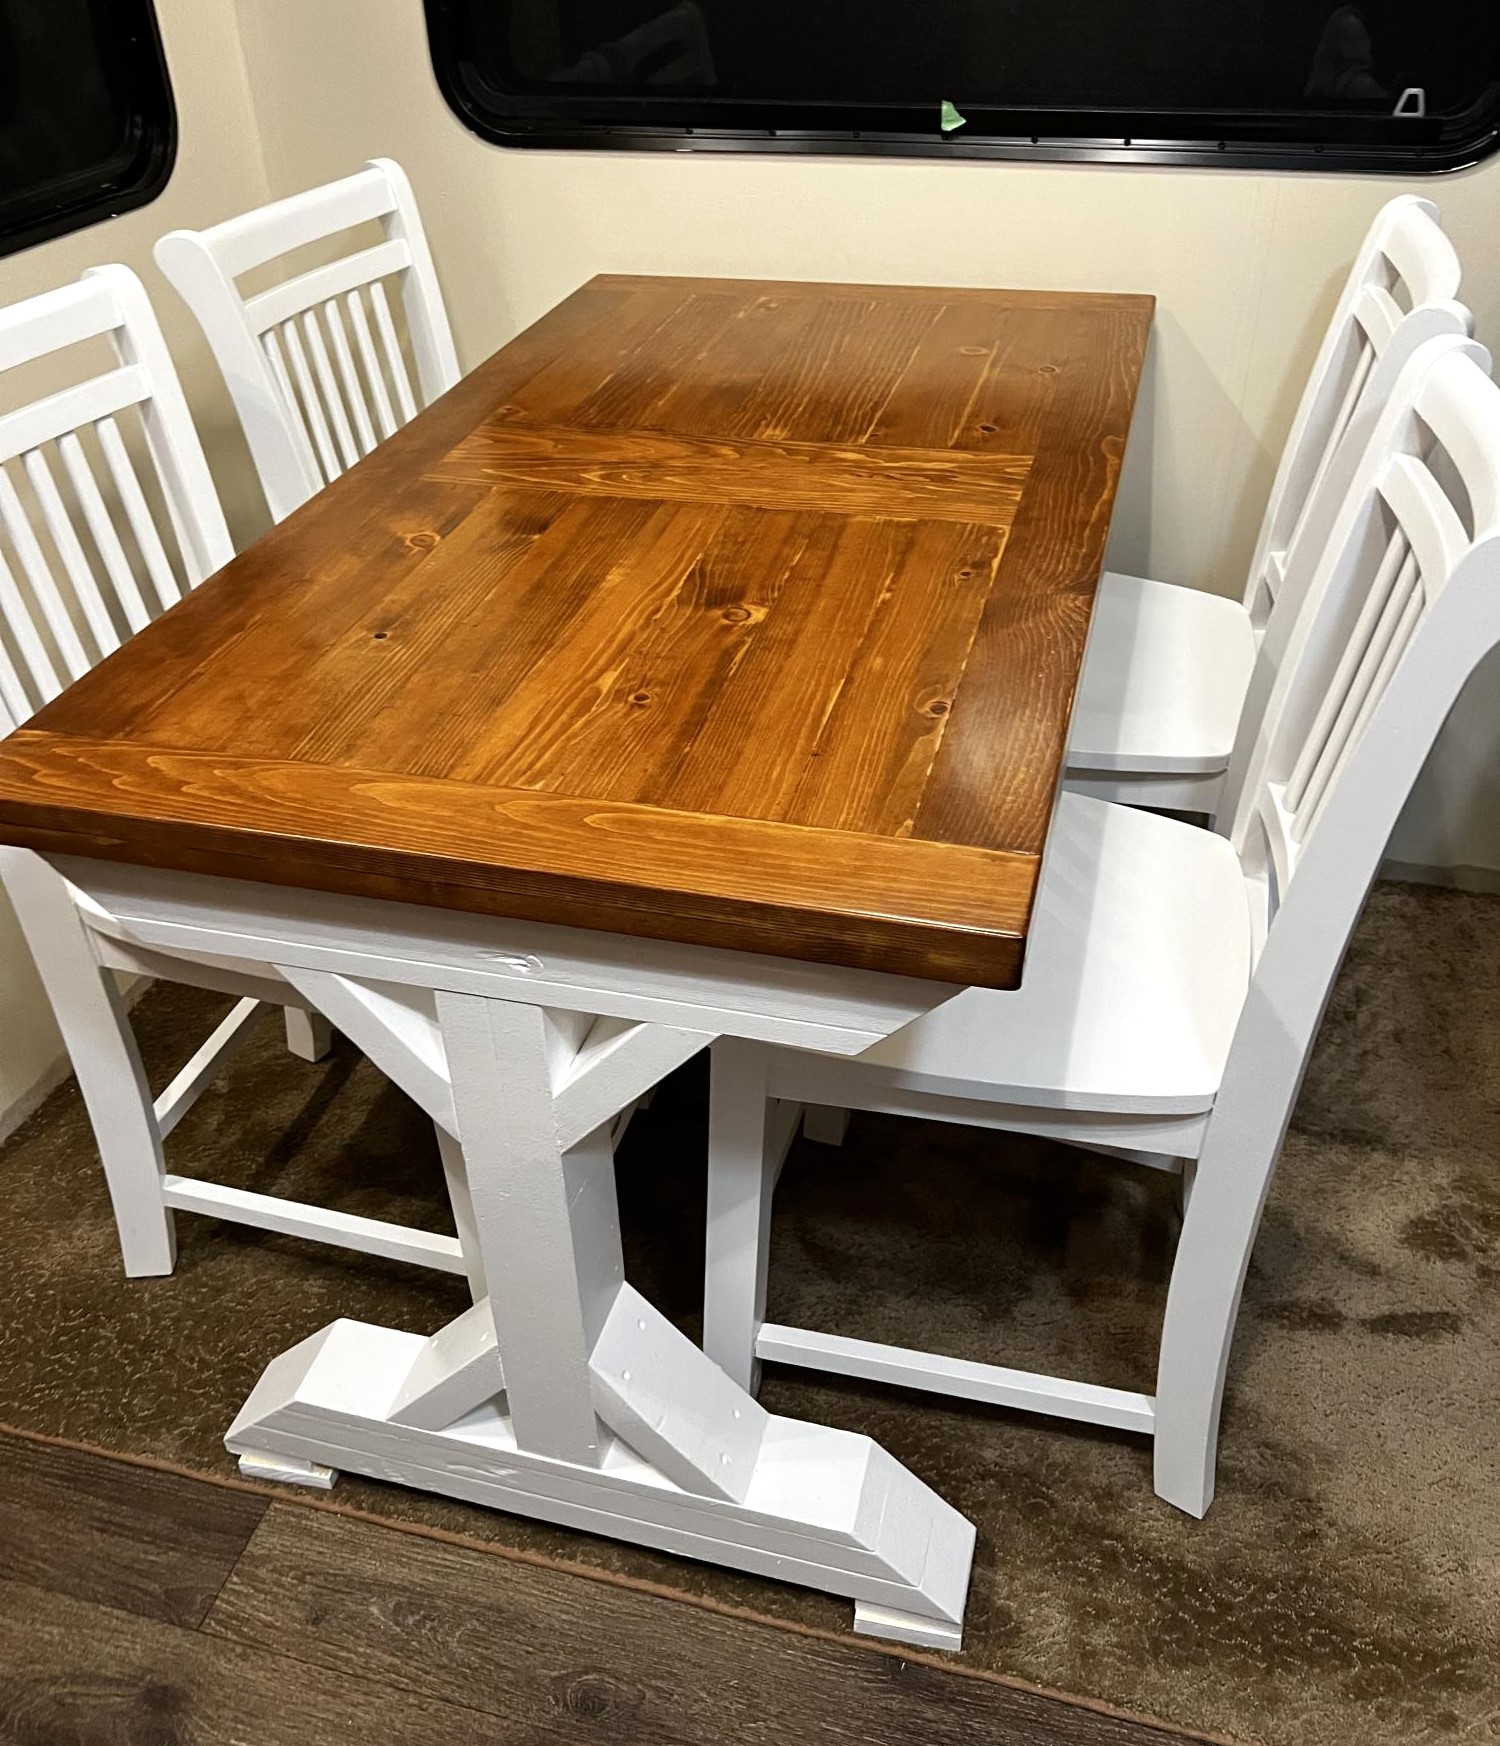
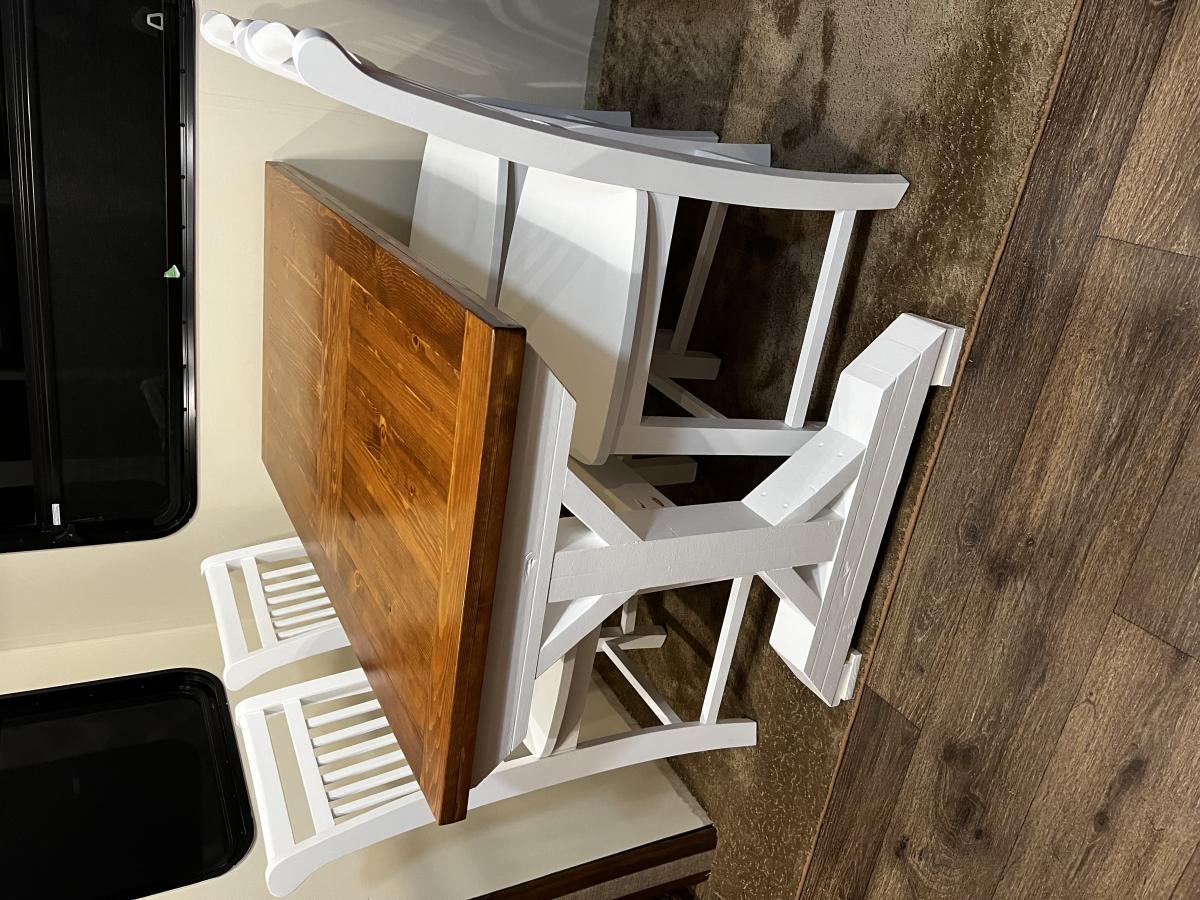
This was a great project. Easy to do.. Had to down size the table to fit our trailer…
Comments
Bypass Closet Doors for the hallway and master bedroom
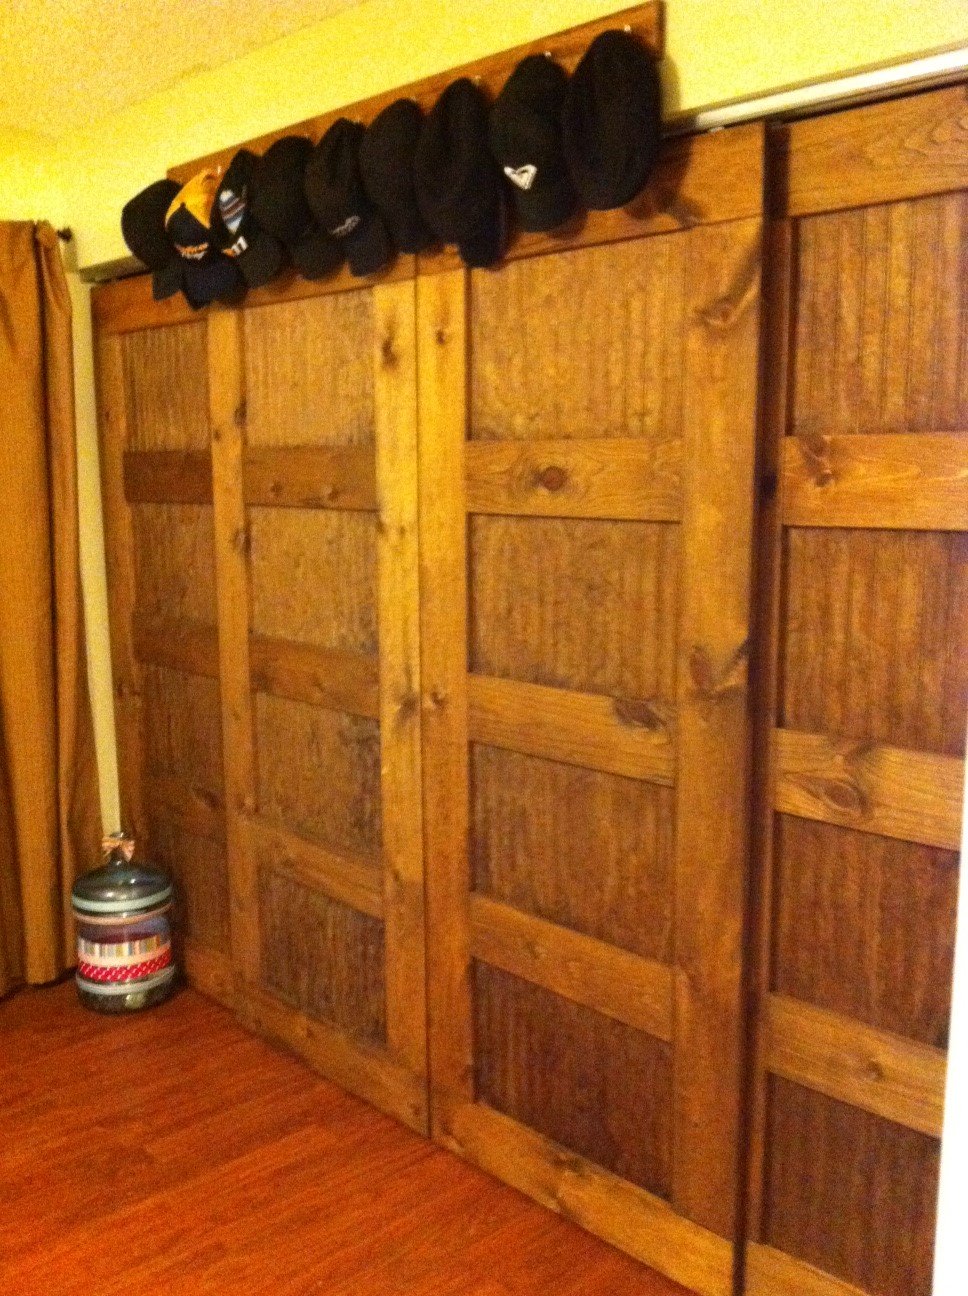
I loved the Idea of new closet doors and hated the idea of bi-folds. My house is crooked it seems. The doors don't sit straight and bi-folds always fall off their tracks. When I came upon the plans for Bypass Doors from Old Paint Designs I was hooked! I made 4 doors for the hallway in 1 day, oiled it with Danish Oil in Dark Walnut, hung it the next day and what a difference!! Glass is rather expensive in Hawaii and so is plexi-glass so I opted for Bead Board which gave it a more "country" feel instead of a more modern feel. I wish I could have used glass but the $150 price tag just wasn't fitting into my budget very well. My hubby loved the bypass doors so much he asked me to build them for our open closet. 2 days of work, 8 doors, 2 closets done!
Comments
Thu, 01/26/2012 - 13:48
Those turned out great. Love
Those turned out great. Love the bead-board and color.
Thu, 01/26/2012 - 23:24
Wow! Those turned out great!
Wow! Those turned out great! I love the idea of using beadboard - so creative!
In reply to Wow! Those turned out great! by oldpaintdesign
Fri, 02/17/2012 - 17:13
Thanks OPD!
Thank you for your plans...love them. I've been asked to help a friend of mine build some doors for his house!
Tue, 08/28/2012 - 15:27
Bypass Closet Doors
Great job on the doors! I am interested in doing this myself. I will have to make 4 doors for my closet as well since I have such a large opening. Can you tell me what the measurments of your closets are? Also what are the dimensions of the pine that you used? Thanks a bunch!
In reply to Bypass Closet Doors by Jilley27 (not verified)
Tue, 08/28/2012 - 18:44
My closet opening is about 8'
My closet opening is about 8' across. Each door is 26" wide and 79" tall. I made them so the would have a 1" overlap on each side...
I used 1x6 @ 8' lengths of pine. I like the really knotty pine with lots of character! Have fun building! These were pretty simple to make once you get all the boards cut.
DIY Loft Bed
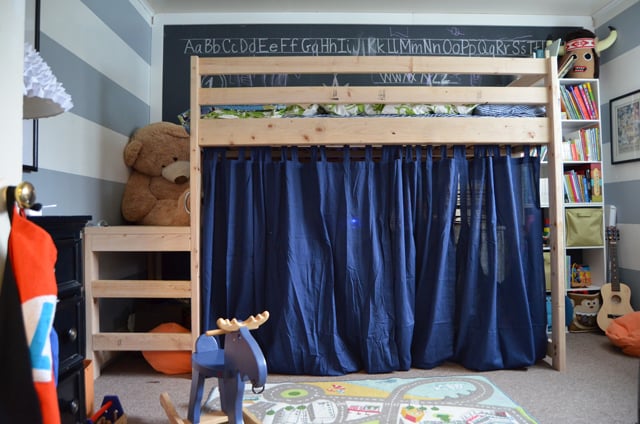
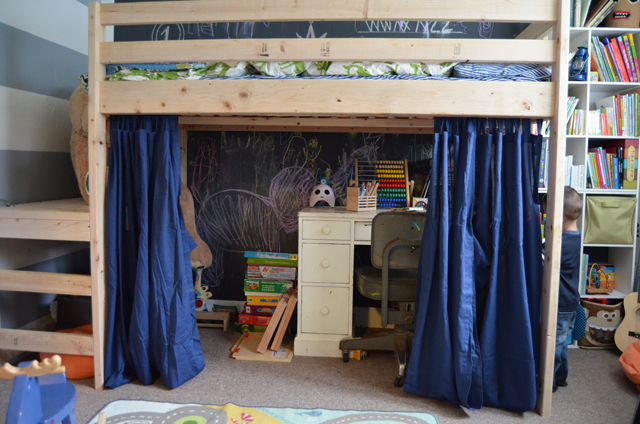
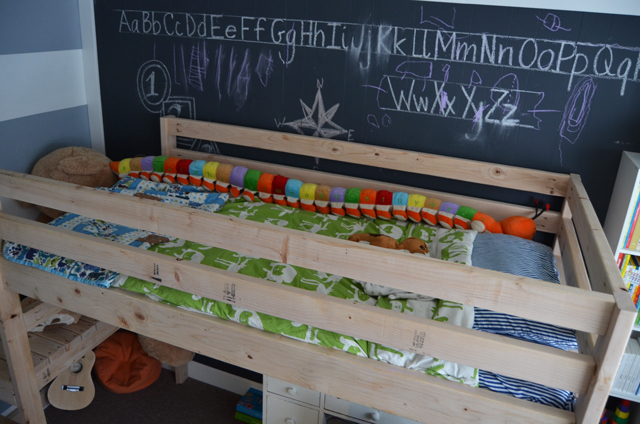
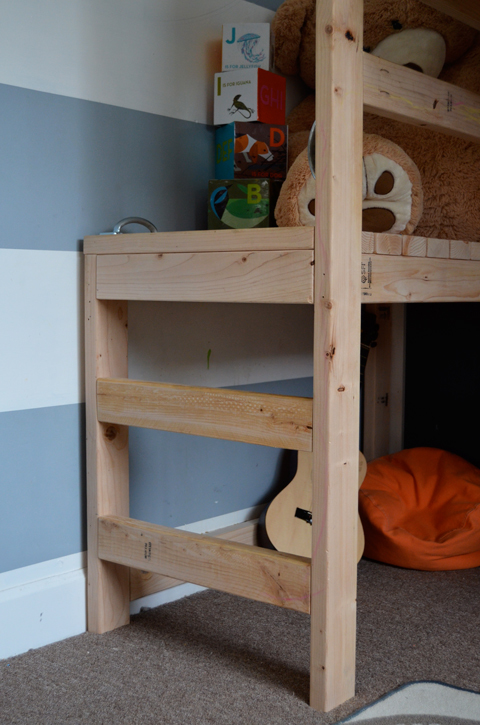
We adjusted the plans slightly to better fit our room. Rather than an angled set of stairs leading to the platform, we replaced it with a short vertical ladder. We also increased the height of the bed to allow for another bunk in the lower section for when Callaghan outgrows his crib. Plus, we added handles to the bed which made it easier for Luke to get up and down.
Comments
Thu, 12/12/2013 - 08:20
This looks great! Love the
This looks great! Love the mods and the play area underneath.
Storage Bed & Step Stool
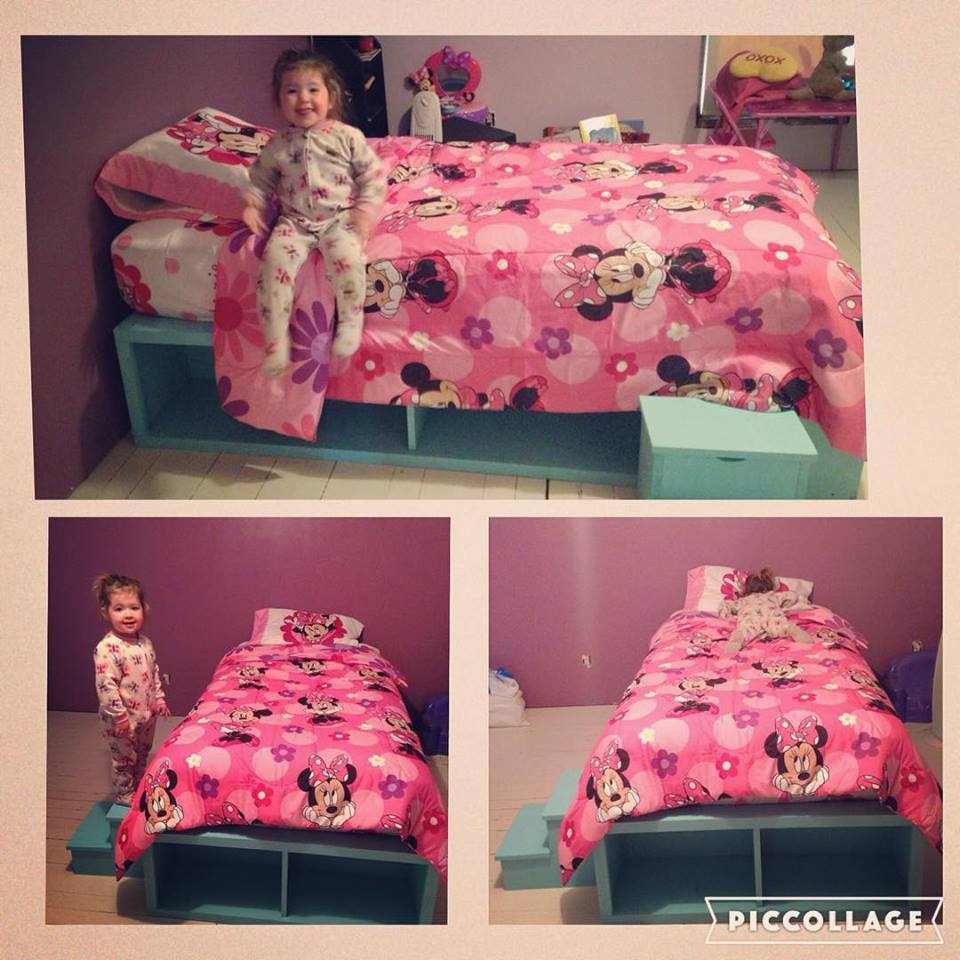
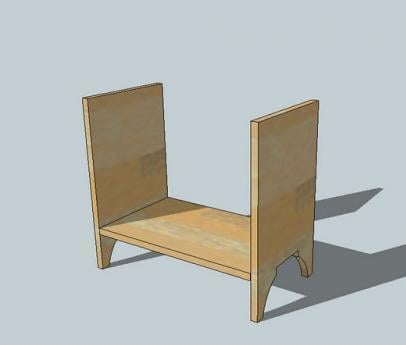
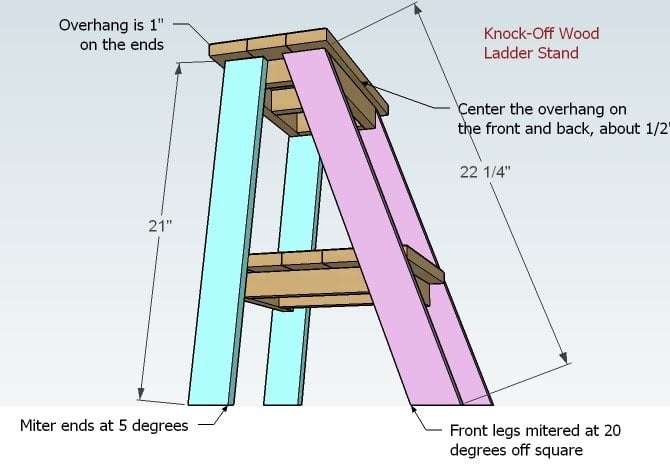
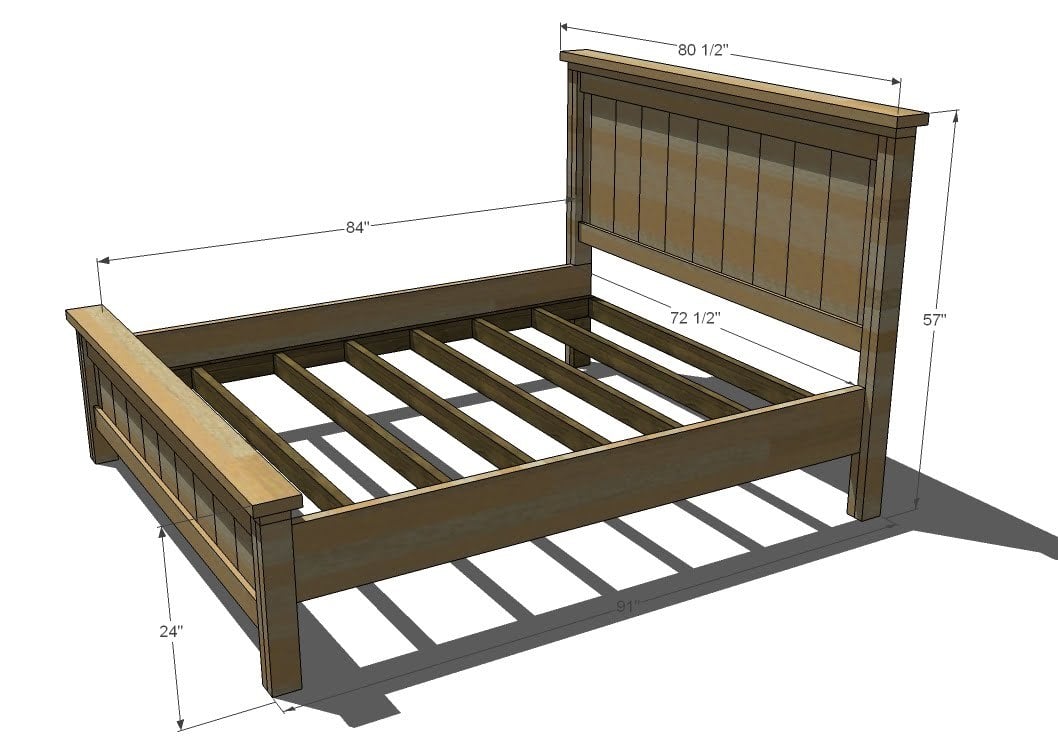
Built this bed and stool for my grandaughter's first "big girl" bed.
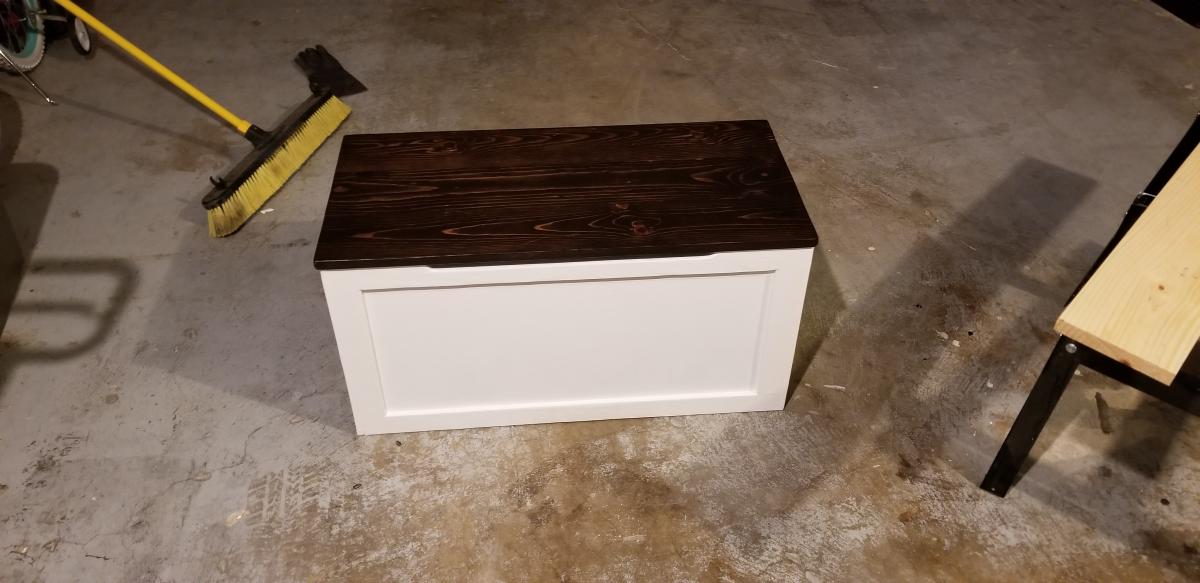
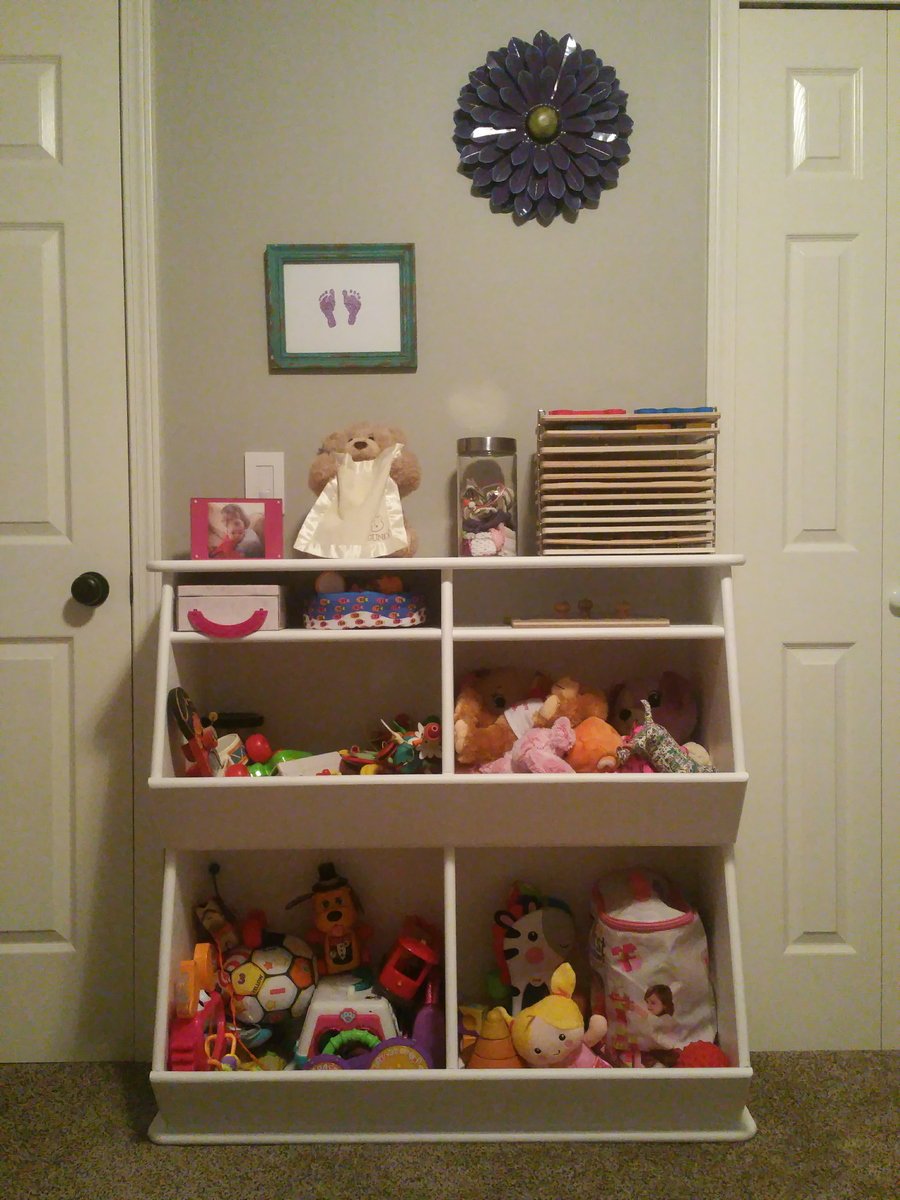
Simple modern toy box
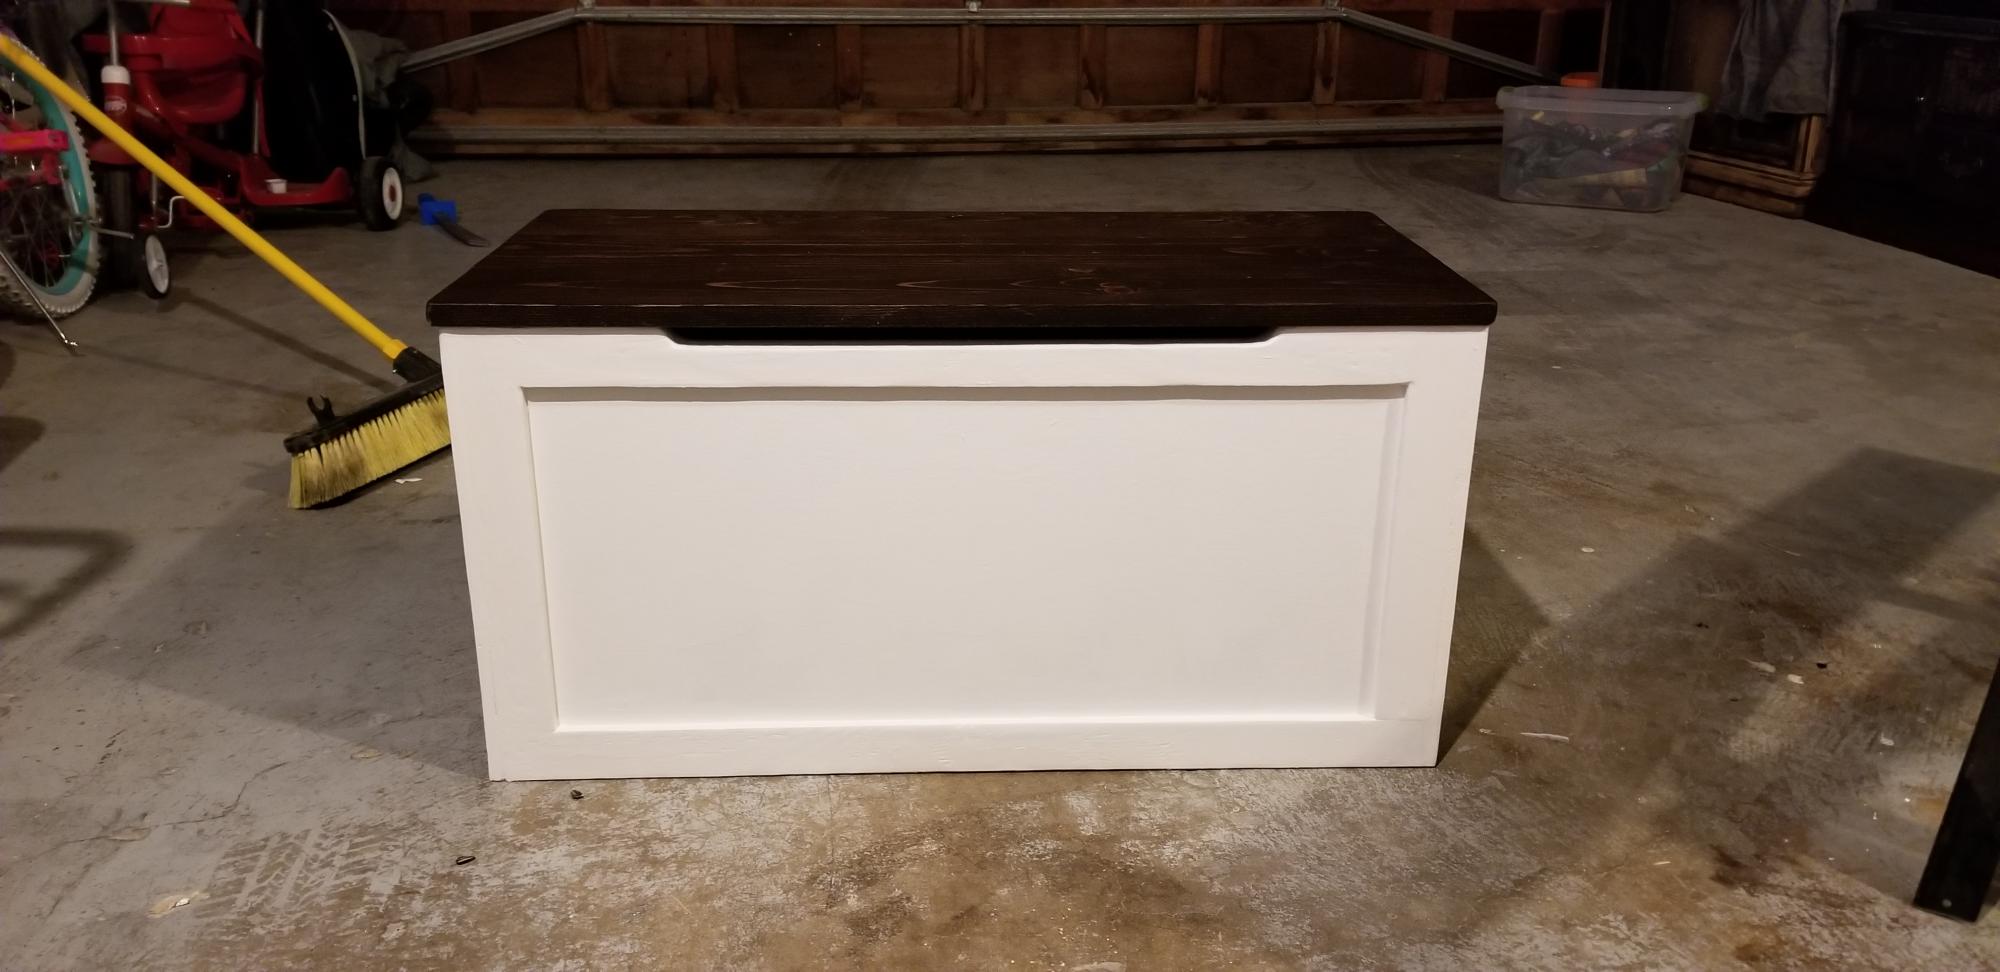
This toy box was actually something that was passed down through my wife's family. I saw this plan and gave it a face lift using this plan.
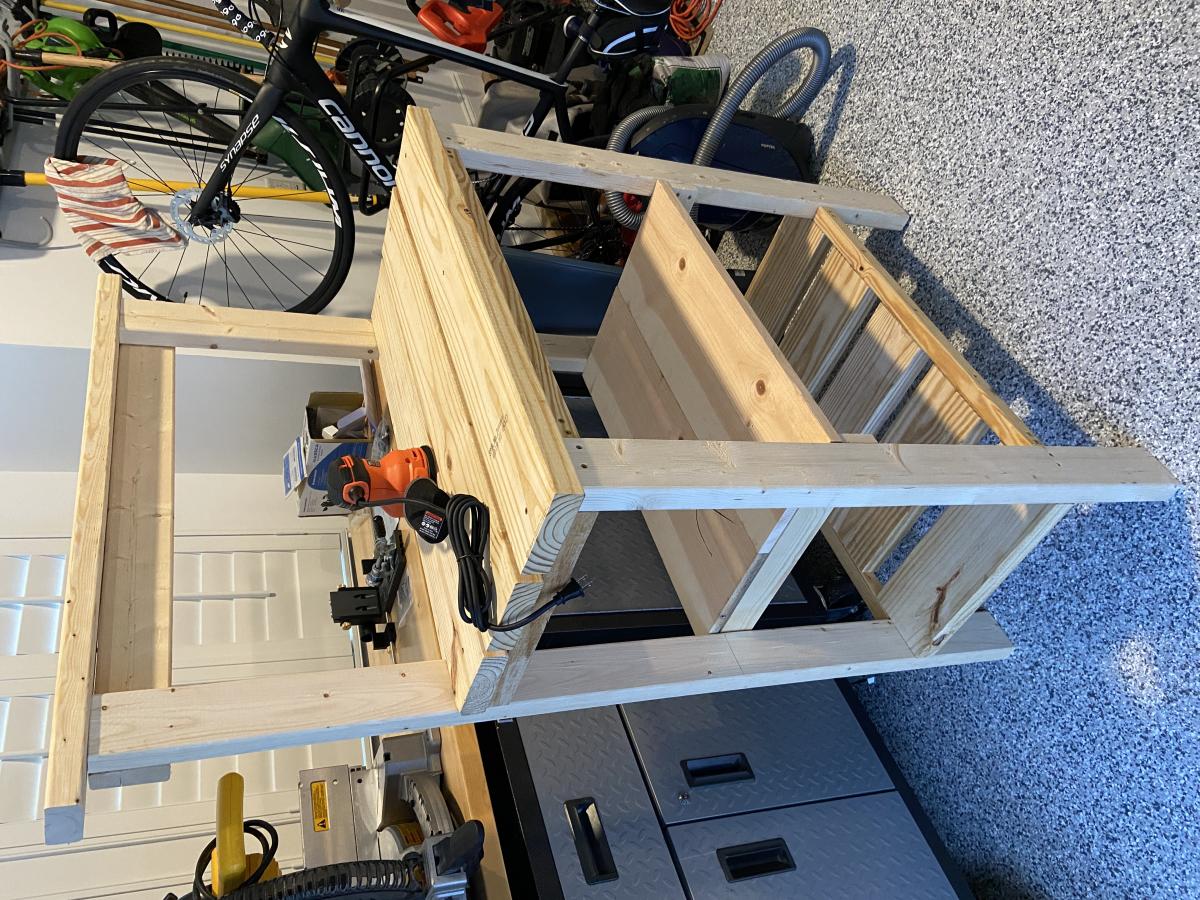
Farmhouse Potting Bench
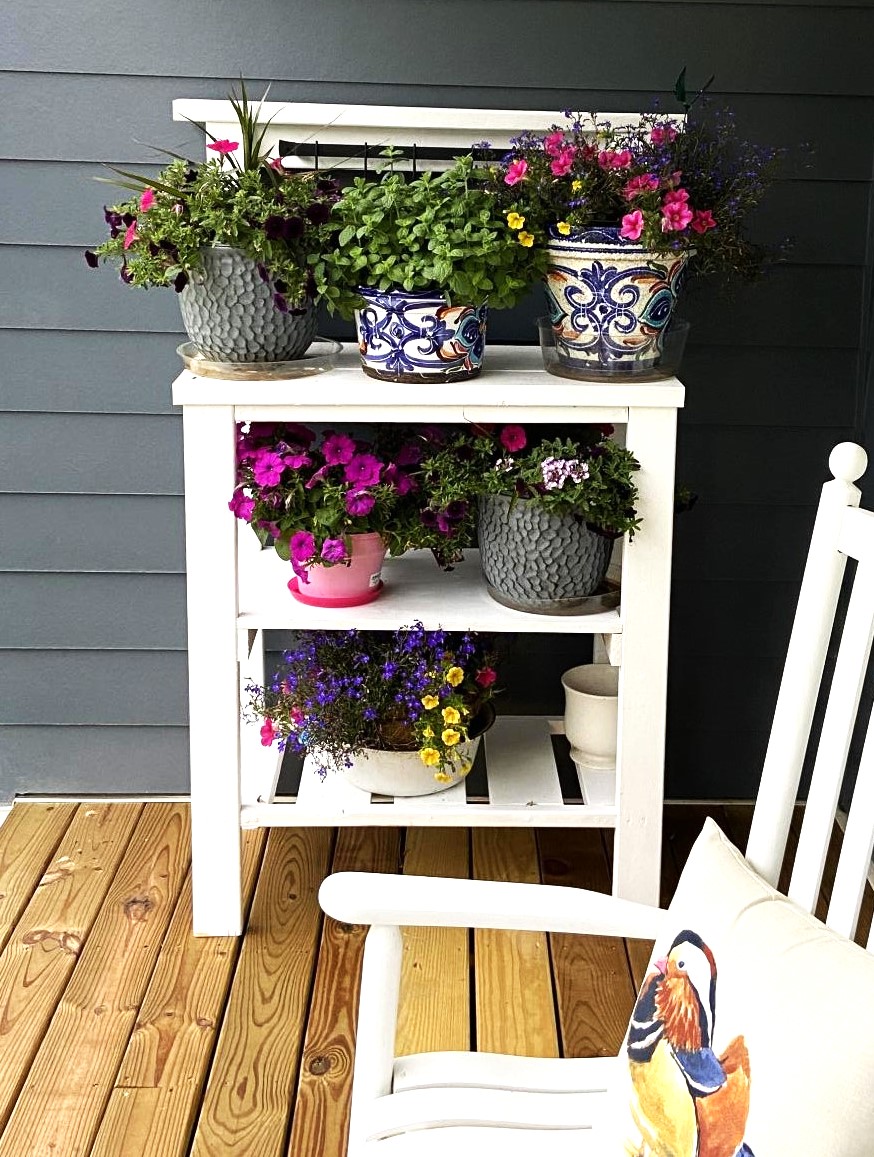
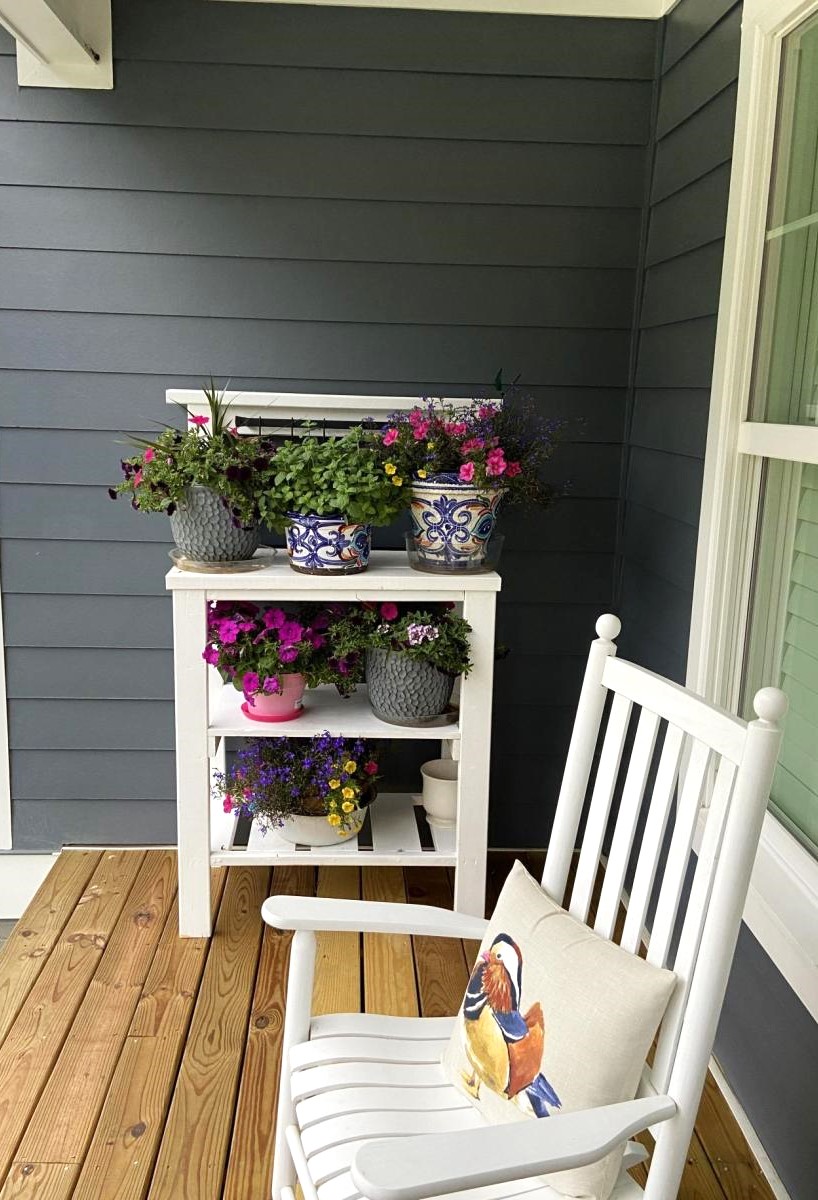
Proud of this, my very first build. Thanks to Ana White for the detailed, easy to follow plan. Can hardly wait to start the next project!
Comments
Fri, 06/16/2023 - 22:02
Amazing first project!
Absoutely love this, way to go! Can't wait to see your next project.
Rhyan End Table (or Nightstand) Modified with a Tile Top
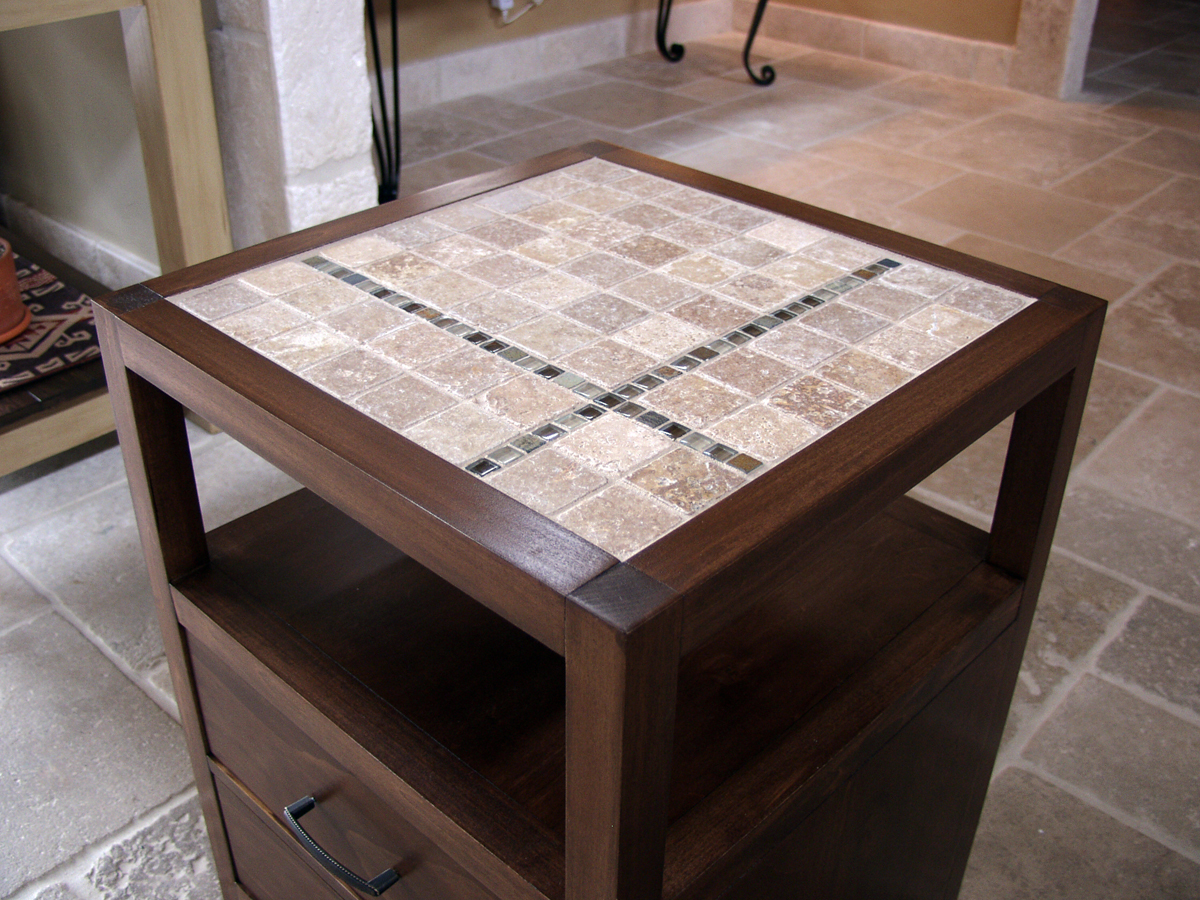
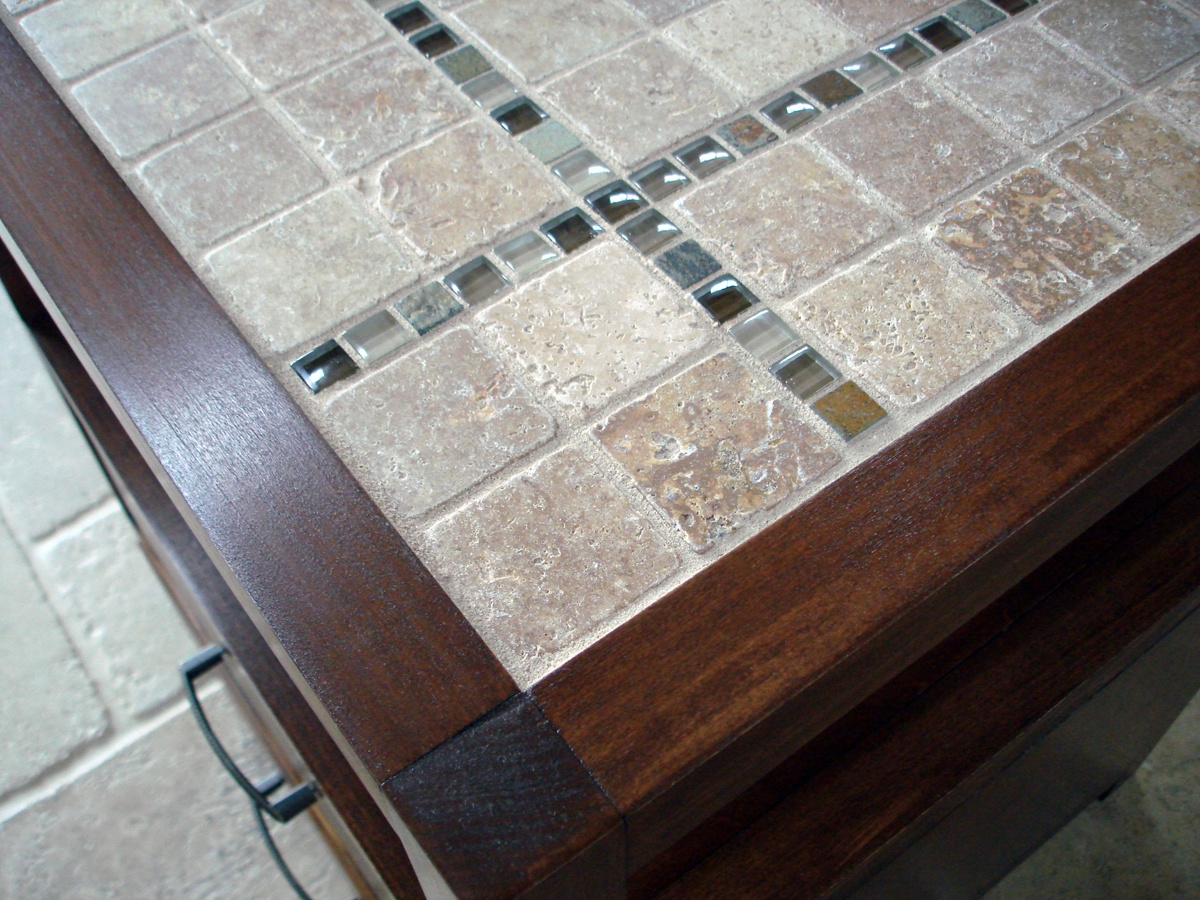
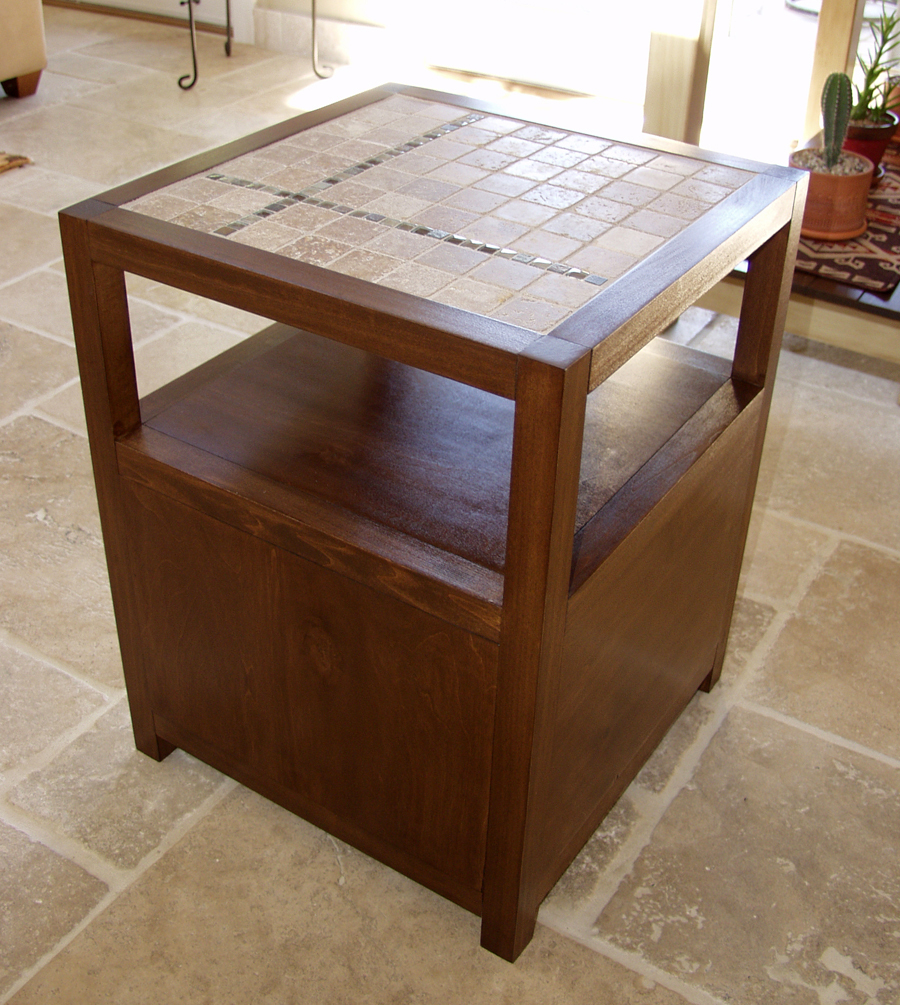
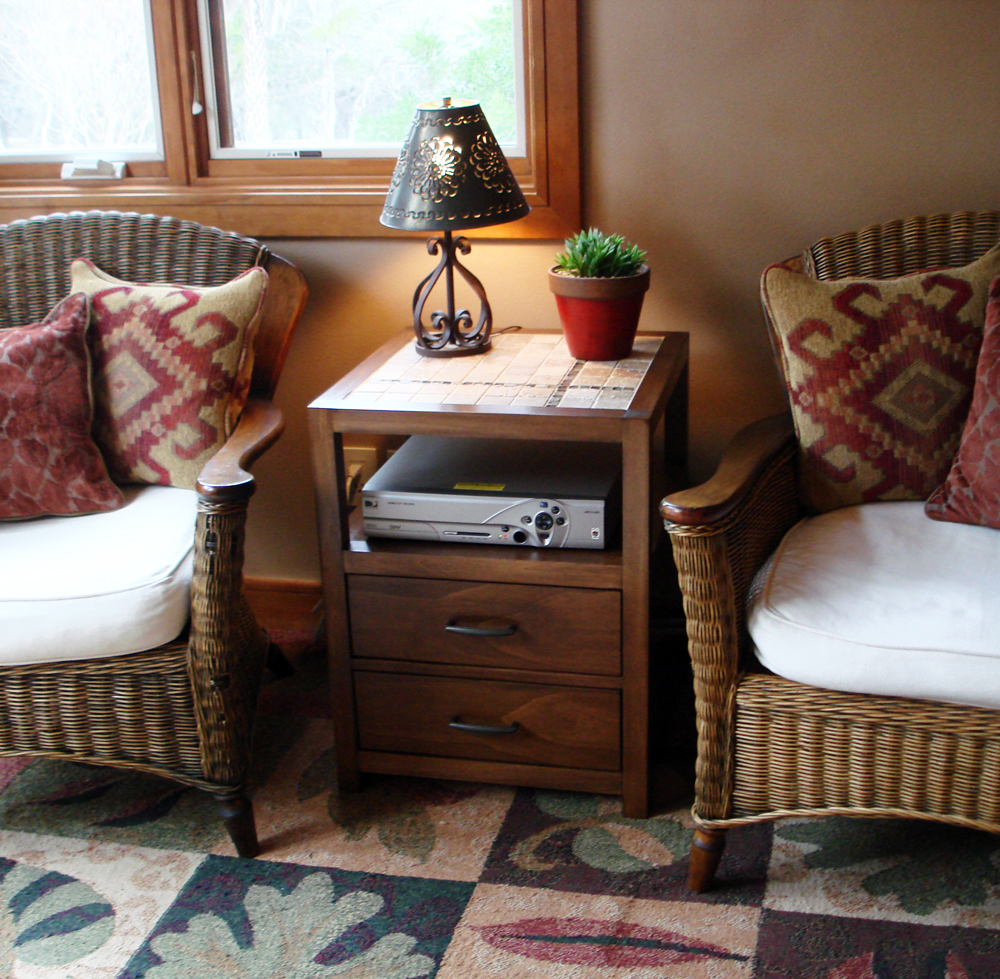
I used Ana's plan, but modified it to incorporate a tiled top. If you want to do the same, you simply align the upper shelf with the bottom of the 2x2 frame, fill it in with hardibacker cement board, and tile over that. My stone was thicker than the border used, so I made a narrow shim in order to accommodate and bring them all to the same level.
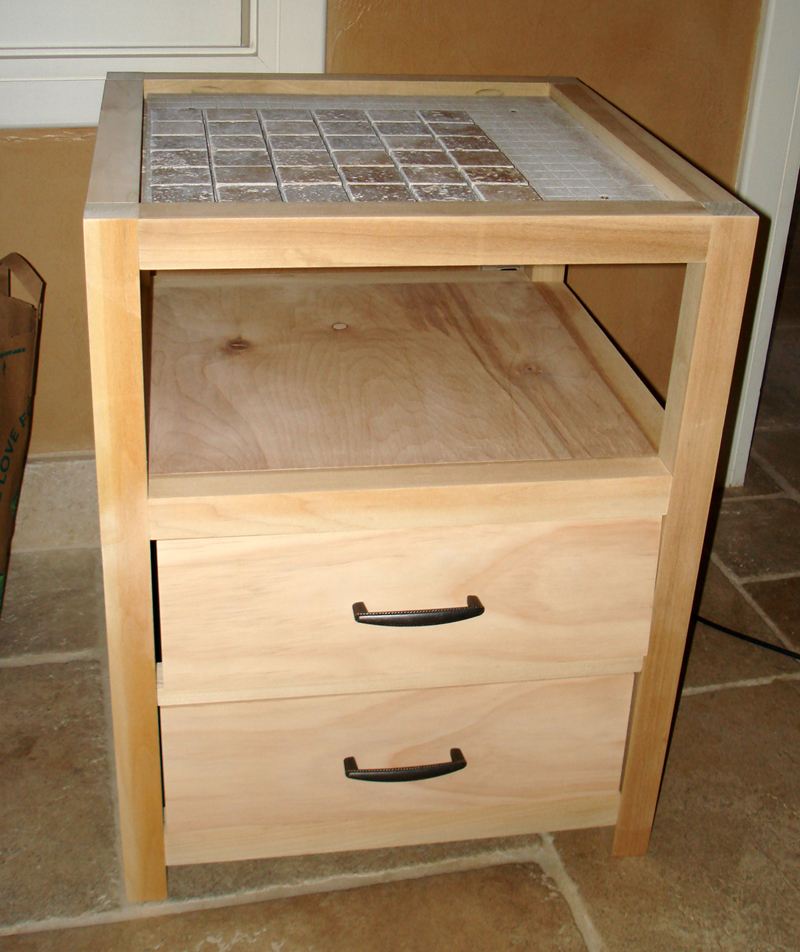
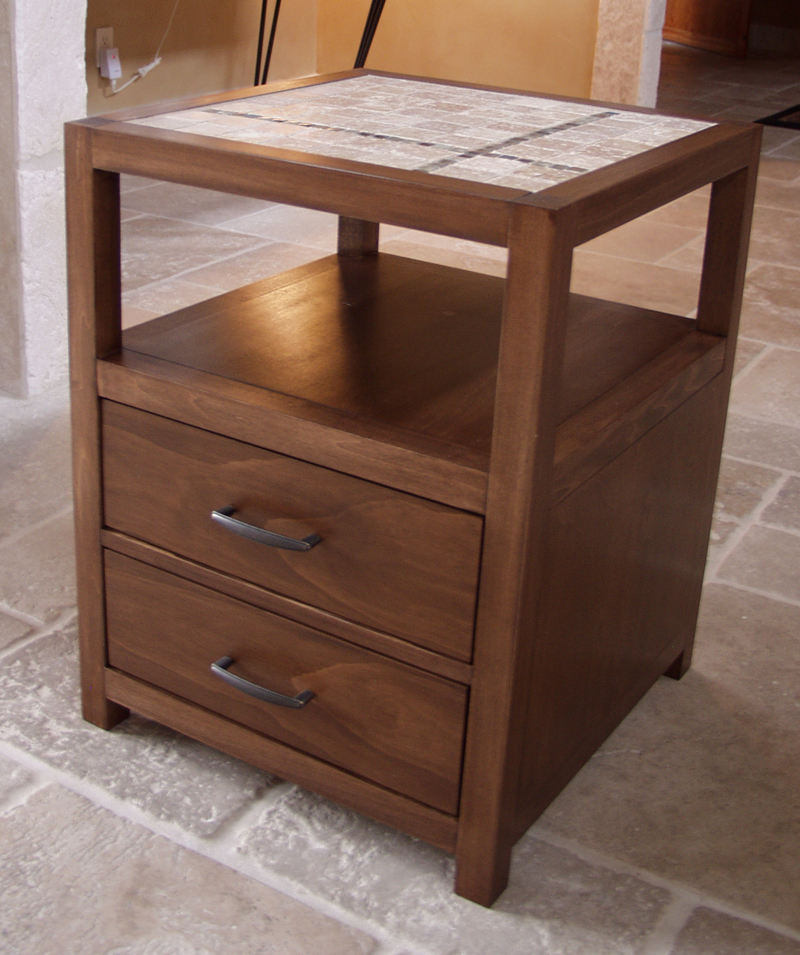
1) Minwax water-based wood conditioner,
2) Minwax water-based stain in American Walnut,
3) Dilution of Minwax water-based stain in Onyx & Cinnamon Toast (3-to-1 mix),
4) General Finishes Glaze in Van Dyke Brown, and
5) 4 coats of Bartley's Satin Poly.
Comments
Thu, 02/02/2012 - 11:03
Beautiful Tiled Top End Table
Simply stunning! Love the tile top, but the wood construction is breathtaking! Thank you so much for sharing, absolutely love!
Fri, 02/03/2012 - 07:34
Outstanding.
I love the tile top and am blown away by the finish. Who knew poplar could look so rich!
Fri, 02/03/2012 - 10:18
Fantastic Stain
Wow! The stain is amazing! It's so perfect! That takes a lot of time and patience, but clearly it was so worth it. Great job!
Sat, 02/04/2012 - 00:54
Everyone is RIGHT!
Love, love, love the stain on this. Your construction is perfect and looks like a high end piece! Congrats!
Sat, 06/30/2012 - 11:24
AMAZING STAIN JOB!
This table is obviously put together like a pro, the tile top is beyond beautiful and creative but what really gets me is your GORGEOUS staining work. I struggle with staining on every project! Any advice or tips on how to get a beautiful finish like yours? You should give a tutorial!
In reply to AMAZING STAIN JOB! by Julie D. (not verified)
Thu, 07/19/2012 - 08:05
Staining
Julie, Thanks so much for the feedback. I hate to admit it, but I am unable to get anything to look decent with an oil-based stain; all I get is blotch. I see others on the site with gorgeous colors and finishes that I want, but I can't use them. I can only get consistent results with the water-based stain, and I have to use the pre-stain wood conditioner. With 2 coats of stain, I have fairly consistent results (applying with foam brushes and wiping off with paper towels). On this particular project, I had to mix several colors and layers to get exactly the tone that I wanted.
I'm on my last can of Bartley's gel polyurethane, and they no longer make the product. It allows such control in getting a perfect finish. I don't know what I'm going to use when my can runs out!!
Thu, 11/08/2012 - 10:26
Awesome
This end table is amazing; looks like an end table you'd buy in a high-end furniture store. The finished looks perfect and the tile top is really creative.
Question: where did you find the 2x2 poplar? I'm looking for some to use for the Rhyan Coffee Table and can't find anything longer than 3 feet.
In reply to Awesome by Newbie07 (not verified)
Thu, 11/08/2012 - 11:57
2x2 poplar
Thanks for the feedback!! I had to go to a bigger lumber yard to get the poplar 2x2s (Austin Fine Lumber in Austin, TX). The poplar was the cheapest (by far) of the better 2x2s, and the guys told me it wouldn't take a stain very well. They were wrong; it took the stain beautifully. The 2x2s were perfectly straight and had straight edges...much different than the ones from Home Depot or Lowe's.
Mon, 01/20/2014 - 15:45
How did you do the tile to
How did you do the tile to the wood ? We are building a coffee table and two end tables just like them, we just don't know which way is best to attach the tile
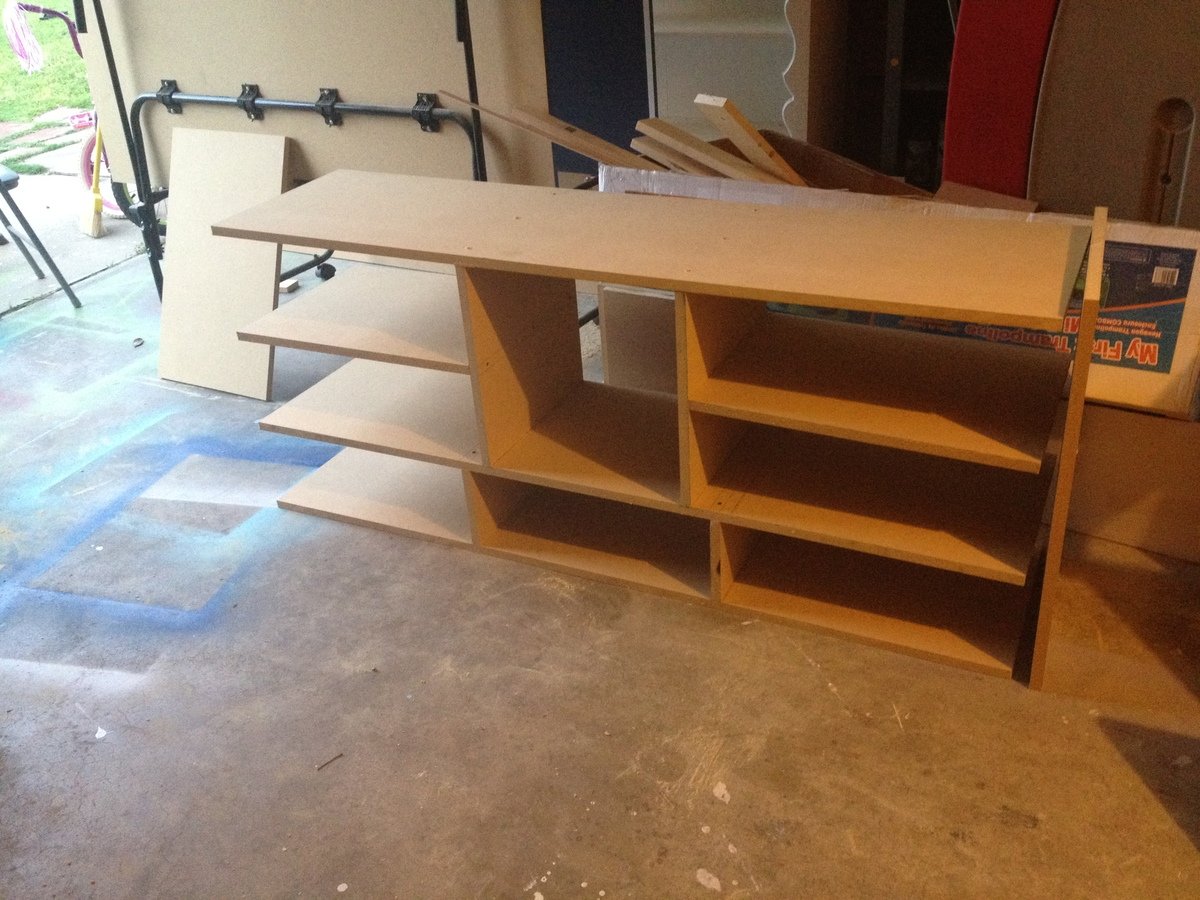
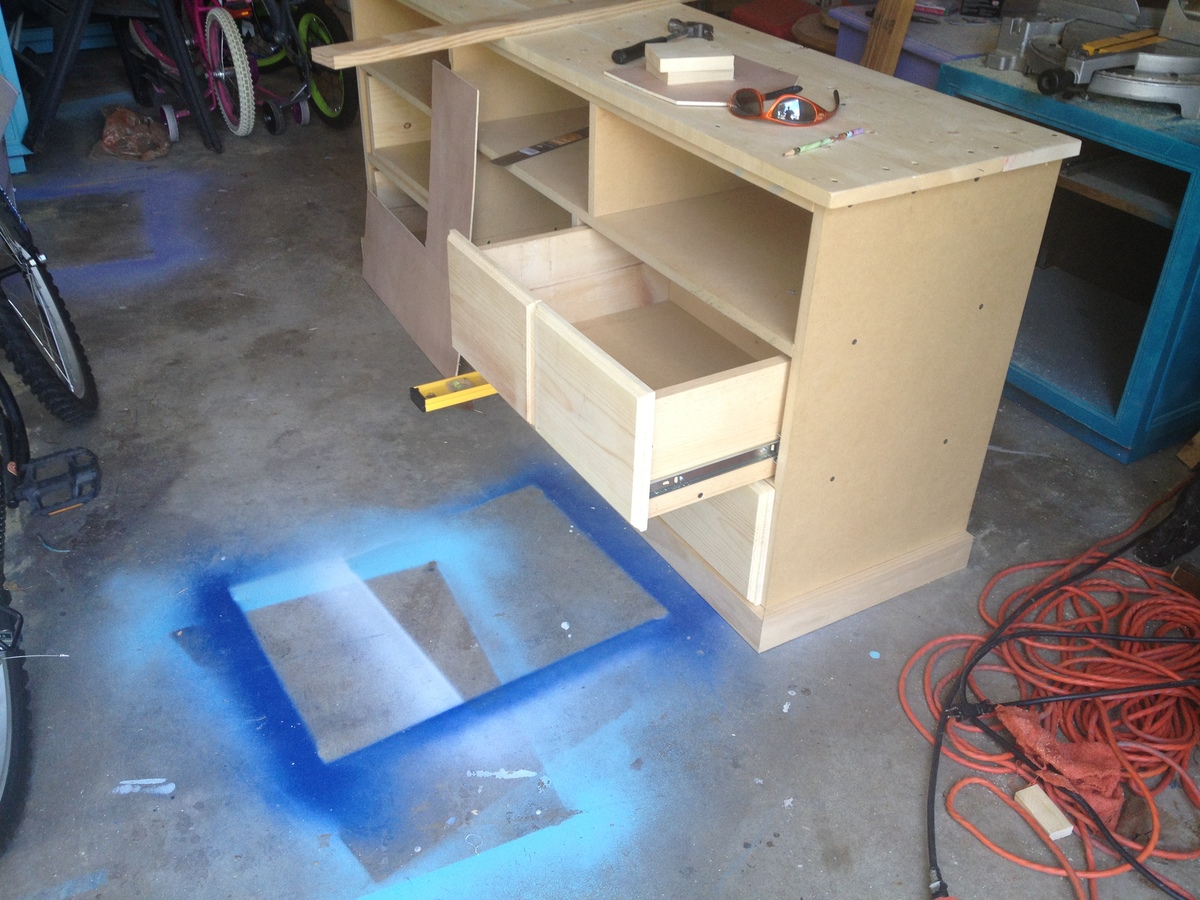
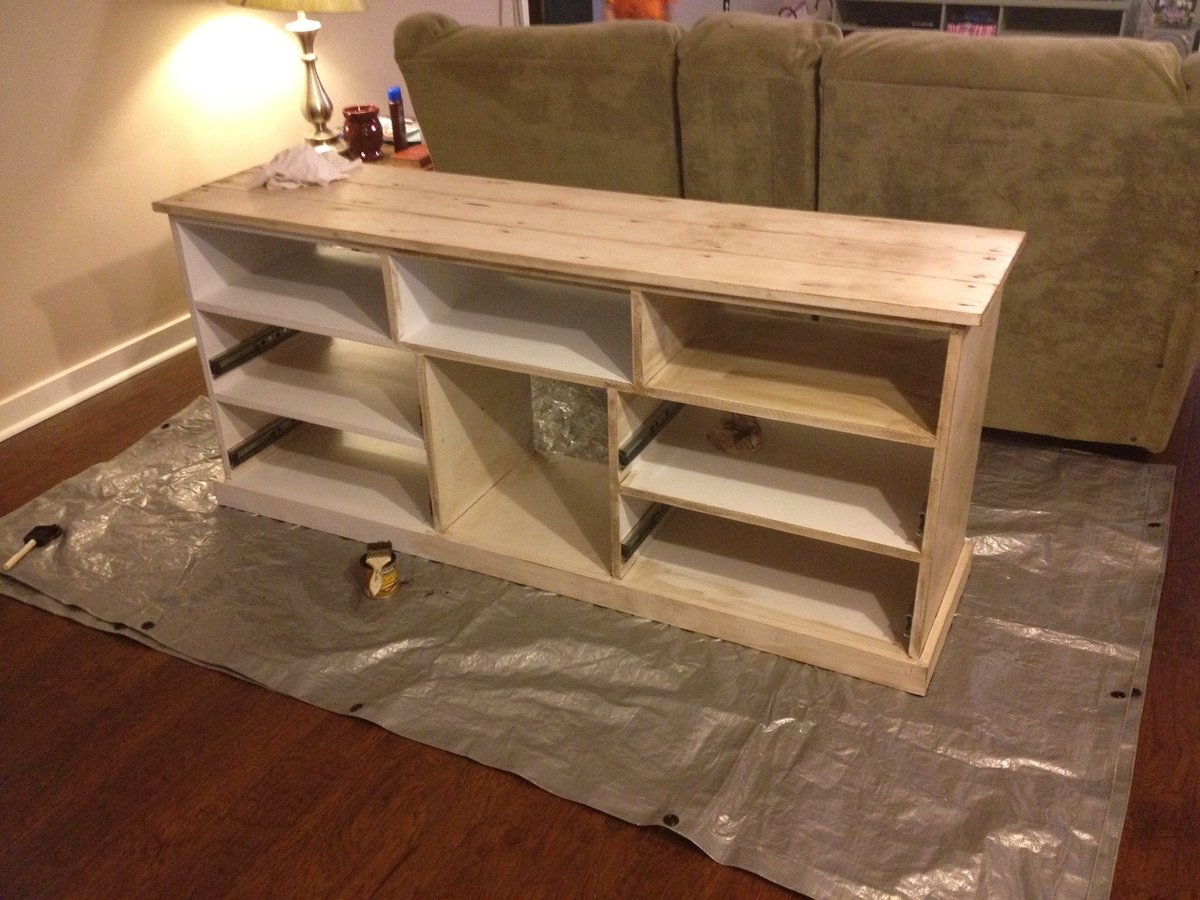
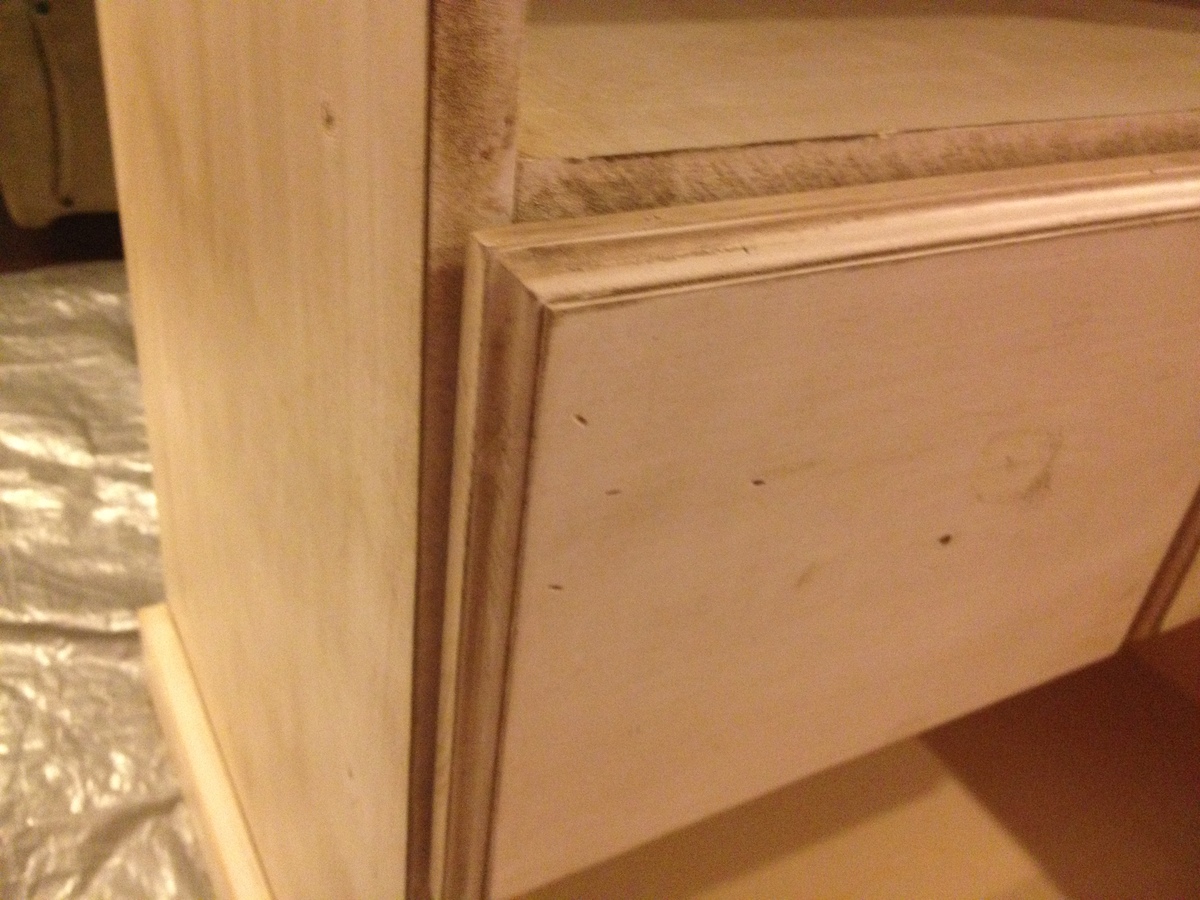
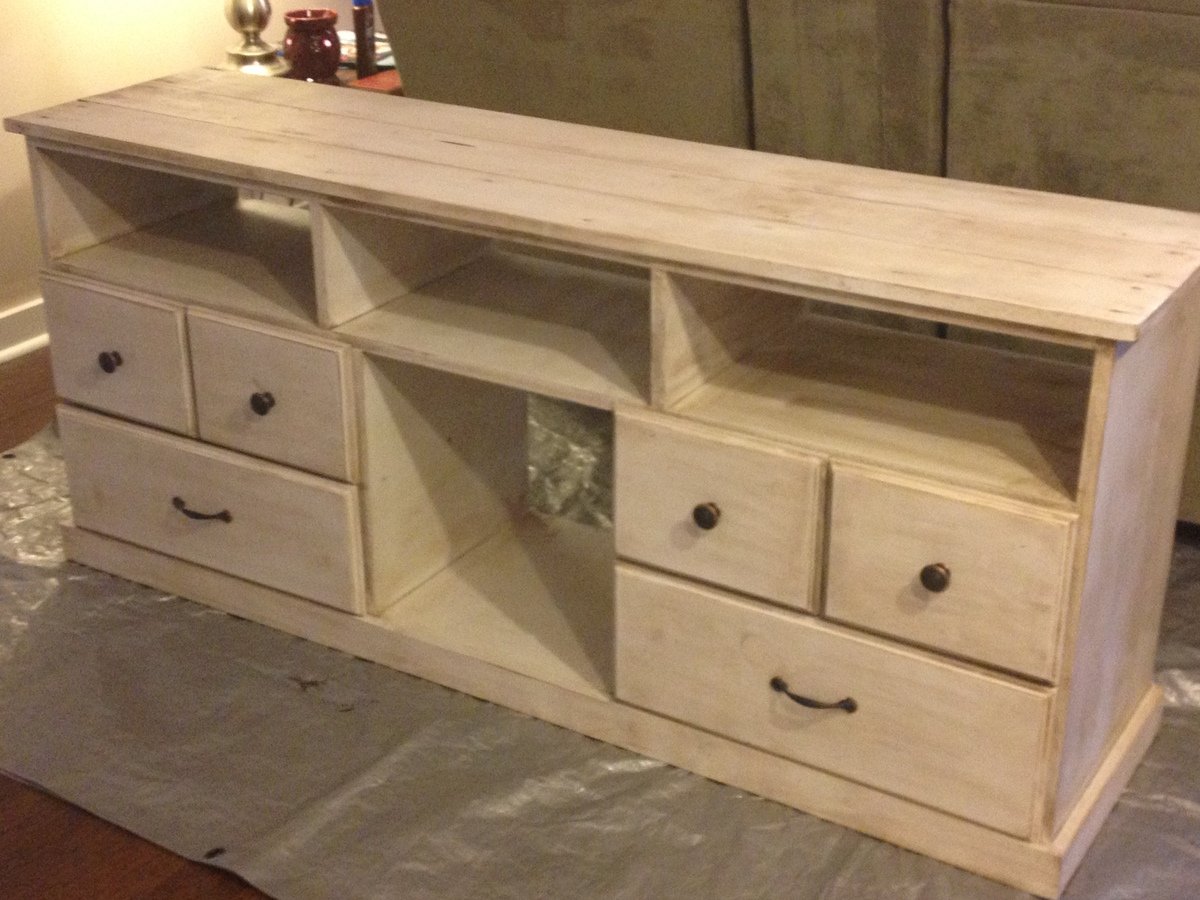
Happy Entertainment Center
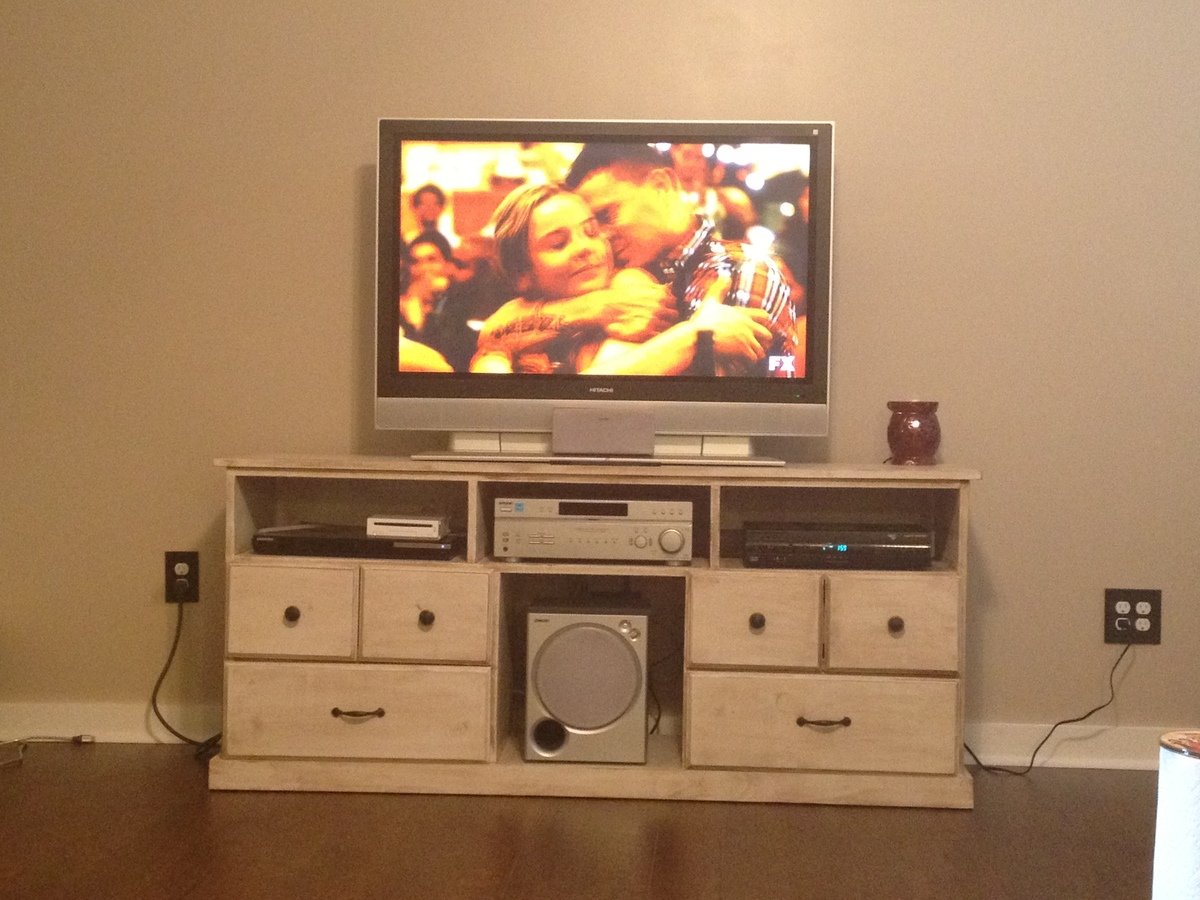
I really wanted a new entertainment center but could not find one in the stores that I liked and looked to be made of good quality. I liked the Apothecary Console but needed to make a few adjustments to the plan, which is why I marked my project at an intermediate level.
I built this about a year ago and love it as much today as I did the day I finished it. I have had a ton of compliments on it and many are impressed when I tell them I made it myself.
Poplar and birch expanded dog crate
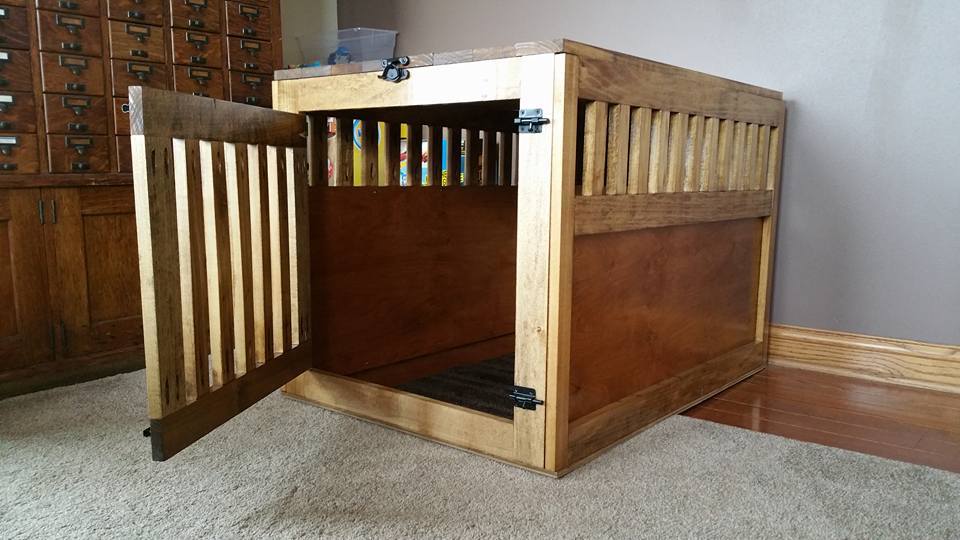
I saw this plan on pinterest and really liked the way it looked. I bought the wood, but let it sit for a year because it wasn't a priority. Well, we were getting a new dog and he needed a little more room due to hip surgery. So, I expanded the crate dimension and got to work. I added 6 inches to the width, and 4 to the length but turns out I was about an inch shy all the way around to fit a plastic liner tray. Next one will be better. I used birch plywood on the side panels and the bottom panel, but used 4 inch wide board to create a slatted top rather than a solid top. I put hinges on the top with a window latch style lock, and put 2 slider style gate locks on the door. the color was from using medium walnut Danish oil, finished with 3 coats of gloss poly. During the project, I took time to teach my 9 yr old daughter how to use various tools, from the drill to the power miter saw. It was a great bonding time for us, and for a worthwhile reason- the new dog.




Comments
carstackhouse
Fri, 01/01/2021 - 16:49
Plans?
I need these plans in my life, but where are they?