As the Superkids are getting older, I'm slowing trying to reclaim neglected areas of our home and make them a bit more stream lined and organized.
(I love organization! It is another true passion of mine.)
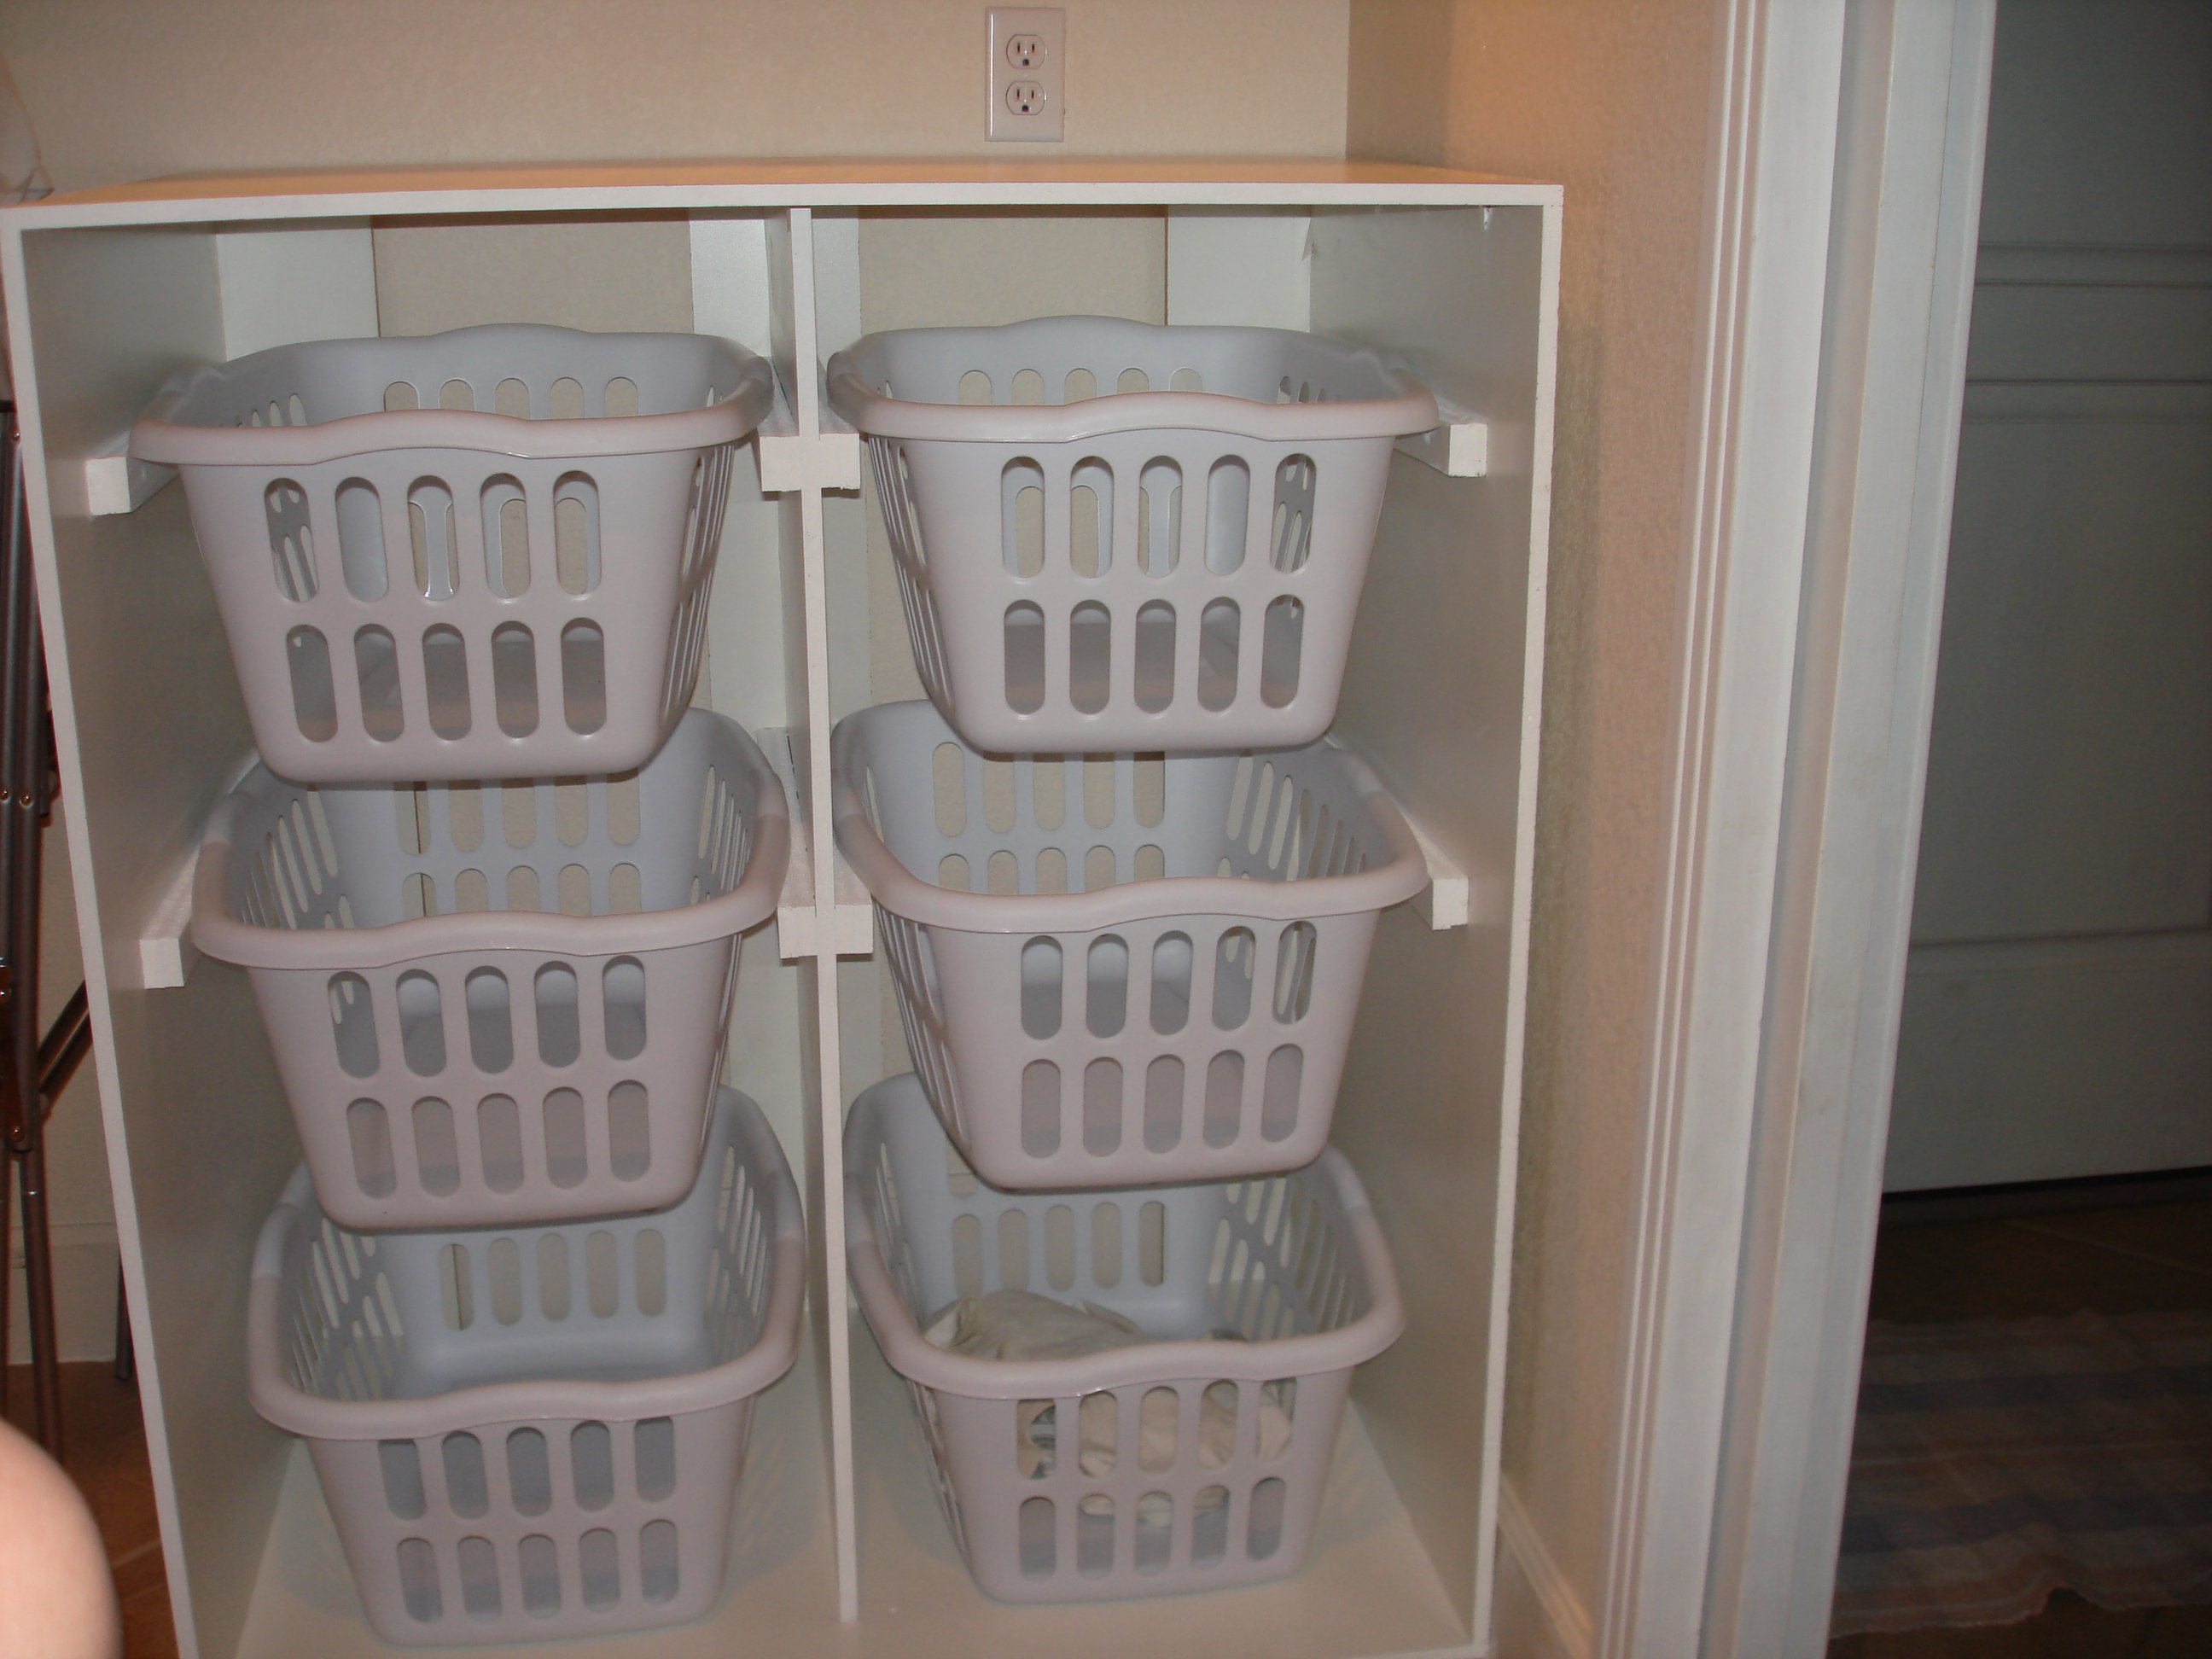
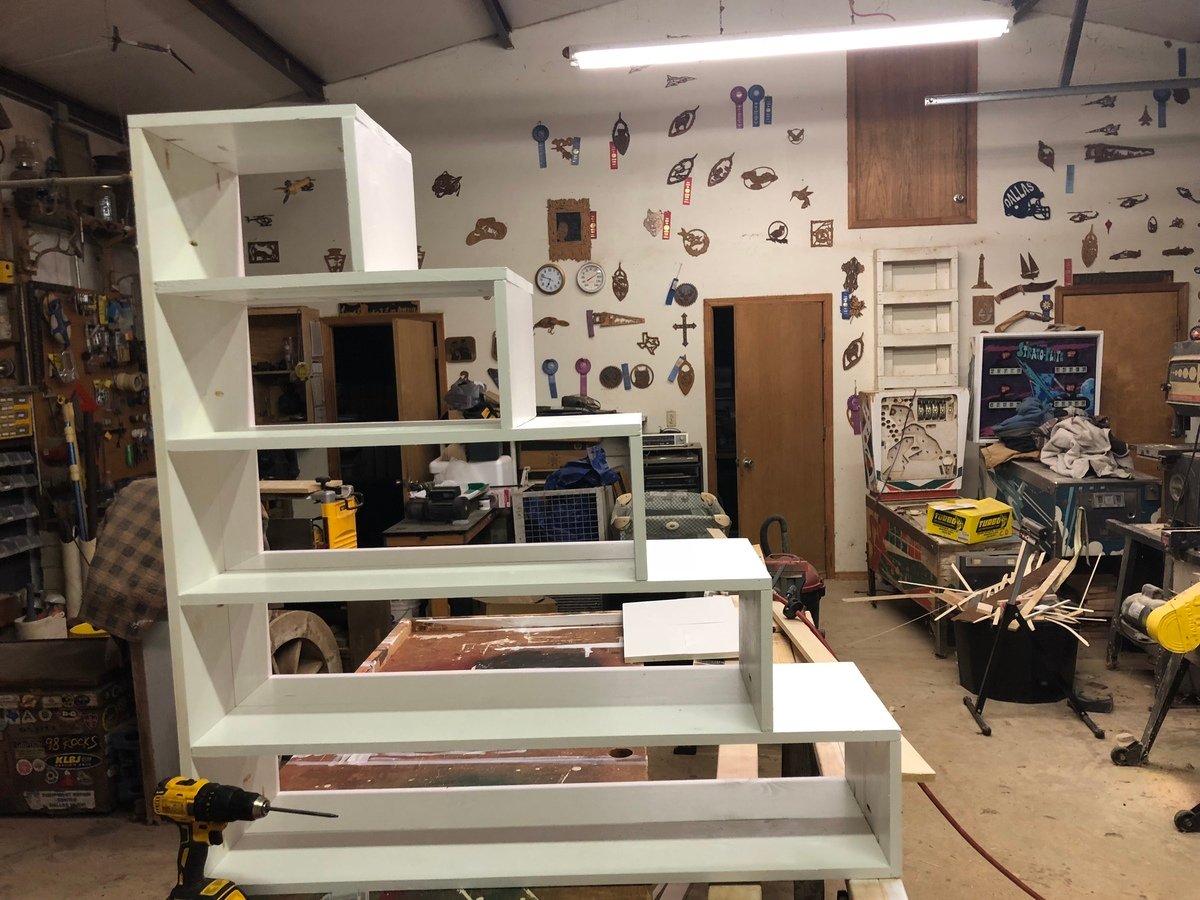
Anyway, while Stumbling I ventured upon the site Ana-White.com loaded with FREE easy furniture plans. Upon seeing a laundry storage option, my heart fell for a clean and crisp laundry basket sorter.
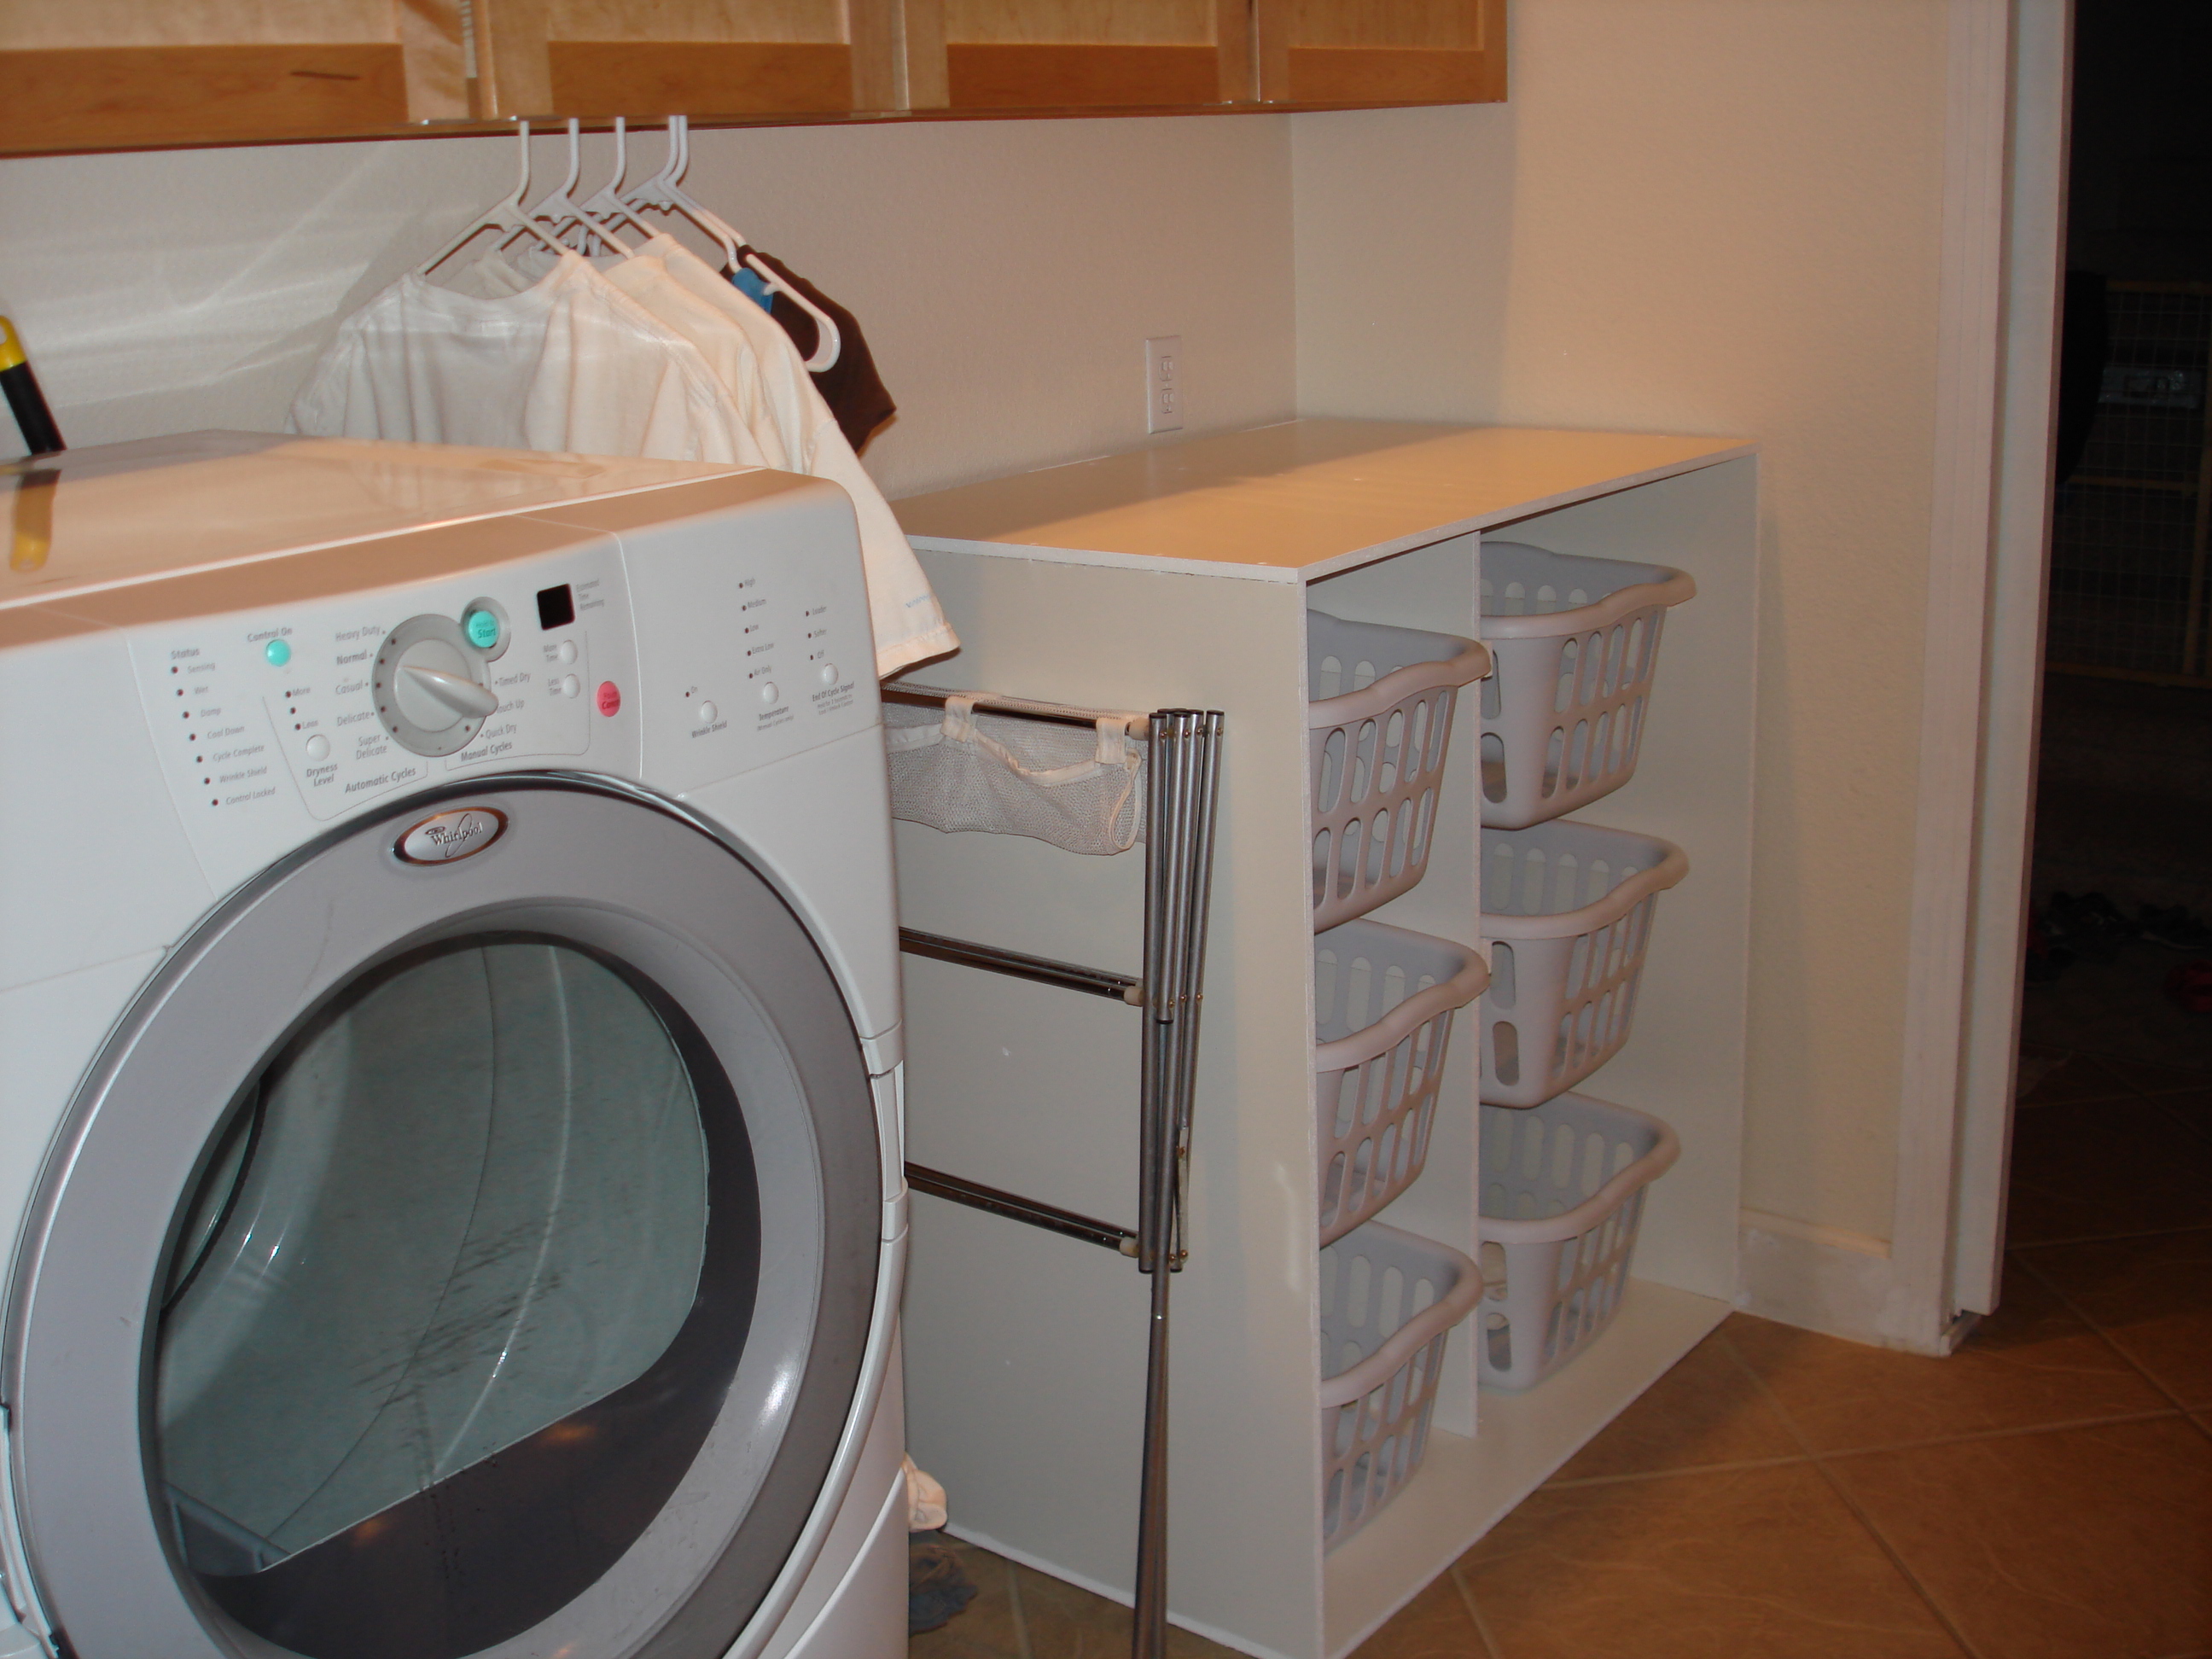
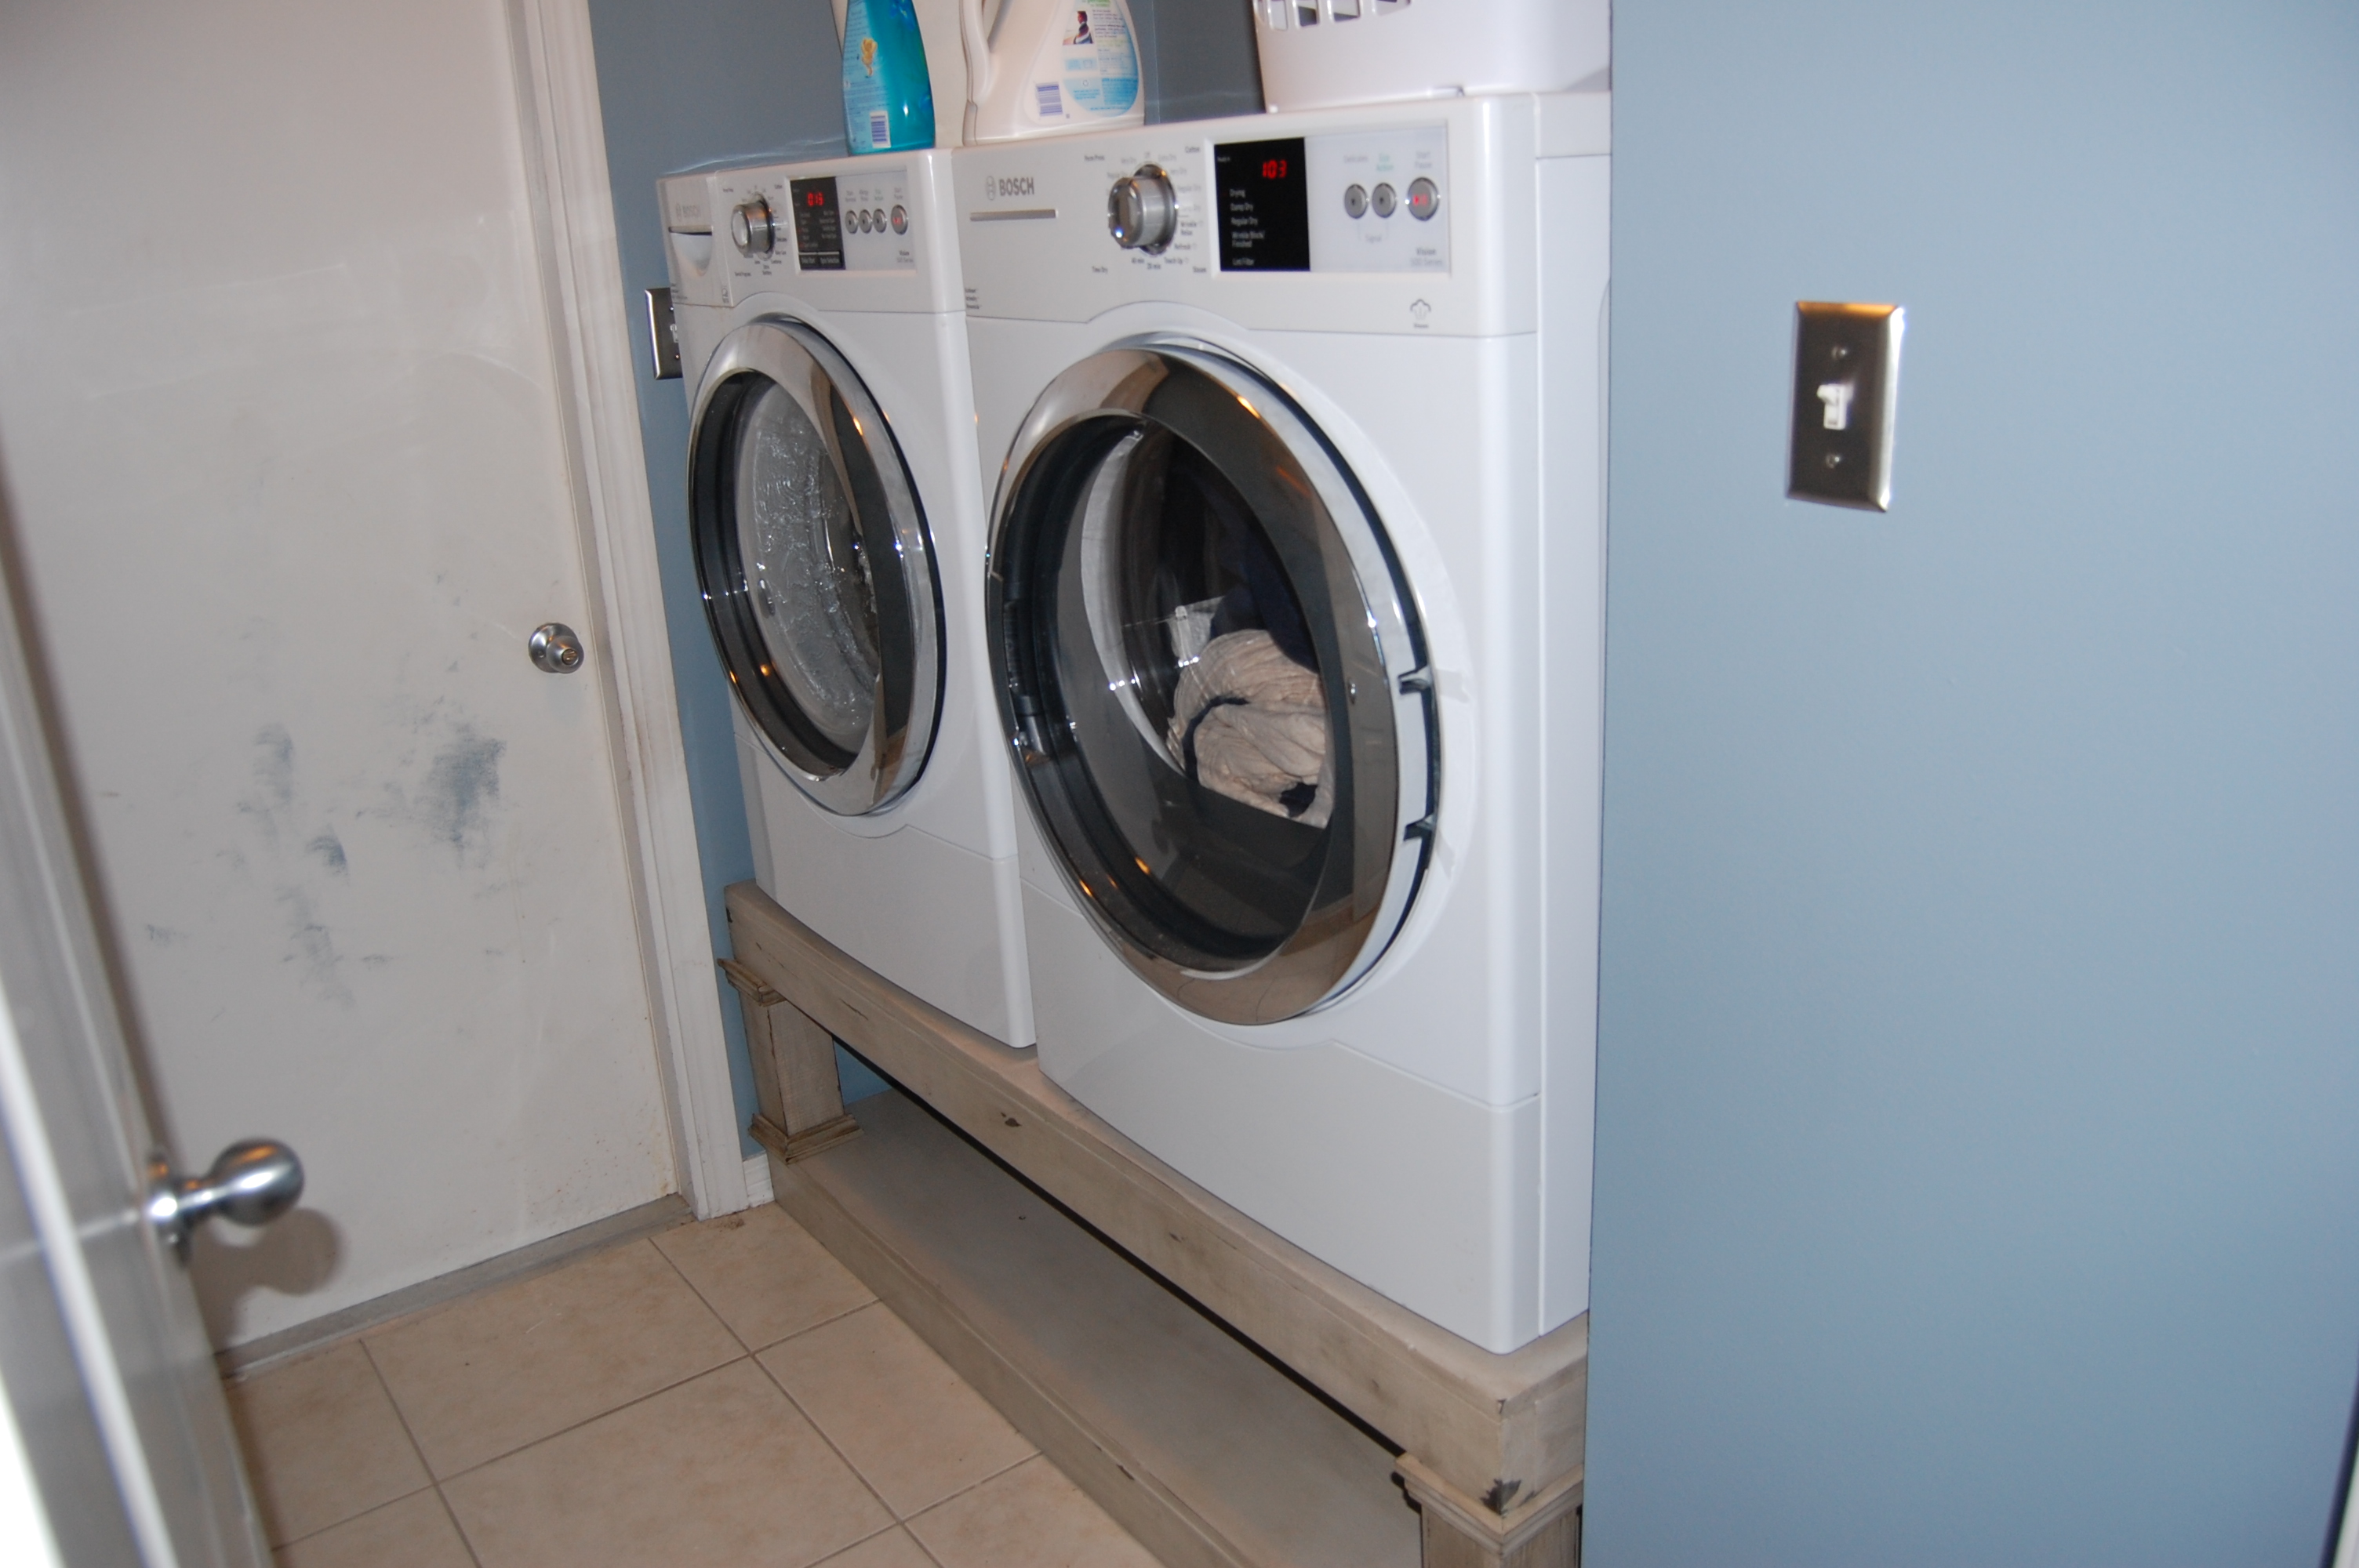
Previously, in my laundry area was this chrome rolling cart which housed my mismatched laundry baskets and other miscellaneous items. It was sturdy and served it purpose.
Now, I have all beautiful white baskets all lined up ready to sort all my laundry. Thank you to Superman who surprised me on Father's Day by cutting all the pieces for me so we could get it all screwed together. I love it!
- Purchased 6 laundry baskets at Wal-Mart @ $2.75 each.
- Scrap Melamine in white left over from another project.
- Left over drywall screws.
- Some light weight Spackle.
- 1 small bottle of craft paint from Hobby Lobby on sale after the holidays for 19 cents.


Comments
Ana White Admin
Wed, 08/19/2015 - 13:28
Thanks for sharing!
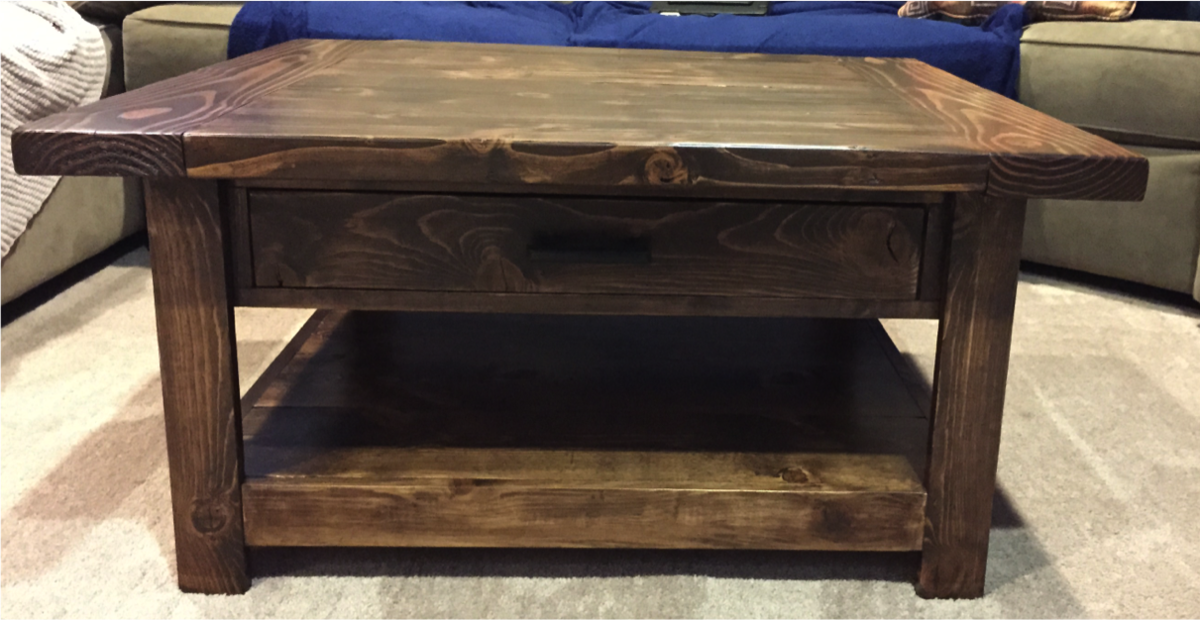
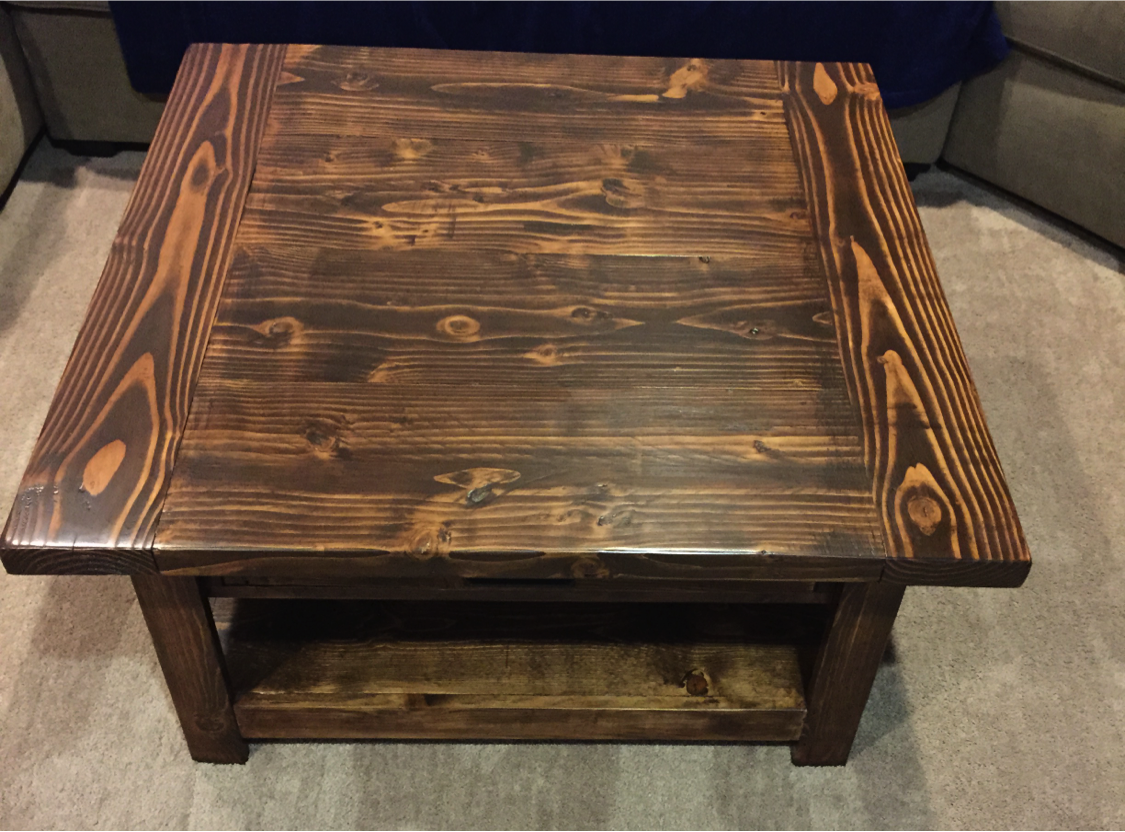
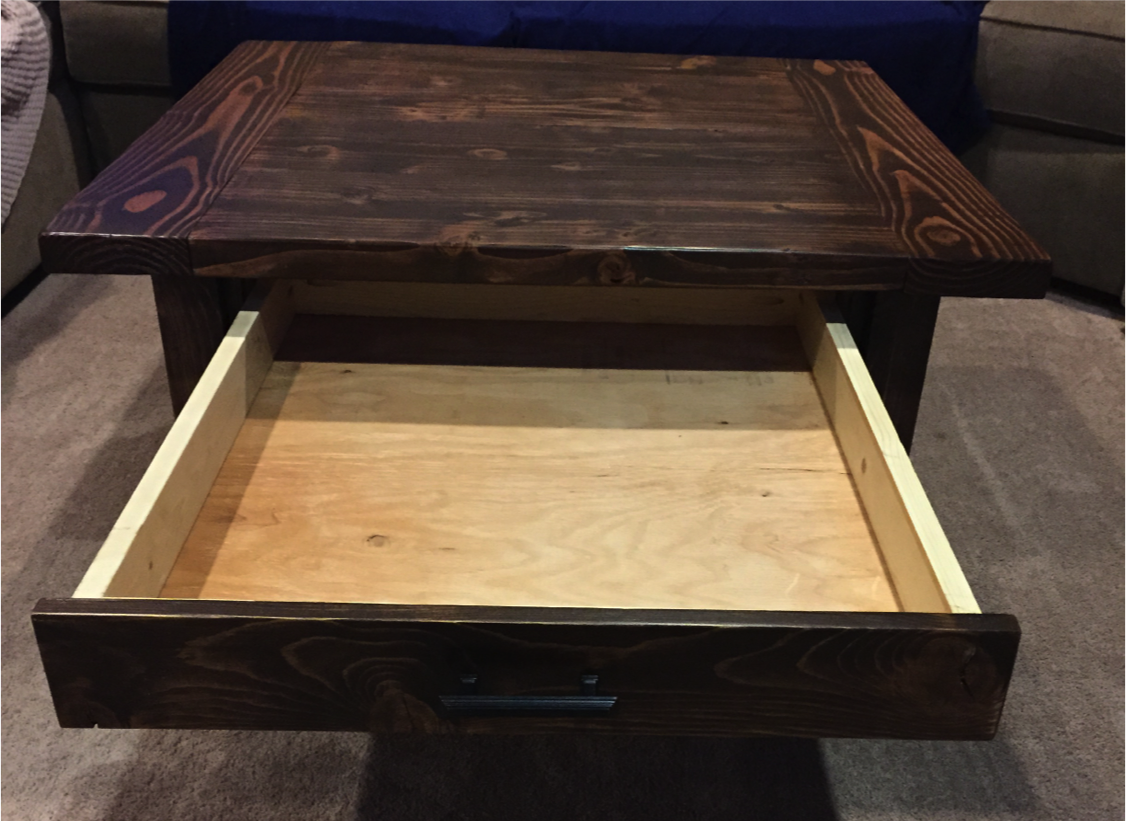
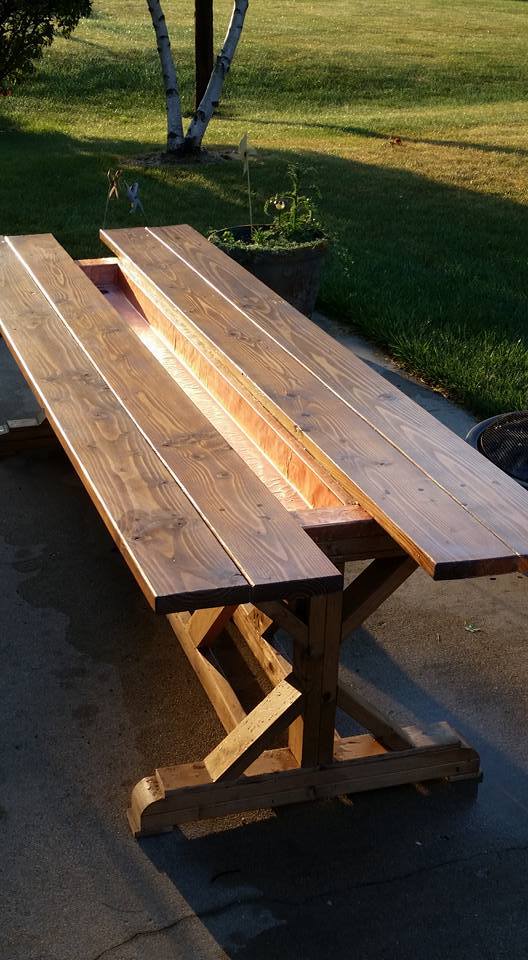
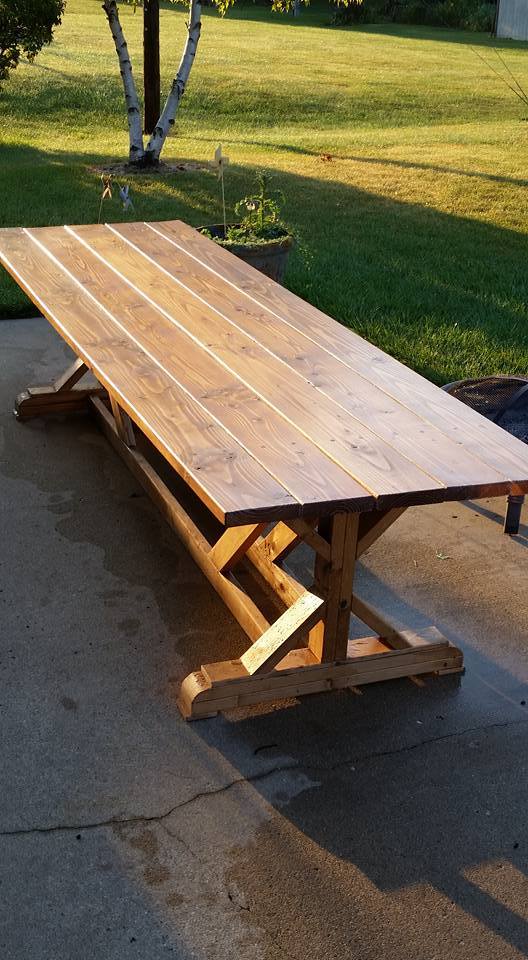
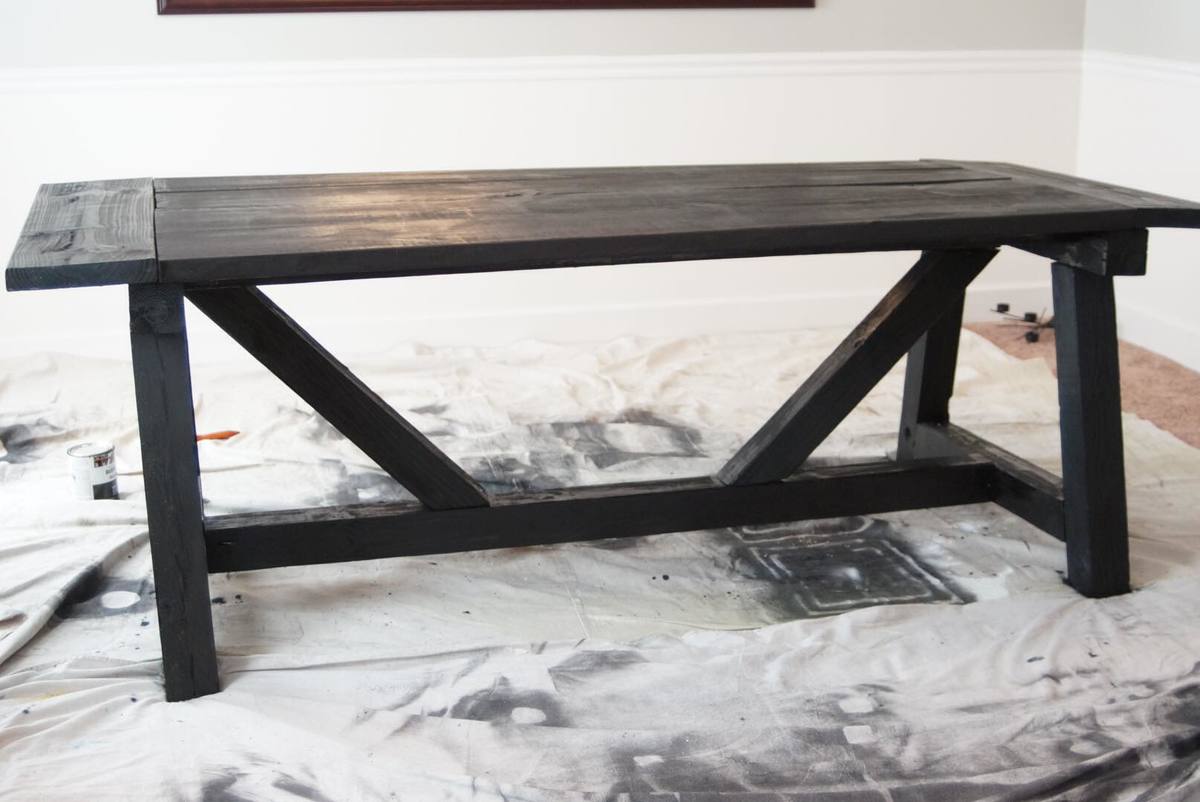
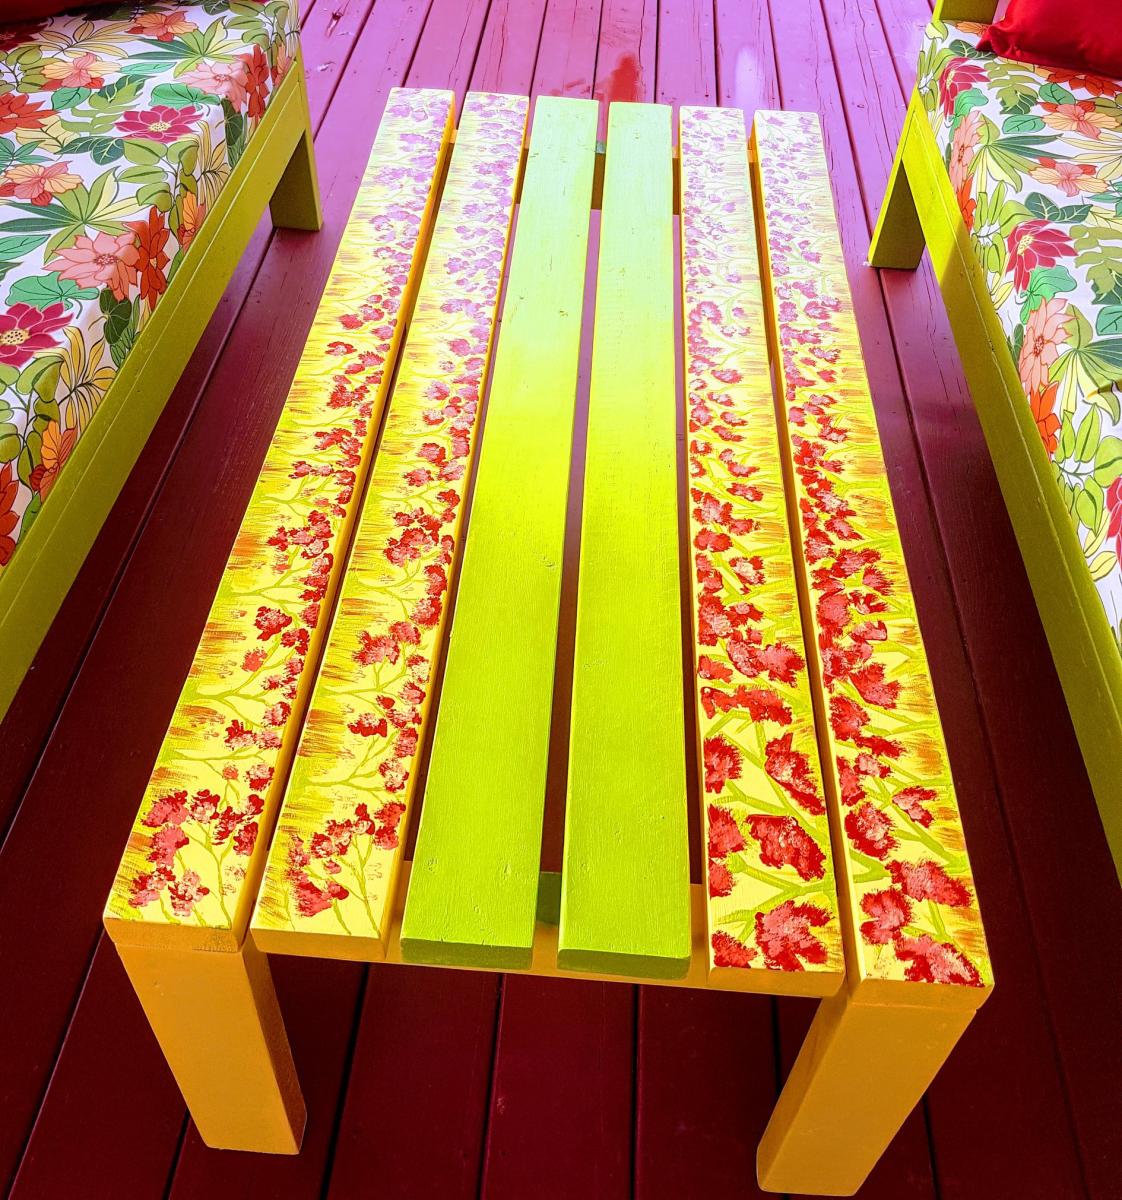
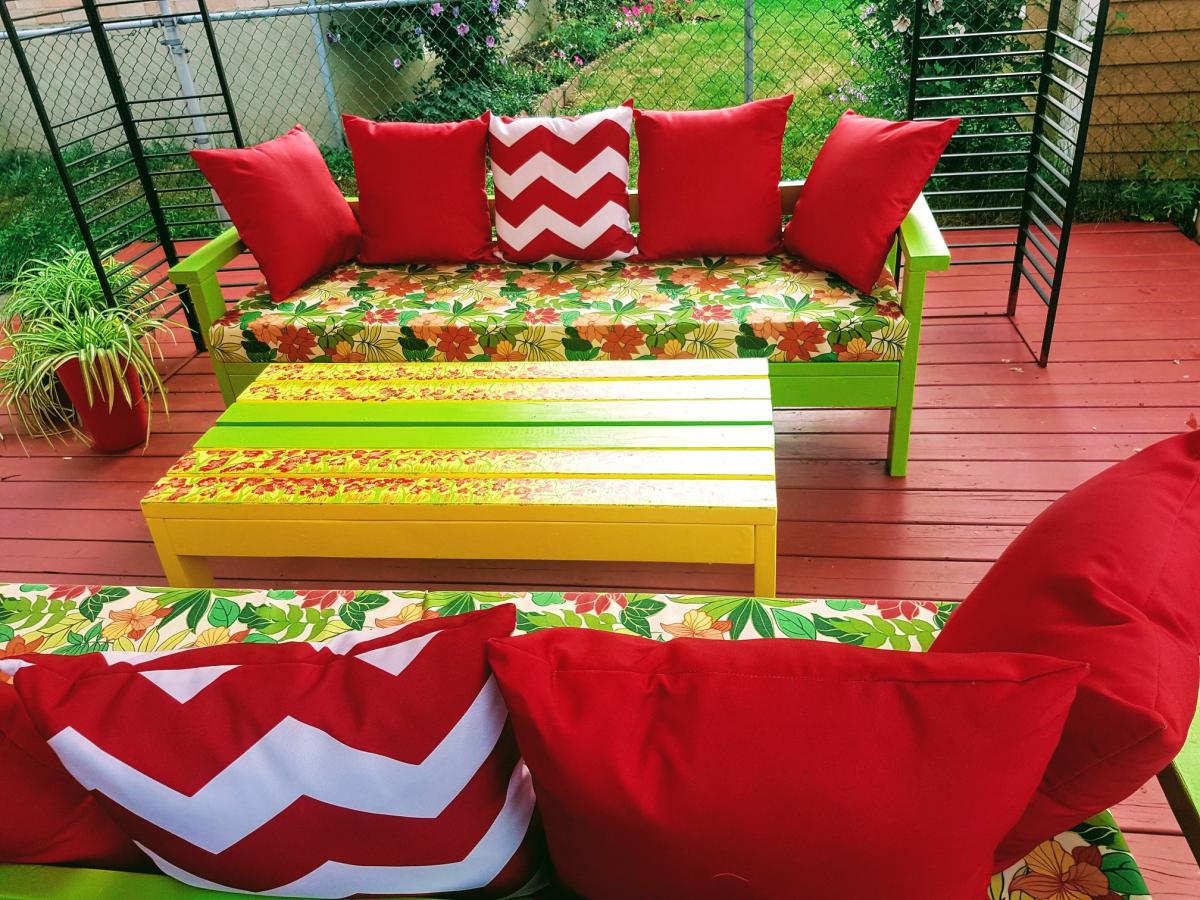
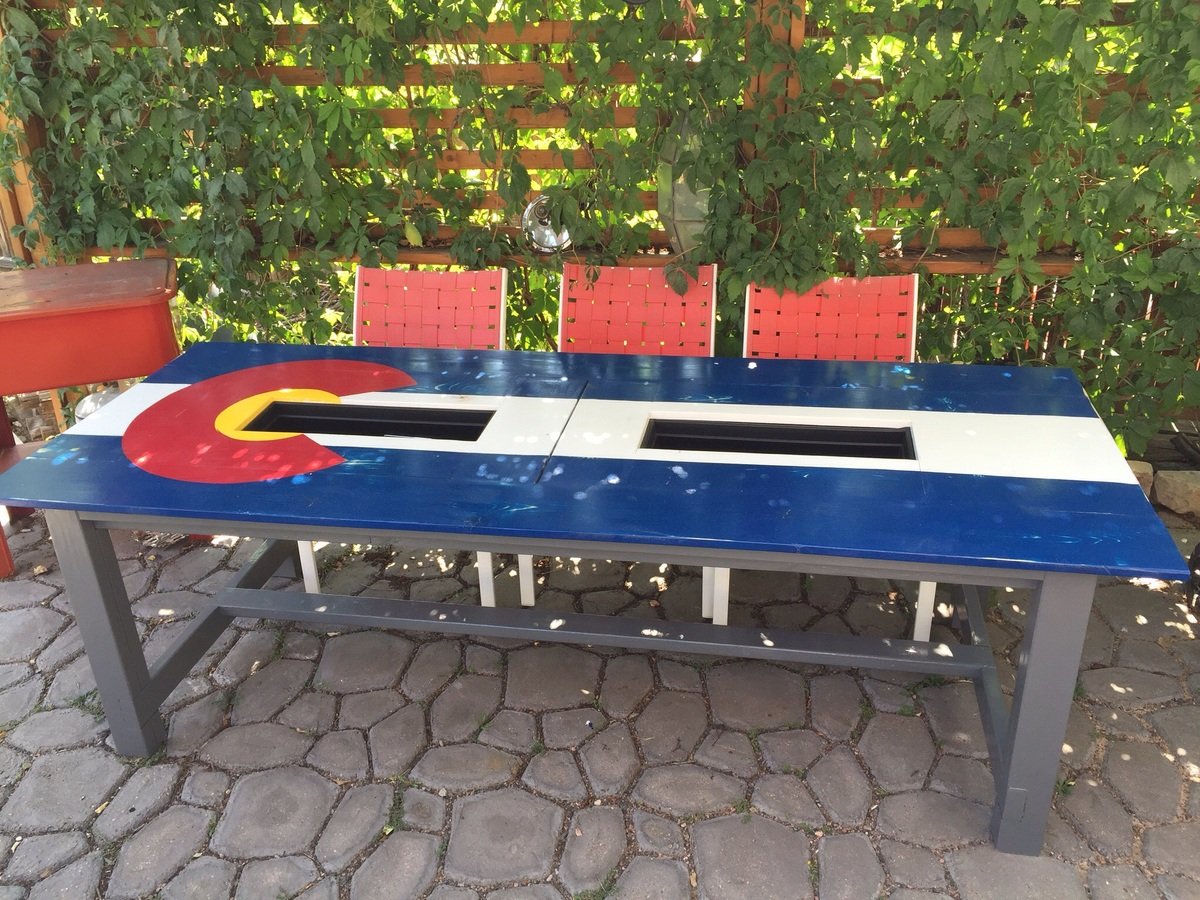
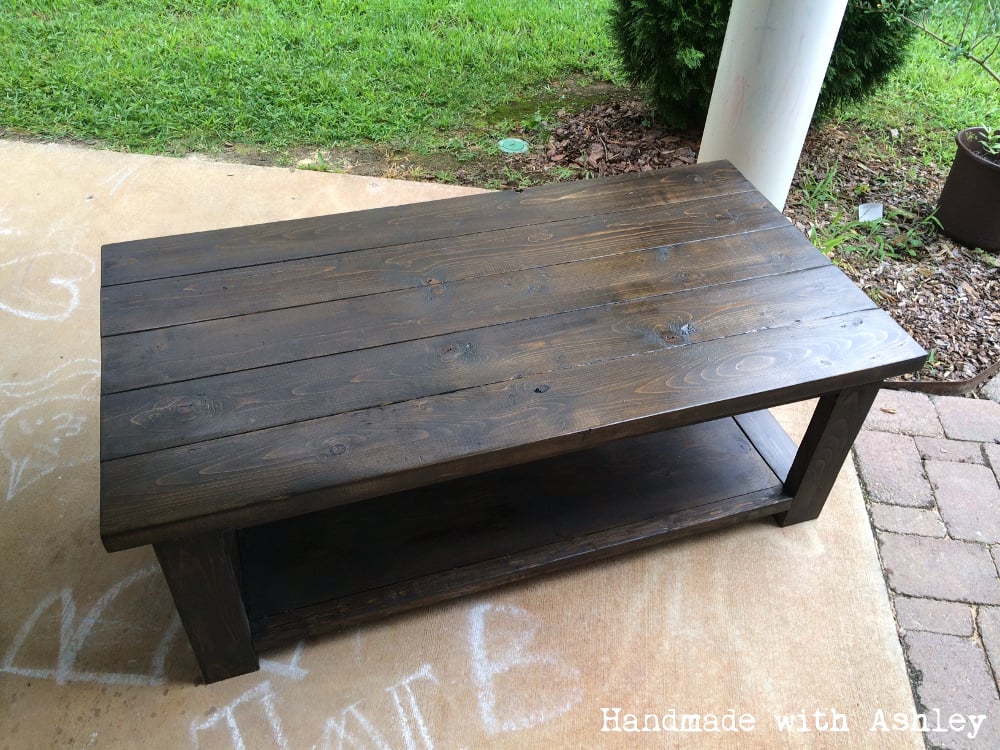
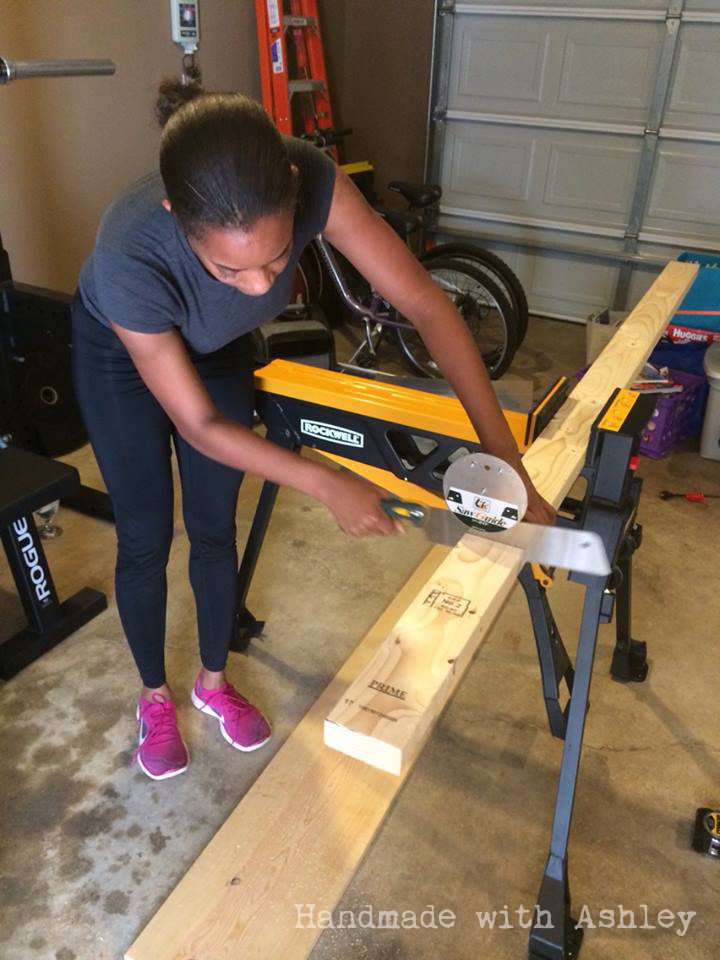
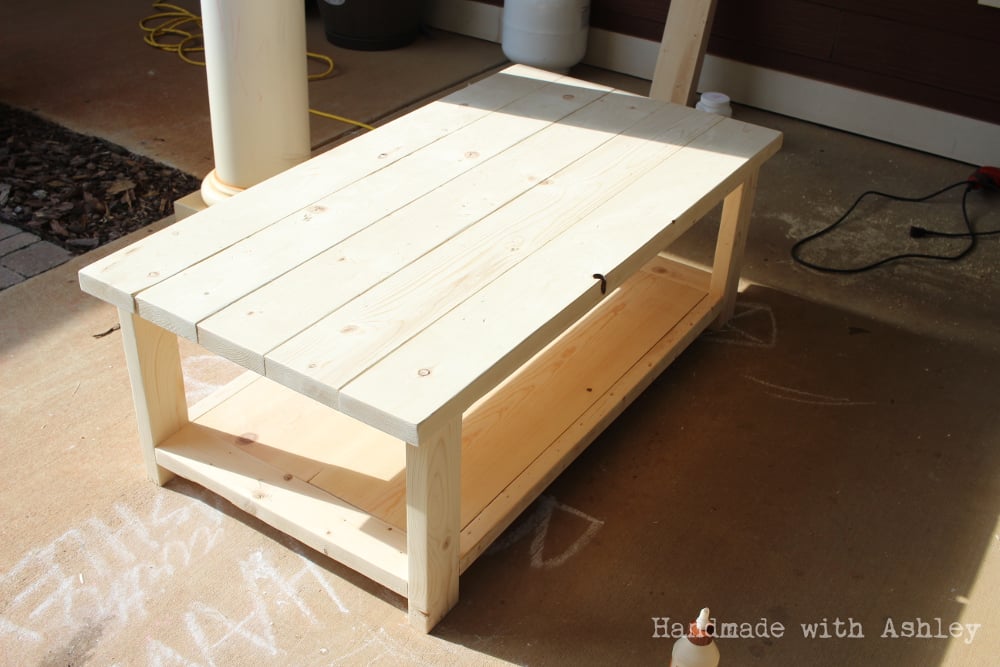
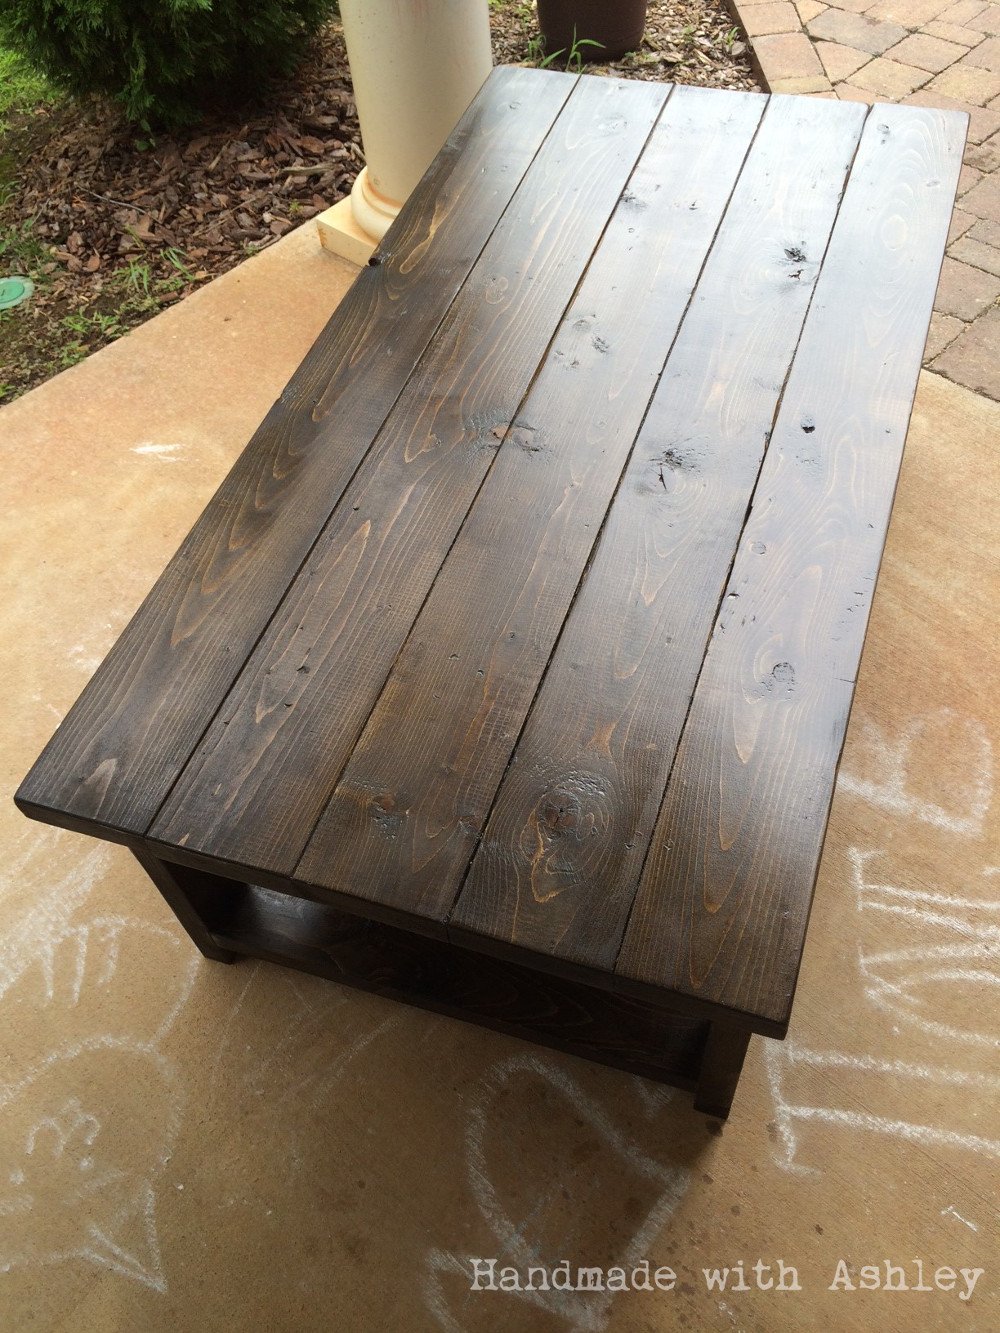
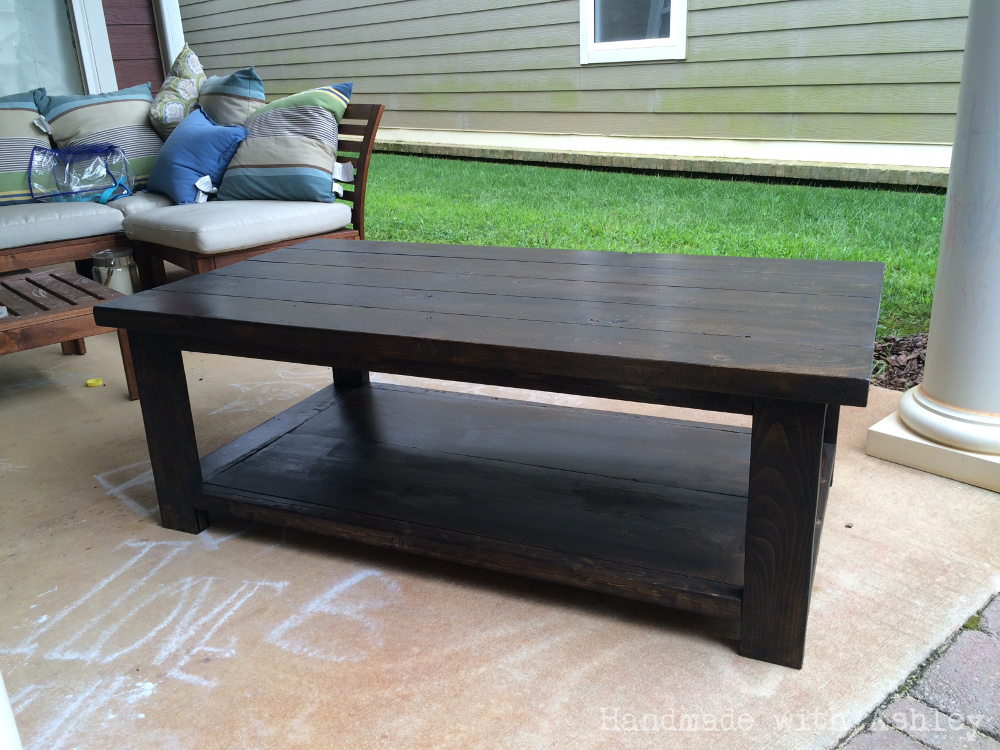
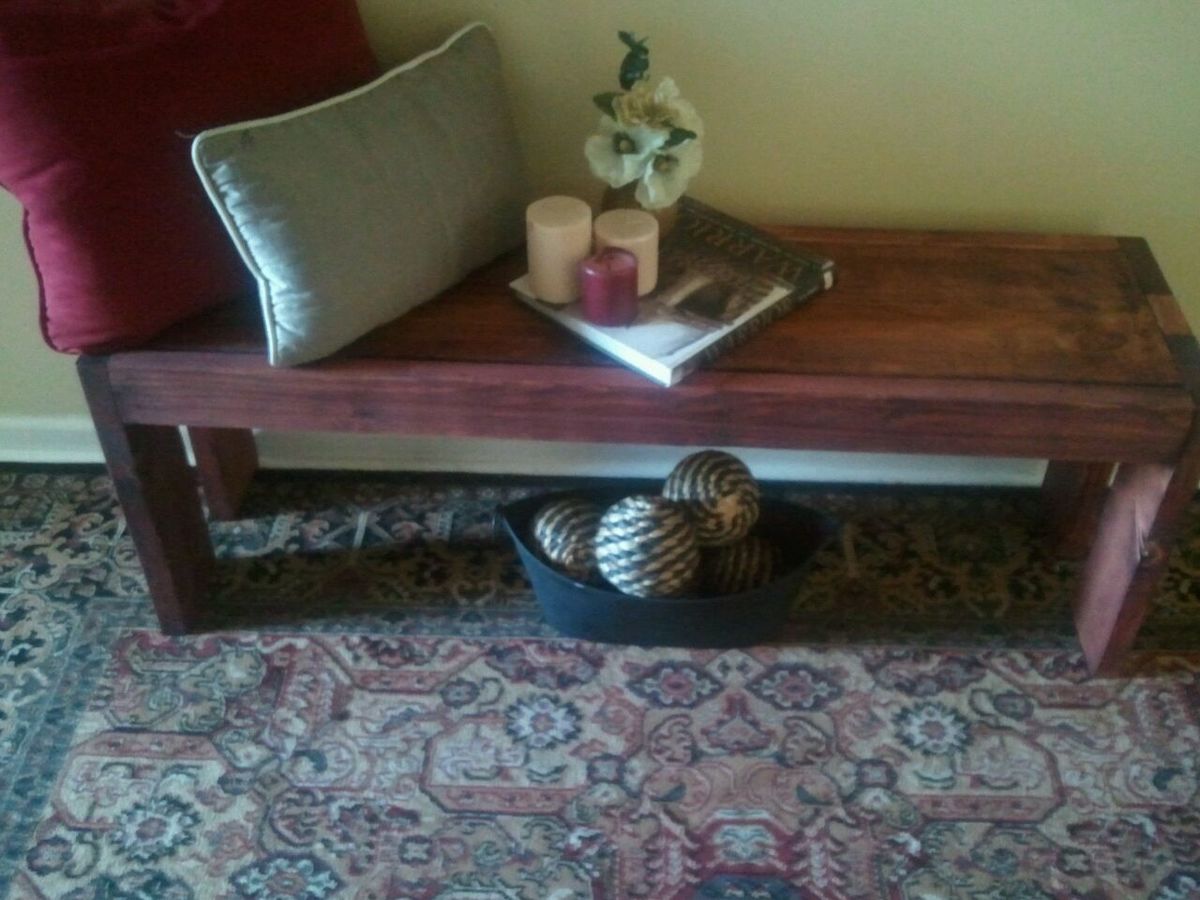
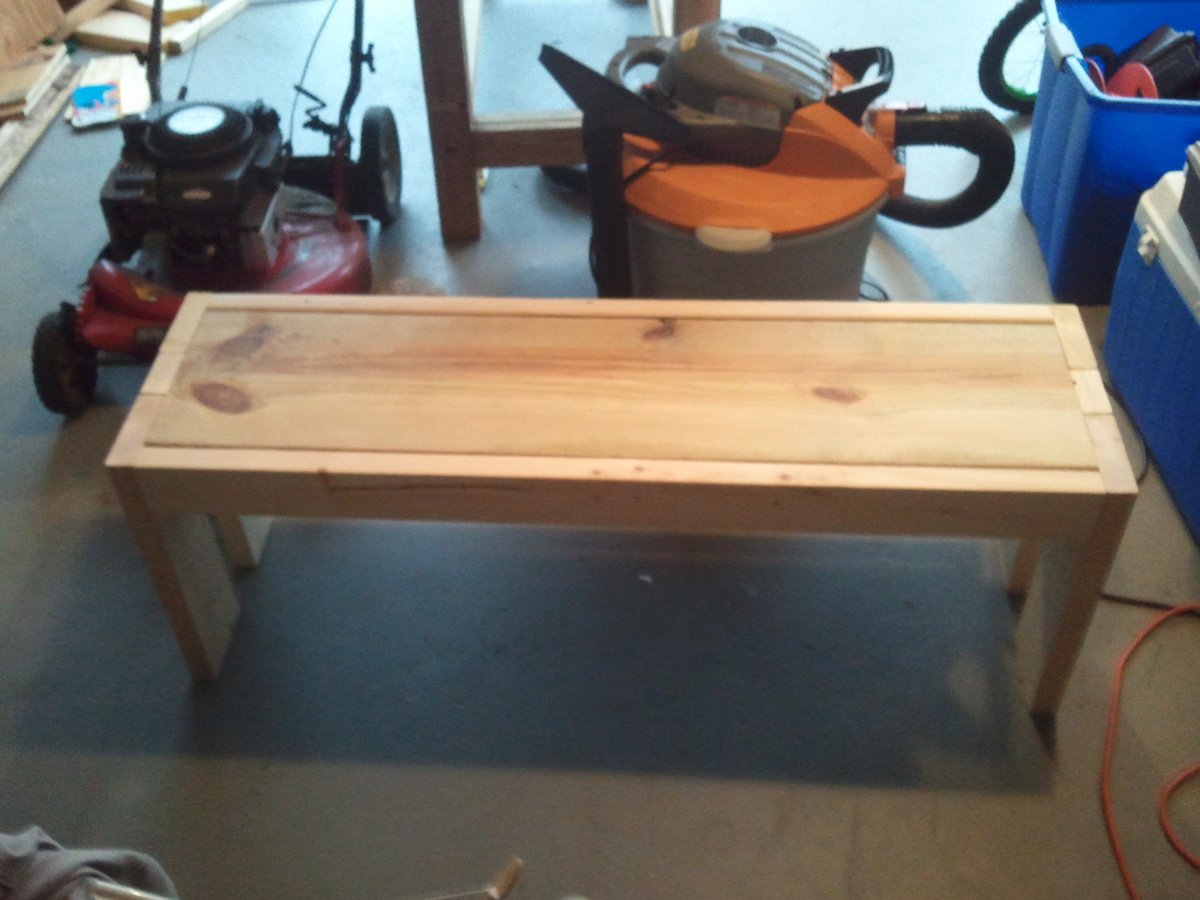
Great first coffee table!