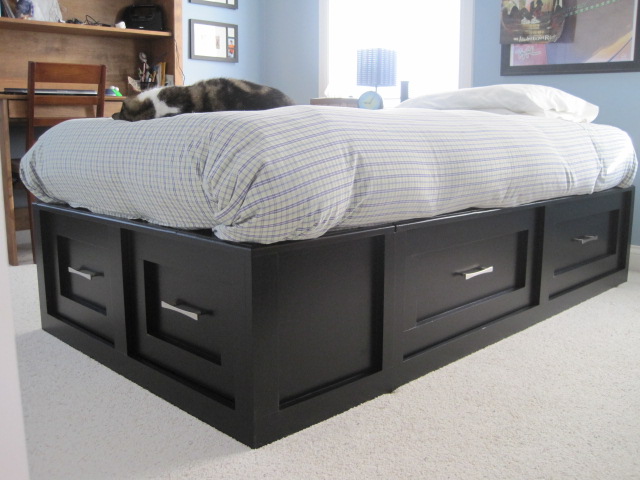
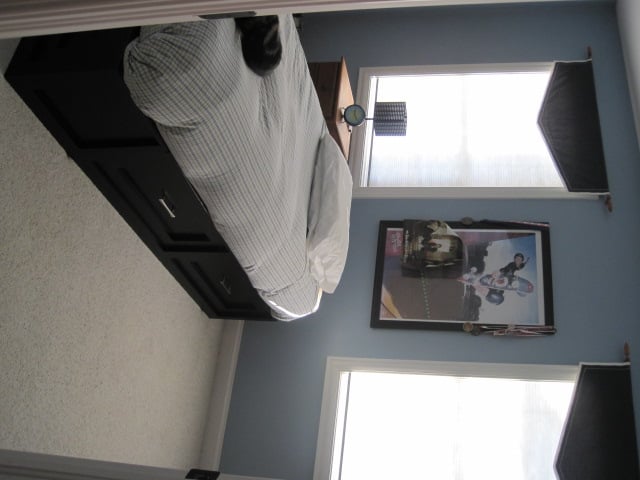
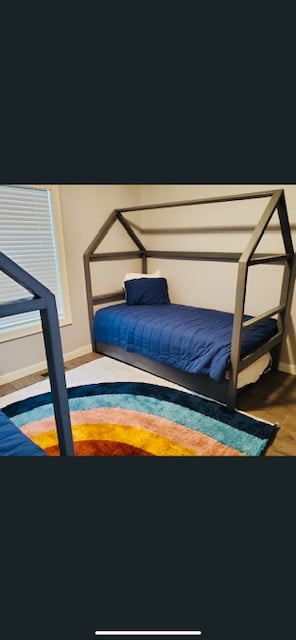
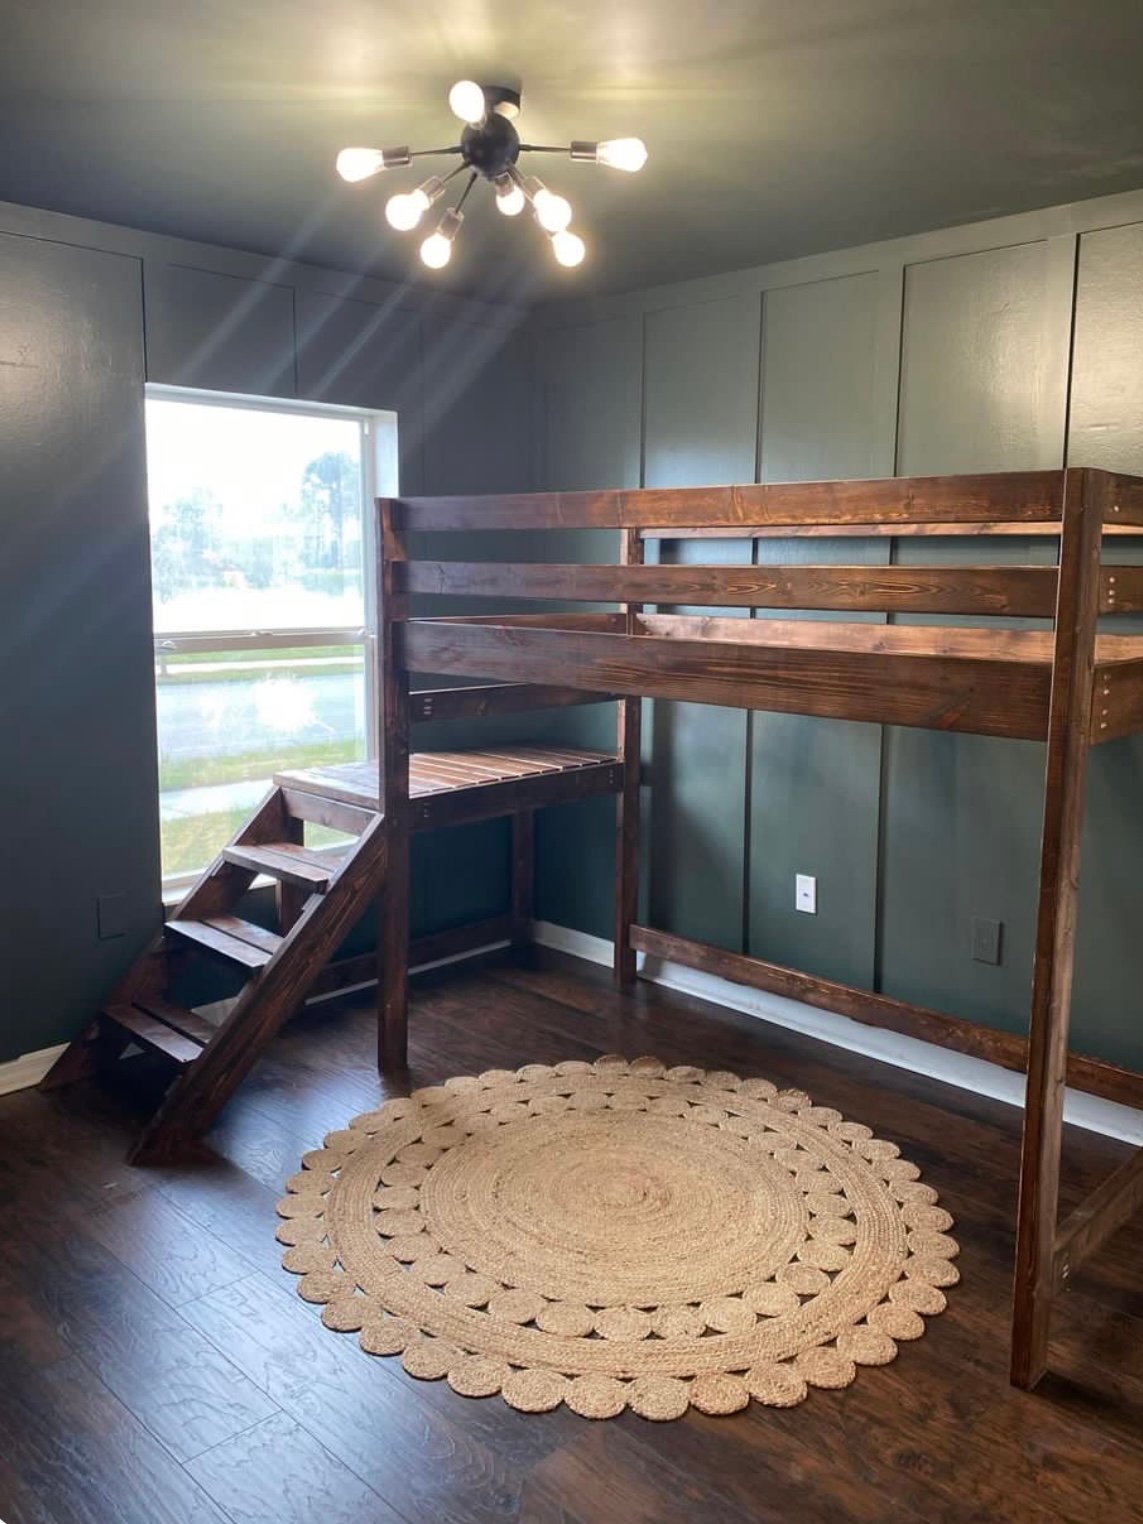
Twin-size Storage Bed
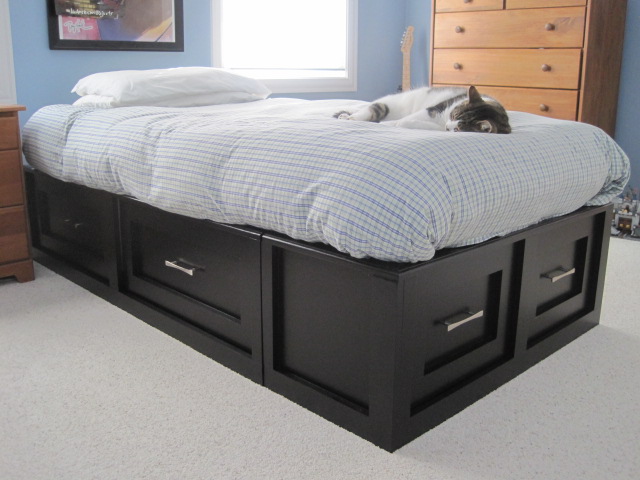
I recently finished this bed in white for my daughter, when one of my sons decided he'd like one for his room. So this is my second time building this bed. I like the drawers Ana has in the Queen storage bed, but I needed it in a twin, so I used two of Ana's plans to modify the bed to our needs. Drawers make me nervous (but less so now that I've done them a few times) and these work great, so all is well!
The only problem? Now with the bed in his room, I feel the need to paint the rest of the furniture, change his duvet cover, paint the walls...you know what I mean?

Built from Plan(s)
Estimated Cost
$325
Estimated Time Investment
Week Long Project (20 Hours or More)
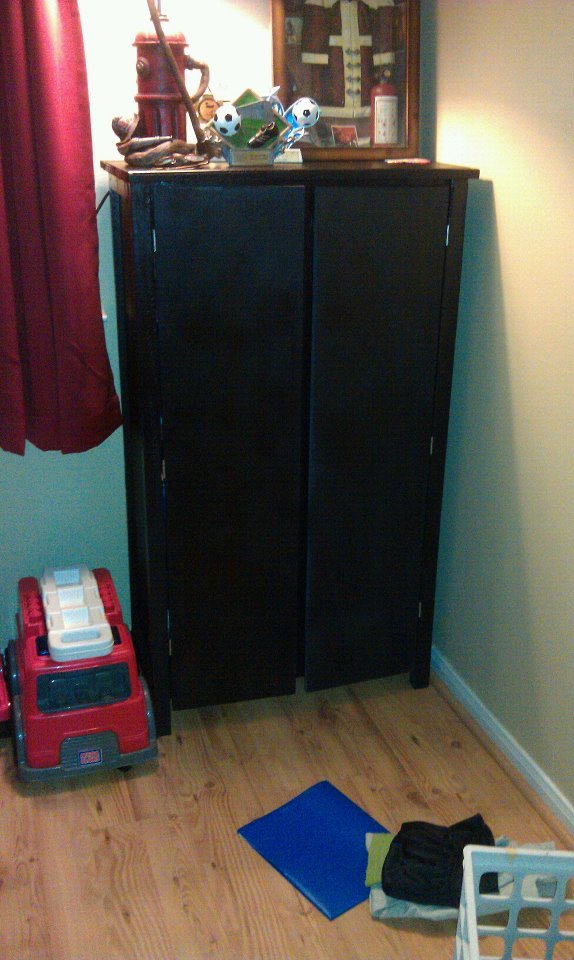
Finish Used
Benjamin Moore Super Spec D.T.M. Acrylic low-lustre in black (comes off the shelf in black)
Recommended Skill Level
Intermediate


Comments
Pam the Goatherd
Thu, 10/06/2011 - 17:05
Definitely paint the rest of
Definitely paint the rest of his furniture to match, but with a black and white graphic design of some sort. All black would be too dark, but with the white trim in the room you could get away with some really creative graphic art on those dressers.
loniwolfe
Fri, 10/07/2011 - 06:21
Beautiful work!
Beautiful work!
jen227
Sun, 03/10/2013 - 21:31
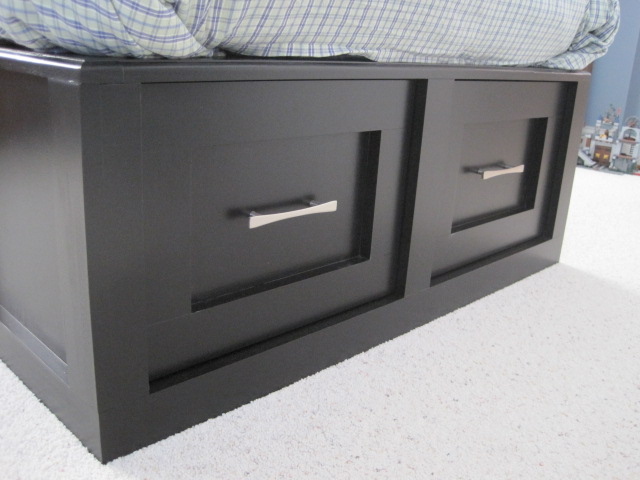
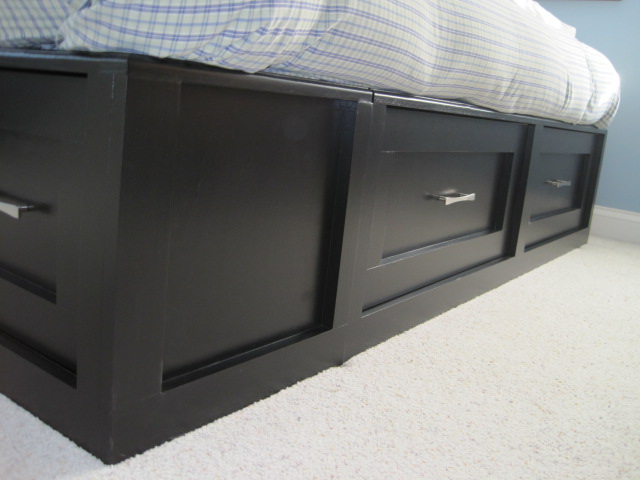
drawer faces
looks like the face of the drawers are trimmed out instead of being just plywood in the front...how did you modify this?