Farmhouse storage bed w/drawers (king)
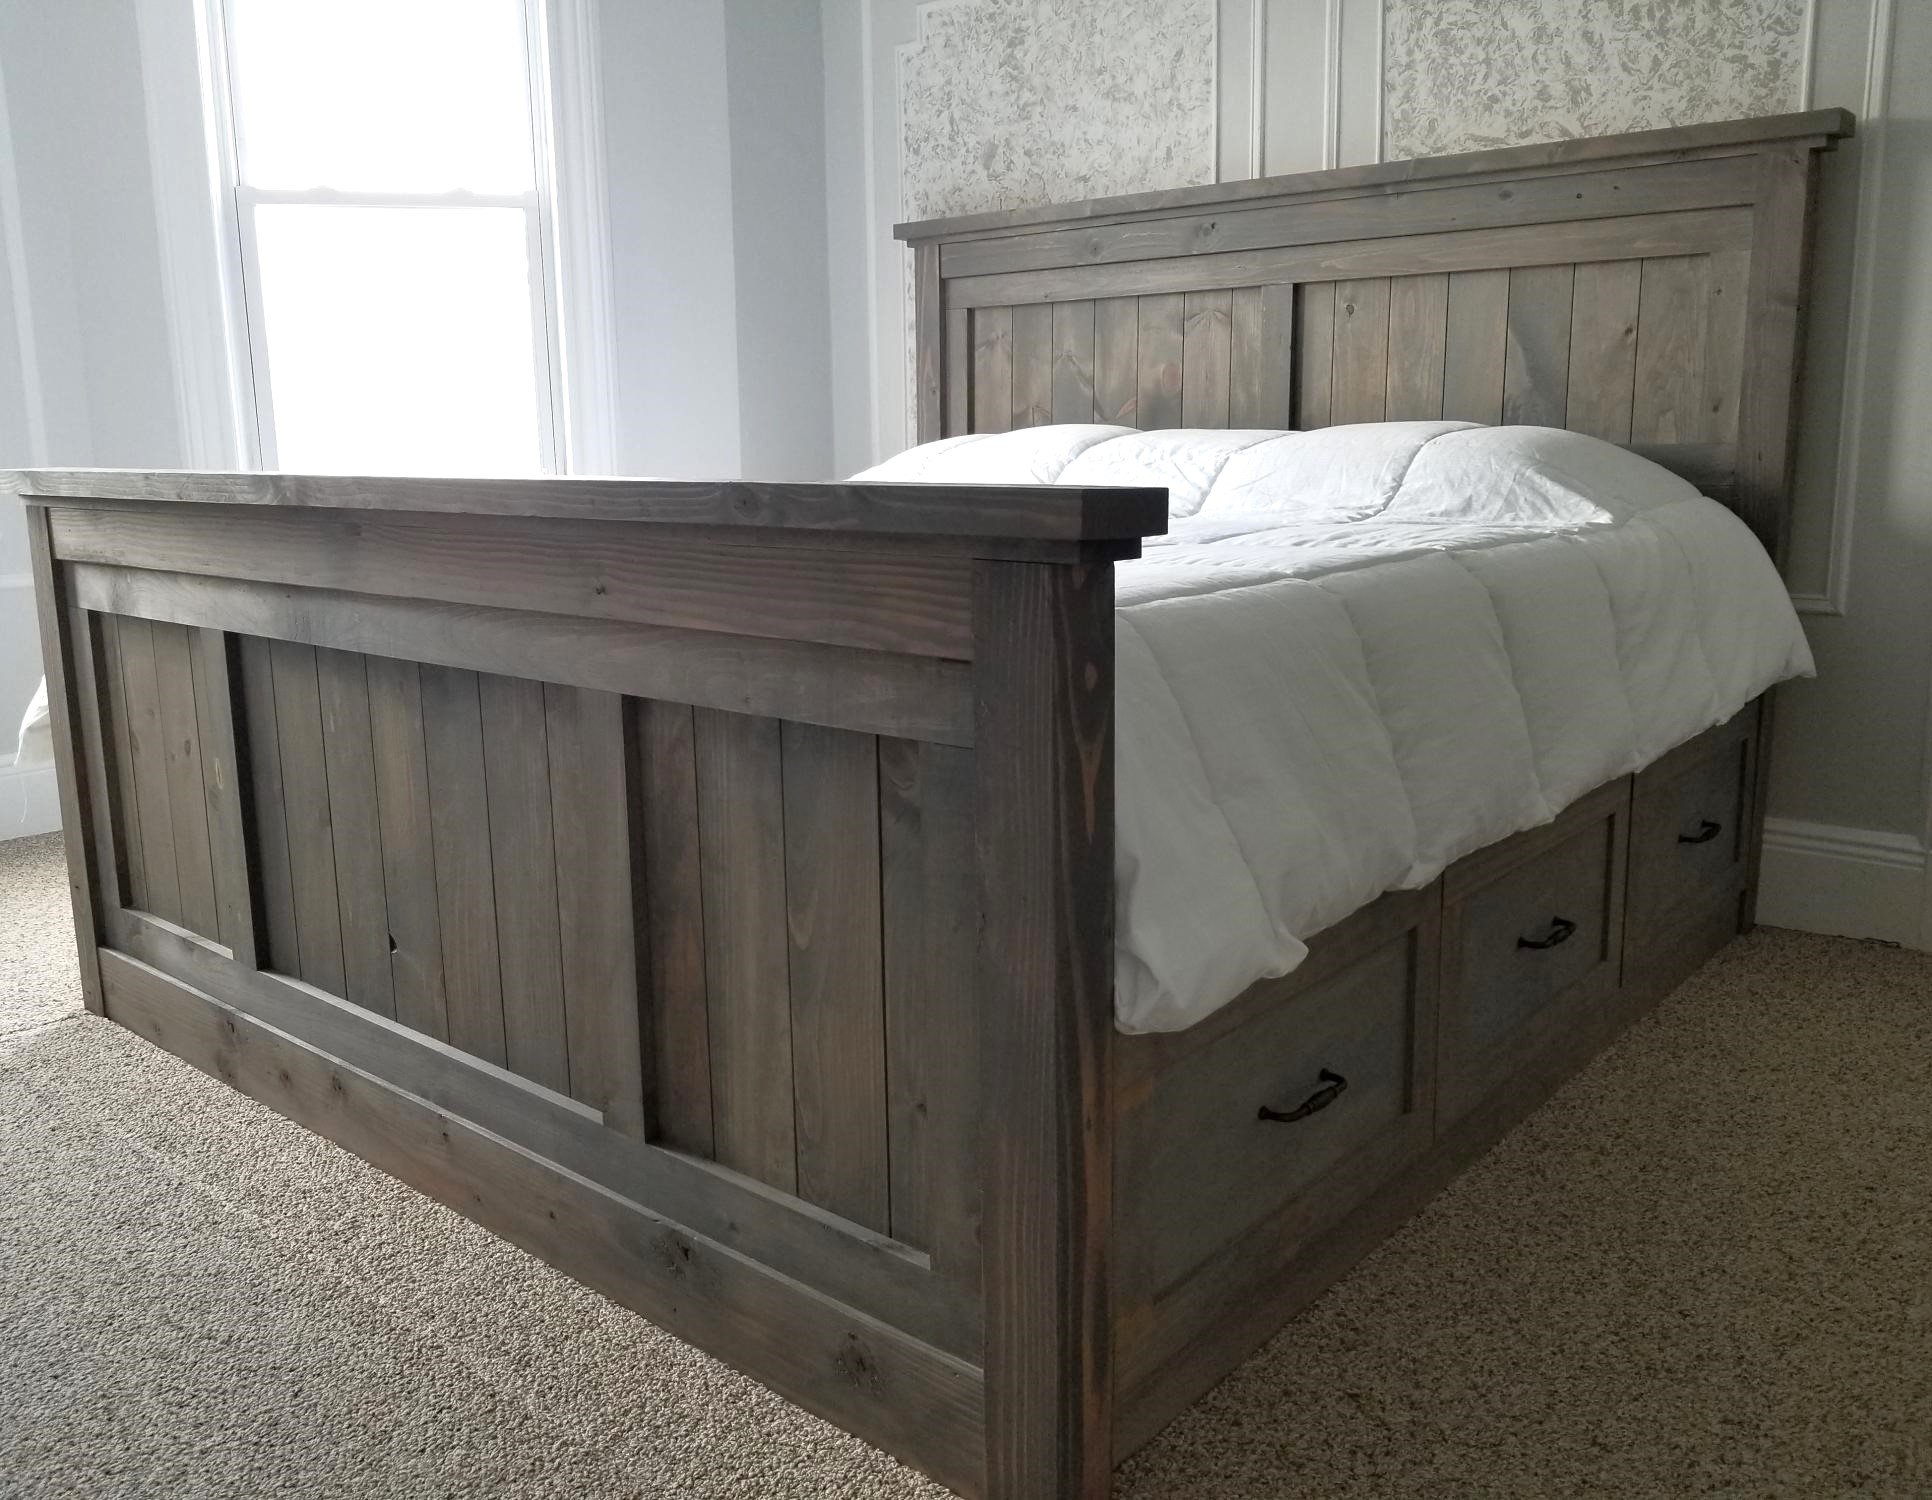
Seen this awesome plan on Anas site and had to build it in KING SIZE. The drawers are enormous, the bed is rock solid. I love it

Seen this awesome plan on Anas site and had to build it in KING SIZE. The drawers are enormous, the bed is rock solid. I love it
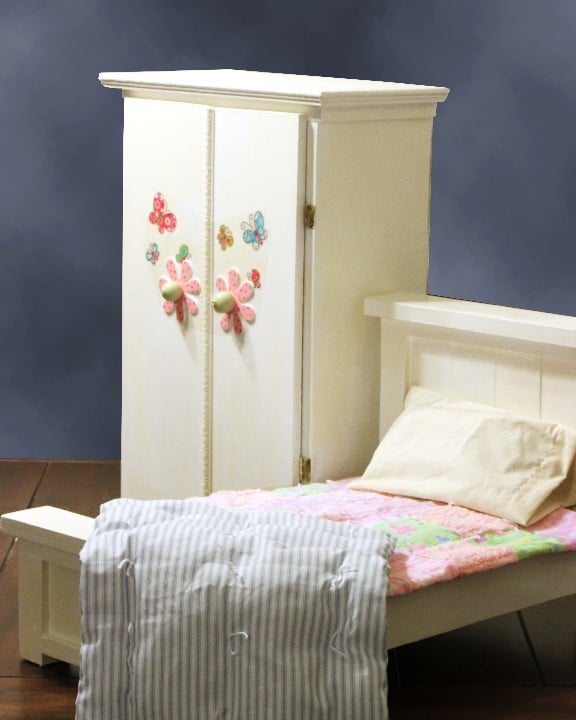
I love the Farmhouse Doll Bed, but because we bought a lot of doll clothes, I built a wardrobe to go with it.
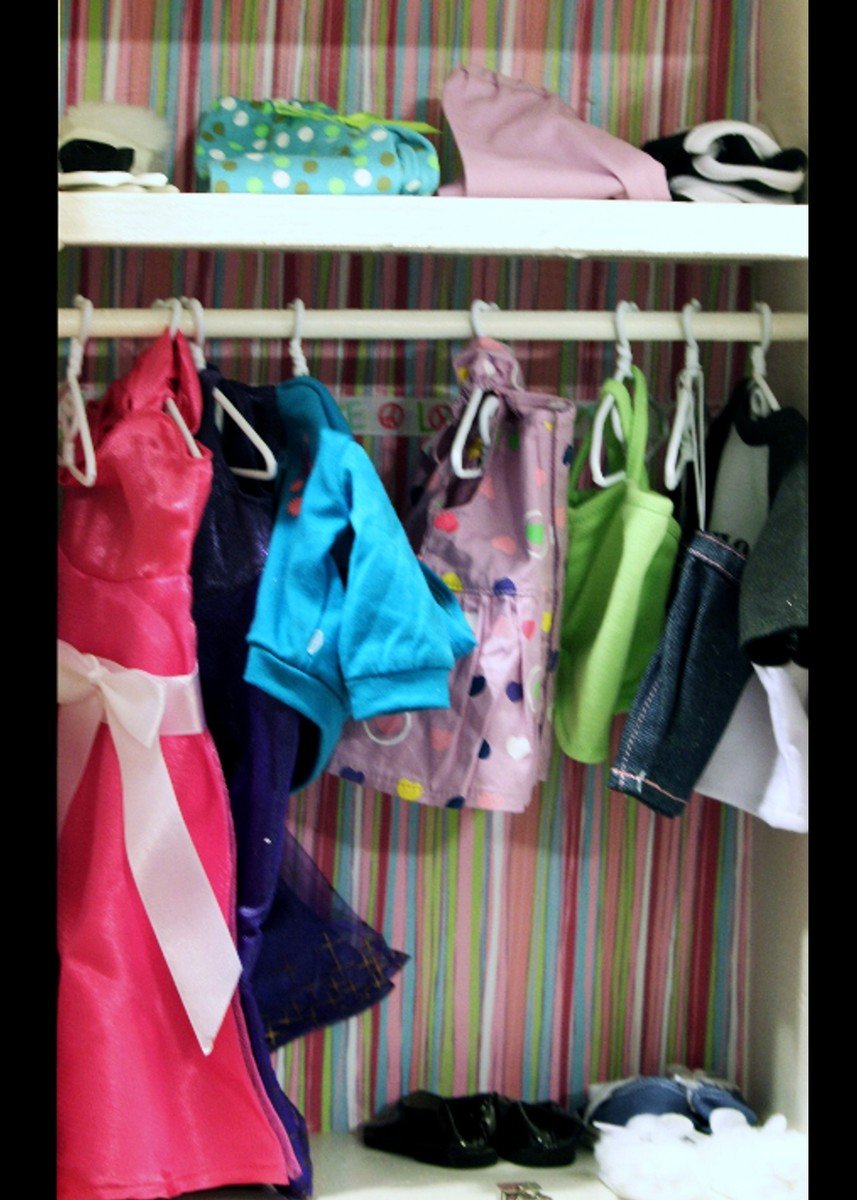
The wardrobe is 21 1/2" tall X 14" wide X 7" deep. The inside shelf is 4" from the top. I'm having trouble uploading a photo of the inside, but will keep trying...
I made a mattress to look like the older striped "ticking" style. I still need to do a little more with the bedding because I'm not happy with the (muslin) pillowcase and want to do something brighter.
Cost was minimal because I'm still using up scraps from other wood projects and I used material for the mattress and bedding that I already had. That is what I love about some of the plans - they help me to use my leftover materials and still have something nice to give as gifts.
Thank you so much Anna for this plan - I also followed your suggestion and made a second one to donate. I love your site...
Tue, 11/22/2011 - 07:25
Beautiful! I am trying to do a wardrobe right now, too! I am making my second of this bed today. Great job!
Tue, 11/22/2011 - 13:21
The wardrobe is great! I especially love the decorative touches! :)
Tue, 11/22/2011 - 13:21
The wardrobe is great! I especially love the decorative touches! :)
Thu, 11/24/2011 - 12:56
I finally managed to upload a photo of the inside of the wardrobe
Sat, 12/03/2011 - 11:29
Where and how do I find the plans for the doll wardrobe?? I made the Farmhouse bed and love it. Thank you
Sun, 02/26/2012 - 15:22
I'll trade you picture and info for a great doll closet for you plans for the Farmhouse bed. Our granddaughter loves the closet, so now I need to build the bed.
Thanks,
Sat, 12/03/2011 - 14:12
Thanks for your interest - I'm sorry, I tend to work by the seat of my pants and develop an idea as I go; so I don't really have plans. The best I can do is give somewhat of a cut list; which is:
Sides: 2@7"X19.5"
Bottom: 1@7"X13.5"
1st Top Board:1@7"X14" (hangs over 1/4in on sides)
2nd Top Board:[email protected]"X15"(hangs over 1/2in on sides and in front- it's even at back)
Doors: [email protected]"
Inside Shelf 1@7"X12" (Top of shelf is 4" below top of inside cabinet.
I just measured enough below to allow for doll hangers and drilled for dowel, but it came out just right for the longer dresses.
The front trim overlaps the left door, so that I only had to put one door catch at the bottom.
I hope this helps - I really need to learn the Sketchup program.
I used 3/4" plywood because that is what I had, but used 1/2" playwood for doors to make them lighter.
Fri, 12/09/2011 - 14:41
What size dowel rod did you use? I have a niece who I've made a bunch of clothes for, and I'd love to make her a wardrobe to house new clothes!
Fri, 12/09/2011 - 21:14
I believe it was 3/8 or 1/2 inch - I took one of the hangers with me and just put it on dowels until I got the right size.
Wed, 03/14/2012 - 20:25
Just a suggestion for a quick way to "brighten up" the pillow case. Just find some ribbon to coordinate with the bedding and sew (or use iron on adhesive - really easy then!) around the hem line of the opening.
The wardrobe is darling. I love the flower knobs!
I love this site. We needed new furniture in are house and didn't want to spend a bunch of money. Finding the Rustic x plans was a life saver.
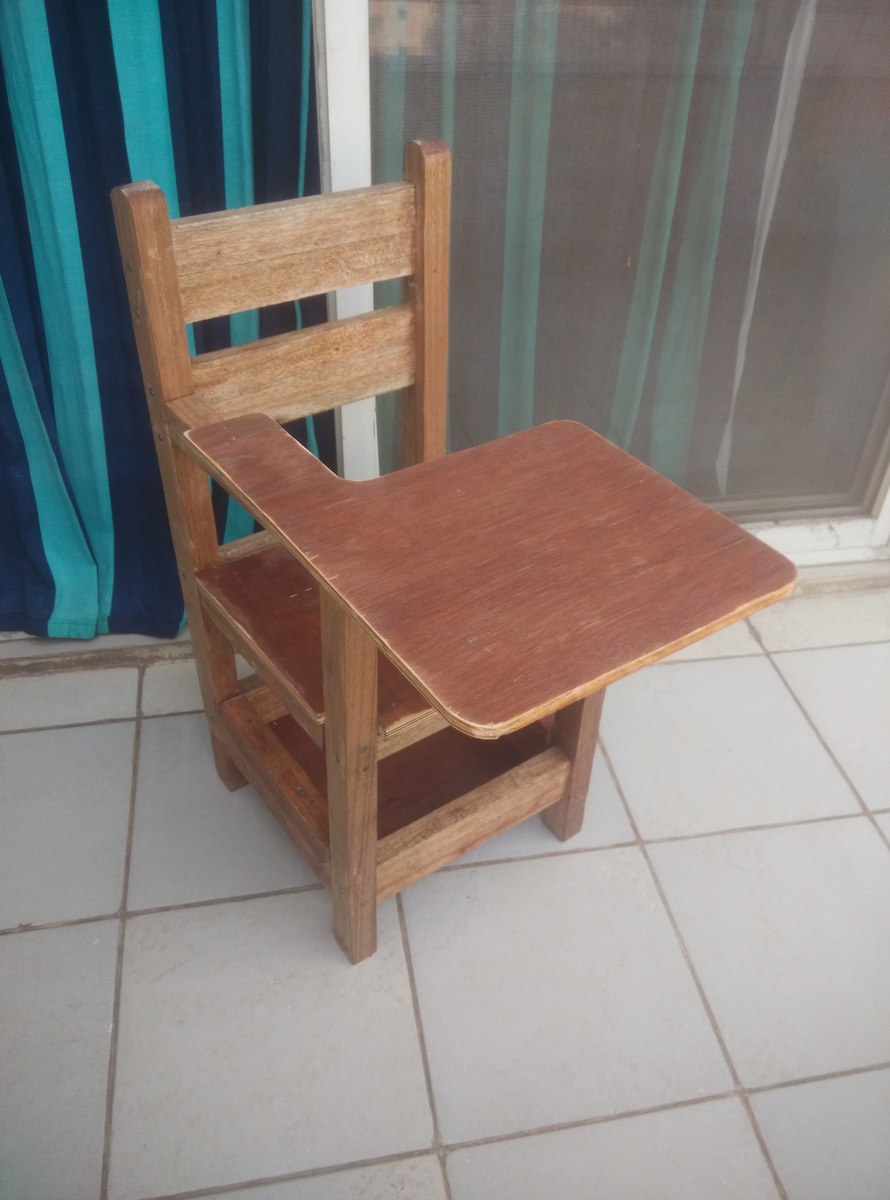
I am very excited to post this project .
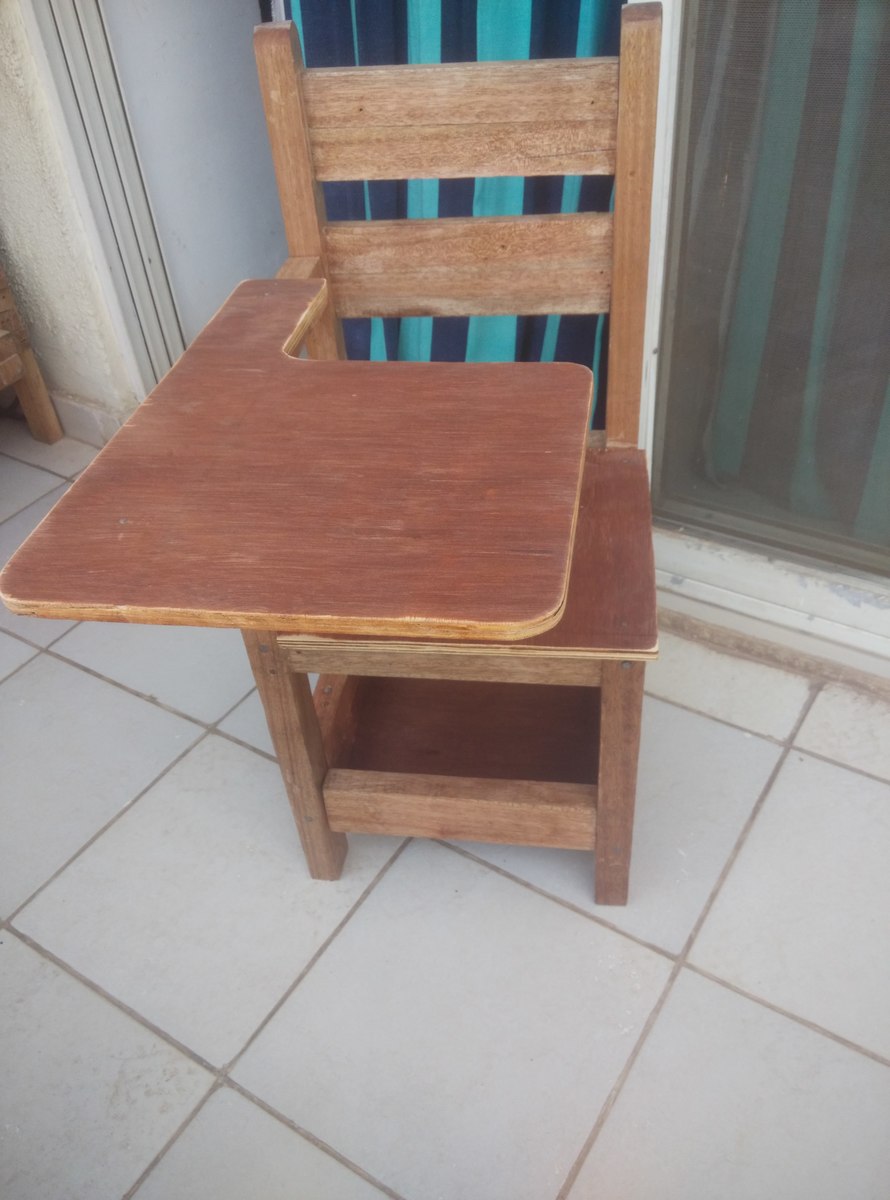
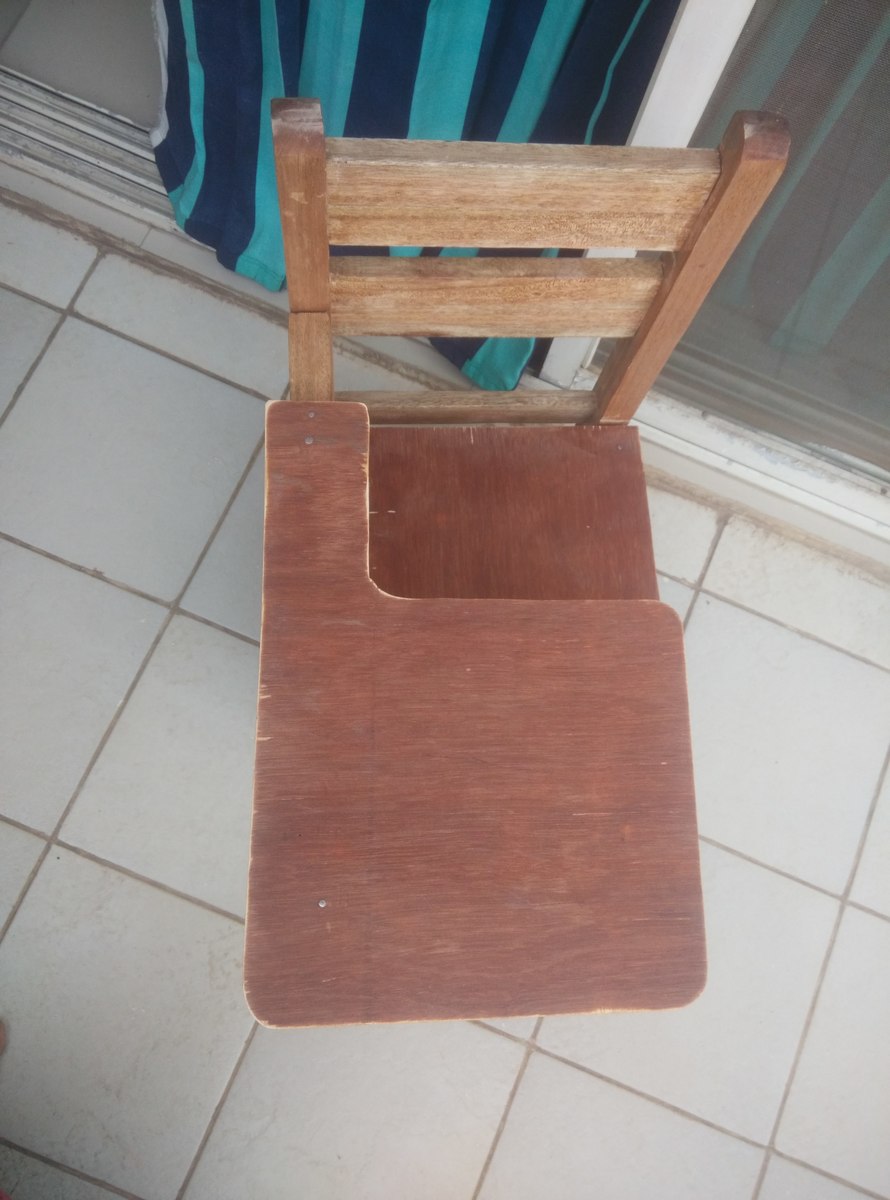
I used the Schoolhouse Chair with Writing Pad Desk Plan exactly and did not stain the wood. Just gave it a coat of PU and there it is .
Its not a perfect project (since I used a Jigsaw ... Yes I did as no other tools were available :() but carefully cut them straight using guide.
As a first-timer I am happy with the result... sort of... But Thanks for inspiring Ana & Jaime !!!
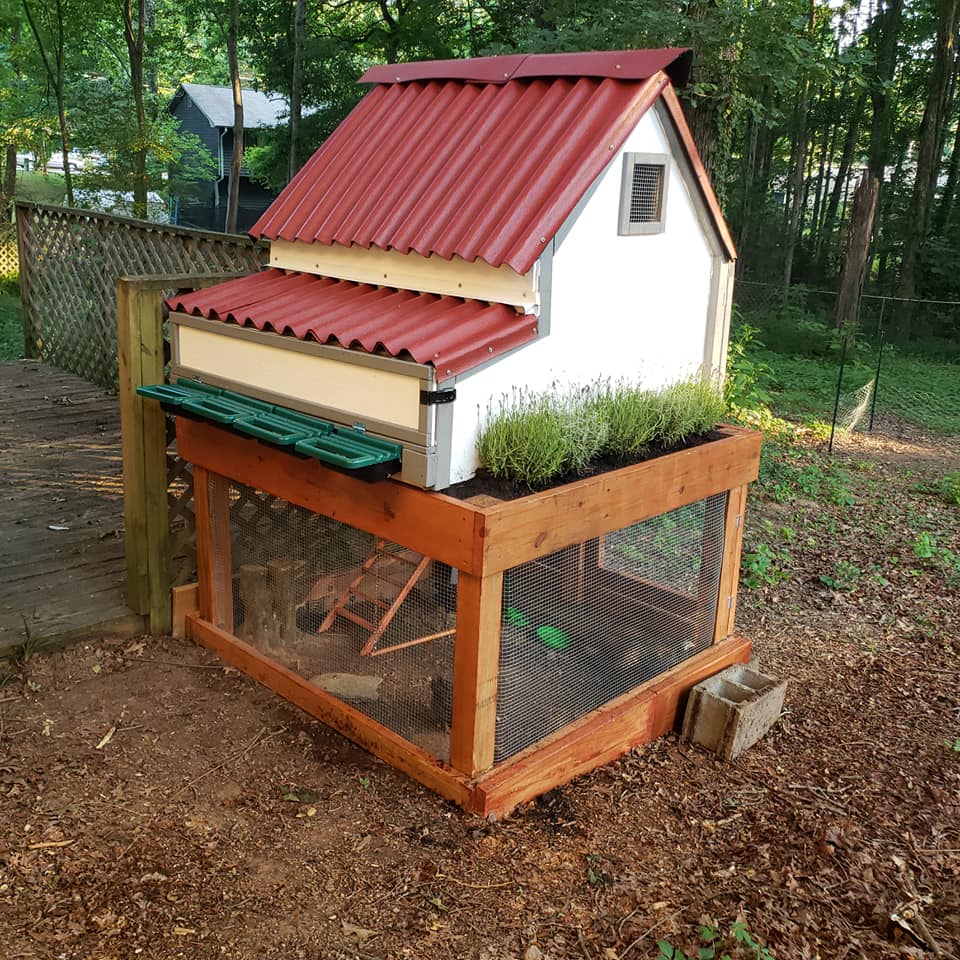
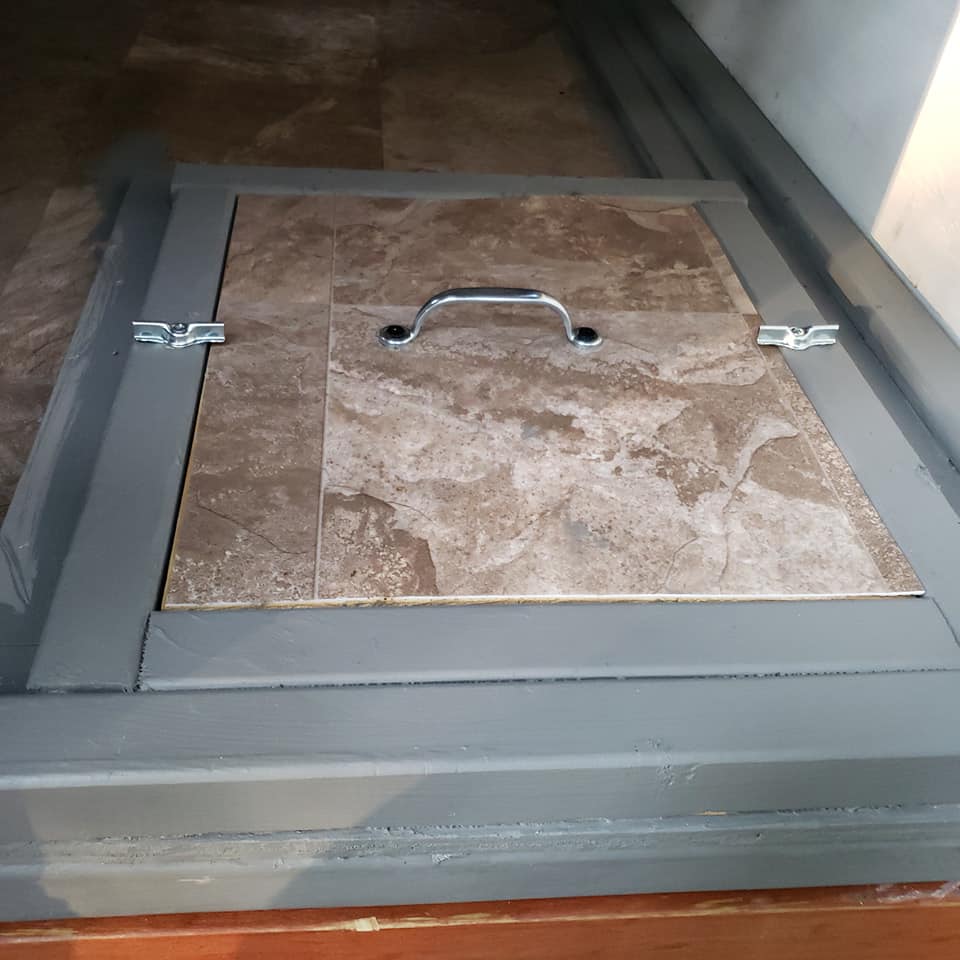
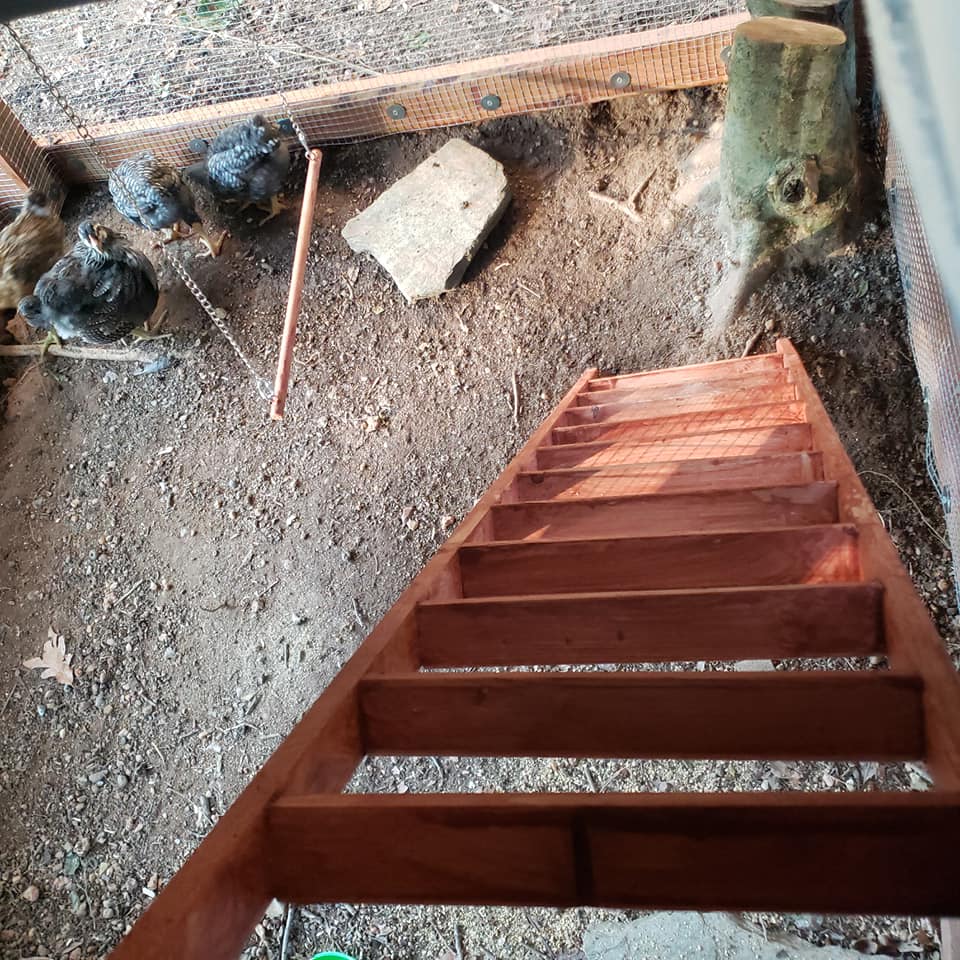
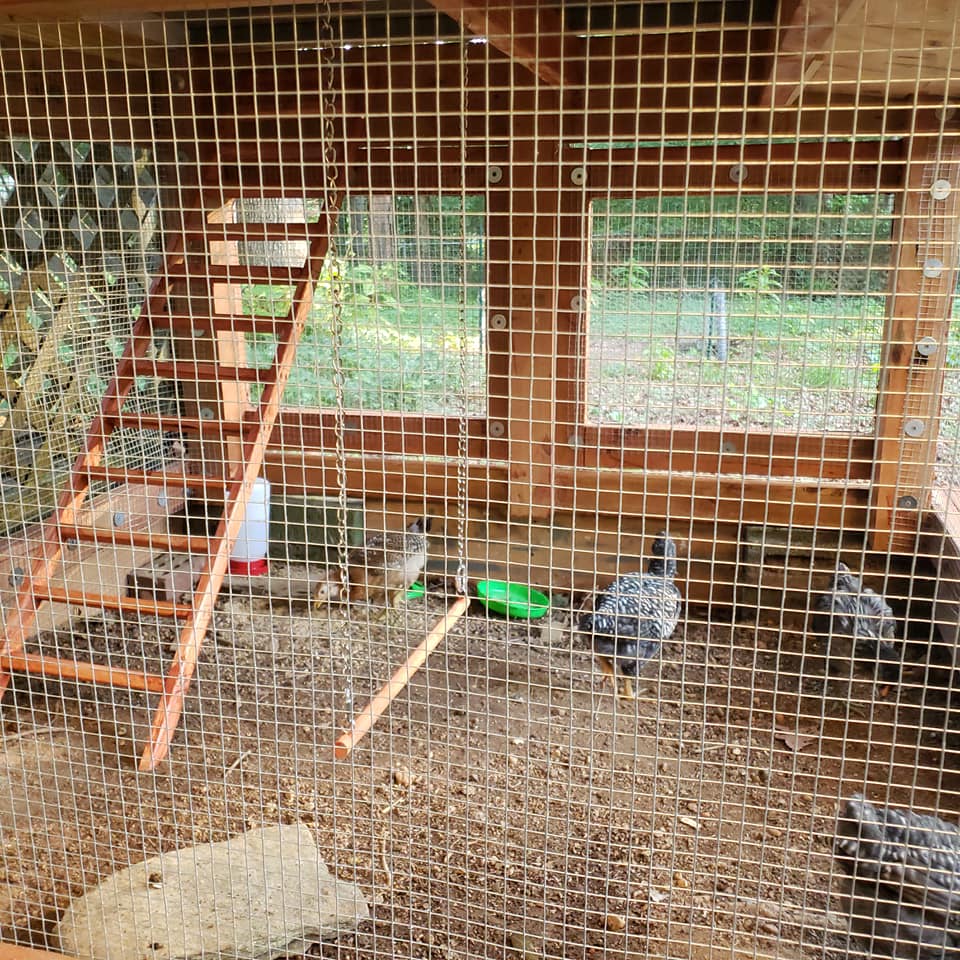
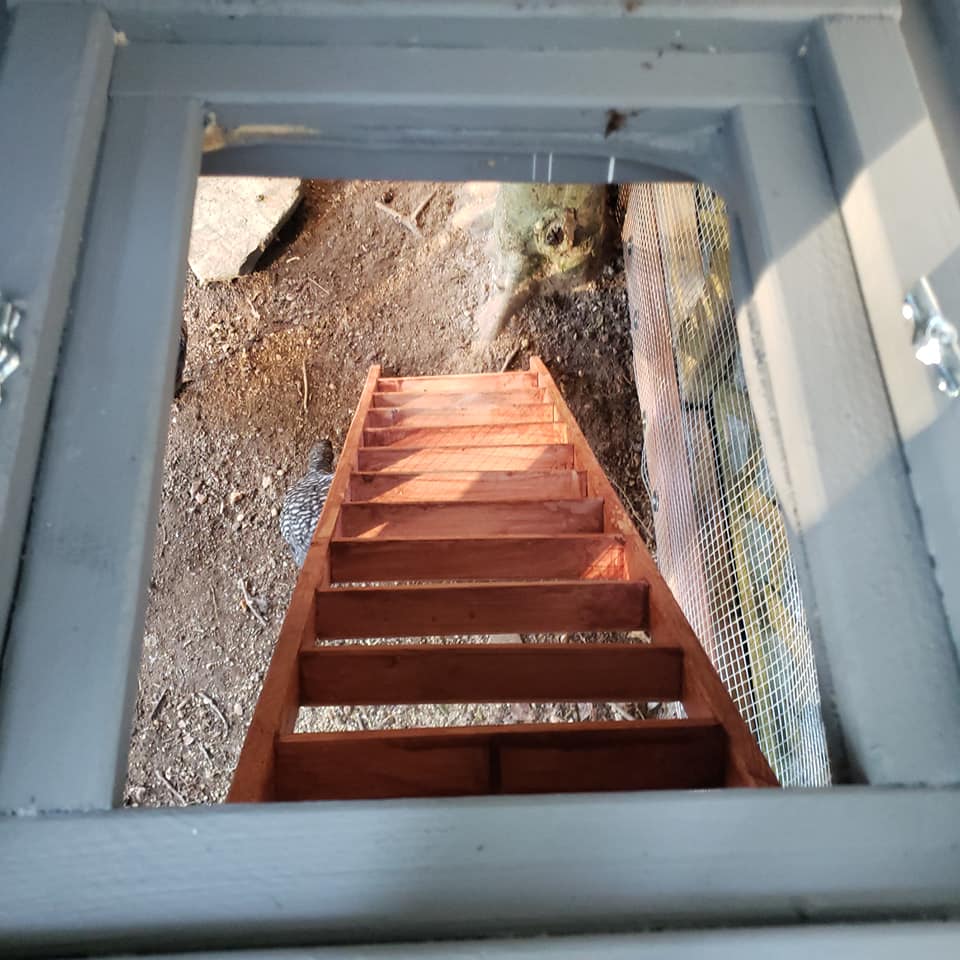
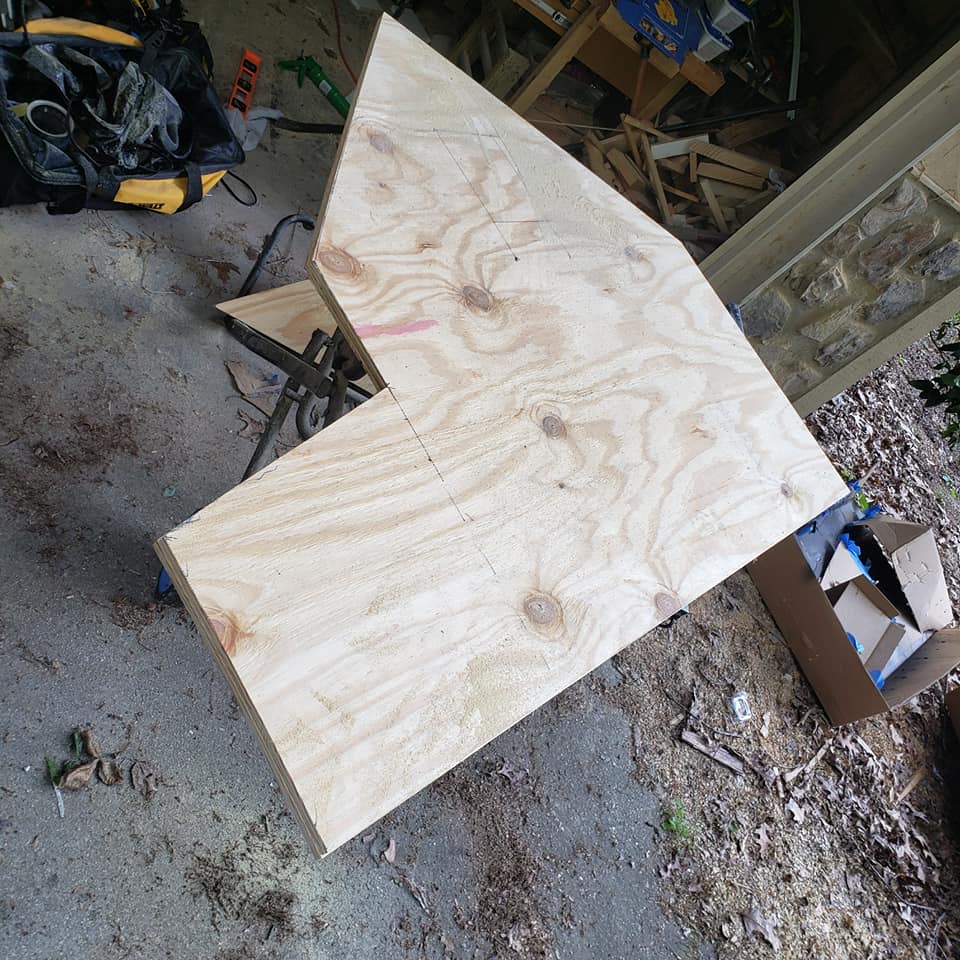
I Modified the plans to make the coop 4Ft wide to accommodate 4 nesting boxes. I Used roll away egg nesting trays in my coop. I keep the base pretty much the same dimension but made the planter smaller. I also replaced the 2"x 4" that framed out the house with 2" X 3". My chicken ladder is made from three 1" x 2". Because my chickens are so young I have the nest box blocked off until they are bigger. I will then use a hole saw to cut holes to each individual nesting box. I also added a Chicken Swing!
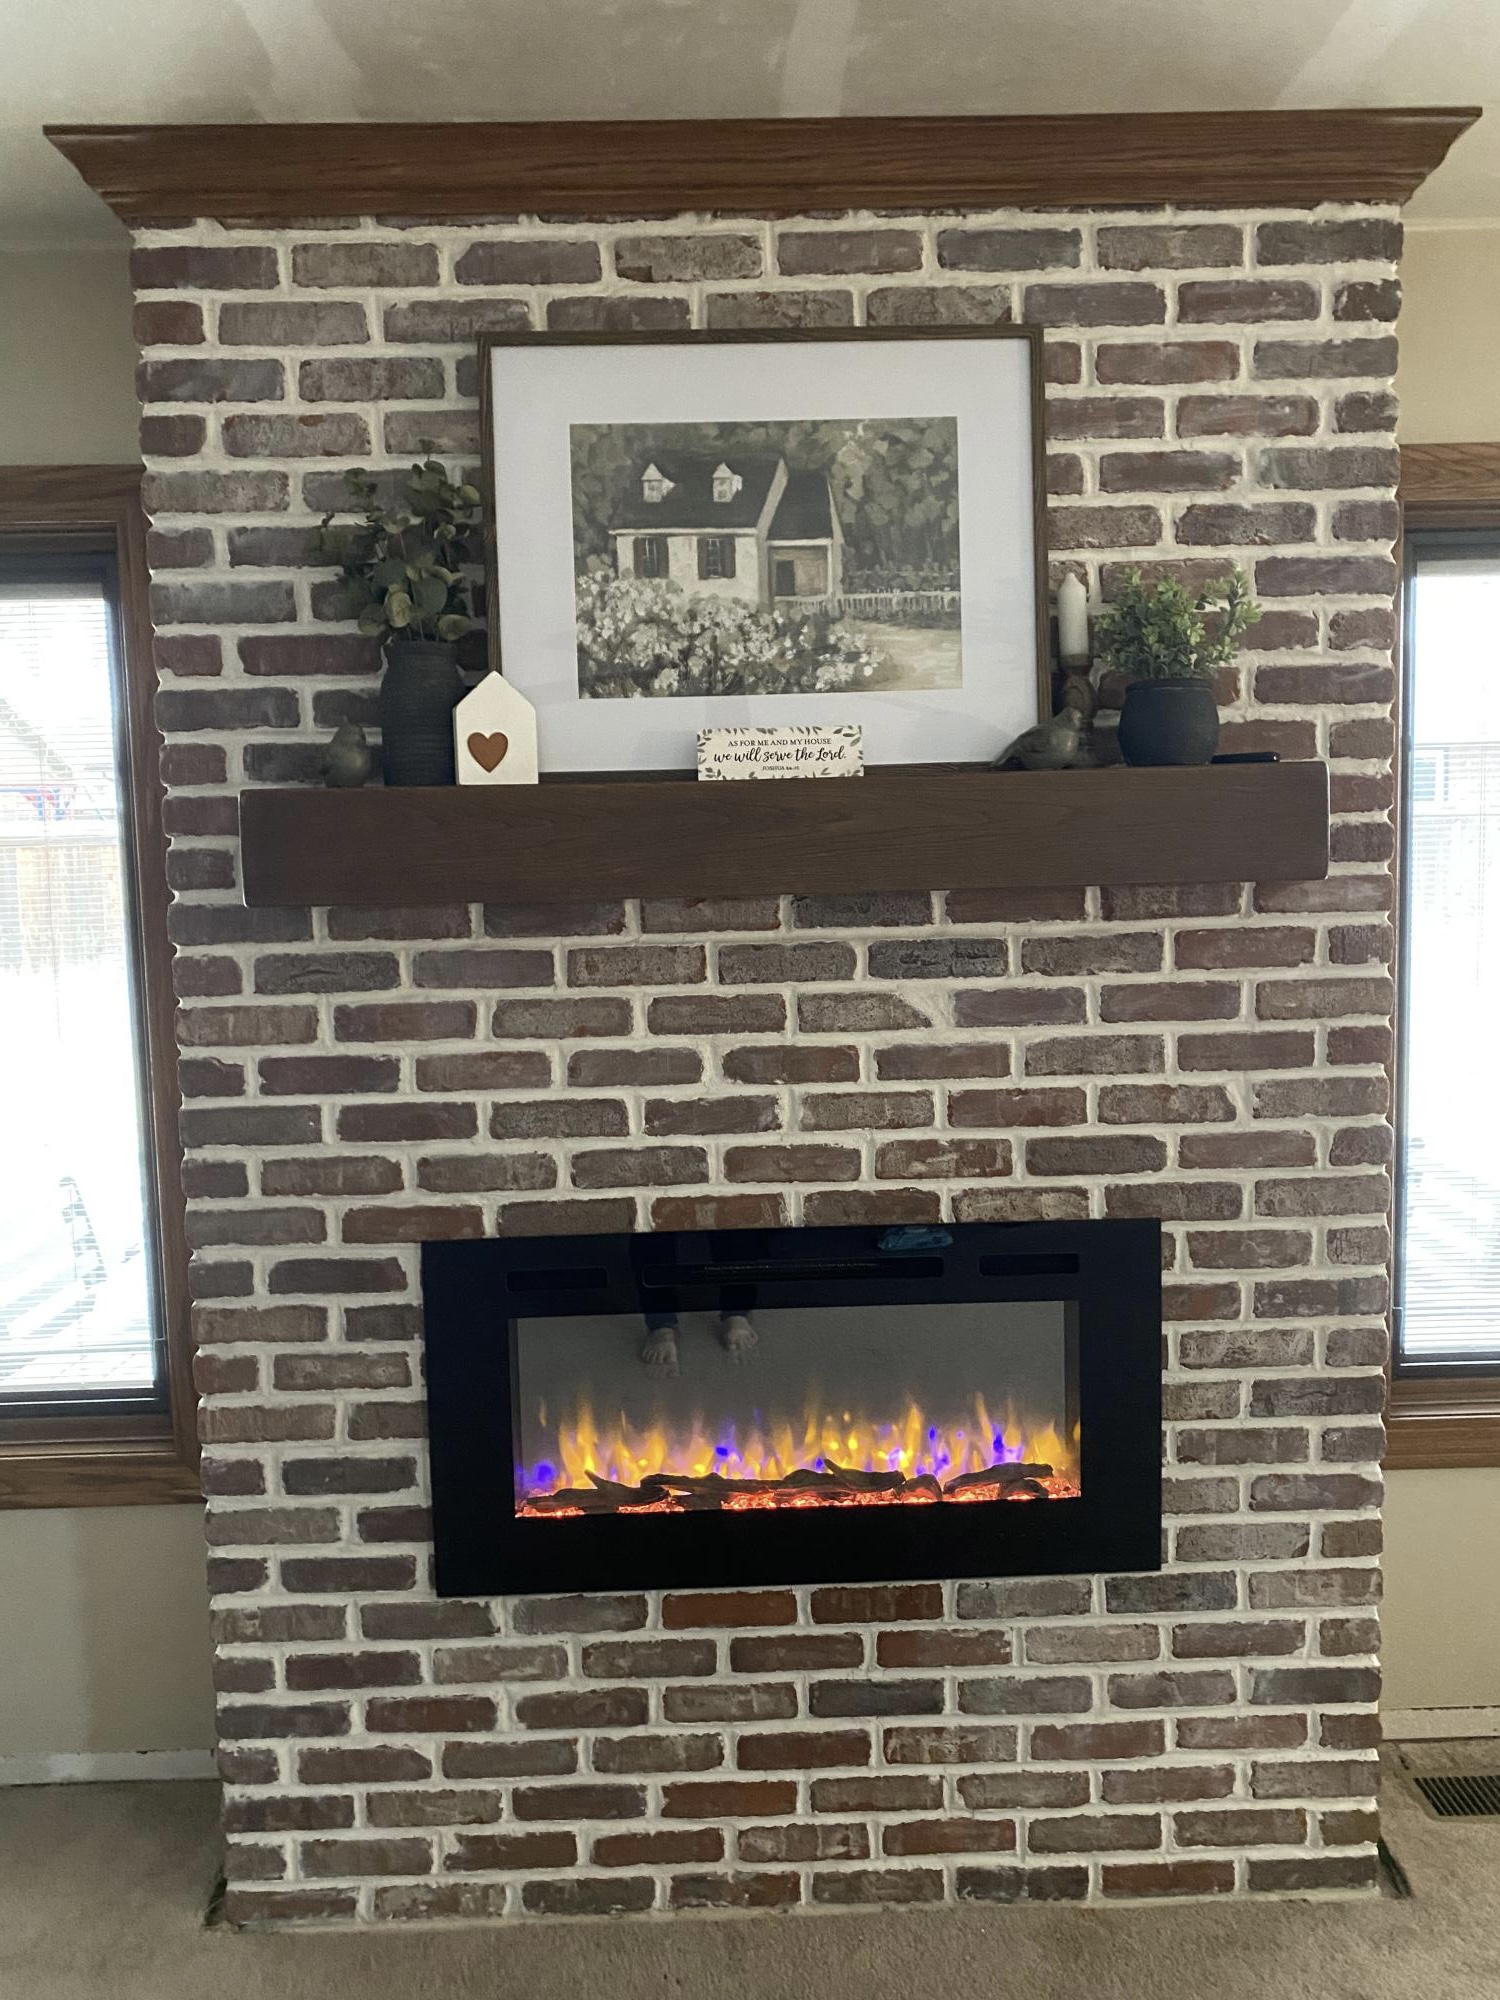
We used Ana White shiplap fireplace tutorial to build the structure and then followed her advice for brick installation instead of shiplap. It all turned out so great. The fireplace has changed the entire feel of our house now. Thank you Ana!
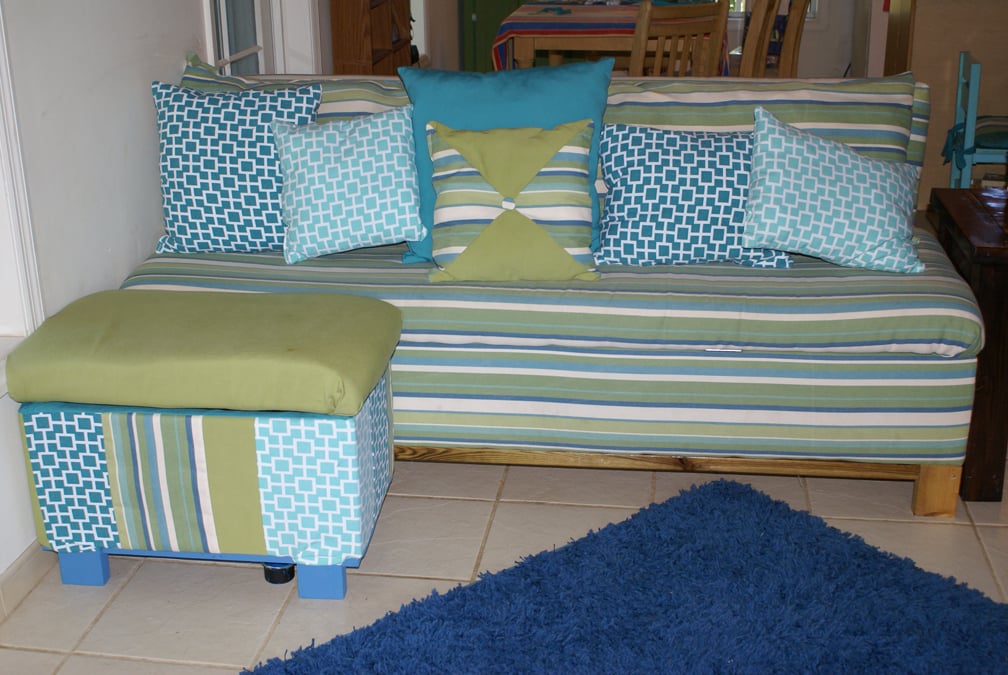
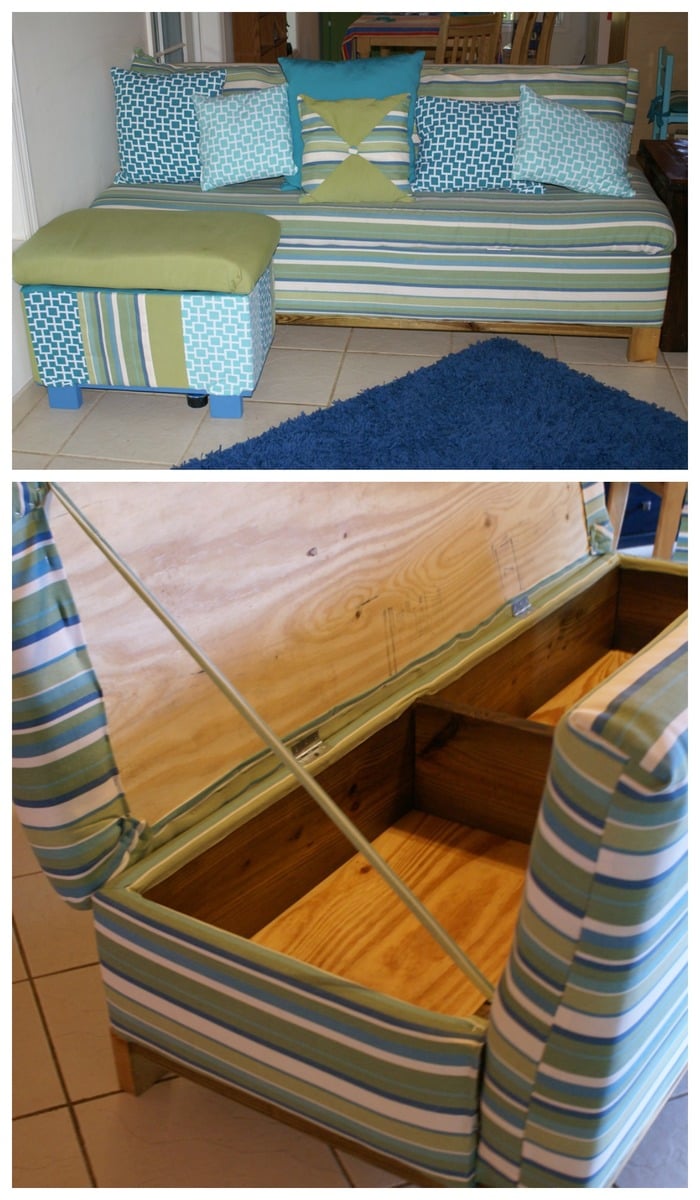
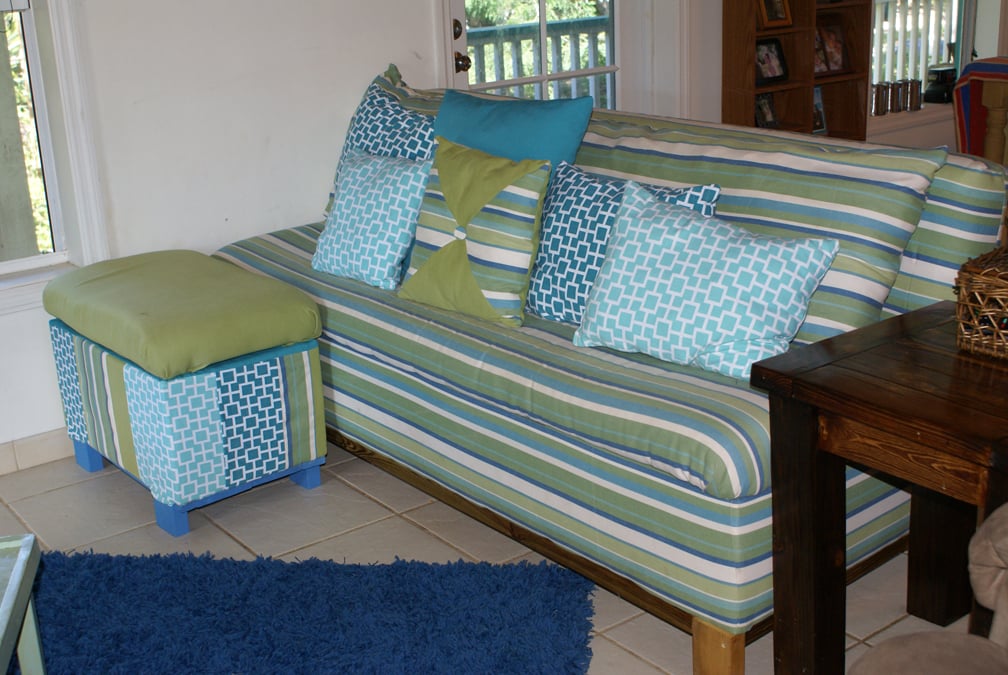
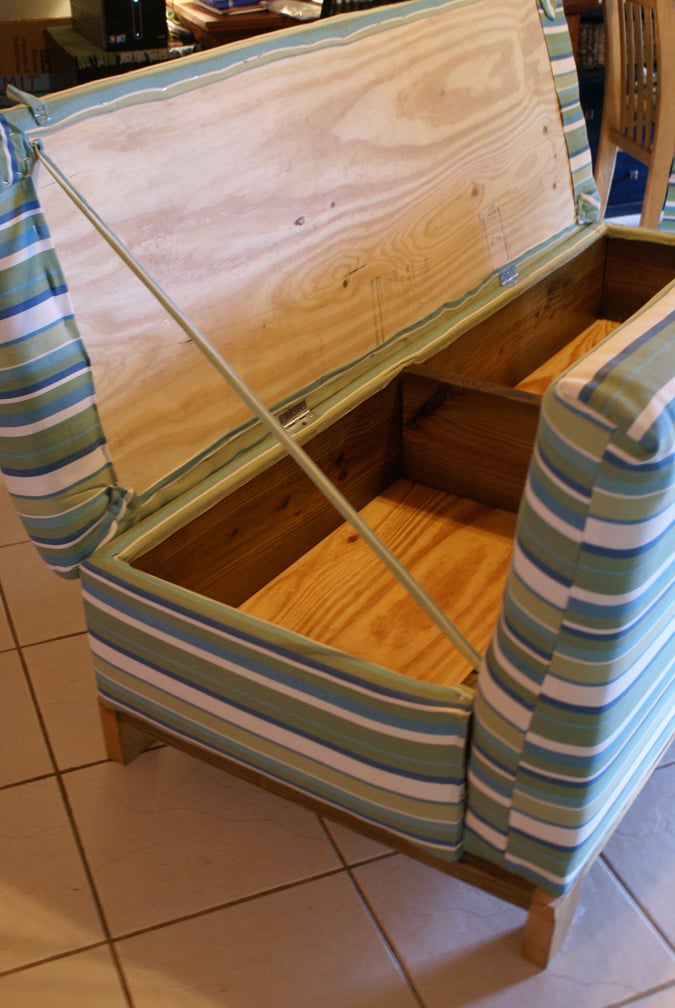
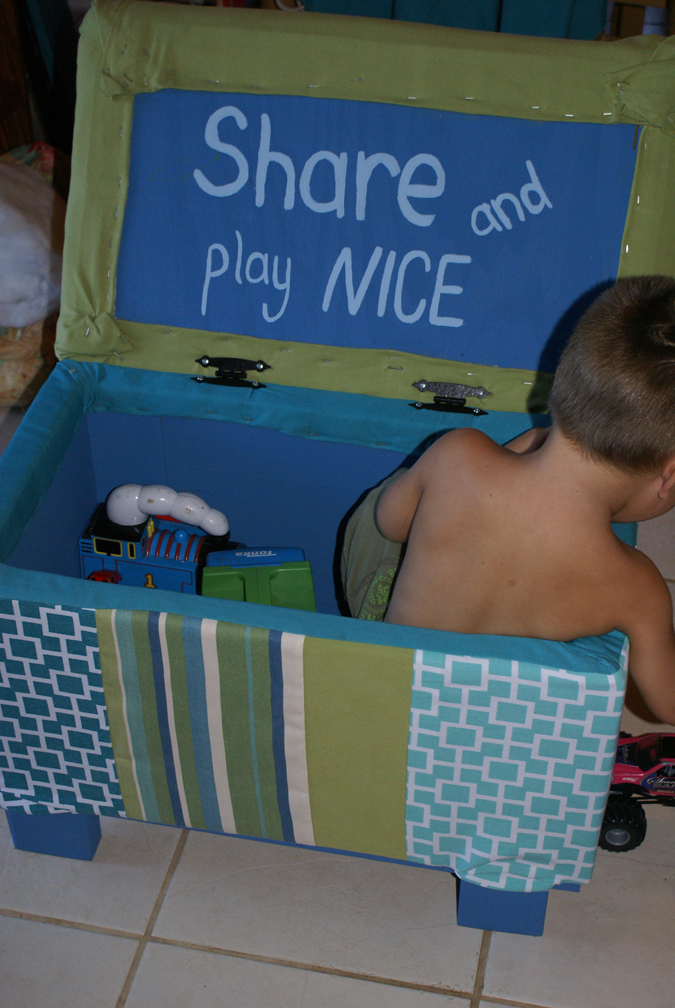
I love my new sofa! It is ten times more comfy than our old one. We live on an island and it was definitely cheaper to build my own sofa than to ship one in and pay duty on it. Thank you Ana for making this possible! Never thought I'd be building my own sofa, but we are so thankful for it. We even threw together our own little ottoman/toy box to go along with it from scraps...added bonus!
Sat, 07/21/2012 - 09:56
this is so amazing! We go through so many sofas, mainly because we buy used, and you never know if they are going to last. This one looks really sturdy, and it could be recovered if the fabric got old, or you just wanted to update. Definitely considering this before we buy another one. And the storage hidden inside makes it even more desirable!! Love the fabric you chose as well.
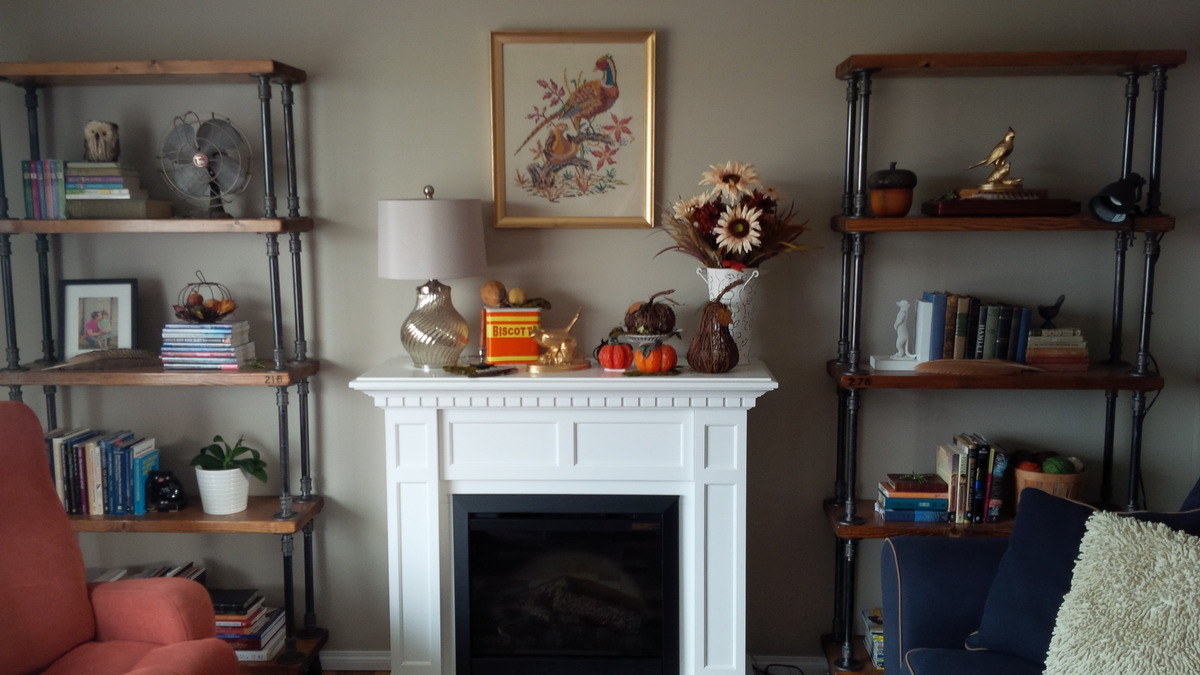
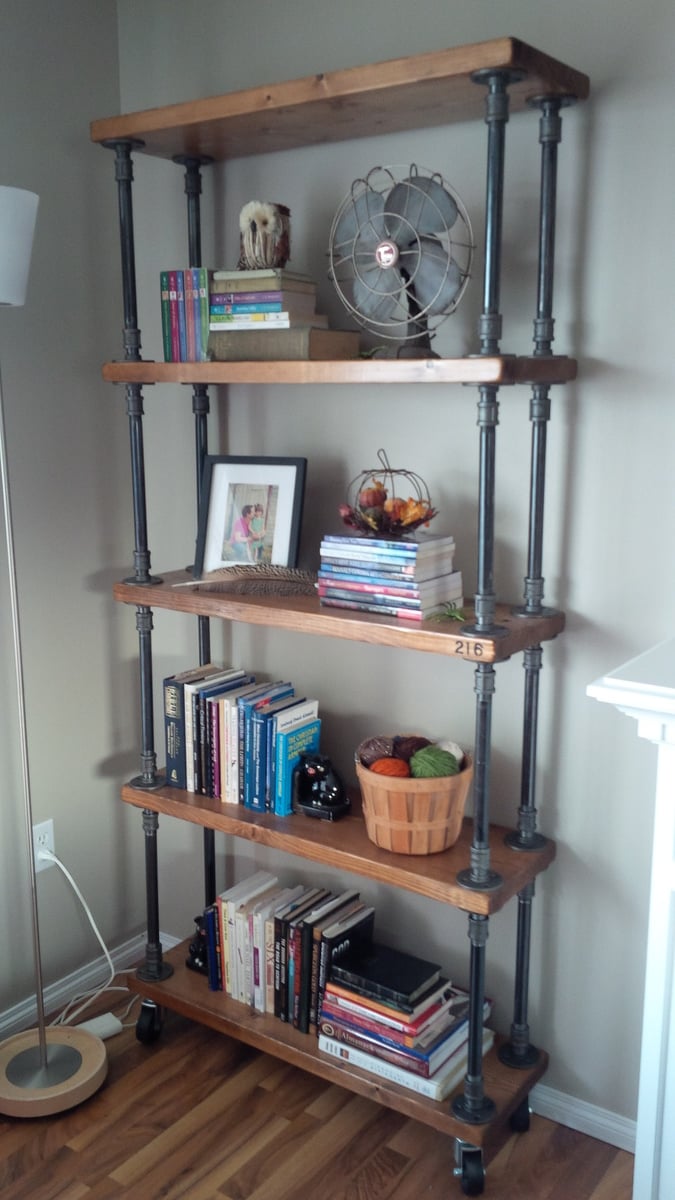
It took a long time to compile all if the parts for these shelves. I searched the Internet for affordable cast iron castors. I ordered all of the black plumbing fixtures from a local hardware store. I bought 2, 16 foot 2x12's and cut them up, sanded them and stained them.
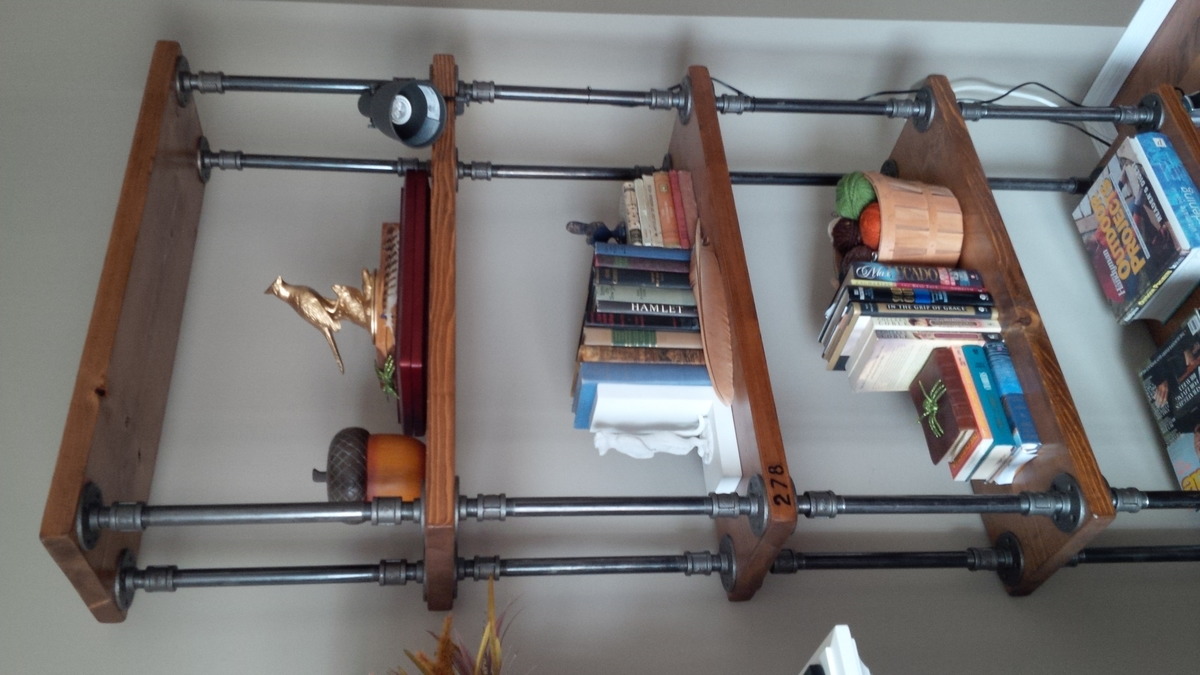
Mon, 11/04/2013 - 13:38
cool look! I like the metal and wood together. Good Job!
Thu, 04/30/2015 - 19:27
Can you please share the step-by-step build for this bookshelves? It looks great!
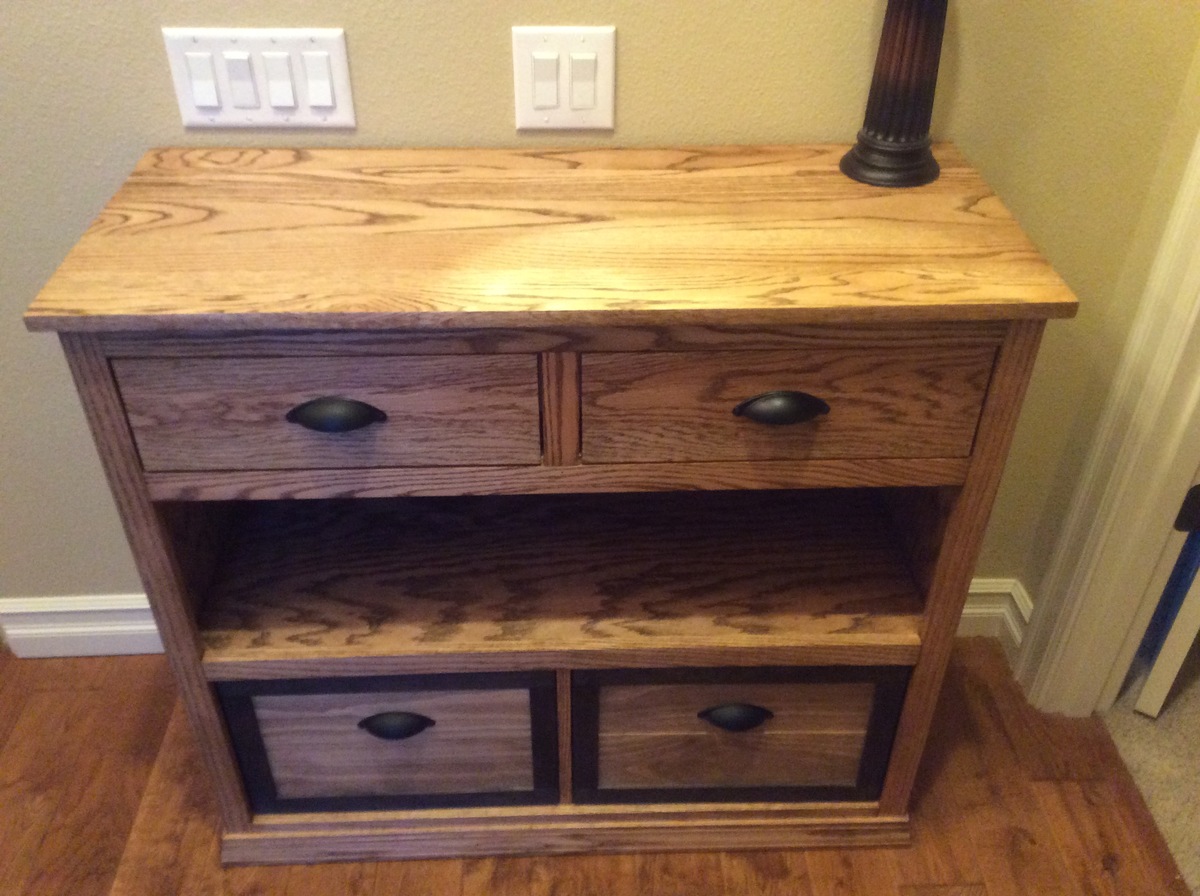
I changed the size and style of the Pottery Barn plan to fit our space and match the Fancy Hall Tree that we recently completed. We think it came out great so wanted to share.
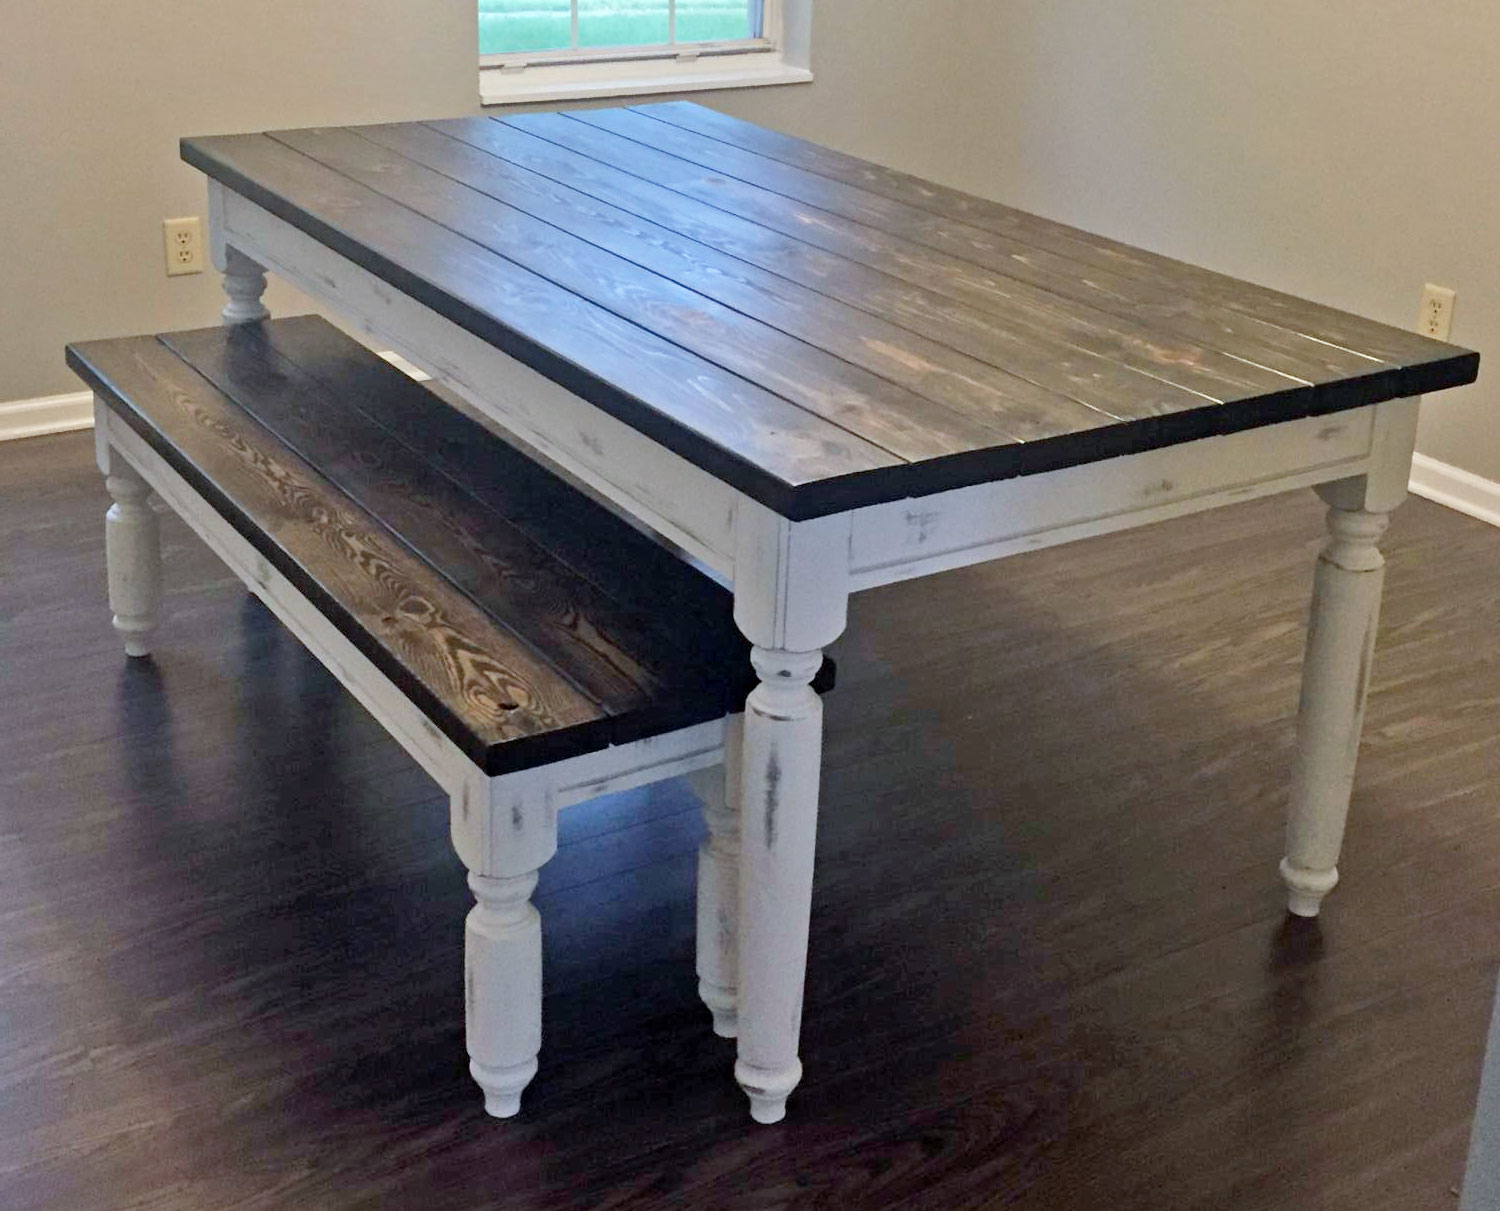
This project took me about 3 weeks of my spare time. Maybe an hour or two a day. I was lucky that I bought the table legs and bench legs together to match. I’m really pleased with the results. Thank you Ana White!
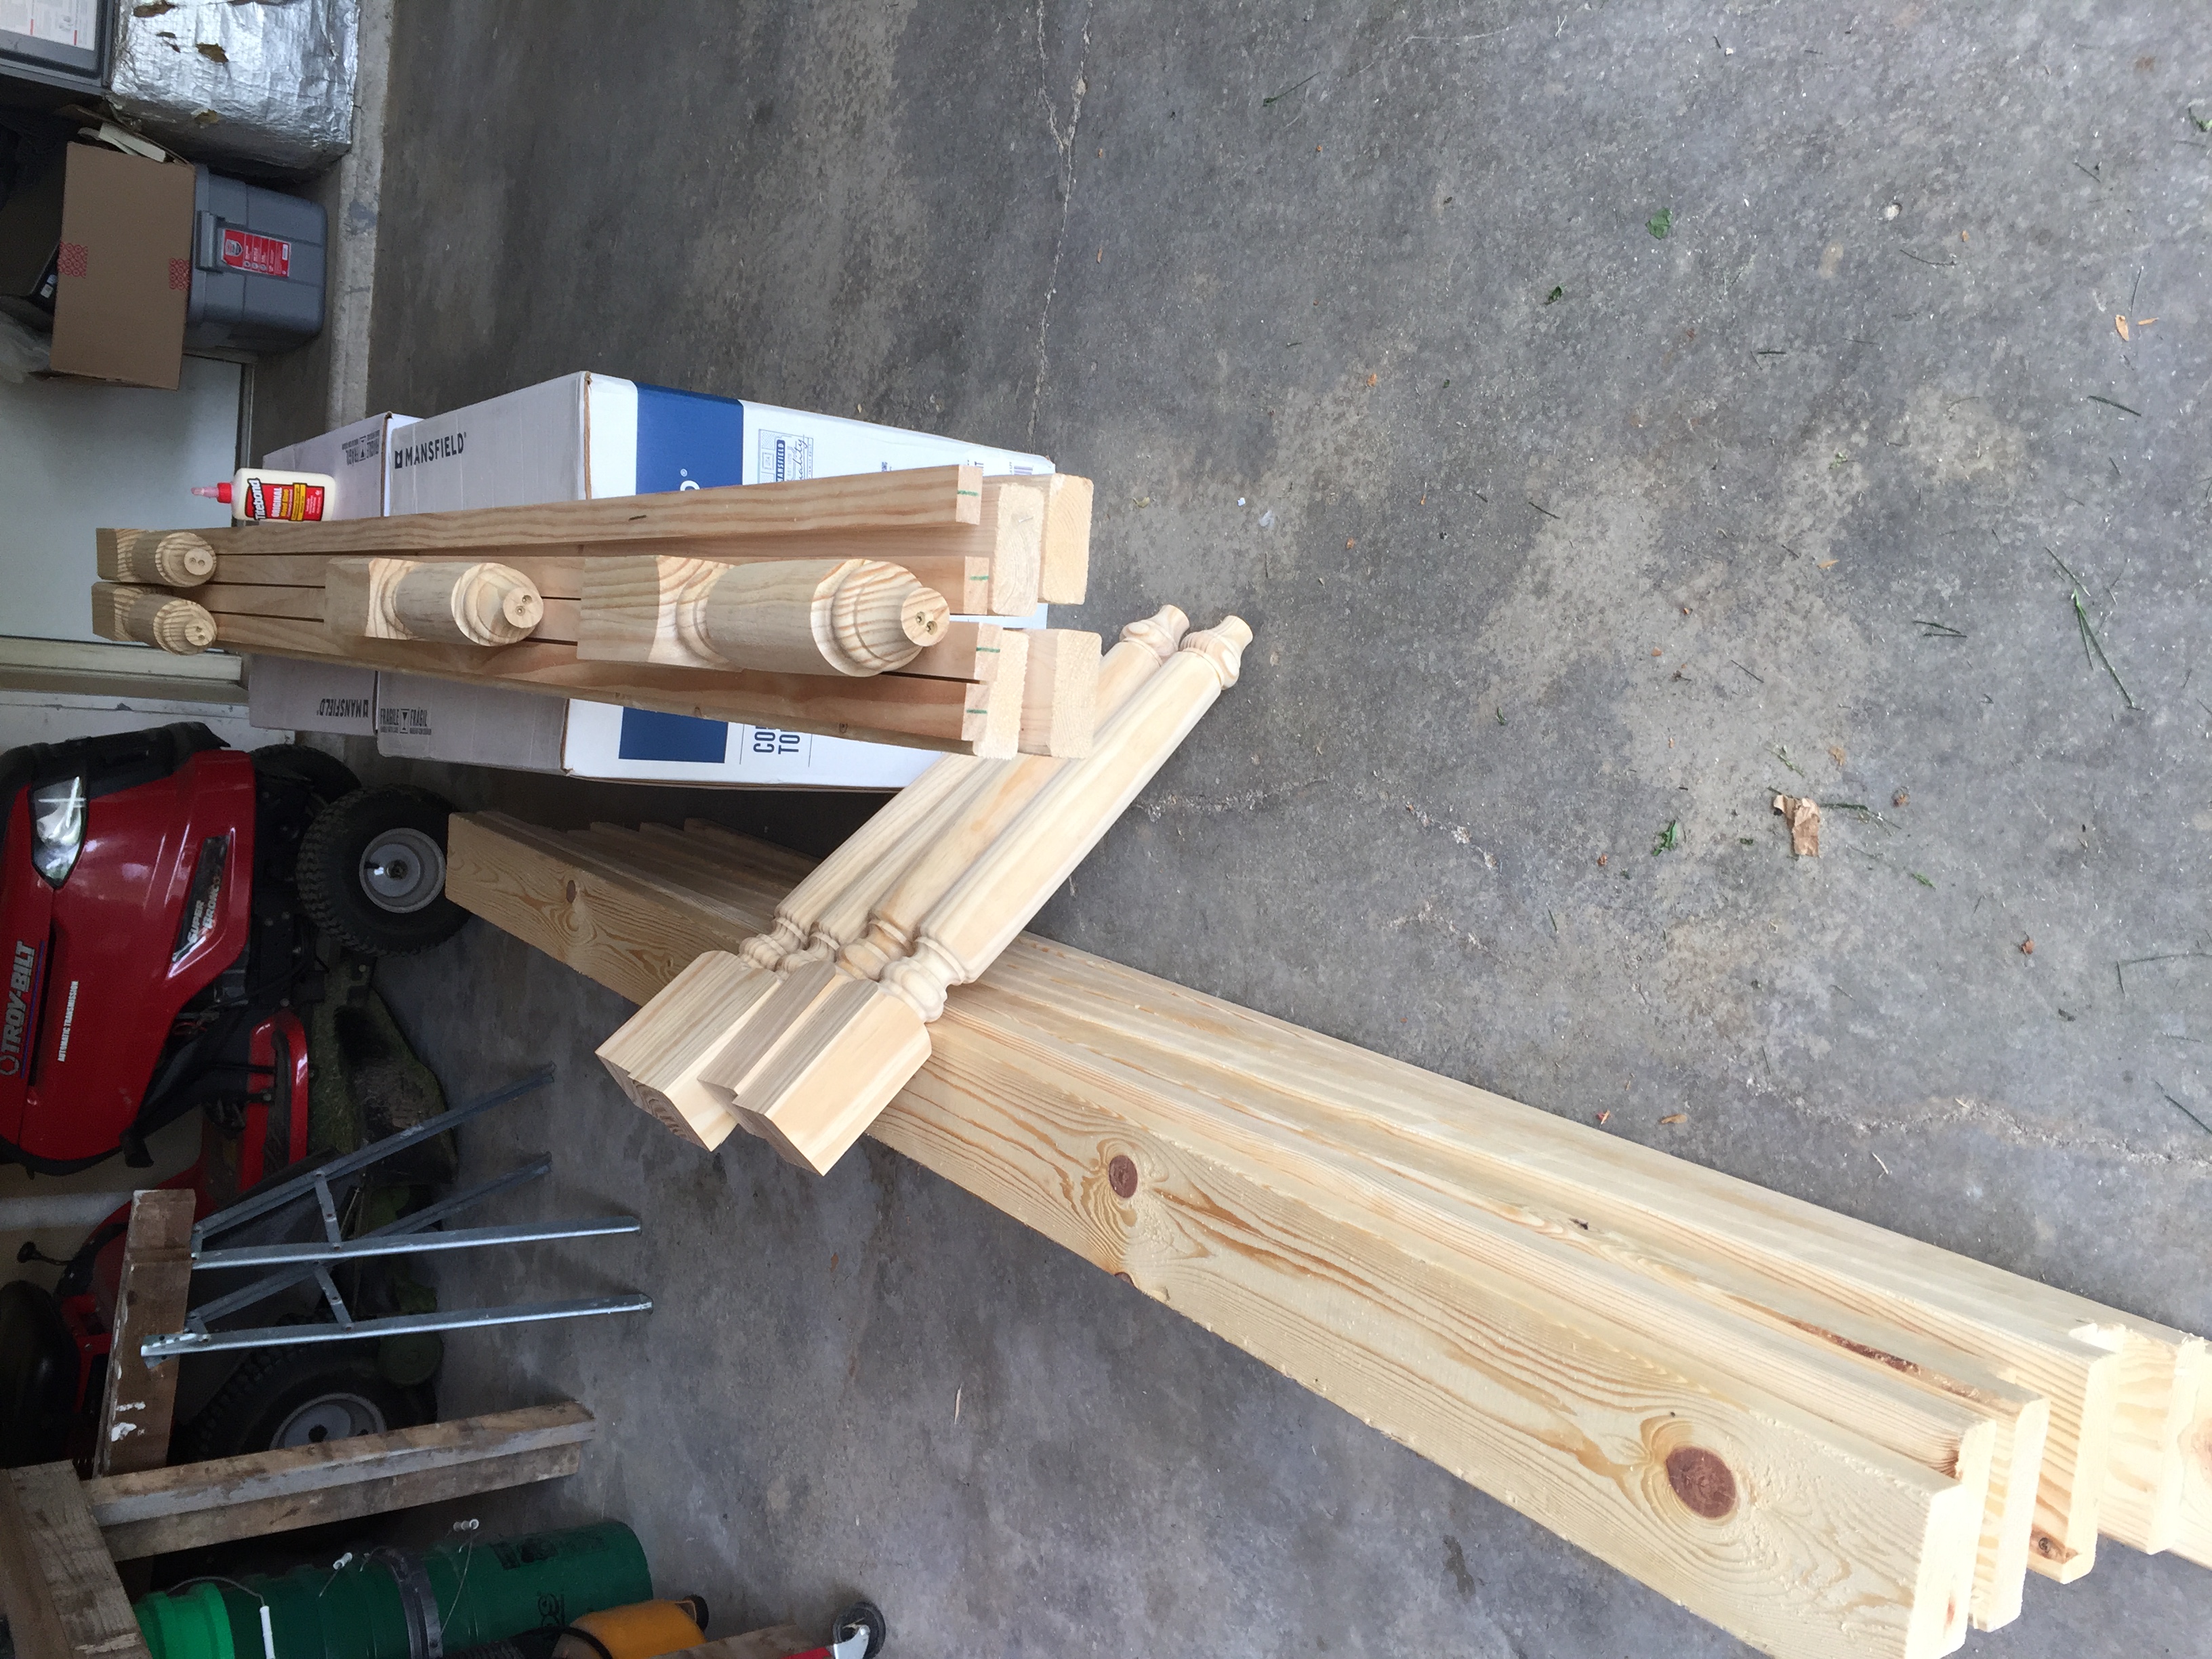
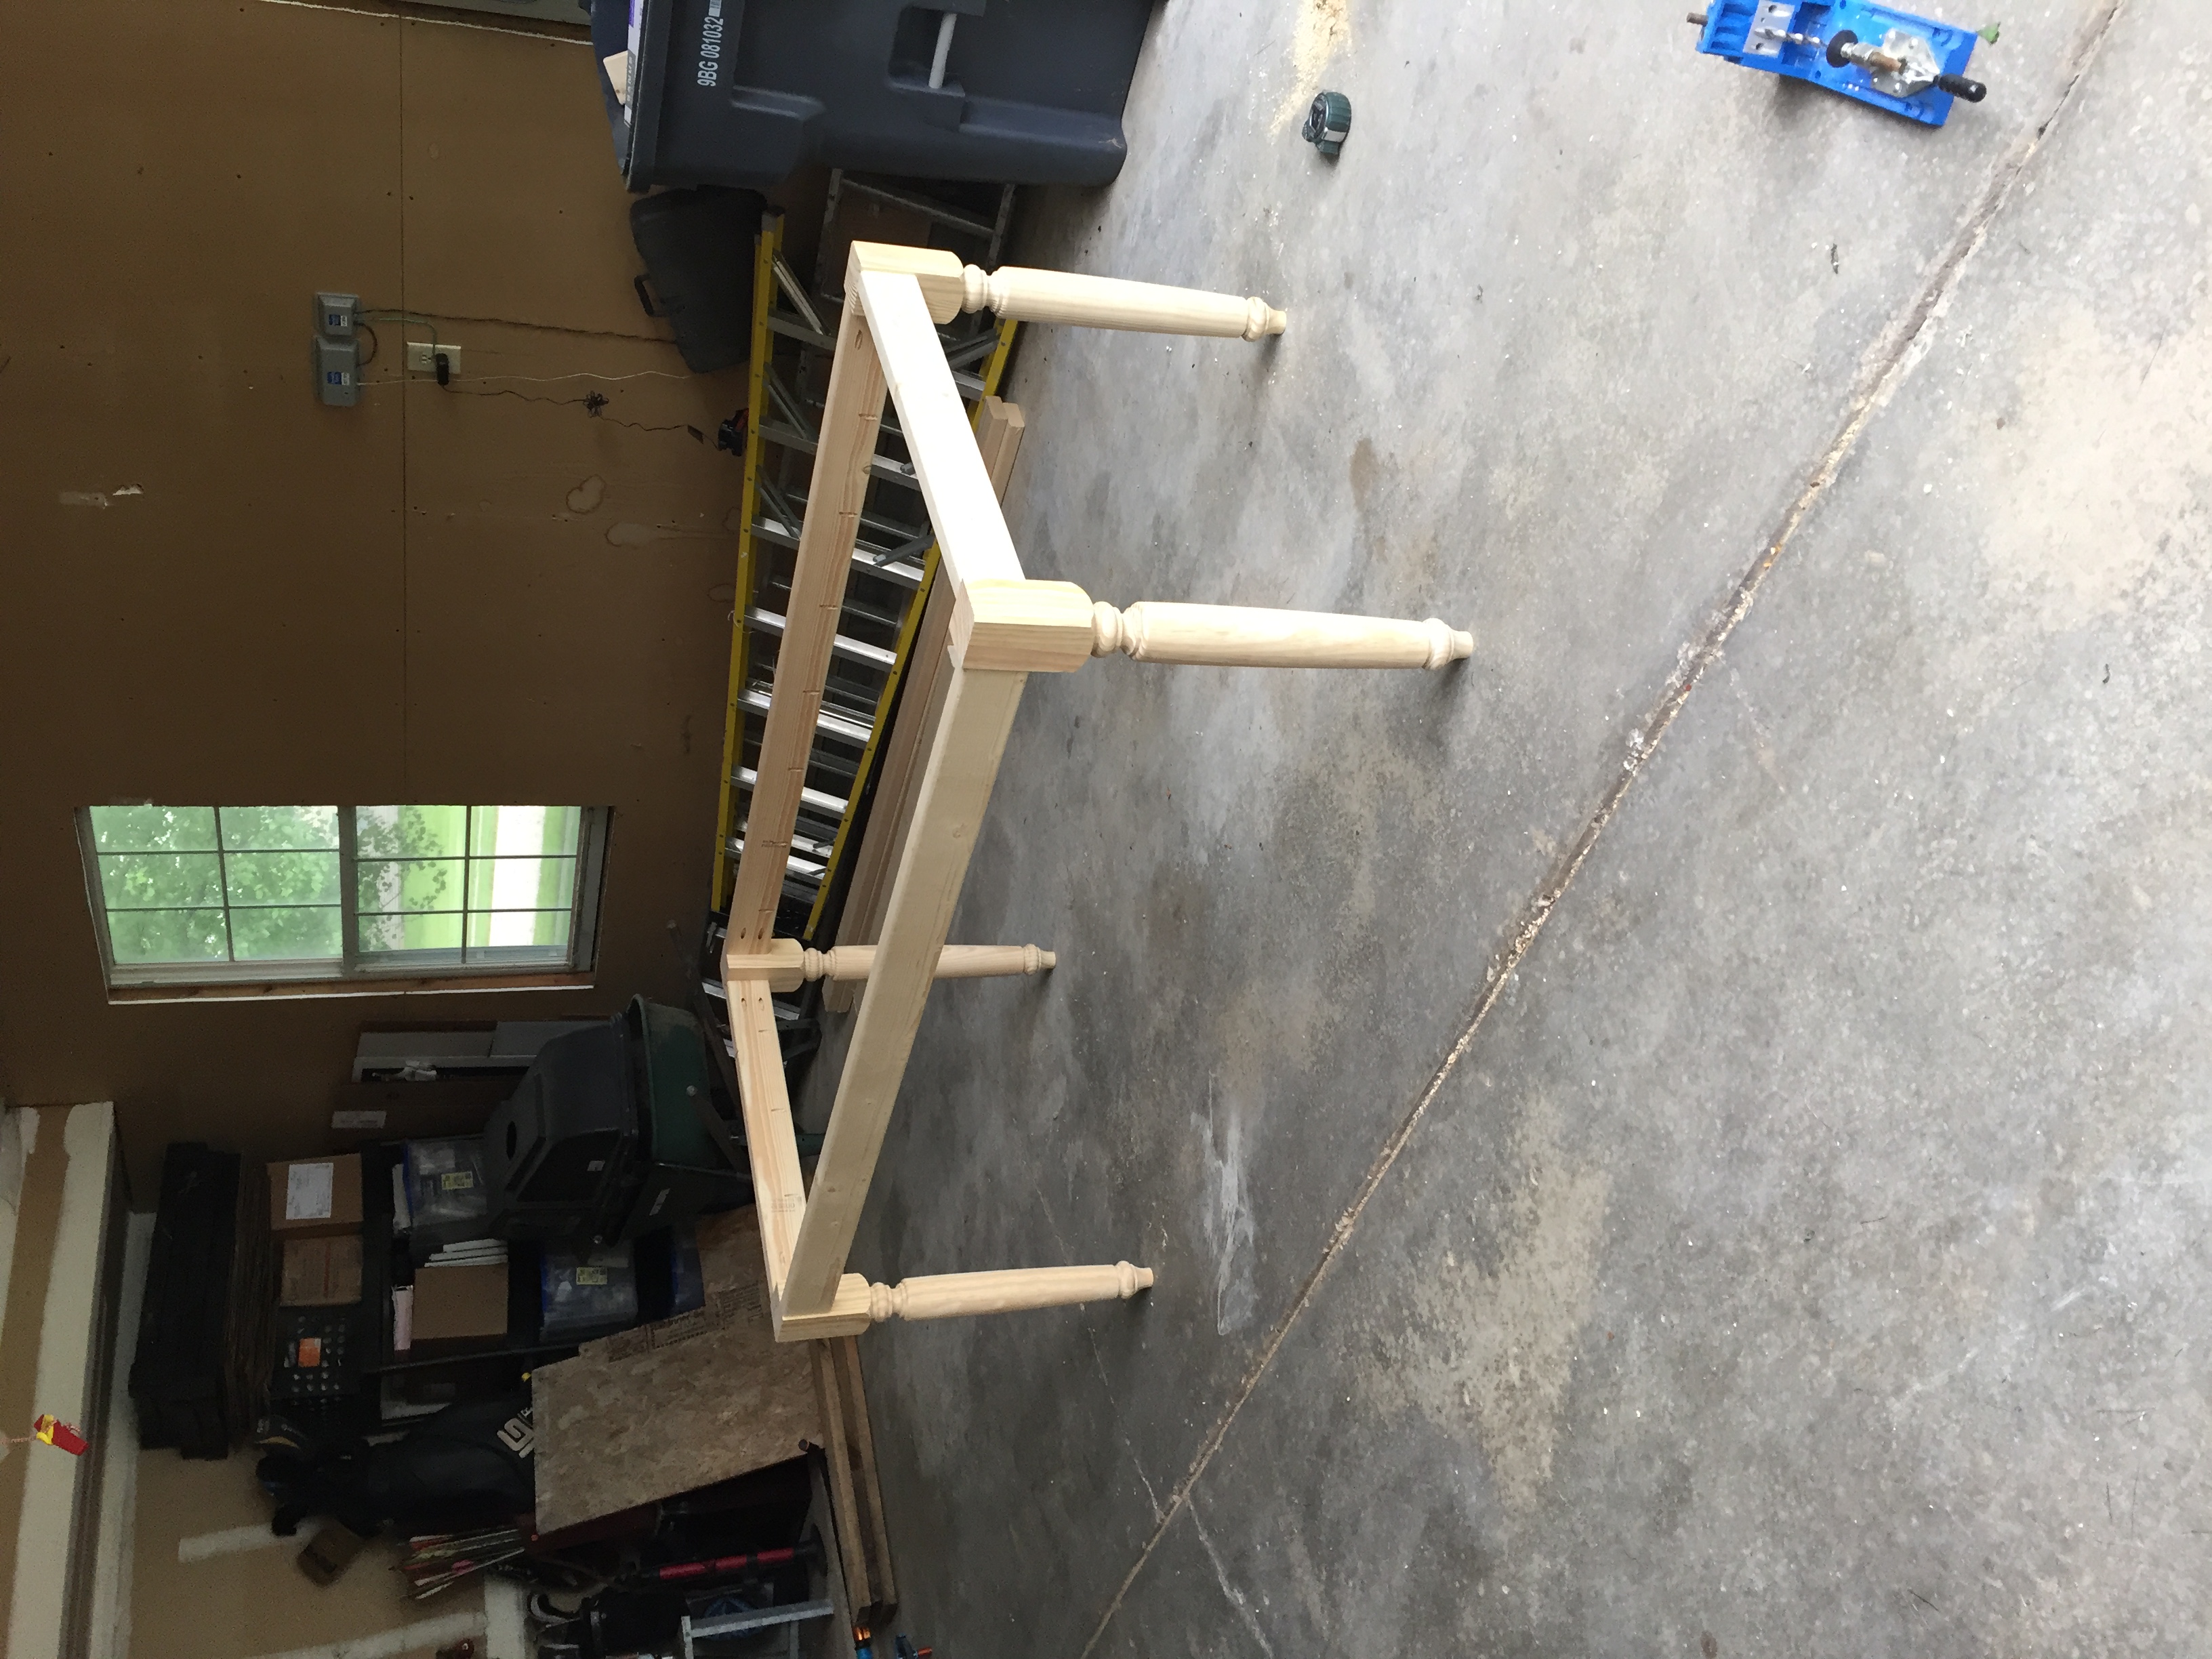
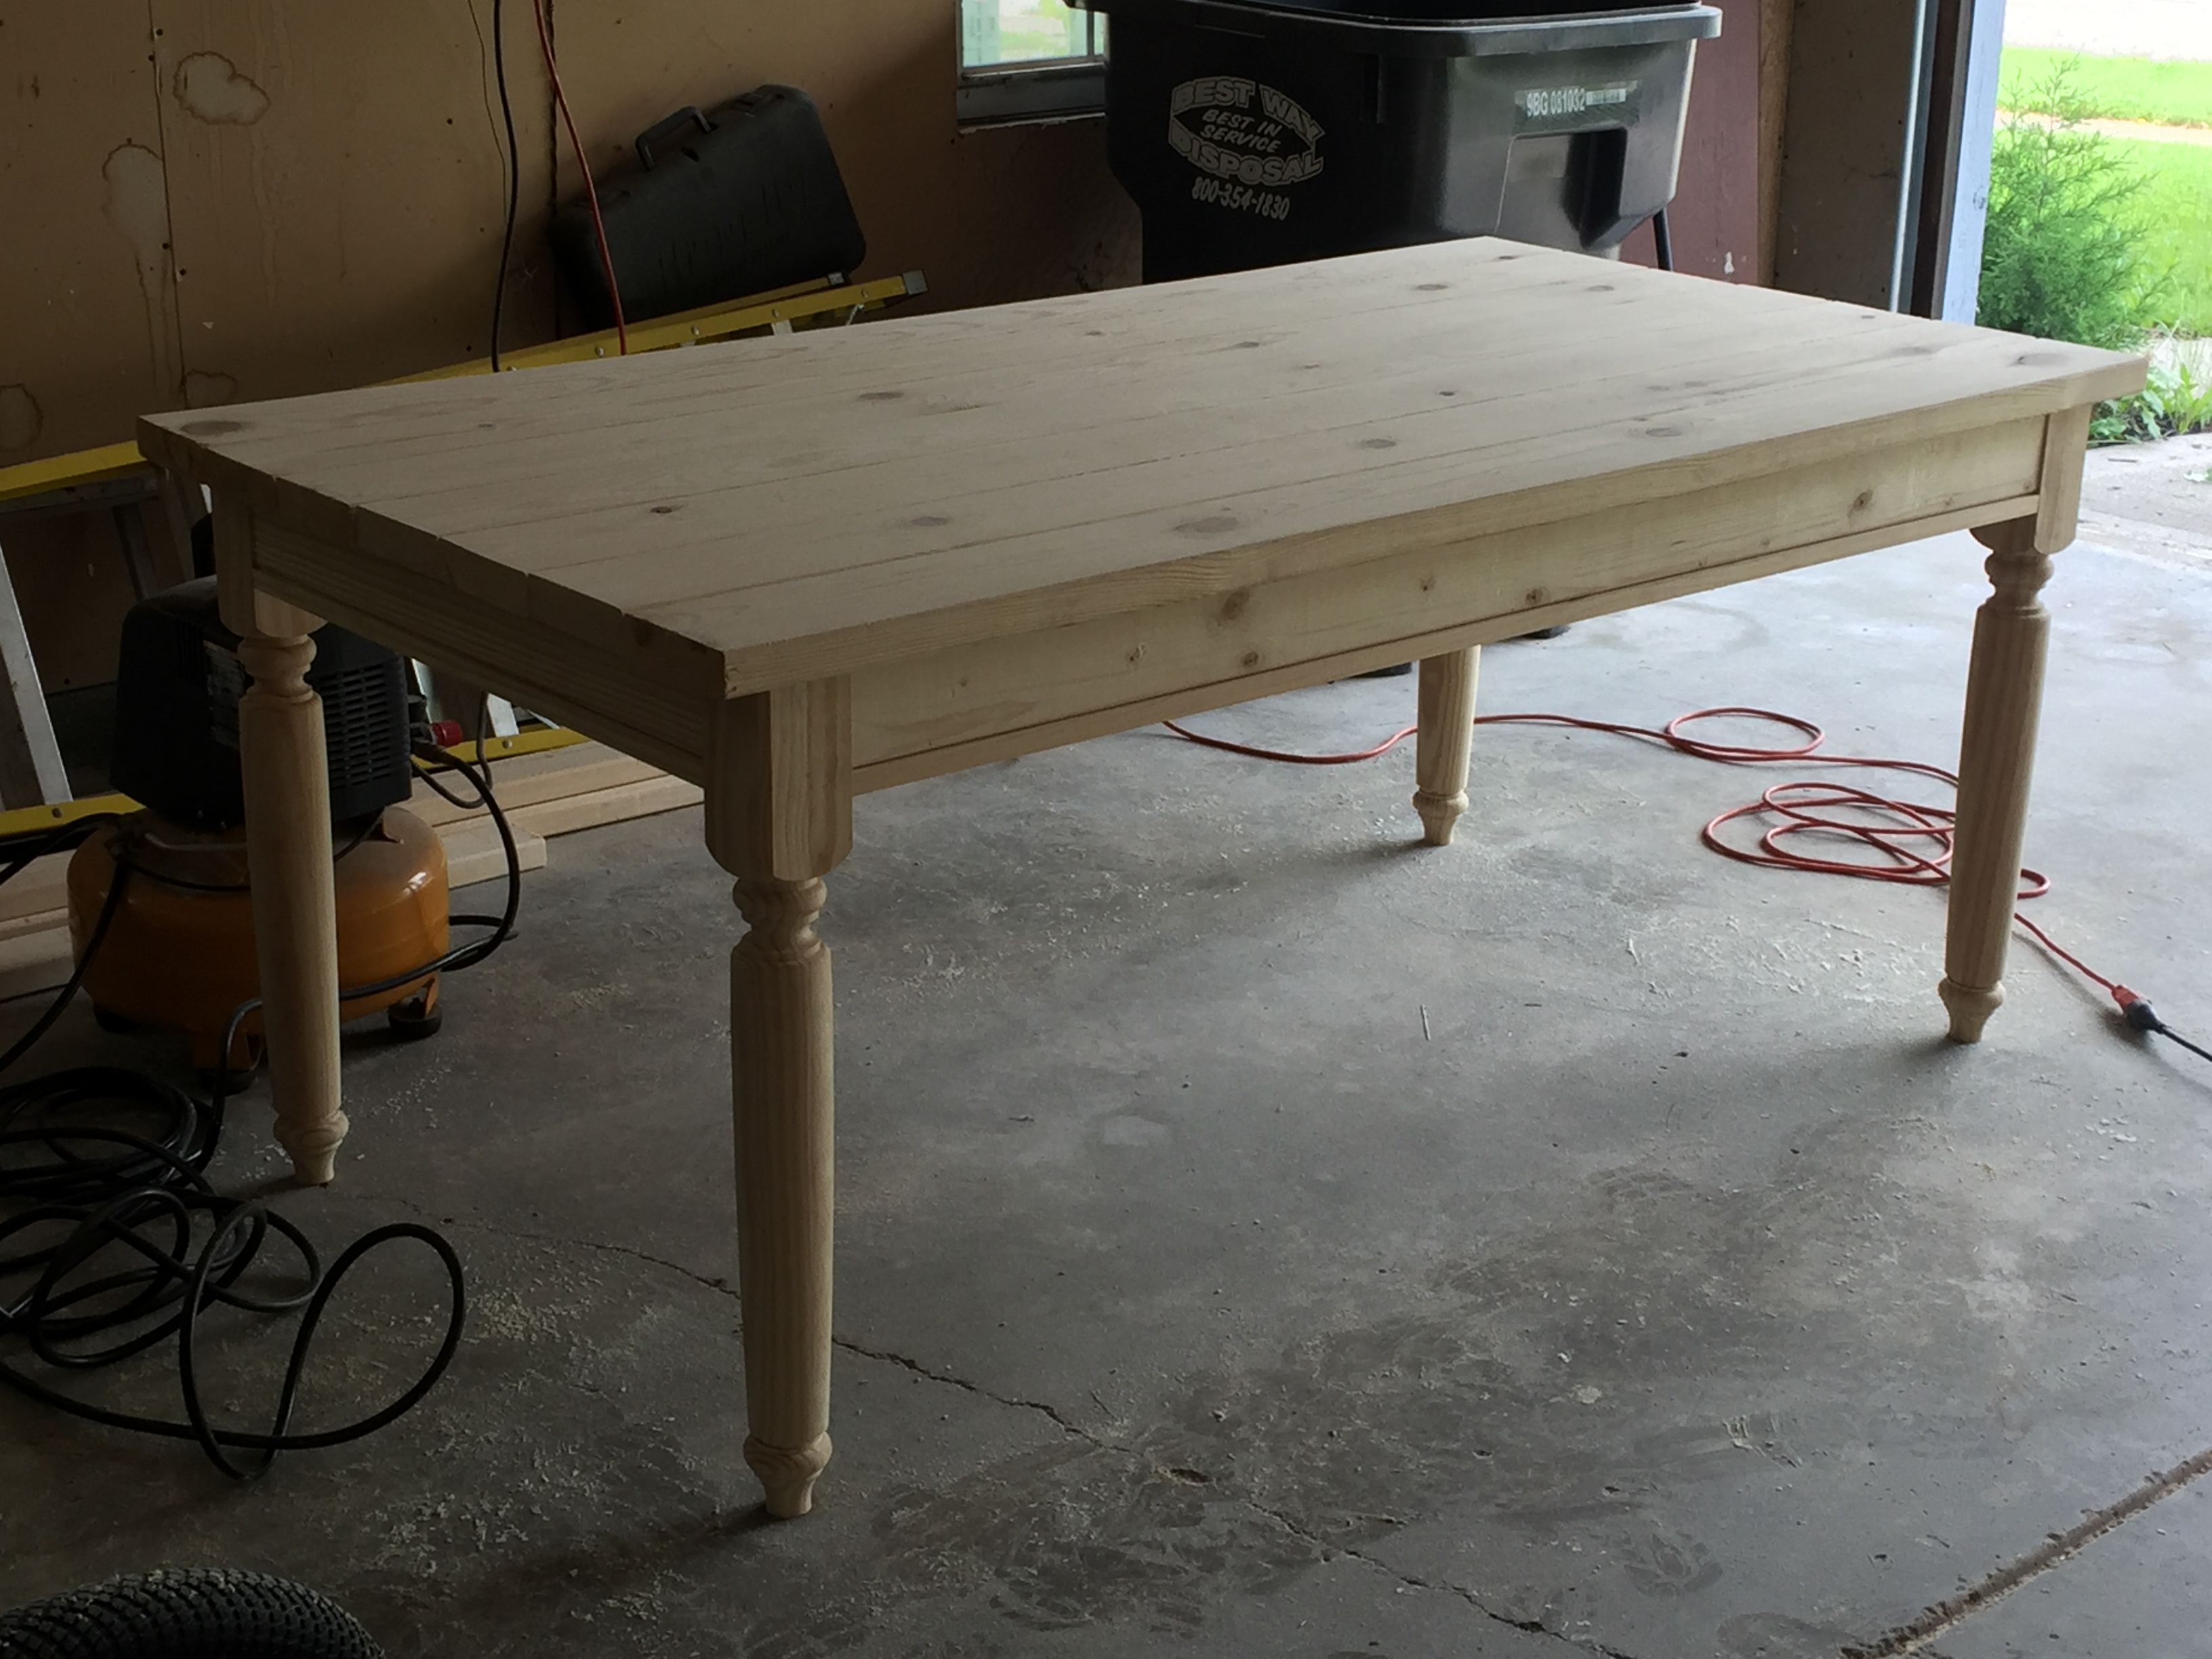
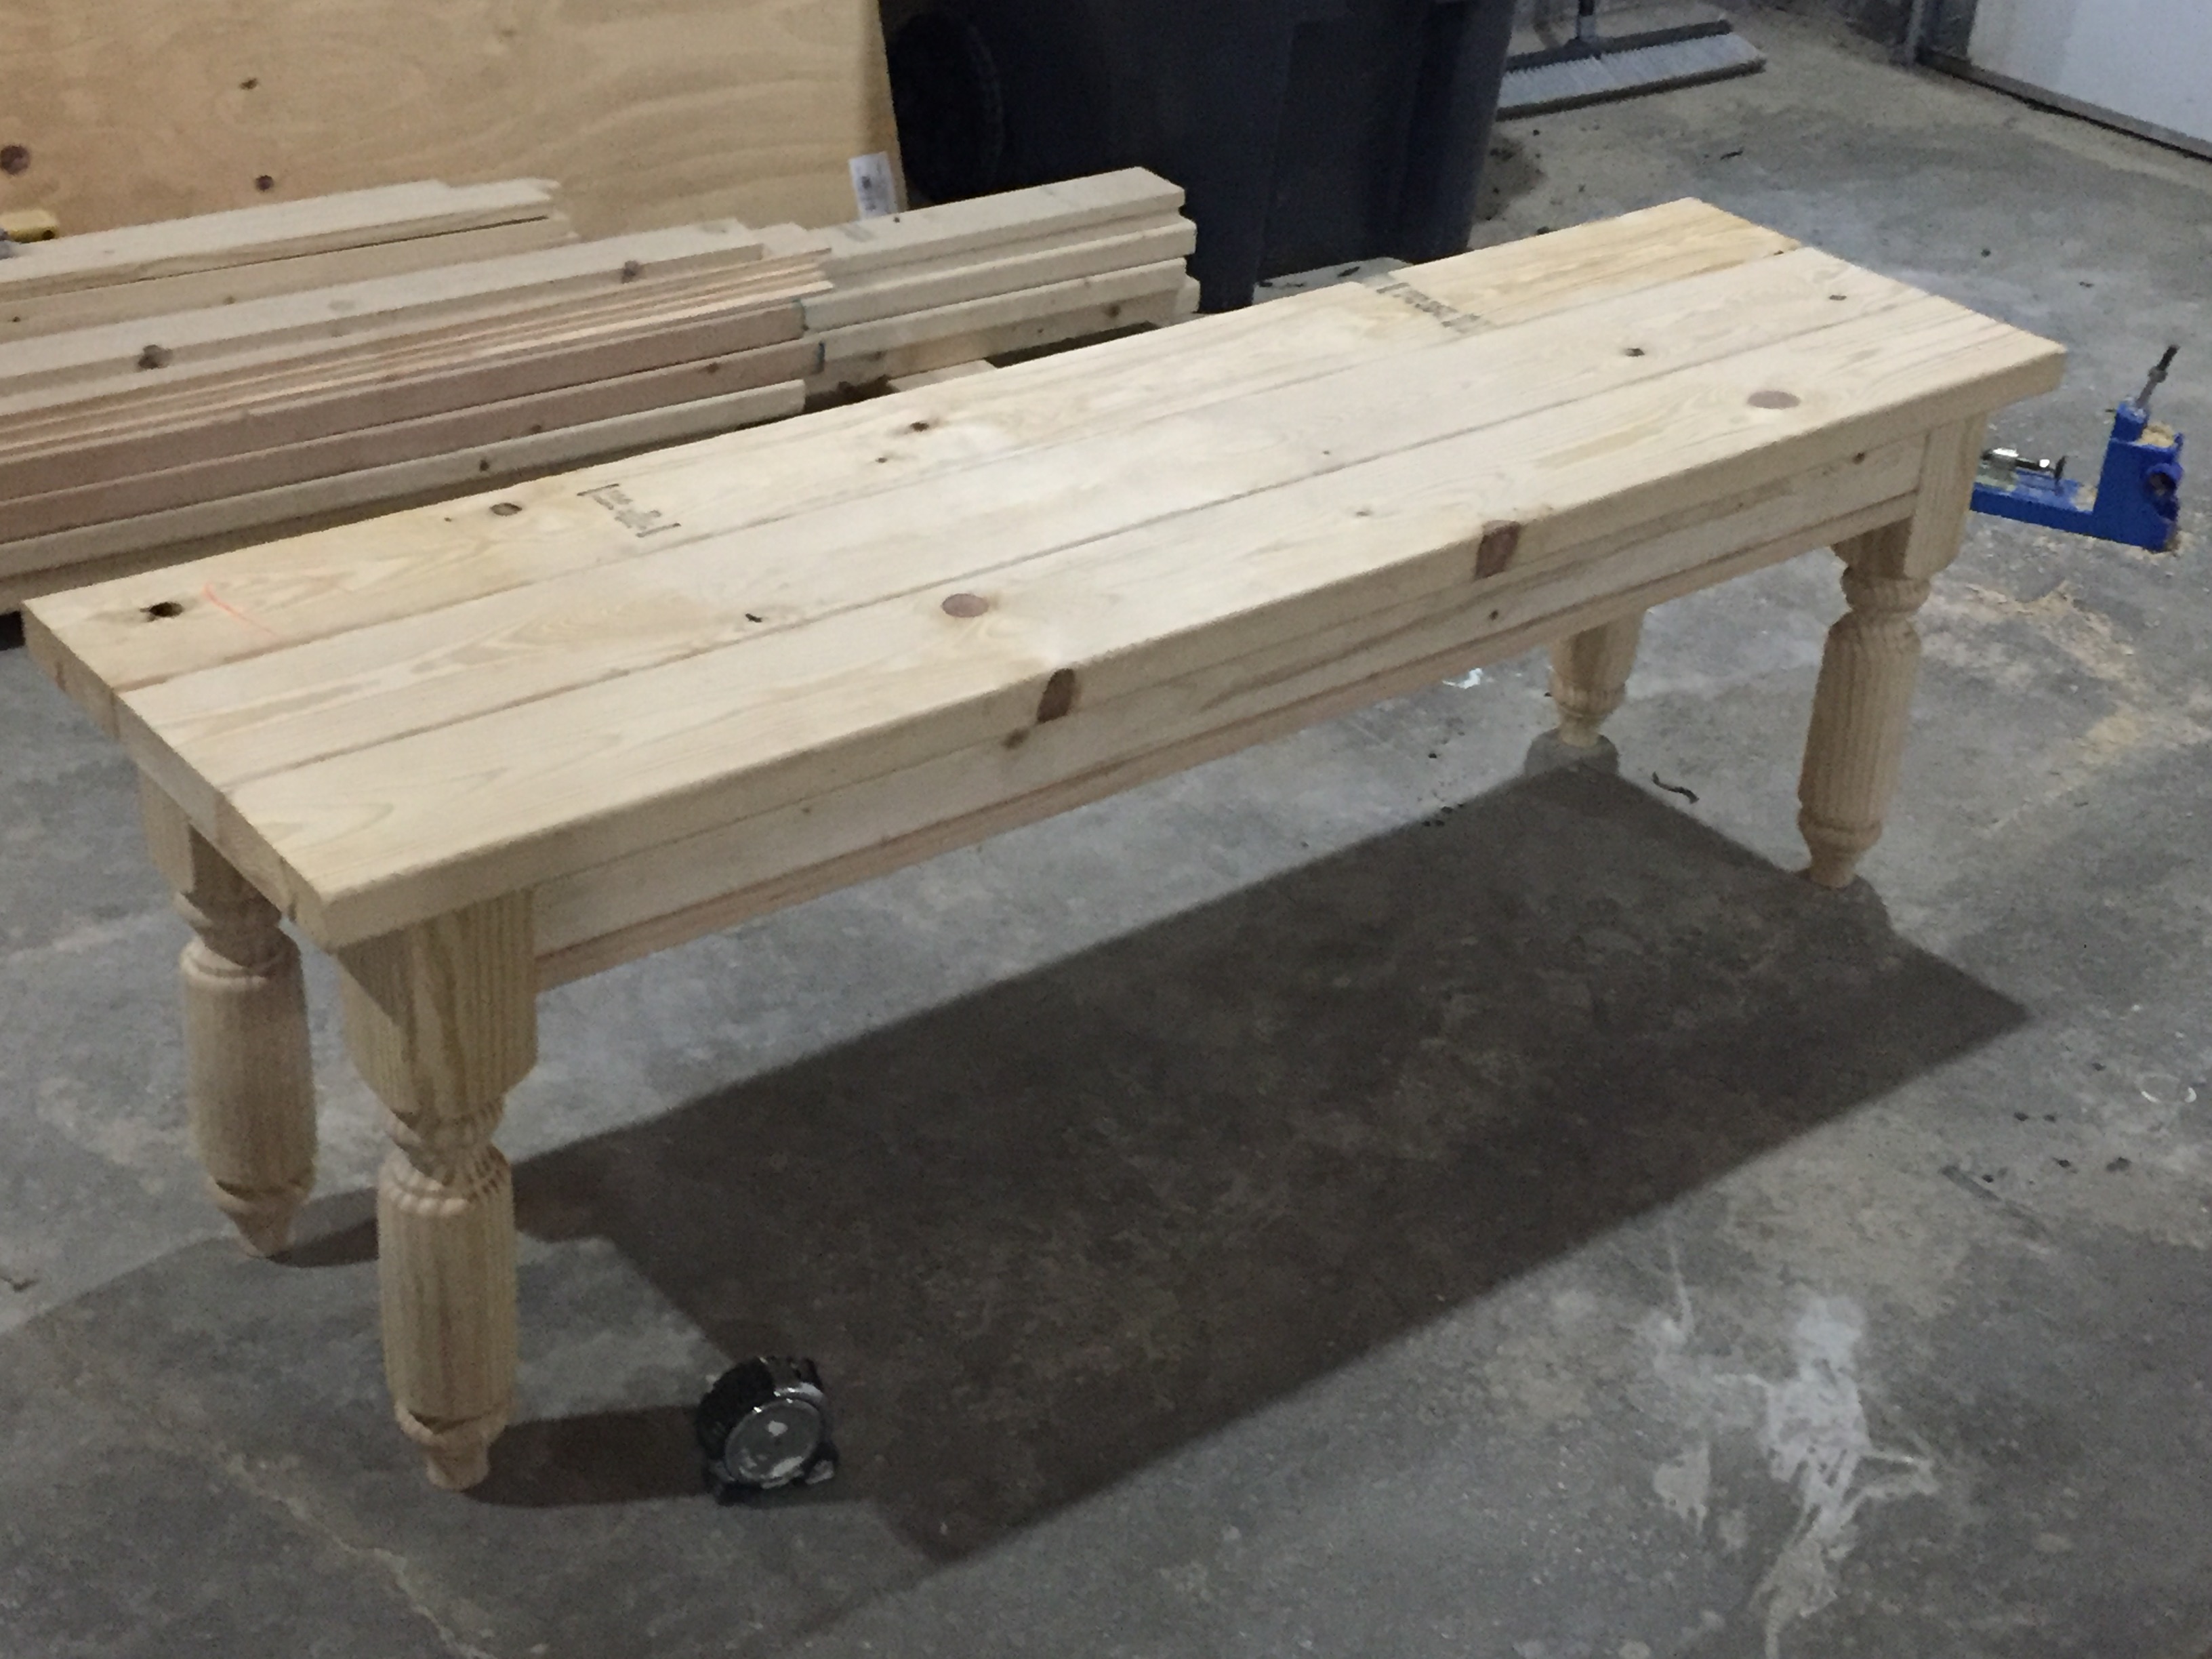
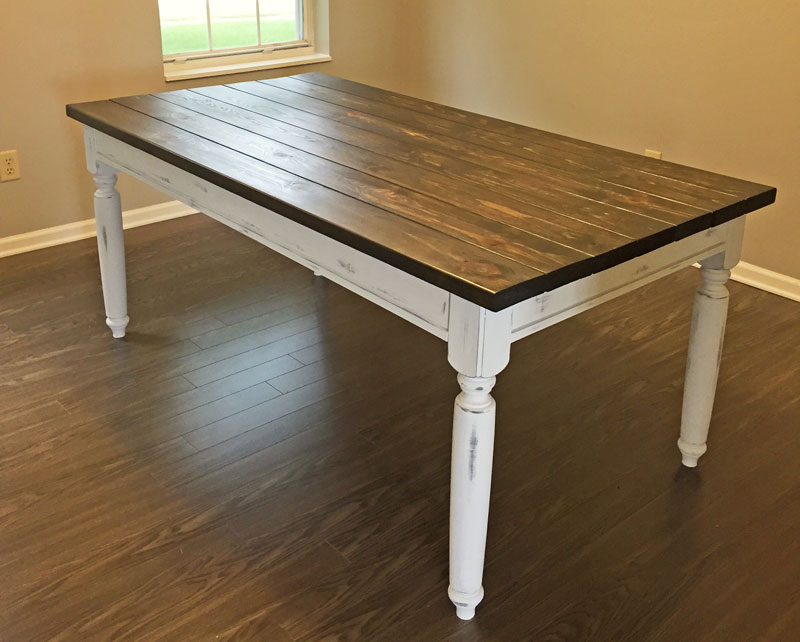
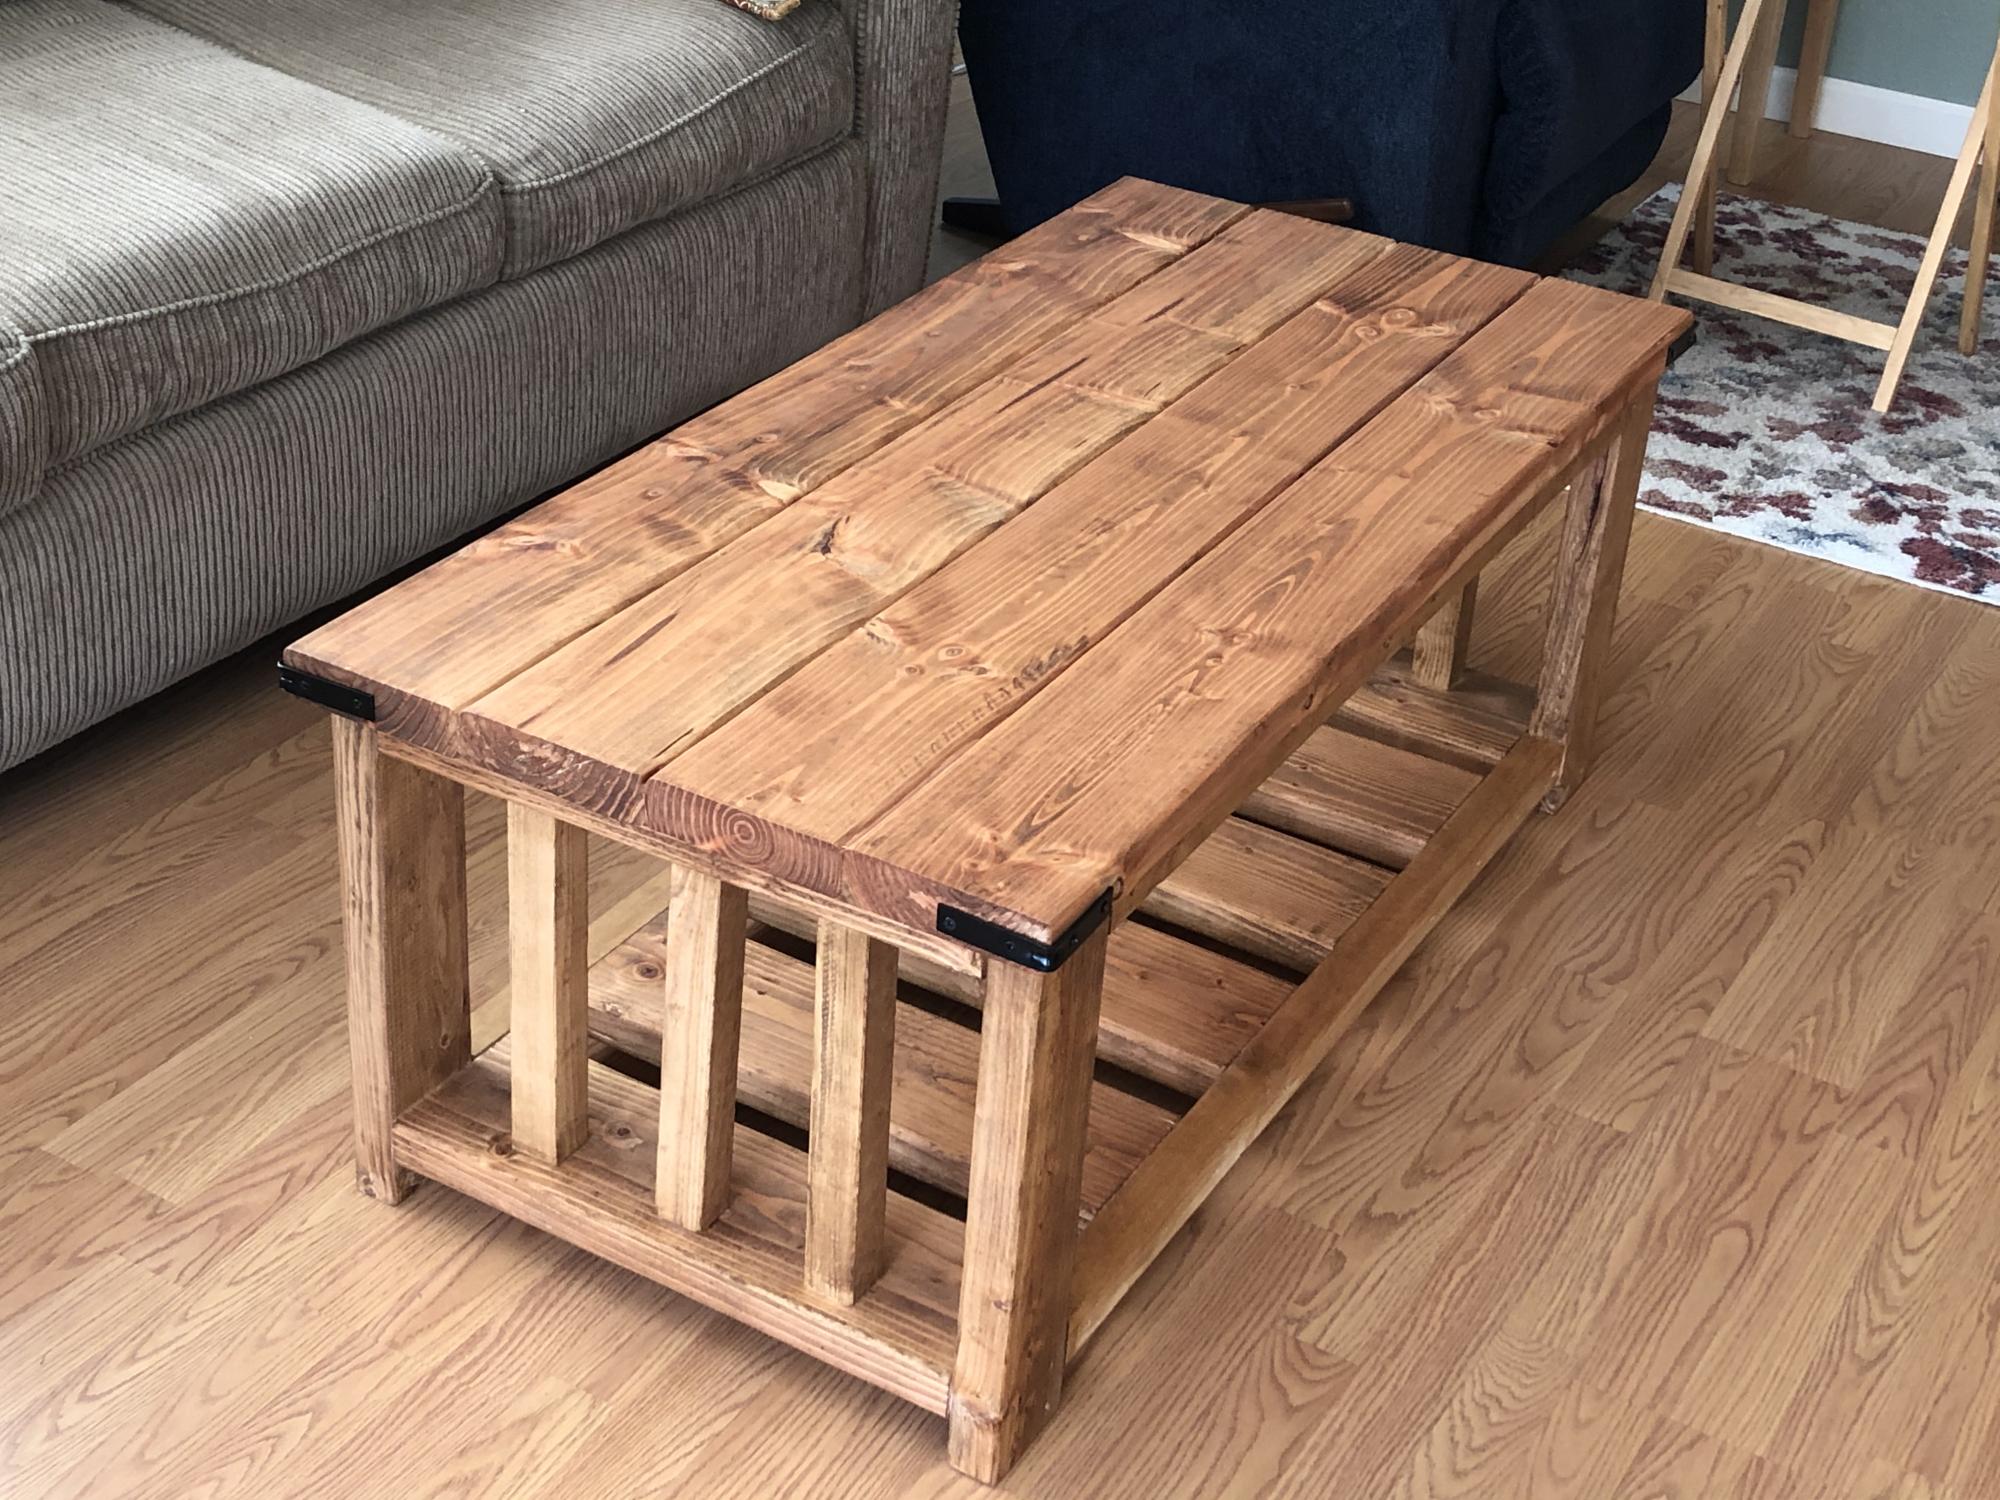
I was retired from my job and needed a new chore.
The plan seemed easy, and not being a real good carpenter, I required easy, and the plan was exactly that.
Thanks Ana.
Sat, 03/25/2023 - 09:19
Thanks for sharing, very pretty finish and the mods looks great!
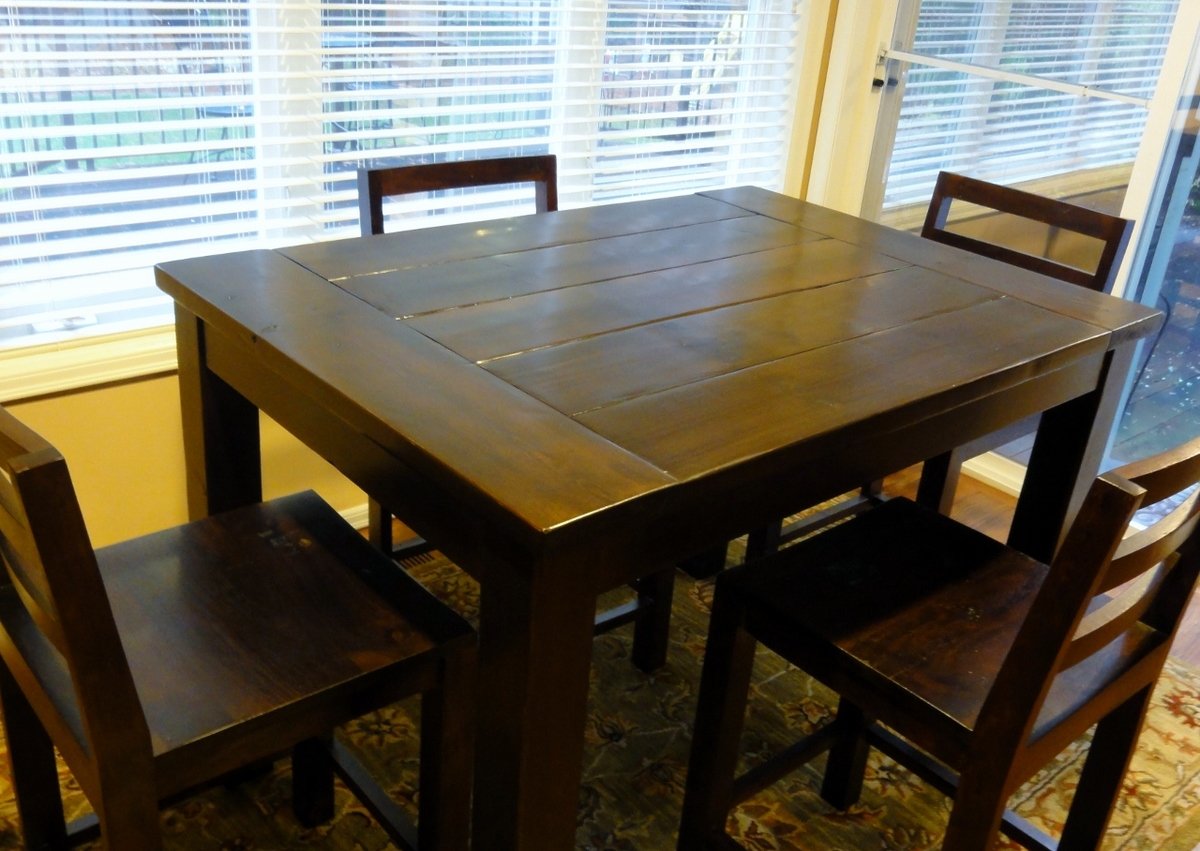
We badly needed a new kitchen table since ours has been completely destroyed over the years. Not a bad table, but too "smooth and perfect" for our lifestyle. I wanted something darker a lot more rustic that would not HIGHLIGHT nicks and scratches so badly.
I fell in love with a table at World Market, but it was the wrong size. It's called the Napa Gathering Collection. It comes in either a counter-height 3' x 3' table or a standard height 3' x 5' table. Shorter table is too long for the kitchen and the counter-height one was too small. *sigh* Here's a photo of the set. LOVE this!!!! So upset it's so small. World Market photo below makes it appear a lot more red than it is.

Anyway, it's made out of Acacia wood, so it was massively heavy and strong. I loved it so much that I bought the four gathering chairs and spent over a month trying to get Acacia wood without spending a fortune. No luck. So I decided the most similar table here on Ana's site was the Tryde coffee table.
I researched different hardwoods, but was so nervous to spend that much money that I decided my first kitchen table would be a rough draft with super cheap wood. LOL If I love it then I didn't spend a lot. If I don't love it, I will learn from it and can build it again someday with more expensive hardwood like maple.
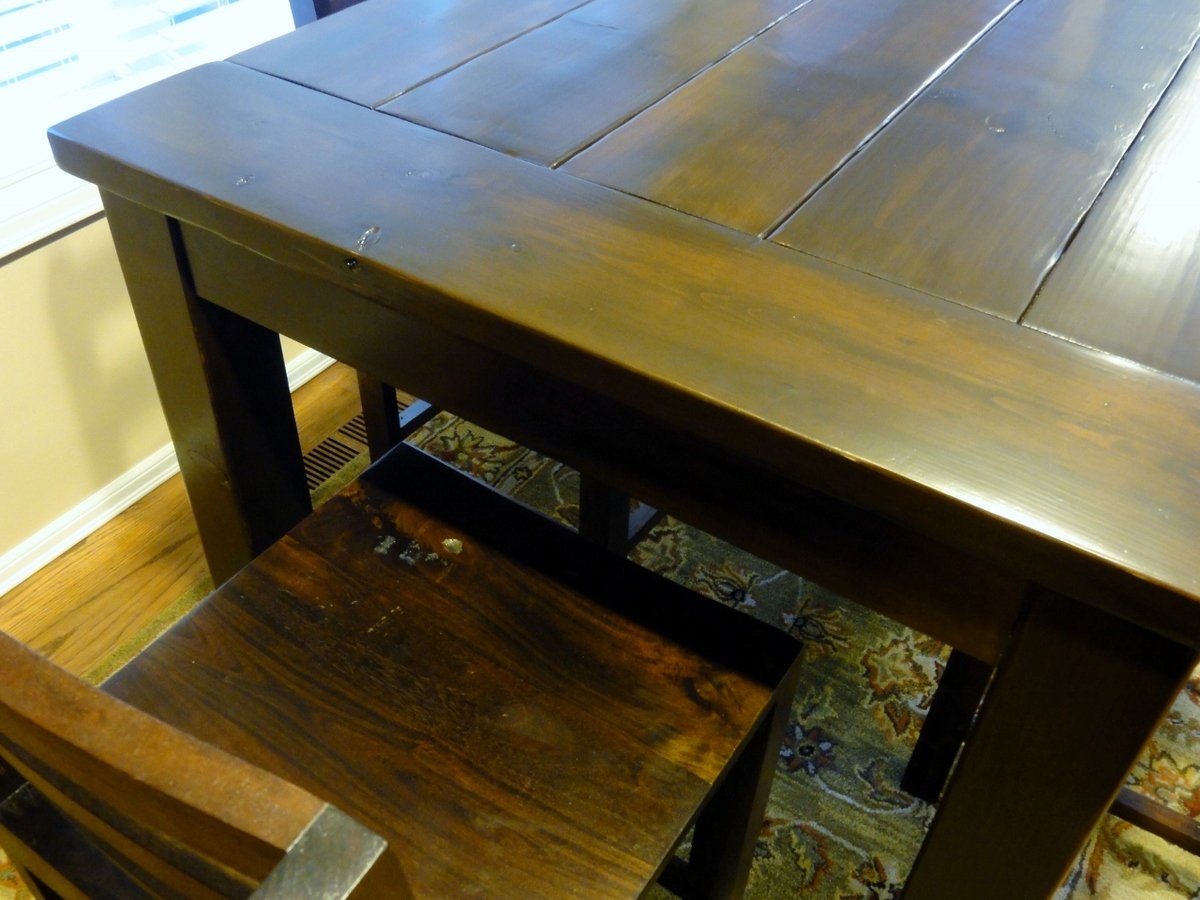
I used the 2x8 hemlock for the tabletop, hemlock 4x4 legs and finished hemlock 1x4's everywhere else. I used cheap 2x2 studs for the support structure underneath. This table was almost exclusively built using Kreg joins, with only a few exceptions where necessary. No visible screw holes to fill ANYWHERE! Yay! LOVE my Kreg Jig!
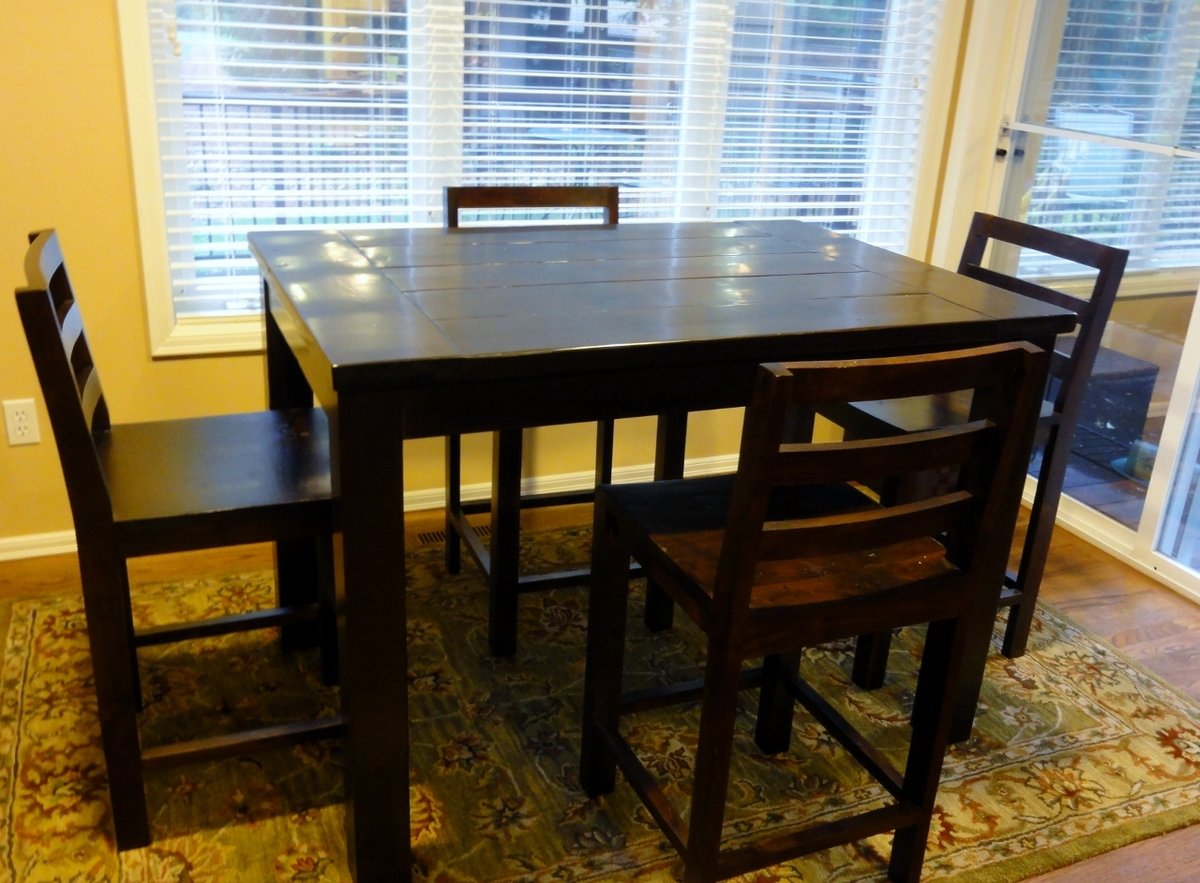
Lots of sanding, Benite wood conditioner, red-ish dye, dark chestnut stain and three coats of poly later... and I moved it into my kitchen this morning! So excited!!! I love how it turned out!
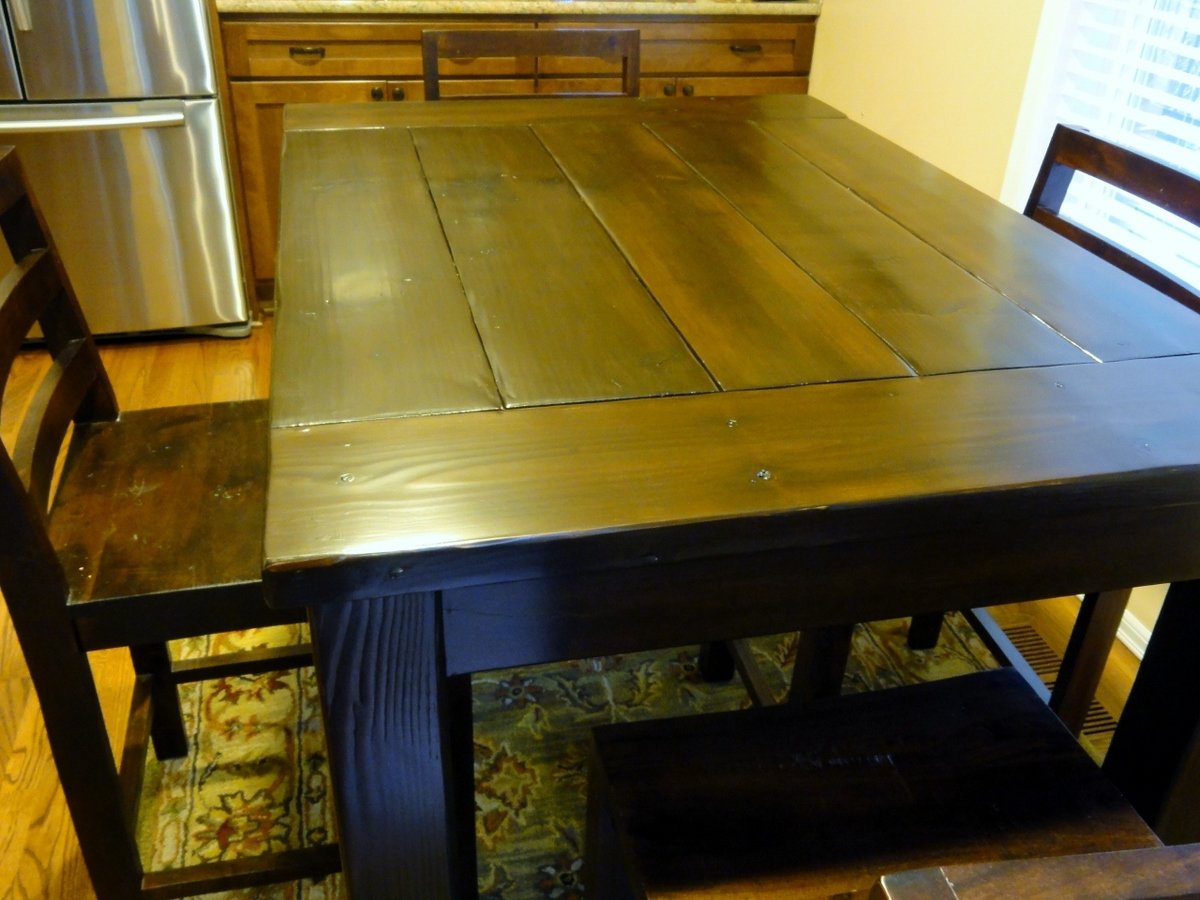
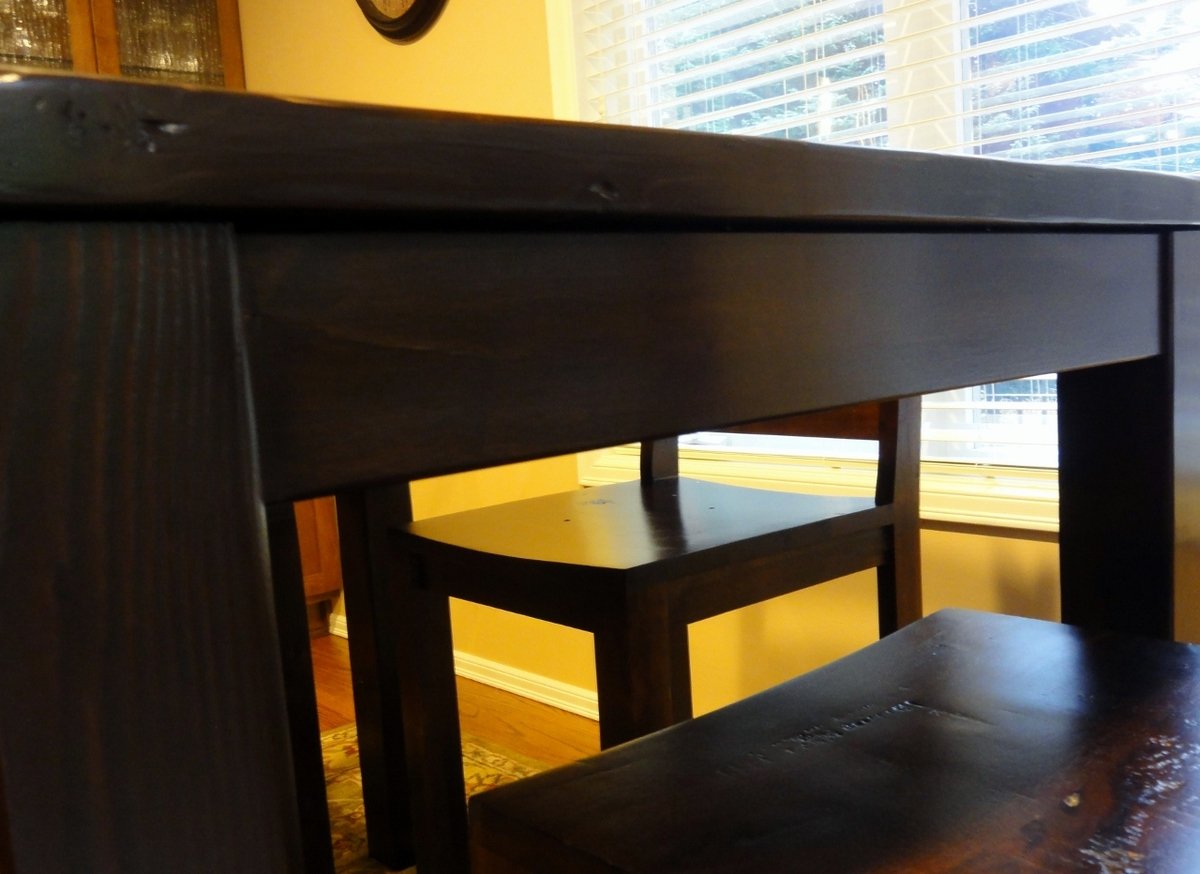
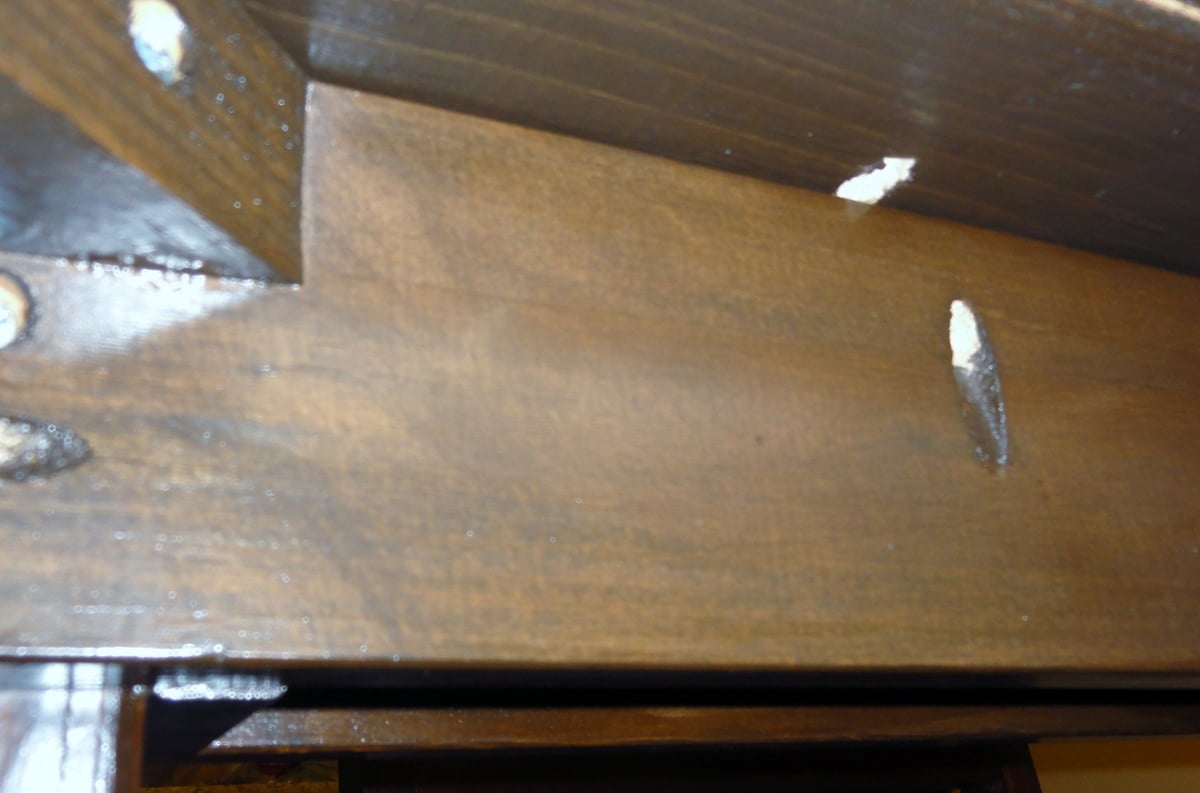
Wed, 12/07/2011 - 18:24
I am in the exact same boat as you. We badly need a new kitchen table, but I have not been able to find what I want in my price range. Therefore I am prepping to build a new kitchen table this weekend!
Tue, 01/10/2012 - 06:48
Wow, I love the table! I very impressed. You captured that robust rustic look that I have always liked. Its one of those tables that makes you wonder what stories have played out on and around it. You did awesome and thanks so much for sharing it. I am certain that I am not the only one truly inspired by your creative and can do spirit. You go girl! Can't wait to copy this and whatever you do next. Please don't stop and please keep sharing. You are just awesome. Wonder what might happen if someone gave you a welder too? Take care and thanks again!
Wed, 10/31/2012 - 10:52
Tryde Counter-height Kitchen Table is exactly what I need - want - gotta have it - can anyone help me out with the how to plans? diminsions?! Something?!
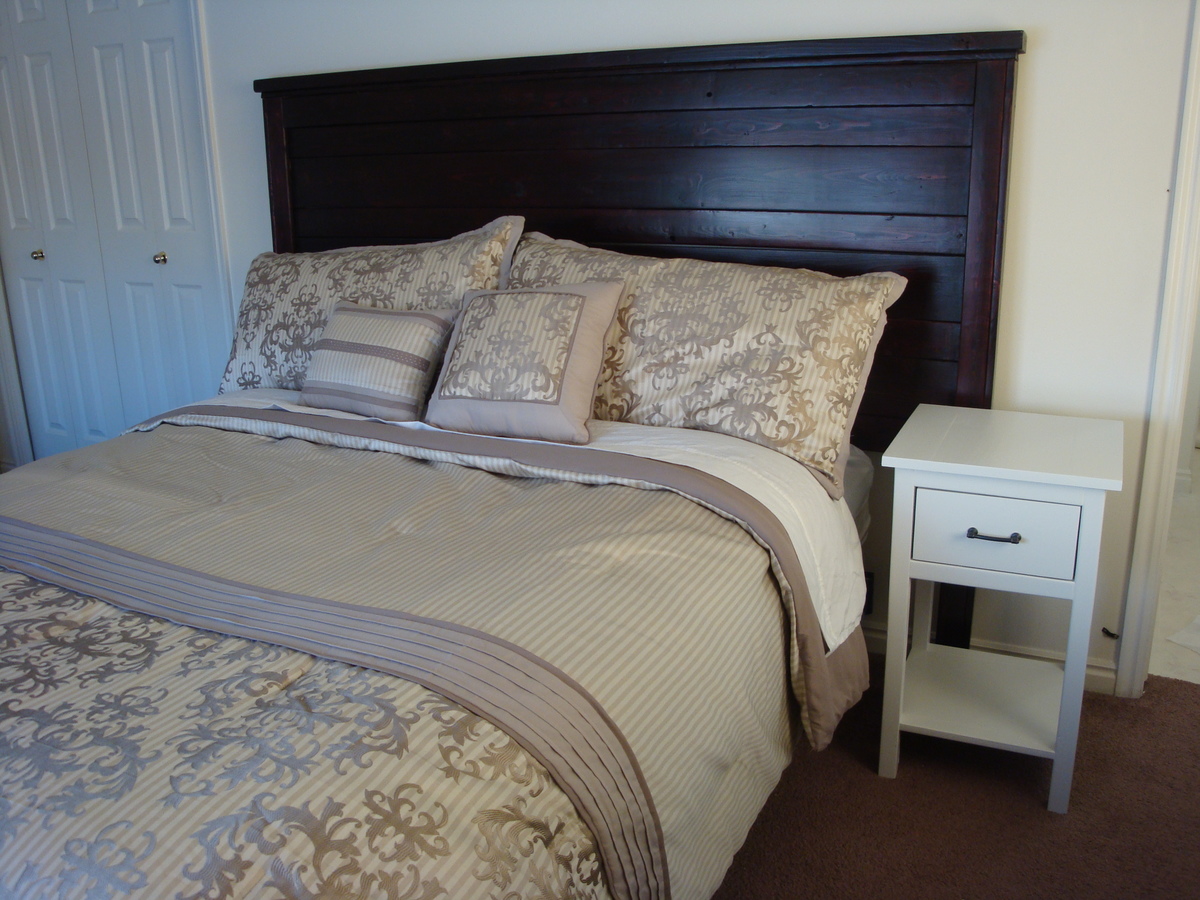
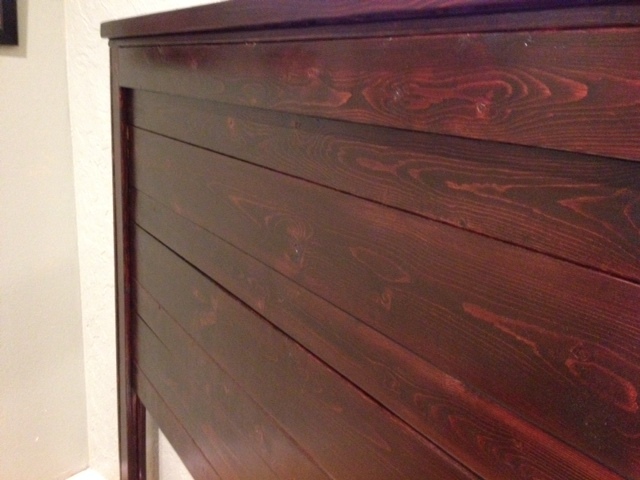
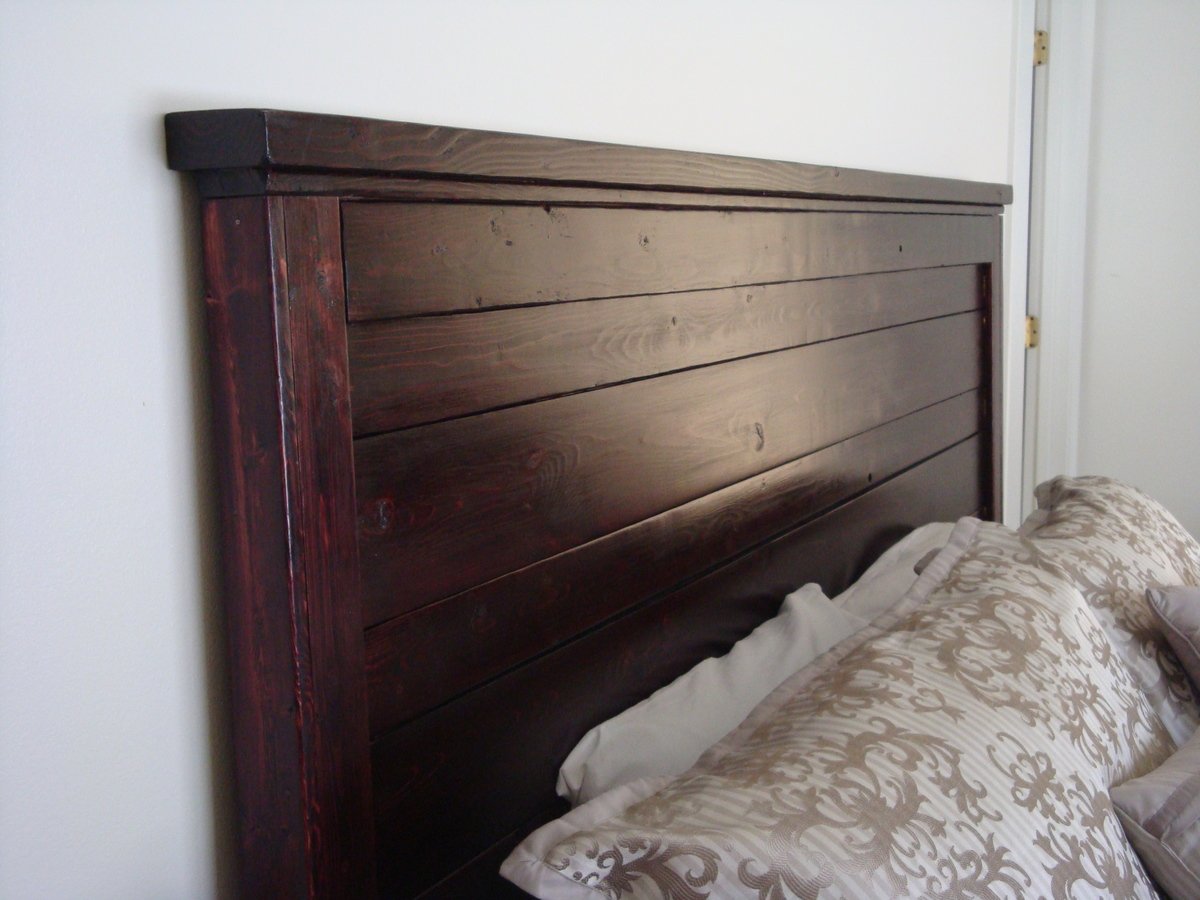
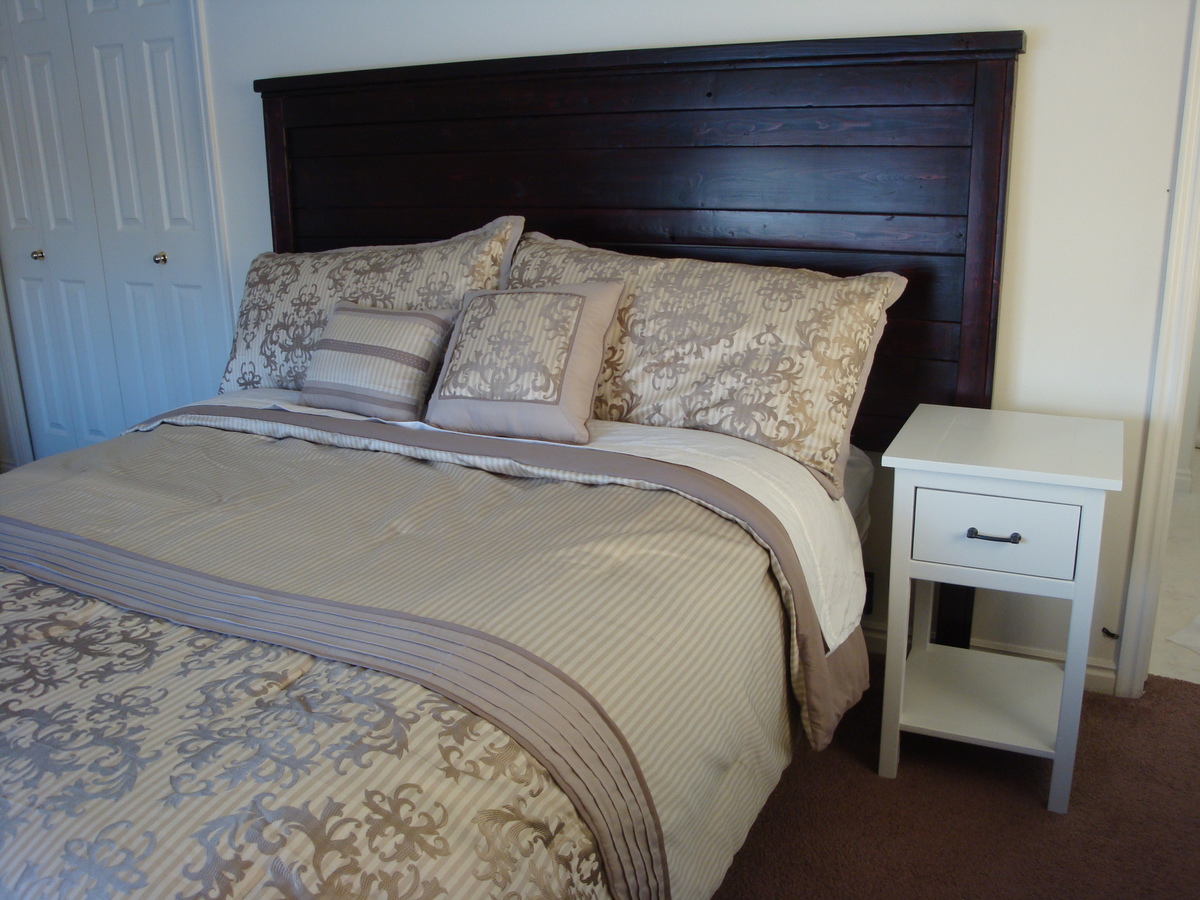
I am so happy about how this headboard turned out. It is exactly what I have always wanted. I am so excited that it is sooooo much cheaper than buying the one from Pottery Barn. I would never have been able to afford that one. This one only cost me about $50 for the wood, and then I was able to make an end table and a picture frame from the leftover scraps!
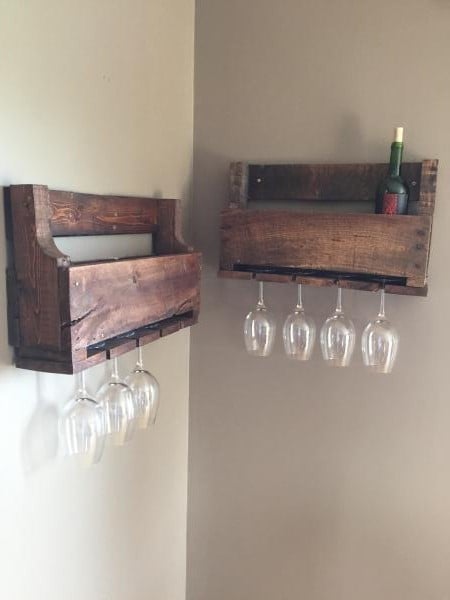
My wife showed me this wine rack on a you tube video so I checked it out. She really wanted one so I made her two of them. I also made a longer one for liquor bottles as well, ill post it as soon as I hang it on the wall.
I made this bed to house the new standard king mattress that my husband bought. The hardest part is probably picking the straightest lumber possible. Straight lumber would eliminate having to wrestle with the boards to line up/square and minimize power tools used. I had to ask my husband help with the screwing bowed boards together, but other than that I did everything by myself.
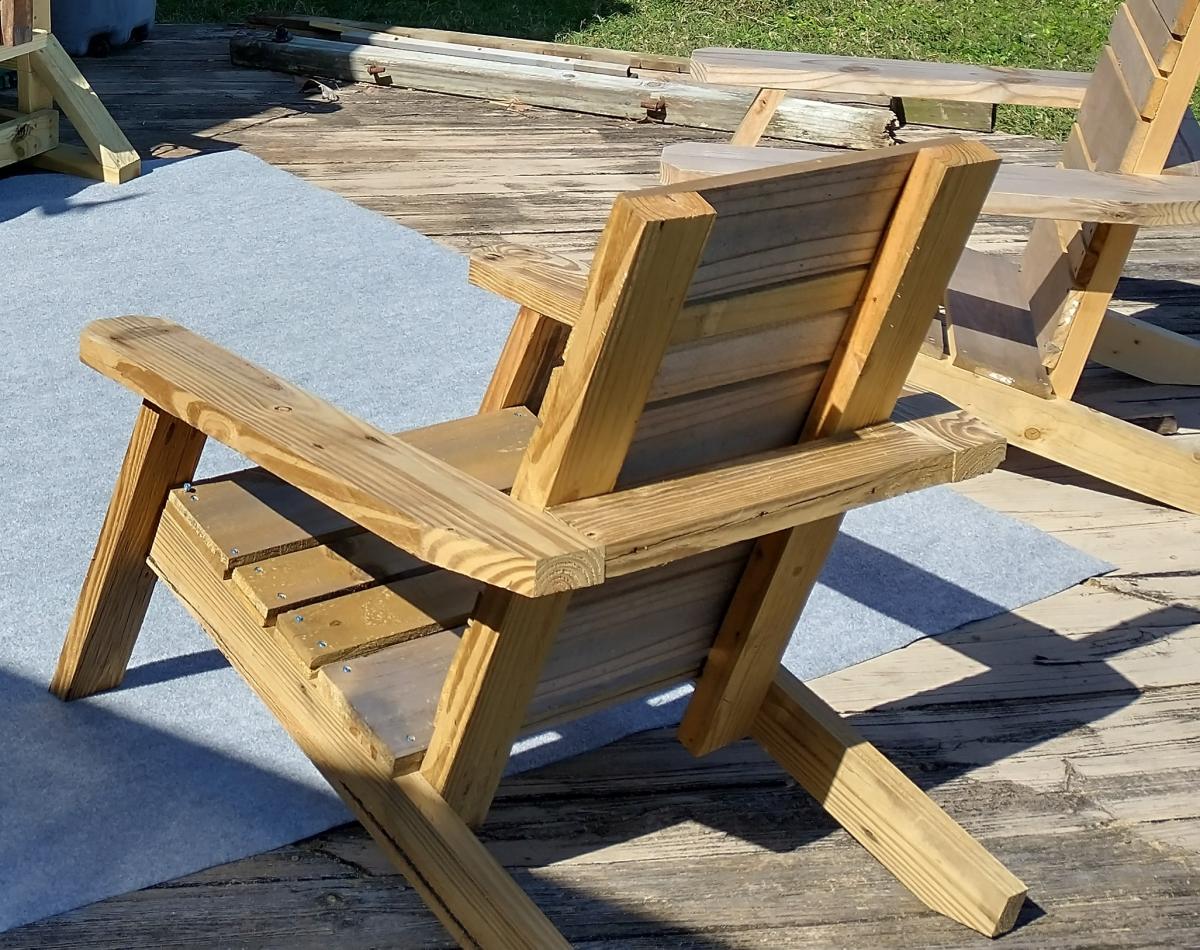
had some fun with the back and seat slat design and did an angle rather than a 90 degree where the arms meet the front support. also used a 2x6 for a larger arm rest. i think it turned out well. thanks Ana
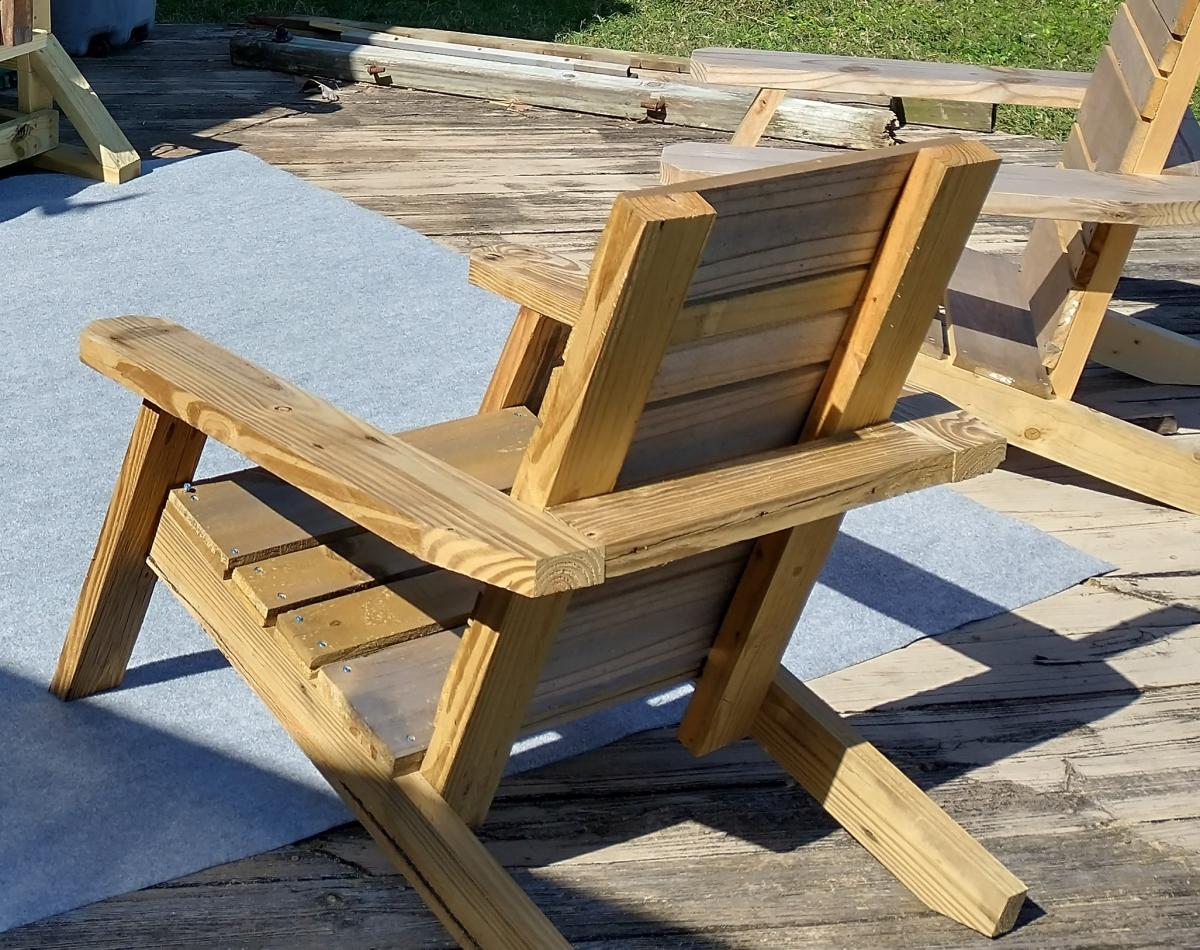
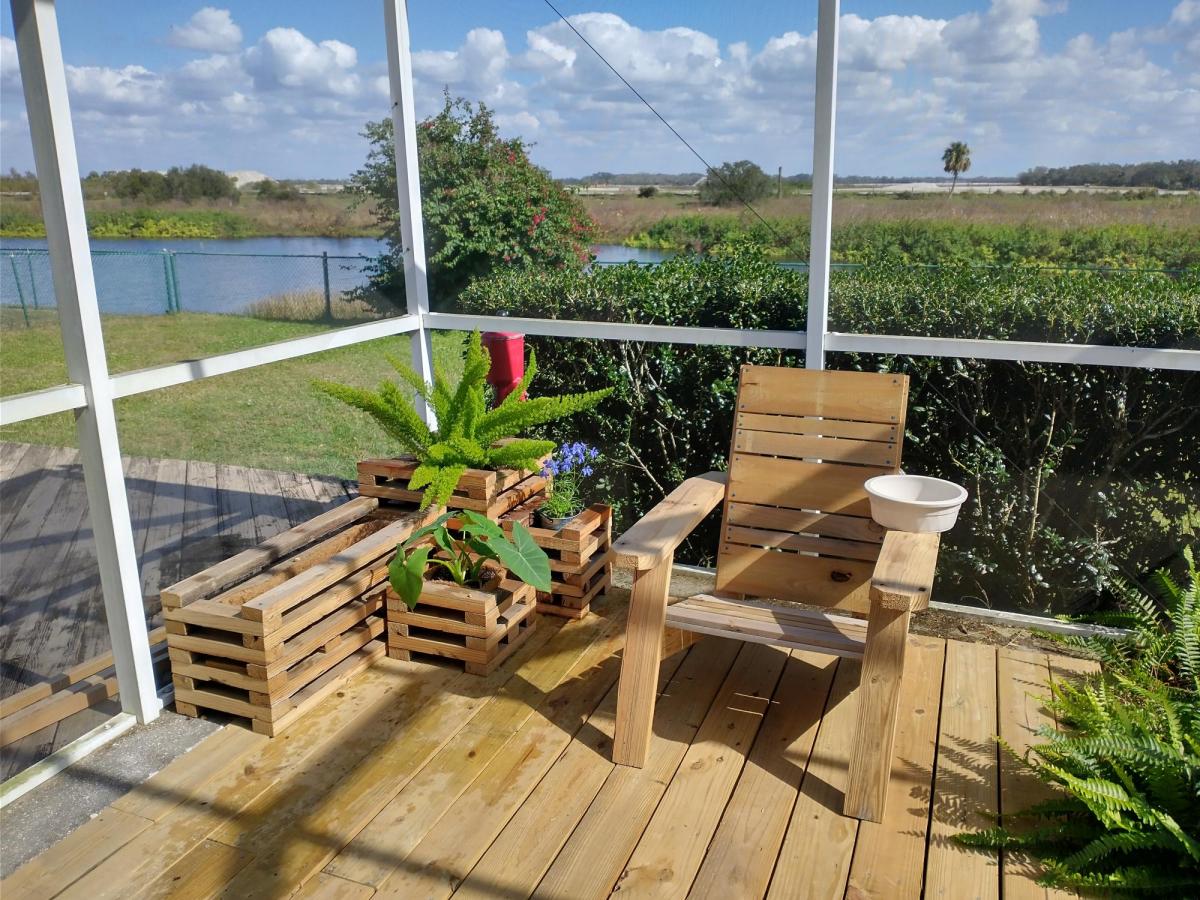
Thu, 03/30/2023 - 10:13
Thanks for sharing, it looks awesome and I love the wider arm!
We added a nail head trim after
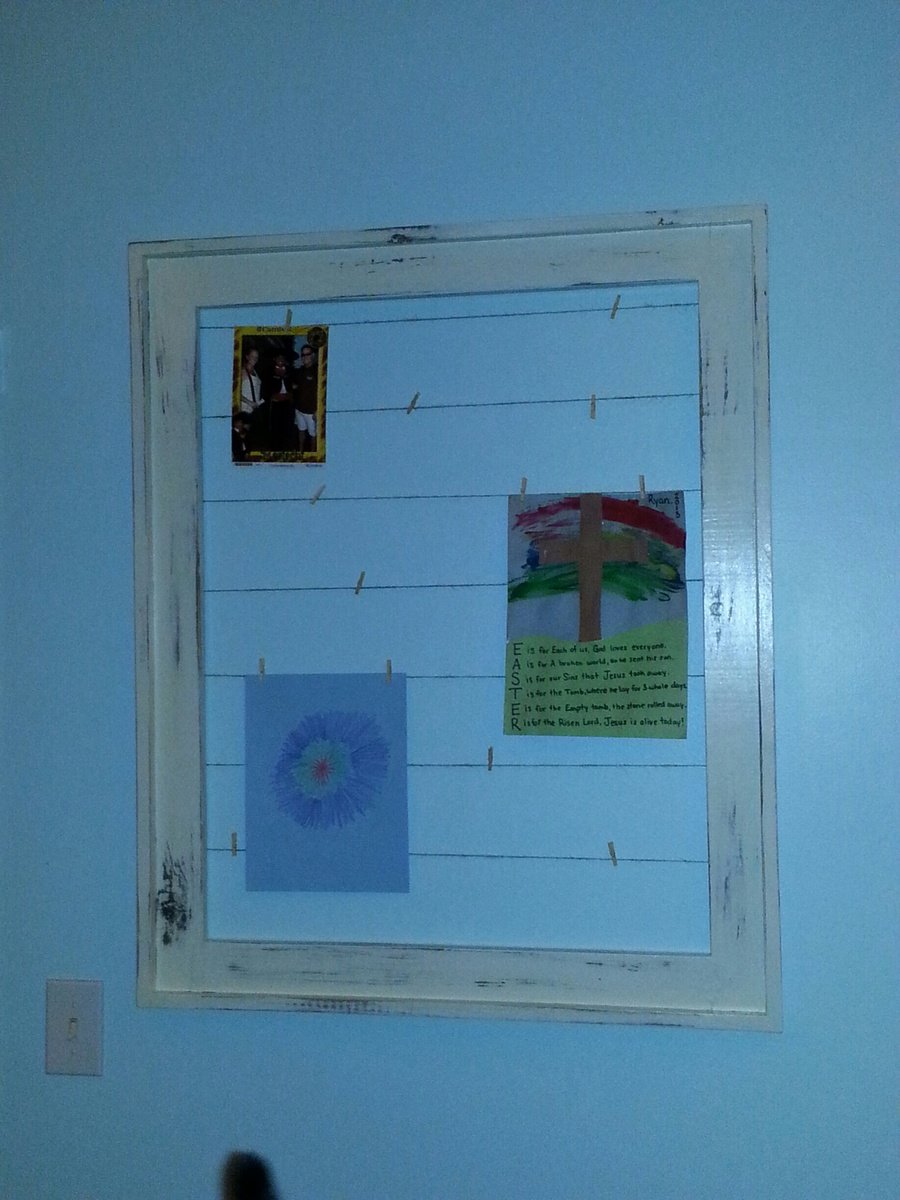
I had a empty space that needed something and this was an expensive fun way to fill it.
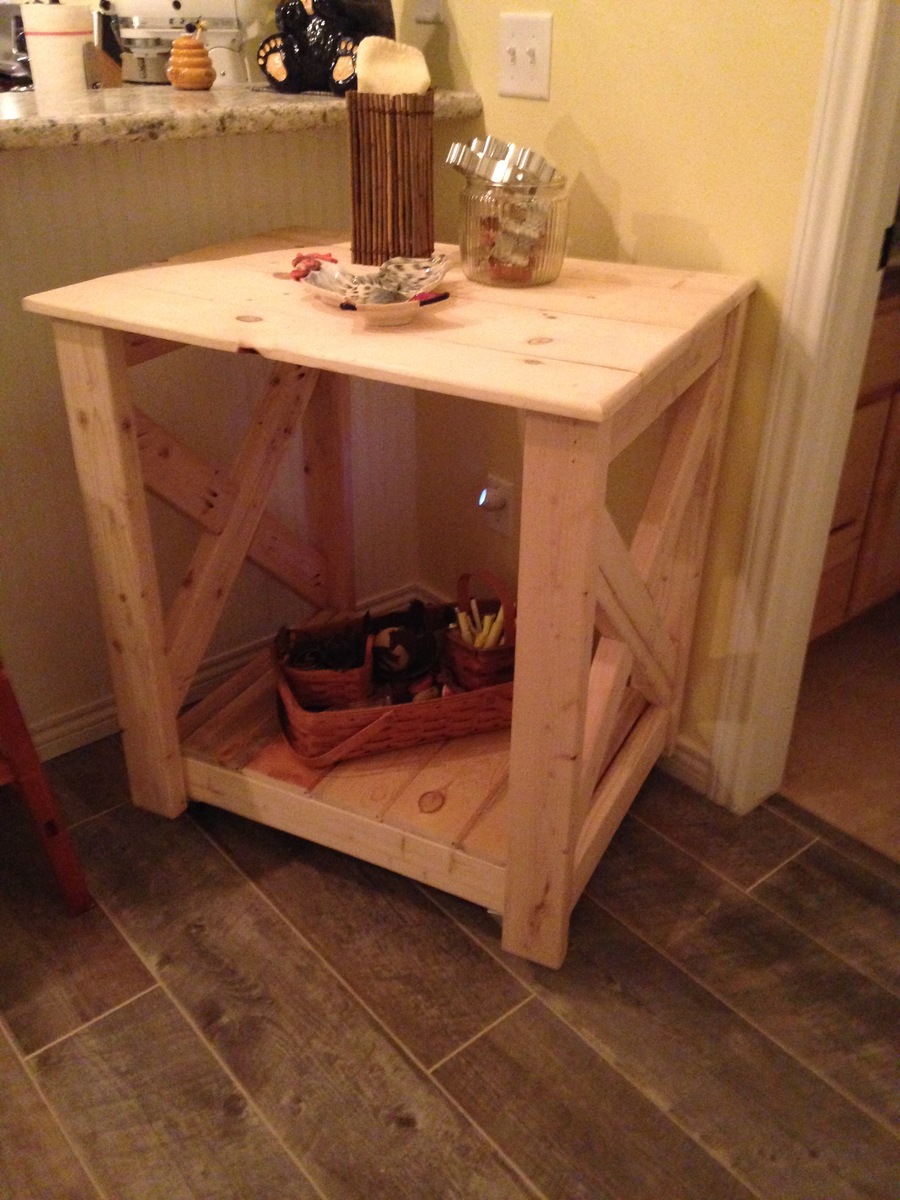
Mom wanted an island for her new large kitchen but something that could be moved out of the way. With all her cabinets and drawers, we omitted the shelves and drawer from the original plan. We also wanted it full across the inside, not just half way. This allows her to put her stool on the shelf out of the way if needed. However, after getting all her furniture into her new home, she decided that she had enough in her new kitchen so she scoots it under the breakfast bar for now.
This was made on a tight budget. We only had to purchase the 2x4s and casters.
We also used tongue and grove blue pine left over from our house for the bottom shelf and staggered scrap pine 1x4 & 1x6 boards for the top and then routered it to give it smooth rounded edges on top.
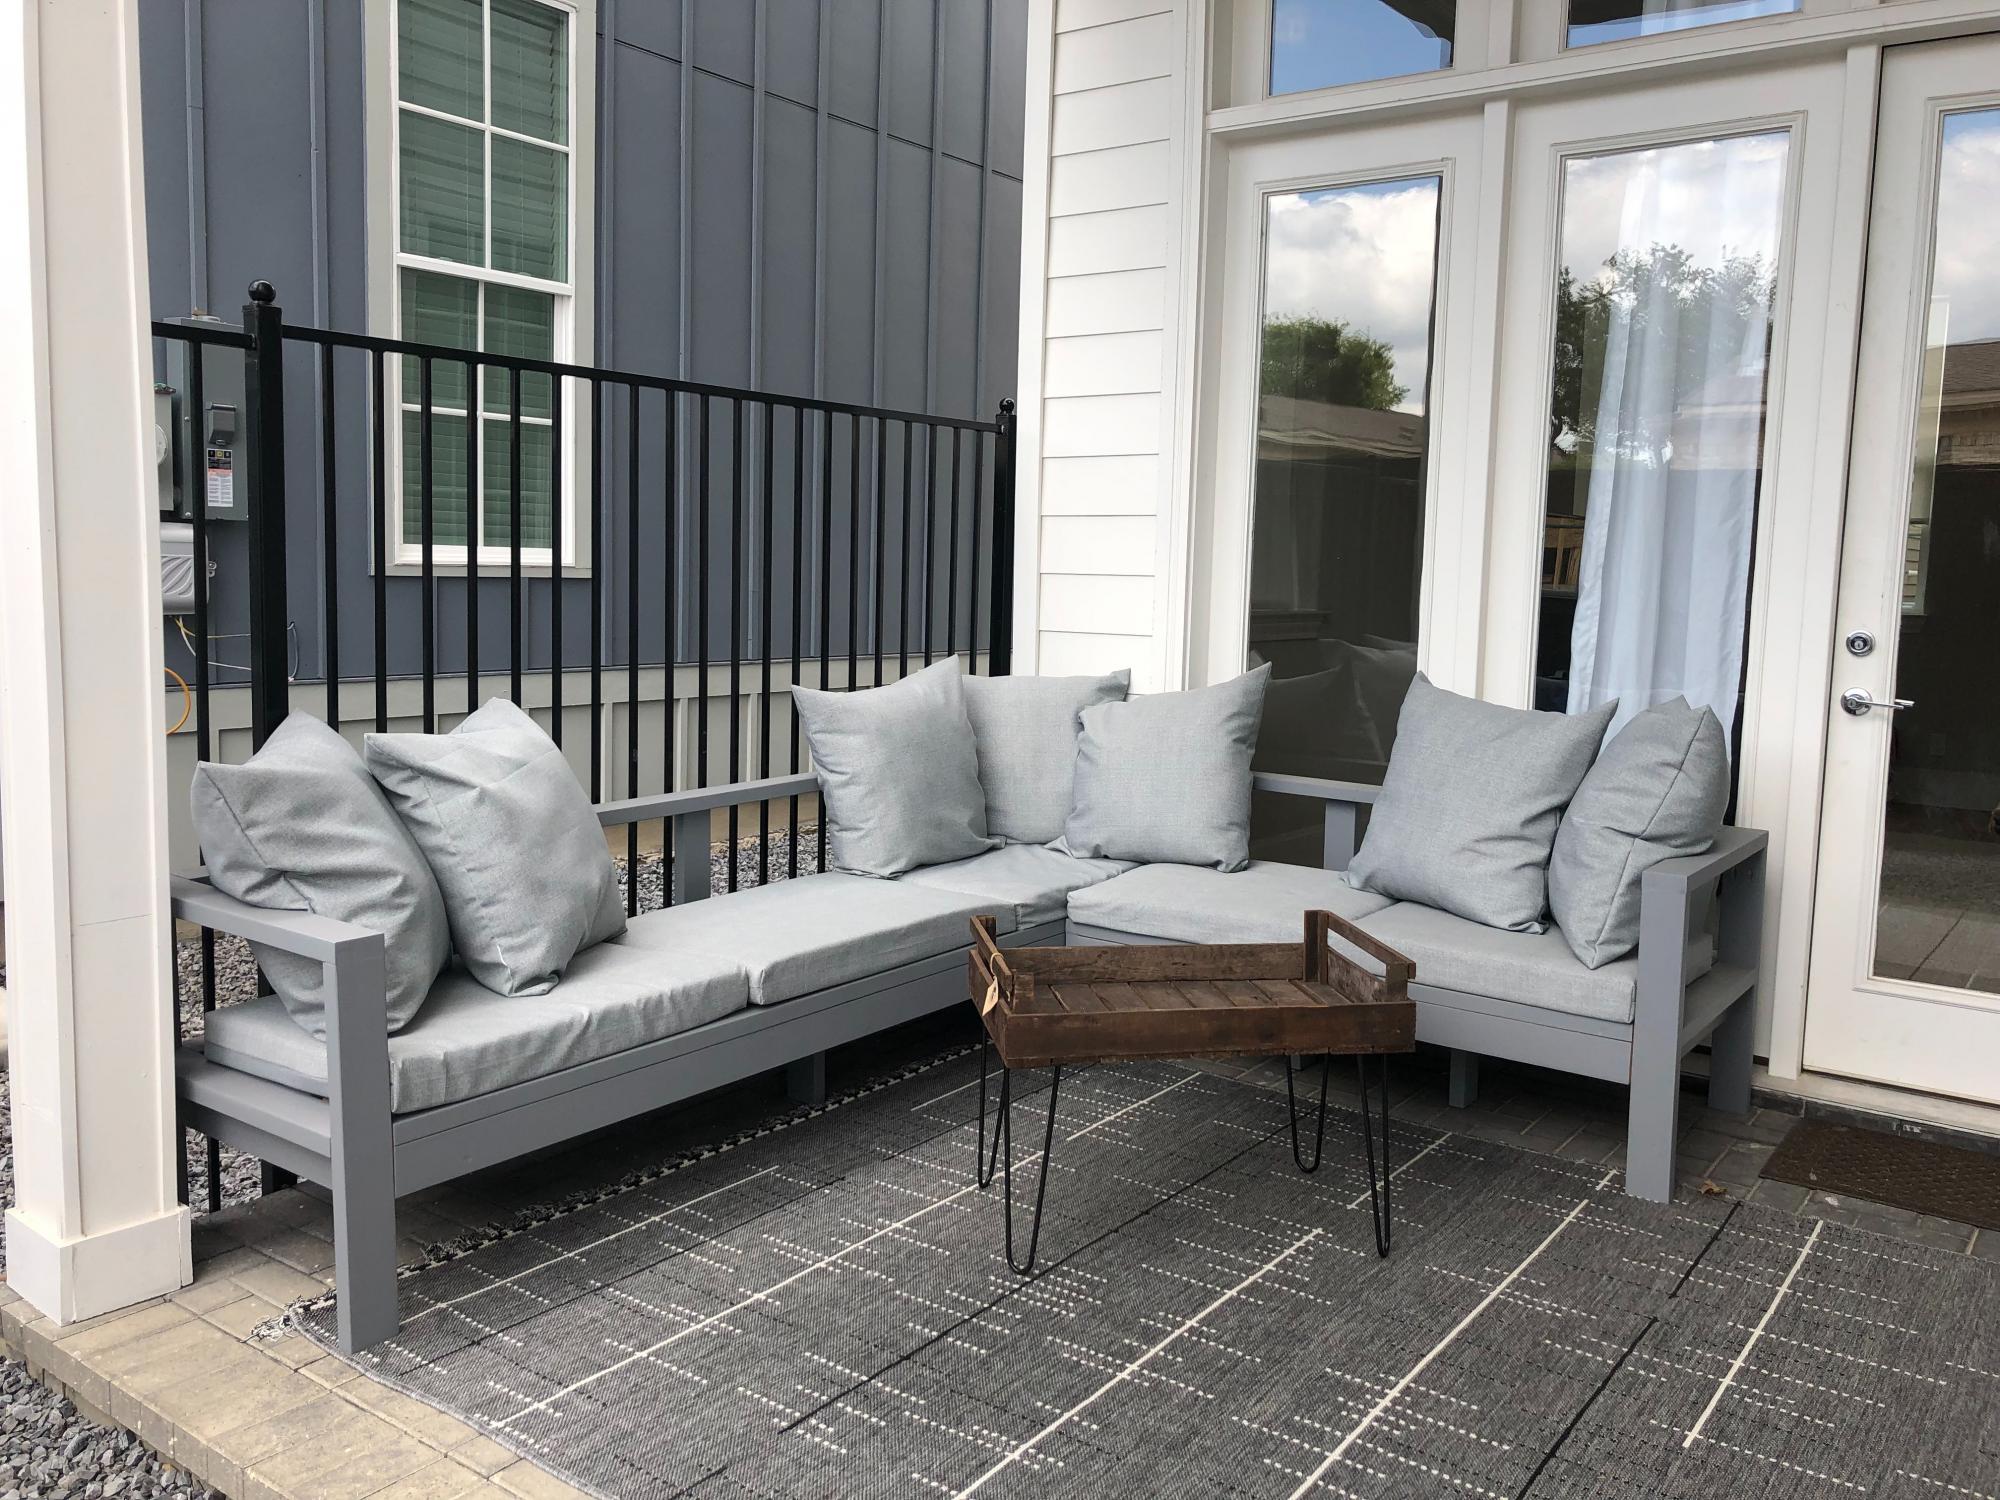
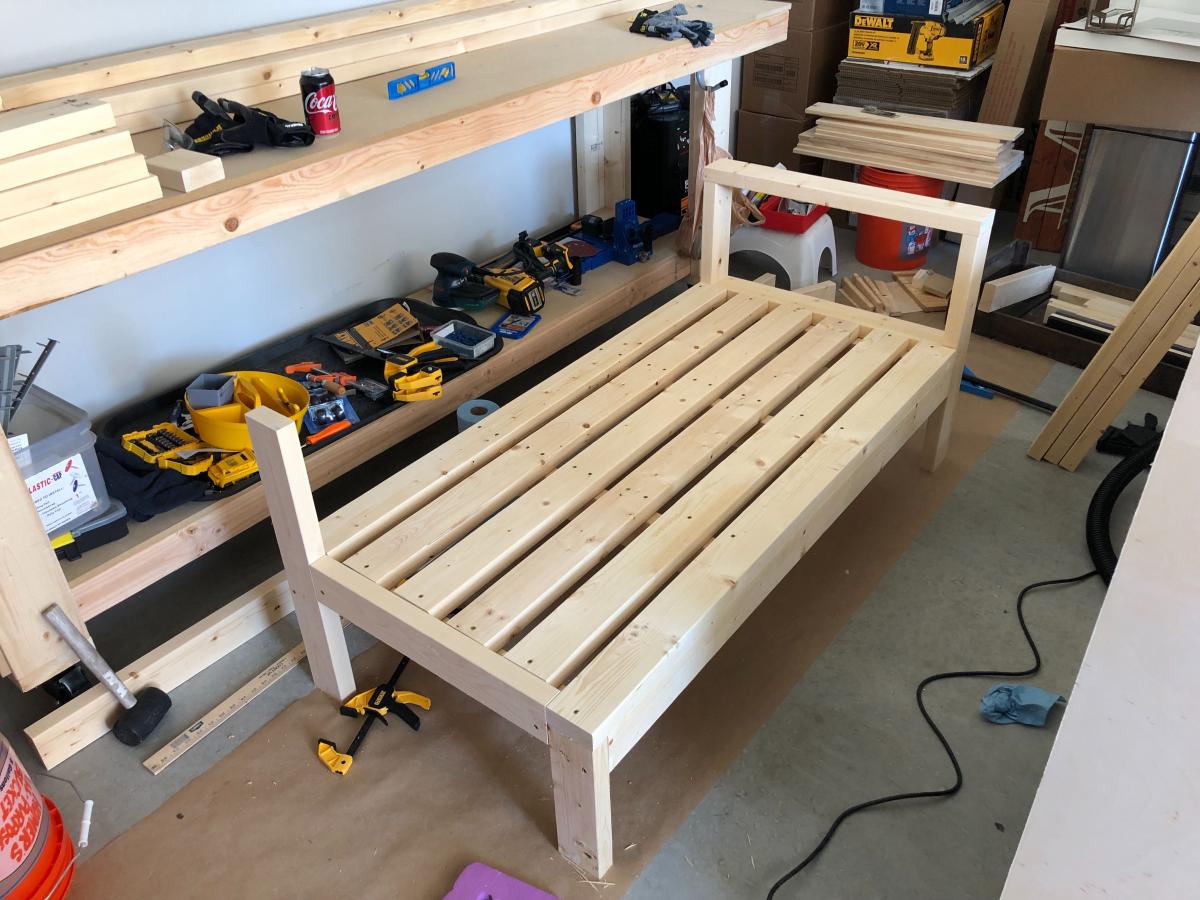

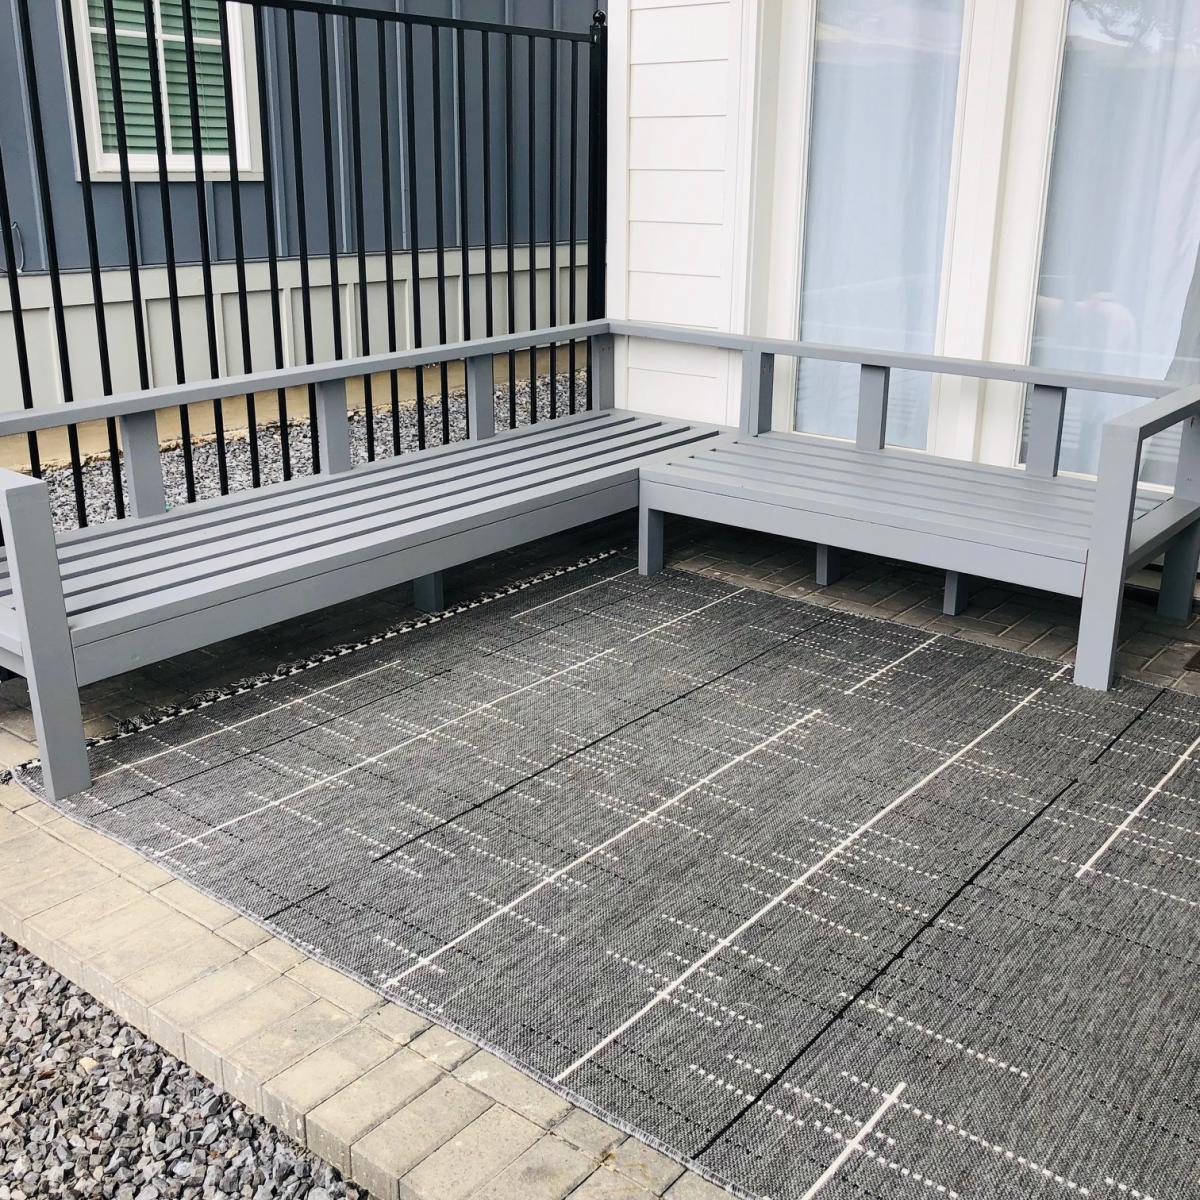
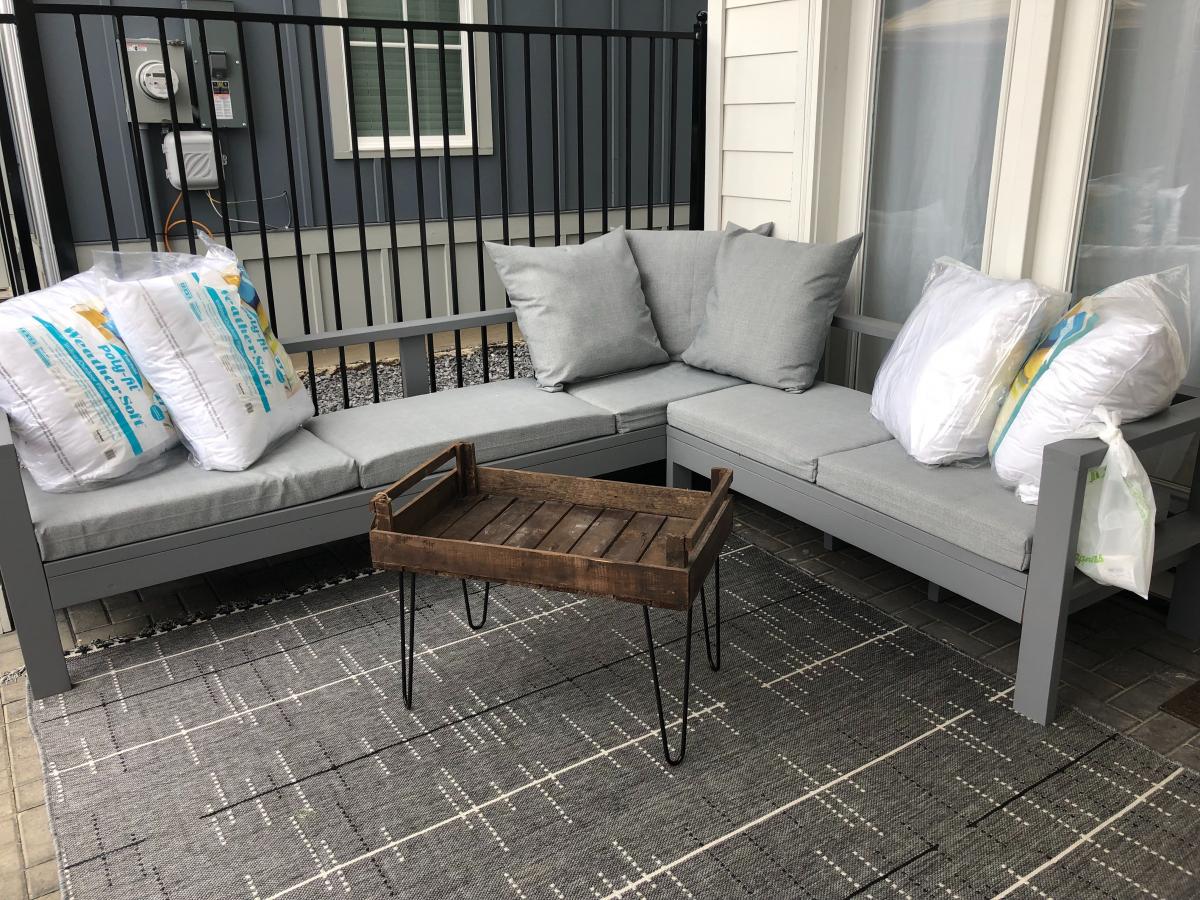
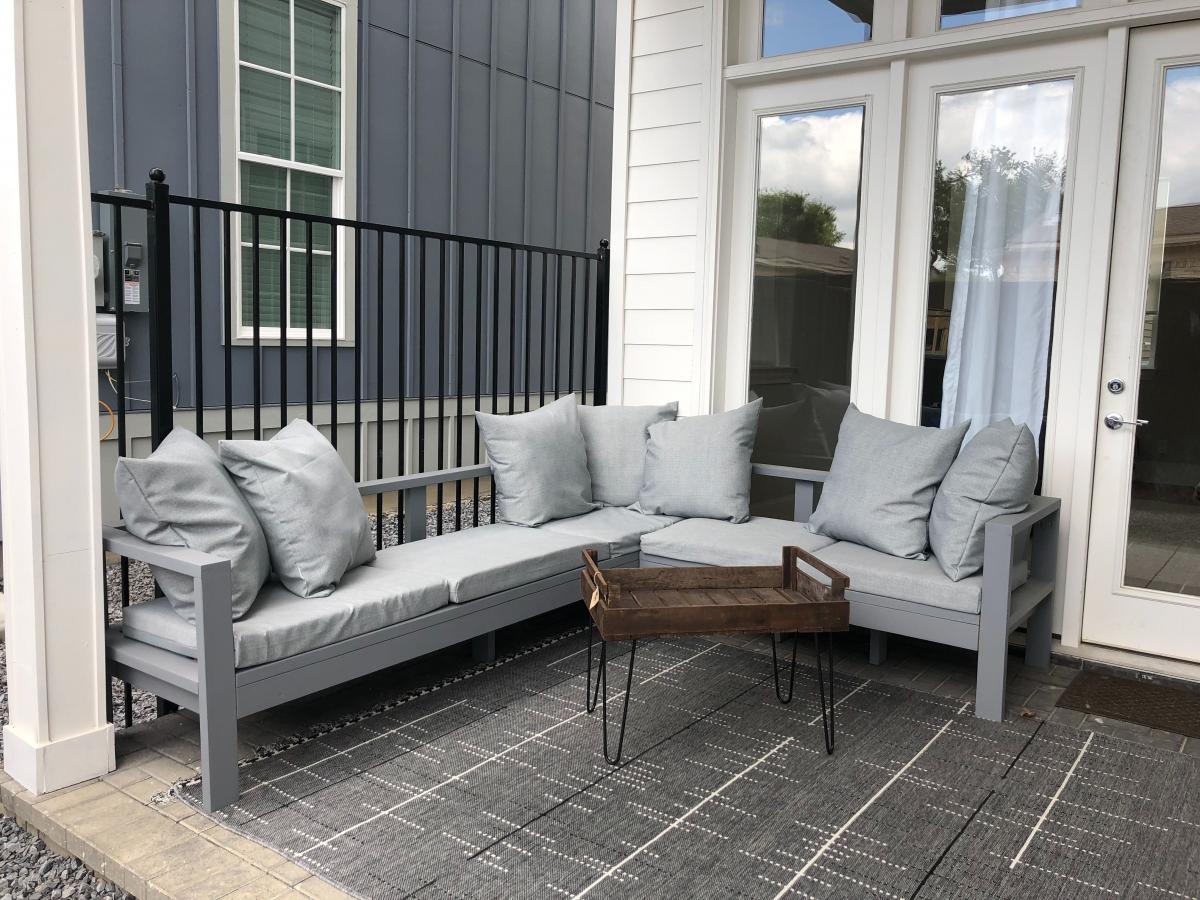
Wed, 07/03/2019 - 19:47
So modern and crisp and clean! Love it! Thanks so much for sharing a photo!

We needed a new entertainment console for the living room but didn’t want to spend $$$for something everyone else has. I found plans on your site and tweaked them to fit our needs.
This is 70”x31”x24” live edge Maple top and doors have a black epoxy filling the voids. The shelving, sides and trim are ambrosia maple. The fireplace insert has a heat/no heat option. I trimmed it the back with 1/4” maple plywood with ventilation for the fireplace. The top and doors maple is from a tree we cut, slabbed and dried. I finished it with Odies Woods Wax.
All-in-all, $550 in materials. The best part, my husband loves it!


Comments
Ana White Admin
Fri, 03/10/2023 - 13:26
What a bed!!!
This is absolutely amazing! Thank you for sharing.