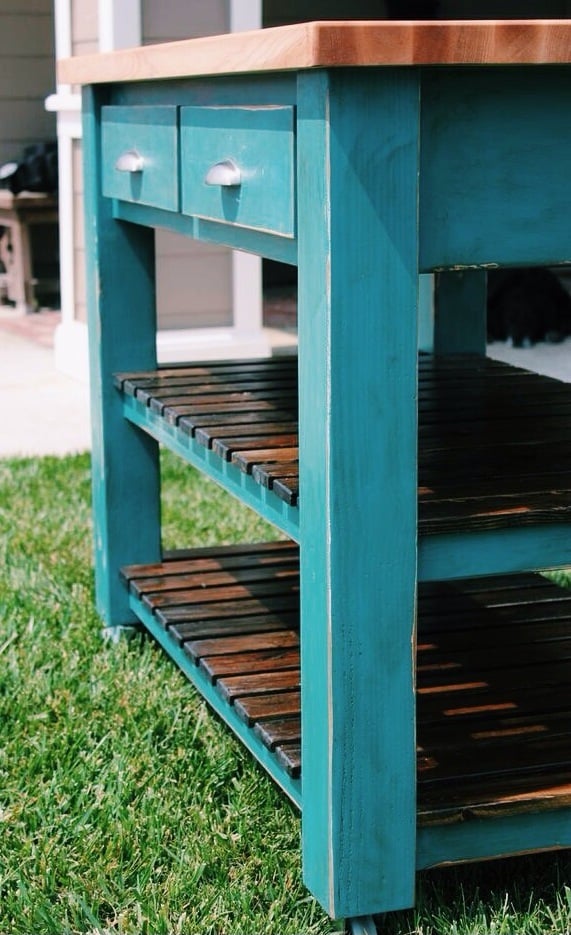
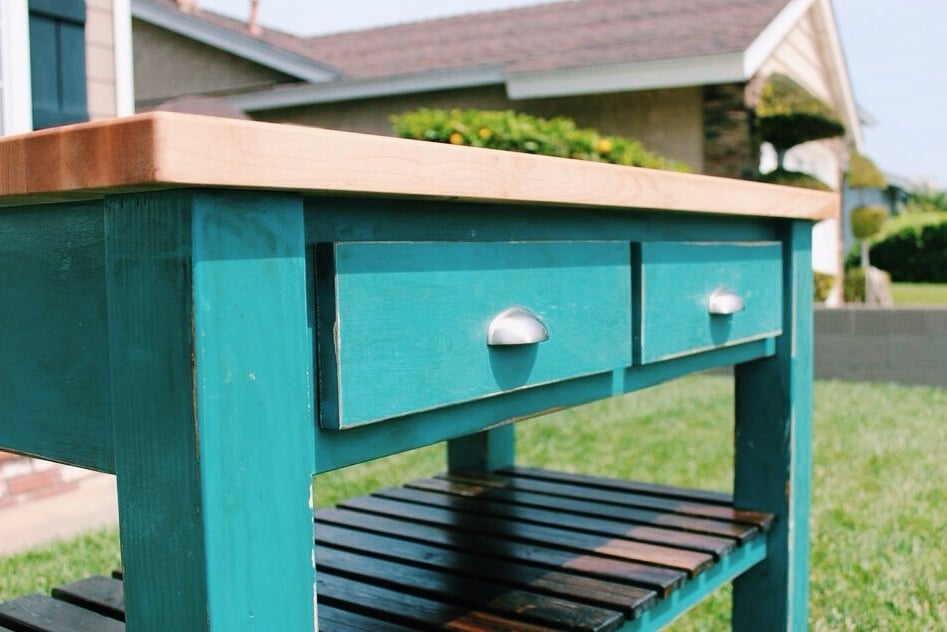
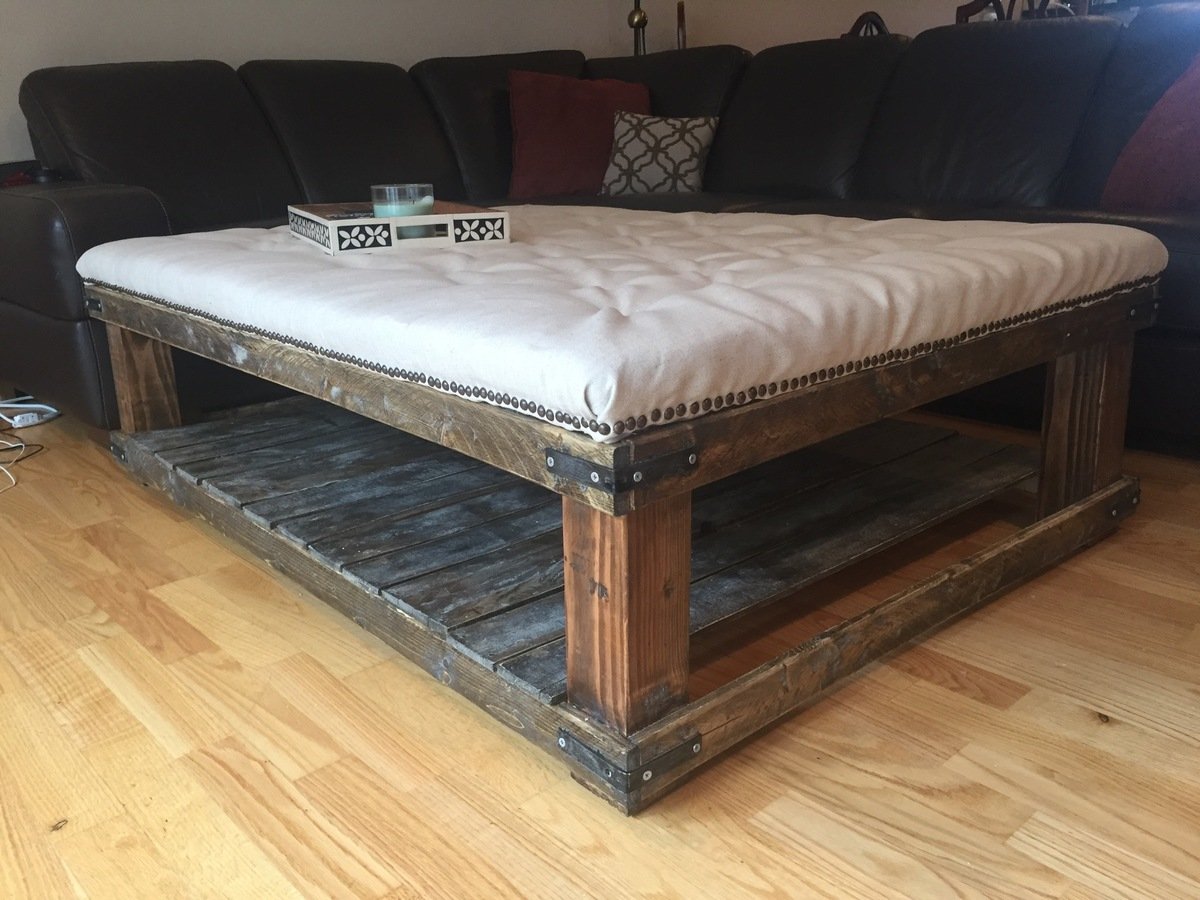
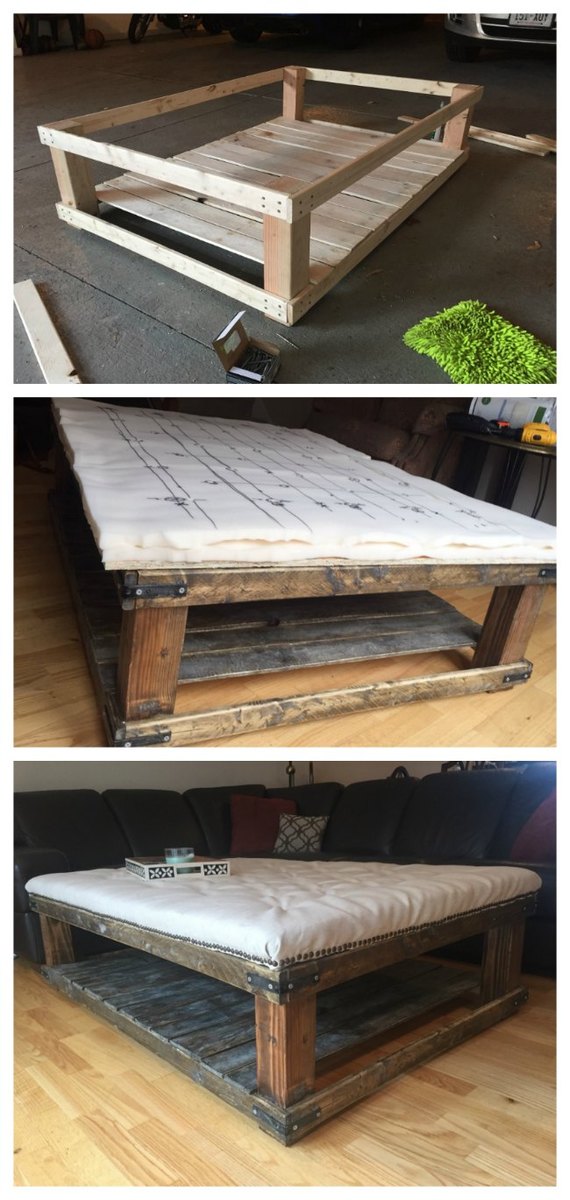
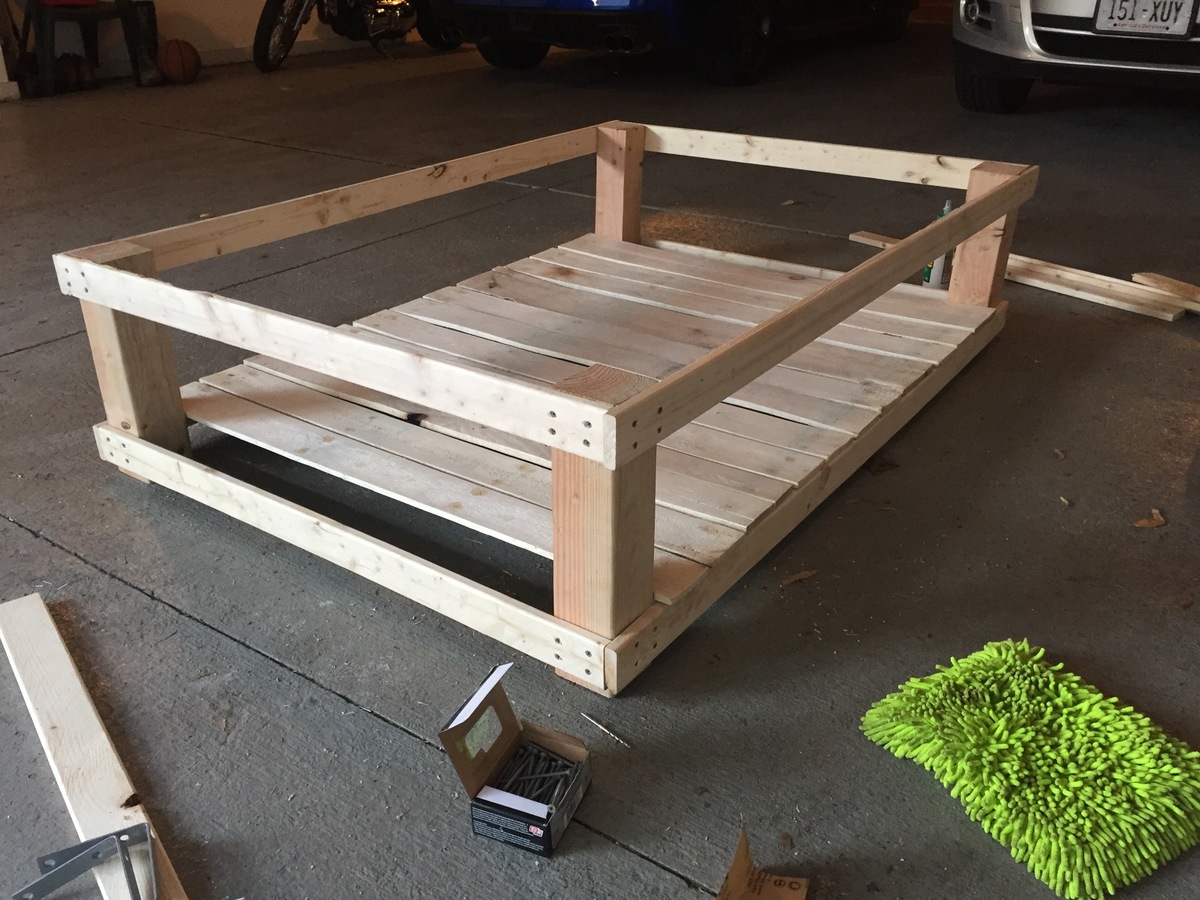
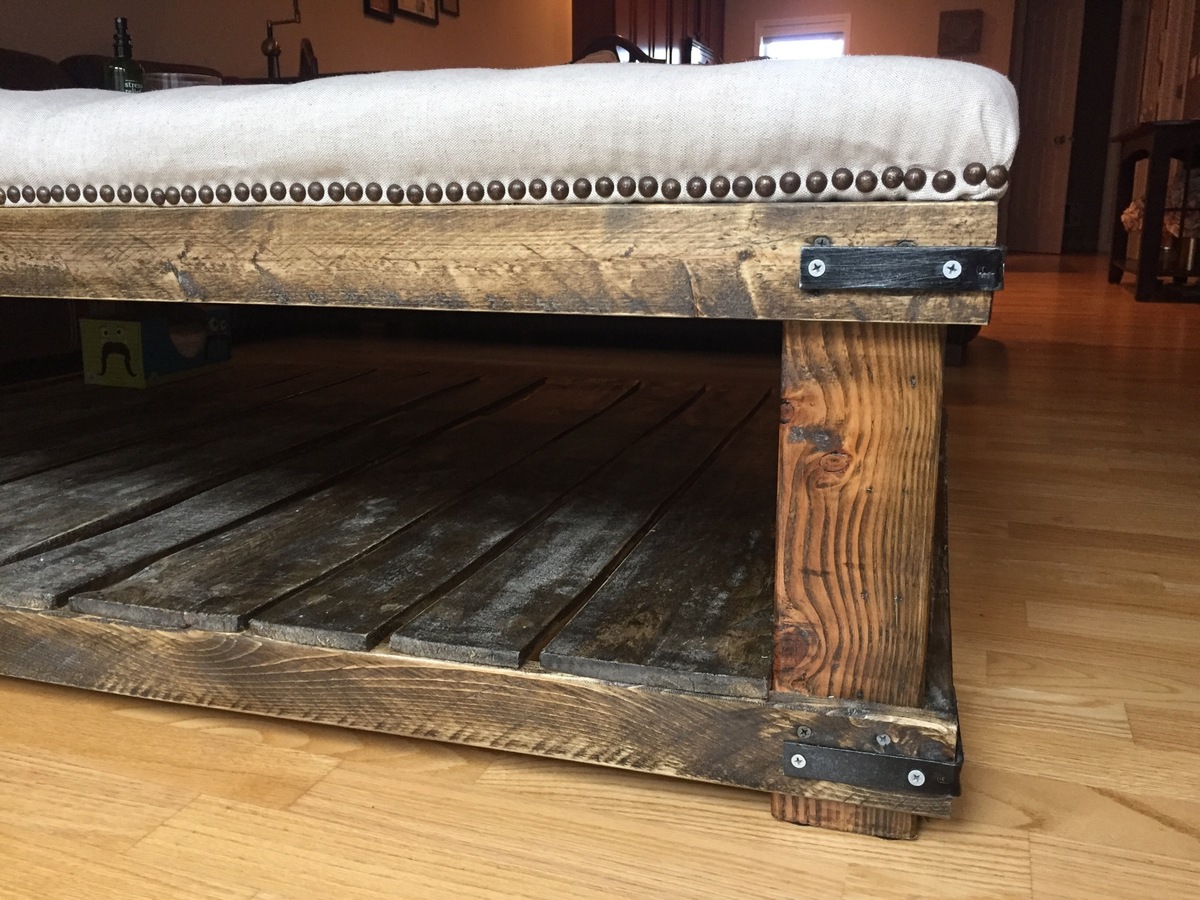
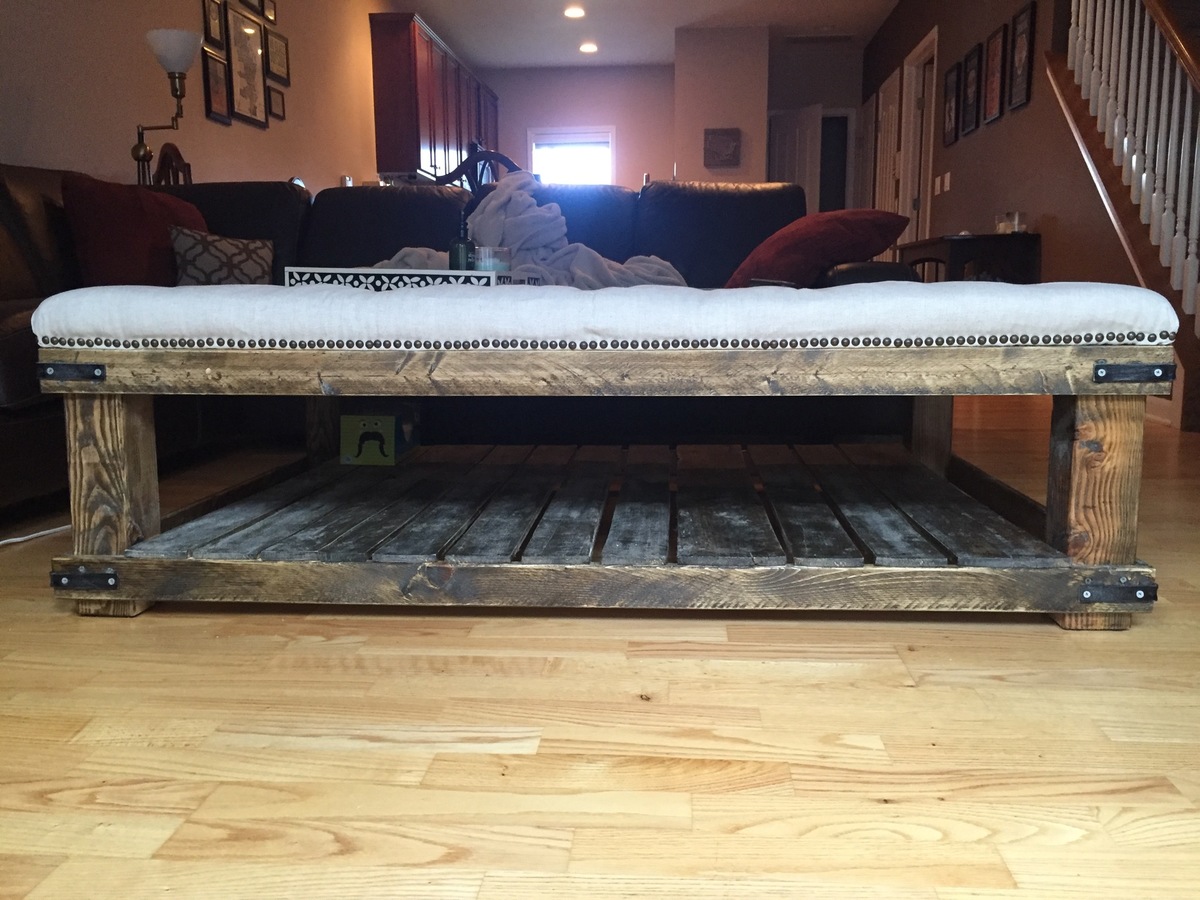
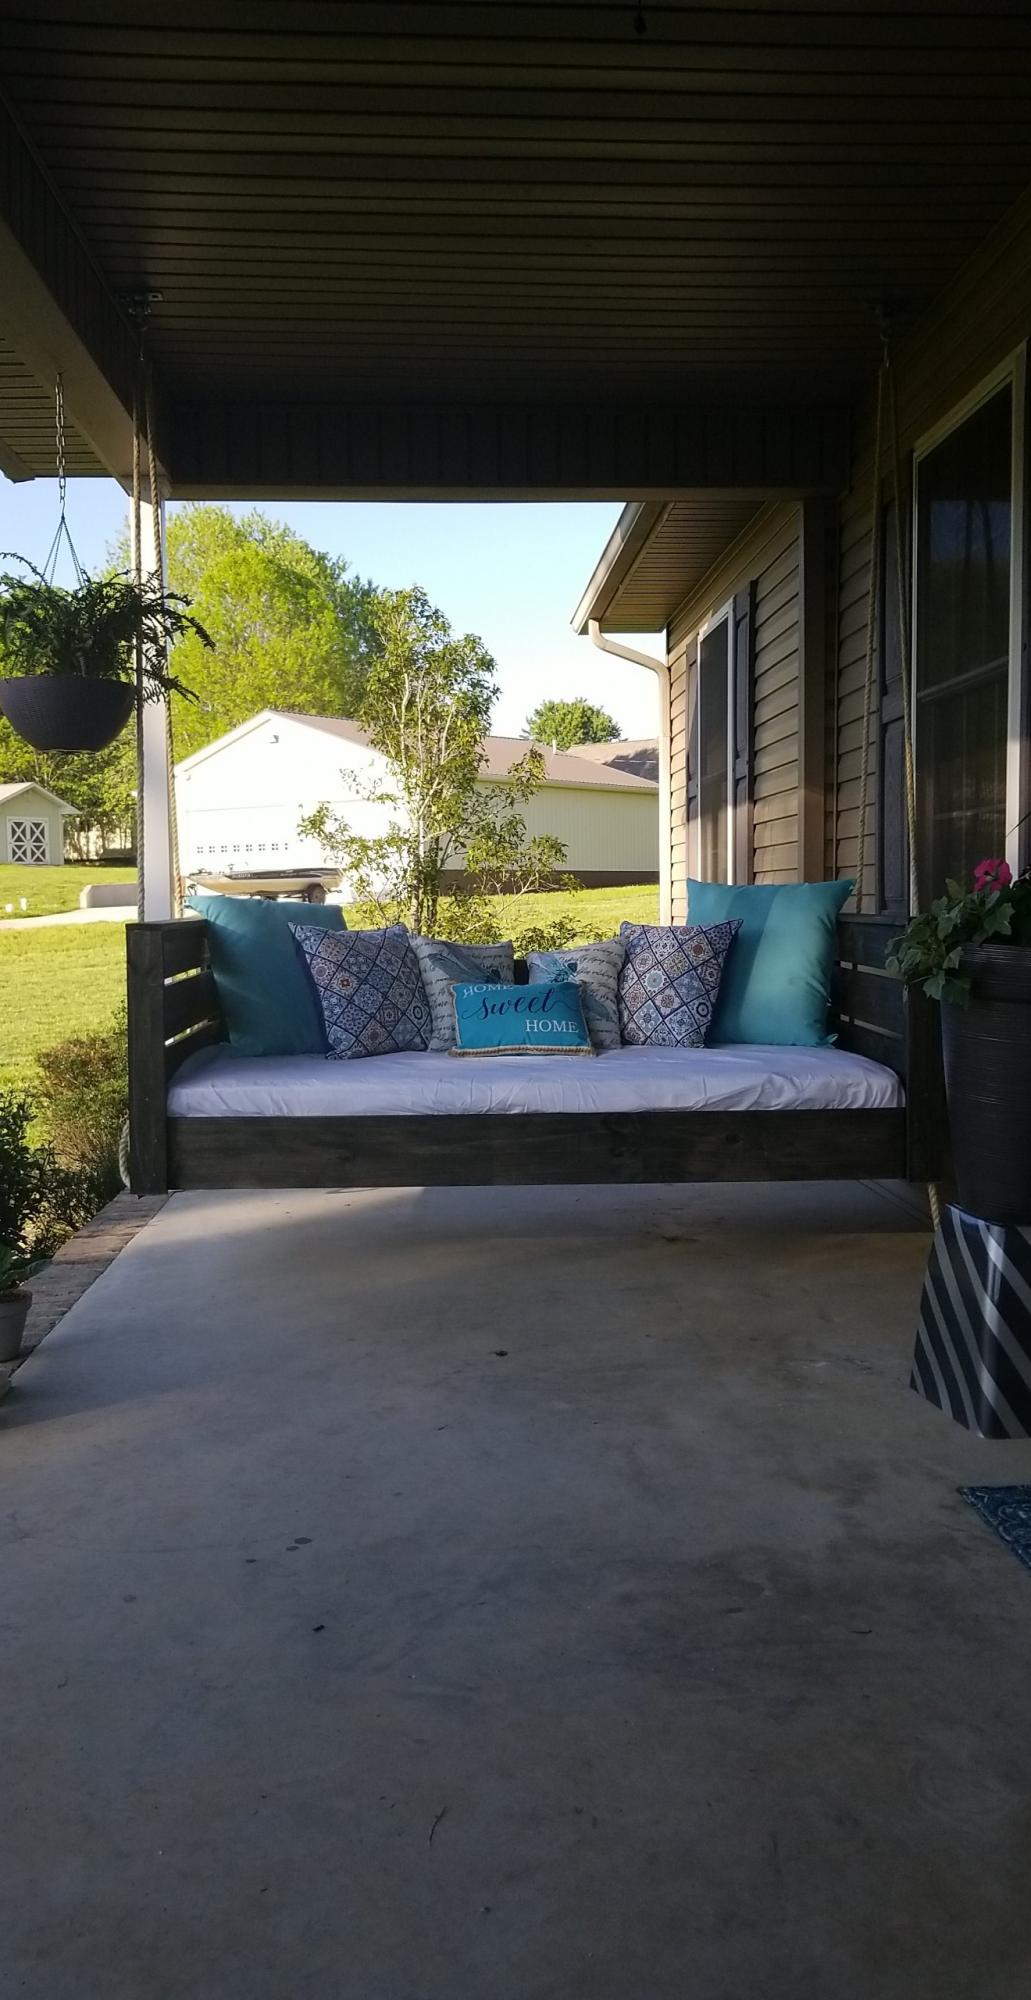
Backyard Retreat Daybed
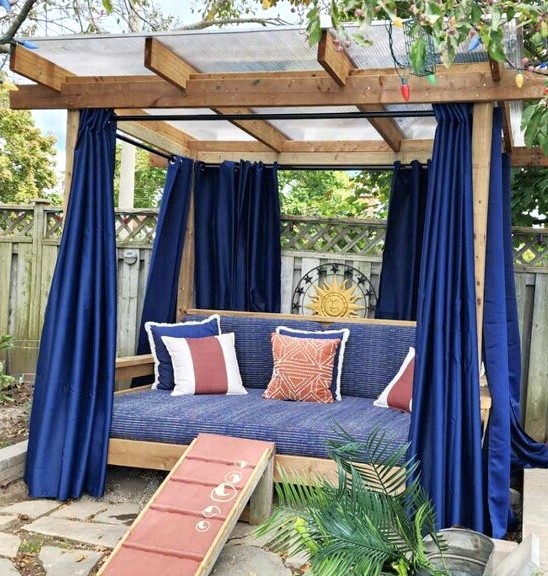
We fell in love with this daybed plan right out of the gate but had to modify the plan somewhat due to the rain and crazy weather we are experiencing during the warmer seasons. Rather than use a twin mattress we purchased the largest size outdoor cushion we could. We covered it in Dacron wrap and used an olefin material for the huge cover which maxed out at 54x96. It was one heck of a big zipper to sew! The material is mould and mildew resistant and has proven to be really resilient and I vacuum to keep it clean. It feels luxurious to slide into. We added a polycarbonate roof with a 6% slant, that projects 8-10 inches from the front and back, for rain and snow and because it sits under a crabapple tree which provides shade but will drop small projectiles on your head. We wanted to be able to manage the snow efficiently if we received a heavy fall. We hung the curtains using a chain link fence rail and are able to spend afternoons resting catching the breeze and reading so comfortably. It is situated in a southwest exposure so they are necessary to provide a little protection. The curtains are closed and secured with clamps for heavy rainfalls and so far so good! Everything has stayed dry despite high winds.
As you can see from the little ramp, we have four buddies that love the bed as much as we do! It is our little retreat. We love our magic space and the relaxation we experience the minute we slide in. Thanks for such great plans. It was so straightforward that modifications were simple and easy!