Community Brag Posts

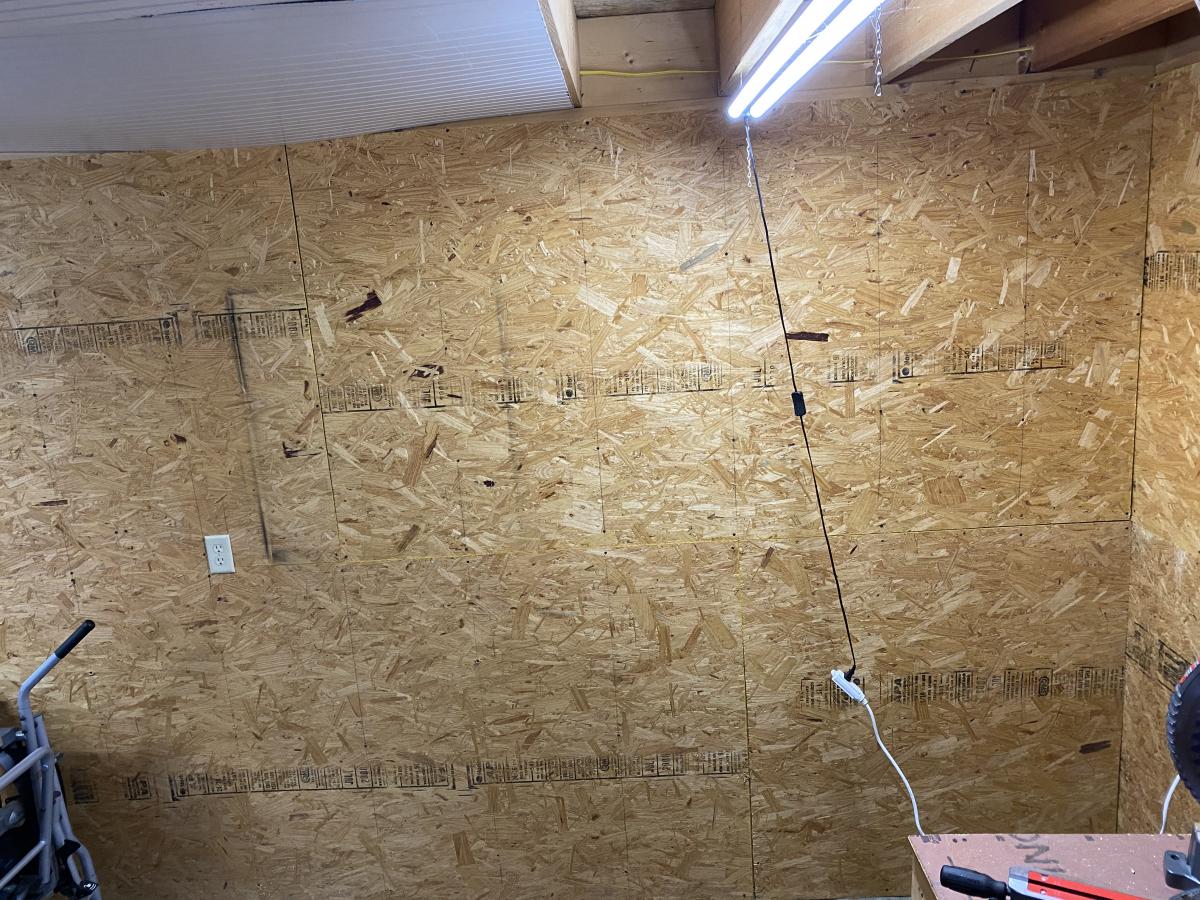
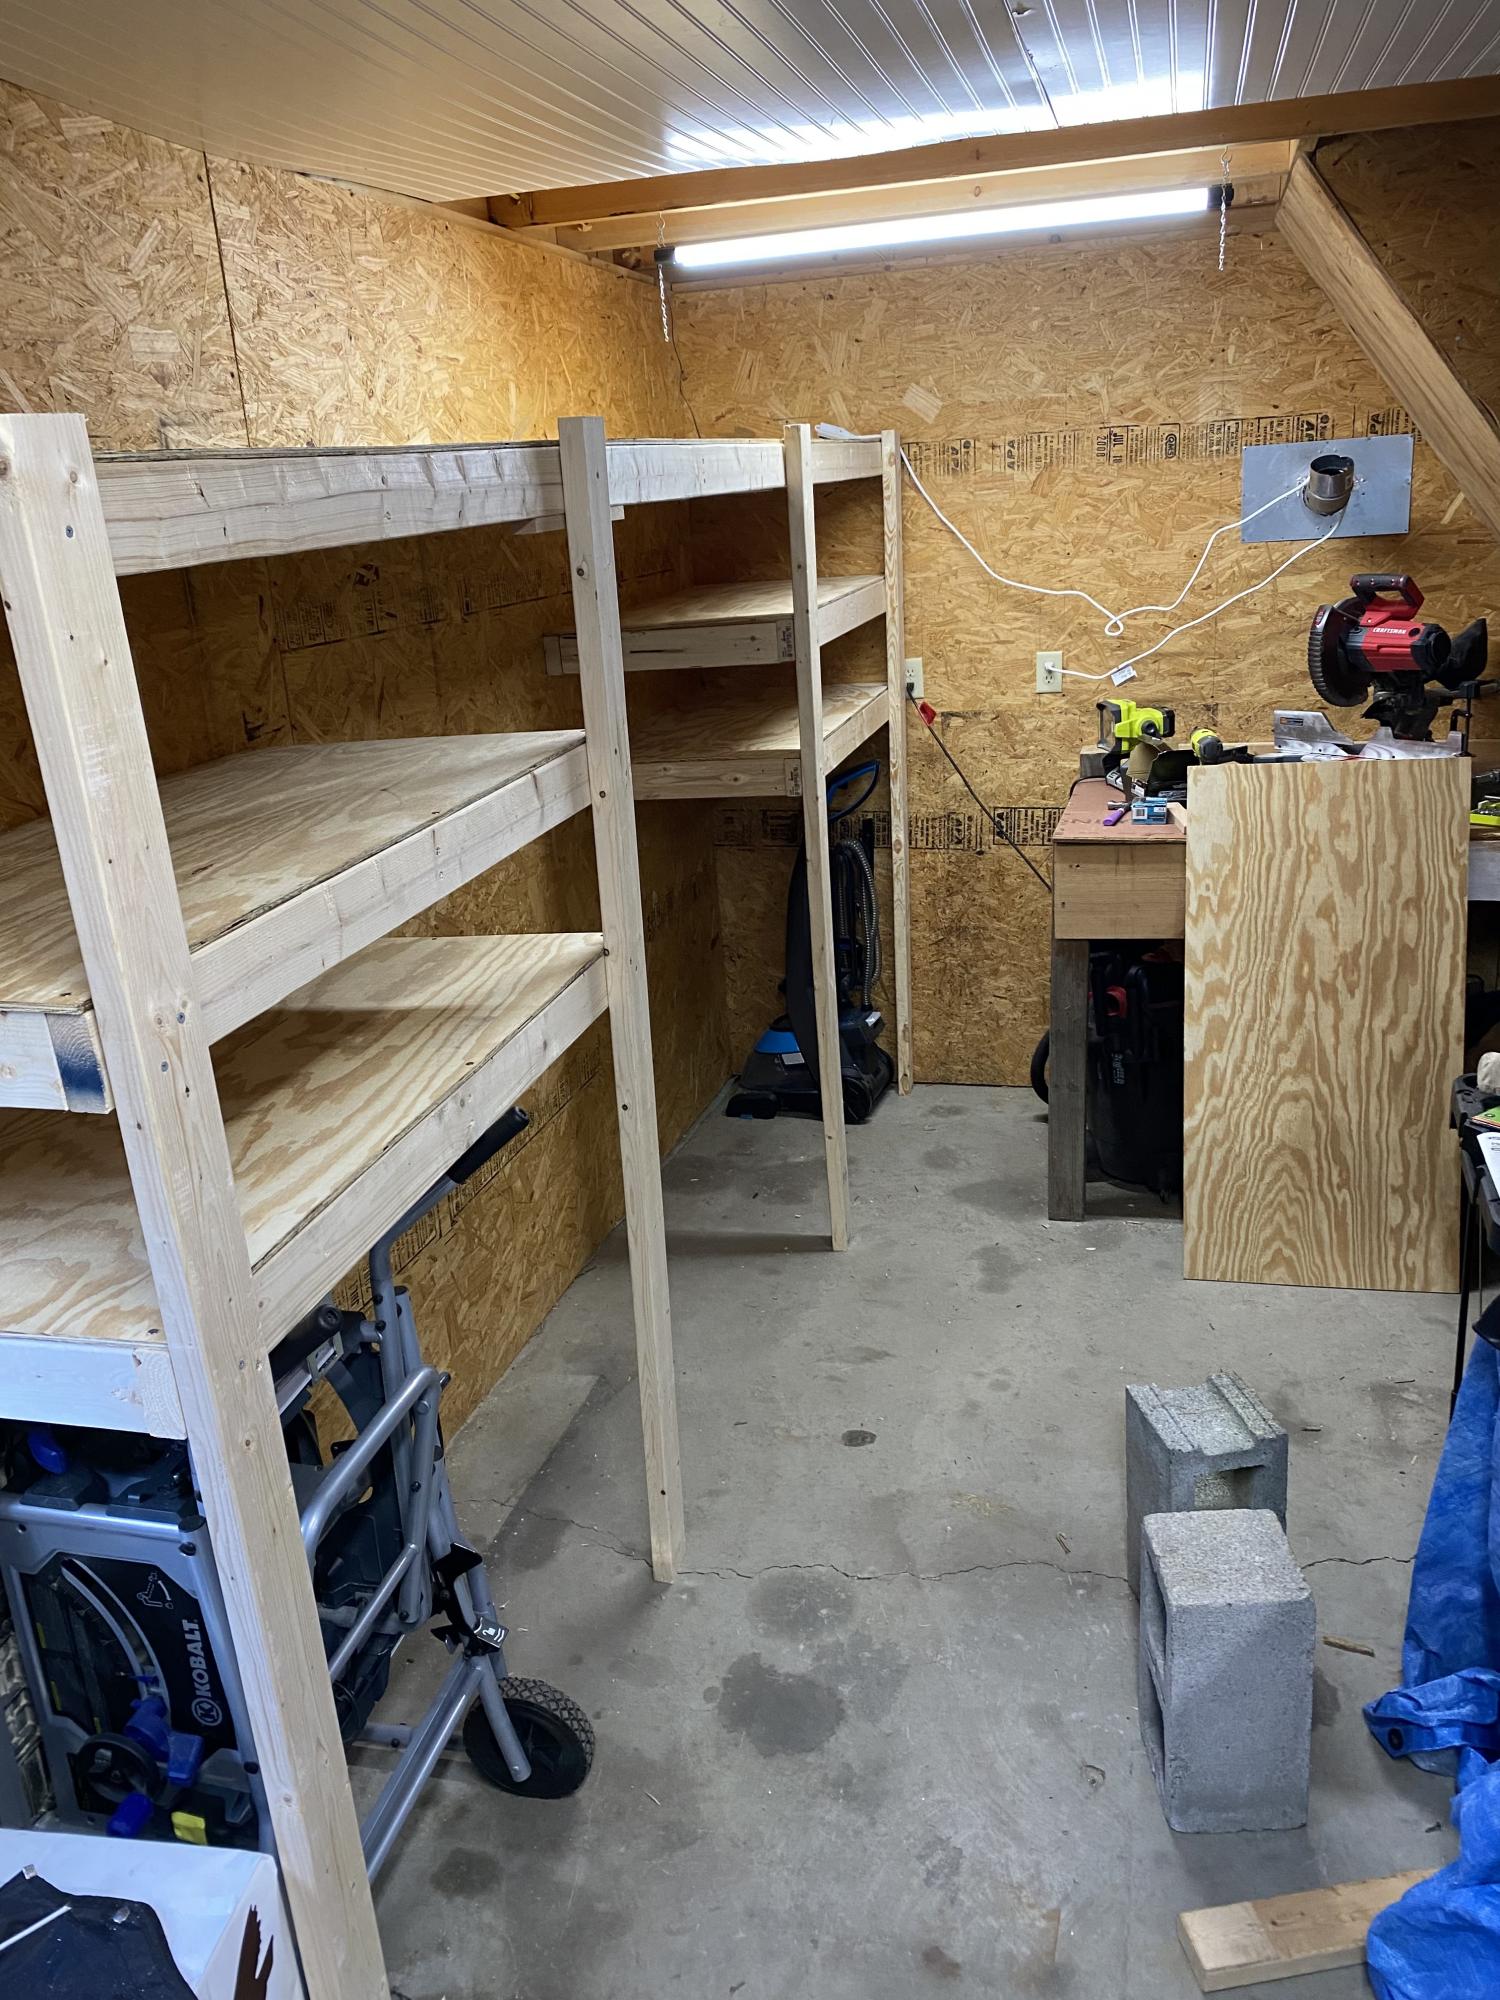
Finally Organizing My Garage - Shelving First

Submitted by bsohl214 on Thu, 06/17/2021 - 17:41

Took every pre-existing bit of rough, thrown up shelving the previous wonder tossed up and the garage walls. Moved the prior owner’s workbench build out of the corner, reinforced it, and relocated it to the center of the back wall. Spent the day building this unit in this corner of the space. Used modified version of plans below. Center gap is for a future build…rolling miter saw cart.

Estimated Time Investment
Day Project (6-9 Hours)
Recommended Skill Level
Beginner

Comments

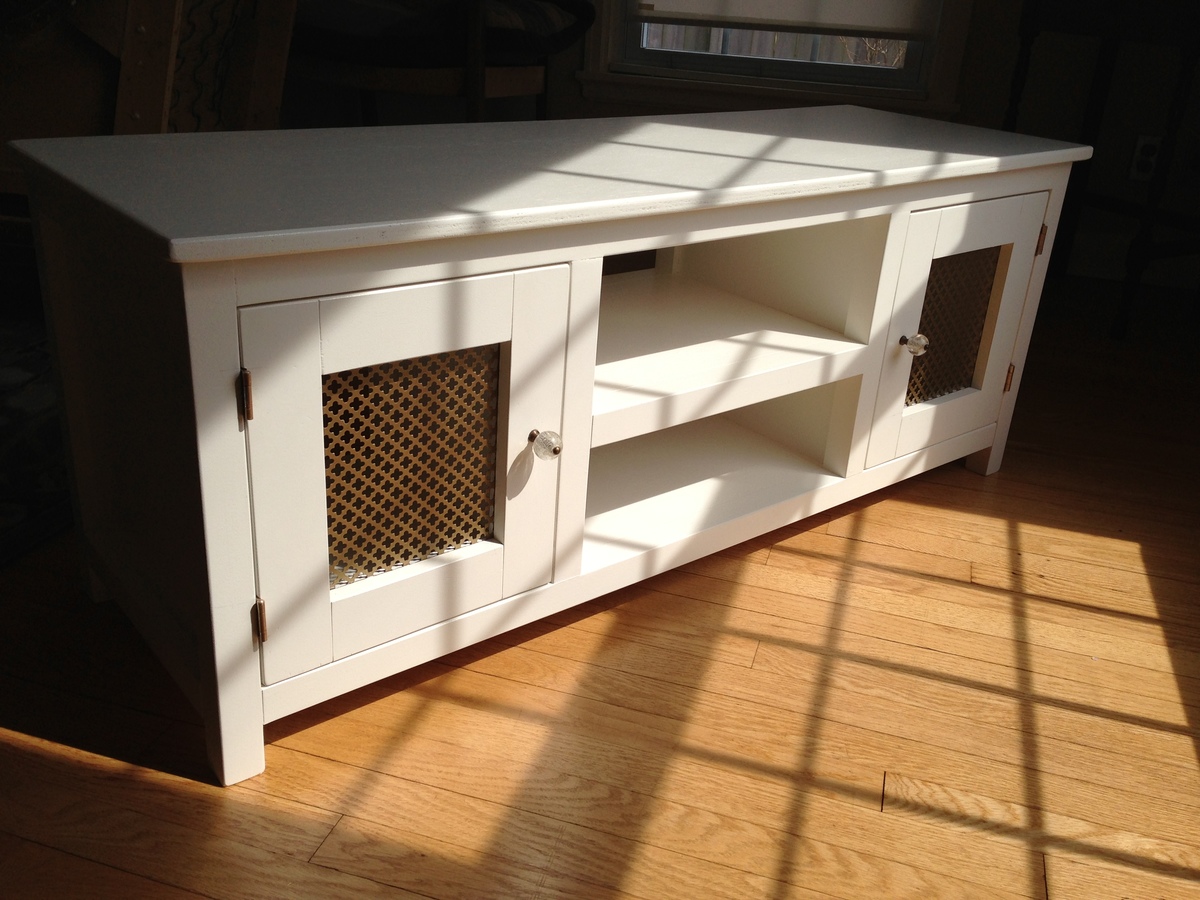
Media Cabinet

Submitted by scidster on Sun, 04/14/2013 - 10:35

Modified the size to be 42" (w) x 16" (d) x 19" (h). Used radiator covering grate for door inserts and left shelves open for horizontal component storage.

Built from Plan(s)
Estimated Cost
130
Estimated Time Investment
Week Long Project (20 Hours or More)
Finish Used
Behr Swiss Coffee and minwax polycrylic top coat. Applied using Wagner HVLP sprayer (#518080). Pulls from Hobby Lobby.
Recommended Skill Level
Beginner

Dog toy box step stool

Submitted by Quinnfire on Mon, 03/02/2015 - 14:31

This was a quick, easy project. I needed a way for the dogs to easily get on the bed and I also needed a place to store their toys. This was a great solution to both problems. I made it a few inches loger and added carpet to make it easier for them to use. I also cut arches out of the bottom back to give them easy access to their toys.

Built from Plan(s)
Estimated Cost
$15
Estimated Time Investment
An Hour or Two (0-2 Hours)
Recommended Skill Level
Beginner

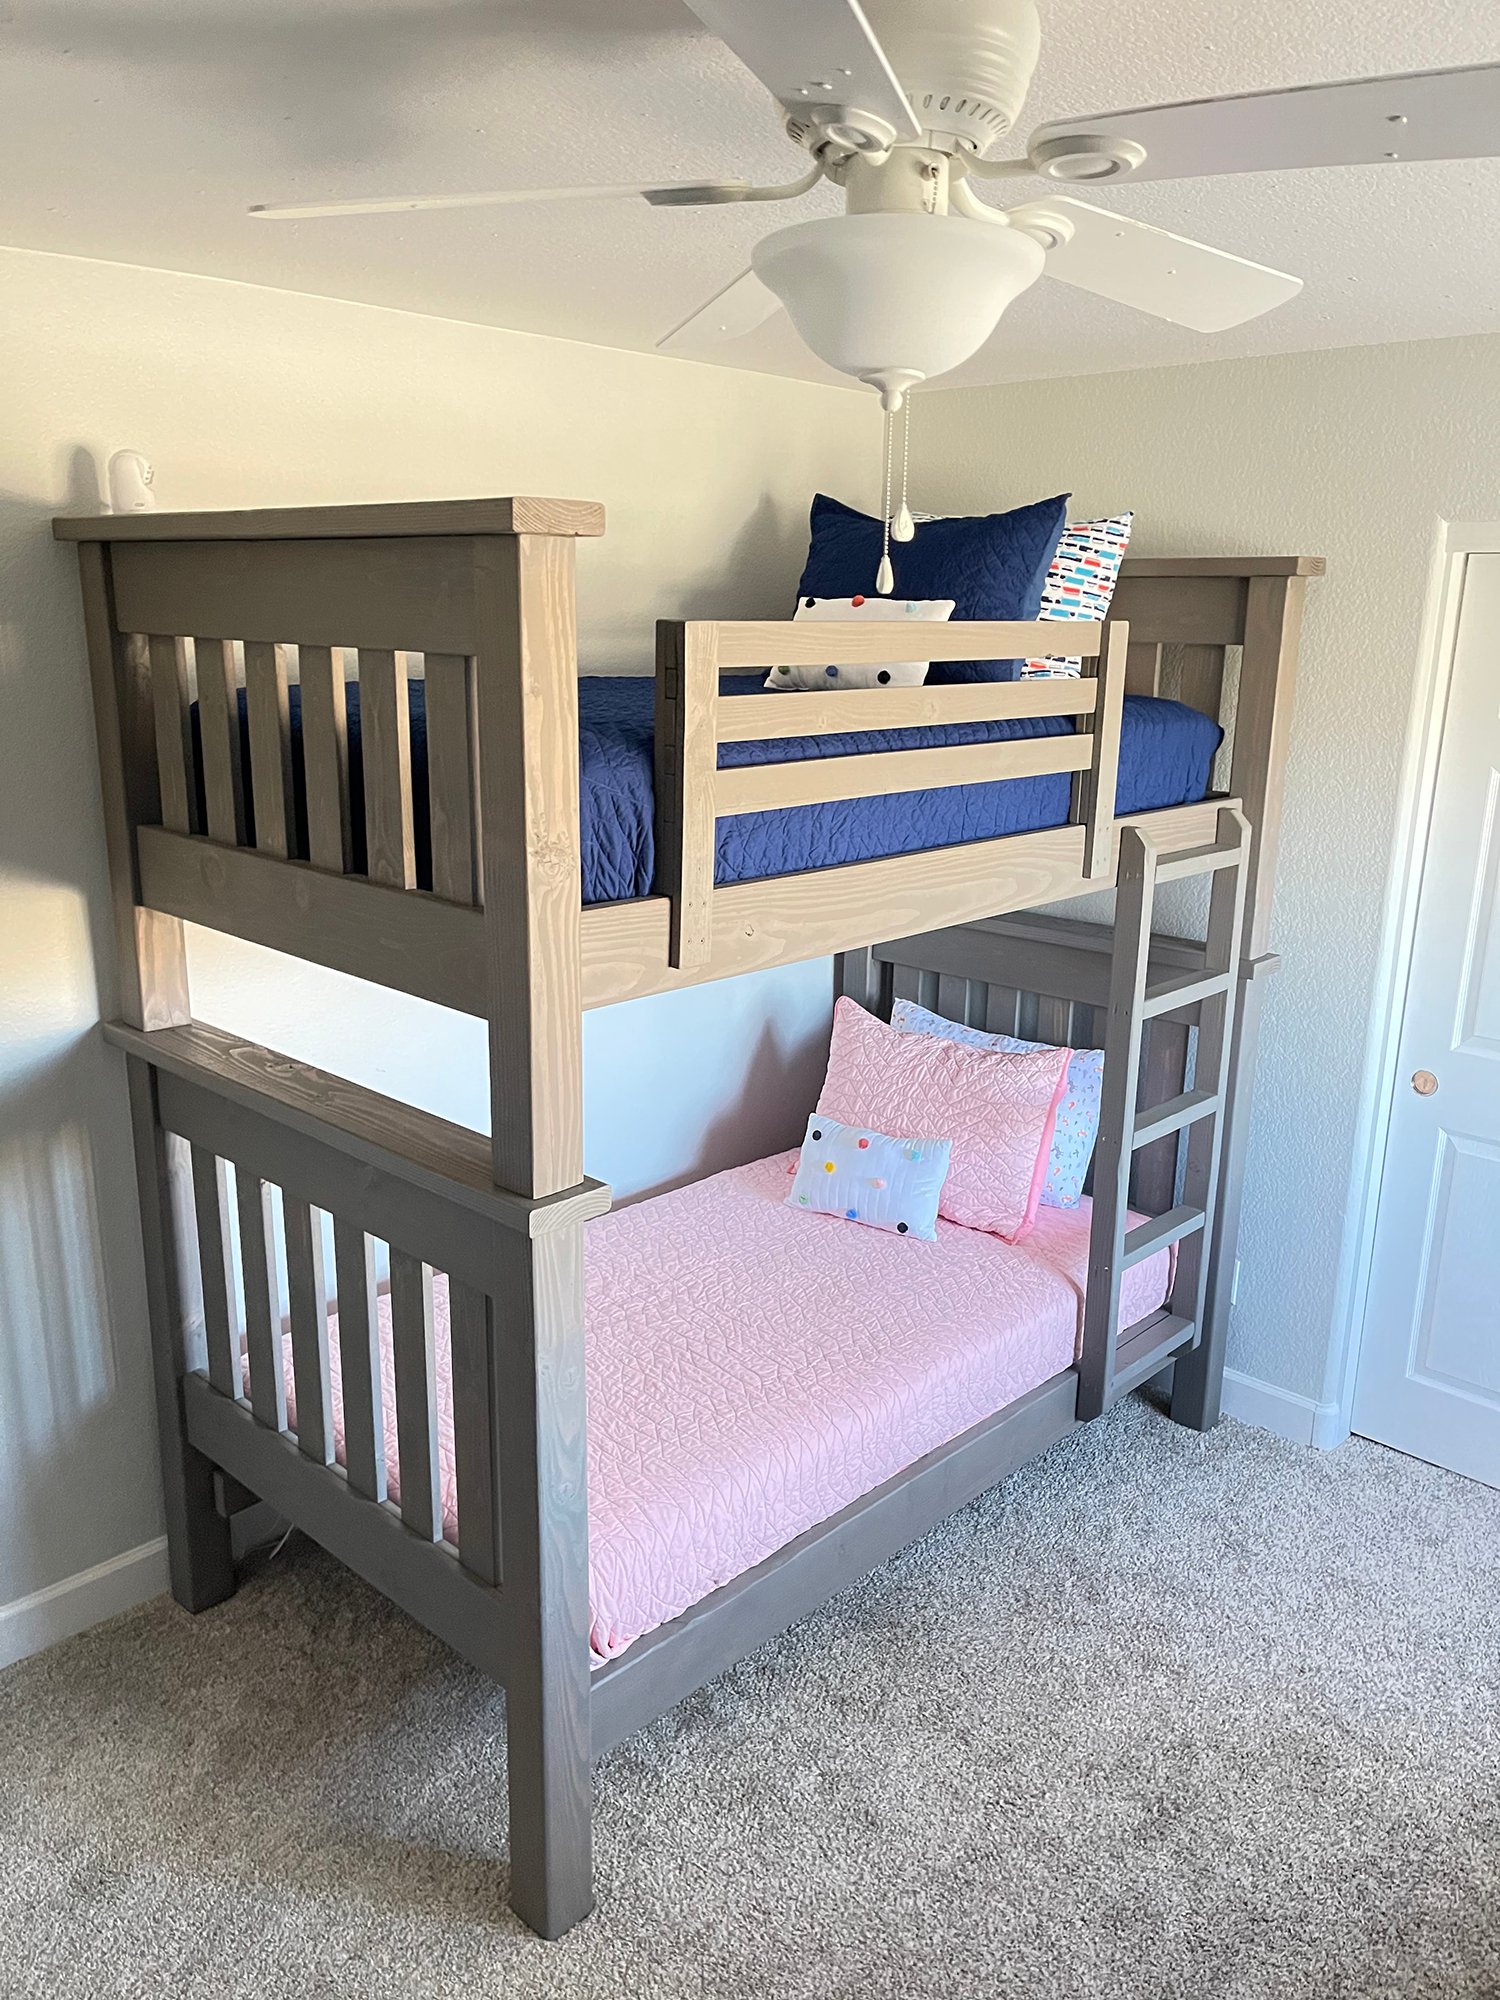
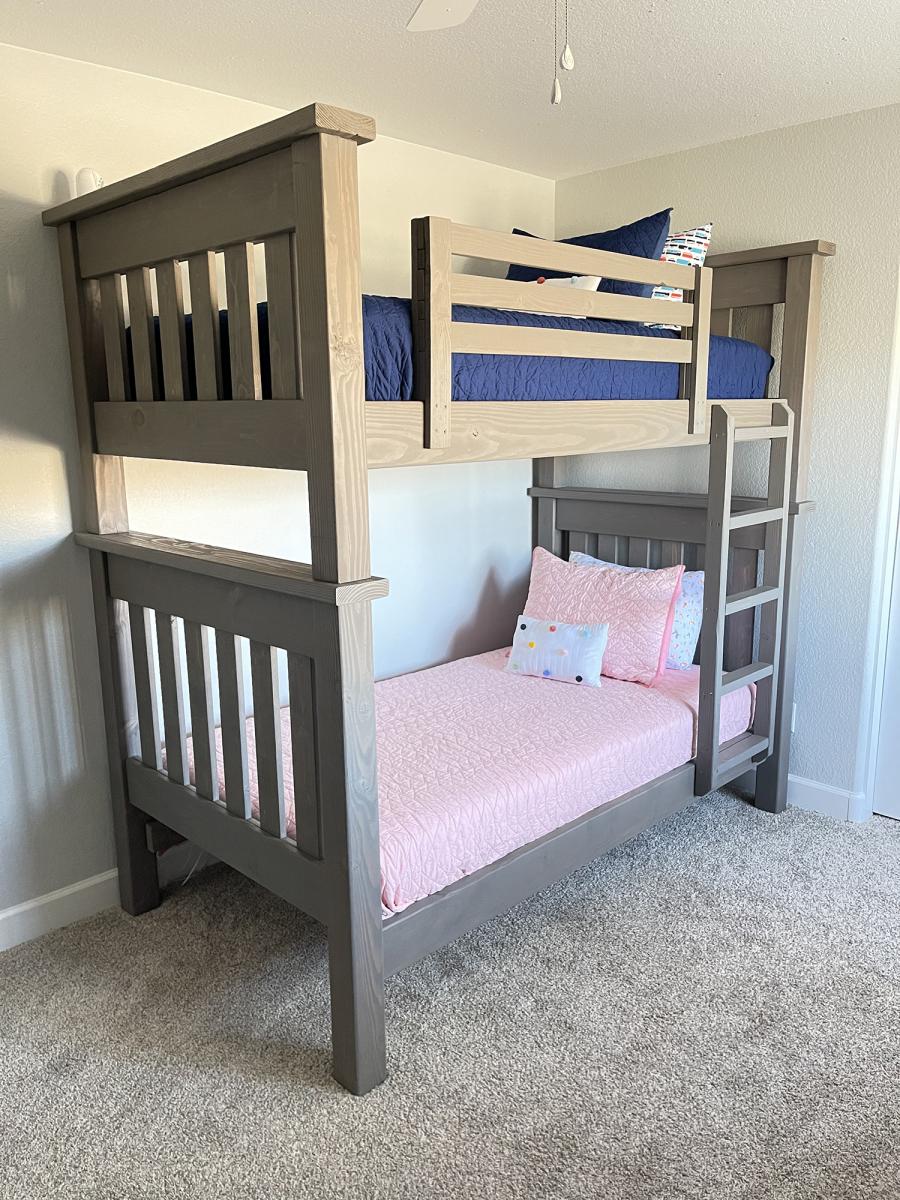
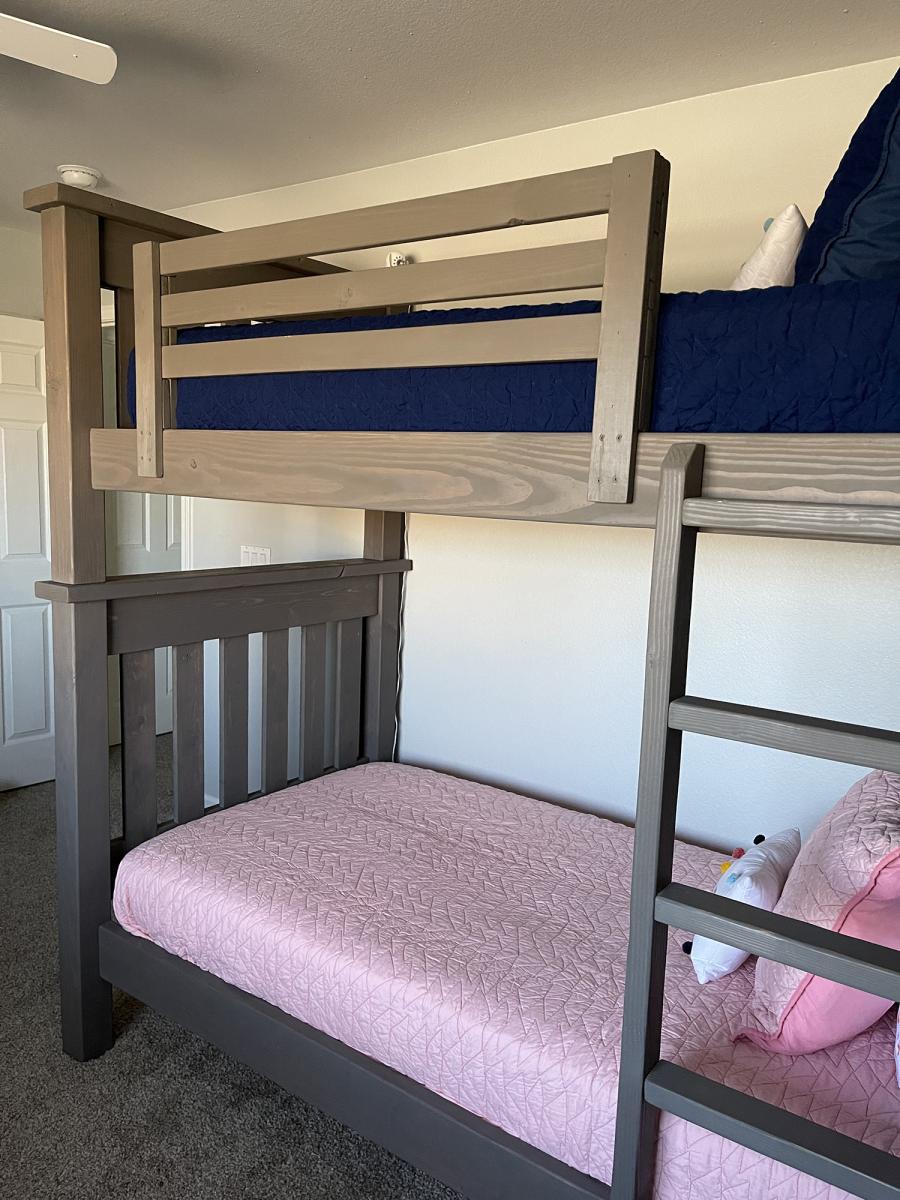
Simple Bunk Bed

Submitted by jmartell10 on Sun, 06/27/2021 - 09:34

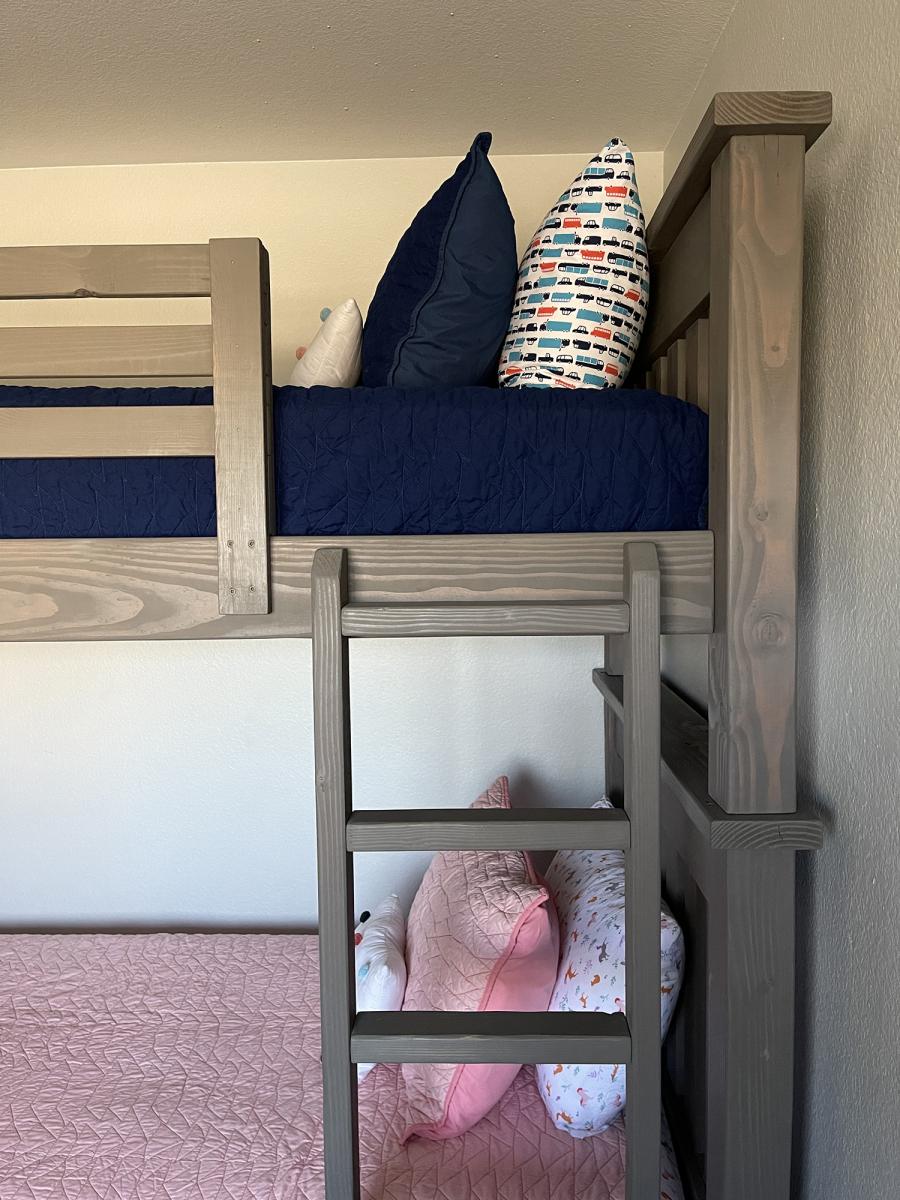
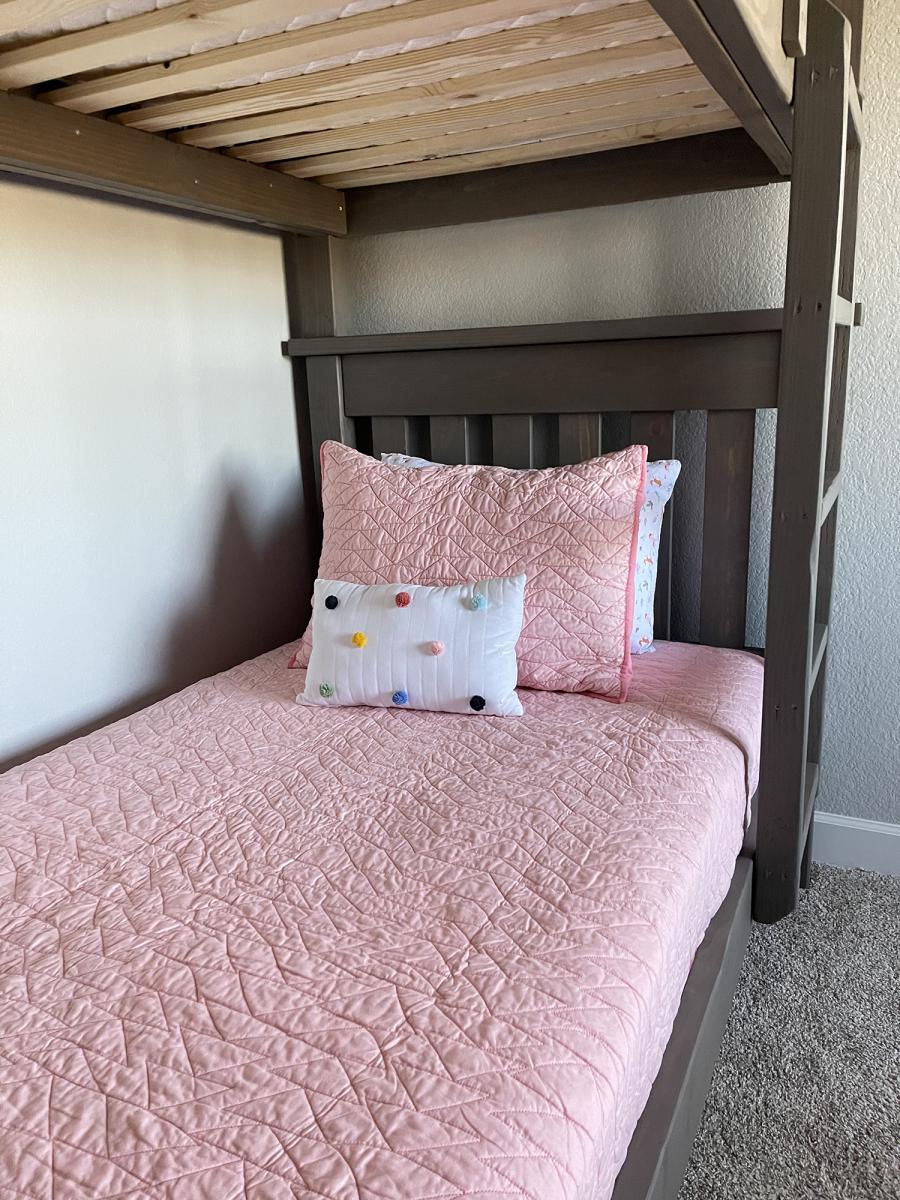
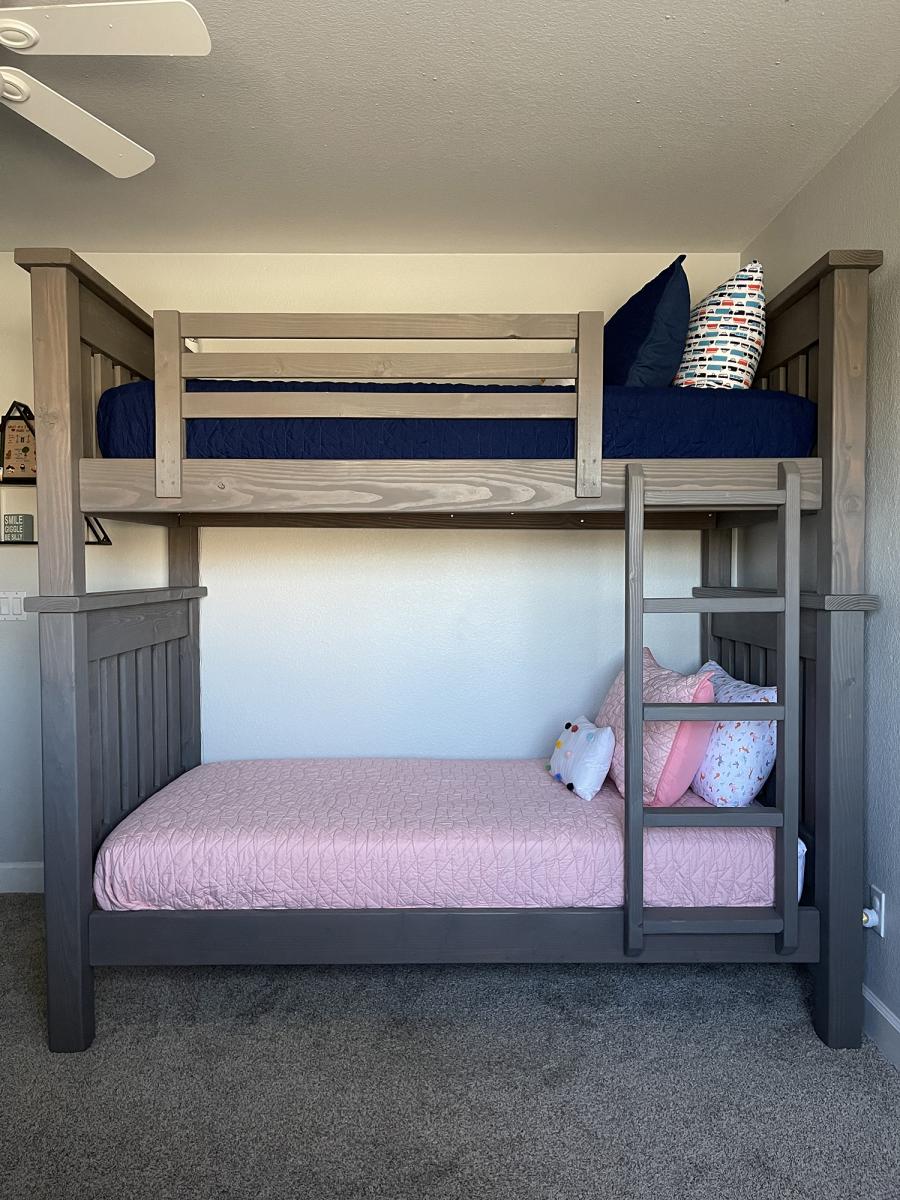
I searched high and low for the perfect bunk beds to buy for my four-year-old son and two-year-old daughter when our third child was on the way. We wanted something that had enough clearance between the top and bottom bunks so my husband and I could comfortably sit on the bottom bunk with our kids to read books before bed and it was nearly impossible to find a pre-made bed that fit that requirement in our price range. I was excited to find this plan because it looked like the perfect fit and we could modify it to meet our needs.

I built and stained most of the parts of the bed (while six months pregnant :P) and my husband did the final assembly. It took us about two weeks from start to finish since we could really only work during naptime and bedtime. We stained them with Behr water-based stain in Classic Gray. I love the way they turned out and they are super solid and heavy. My kids love them too.

Estimated Cost
$500
Estimated Time Investment
Week Long Project (20 Hours or More)
Finish Used
Behr water-based stain in Classic Gray
Recommended Skill Level
Beginner

Comments

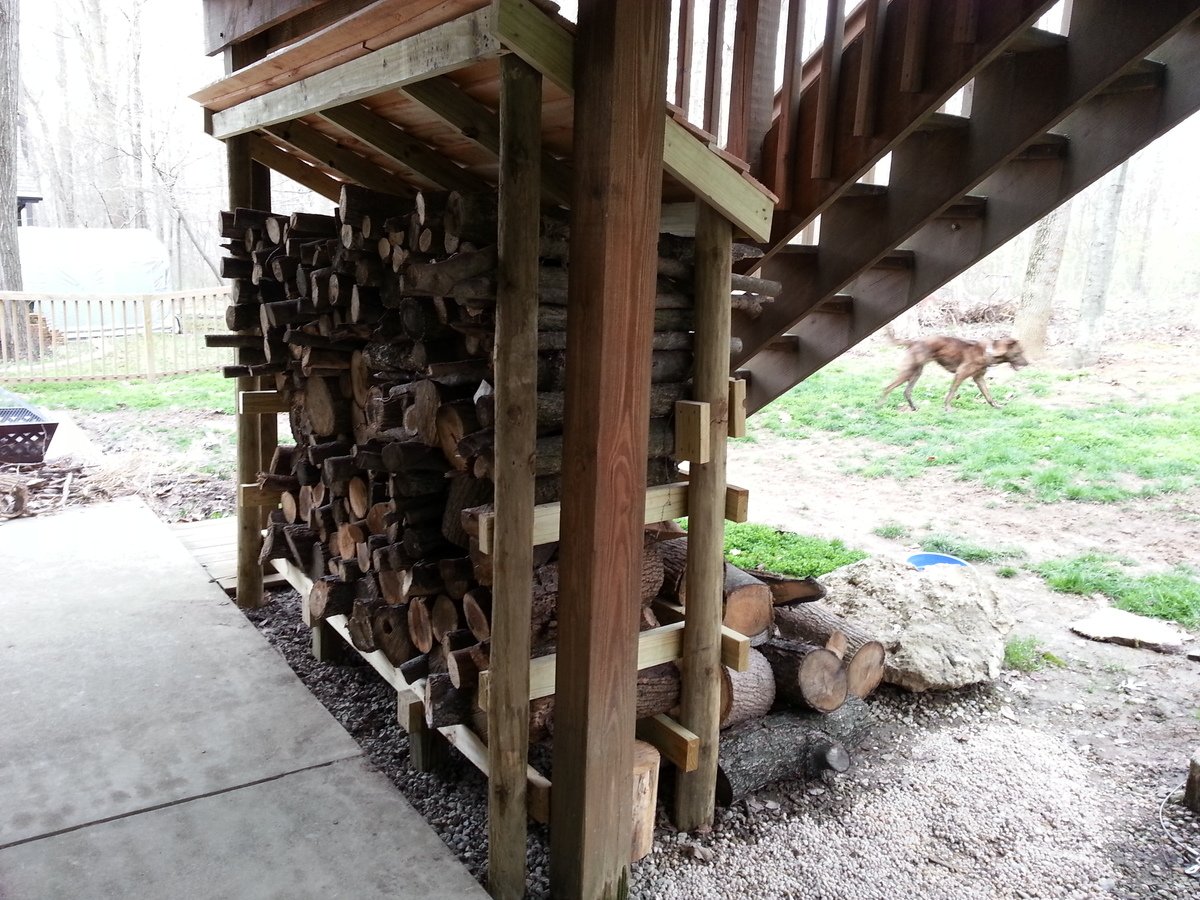
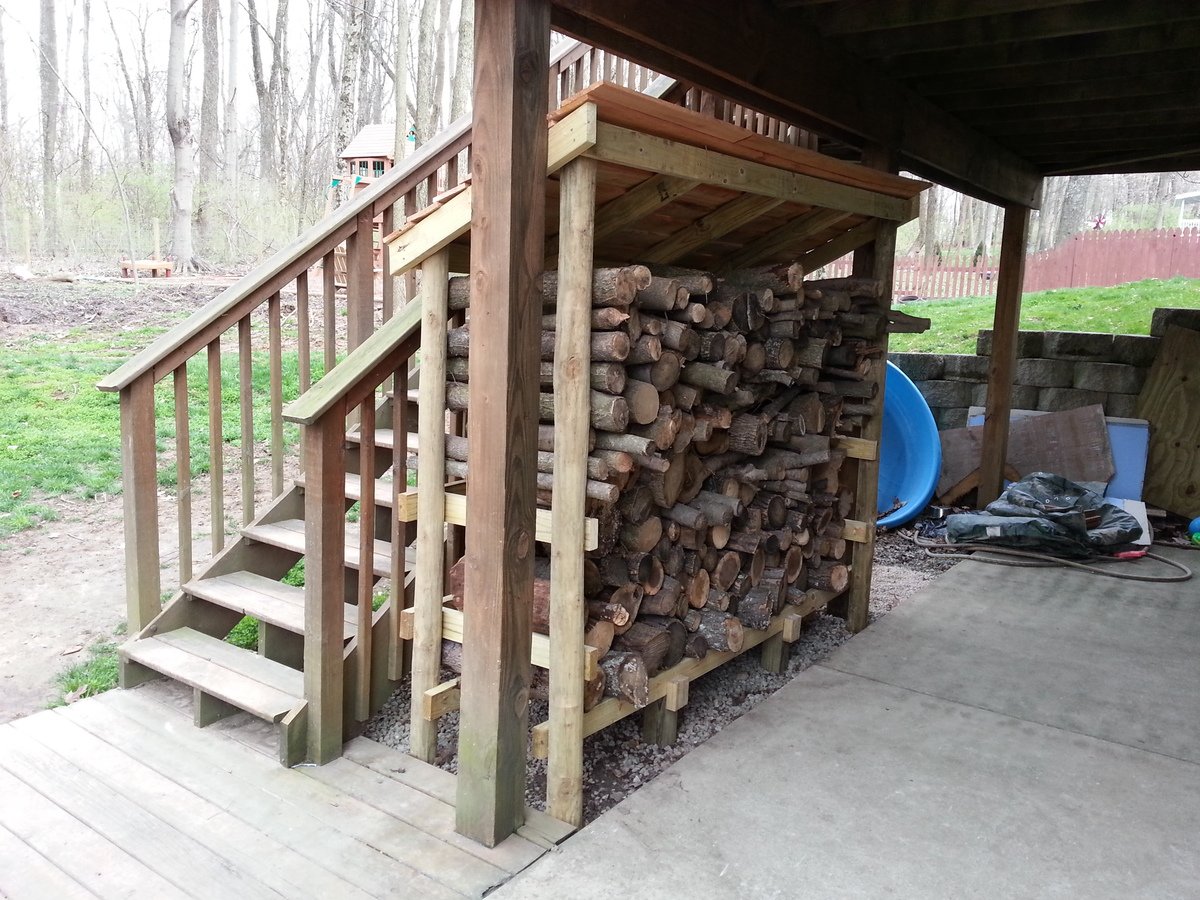
Firewood Shed using Round Posts and 2x4s

Submitted by tommybo76 on Mon, 04/15/2013 - 15:50

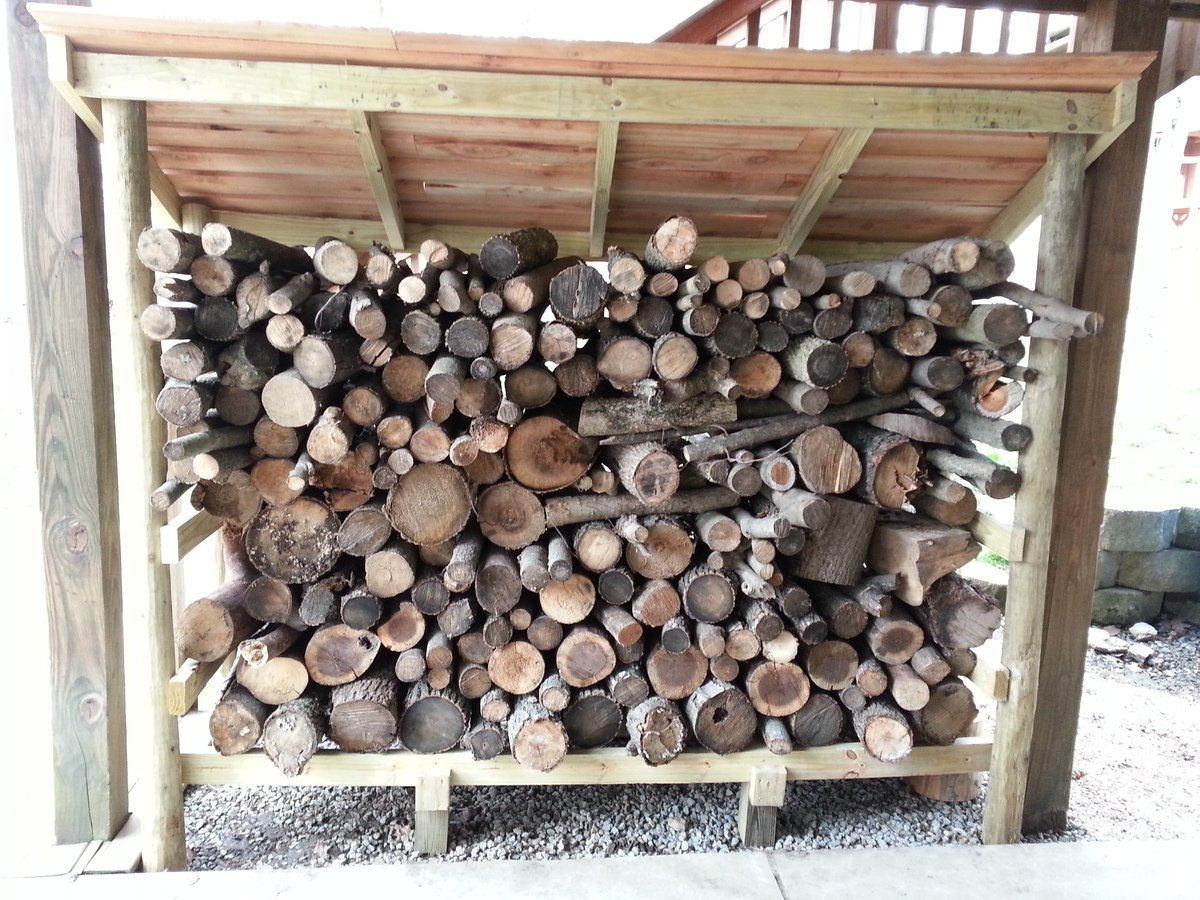
I used the basic design principles from Ana's site but decided to use 3.5x6.5 round fence posts (purchased at my local Tractor Supply Company) for a different look plus they are a little cheaper than 4x4 posts. I also used pressure treated 2x4s for some added strength and perhaps longer durability. I used Ana's cedar fence pickets idea for my roof (these pickets are used as walls on one of the other shed plans on this site). I didn't need a very robust roof as my firewood shed sits underneath the deck which provides a lot of protection from the rain. I attached the structure using 3 inch deck screws and the roof with 1.5 inch deck screws (nails would have been more than adequate for the roof but I had the screws on hand).

I did run into some problems due to my design changes. Most of my issues involved attempting to square up the round posts which are much closer in shape to a jagged stick than dimension lumber such as a 4x4 post. If I had to do it over again I would not have used the round posts. Constant tweaks and adjustments to the posts significantly delayed my build time and frustrated me at times. I was just barely able to wedge my woodshed in between the 2 deck posts which actually came in handy as I was able to secure the shed to the deck posts with 3 inch screws...making the shed very solid! The final issue I discovered after loading up my wood shed. The 2x4s at the bottom of the structure began to sag. I fixed this by using my floor jack to raise them up and placed 8 inch tall 4x4s underneath (2 in the front and 2 in the back).

Overall I'm happy with the way it turned out and I really love all the plans on this site...GREAT ideas!!

Built from Plan(s)
Estimated Cost
$90
Estimated Time Investment
Day Project (6-9 Hours)
Recommended Skill Level
Beginner

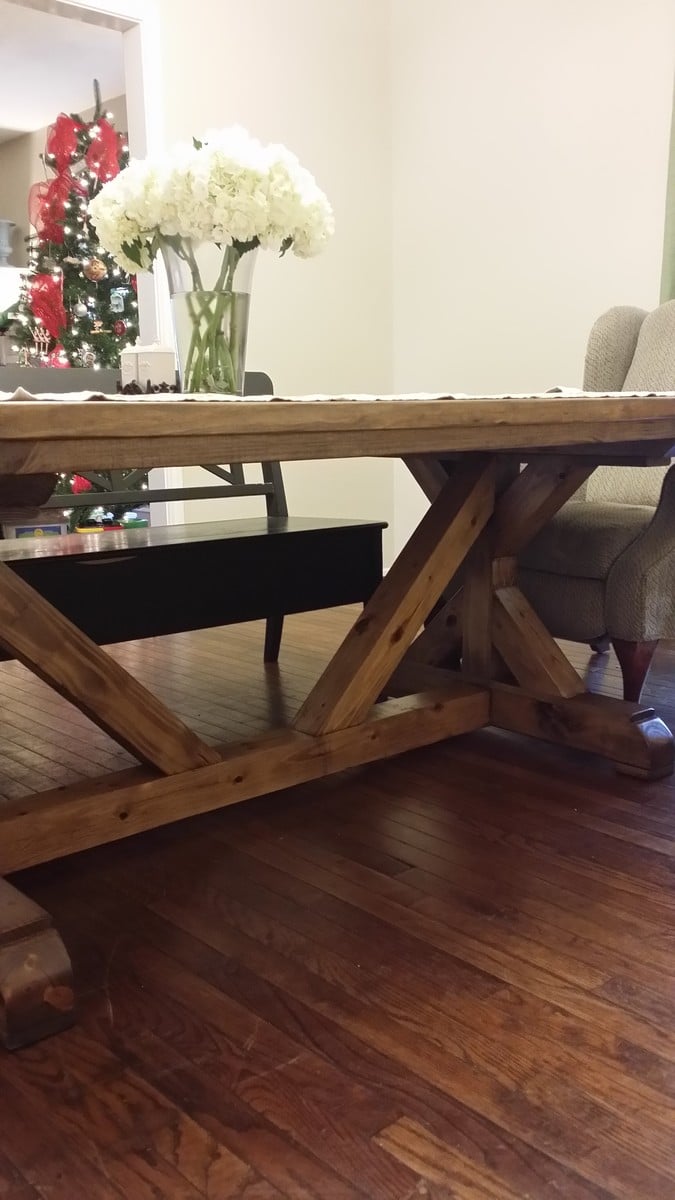
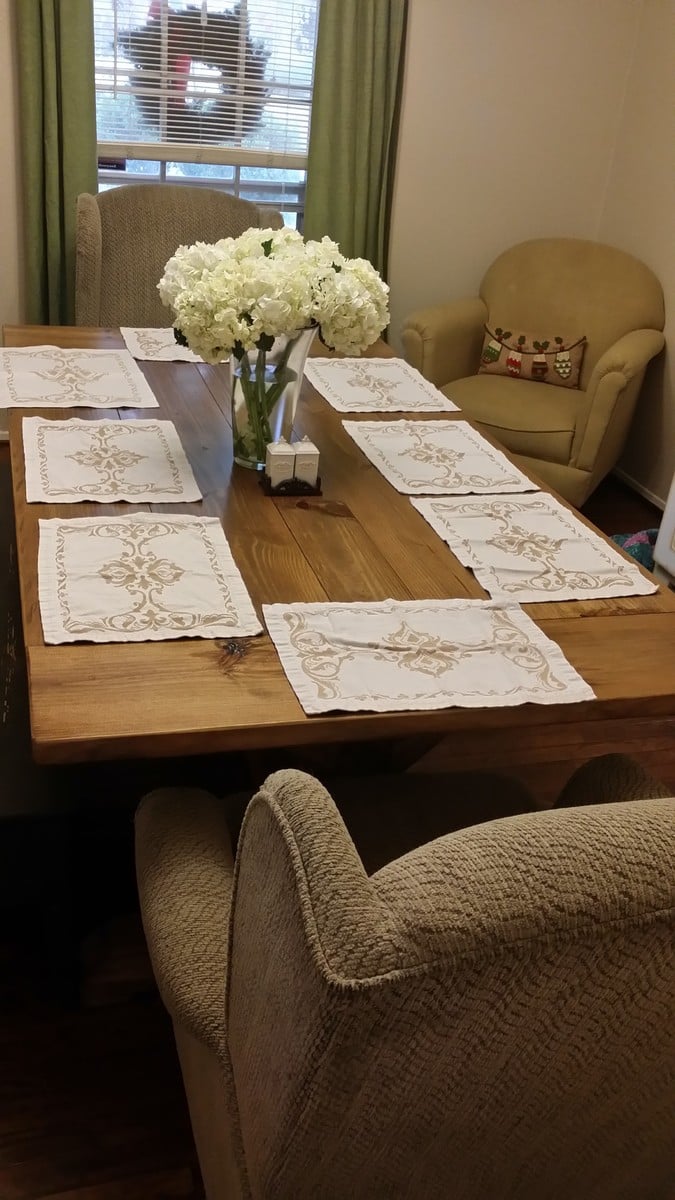
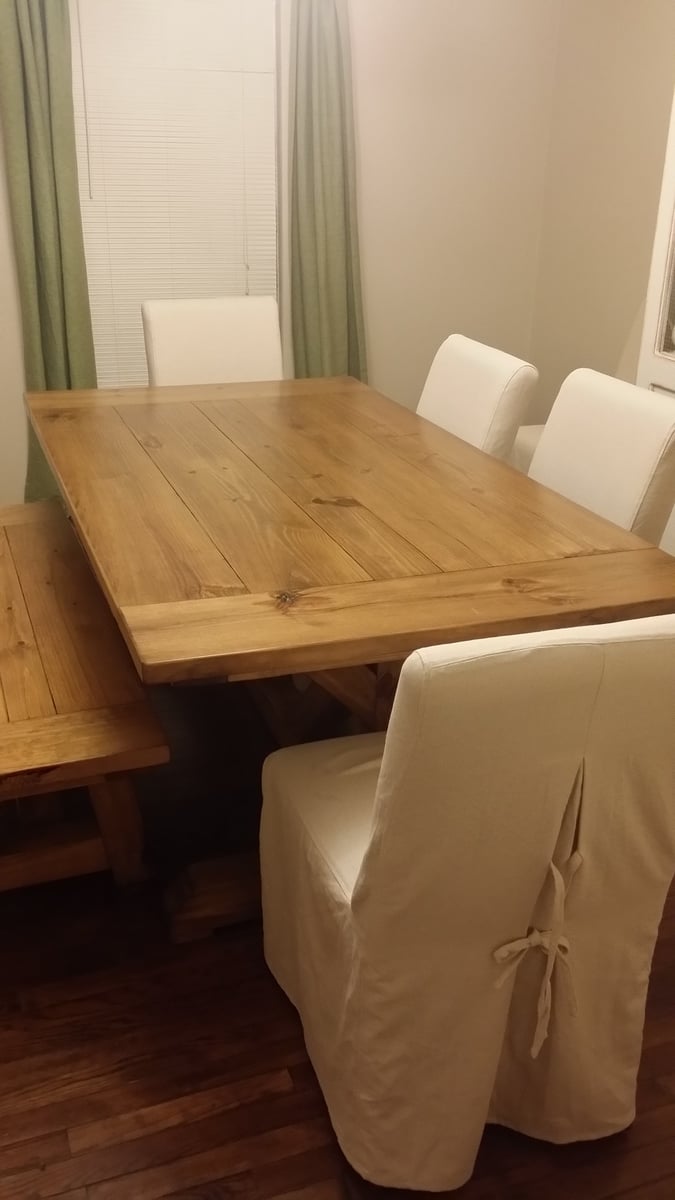
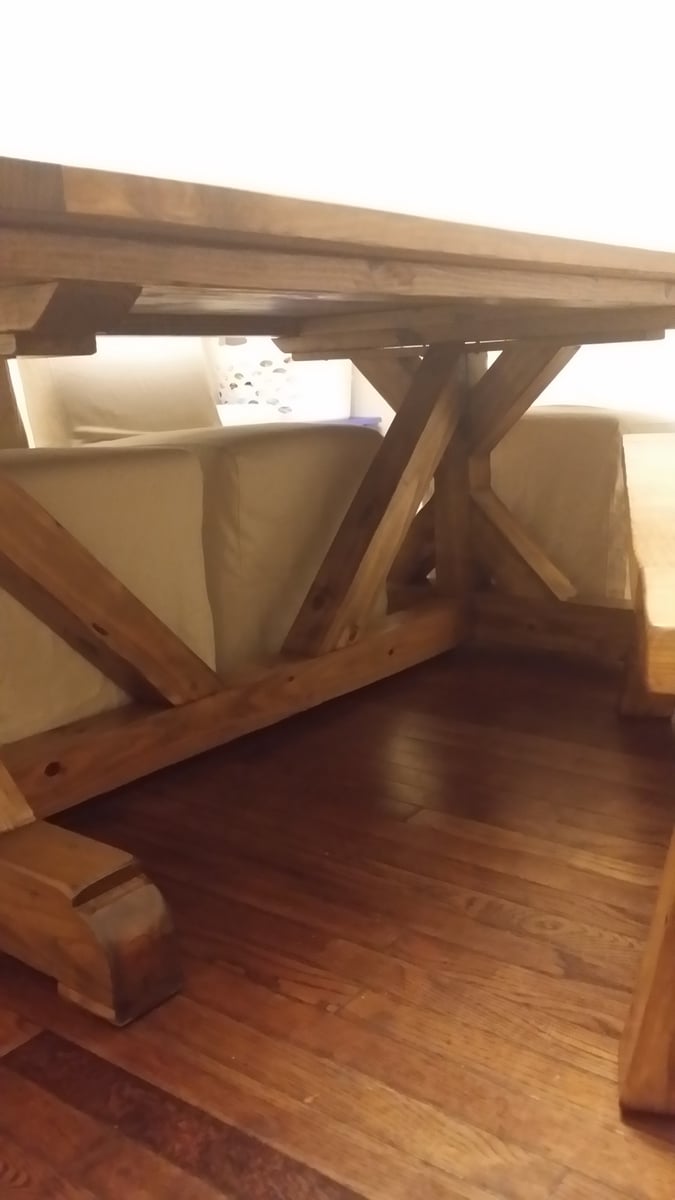
Fancy X Farmhouse table with 4x4 base

I used 4x4 post for the base.

Built from Plan(s)
Estimated Cost
$300
Estimated Time Investment
Week Long Project (20 Hours or More)
Finish Used
I sanded the heck out of the table. I then applied a coat of wood conditioner with a rag. I let it dry for about 30 minutes. I then brushed on a coat of minwax Special walnut. I only let it sit for about 10 to 15 seconds, then wiped off the access with a towel and blended it in with the same towel. I let that dry 25 hours and then brushed on a coat of minwax weathered oak. I let this sit for about 14 to 15 minutes then wiped off and blended in with a towel. I let it dry for 24 hours then applied 3 coats of the urethane. Letting it dry at least 12 hours between coats.
Recommended Skill Level
Beginner

Comments

aggielandma12

Sat, 03/07/2015 - 10:01

We are waiting on our slip cover chairs (on back order). I have built a matching bench that needs to be finished.

dadmandude

Tue, 05/10/2016 - 10:20

I'd also like to build this table using 4x4's.  Can you tell me how you came up with the lengths for the diagonal pieces?  Also, how did you attach the perpendicular end pieces to the top?  I've been looking to do that as well and on all the plans I've seen they used pocket holes and I know that will not last before the end pieces begin to sag.

Thank you!

White Oak Farmhouse Table

Submitted by Anonymous (not verified) on Sun, 06/04/2017 - 15:27

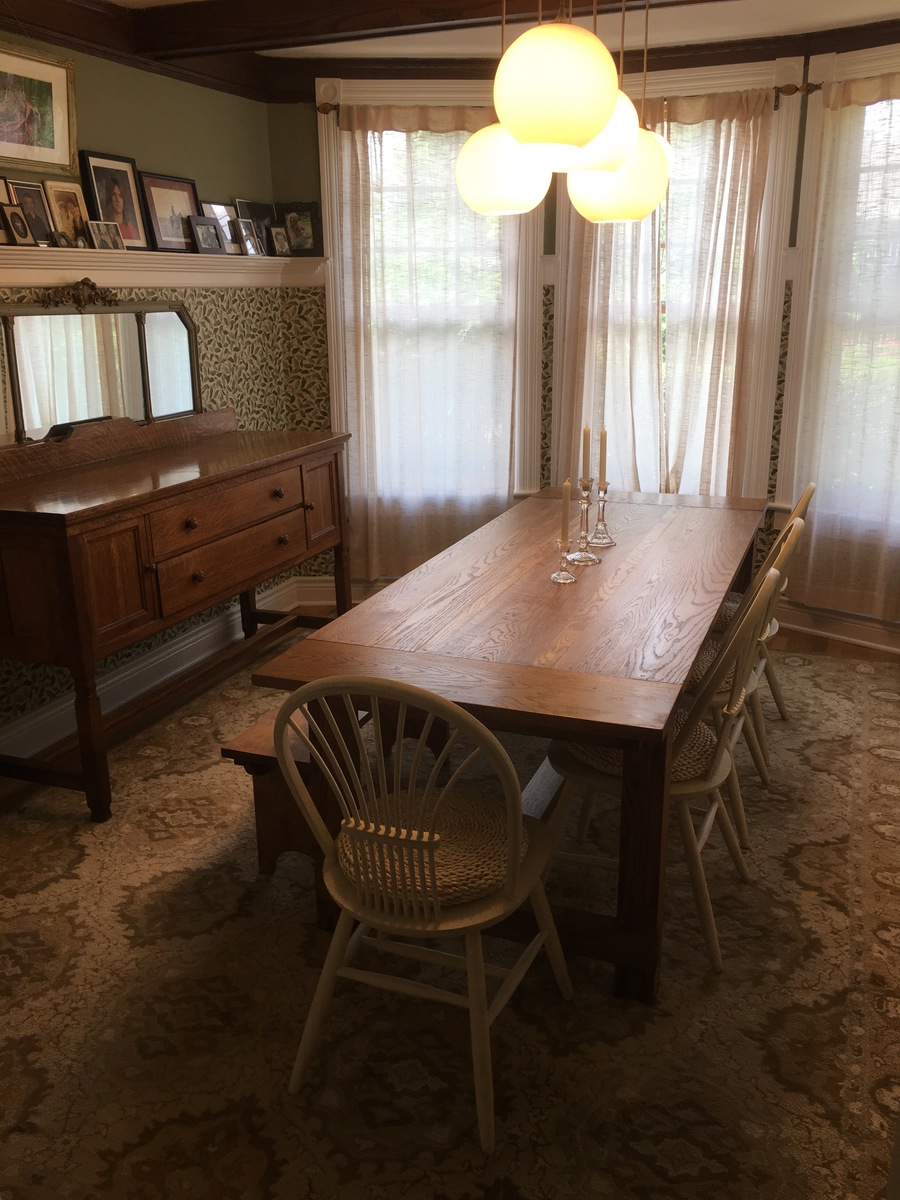
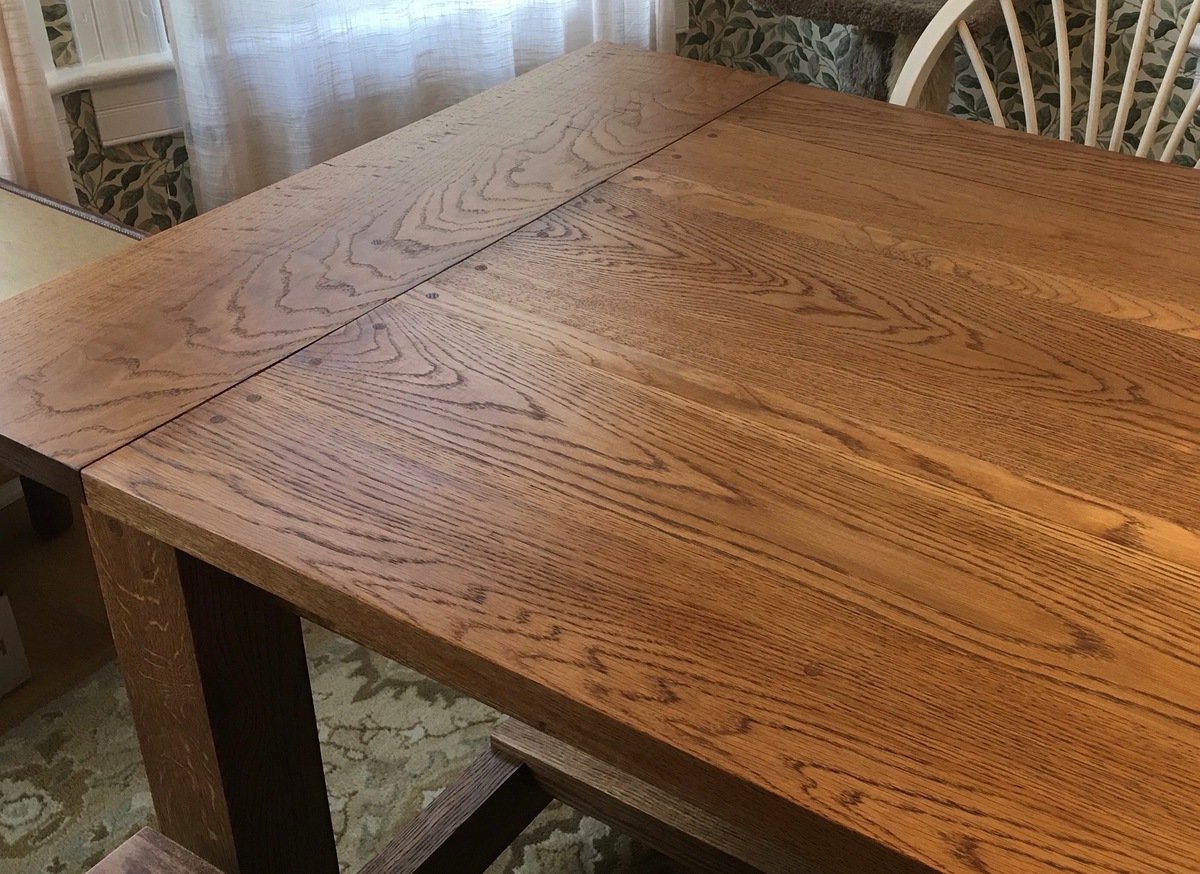
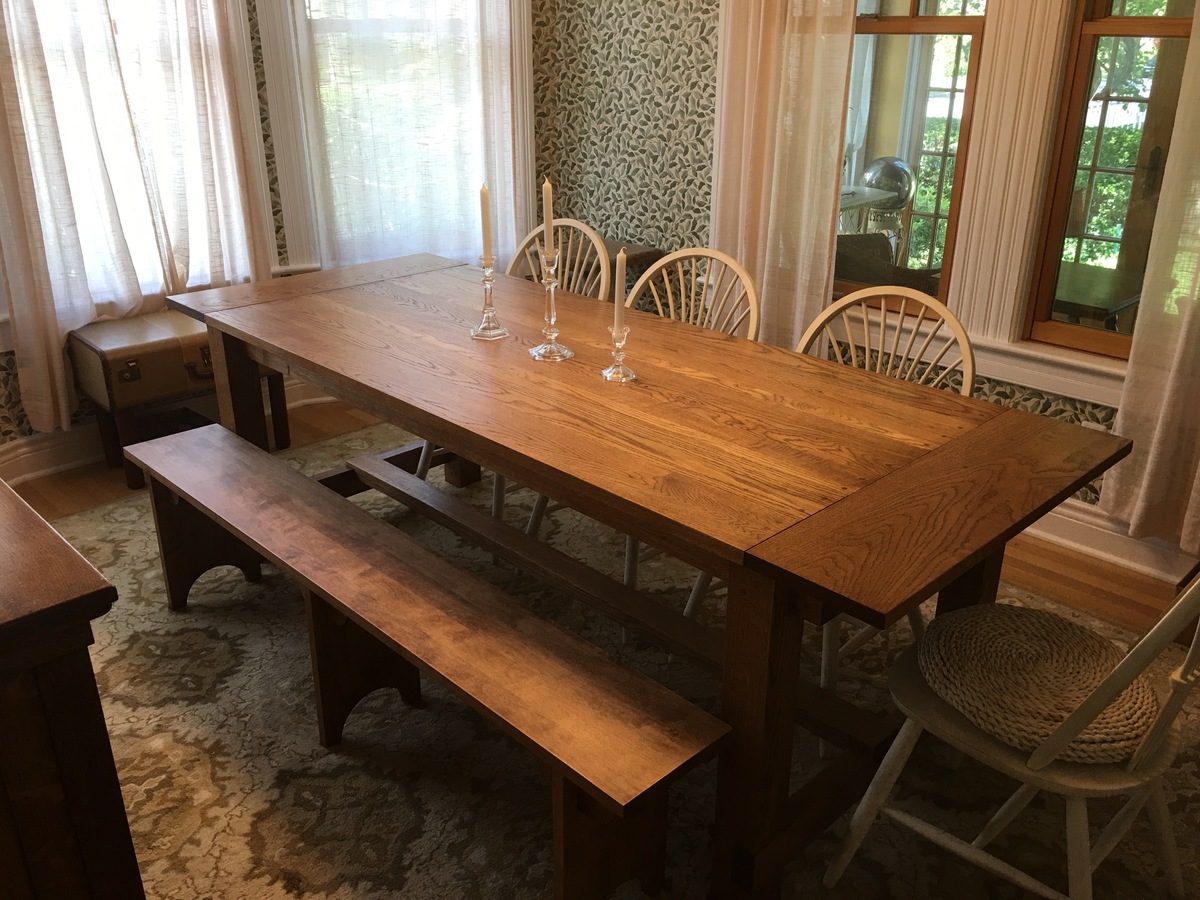
I built this using the Farmhouse Table plans, and we're thrilled with the results. My modifications included making the table longer and narrower to fit our dining room, and building it from some fantastic white oak from a local lumberyard called Boards & Beams in Fairfield, NJ. I used 5/4" thick boards of varying widths for the top, and created deeper overhangs at the ends by making the breadboard ends 10" deep. Unlike a more rustic version using pine, the lumber was extremely expensive, and the oak makes an already heavy table even heavier. Still, it is orders of magnitude less expensive than purchasing a custom table like this, and I only needed to "ship it" from my garage. 

My idea was to match, as closely as my skills would allow, the antique buffet in the photo next to the table. Or at least to build something that would look good next to the buffet. My prior woodworking experience is limited to DIY carpentry and building plywood shelves and radiator covers. I am not a "mortise and tenon" woodworker (although I'd like to learn). The plans are excellent because this was the first "real" furniture I've ever attempted, and it is literally as solid as if it were carved from a single piece of wood. I rented a 12" compound miter saw from Home Depot to make most of the cuts in one day, which worked out extremely well. The visible screw holes I plugged with oak dowls. 

If you decide to build this (or anything) from a hardwood, here are a couple mistakes I made early on that you don't want to repeat. First, EVERY screw into every piece needs a pilot hole. If you have even the slightest thought that your screw is about to strip or break, it is. Second, higher-quality wood is often cut larger than what you find in a big box store. A 2 x 4, which might be 1.5 x 3.5 from Home Depot, can be 1.75 x 3.75. This really matters a lot, and so you have to measure your actual wood and re-calculate every measurement accordingly. The upsides, for me, included fewer warped pieces, less splintering, and greater ease of sanding and finishing.

Thank you very much for posting these plans and for your excellent "how-to" on cutting out the notches. 


Estimated Cost
$900 worth of wood and screws, $50 for saw rental, $15 worth of stain and poly.
Estimated Time Investment
Week Long Project (20 Hours or More)
Finish Used
Varithane "Provincial" stain, applied with a rag, followed by three coats of Minwax Wipe-on Polyurethane applied with a rag. I used less than 1 pint of stain for the whole table. The Wipe-on is less glossy than a brush-on. It really wants to go on in VERY thin coats. I may have done 4 coats on the top. In between coats, I sanded with wet-dry grits of 800-1000. The result is a very even finish (but not as even as a professionally applied finish) that you can still feel the grain through, and there are no brush strokes to deal with.
Recommended Skill Level
Intermediate

Shanty Sideboard

Submitted by Anonymous (not verified) on Sat, 07/17/2021 - 04:47

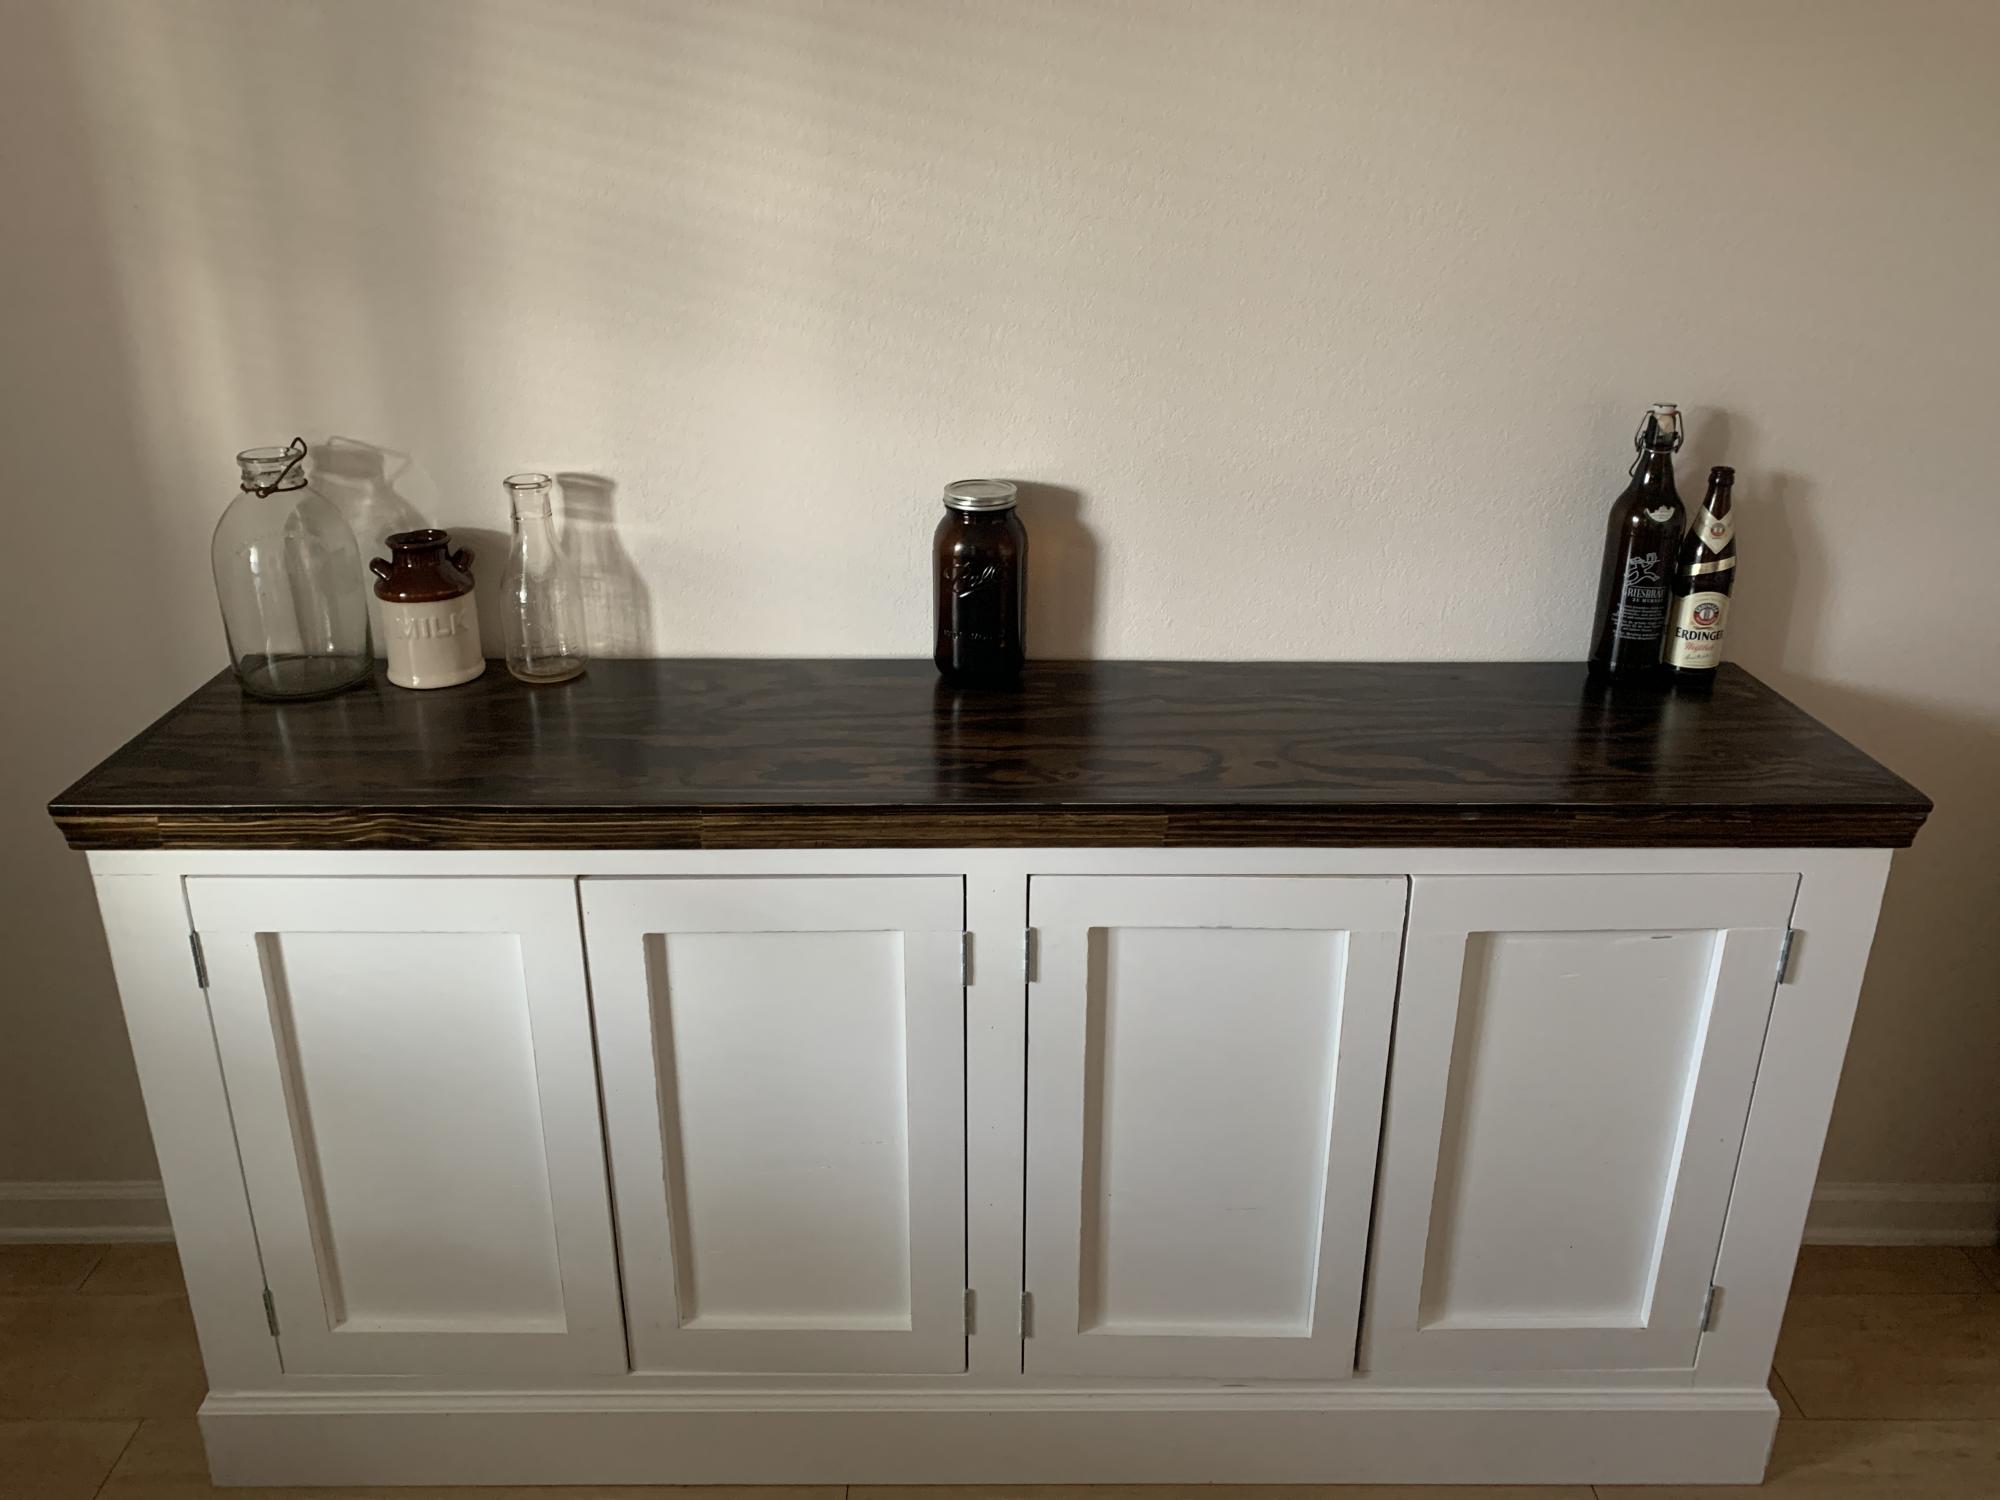
Wife fell in love with these plans from Ana White. Took longer than I want to admit to finish, but looks amazing! Thank you for the plans Ana!

This was my first major project for my wife with a set of new tools to start into woodworking.

Built from Plan(s)
Estimated Cost
Around $200 in lumbar and hardware
$500 or so in tools and mistakes learned along the way!
Estimated Time Investment
Week Long Project (20 Hours or More)
Finish Used
Valspar ultra white
Minwax Jacobean (three coats)
Minwax clear semi gloss polyurethane (three coats)
Recommended Skill Level
Intermediate

Comments

Reclaimed Wood Farm Table

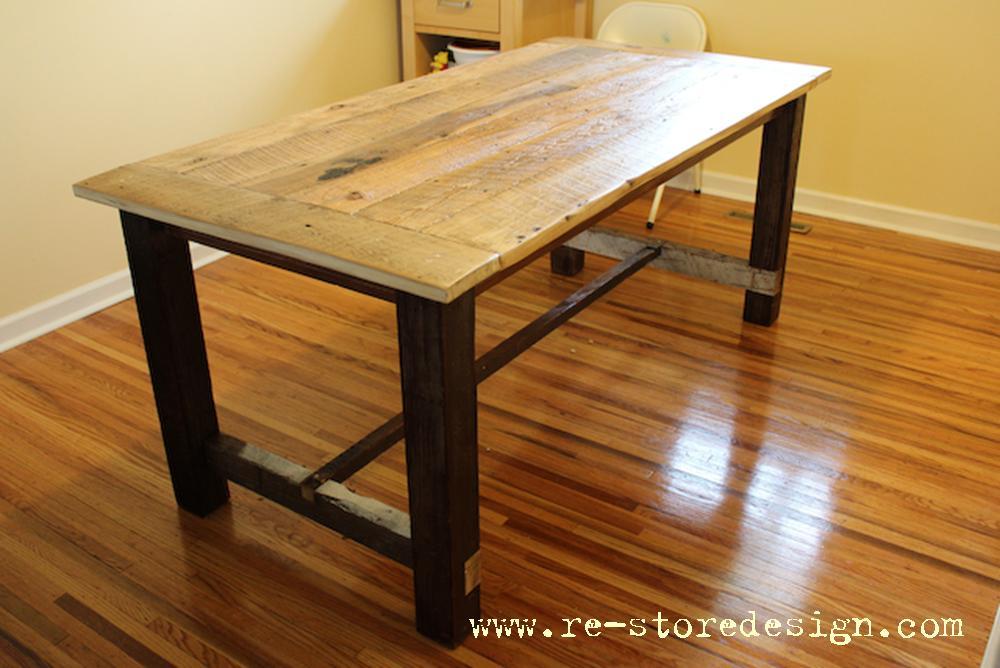
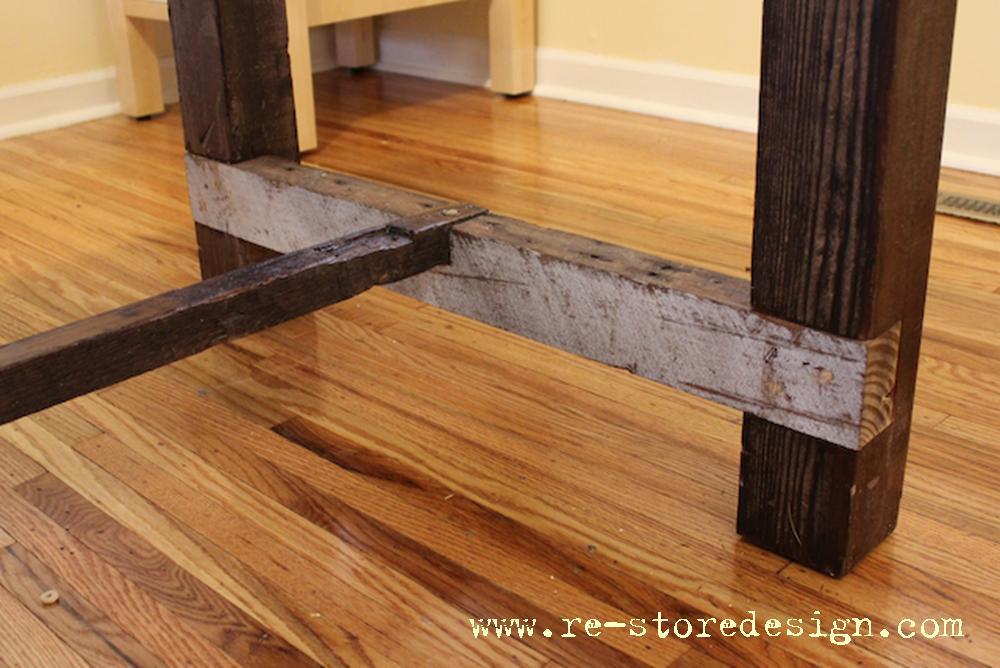
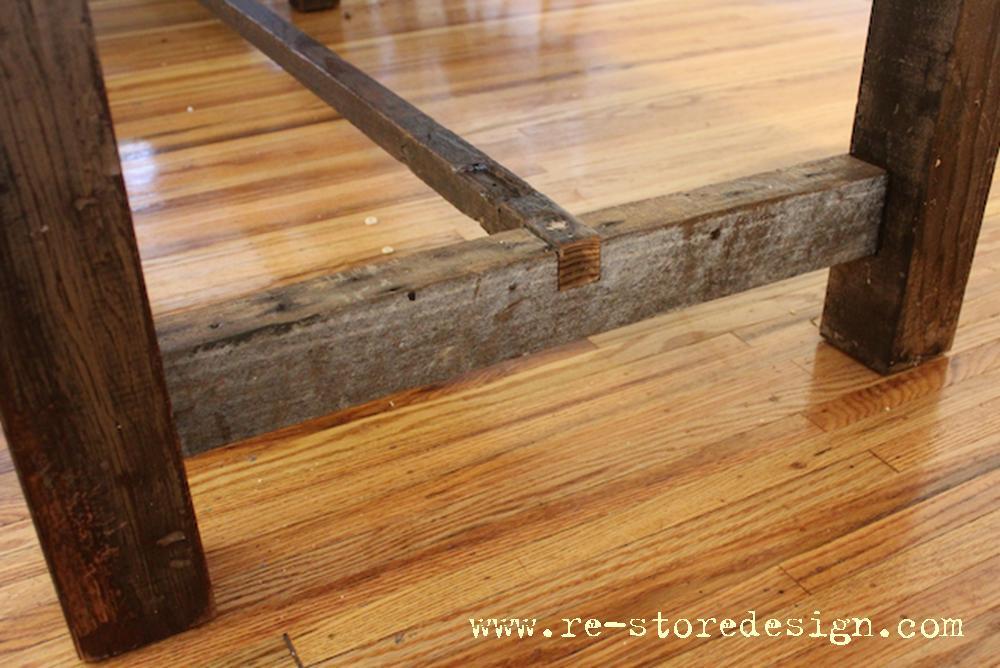
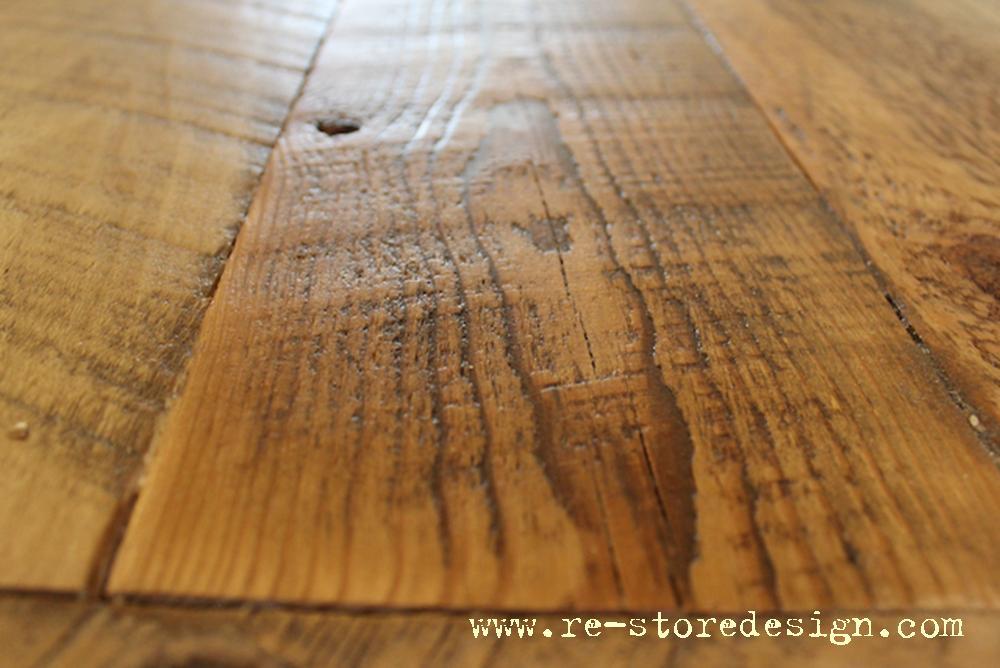
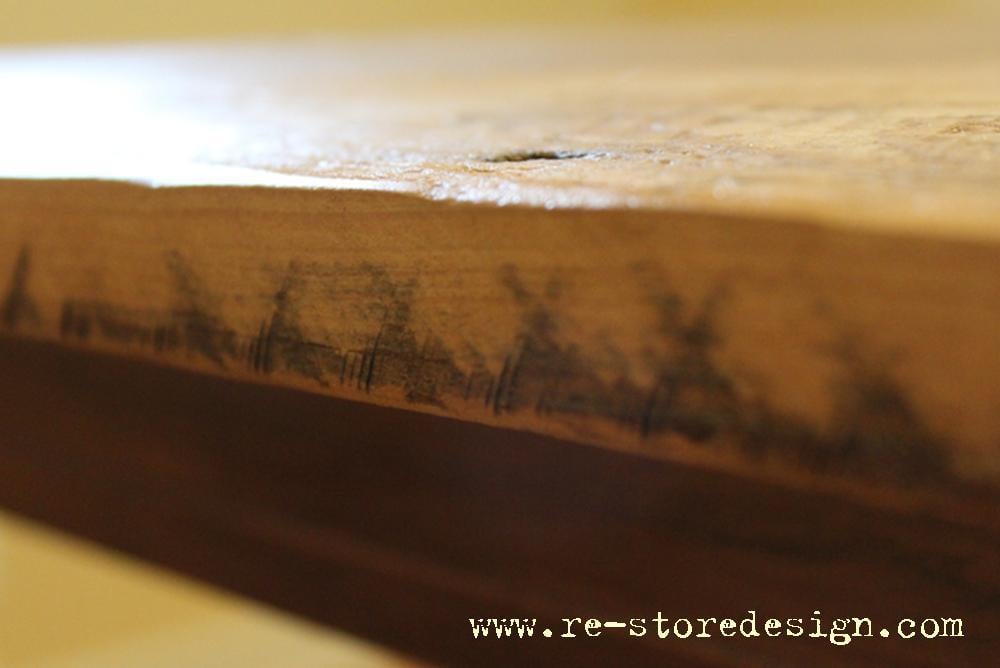
I built this table for a friend a few weekends ago. The reclaimed top turned out amazing!

Built from Plan(s)
Estimated Cost
$60
Estimated Time Investment
Afternoon Project (3-6 Hours)
Finish Used
Polyurethane Satin
Recommended Skill Level
Beginner

Comments

Kid's kitchen

Submitted by Tim Pardy on Sun, 03/08/2015 - 19:01

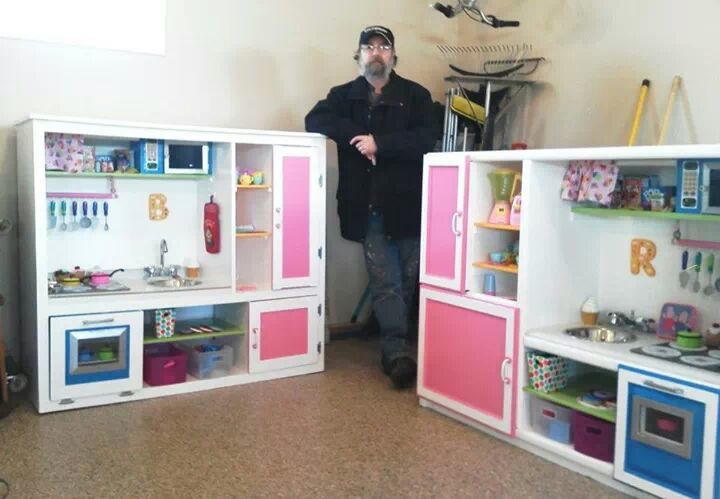
My wife had decided we need to do something special for our great niece's. .Oh that I should. Lol..It was a great experience, and I would do it again. .

Recommended Skill Level
Intermediate

Comments

Nightstand

Submitted by AndyH on Wed, 06/07/2017 - 11:58

Angled leg nightstand.  Legs made from 4 by 4's and angled at 5 degrees.

Finished in  Varathane Worn Navy and two coats of Satin Protector

Estimated Cost
$60
Estimated Time Investment
Weekend Project (10-20 Hours)
Finish Used
Varathane Worn Navy and two coats of satin protector
Recommended Skill Level
Beginner

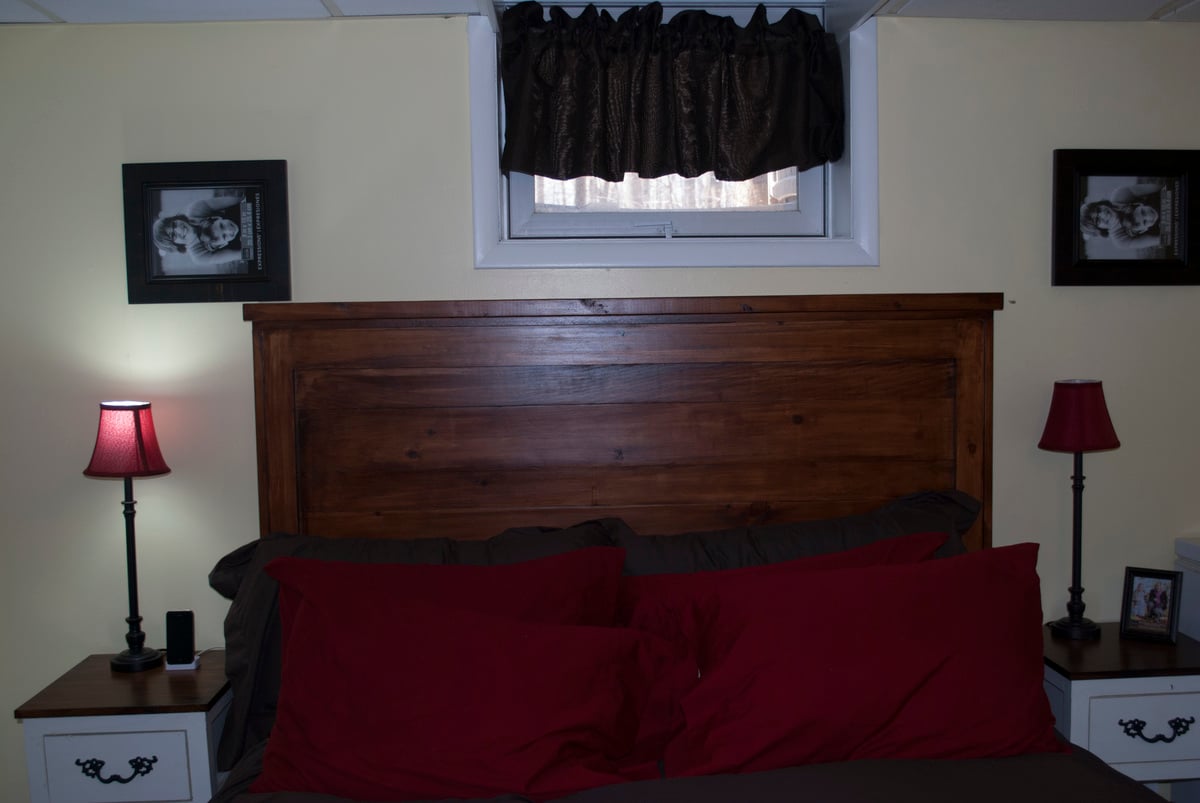
Farmhouse Headboard

Submitted by ema7172 on Sun, 04/21/2013 - 08:16

Farmhouse Headboard

Estimated Time Investment
Day Project (6-9 Hours)
Finish Used
Minwax walnut stain
Recommended Skill Level
Intermediate

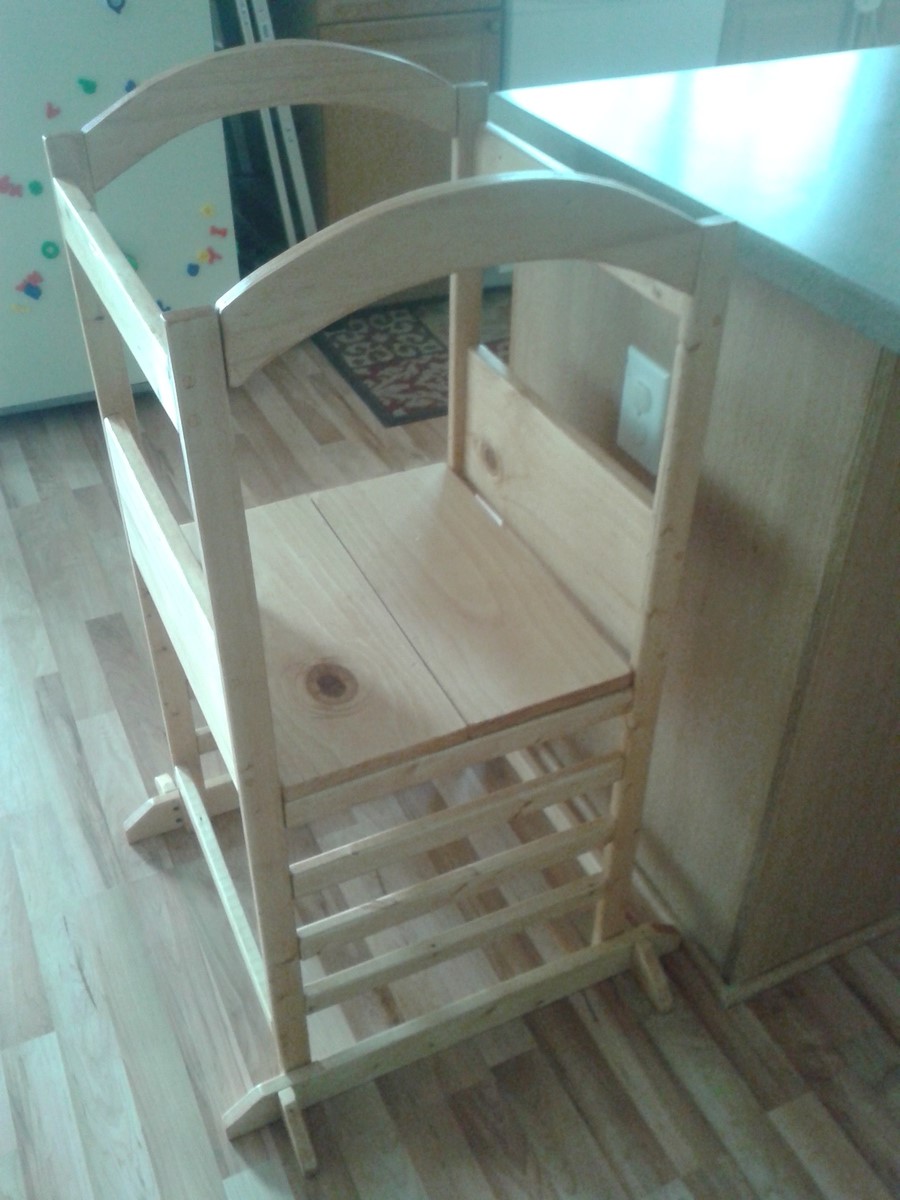
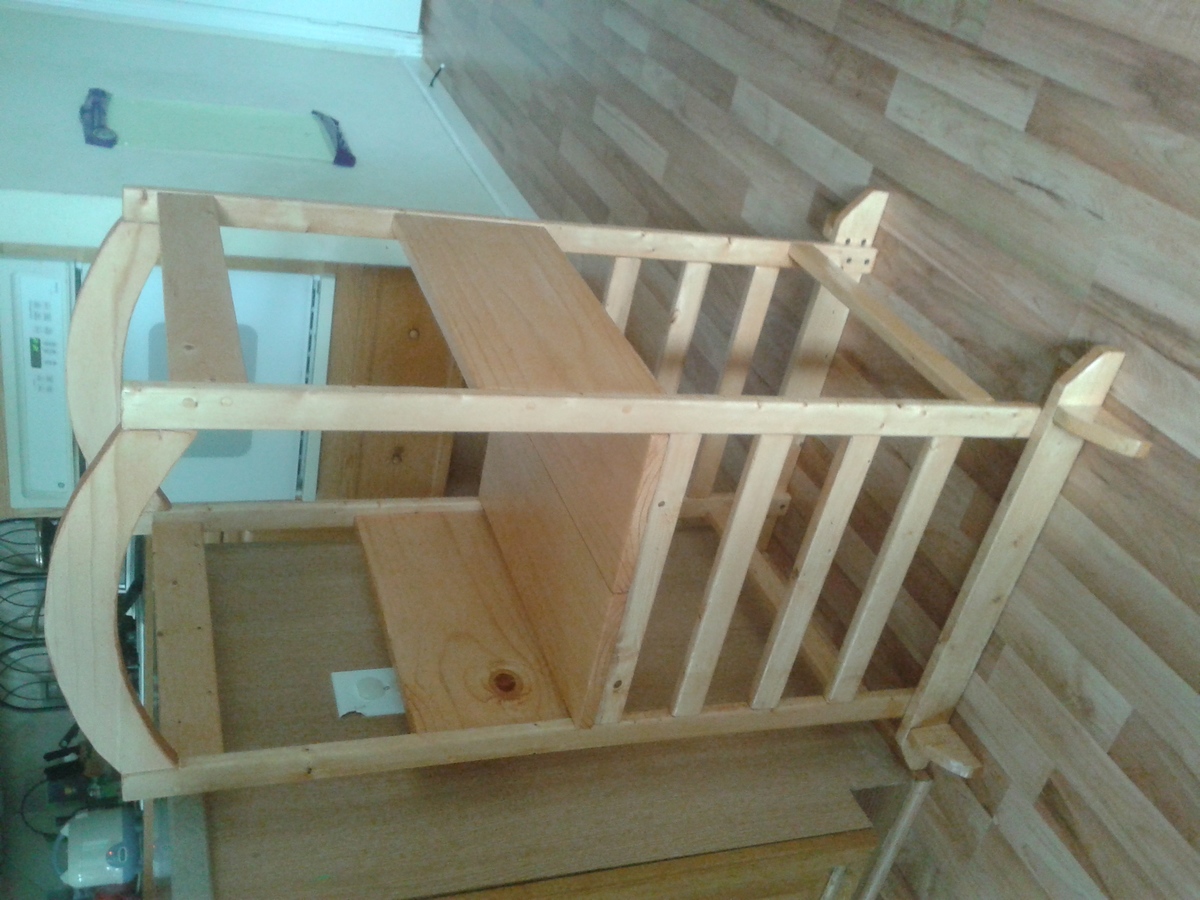
Little Tower

Submitted by Liliana N. on Thu, 03/12/2015 - 10:53

I'm a mother of three kids, so it took me a while to finish, but I also did some additional work on it so I would be able to stain rather than paint it.  I used a countersink drill bit to put in a bit of a hole that I filled with wood by using a plug cutter so that it would match more.  I also used epoxy in the knot so my son's baby toes wouldn't get hurt.  That's it.  I love it!

Estimated Cost
$30
Estimated Time Investment
Week Long Project (20 Hours or More)
Finish Used
Oak stain and a coat of clear polyurethane.
Recommended Skill Level
Intermediate

Comments

handmadewithash

Sat, 03/14/2015 - 20:25

I need to add this project to my todo list. My little one can't walk just yet, but it's coming soon. This will be a cool piece of furniture to have when the time comes. Great job on the build! :)

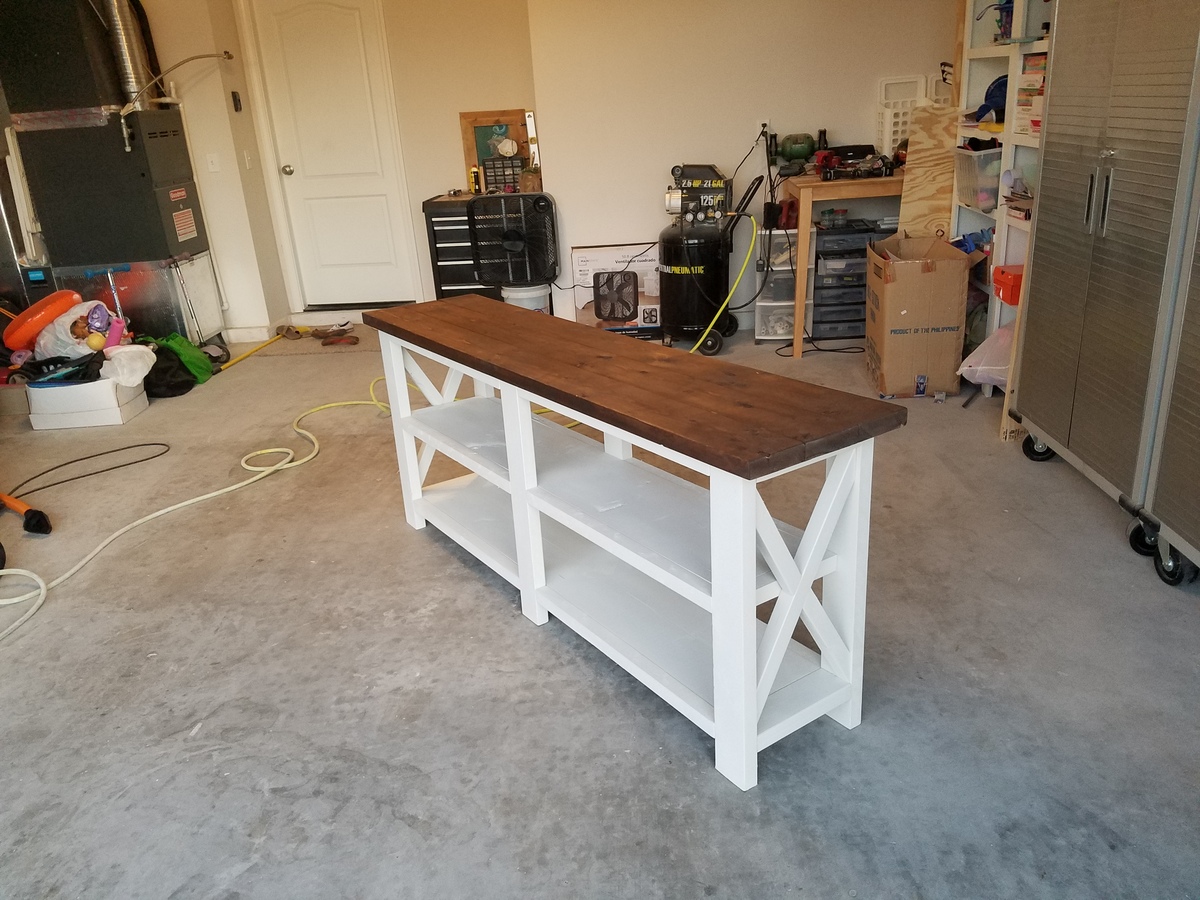
Console Table

Submitted by Anonymous (not verified) on Sun, 06/11/2017 - 15:13

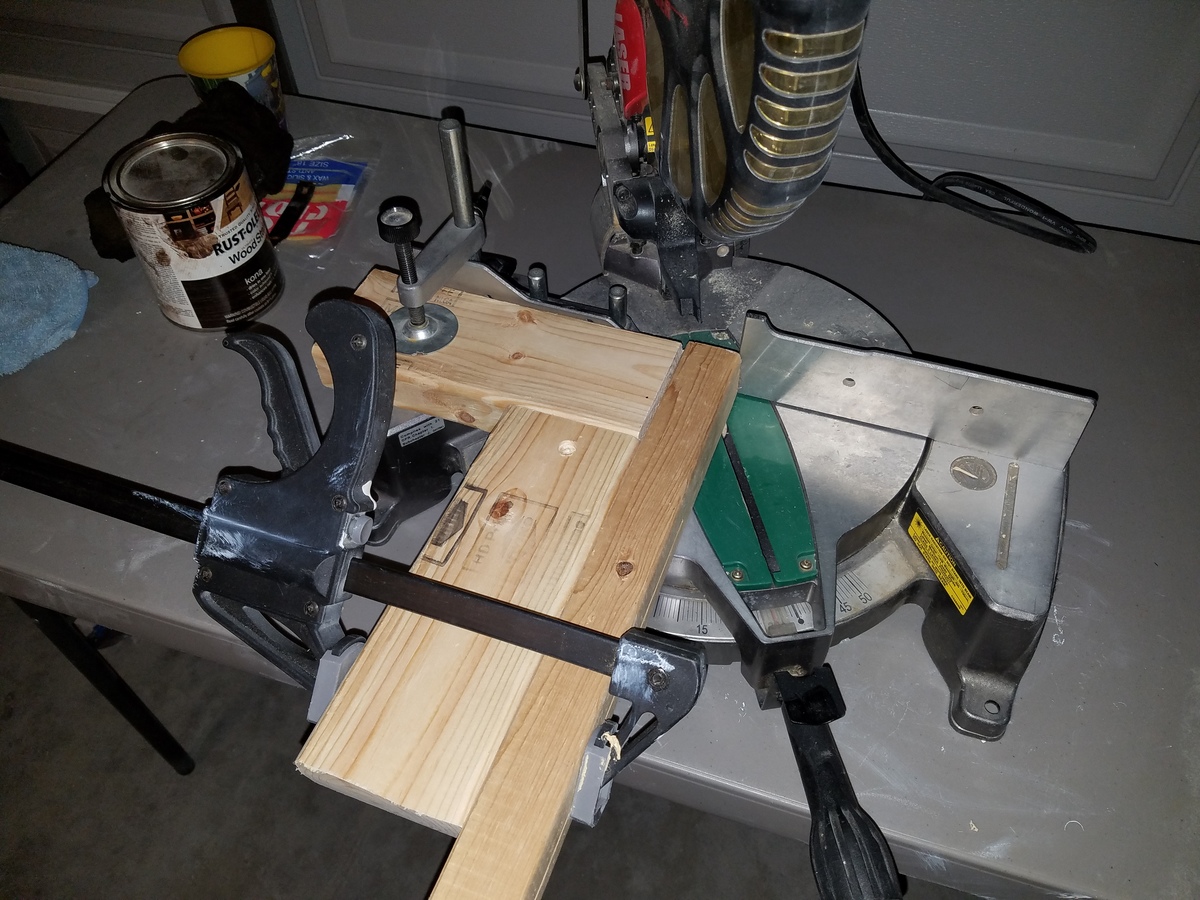
Quick and easy to follow plans.  Only issue I ran into was that my miter saw only cuts up to a 50° angle.  I set up a jig to hold the 2x2 perpendicular to the saw and set the miter to 30°.  Viola, easy 60° angles!  Pic attached for reference.

Estimated Cost
$80
Estimated Time Investment
Afternoon Project (3-6 Hours)
Recommended Skill Level
Beginner

Adirondack Chairs

Submitted by akwebb3 on Tue, 08/03/2021 - 14:38

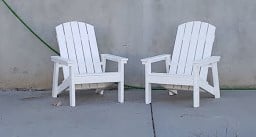
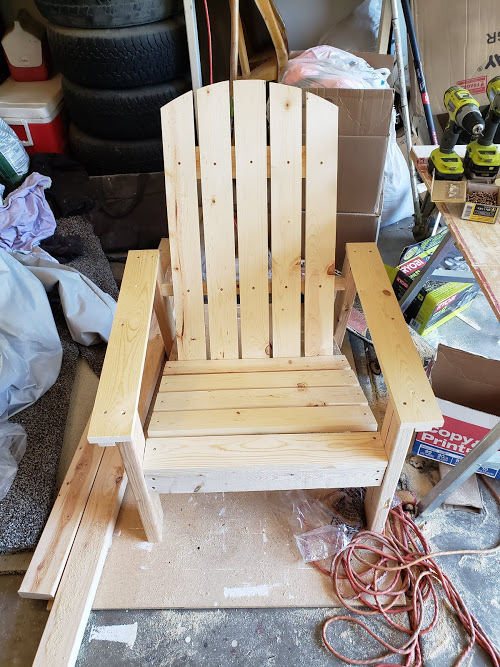
This was one of the first plans that I built and I haven't really stopped since then! These have been in my backyard by my firepit and have held up wonderful. They have had some rather large people sit in them with no problems at all. They are very sturdy and comfortable too.

Estimated Time Investment
Day Project (6-9 Hours)
Recommended Skill Level
Beginner

Comments

Seasonal And Holiday

Madeline Changing Table

Submitted by Huthbert on Wed, 04/24/2013 - 10:52

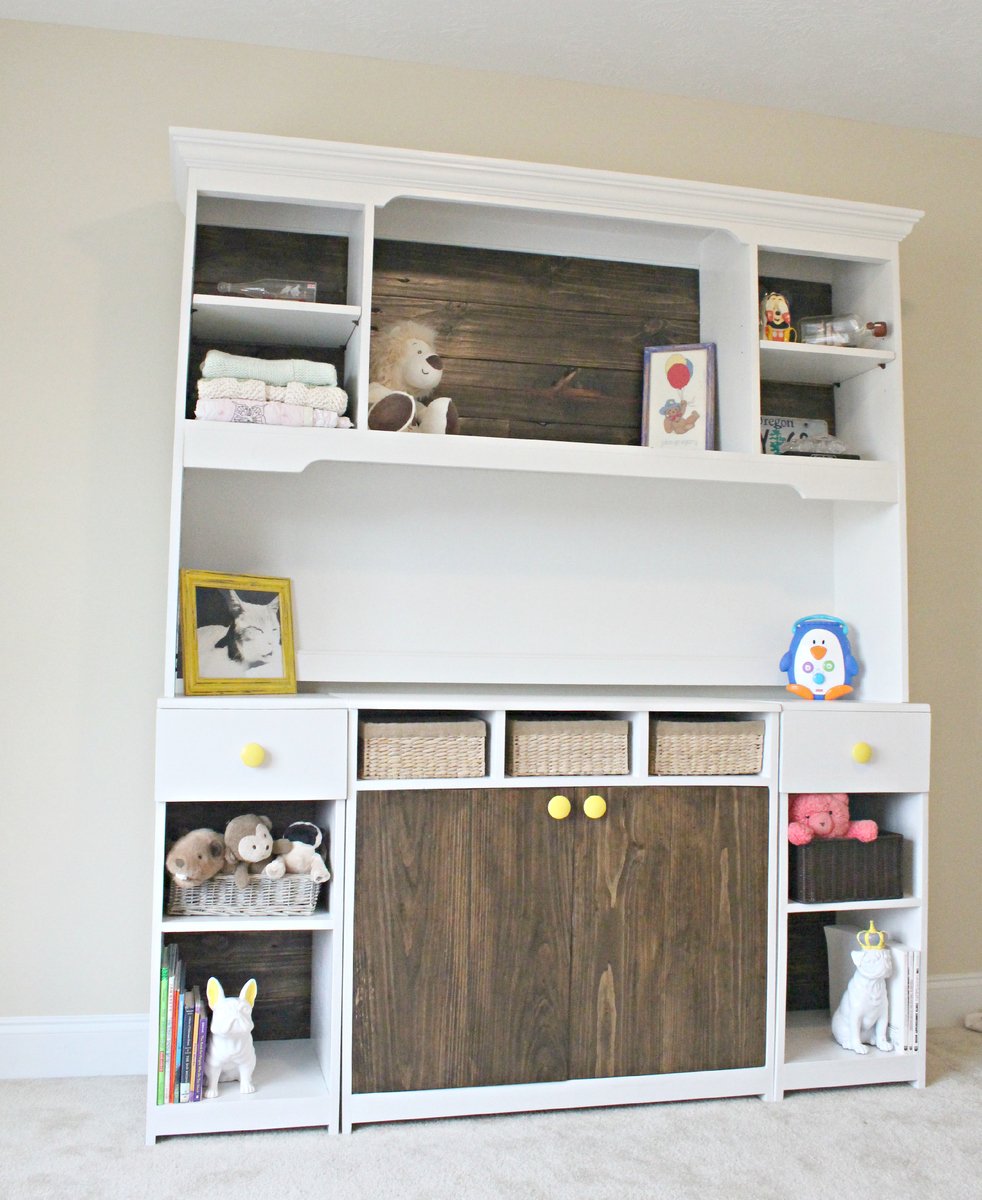
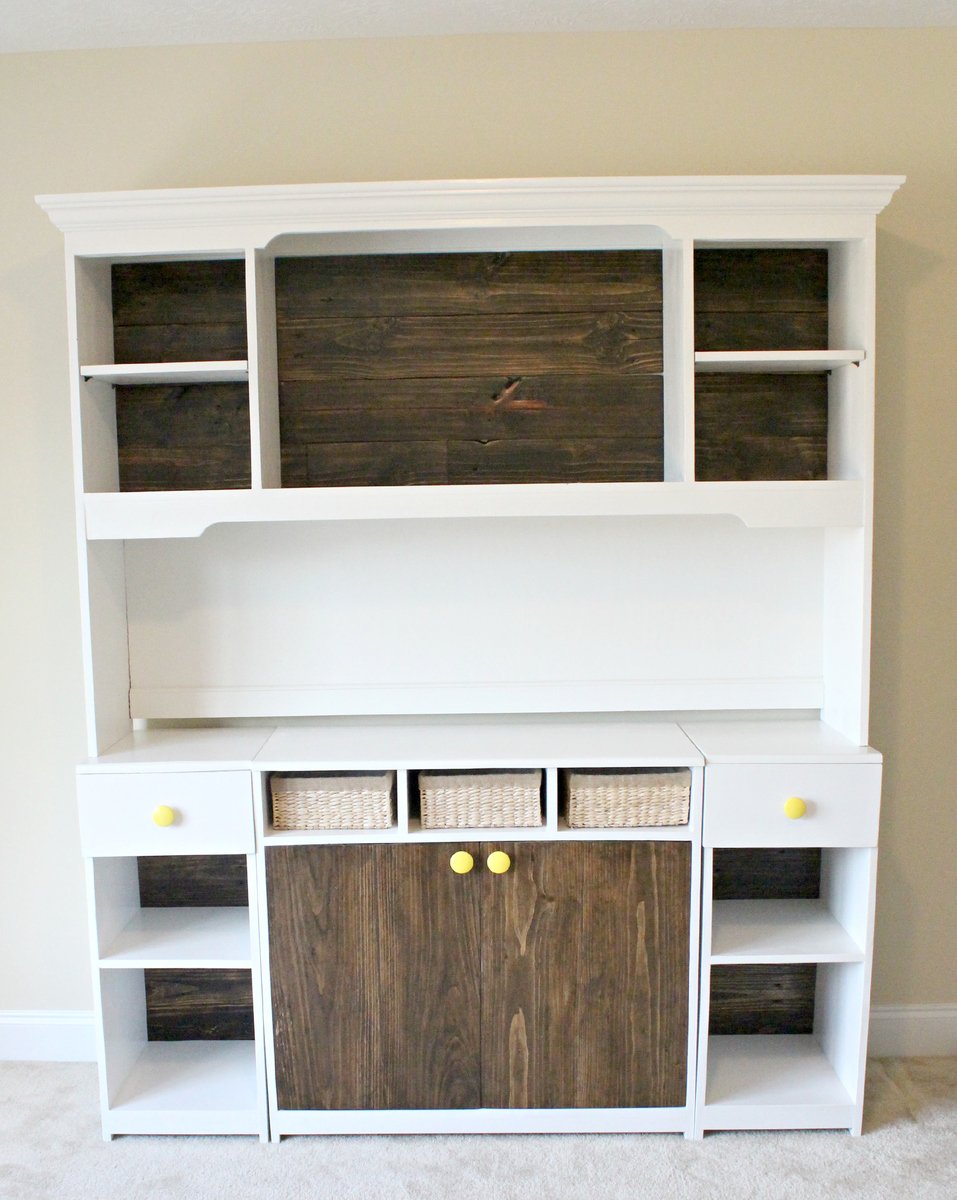
Had a lot of fun with this project! Glad to have it all put together! Thanks again for providing plans Ana!!

We wrote details on everything we did on our blog (http://thehuth.blogspot.com).

Here:
Side Bases: http://thehuth.blogspot.com/2012/10/madison-changing-table-part-1-side-…

Hutch: http://thehuth.blogspot.com/2012/11/madison-changing-table-part-2-hutch…

Center Base: http://thehuth.blogspot.com/2012/11/madison-changing-table-part-3-cente…

Estimated Cost
$200
Estimated Time Investment
Week Long Project (20 Hours or More)
Finish Used
We did two coats of Behr Irish Mist and another two coats of Minwax Polycrylic
Recommended Skill Level
Beginner

Comments

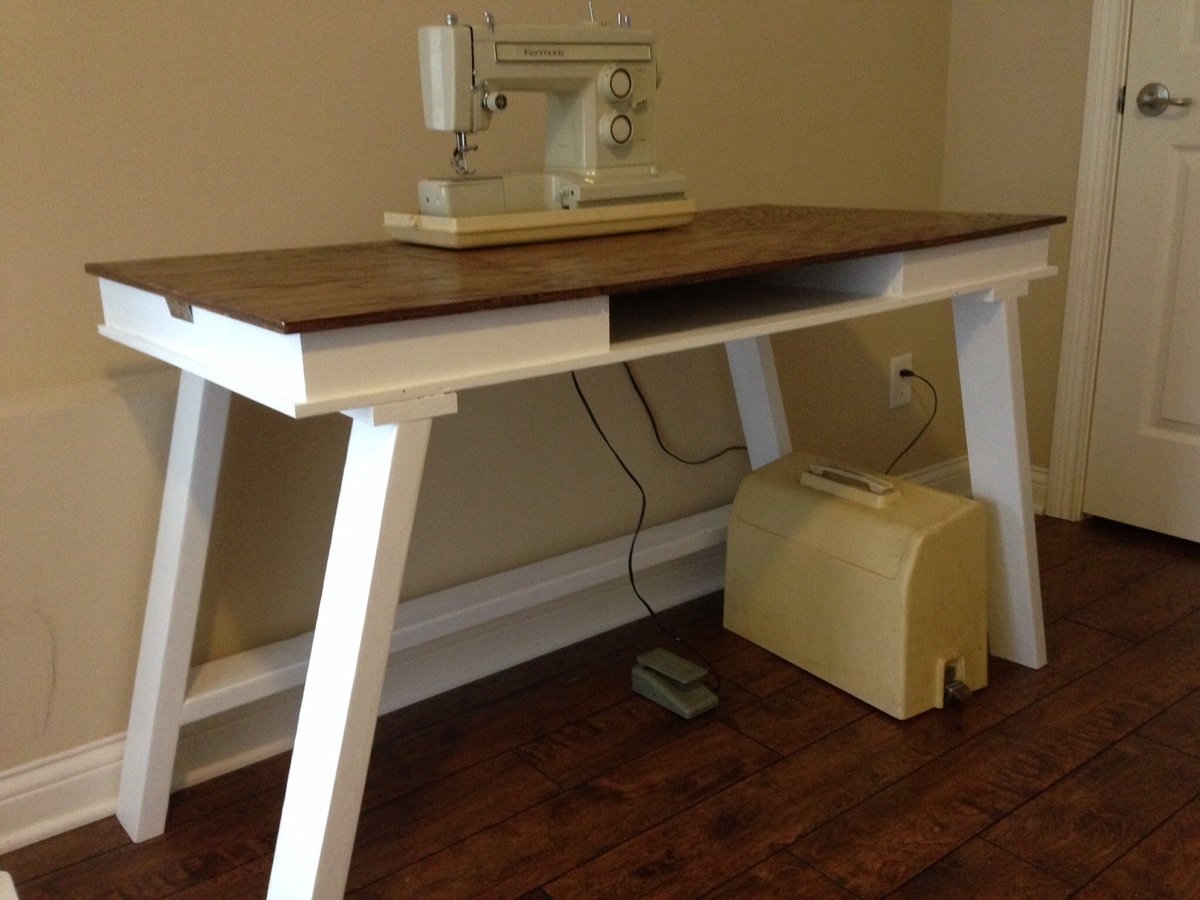
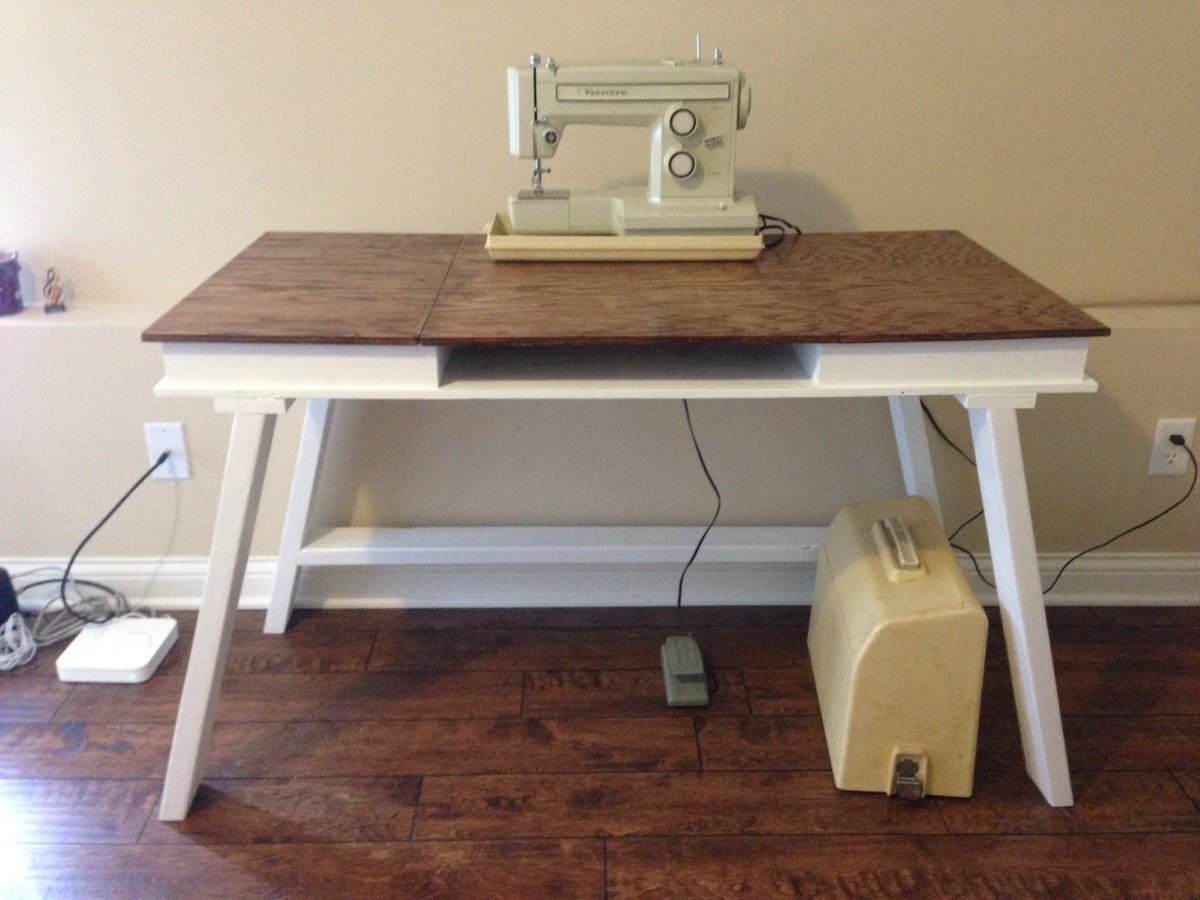
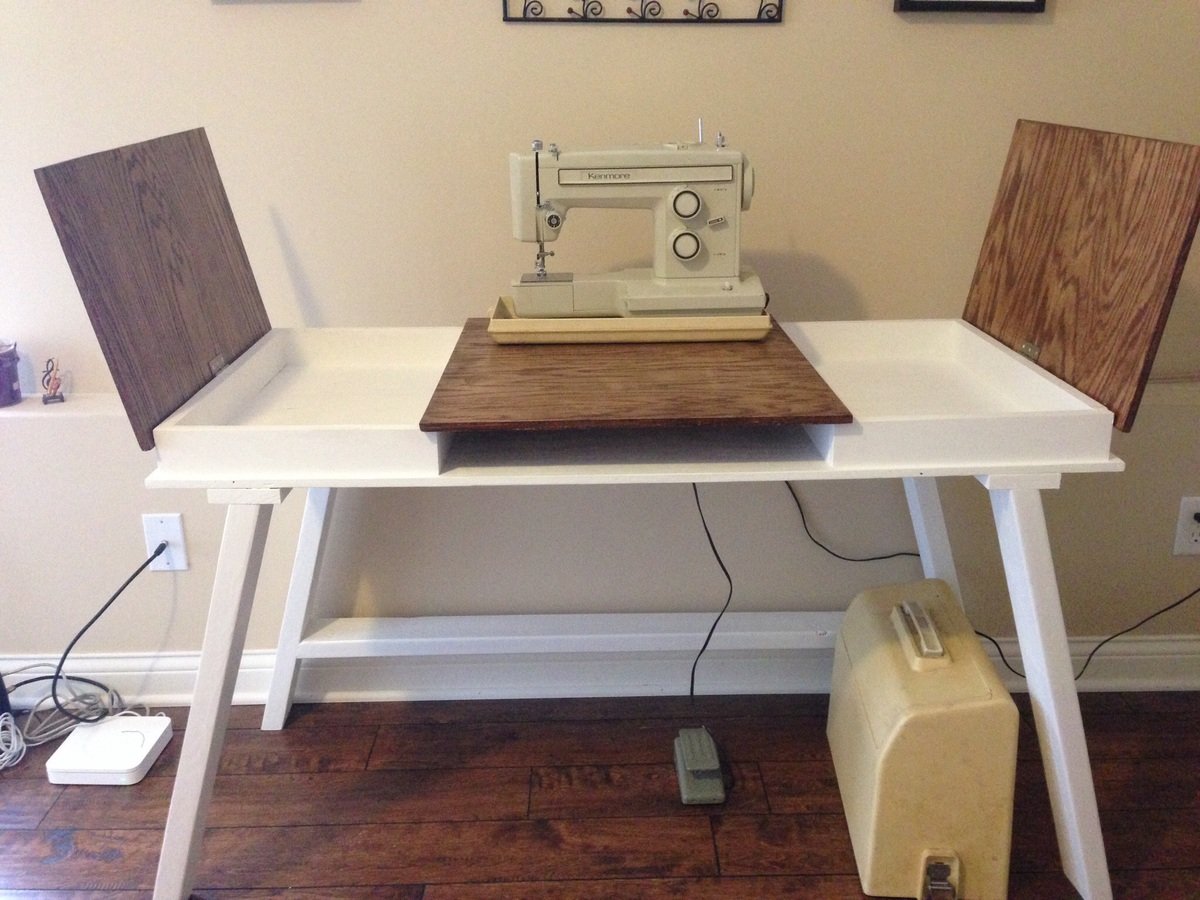
I built a desk!

Submitted by dakahl on Sun, 03/15/2015 - 17:55

This is my biggest project to date. It's a great craft desk!

I used an oak project panel for the top, and pine for the rest. Finished with Rustoleum dark walnut, 2 coats of poly, and white paint.

Also, I'll probably revisit the hinge placement, adding another on each side.

Estimated Cost
$40
Estimated Time Investment
Afternoon Project (3-6 Hours)
Finish Used
Rustoleum dark walnut, 2 coats poly, 2 coats white paint
Recommended Skill Level
Beginner

Comments

Outdoor bench

Submitted by Anonymous (not verified) on Tue, 06/13/2017 - 06:11

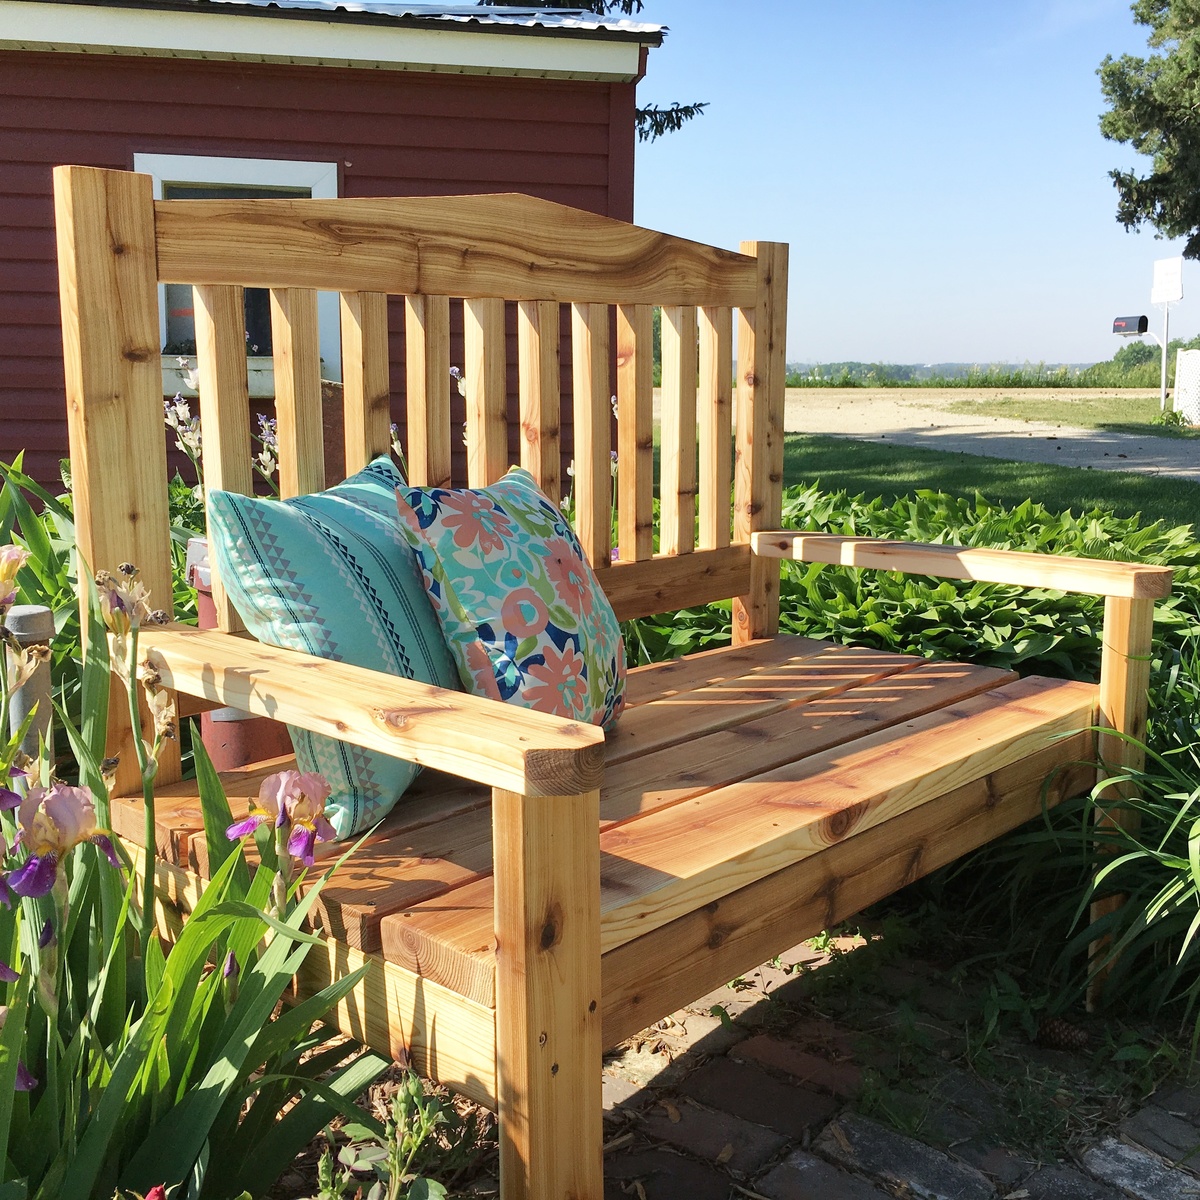
I used the x-back bench plans to build this bench, but trimmed the length down to 4 feet to fit the space.  It's constructed with cedar and is so beefy and sturdy. It has stood it's own against several storms already and I couldn't be happier with how it turned out. Thanks Ana for all the free plans and tutorials! 

Estimated Cost
$150
Estimated Time Investment
Day Project (6-9 Hours)
Finish Used
Thompson water seal in clear
Recommended Skill Level
Beginner

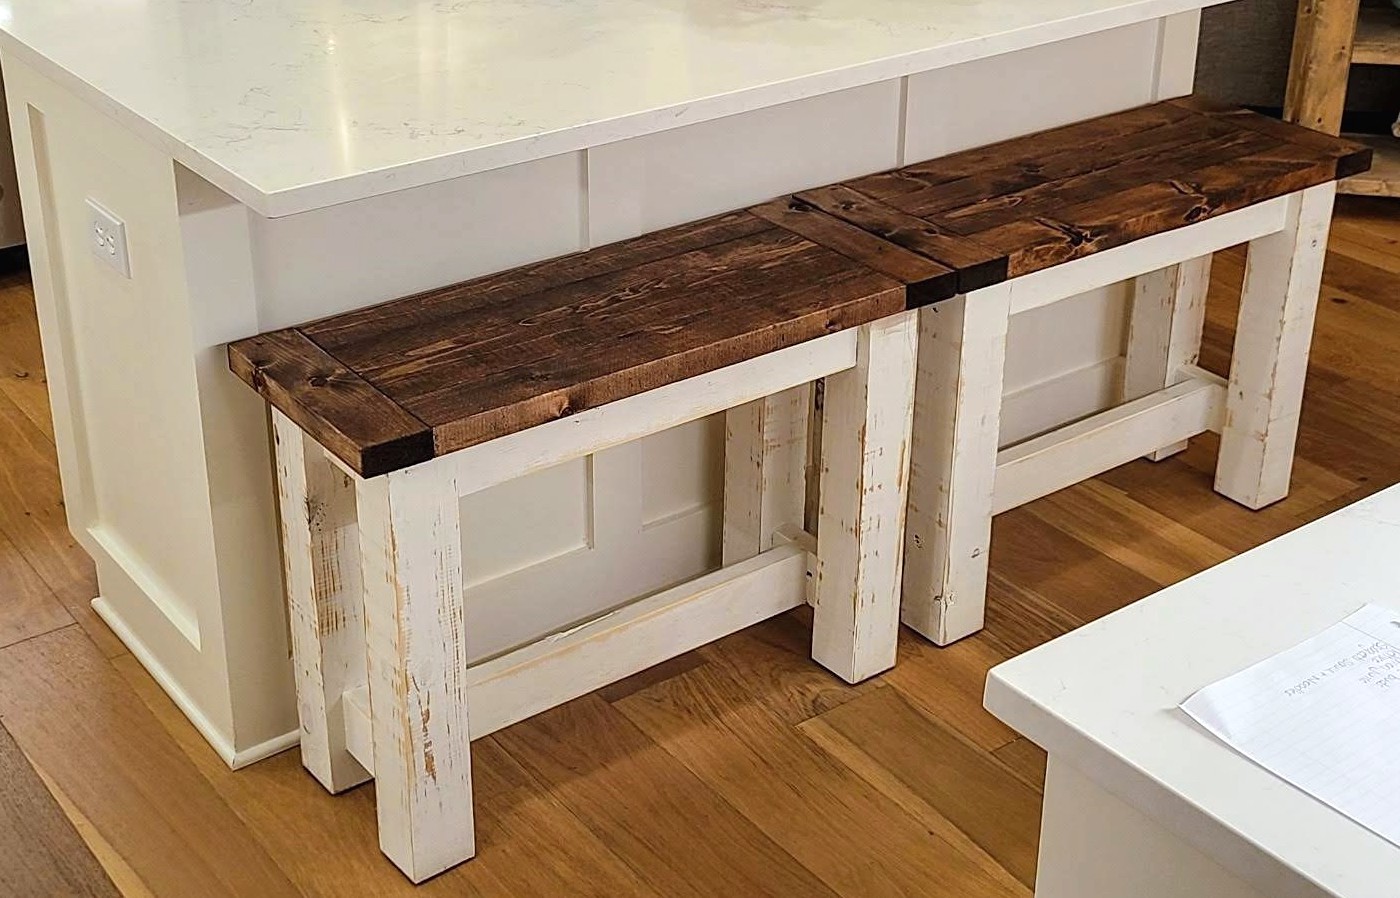
Kitchen Benches

My version of the kitchen benches.

Estimated Cost
100
Estimated Time Investment
Day Project (6-9 Hours)
Finish Used
-Minwax Wood Finish Oil-Based Provincial Semi-Transparent Interior Stain
-White paint
Recommended Skill Level
Beginner

Comments

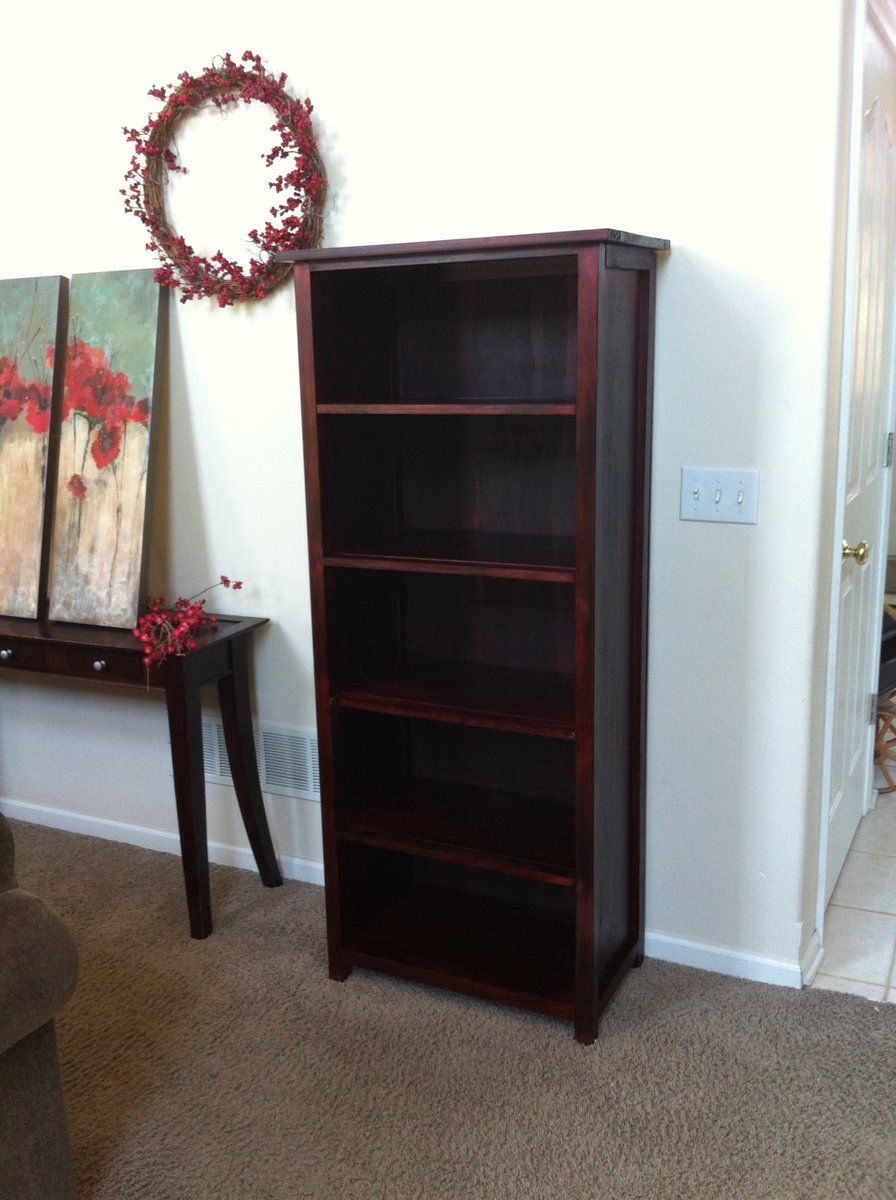
Channing Bookcase- First Try

This is my first project using my Kreg Jig. Although it's not perfect, I think it came out fairly well and it was an easy project for my first try. I would also recommend buying your lumber at a lumberyard, because it's very difficult to find good, straight boards at the big box stores.
Built from Plan(s)
Estimated Cost
@$140
Estimated Time Investment
Weekend Project (10-20 Hours)
Finish Used
Minwax PolyShades Bombay Mahogany- Satin Finish
Recommended Skill Level
Beginner