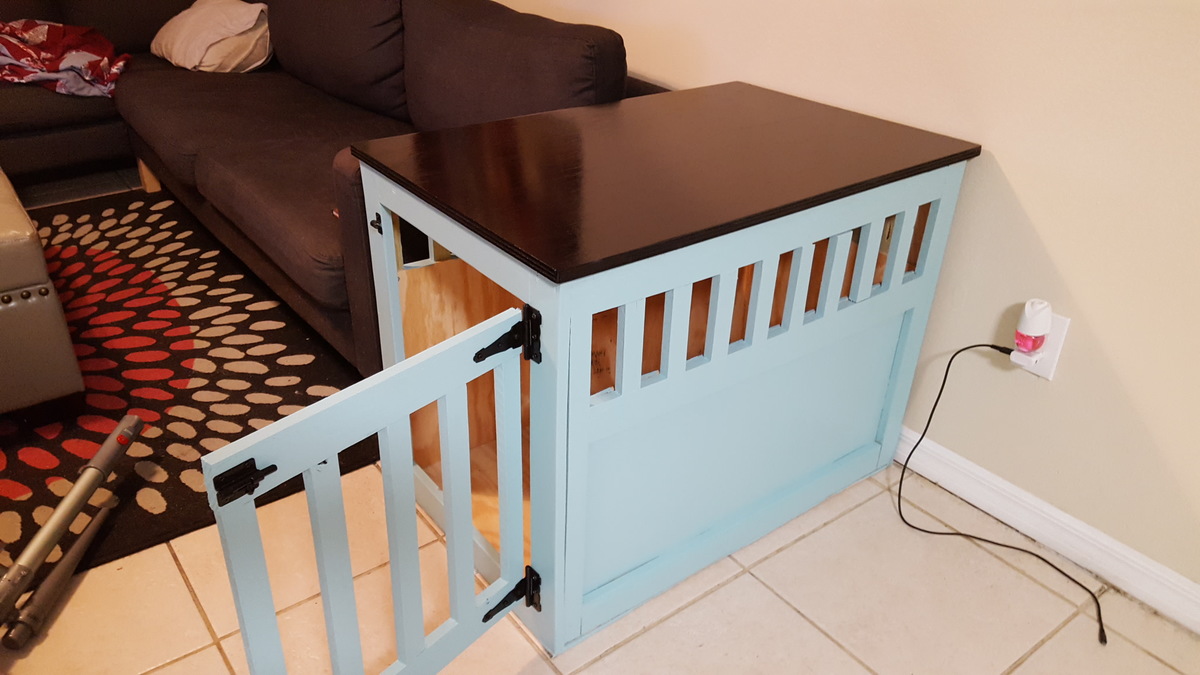
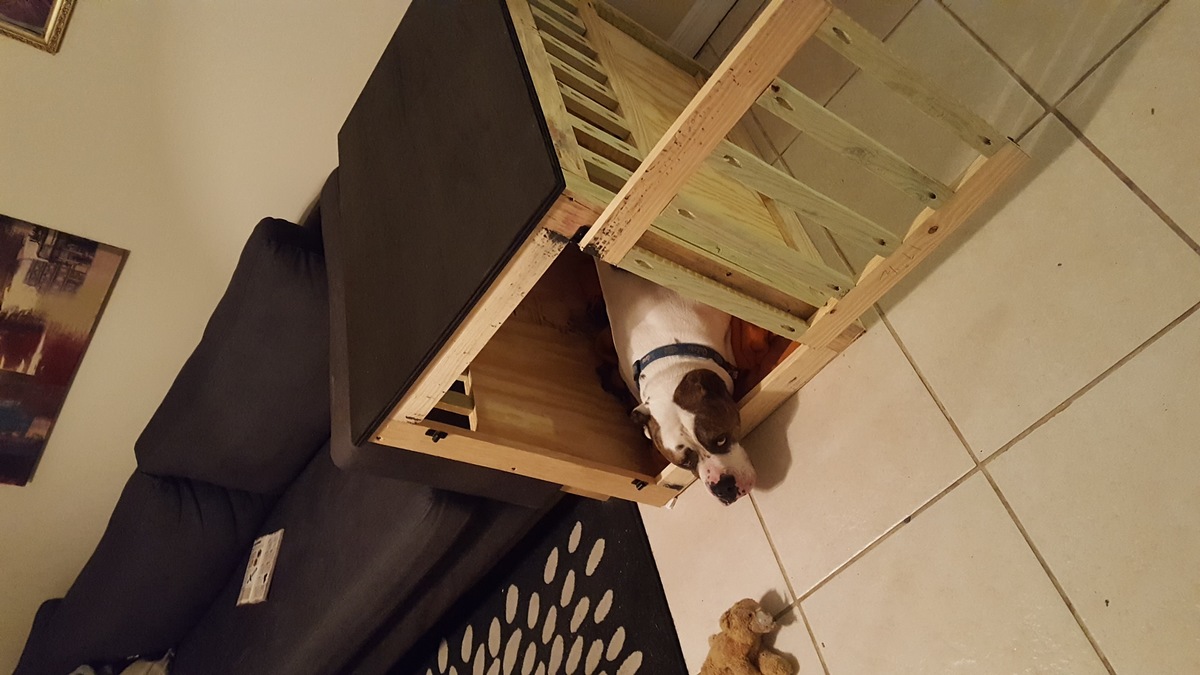
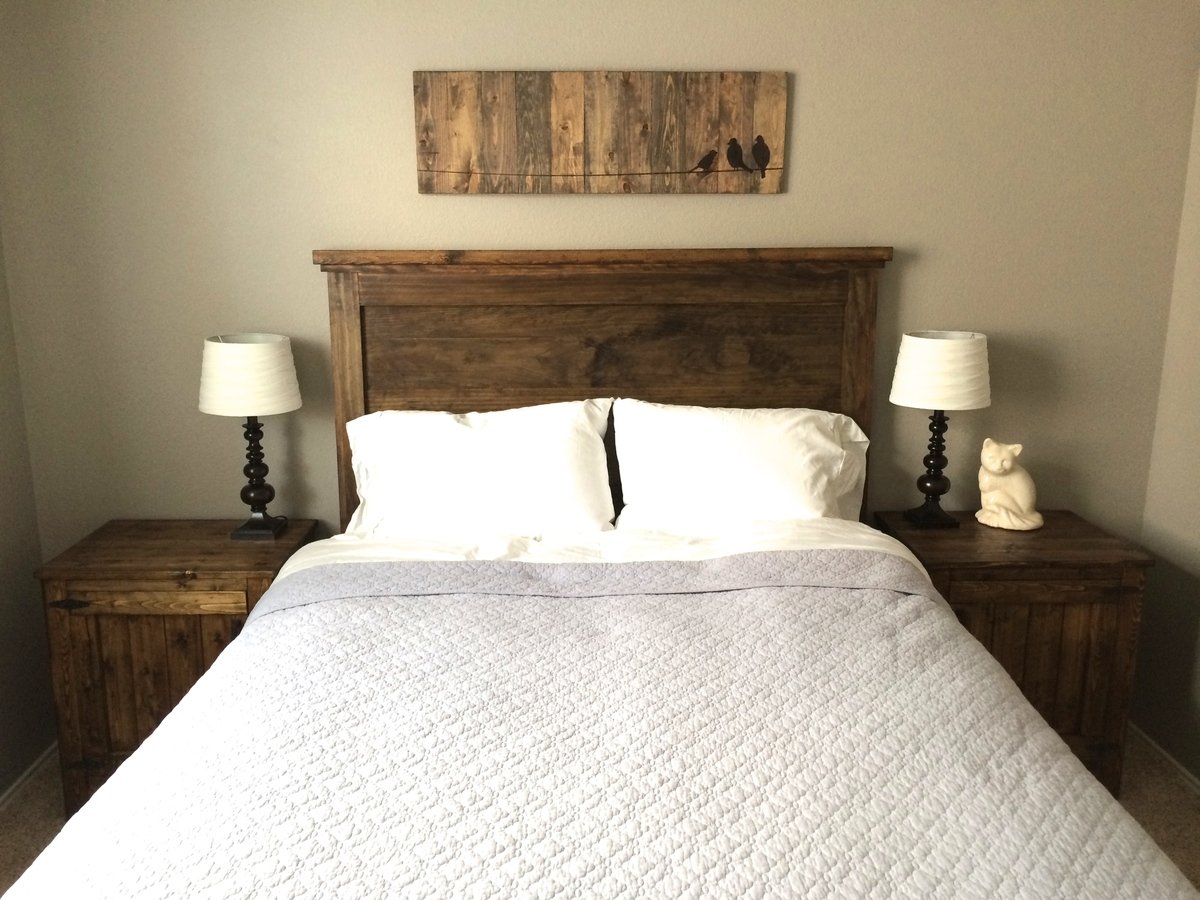
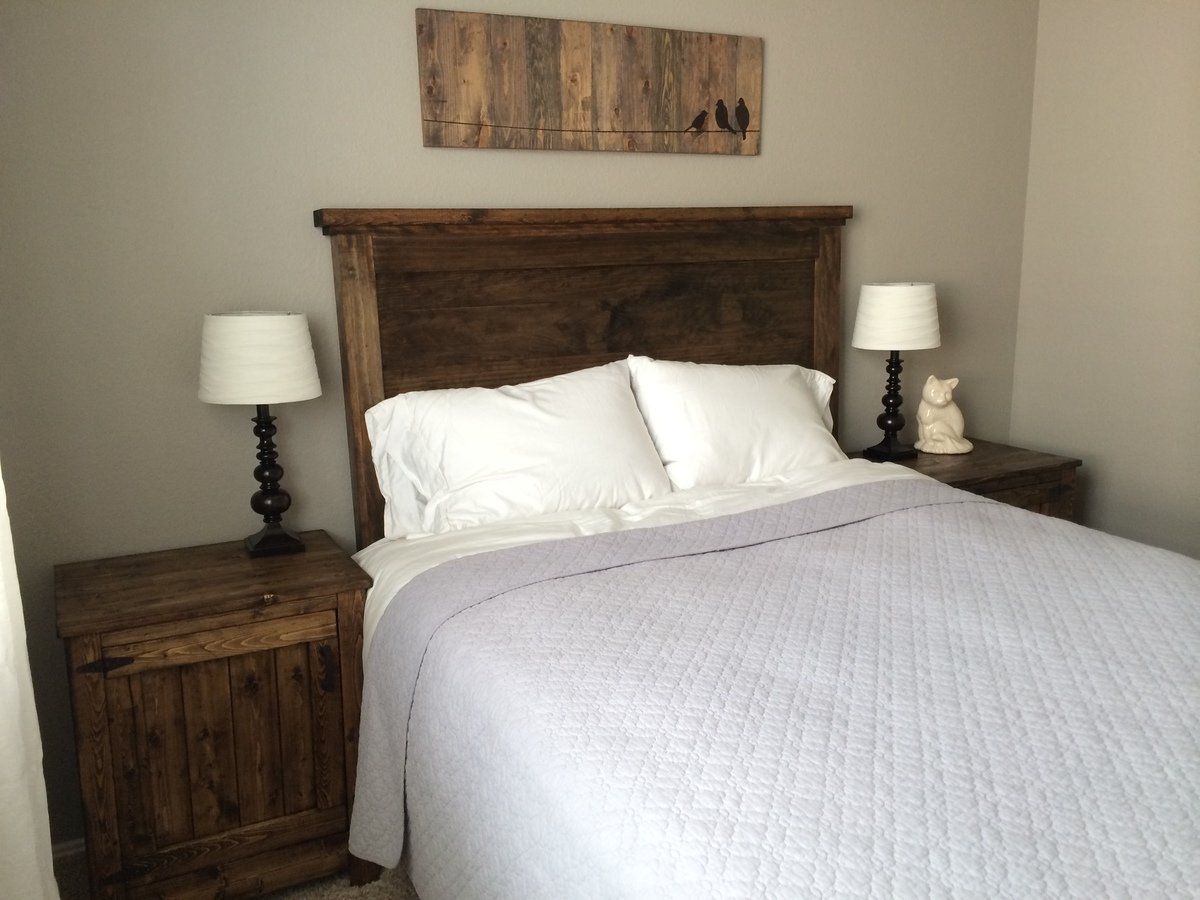
Headboard and nightstands
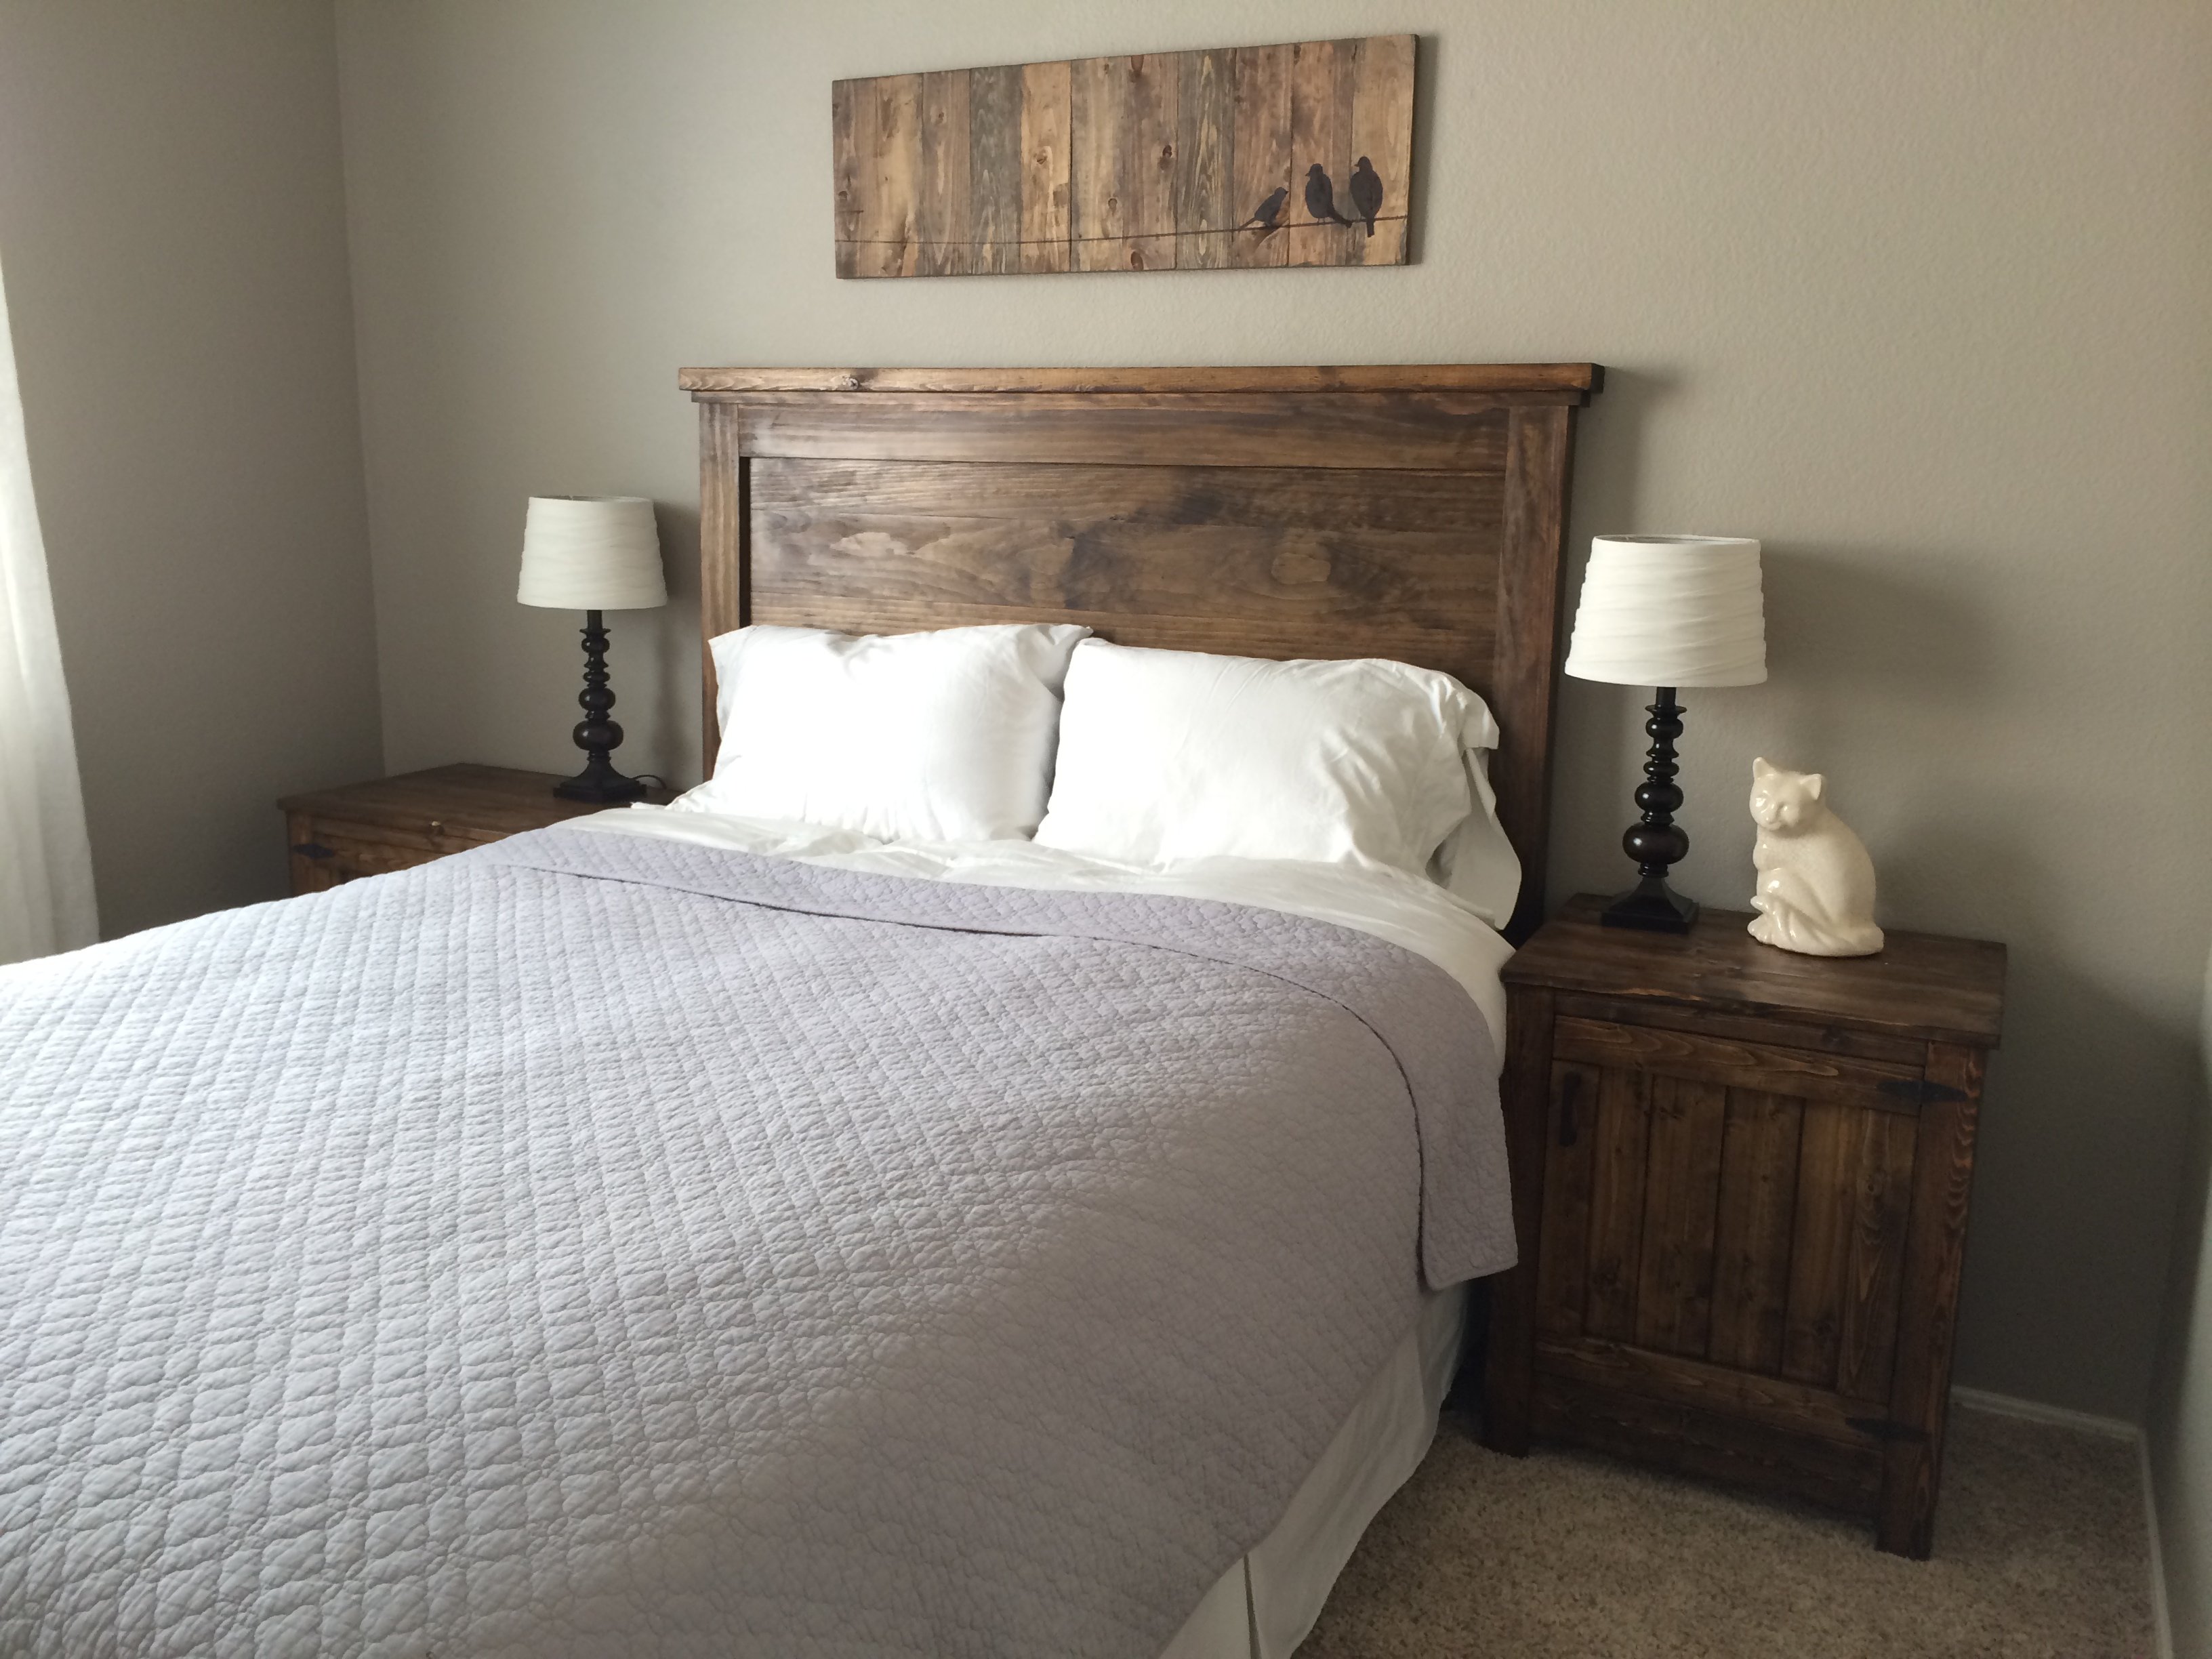
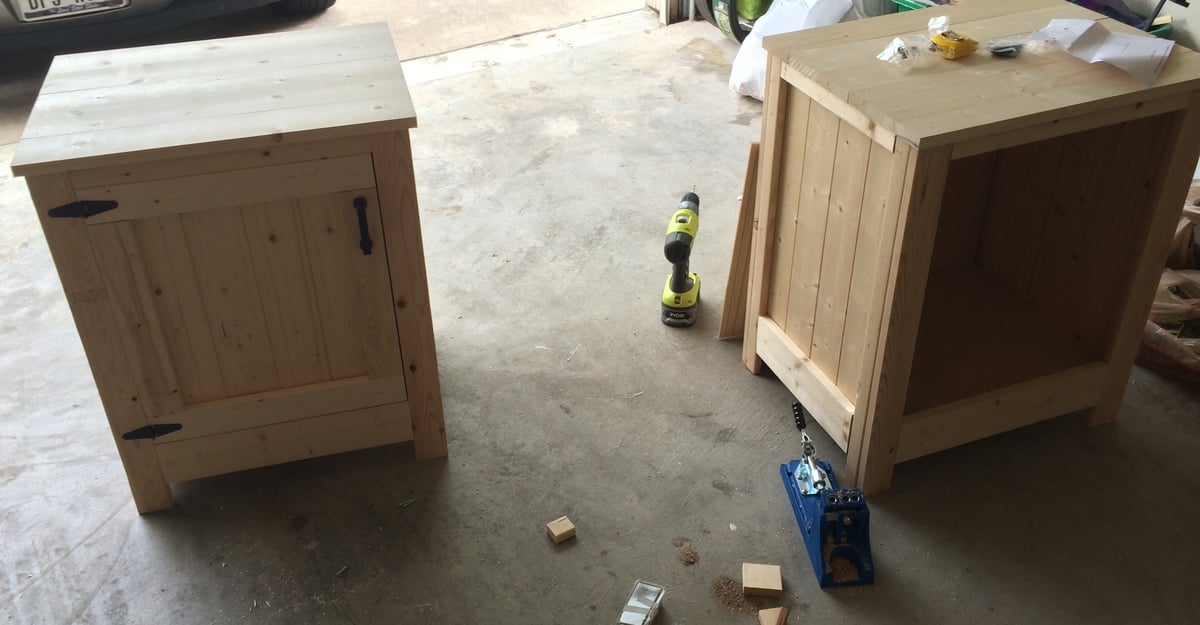
I made this headboard a year ago and it was my first Ana White project. I finally got around to making the nightstands last weekend and I just adore them. My guest room is finally complete!

Built from Plan(s)
Estimated Cost
Unsure since part of it was built last year
Estimated Time Investment
Week Long Project (20 Hours or More)
Finish Used
Minwax Dark Walnut with Polyurethane (satin)
Recommended Skill Level
Intermediate