Kids Adirondack Chair
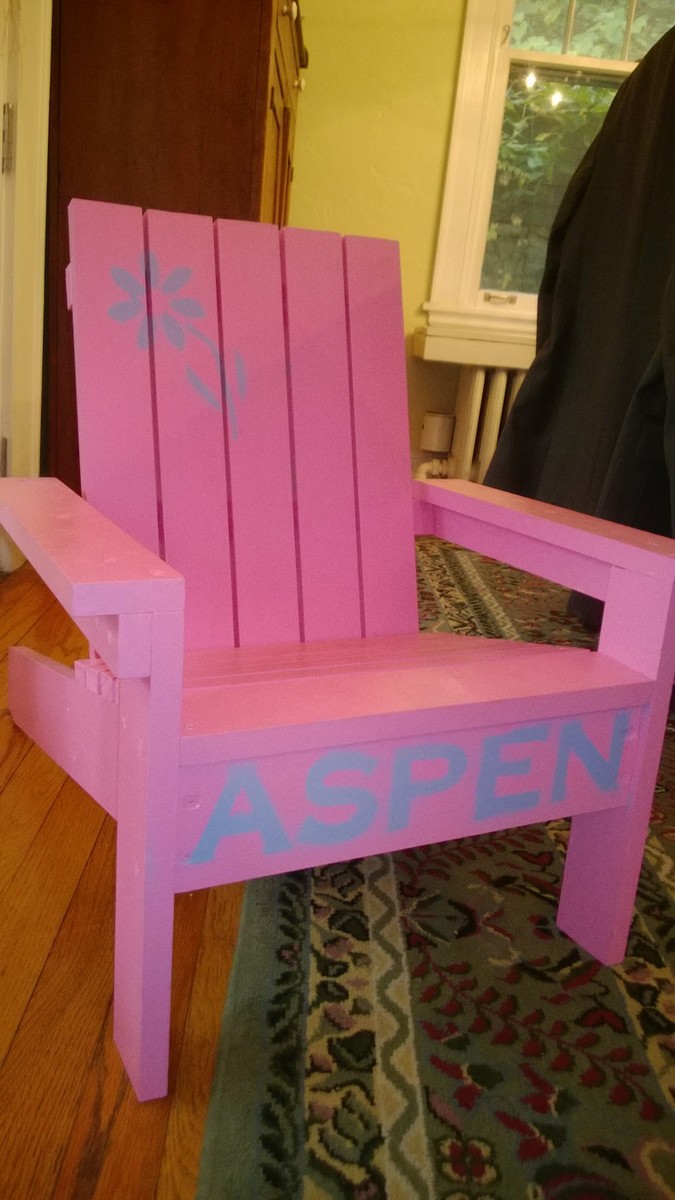
Used the plans and it came out great. Our daughter loves this chair. Super sturdy.

Used the plans and it came out great. Our daughter loves this chair. Super sturdy.
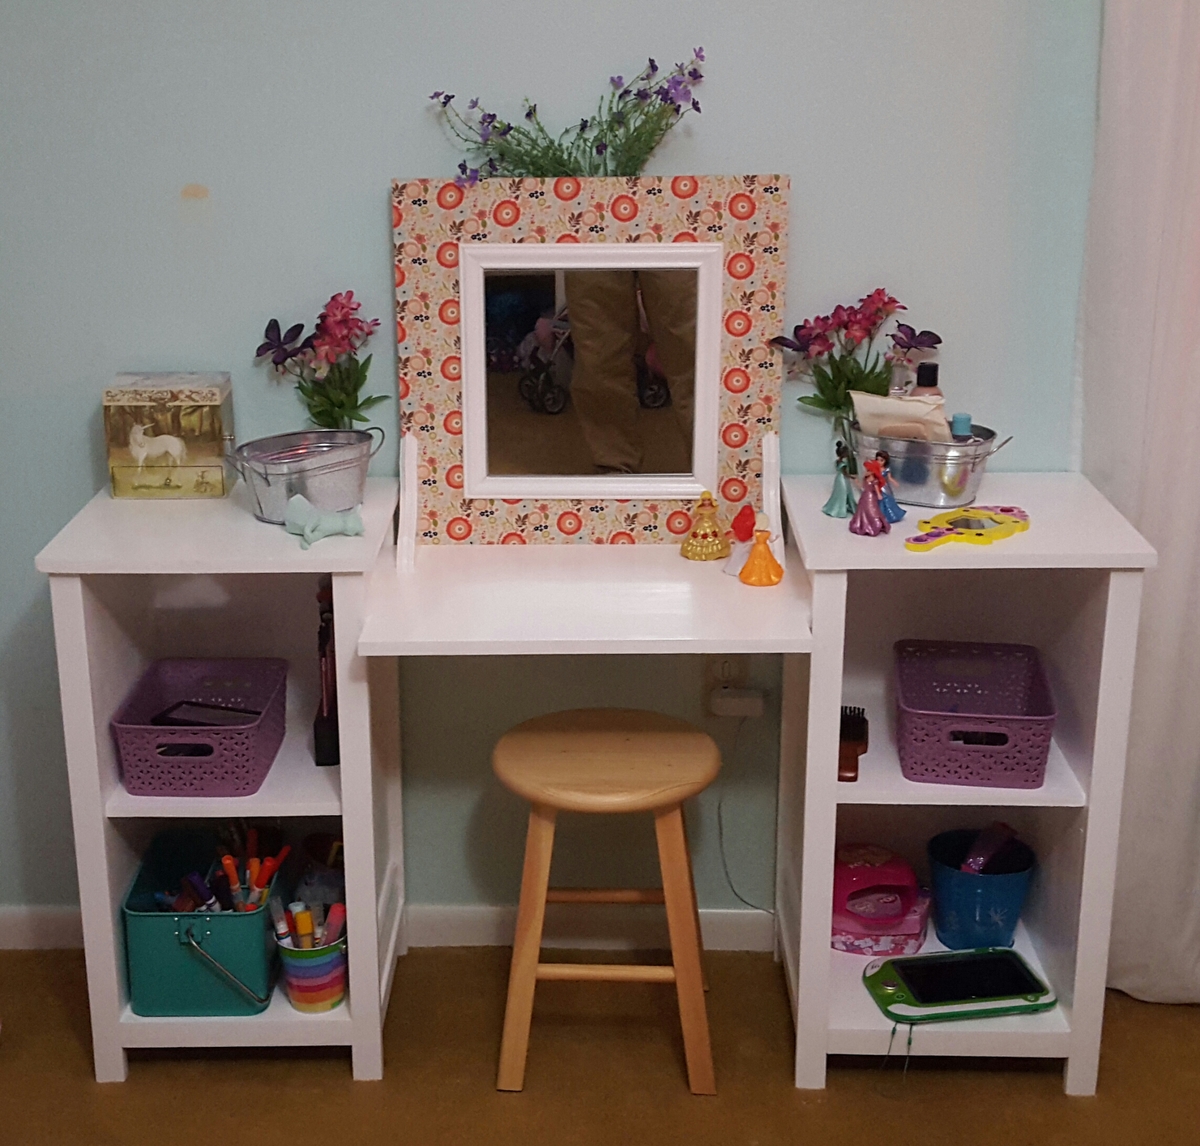
Made this with an oversized removable center top. Wanted this to double as a vanity and art table, so I made this with a 20" deep center top. By being removable (set into slots) the two end pieces can later be used as separate storage shelves or night stands, as these are made from solid alder wood.
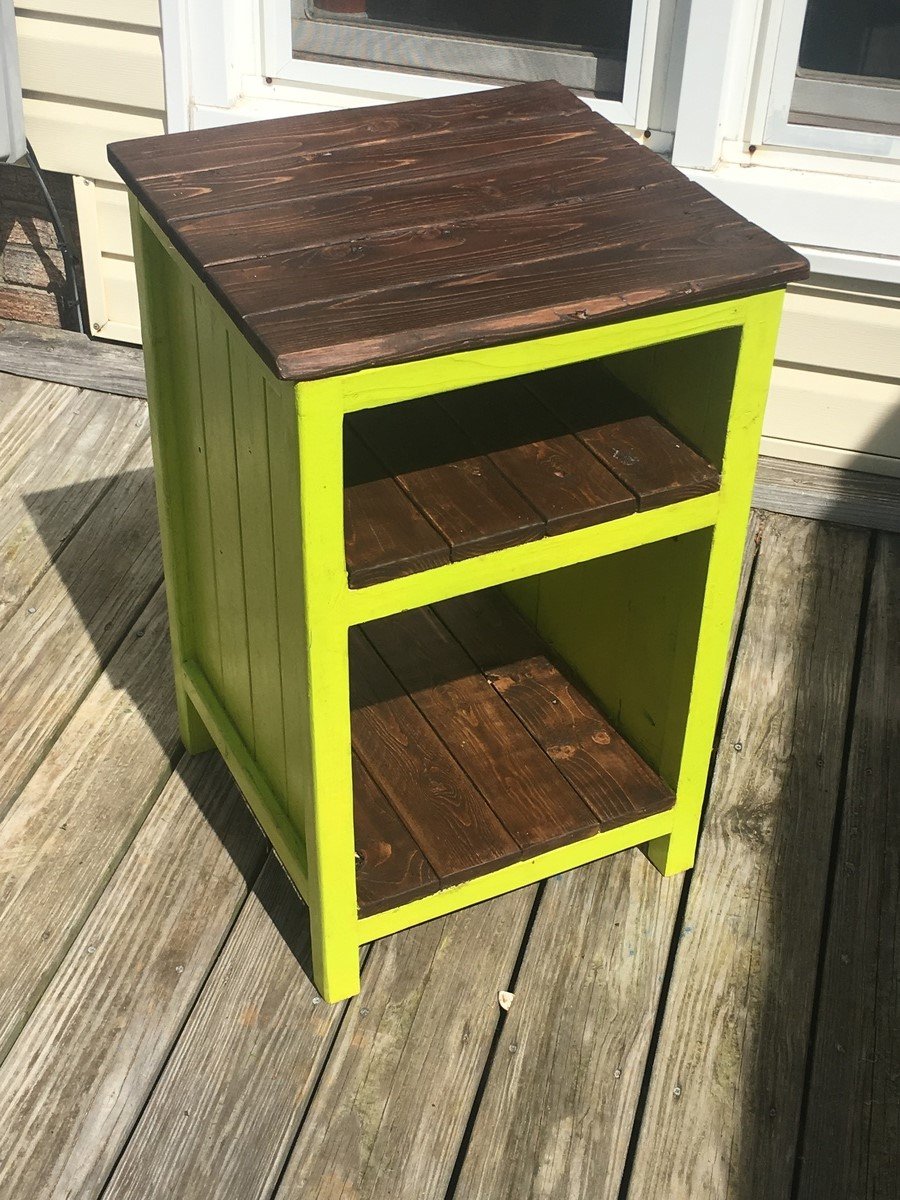
I actually used the “Bedside End Table” brag plans. This is my first project using plans from this site, I’m pretty happy with it:)
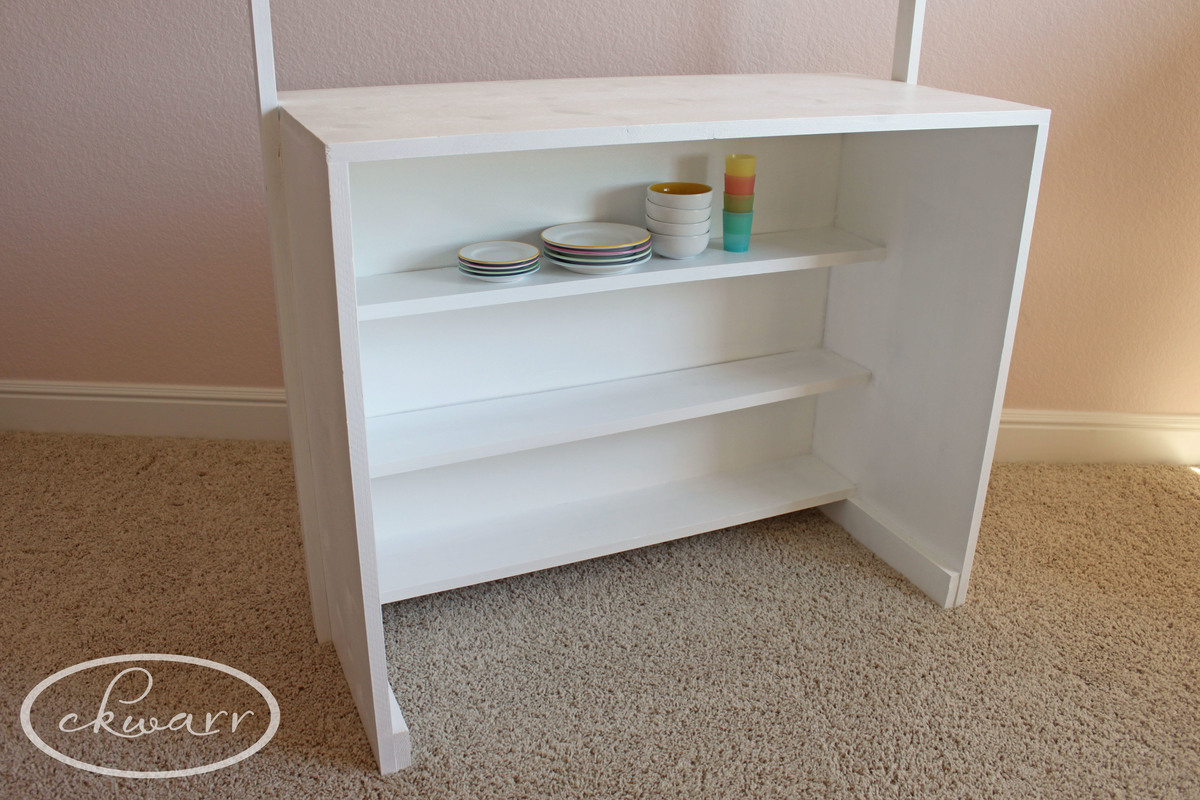
"I scaled down your potting table plans and made this very fun coffee bar to fit my space exactly!" Jen Romito
After our Wal-Mart dining room chairs started falling apart (after 8 years of use) I decided it was time to replace those ugly old things with something a bit more unique. The Harriet Chair really caught my eye, so I set out to build it! My wife, Judi, chose the mustard yellow color and we thought it would be cool to add contrast with some red and white polkadot seat pads from IKEA ($9.99 ea.).
These are the first two I've built, with a goal to eventually build a total of 6-8 to fit around a table I also plan on building.
I made the addition of the front support as Judi likes to rest her feet on it. And, as you can see in the second photo, I added a small brace, cut at 15 deg., on the bottom side screwed to each backrest 2x2, and screwed to the underside of the seat (chair is upside down in photo). This gives additional rigidity and support for the backrest and also provides a nice guide to ensure the backrest has an exact 15 deg. angle on every chair. This was at no additional cost as I used scrap 2x2 pieces for it. And best of all this addition stays hidden and in no way changes the original aesthetic of the chair.
The chairs are extremely sturdy, comfortable and look great in our dining room! The only change I will make on the next set is using higher quality plywood as I had to putty this plywood a bit more than I had hoped. Otherwise, what an easy and inexpensive upgrade to our space!
Fri, 11/04/2011 - 14:59
Haven't been able to add the Kreg to my tool chest yet so I used glue and screws. Pre-drilled all the holes of course. Came out extremely sturdy. This was one of my first projects of this nature so I've learned a ton from each chair I make. These two were the first and the next ones have been a lot more precise and sharp looking.
Sat, 11/05/2011 - 00:59
Thanks for your answer! I'll try it that way too then...
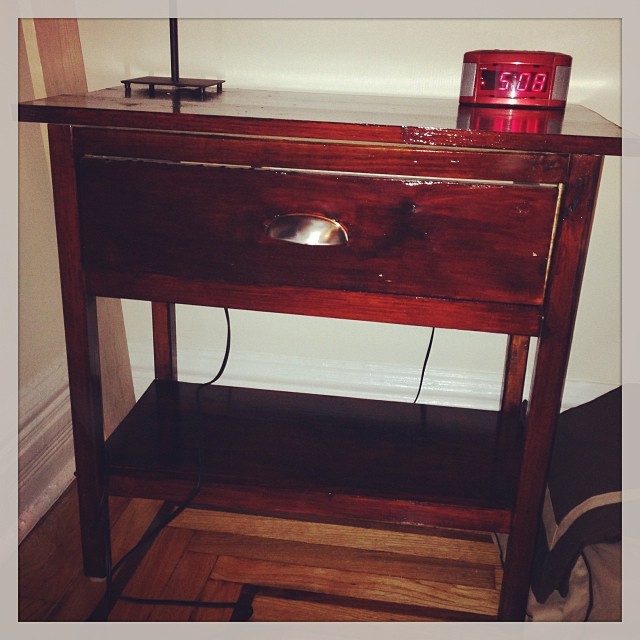
Had to adjust the size of the drawer to fit inside the gap. Chose to lay the shelf on the bottom and attached a 1x2 to the front of the shelf perpendicular to the ground to keep the shelf in place.
I chose not to add the plywood backing because it's not visible, but I may in the future.
Overall a great and simple project, and I'm very pleased with the results.
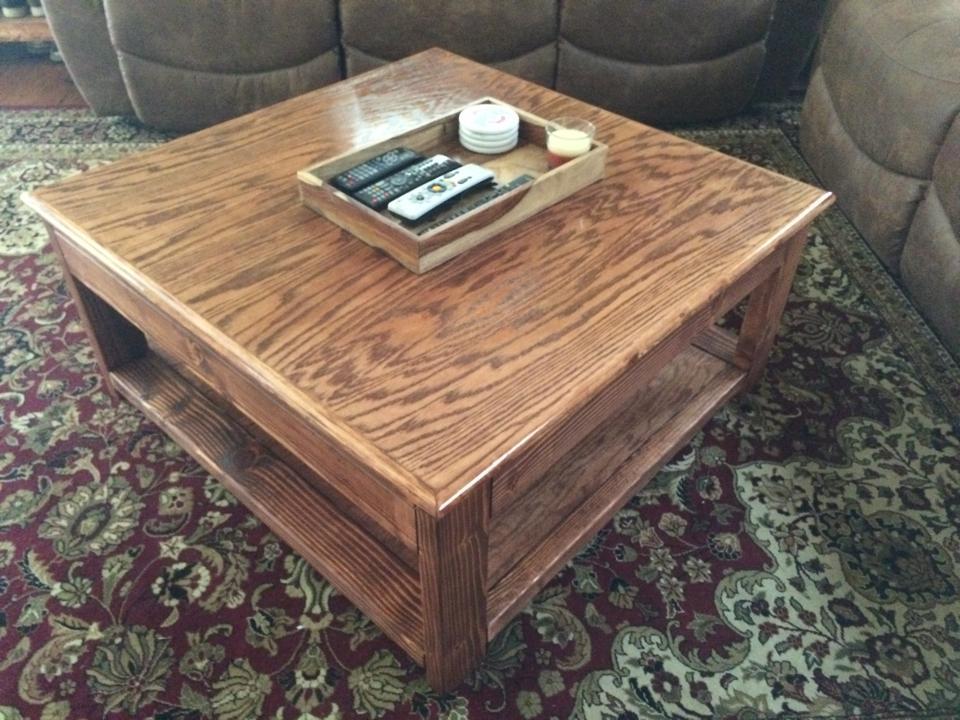
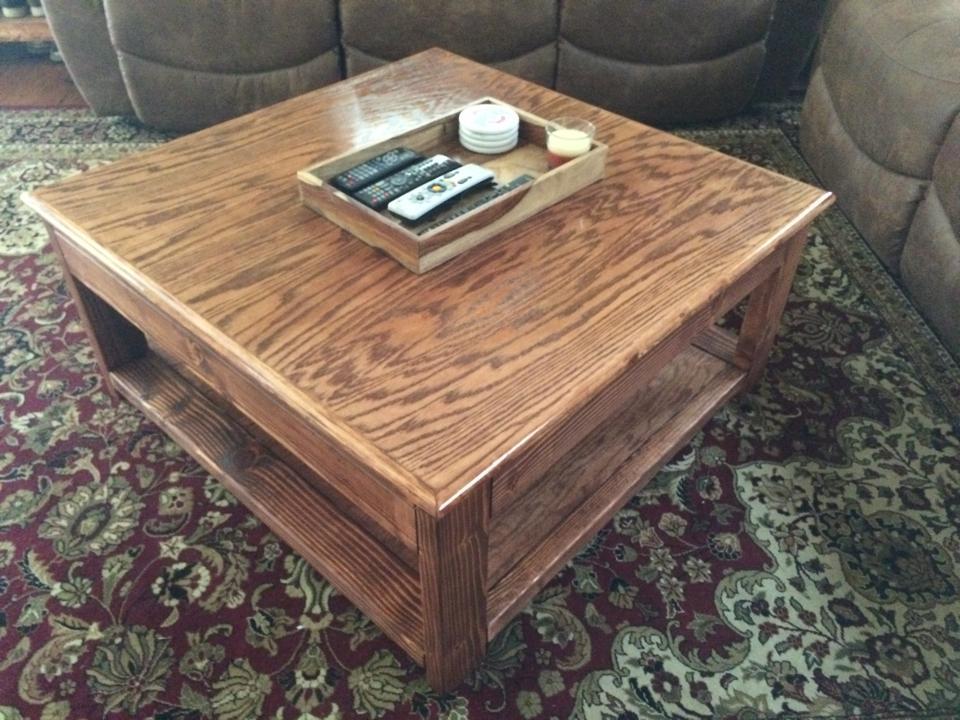
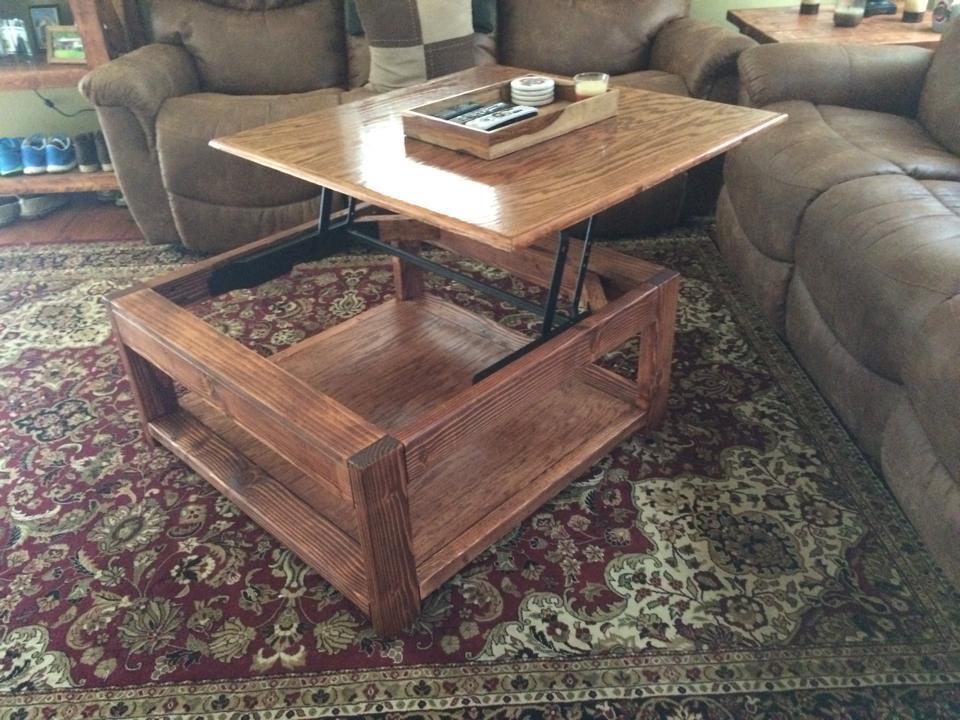
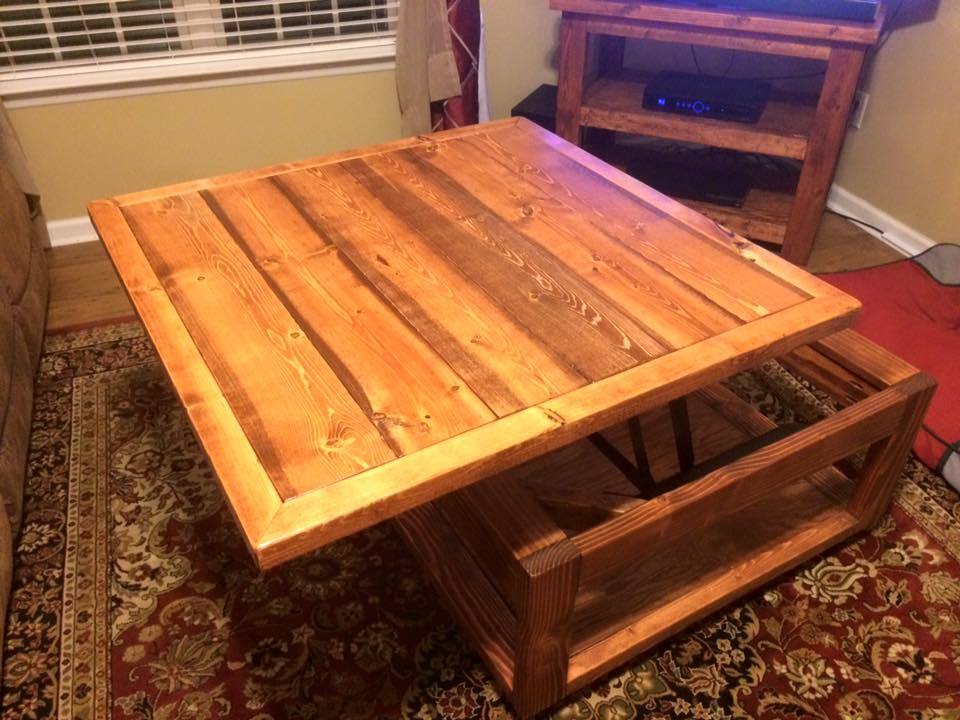
I used the rustic x coffee table for my inspiration for this project. I found the mechanism for the lift top table on the web and was able to work it into my design. I used oak plywood for the top instead of the 2x6's and trimmed out the rough edge, however, I have thought about redoing the top with the 2x6's to match my tv stand and end table. I am still really happy with the way it turned out though. After posting this I decided to upgrade the top as I had described and I am way happier with the look of it!!
Tue, 01/19/2016 - 13:19
Great job with this project, it looks amazing. Thanks for sharing!
Wed, 04/13/2016 - 10:43
Where did you find the mechanism for the lift top table on the web & how much was it I would like to try this project.
Not bad for my first project!! I decided to upholster the chairs so i used a solid piece of wood for the foundation of my seat and also decided I was going to use chalkboard paint I had left over
Sun, 04/21/2019 - 03:34
Turned out pretty good if I do say so myself
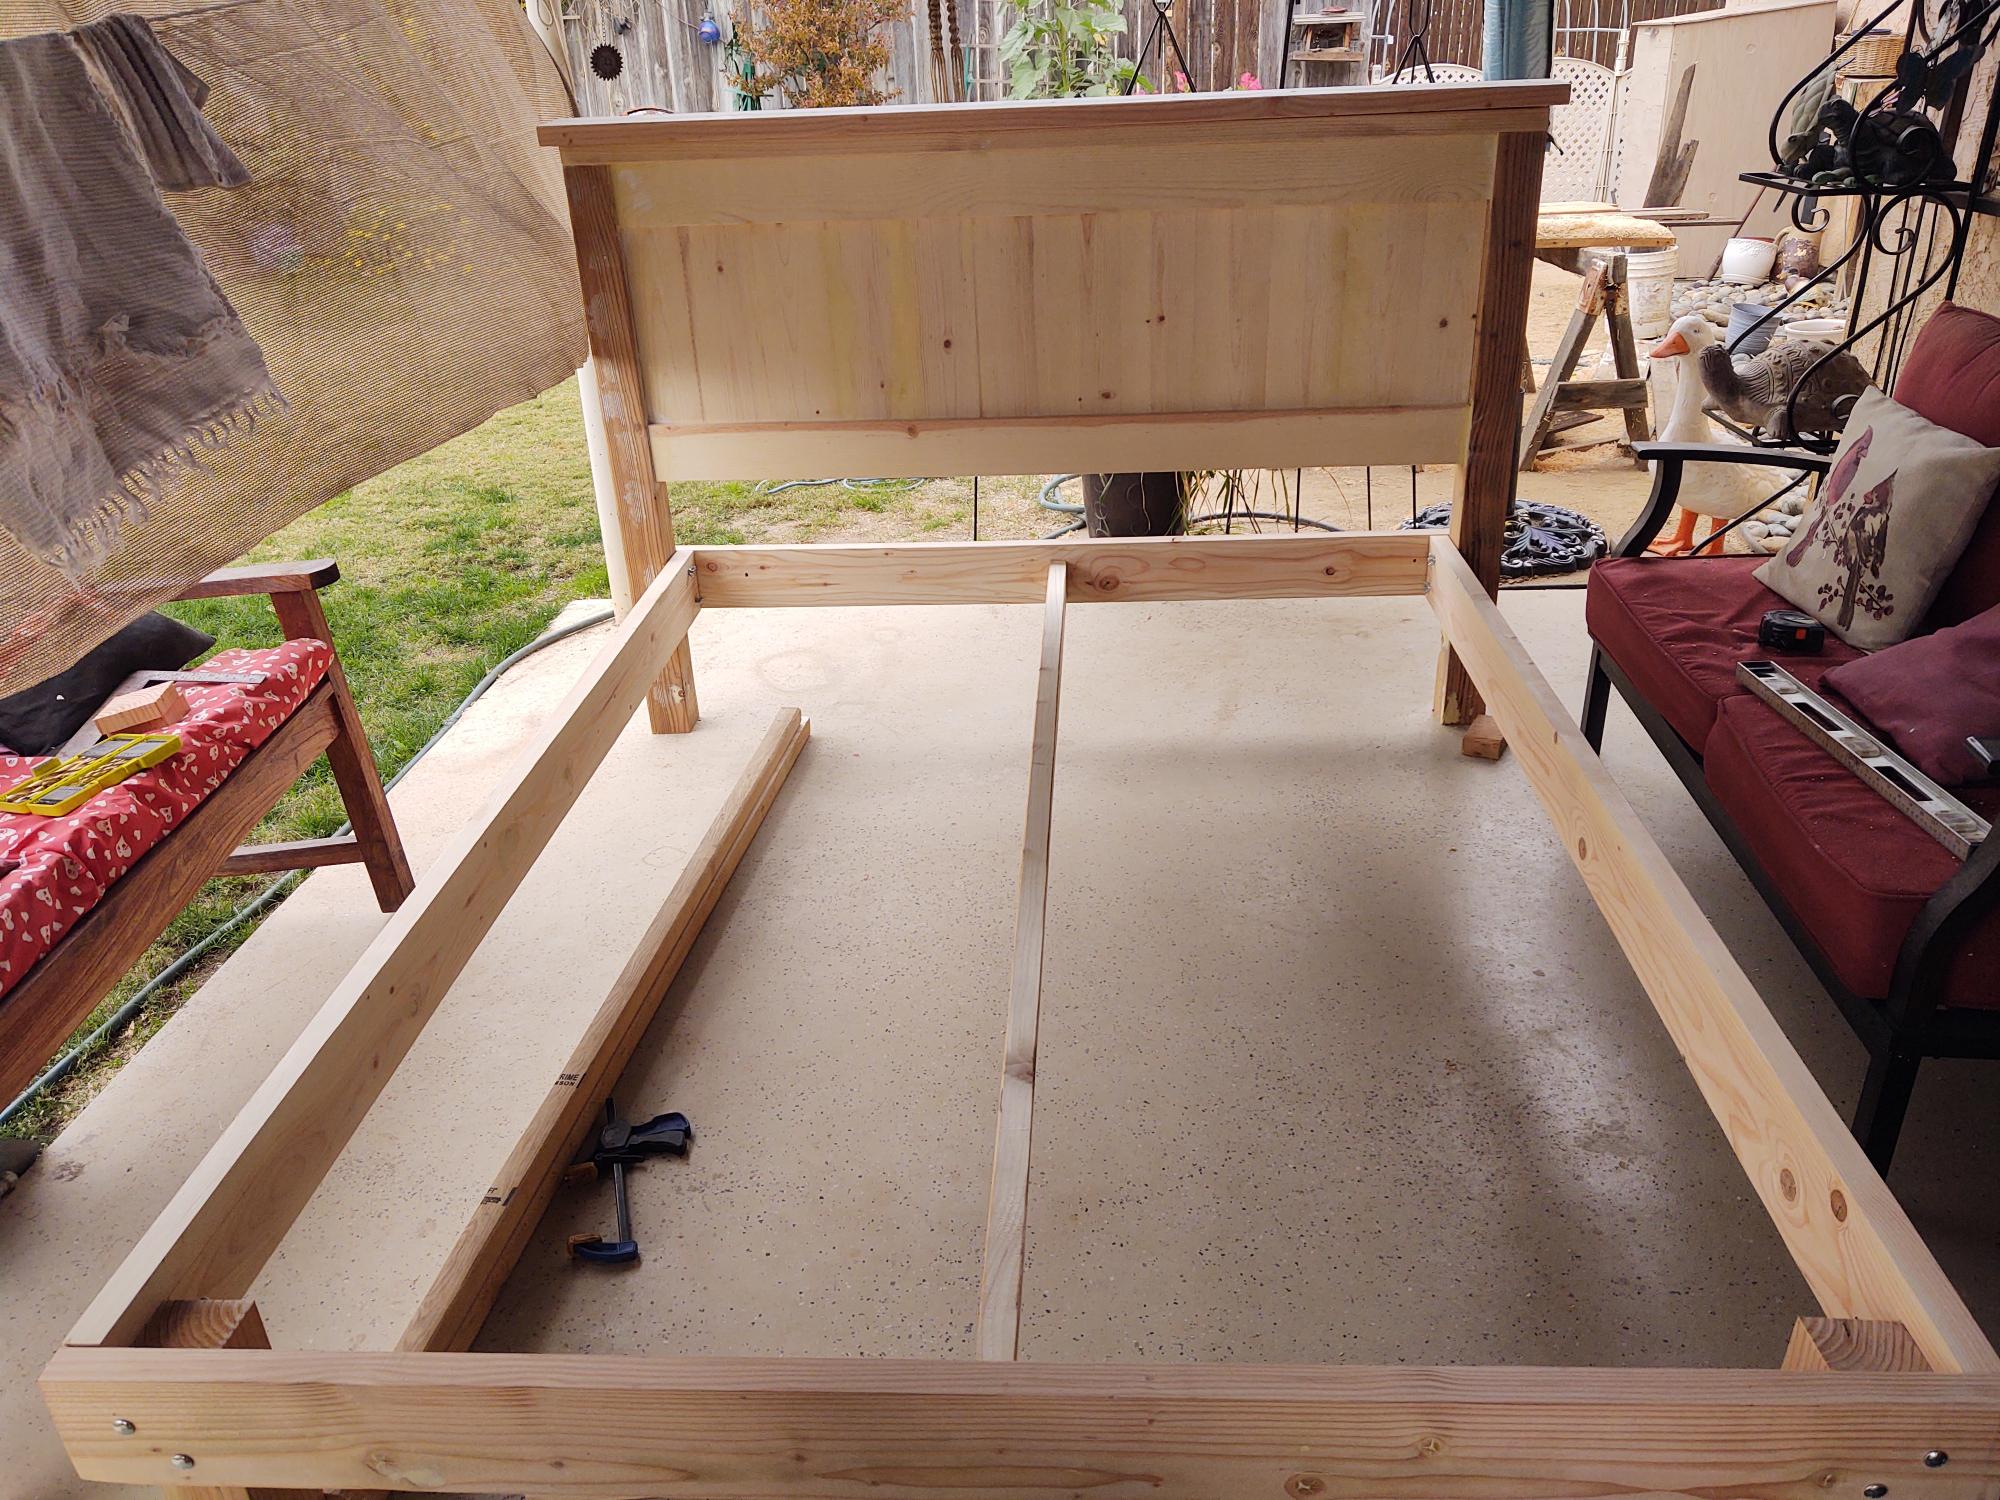
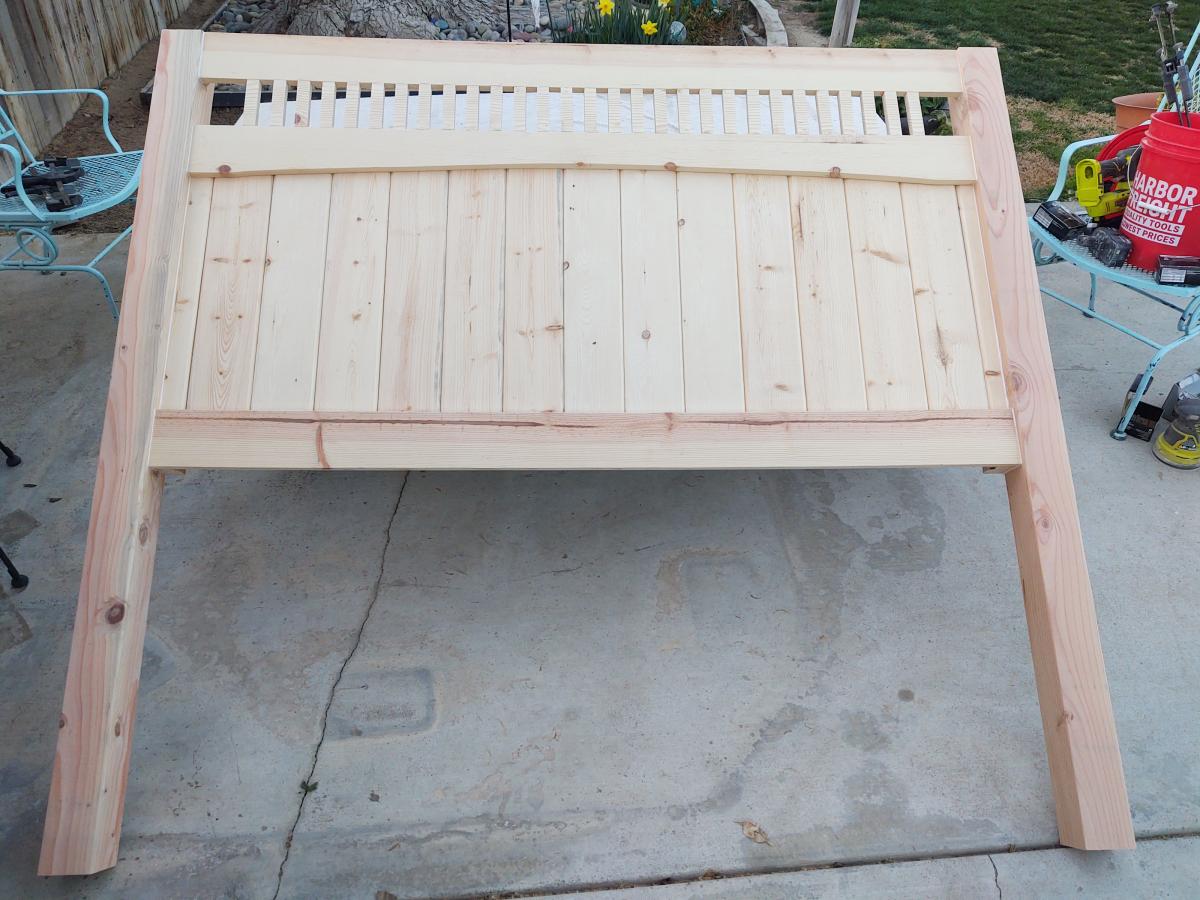
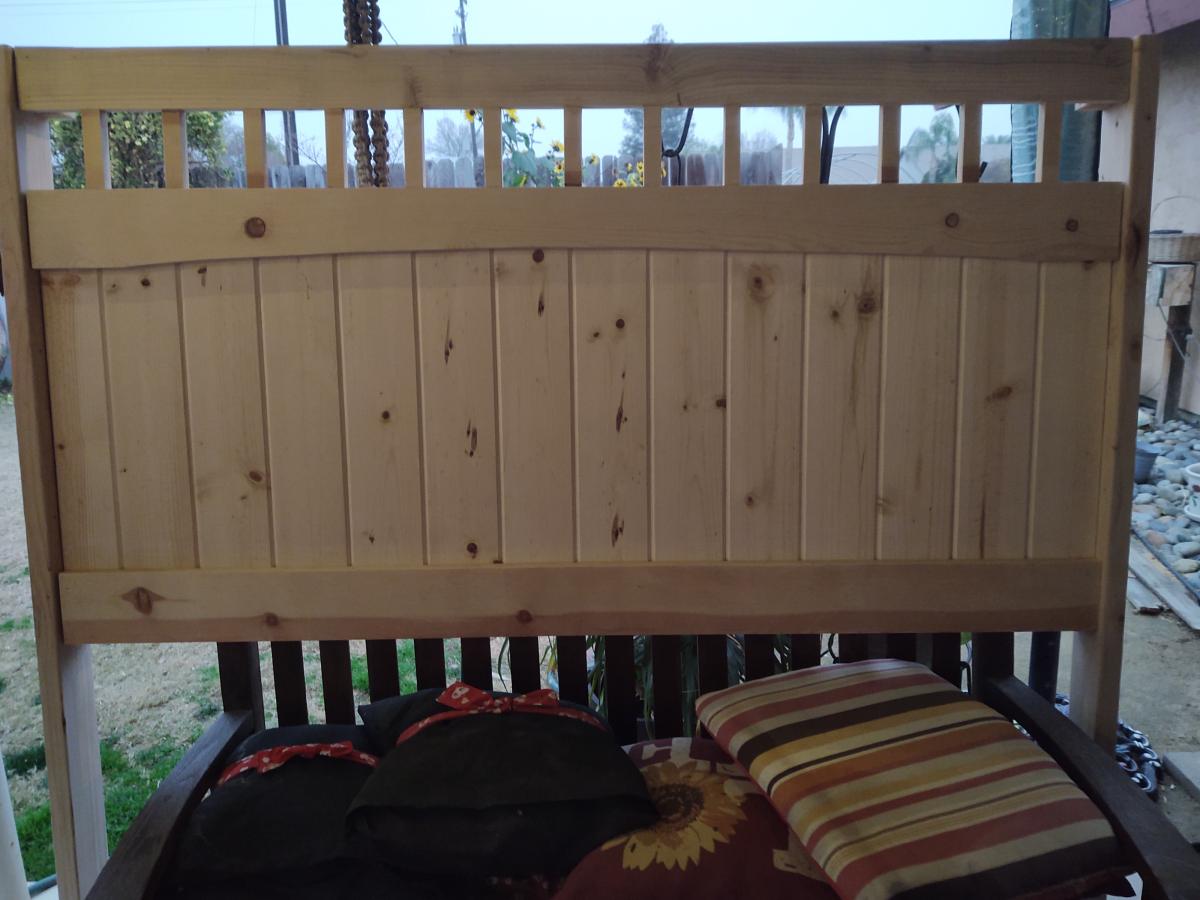
I followed your basic farmhouse bed plans and modified them. I have made three headboards now. Each time someone sees them, they want me to build one for them!

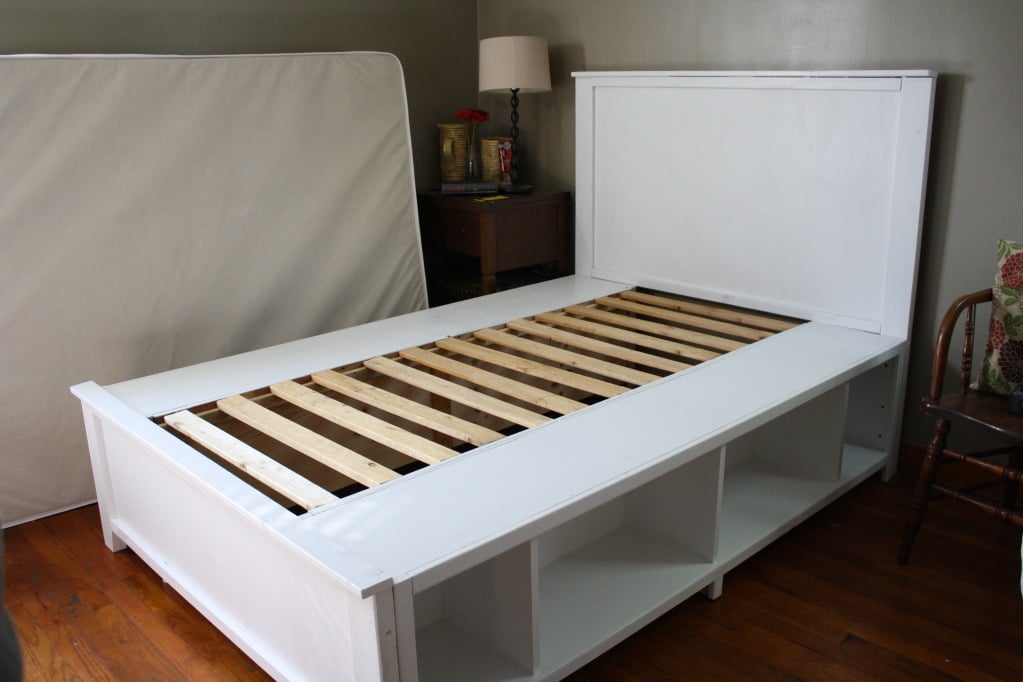
When I saw the plans for this bed I knew it was exactly what I wanted for our guest room/office. I loved that it had storage underneath for extra blankets and office supplies and I loved the simple, clean look. I think it turned out great! We made it full size so it could sleep 2 people and we added an extra set of legs in the middle of the benches to make them extra sturdy. We want to add doors to some of the cubbies later.
This is the first piece of furniture I've painted instead of staining, and I'm so glad I did! The white looks so sharp against the gray walls. I don't think any stain would have turned out as good for the room.
The project came together really easily. We just worked on it for a couple hours on two Saturday afternoons and it was done really fast. The assembly was easy as well, and I love the concept of this bed being built of units that can be moved around or re-purposed later.
Thanks Ana for the great plans!



Fri, 01/04/2013 - 12:57
I cannot find the plans to make this bed. There is only a description of the bed. Could I please get the plans for the Full Size Hailey Storage bed?
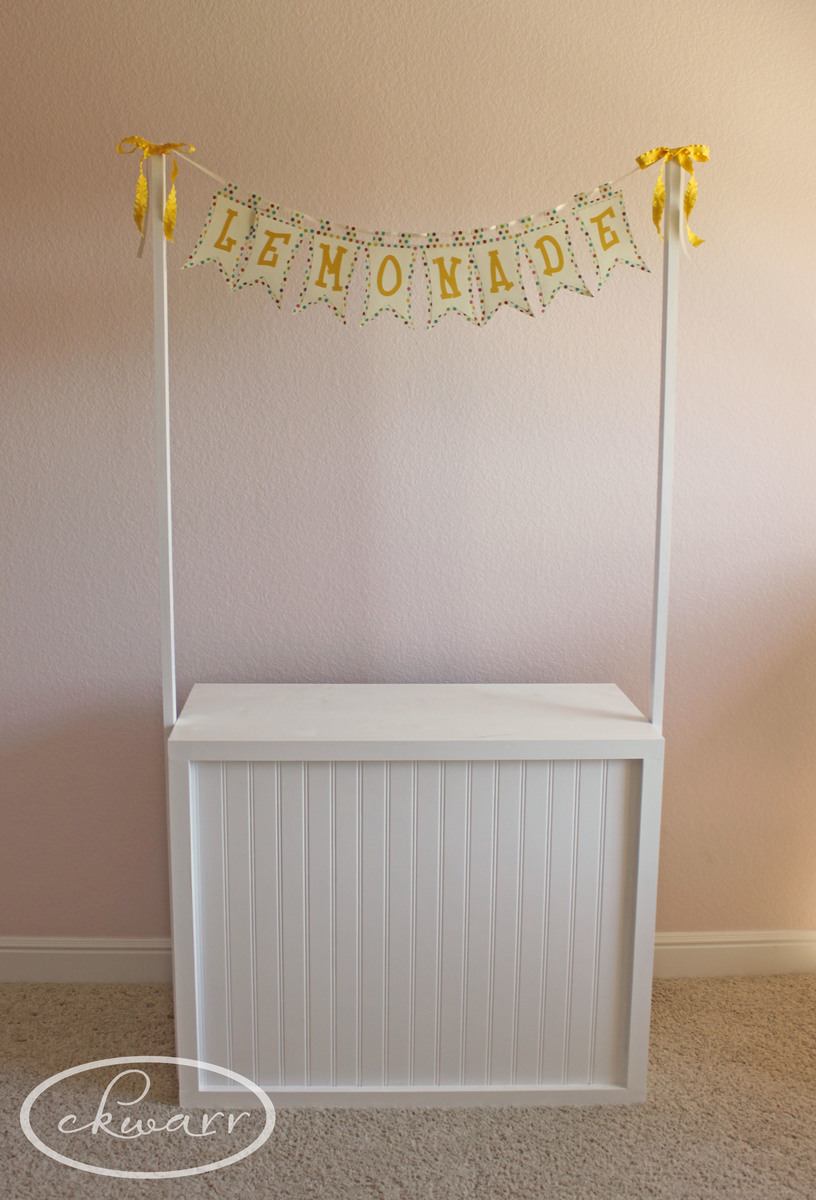
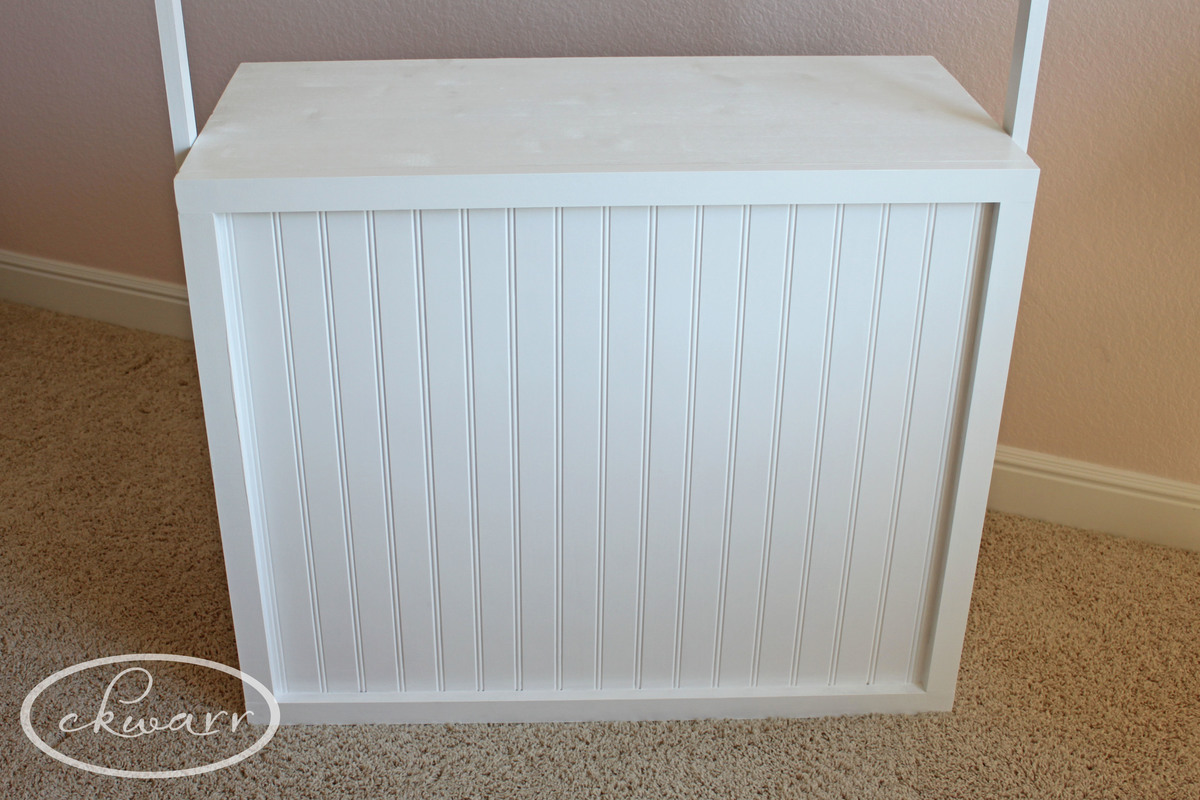
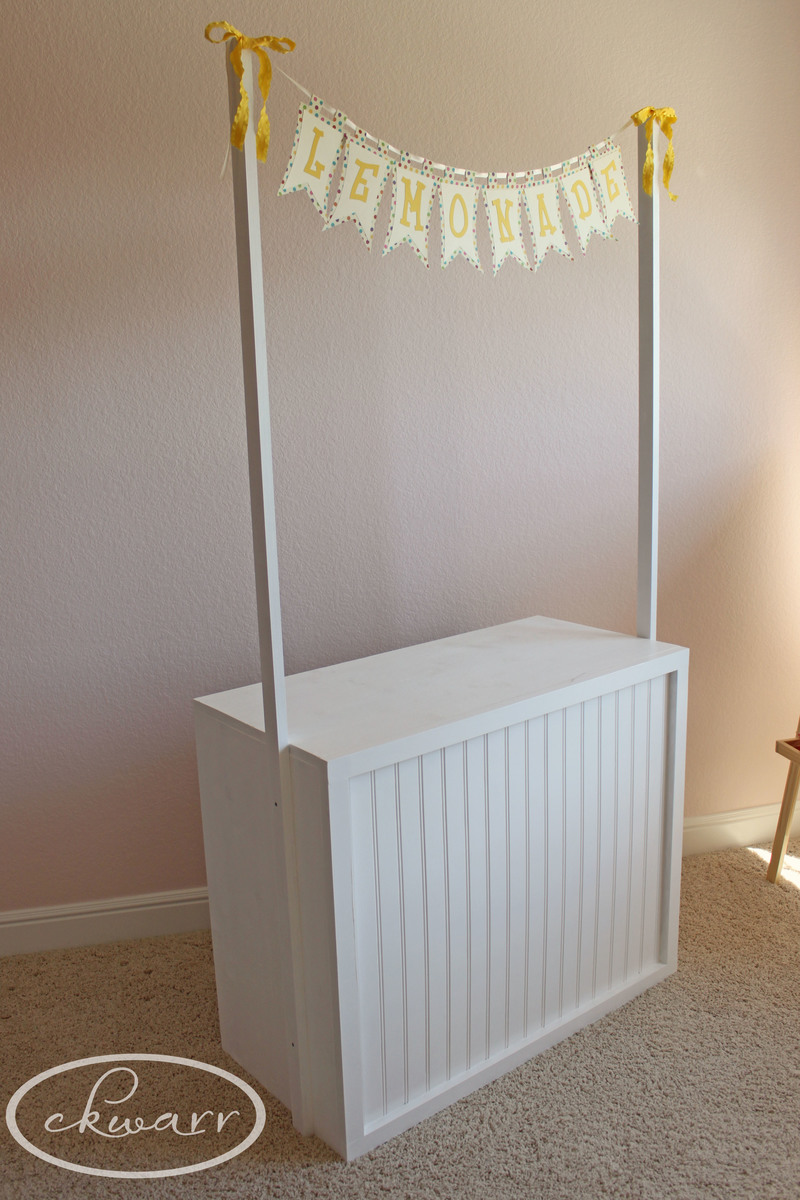
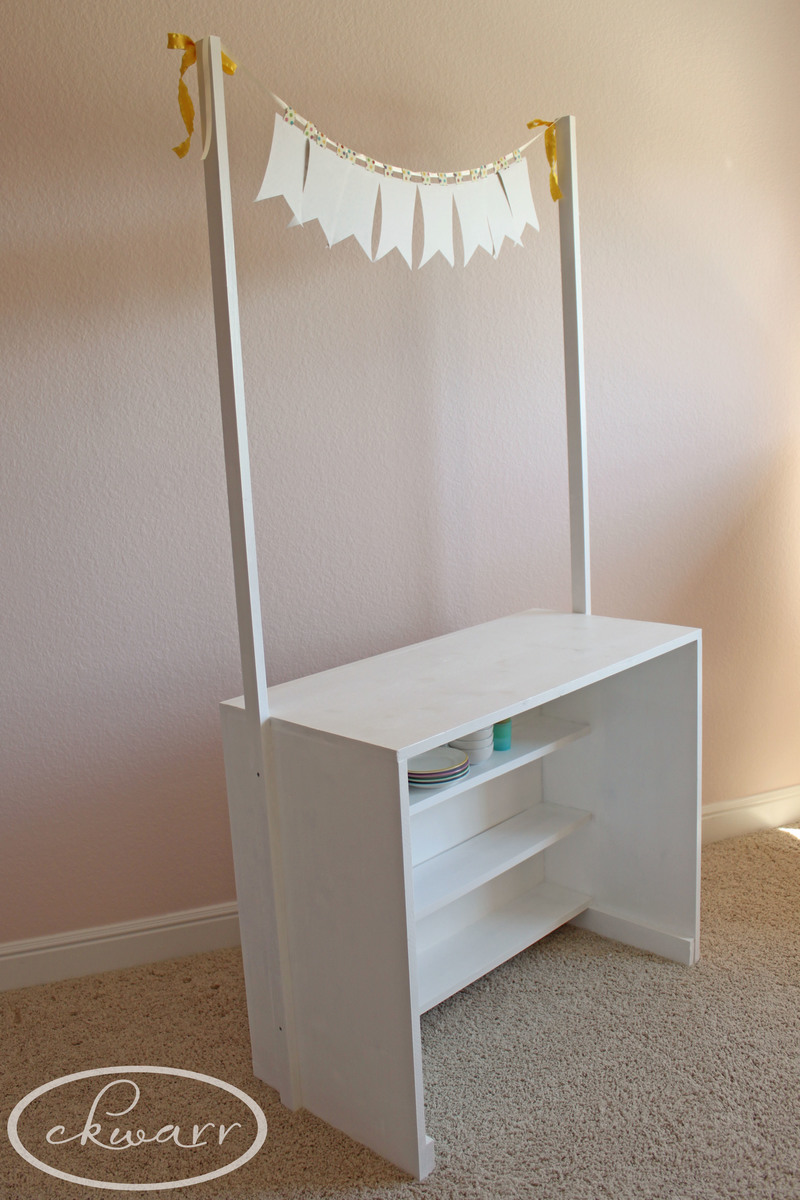
A 1x16 was used for the top and sides to give it a little more depth.
We cut the sides at 29" tall so that it is just under 30" high and can be used with a regular chair.
The shelves are 1x6's since we made it a little deeper.
The banner posts are 1x2's that are 6' tall.
Beadboard and some extra trim were also used.
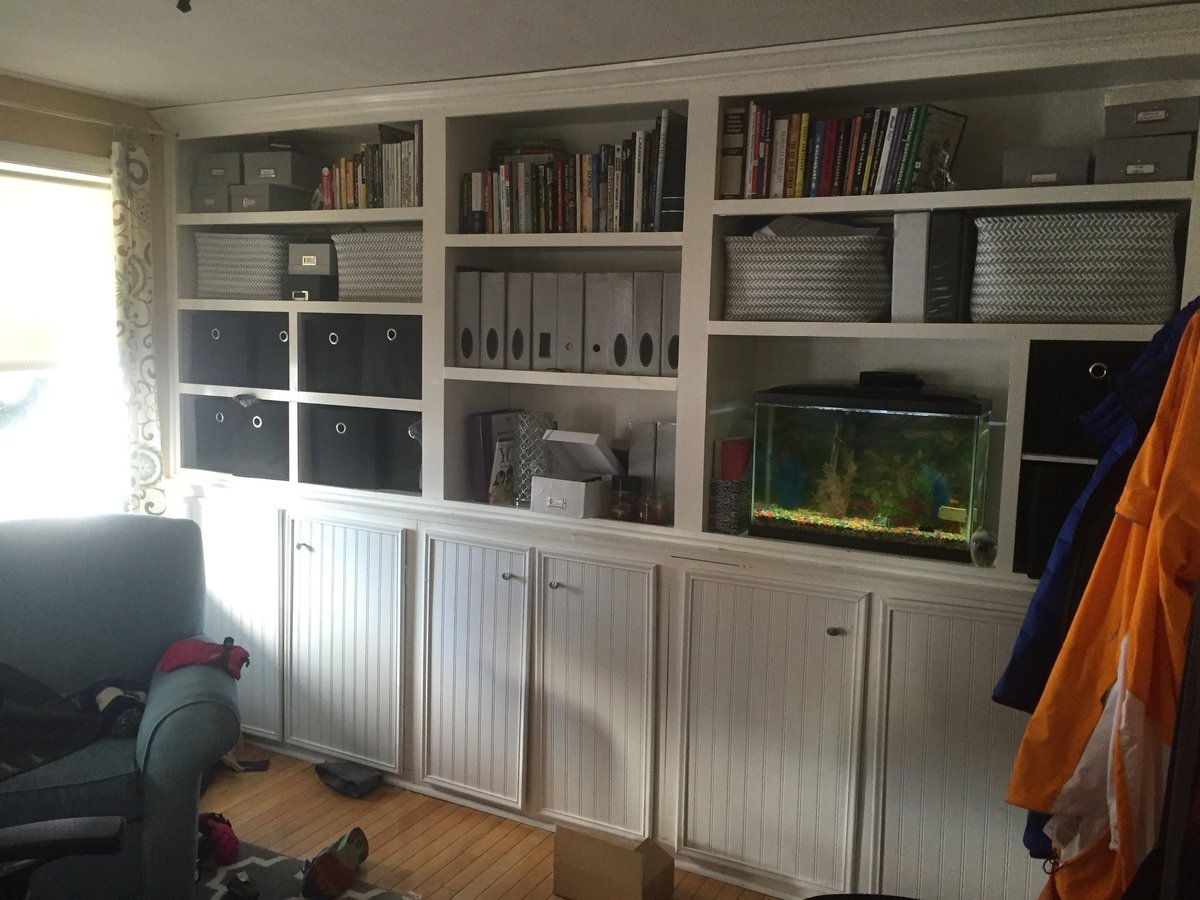
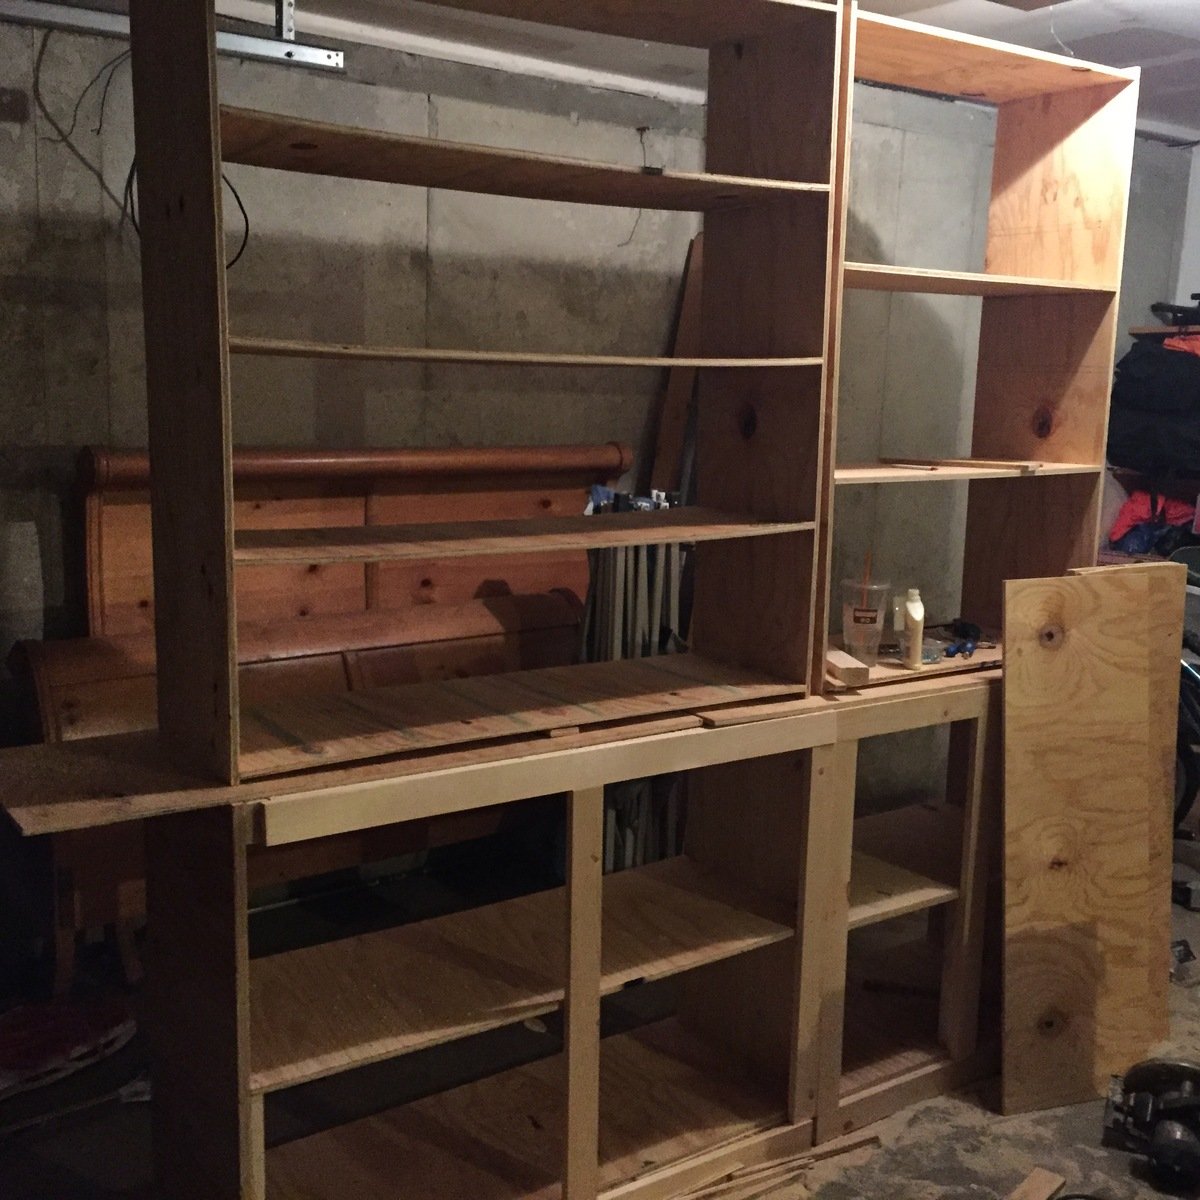
built ins for my office-based on basic bookcase plans, and pieces from rustic bookcase plans. I got a kreg pocket hole jig for this one- best money ever spent!!! My husband didn't think I could do it but I did! ❤️❤️❤️
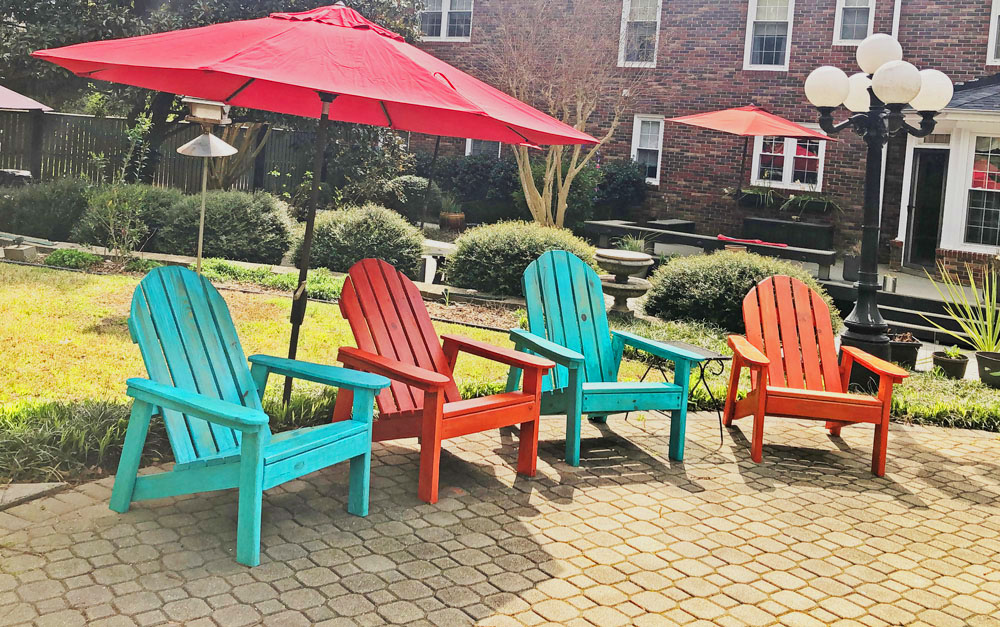
Adirondack chairs from your plans. My husband added some rounding on the arms and back. We wanted them to look like well weathered beach chairs. To get that effect we used milk paint which lets the grain show through.
The best addition are the two wooden wheels on the back leg of the chairs, I can now easily move them around my patio.
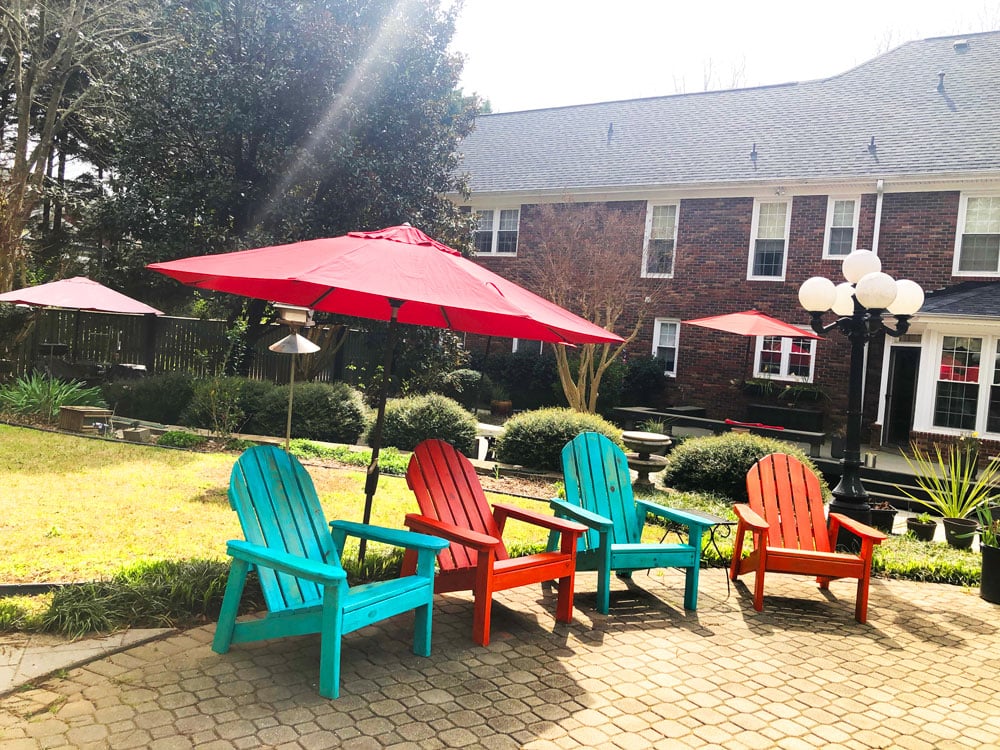
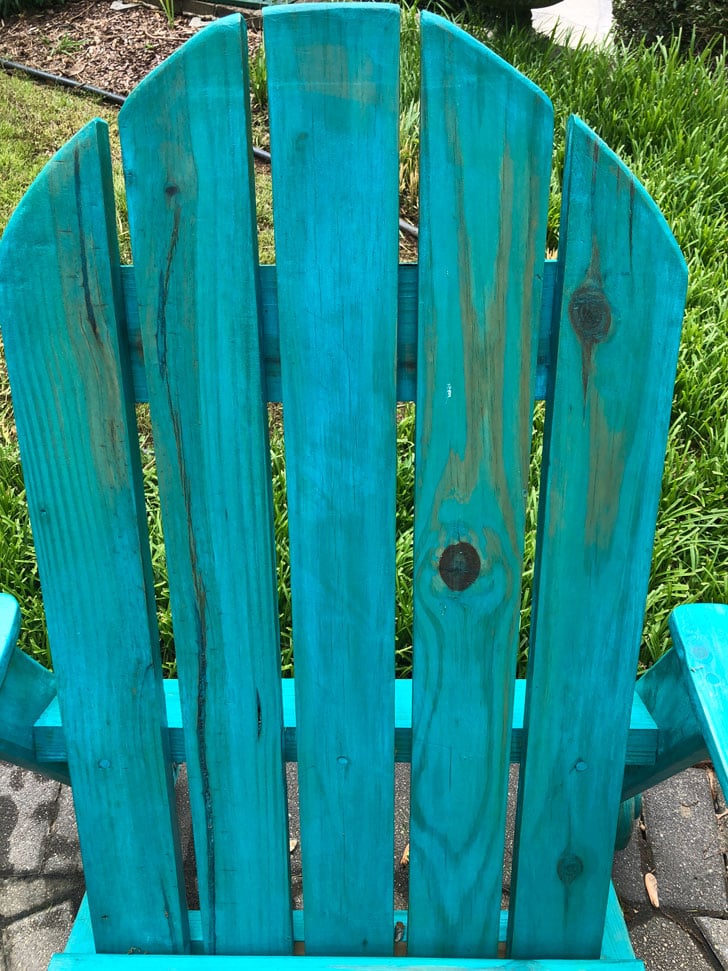
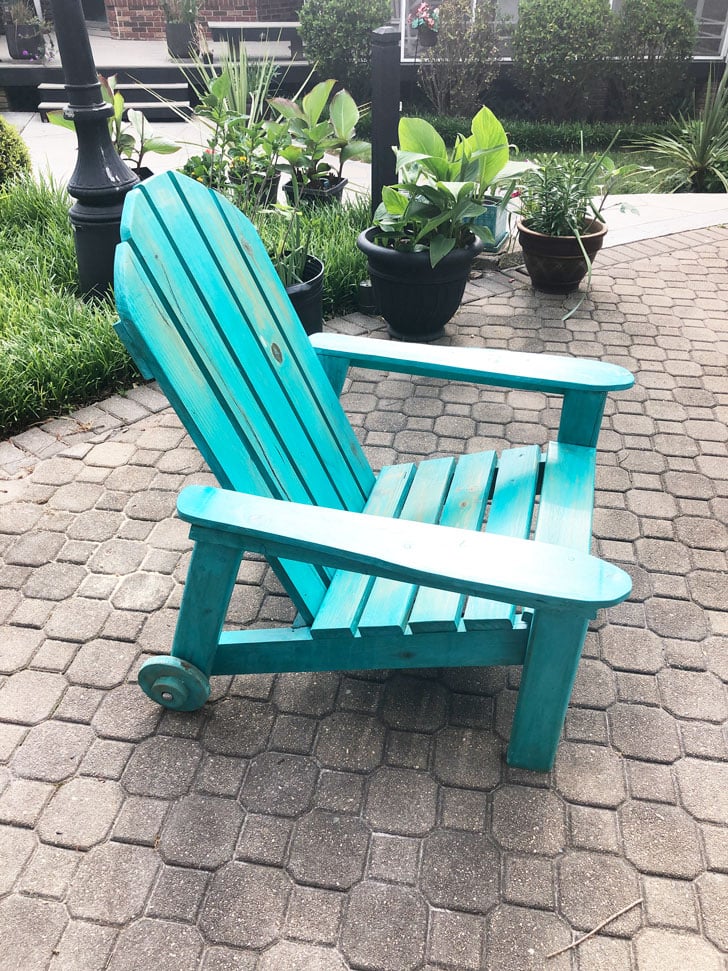
Mon, 05/06/2019 - 11:10
What a gorgeous seating area and what a seal! Love the wheels too!
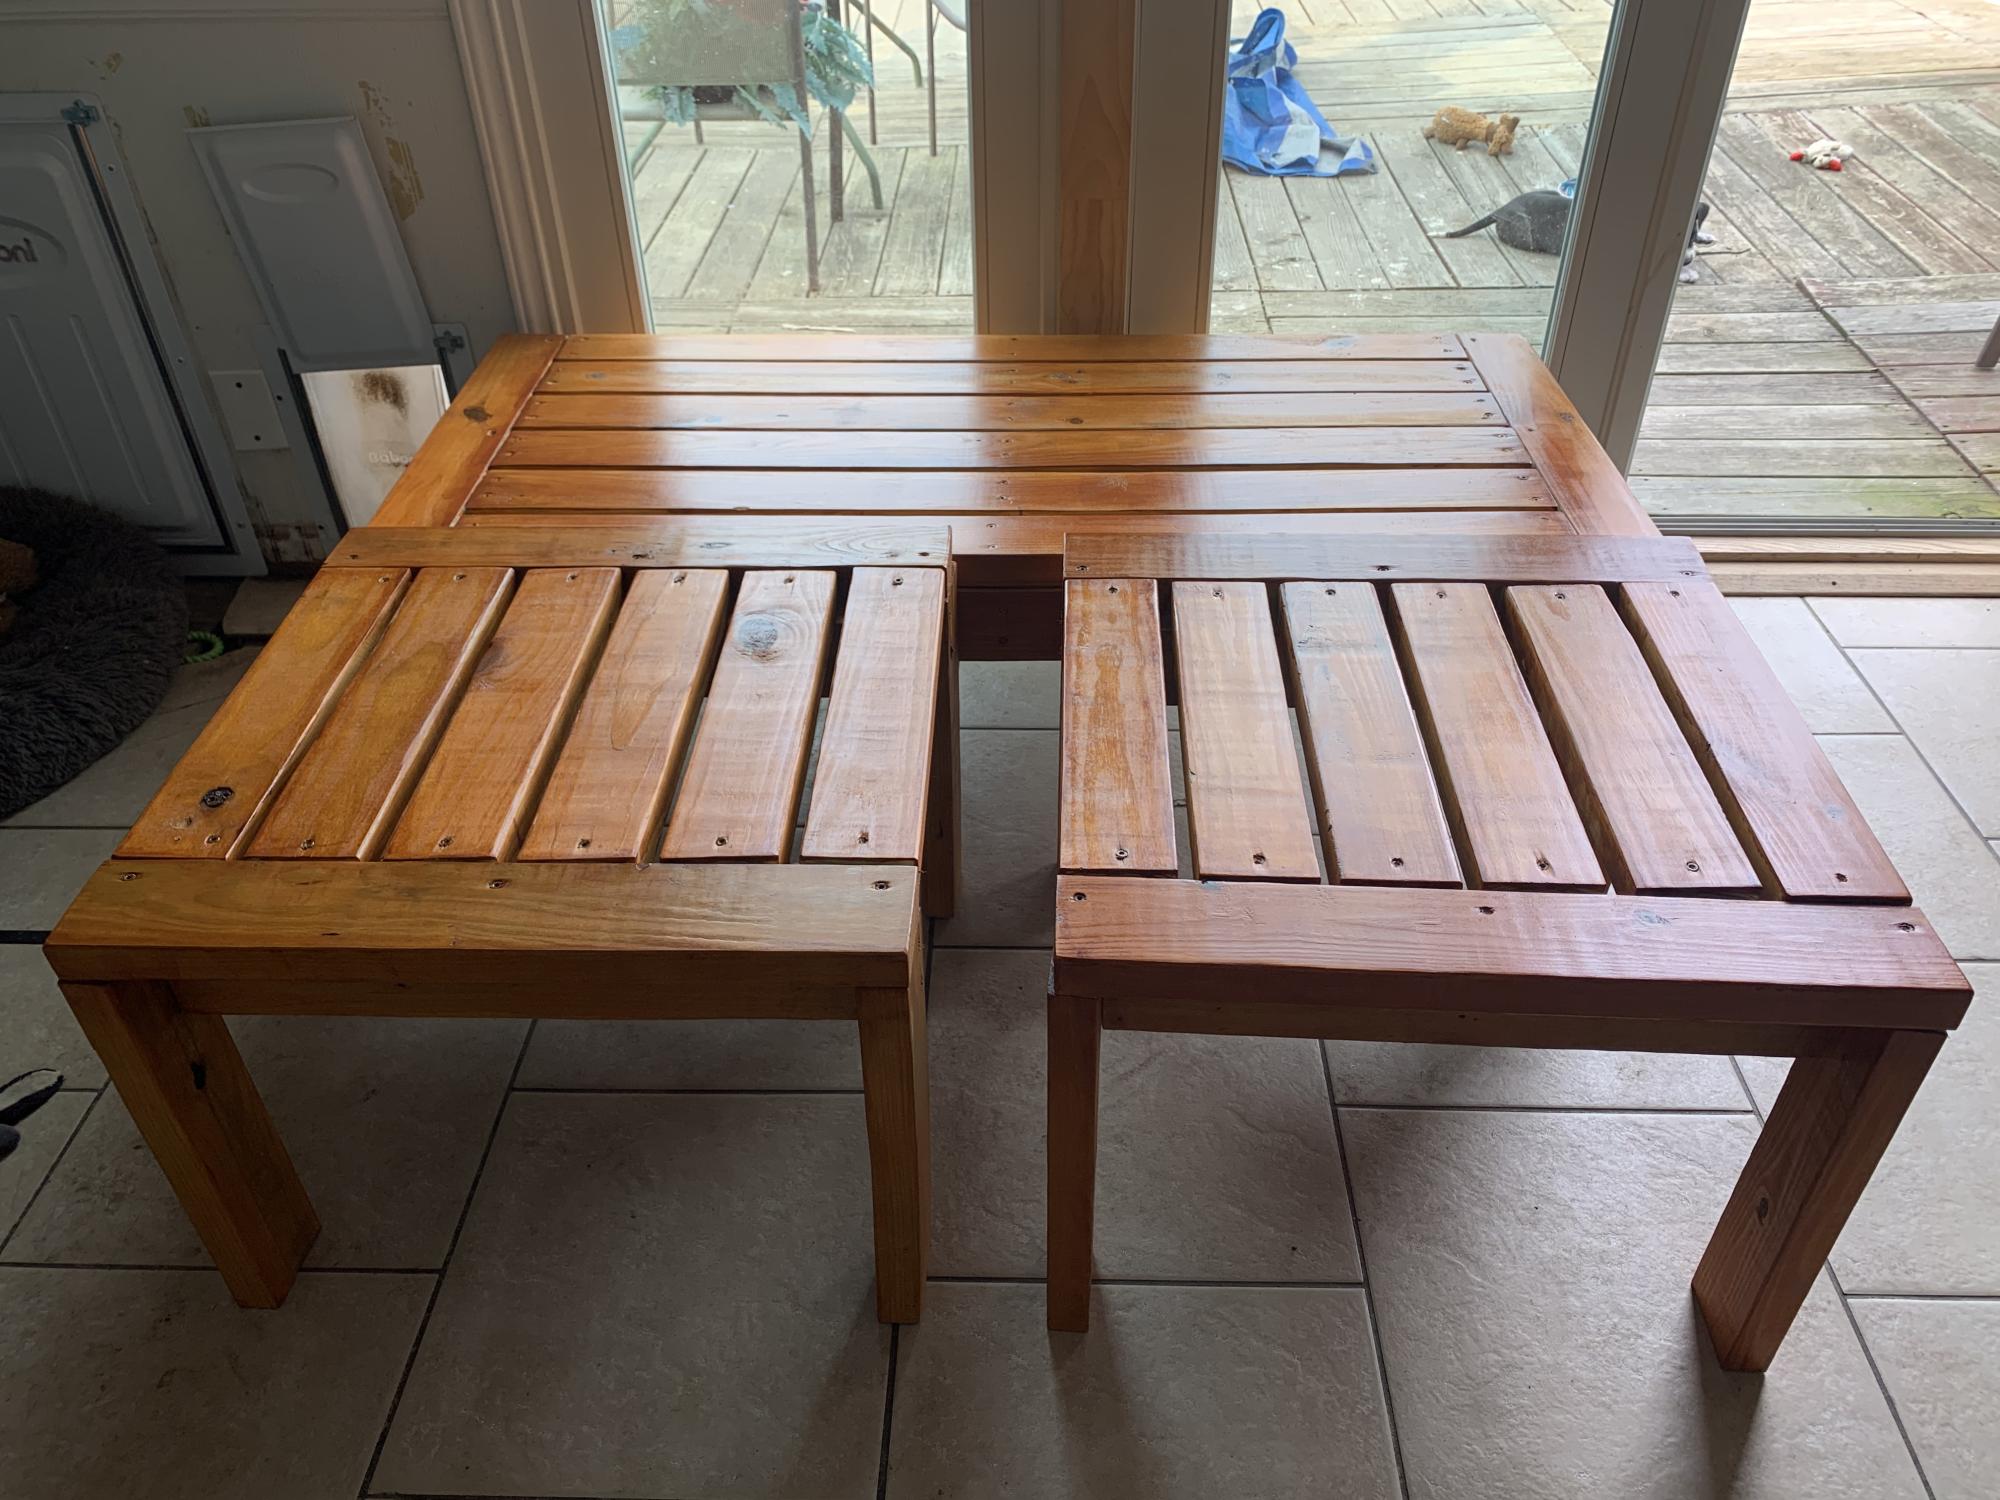
Fun and easy project. If I did it again I would definitely follow the directions to stain the wood first. My first Ana-White project. I’m hooked!
Fri, 03/03/2023 - 11:54
Way to go, can't wait to see what you build next! Thanks for sharing.
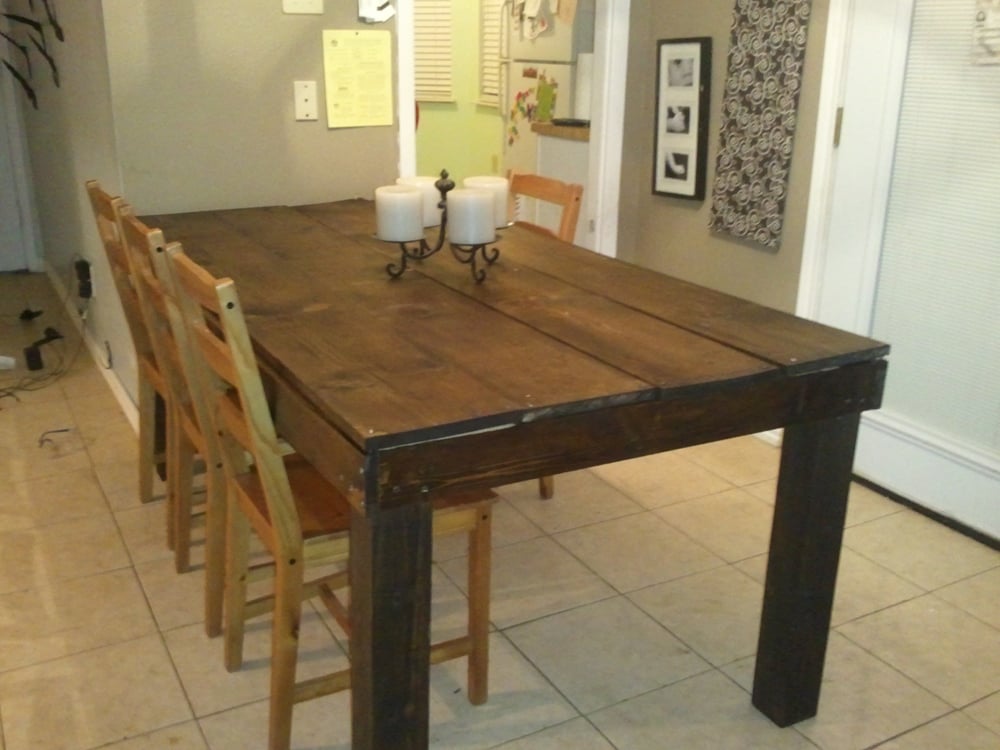
LOVED doing this! I am a total beginner so it is not truly perfect but that is what we love about it! My five year old helped me and learned how to work an electric screwdriver. We saw Pottery Barn was broadcasting a table like this and using that the screws showed as a marketing piece - so we have some screws showing and it is soooo warm and inviting. It looks 100 years old. Everyone loves it!! Thank you for the great inspiration. We made ours 6 feet long and 3 feet wide to fit our space and 4x4's for the legs.
Thu, 11/24/2011 - 20:26
Can I have the step by step plan too! Pretty please! I love this table :)
Thank you so much
-erin
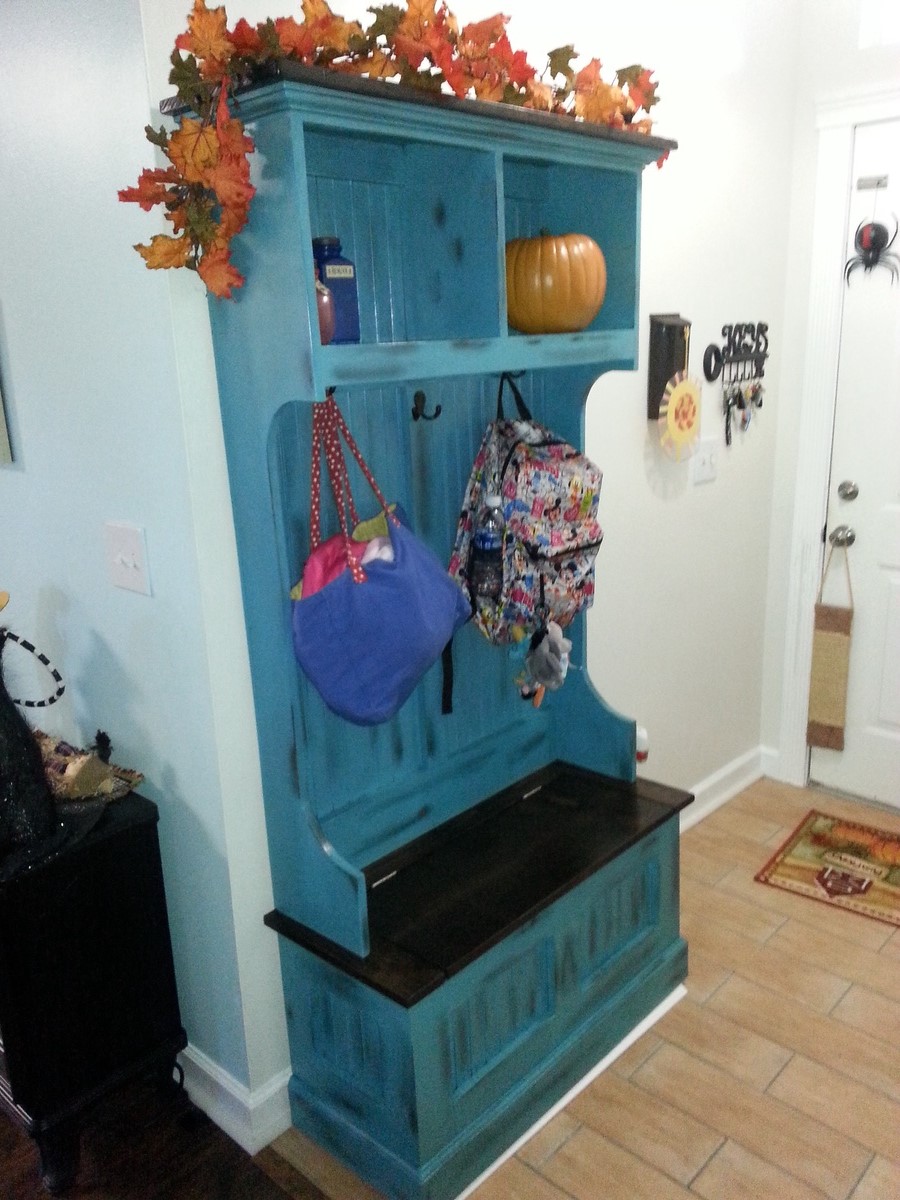
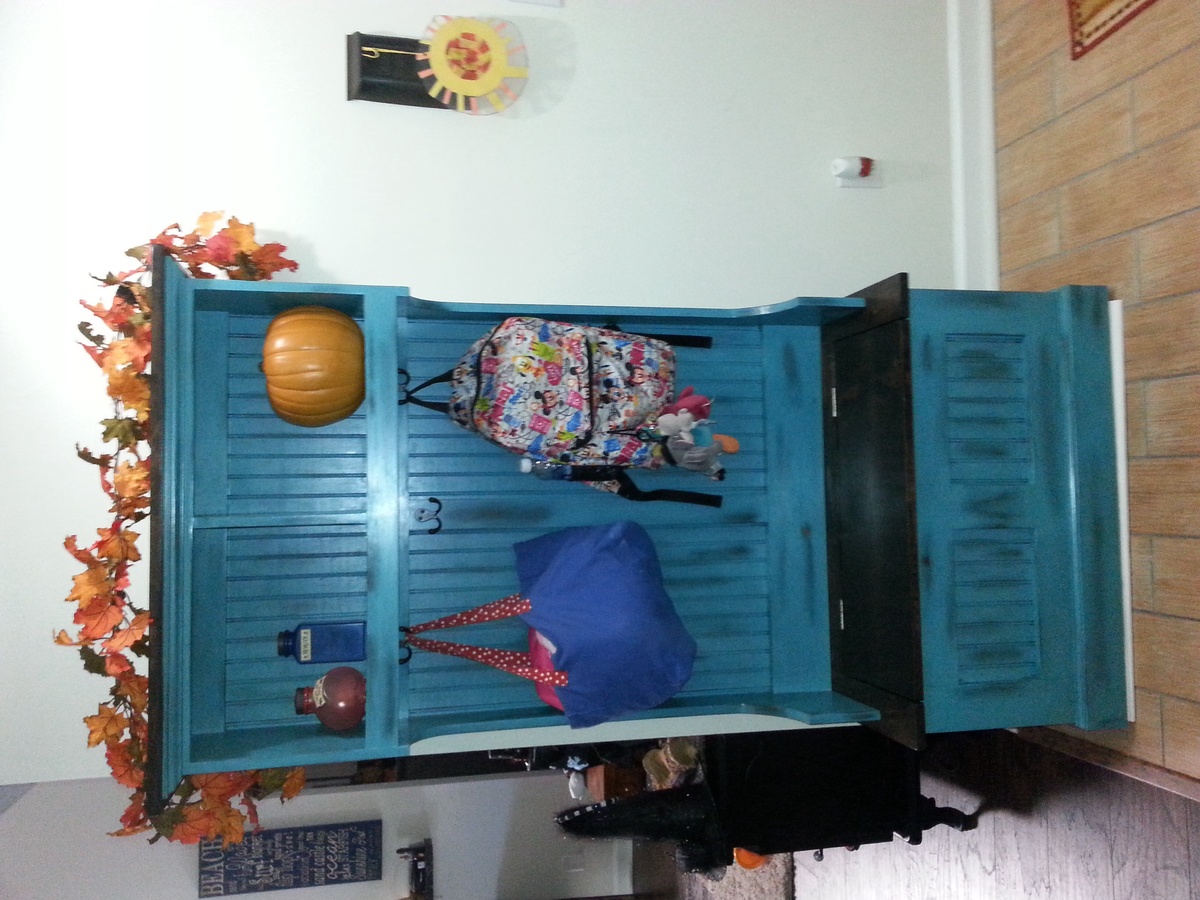
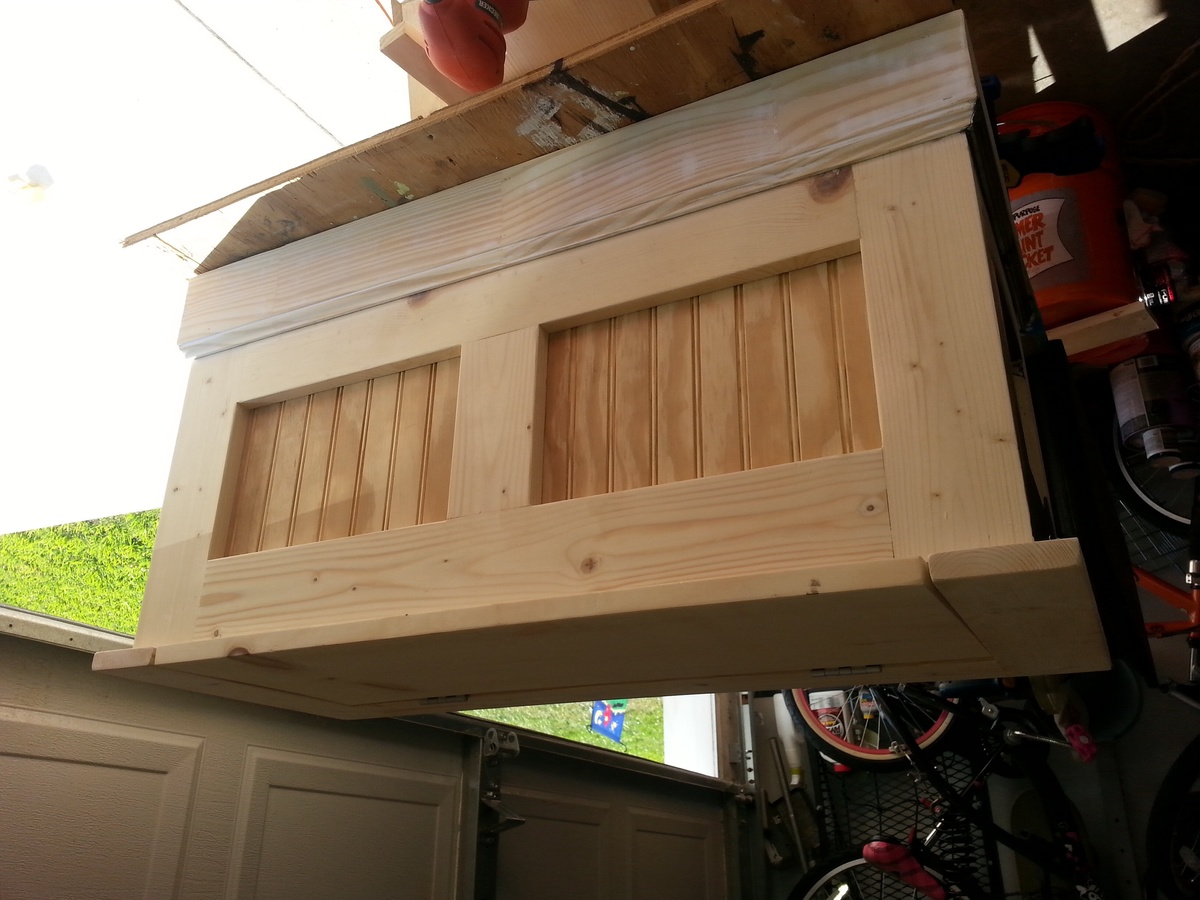
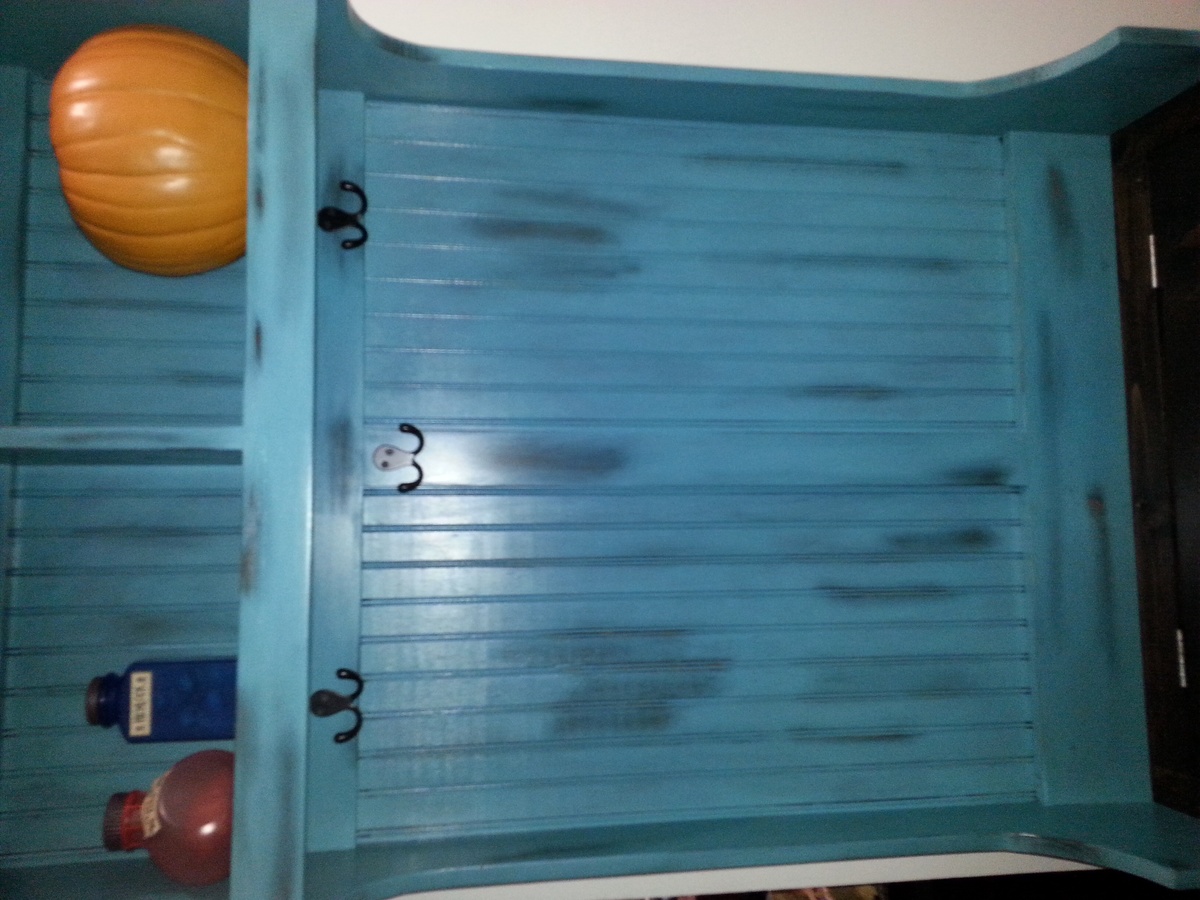
We had a table in the entryway that seemed to catch everything, bags, mail, etc. so when I found the Mimi hall tree I had to build it. This was my second build, so I was a little nervous. I wanted to paint it white , but my wife talked me out of it. I am so glad she did. Fun build, and now we have a place for all the stuff when we get home every evening.
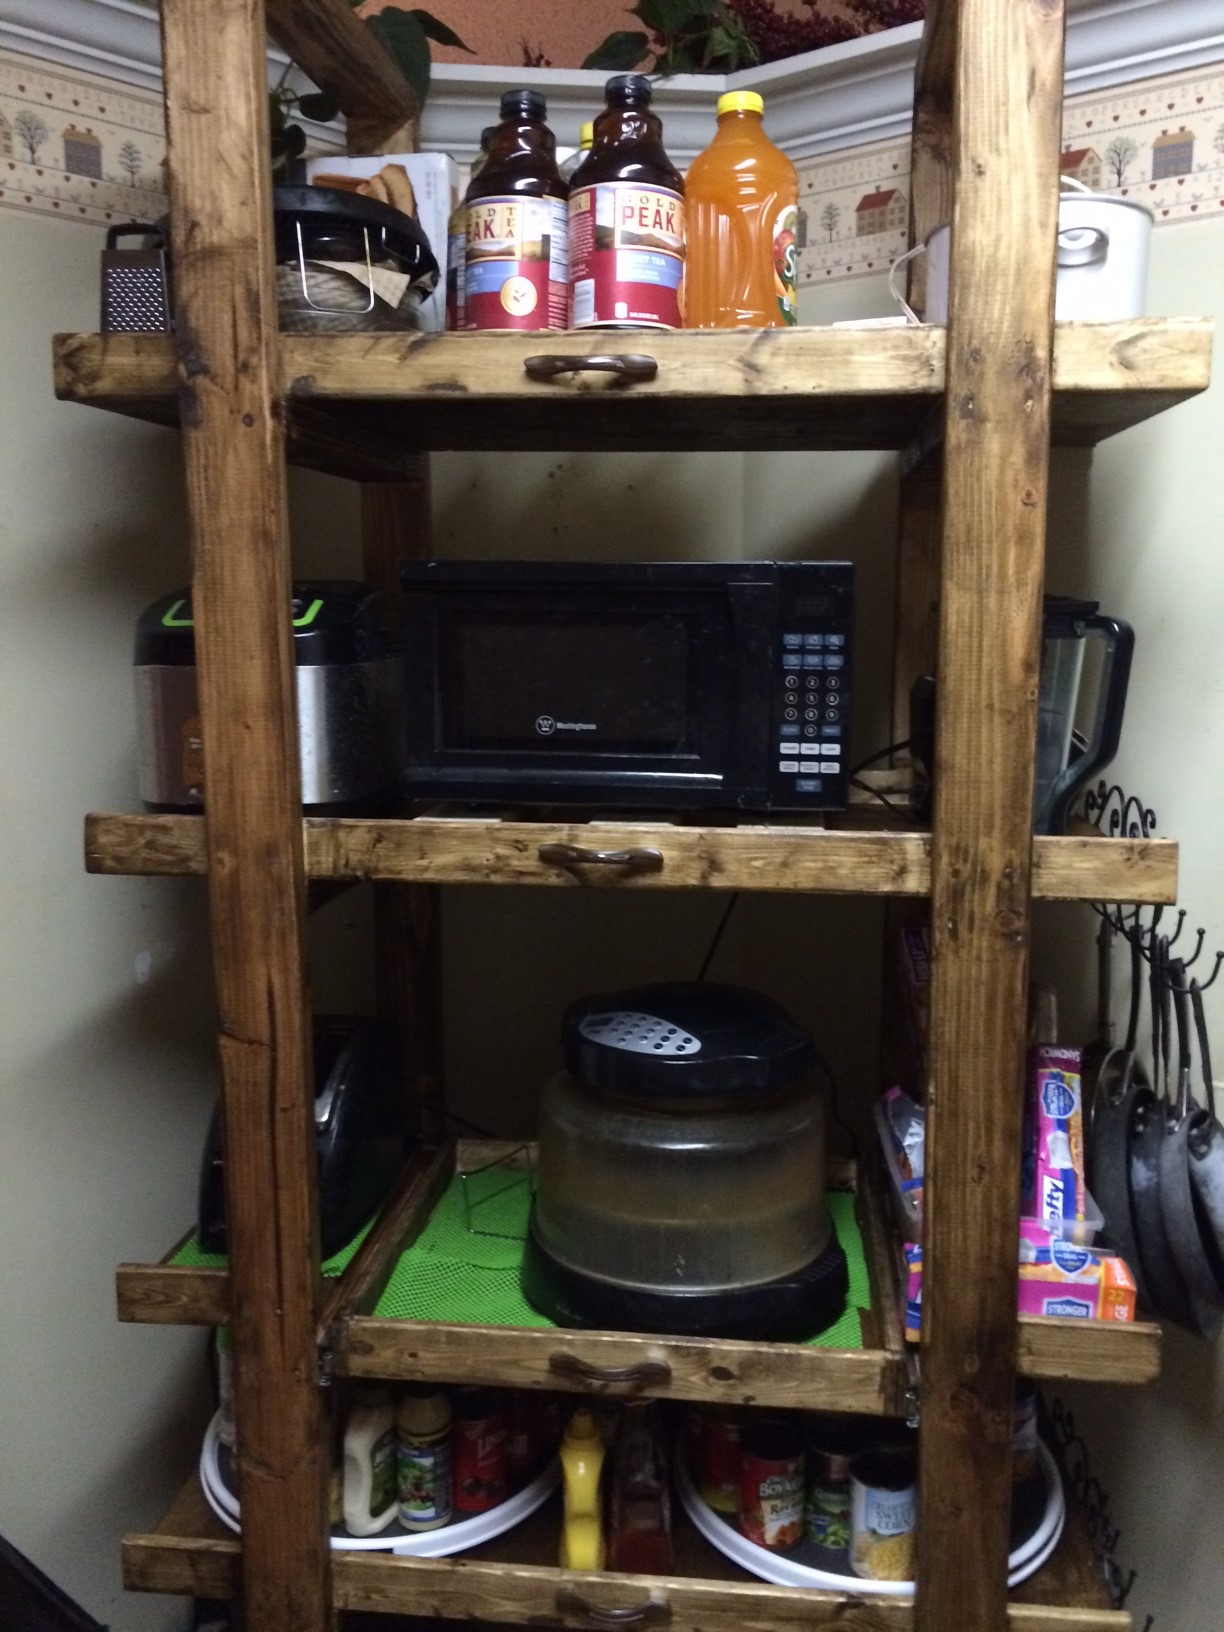
I needed more storage in my small kitchen so I modified this cart to 42 x 20 x 96. One shelf has a sliding drawer. I am very new to all of this so I mistakenly overlooked accounting for the side ends of the shelves in my calculations. I left them off, but may go back and insert 1 x 2 to complete them. Not sure yet.
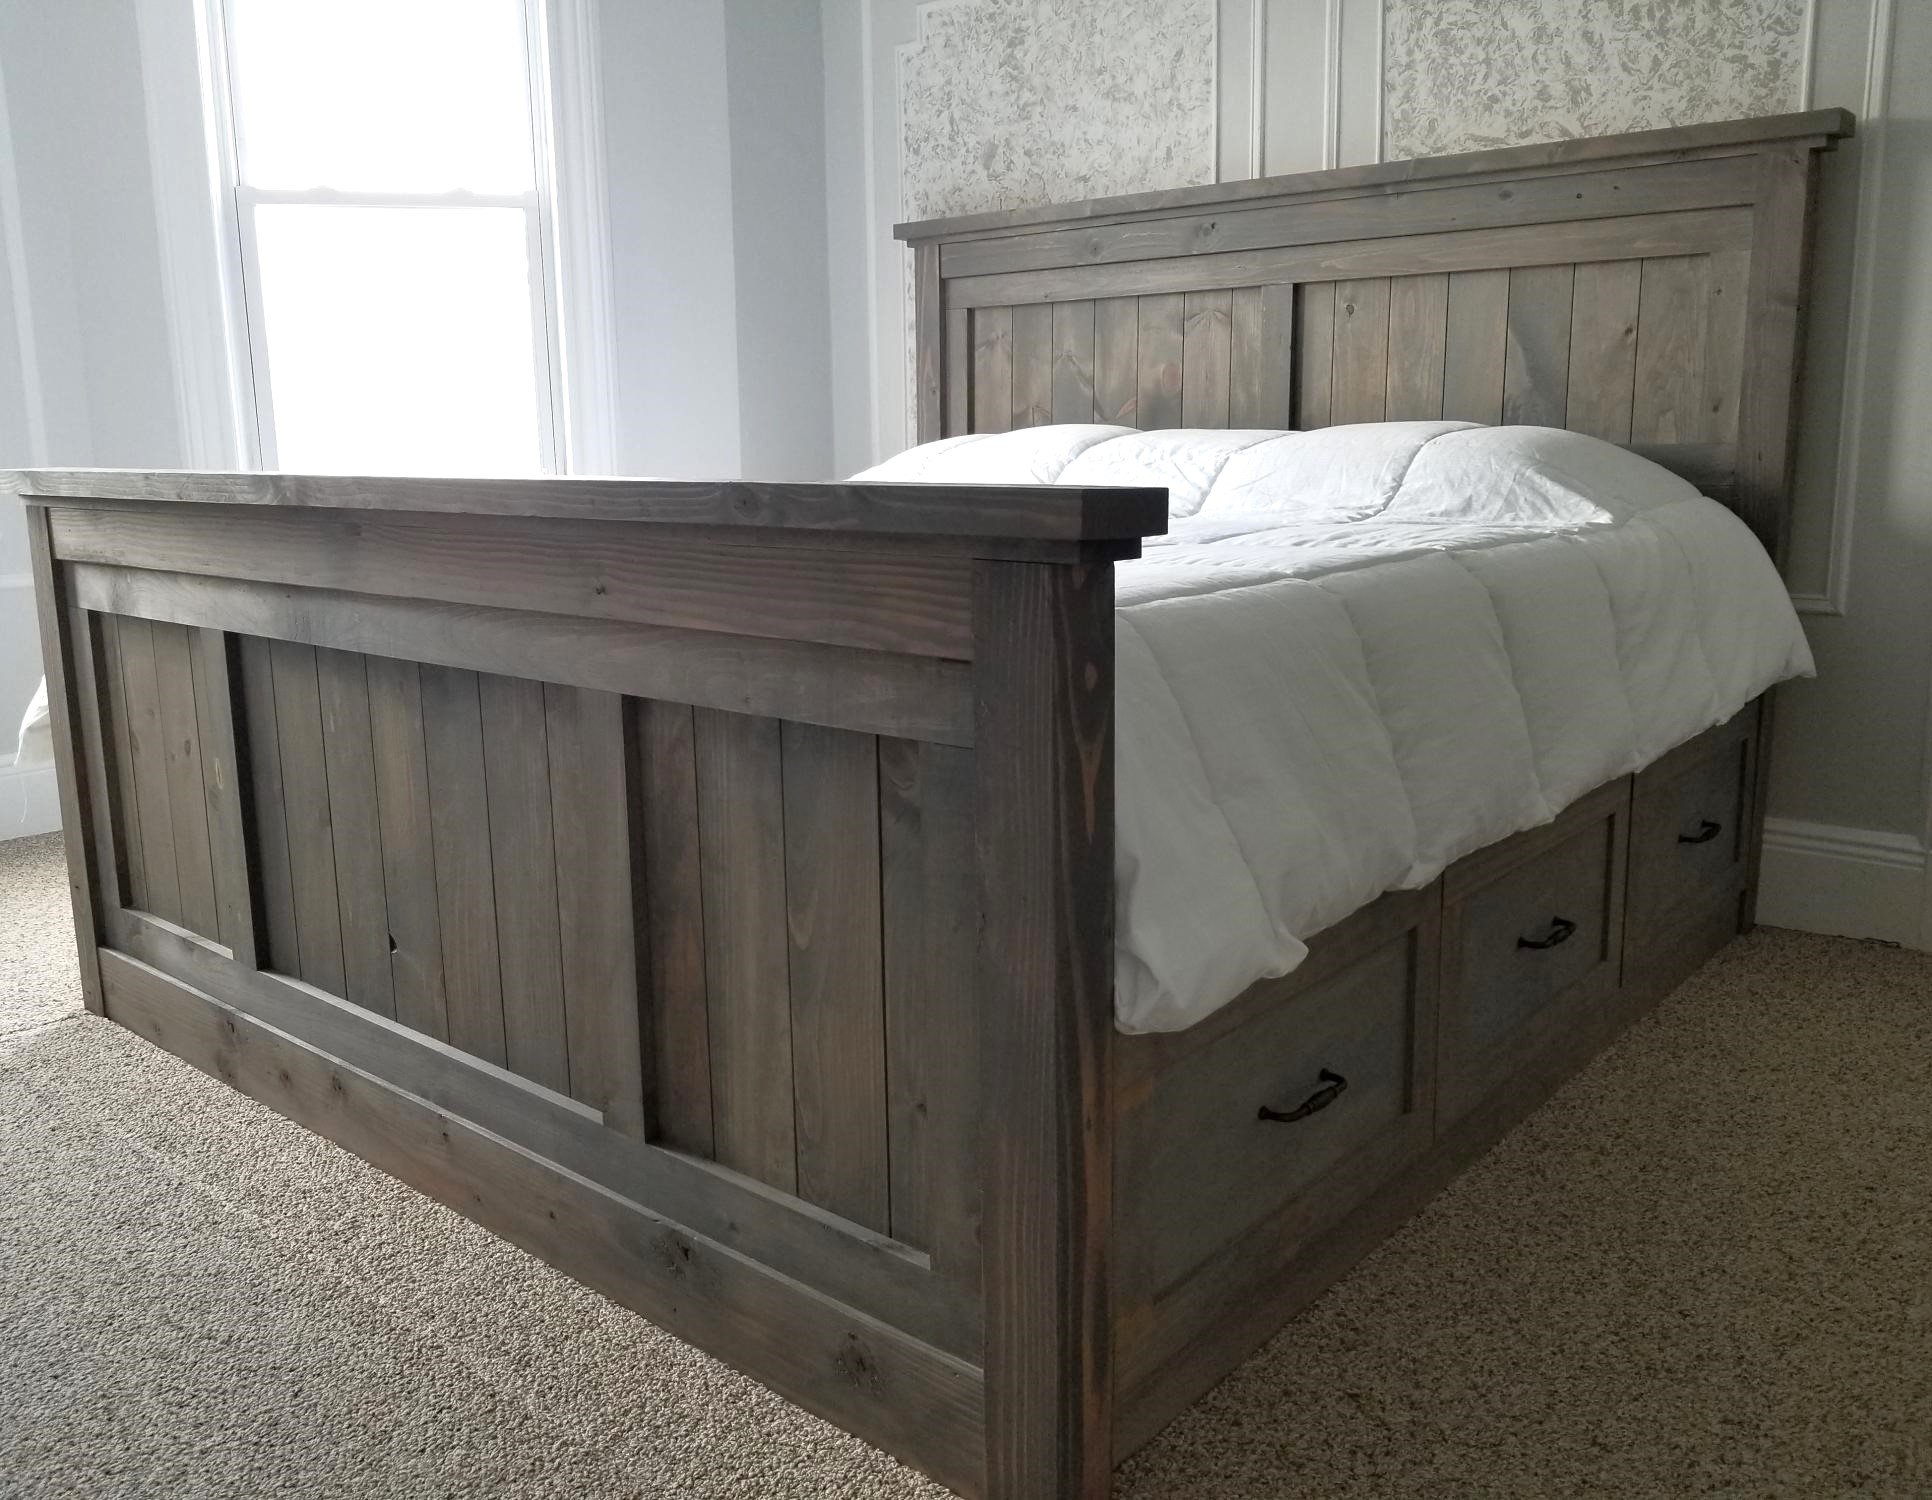
Seen this awesome plan on Anas site and had to build it in KING SIZE. The drawers are enormous, the bed is rock solid. I love it
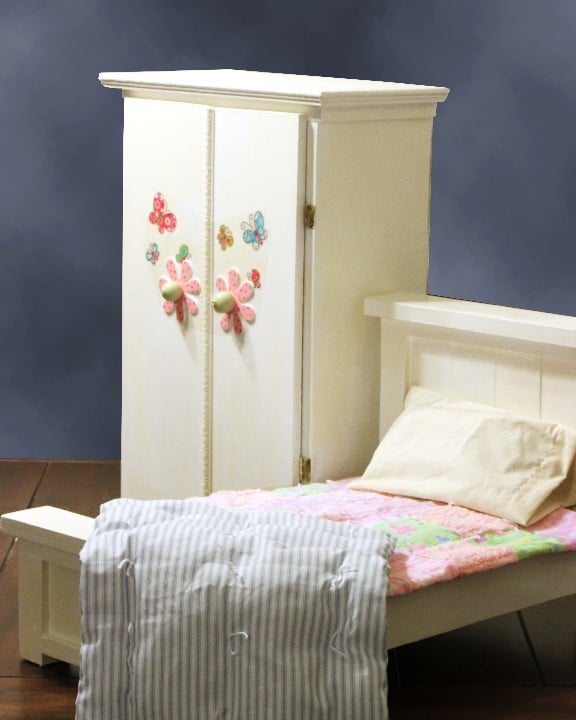
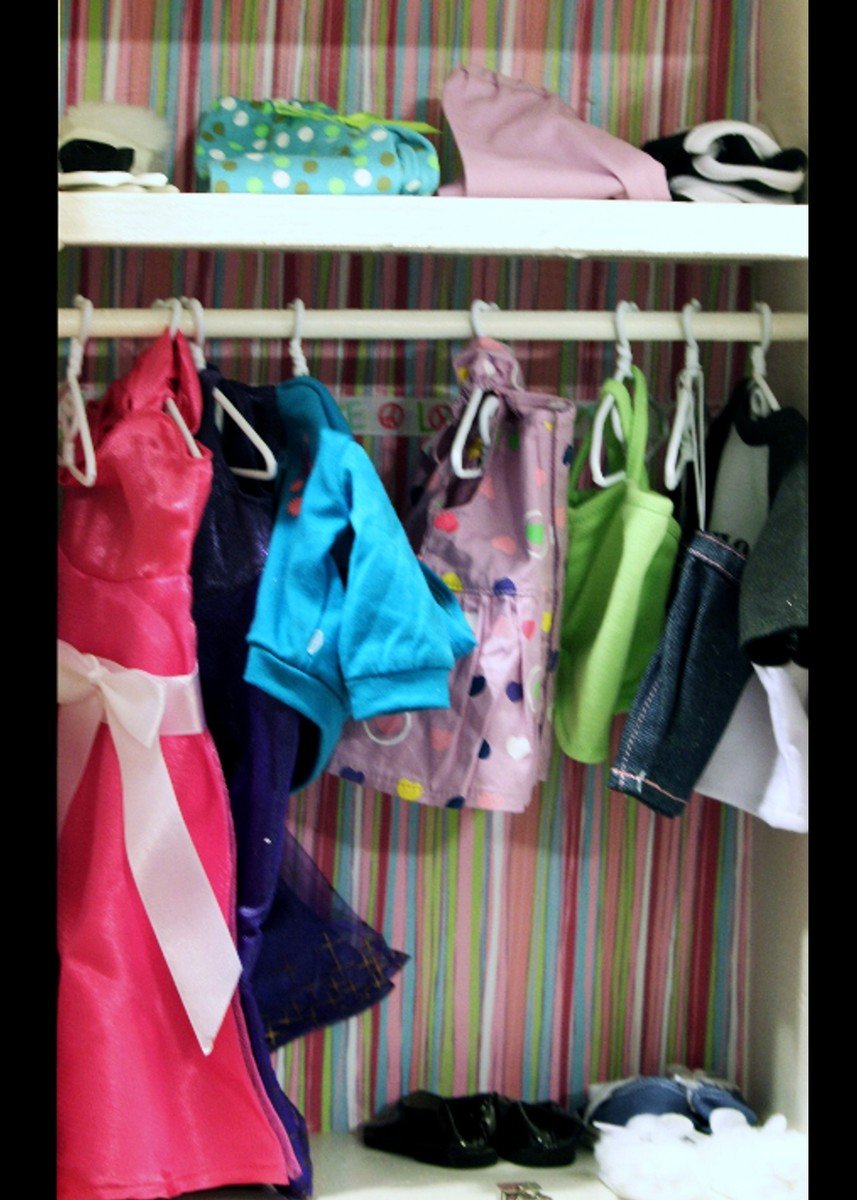
I love the Farmhouse Doll Bed, but because we bought a lot of doll clothes, I built a wardrobe to go with it.
The wardrobe is 21 1/2" tall X 14" wide X 7" deep. The inside shelf is 4" from the top. I'm having trouble uploading a photo of the inside, but will keep trying...
I made a mattress to look like the older striped "ticking" style. I still need to do a little more with the bedding because I'm not happy with the (muslin) pillowcase and want to do something brighter.
Cost was minimal because I'm still using up scraps from other wood projects and I used material for the mattress and bedding that I already had. That is what I love about some of the plans - they help me to use my leftover materials and still have something nice to give as gifts.
Thank you so much Anna for this plan - I also followed your suggestion and made a second one to donate. I love your site...
Tue, 11/22/2011 - 07:25
Beautiful! I am trying to do a wardrobe right now, too! I am making my second of this bed today. Great job!
Tue, 11/22/2011 - 13:21
The wardrobe is great! I especially love the decorative touches! :)
Tue, 11/22/2011 - 13:21
The wardrobe is great! I especially love the decorative touches! :)
Thu, 11/24/2011 - 12:56
I finally managed to upload a photo of the inside of the wardrobe
Sat, 12/03/2011 - 11:29
Where and how do I find the plans for the doll wardrobe?? I made the Farmhouse bed and love it. Thank you
Sun, 02/26/2012 - 15:22
I'll trade you picture and info for a great doll closet for you plans for the Farmhouse bed. Our granddaughter loves the closet, so now I need to build the bed.
Thanks,
Sat, 12/03/2011 - 14:12
Thanks for your interest - I'm sorry, I tend to work by the seat of my pants and develop an idea as I go; so I don't really have plans. The best I can do is give somewhat of a cut list; which is:
Sides: 2@7"X19.5"
Bottom: 1@7"X13.5"
1st Top Board:1@7"X14" (hangs over 1/4in on sides)
2nd Top Board:[email protected]"X15"(hangs over 1/2in on sides and in front- it's even at back)
Doors: [email protected]"
Inside Shelf 1@7"X12" (Top of shelf is 4" below top of inside cabinet.
I just measured enough below to allow for doll hangers and drilled for dowel, but it came out just right for the longer dresses.
The front trim overlaps the left door, so that I only had to put one door catch at the bottom.
I hope this helps - I really need to learn the Sketchup program.
I used 3/4" plywood because that is what I had, but used 1/2" playwood for doors to make them lighter.
Fri, 12/09/2011 - 14:41
What size dowel rod did you use? I have a niece who I've made a bunch of clothes for, and I'd love to make her a wardrobe to house new clothes!
Fri, 12/09/2011 - 21:14
I believe it was 3/8 or 1/2 inch - I took one of the hangers with me and just put it on dowels until I got the right size.
Wed, 03/14/2012 - 20:25
Just a suggestion for a quick way to "brighten up" the pillow case. Just find some ribbon to coordinate with the bedding and sew (or use iron on adhesive - really easy then!) around the hem line of the opening.
The wardrobe is darling. I love the flower knobs!
I love this site. We needed new furniture in are house and didn't want to spend a bunch of money. Finding the Rustic x plans was a life saver.