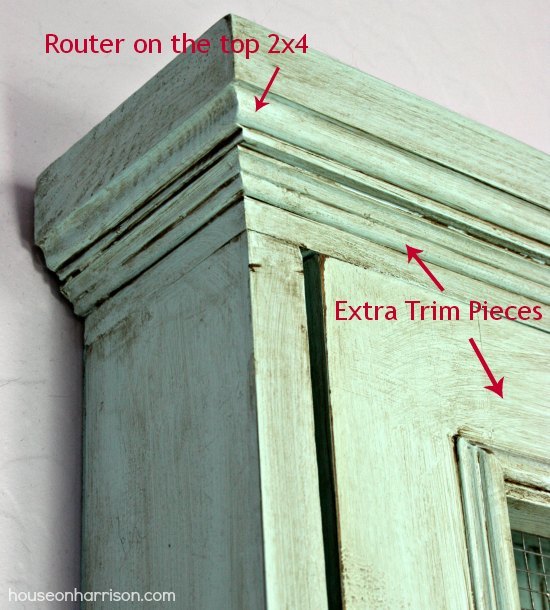
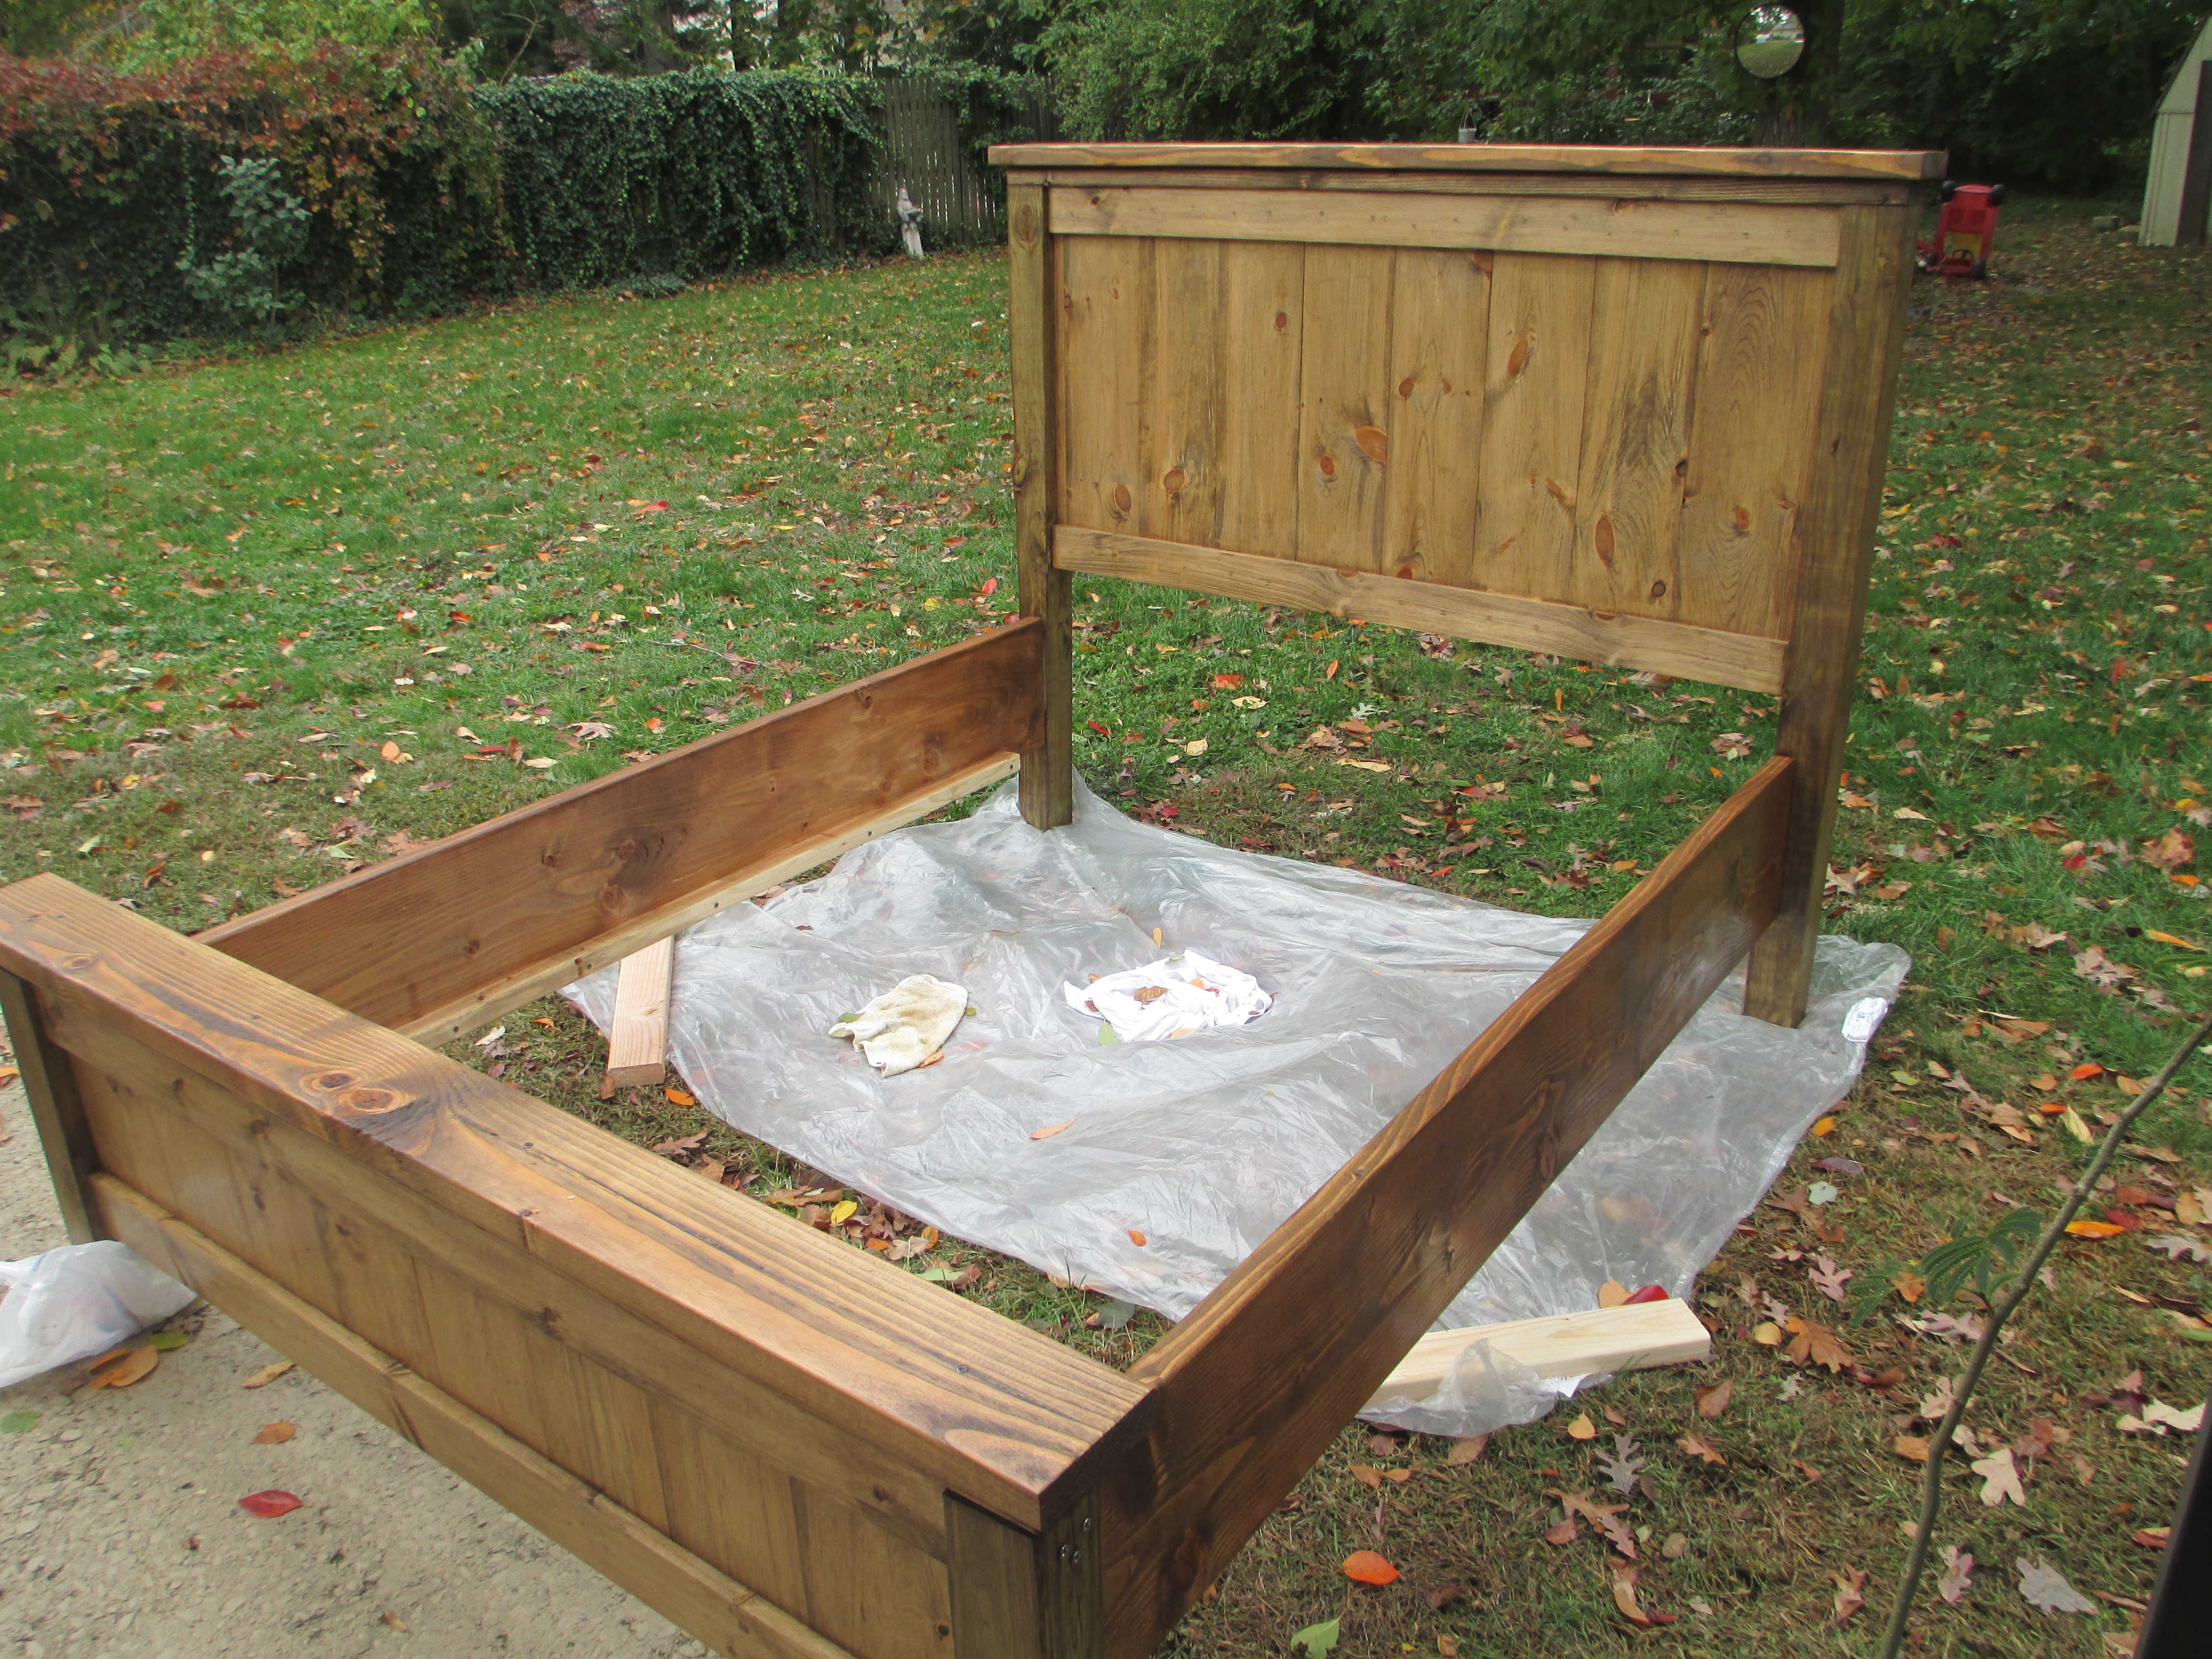
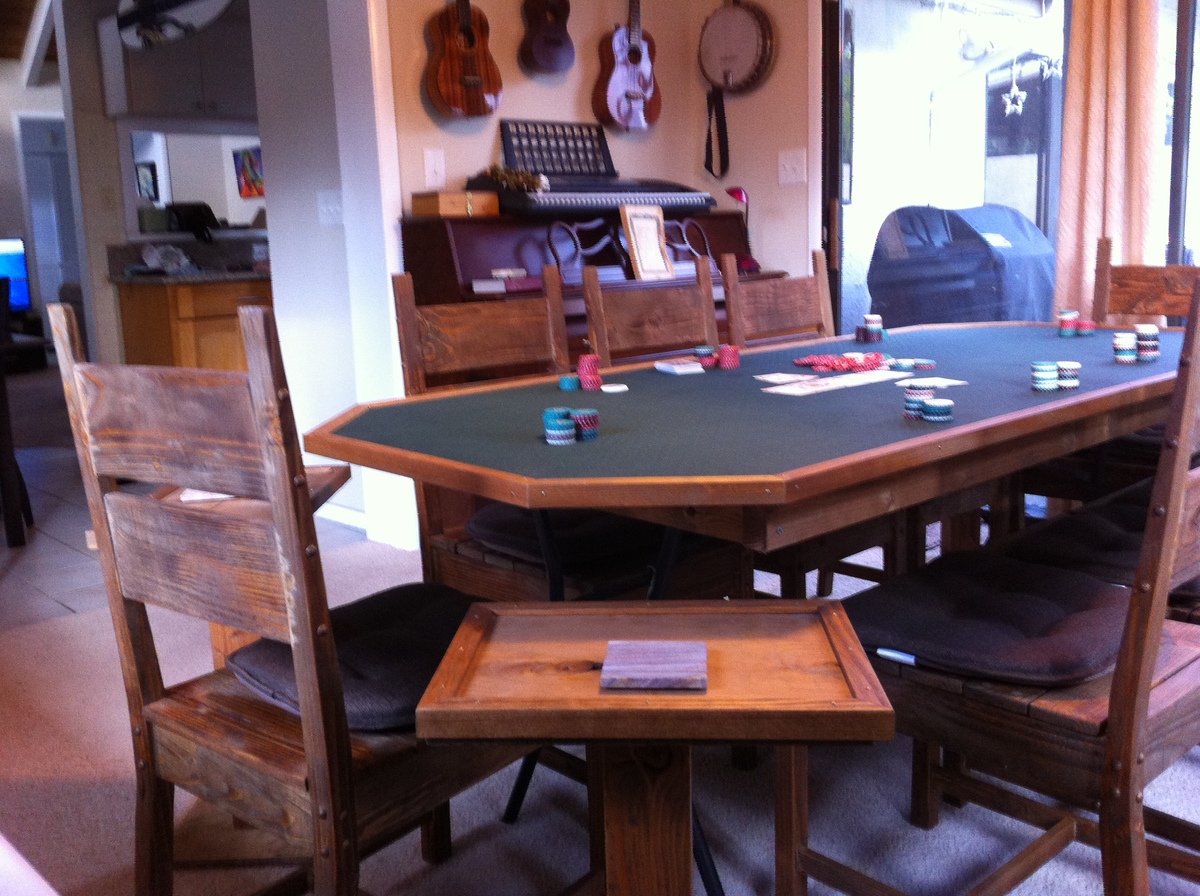
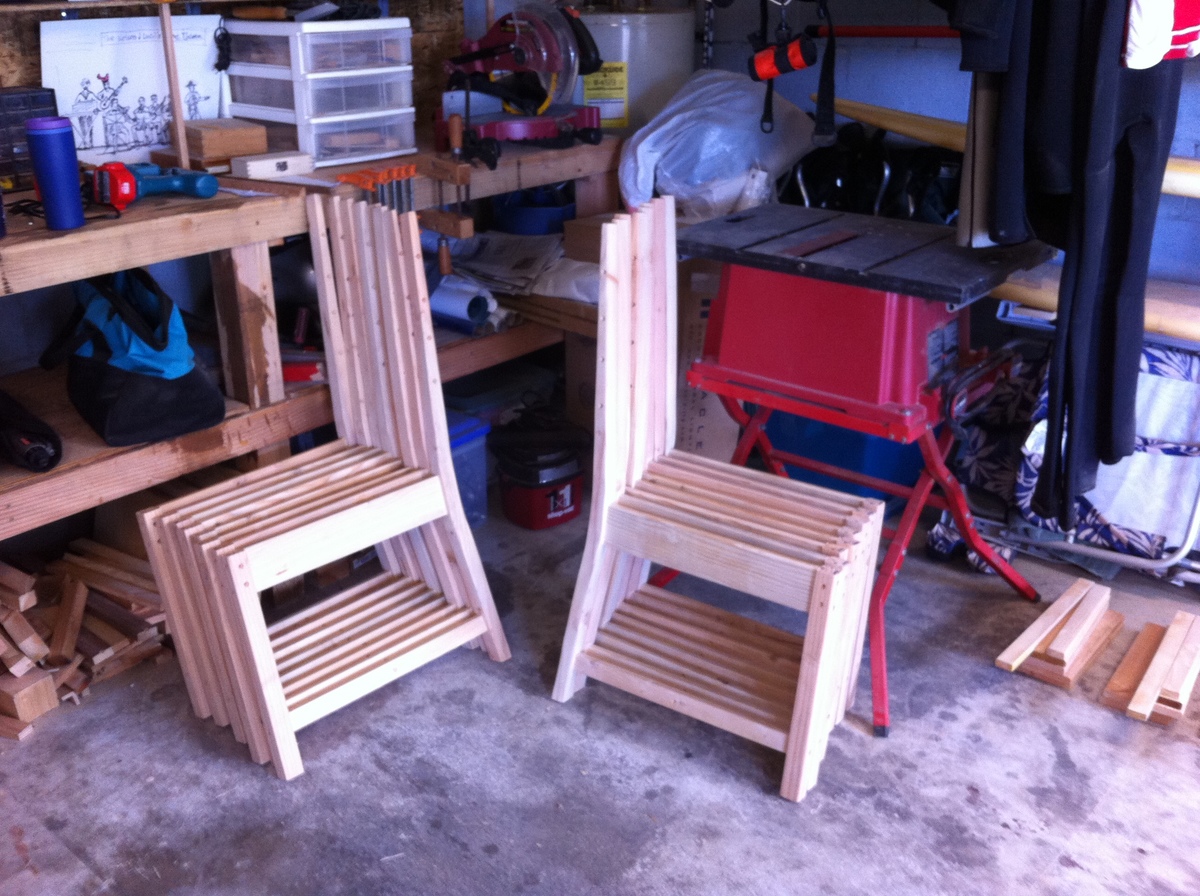
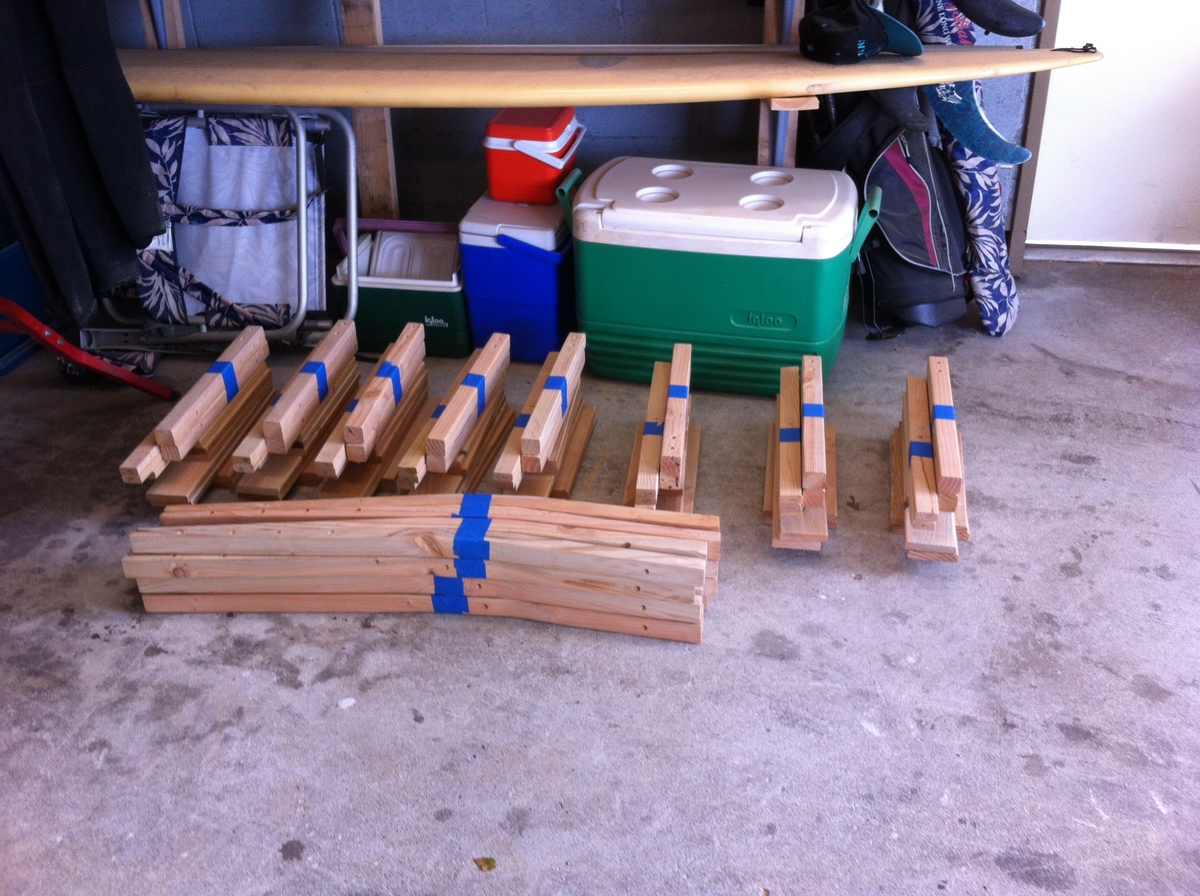
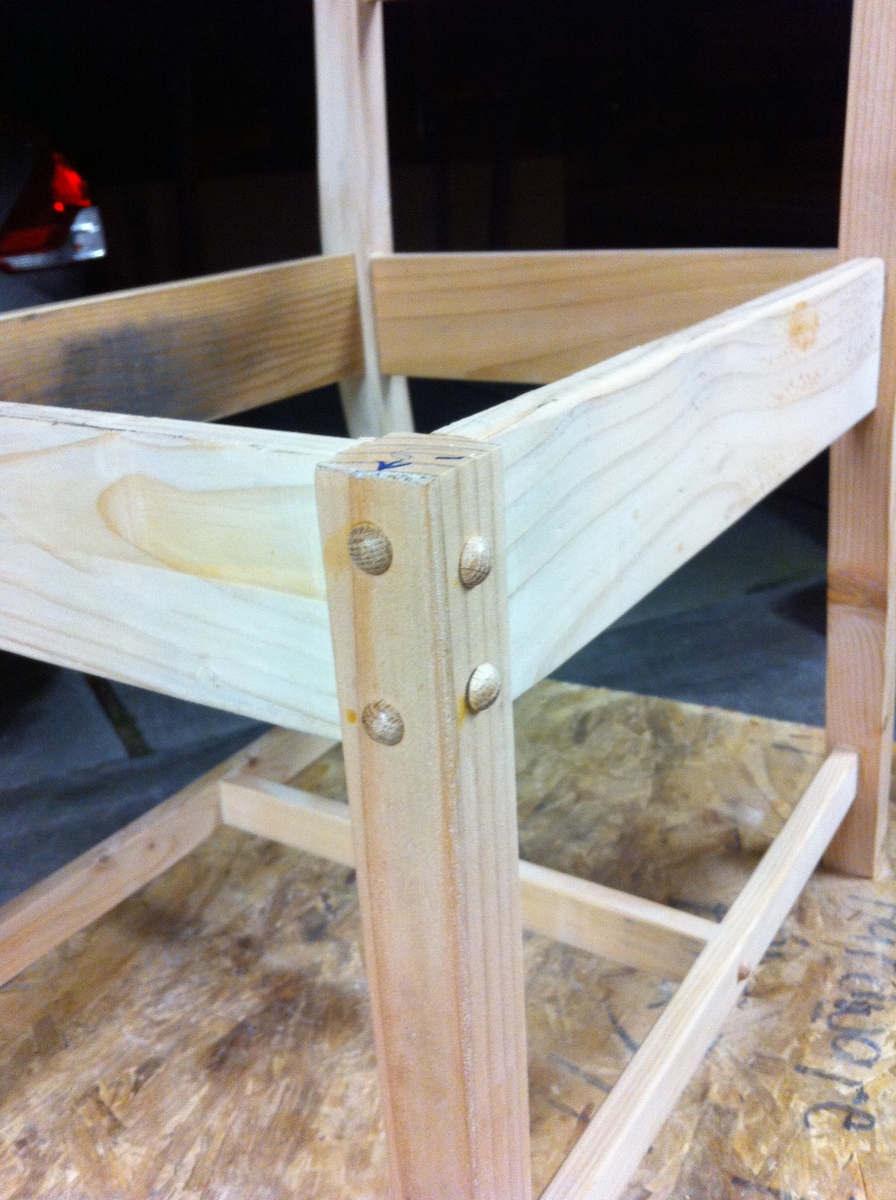
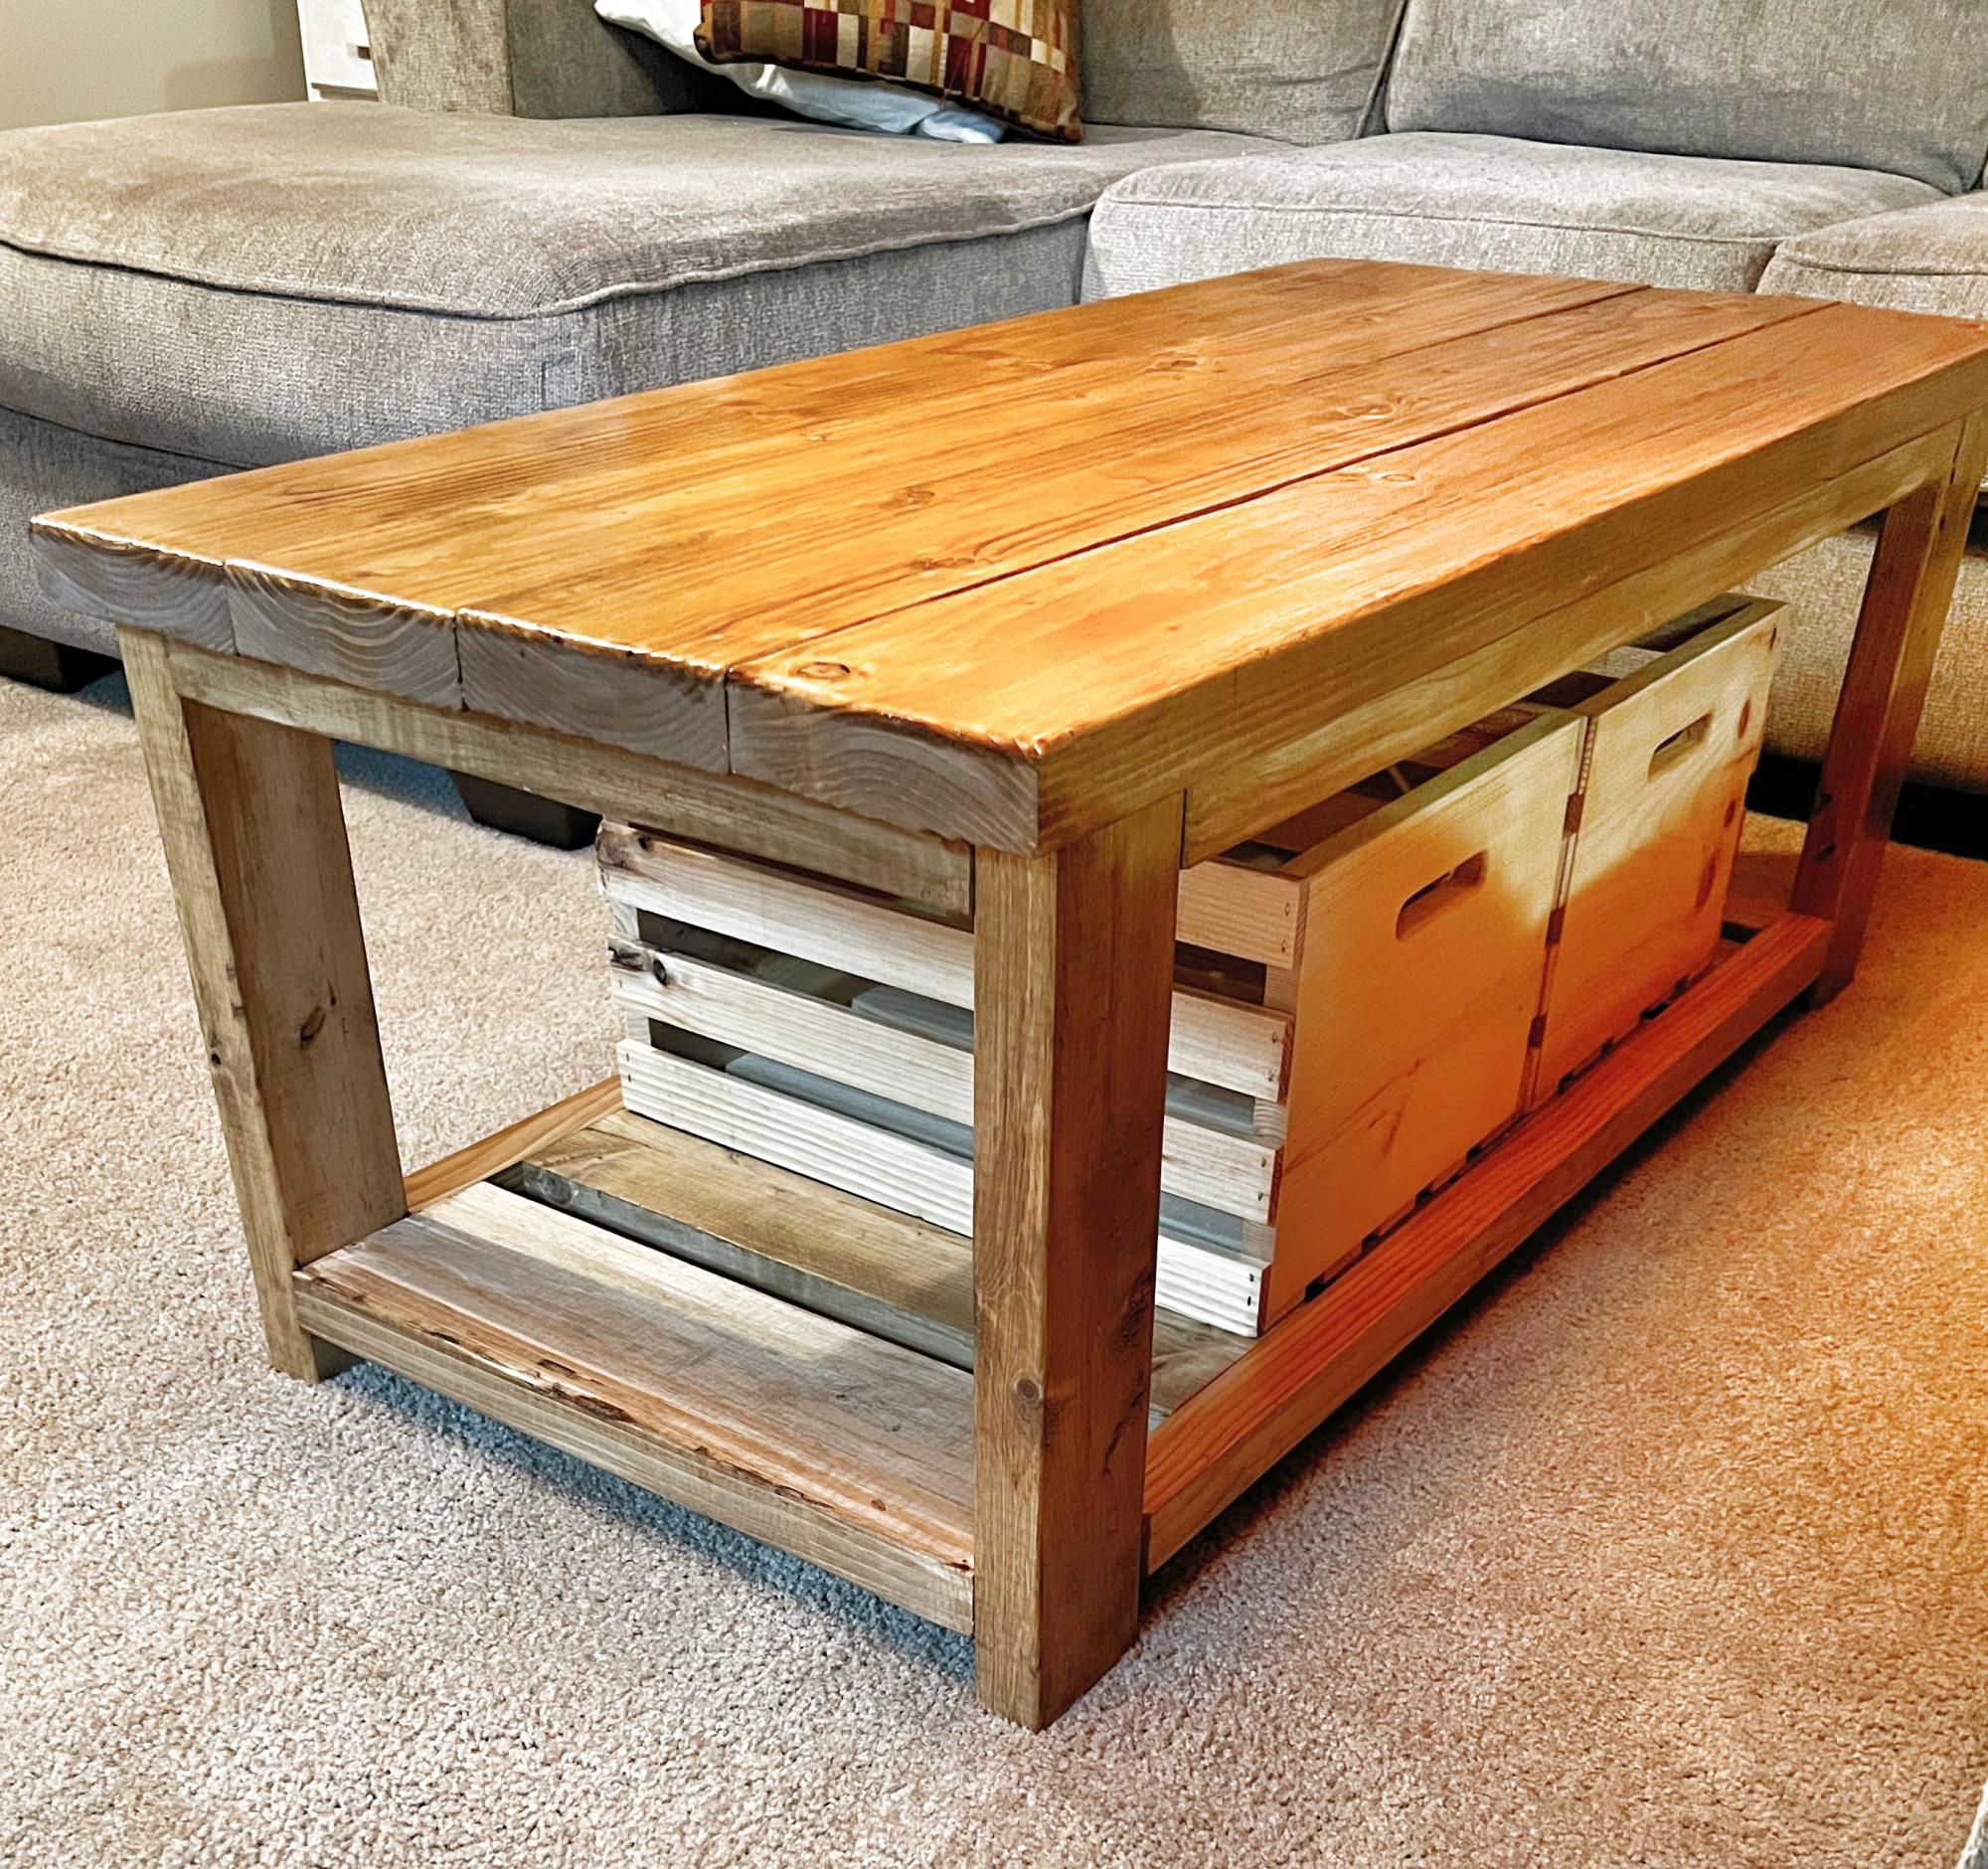
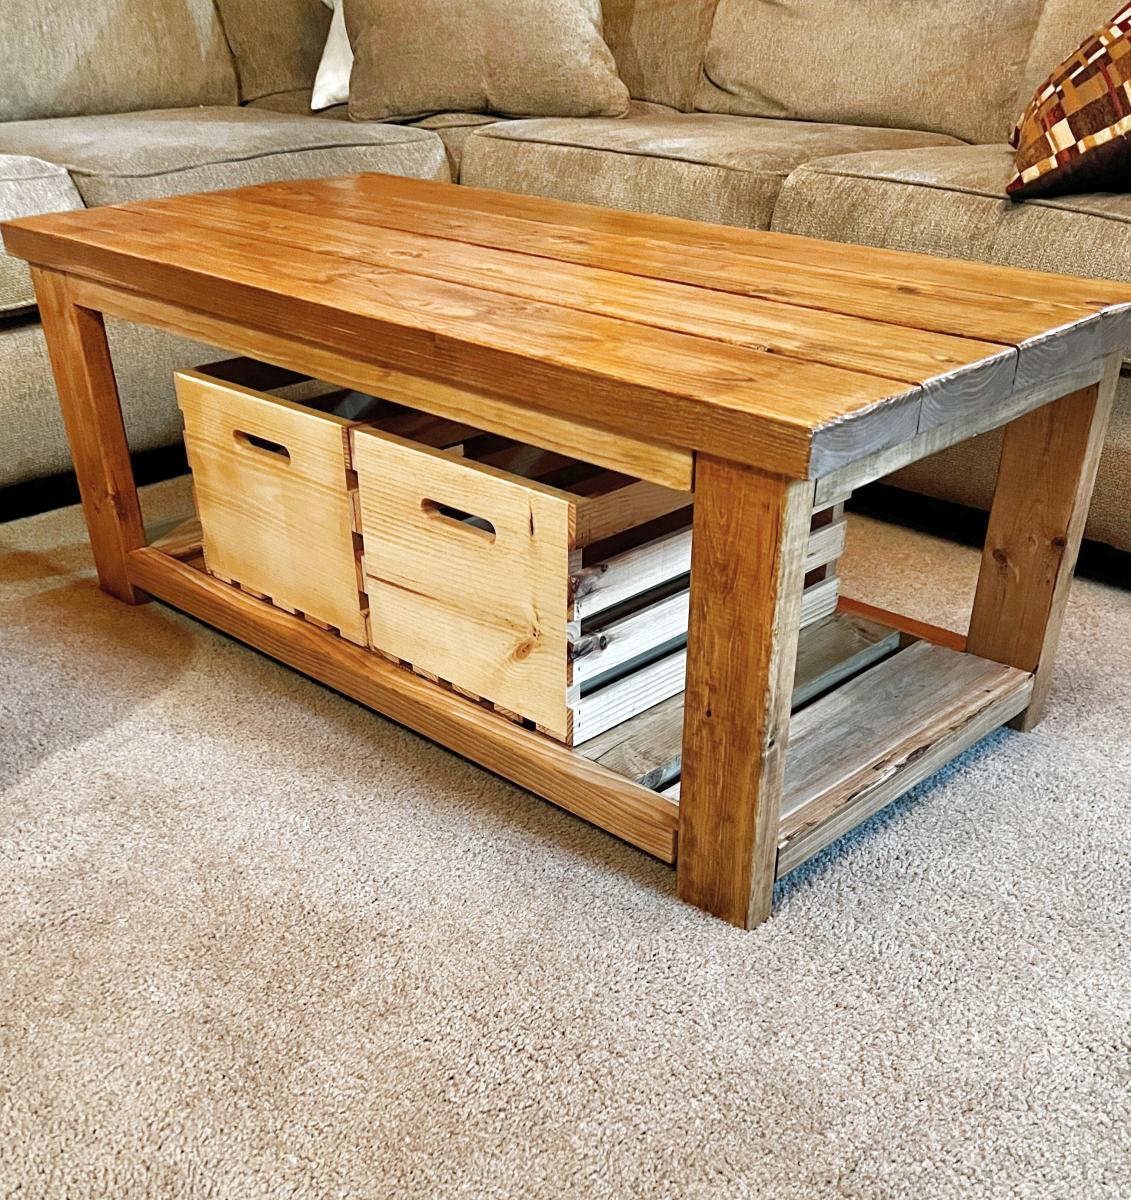
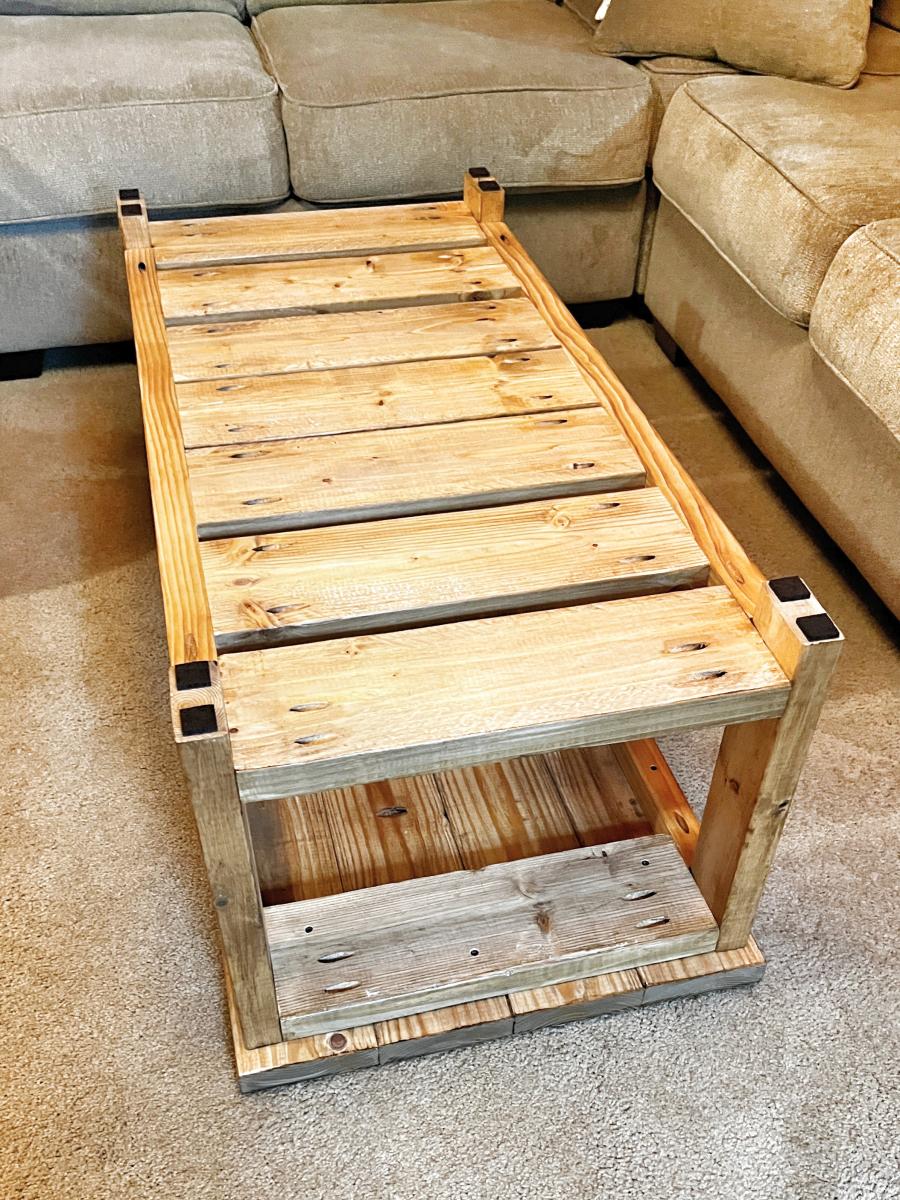
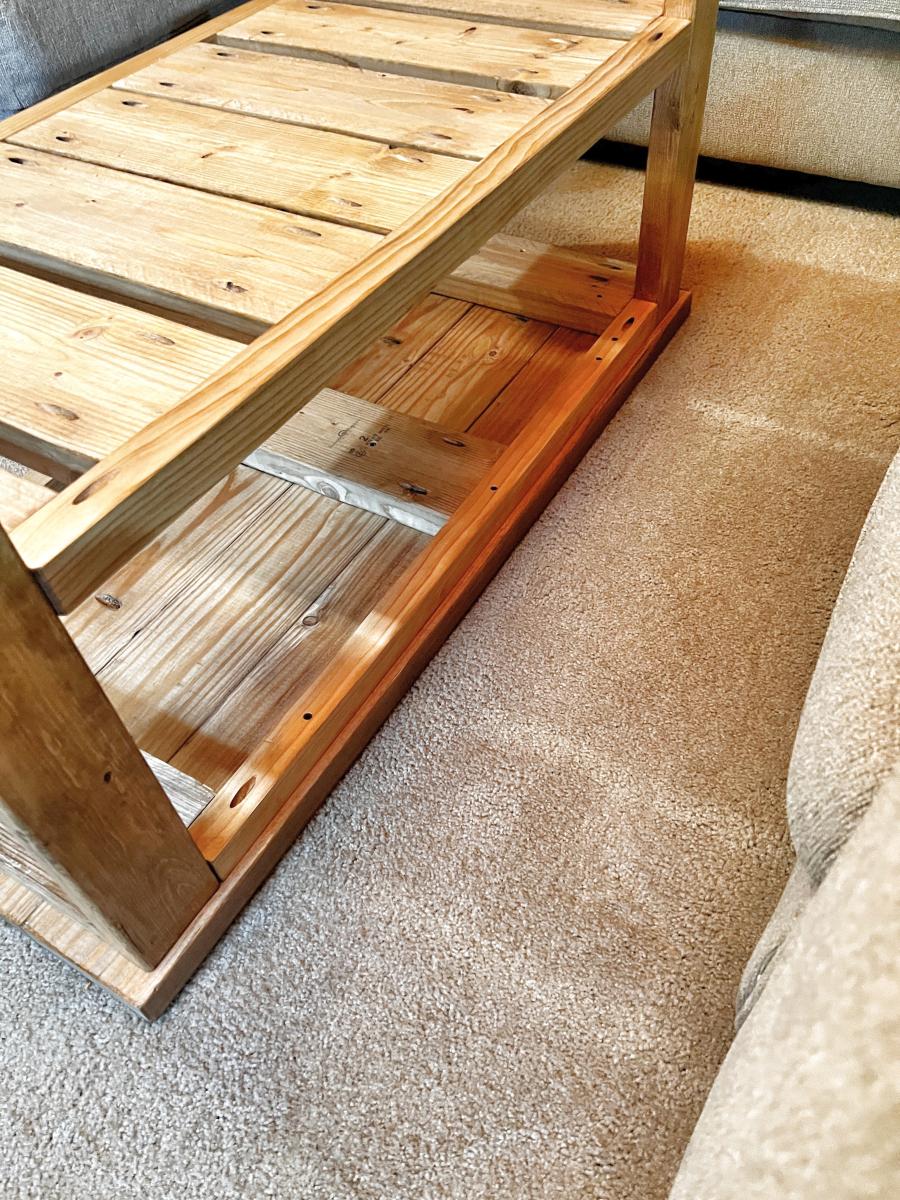
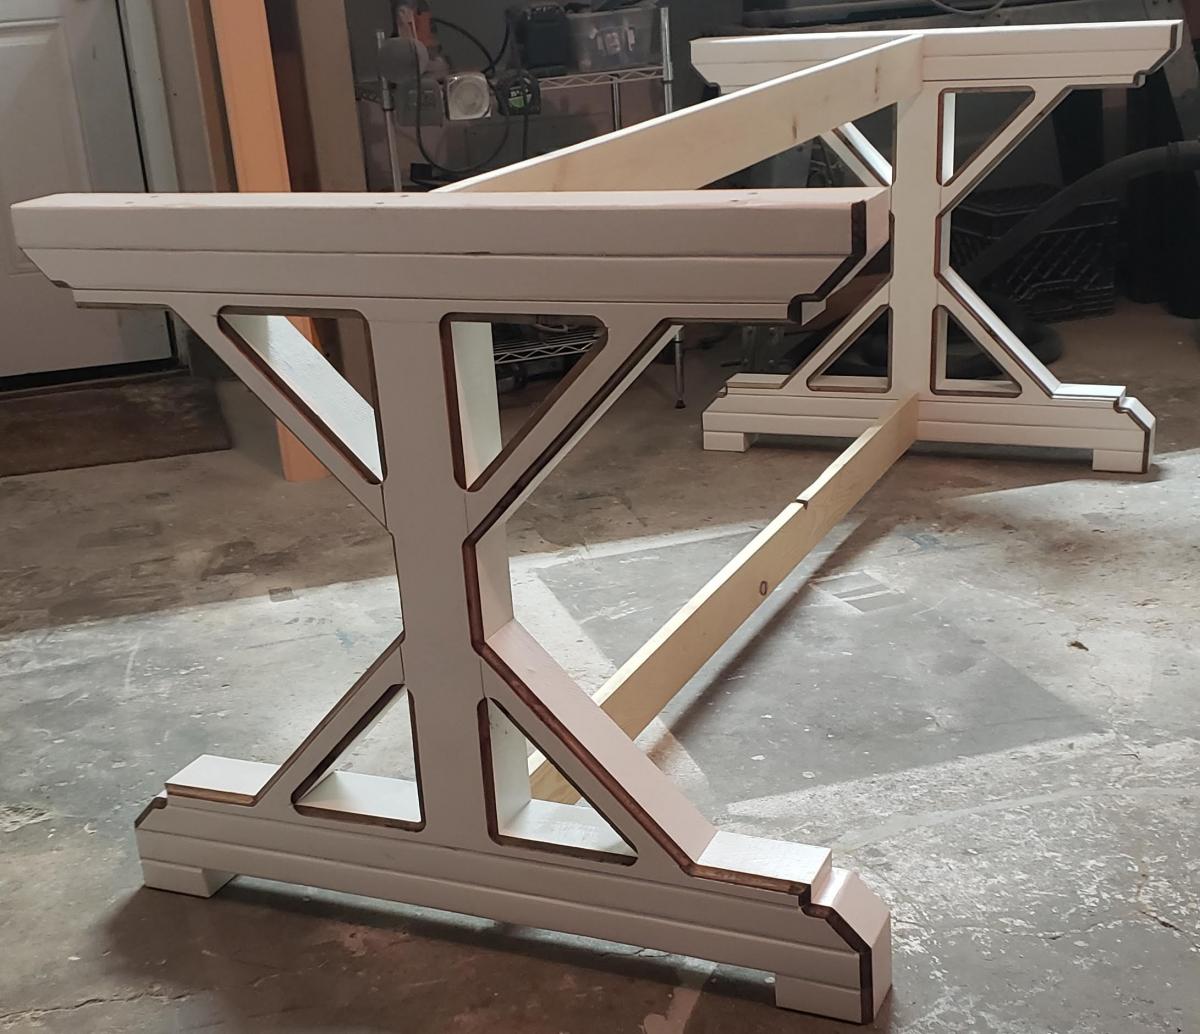
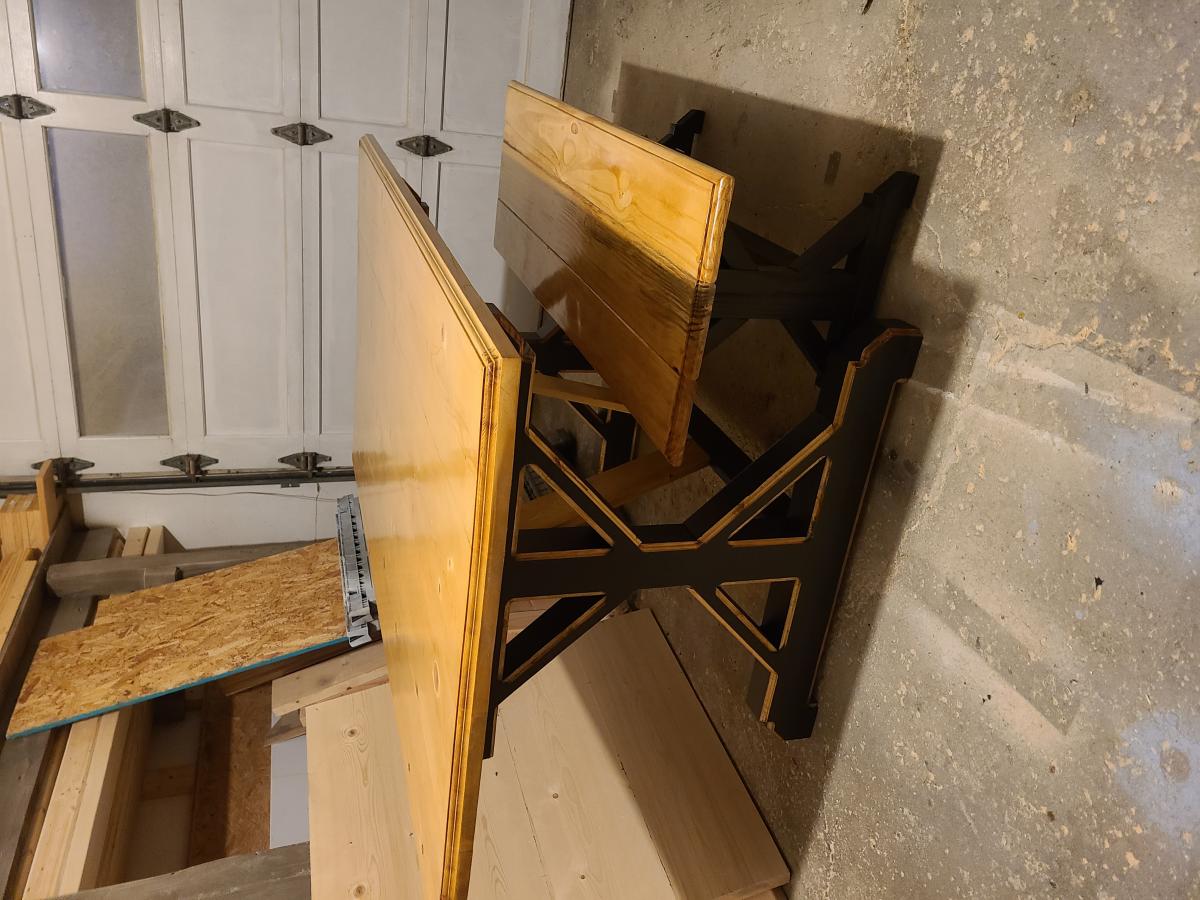
X-brace Farmhouse Dining Table
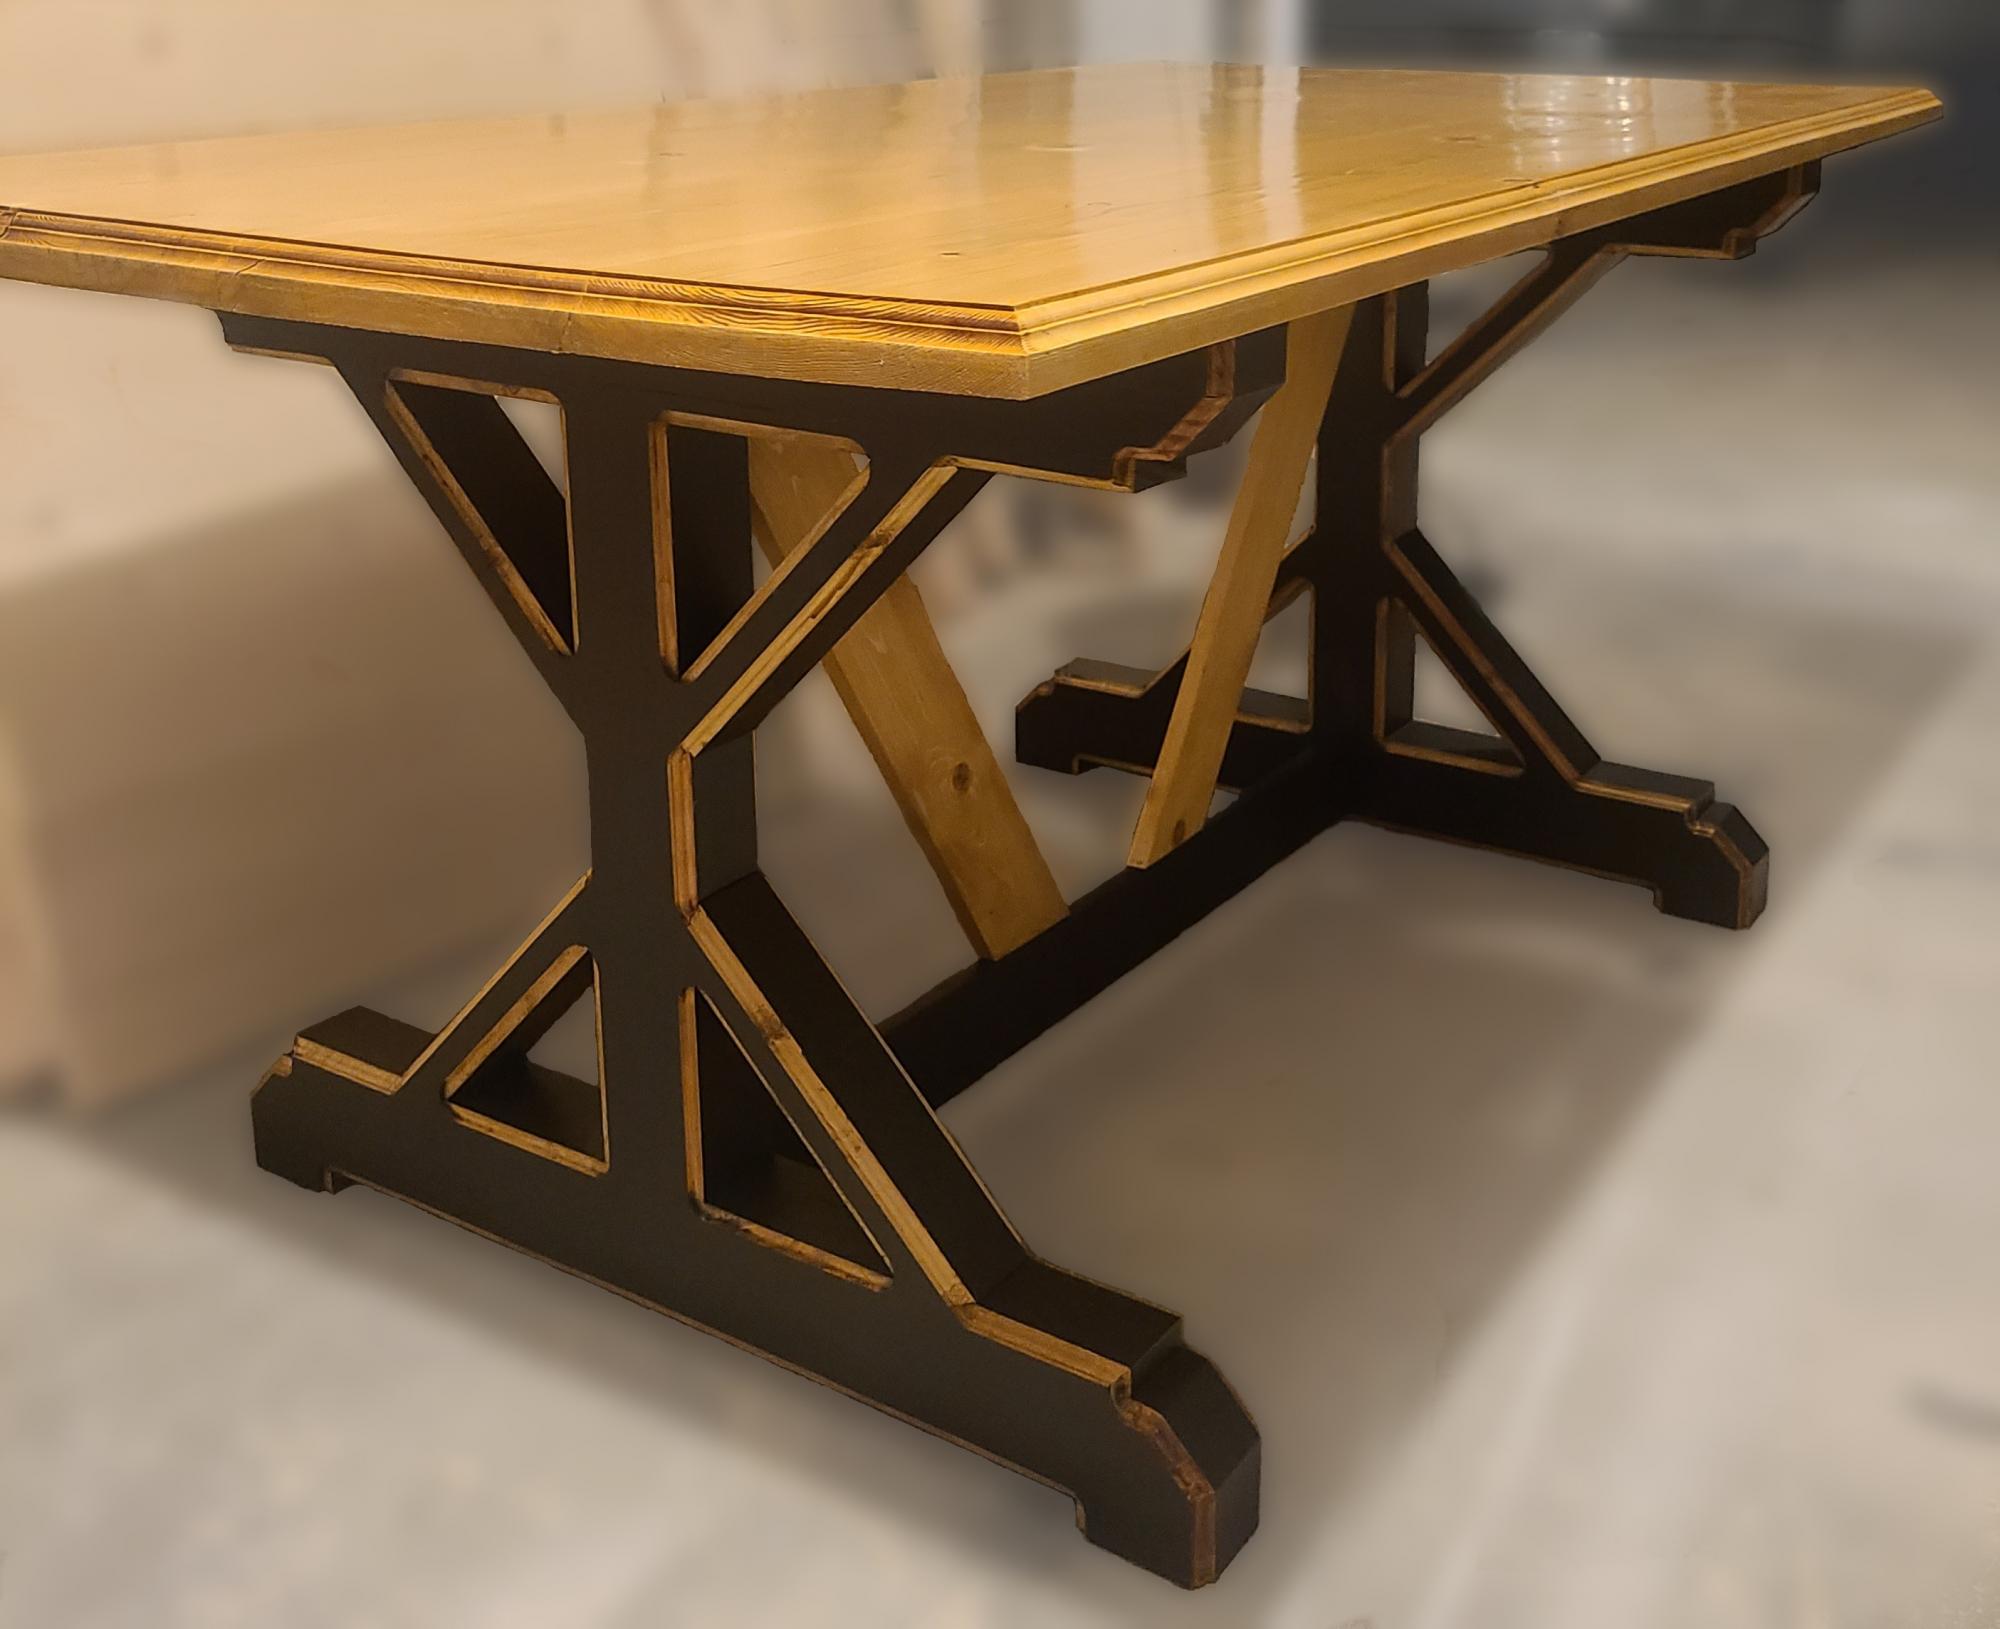
I used this awesome plan from Ana White and tried to add my own touch on it. After painting the legs, I then routed the edges and stained them to match the table top. Thank you for this plan!
Built from Plan(s)
Estimated Time Investment
Week Long Project (20 Hours or More)
Finish Used
Valspar Ultra interior paint- Black Magic
Varathane stain- spring oak
Minwax finish- polycrylic (gloss)
Varathane stain- spring oak
Minwax finish- polycrylic (gloss)
Recommended Skill Level
Intermediate