Easy Build DIY Planter
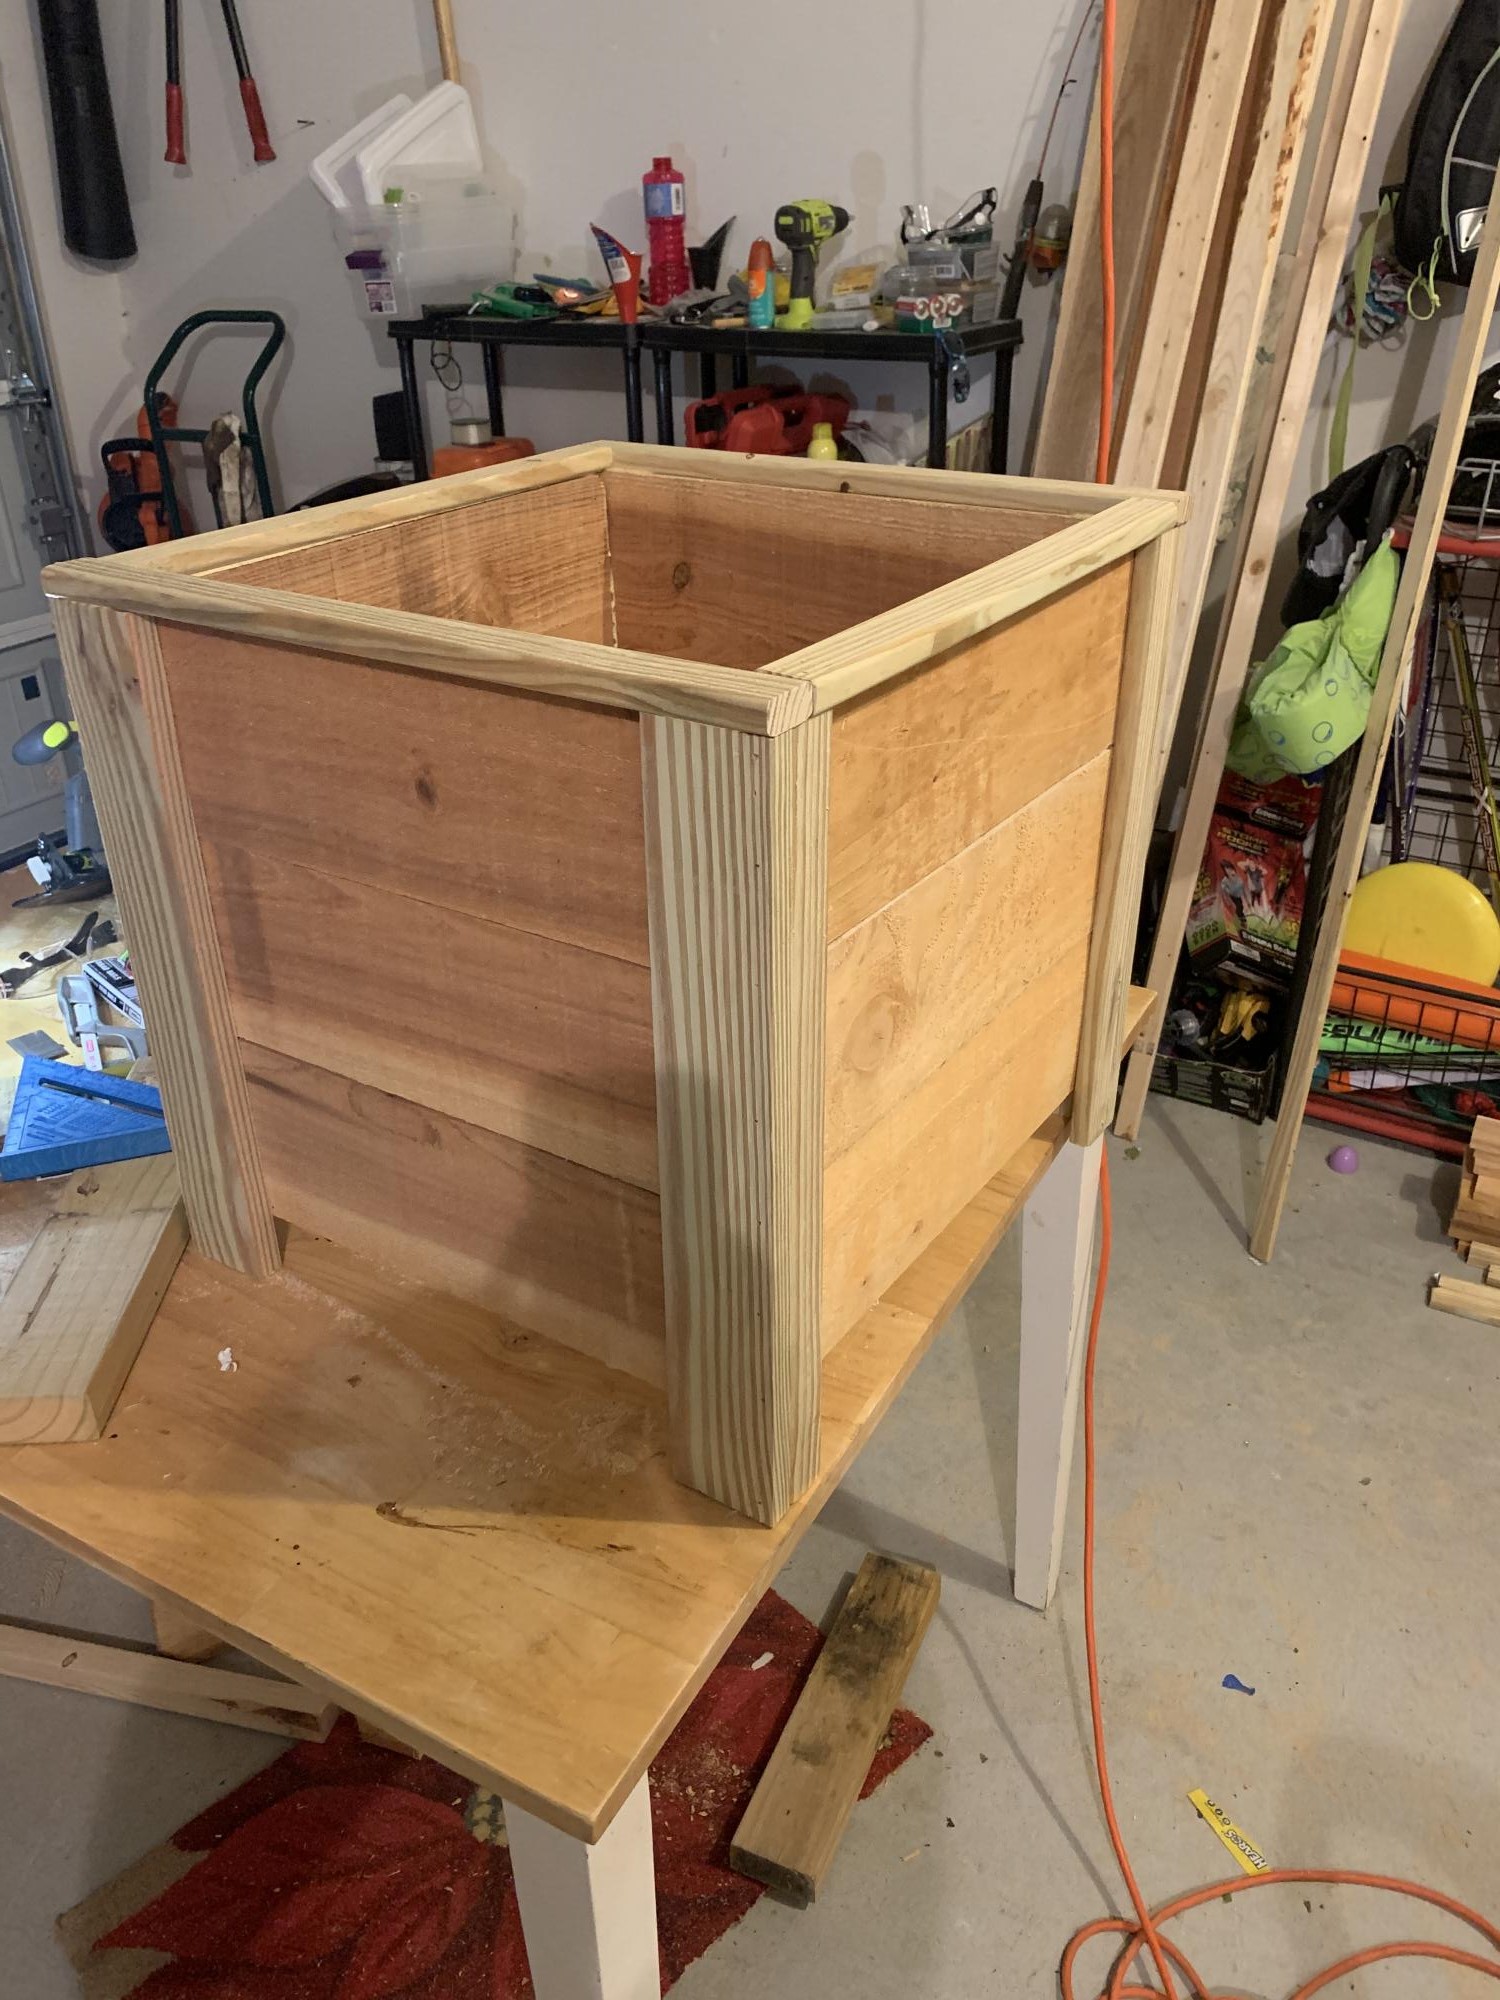
Directions were perfect! This is my 3rd project and I really enjoyed it! Fast and easy.
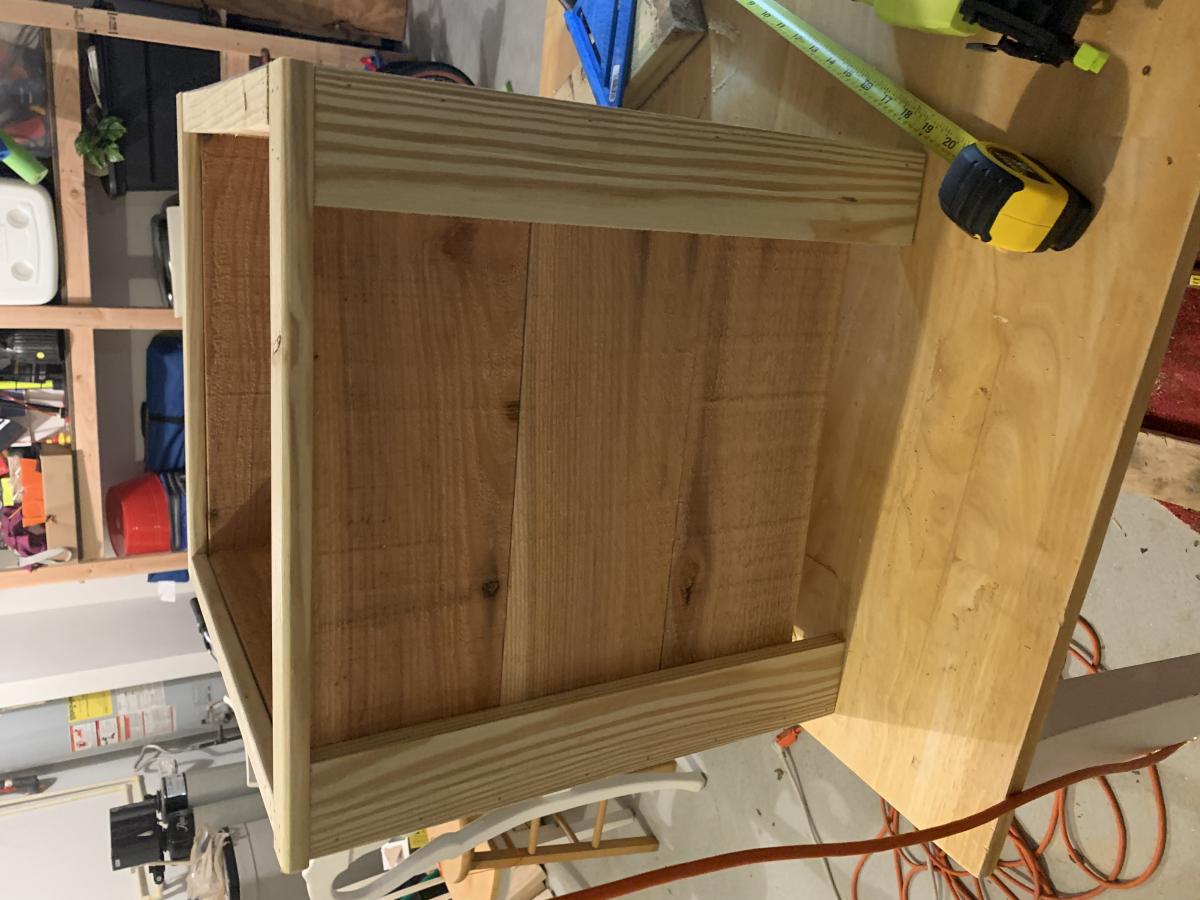
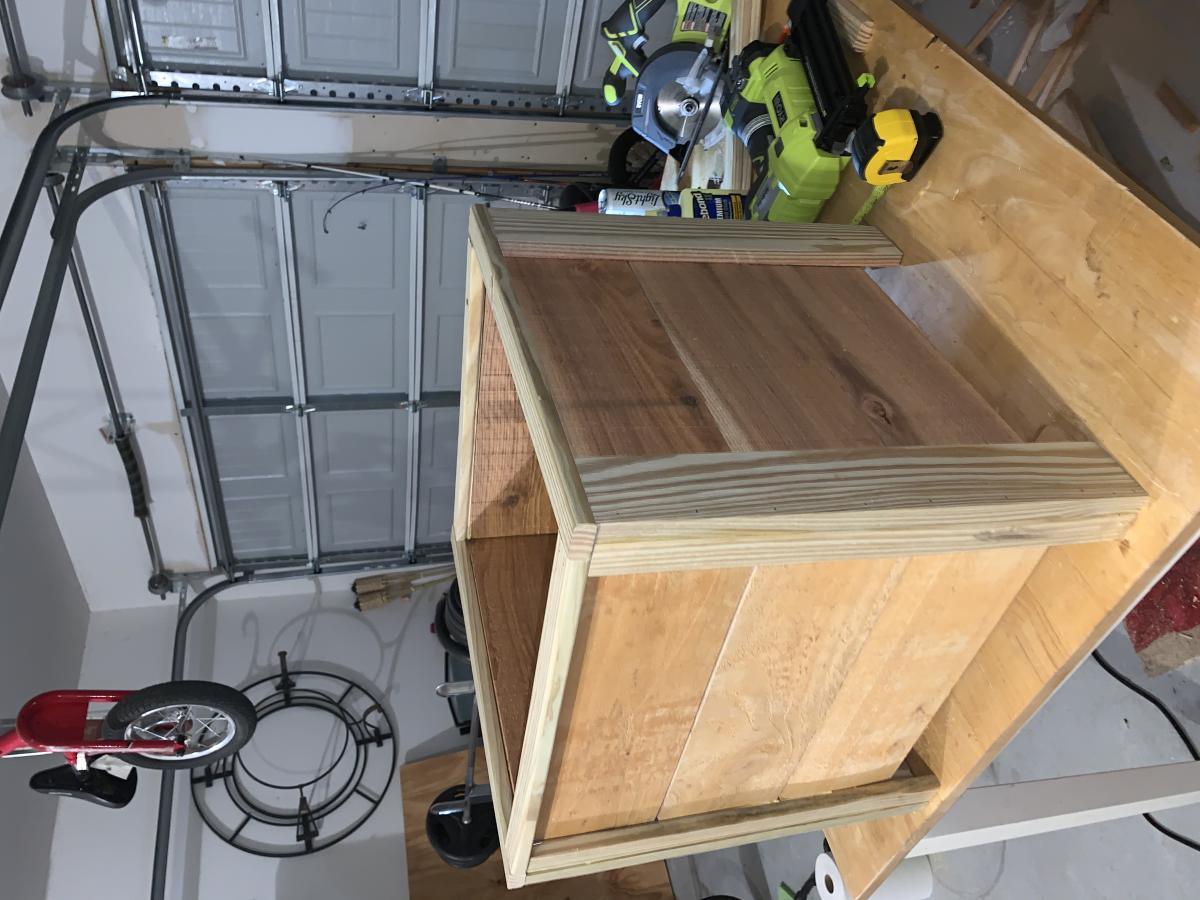

Directions were perfect! This is my 3rd project and I really enjoyed it! Fast and easy.


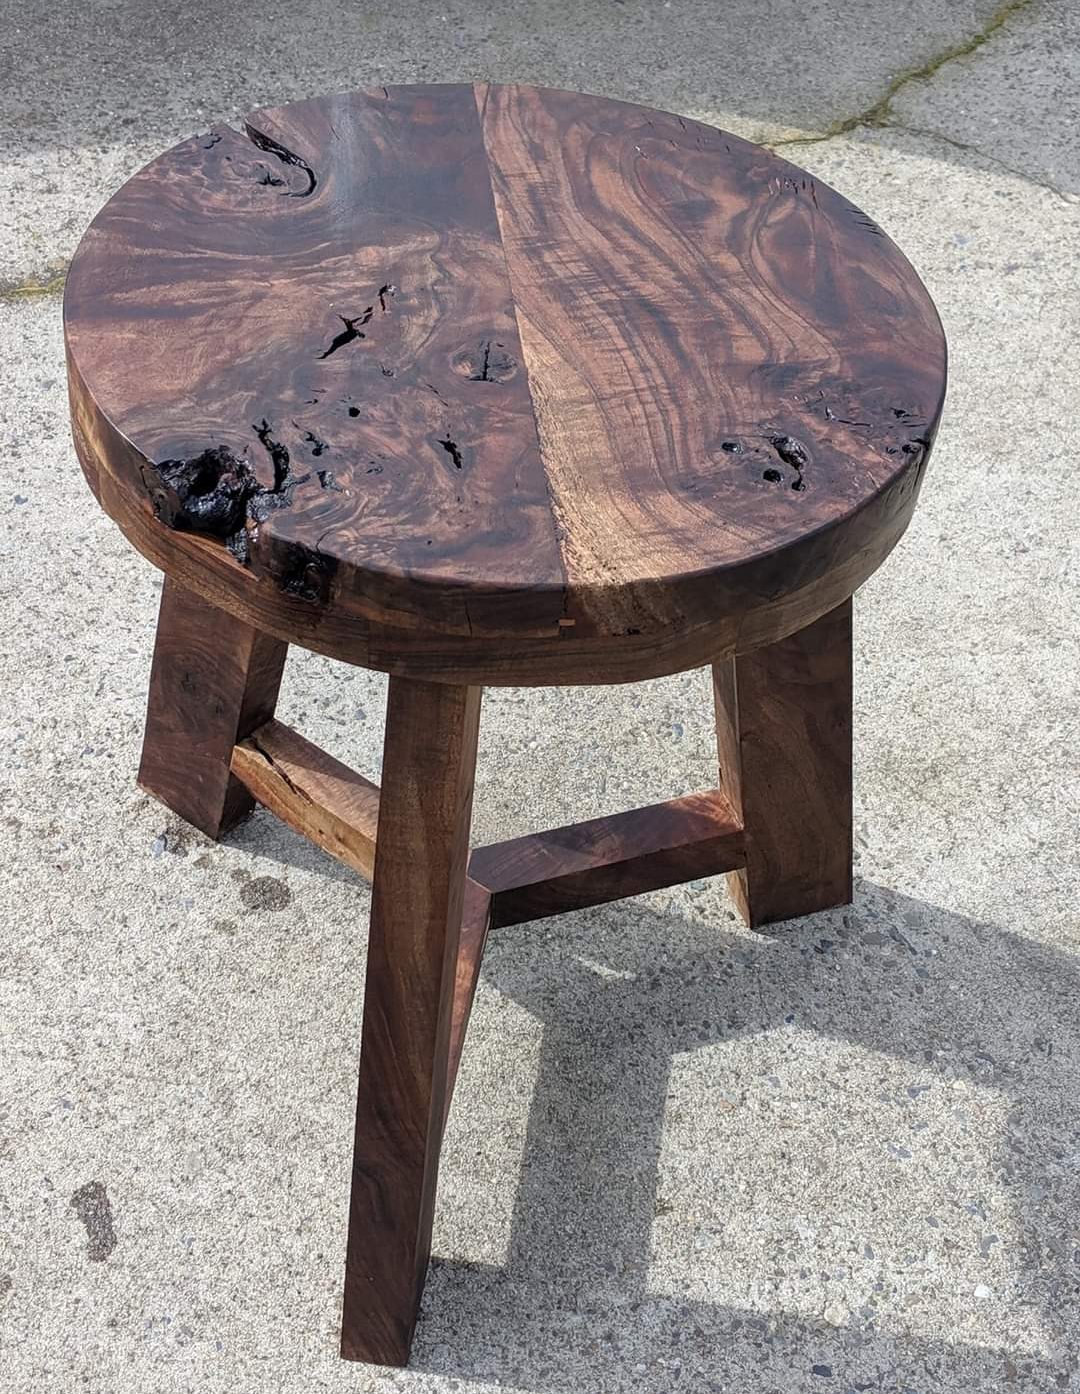
This thing is a beast ! I made the top way thicker than I should have but I love it.
This was one of my first, bigger projects. It was so easy! I still need to finish the trim, but my daughter loves it as is!
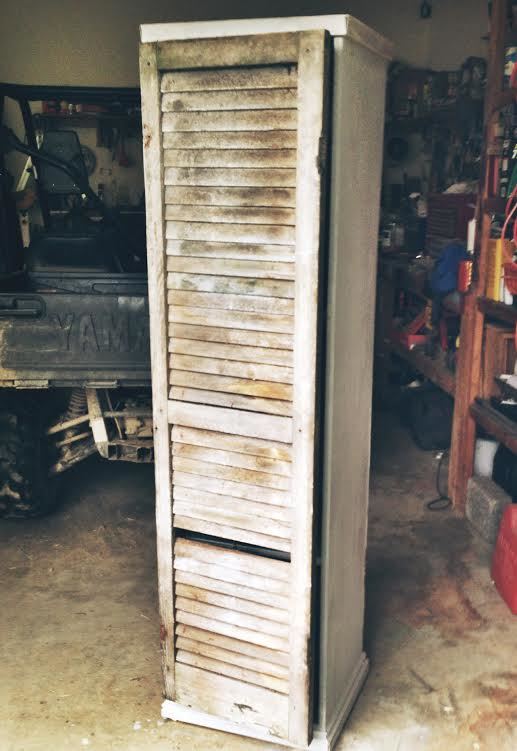
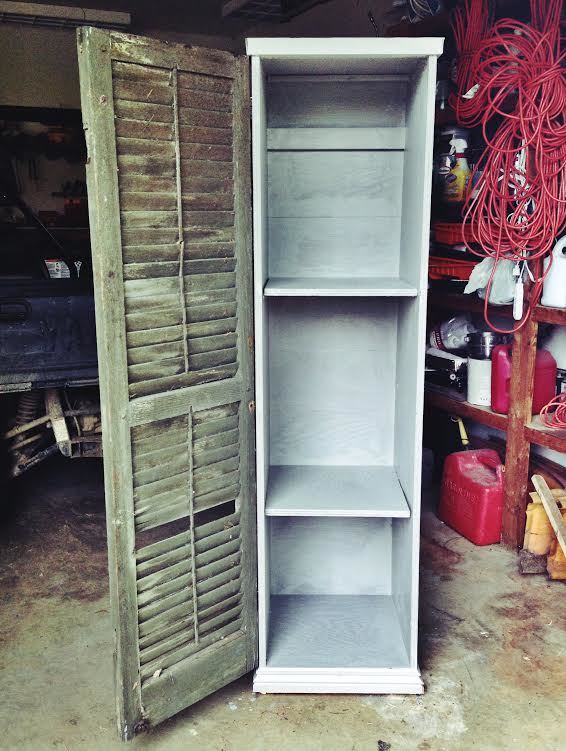
This was my first project! I used the plans for the modular locker, but used an old shutter for the door instead. Next, I think i'm going to try to connect 5 or so in a row for an entryway, all with different shutter doors :)
Wed, 05/21/2014 - 16:27
I am a total sucker for shutters. Love the look of them, not sure why..lol. this is nice, great job!
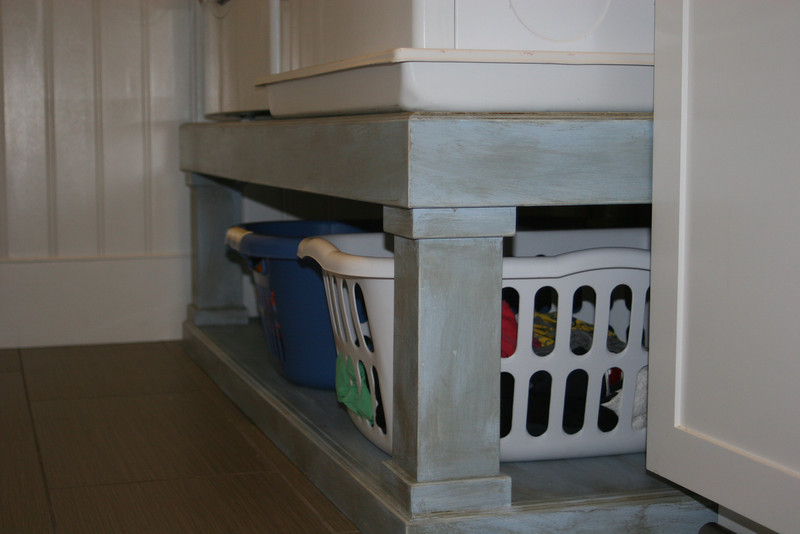
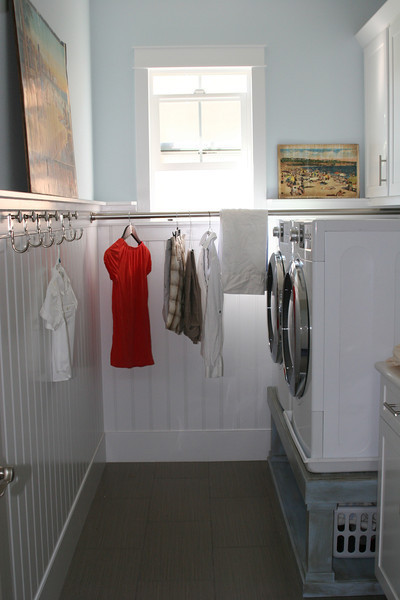
we remodeled the laundry room to have a beachy cottage feel. best part is getting the washer and dryer off the ground with Sausha's pedestal.
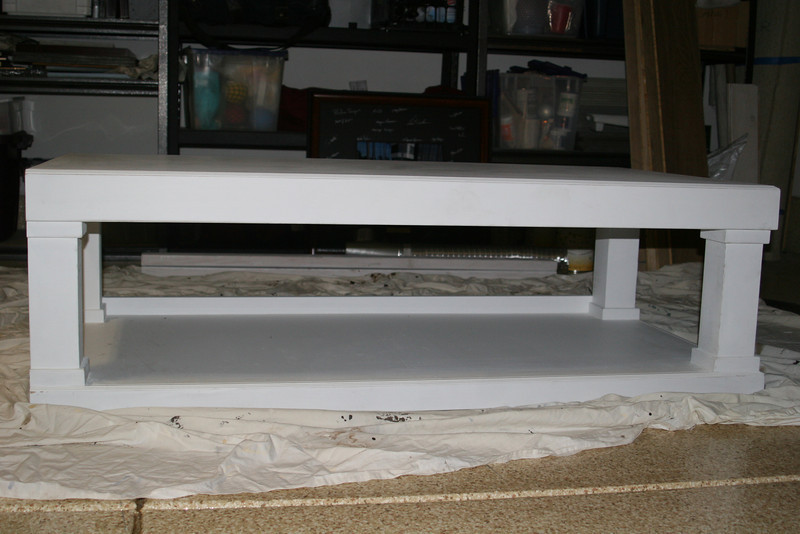
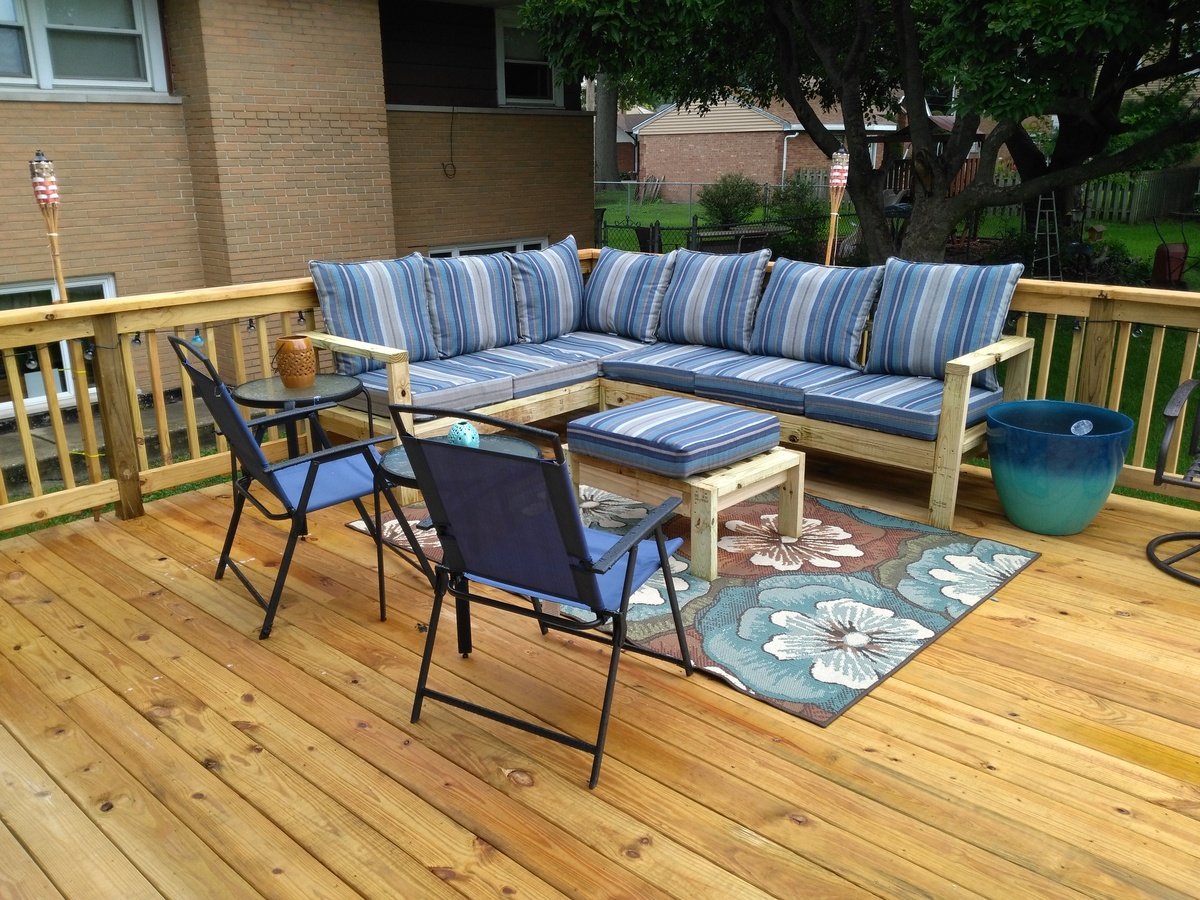
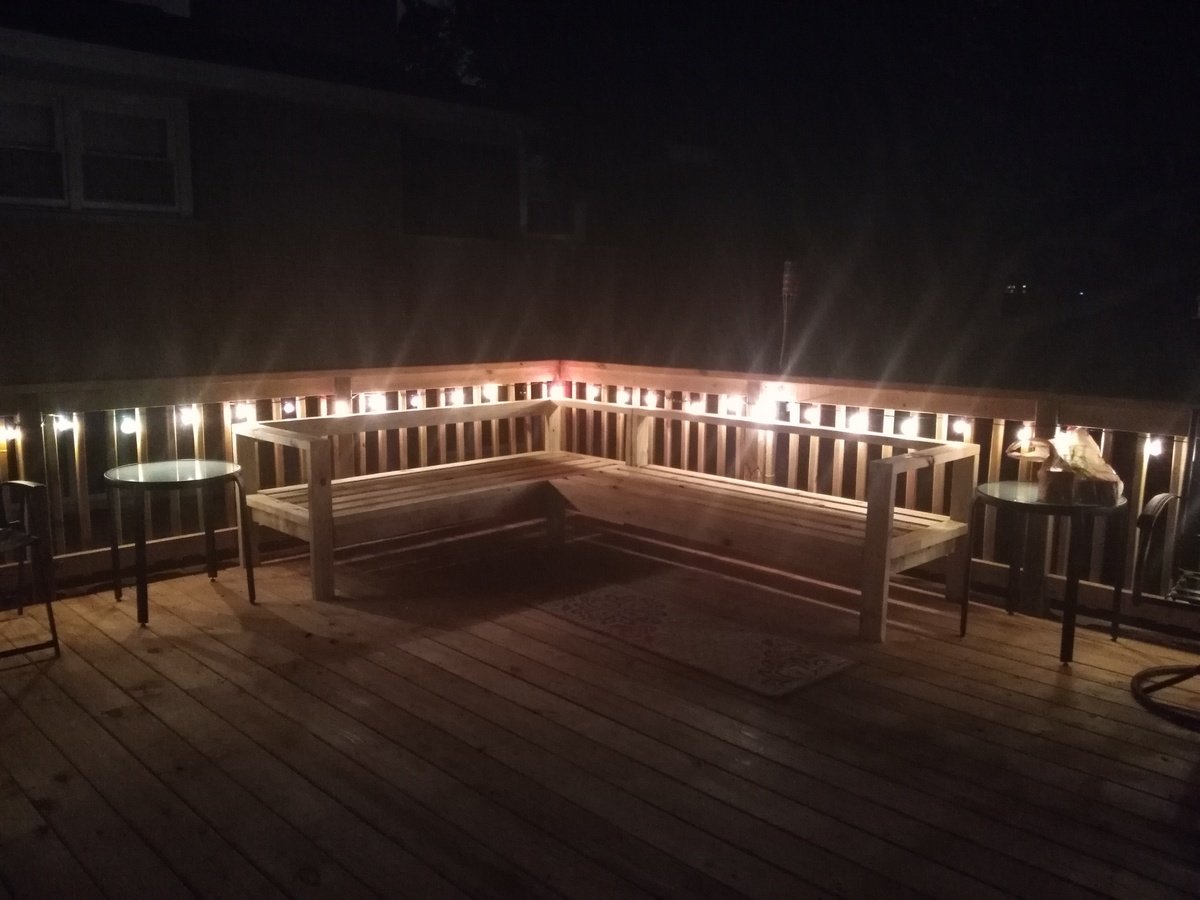
My version of the outdoor sectional couch.
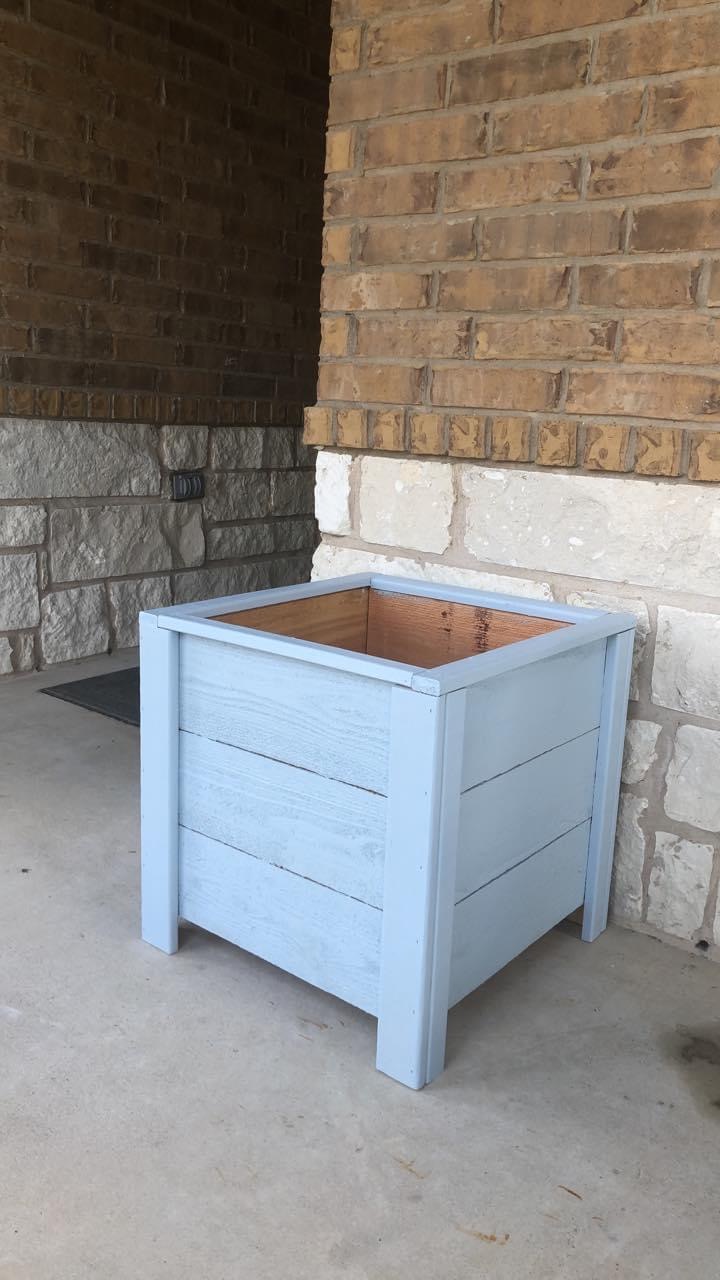
Love this little planter. Already have ideas for anew version. Need to work that out, but that’s another brag. Thanks for the easy planter plans.
A toy box, im not a profesional, but its a grate hobby. Regards from Hidalgo, México.
Herwin
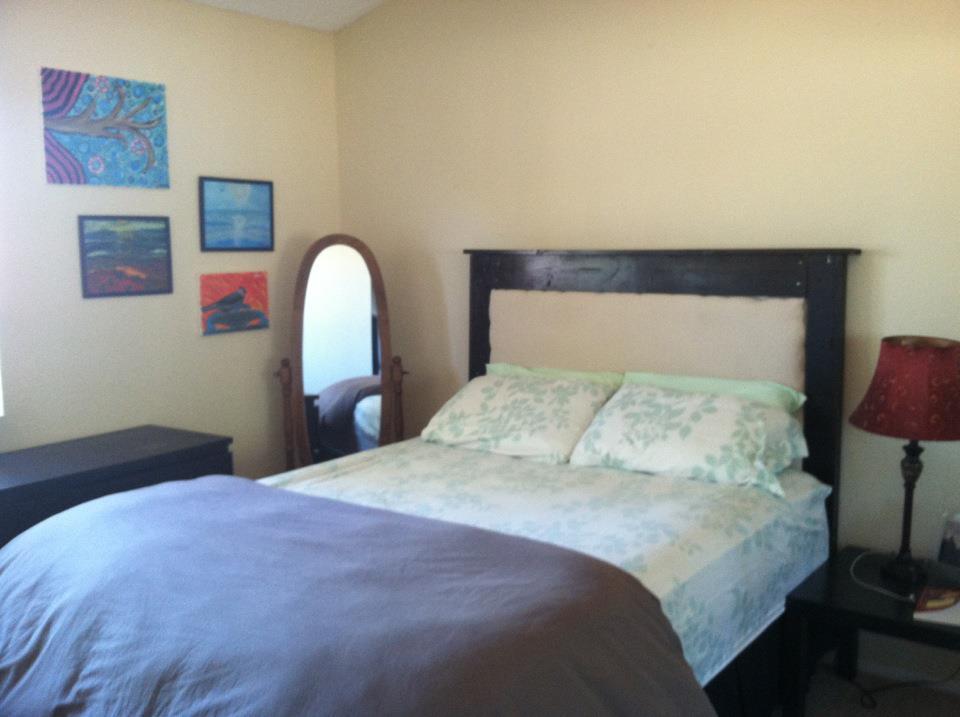
This is my first attempt to make any kind of piece of furniture, and I am really happy with how it turned out! I have been searching for over a year for an affordable solution to the blank wall above my bed, but never found something I loved enough to spend money on or time on to repaint, etc. I just loved the way this one looked in the pictures so even though I have never built anything before I thought I would give it a shot! I found the instructions to be really easy to follow, but the actual process a little harder than I'd thought it would be (due to my own mistakes). I thought I'd list some of the mistakes I made in case someone else reads this and can stop themselves before they make the same ones :)
First, I put the padded part a little wider than the allotted space, so when I went to nail the boards on the edges they didn't go down as smoothly. If I had just kept it within the lines I marked, this wouldn't have been a problem.
Also, I somehow missed the part of the instructions where I was supposed to use glue when I nailed the boards, so between that and the relatively flimsiness of the 1/2 piece of plywood, my boards came undone a couple of times. I eventually decided to use screws to hold everything and that was WAY better and sturdier, even though you can see the screws.
Also, I did not square it well enough along the way and I ended up with a sliver of extra plywood hanging off the side of the board, which made the trim piece on one side have a little gap at the bottom. I don't care though, since the bottom is out of sight anyways!
I saw other people had wondered how to attach this to a metal bed frame, but I never read a way to actually do it. I plan to figure out a way to either attach it to the bed frame or the wall, but for now, I just have it wedged between my mattress and the wall, and it seems stable enough. I hope it doesn't fall on me in the night ;)
I followed the lead of the Shanty to Chic lady and used a 5 dollar canvas drop cloth from Lowes for my fabric and I LOVE the way it looks in my room. I also took her advice and used Rust-Oleum stain (in Kona) and applied two coats of the stain to get the really dark wood.
Overall, I am super stoked to finally have a headboard, and to have made it myself! There is definitely a great feeling of accomplishment for building something like this so if you are hesitant to do it, I suggest you go for it! Next, I think I am going to make the tilt out trash can cabinet for my kitchen :)
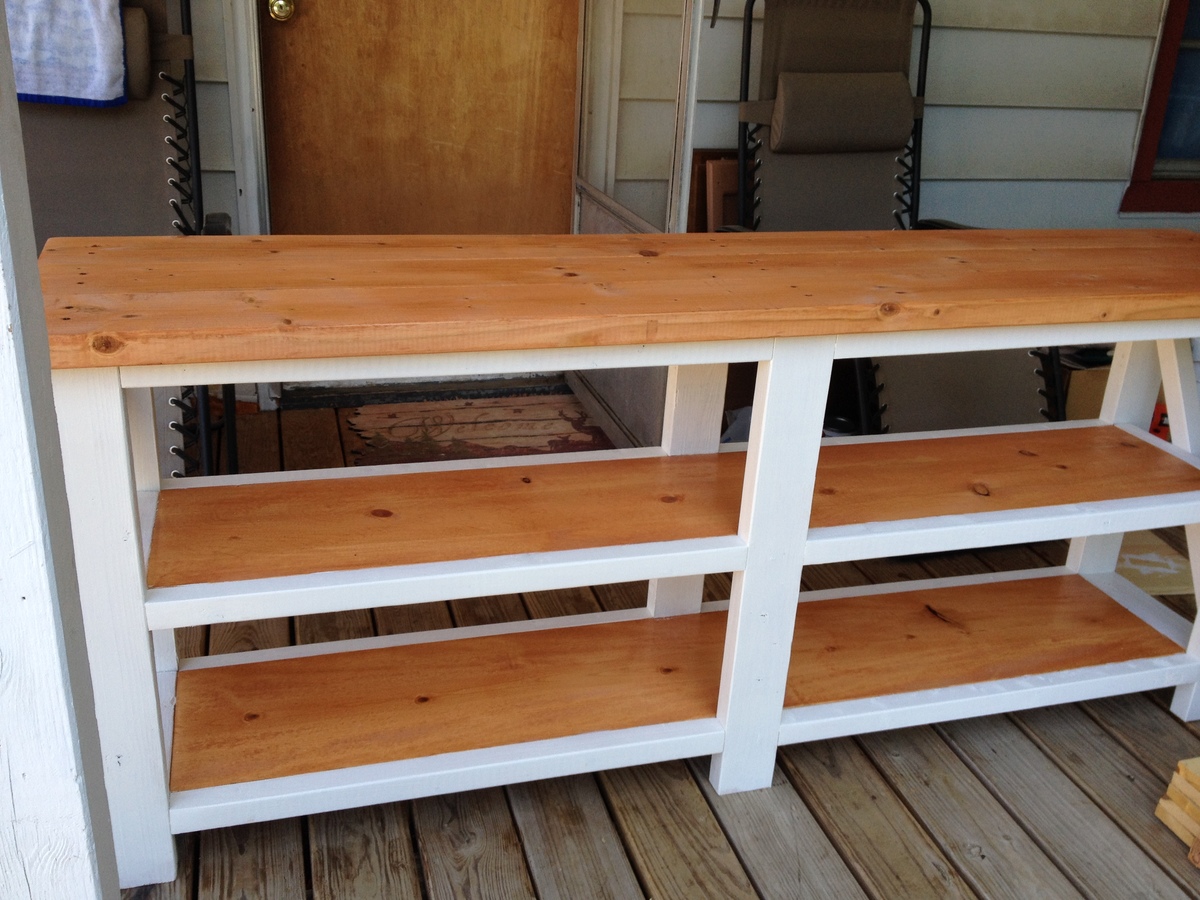
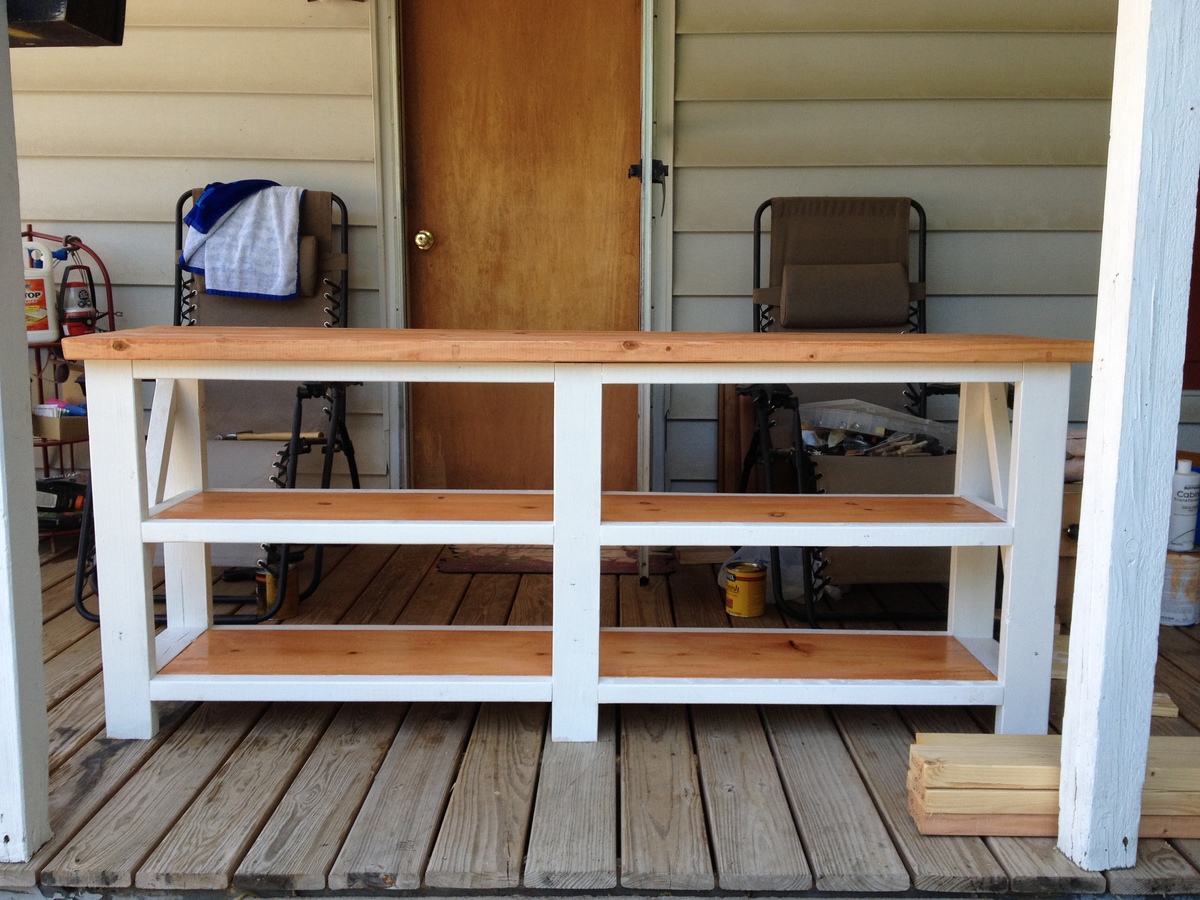
I took the plans from the Fancy X Console table and made all but the end "X's". I painted the legs and trim with a vanilla white, and stained the top and shelves with a golden pecan. Turned out great and looked amazing in the house of the woman I made it for......AKA my mother.
The first version of this desk was built for our office prior to having kiddo #2. My husband altered the plans a bit to fit our room and instead of open shelving on the end cubbies, he converted them into drawers and a file cabinet.
Checkout more photos and details on my blog at www.momontrend.com
This is the regular (not modern) plan for an Adirondack Chair. The plan worked great and was easy to follow and even more importantly the chair was easy to build! I swapped out the 1x4 for old barn board for the backer and didn't cut the scallop. Nana loved them for her birthday present!
Our cottage bedroom doesn't have a closet. This is the perfect solution. We hung curtains over the front also to look more finished.
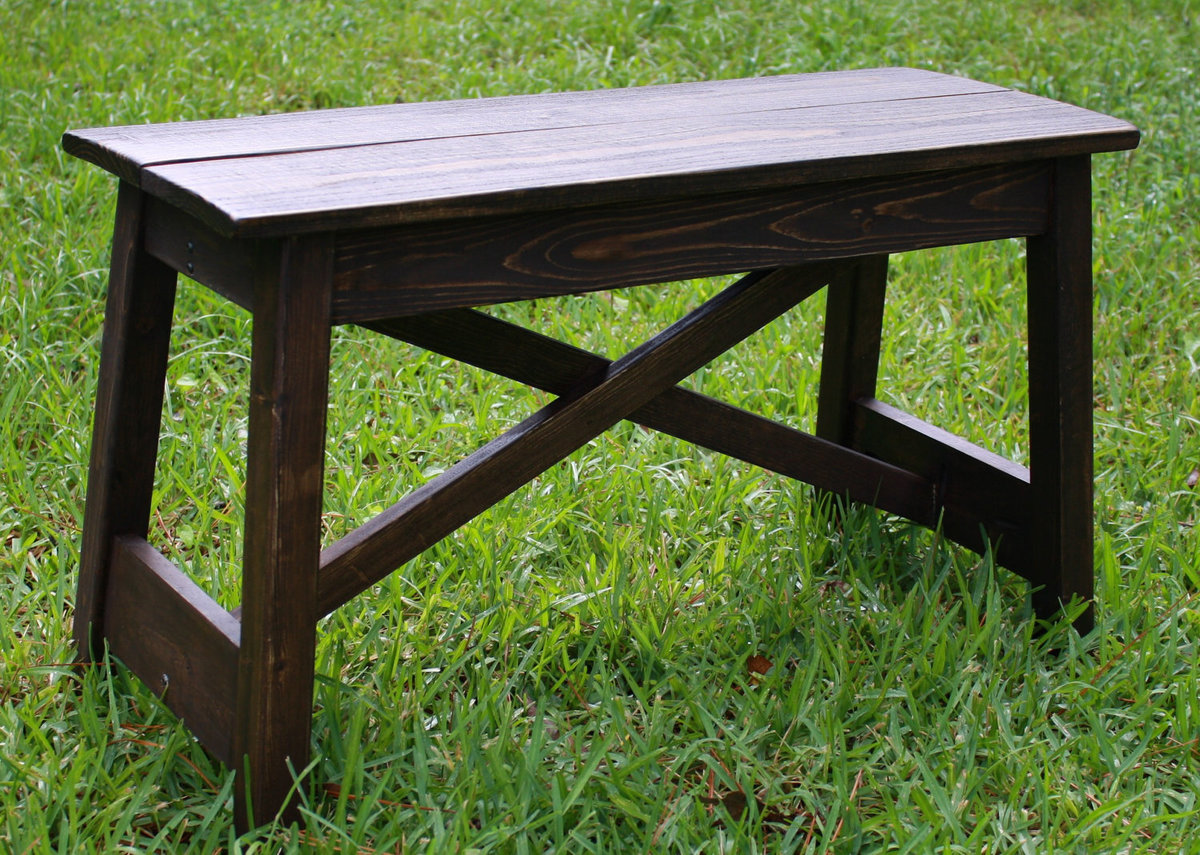
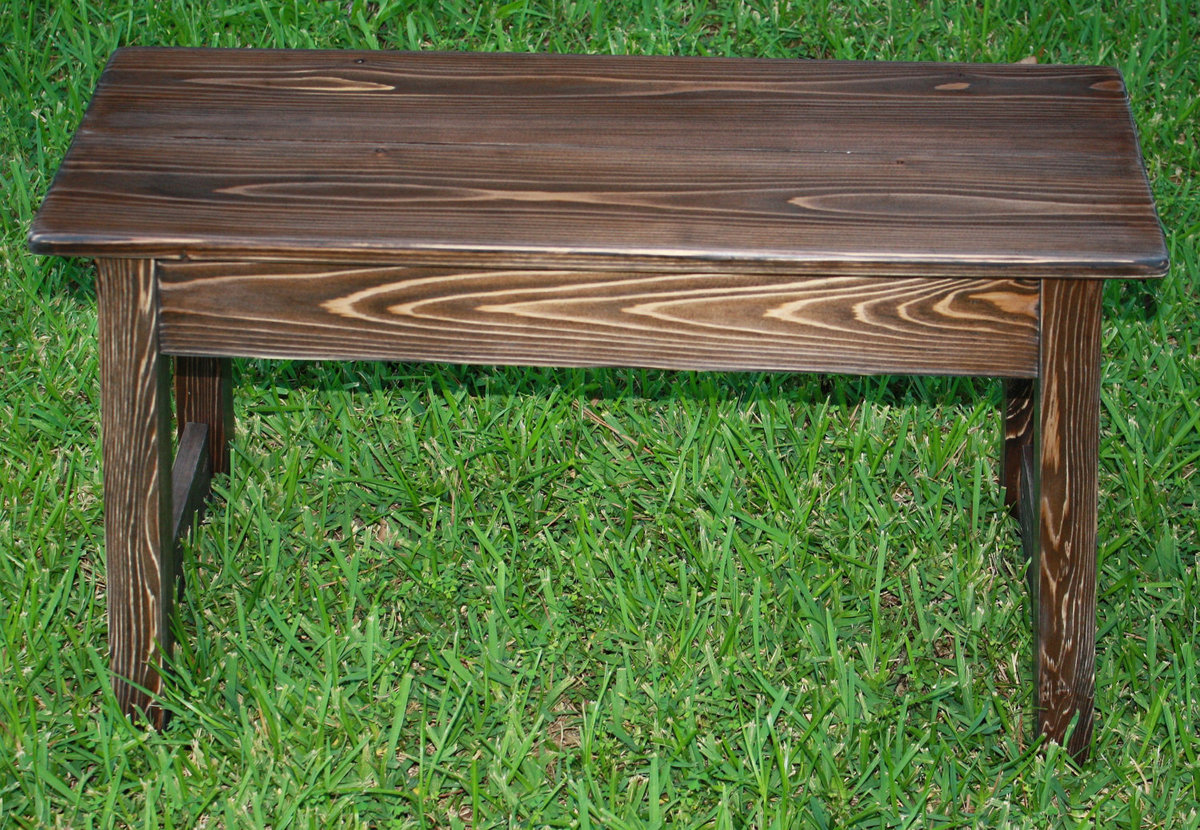
We just absolutely LOVE this little bench! Ryan found Ana's site while searching woodworking tips and thought this bench would be a great replacement for the dinning room chairs that were falling apart. It was a great idea!
We have an Etsy shop and create and sell lots of stuff! We loved the bench so much that we thought why not put a few twists to it and see what our customers think. Well they LOVE it too! Of course everyone wants this color and that size, but the core design from "some great plans" is what does the trick!
The benches featured here just show you that the sky is the limit with mix and match options. From a slightly distressed blue X bench to a 100% solid Cedar bench to a reclaimed wood bench! We just love coming up with ways to tweak and add our own twist to the design.
Also...and most important...If you notice, there are NO screws showing on the outside of the bench!!! Yep..figured out how to hide the screws for the 'X' part of the bench. Just email me for the details ... (I get long winded).
Thank you Ana and everyone else who contributes here! Great site with awesome intentions....Can't wait to show you the coffee table we are working on!
-Angel
Email me here: http://www.etsy.com/shop/RyAngelsCreations
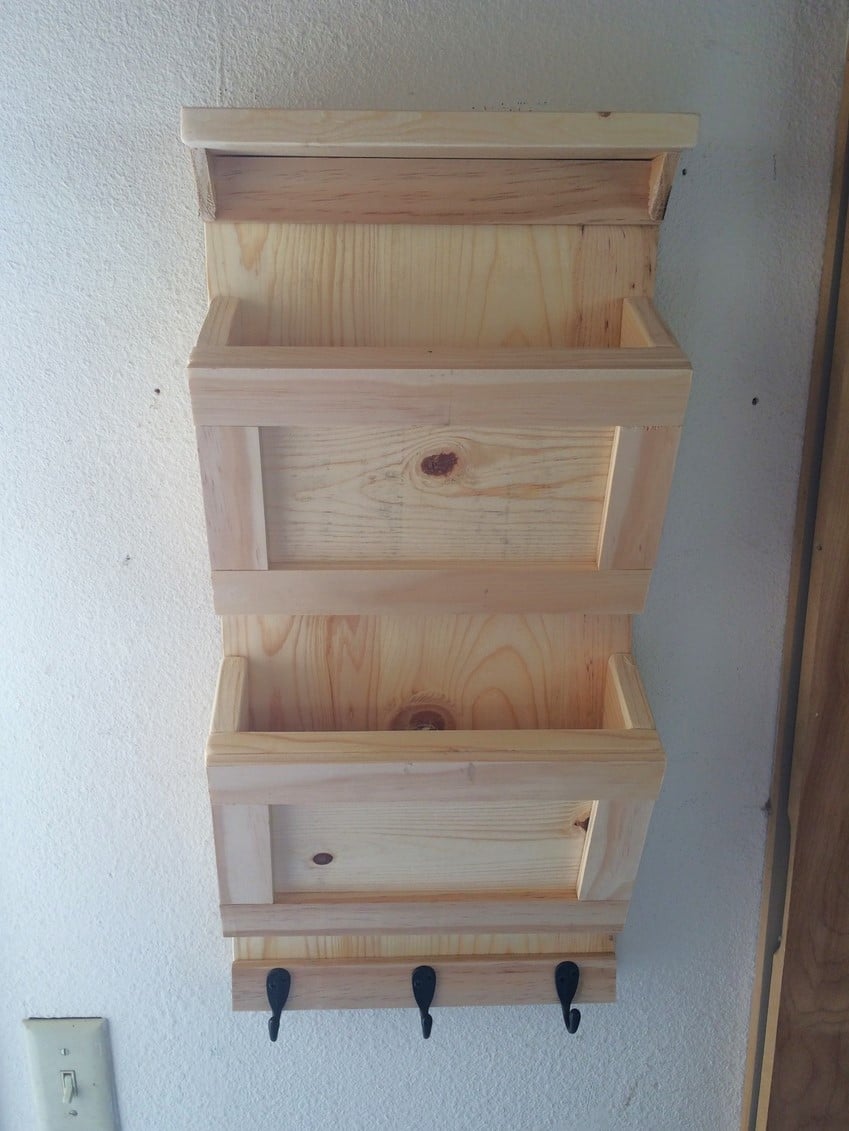
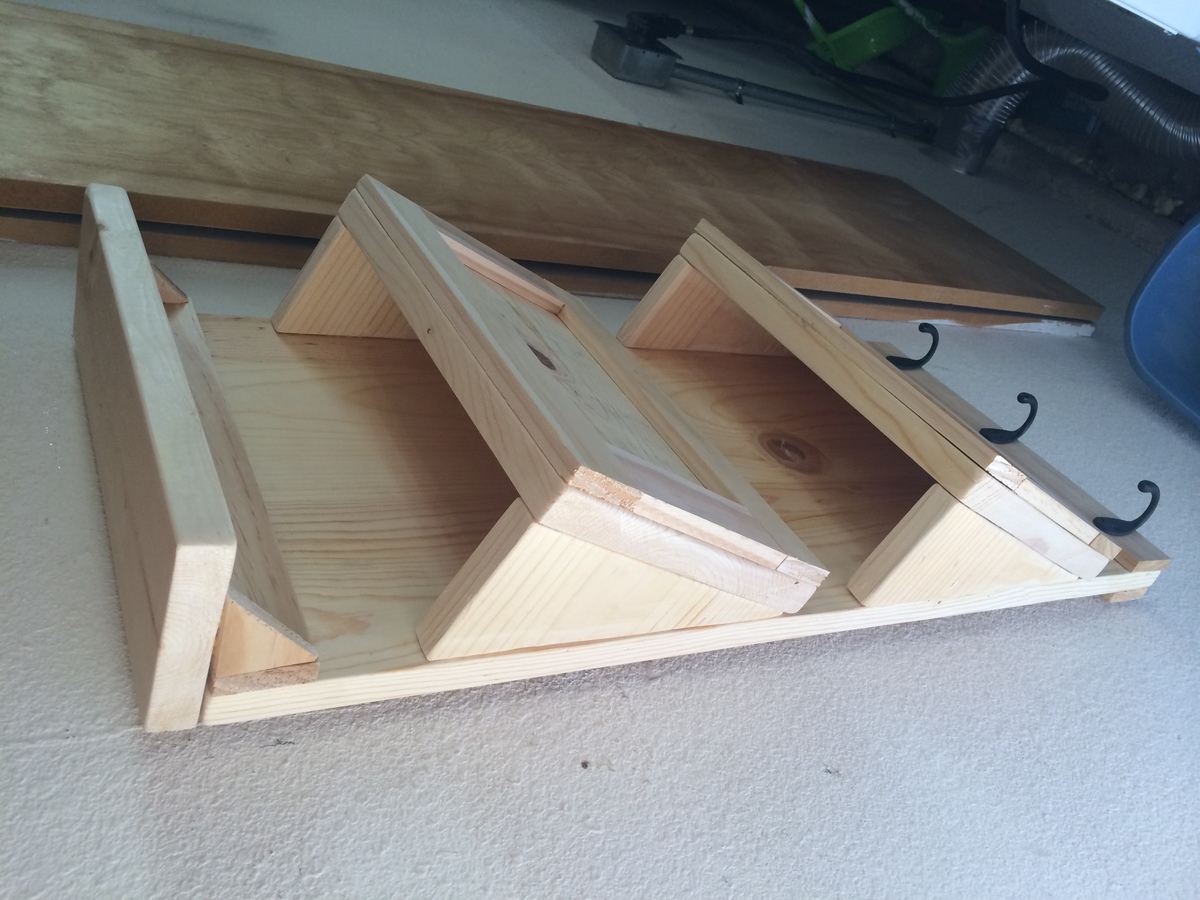
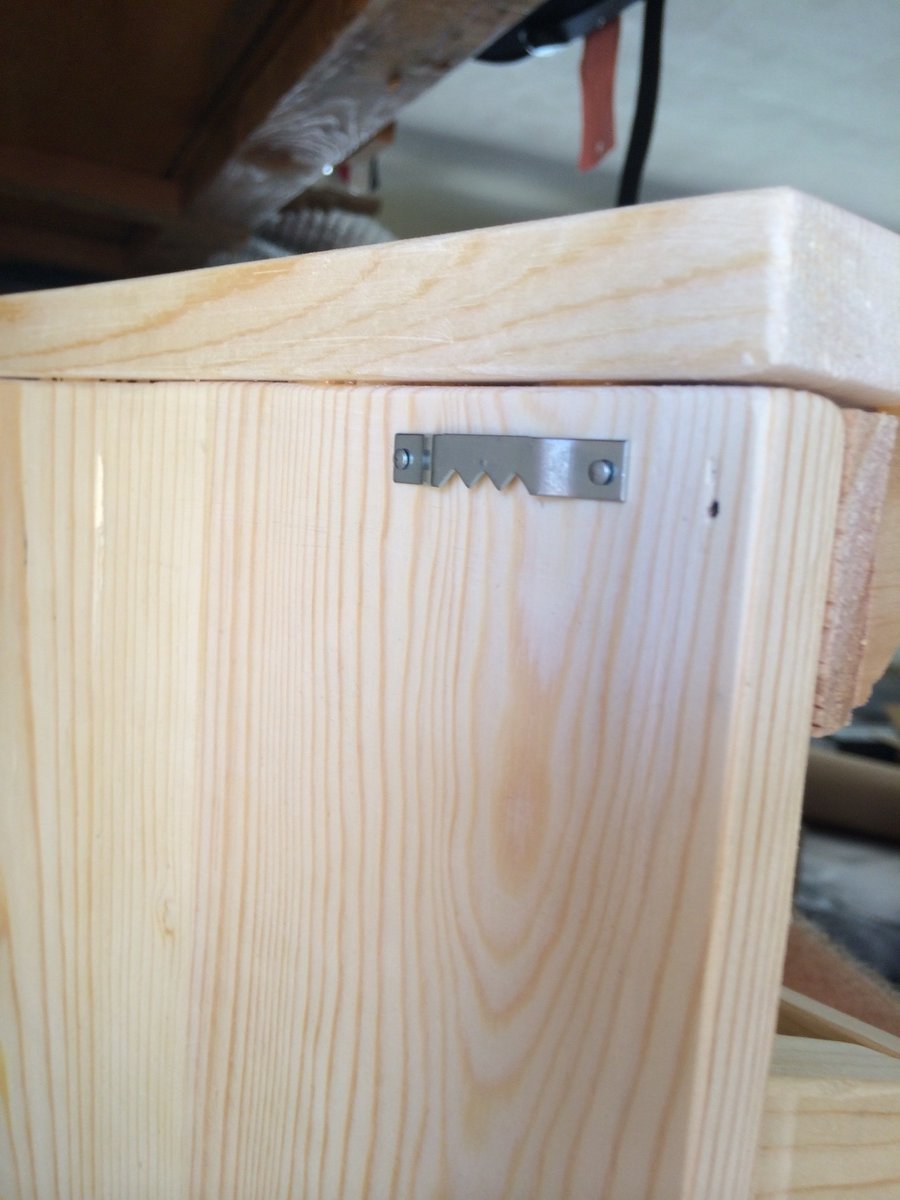
Threw this together in a couple hours with scrap wood that I had from an Ana White project I did over spring break. Had to buy some hooks and the hanging brackets and that was it. Very simple! Not sure how I'm going to finish it. I don't have time for the finishing right now anyways so I'm going to use it as is and finish it later!
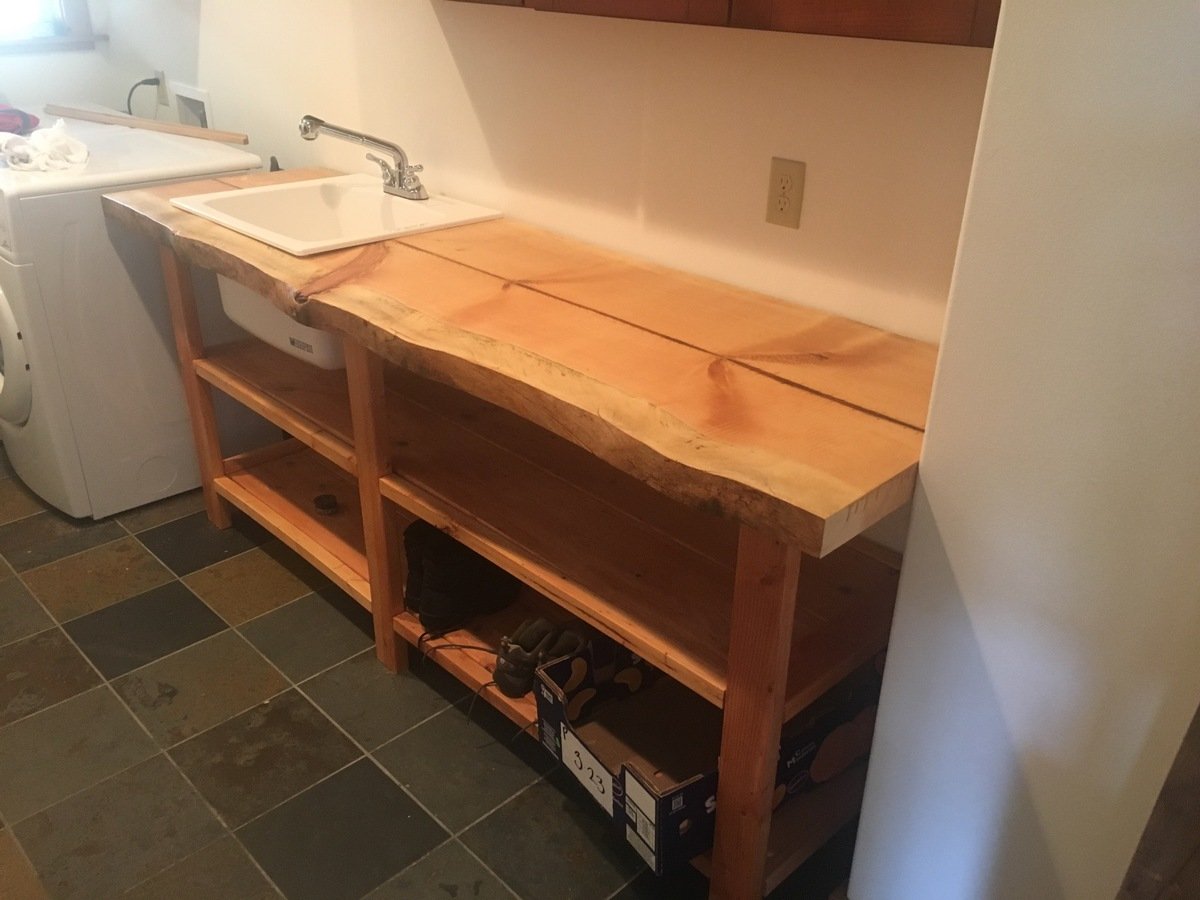
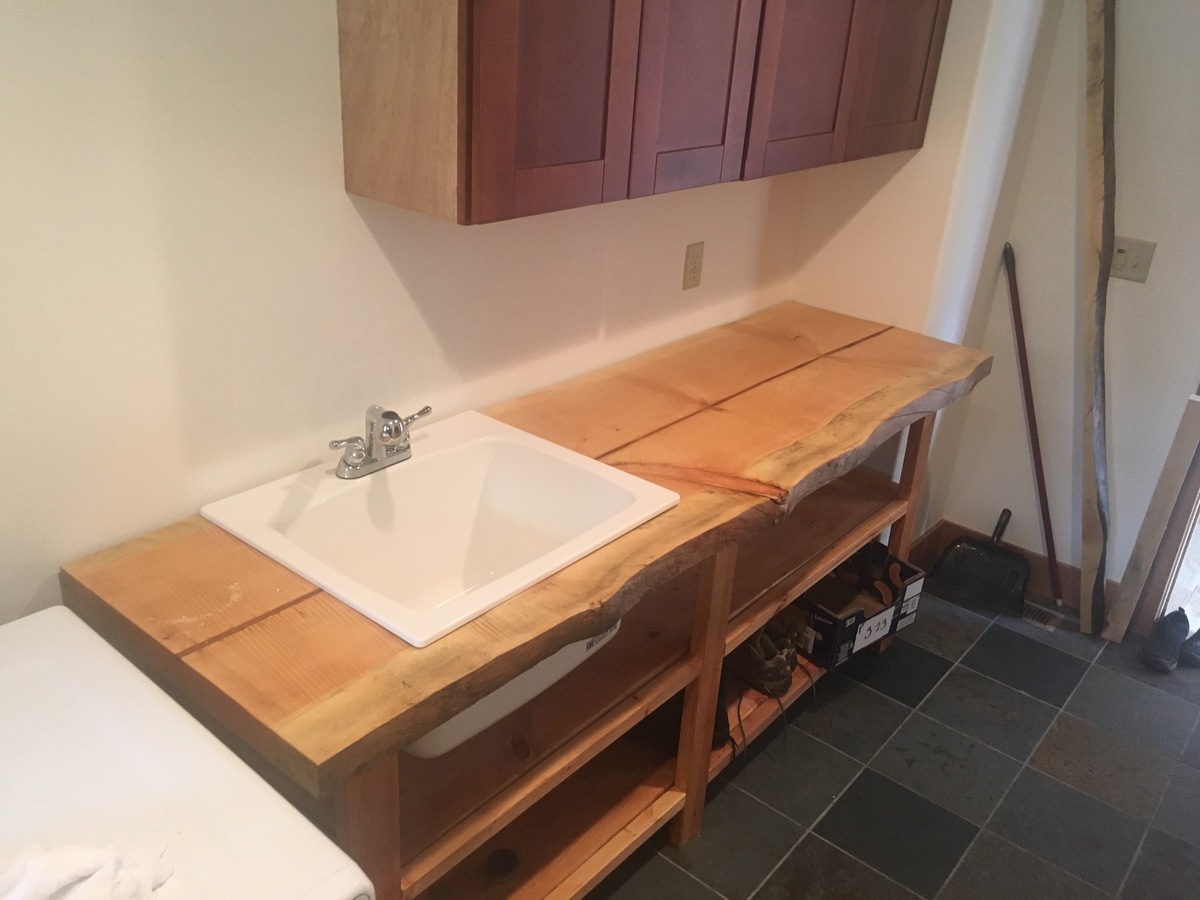
Very much like the console table look but decided to modify it to create a utility room bench and sink with open storage space below. Got a 1.75" pine slab to put on top and then cut out the space for a utility sink. Did not put in the cross pieces as the bench was to run from one wall to the washer/dryer setup. Used dimensional lumber from Lowe's (after perusing several second-hand sources for more interesting woods but prices and quality fell short) and stained with an oak stain. Now may try my hand at an actual furniture piece that will be in a living area and needs to be done right.
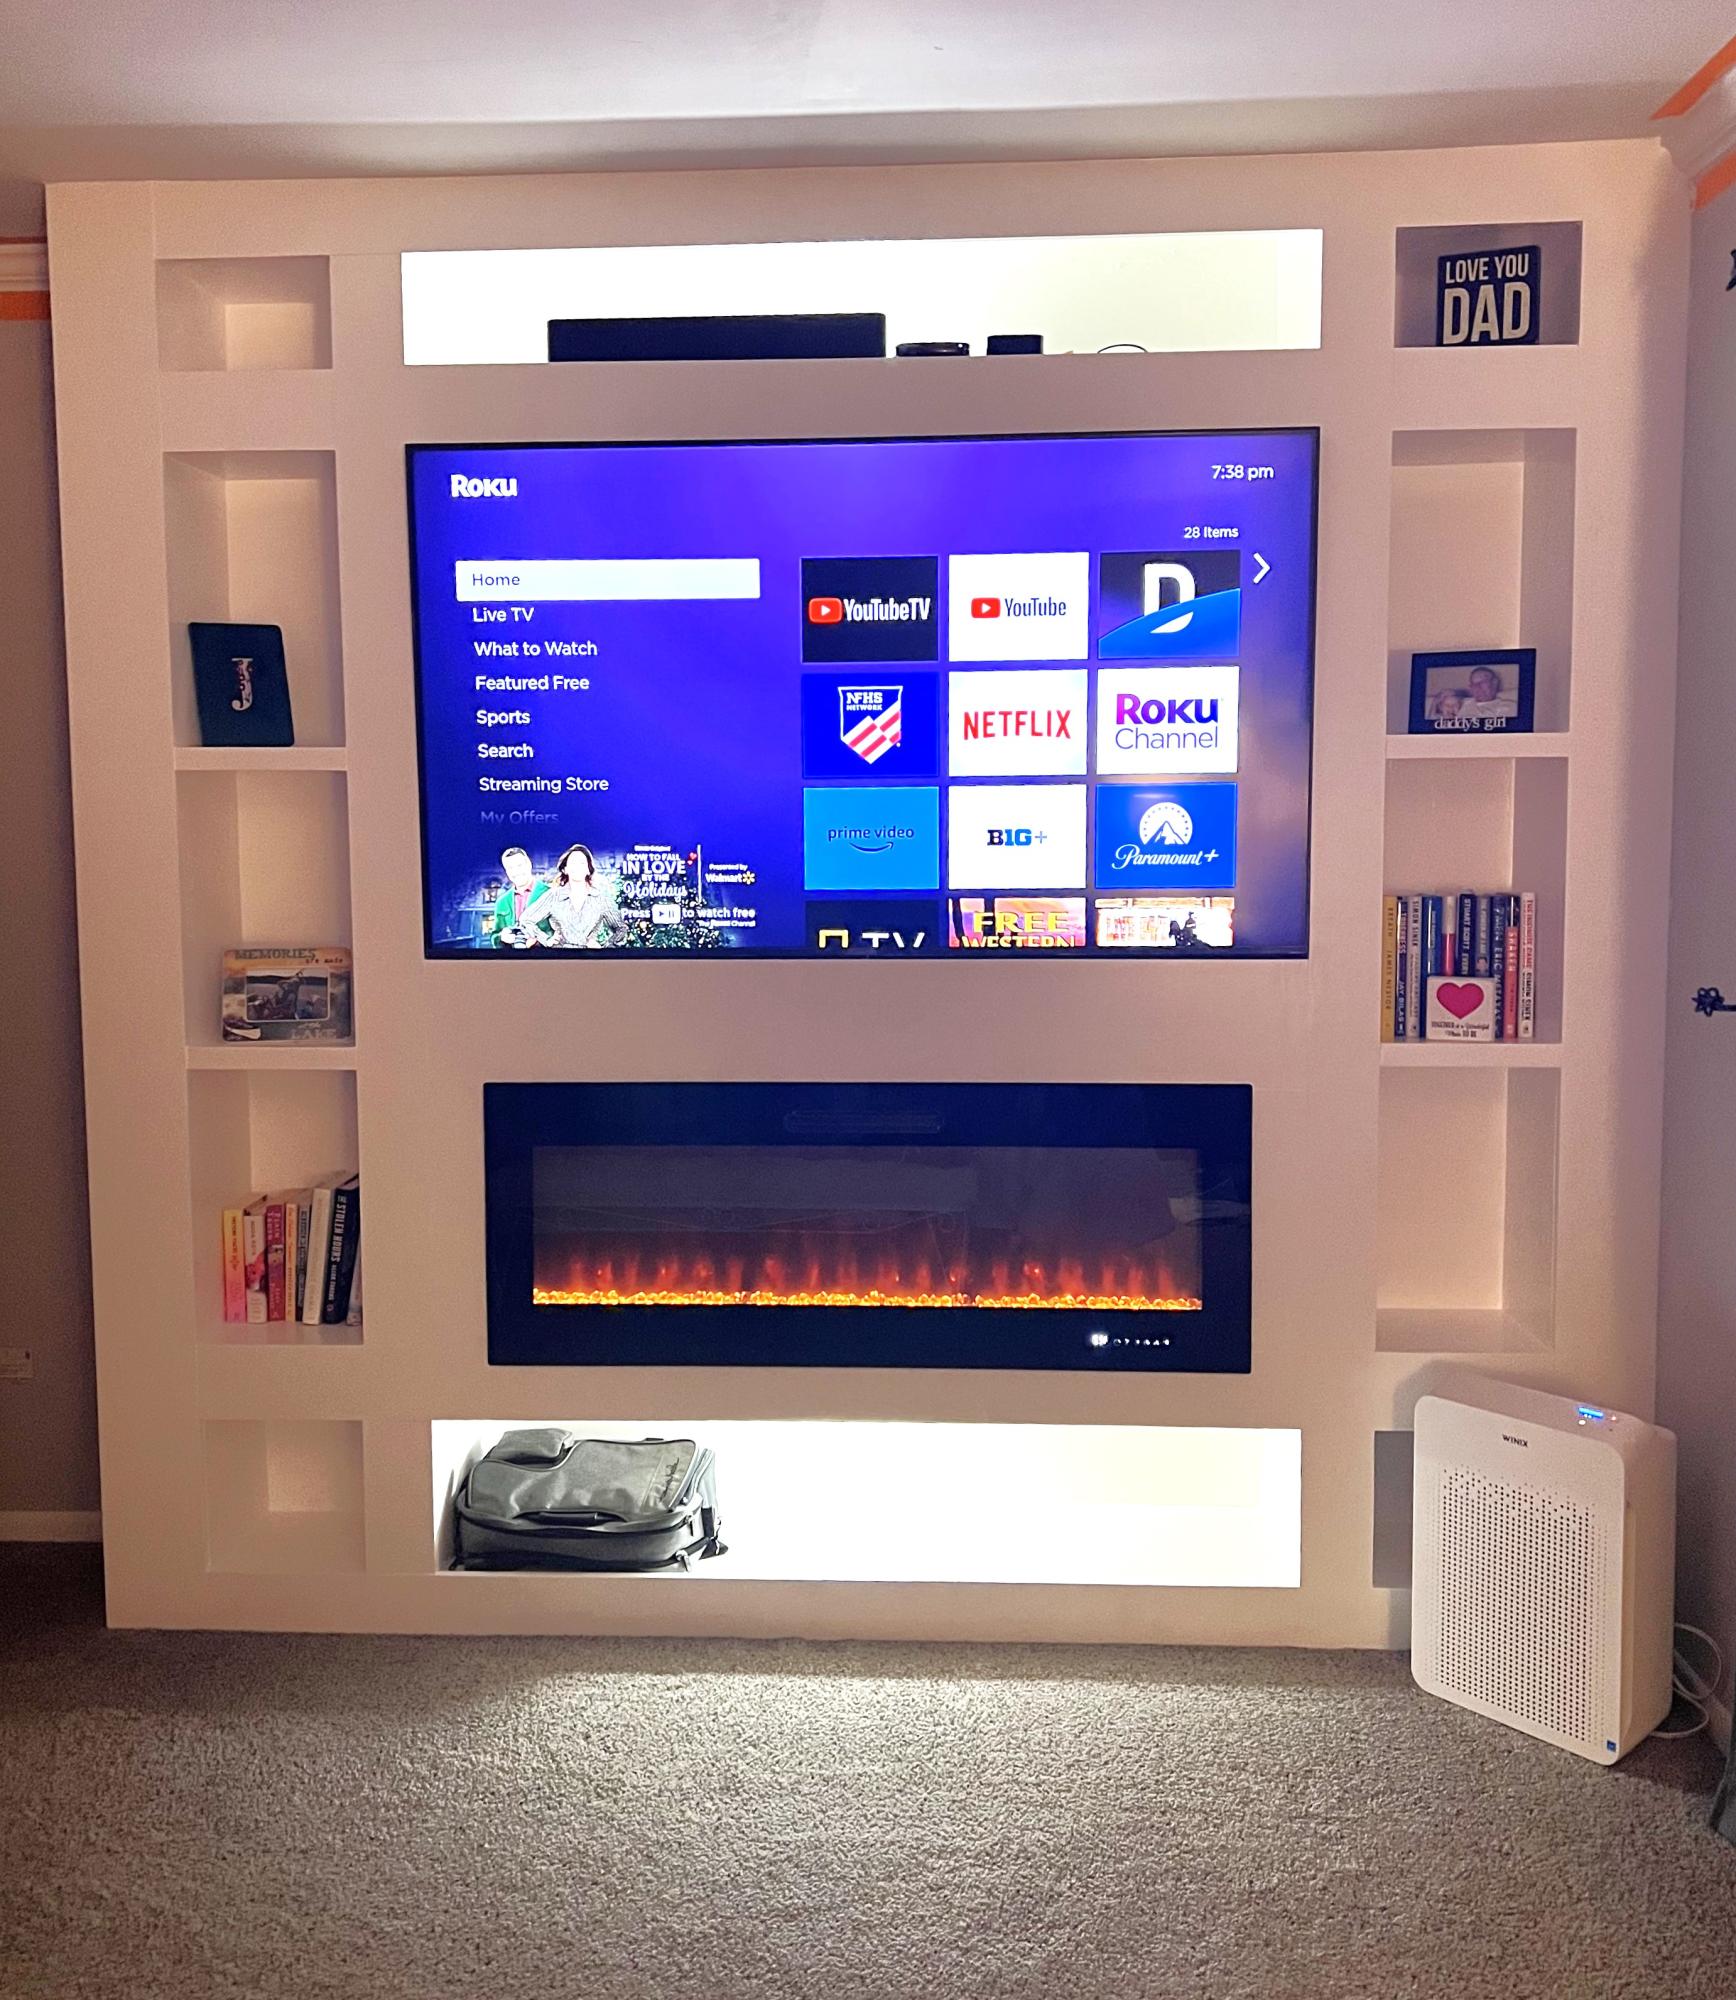
Bedroom media center. Tv and fireplace with shelves.
Rick J