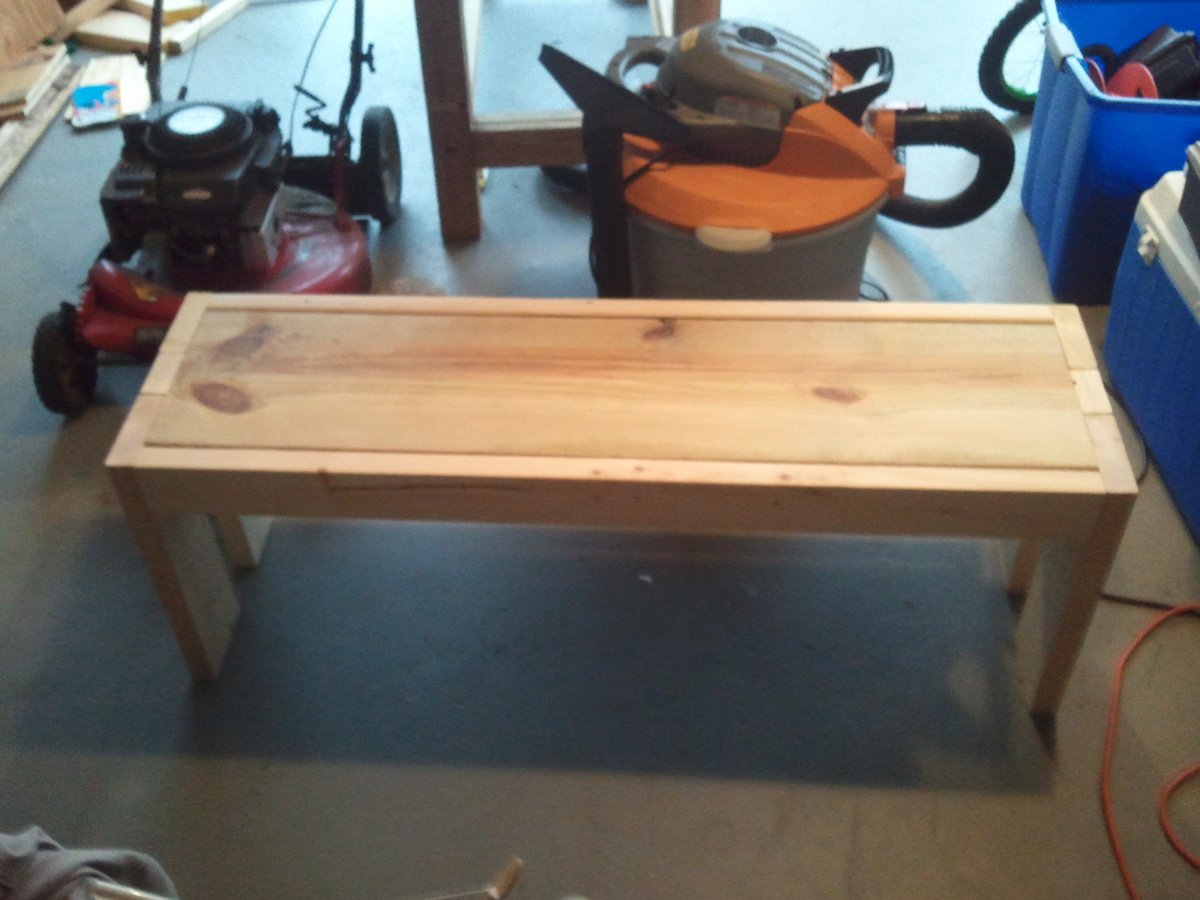
Woven Garden Bench
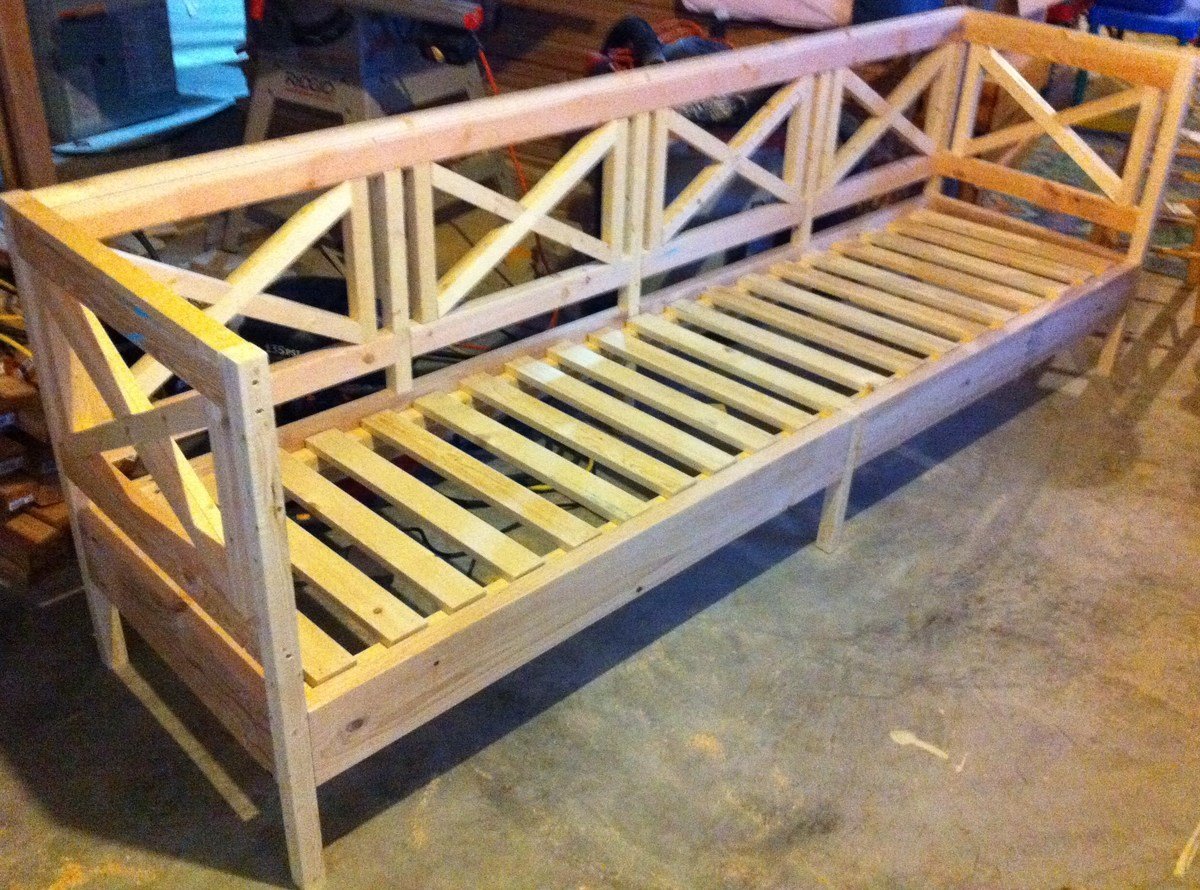
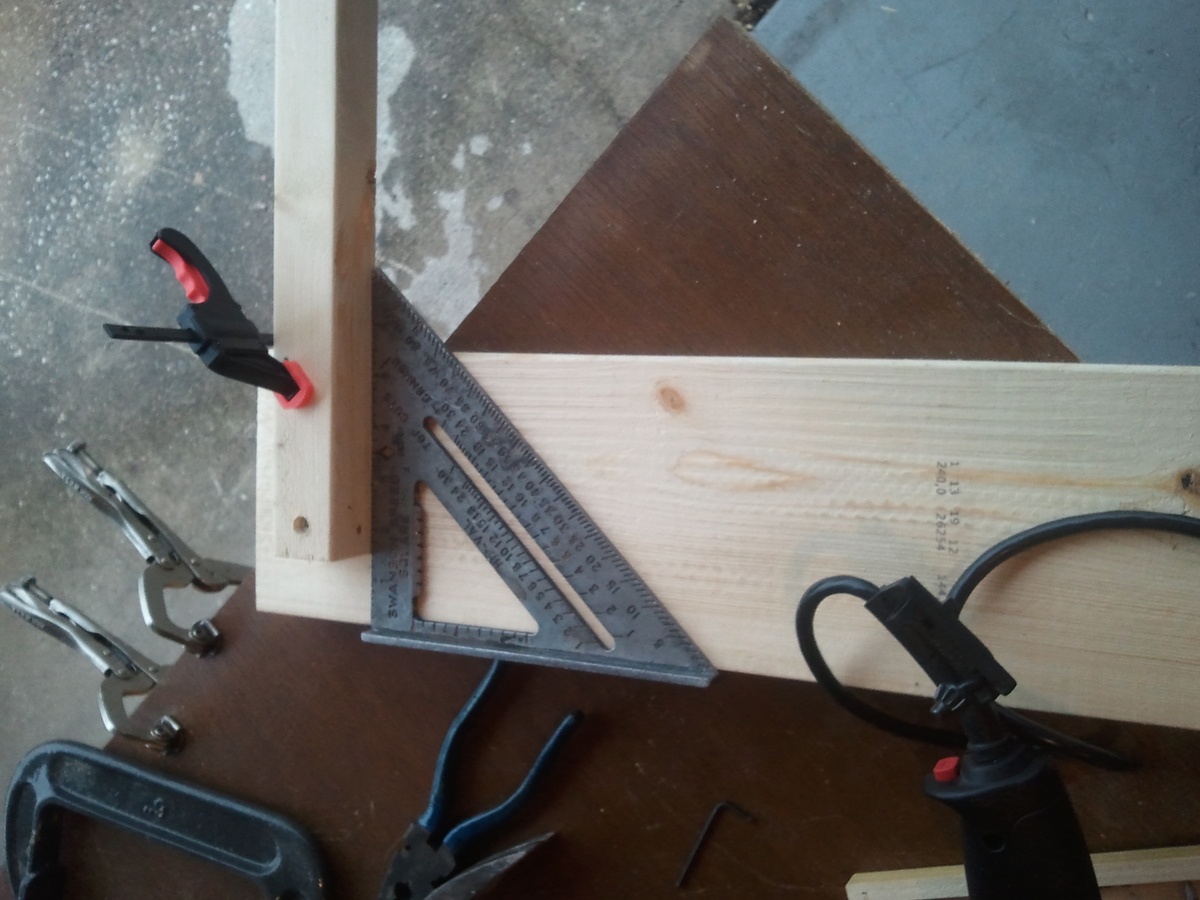
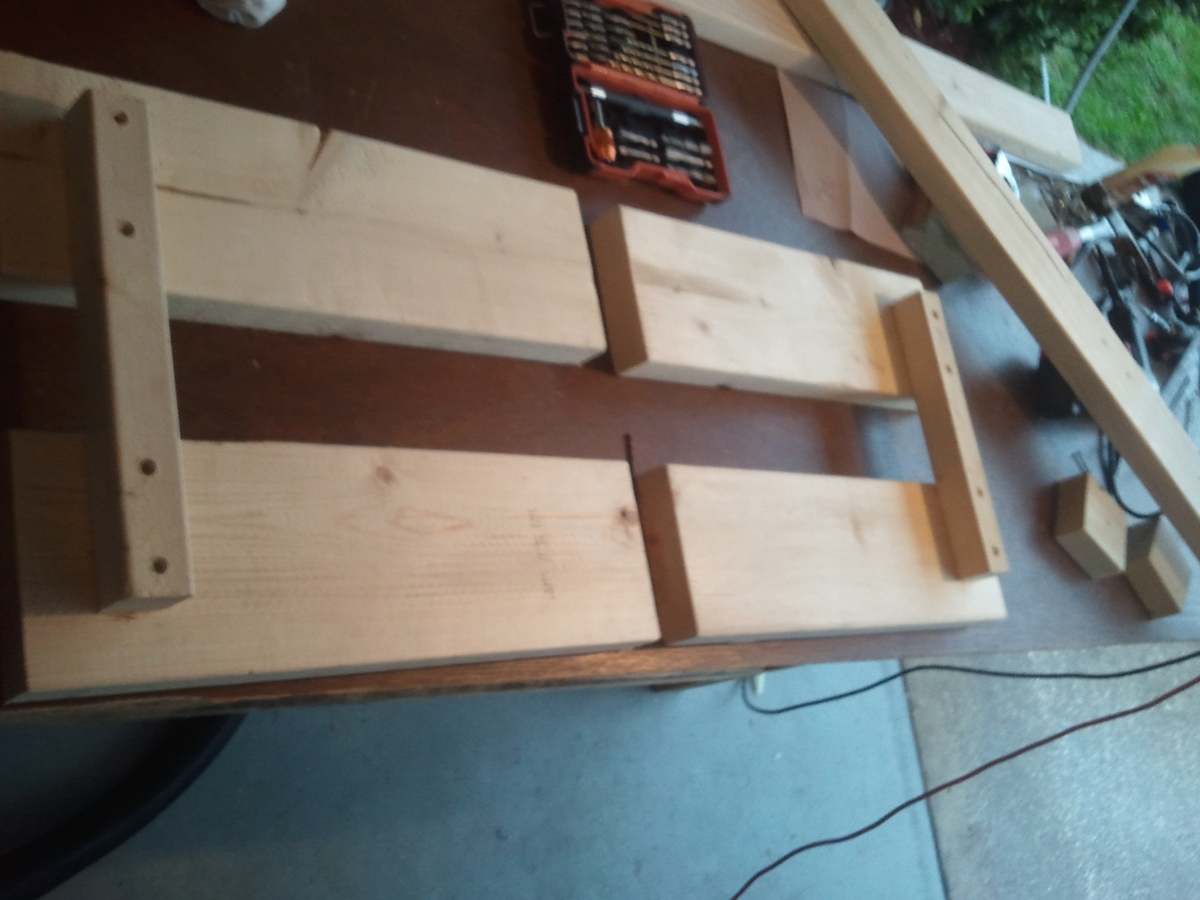
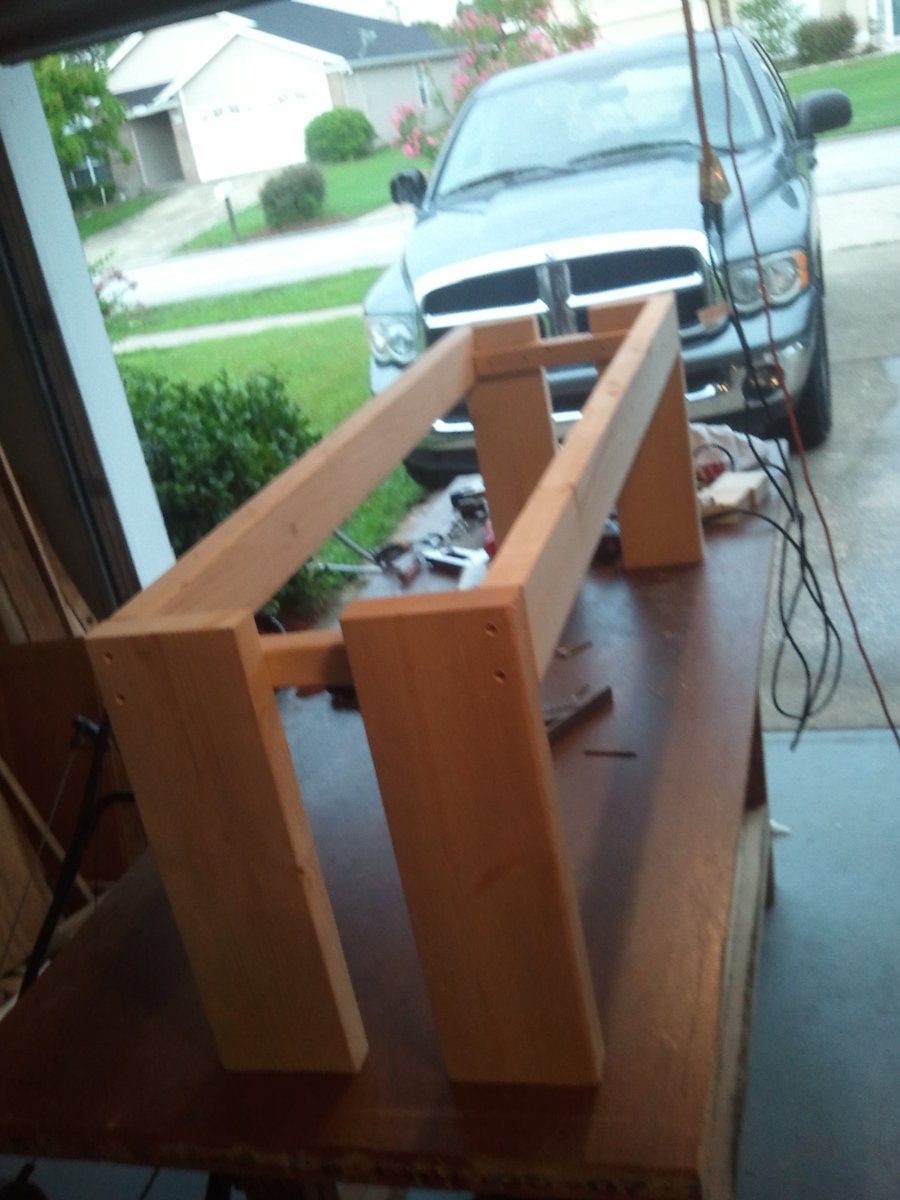
I used White Oak, 2 X 2 and 2 X 4 for the frame with 1 X 4 for the seats. This was my first attempt at mortise and tenon joinery (instead of pocket screws) and the woven pieces were held in with dowel pins.
Modified the double lounger plans into 2 single loungers. I liked the idea of the boards running the long way rather than from side to side like the single lounger plan. These were pretty easy to build. All assembled with a Kreg for hidden screws. Made with Sanded and super polyurethaned cedar (3 or 4 coats). turned out beautiful with the matching boards running from head to toe!
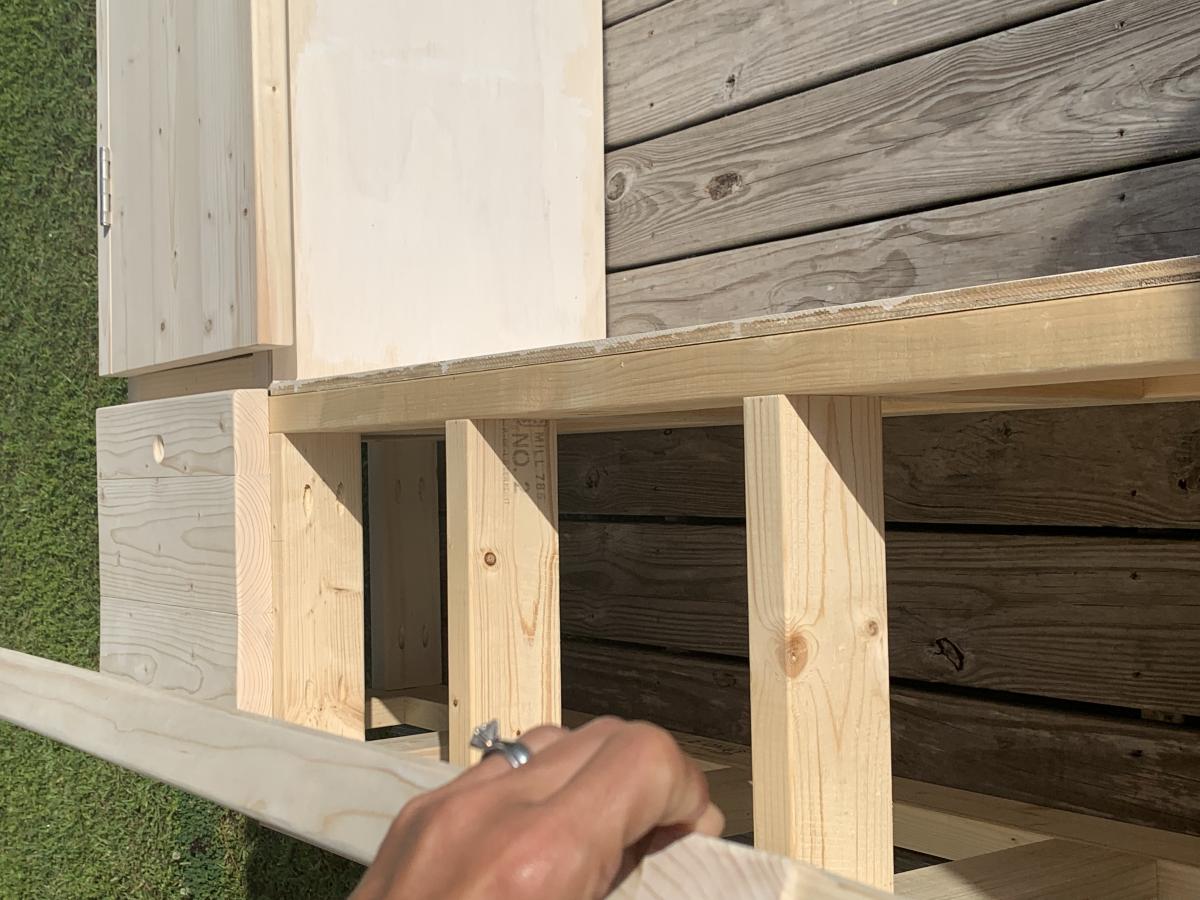
My husband and I just bought a home that has a fantastic shed/barn in the backyard. I've been wanting a workshop ever since college and this is finally my time to make that dream come true. Enter ana-white.com!! My sister had recommended this site after her husband created an unbelievable loft bed for their 6 year-old. Looking through all the plans I became ecstatic and couldn't wait to get my first project under way. I've printed out MANY plans and can't wait to work on them all, however I realized very quickly that I did not have a space to actually "work" on in the shed. When I came across this workbench plan I knew it was the right one for me.
Some changes were made, since I already had a perfectly good table top that I purchased from IKEA years ago. The top came out to be 23 1/2 x 78 3/4" so I had to make many adjustments in the cuts. I also left the bottom shelf free of plywood since I couldn't fit a piece that large in my Toyota Corolla. All in all, I couldn't be happier with the table. It's sturdy, reliable and provides a TON of workspace for me. My back is already thanking me!!
Tue, 06/25/2013 - 05:58
Good job on the workbench. Since you can't fit the piece of ply in your car, I would recommend cutting a 2x4 support to go between the leg supports. Then cut 1x4s to place perpendicular to the supports to create the shelf. Believe me, that shelf will come in VERY handy, so I would definitely recommend adding it. Its nice to be working on a project and simply reach down for the next tool/supply instead of walking away from your work area to get it.
Great project, super easy to follow instructions and really easy to modify with some simple math.
Perfect weekend project, started the table around 1pm on Saturday, finished the bench and had the garage cleaned up and sitting at the new table by 330pm on Sunday!
Thanks for posting the plans, they were very easy to follow!
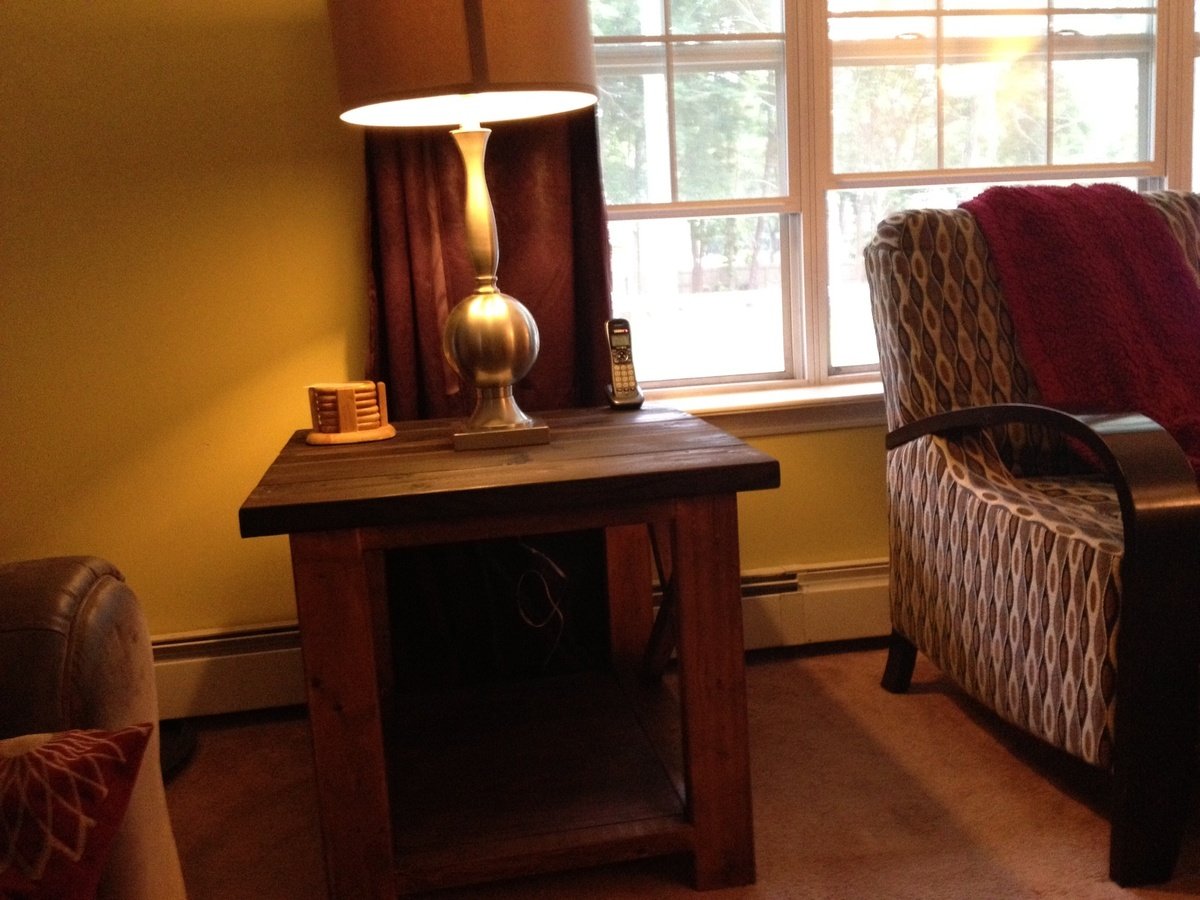
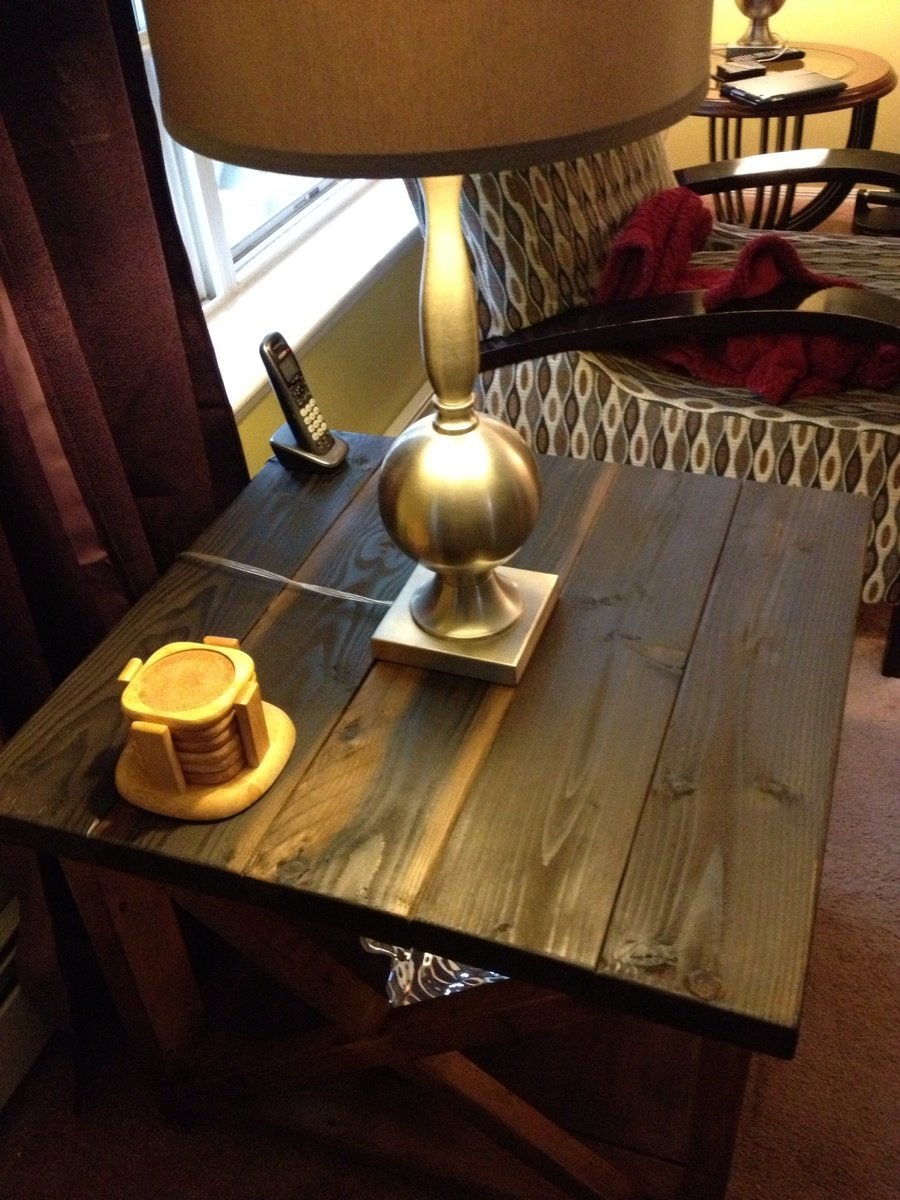
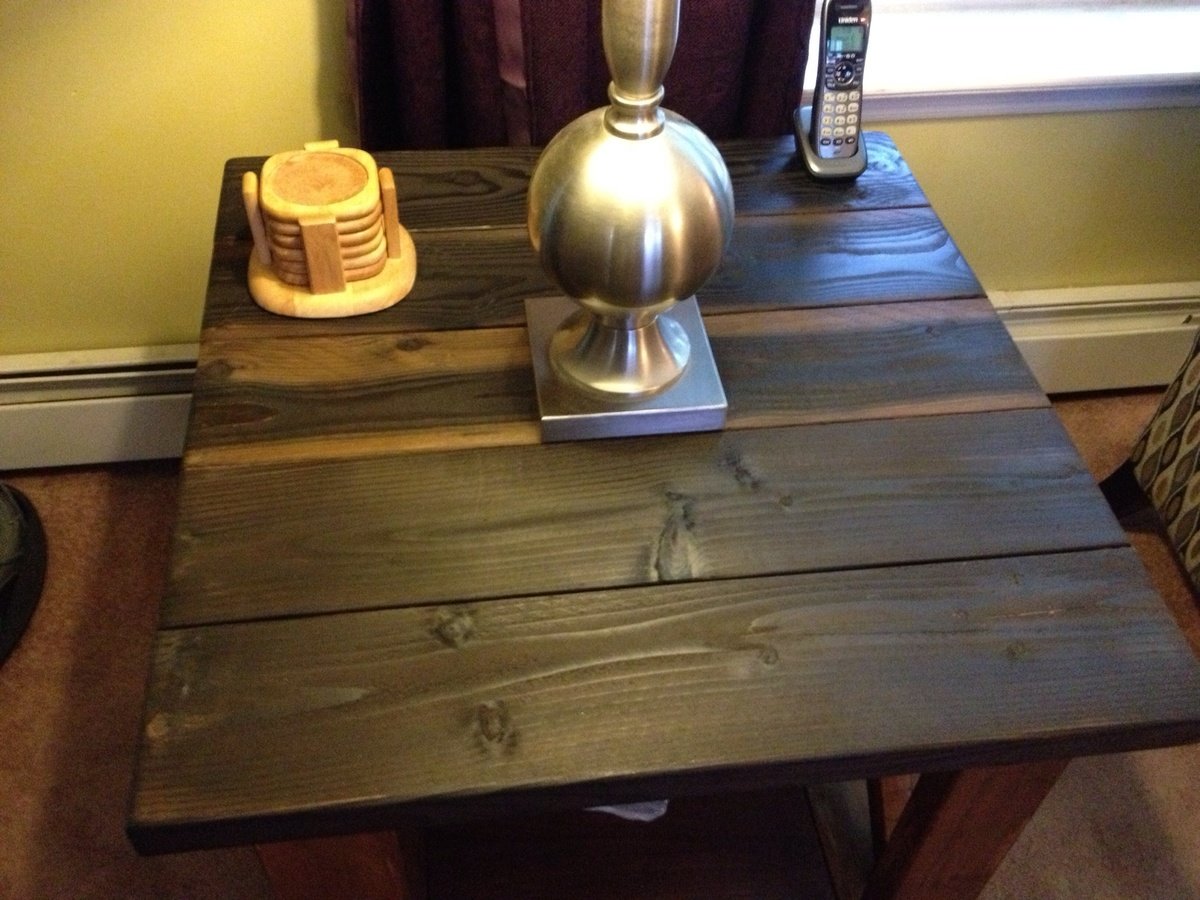
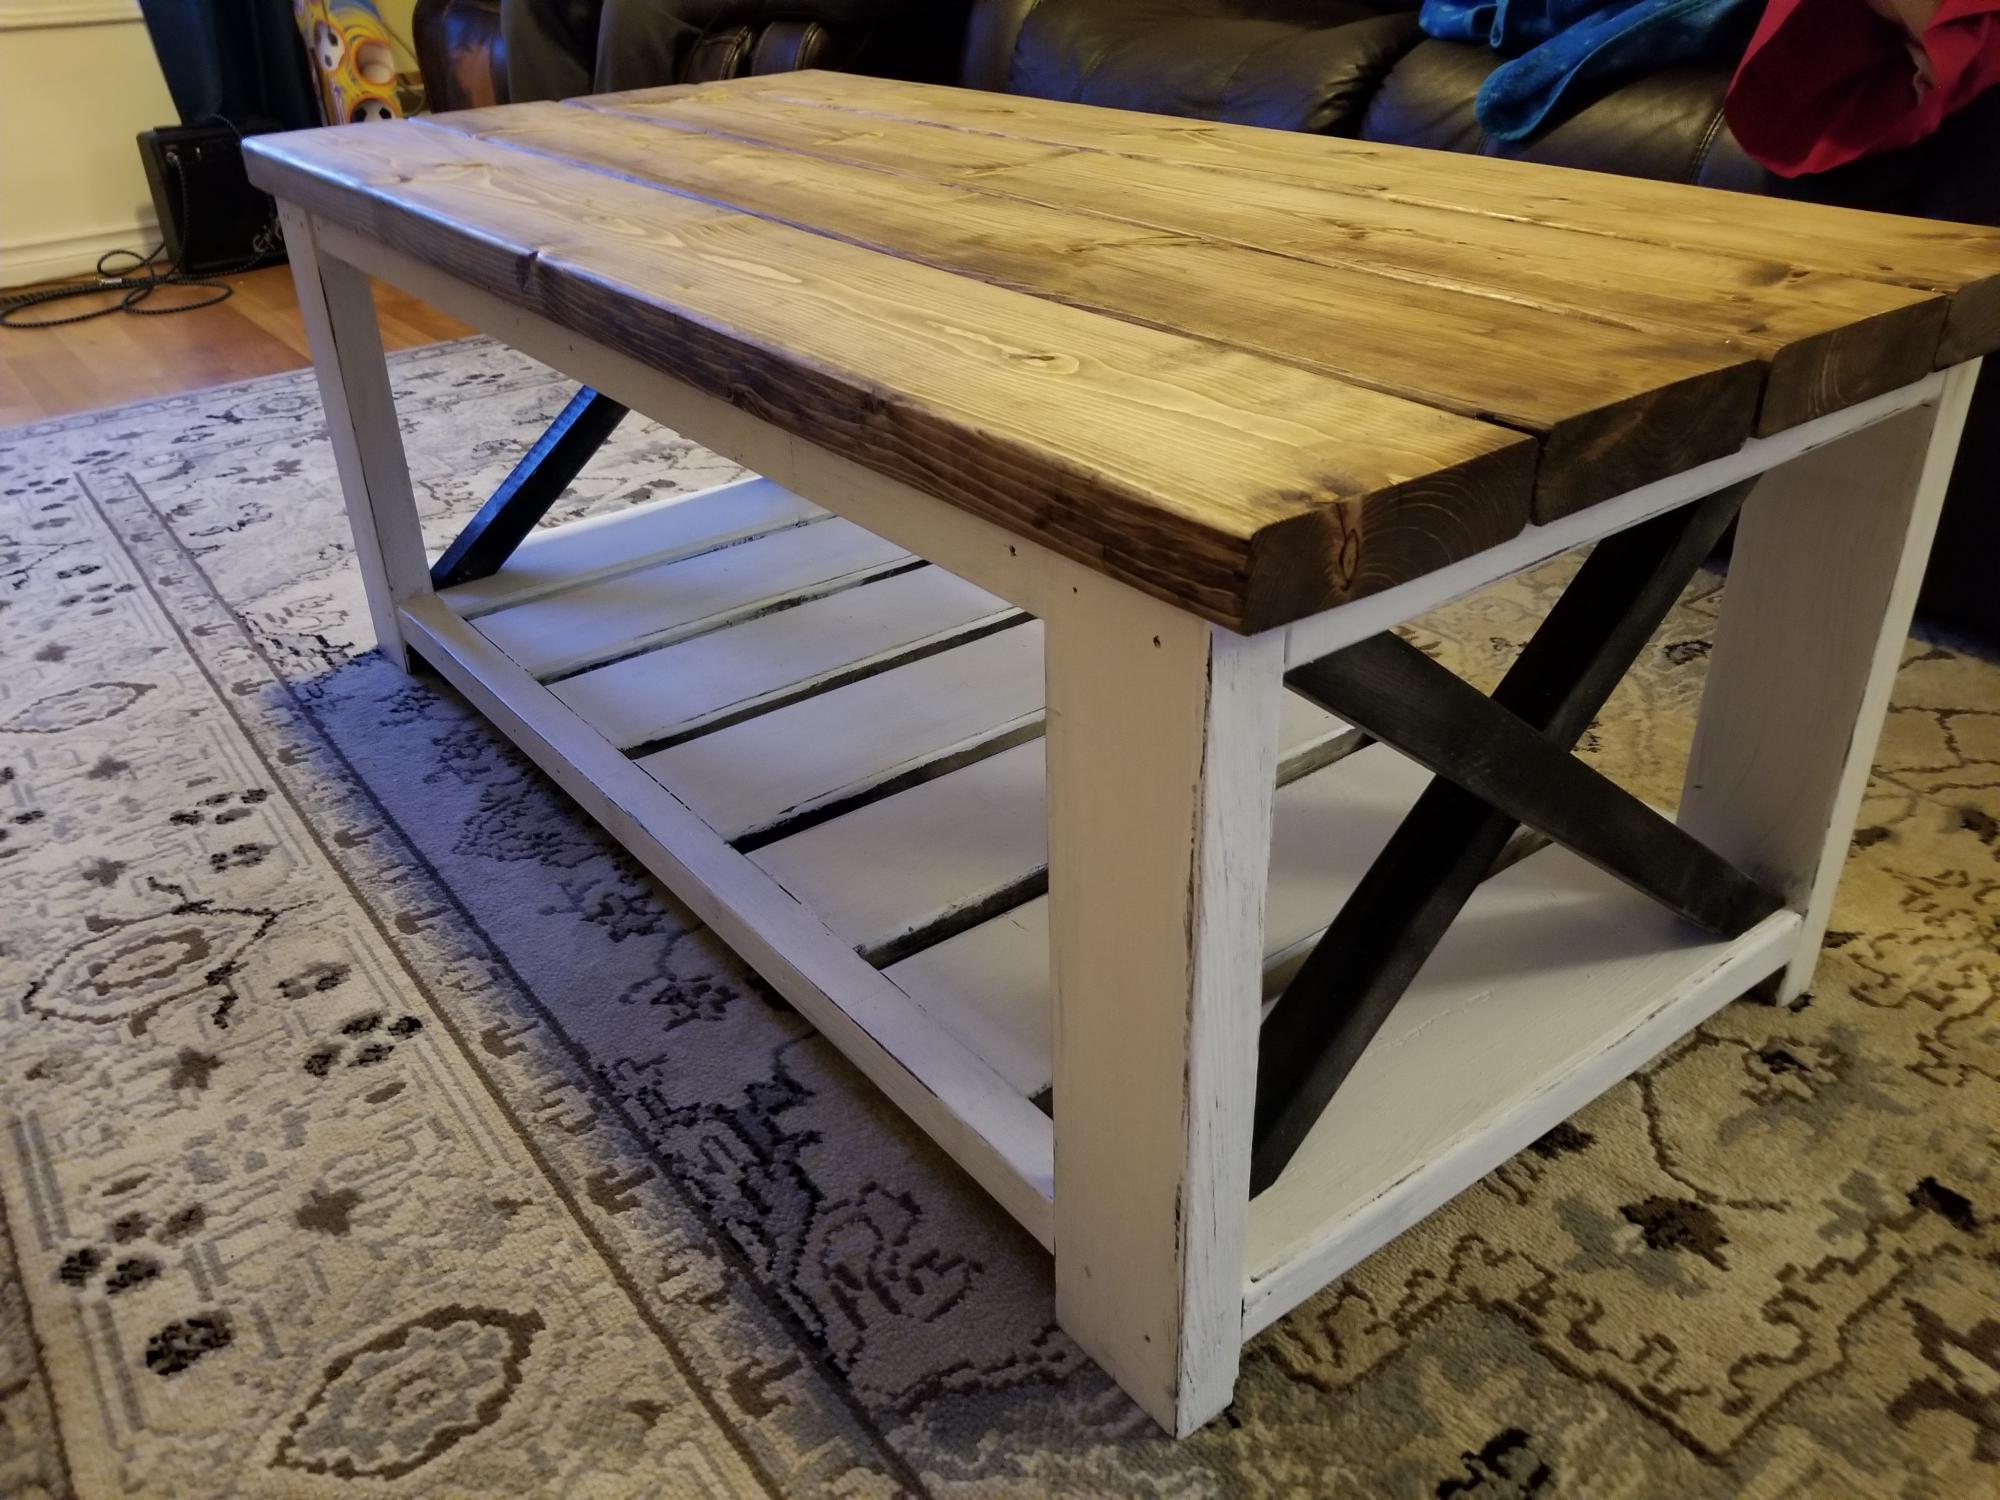
My third table like this built so far. Fairly easy project takes about a day to complete depending on stain dry time. I painted the frame white and used an American walnut stain on the table top and the lower shelf.
I combined a couple of playhouse plans for this one. The framing is 2x2 treated pine. The front is real stone. I tried to match our home the best that I could. The floor is made out of composite decking.
Sun, 12/26/2021 - 17:23
WOW, that is so awesome, love the real stone, composite decking and that you matched your house!
This is my first build from ana-white.com and it was a success. I am glad that I started out with a beginner project as my carpentry skills were a bit rusty but eventually everything came back to me, the step by step plans certainly helped! According to my daughter, I am the best mom ever!
The dragonfly/butterflies I found at Hobby Lobby for 67 cents a piece, what a steal!
We wanted a side piece for our kitchen so we followed the revised plans to make it a little taller. My wife is really happy with how it turned out. Easy, fun project that was finished quick.
So glad to finally make this beautiful panel wall art for a friend for her wedding. The last name is Iverson, so the tree stood in for the I. I made it on cedar pickets ripped in half and sanded, kona stain, then designed my tree/lettering/birds in Cricut, cut it out, and painted. Can't wait to give it to her!
This is my first big project I have done, it was for my wife’s birthday. I enjoyed the challenge though,
This summer my husband built three of your pieces. We are so in love with how they turned out. Thank you so much for your easy to follow blueprints!
Totally lovin' my new cubby shelf. I painted it bright yellow, but I may paint it a more nuetral color after noticing it does not math anything haha! This is a super sturdy shelf...LOVE IT! Thanks ANA!
My kids are very into the "Magic Treehouse" books so my version of the Sweet Pea Bunk Beds is called The Treehouse Bunk Beds!
I made a few modifications, mostly for ease of access and airflow. I added windows for each bunk on the non-stair side of the bed because my kids room tends to be really hot so I thought they would appreciate more cross ventilation.
I made the side panel on the upper bunk removable (so that I would have access to put the fitted sheet on that end) by using pocket hole screws to hold the boards together, which make it one solid panel then I put 1x2s behind where the panel would go so it wouldn't fall in and used 4 slide bolts to hold it in place so it wont fall out. Also I made the two front panels on the lower bunk hinged doors so I could just lean in to change the sheets. The method for these was basically identical to what I described above but I attached them with non-mortised hinges.
I'd love to get the storage boxes made on of these days. Maybe after they start kindergarten!
Fri, 06/28/2013 - 00:44
Great Job! I love your latch system. It looks so easy to access the beds and it looks like a simple addition to the plan. Way to take it to eleven!
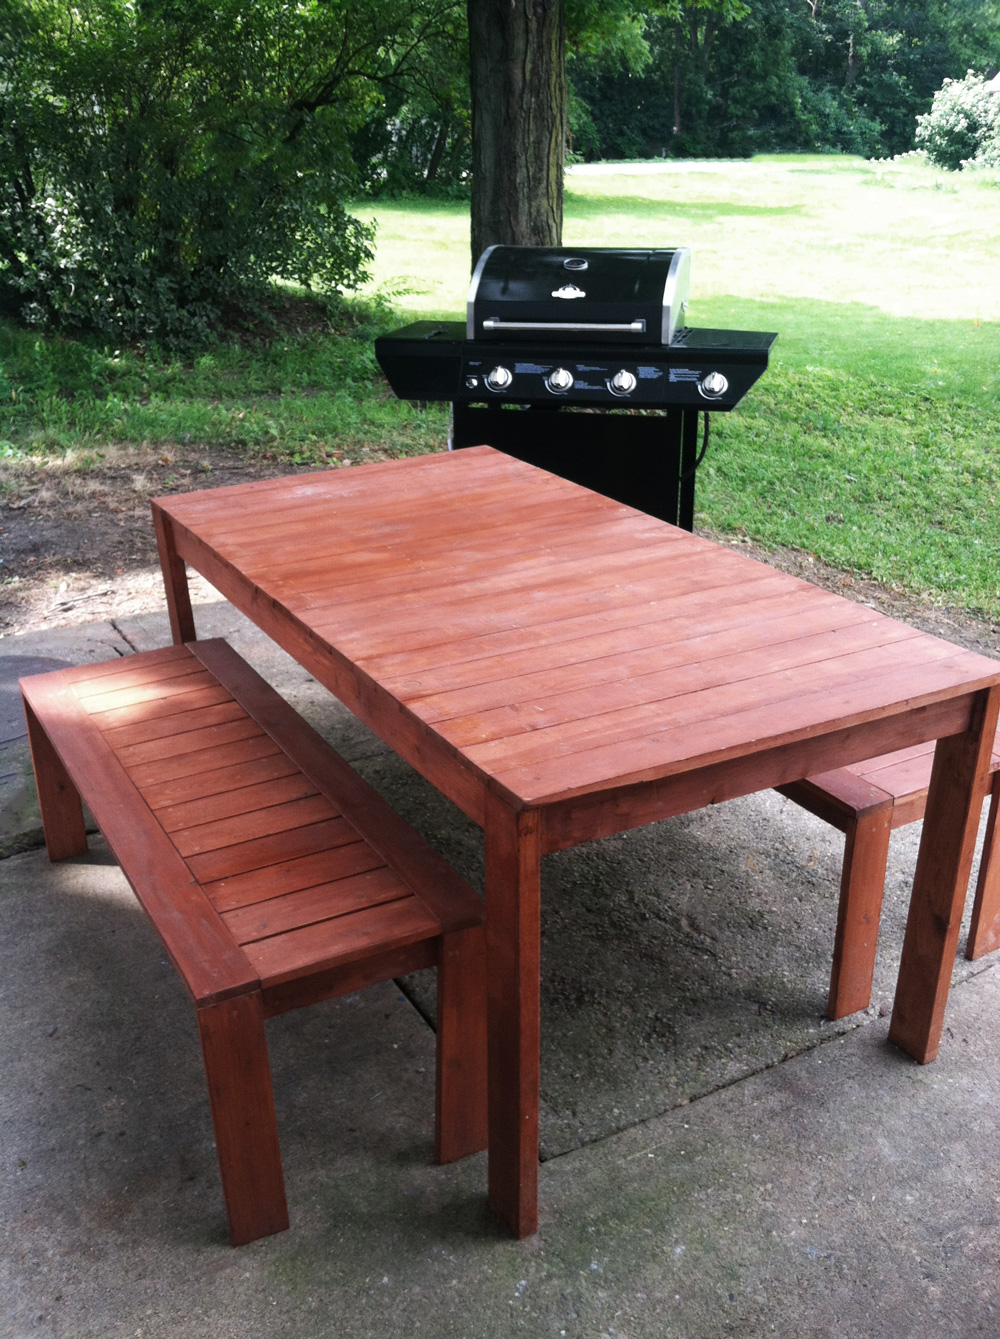
I made one table following your original plans and it turned out great! The top is American Walnut Polyshades from Minwax (stain and poly in one), topped off with paste wax. The bottom is just regular white paint that we had lying around the house. The plans were easy to follow and introduced me to the Kregg Jig. How did I ever live without it?! Thanks for posting them for everyone to see, we're so happy with how they turned out!
I used 2x4’s to make these bar stools and used Valspar weathered gray stain. I found the plans online by searching “chunky barstool”. It cost me around $85 to make all 4 of them.
Sat, 01/06/2018 - 11:55
What a steal! Your space looks amazing, love the black painted wall! Thank you so much for sharing.
Came out great! Made it for my cousin! Everybody loved it. Used hard wood for the first time, which is actually… umm hard. Used varnish for the first time too! Strong smell, but beautiful wood.
Mon, 12/27/2021 - 11:38
This is gorgeous, yes much different working with hardwood... Love the finish choice!
It was time for an office makeover(at home). Sitting on the floor makes for a strong back and works those core muscles, so it was time to change things up. About a year ago or so I modified Ana's Flip Top Storage Bench / Coffee Table for my husband to use as a desk, as he needed to sit on the floor due to a back injury. Now it was time for mine. I instead modified Ana's Scrap Lap Desk. and it was truly built of scraps, with the exception of the hinges(which is odd, because I always have hinges lying around!)
I made the desk larger, and adjusted the height to fit me. I also omitted the side boxes and instead added a shelf on the bottom. Construction was simple and straightforward. Primed with whatever primer I had around, and even painted with a can of oops paint. The edges were lightly distressed, and will naturally distress even more, I am sure.
I had a green bookcase already, and the orange bins with I got on clearance at blue some time ago, and suddenly my color scheme was set--in the 70s. But I like it, as I need more color in my life. The printer stand I cobbled together out of scraps as well--essentially a box. A few boxes covered in paper, a rug from old tshirts, and two light fixtures-one a polyhedron from milk jugs, and the other a flower pot from the bullseye store, and I am set. Oh, and I finally got around to making my corkboard from all of the wine corks I've collected throughout the years. Or some of them, anyway.
My first build from ana-white.com was maybe more intricate than I should have done for a first project, but we needed a bar so that's what I did. In the end I was able to learn so much: using the kreg jig, the saws, building doors and drawers, getting things square (or not and redoing it). Mistakes were made but I learned so much! In the end the thing stands up straight and looks pretty dern good in our dining room. I was able to complete this project in 6 weeks while working full time (my many learning experiences added to the time, lol).
Tue, 01/07/2014 - 08:30
This settles it. Woodworking is my new skill for 2014. I pick something every year to build upon. Last year was sewing and I love that. But this is the piece from pottery barn i've been salivating over for a few years. It will be mine!
It seemed as though this project started out as a nightmare. I didn't think it was going to happen. Working with 2x2 and soft doug fir is no fun. I bought a kreg jig and was super siked to use it but really couldn't figure it out yet so I just pre drilled and blasted screws in from the sides. Luckily I took some time to wood fill and do clean up work and you have no clue. I am so proud and excited about how this came out. It brought tears to my wife's eyes and maybe even a little to mine. Added some dipped blue legs and a simple blue band molding to pop off some color. Went to babies r us and purchased some canvas cubes and crazily enough the blue matched exactly!!! That was not planned.
All in all this will be in use for years to come.
Love this table
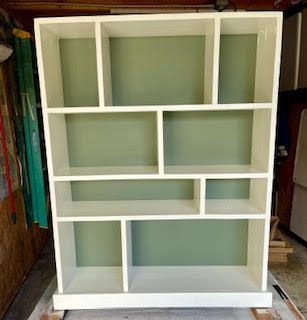
My daughter had asked about making shelves sometime. I didn’t say anything and snuck measurements when I was at her house. Followed Ana’s plans and she loved the results.
Comments
Ana White Admin
Sun, 12/26/2021 - 13:41
Timeless beauty!
WOW that is gorgeous, thank you for sharing!