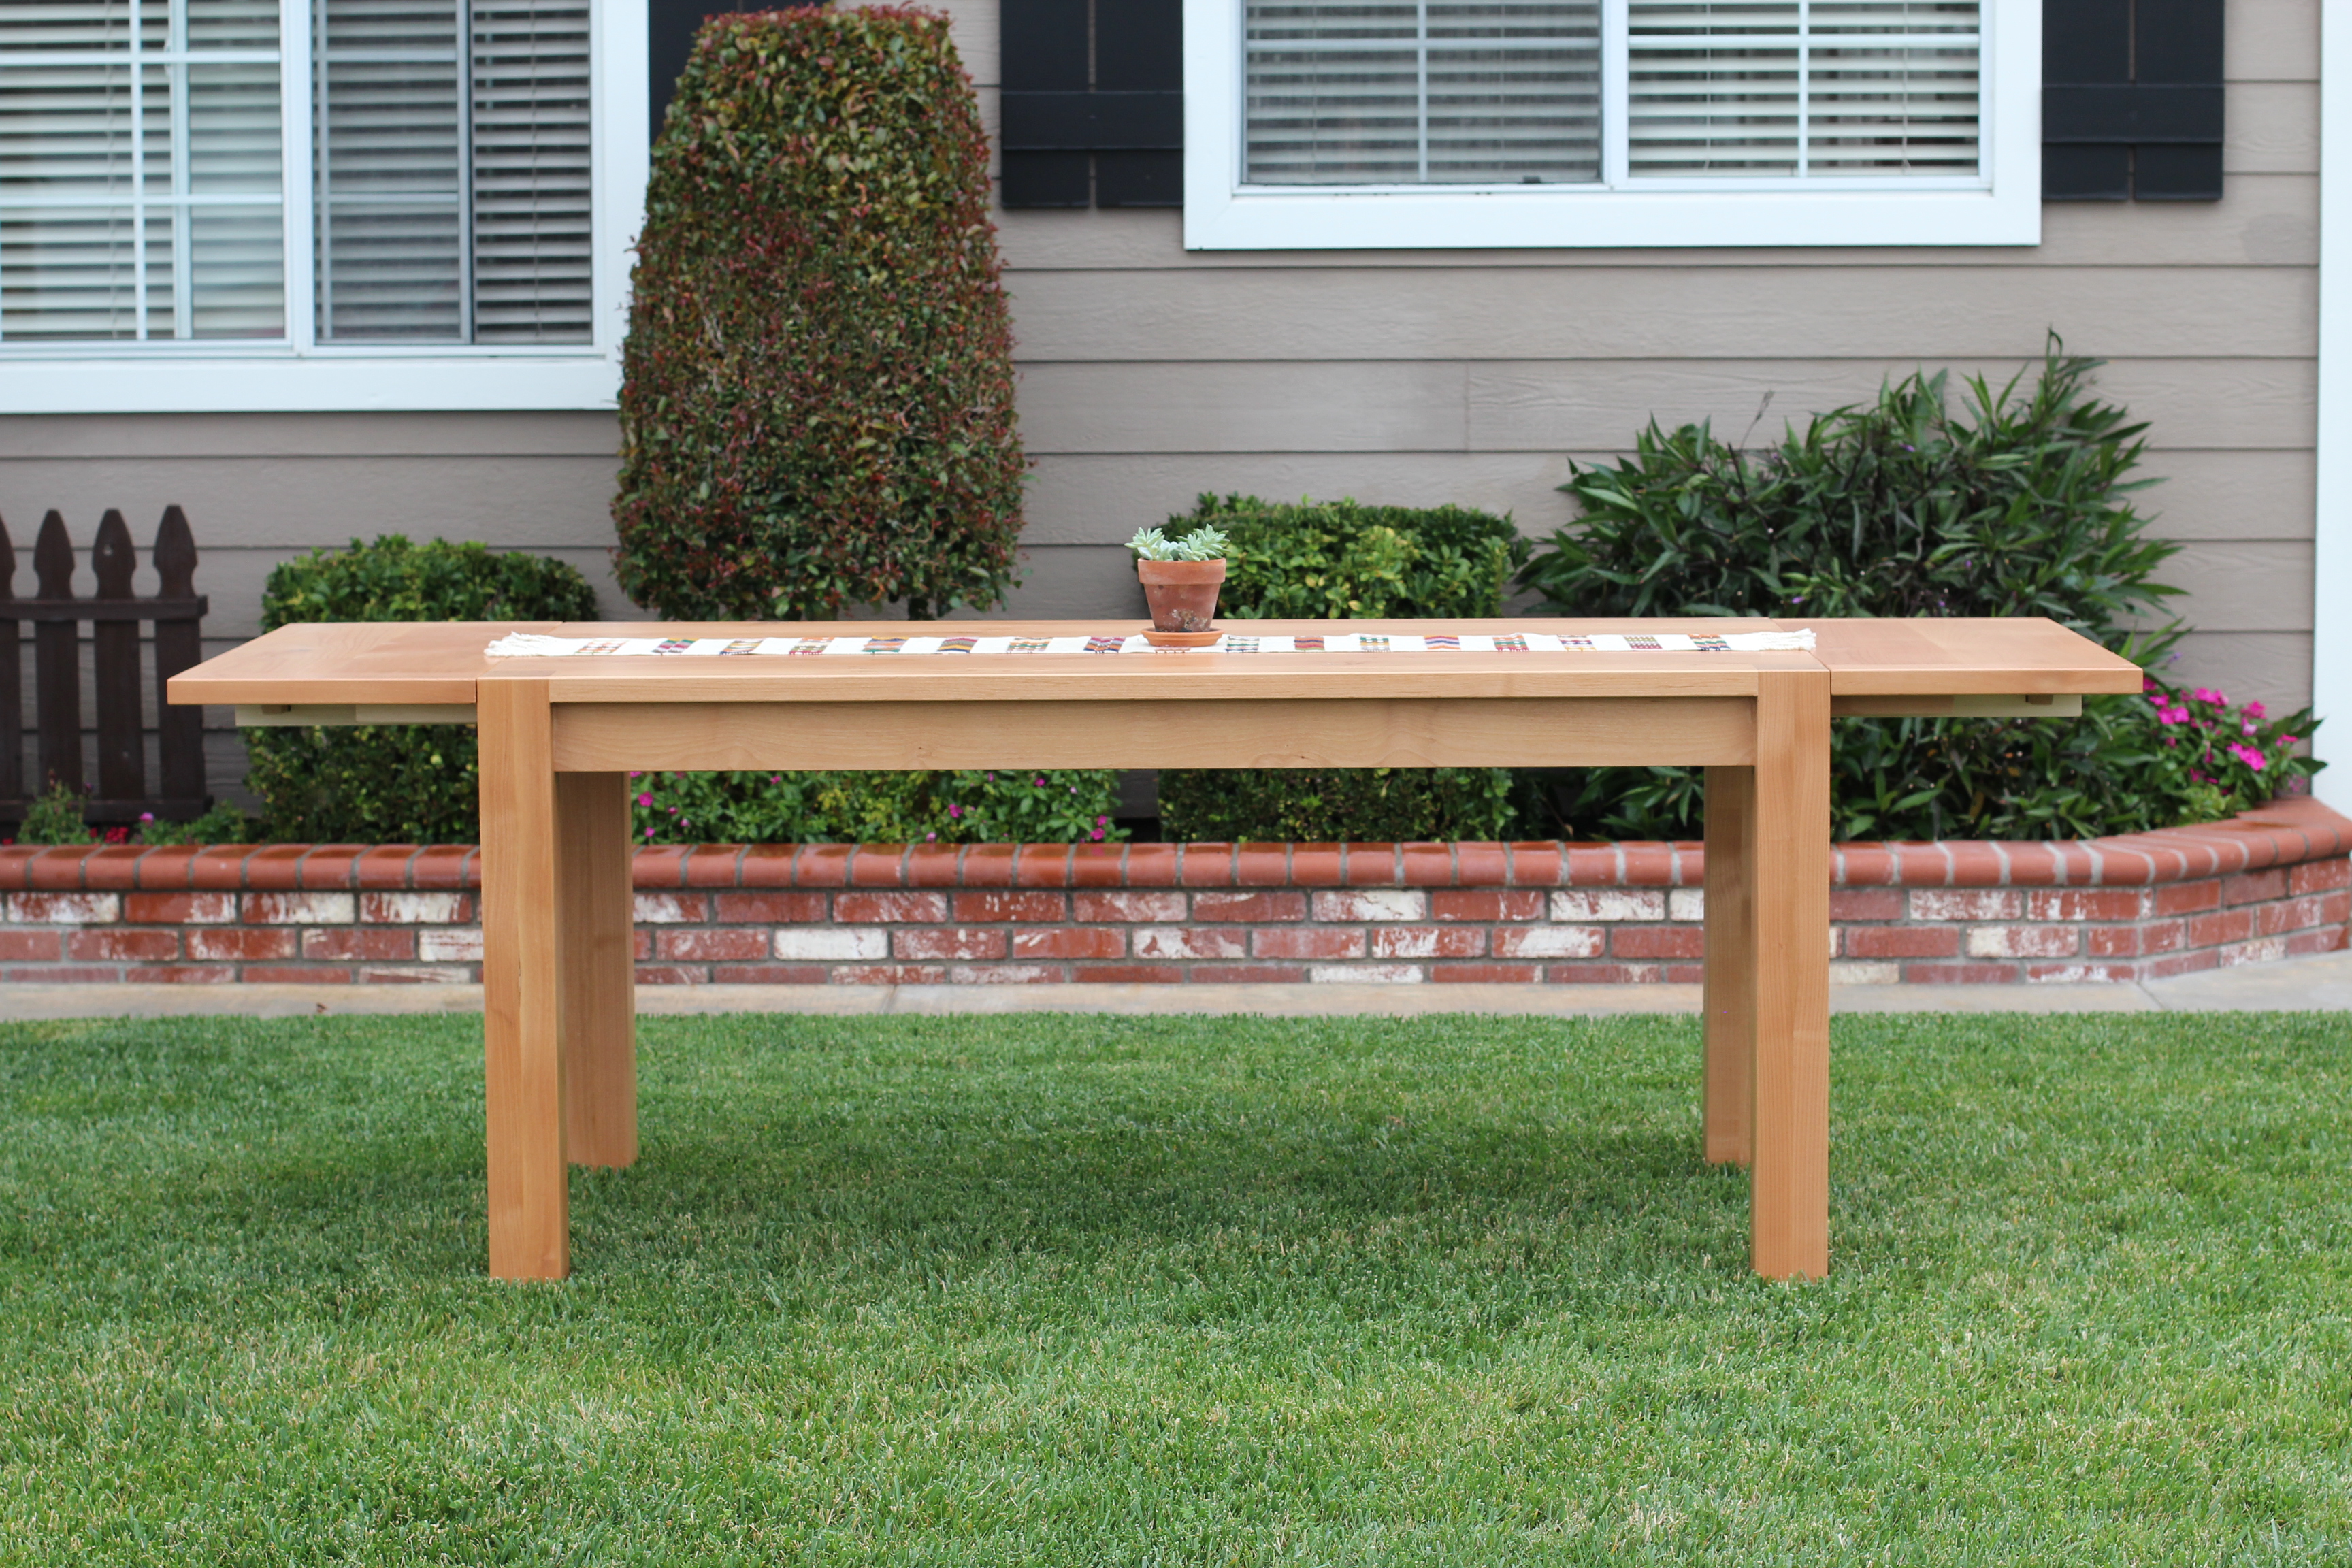
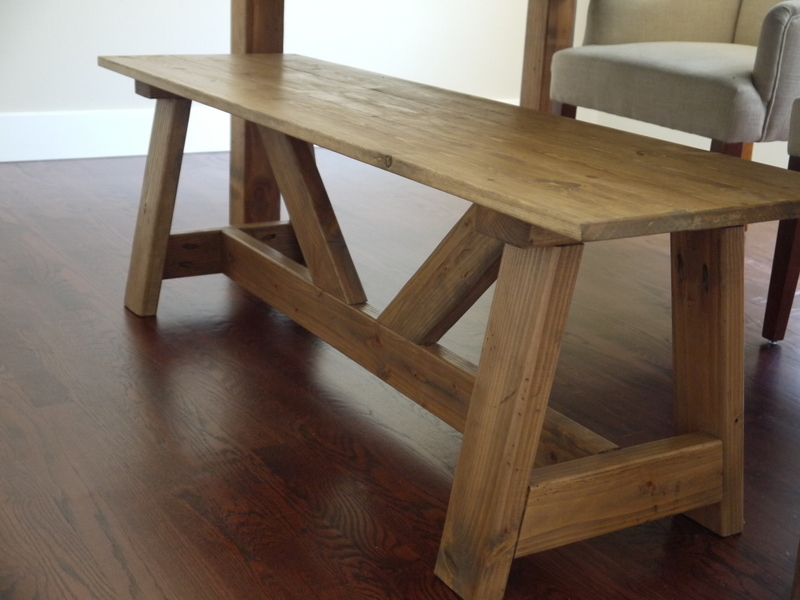
Variation on the Charging Table
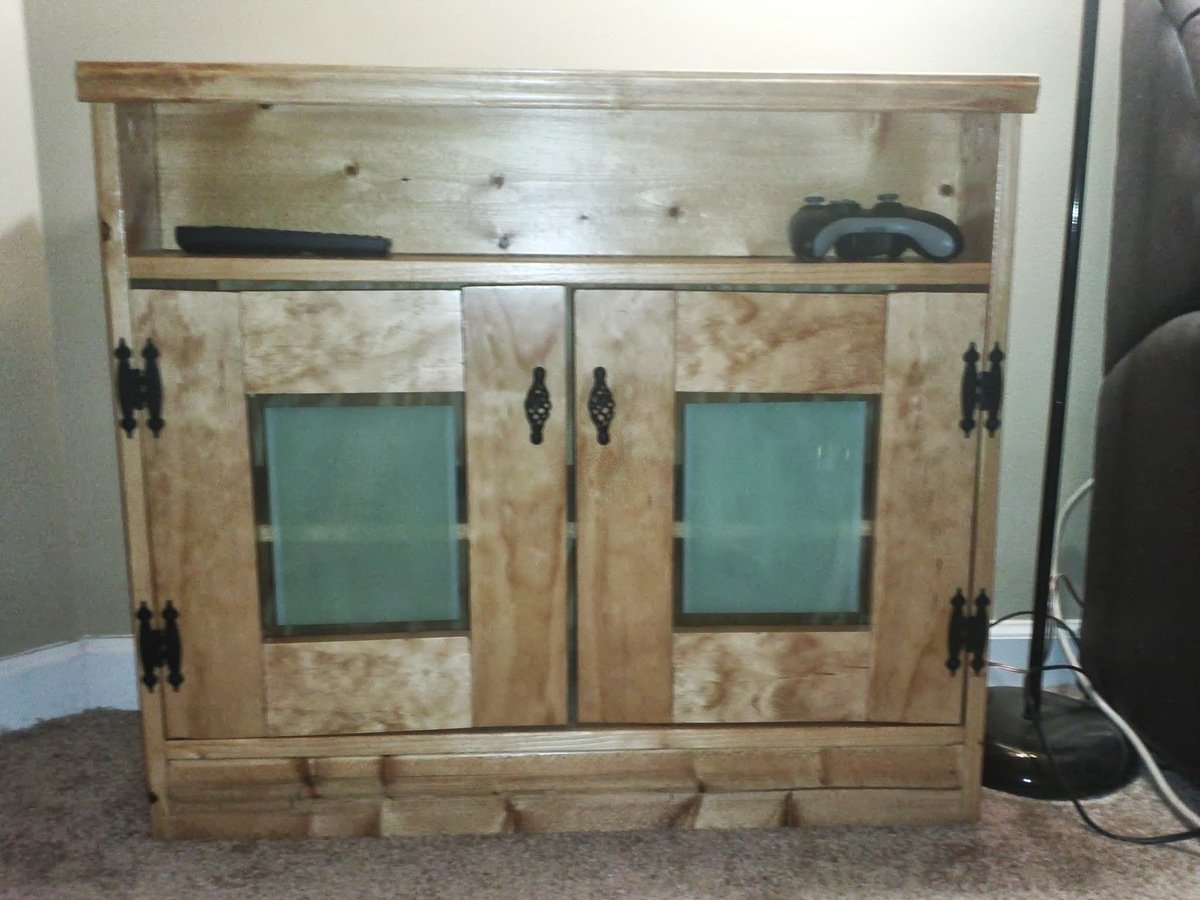
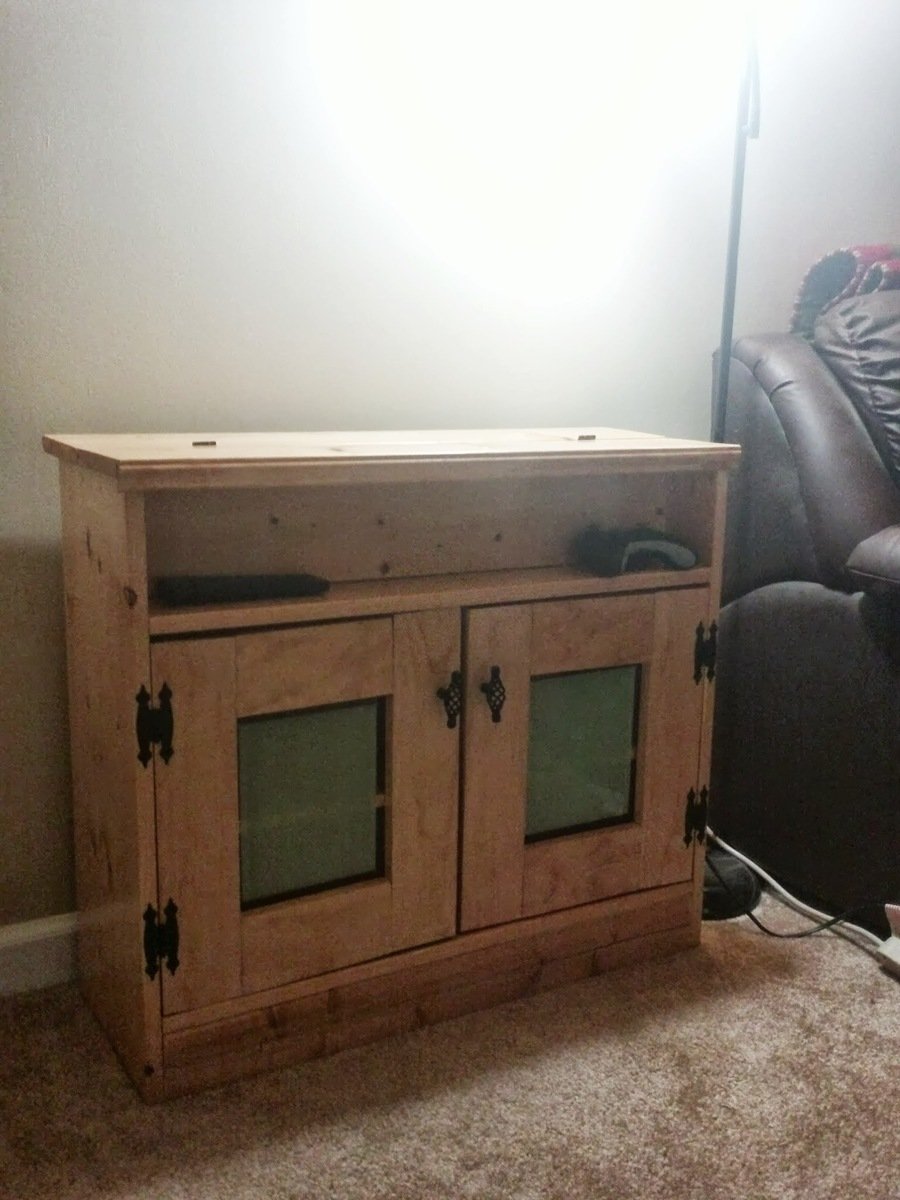
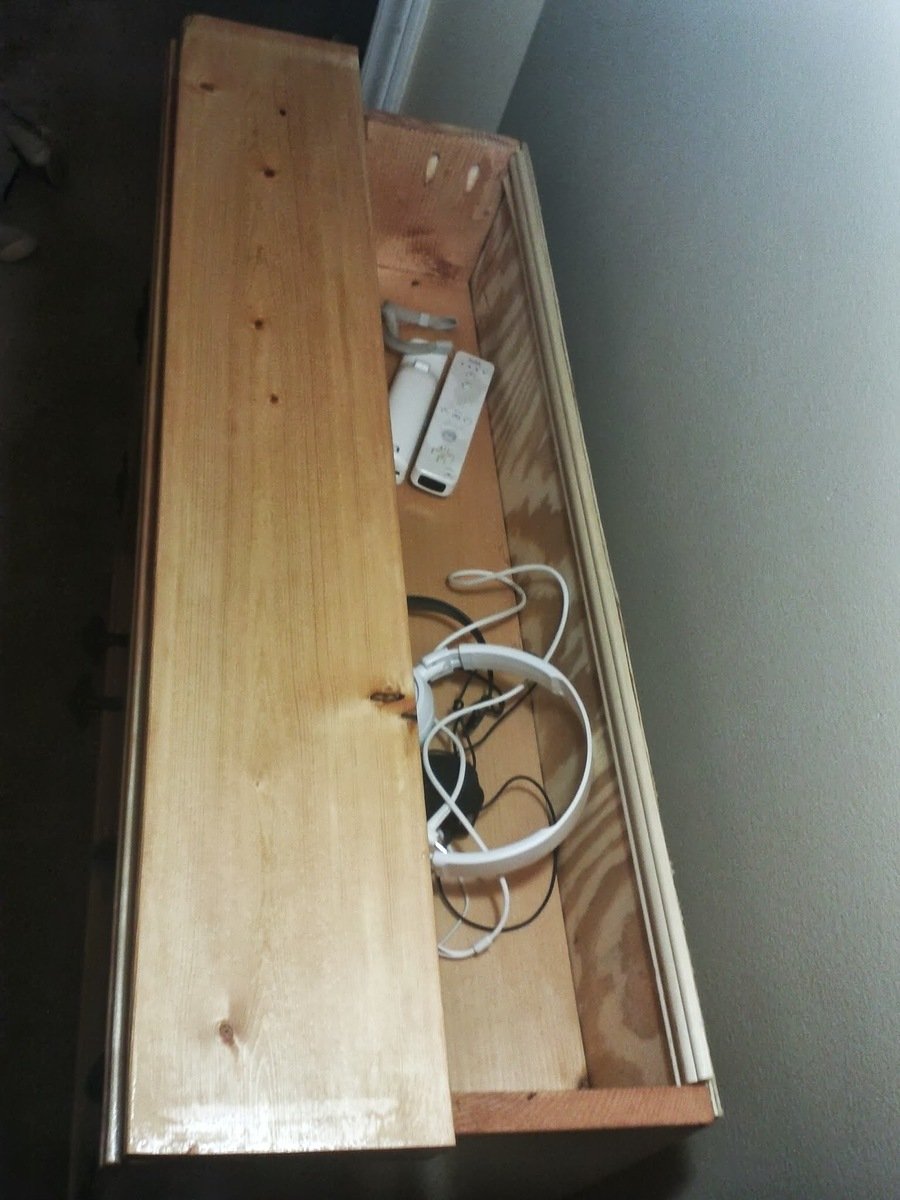
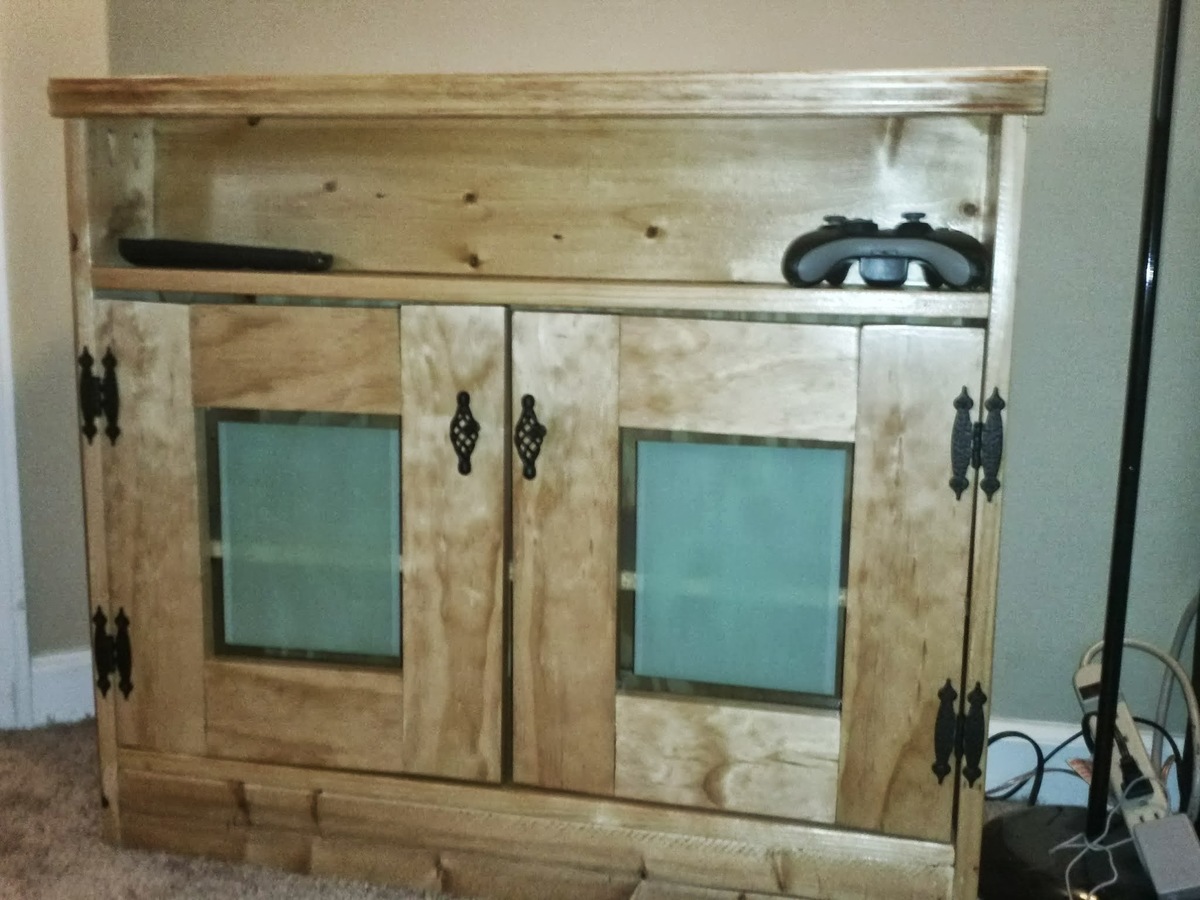
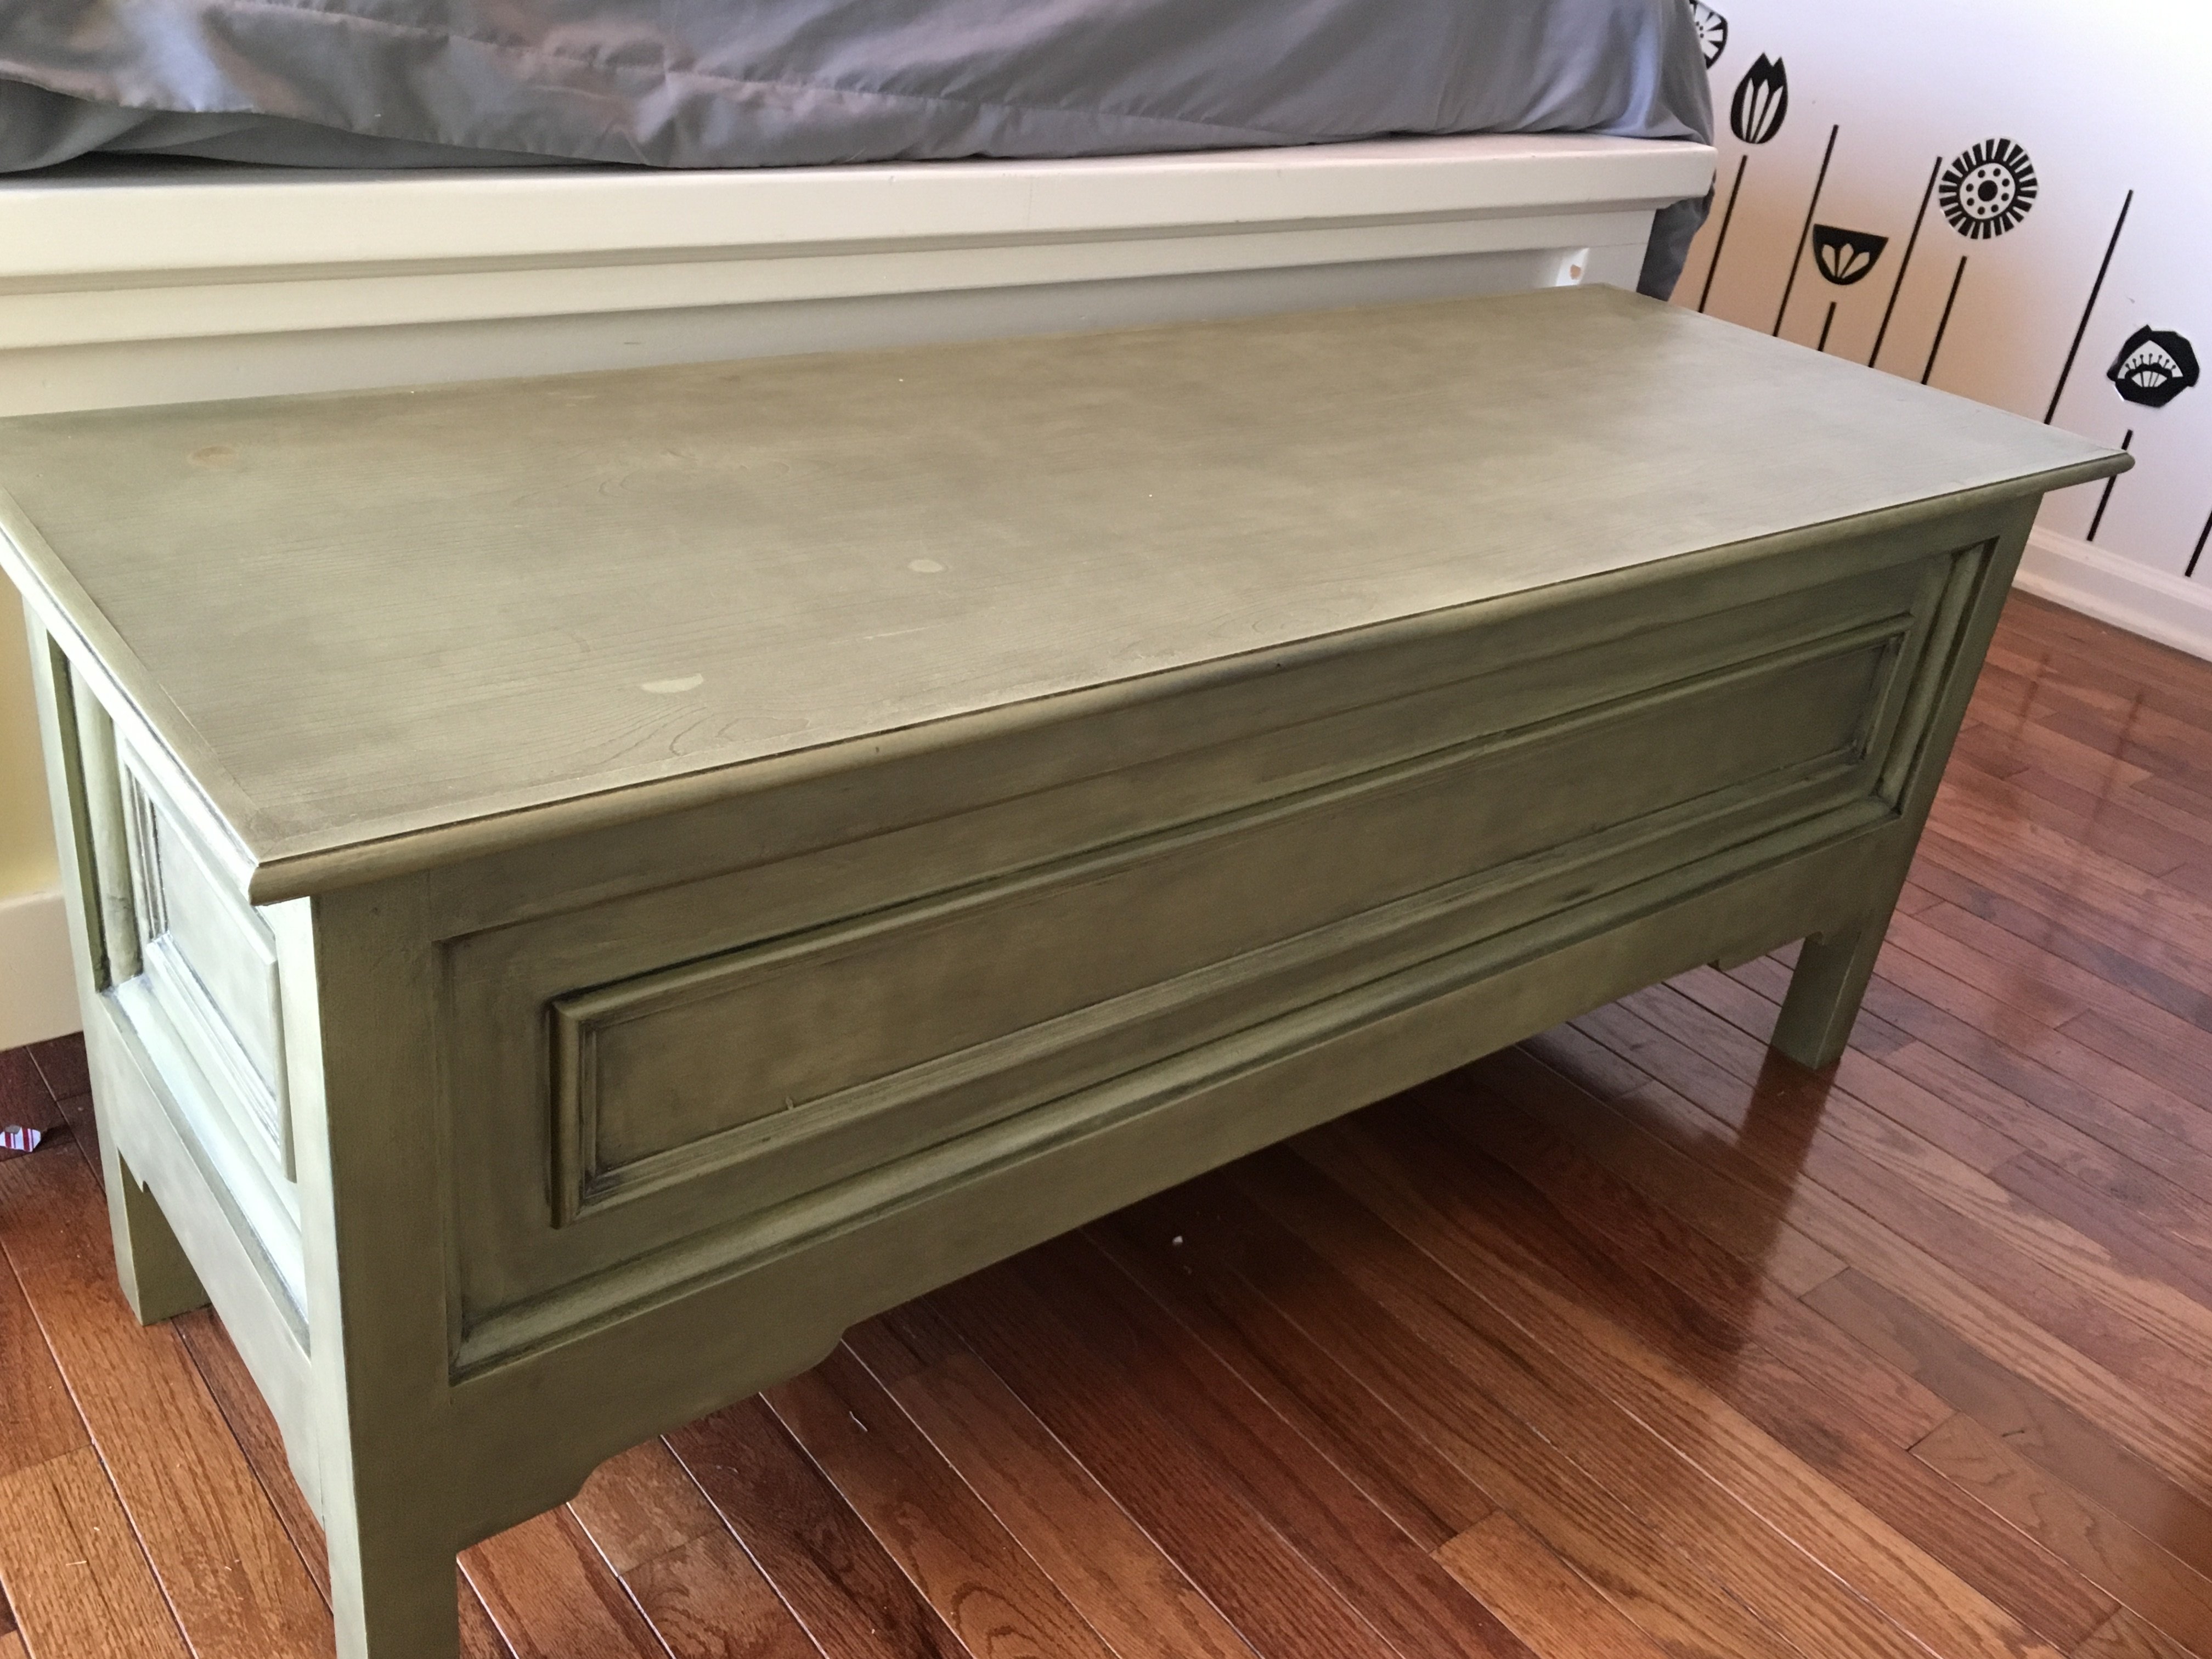
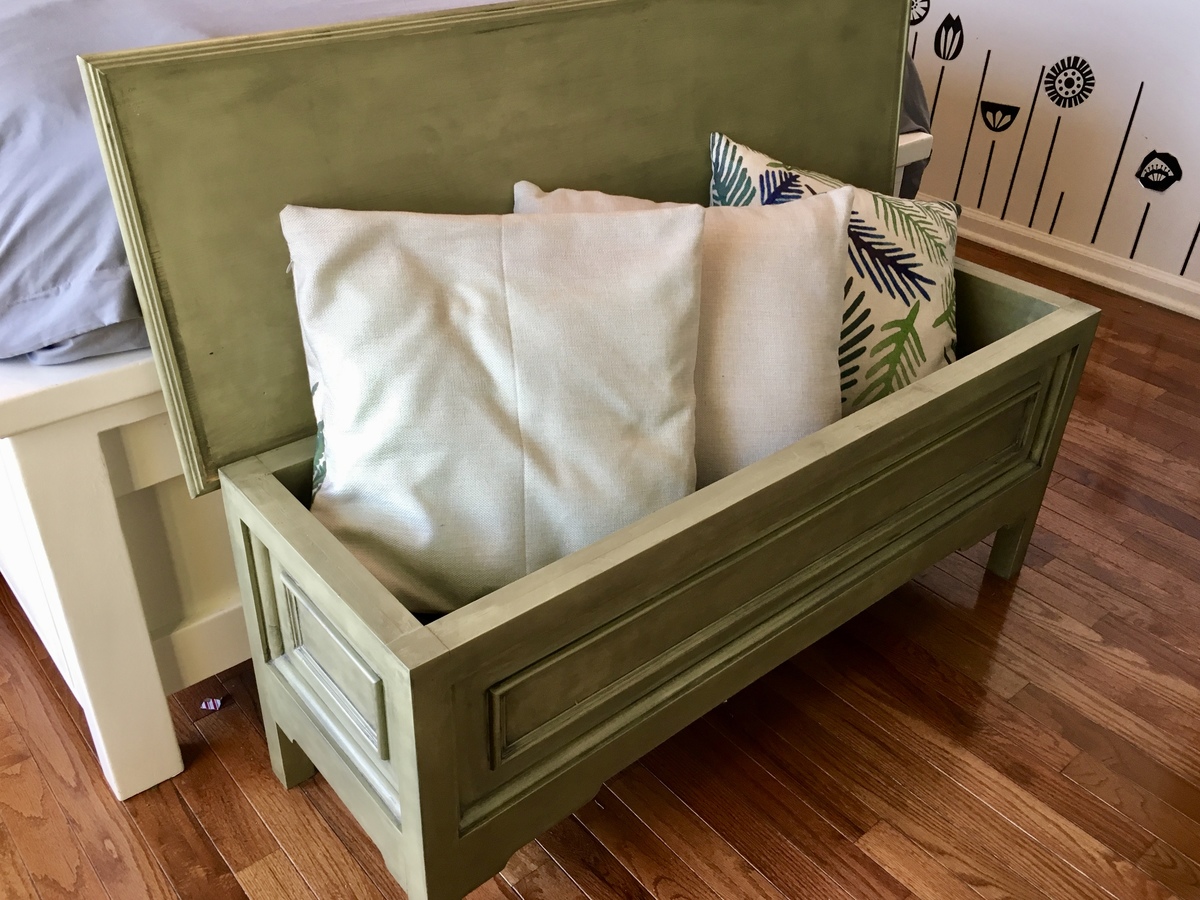
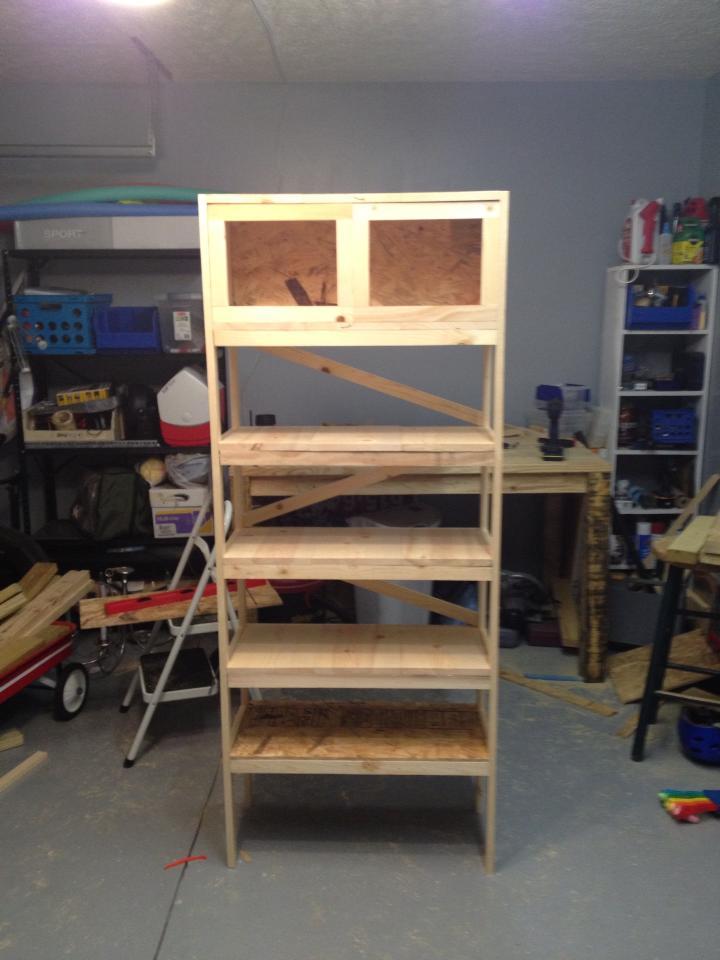
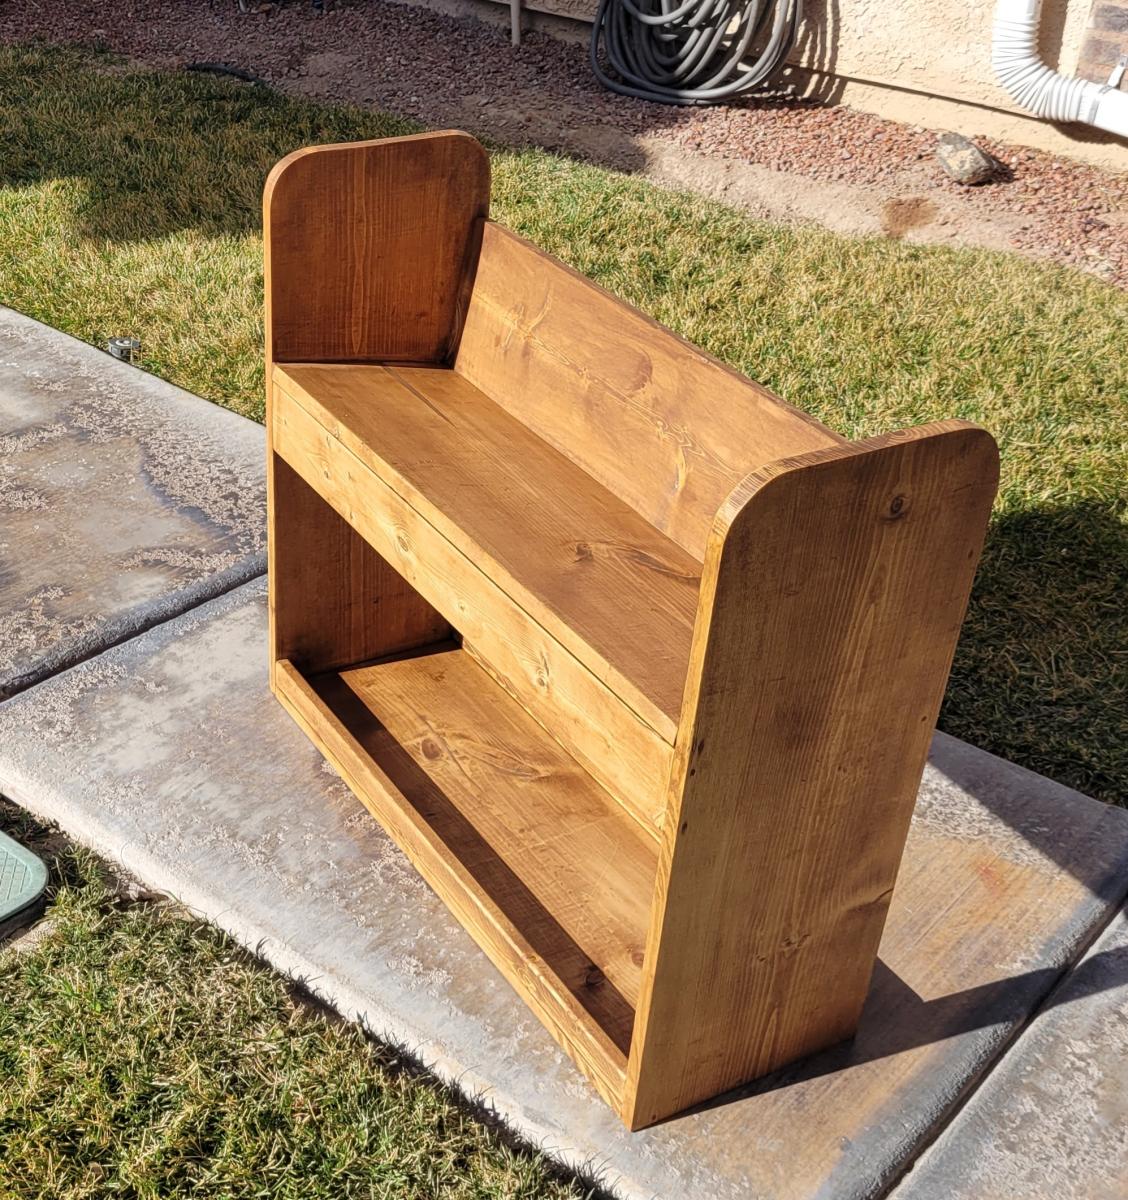
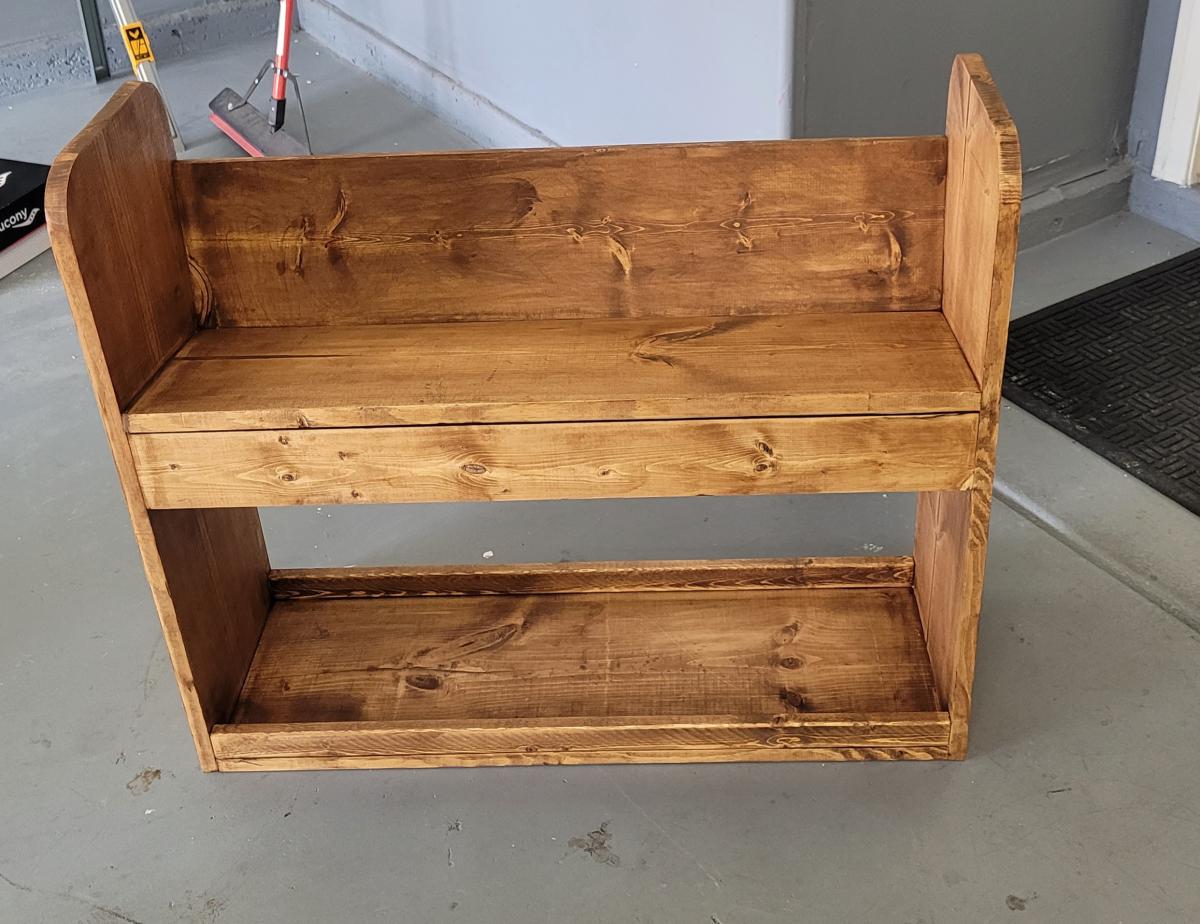
We loved Ana's charging table, but didn't think we needed the holes for charging - what we really needed was just a side table to go next to our couch, but one with storage capacity (hence the shelves behind the doors on the bottom) and a place to put the remotes and game controllers for the TV (hence the shelf at the top). We decided to keep the "secret" compartment on top that flips up, like in the original plans, for storing messy things with cords like the headphones that you can see in the picture.
We also decided to replace the solid wood doors with a glass pane, and used glass paint to paint a square in the middle of the glass.
This was our very first - ever! - furniture-making project and we both really love how it came out. :-)