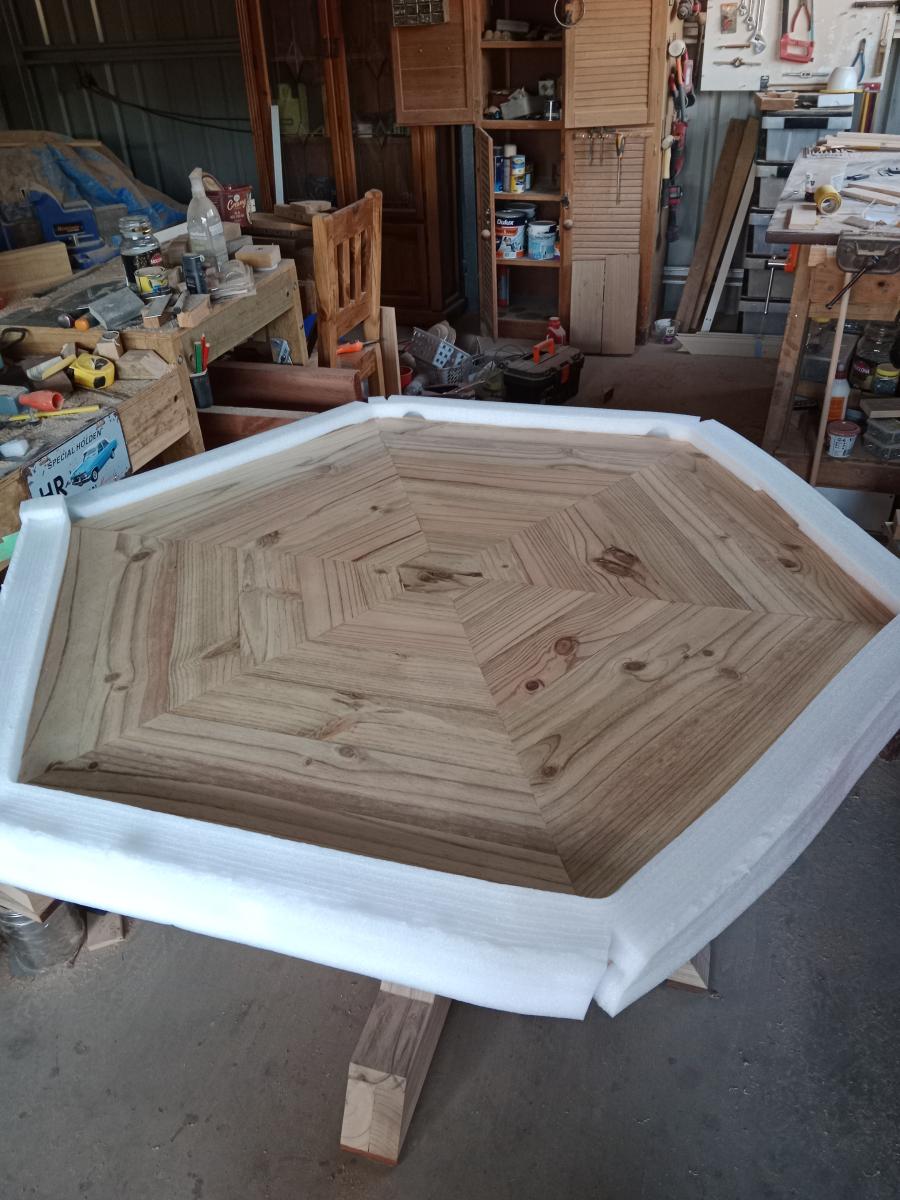
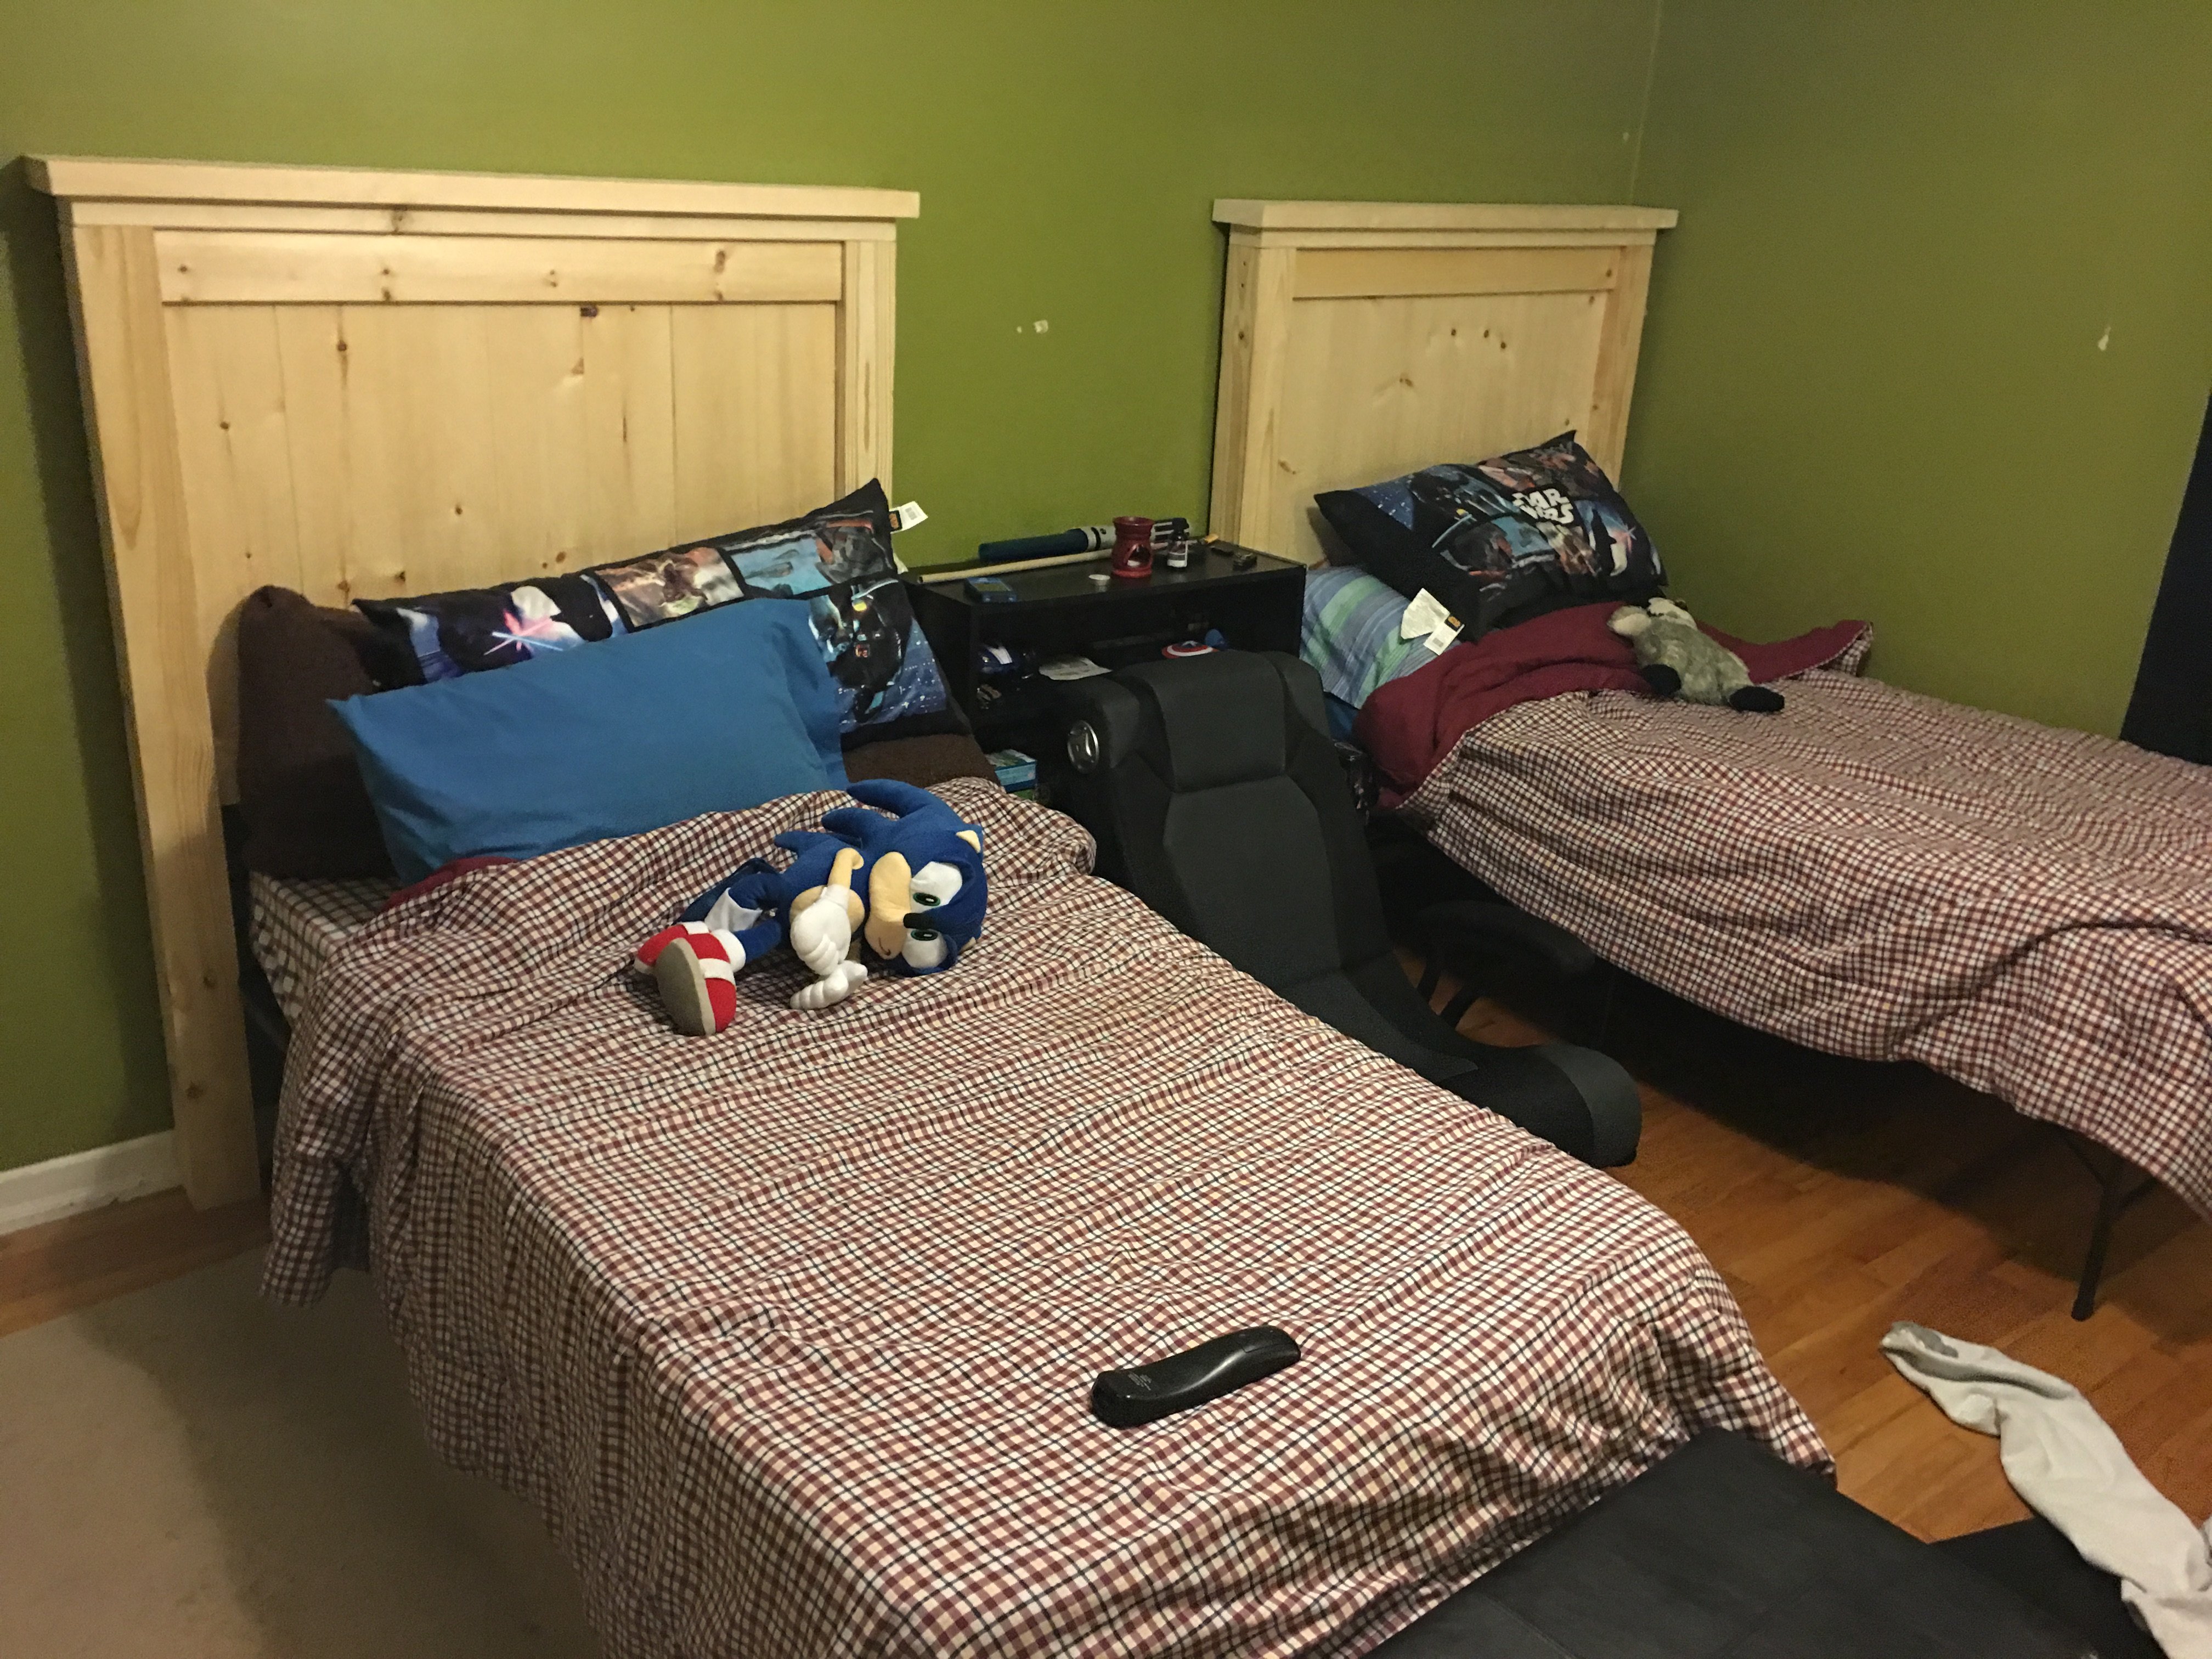
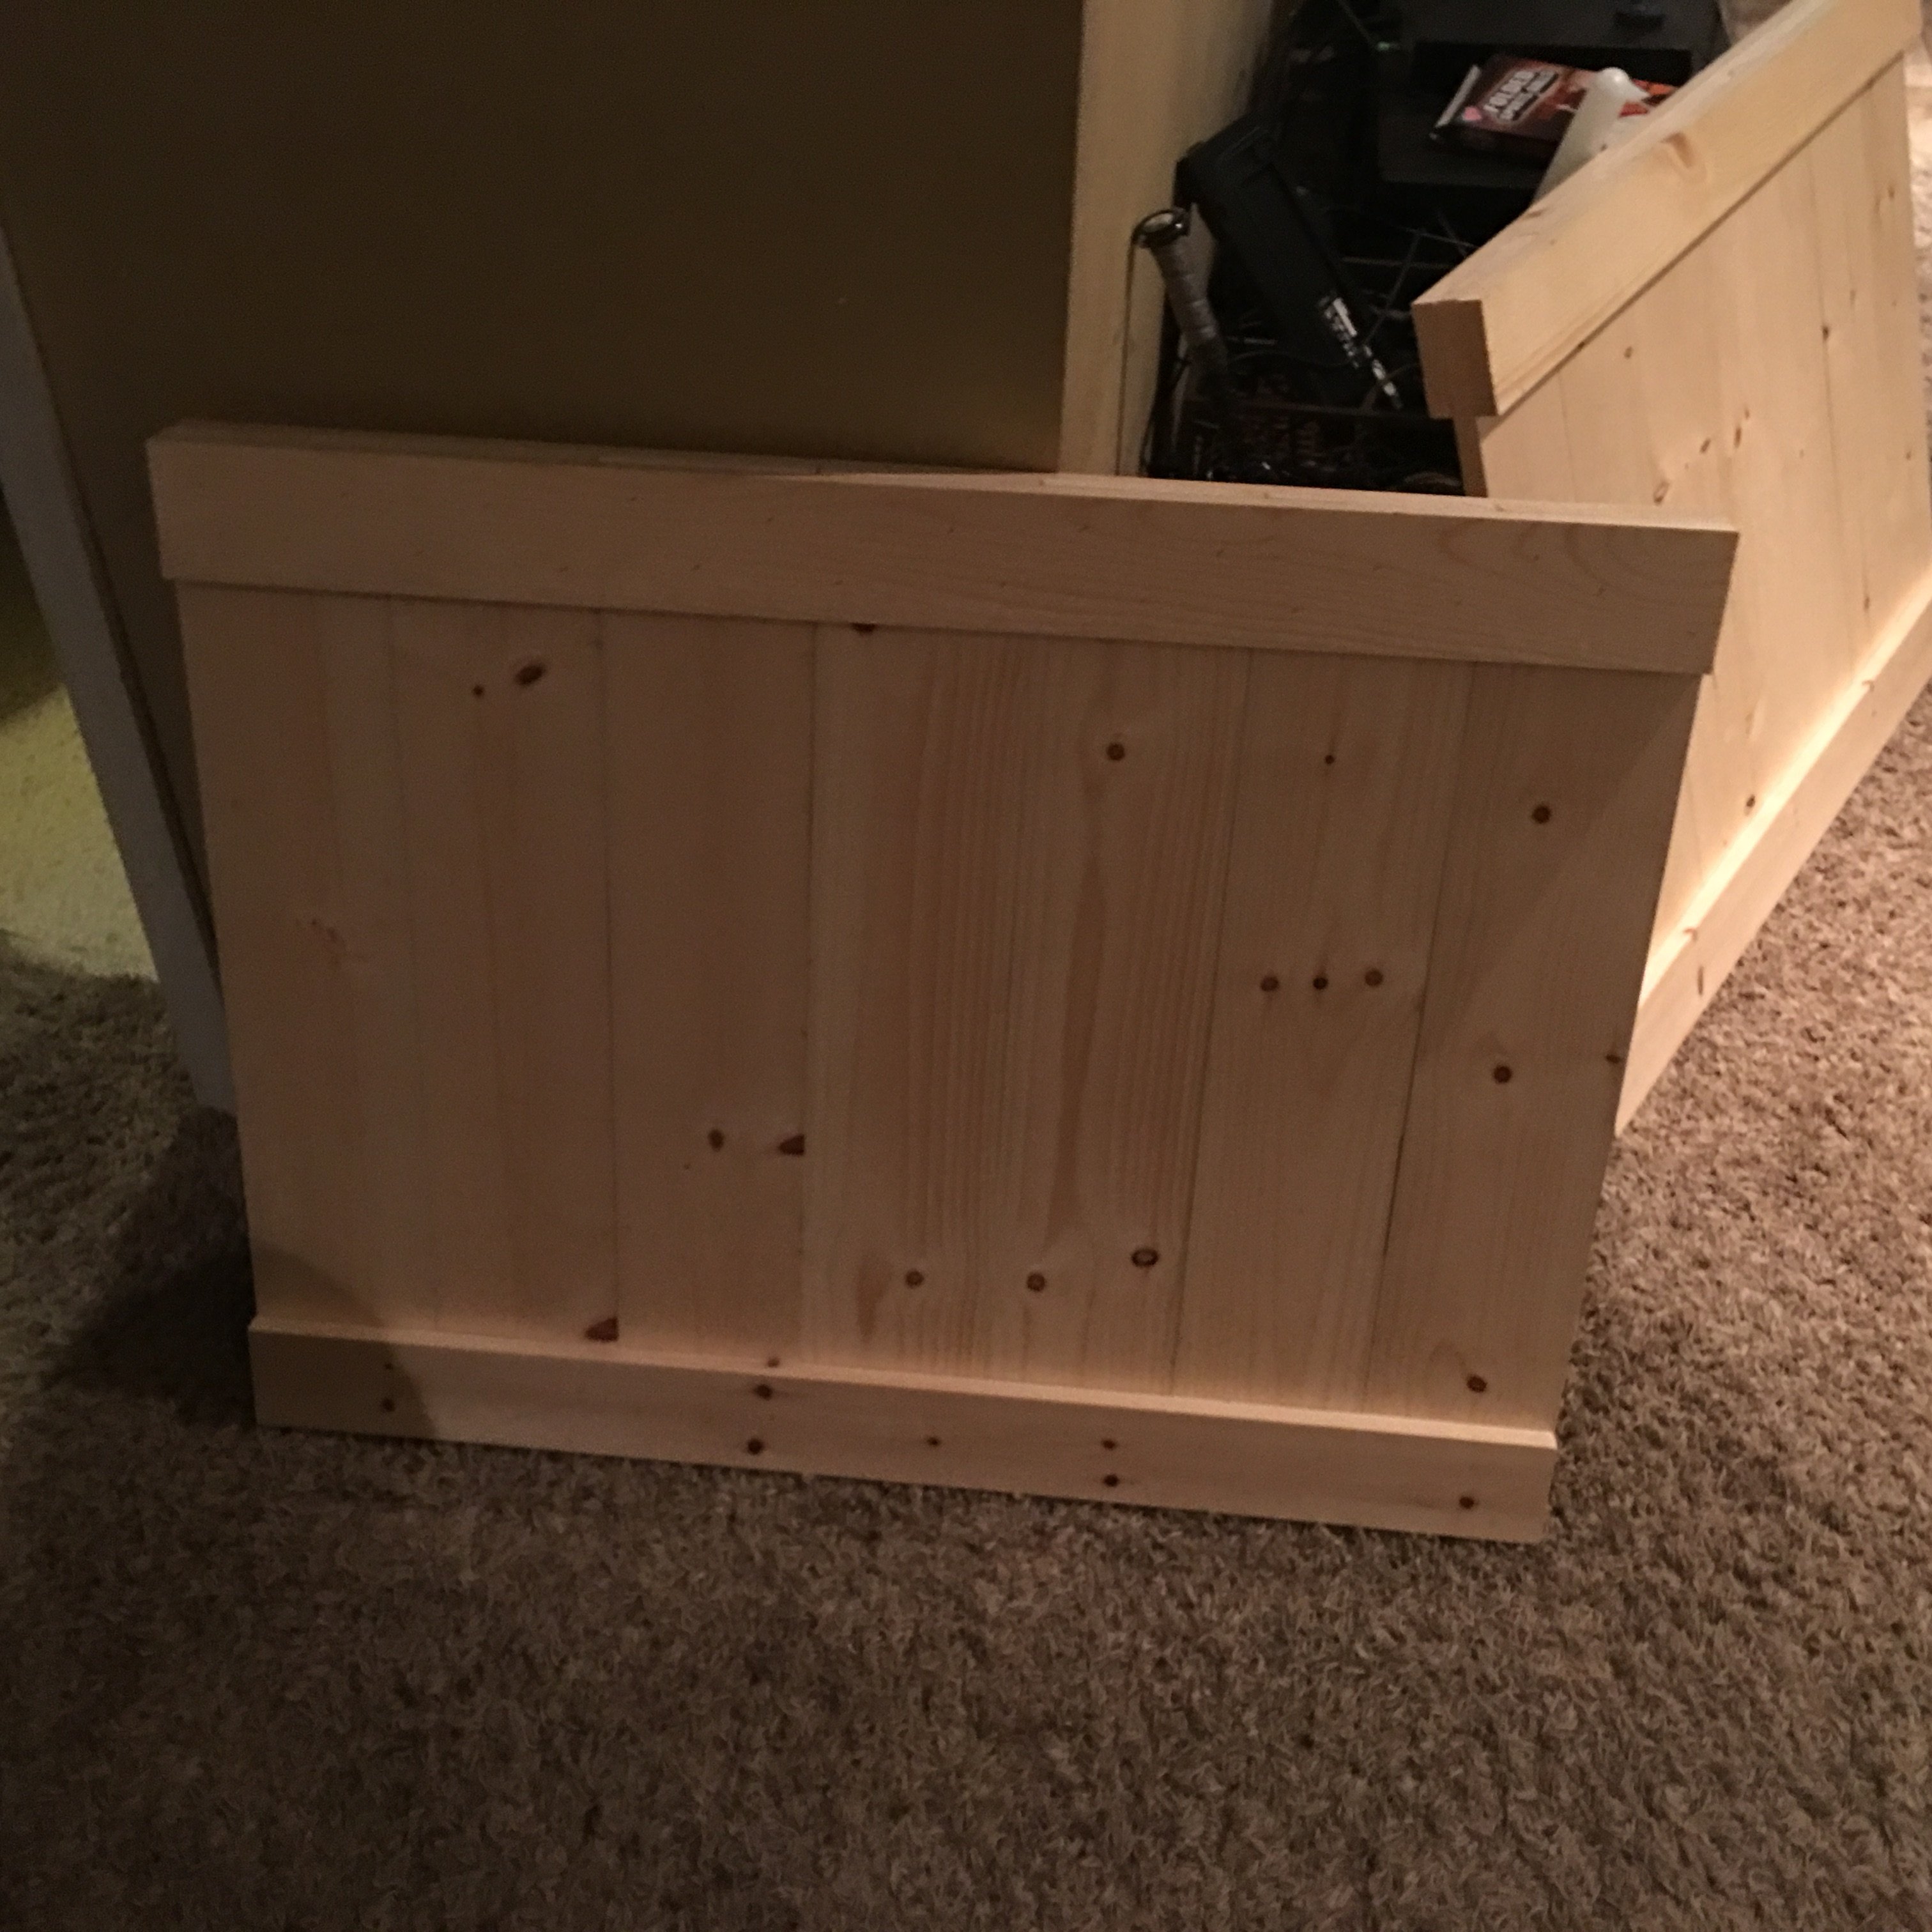
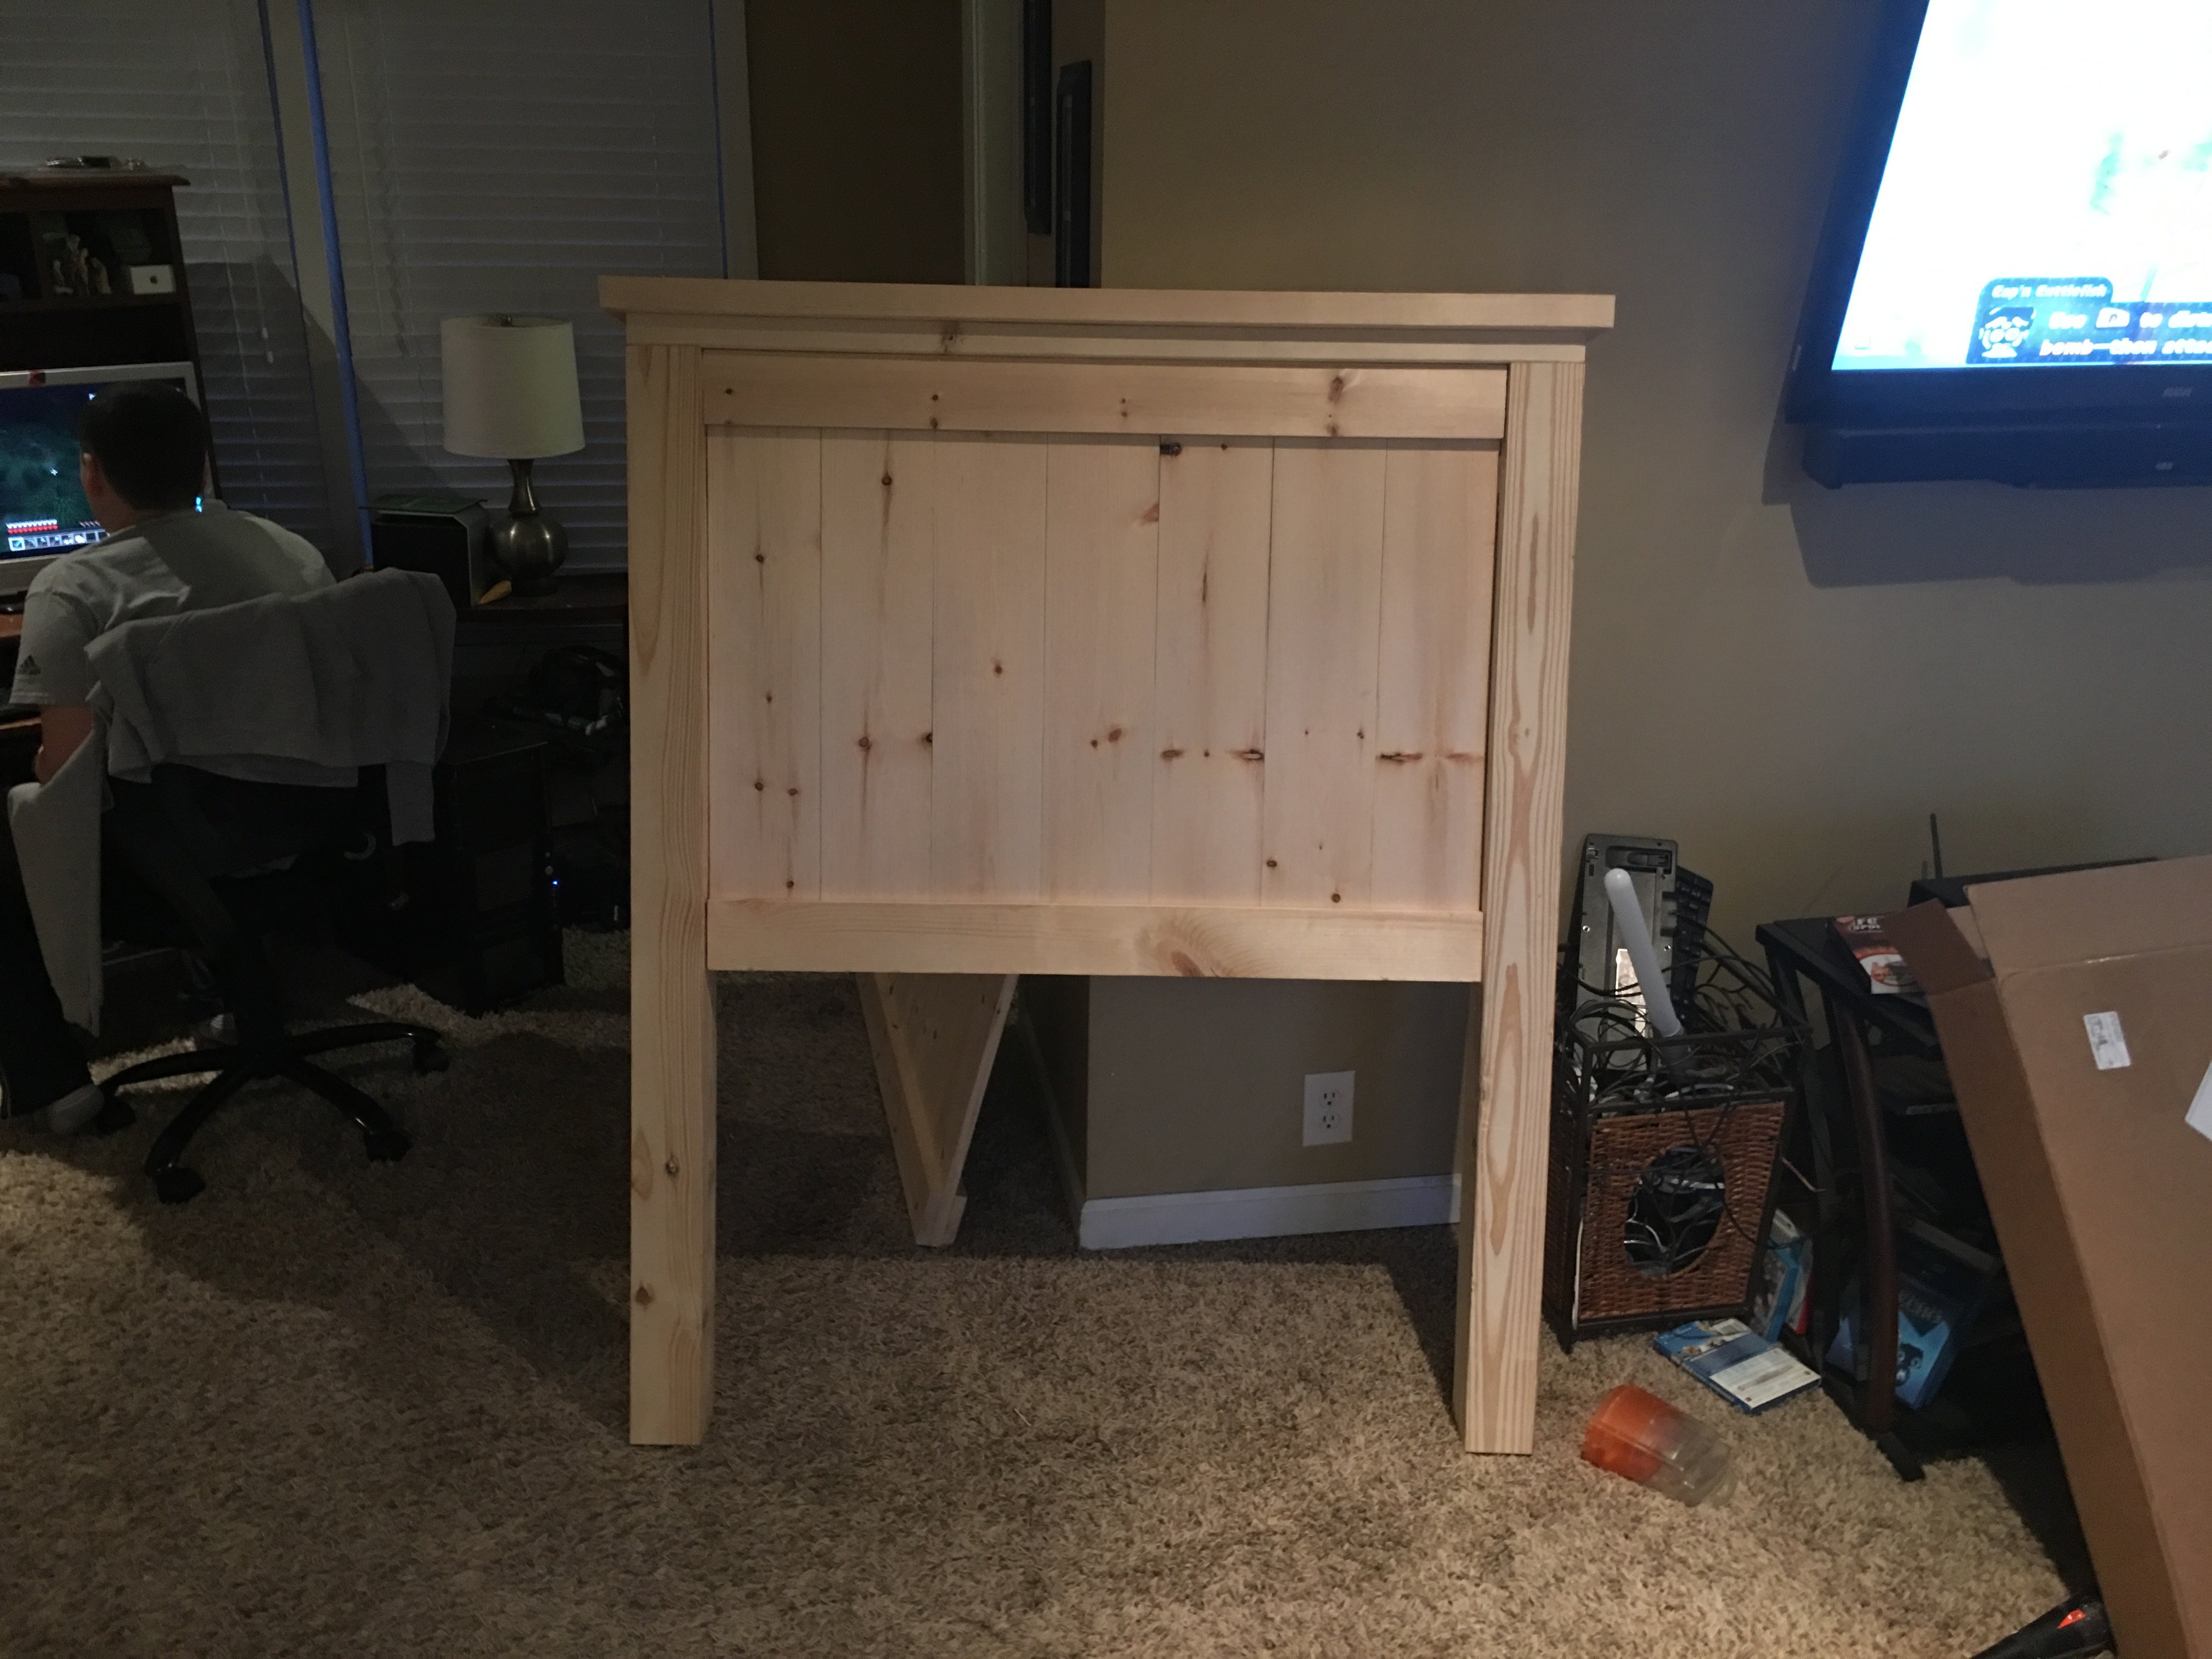
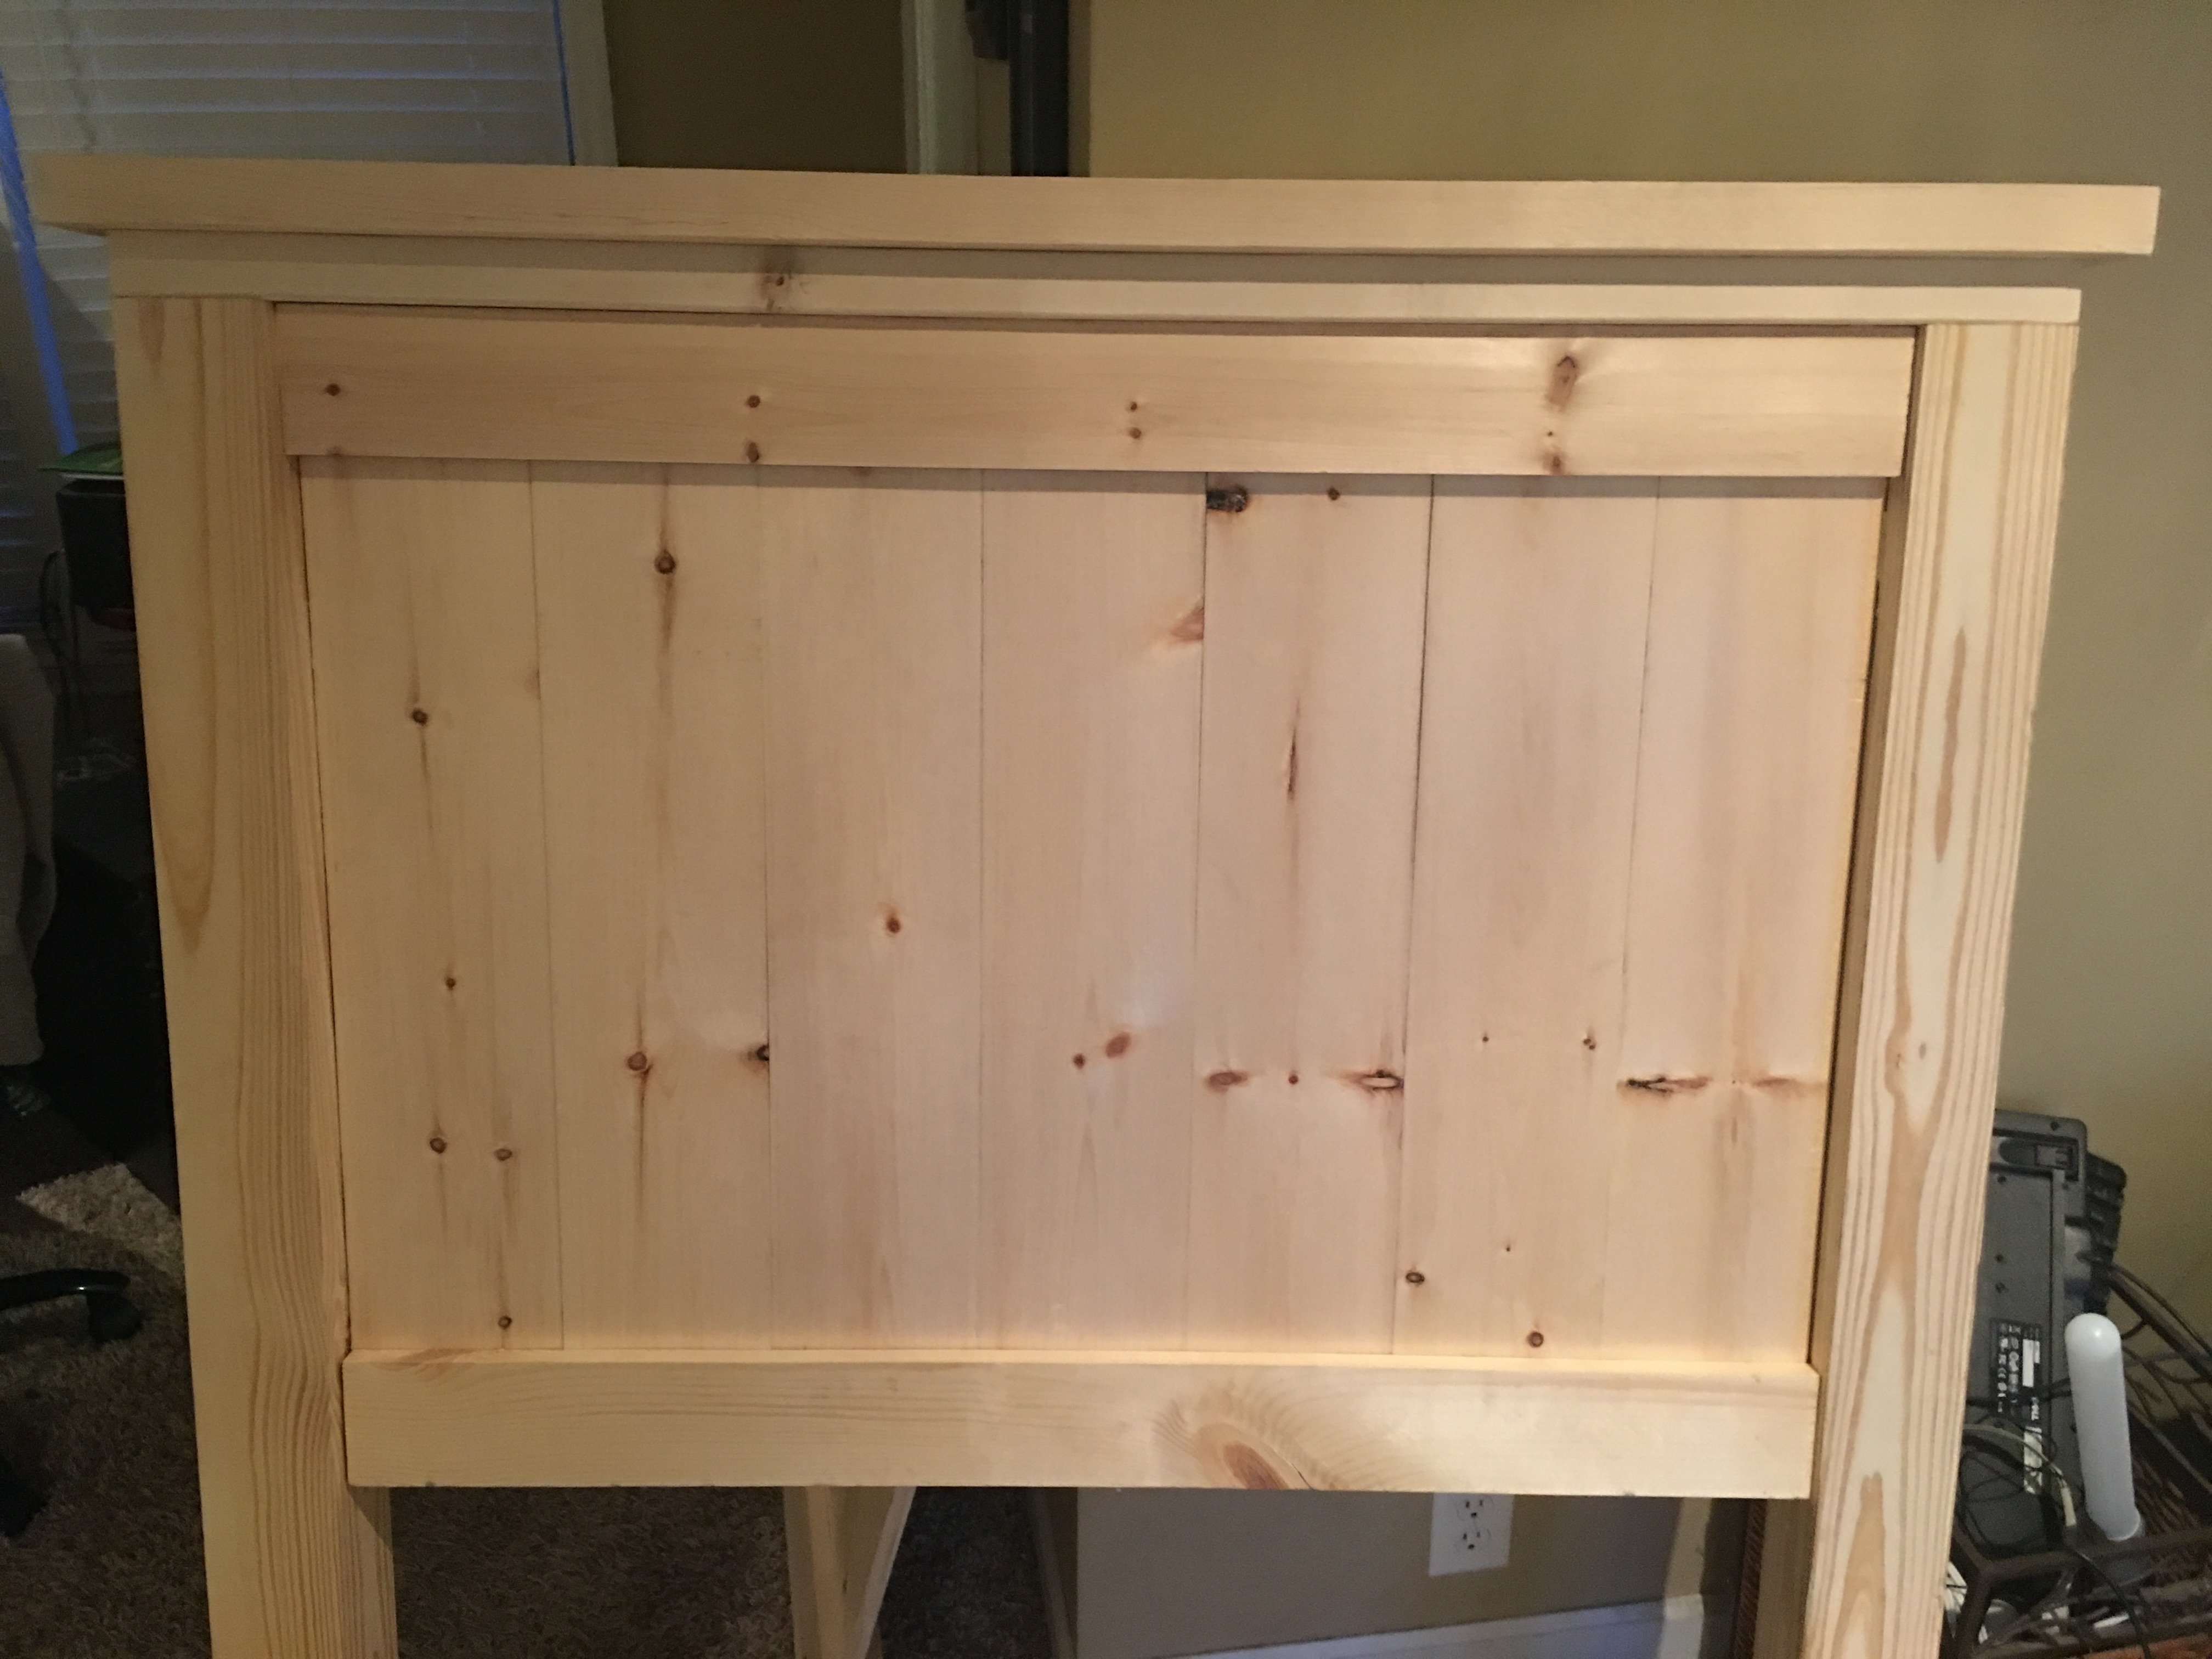
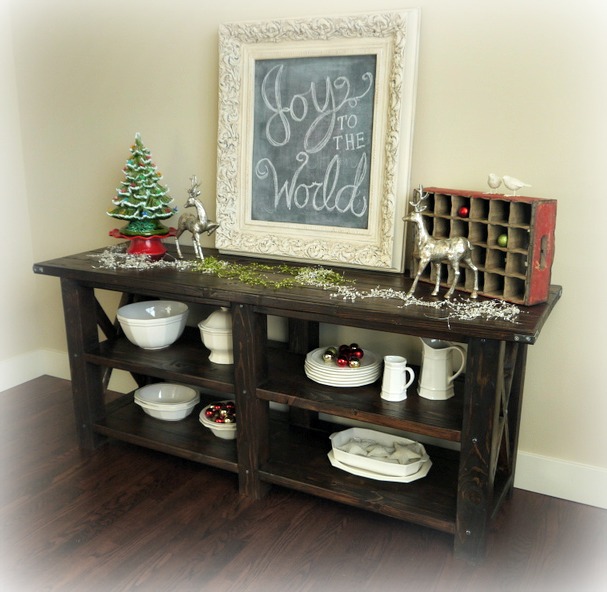
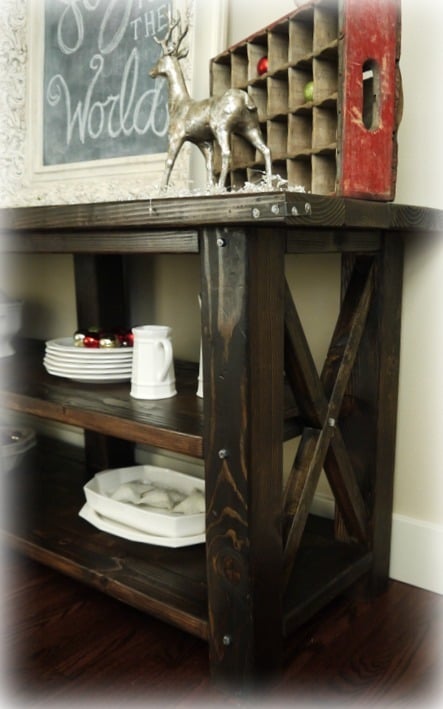
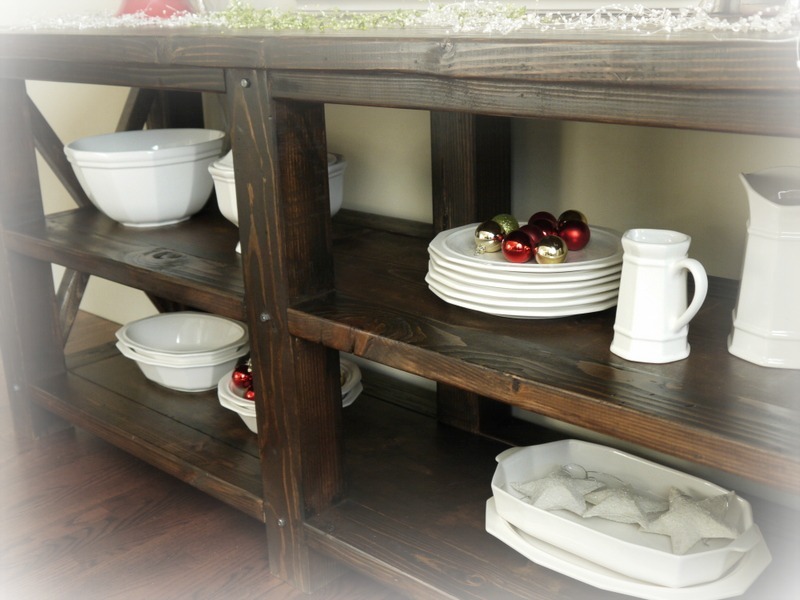
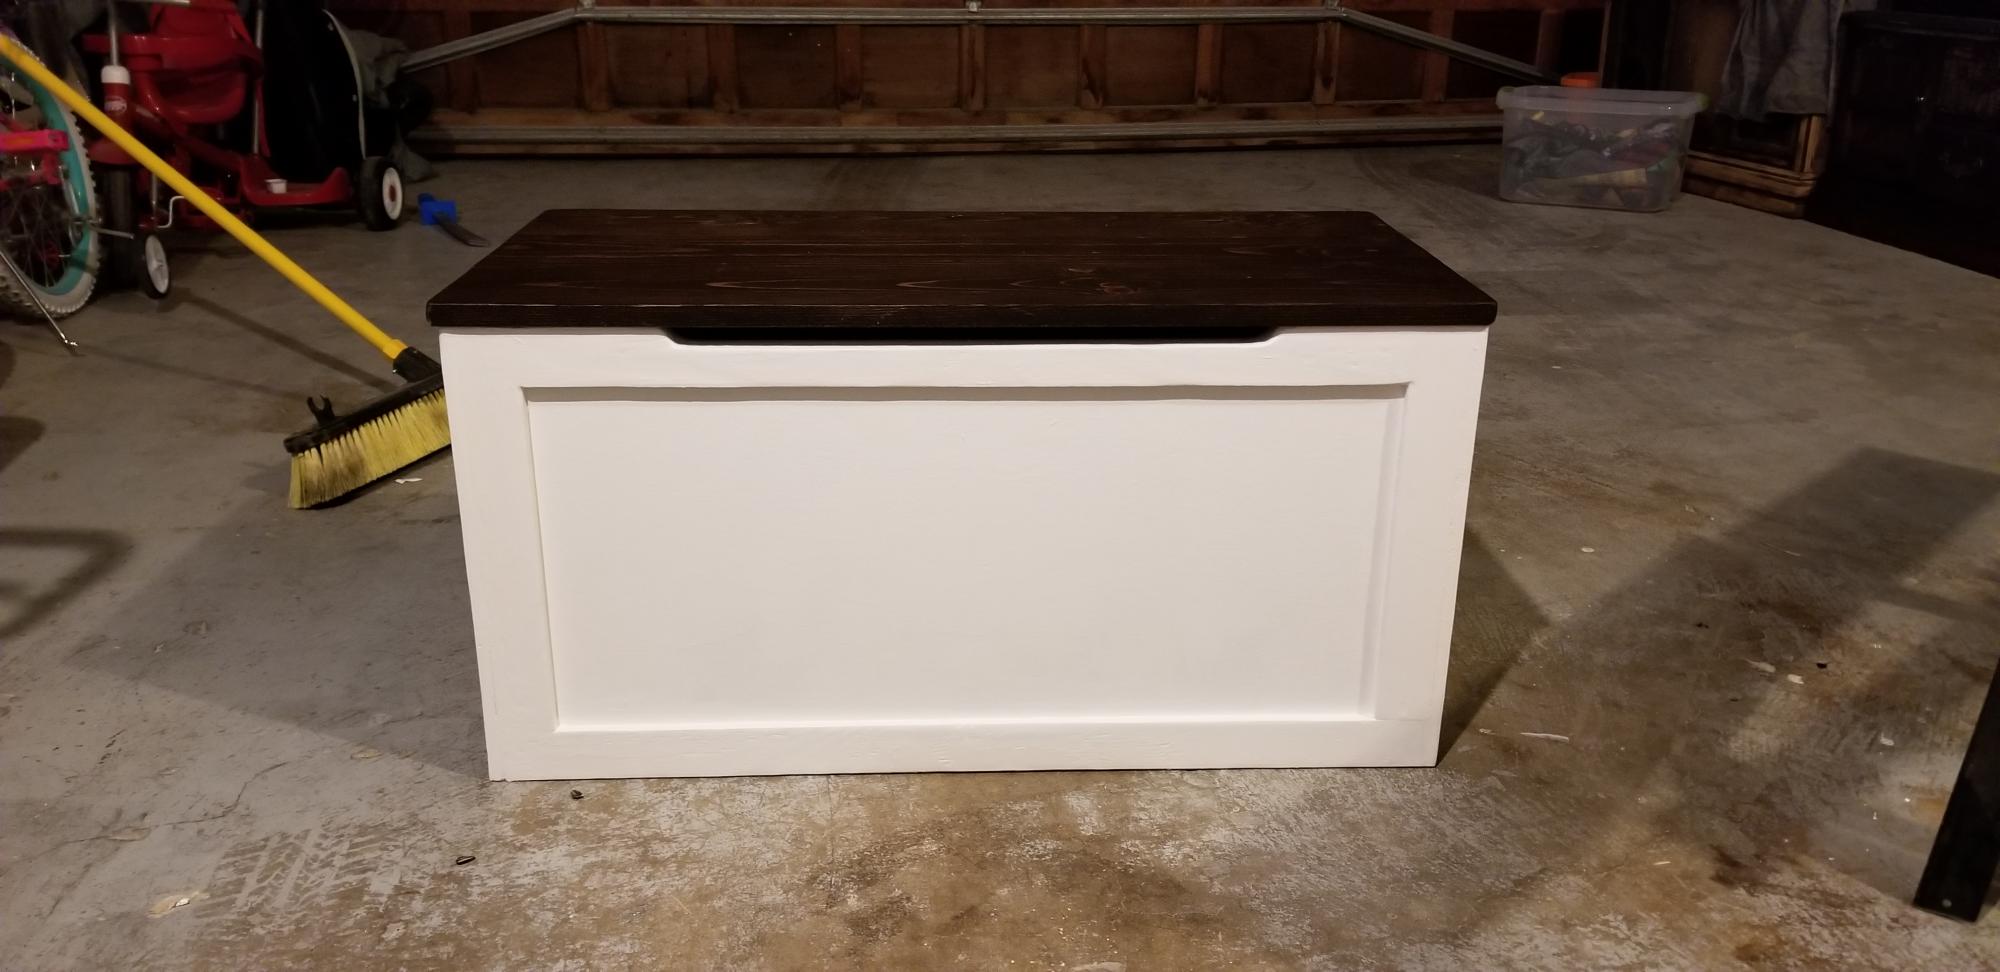
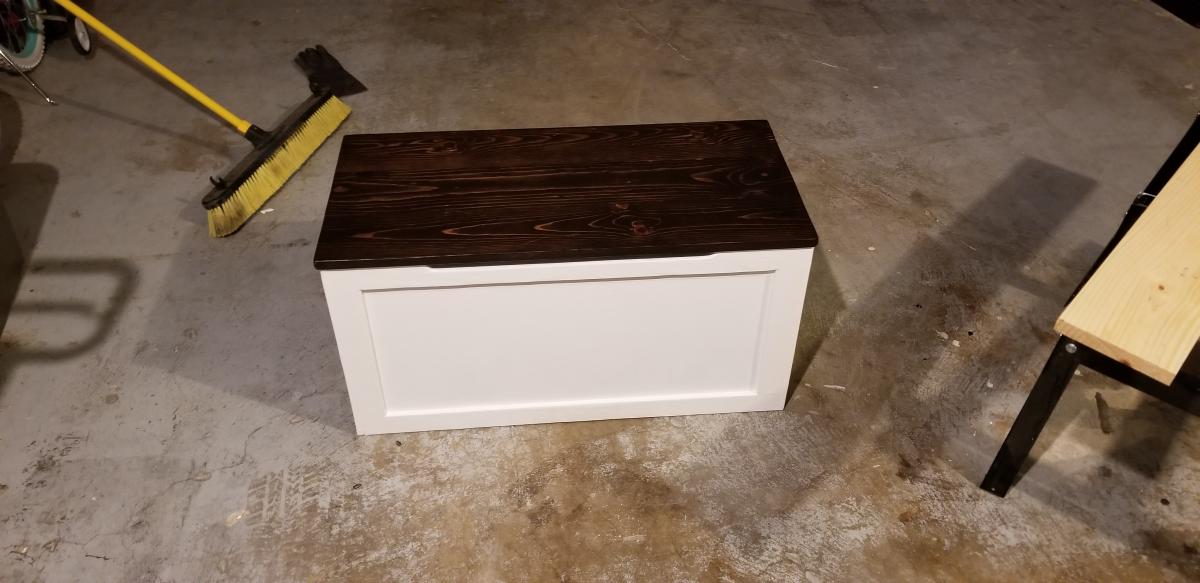
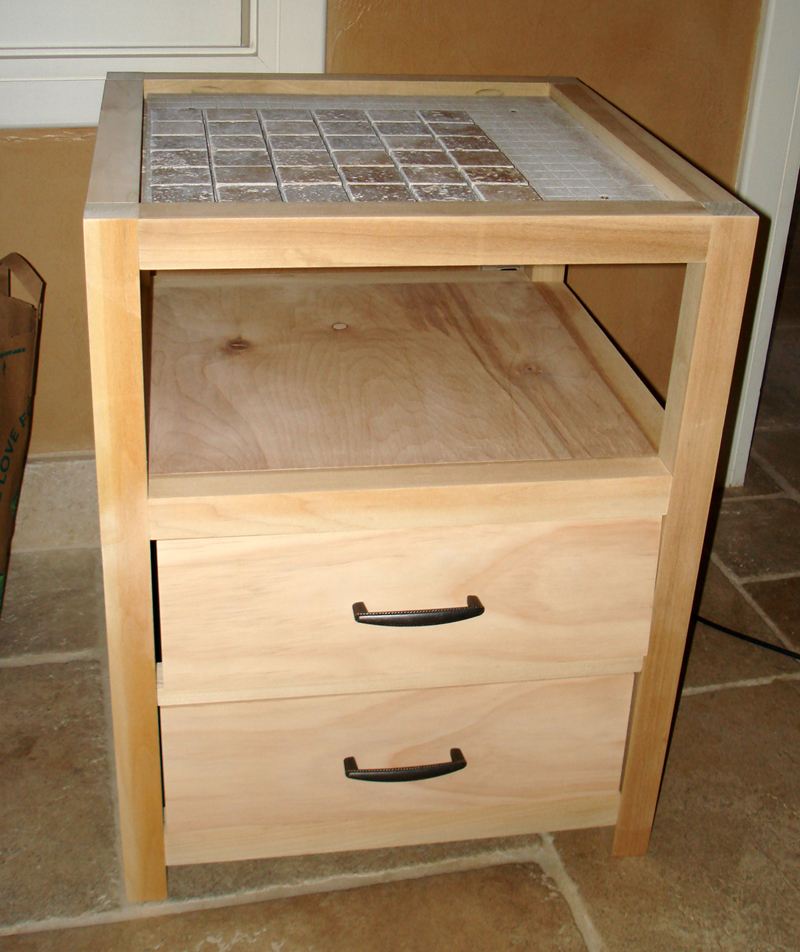
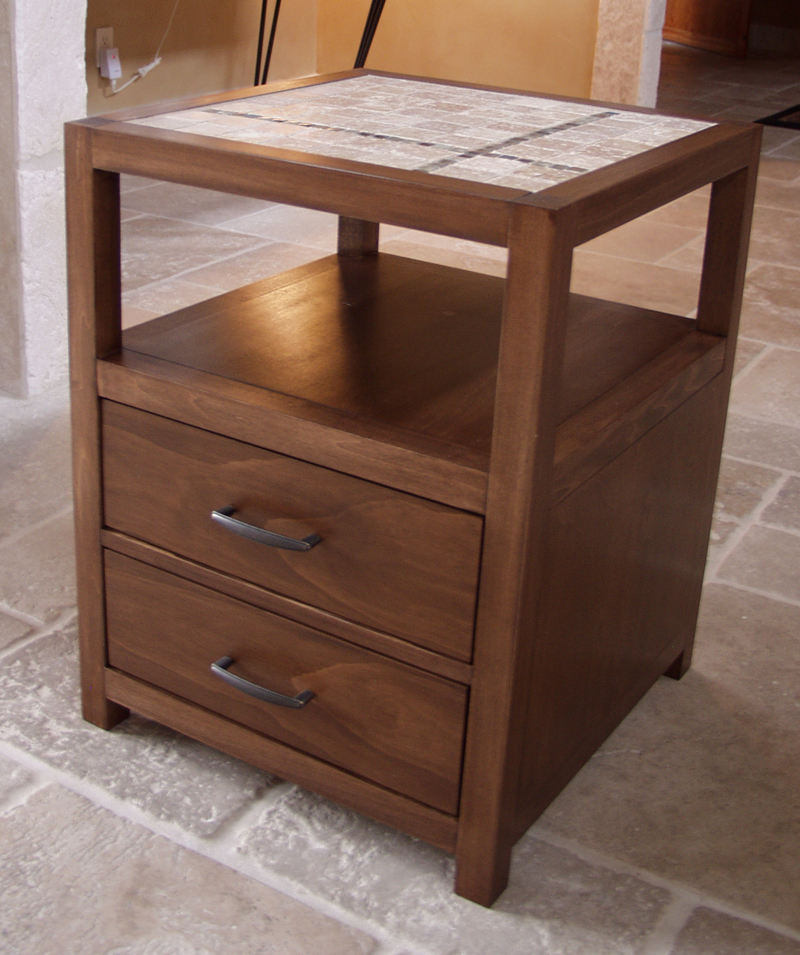
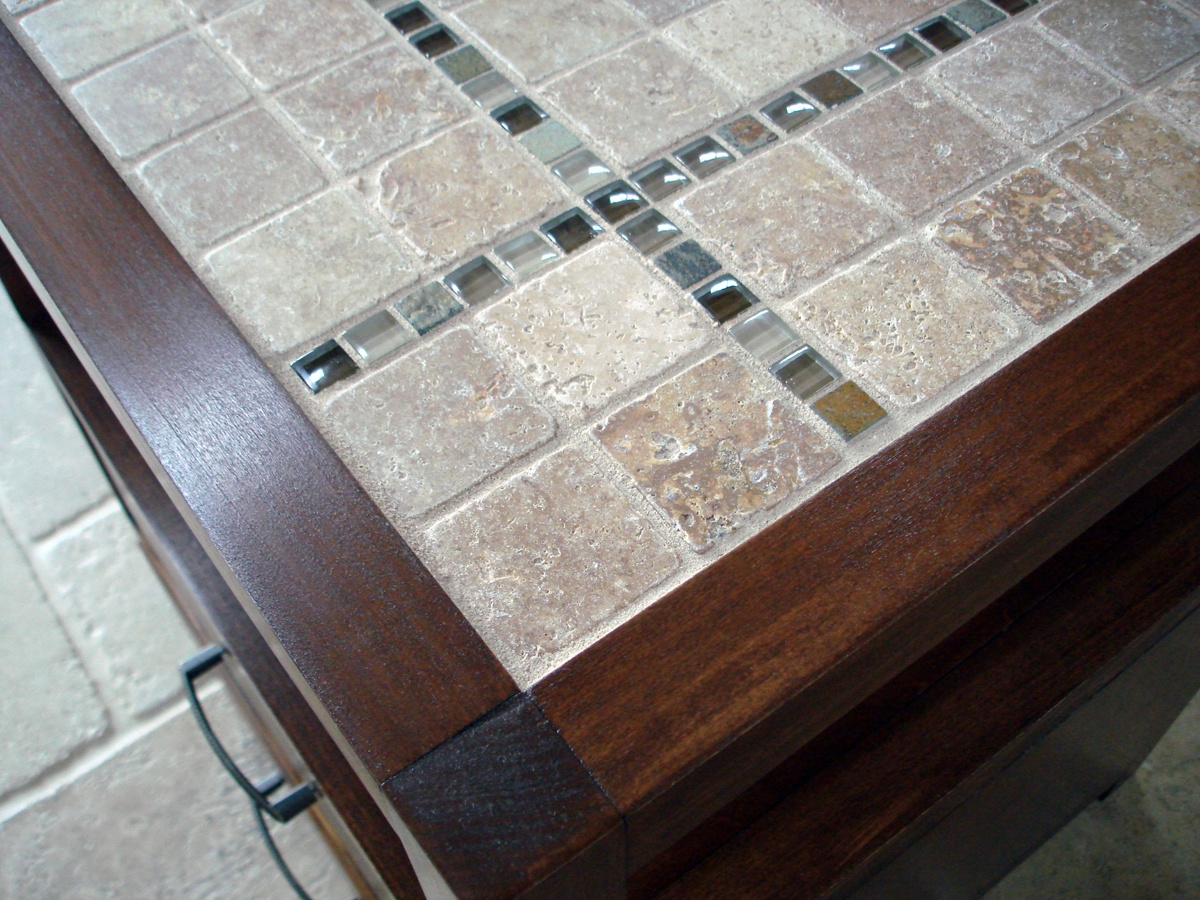
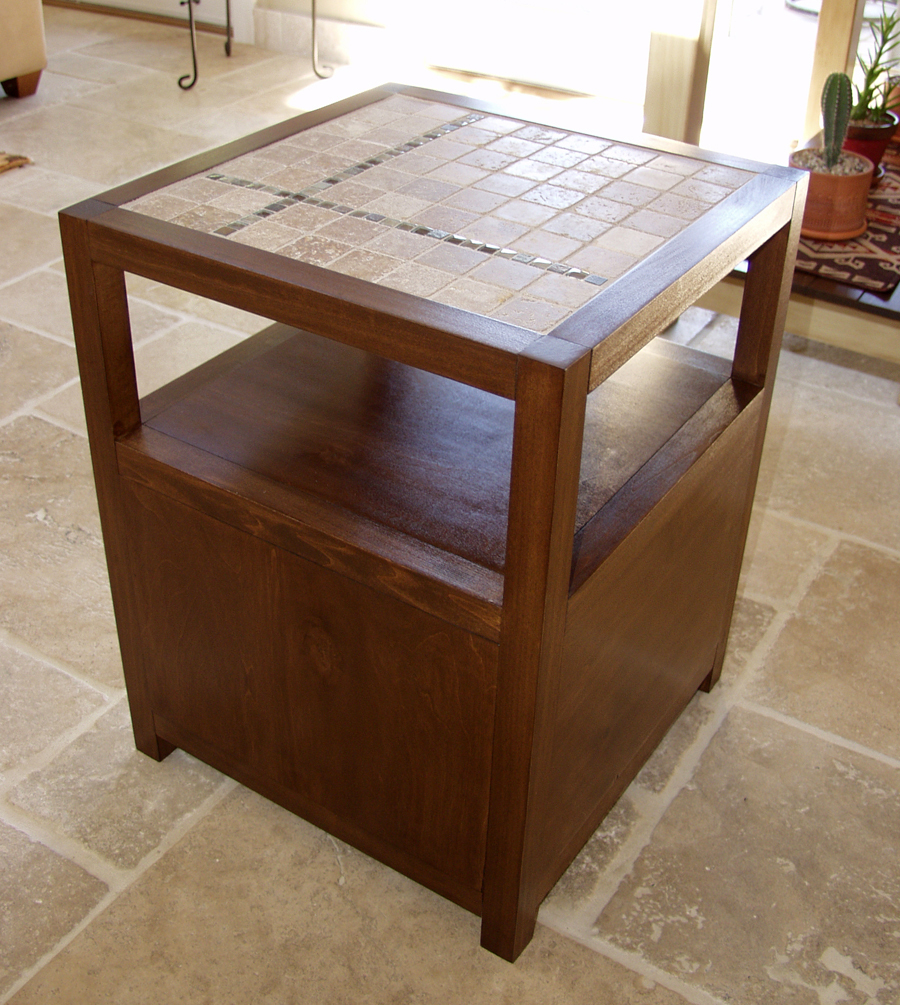
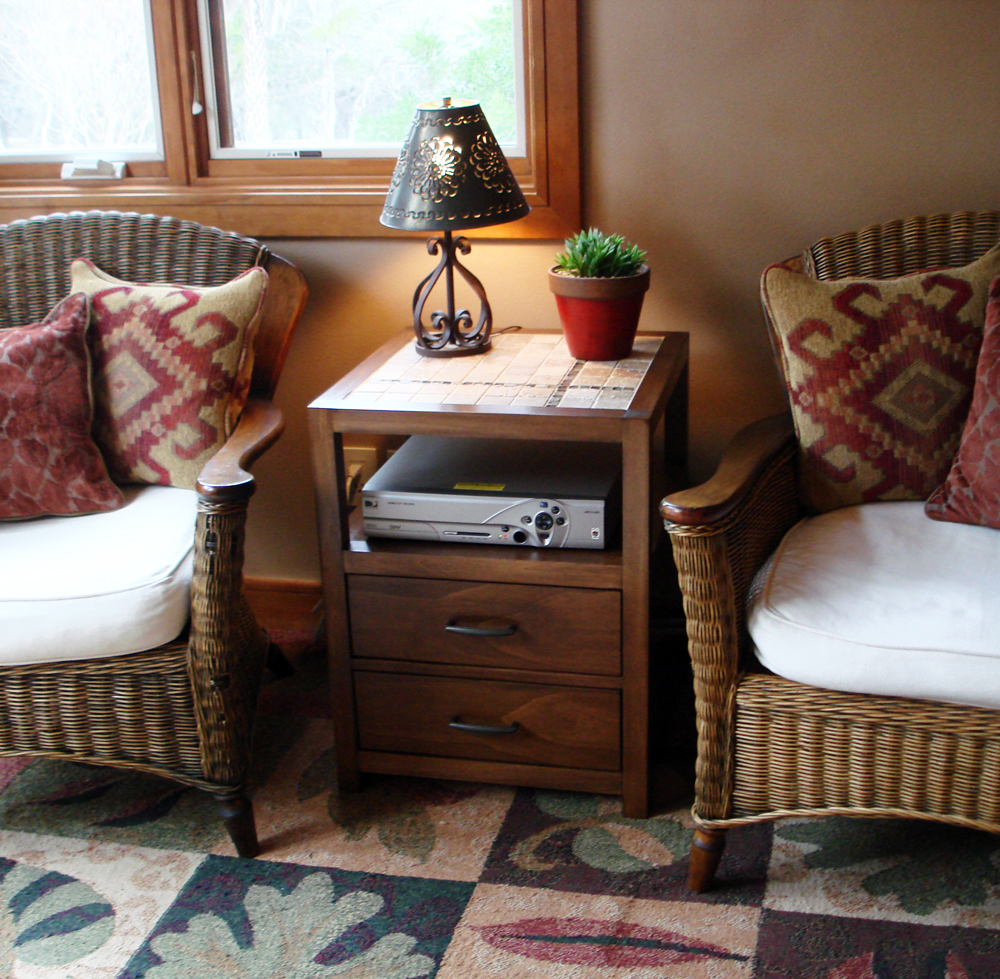
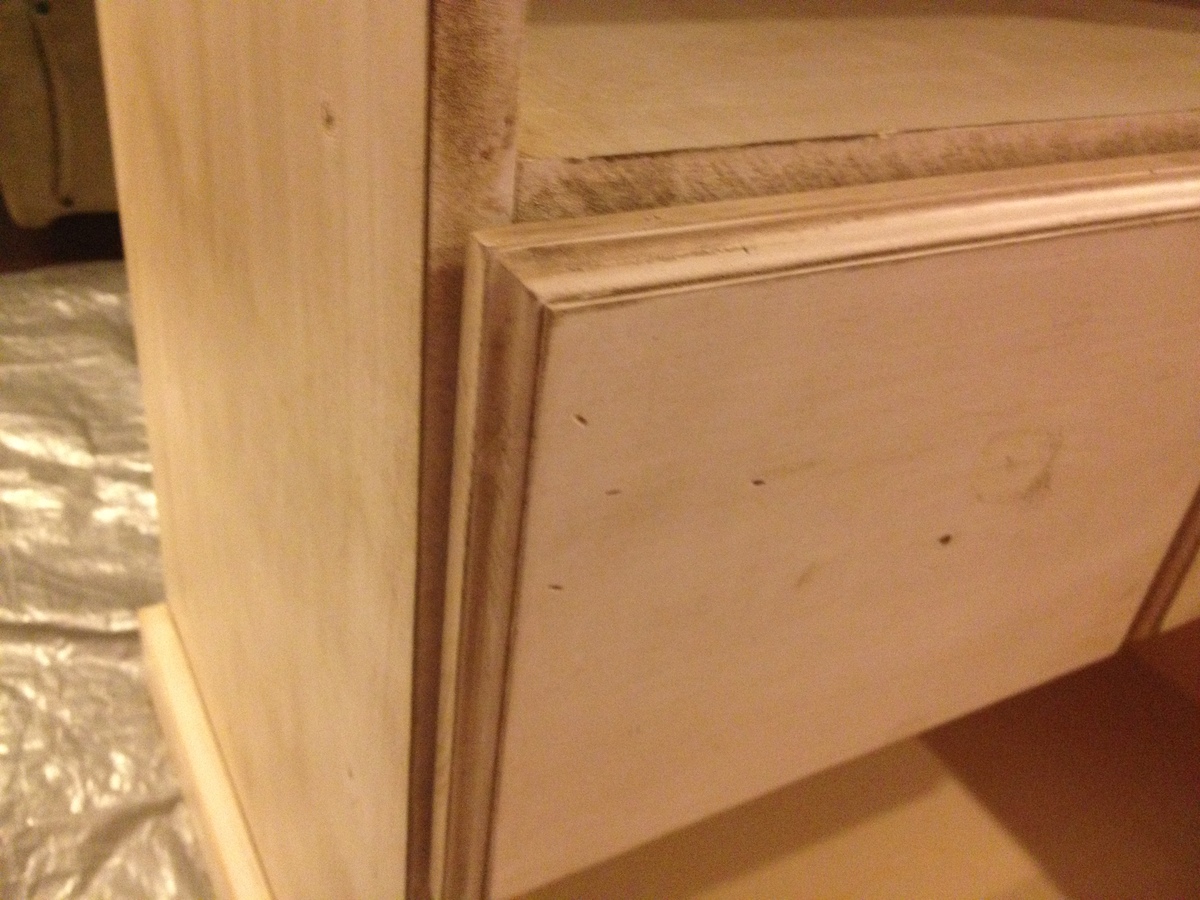
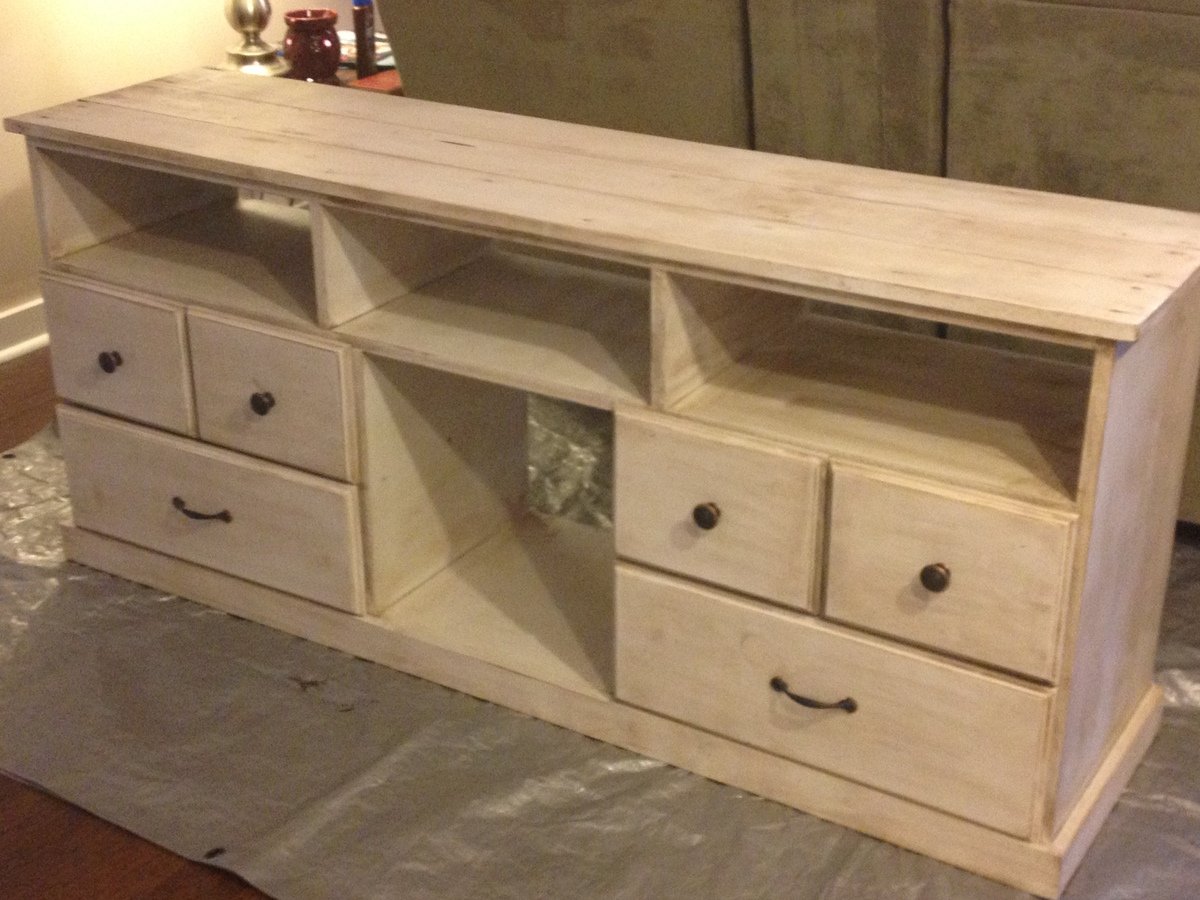
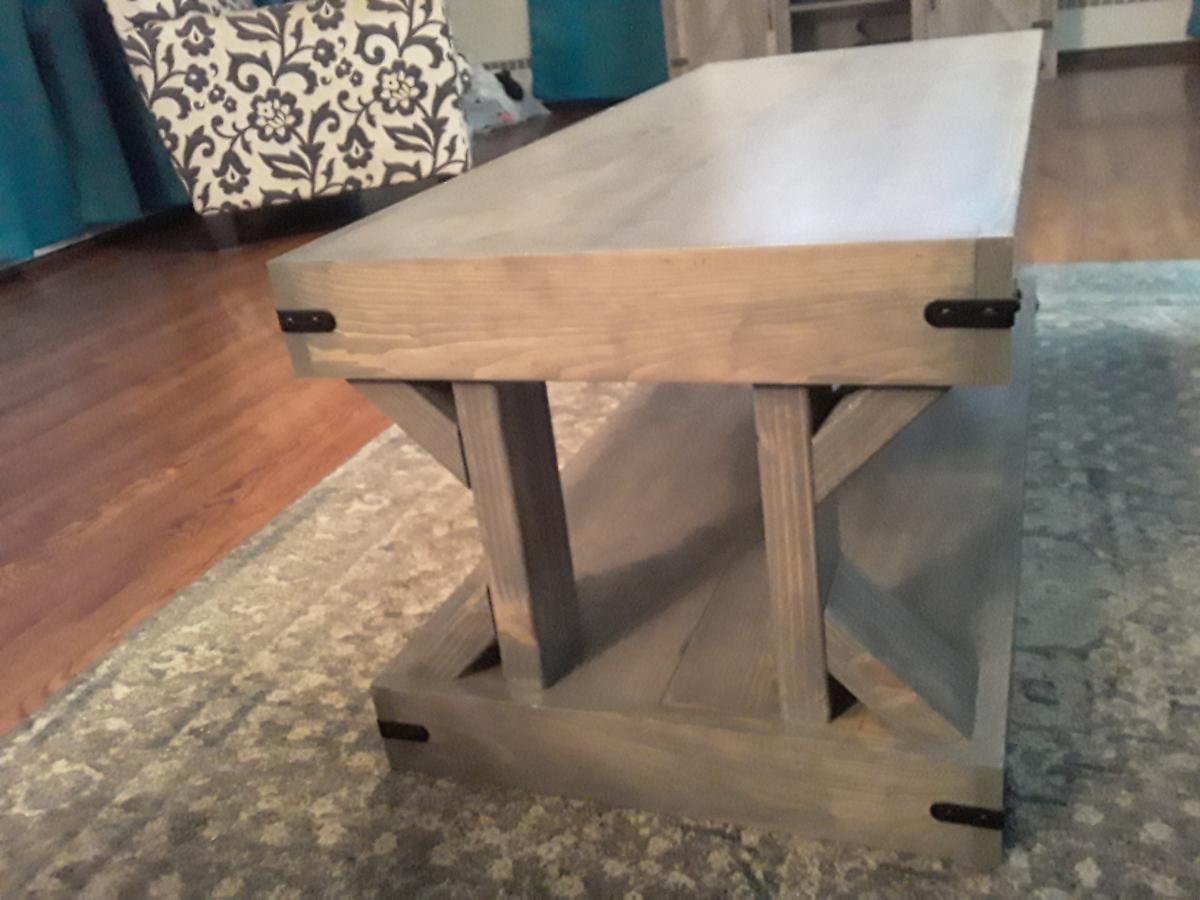
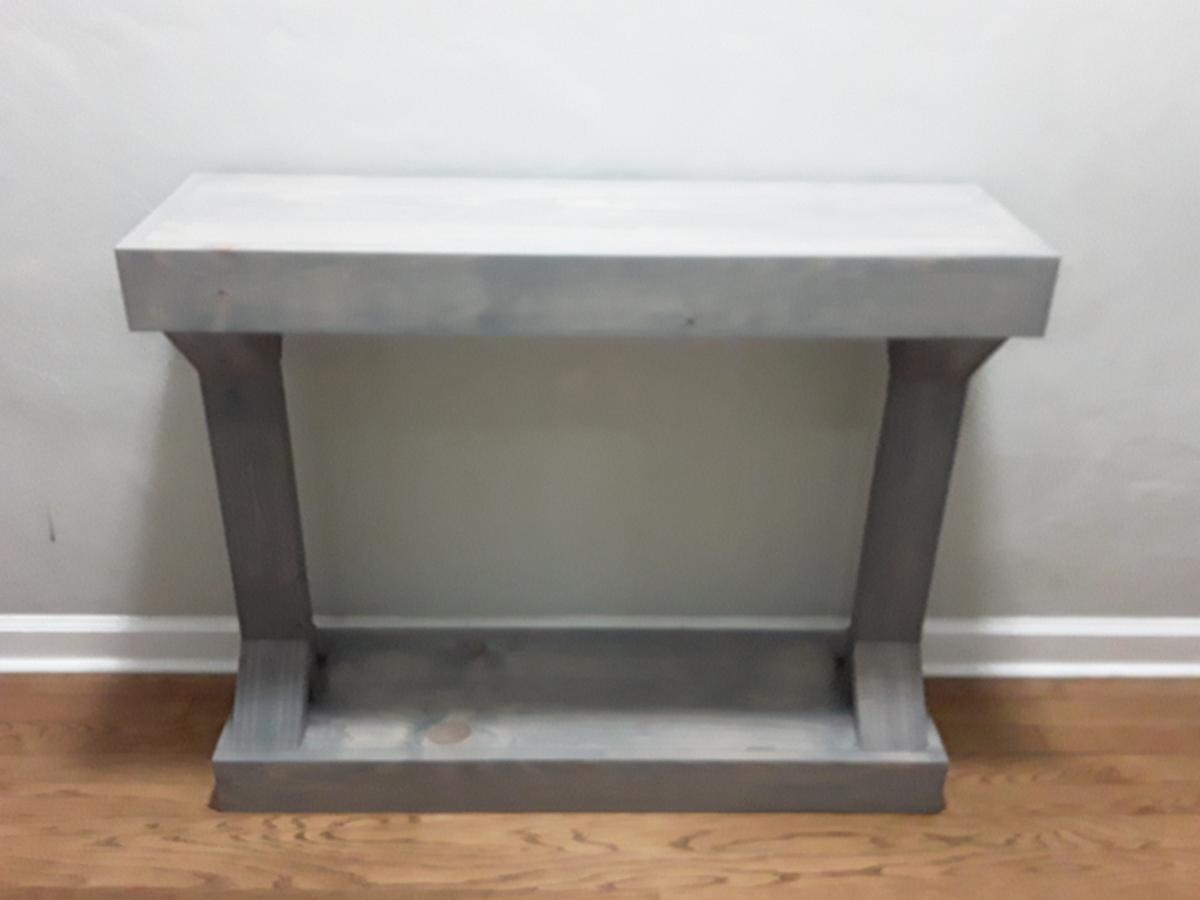
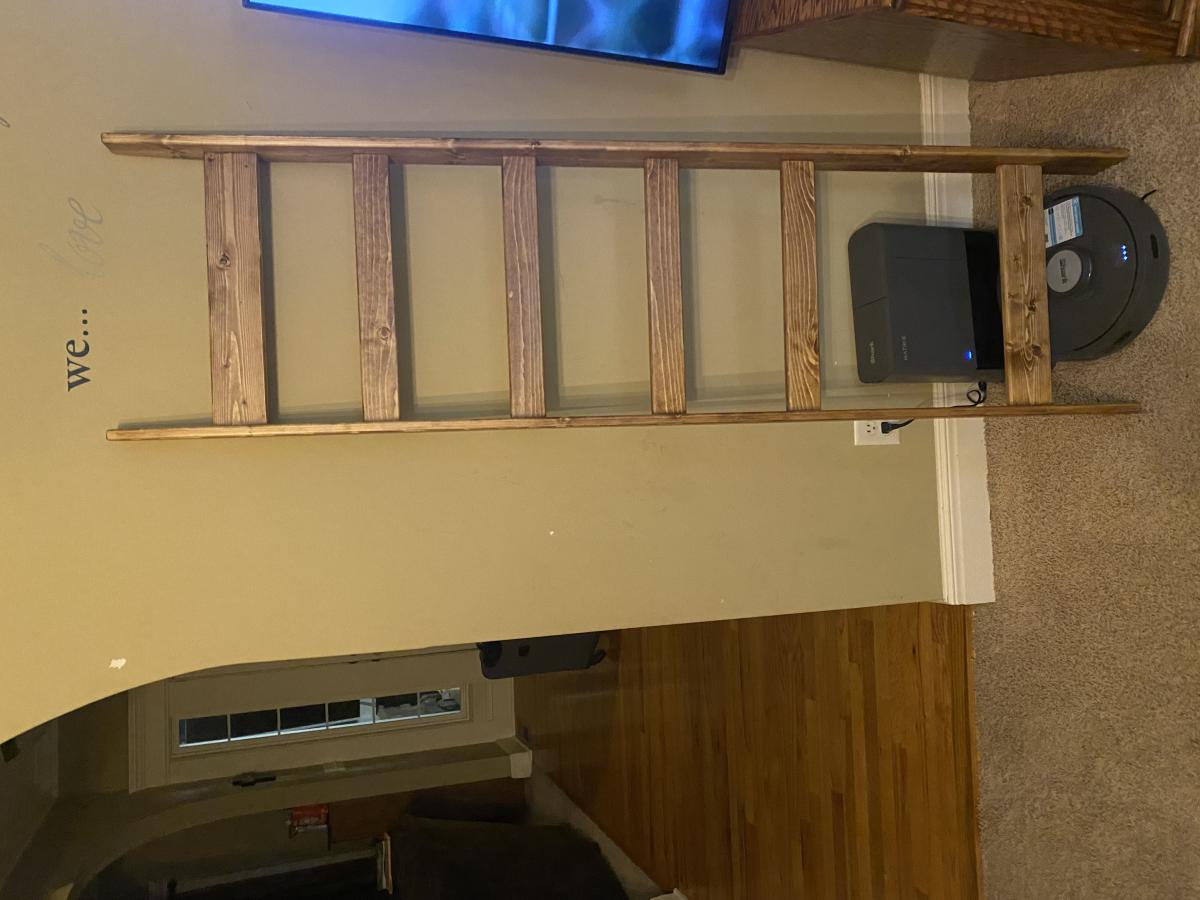
Nightstands
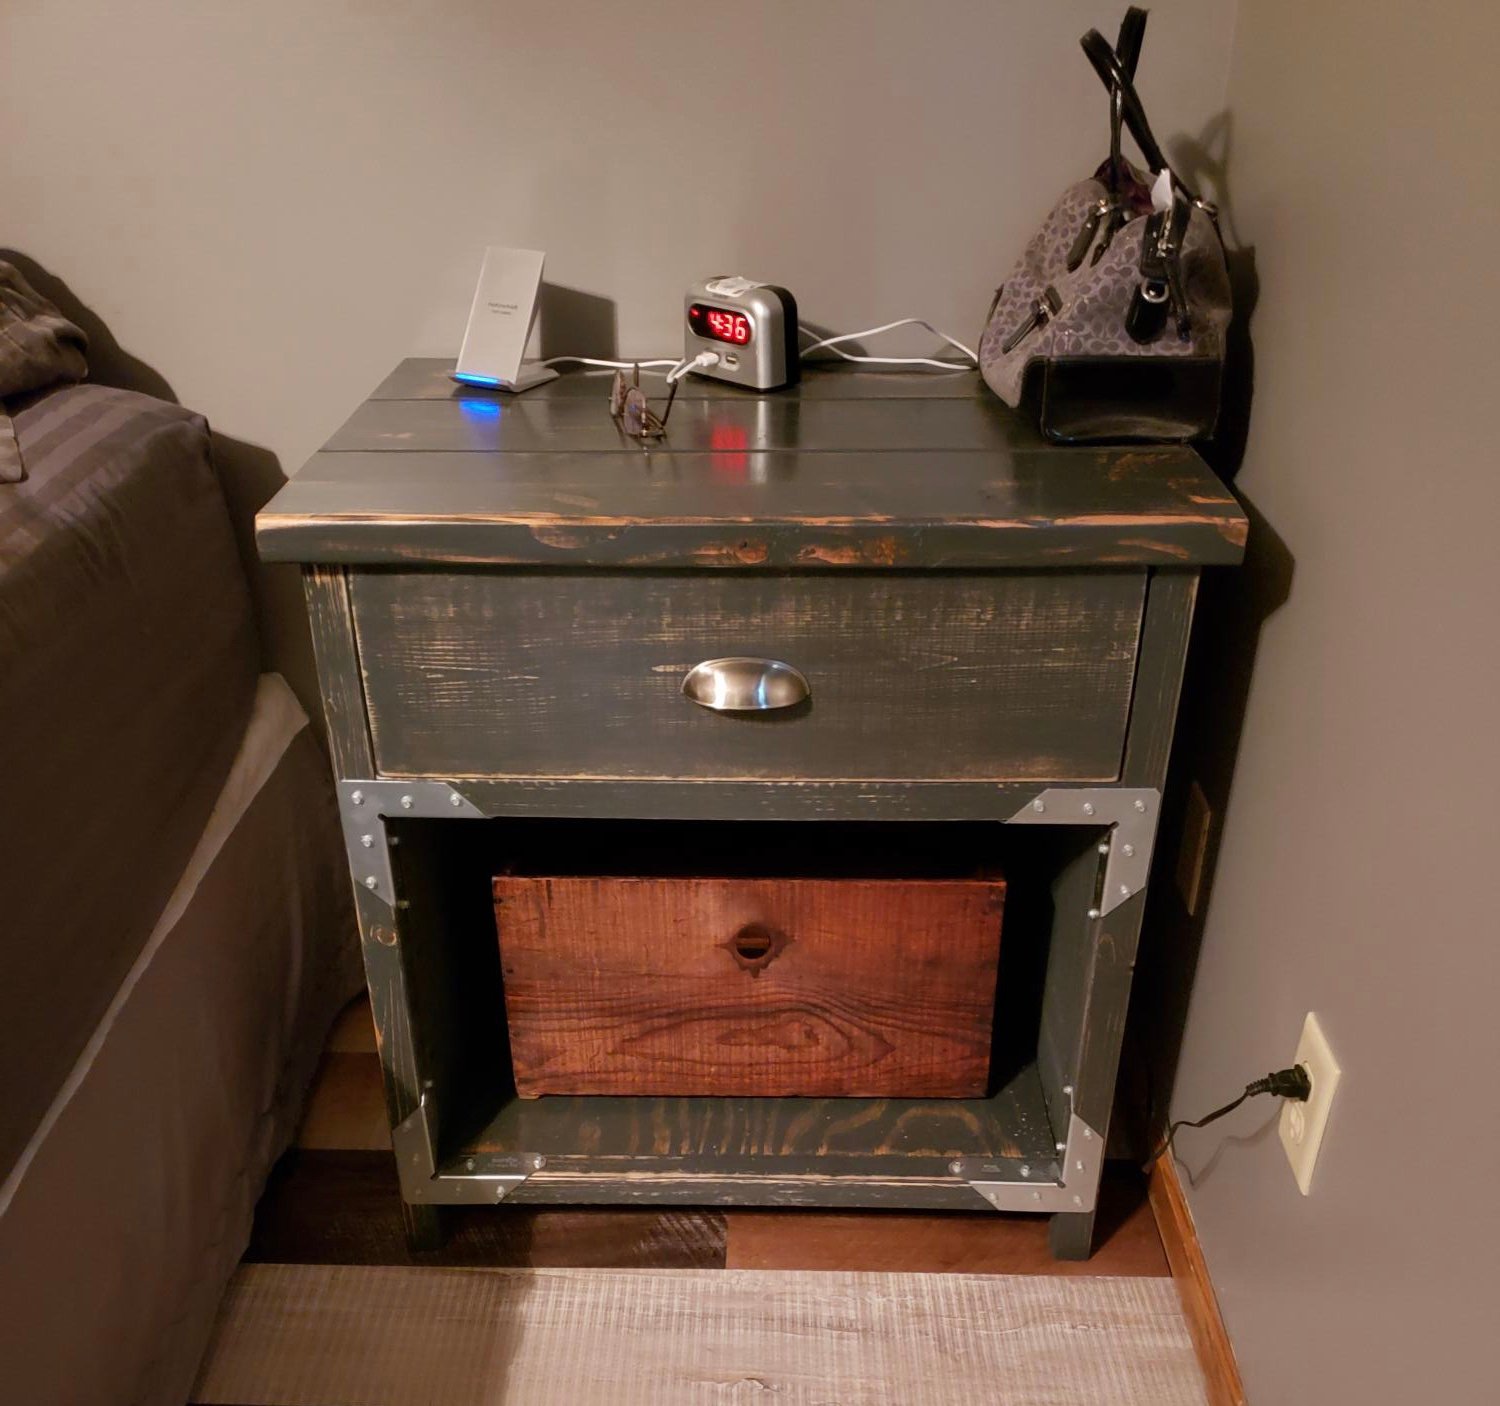
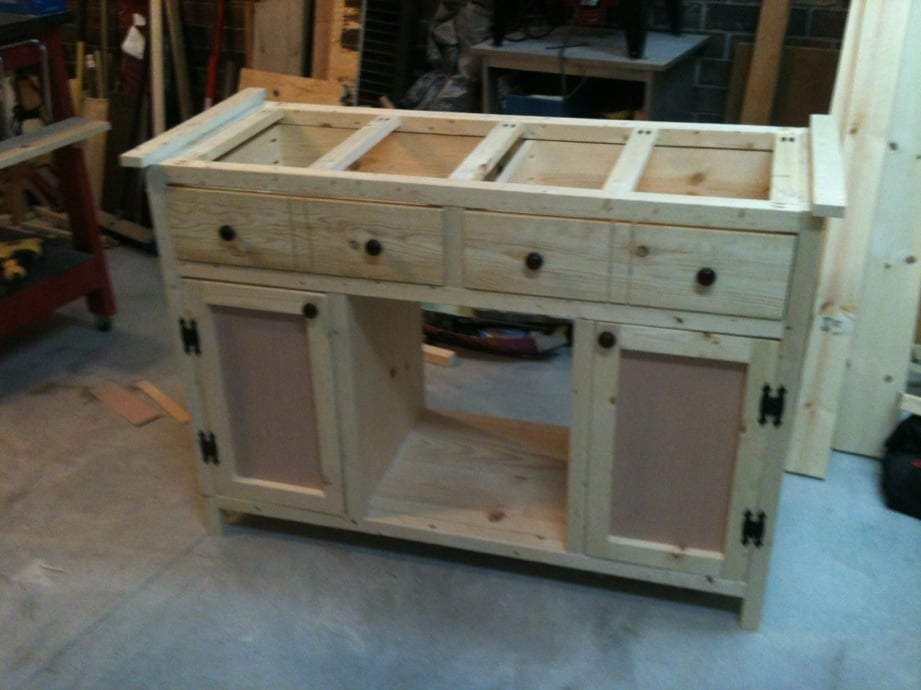
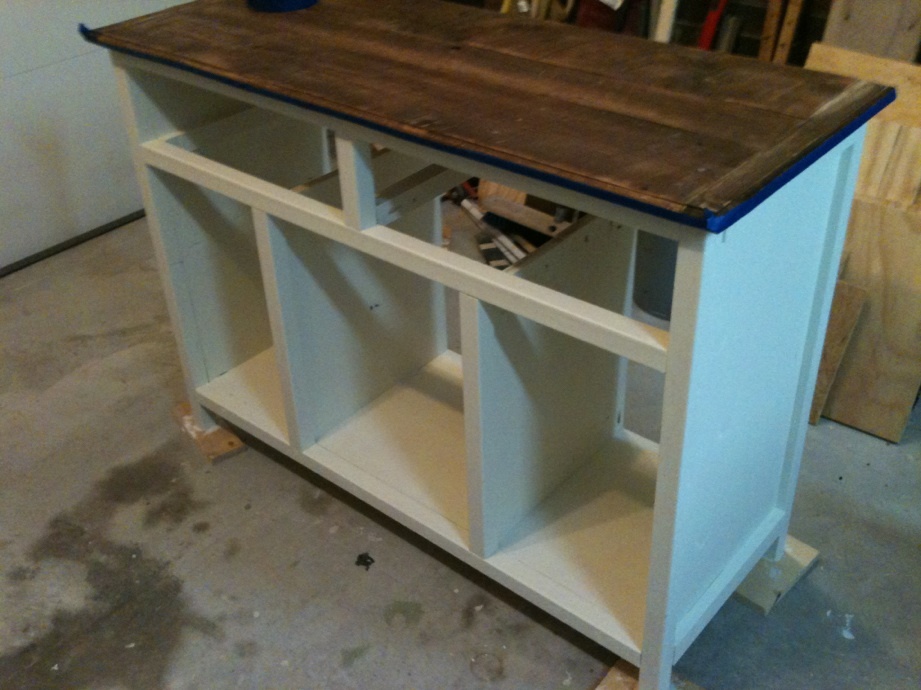
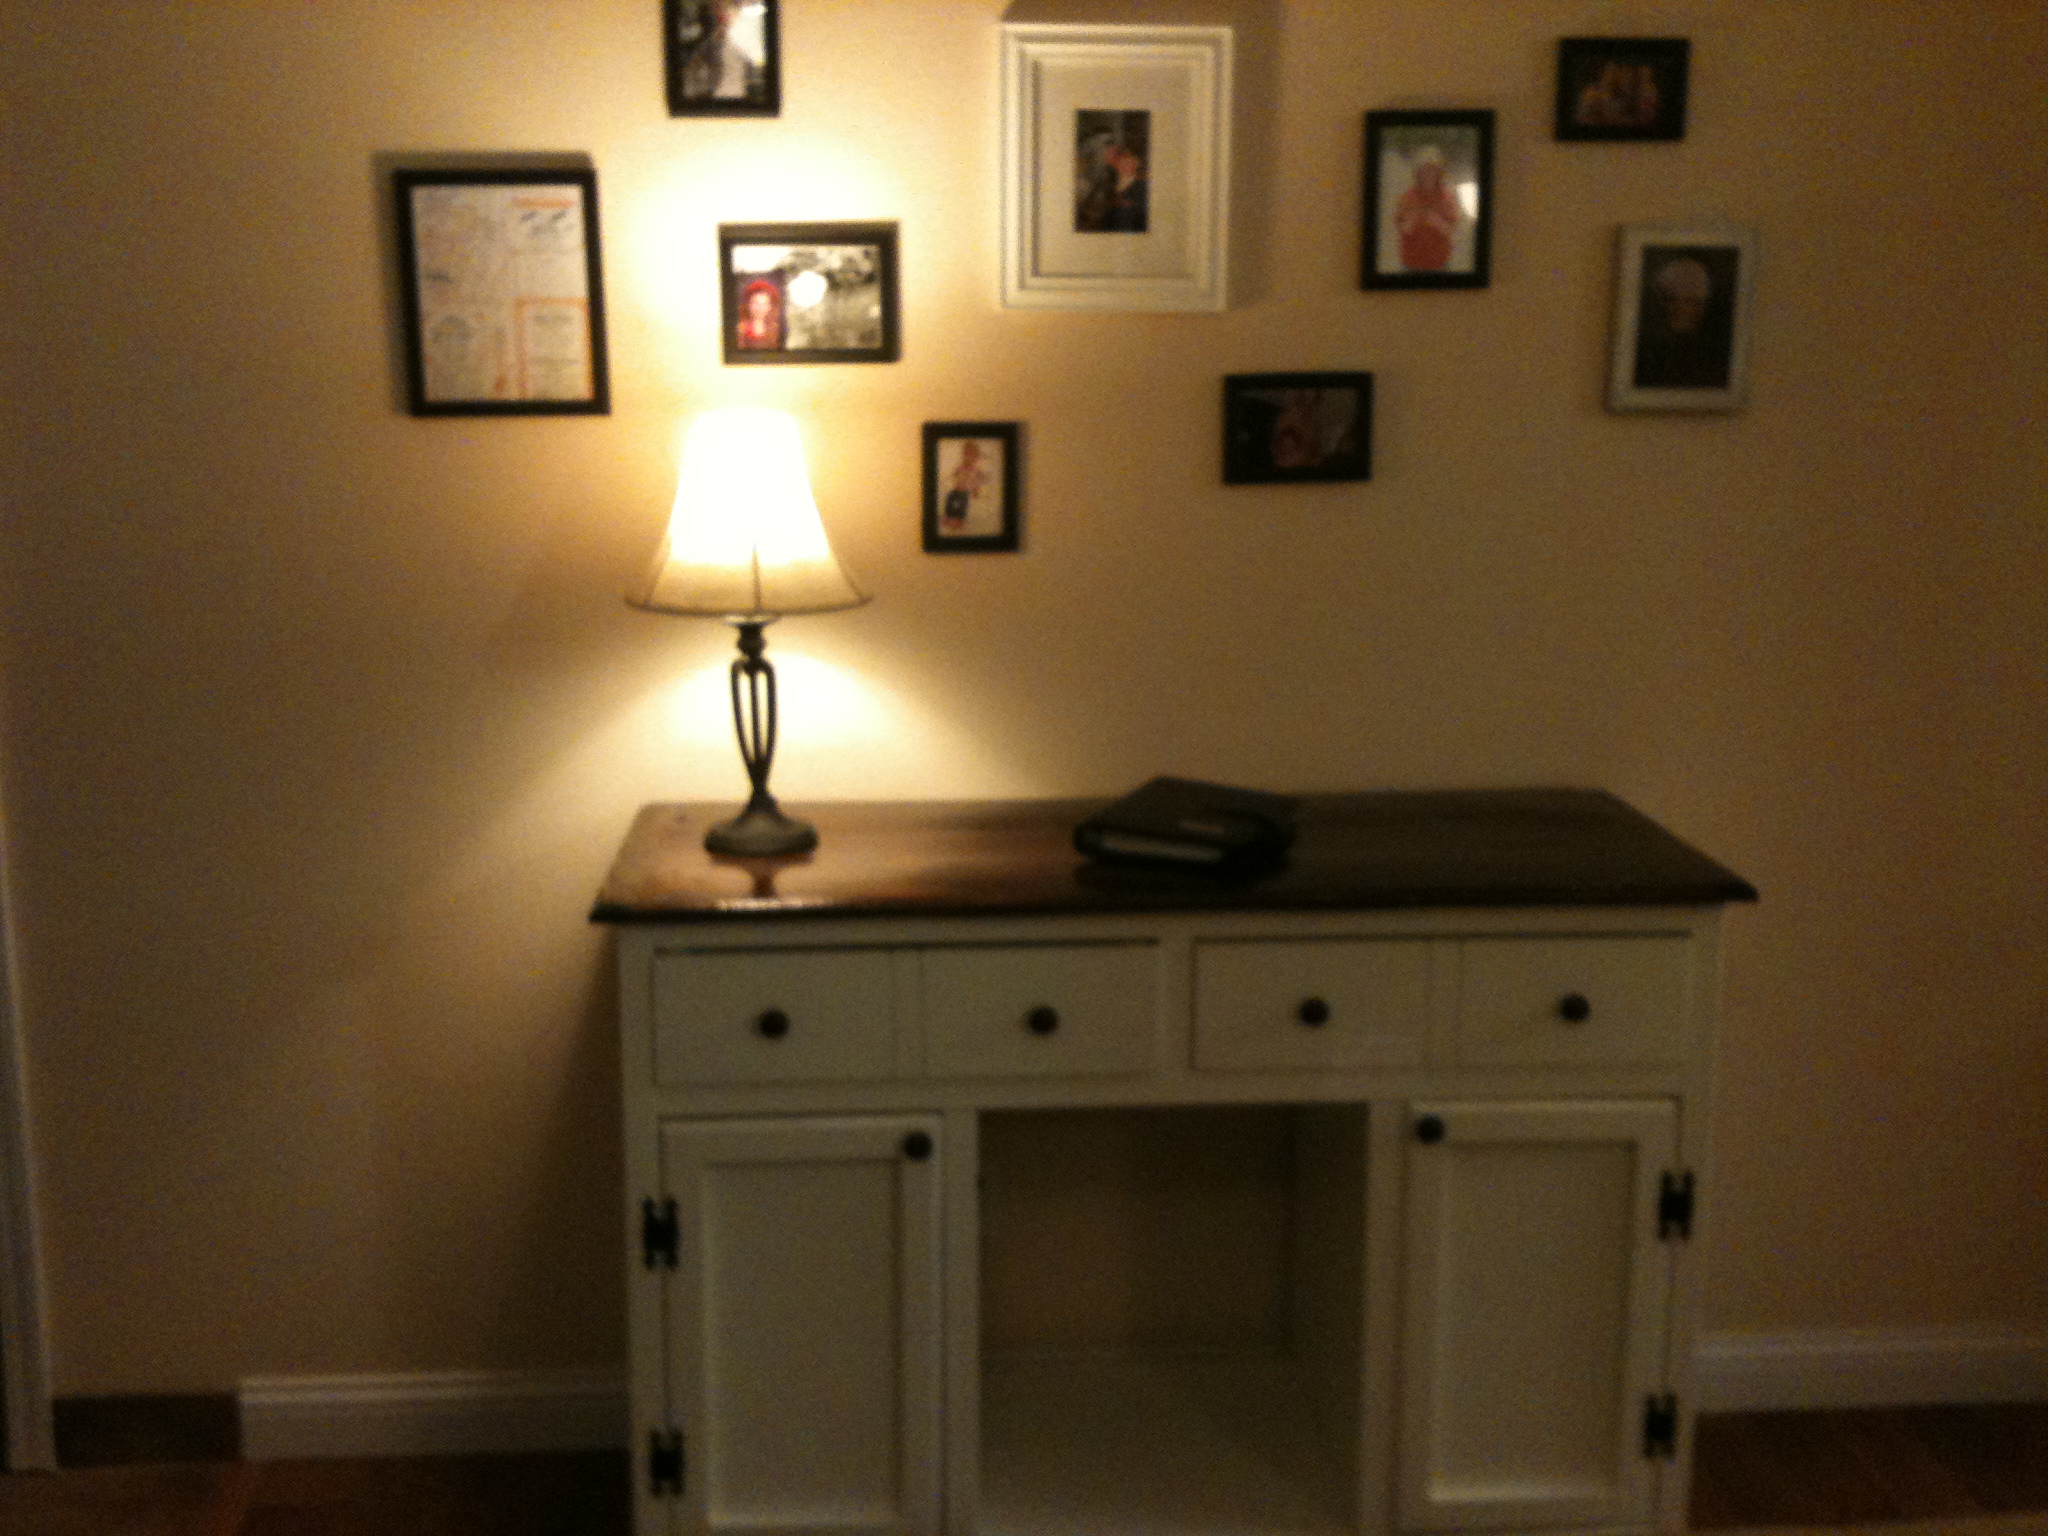
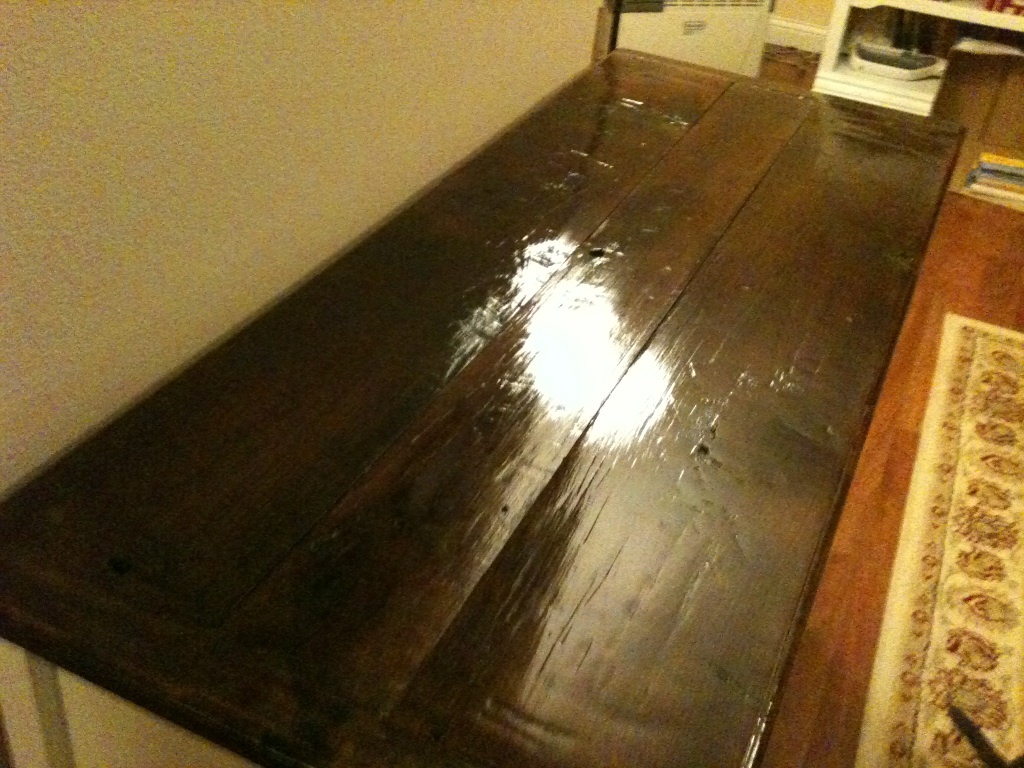
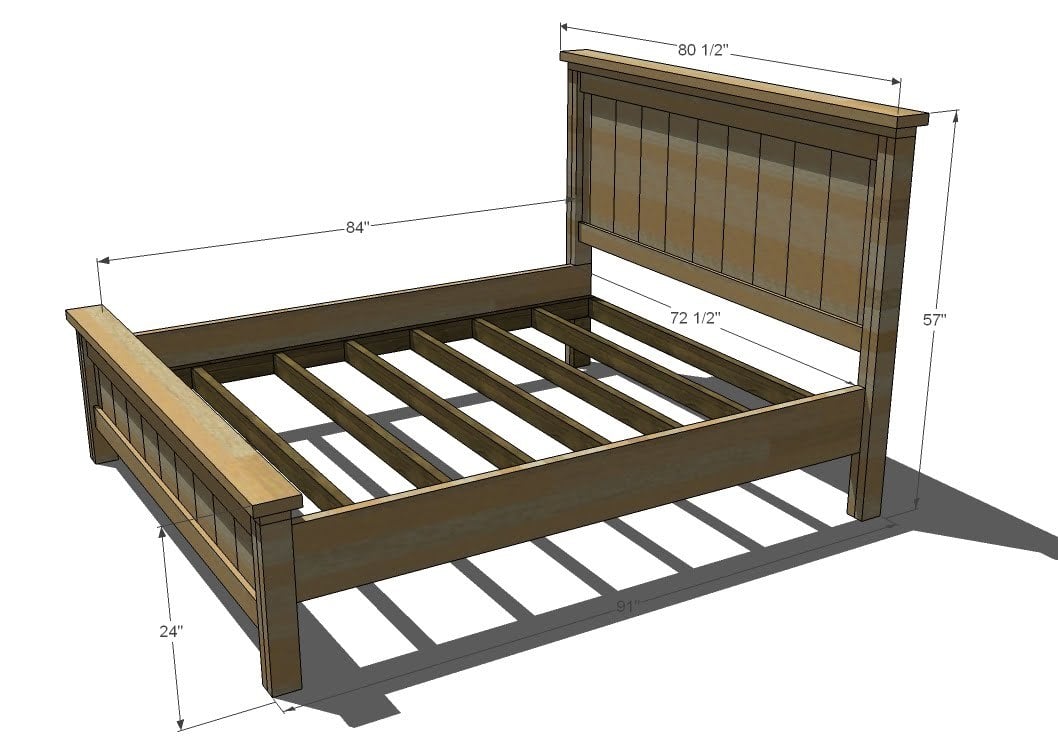
My husband built us new nightstands for our bedroom. Up next is a bed frame.
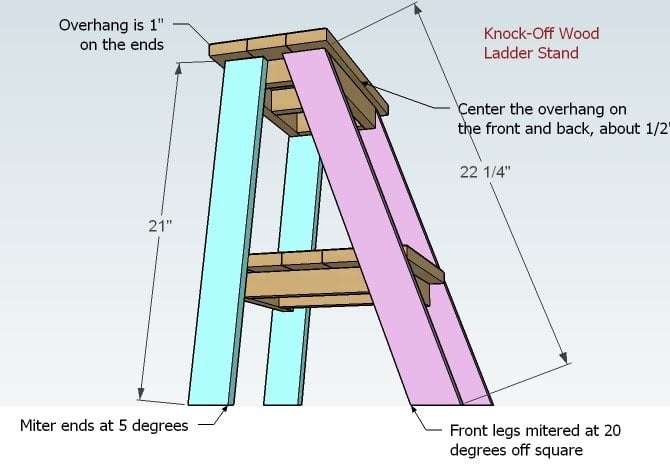
Built from Plan(s)
Estimated Time Investment
Weekend Project (10-20 Hours)
Recommended Skill Level
Intermediate