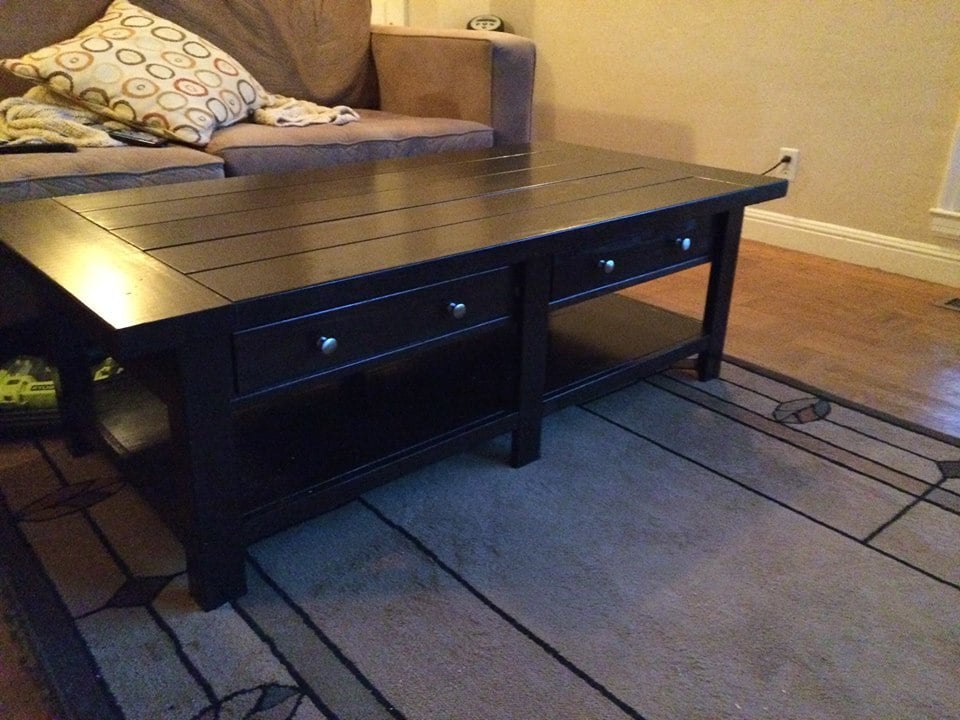
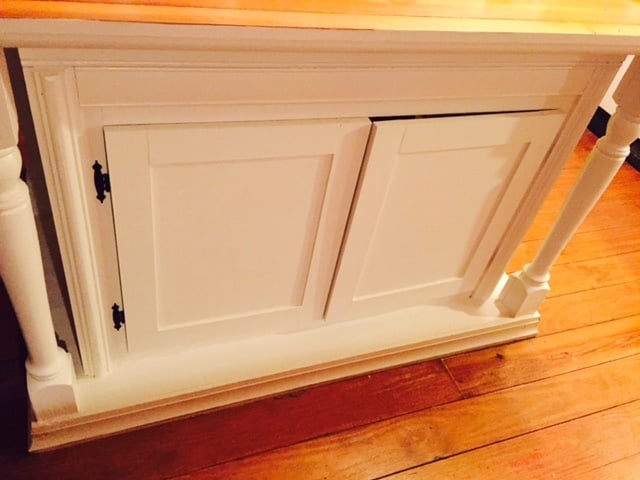
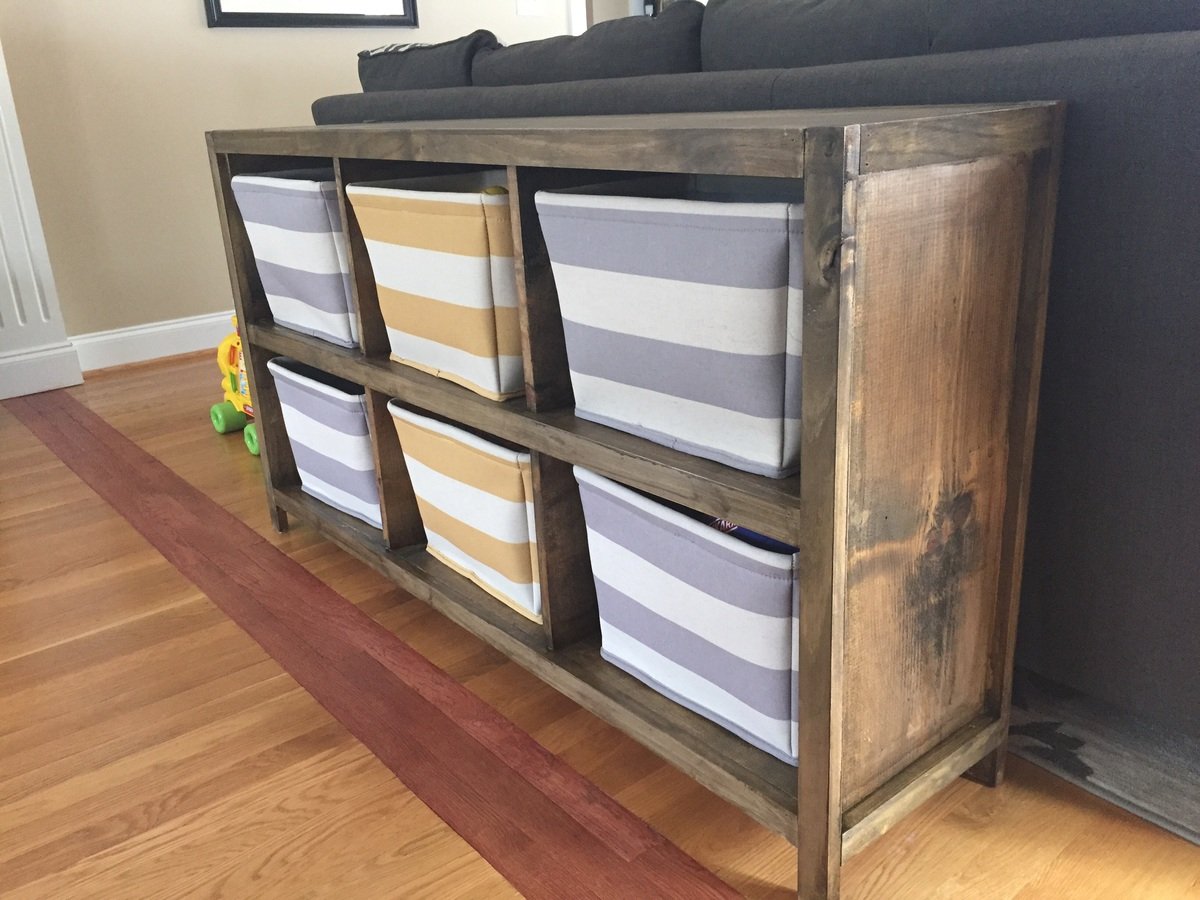
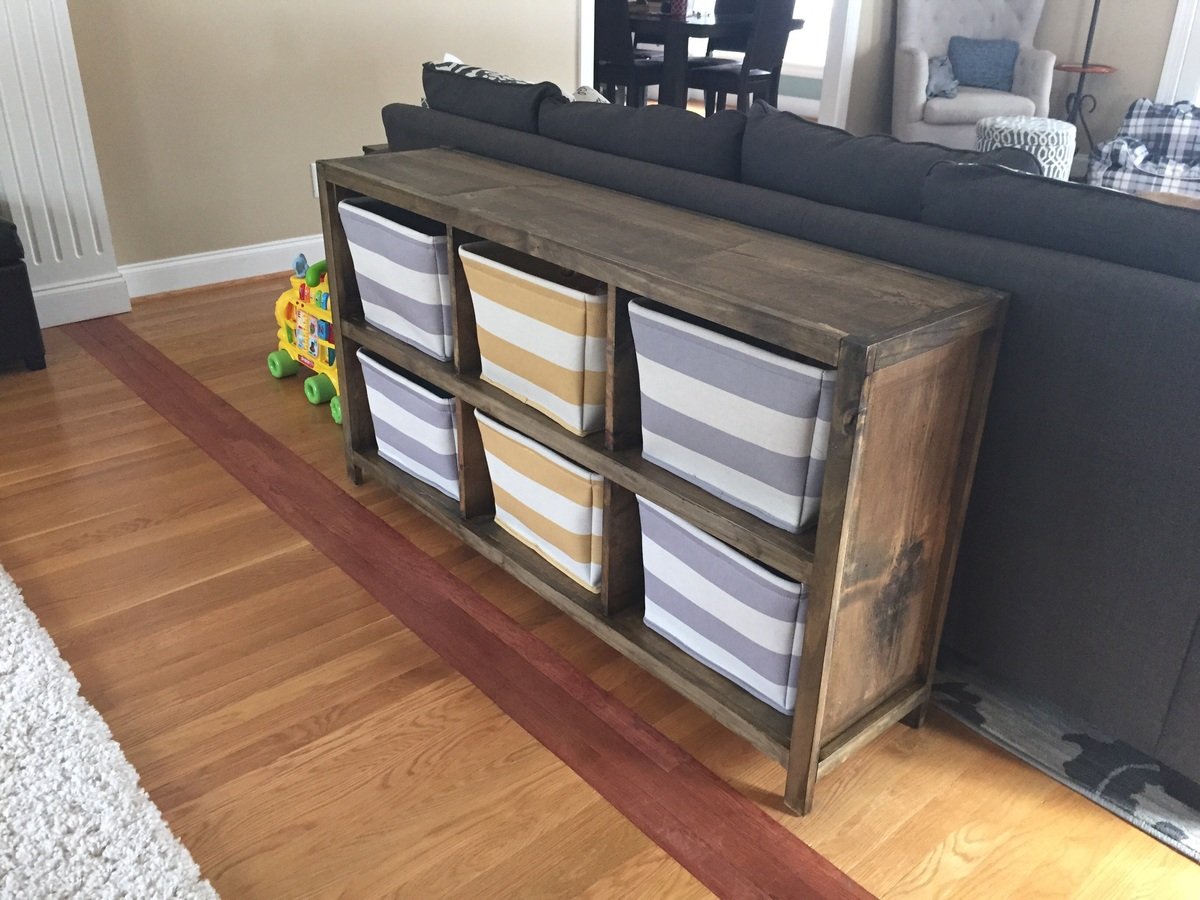
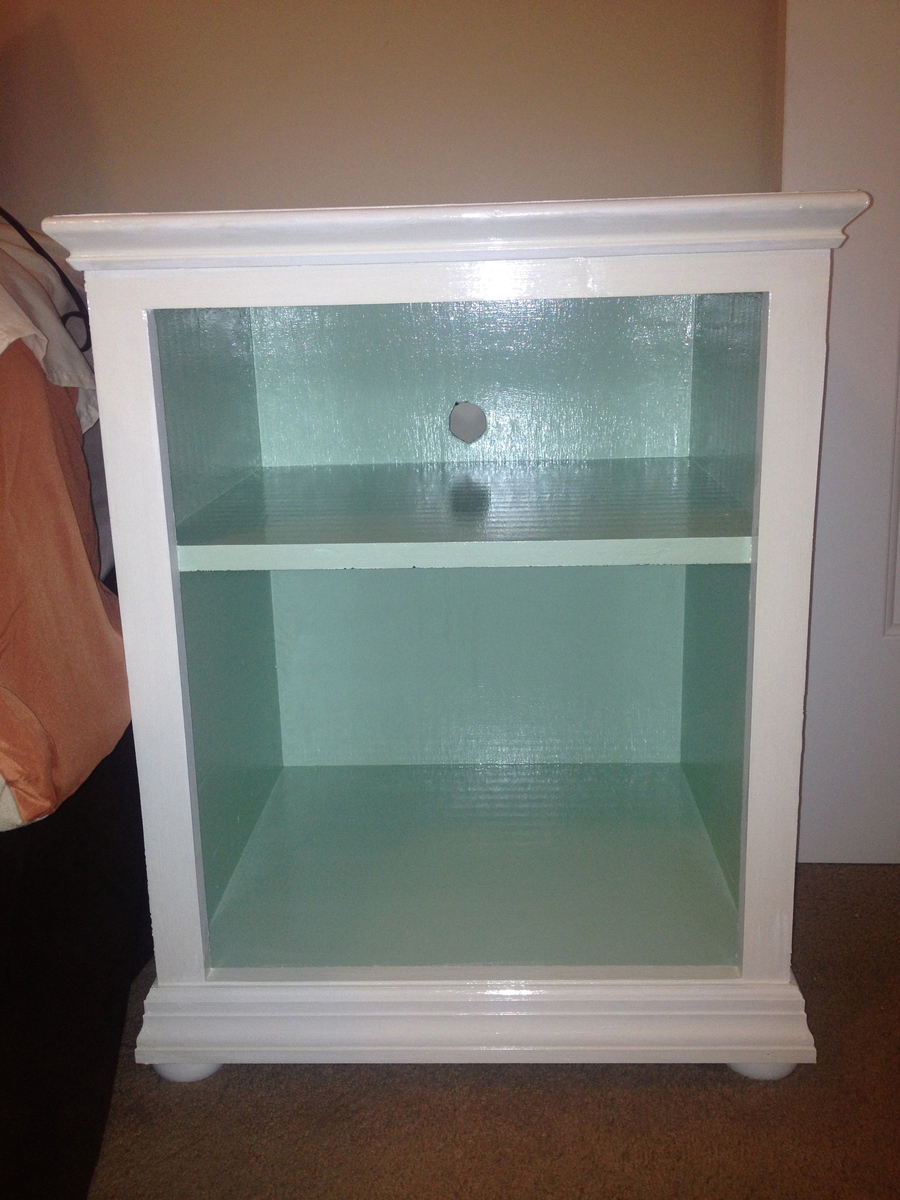
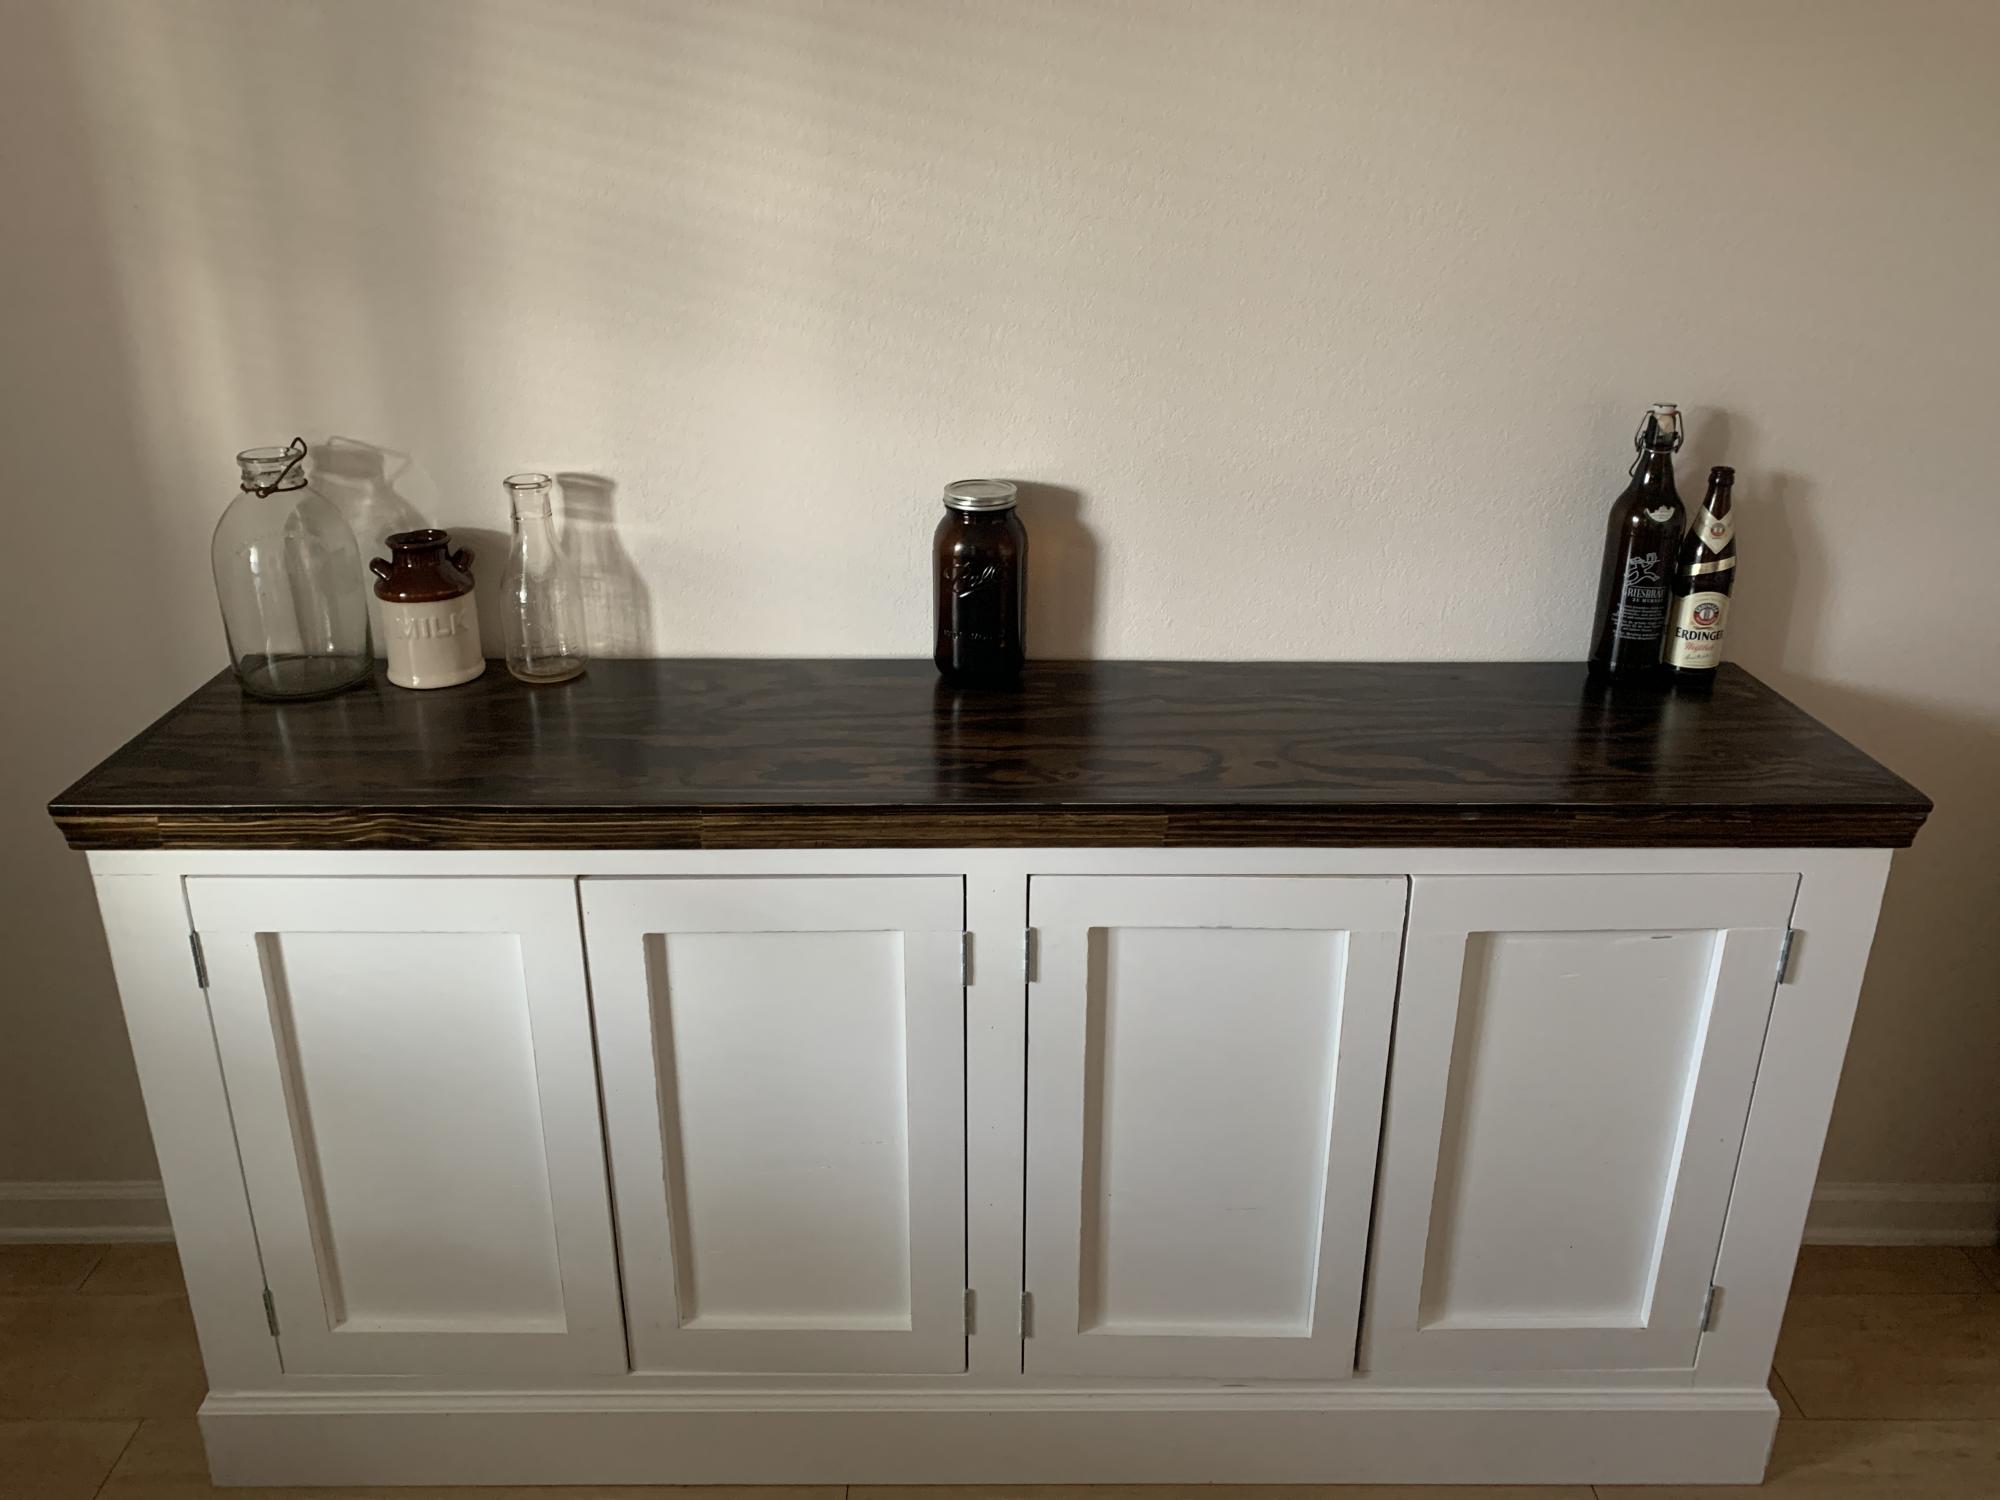
Dark Stained Wood Barn Door Console
Built by Susan Boucher
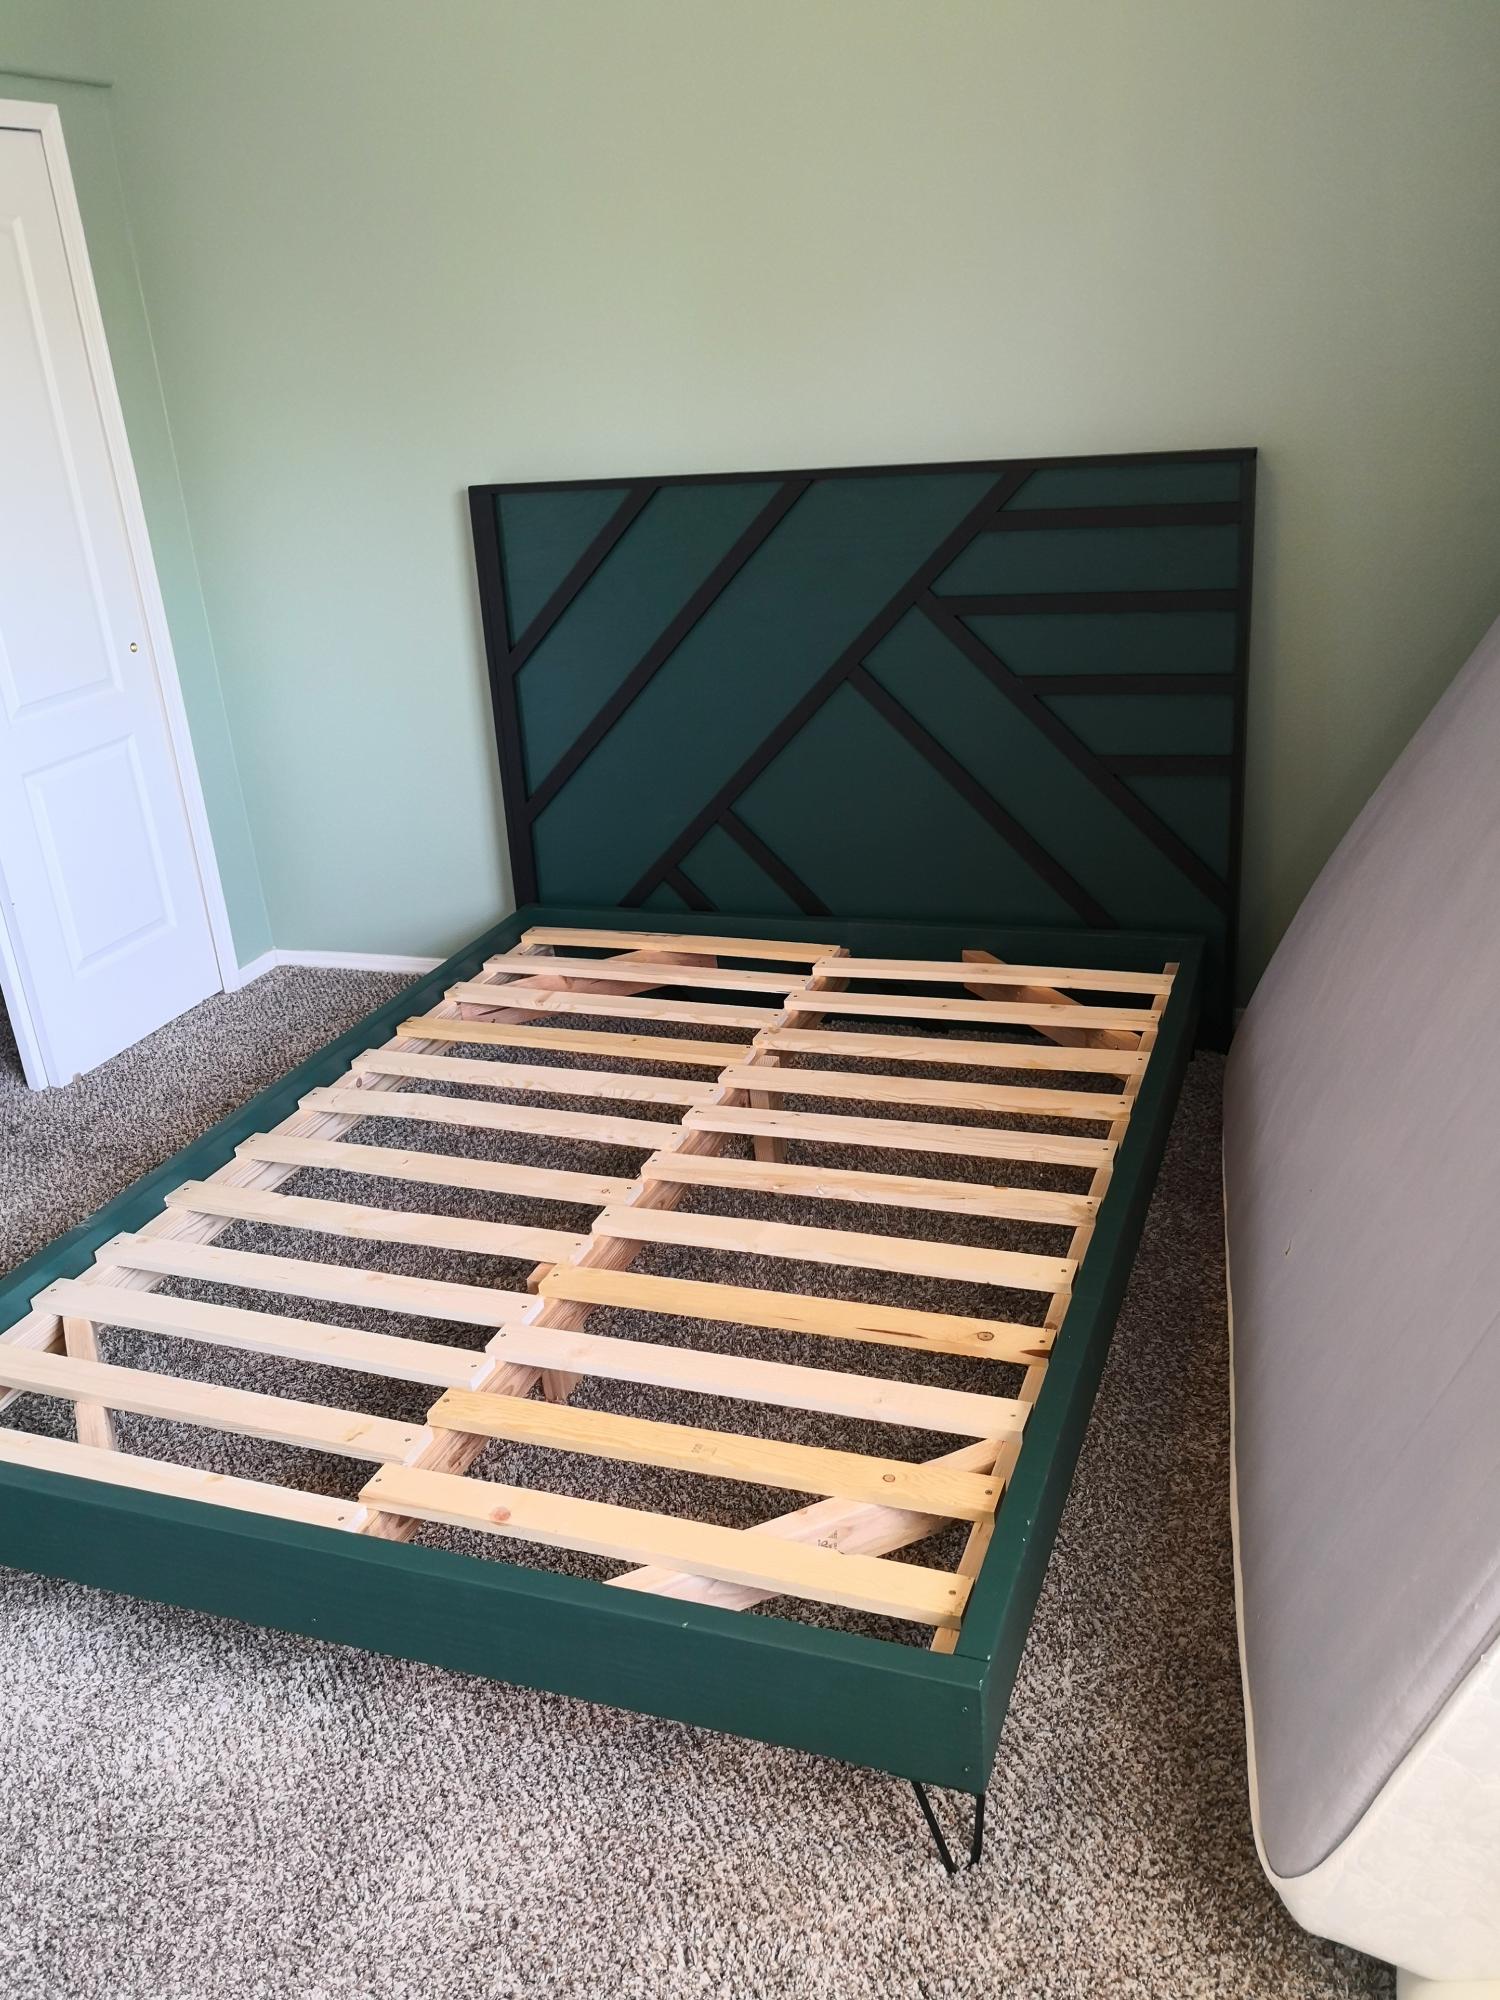
King bed with storage for yurt.
Using instructions from Ana and tweaking them a little.
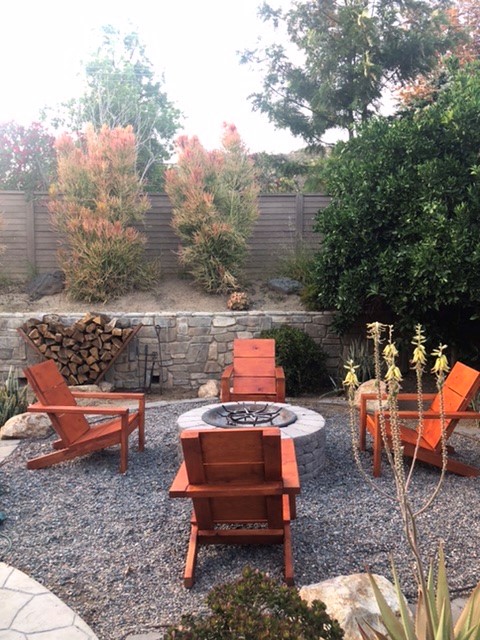
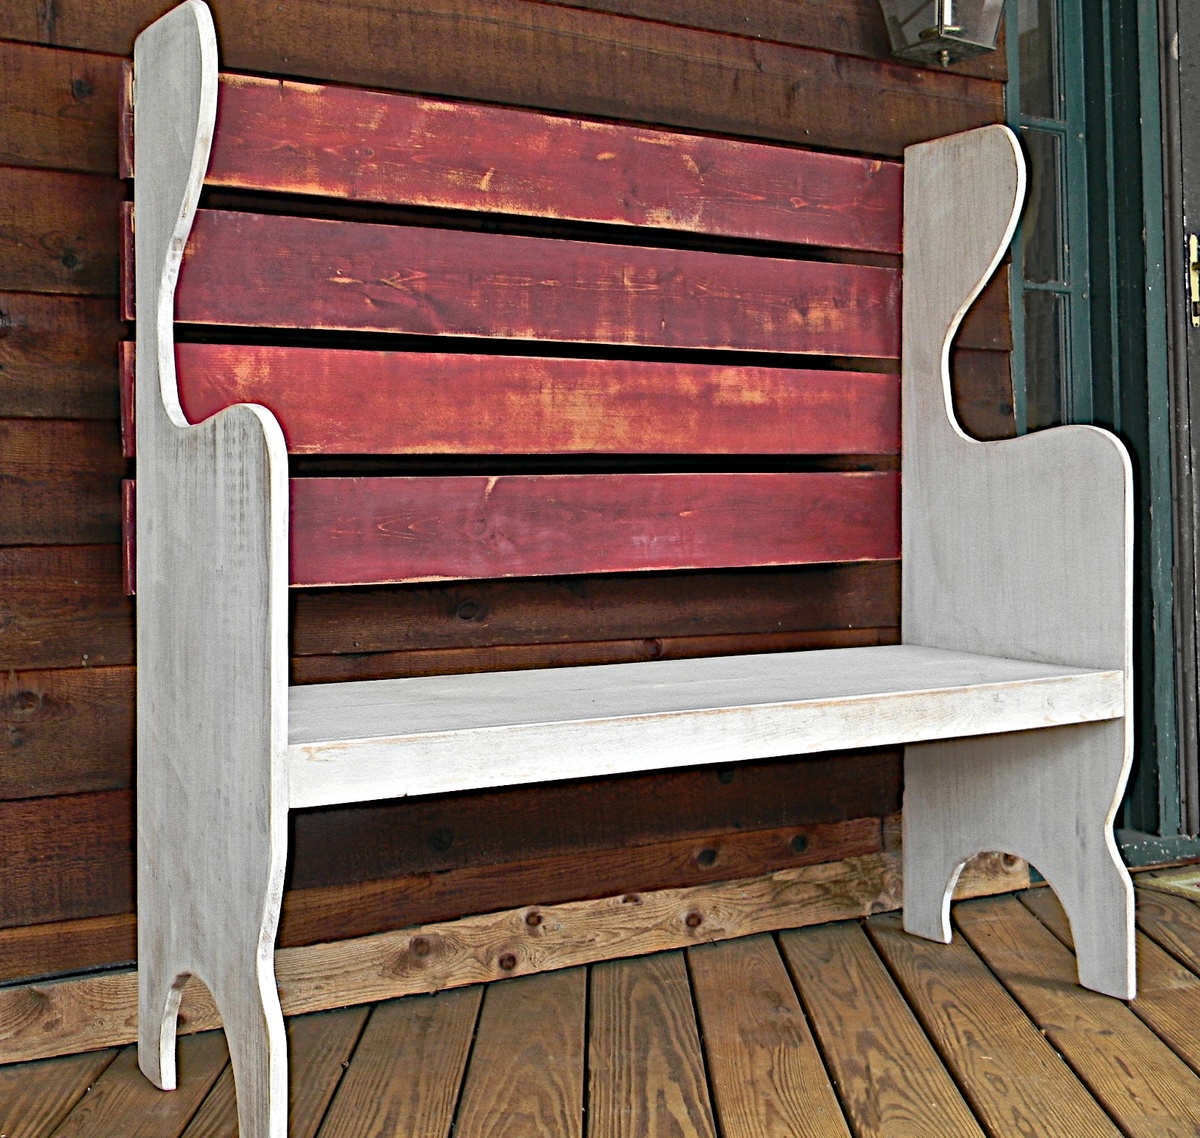
Ana's benches are soo addictive - I had to try my hands at this one! It is meant for the porch on the new house to be built sometime next (?) year. I must say, I didn't quite manage to get accurate cut-outs with the jig saw, but the design is quite forgiving. The timber is Cypress Pine - an Australian native - sold as fence pickets in the convenient size of 65mmx20mm. I love the grain and variation in colors, ranging from chocolate to blond, and think it is totally underrated. The is top made from 5 planks, so a little wider than the original plans.
This project was desperately desired and needed! We had old wire shelving which previous owners of the home had installed improperly and were falling off the wall. This took about 6 weeks from start to finish, but I am SO happy with the results. Unfortunately, here in south Florida, our homes are built with metal studs which are more often than not spaced all over the place. So, attaching anything to a wall securely is next to impossible. I believe I've gotten things as securely attached as possible and things seem to be holding up really well. The icing on the cake was my mother-in-law purchasing 100 Huggable Hangers for me for my birthday! The OCD in me was ecstatic! Anyhow, thanks Ana for the great plans and helping bring custom organization to our homes!
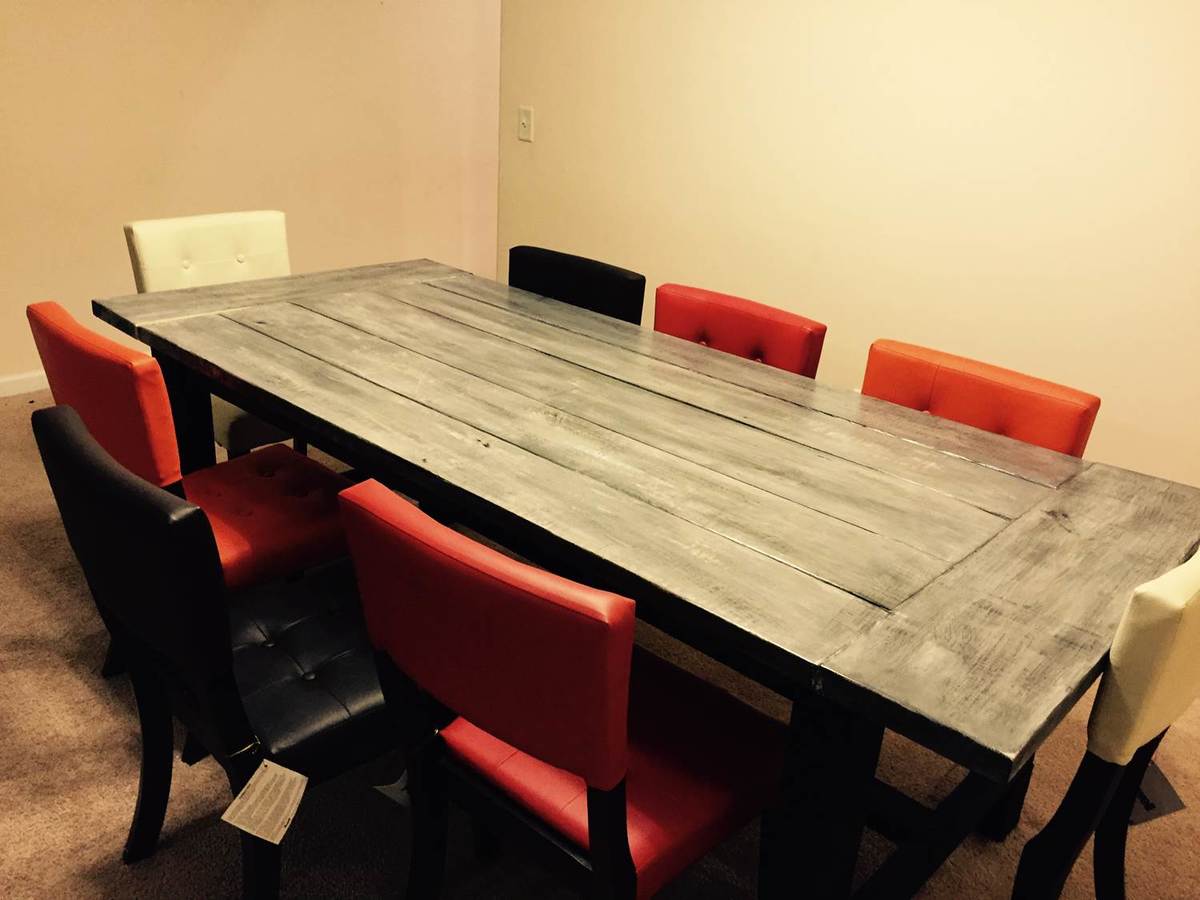
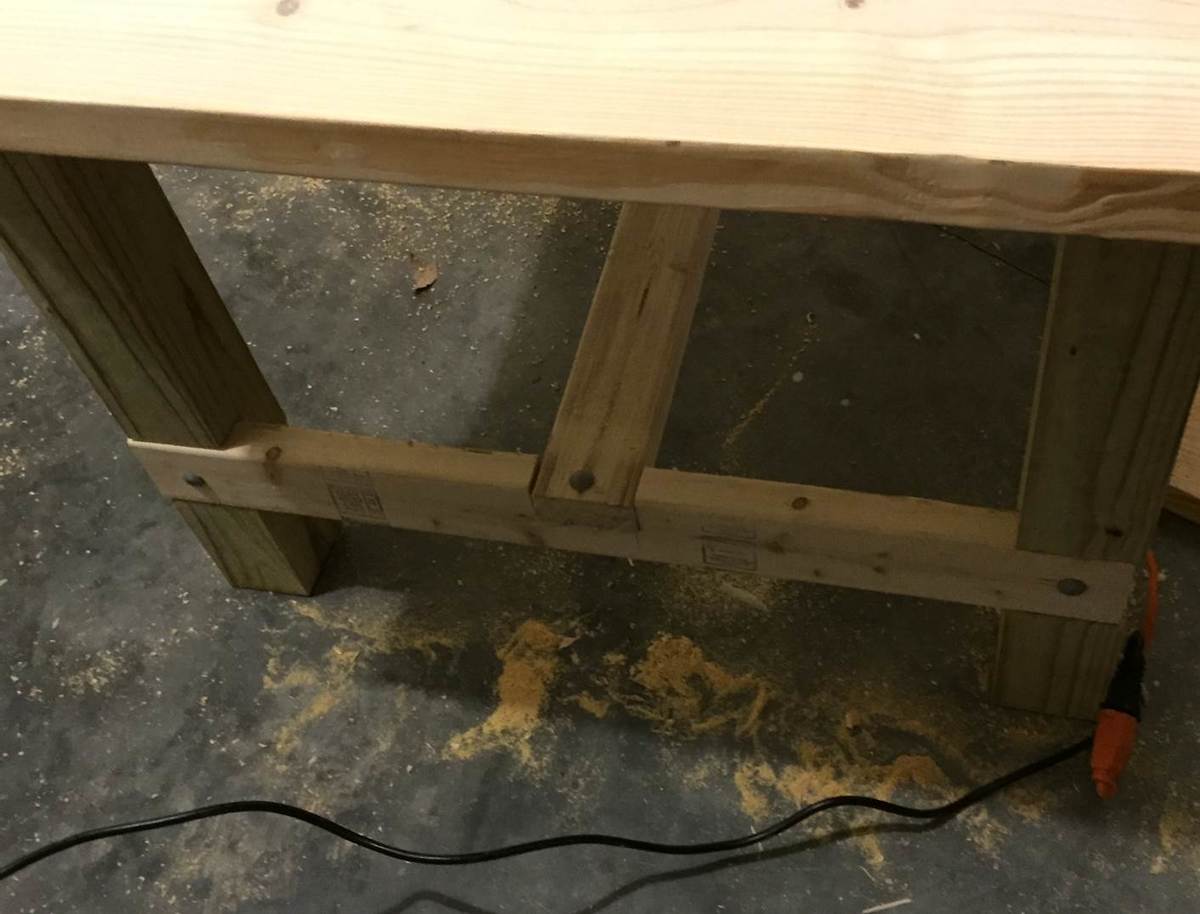
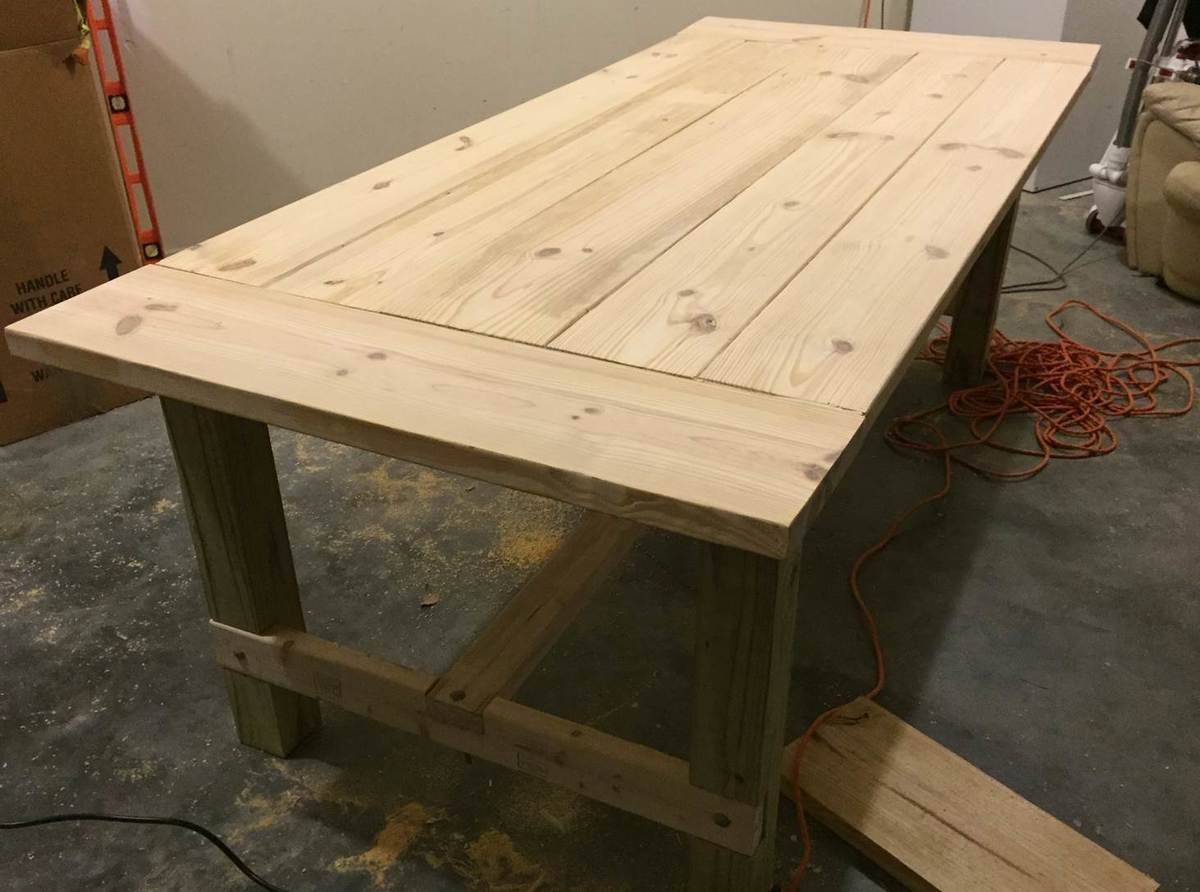
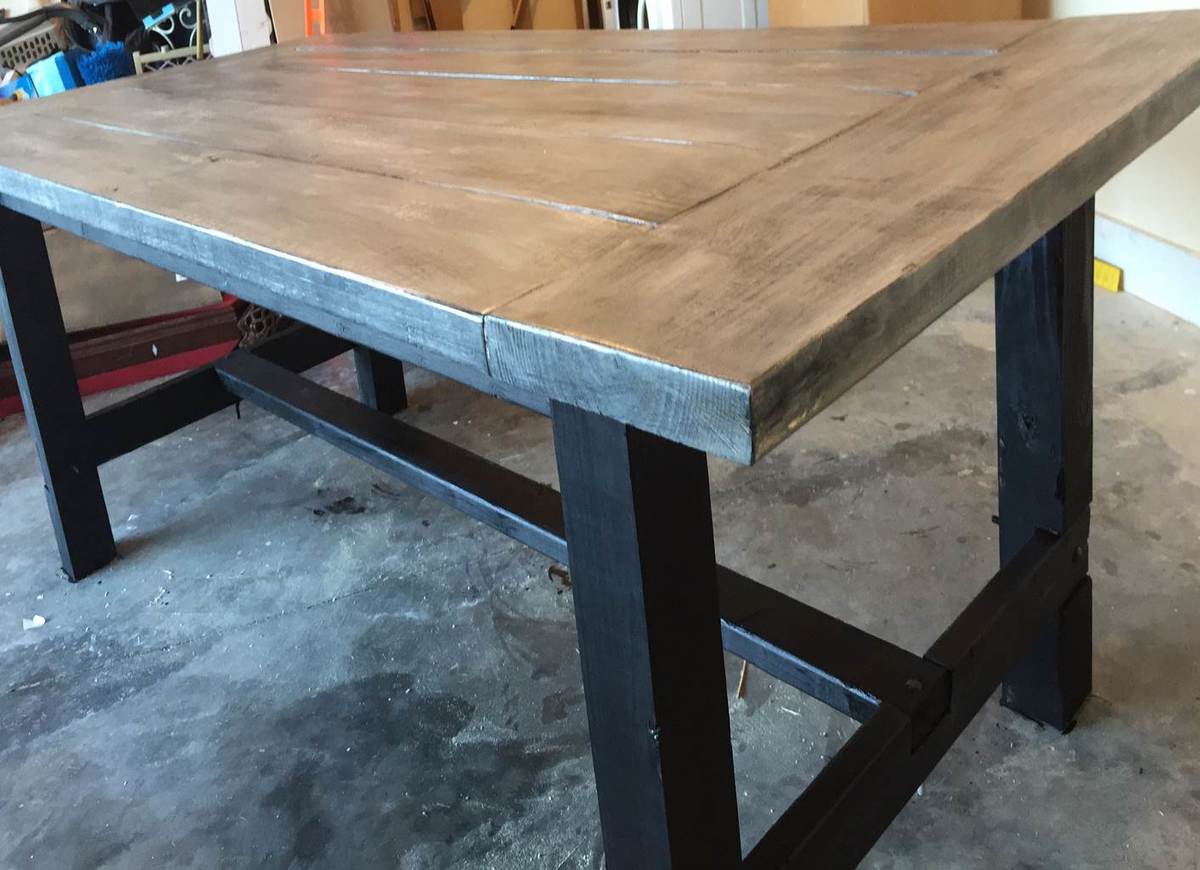
Found these plans and fell in love! Opted to use 7 2x6's for the top with 2x8's for the breadboard! Knocked it out between Saturday and Sunday. Planning on doing the steel wool and vinegar agingtechnique after distressing the table with various tools. Ended up being 7ft 1/2 in by 3ft 2 1/2in. Definitely looking forward to searching through the plans and trying other projects! Was my first time building a furniture piece from scratch!
I made the fold down headboard to fit a California King bed and added a design to the panels using my vinyl cutter. The last picture continues to be flipped when I try to post it here sorry.
Sun, 10/04/2020 - 15:50
This is PERFECT. Would you mind sharing the name of the SVG you used for the stencil? I’d like to use it for a table I’m refurbishing. TIA!
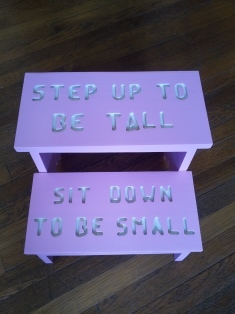
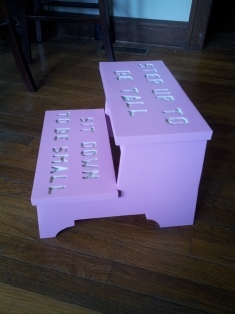
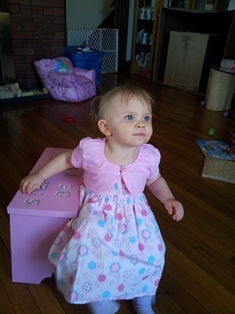
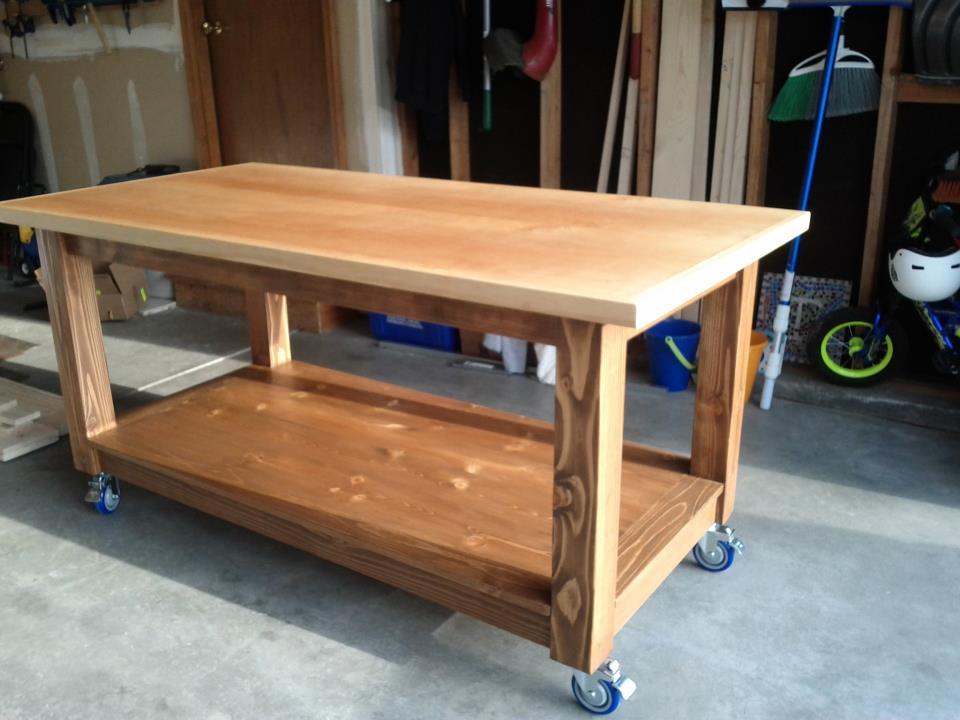
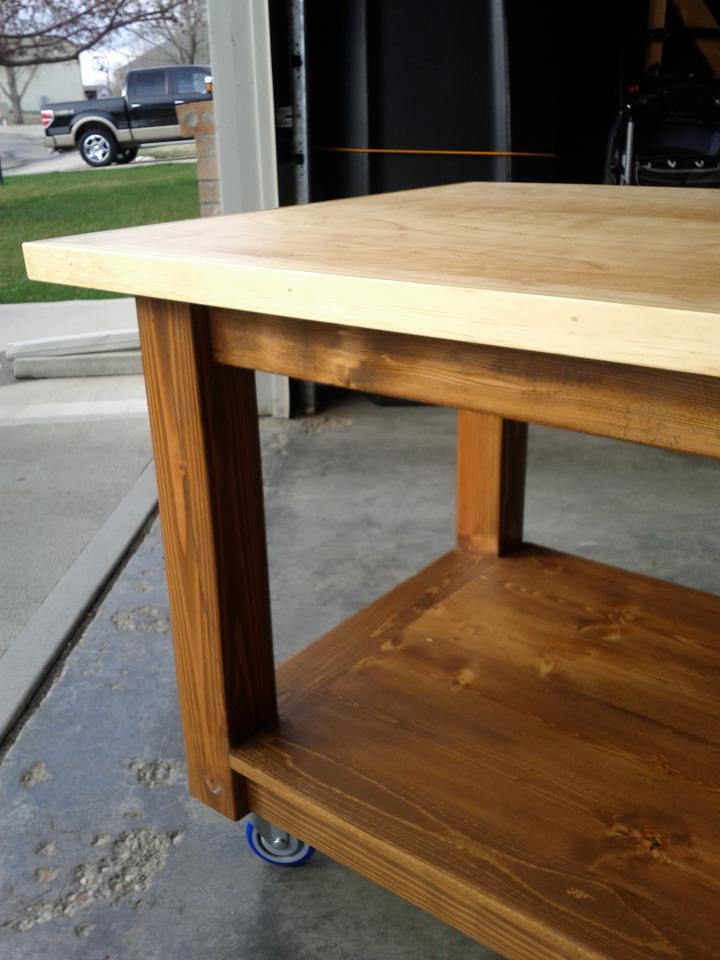
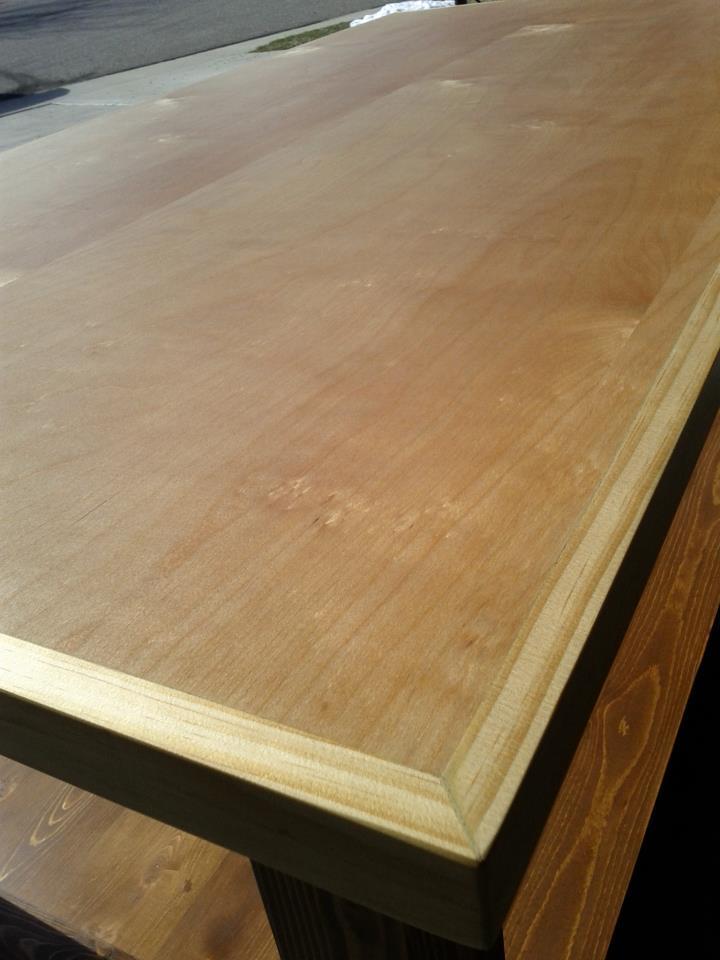
25" height, using it as a lunch table. Did a polyurethane varnish.
Miss Isabelle
Thank you for the plans! They were easy to follow and my girlfriend and I are very happy how the pergola turned out. I used the 2x6's and 2x4's due to being in Nebraska with heavy snow and high winds often to give it more durability. I can't wait to start on the sectional. Total cost was about 350 dollars...so cheap in comparison to what they sell for.
Fri, 05/11/2012 - 10:16
Beautiful, I love the color you choose too!
PS - for a second, I thought the pergola was on fire! haha! Glad it's just beautiful lights!
Sat, 05/12/2012 - 05:22
Thank you Ana, I have had multiple people say it looks like it is on fire...hilarious :) We will be adding outdoor fabric over the top for shade and gathering outdoor curtains on the posts. Will take another pic when that is complete. This site is awesome and I will continue to support you as much as I am able.
Thanks for the comment Jade!
Thu, 05/17/2012 - 11:45
My husband is DYING to have a pergola. I showed him the plans and he is down to build and is really excited for it! That's our next project as soon as I finish our bed (haha!). Did you paint or stain this?
Fri, 05/25/2012 - 18:54
Great job! I want to build one too! The original plans say advanced, but on this post it says beginner.....watcha think? Can I do it? (so far I've made a picture frame and framed out some trimwork). Thanks for posting....btw, I love the twinkle lights!
Wed, 06/27/2012 - 17:00
You did an awesome job! I'll be showing my husband these pics and hopefully they will inspire him to make us one too! I'd love your modifications to the plans also since we have heavy snow etc.. up here in Quebec too. Thanks for sharing!
Thu, 09/20/2012 - 06:47
Im trying to build a 10x10 just like this but im trying to figure out exactly what wood dimensions I should order before i do. Im going to use cedar and I know i want to use 6x6 posts and I want to use 2x6 on top like yours but i cant figure out what exactgly I need to order. My wife wants me to do the decorative around the posts as well.
Please help!
Sun, 04/28/2013 - 11:27
Hi I was hoping you would share your plans with me I live in oregon I wanna make one of these but I plan on using 12 ft 4x4 posts putting them 3 ft in the ground and I like the way you used 2x4's and 2x6's id like to know the dimensions you used if you modified anas plan what was your spacing and what degree did you cut the outside piece's on the 2x4's and 2x6's I love the design you created from anas plan
Sun, 04/28/2013 - 11:29
oh I would also like to know how you did the cut out notches if you dont mind
We loved the radiant air in our new early 20th century house, but as our daughter learned to crawl, we needed to prevent her little fingers from touching the two radiators that were still uncovered. After I finished my first few builds, I custom designed these radiator covers with 1x2s, 1x3s 2x2s and 1x12s. Needless to say, I got a ton of use out of my Kreg Jig. On the middle panel of the larger cover, I used a bit of decorative metal that they sell at the Big Box stores (of course, it would have been easier to use more of it, but I am a bit paranoid about little fingers touching a metal cover). For a final touch, I covered the top of the larger cover with decorative glass. For the smaller cover, I matched the distressed pink throughout the rest of my daughter's nursery.
I used old barn wood I had out back its not a perfect fit all across the top but I made it that way on purpose I like the things that don't look perfect! Great project did it all in about 2 hours!
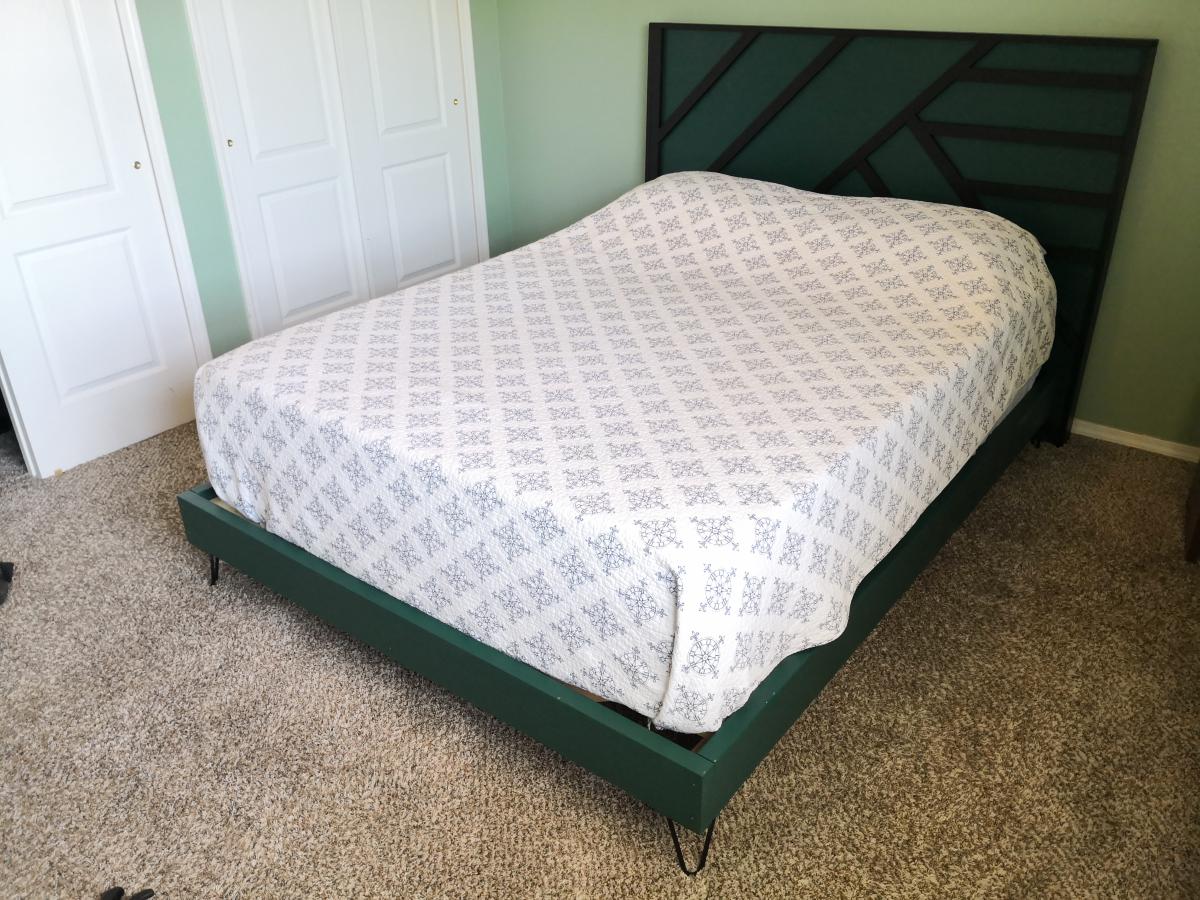
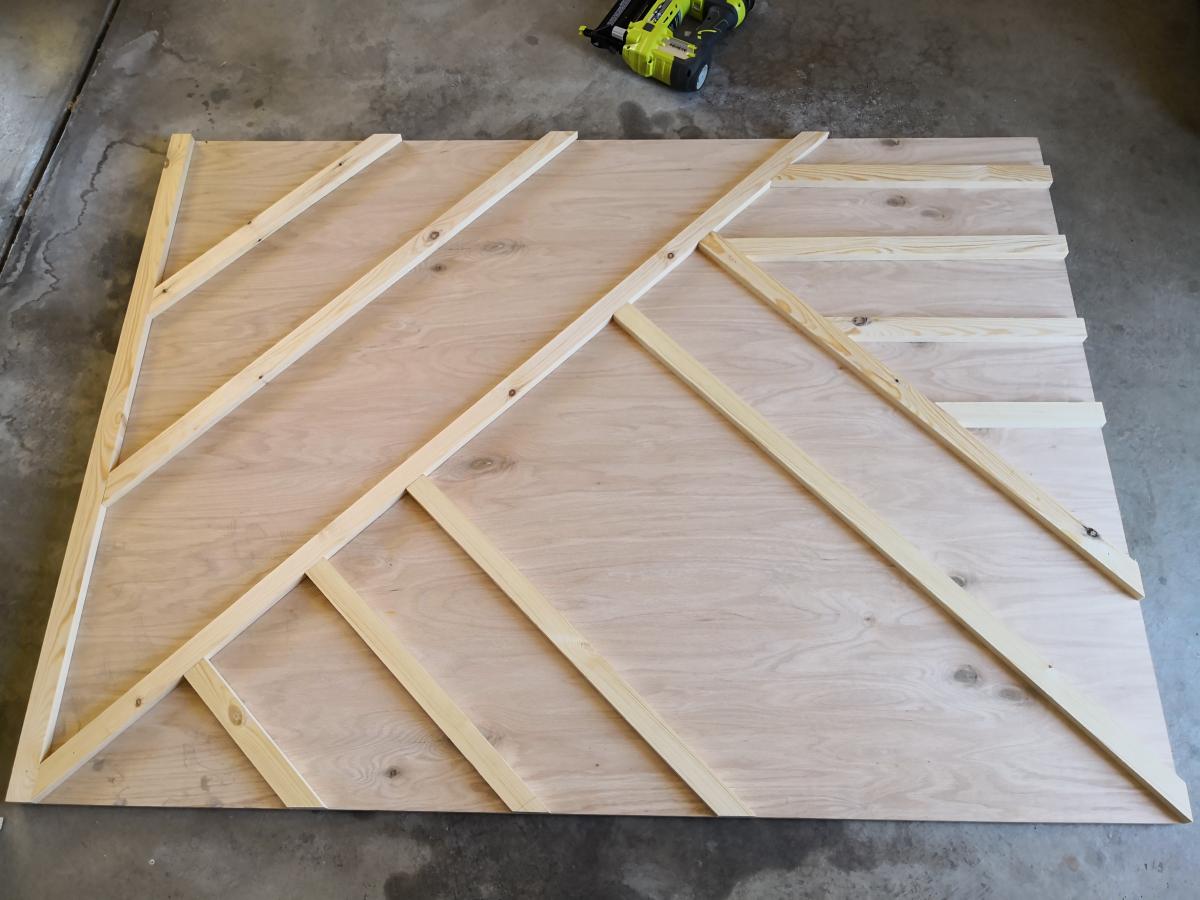
I made this beautiful bed in just one (long) day (12h). The next day I made the nightstands with the scraps of wood from the bed.
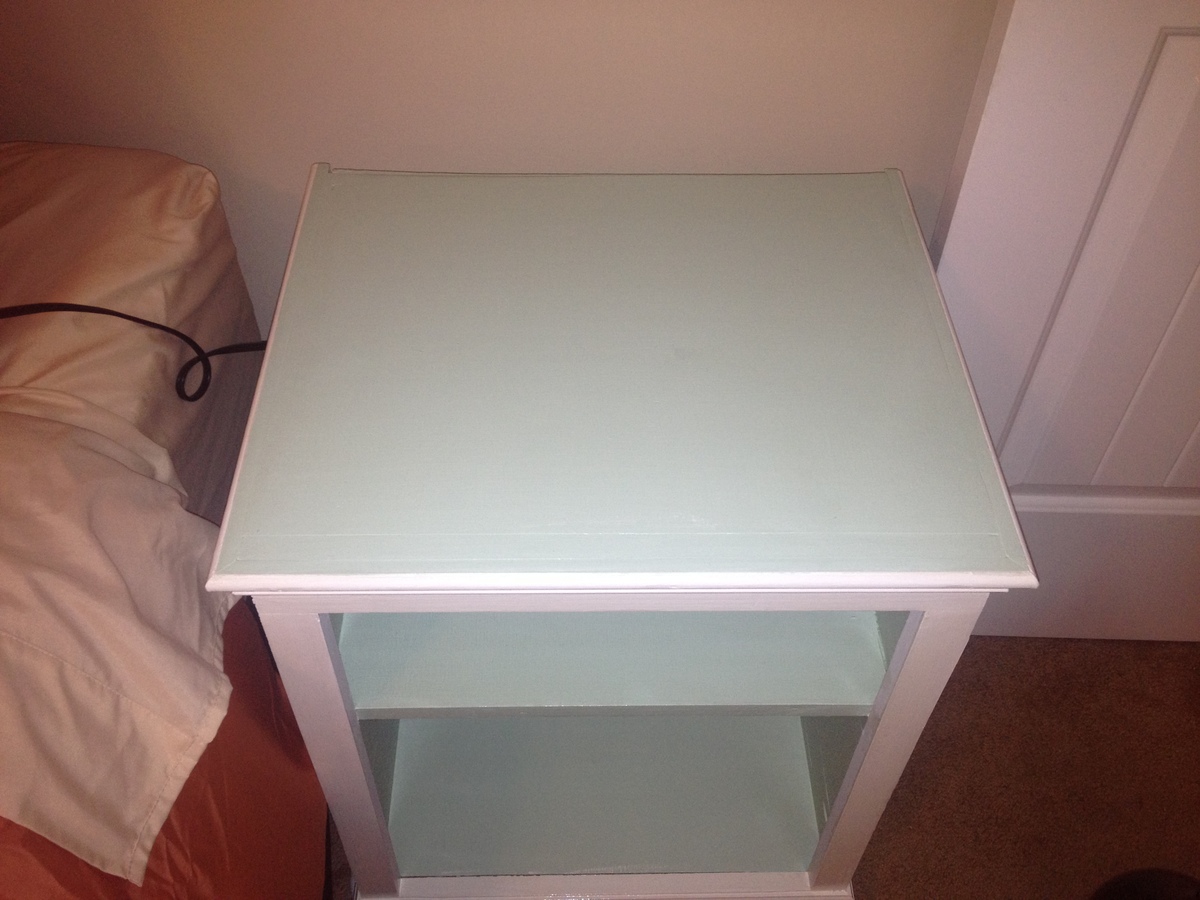
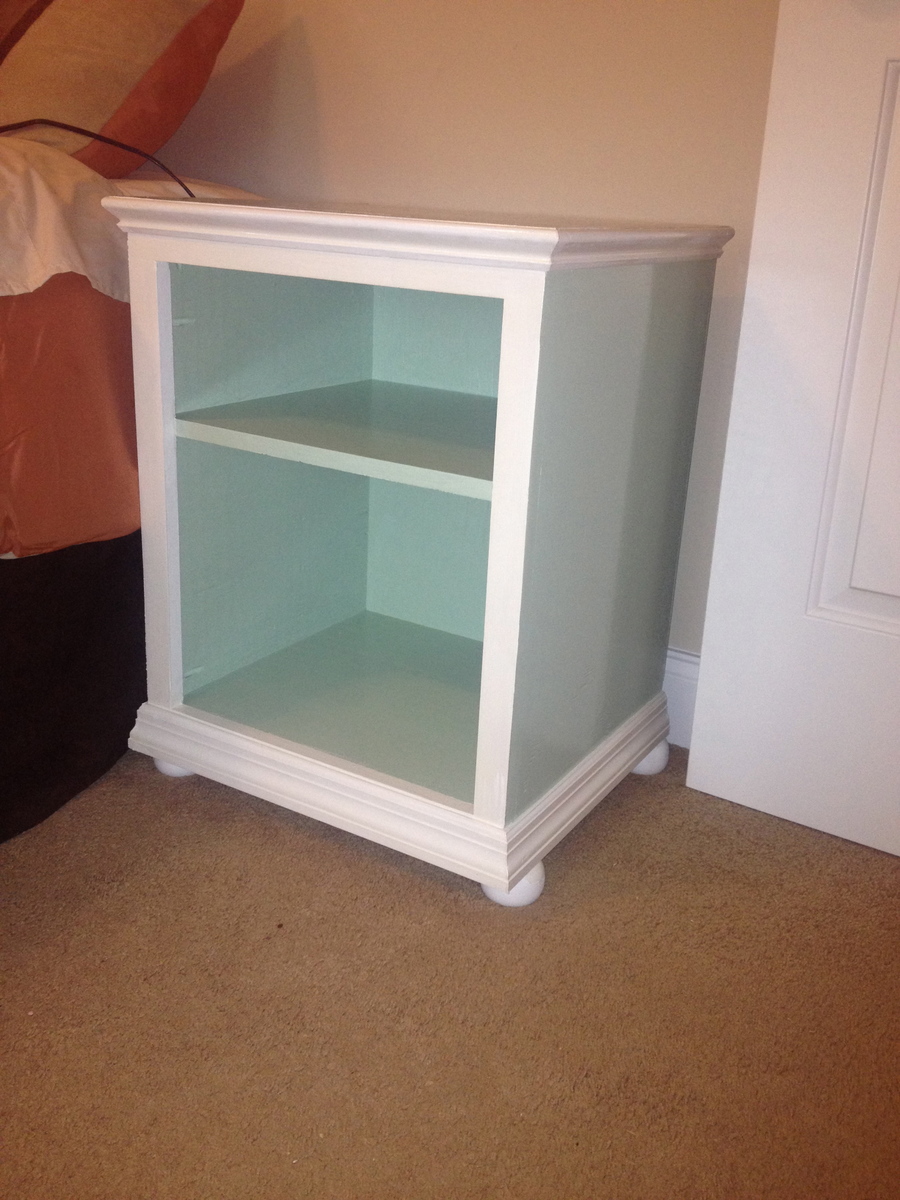
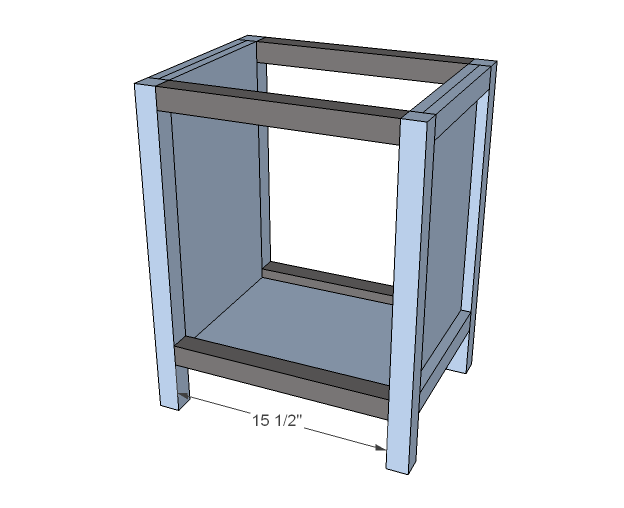
Adjusted a little from the plans to fit better the space available. Also I used some scrap plywood for the bottom.
I was sick of all the books all over the front room. I needed to find something to store them on. Our kids had broken those cheap bookshelves from a big box store, so I need something sturdy. As you can tell by the pictures our youngest son loves to sit on it. I used the jig saw to cut the curves and it was super easy. I used a plate for the pattern on the curve. Great idea and plans!
We wanted to make a large sandbox for lots of kids. We love that it has an easy cover and two large benches to sit.
Supplies and Steps are shared at http://myhomedonemyway.blogspot.com/2013/07/building-6-x-8-sandbox.html
Wed, 02/26/2014 - 13:37
I hope sharing this will inspire others of things that they can make. Check out my blog for other DIY projects: http://myhomedonemyway.blogspot.com
I made this table for a friend of mine. I'm a Realtor and he used me to help purchase his home. Instead of a boring house warming gift, I made him this table instead!
This is my first big project. It took about 5 days with the help of my 3 yr old little boy. I made a couple of modifications. I took the size down to 6 ft to fit our current dining room. Essentially I just took 24 inches off of the table top and the long cross braces. For the diagonal cross pieces, I just clamped the wood on the side and marked where the cut was needed. Somehow though, I ended up needing 8 2x4’s... It turned out a lot better than I expected. Although I wish it was explained how they attached the table top. I ended just screwing in from the top. Wish there was a way to avoid this, and the ensuing shown screws, but it will do for now!
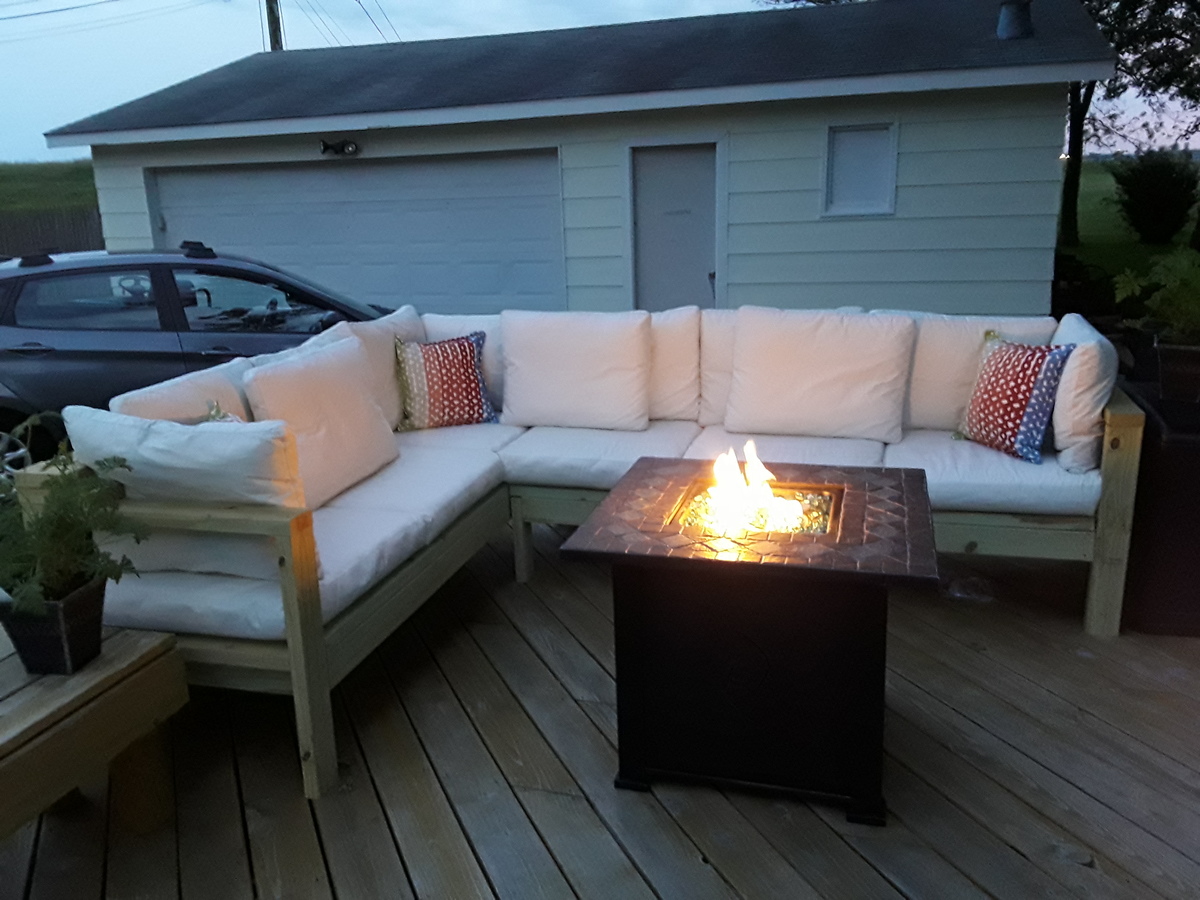
Had fun building this and and putting on the pillows and cushions.
Elite Motionz Buildz
I just finished my first project with a Kreg Jig, I used the colors from another kennel project that we found on the site because we thought it would go well with our living room. I adjusted the plans to fit our furniture and dogs, so it is shorter and not as deep as the the original plans show.
Thu, 05/31/2012 - 18:35
This is a fabulous idea. We live in a small space and this is a two for one idea. I think we will be making this soon. Thanks so much for the idea. I would have never thought of this on my own.
This was my first finished project using plans from Ana's site, and I am very pleased with the finished product. Every aspect of the finished sideboard is based on something from the site. I started with the plans for the Planked Wood Sideboard, and made no modifications as the dimensions were perfect for our basement family room. I decided to inset the back (http://www.friendly-home.net/2012/02/gigantic-rustic-sideboard.html) as Ana explained that Hillary had done, and love the final result. This will allow us to use this to potentially divide a room in an open concept space at some point in the future.
For the finishing process, I decided to follow the "Rustic Yet Refined" finish tutorial highlighted on both the Ana-White site (http://ana-white.com/2013/08/rustic-yet-refined-wood-finish) and Jen Woodhouse House of Wood (http://jenwoodhouse.com/blog/2013/06/07/diy-dining-table/). I fully intended to complete the 9 step process, but found that after we applied the Minwax pre-stain wood conditioner, followed by Minwax special walnut stain and wiped it off within 15-30 seconds, the finish mirrored the restoration hardware finish that we were going for. We decided not to proceed with layering on the weathered oak or applying the whitewash, and went straight to the spar urethane satin coats.
Overall, the project was a success, but was difficult to finish during the Minnesota winter as it was unbelievably cold and was forced to complete the finishing process in our basement/laundry room, which extended the length of the project. I am very excited to begin building other pieces from Ana's plans.
Mon, 03/03/2014 - 10:01
Absolutely beautiful! Thank you for all the details on how you did this!
In reply to Absolutely beautiful! Thank by moosmani
Thu, 03/13/2014 - 07:09
Thank you so much for your kind words. I am extremely impressed with your brag posts as well, and you may have been inspired to take on the picket storage shed project as soon as the snow melts.
We are trying to tidy up our laundry/mud room and needed a place for the recyclables. I ran across Ana's plans for these pull out cabinets and raised panel doors, adjusted the measurements to fit our space, and had at it! It's kind of a tight fit in that room but these seem to help with the clutter. I also added that little table on top for folding laundry.
I built this for my 10 year old son. His room is not very big so this loft bed provides the perfect solution to freeing up floor space for playing.
I added some toy shelves to the side for additional storage.
The curtain, TV and gaming chairs turn the under the bed portion into his personal "boy-cave" gaming center.
Thank you for the easy to follow instructions. He loves it!
Wed, 11/06/2024 - 22:00
For Australian players looking to explore the world of online mobile casinos, mobile-casinos-australia.com stands out as a comprehensive guide. This site offers a curated list of trusted Australian-friendly casinos that provide high-quality mobile gaming experiences, combining convenience with security and entertainment. With detailed insights into each casino's features, allows players to compare options based on game selection, bonus offerings, and customer support.
What makes mobile-casinos-australia.com particularly valuable is its focus on safety and accessibility. Each recommended casino supports secure payment methods, including options popular among Australian users, such as POLi, credit cards, and reliable e-wallets. The site also keeps players updated on promotions, free spins, and loyalty programs, making it easy to find casinos that offer added value.
Whether you’re a fan of pokies, table games, or live dealer experiences, Mobile Casino Australia helps you make informed decisions. With this trusted guide, Australian players can find casinos that provide not only great games but also reliable service and secure transactions, ensuring a smooth and enjoyable mobile gaming journey.