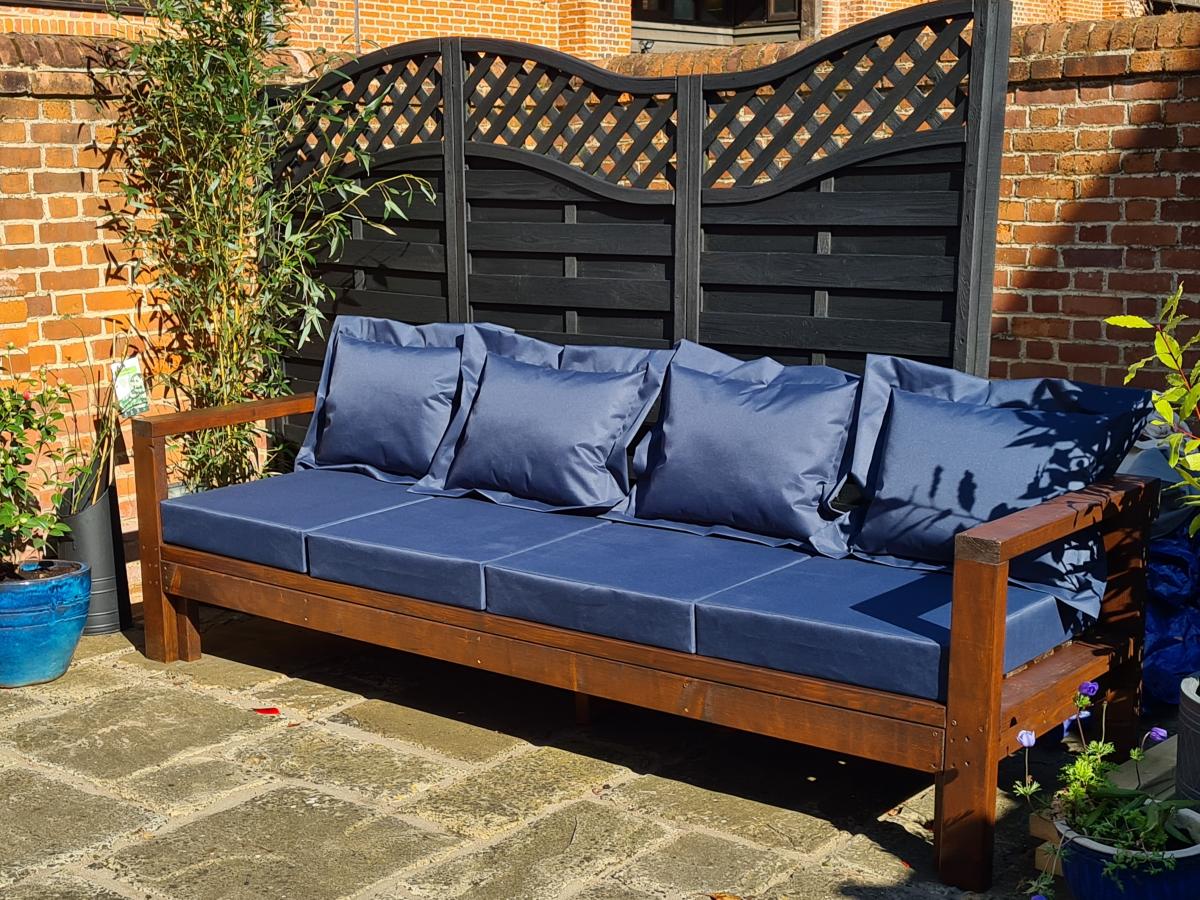
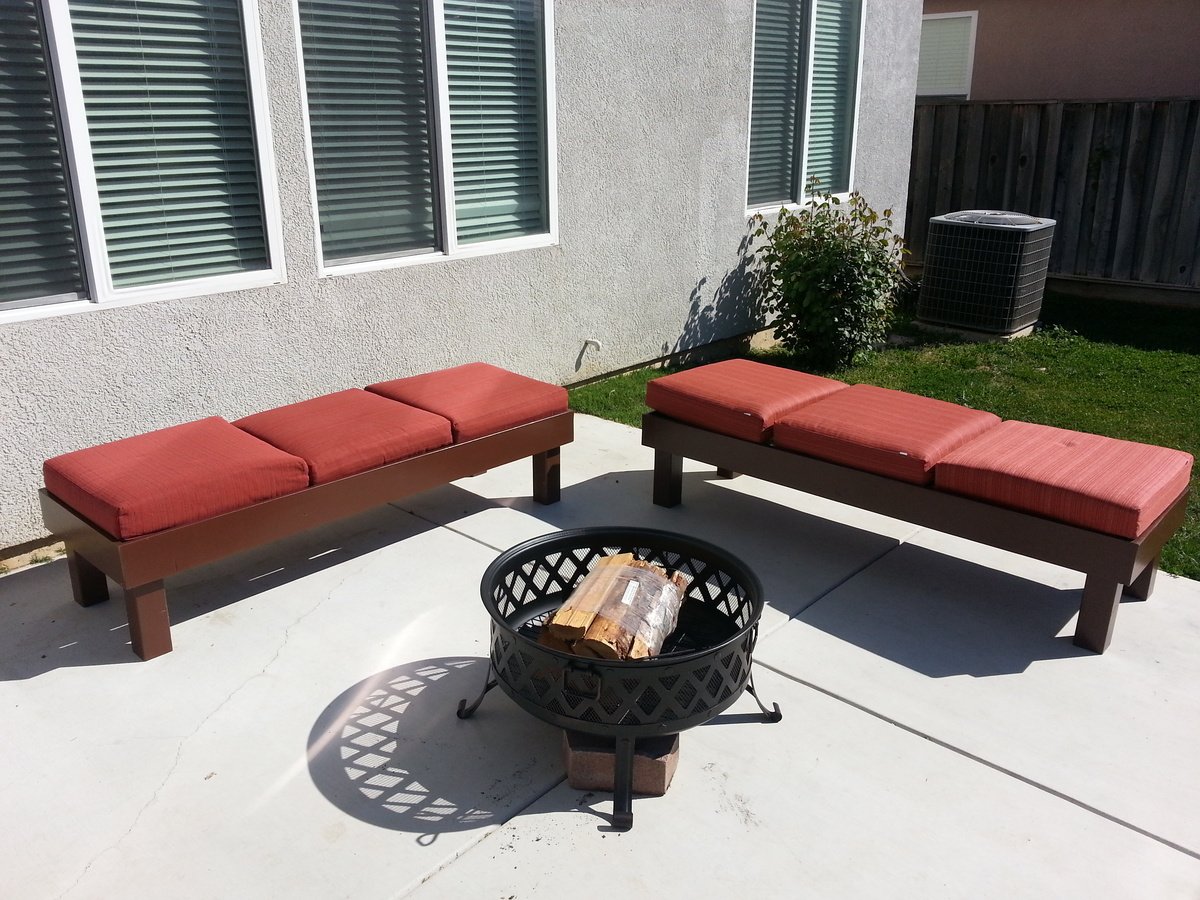
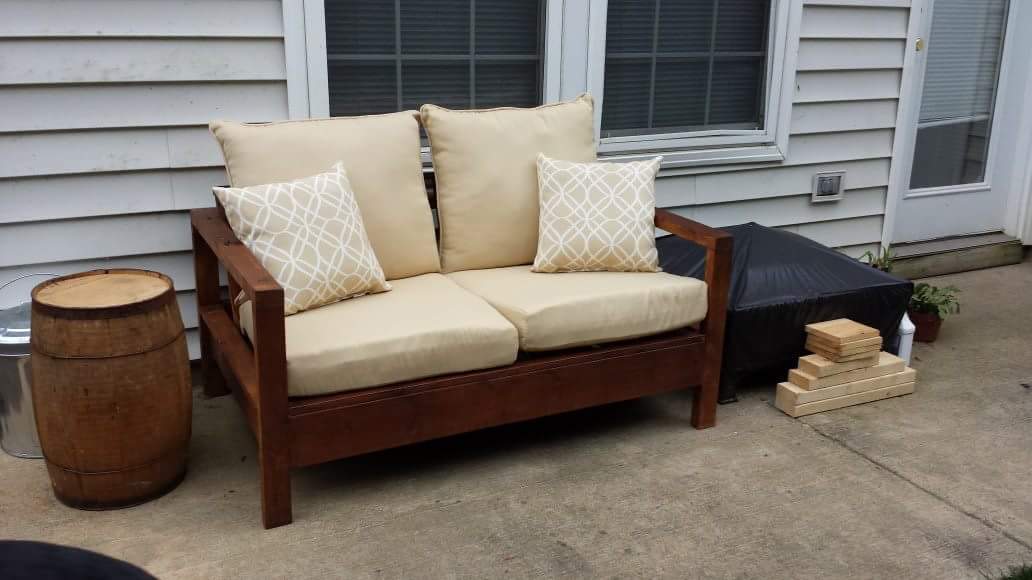
Longer outdoor sofa
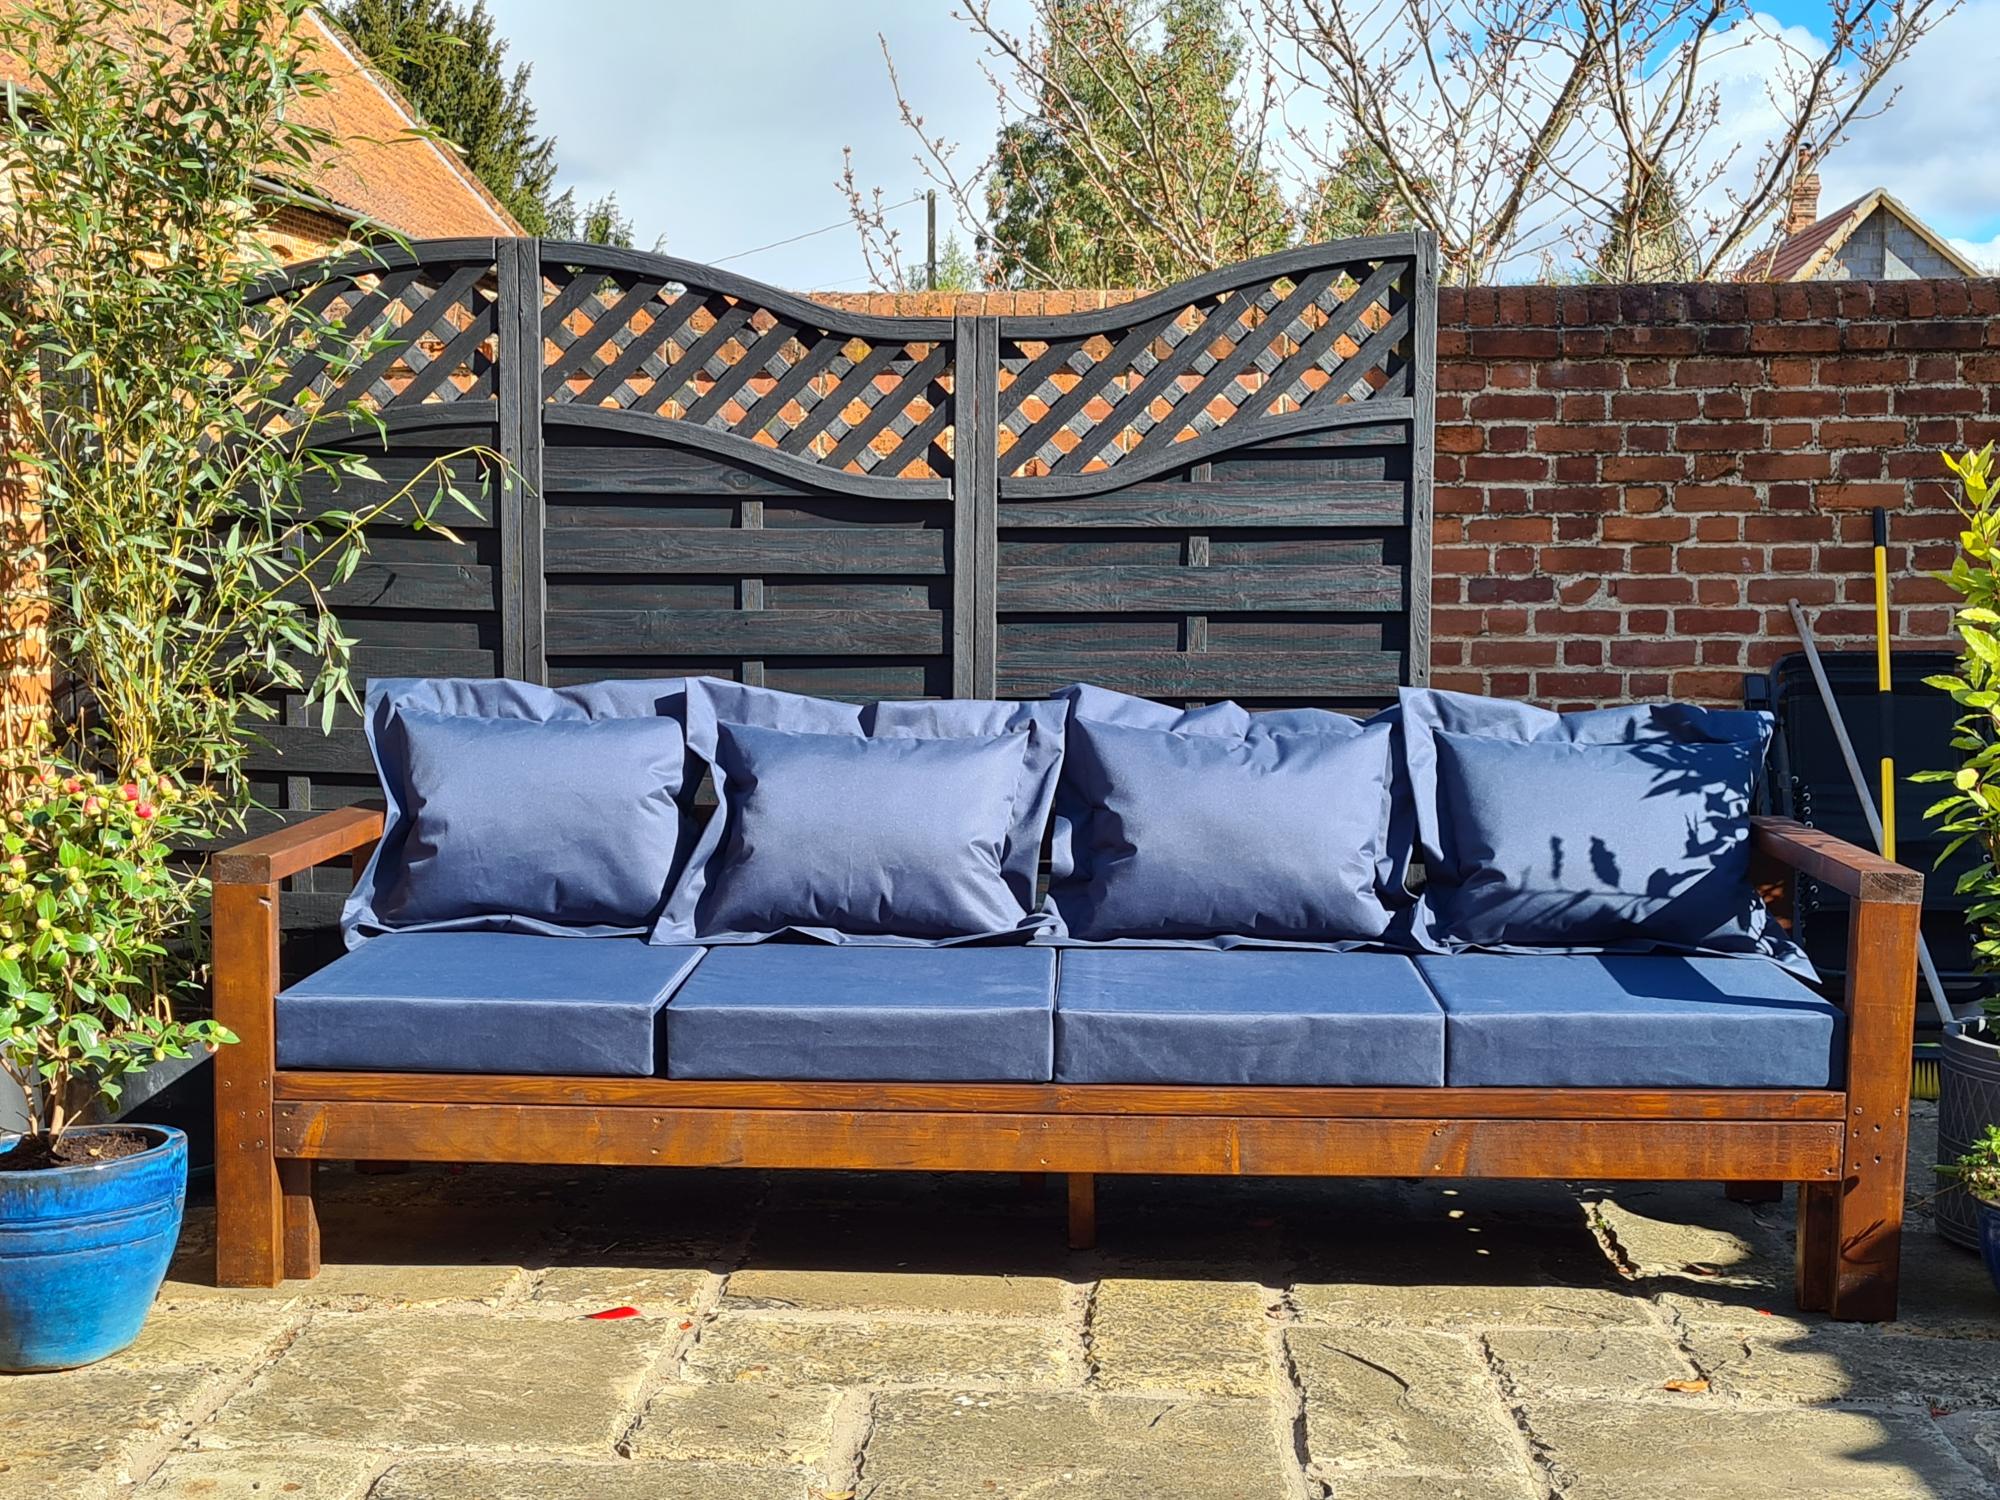
Really enjoyed making this 2x4 sofa. Decided it wasn't long enough so added 12 inches so it's now really nice and big! I needed to add a semi hidden supporting in the middle but that was pretty easy.
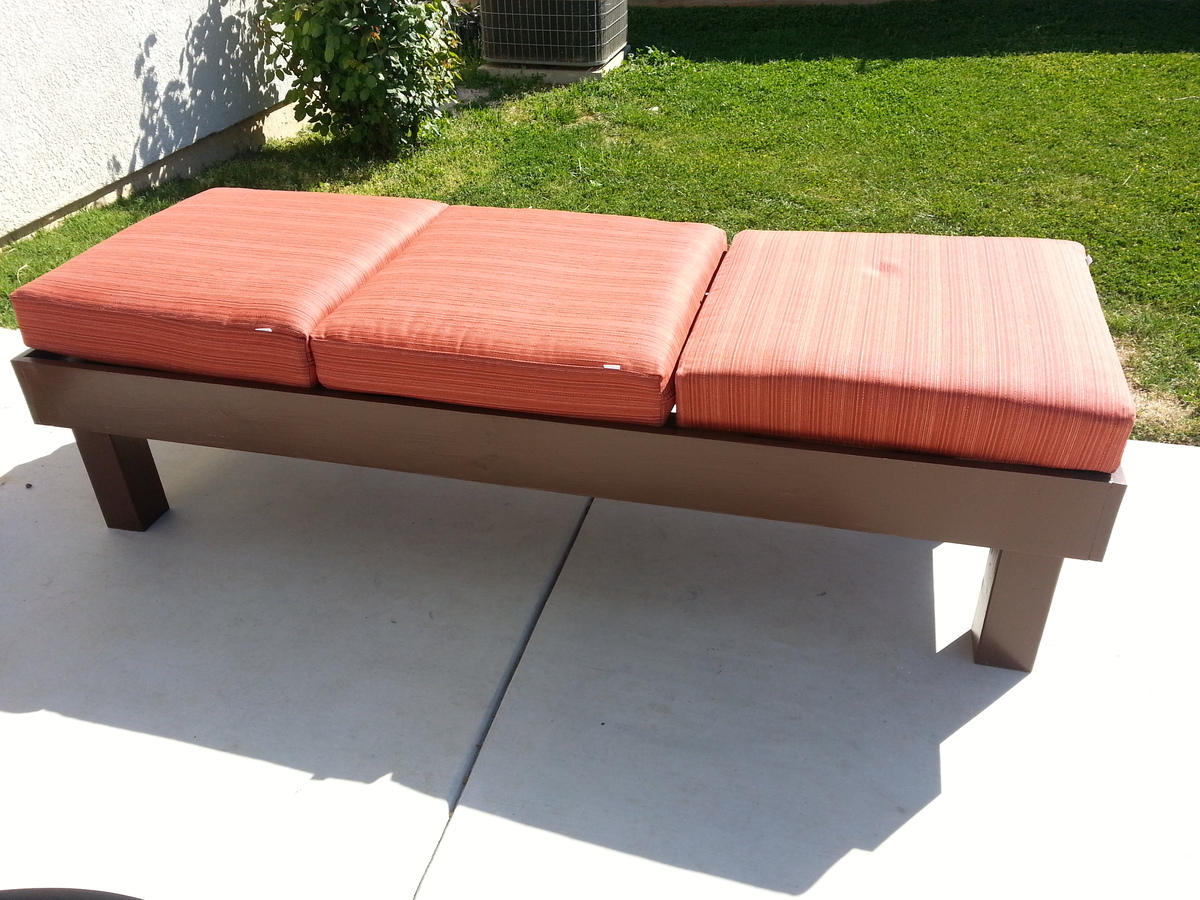
Took Ana's advice and got the cushions made first. I found a local person here in the UK. I found waterproof canvas online.
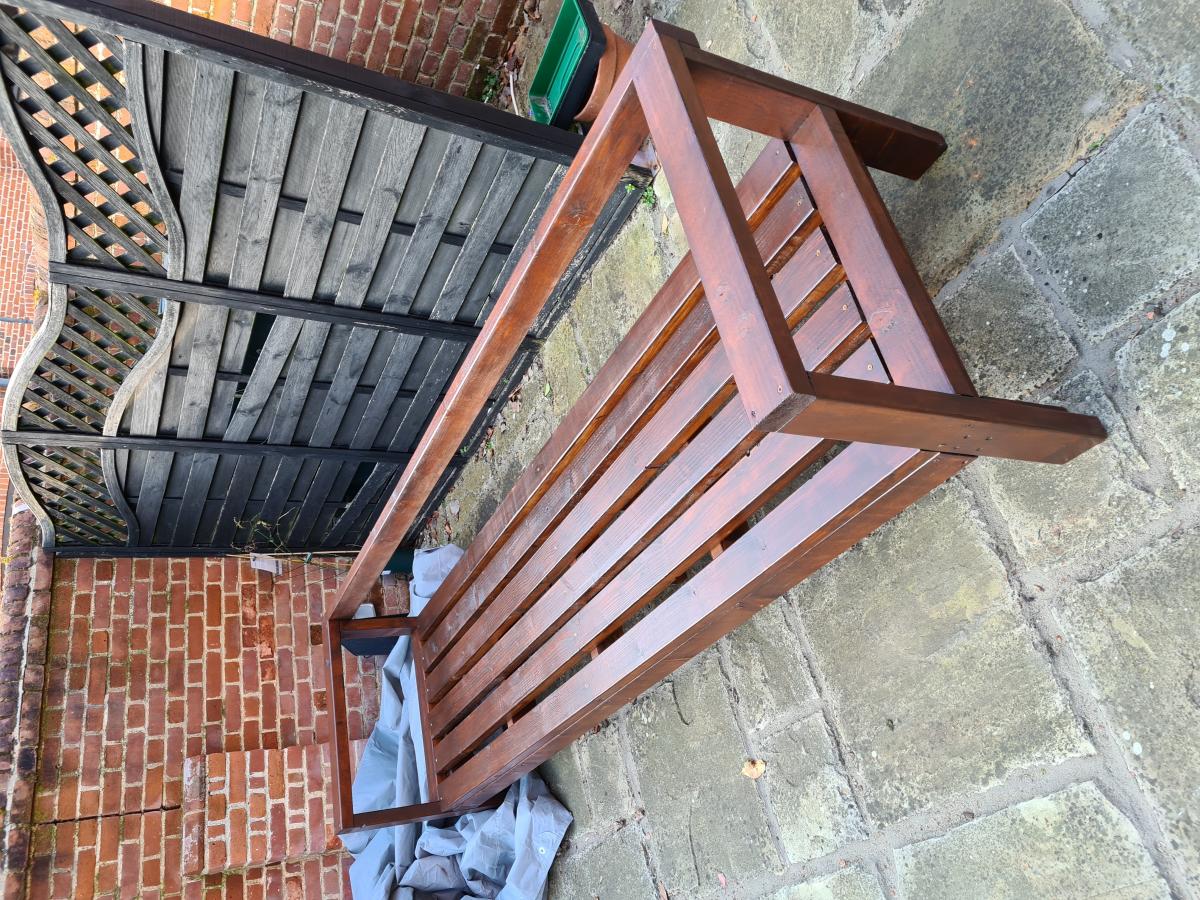
I agree with several other posters, it's unclear at the point the arms are added onto the bench part and there's no way the 6 screws advised would have been enough to hold the weight of 3 people.. I added supporting extra legs at the front and one leg in the centre. This has made it super-stable.
Overall very happy..my wife and I can stretch out at either end! It took a weekend to make then some time in tween coats of varnish.


Comments
Ana White Admin
Sun, 04/11/2021 - 09:02
Great size!
Love your mods, looks super inviting! Thank you for sharing.