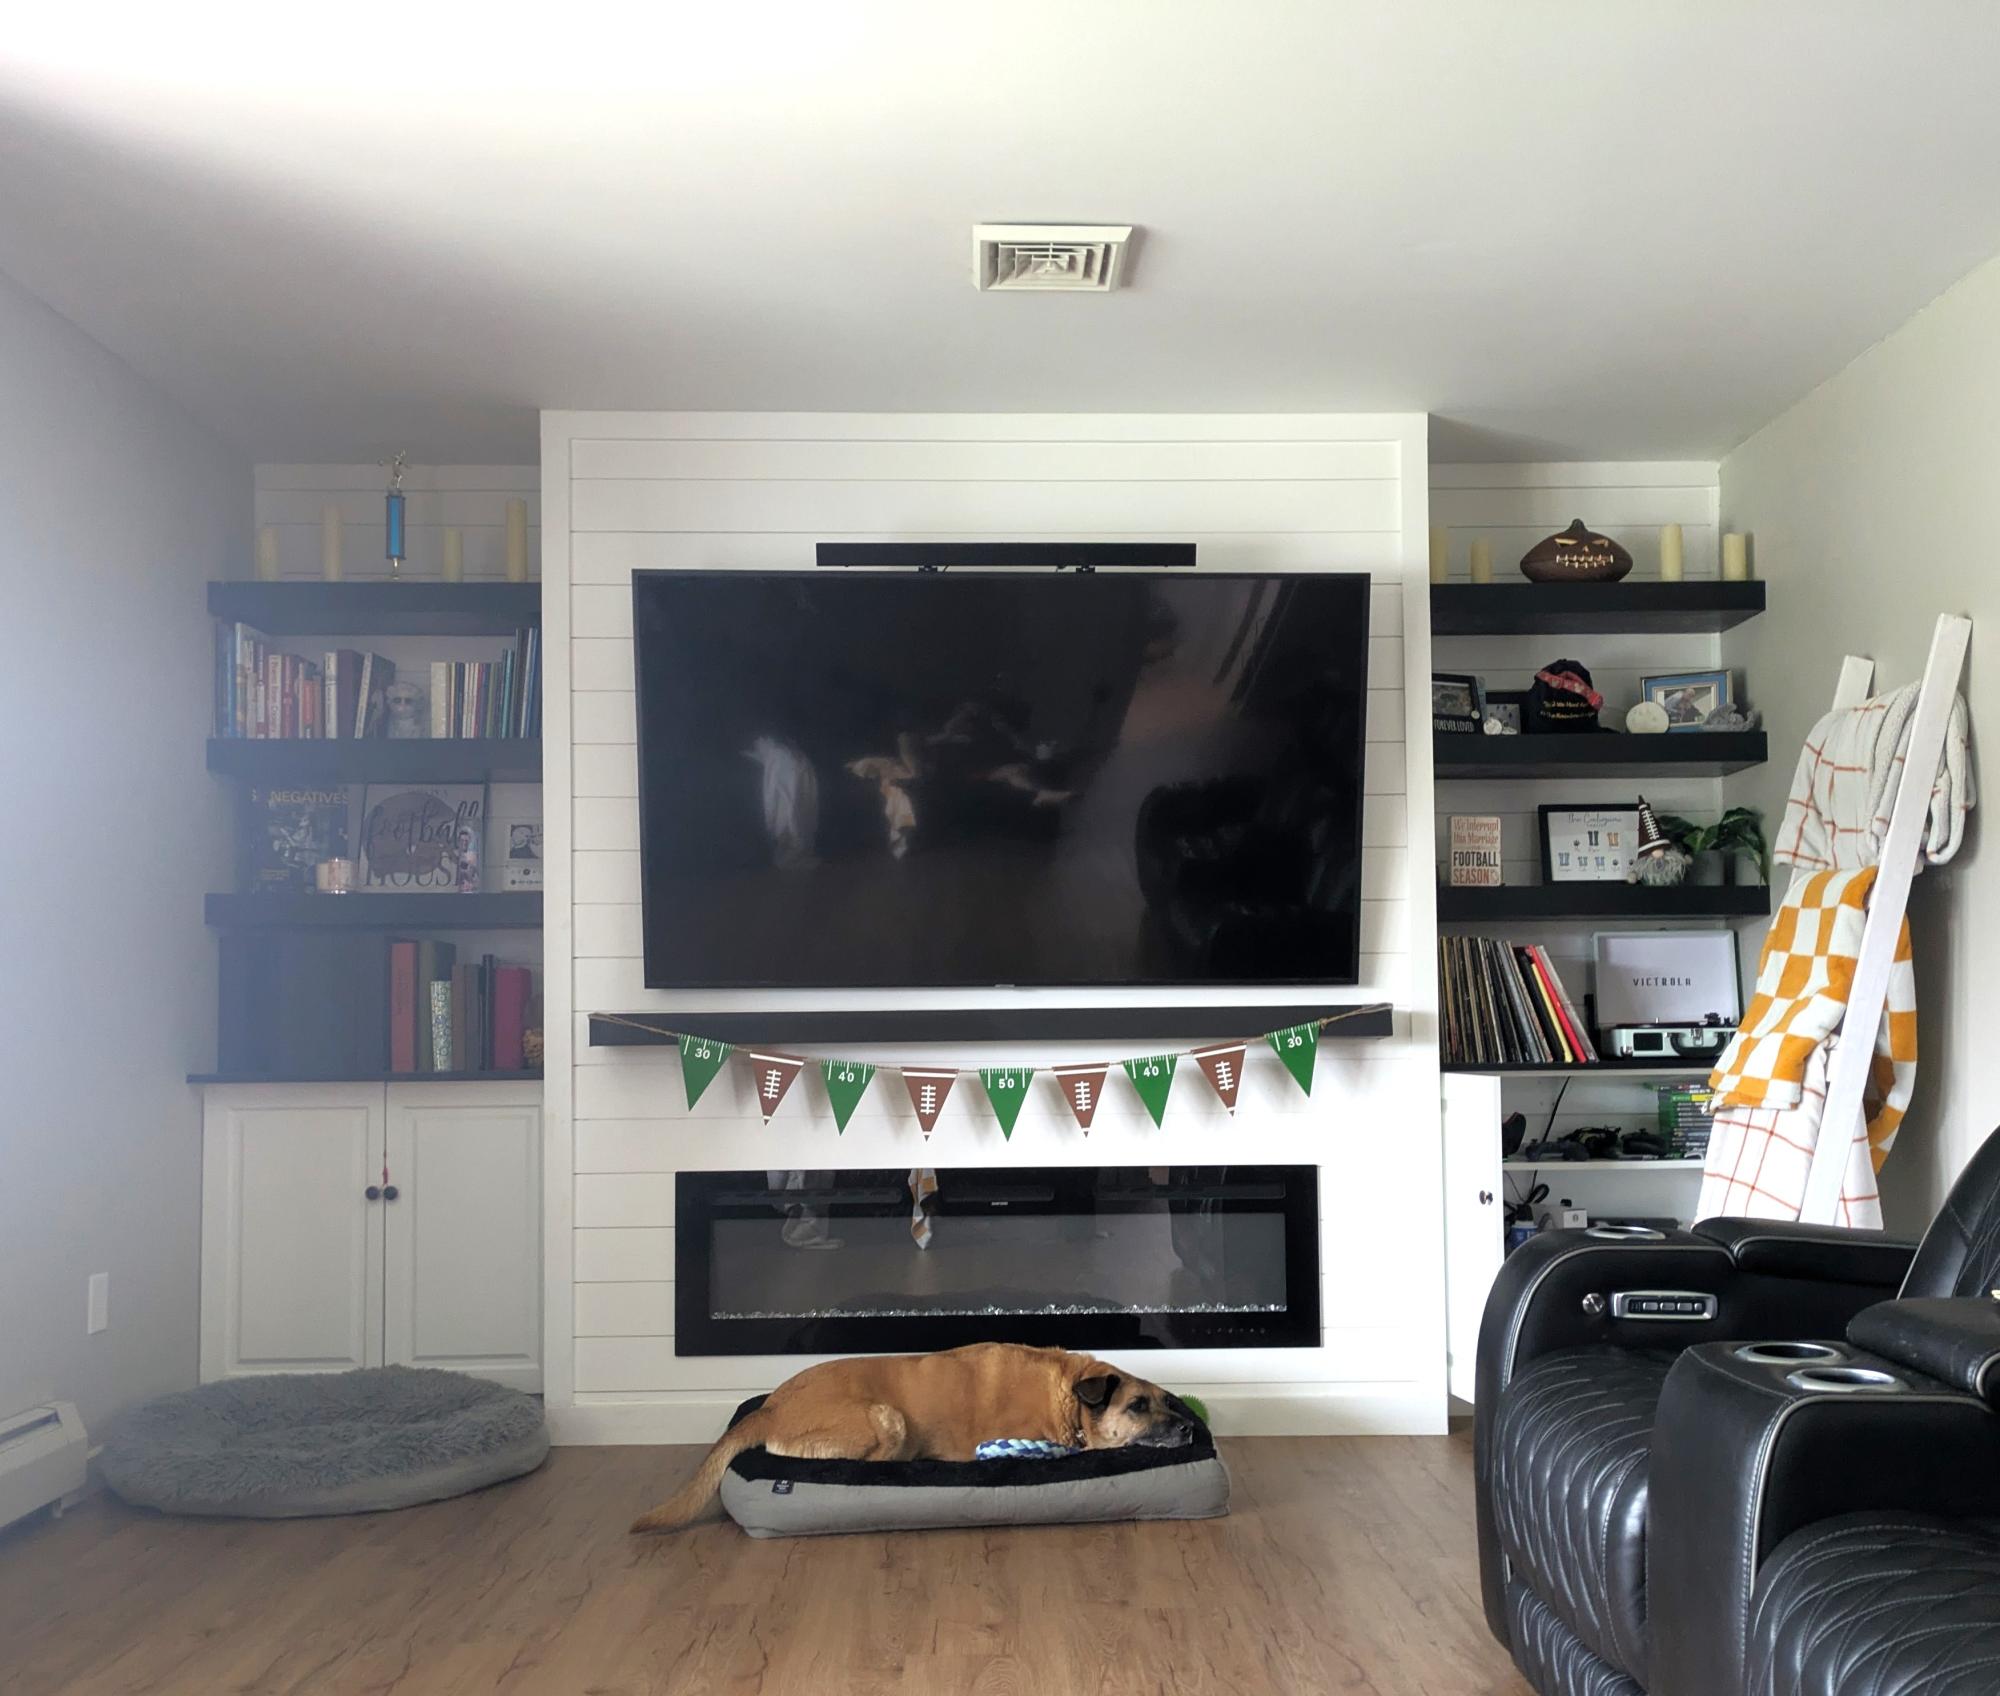
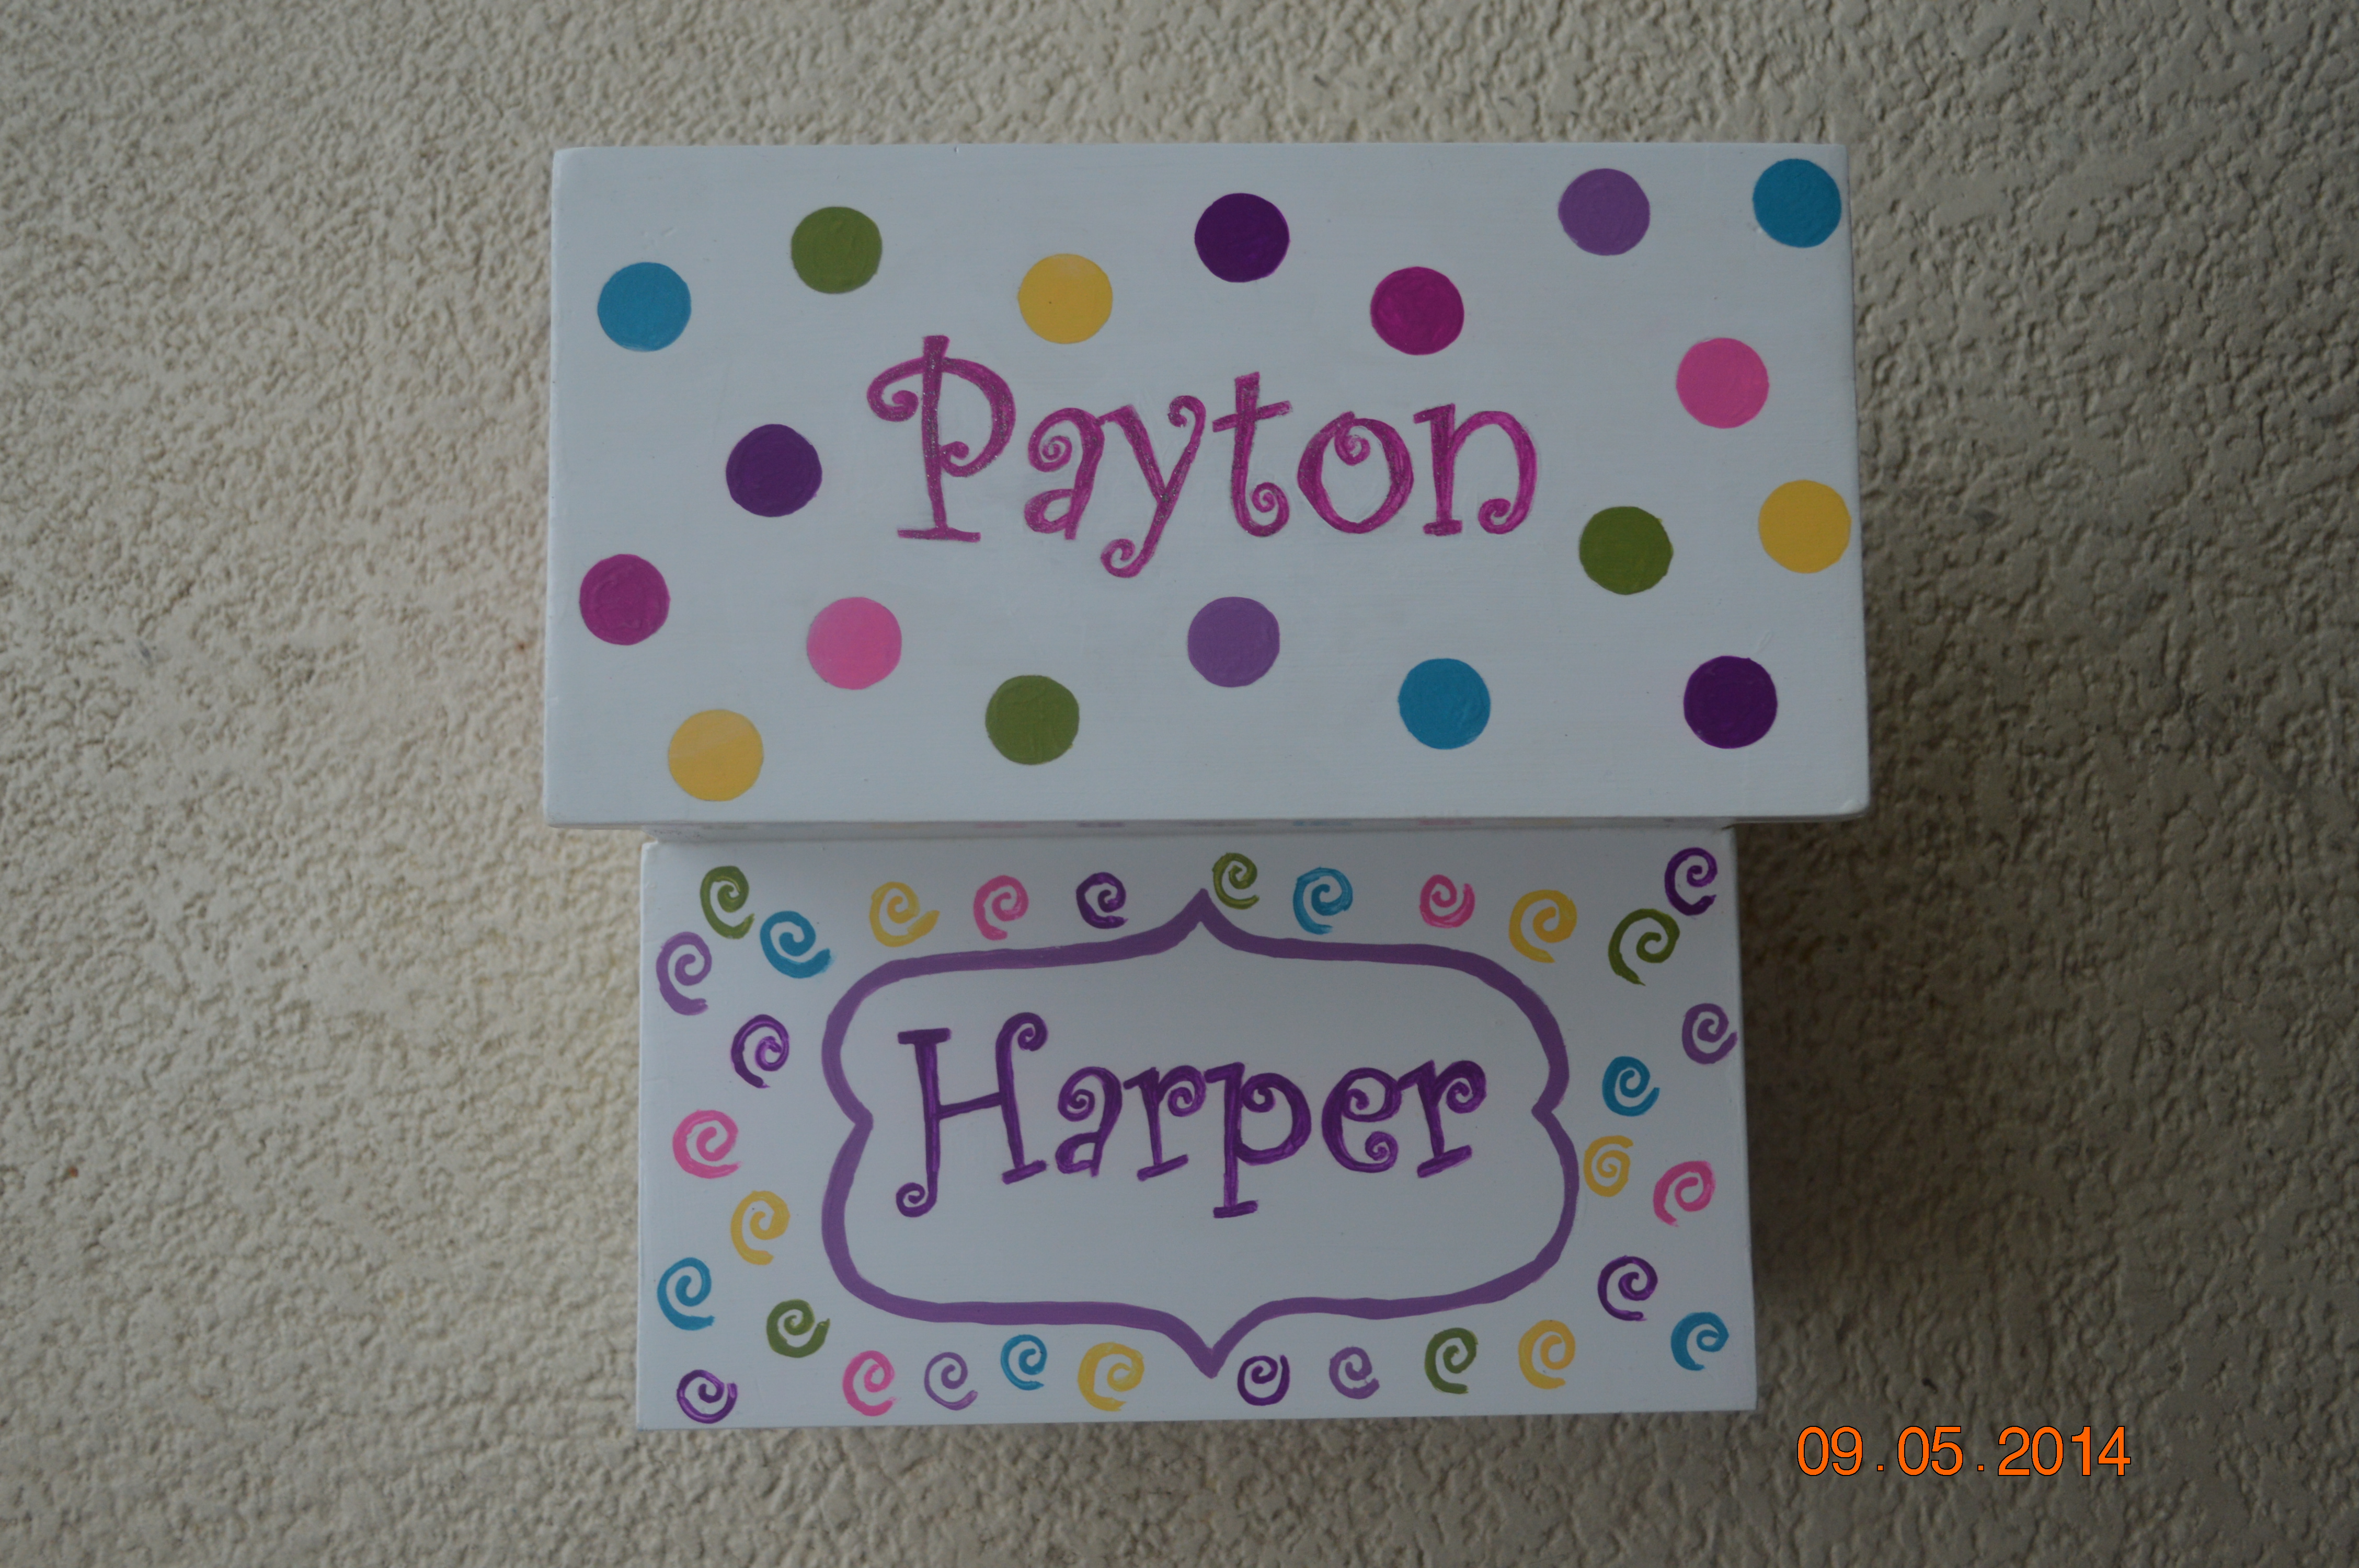
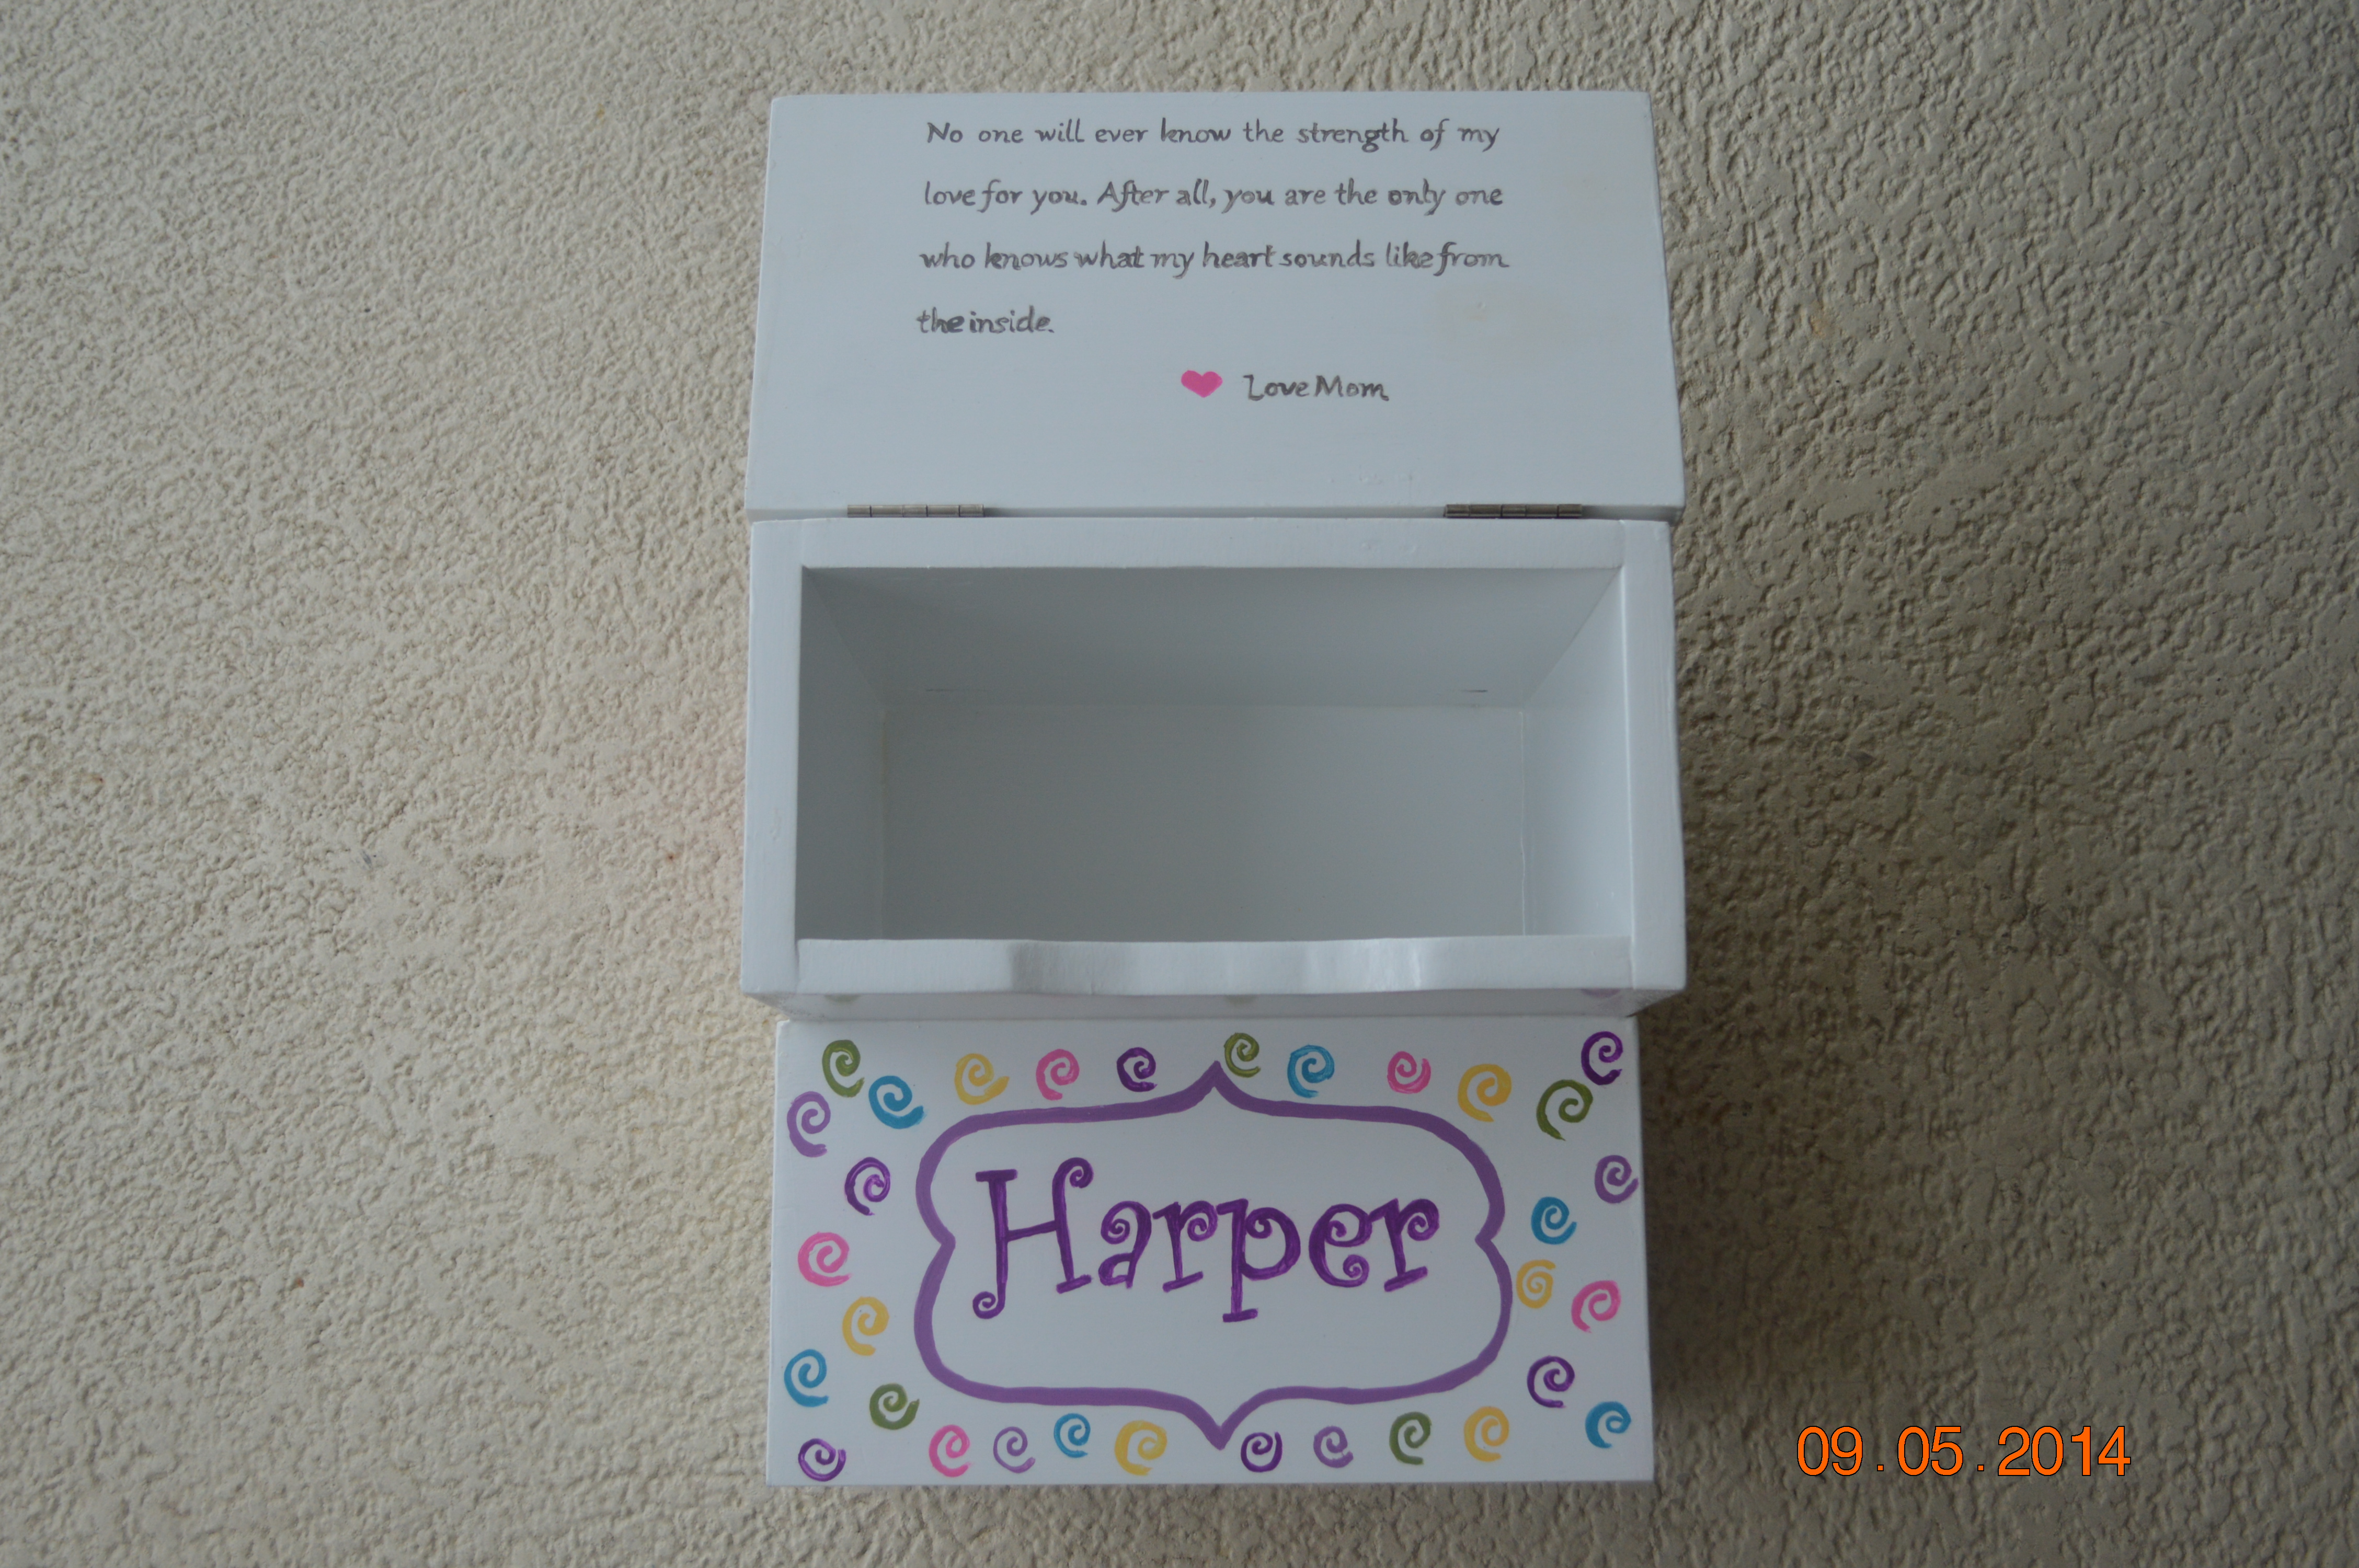
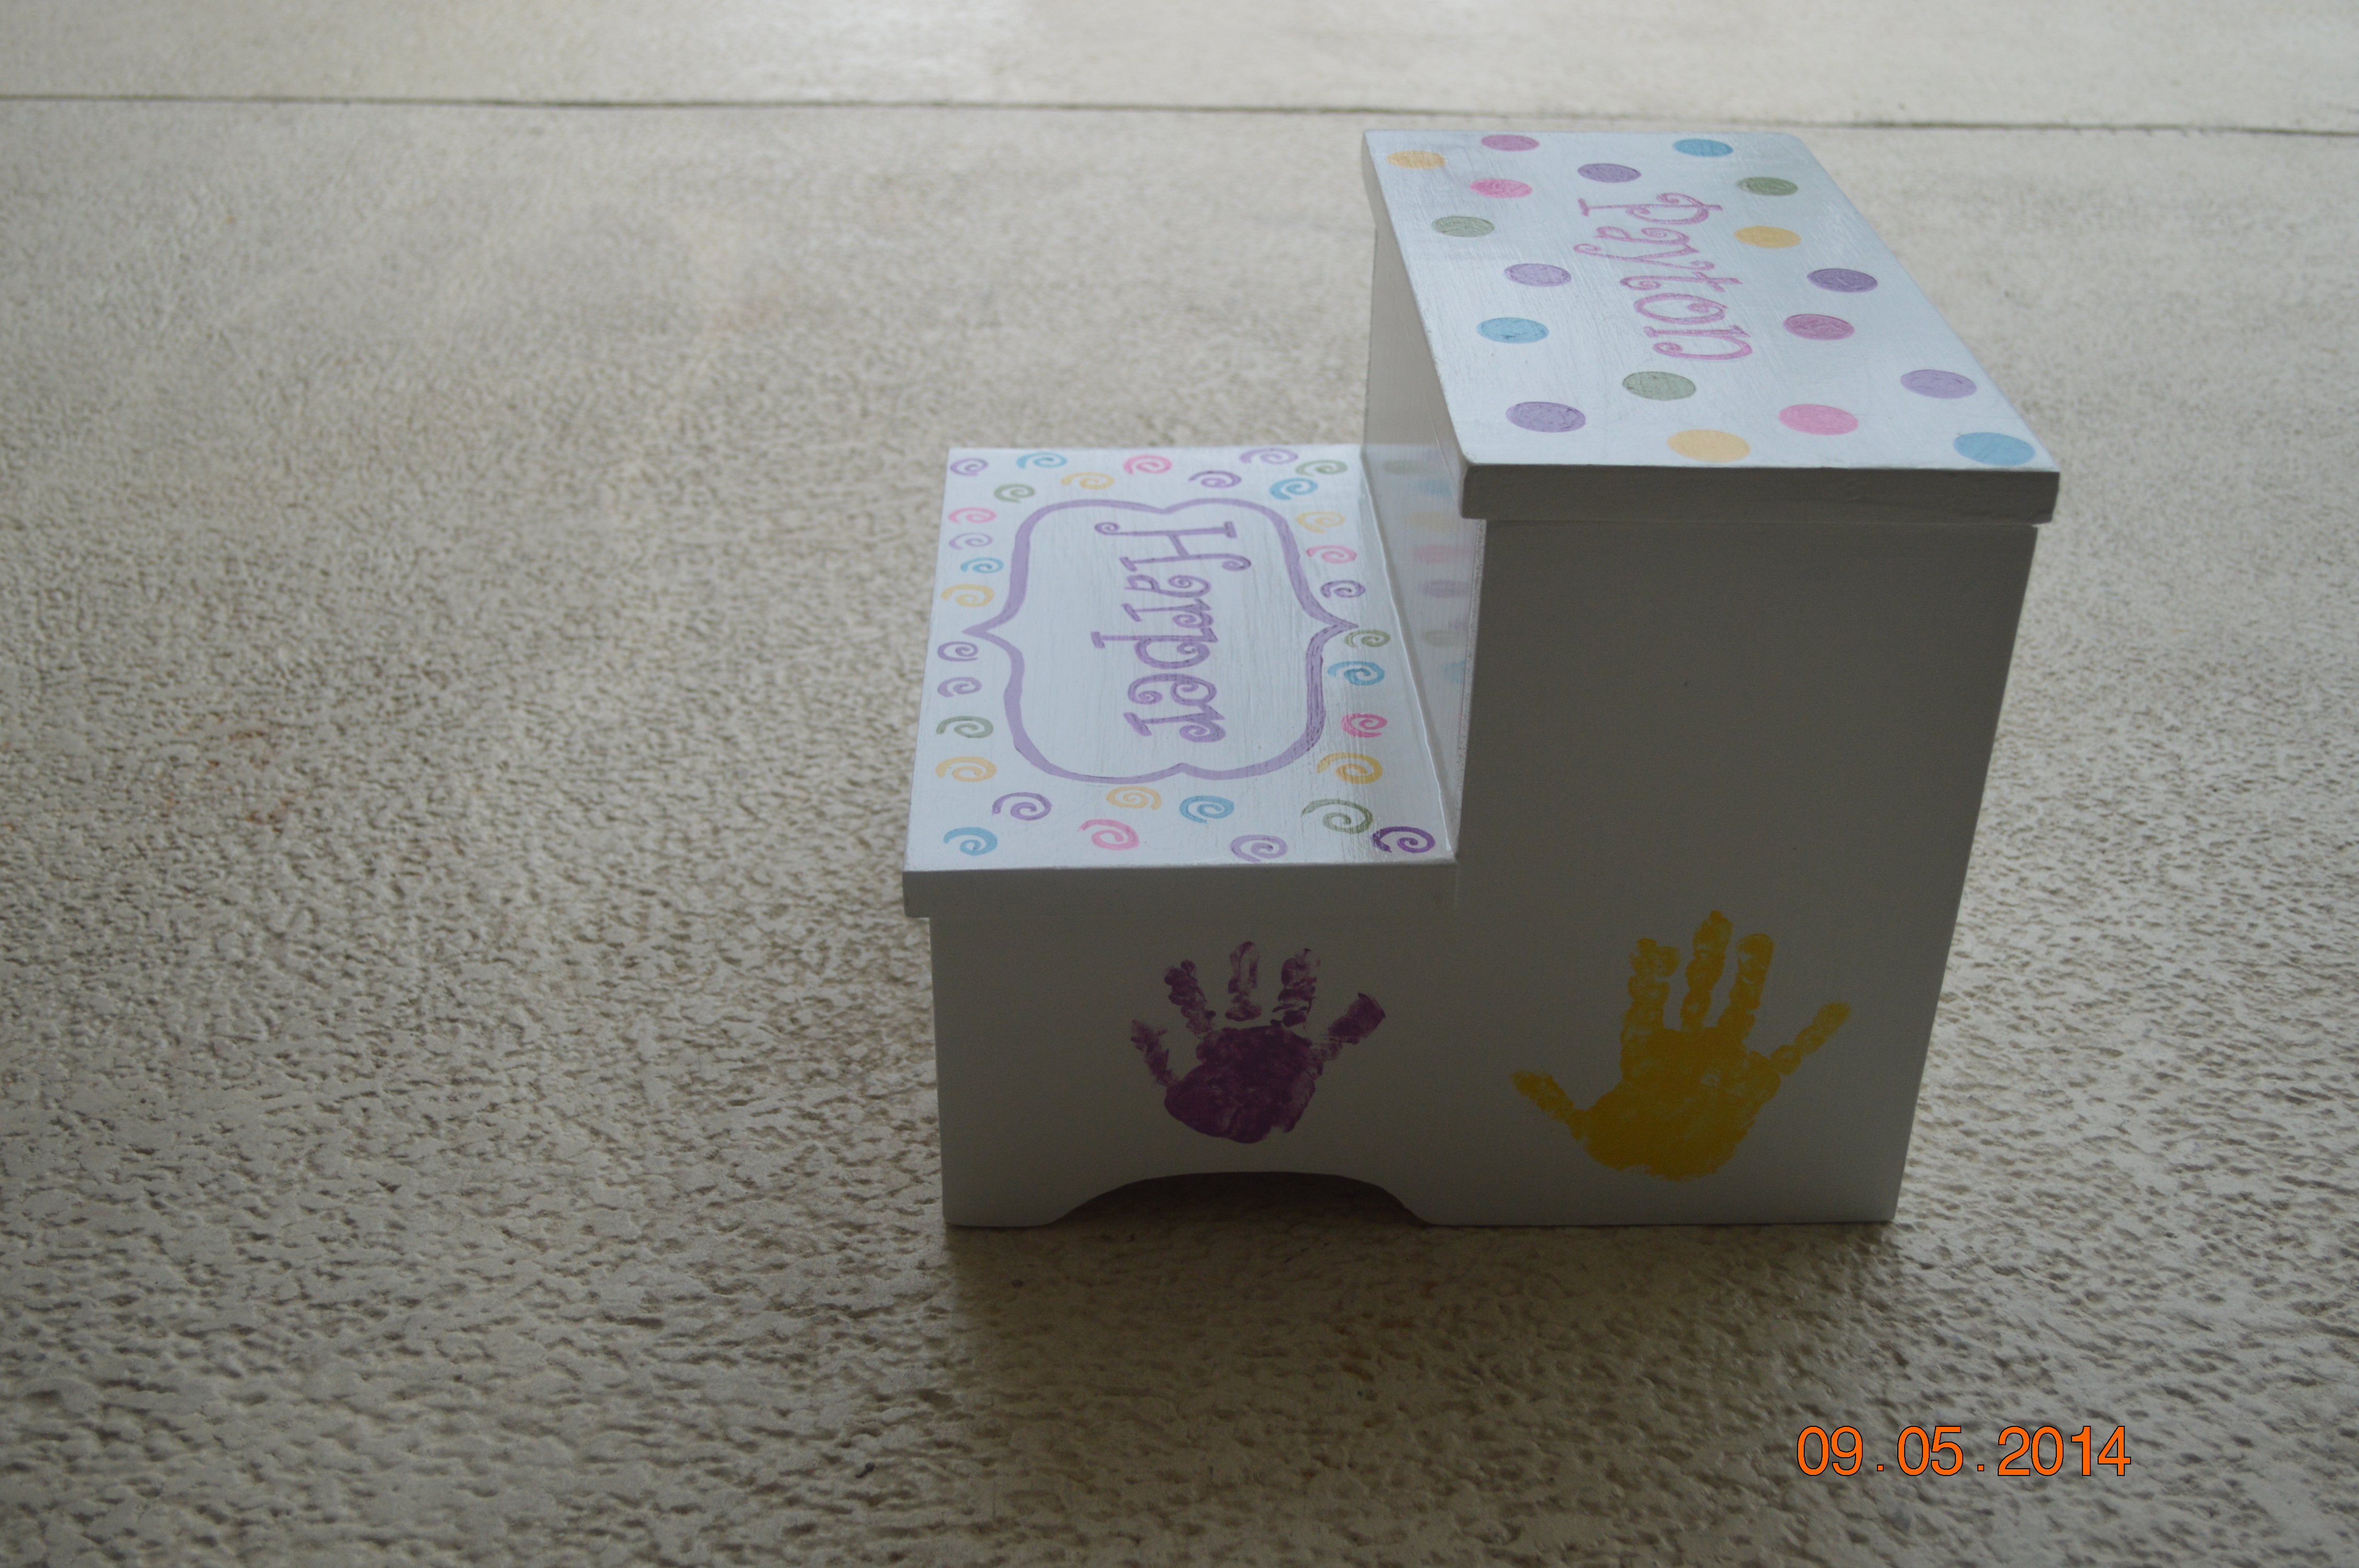
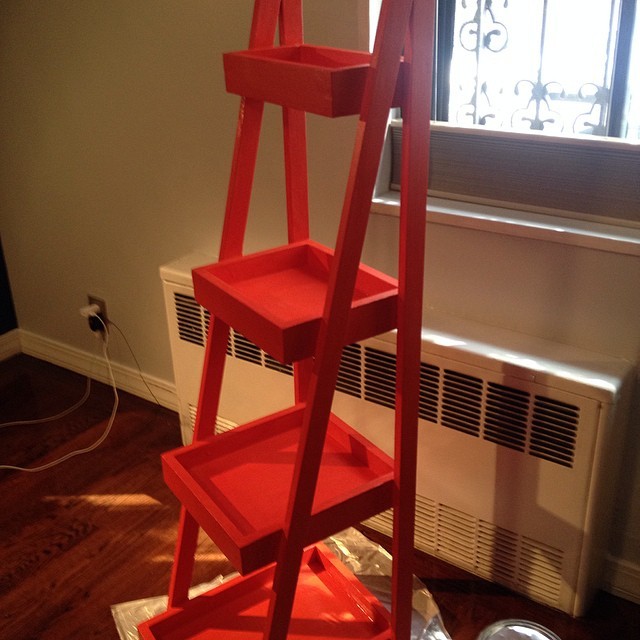
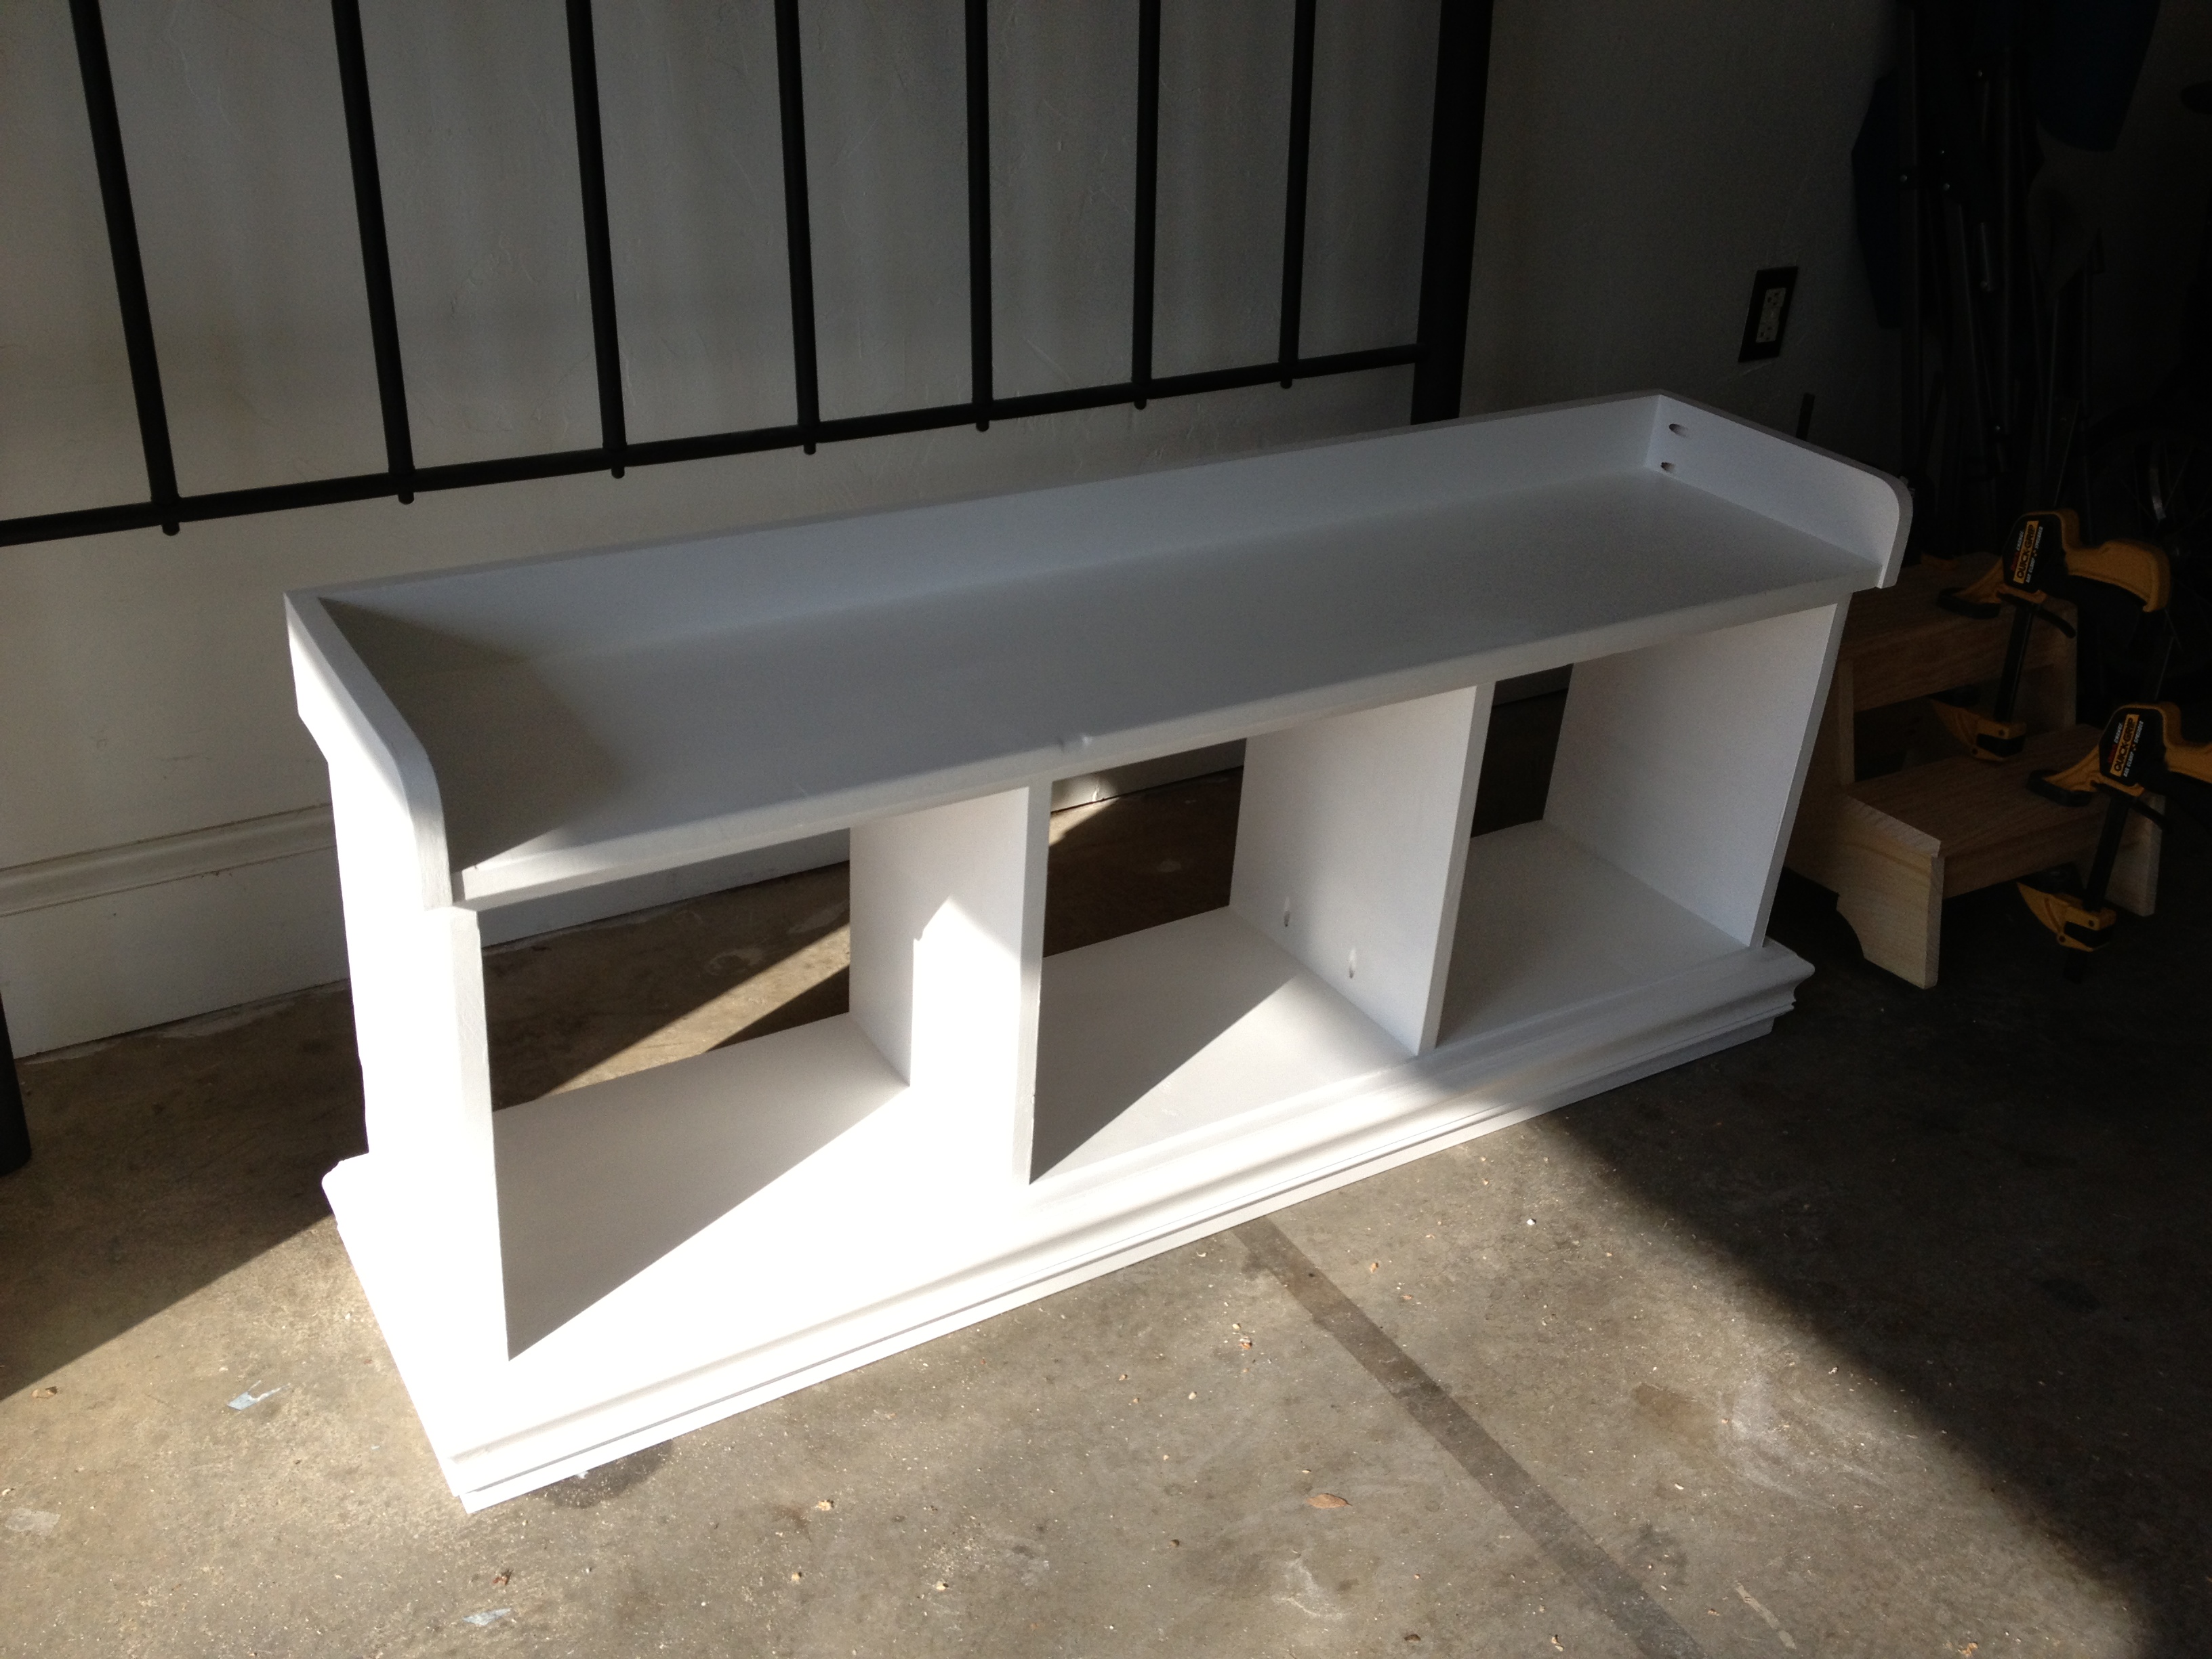
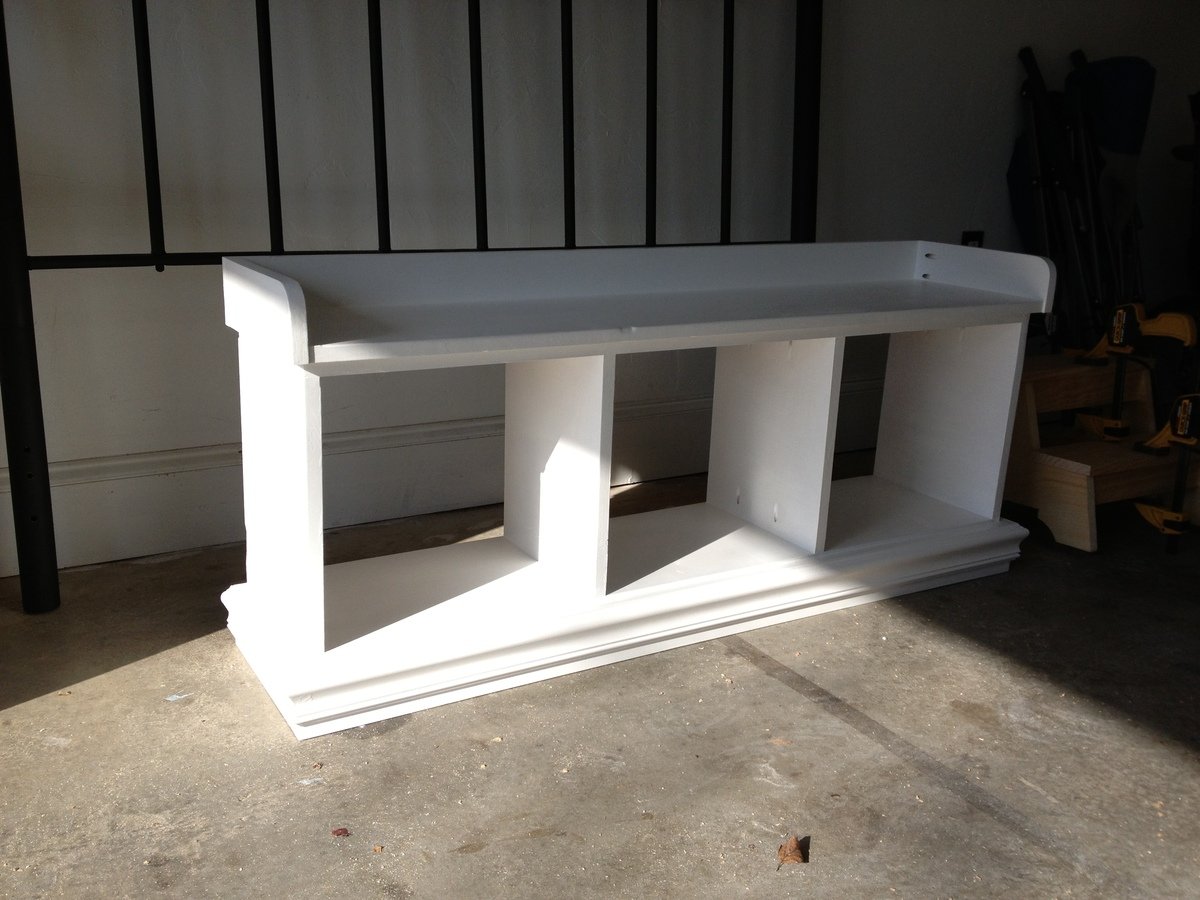
Ledges built for our travel photos
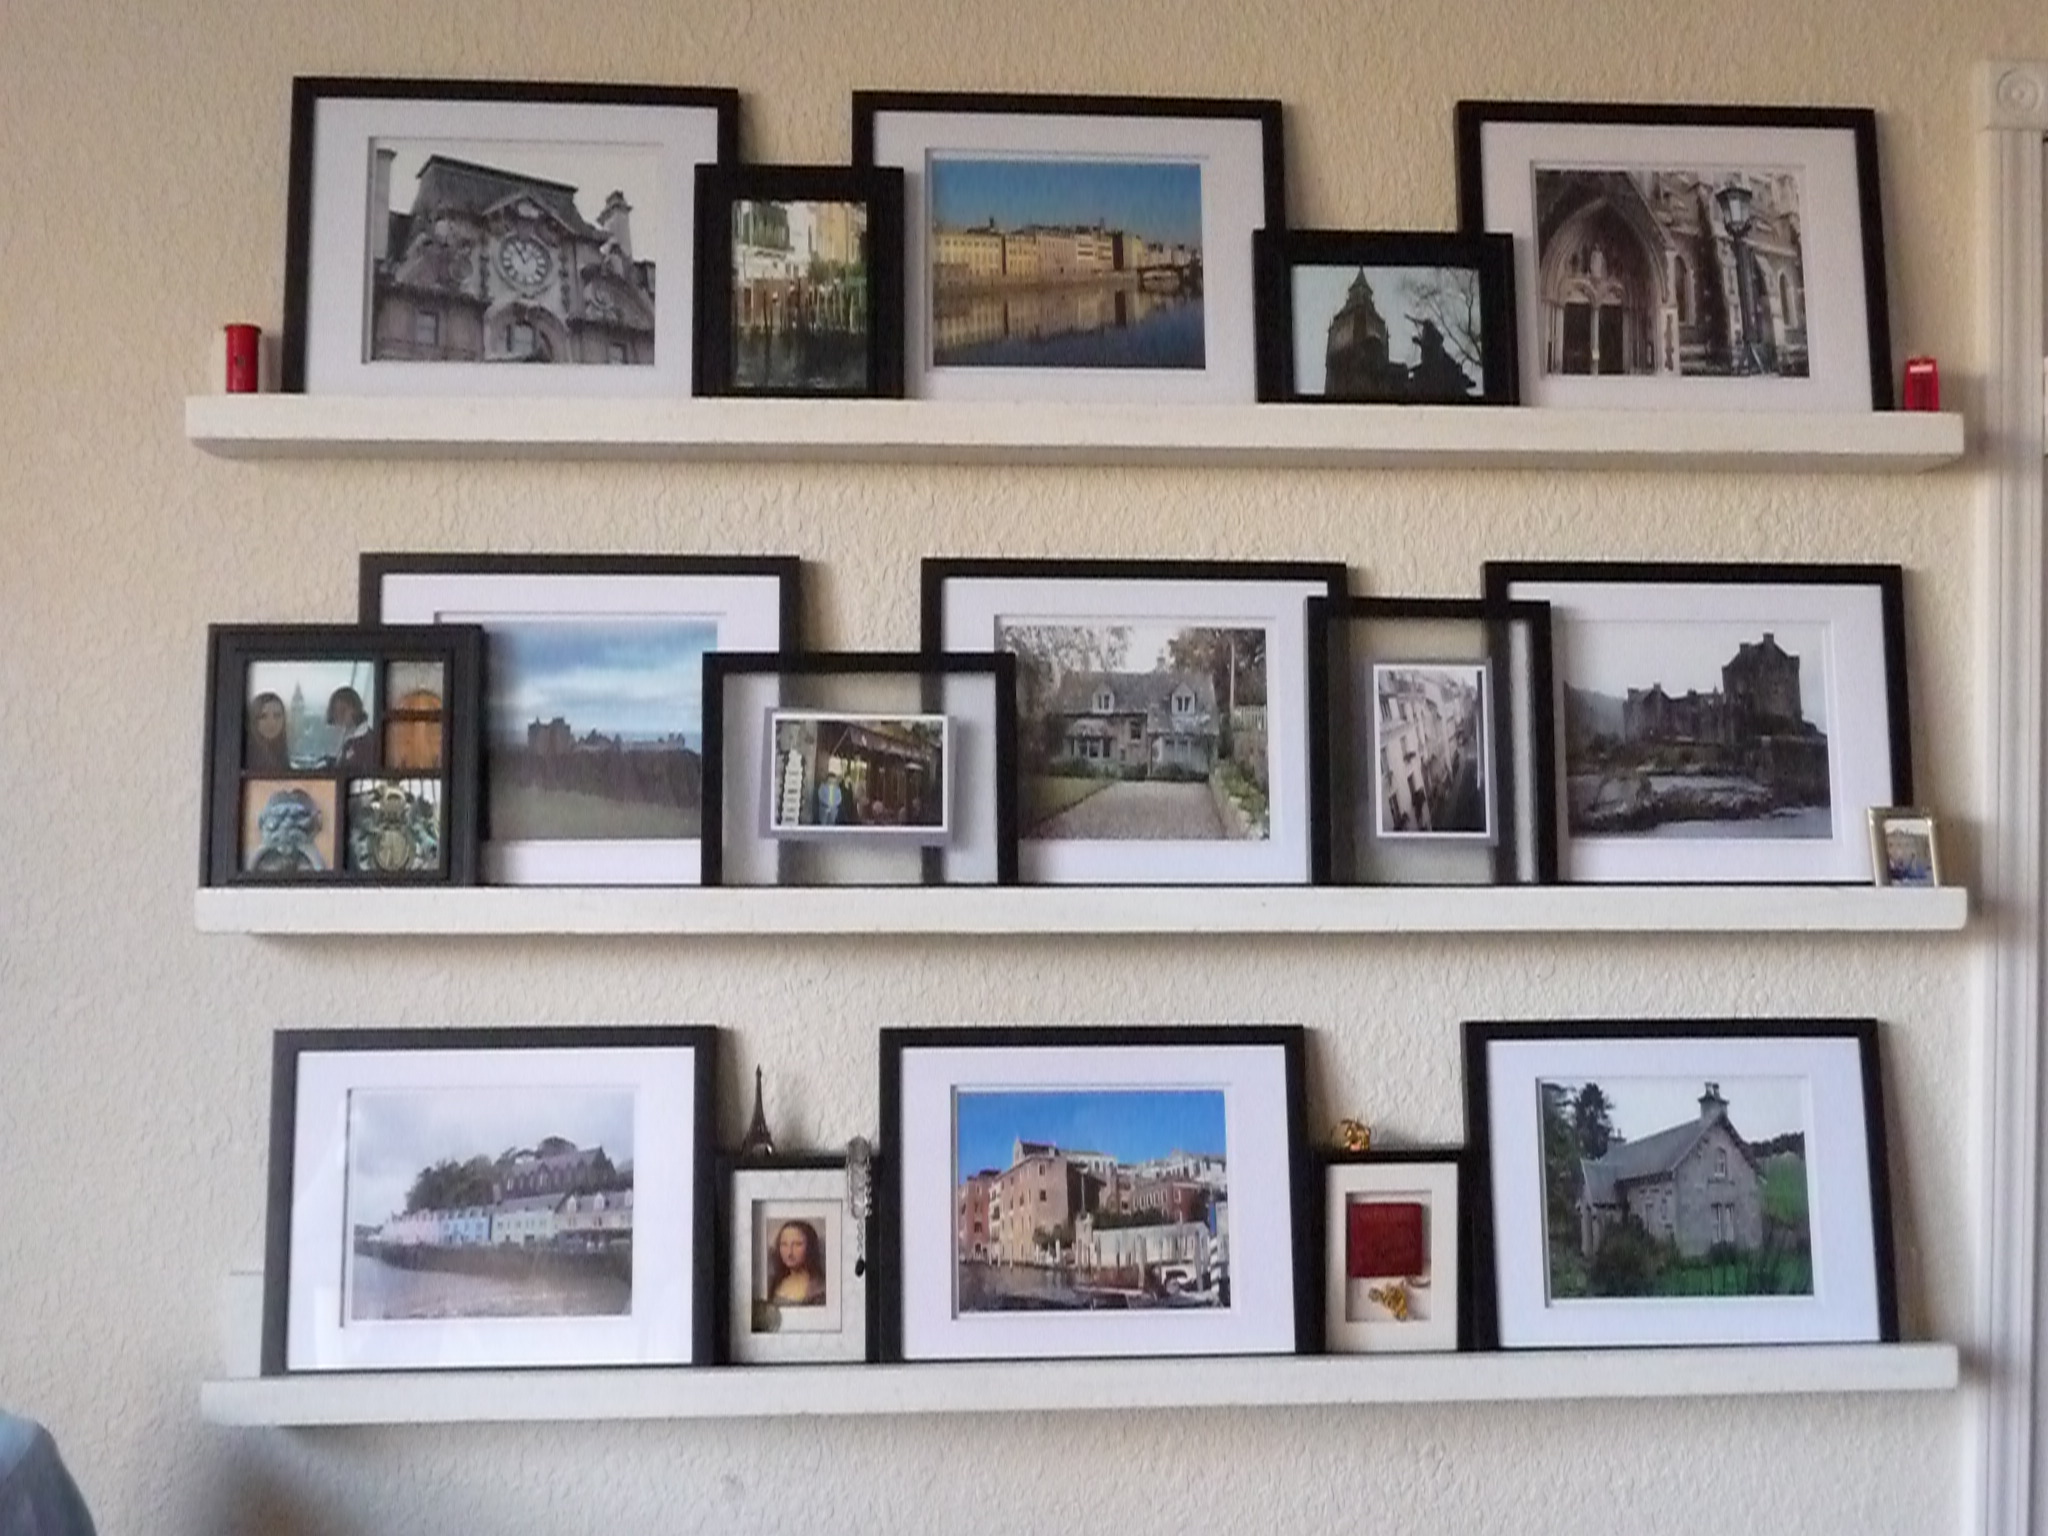
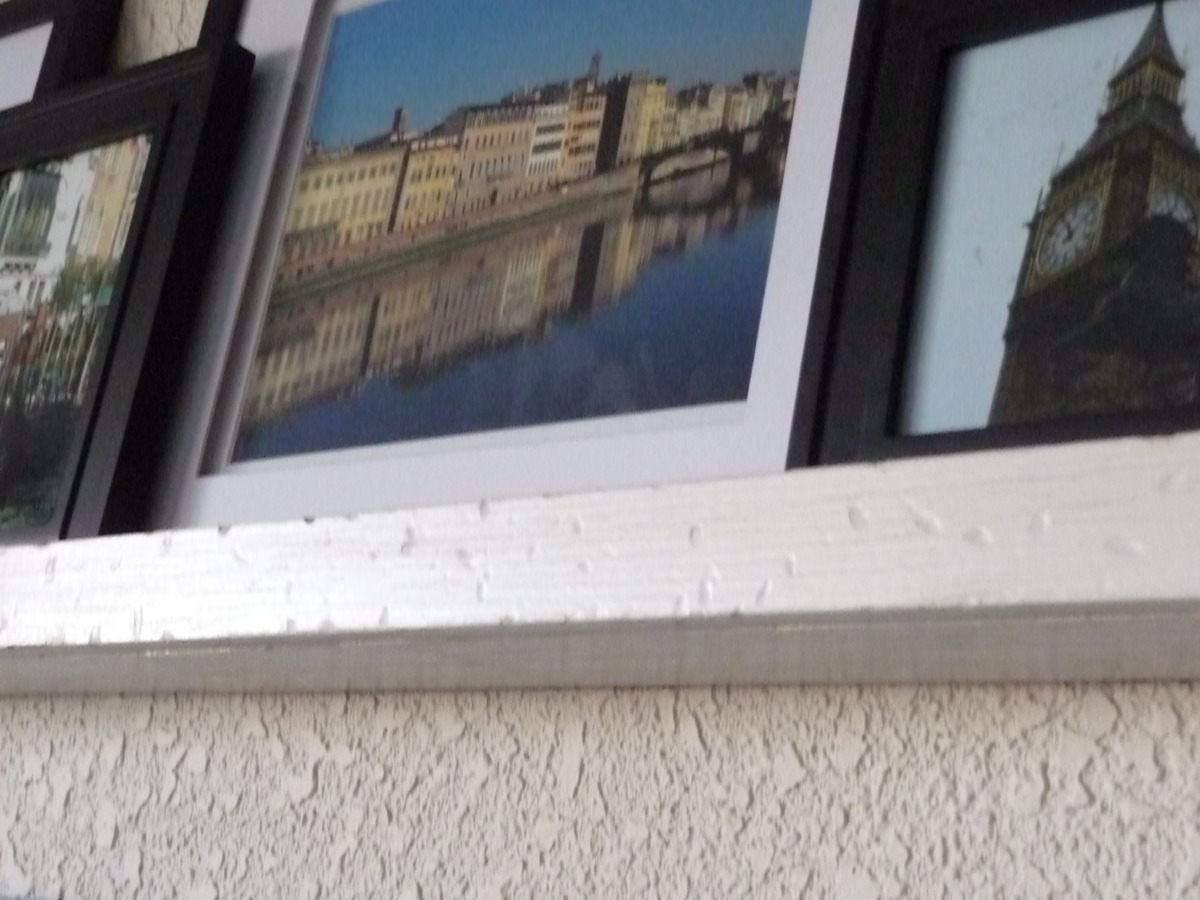
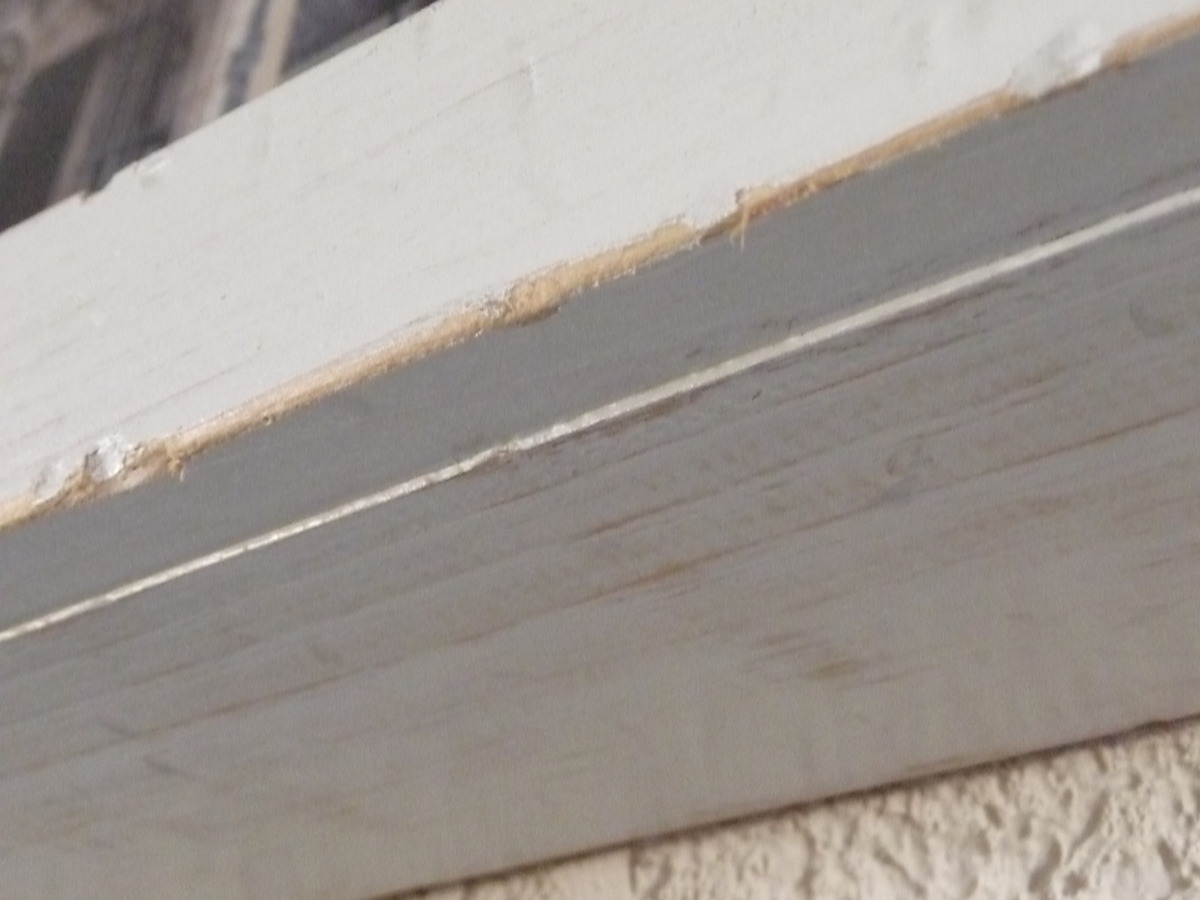
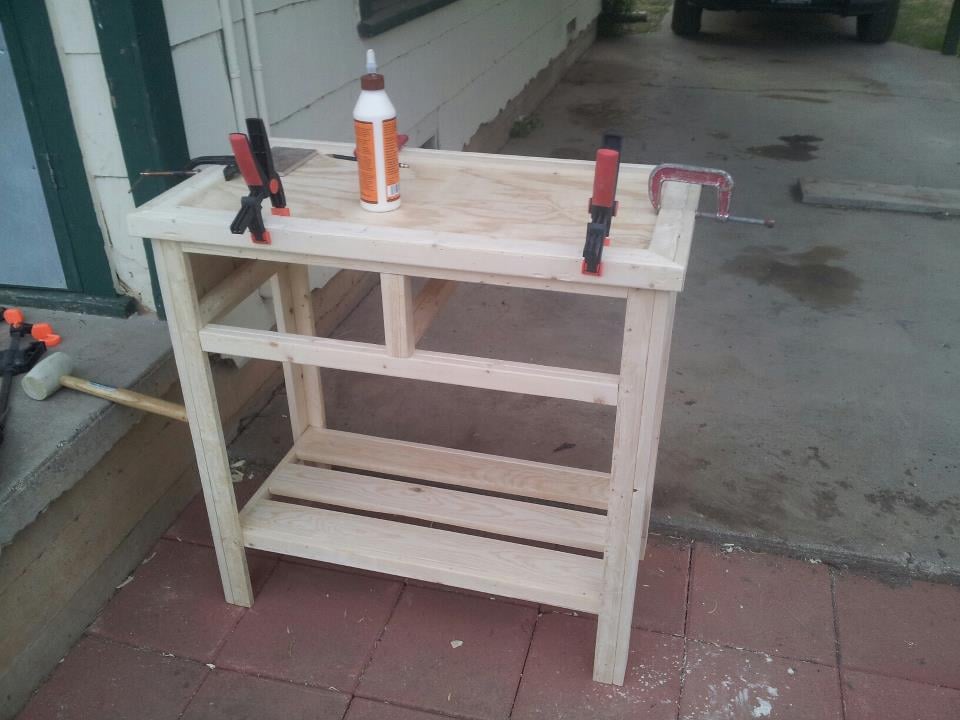
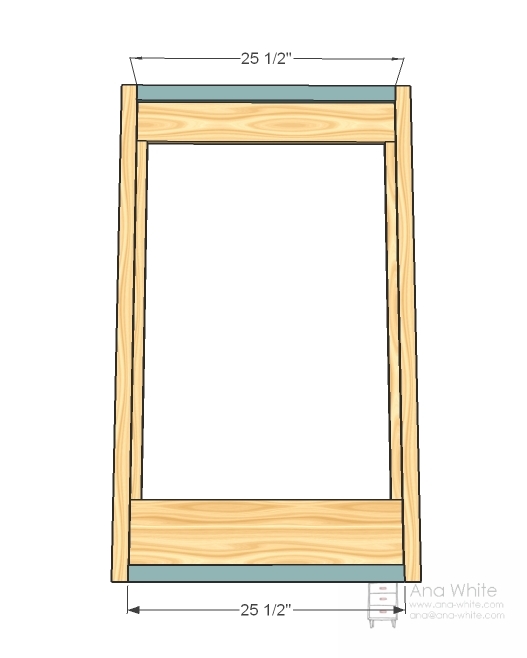
Fastened together with Kreg screws, and glue. I chose to put the pocket holes on the inside and back so they wouldn't show on the bottom. This does make the ledge a little less deep. Easy project for a rainy day !
Estimated Cost
$25.00
Estimated Time Investment
An Hour or Two (0-2 Hours)
Finish Used
Painted one coat of quality Valspar semi-gloss in white, then distressed with chain and sandpaper. Finished off with coat of polyacrylic.
Recommended Skill Level
Starter Project


Comments
keirabride
Wed, 11/06/2013 - 06:30
Plan clothing for your trip
Plan clothing for your trip so that everything can be worn together. This reduces the need to pack individual "outfits" and allows you to plan for the number of days you'll be traveling. If all of your clothes match, you don't have to worry about which are clean when you're doing laundry.
http://www.getbustours.com/
vanessa00
Wed, 10/30/2024 - 07:41
Decoration
These beautiful, minimalist photo ledges by Ana White are a fantastic way to showcase travel memories, adding a personal and stylish touch to any space. The straightforward DIY project is accessible and versatile, making it easy to adapt to different home styles. If you're inspired by travel and considering new adventures abroad, check out these Golden Visa options: https://getgoldenvisa.com/golden-visa-countries