Caroline's double loft bed
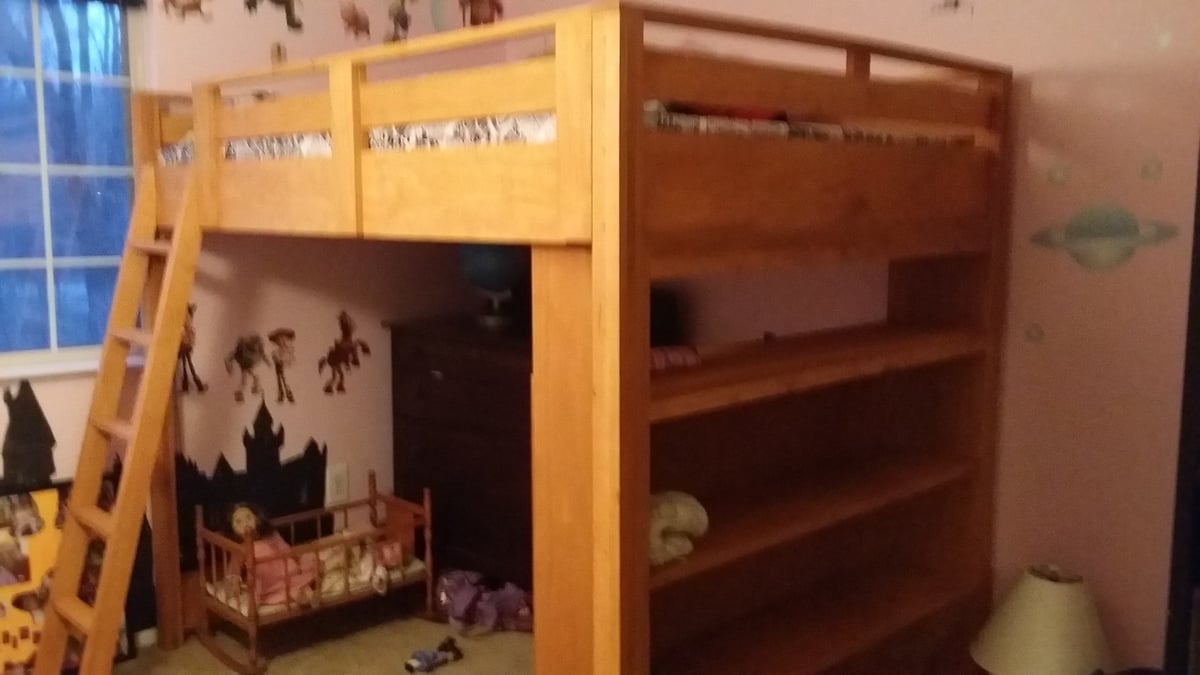
We made this a double bed and lowered the height by 3 1/4 inches because we have low ceilings. We added an extra support under the mattress since it's a double. Plan to add the desk and low shelves later. Followed the plans very closely, worked out great. One thing I would suggest is to do the slats after the guardrail. Otherwise you can't stand under the bed and it's hard to get a good angle when screwing it on. Many happy hours of reading Harry Potter up there in the first week :).
Built from Plan(s)
Estimated Cost
$500
Estimated Time Investment
Week Long Project (20 Hours or More)
Finish Used
Gel stain
Recommended Skill Level
Intermediate