Flip Top Storage Bench
This bench was so easy to build! It's the first project that I've built completely with the nail gun. Wow does that speed up the process! Thanks again for the great plans, Ana!
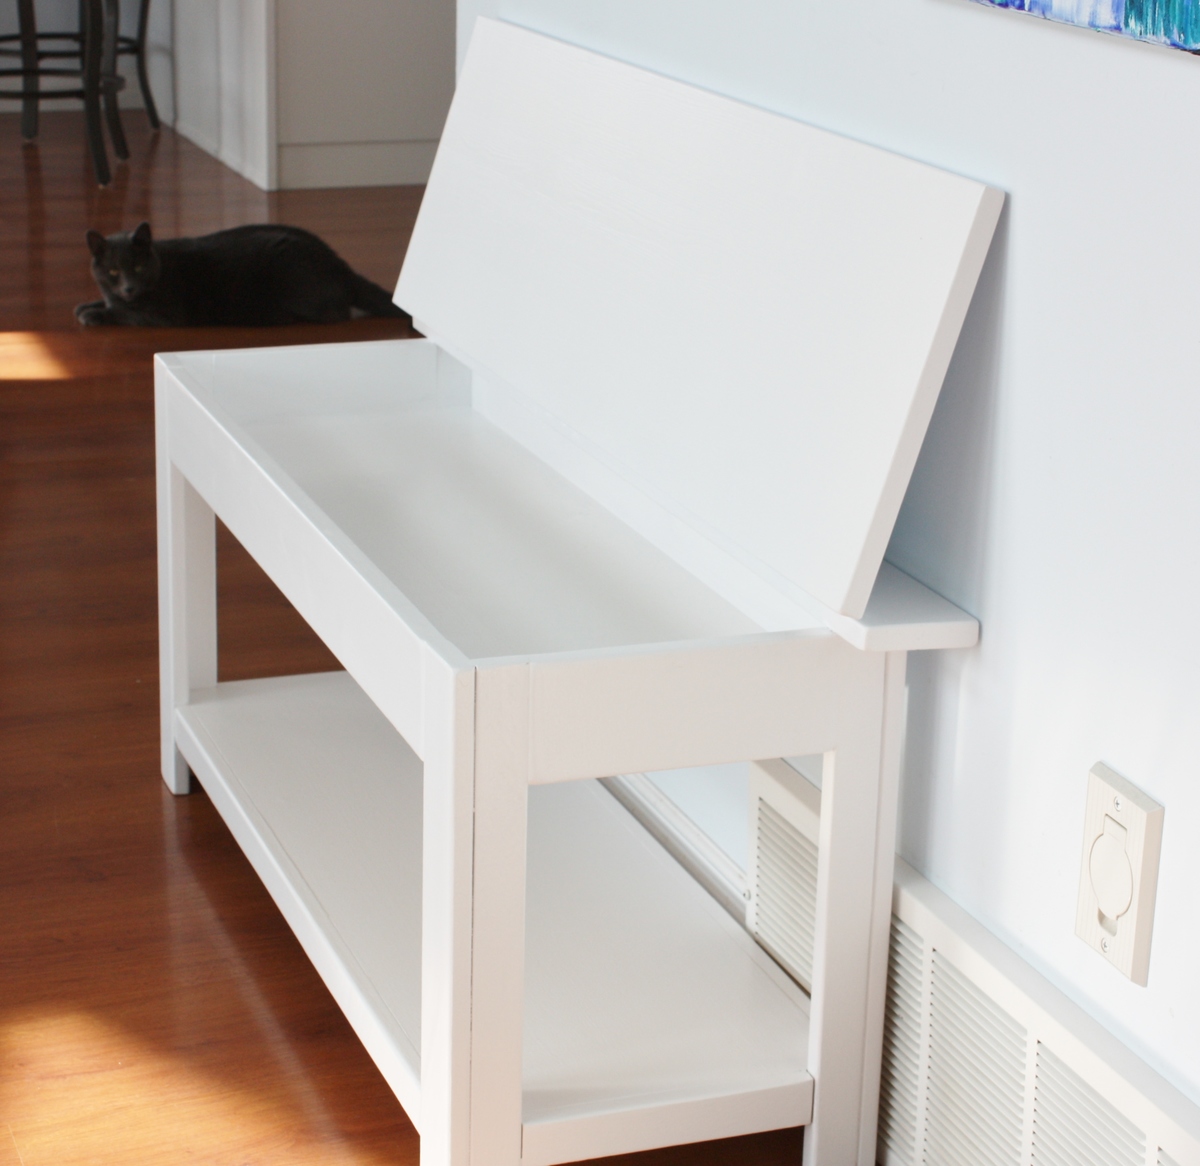
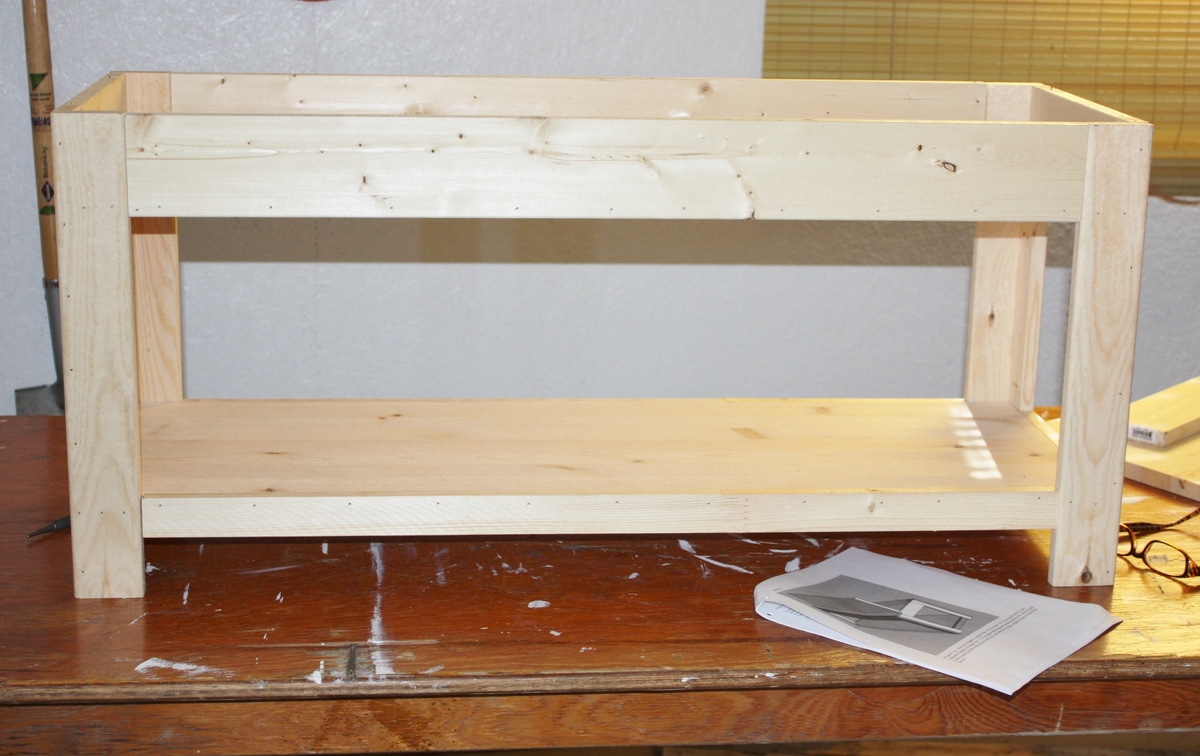
This bench was so easy to build! It's the first project that I've built completely with the nail gun. Wow does that speed up the process! Thanks again for the great plans, Ana!


A great project!! I love how it turned out! I used Poplar wood because I wanted a larger top than 1 inch but smaller than 2 inch. Poplar had an in between size. I love how it turned out! Need to make another one now for my living room so that I have a matching set! Thanks Ana!!
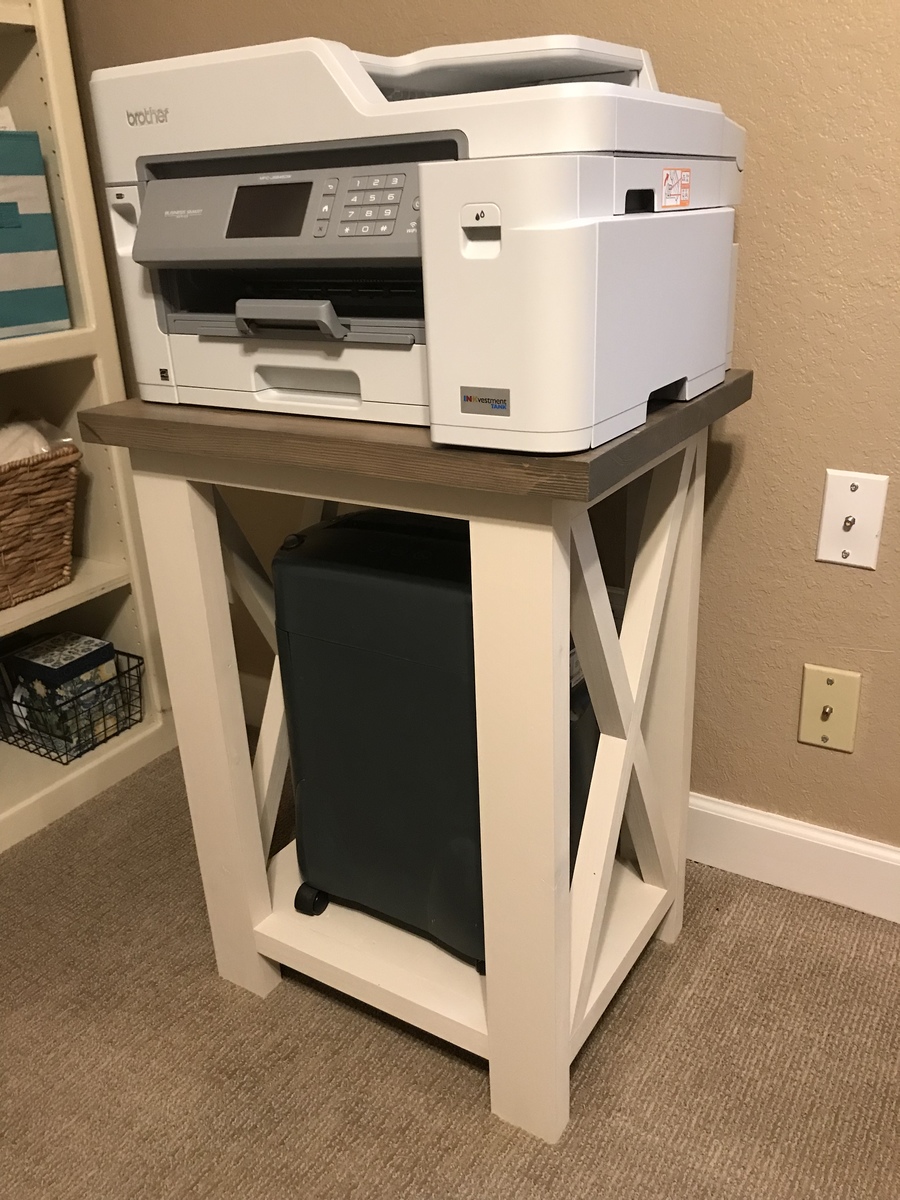
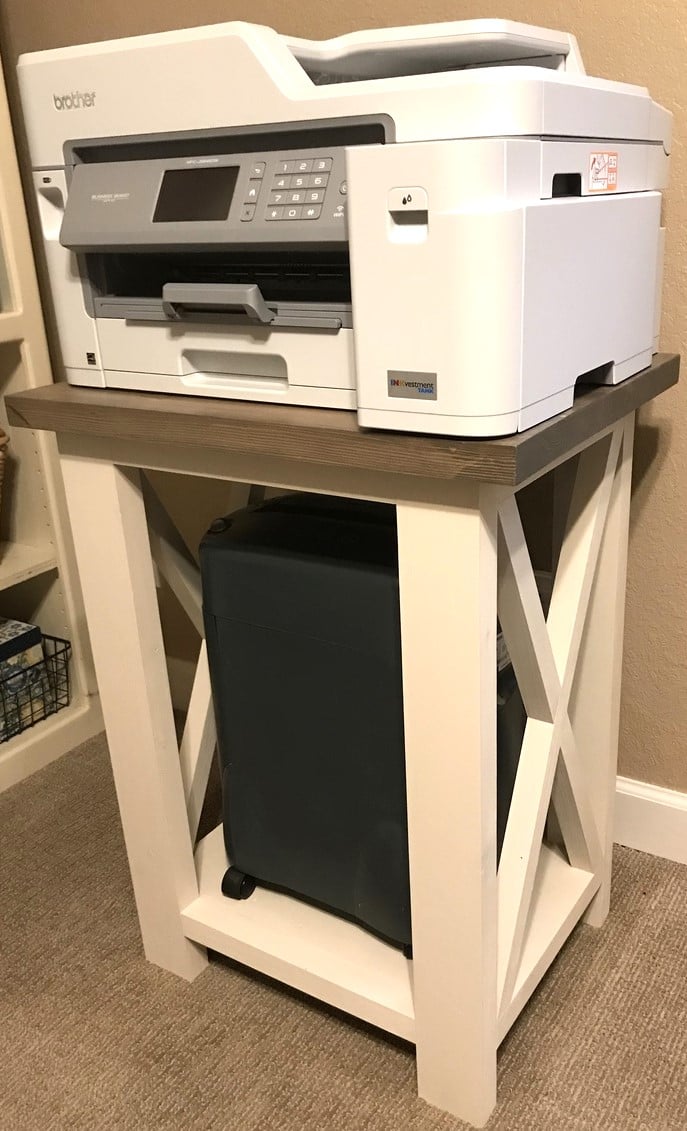
I adapted the plan to make a stand for our printer and shredder. Except for one board, I was able to use scraps so my total out of pocket was $9! I did plane the 2x material to 1 1/4”, and also used 2x material for the base to add a little strength to hold the shredder. Thank you Ana White, for generously sharing your plans!
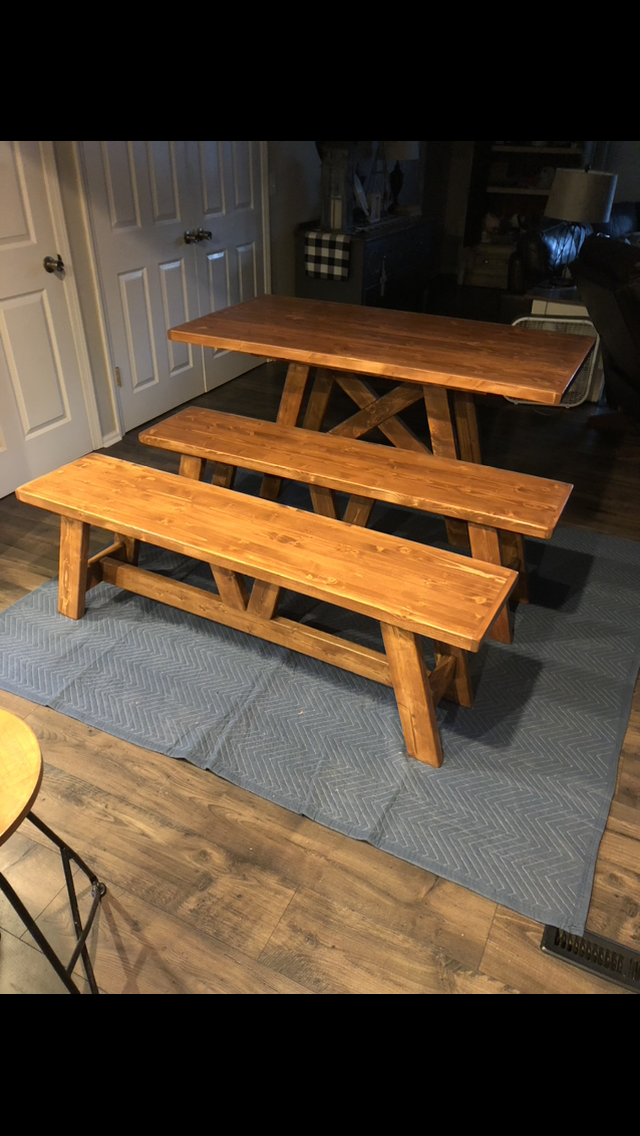
Dinning Table in honey brown finish!
I worked on both the kitchen table, the dining table as well as the bench seat and all eight parson chairs together, so it took over a week to make this. I think if you were just doing the table you would be looking at a weekend project. Go hard or go home, unless you are home...
The kitchen table was just a case of shortening Ana's plan to about four feet. I made a quick and dirty table leaf to attach the two tables. For more info see my blog. There is also info on making those Parsons chairs too.
My Blog: http://landlocked-art.blogspot.com/2011/10/farmhouse-dining-table-and-b…
Tue, 10/11/2011 - 09:41
Great job! You did a fantastic job and I love the chairs a bunch bunch bunch!
Fri, 10/14/2011 - 07:27
Hey Indiana,
Thanks! You can find out how to make those chairs yourself here:
http://landlocked-art.blogspot.com/2011/10/build-your-own-parson-ish-ch…
Sun, 10/16/2011 - 19:06
What color did you use for the stain and what was your finishing process?
Tue, 11/08/2011 - 16:07
Your table is absolutely beautiful! May I ask where you got your beautiful tableware??
Sun, 01/08/2012 - 18:22
Very nice! What kind of wood is that and would you mind sharing the stain color?
Tue, 08/25/2015 - 17:01
Love the idea and plan on borrowing it, but we were just curious how do you make the leaf that connects them?
Another question, when you made the breakfast table, did you cut the table top pieces to 48" or did you cut them 36" and made the whole table 4 ft with the end pieces added? Also, for the breakfast table, would it seat 6 people comfortably? Thanks and what a wonderful job!
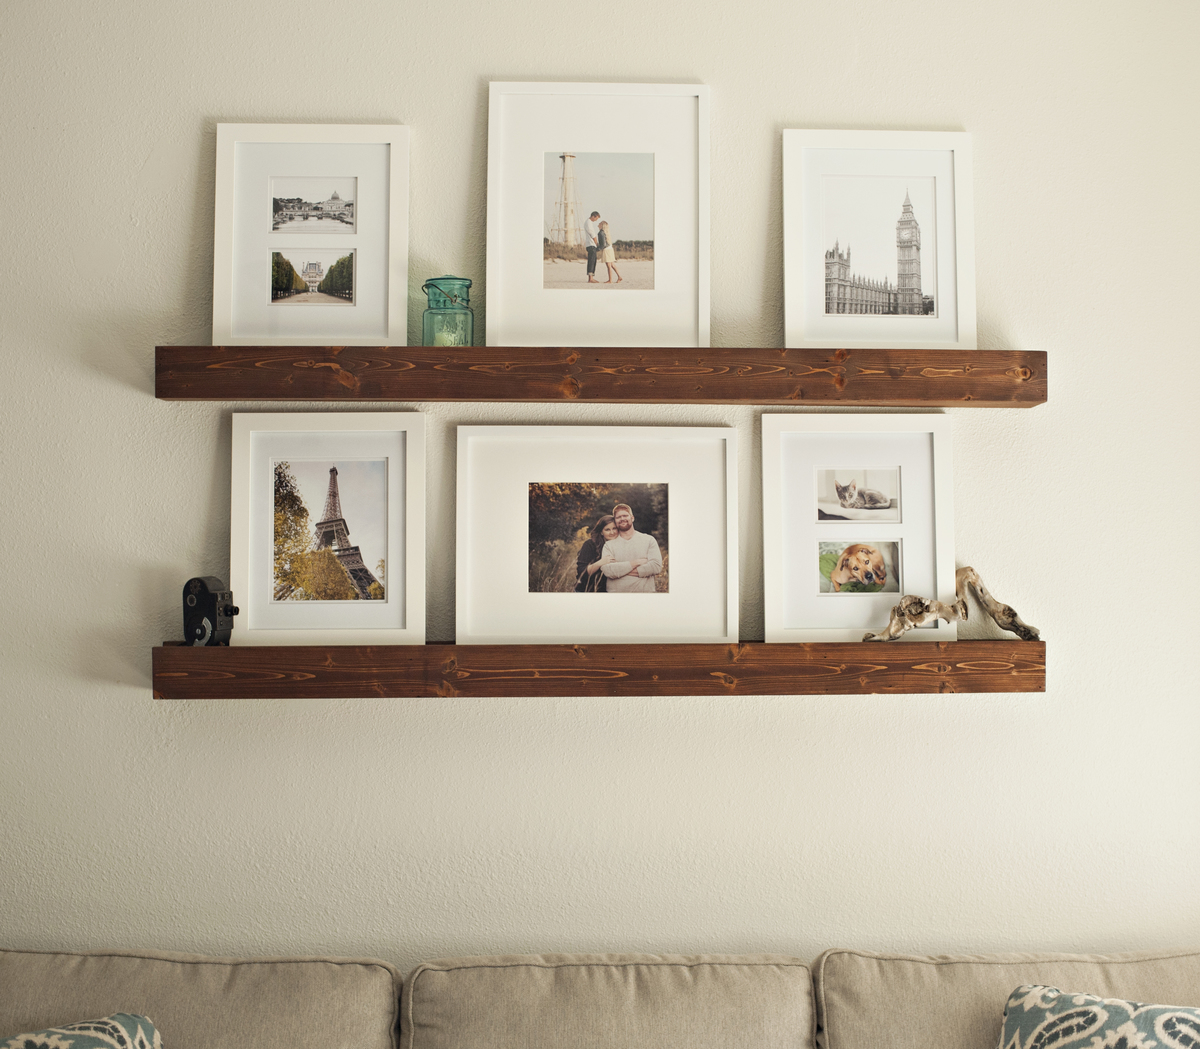
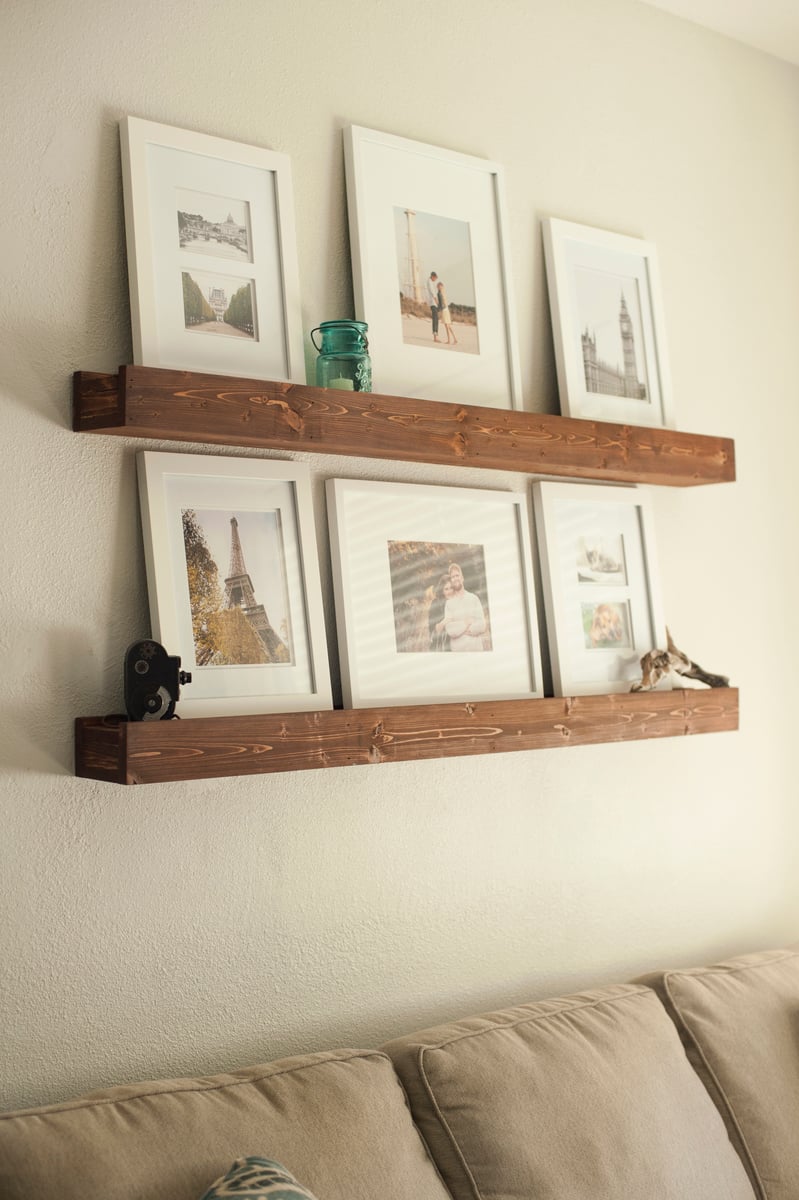
We adapted the original barn beam ledge plans on a much larger scale to occupy the bare wall space above our couch. Each ledge was 5 feet in length.
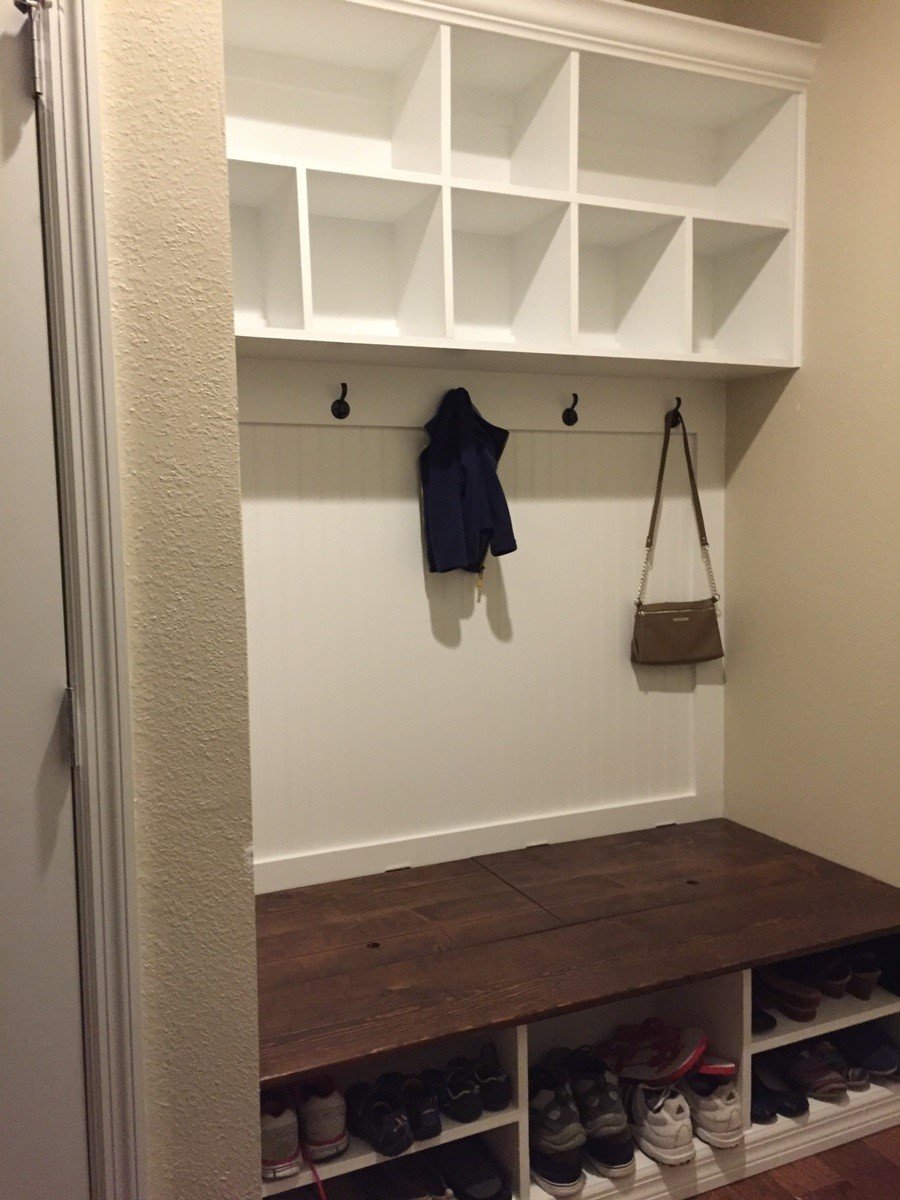
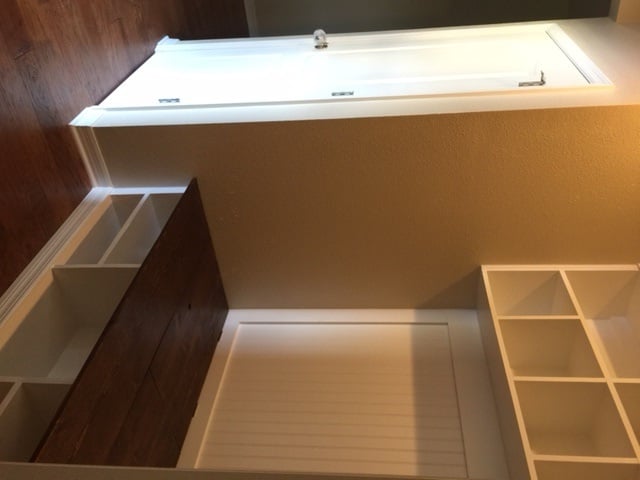
Modified the cubby plans to just be 5 cubby's wide. My wife wanted white so I dressed it up a bit with the bead board, trim and crown moulding.
Wed, 12/30/2015 - 11:11
I love your entryway! The white is great, the moulding really makes it beautiful! Thanks so much for sharing it!
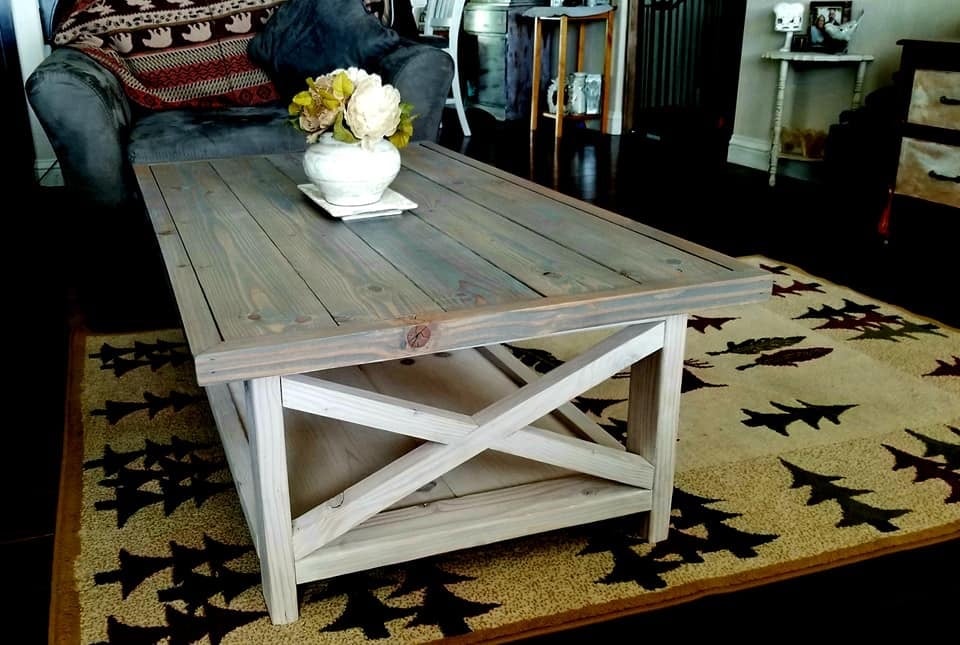
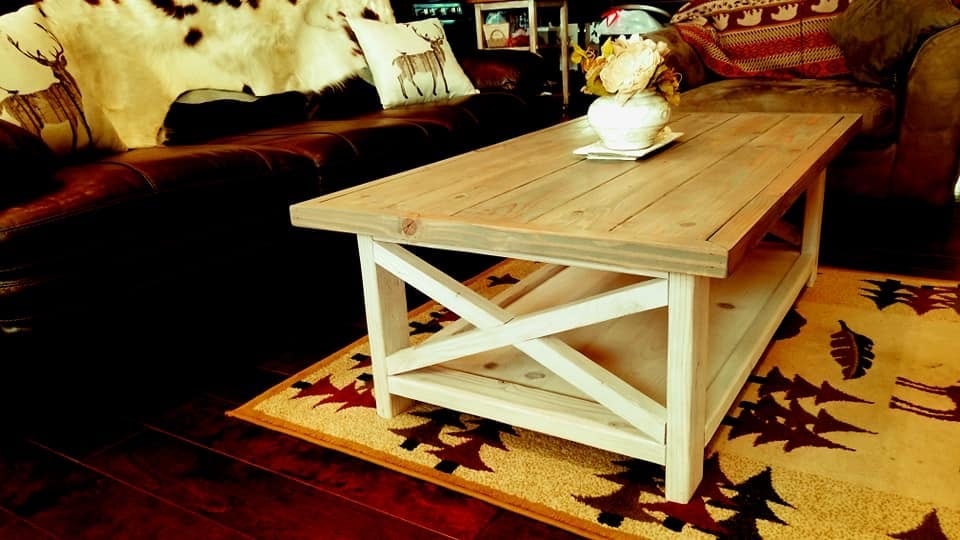
This is my first wood project, and first time using a Kregg jig. A HUGE THANK YOU TO ANA! Next is the matching end table and then outside chairs and a pagoda.
Jeff F.
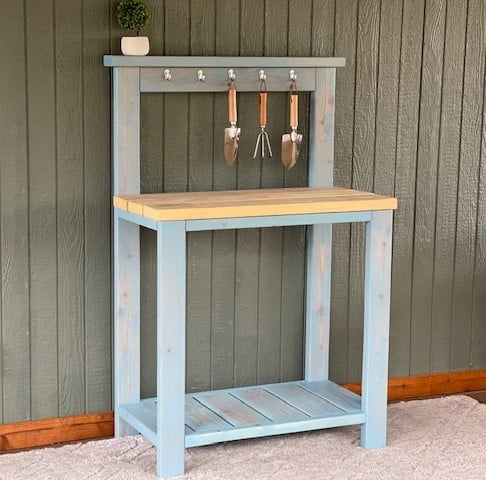
I used Ana's Farmhouse Potting Bench plans and modified it to be more compact and left out the x detail. I built it for under $40 in material.
Modifications for Shopping and Cut List - Construction and placement is same as Ana's original plan, so make sure you look that over.
3 - 2x6x8
3 - 2x4x8
1 - 2x2x8
FOR 2 Legs
4 2x6 @15.5"
2 2x4 @34.5"
2 2x4 @54"
(cut the 34.5 and 54 out of 1 board and repeat)
2x2 Cross Supports
3 2x2@28"
2x4 Cross Supports
2 2x4@28"
Center Tabletop Support
1 [email protected]"
Bottom Slats
4 [email protected]"
Tabletop Boards
3 2x6@36"
Top Cap Board
1 2x4@37" leaving 1/2" overhangs
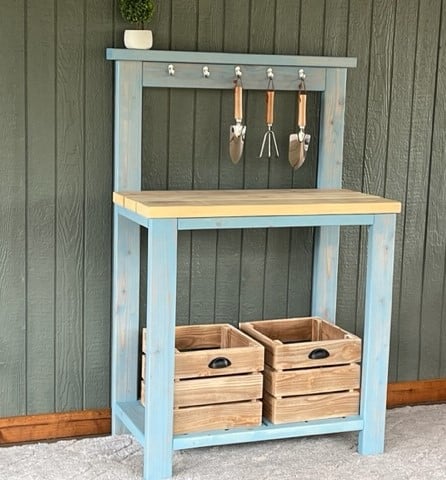
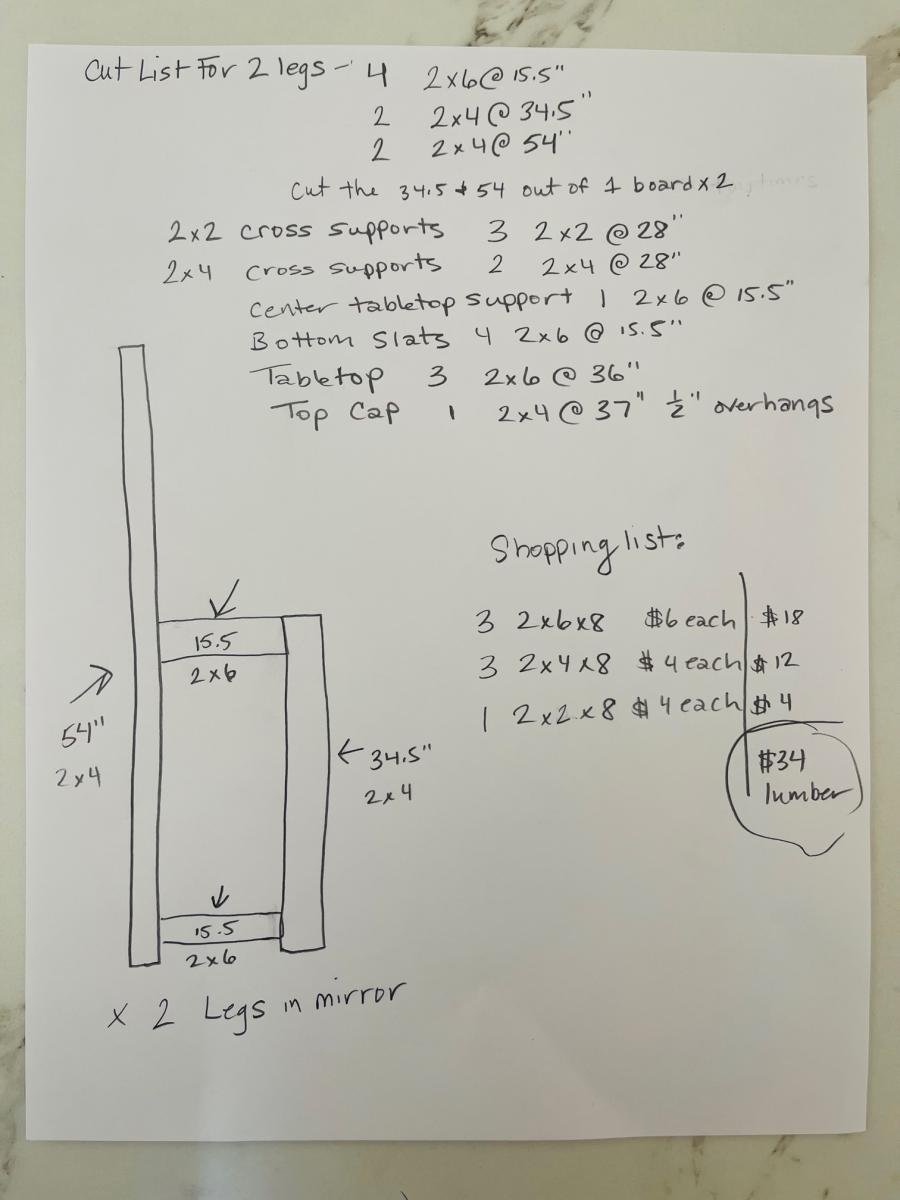
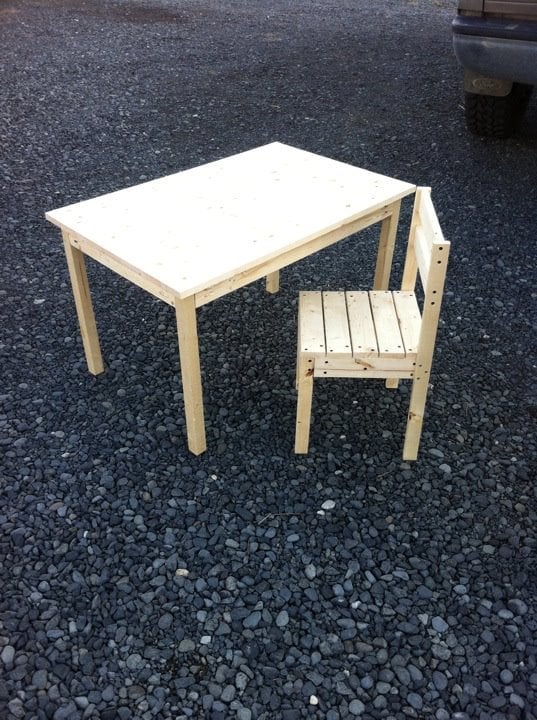
Table was a little tricky for me and the wood kept splitting and the legs didn't seem very sturdy. The wood I have isn't the straightest so that gave me some trouble. Changed the dimensions of the table to 24" x 36" and used a lodge pole pine board so the top is a solid piece instead of the 1x8's keep the junk from collecting between the slats. The chair was pretty easy to build and my kids just love it. Thinking I will paint the table and chairs a high gloss white so it is scrub able and look good in our house.
Sun, 07/17/2022 - 08:12
I lost my stackable chairs plan and I can't find it on your website now. Can you repost? Thanks!
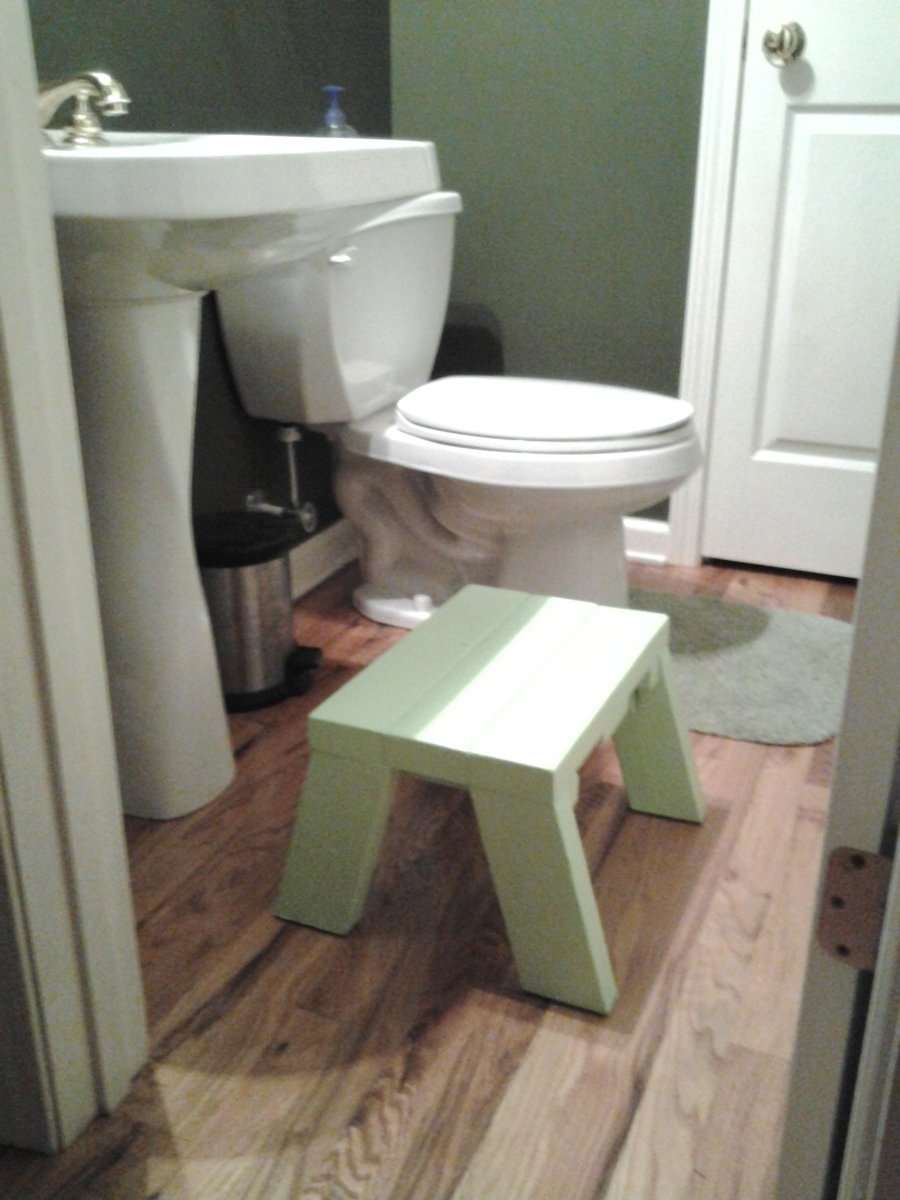
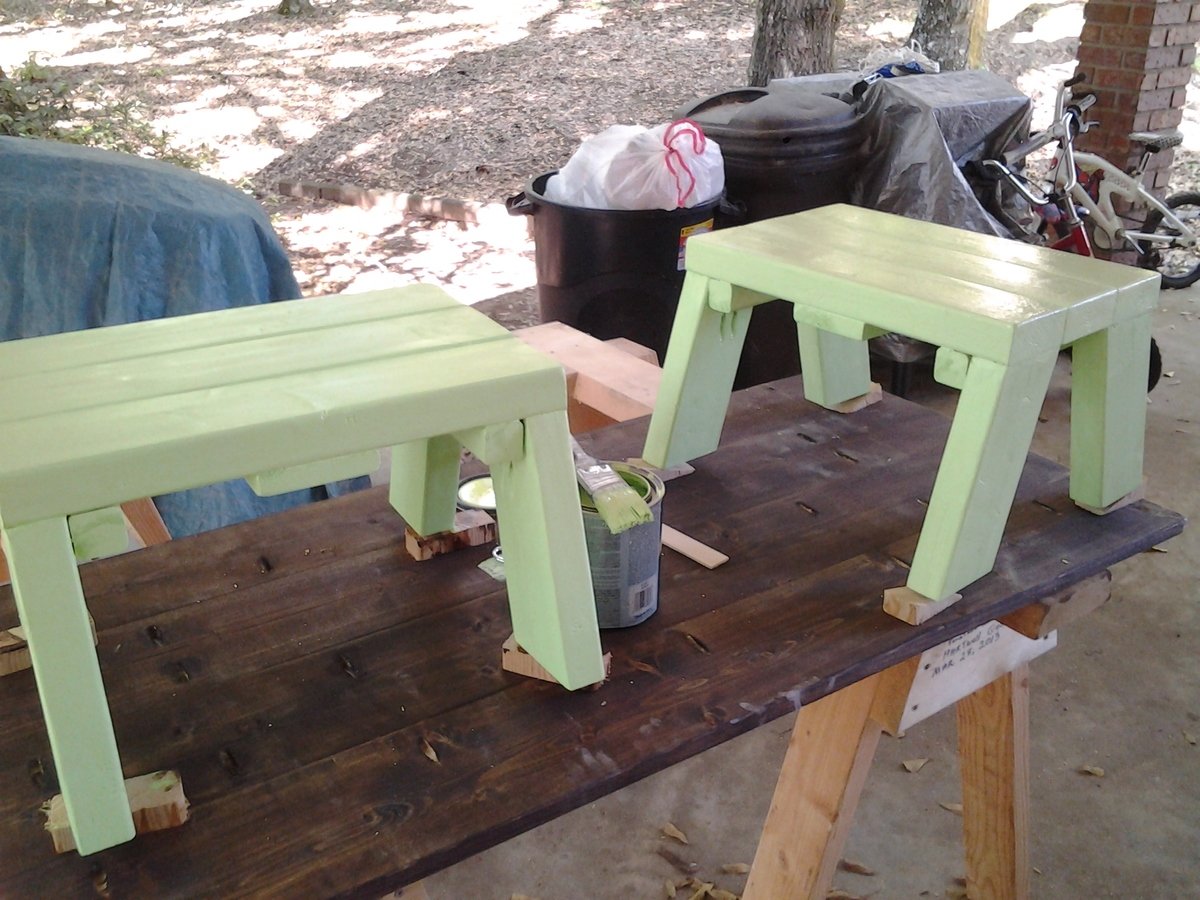
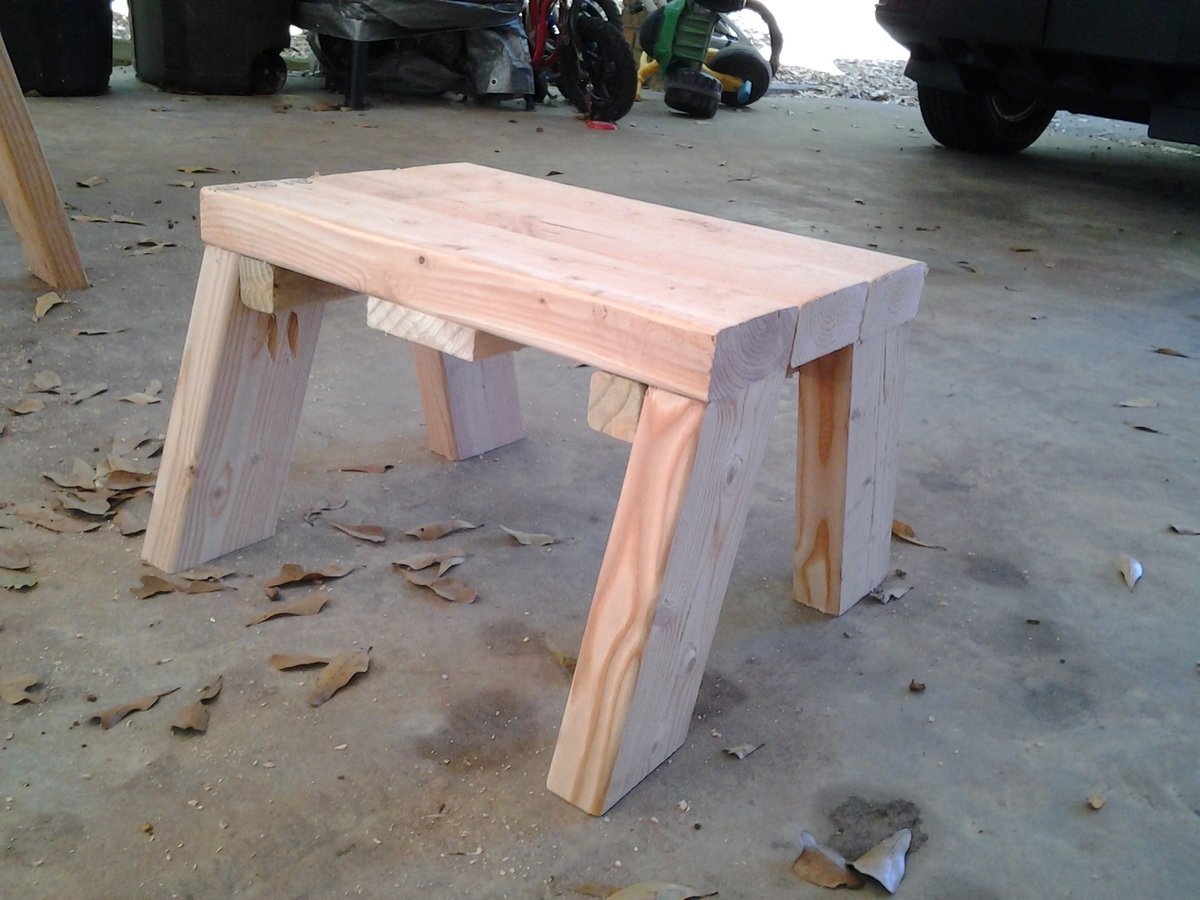
We needed a couple of sturdy step stools for the bathrooms. My boys are not tall enough to reach the sink for hand washing and teeth brushing. Wally wanted $8 for a plastic thing. So I headed to the big orange store and bought a few 2X4's. $12 for both stools, plus the paint and screws which I already had.
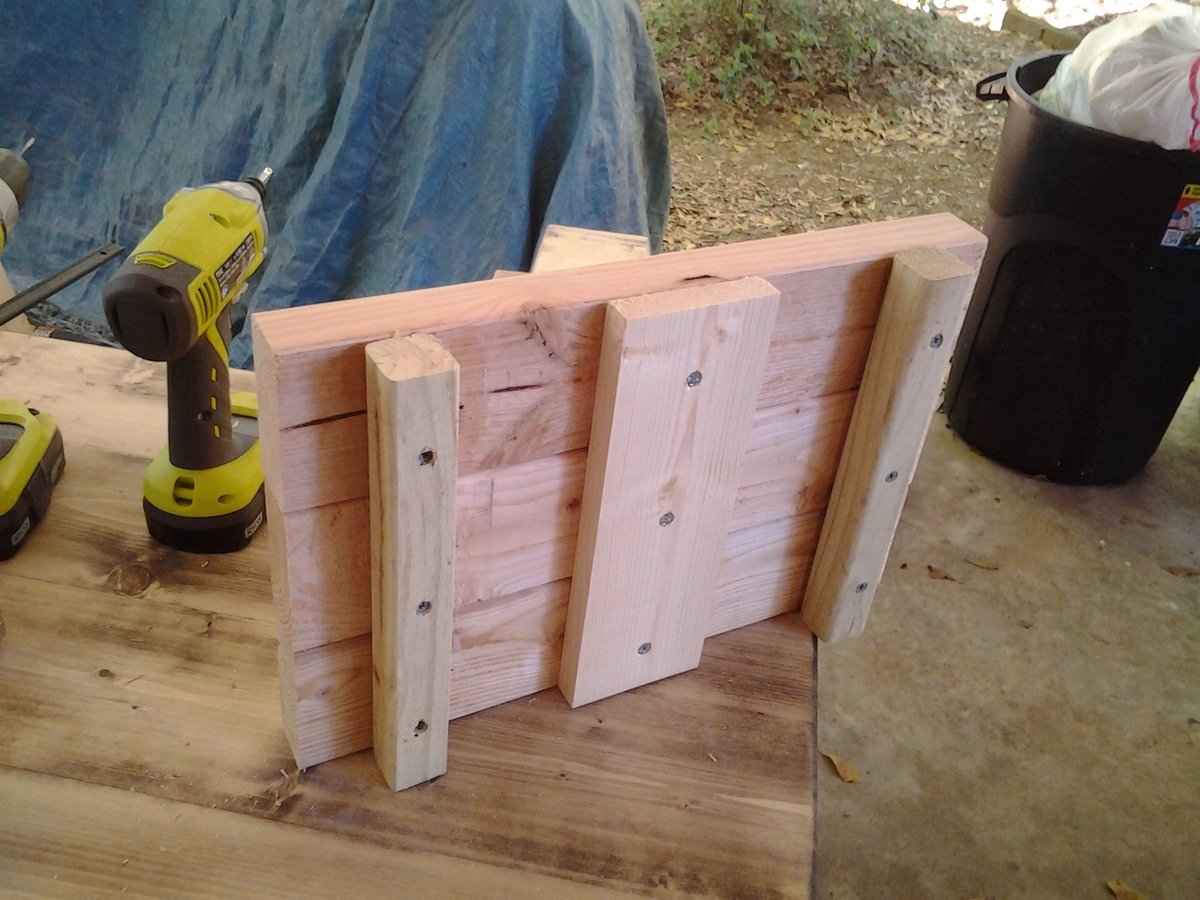
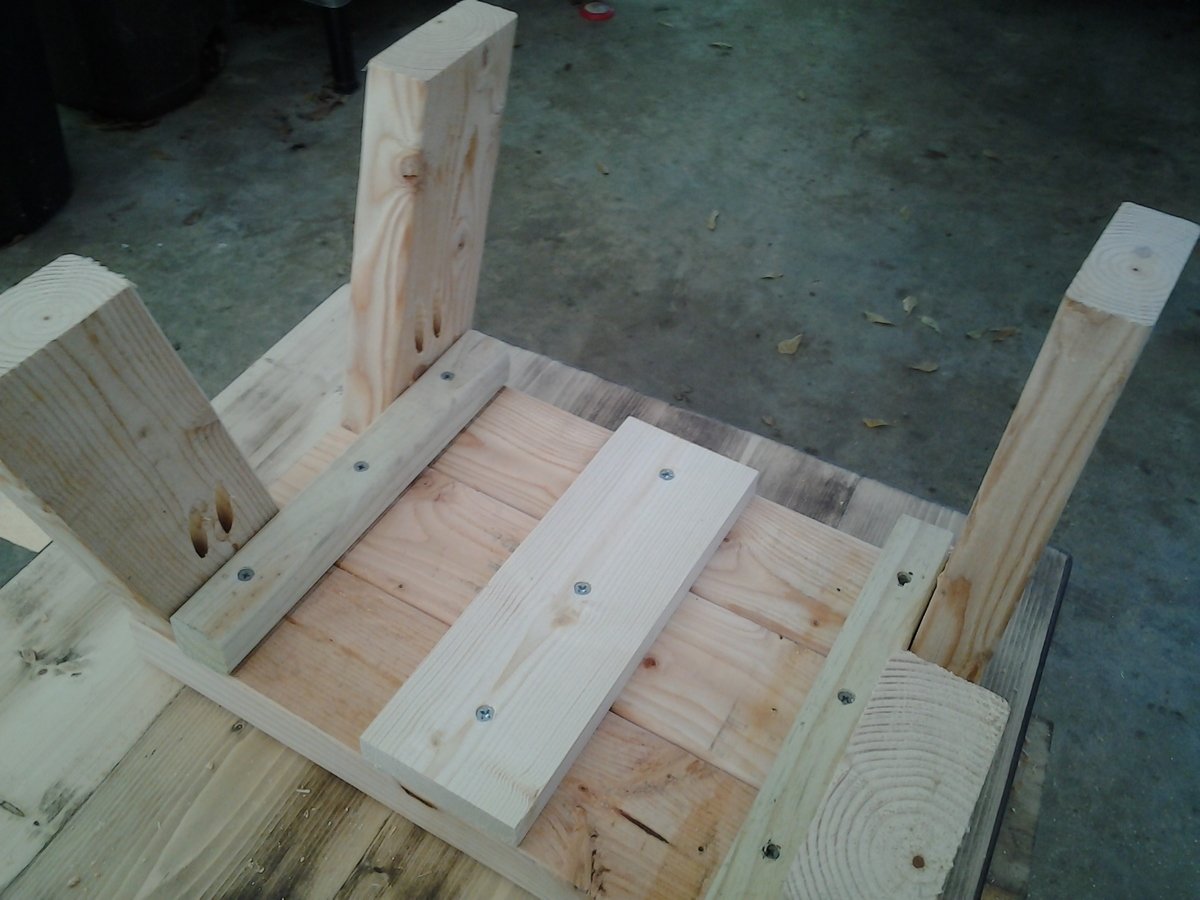
I used the plans from the Skipper's Stool for some of my cuts. But I used 3-2X4 pieces for the top and shortened the legs to 10 inches. I was going to put on the side stretchers but it was super sturdy with the pocket holes and 2.5 inch pocket hole screws. So I left them off. A few coats of paint and they are good to go. Two of my boys can stand on one so that makes them a hit.
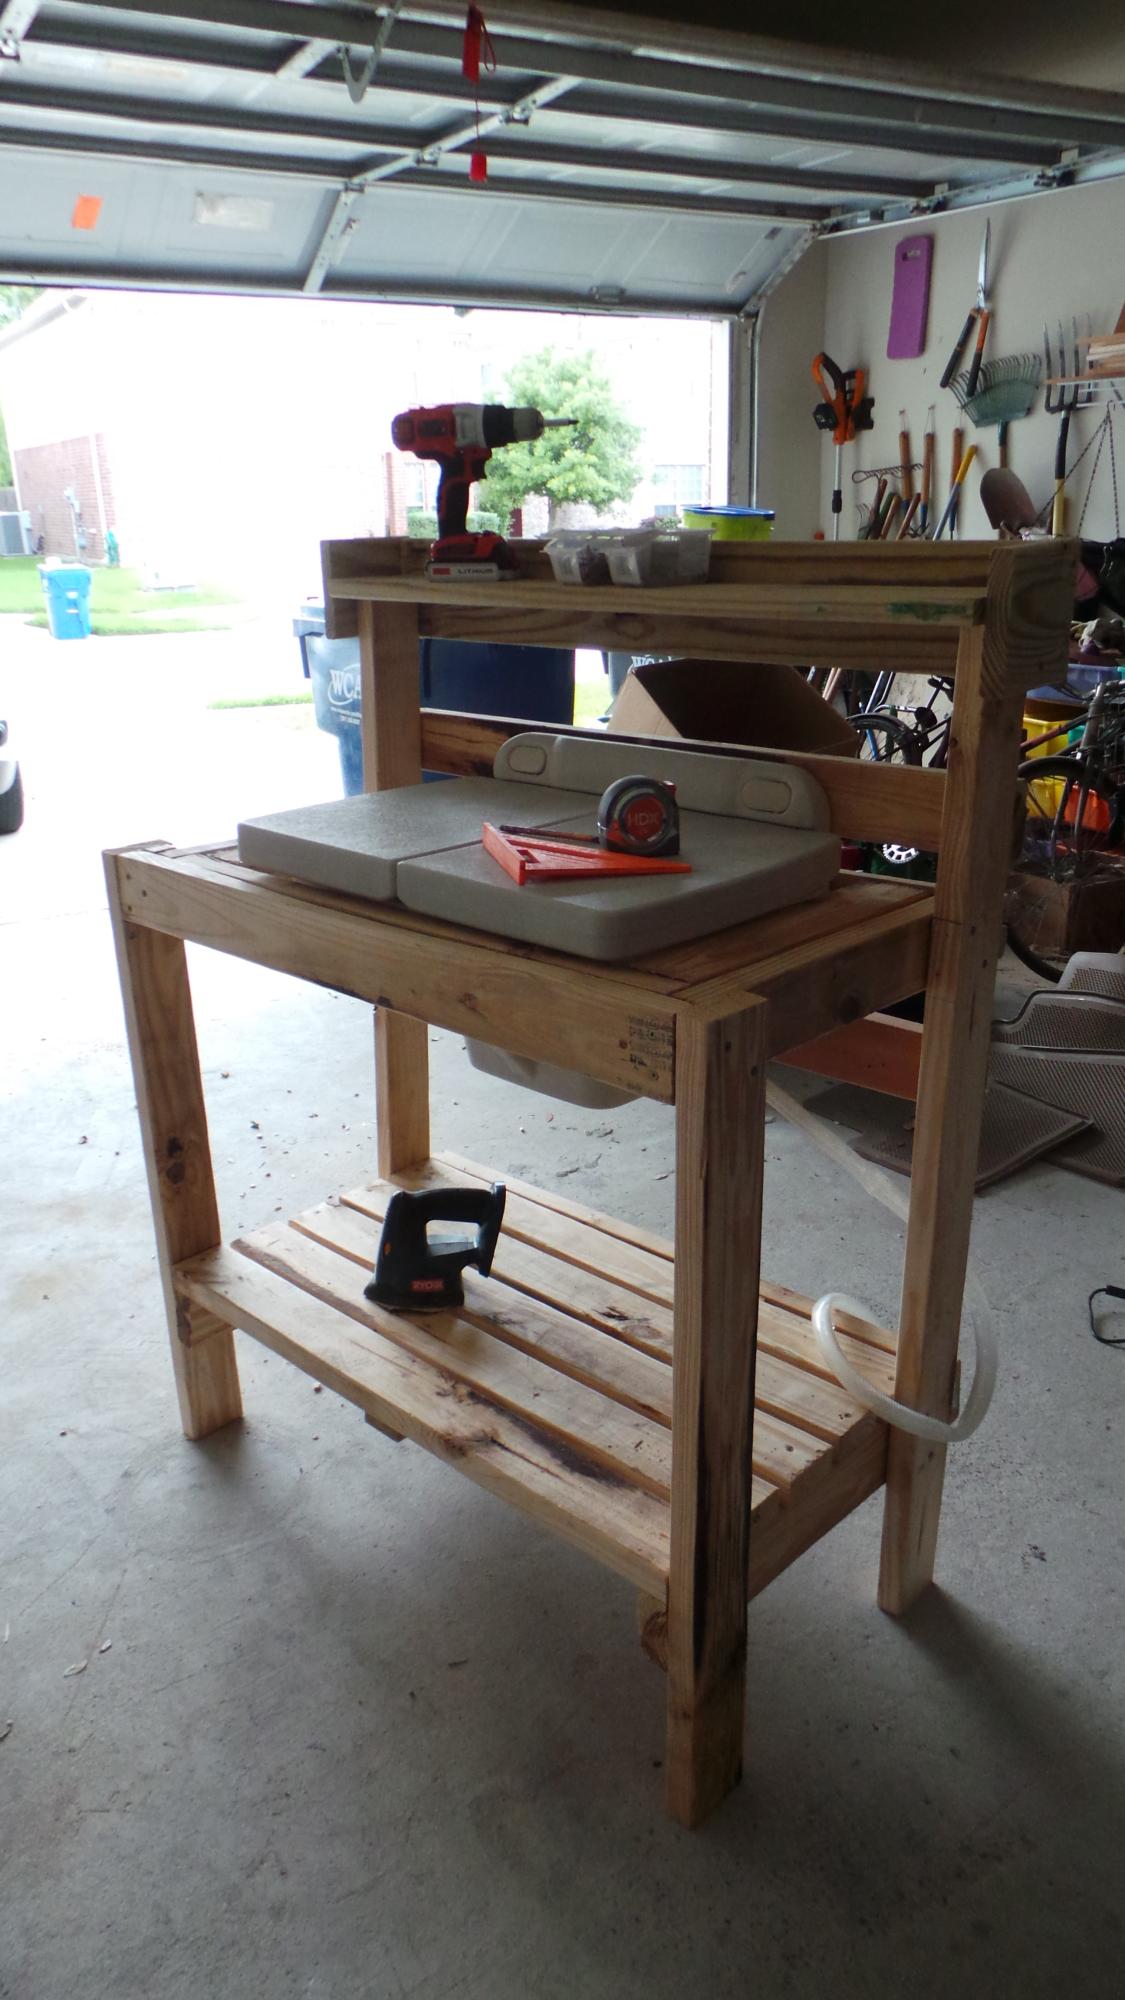
The plan had excellent bones, though I modified the top to hold a sink for rinsing and cleaning. It is now painted "San Antonio Rose", and resides happily in the backyard.
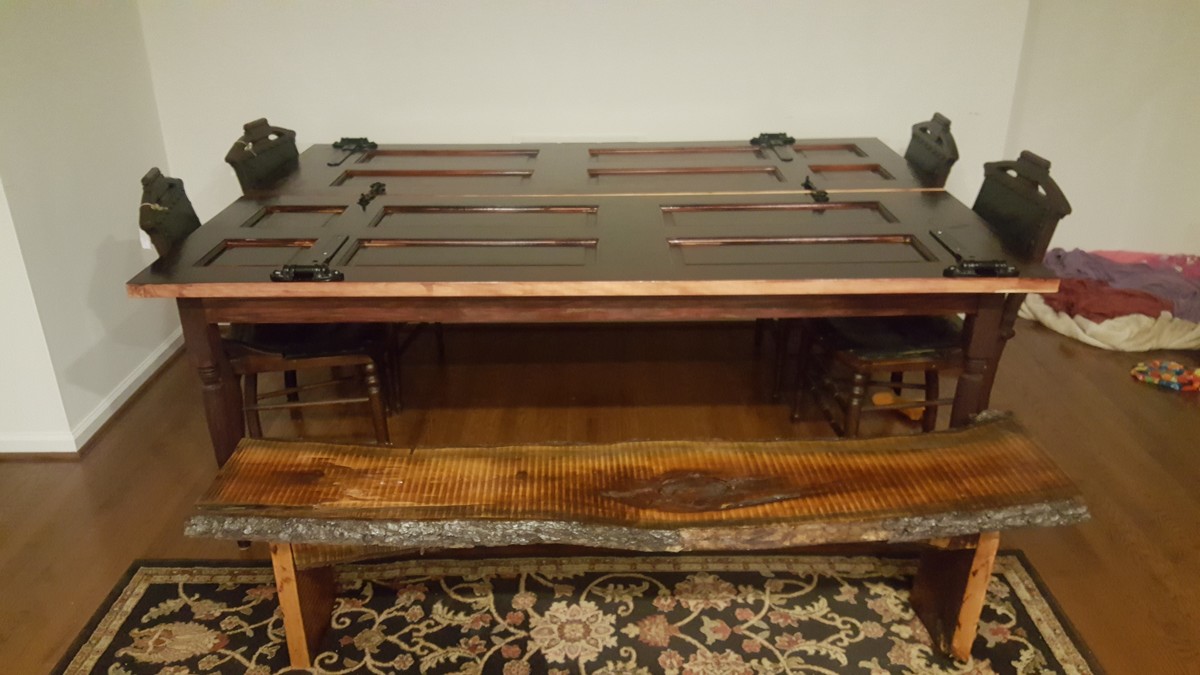
Okay, I hope you like this... it was the second and third thing I ever built!!! The table is made from 2 doors hinged together with accent hinges screwed on top. In the middle there are locks (hook and latch) for design. The frame is oak. measures 81X 56 and fits a good 10 people around.
The bench is an old cherry tree slab that someone I know did not want. its about 72 inches long and it is slighly curved. I ushed a shilac and kept the same color.... I just sanded it down.
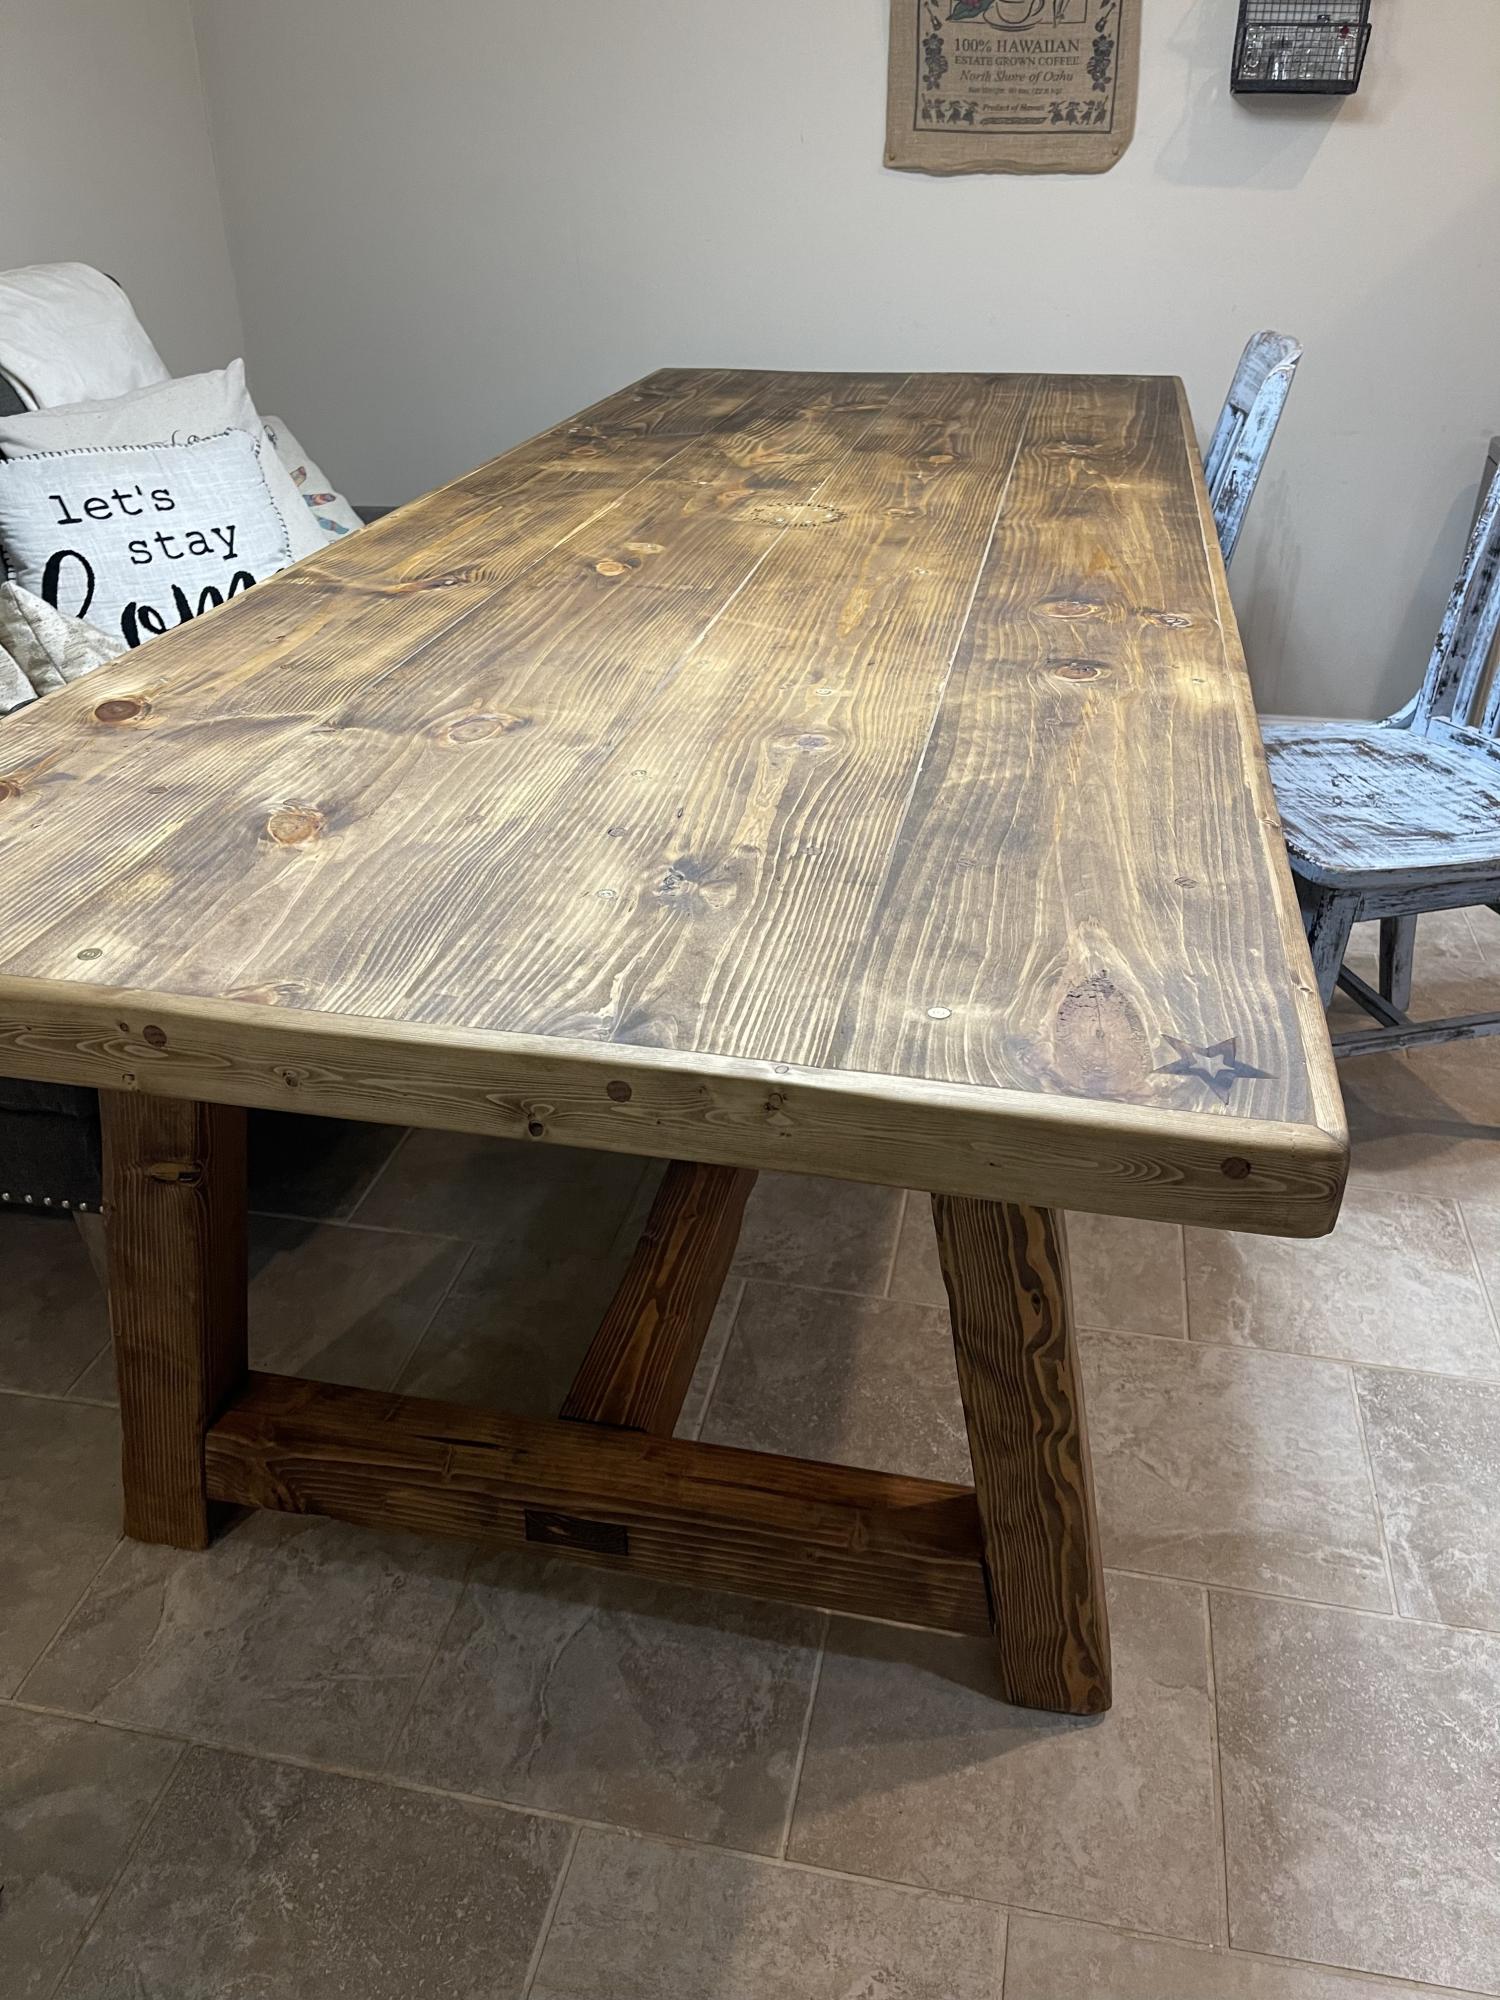
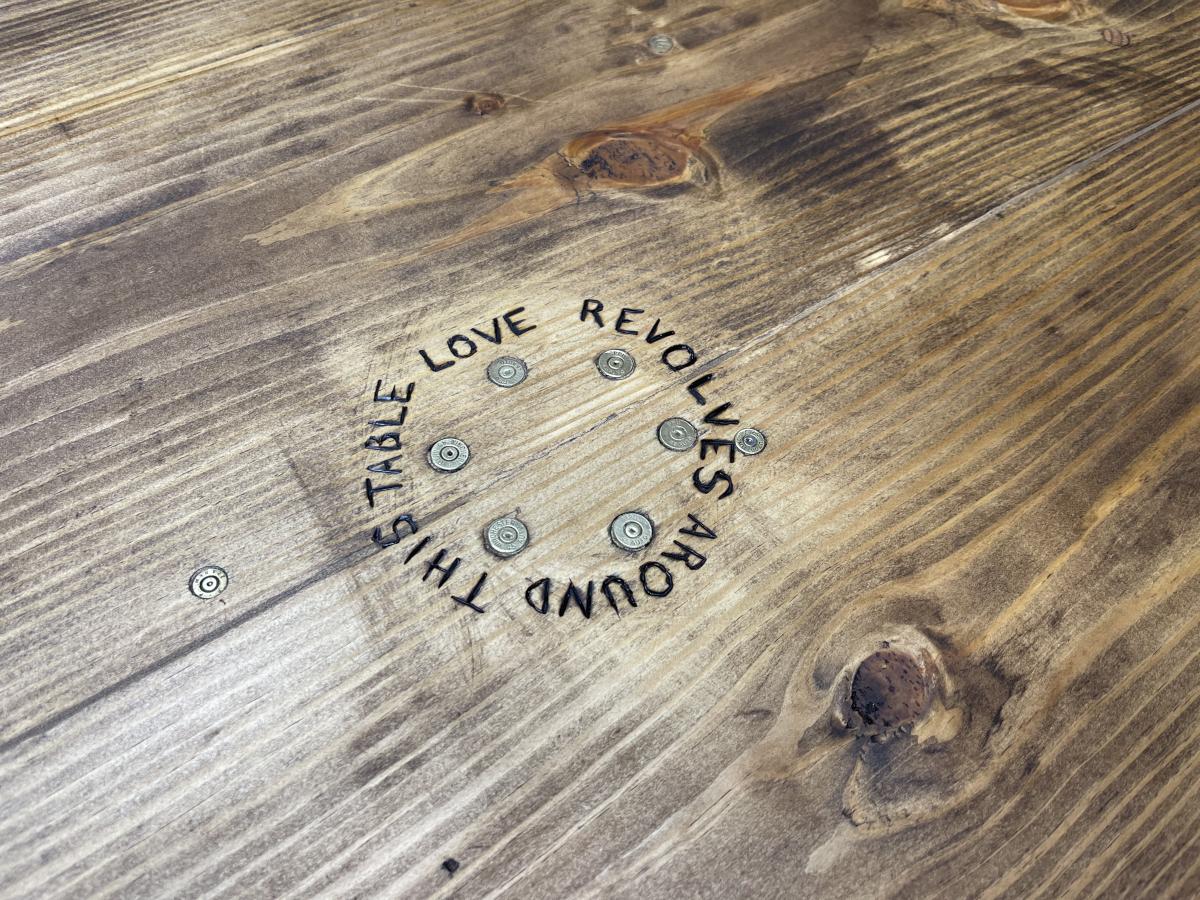
We stuck with th original plans, but instead of making table ends, we did full 2x10x8 boards and capped it with 1/3’s. We filled in the gaps in the wood with stainable wood filler. We also used a 1/2@ Forstner bit and recessed the screws and used wooden dowels to cover the screw holes. It gives it a beautiful finish. We also enjoy our pew pews, so we recessed .40, .45, .223, and .22 empty shells into the table. My husband wood burnt a message in the center of the table, then we sealed it all with one step minwax finish in mission oak.

5 kids, 1 bathroom, lots of waiting.
Not long ago I built the "waiting bench" and while it looks great, the space needed another little touch.
So I painted a sign saying, "Il Bagno", that's a prettier way to say "the bathroom" (in italiano).
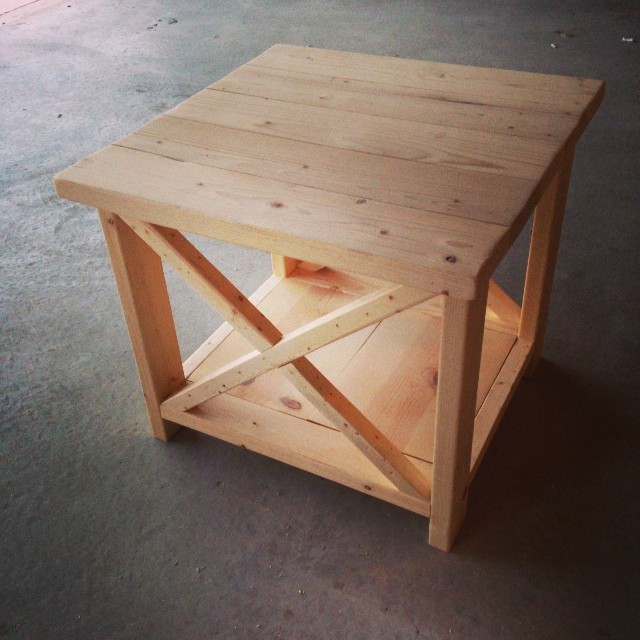
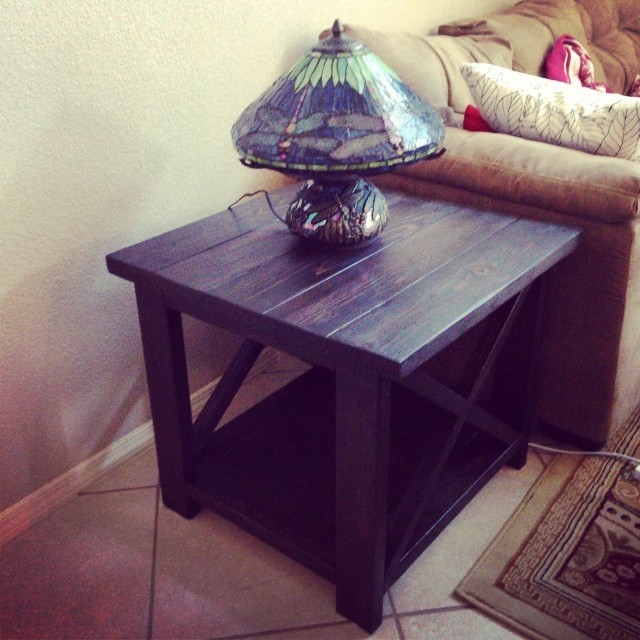
My husband and I built this after the Rustic X coffee table won us over. The end table building plan is awesome, straight-forward, easy to follow. What we have learned from building the coffee table was that it is much easier to finish the frame and then mark the 2x2 against the bars for exact cut. We tried following the cut list, but turned out if the other cuts are slightly off, or the table is not squared, or the wood is not straight, then there may be a slight gap. So marking the 2x2 against the built frame was a much easier option for us. Of note, the end table is pretty big. So if you have a smaller living room, you may want to size down accordingly.
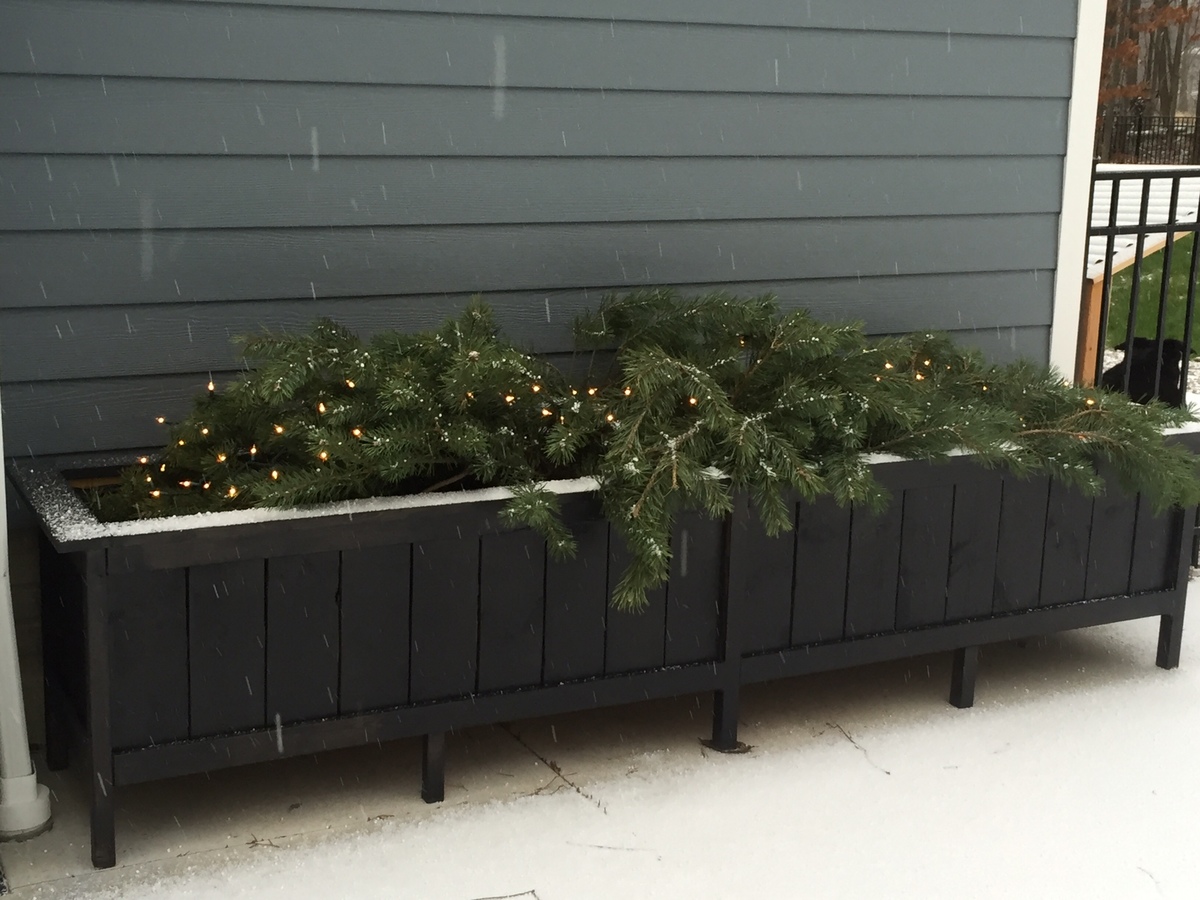
Tripled the dimensions, filled with mums for the fall. Now pine boughs and fairy lights! Love!

This was my husband's 3rd or 4th Ana White project. We also had to go back for mre wood as the shopping list was not complete.
Mon, 05/13/2019 - 15:53
This is gorgeous, can you share what you had to go back for? Also, what is the finish?
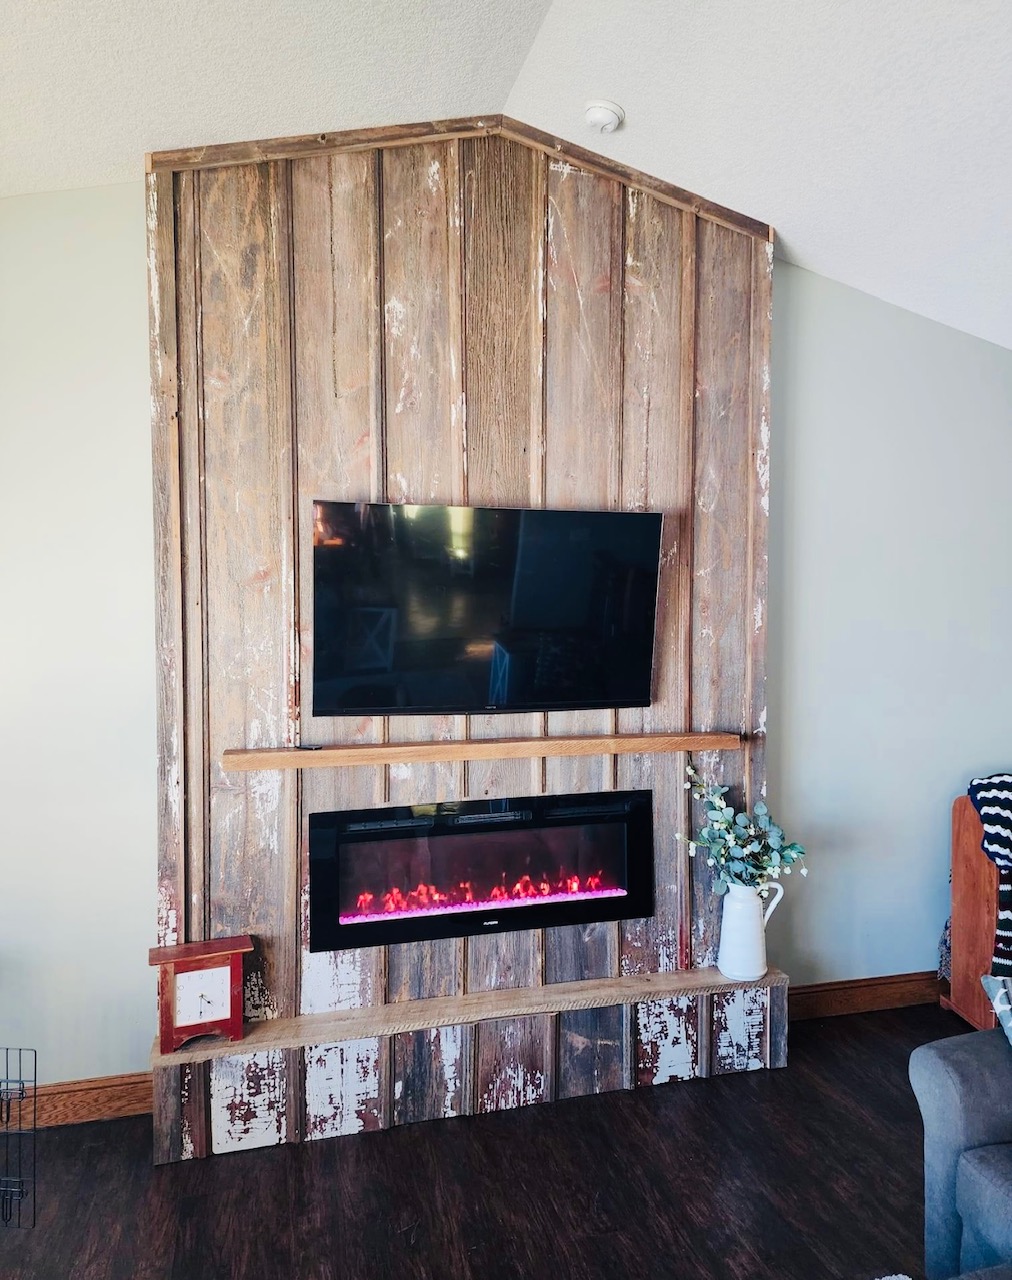
Gorgeous Barnwood Fireplace Surround by Scott Snyder
I built this toy chest out of some beautiful oak. I used brad nails to tack on a sign I painted with his name. That can be removed later with little damage to the chest.
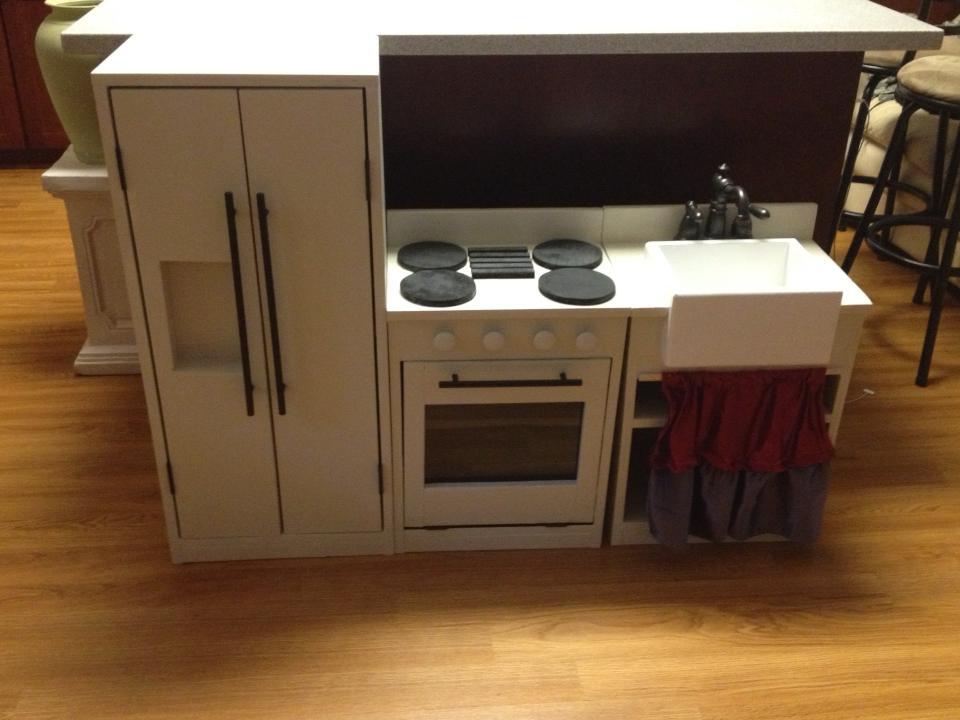
This was a kitchen for friends daughters birthday. I used my nail gun on this, made it so much easier:)