Community Brag Posts
Pallet Shelf!
Ok, so no one is going to get really jazzed about this but me, but hey.. I actually had to cut this, which I did on my own with no help from the hubs and nail in the bottom boards. That was a bit tricky cause I used other pallet wood so I didn't have to rob any of the nice stuff from my scrap pile. :-)
Portable countertop
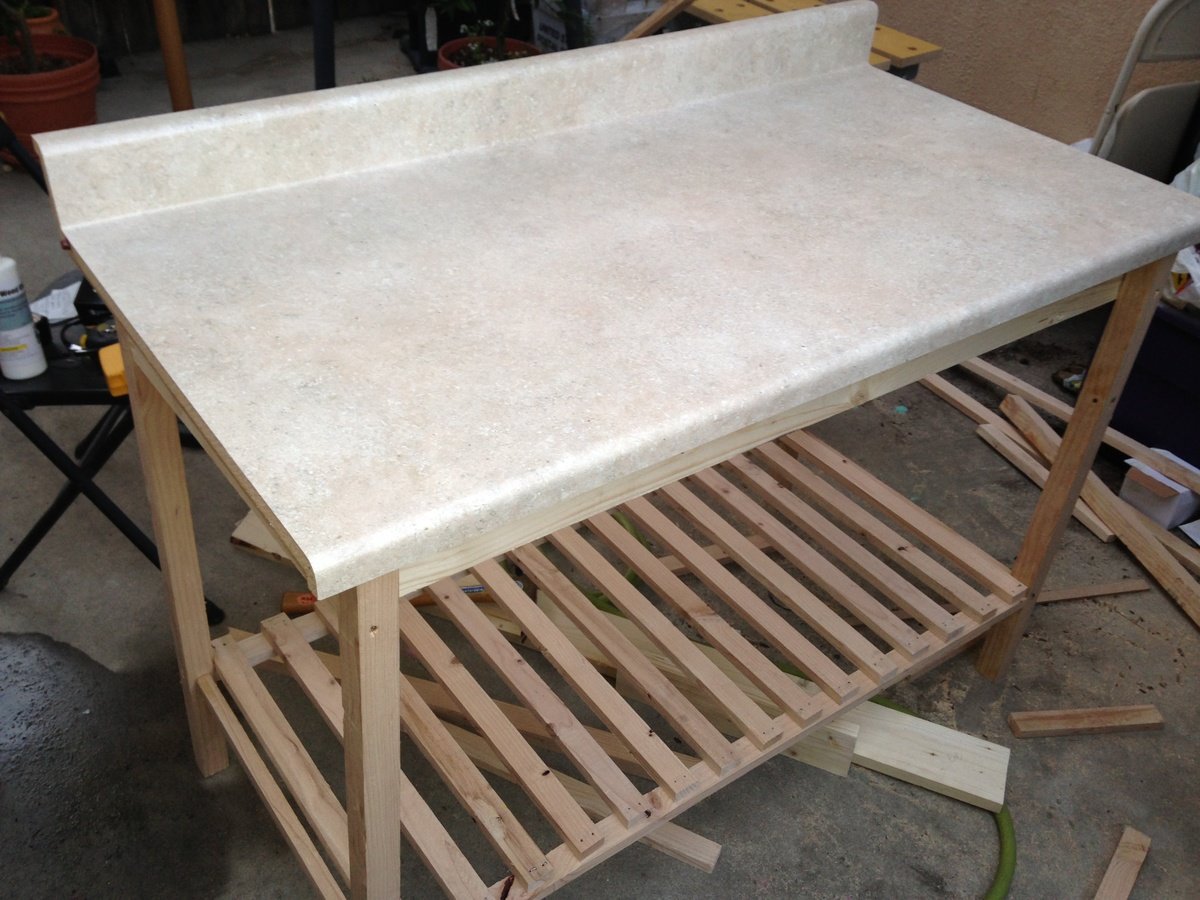
I made this from the kitchen island plans, but added a countertop. It's really sturdy and cost about $65 in materials. I love it.
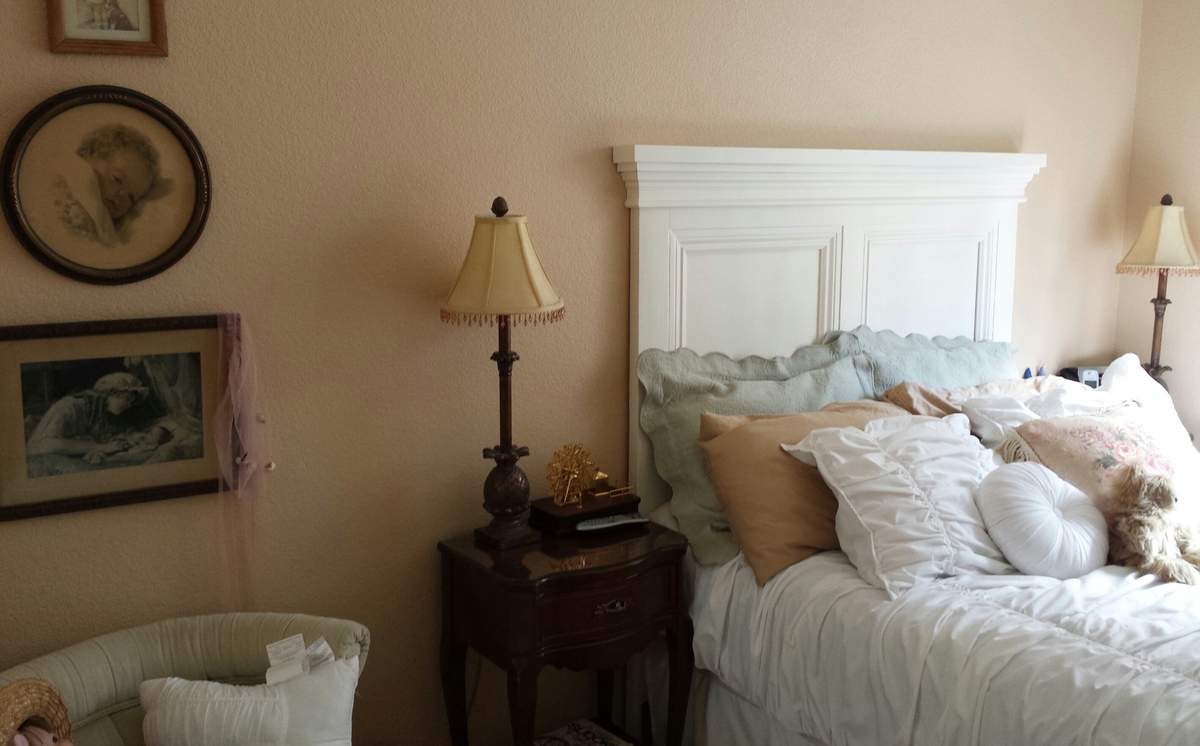
Modified Tall Panel Headboard
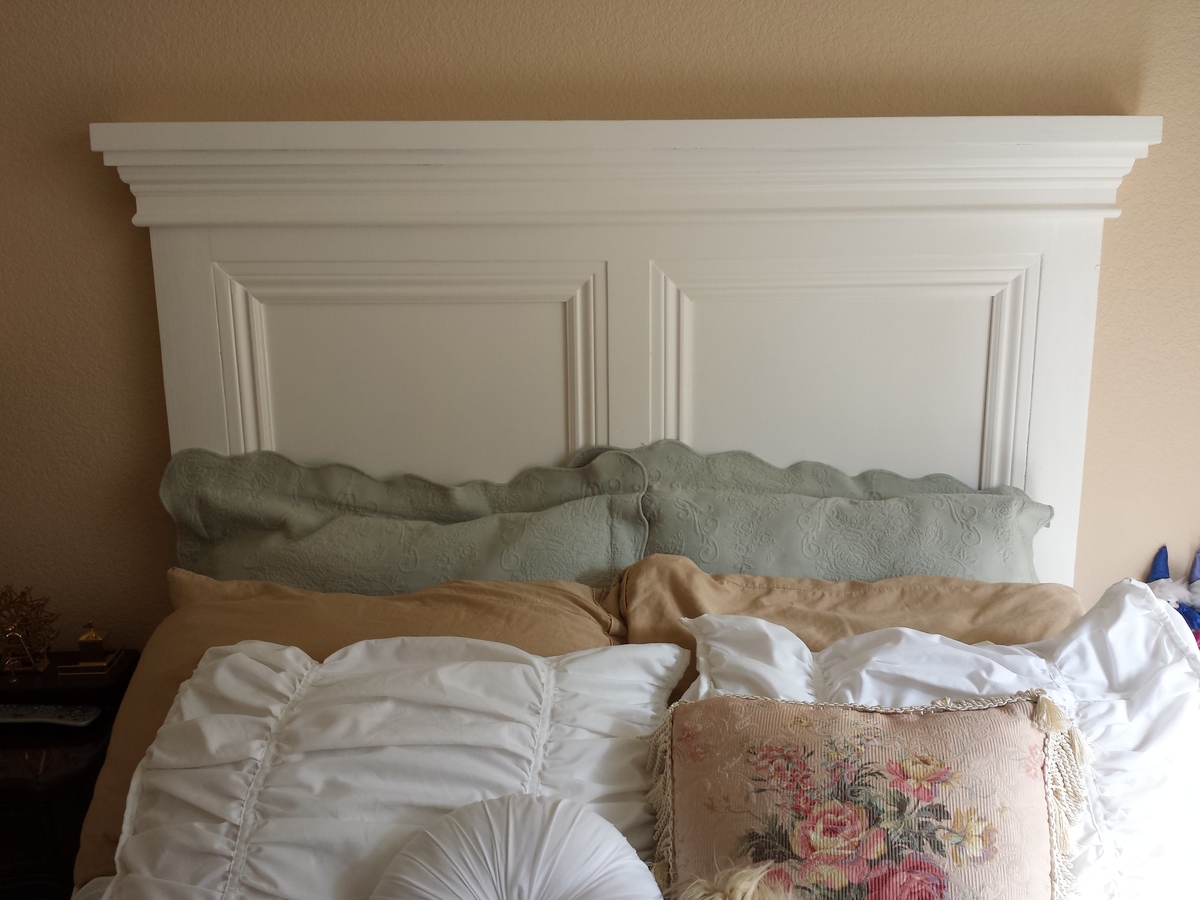
I built this headboard as a birthday gift for my grandmother. She had a rickety, old makeshift headboard composed of a couple of 2x4's and some lattice that was spray painted. I modified the plans to fit her Full size bed and lowered the height down to 62".
Comments
Custom Dollhouse Bed
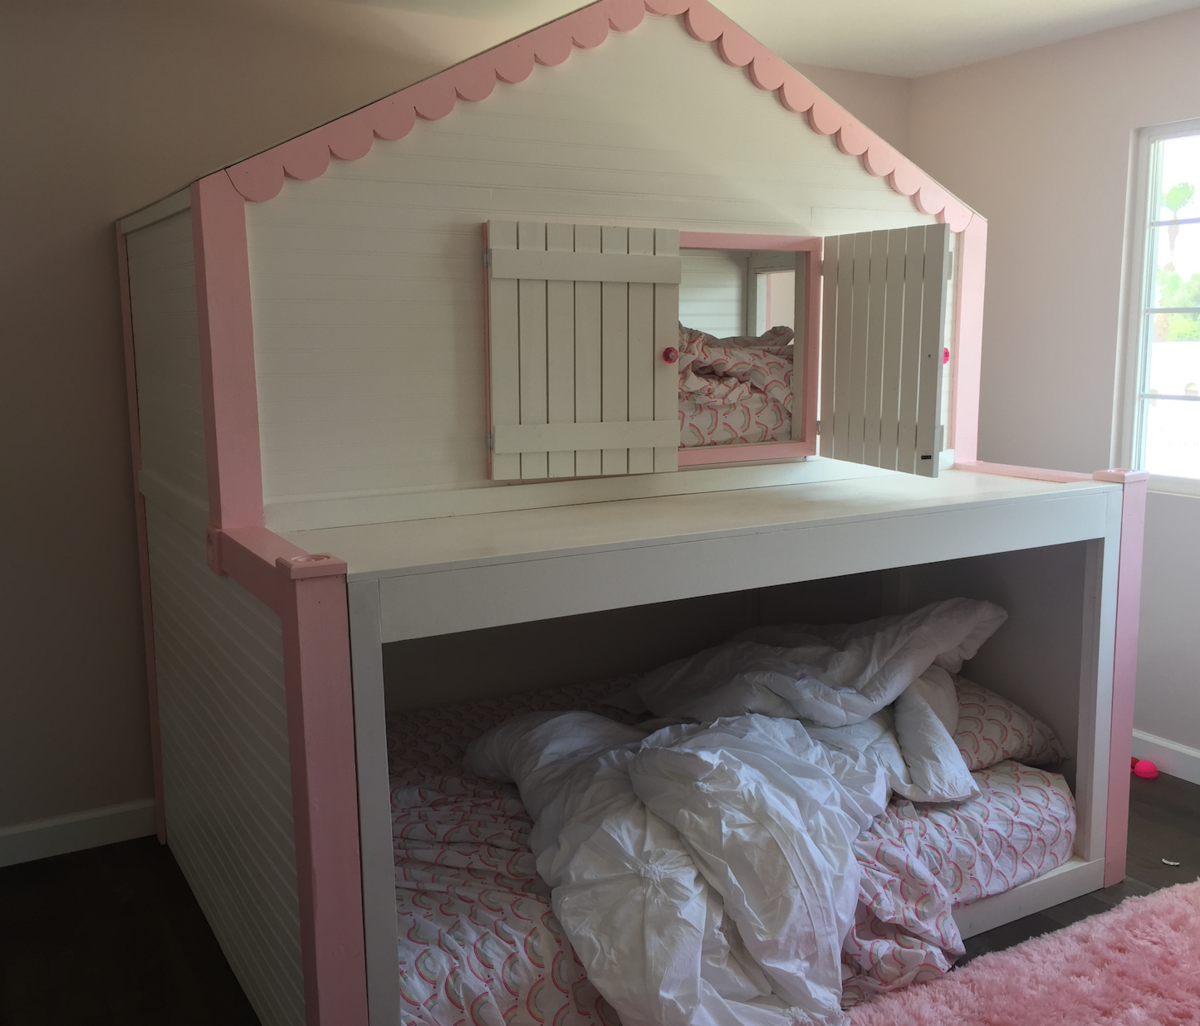
This was a custom build for one of my clients. It is a full over queen bunk bed. Scalloped trim on the top, and a balcony/platform from the top bunk. Access to the top via ladder and window! The pic with the messy bed is the FINAL finished product after I added a few more trim pieces to the front.
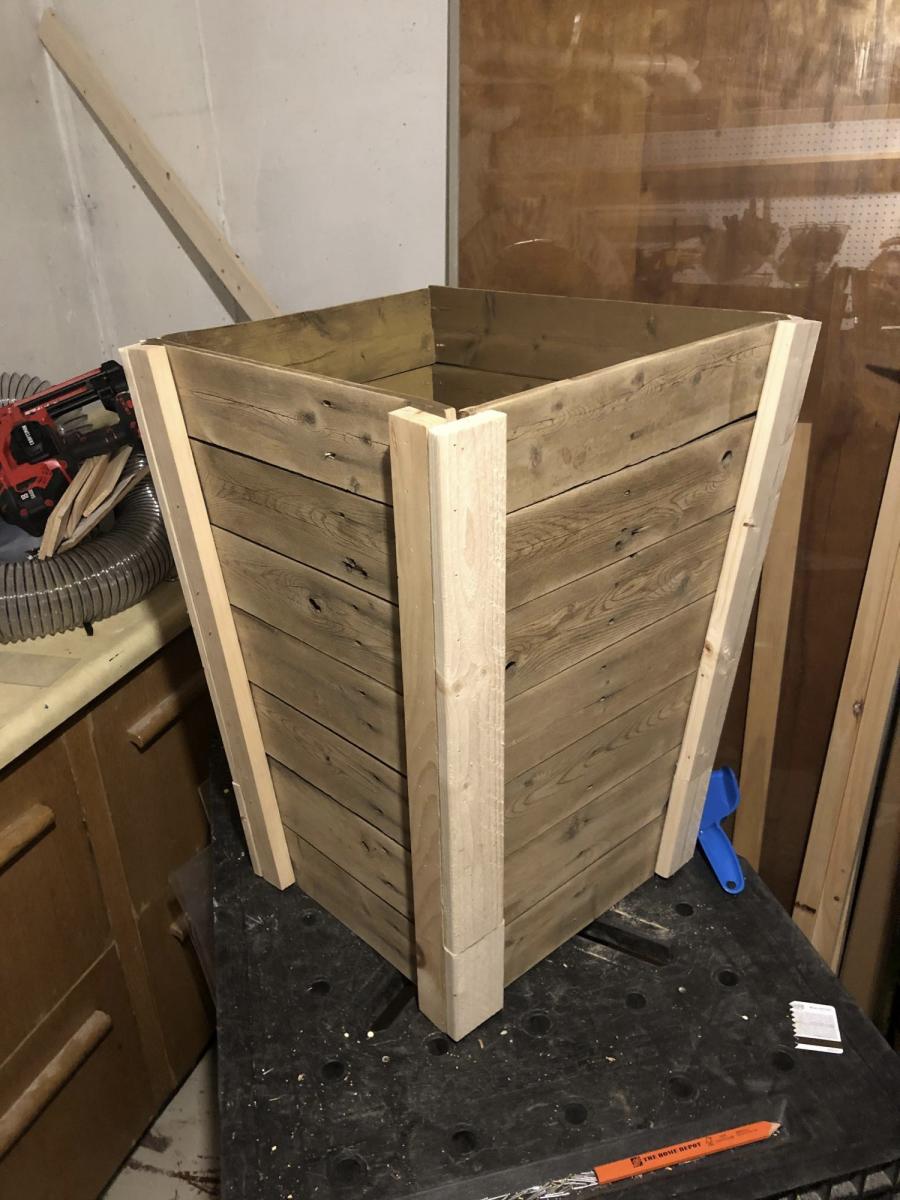
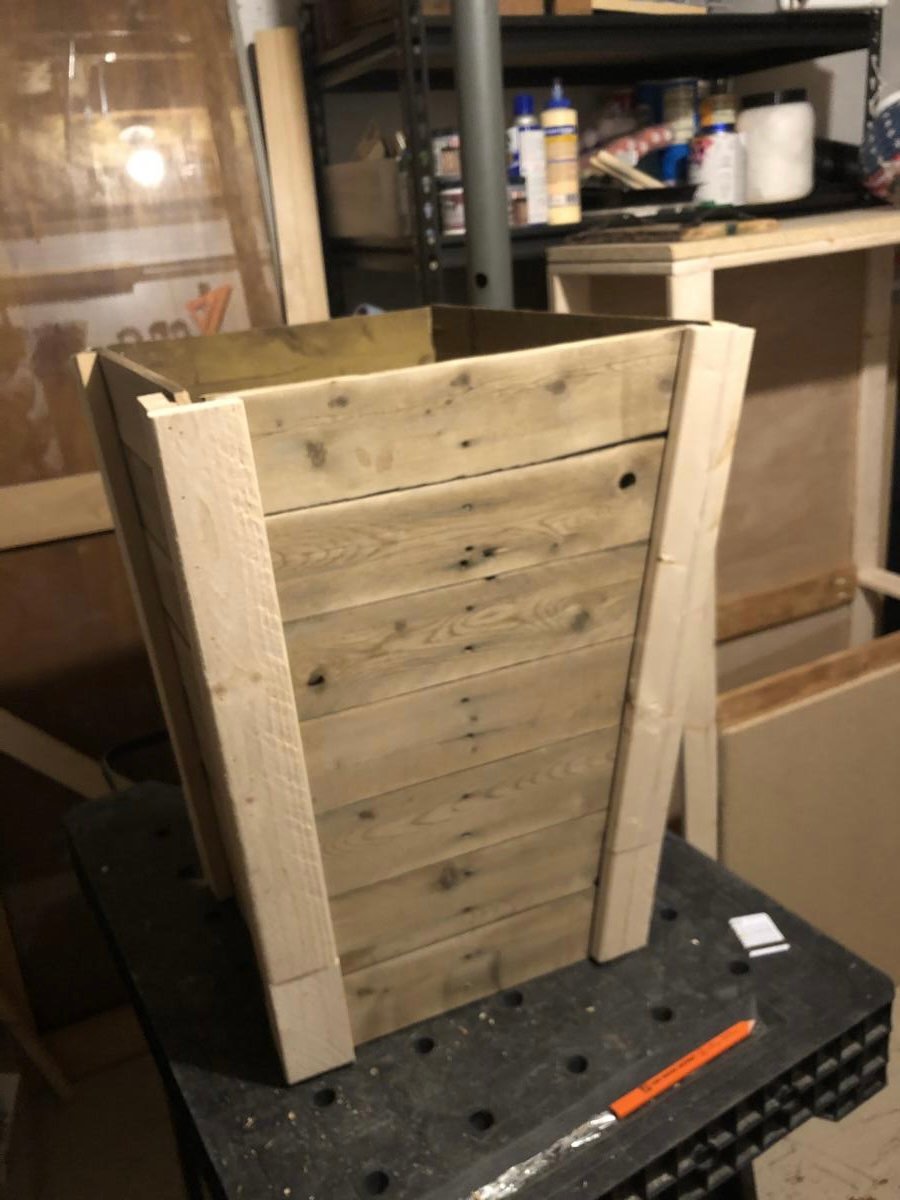
Tapered plant box
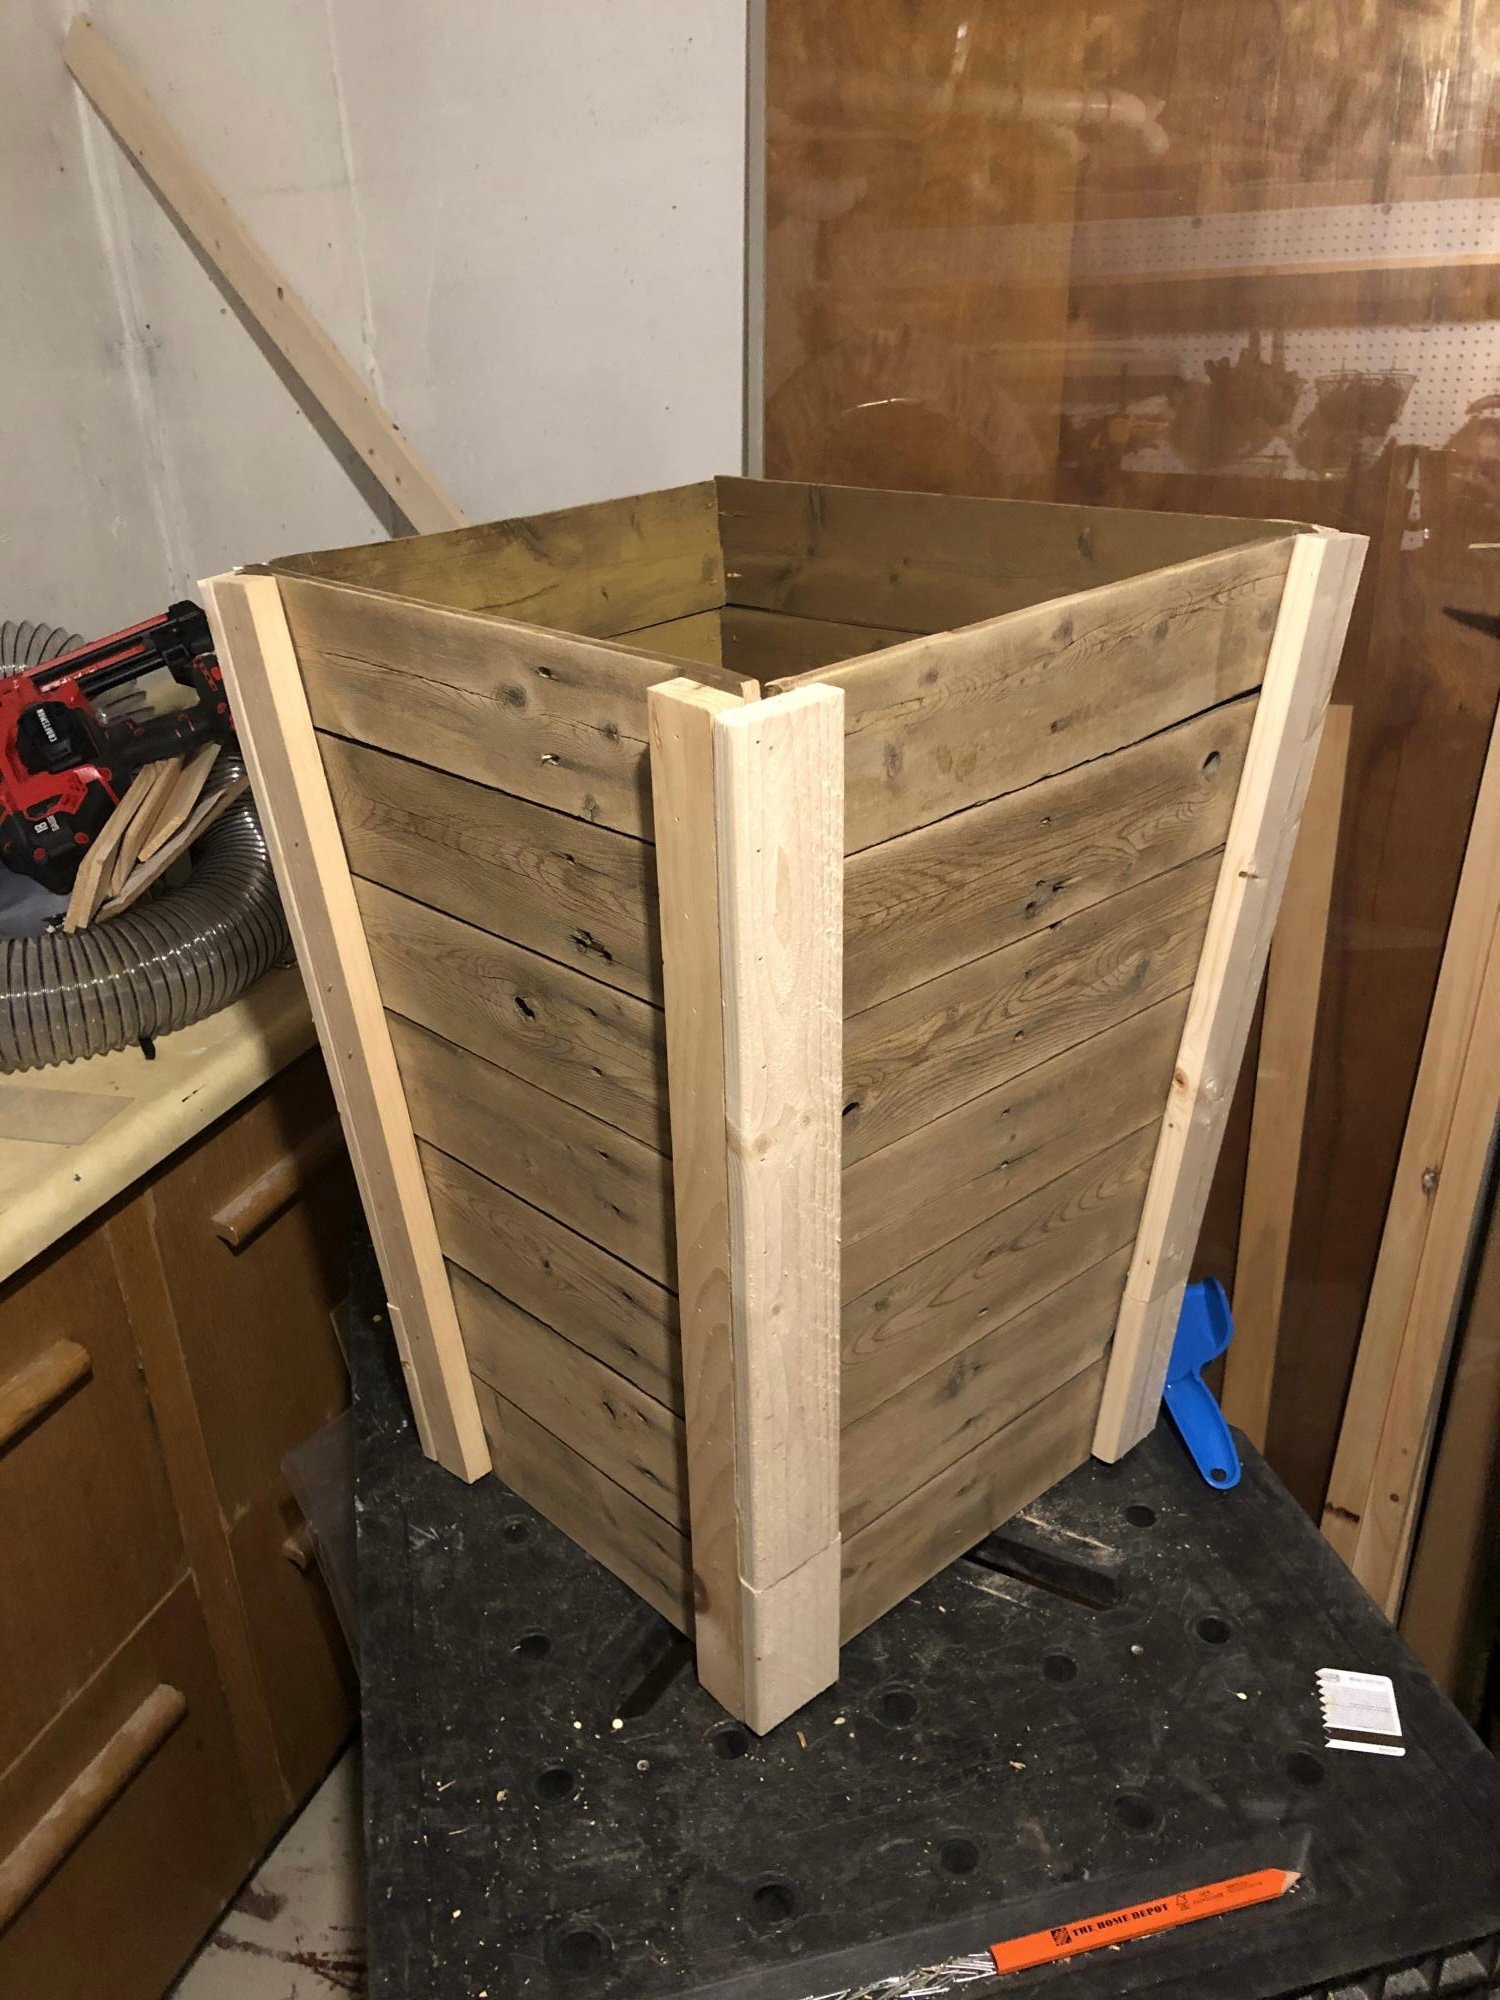
I was looking for an inexpensive way to dress up my deck and when I saw your tapered plant boxes I knew that was the gem I needed. I used pickets from a fence we took down and some 1 inch wood strips. I am planning on making more to line the new fence.
Comments
doll crib
Doll crib with storage bin.
2. two coats pink eggshell finish
Grillin' and Chillin' - Outdoor Grill Food Prep Station
Needed a table for food prep with my grill and found your plans! I used treated lumber for the base and nice cedar planks for the top. The treated lumber had a whiter than usual color which made the base really pop out. I put a nice pecan stain on top and a few coats of poly so the BBQ sauce wouldn't stain it! This was so easy, literally took 2-3 hours to build, stain and poly was done over the next few days. Ready for my next ana-white project. Thanks for posting these plans.
Comments
Wed, 07/09/2014 - 16:24
Food Prep Table
I was looking on Pinterest and found this table. It was exactly what I was looking for. You inspired me to go out and buy a miter saw and some wood and make the table. It turned out wonderful. It now has a permanent place on my patio and gets used when I grill mostly. I was hoping to be able to upload a photo but don't see the option to do so. Anyway, I want to say thanks for the great plans/instructions.
Alexis Bench
This is only my second build. I love it and am very proud. I made this for my son and daughter in law to put at the foot of their bed. It took a couple of times for me to get drawer glides on right but I did it! I love wood working and want to keep learning!
Comments
Wed, 04/15/2015 - 15:49
I really love the two tone
I really love the two tone colors :) I've got this bench on my todo list too :)
Fri, 04/17/2015 - 07:09
Alexis Bench
I know, I do too, thanks. Seriously, not that hard really, I say give it a try.
Outdoor bar
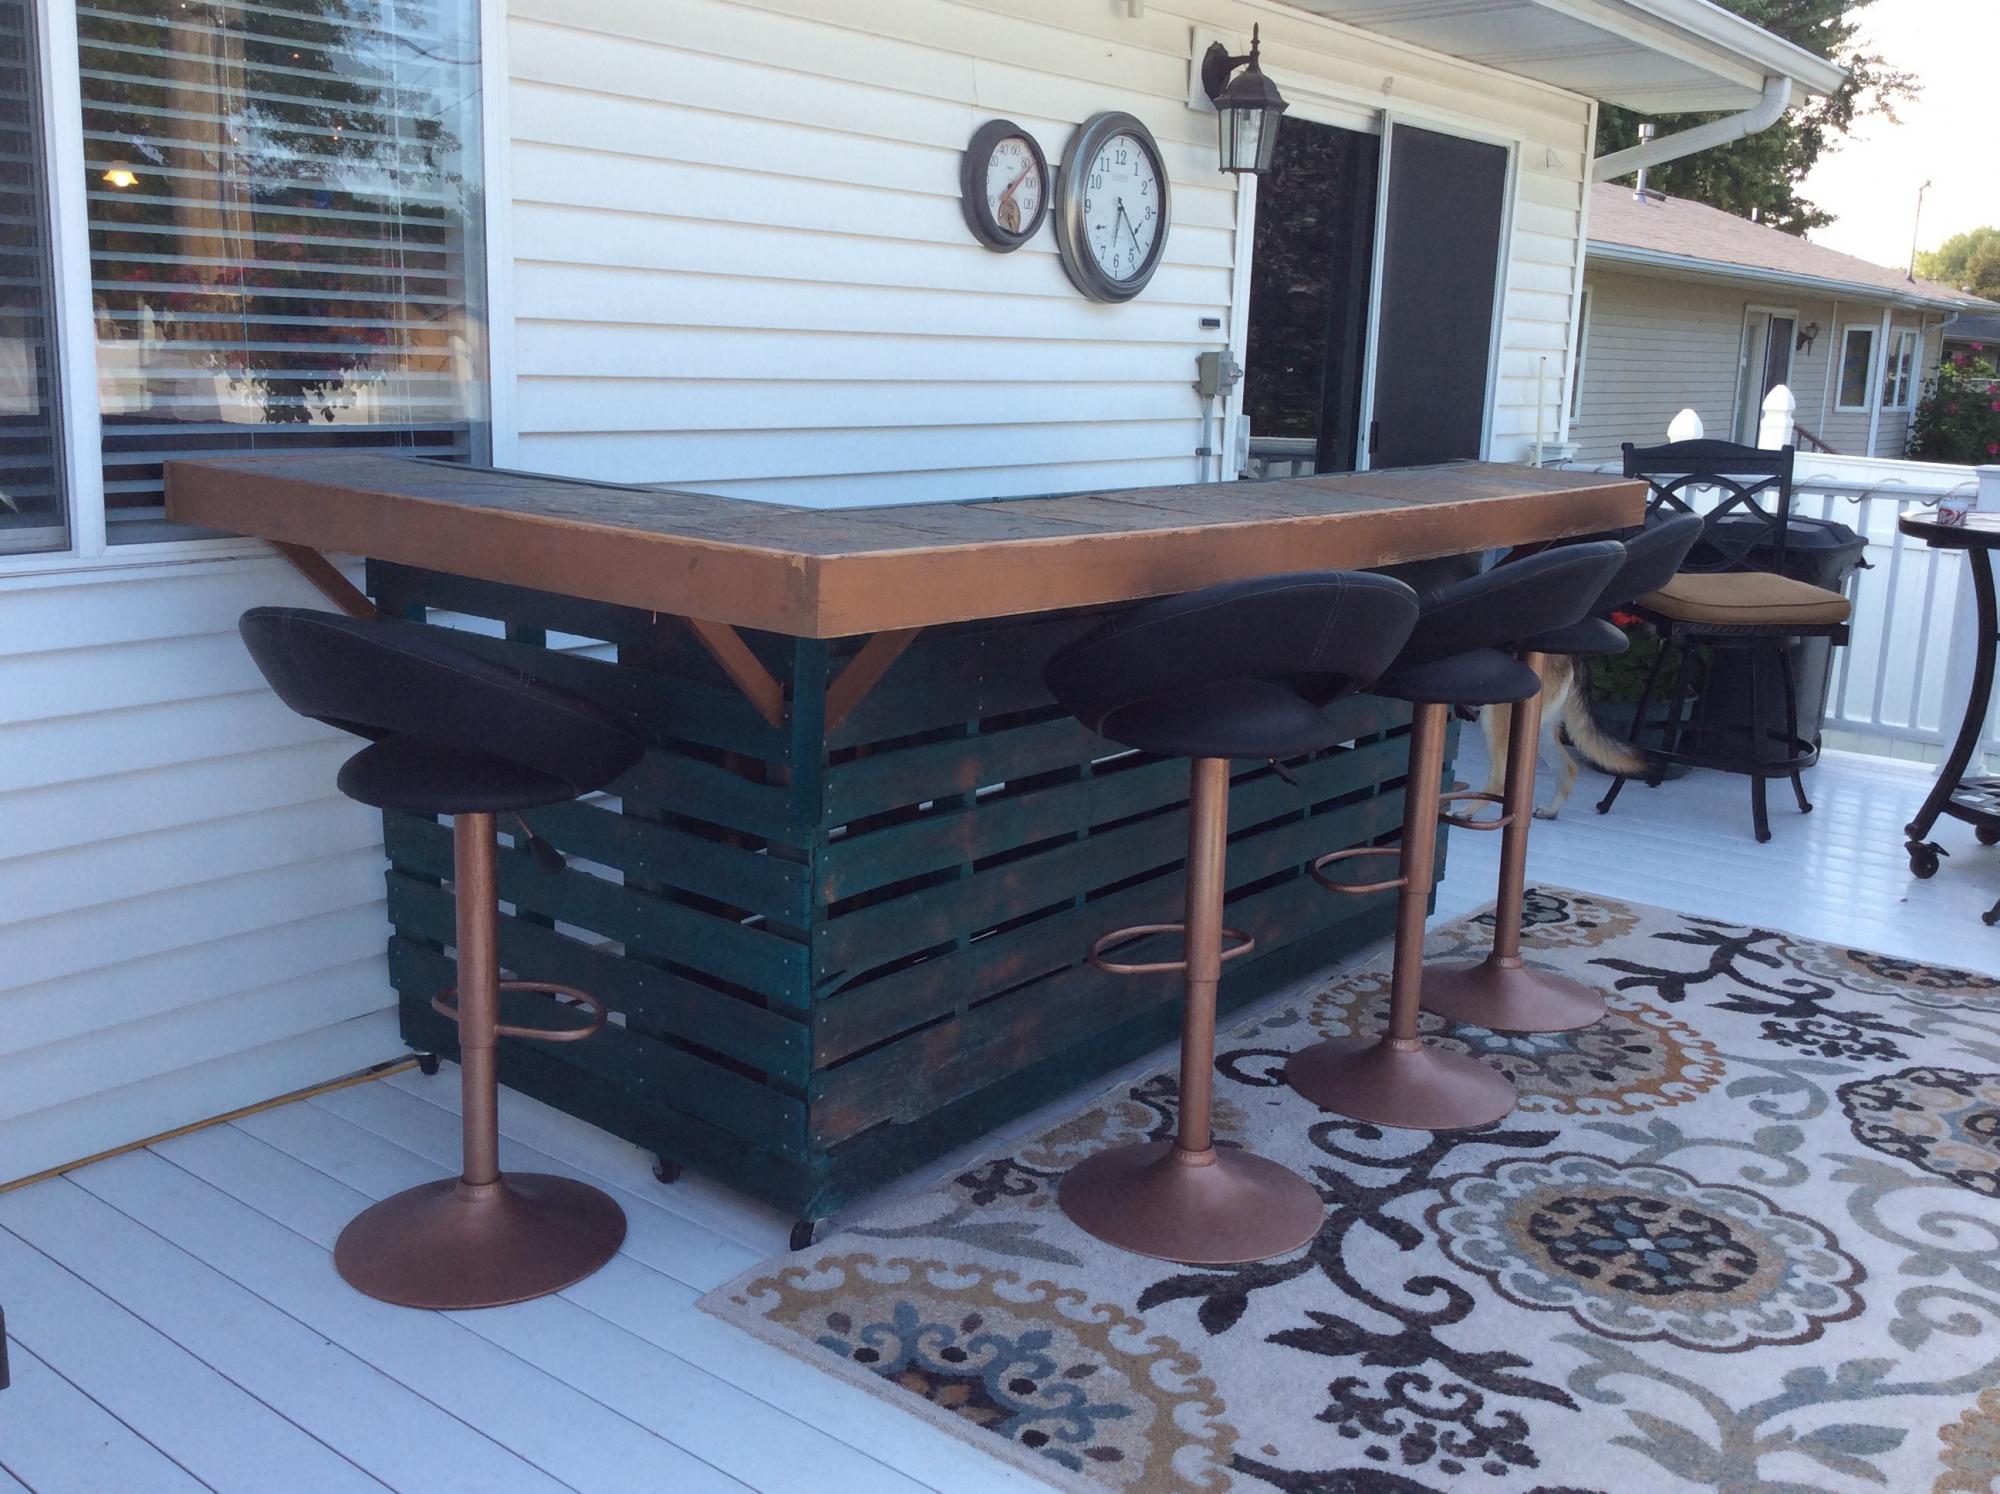
Outdoor pallet bar with sink I found in the garage. Just a dumping sink under cabinet,not hooked up to plumbing.
Comments
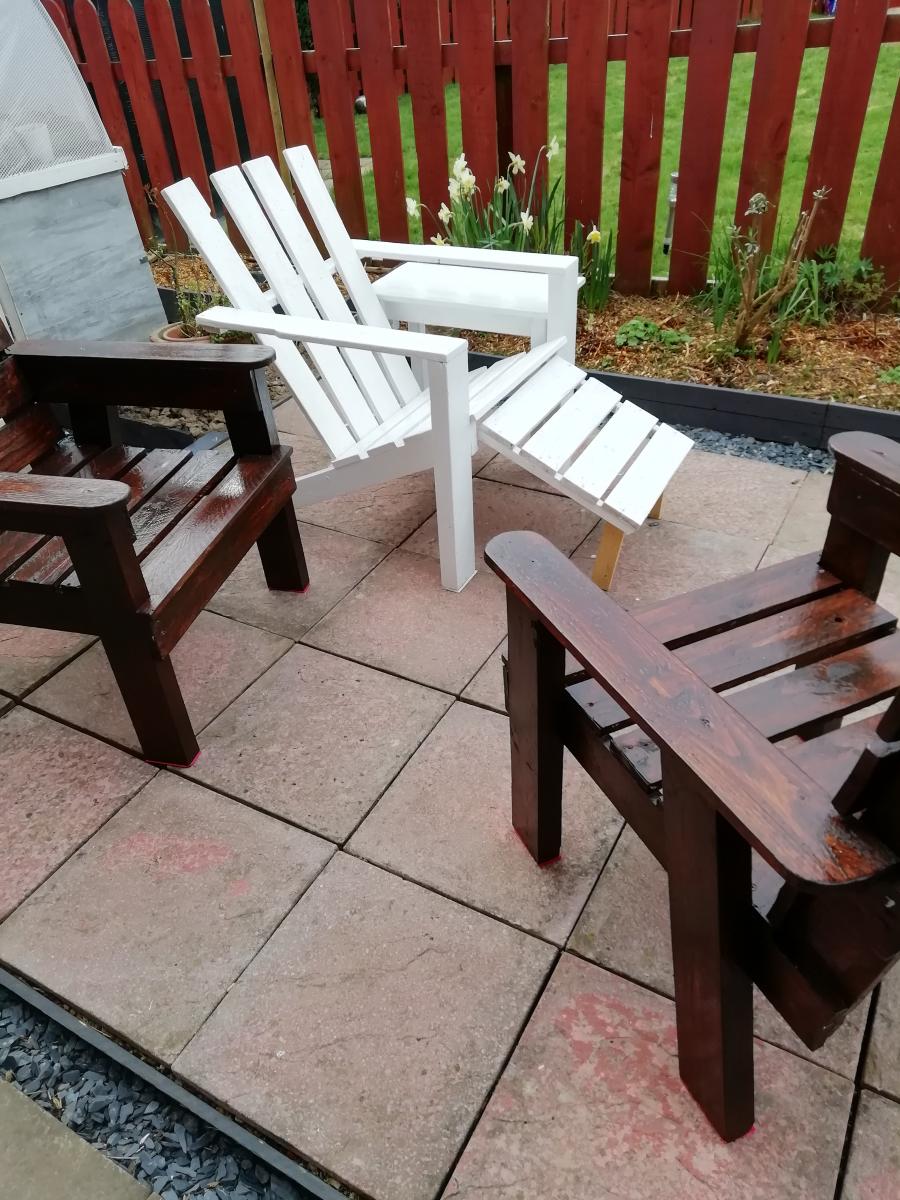
Lawn Chairs
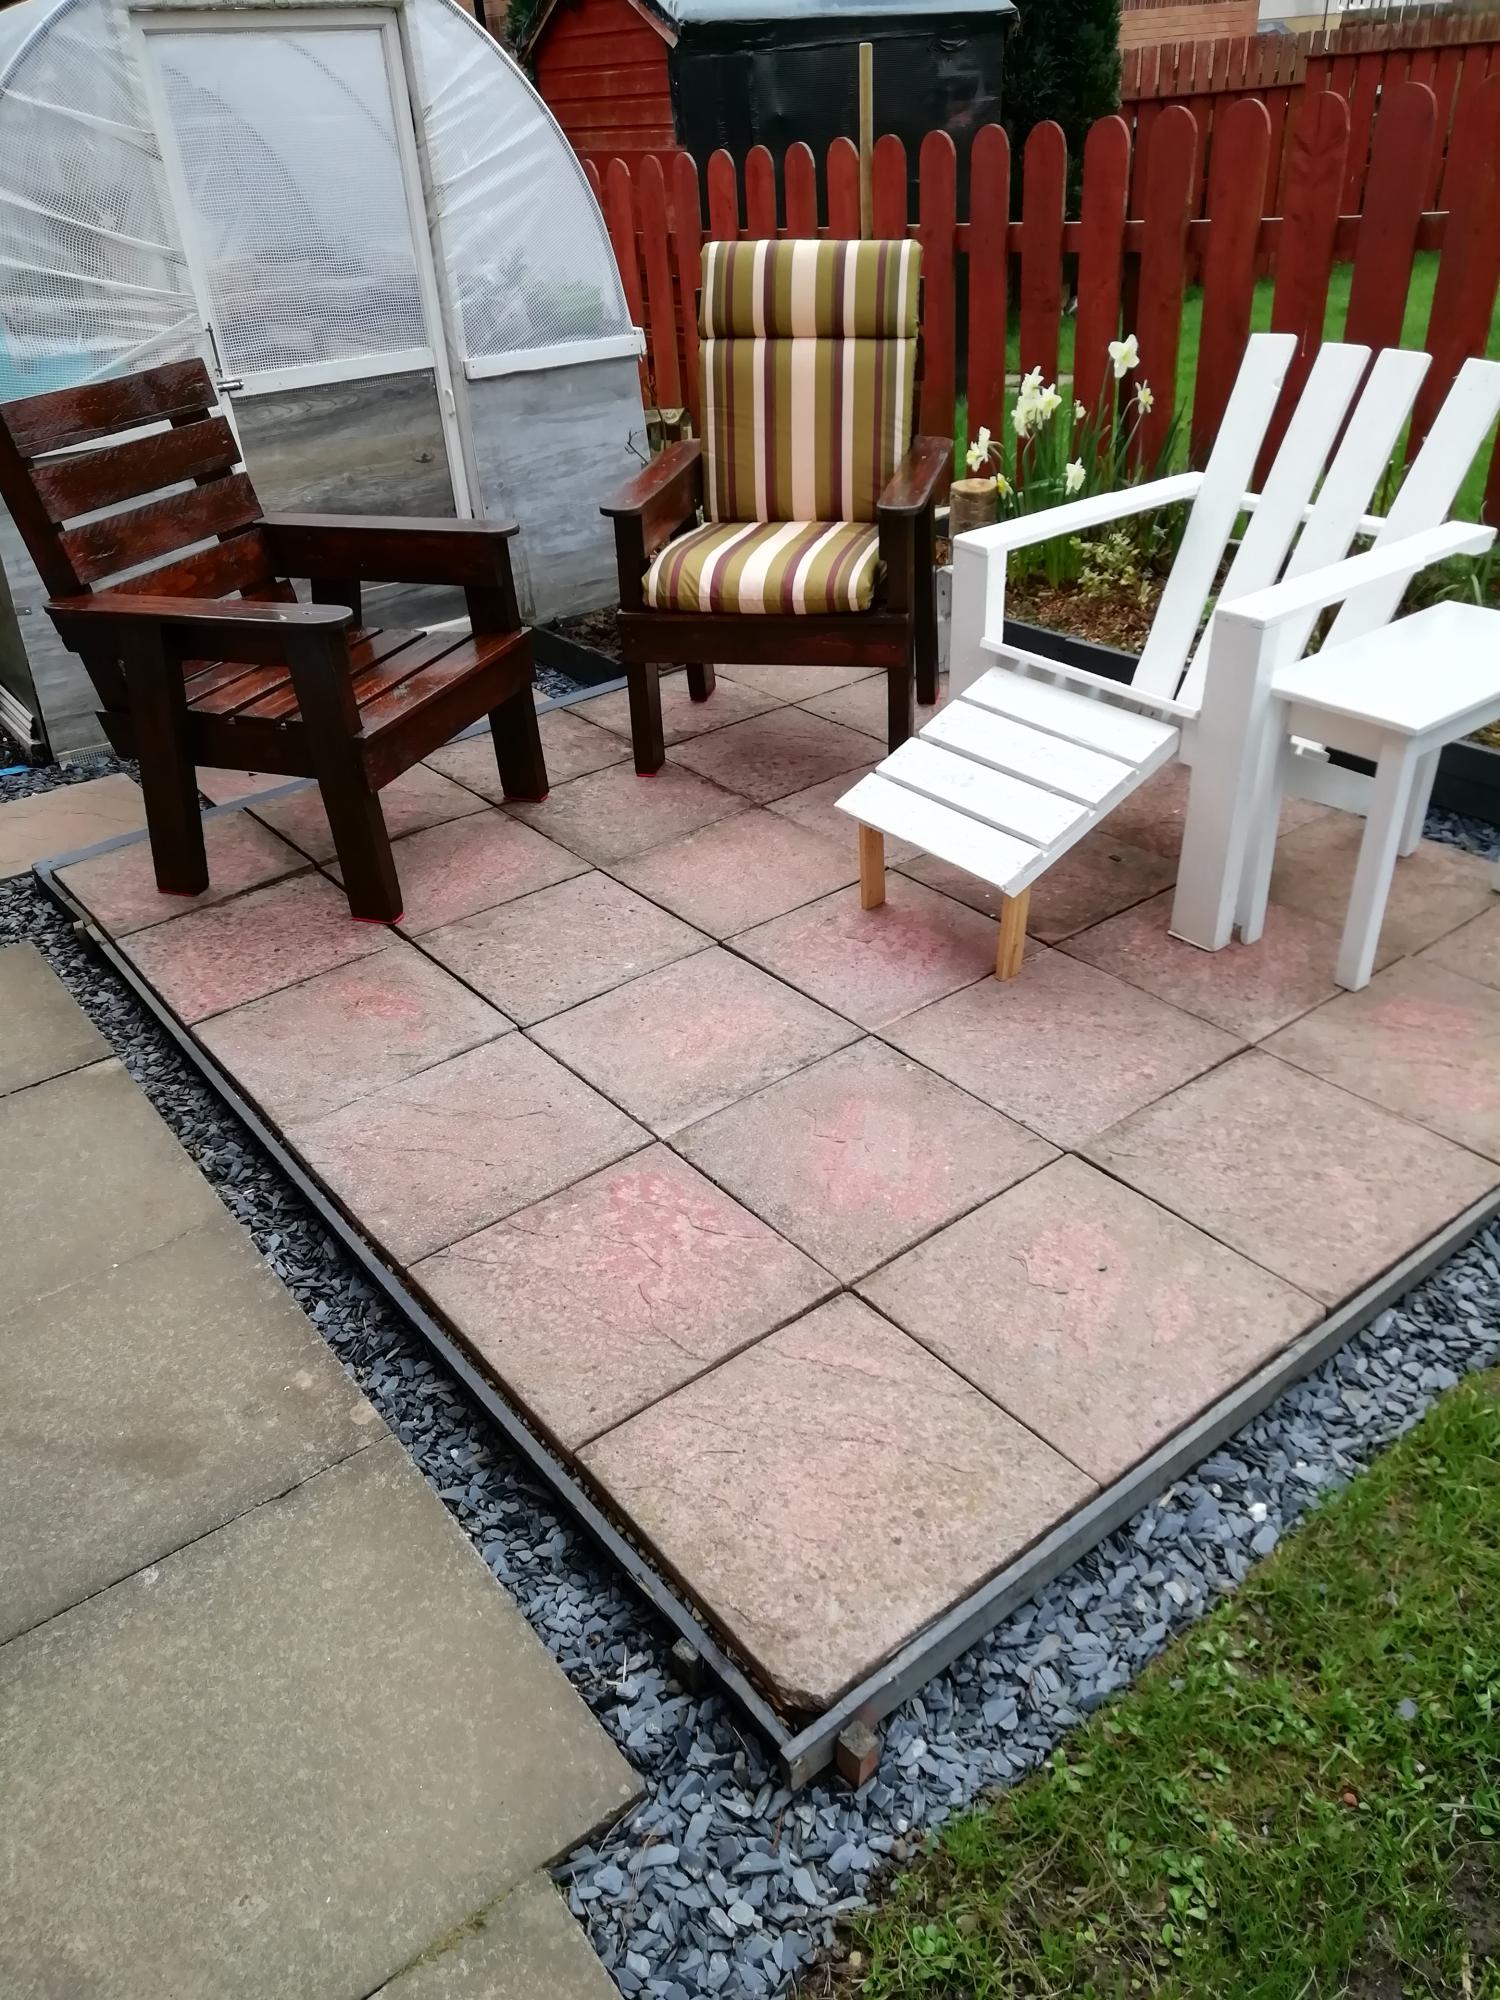
All made from an 8 foot packing crate.
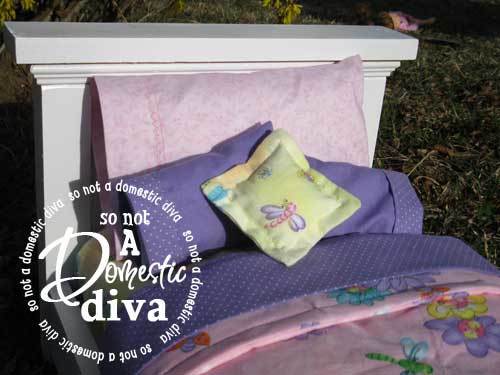
Twin Farmhouse Doll Bed
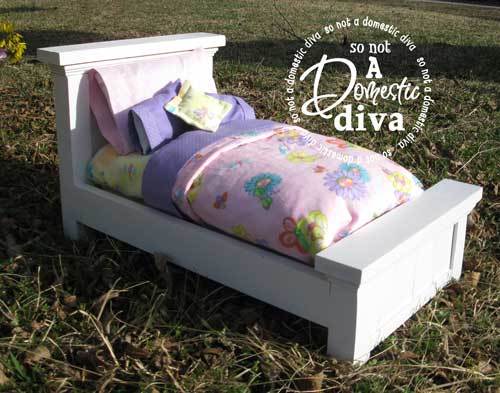
I love love love these plans! Based on the helpful comments made by other readers, I decided to narrow the bed by leaving one 1x3 out of the head and foot board panels and shortening the other 1x3's and 1x2's as needed. Added mitered trim around the head and foot boards.
The build was super easy and only took a couple of hours. I'm classifying this as a "day project" (6-9 hours) to allow time to paint or stain.
Vintage Step Stool
I made this awesome step stool for my daughter to be able to reach things a little bit better. It works perfectly. And the heart adds the perfect touch, don't you think?


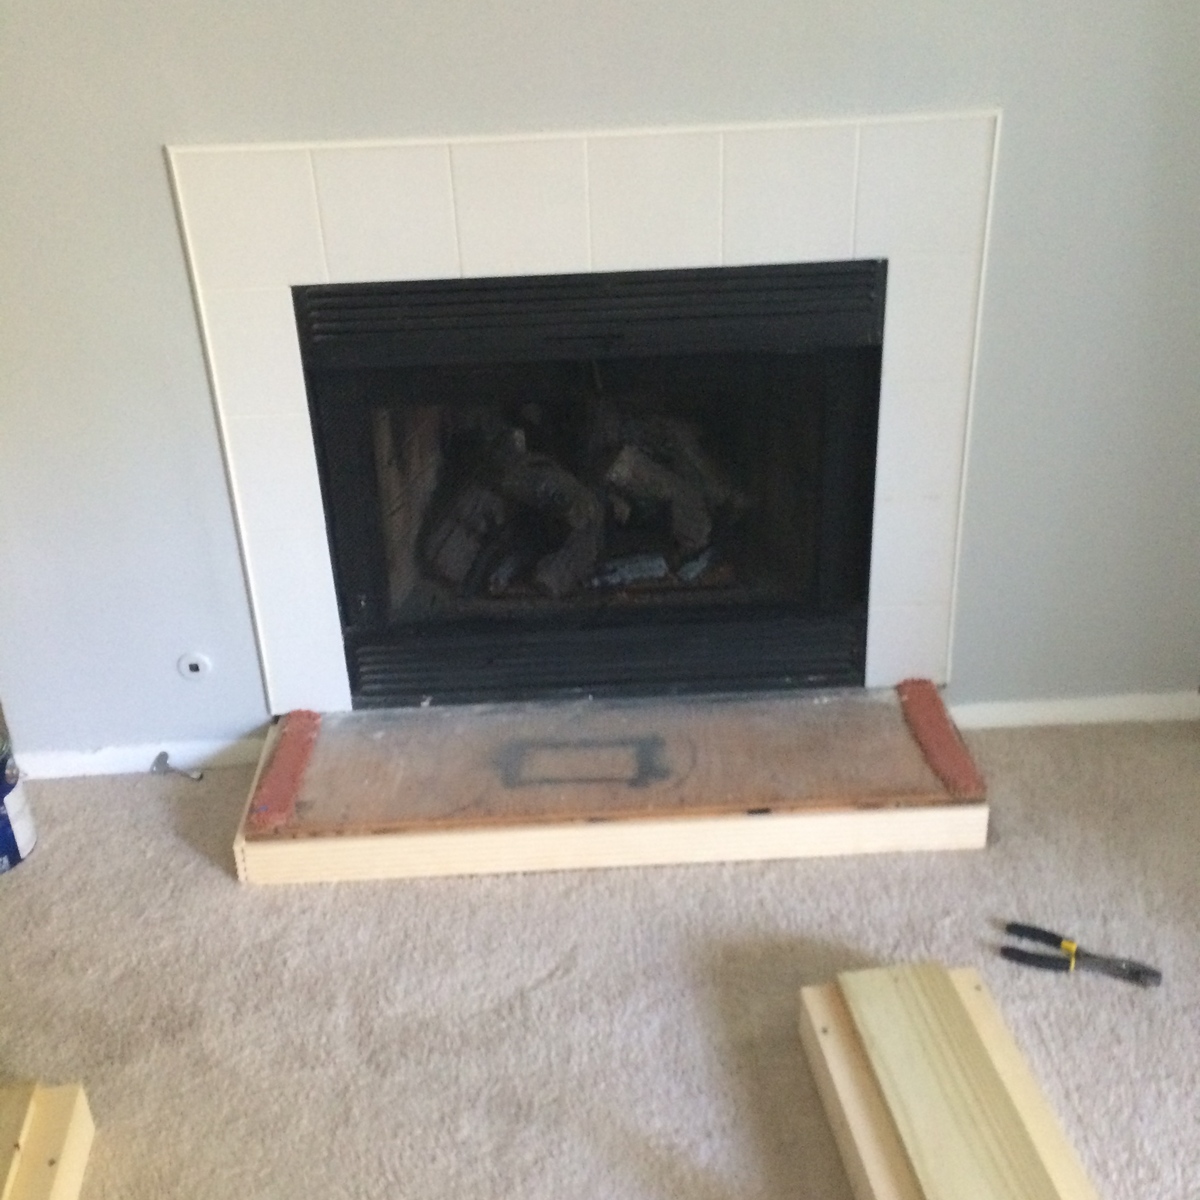
Fixing the awkward mantel
My friend just bought a condo here in Atlanta, and it only had an awkward tile mantel. She had requested we update this, so one Saturday we decided to tackle this. The plans were super easy to follow - and we could not be more excited with the results!!

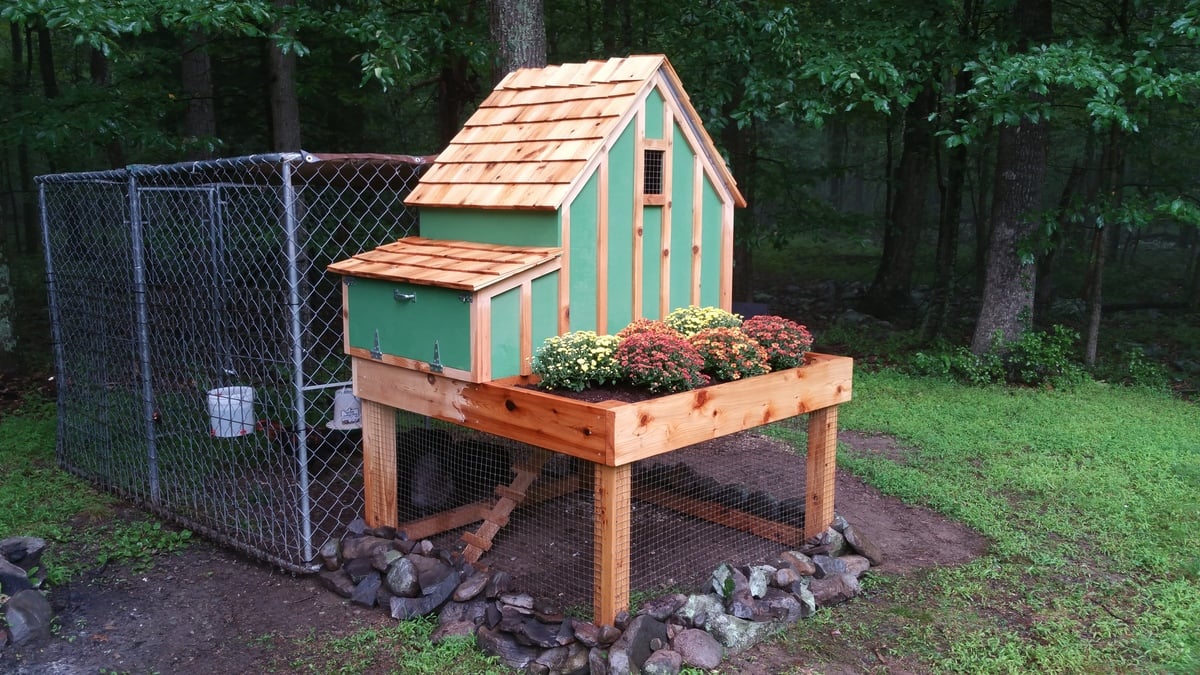
Chicken Coop
I have more pictures, but I've hit the limit...
The coop is 100% cedar except for the plywood sides/doors.
Fun to build.
The plans are great, but not prefect. Make sure you measure everything out before cutting. I had several problems with errors in the plans. Use them as a guide, and like I said, measure before making cuts.
This project could be done in a weekend, but I ended up putting a lot of time into it. Close to 4 weeks from start to end, probably 3 full time days, and a few hours here and there on odd days. It just depends how anal you are I guess, haha! The finished product speaks for it self.
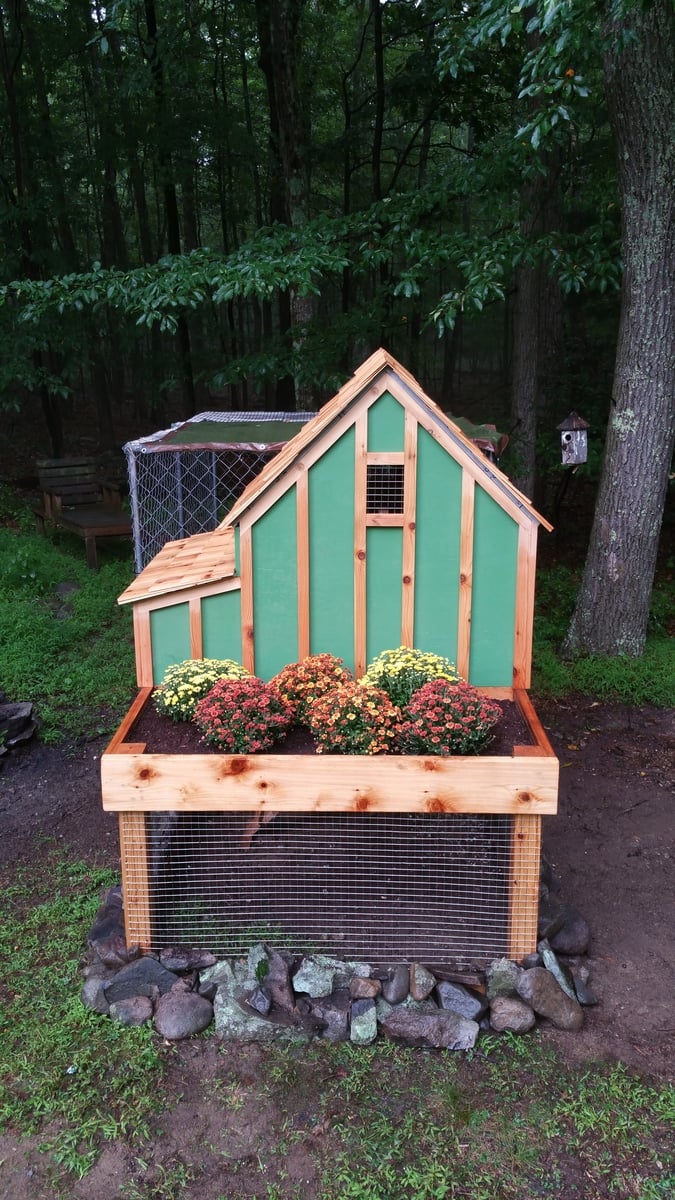
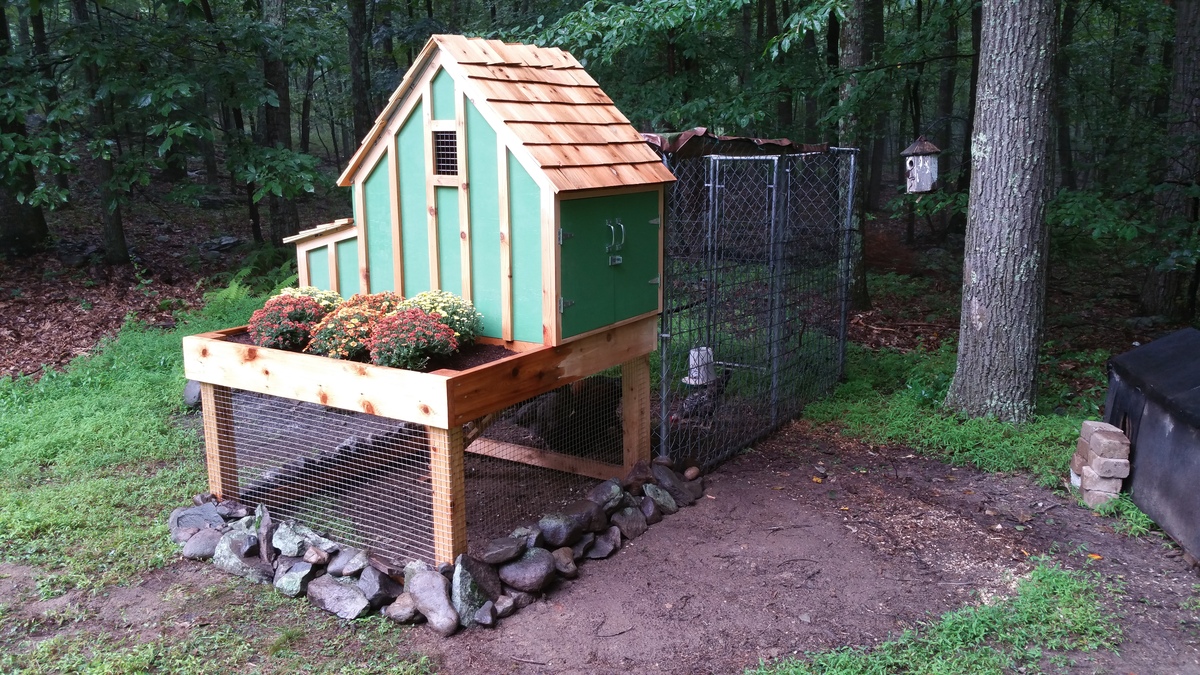
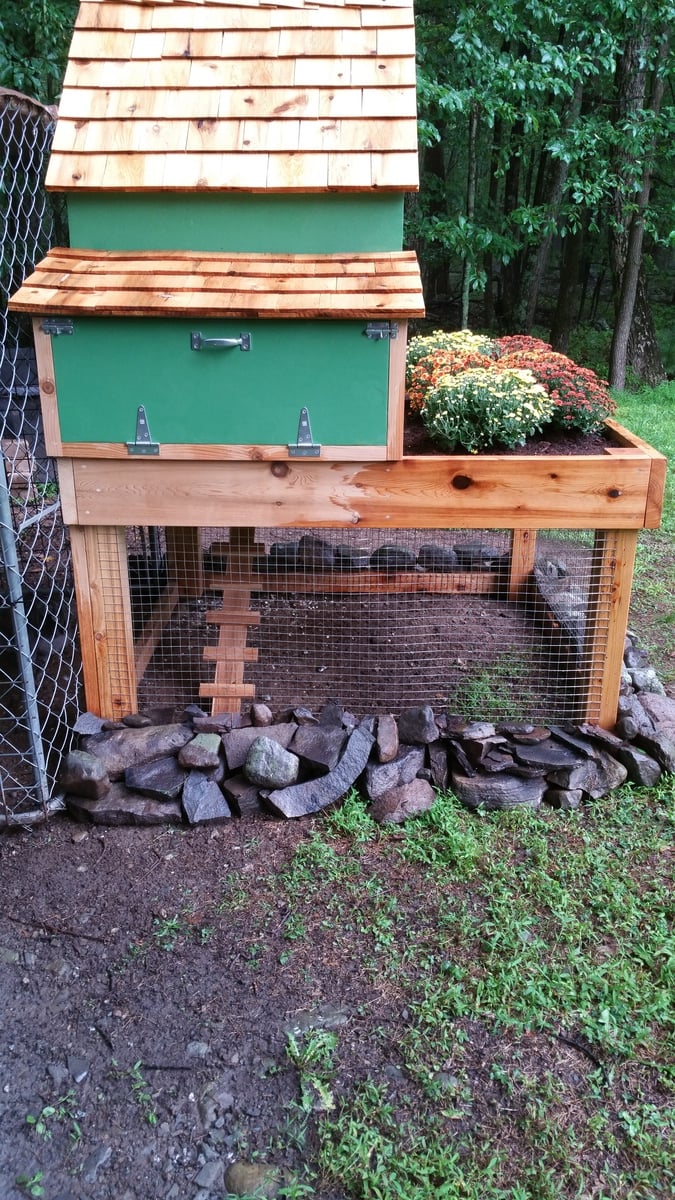
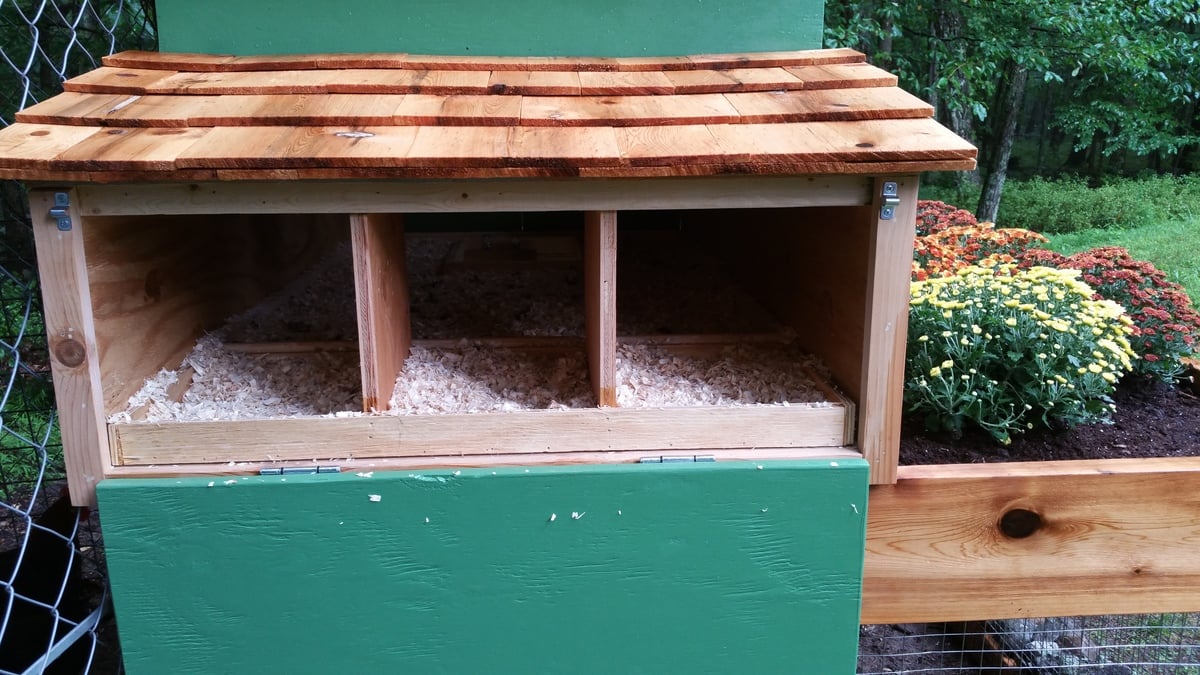
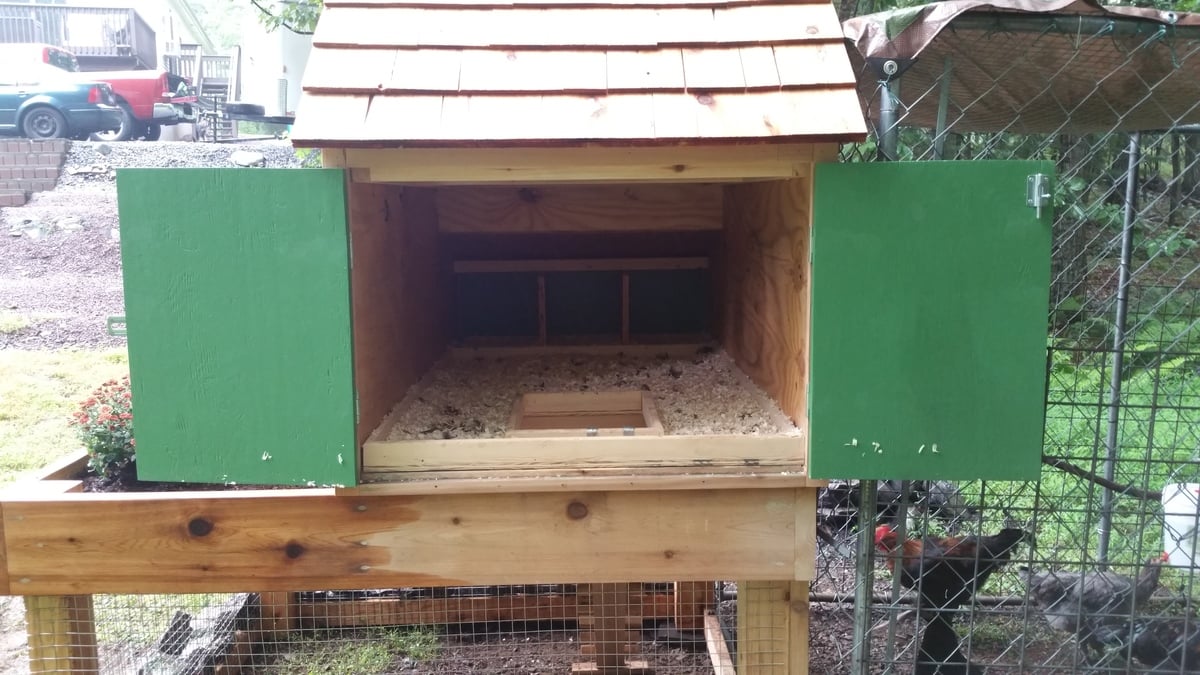
All the plywood was painted with "HGTV HOME by Sherwin-Williams Weathershield Tintable Satin Acrylic Exterior Paint" Color was Backcountry Green...
Outdoor sofa and table
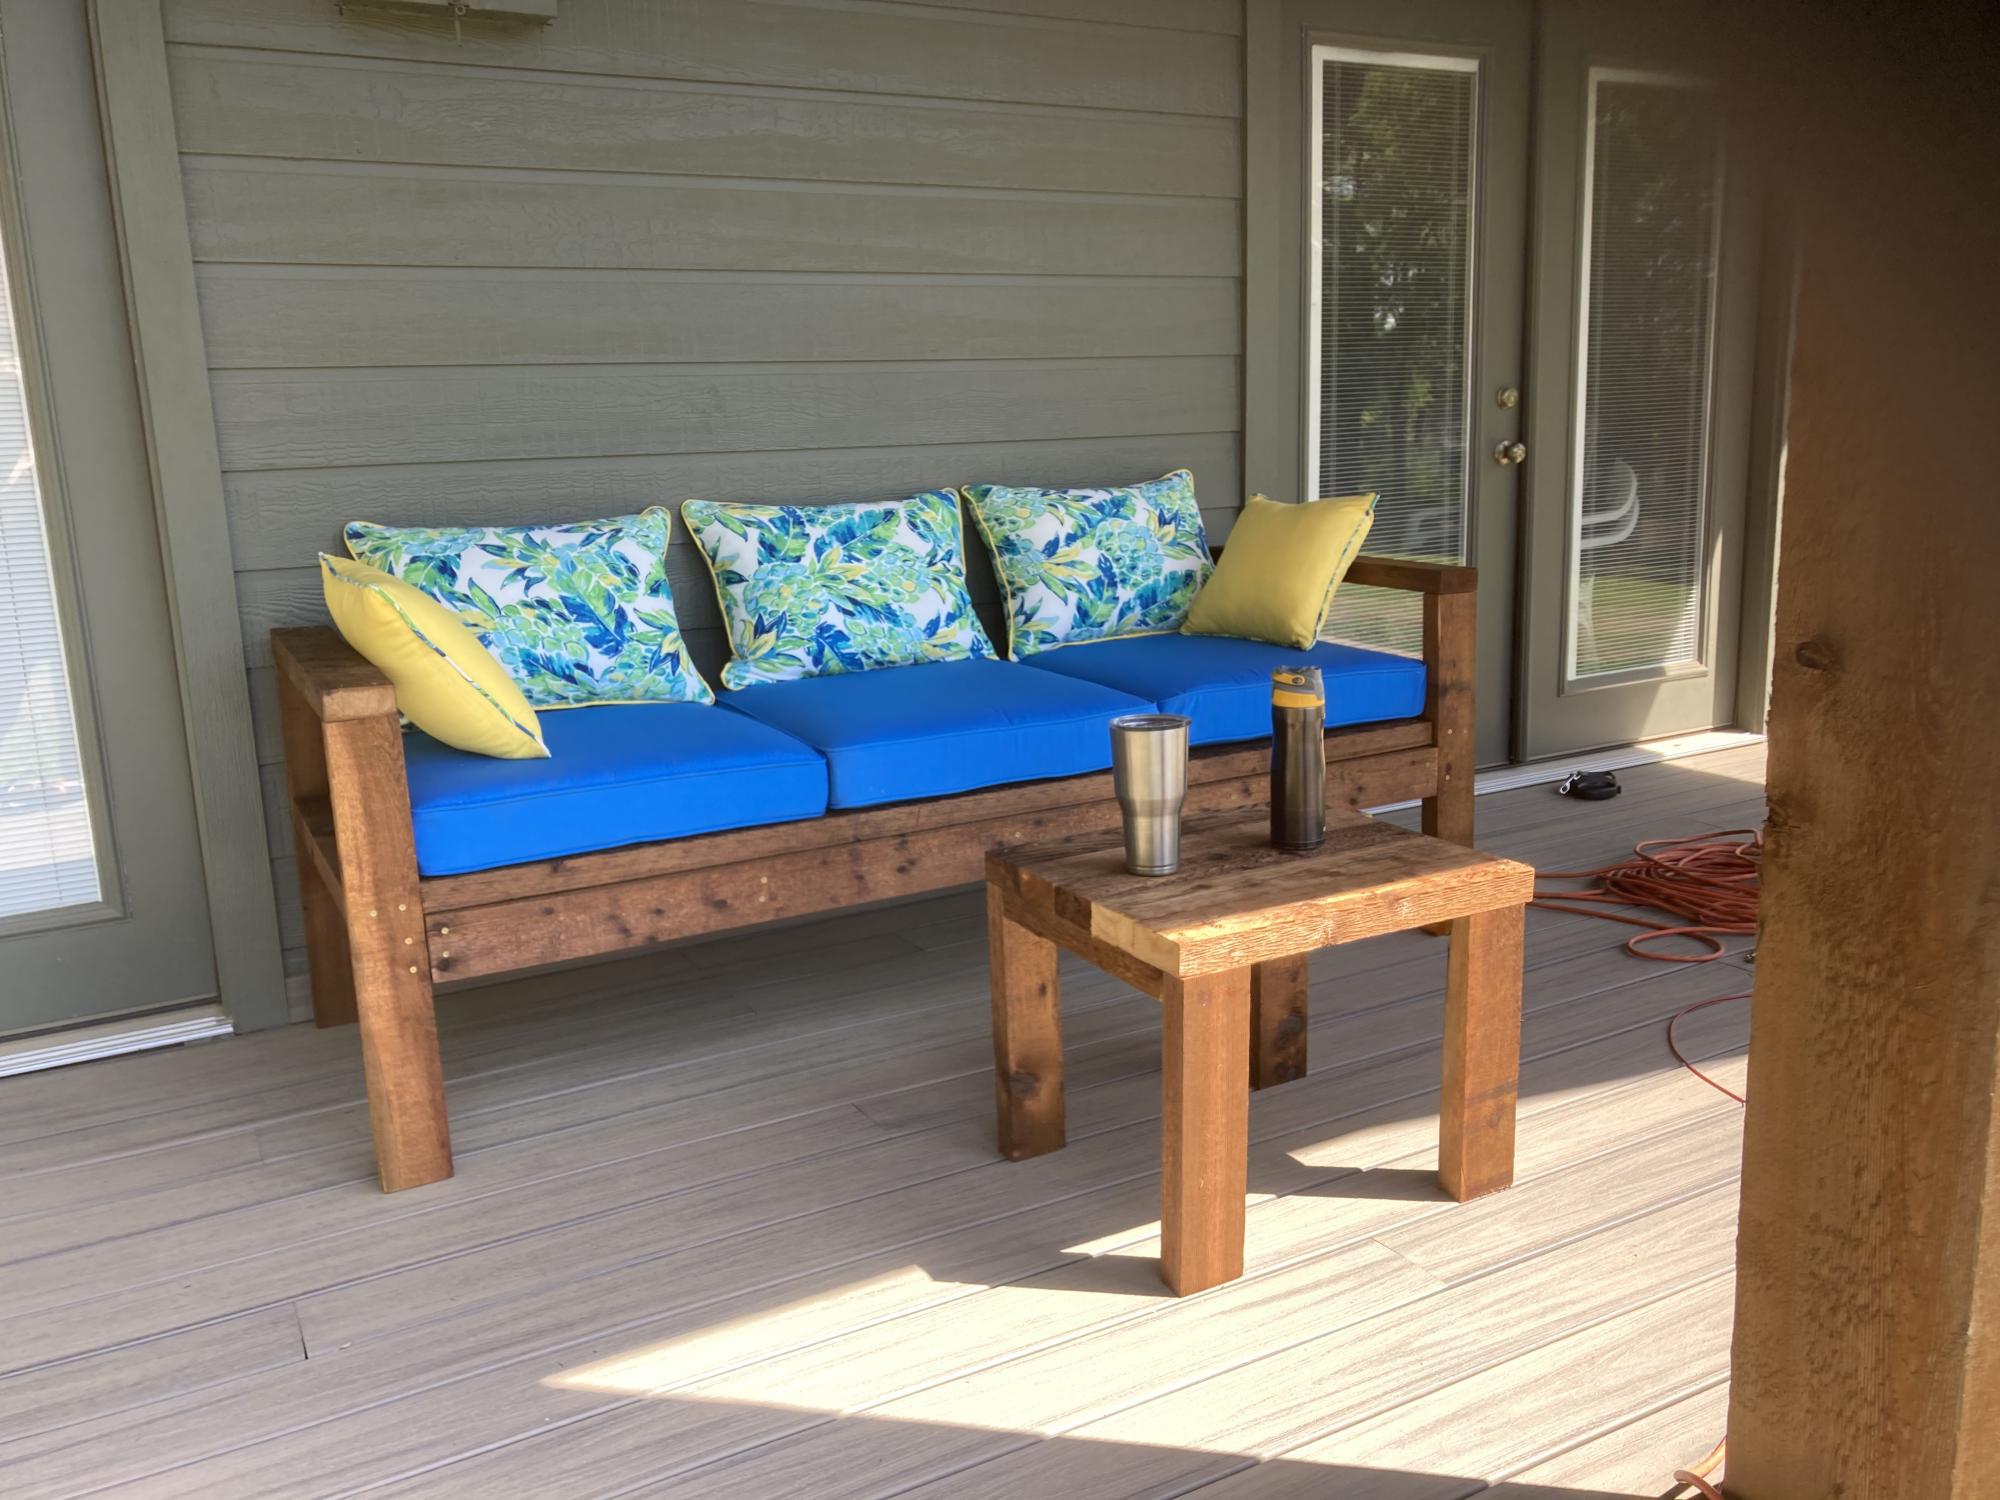
Ana Whites easy to follow plans. Lake house. Love the way it turned out!
Comments
Spa-Slatted Double Vanity
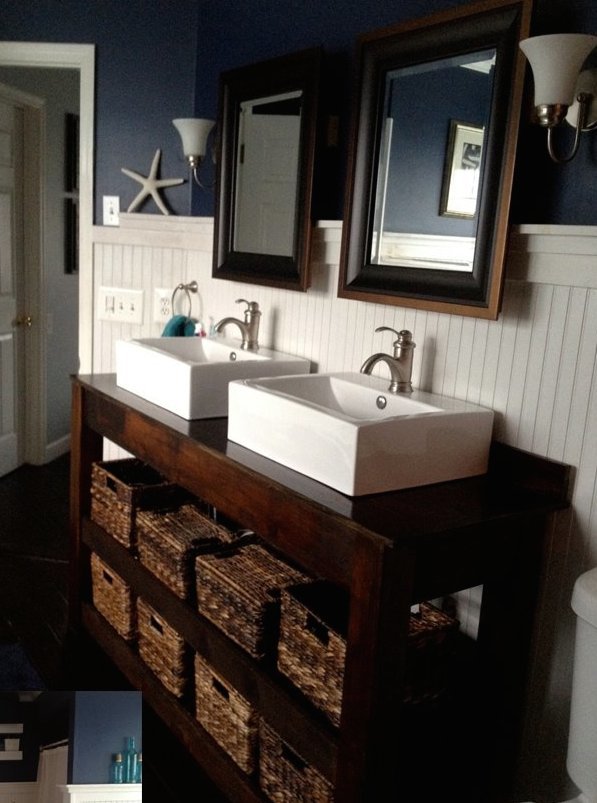
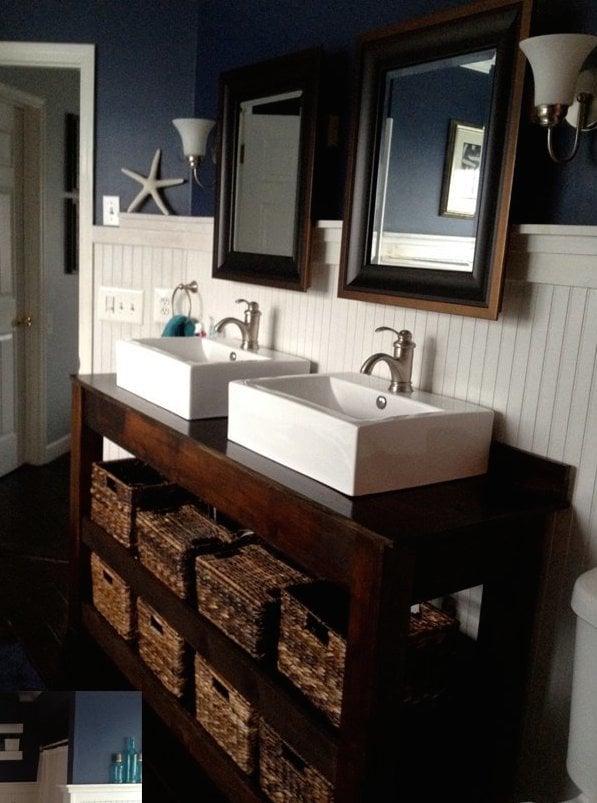
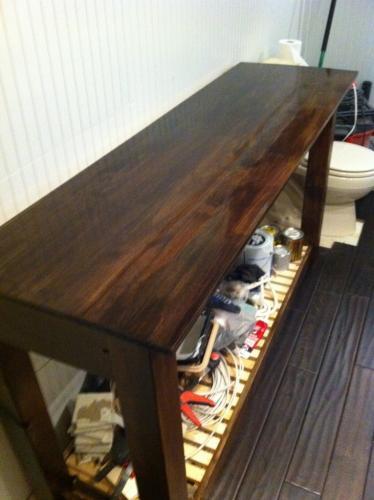
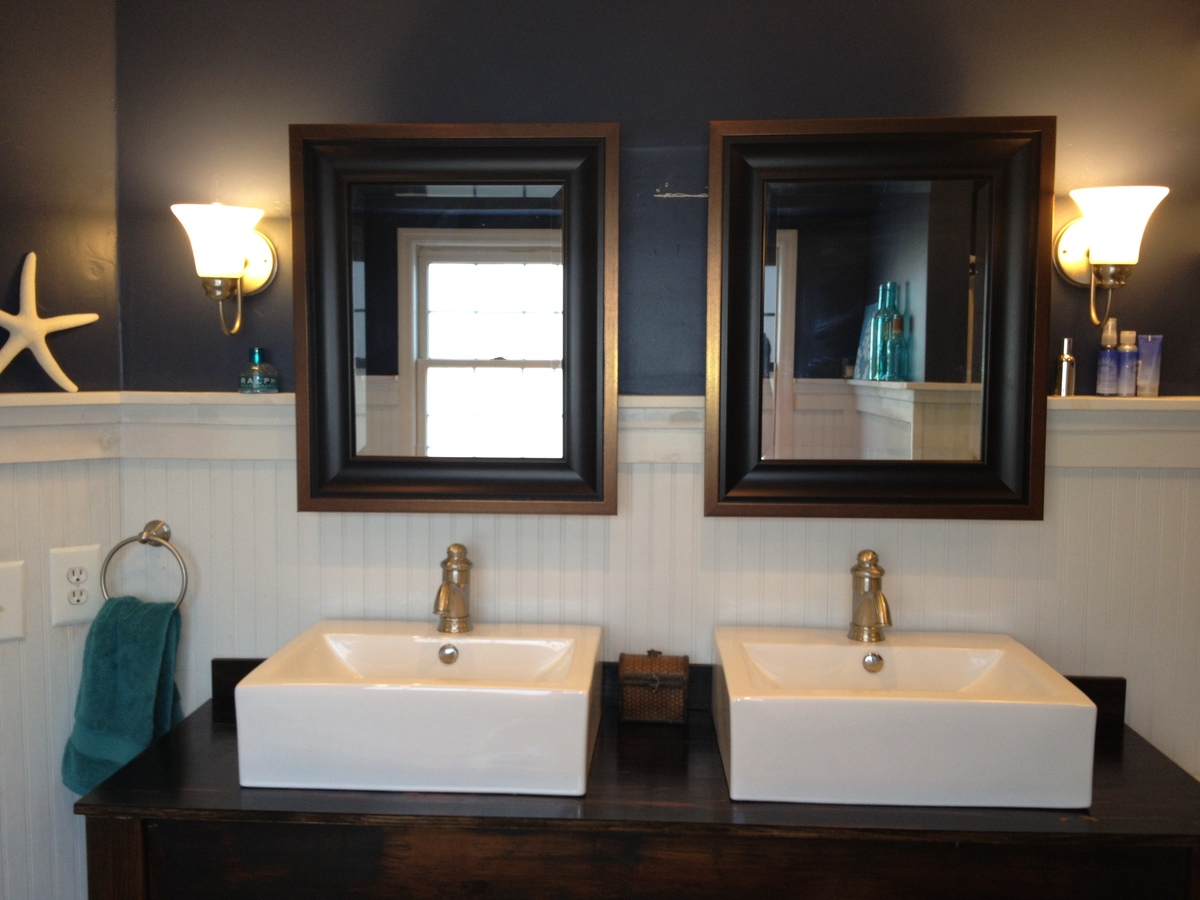
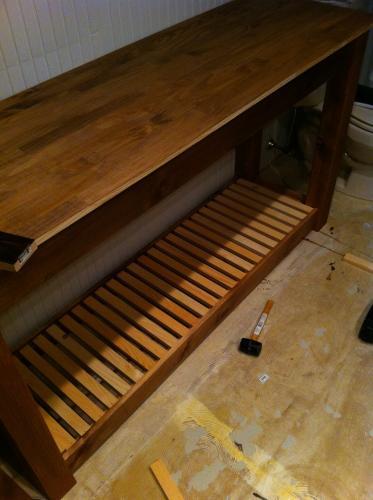
We redid our master bathroom - we ripped out a soffit, a closet, the old vanity, and we ripped off the HORRID old wallpaper, put up 5' tall beadboard, designed our own trim, designed and built some heavy-duty floating shelves (see pic below) and decided we wanted an open-concept vanity, too. I fell in love with these rectangle porcelain white sinks and with all the white beadboard, and soon-to-be dark walnut stain hardwood floors in there, I thought the vanity should be dark brown stain too.
I used the farmhouse vanity plans to build the frame of the vanity, but i had to design the shelves on my own - I chose to do spa-style slatted shelves - they whole thing keeps the bathroom very open looking and not heavy and closed off. we LOVE it! :)

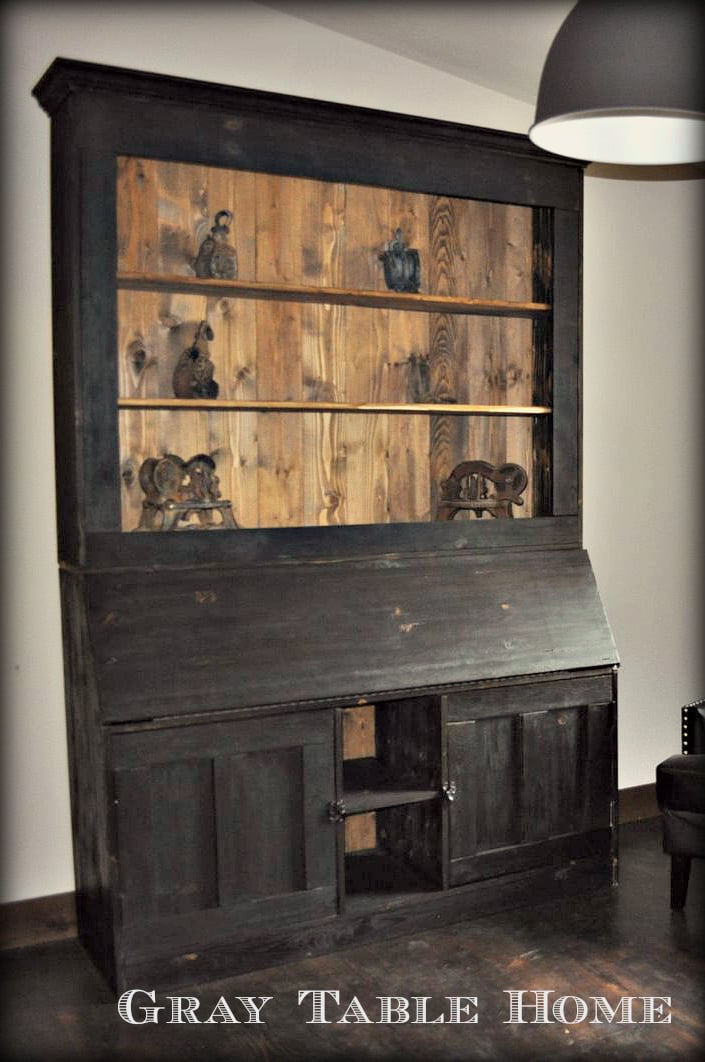
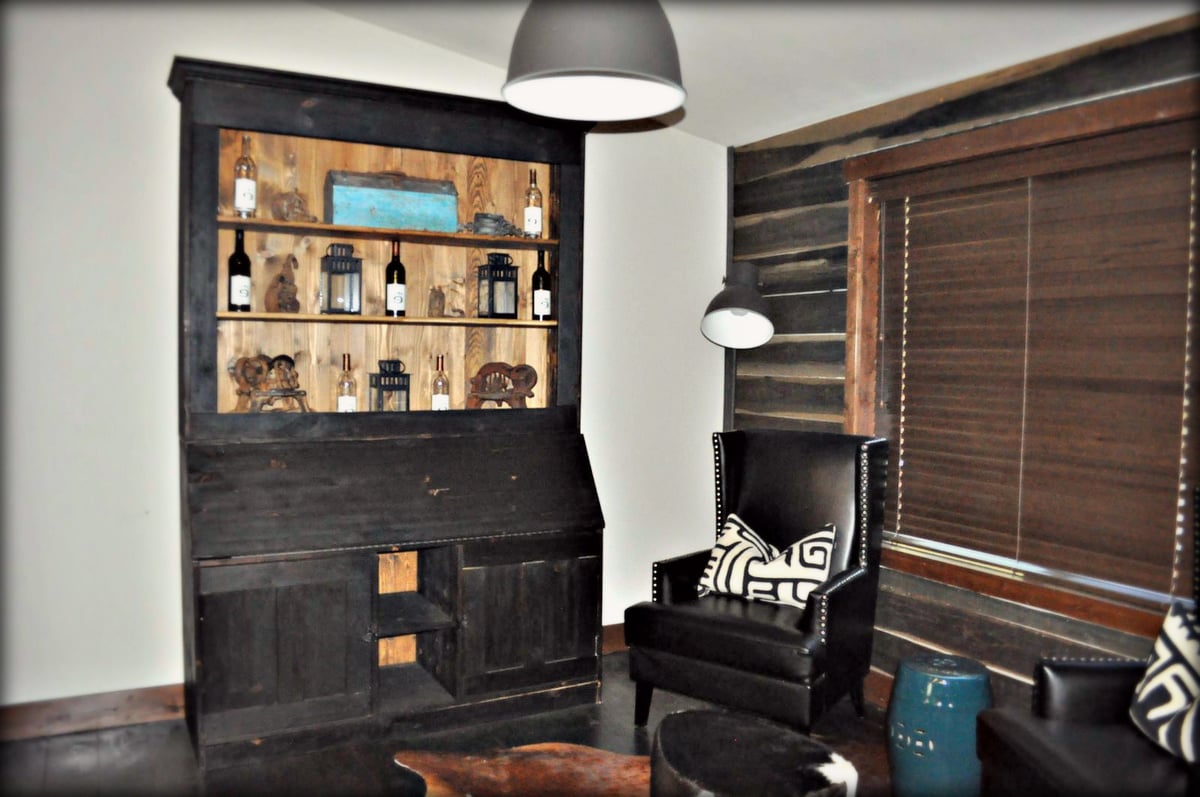
The Shou Suga Ban Secretary Desk and Hutch
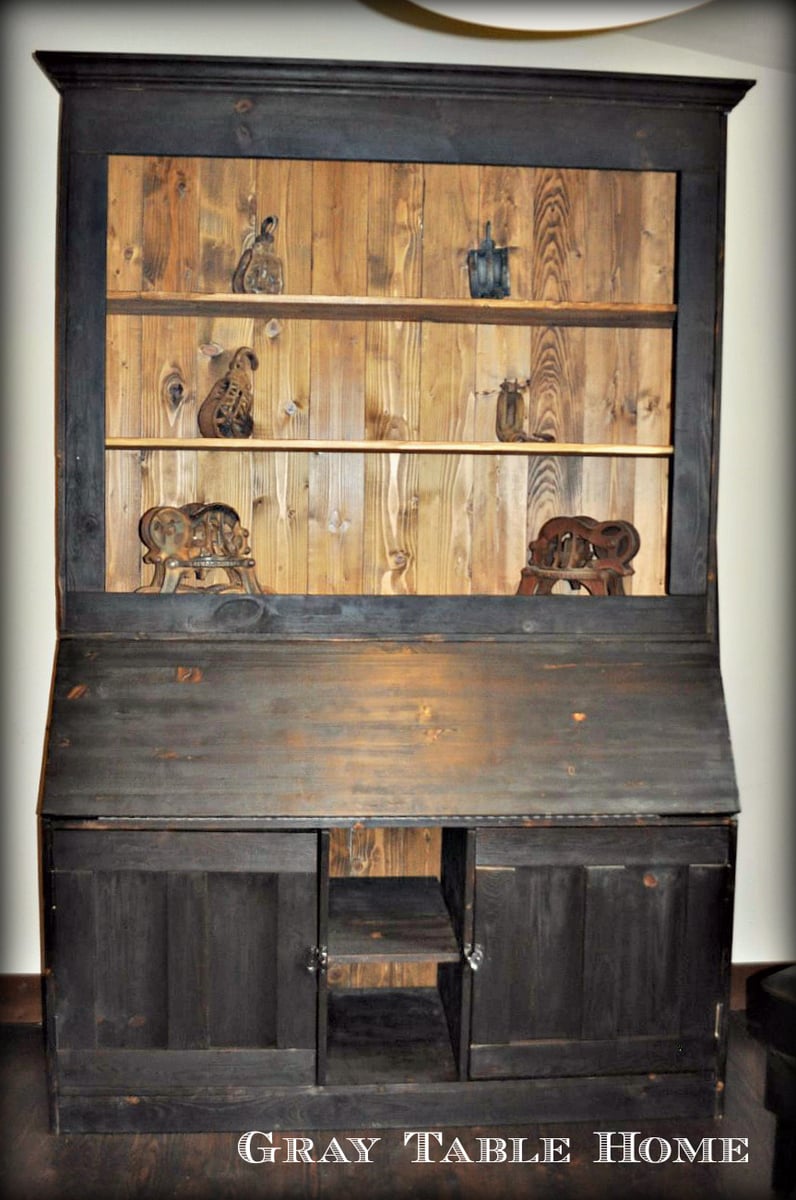
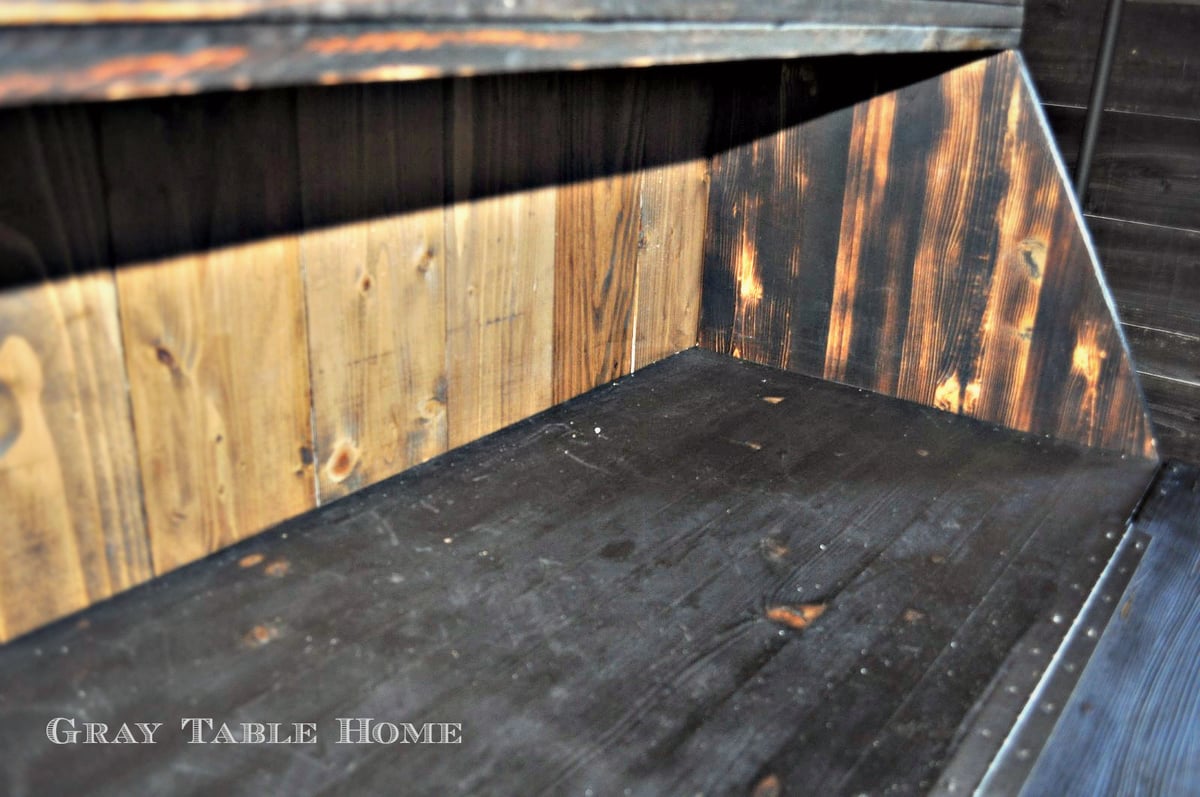
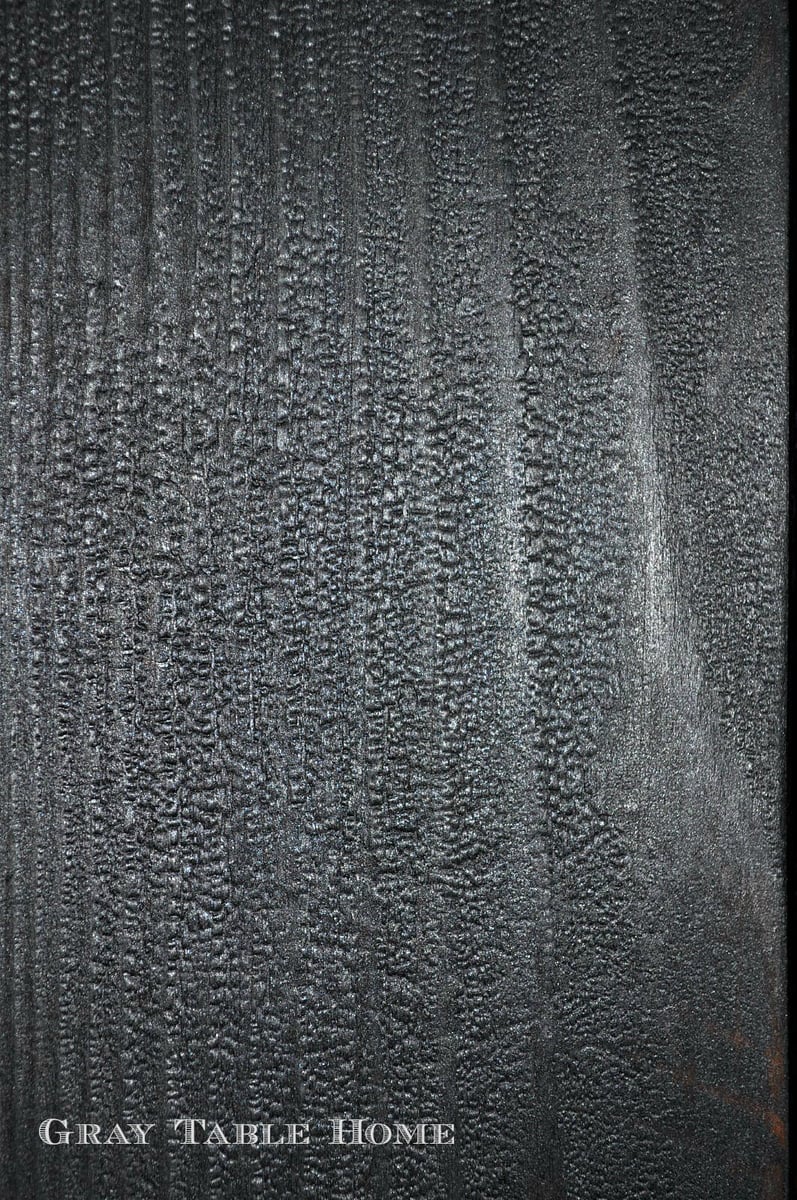
This secretary desk and hutch was made using the Grant Secretary and Hutch plans, modified to be 48" wide. As a finish, I wanted to try out a new method - instead of staining, I decided to char the wood using a method known as Shou Sugi Ban. There are tons of You Tube how-to videos on how to do it, and it's actually pretty easy (as long as you are comfortable using a propane torch).
The project definitely took longer than I had originally anticipated, at least 40 hours. However I thought the end result was worth it.
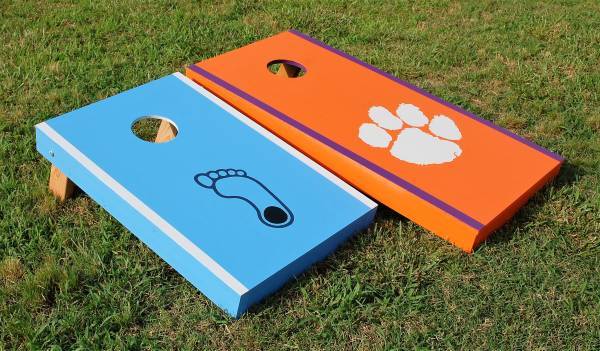
Hand made and all hand painted!
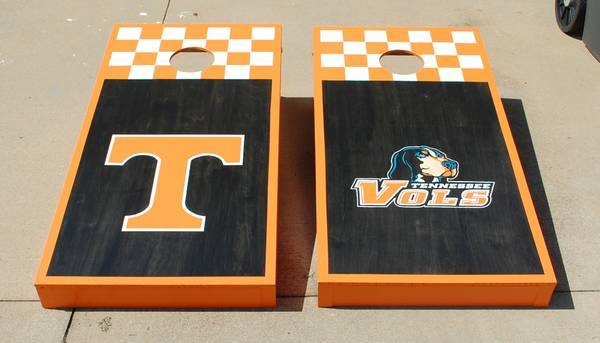
I built them and my husband had painted them all the way down to the logos! Not a thing on them isn't hand painted!
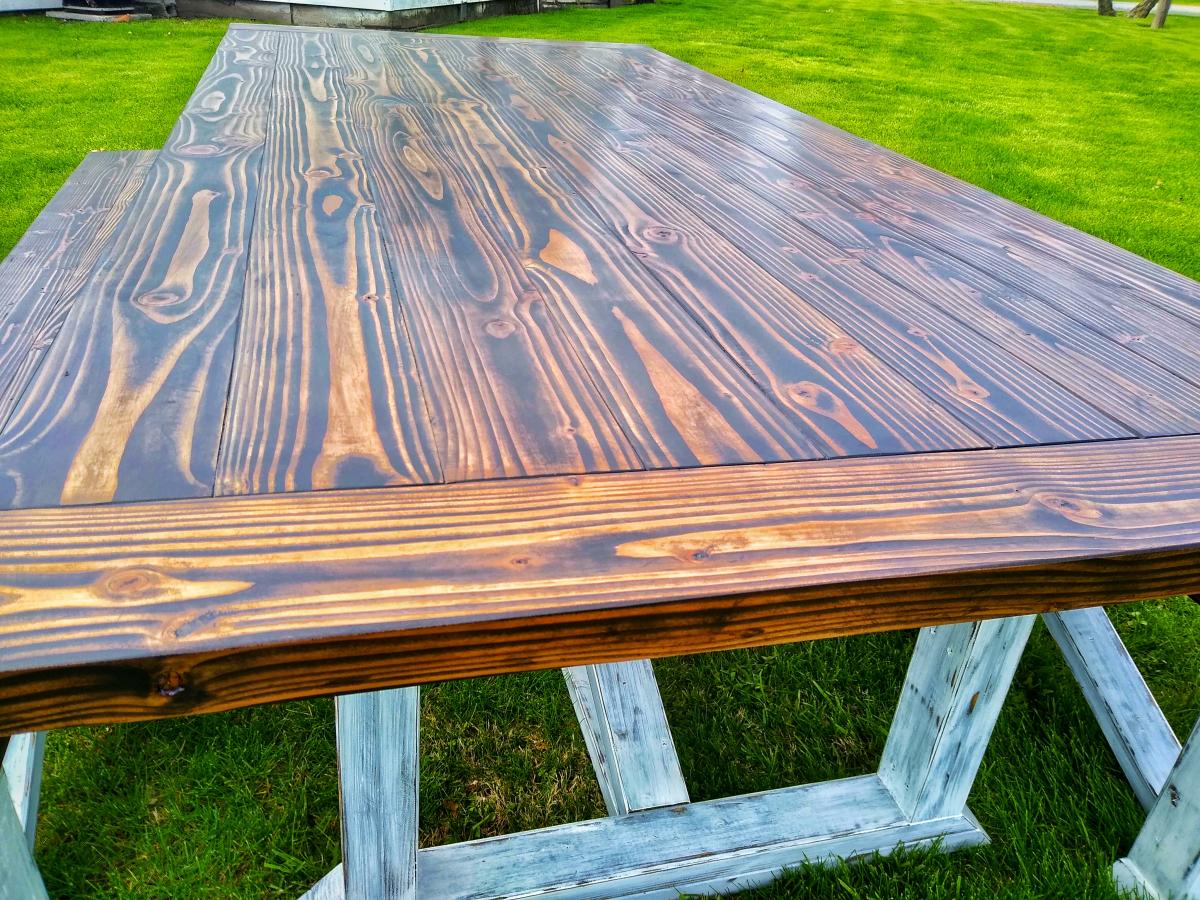
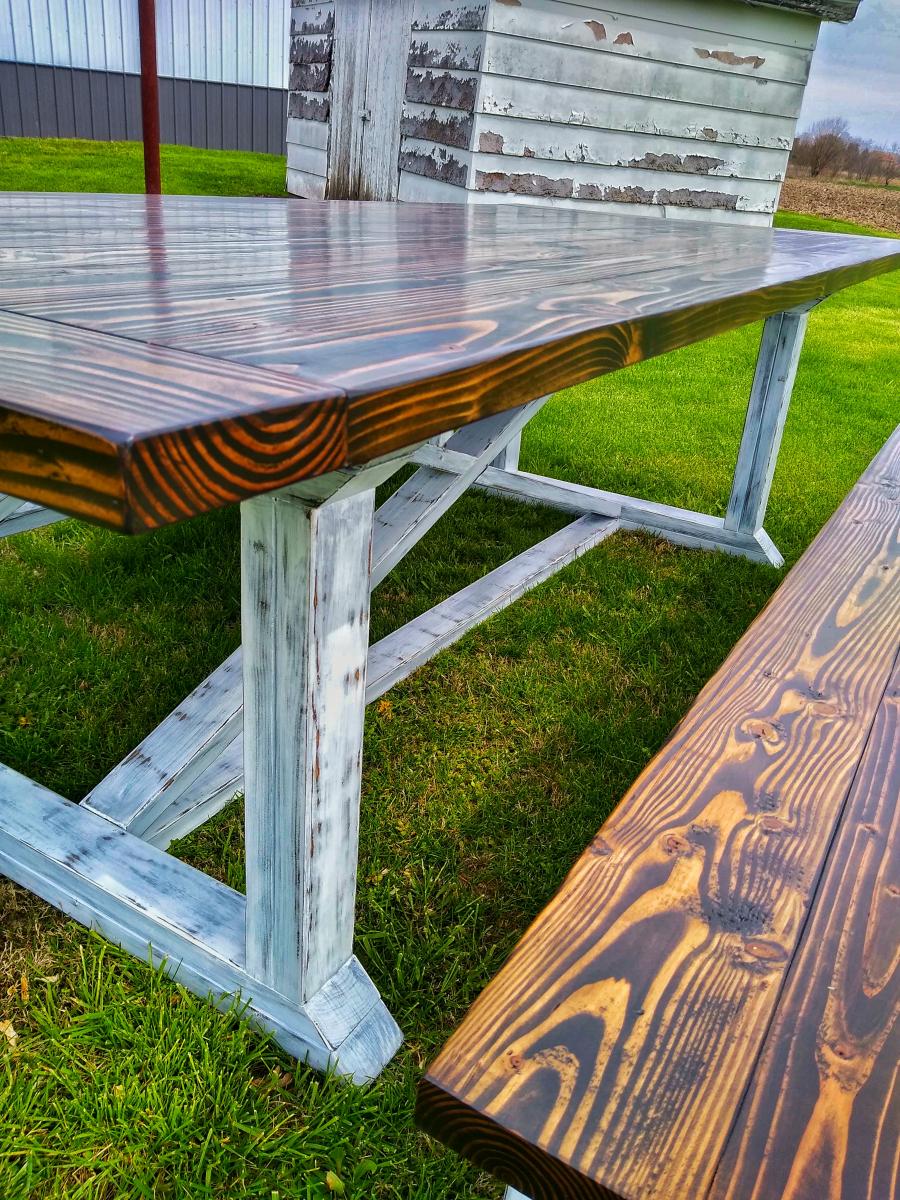
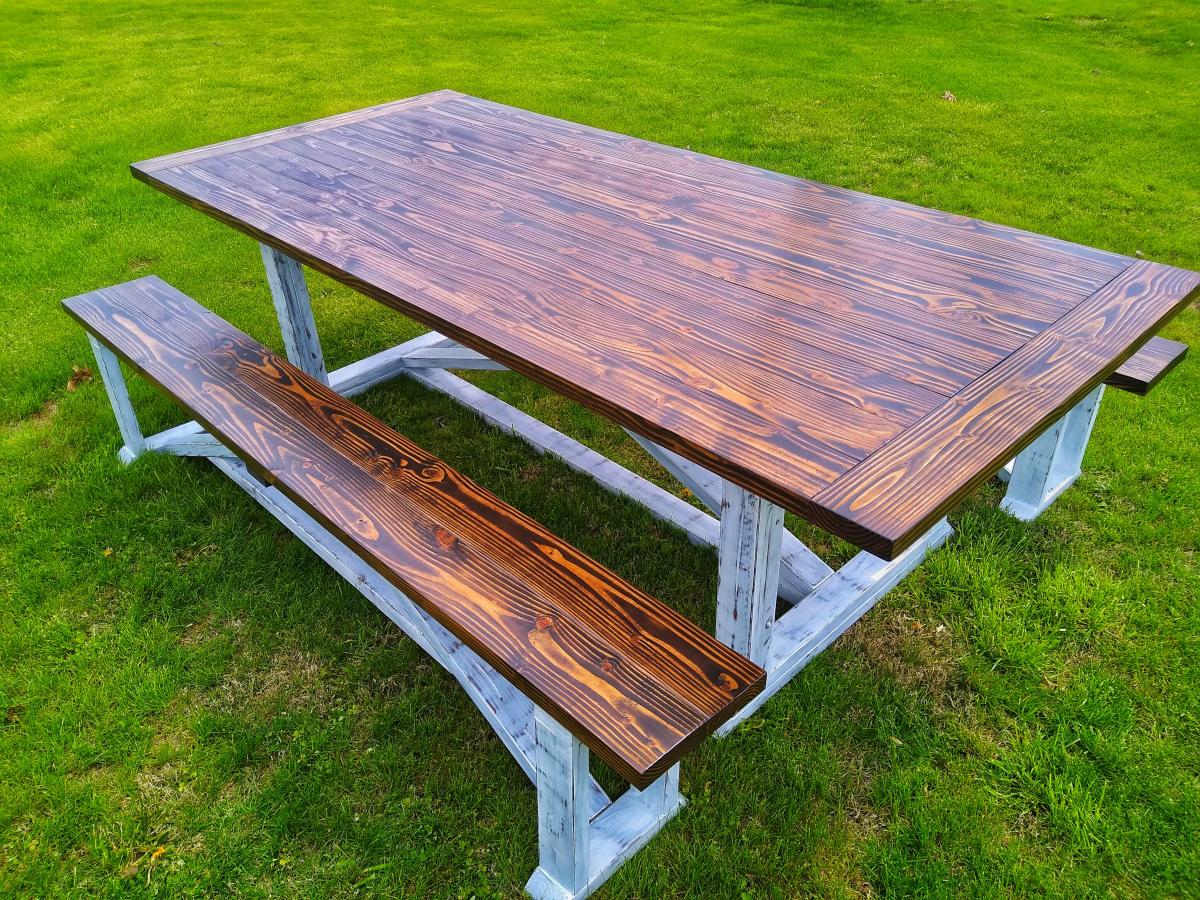
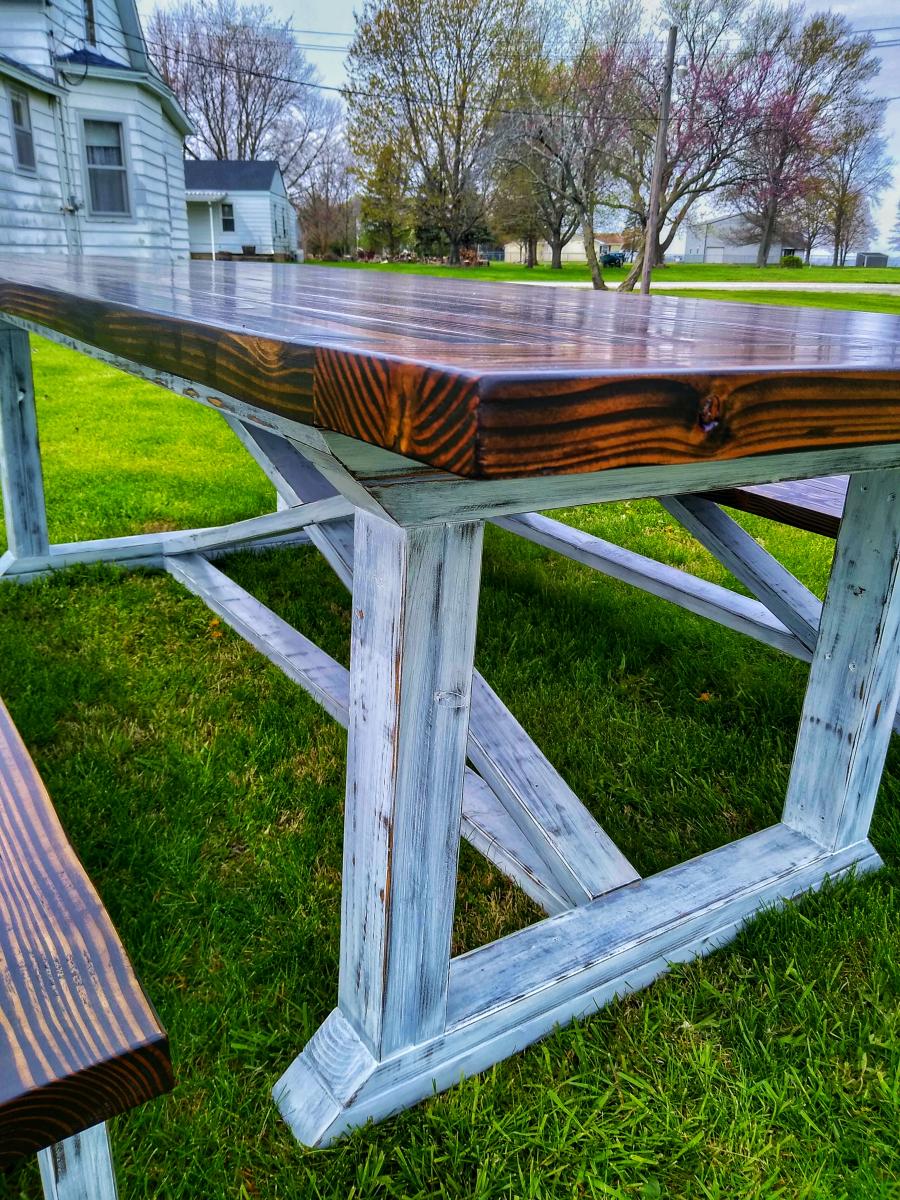
Farmhouse Table
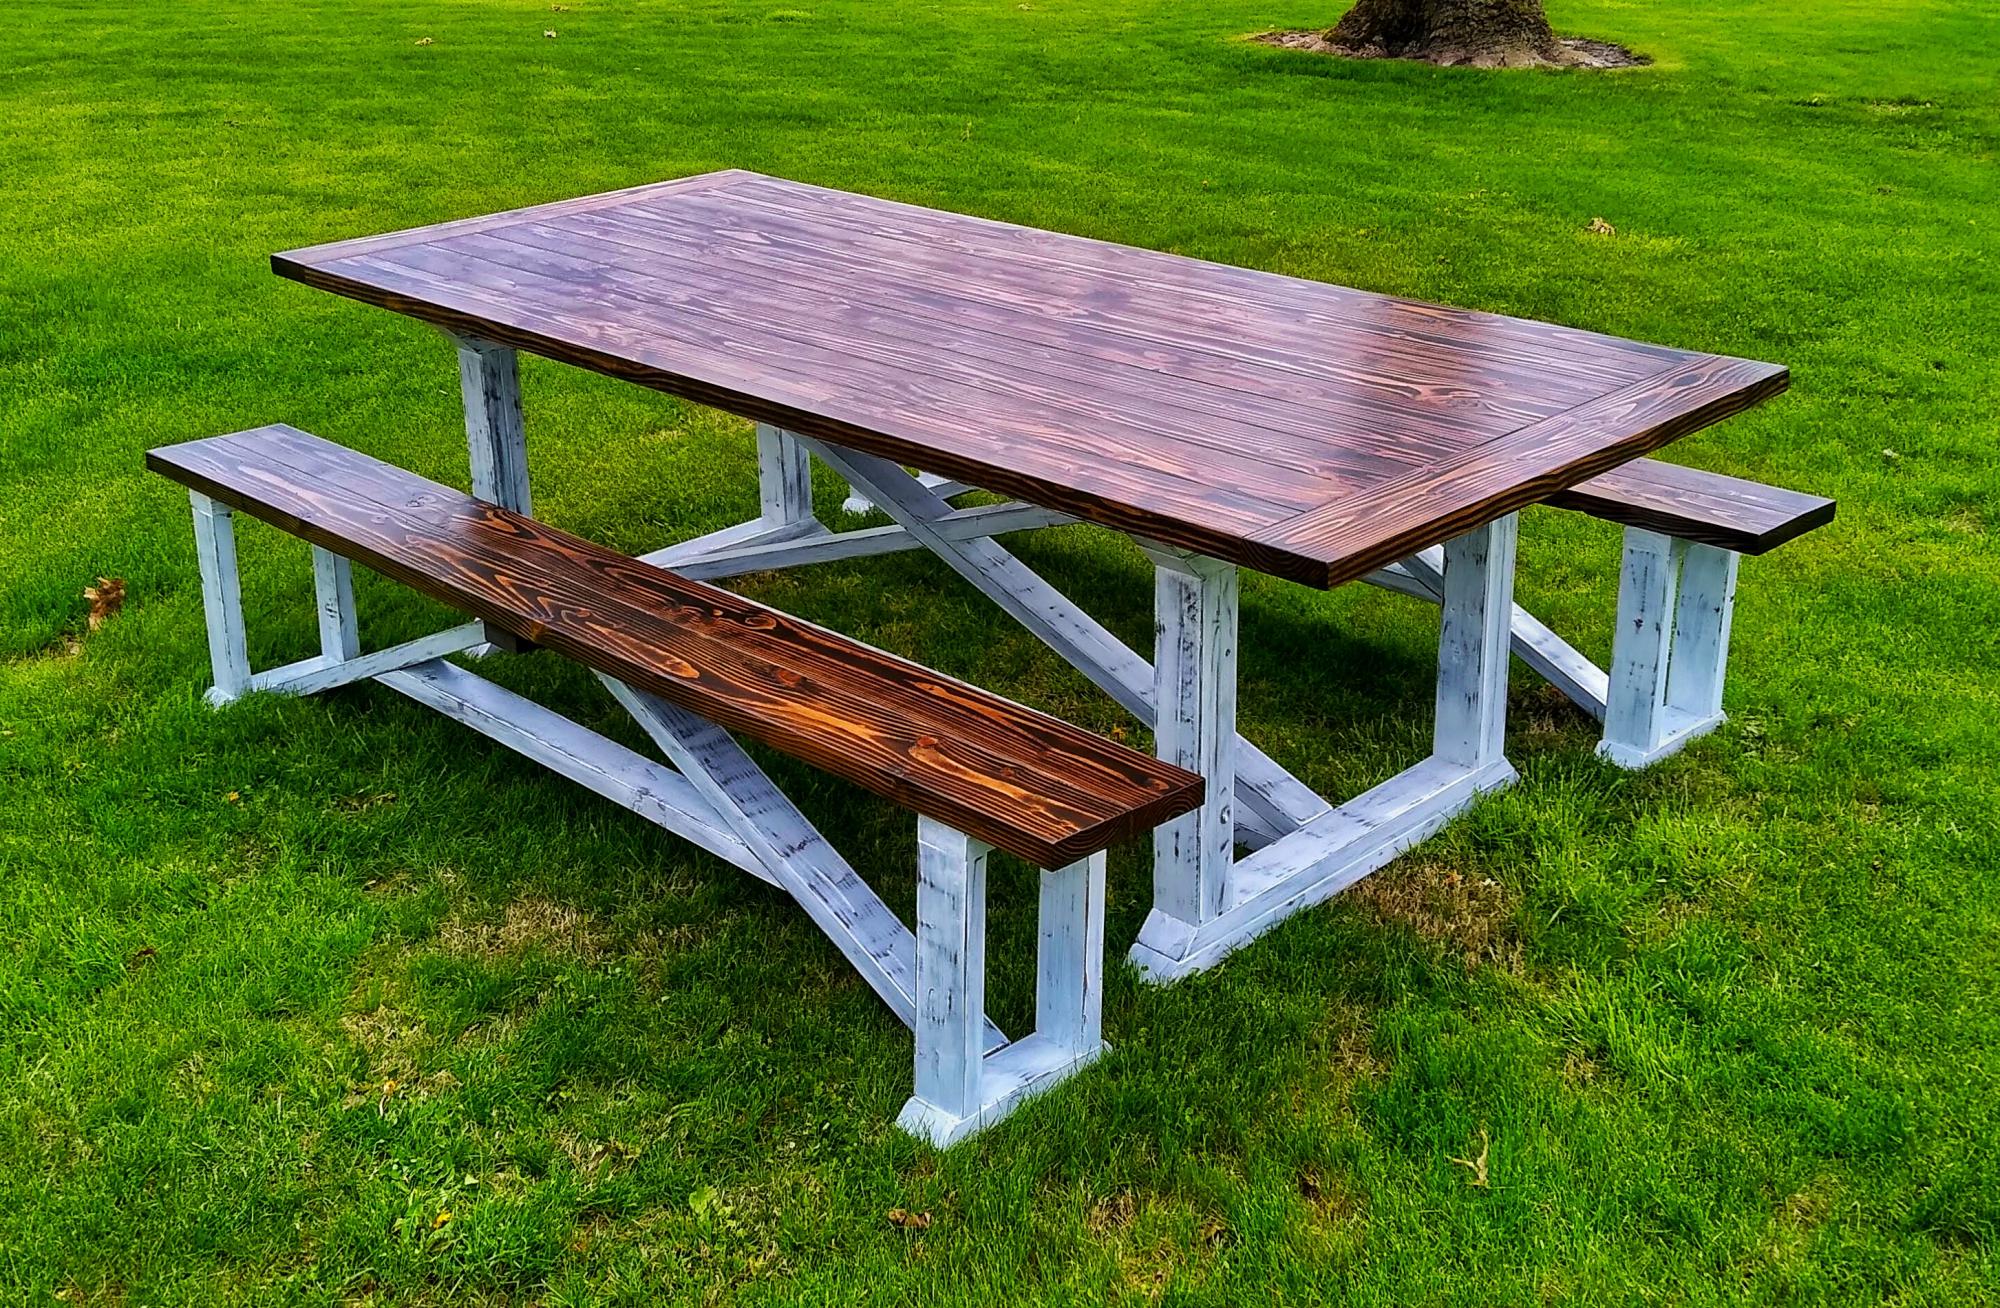
This was my first Farmhouse Table build. 8ft long with 2 benches. Distressed white with True Brown tops.
Comments
Super Easy Bench Modified for shoe storage
This was the first time I built something from scratch. I've done assembly required bookshelves and a doll-house, but never before had I cut my own wood and drilled my own screw holes, nor had I ever tried my hand at painting a piece of furniture. My husband's friend mentored me and got me going with the power saws, I used his shopsmith for a table saw, and I used the compound miter saw we own. Because this website is so user-friendly, I might have even tried to do this on my own, but it helped having someone much more experienced than I check in on me every now and then and give me some tips.
We are in a new house, so most of our walls are still white, but we did paint the family room a bright green, so I used leftover paint for the bench. I had to work on this in the evening after the kids were in bed so it took me about a week, working for about 1-2 hours a night. I found relaxing for the most part(except for where the newspaper underneath the bench started sticking to the painted legs).
I did not use furring strips even though they would have been cheaper, since my friend convinced me they would have required more sanding. The upgrade only cost a few extra dollars.

Comments
Ana White Admin
Mon, 10/04/2021 - 16:33
Neat project!
Thank you for sharing your build, looks awesome!