Community Brag Posts

Toy 2x4 Cubicle Shelf

This was the first project my husband and I attempted. I'm new to building but he has lots of experience. Went real well, I should have taken the advice though to measure and cut trim at the end. I did it at the start to get it sanded and we ended up needing to redo it all with new wood. So happy with the end result though, tons of storage for baby's toys.

Estimated Time Investment
Weekend Project (10-20 Hours)
Finish Used
Painted
Recommended Skill Level
Intermediate

Comments

NannyGoat

Wed, 05/12/2021 - 20:02

Do you have the plans for this? It looks really great for my grandchild's toys.
THanks.
Nancy

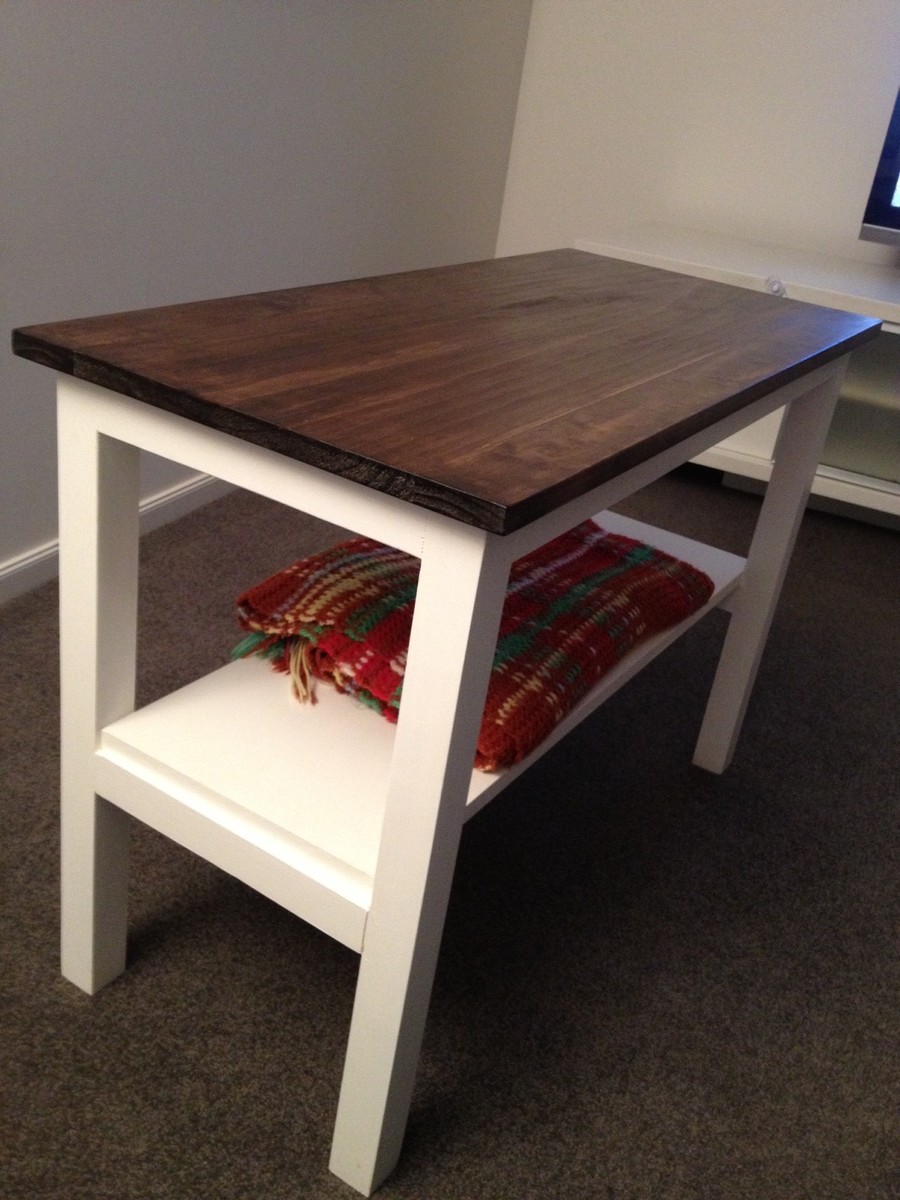
Pottery Barn Bench Knockoff

Submitted by worrow on Mon, 07/20/2015 - 11:54

My neighbours had noticed the things I build and asked if I could build them a nice bench. I had some very nice pieces laying around that I thought would be amazing to laminate for the top. After completing the top which was alot of elbow grease, I needed to build the base. I cannot for the life of me find the link, but I know it was from Shanty Chic. It is absolutely beautiful, one of my best pieces of work.

Estimated Time Investment
Day Project (6-9 Hours)
Finish Used
Minwax (Walnut)
Recommended Skill Level
Beginner

Comments

worrow

Mon, 02/20/2017 - 08:12

I don't remember which plan I got the base from, but the top is of my own design, and I spend awhile figuring out what kind of base I wanted, but it is suppose to be representative of an old design from Pottery Barn, was built for some friends that needed something heavy duty.

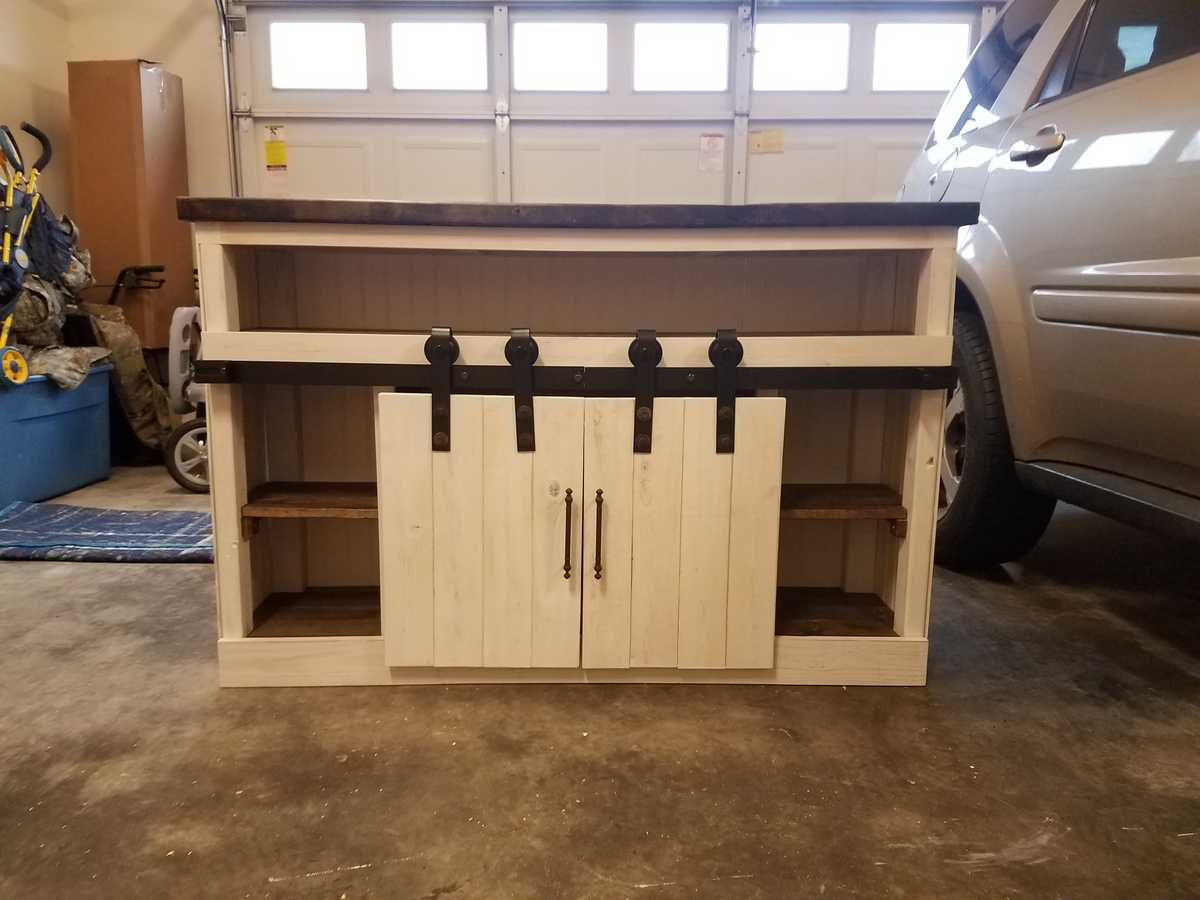
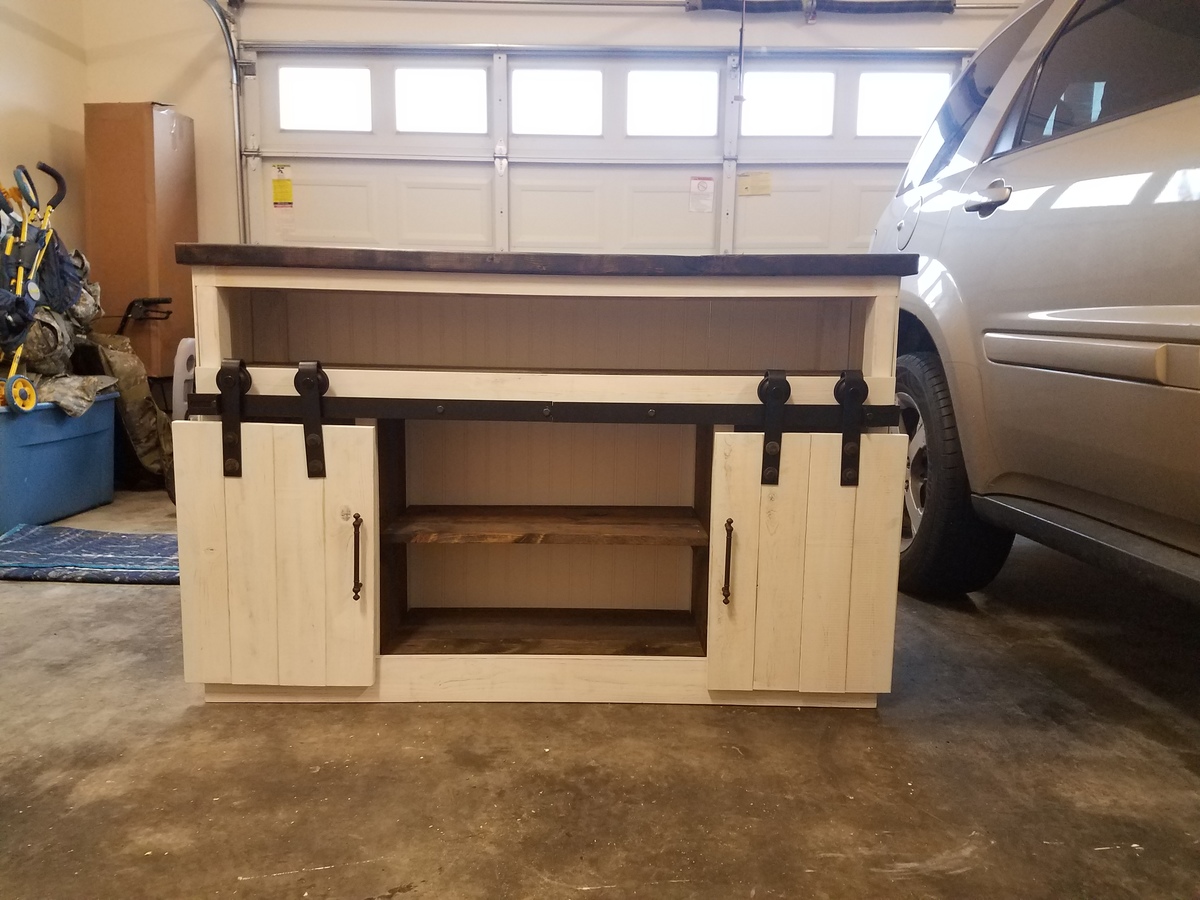
Modified grandy console

Submitted by Lukilla on Thu, 02/15/2018 - 12:22

Built a smaller version of the grandy console with slot in the top for a sound bar. This was my first time using barn door hardware. Was a good time.

Built from Plan(s)
Estimated Cost
250 (includes barn door hardware)
Estimated Time Investment
Weekend Project (10-20 Hours)
Finish Used
Jacobean stain anf white paint
Recommended Skill Level
Intermediate

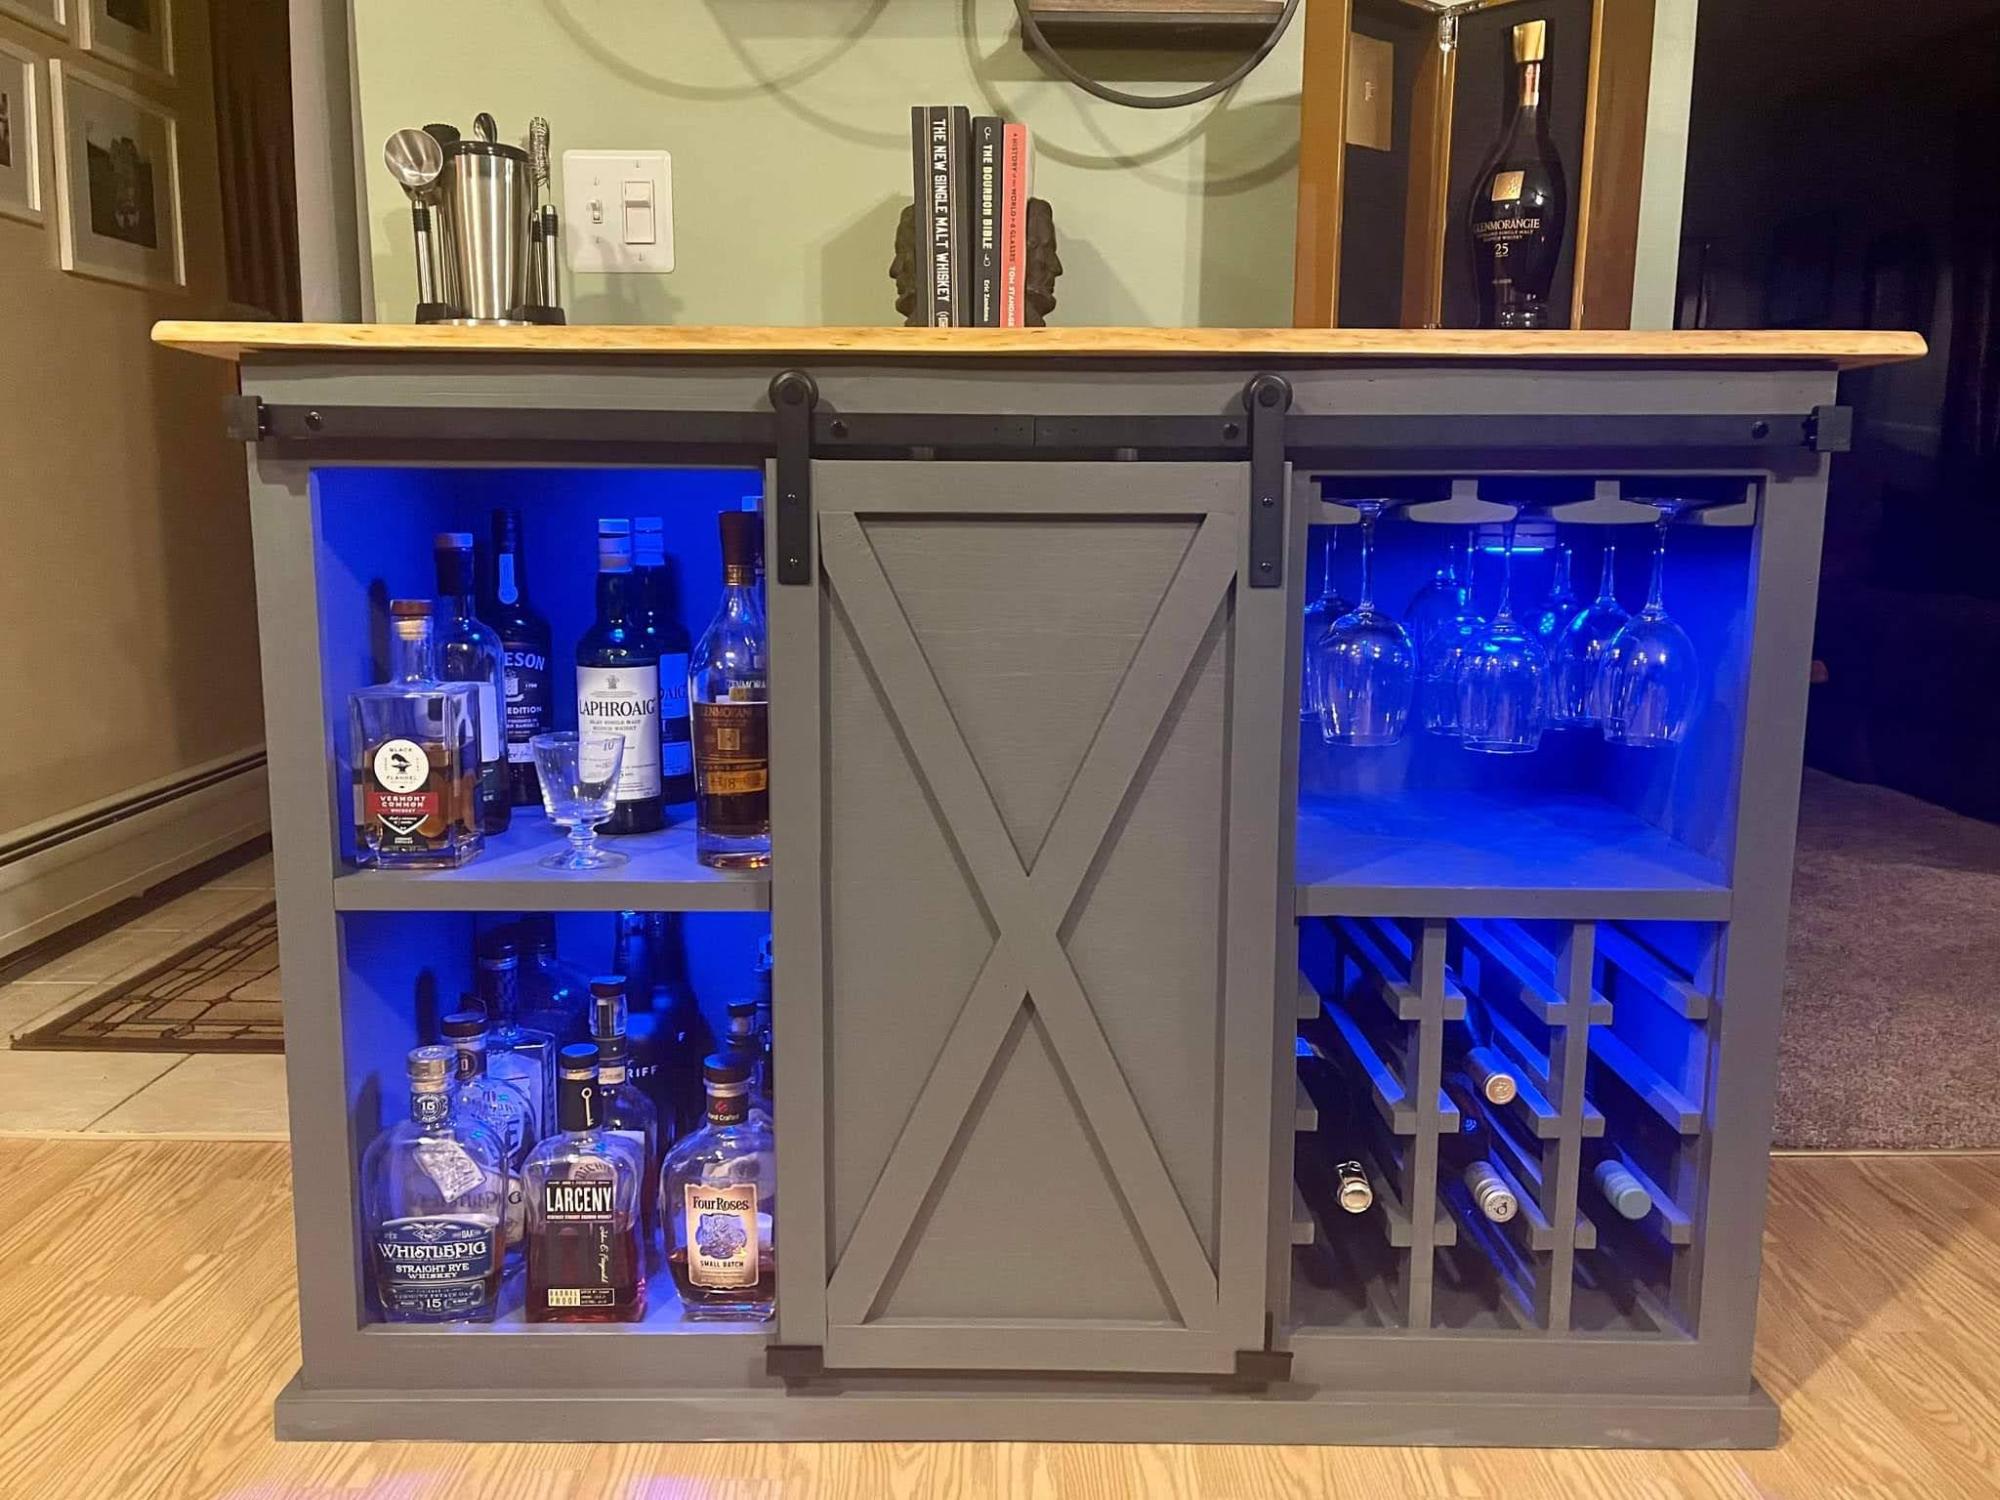
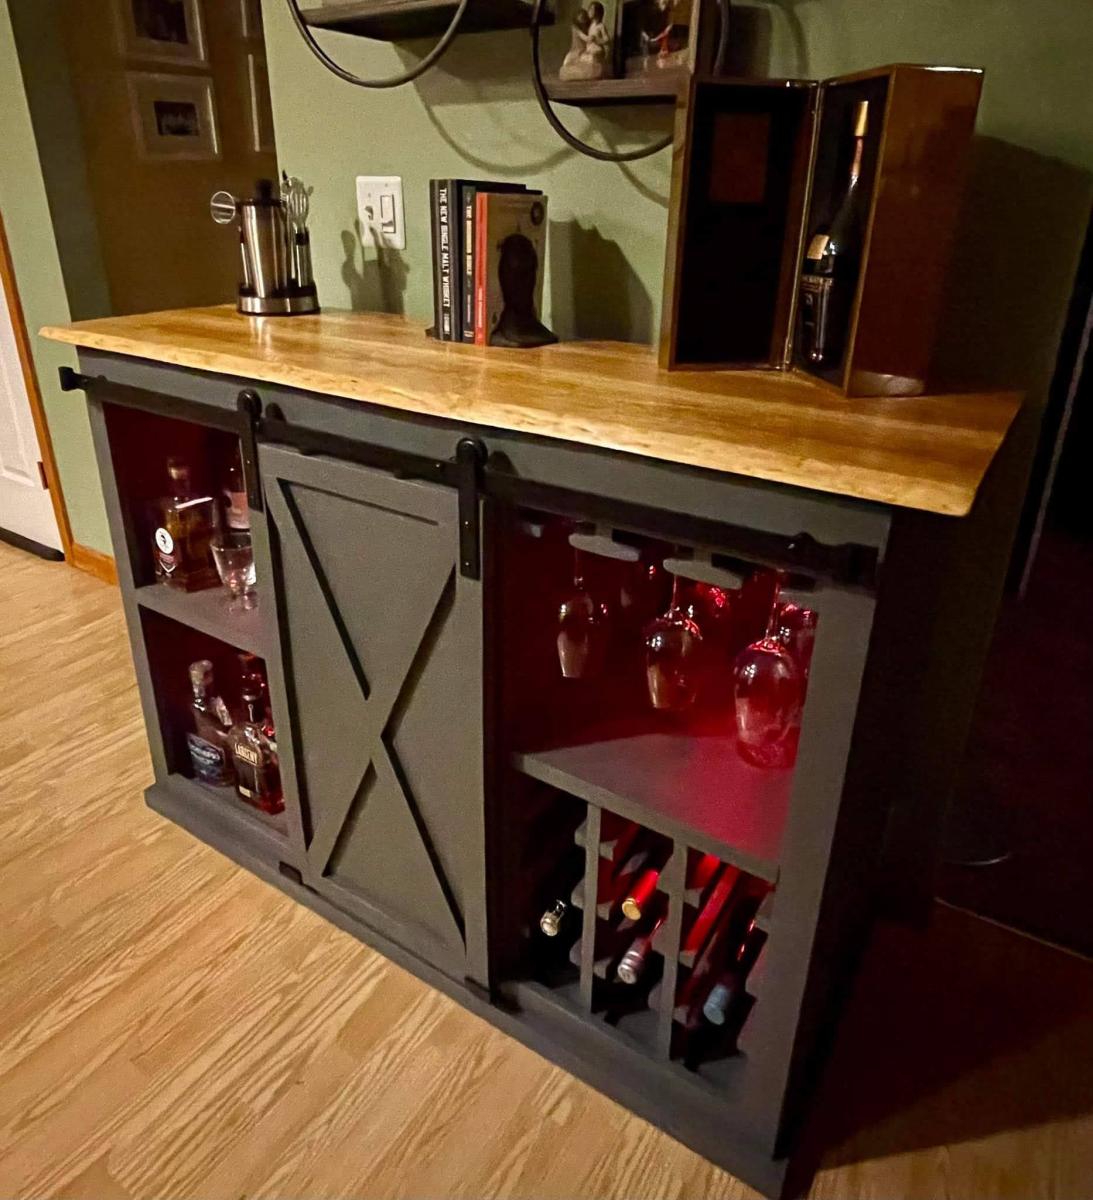
Whiskey/ Wine Bar

Submitted by Dan Dodd on Fri, 03/18/2022 - 13:43

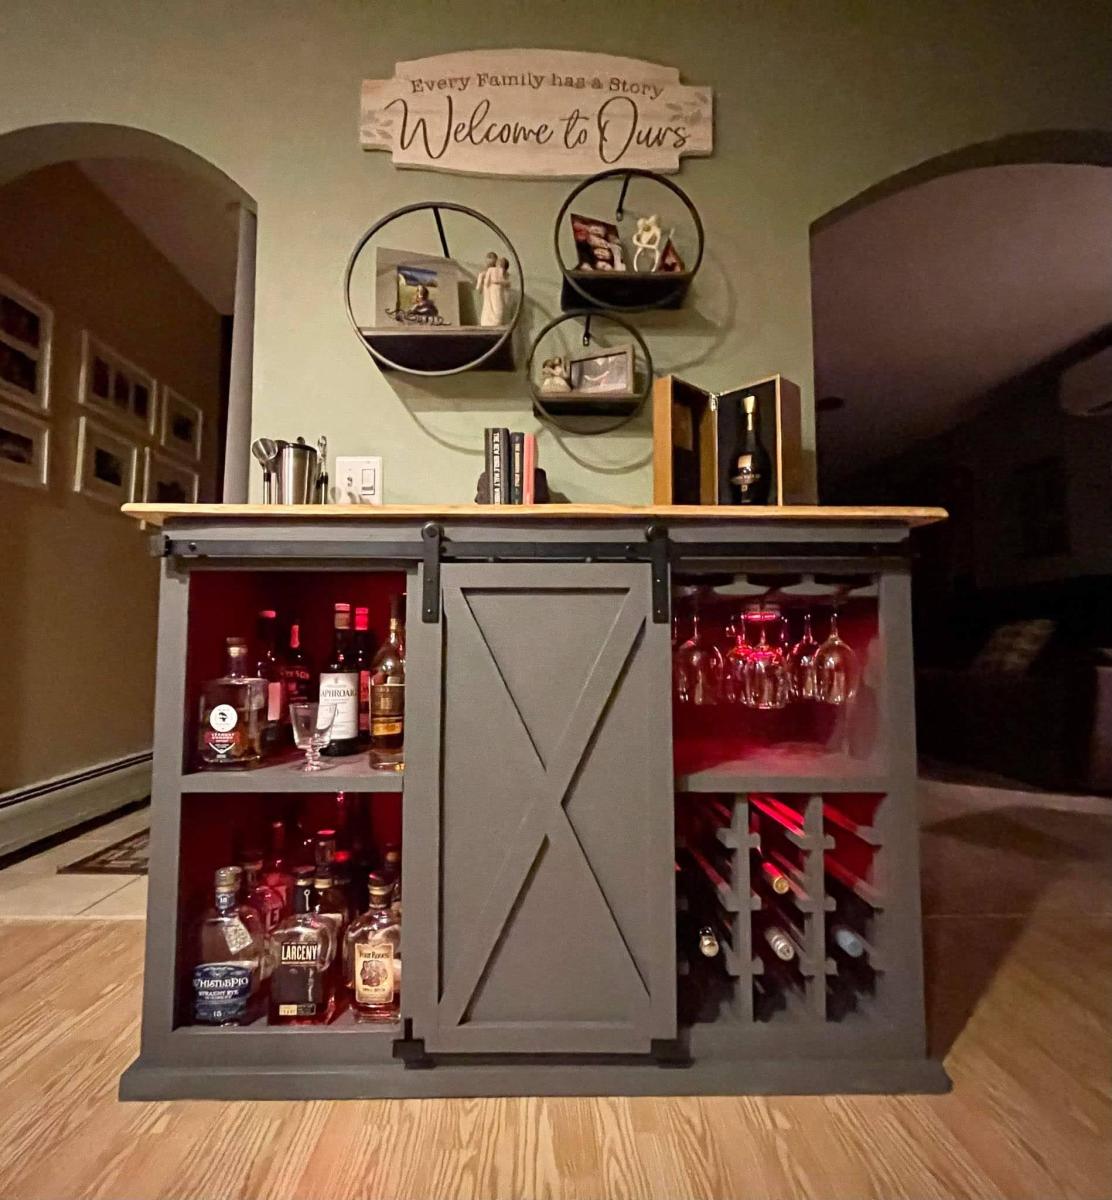
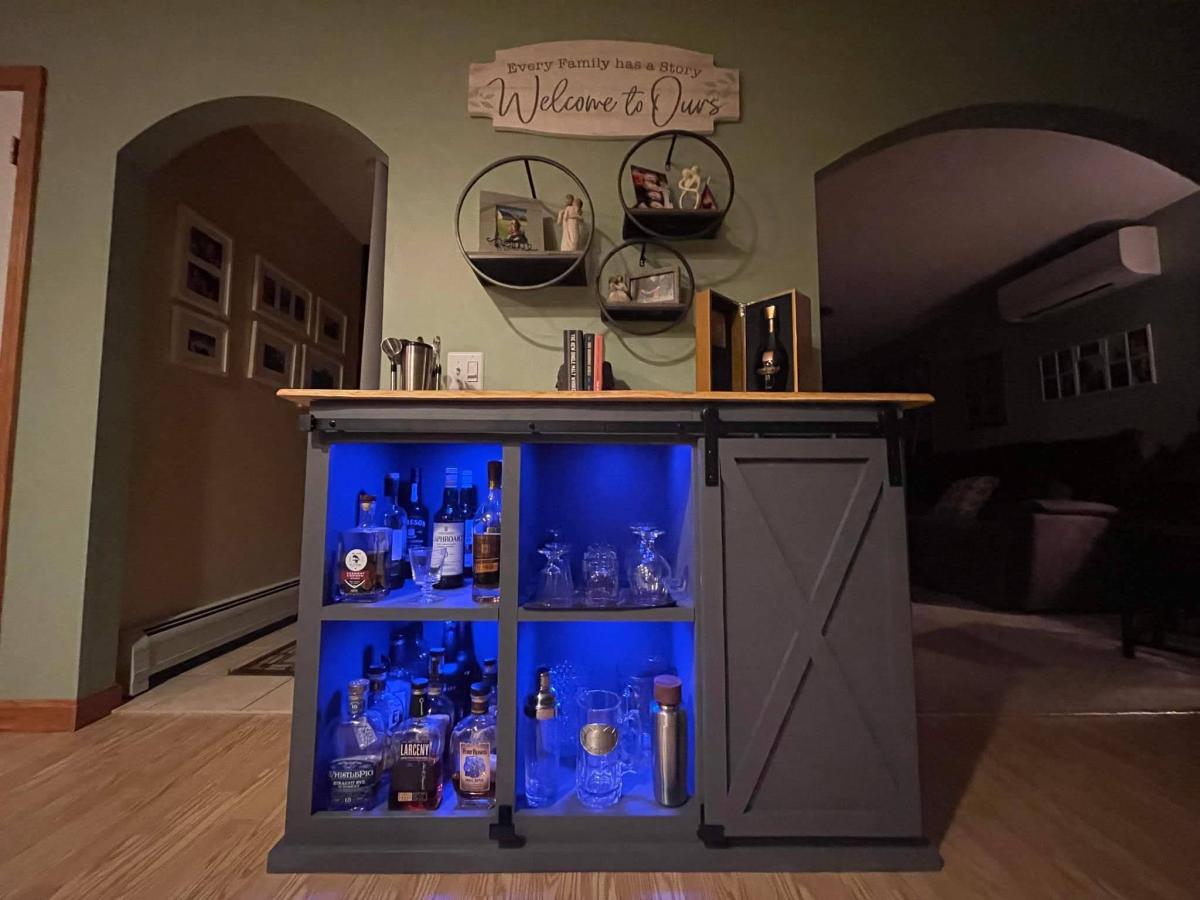
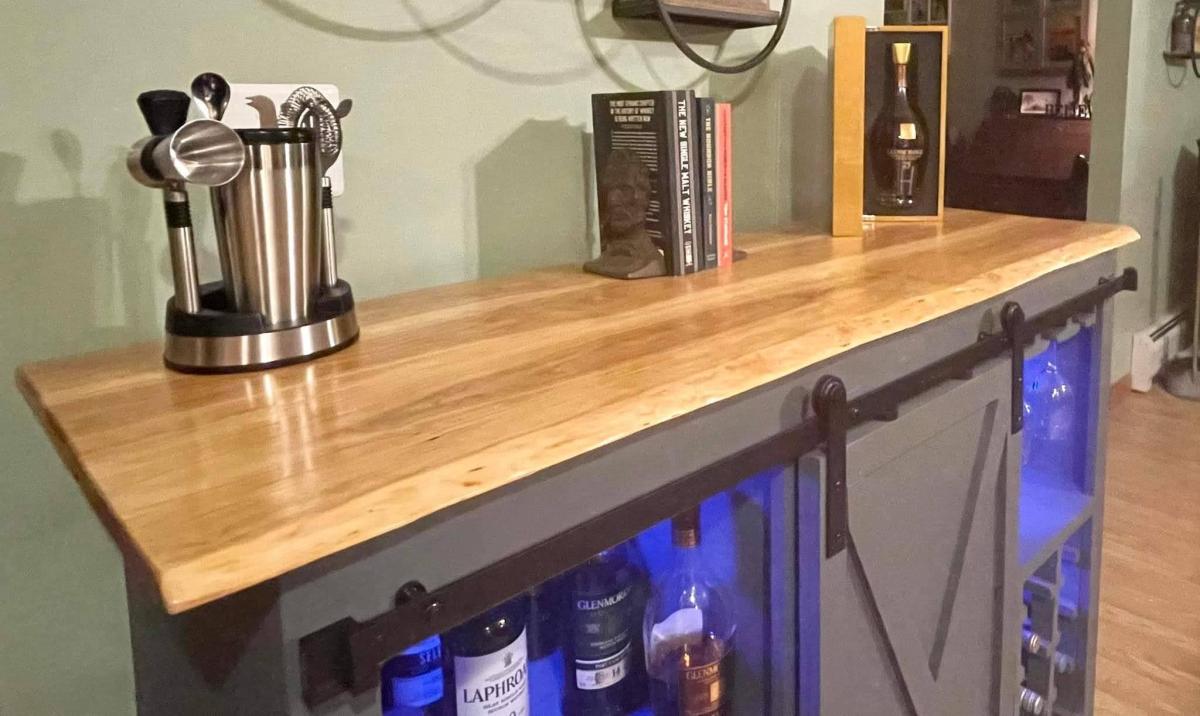
Whiskey on the left, Wine rack & glass holders on the right with storage in the middle. Frame built mostly with Pine, painted with Peppercorn Grey. Cherry tabletop with live edge. Finished with boiled linseed oil and semi-gloss polyurethane. A whiskey Bar should be fun! Stick on lights in each bay battery powered, comes with remote with many color options.

Built from Plan(s)

Comments

Ana White Admin

Fri, 03/18/2022 - 17:41

It looks great and serves it purpose, love the added lights for fun! Thanks for sharing:)

Modified Simple Outdoor Dining Table

Submitted by ewood on Tue, 05/31/2011 - 08:04

Wanted a Patio table and when I saw the plans on this site I really liked it; I just changed the plan a bit. Everything was screwed from the underside of the table, also I attached the legs with 2" lag screws.

Built from Plan(s)
Estimated Time Investment
Weekend Project (10-20 Hours)
Recommended Skill Level
Beginner

Comments

Rustic x console table

Submitted by langlena on Fri, 07/19/2013 - 08:19

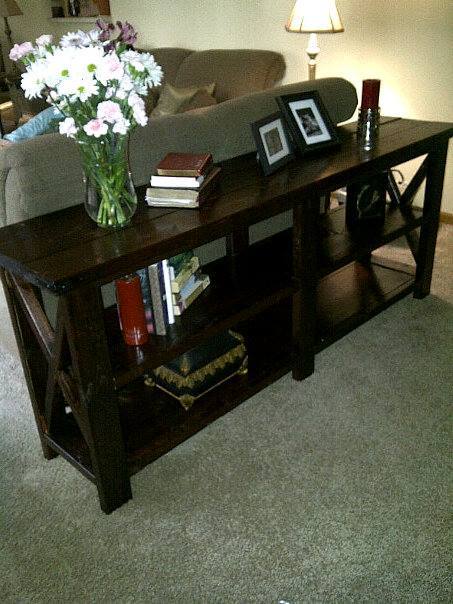
This was my first project! I love how it came out. Now my husband want the matching end tables. Can't wait to get started

Built from Plan(s)
Estimated Time Investment
Weekend Project (10-20 Hours)
Finish Used
I followed the plans exactly. The stain that was used was minwax red mahogany and then I coated with a couple coats of polyurithane.
Recommended Skill Level
Beginner

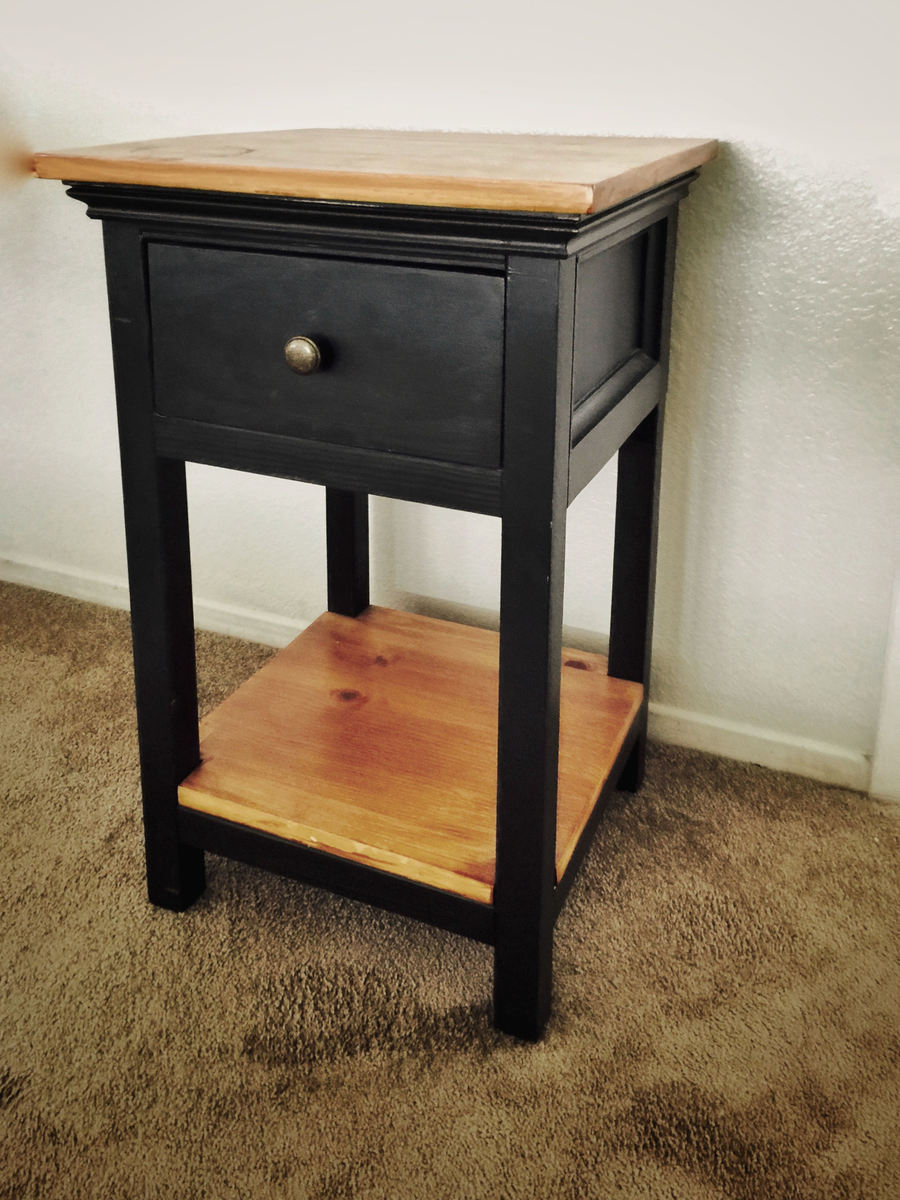
Dressed up Mini Farmhouse Bedside Table

Submitted by kcragun on Fri, 07/24/2015 - 10:25

I added some decorative trim to the top of the table and also to the sides of the table.

Estimated Time Investment
Weekend Project (10-20 Hours)
Finish Used
Black paint and pecan stain
Recommended Skill Level
Intermediate

Comments

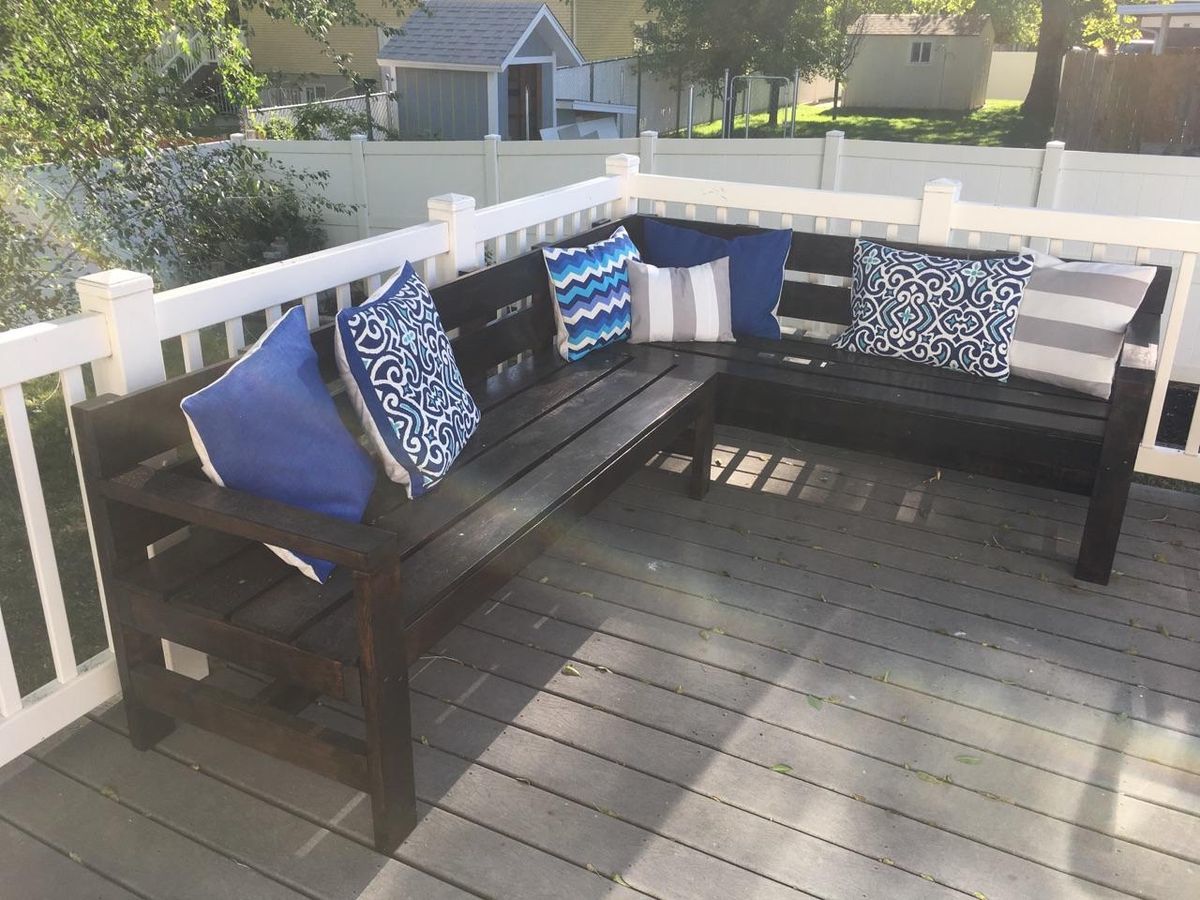
Outdoor Sectional (modified park bench)

Submitted by JustJ on Tue, 02/20/2018 - 08:16

This is a modified version of Ana's park bench.  Had a large deck, with plenty of room for a sectional. 

I basically built two benches.  One with an extended back (to create the back for the side of the second), and modified the front leg to sit under the frame, to allow the second bench to sit flush.  I used lag bolts to attach them together on the seat base.  Using lag bolts allows it to be easily taken apart for moving.

Built from Plan(s)
Estimated Cost
$100
Estimated Time Investment
Day Project (6-9 Hours)
Finish Used
Finished with Minwax Espress Polystain.
Recommended Skill Level
Intermediate

Comments

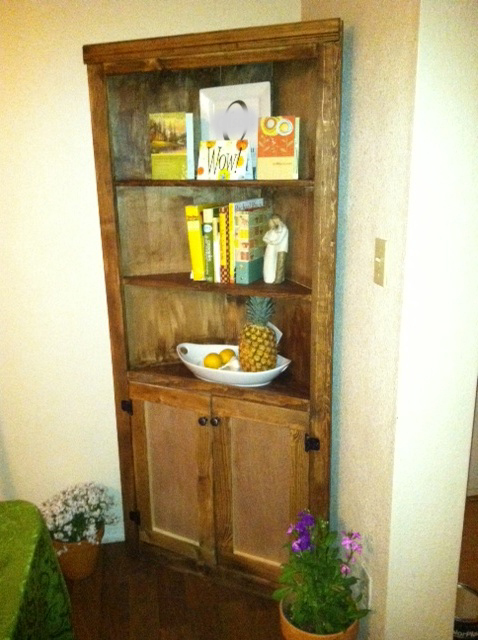
Corner Cupboard

Submitted by tylerdr on Thu, 06/02/2011 - 00:10

This was my first project and it was perfect for our small kitchen.

Estimated Cost
$75
Estimated Time Investment
Weekend Project (10-20 Hours)
Finish Used
One coat of Chestnut stain applied with a rag.
Recommended Skill Level
Beginner

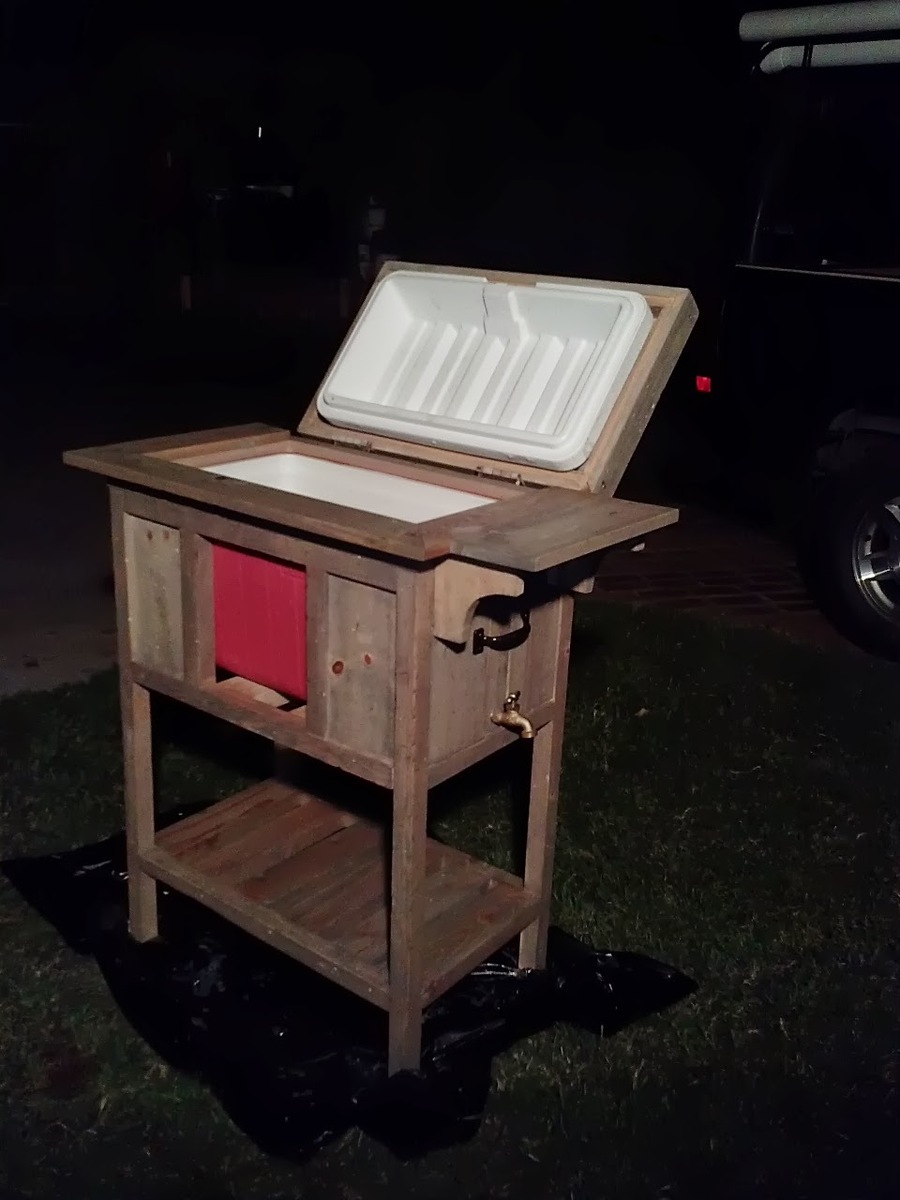
cooler for dads day

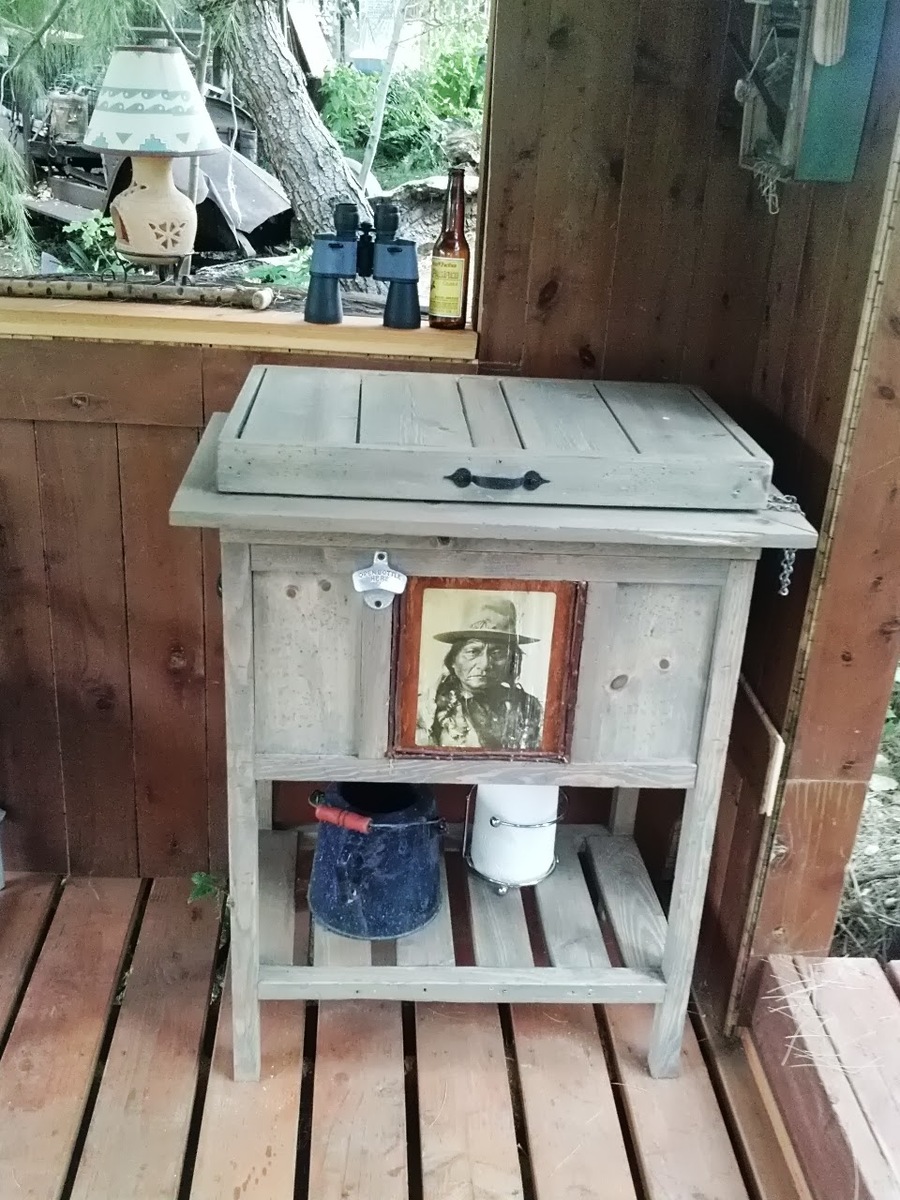
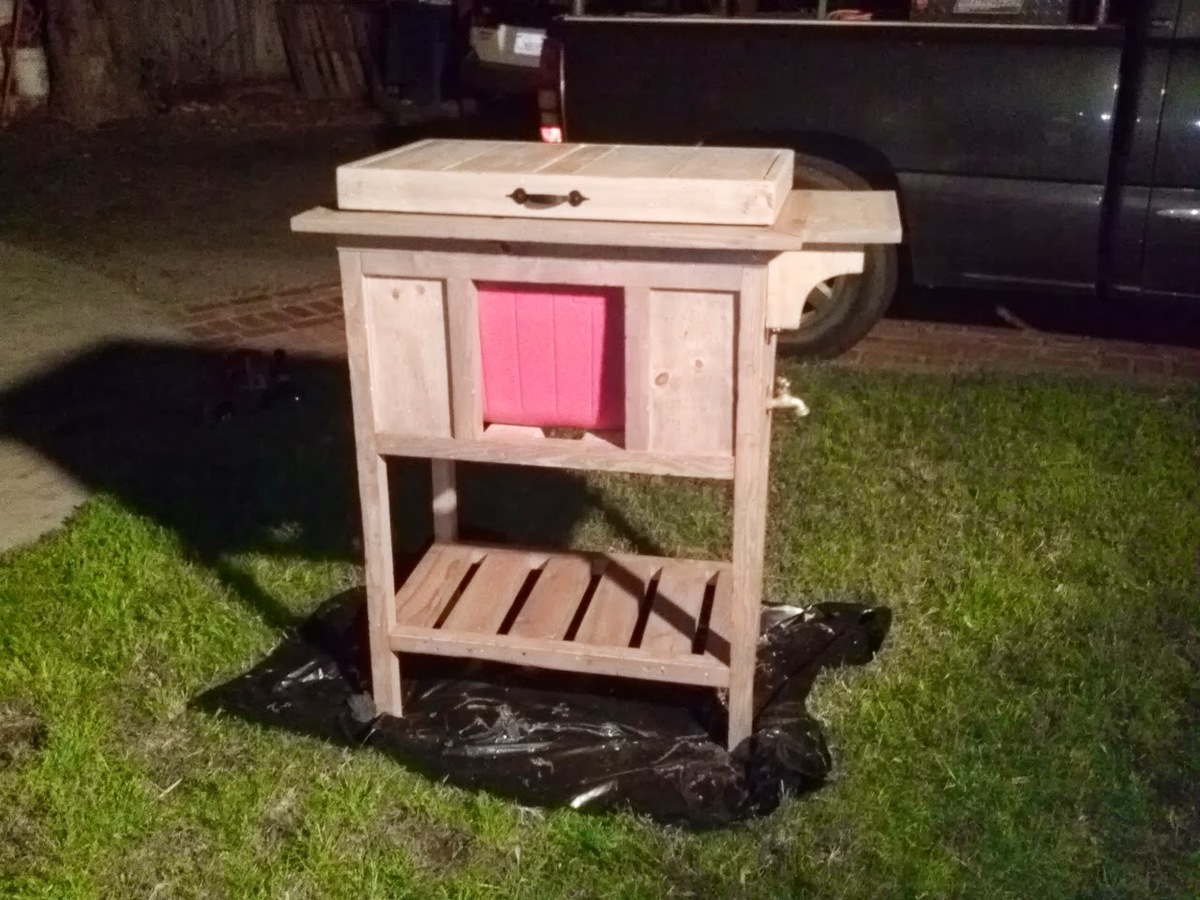
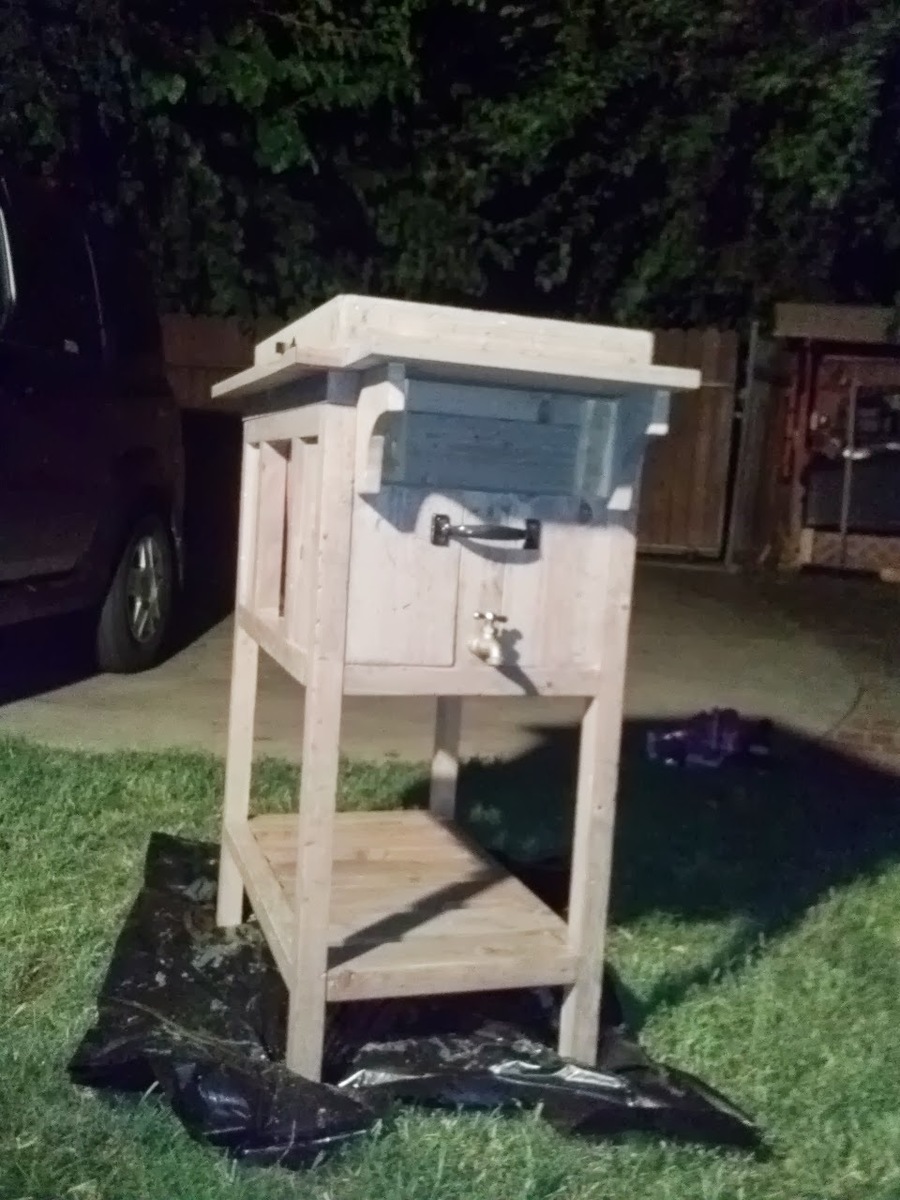
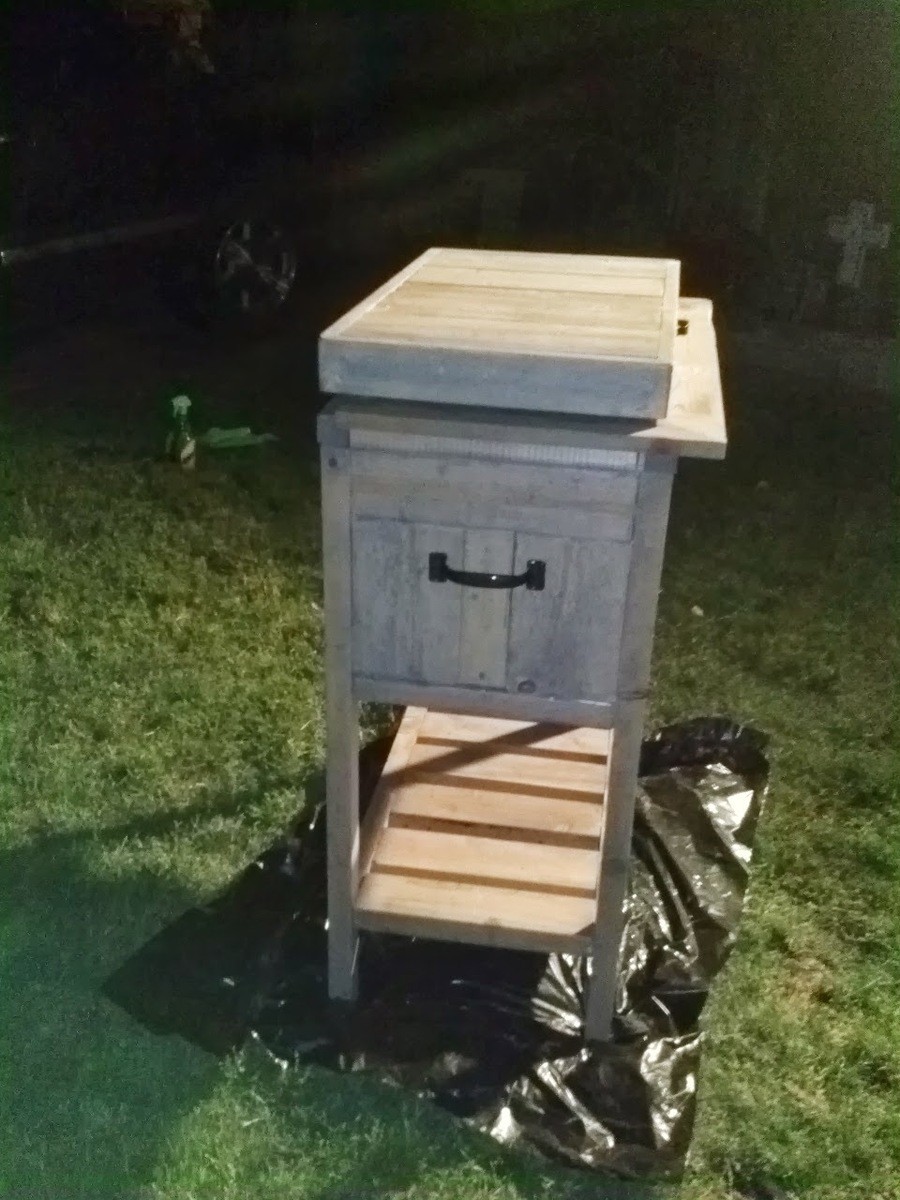
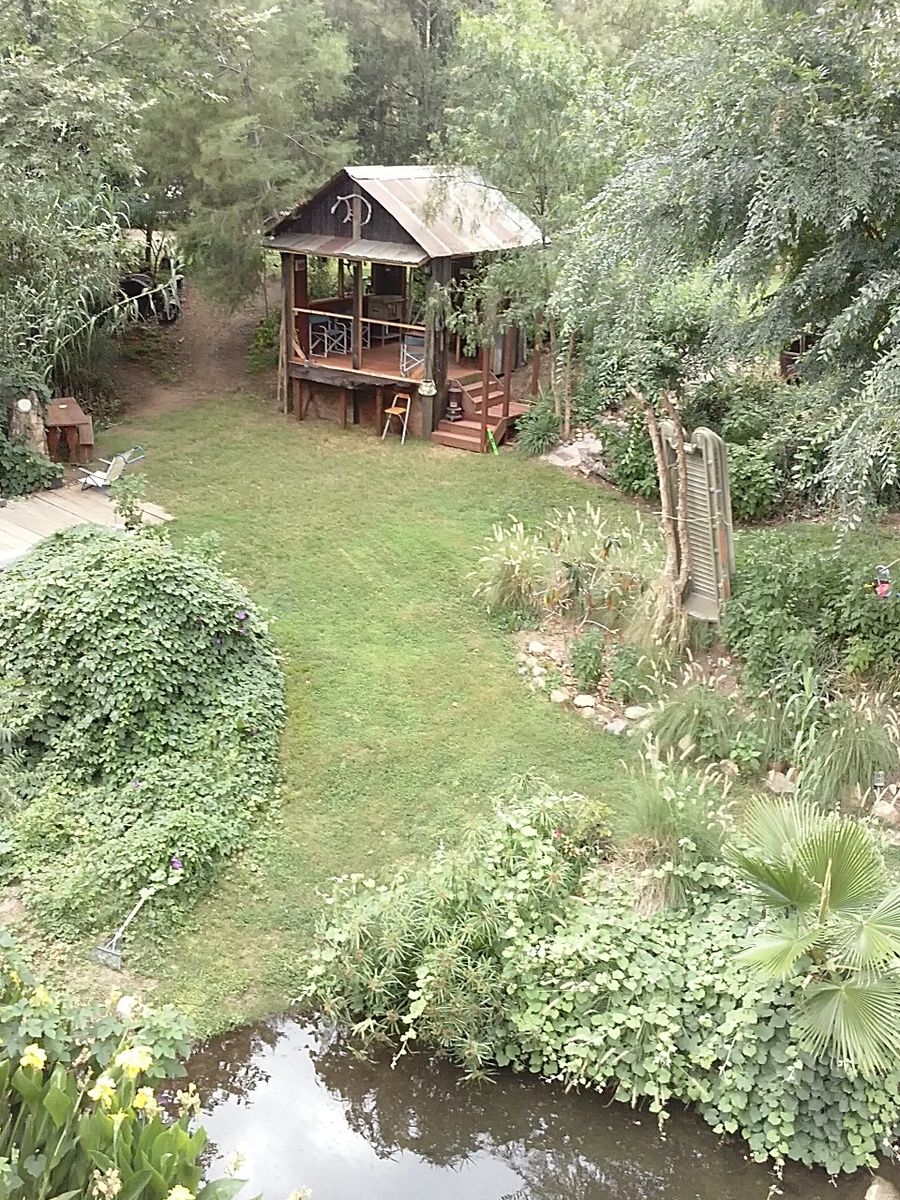
My dad made most everything I have ever had in life including the house I live in. So I wanted to make him something this dad's day that he could really use and enjoy. He just built a hang out place in his back yard that I call "his fort" Since he's in his 60's now and a little more mellow, he has a lot of little parties with friends, family, basically anyone who wants to come hang out in his back yard. lol. (He claims to have made the fort a covered stage for my 12 year old and his band. But I know the truth. hehe. it's his fort :) ) So I thought this cooler stand would come in handy. He saw me working on it a few days before fathers day and told me he was afraid I was gonna make his something girly. hehe. He's such a man's man. I love my pops and am soooo happy he likes my gift. Its already in use in the fort. hehe

Built from Plan(s)
Estimated Cost
about $80 for wood, stain, polyspray and hinges and handles. I had the cooler and faucet spout and plastic tubing and screws already
Estimated Time Investment
Afternoon Project (3-6 Hours)
Finish Used
Minwax "weathered oak" 3 coats on the pine 2 on cedar. Sprayed with Vurathane spray polyurathane in a spray can. I love it. The sheen is satin so you can hardly tell its there, no gloss at all.
Recommended Skill Level
Intermediate

Comments

sgilly

Sun, 07/21/2013 - 13:00

Turned out really nice! I'm sure he was very happy with your gift.
PS: I'd love to have a fort like your Dad's. What a cute little place to escape to!

In reply to by sgilly

Melodys socal …

Mon, 07/22/2013 - 20:43

Thank you Sue :) his fort is so awesome. both my sister and I have houses on my dads property. The picture of his fort is from my balcony and I can see my dad in his fort every day. It makes me so happy to see him over there just relaxing (with his cooler hehe) looking around the yard at the trees, creek and all of his hard life's work. Everyone needs a grown up fort in my opinion.

Rustic Kentwood Bookshelf

Submitted by wthalin on Mon, 07/27/2015 - 13:09

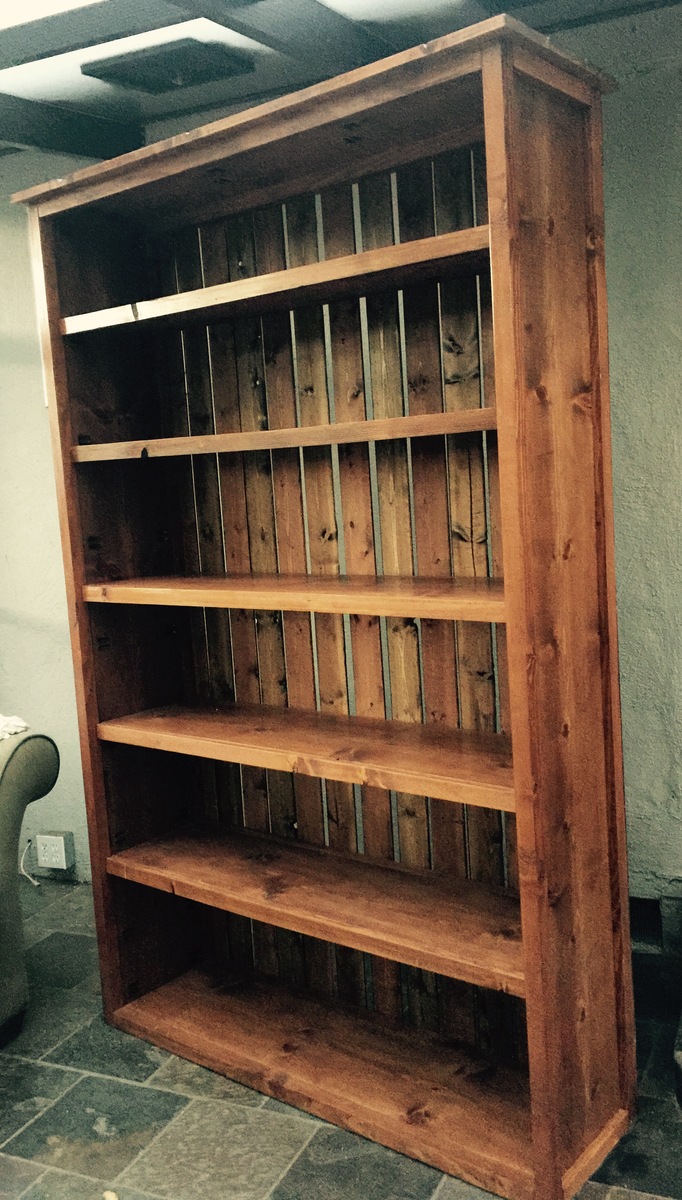
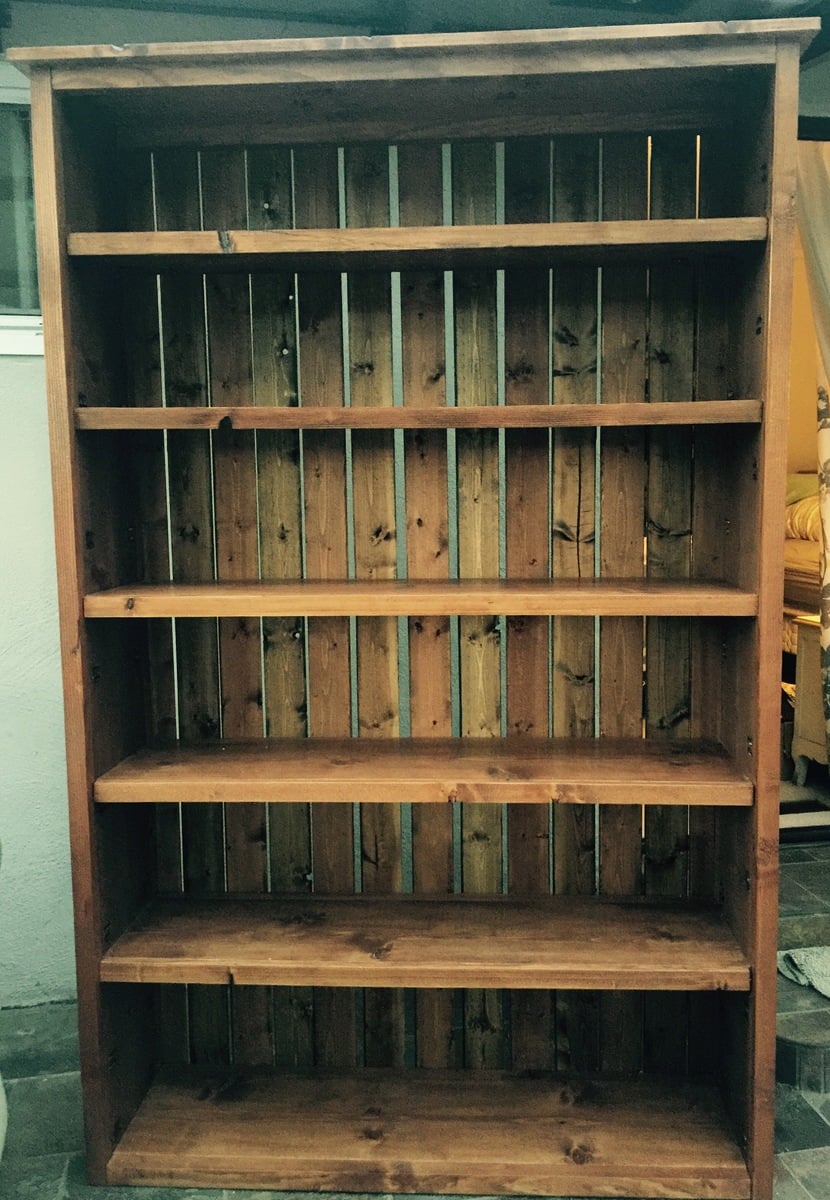
I wanted to build as big of a booshelf as I feasibly could so I altered the sizings in width and height to create this monster. The planks in the back did not fit perfectly in the new sizing so I spaced them a little bit and I think it turned out nice. The spacing gives it more of barn-like look to it. I also alternated stains on the planking between American Walnut and Dark Walnut because this thing took more than a can of stain and I thought the look was neat. The majority of the piece is in American walnut which turned out a little redder than I hoped, but overall I am happy how this turned out.

As always, thanks for the plans!

Estimated Cost
$150
Estimated Time Investment
Week Long Project (20 Hours or More)
Finish Used
Varathane American Walnut stain, Minwax Dark Walnut stain, Vermont Natural Coatings PolyWhey Satin clear coat
Recommended Skill Level
Intermediate

Comments

JoanneS

Mon, 07/27/2015 - 17:09

You did a great job on this bookshelf!  Love the plank back and the barn-like look it gives, and the alternating colors for the back.  Looks beautiful!

itsnikkilyn

Wed, 11/02/2016 - 00:14

Hello, would you be able to provide the exact measurements you used to build this beautiful piece? It would make my life a whole lot easier lol Thank you :)

wthalin

Thu, 01/19/2017 - 10:29

Final dimmensions of the bookshelf ended up being 51"W x 16.5"D x 81.5"H. I would suggest measuring out the space where you would like to put the shelf and see how much room you have.

Patio table

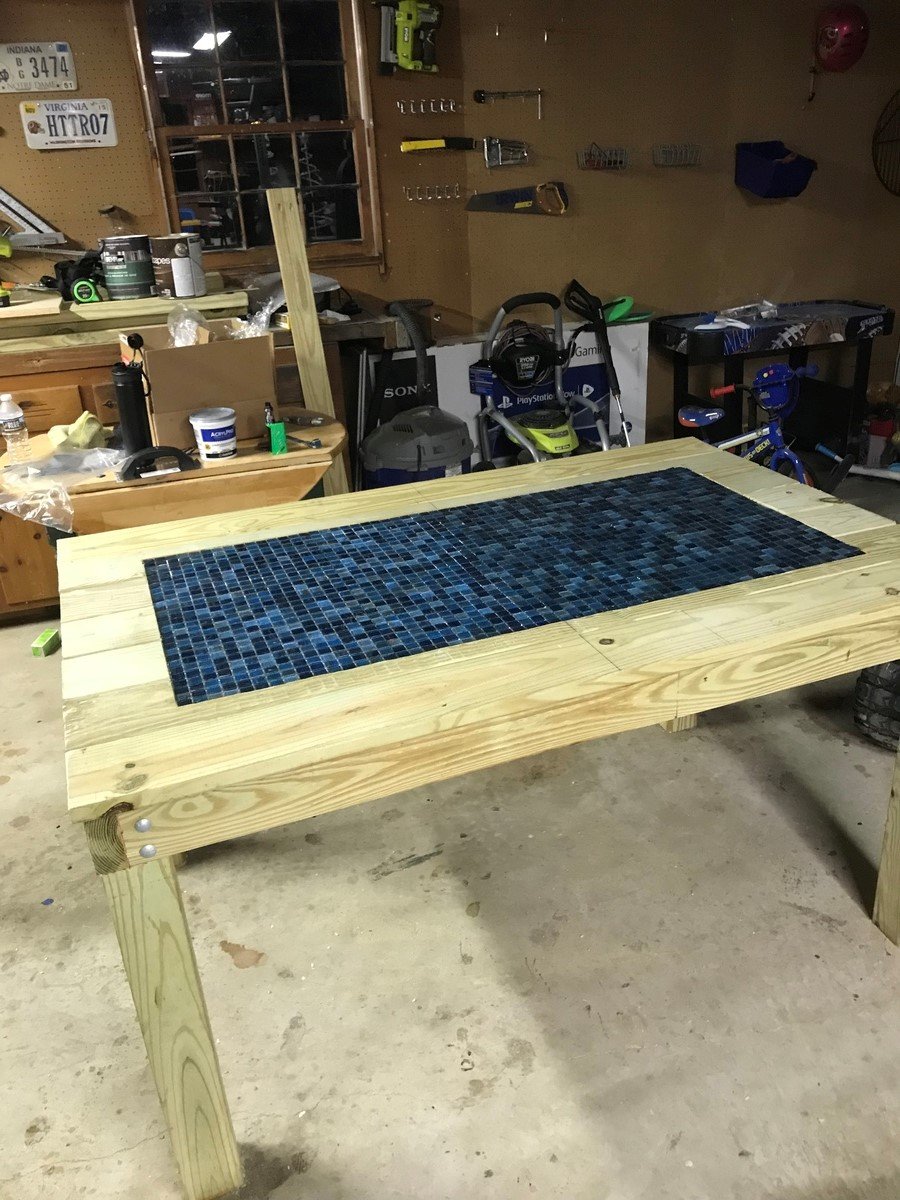
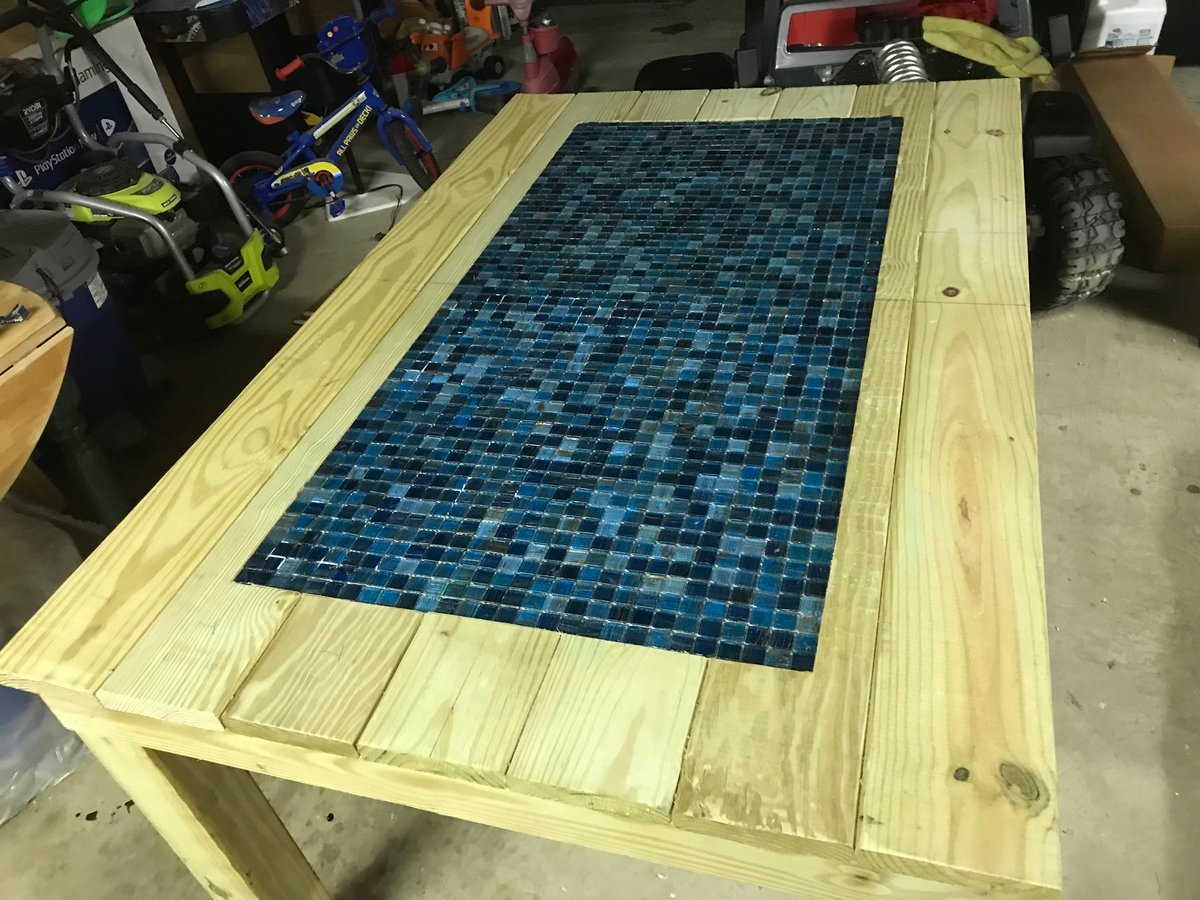
Thanks for all the ideas. Wanted to share my build with everyone. 

Built from Plan(s)
Estimated Time Investment
Weekend Project (10-20 Hours)
Finish Used
None yet will be applying sherwin Williams river birch in future
Recommended Skill Level
Beginner

Outdoor Sofa

Submitted by dionneds on Sun, 04/10/2022 - 07:16

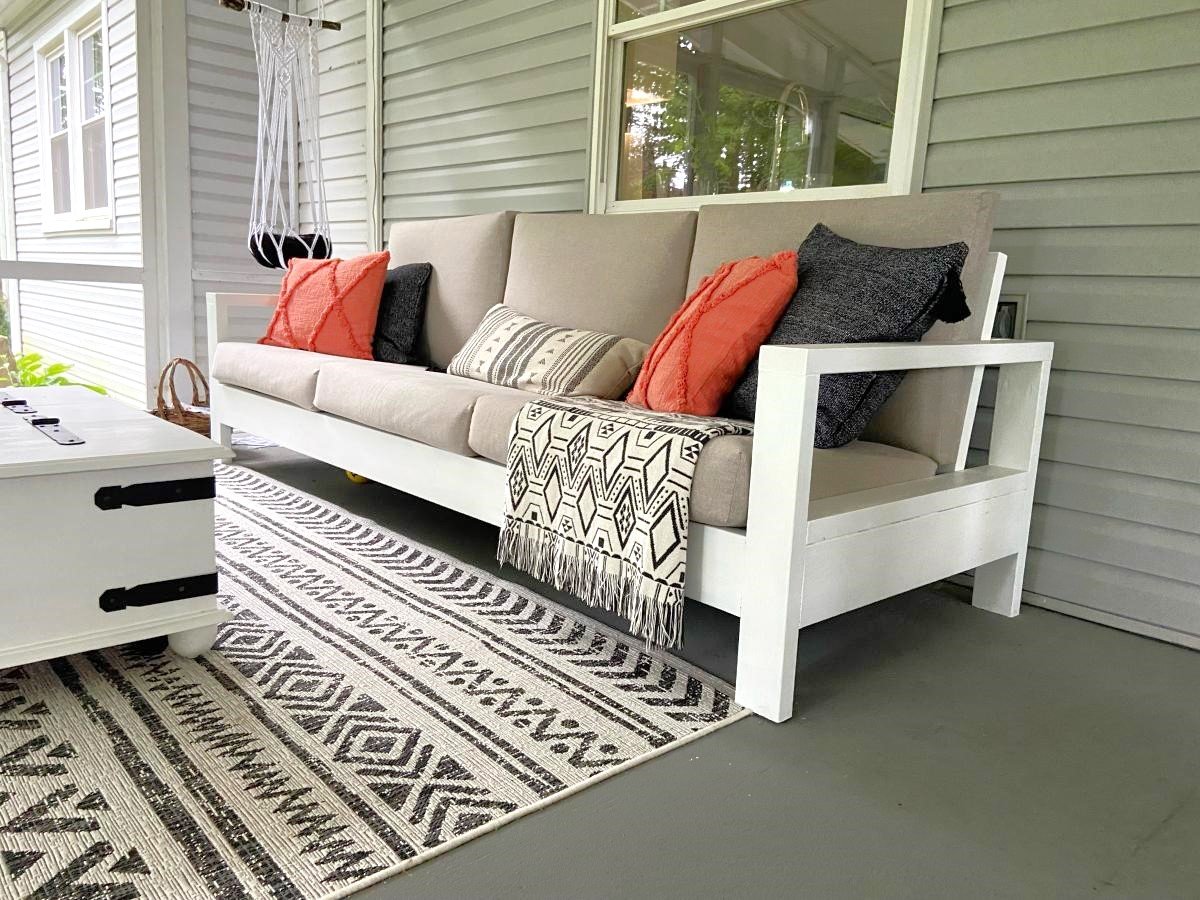
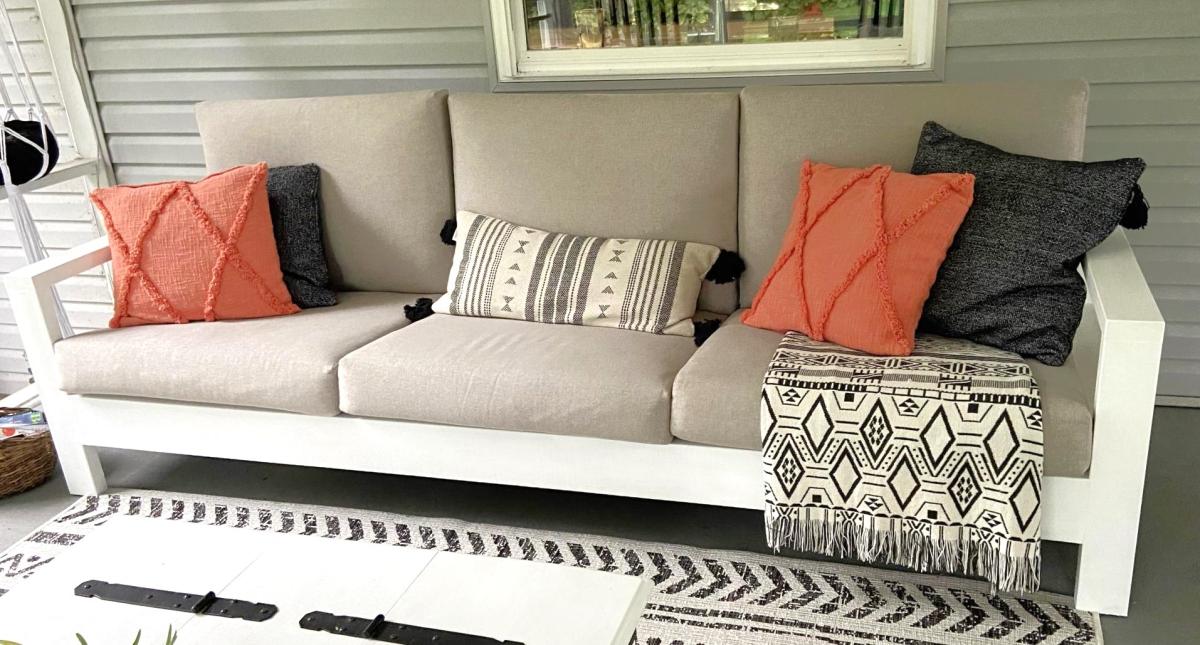
This was our first big project with our Kreg Jig. We adapted the plans to make the sofa 8' long. On Friday night, my husband did all the cuts and I pre-painted everything. With the help of our son, we had the whole sofa built in a few hours on Saturday morning. I puttied the visible holes, did a second coat of paint, and made custom cushions. The plans were very easy to follow. I followed the others' advice about pre-painting and assembling the back on a perfectly level surface. It came out better than I expected and it's super comfortable!

Comments

kdykes08

Mon, 04/11/2022 - 07:44

I want the plans for this one! I like this style a lot better. I really like how the bottom cushions are at a slant. I suck at modifying plans.

Seasonal And Holiday

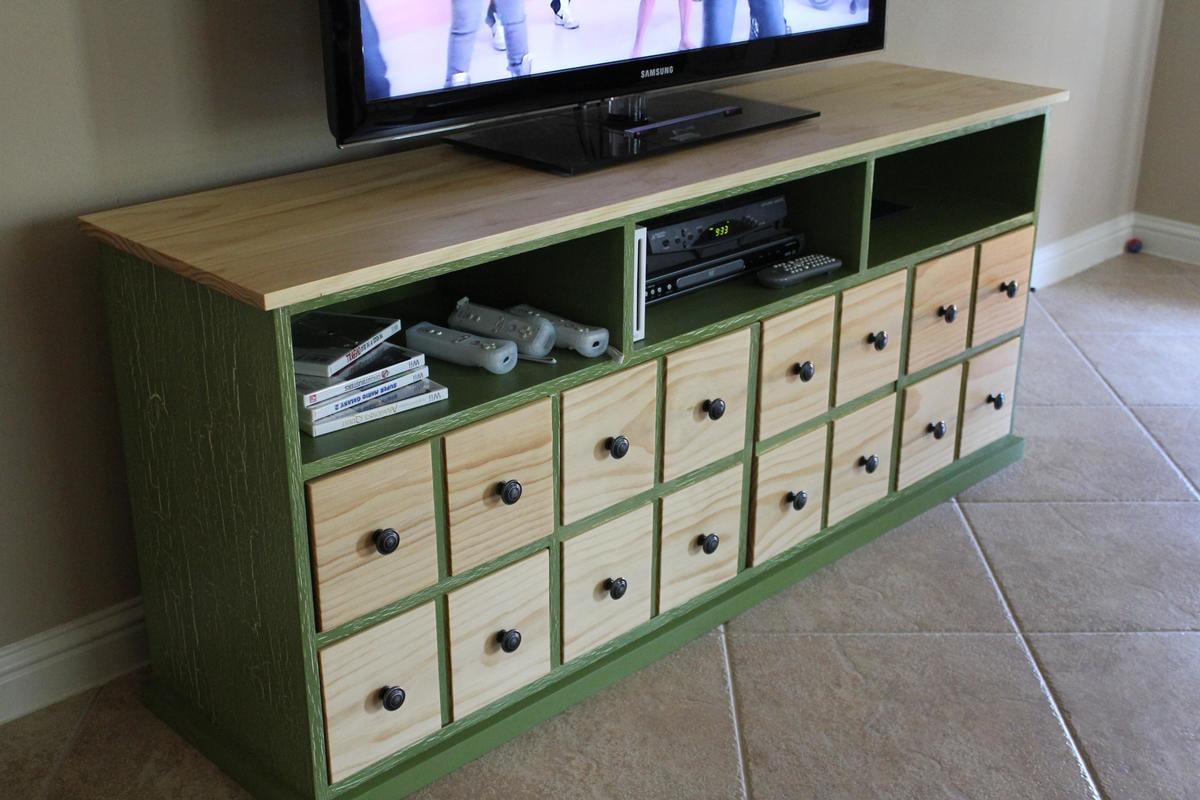
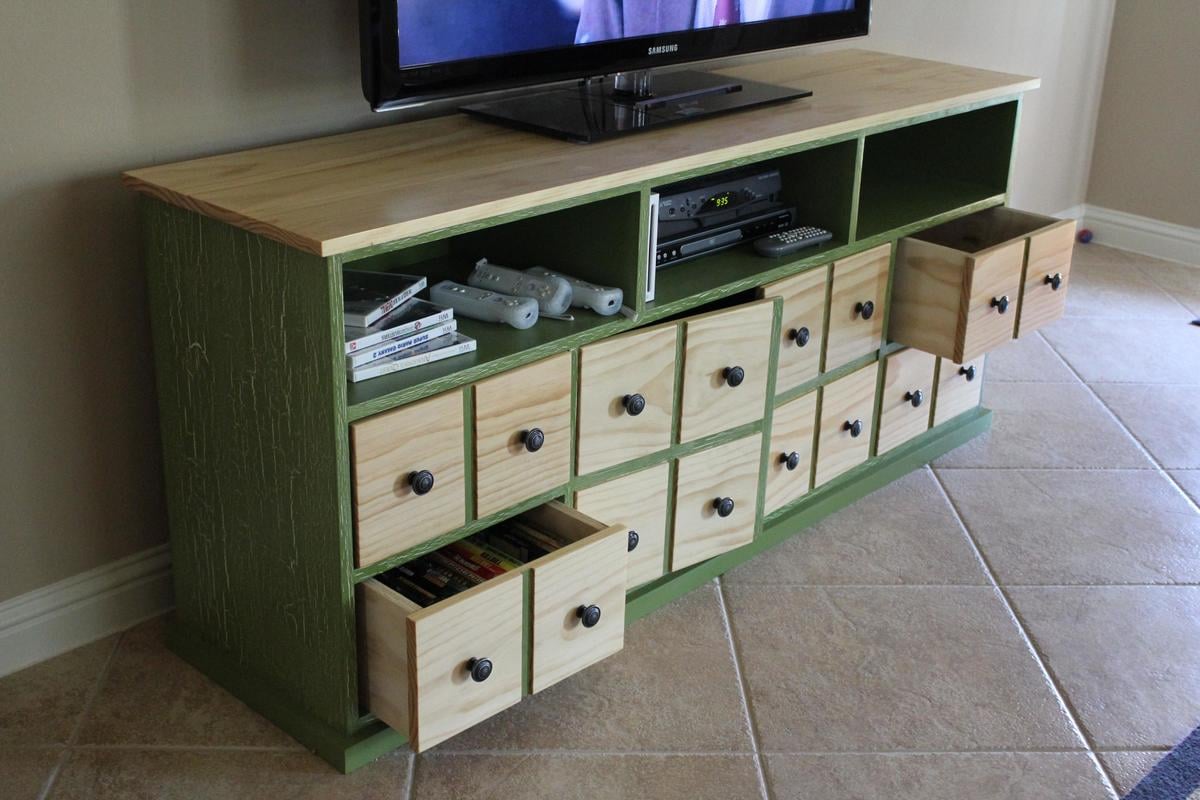
Apothecary Media Console

Submitted by utmikeg on Sun, 06/05/2011 - 09:11

First Anna-White project...

Would recommend using ply instead of MDF due to the total weight of the unit. The higher cost comes from more expensive materials, but still much more affordable than Pottery Barn's Andover Media Console.

Built from Plan(s)
Estimated Cost
$300-$350
Estimated Time Investment
Week Long Project (20 Hours or More)
Finish Used
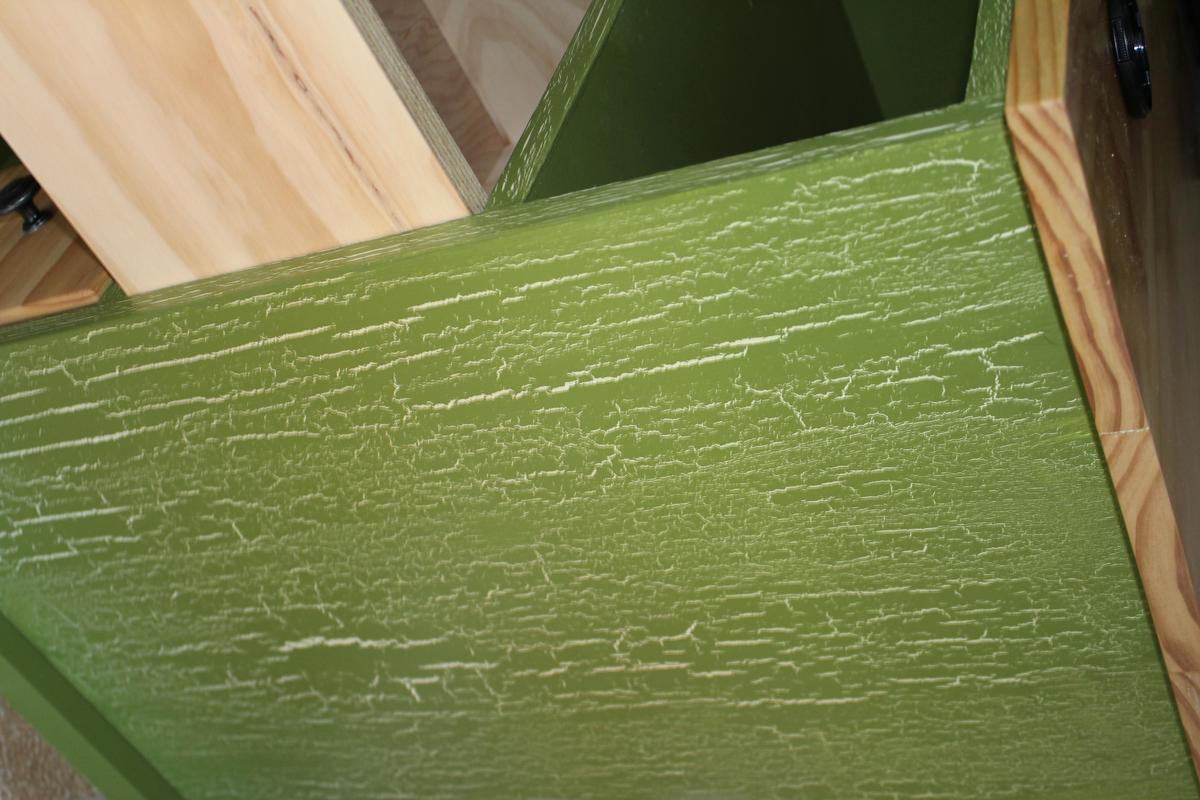
Paint
Bottom Coat: Light Sage (Valspar)
Top Coat: La Fonda Jalepeno (Valspar)
Weatherized Crackle Glaze (Valspar)

Stain:
Wood Conditioner (Minmax)
Natural (Minwax)
Oil-based Polyurethane
Recommended Skill Level
Advanced

Comments

SmilingMom

Fri, 09/09/2011 - 20:48

This is gorgeous! Great job!

Marisol, you need to post yours! They are all beautiful.

jtray41

Wed, 01/14/2015 - 23:02

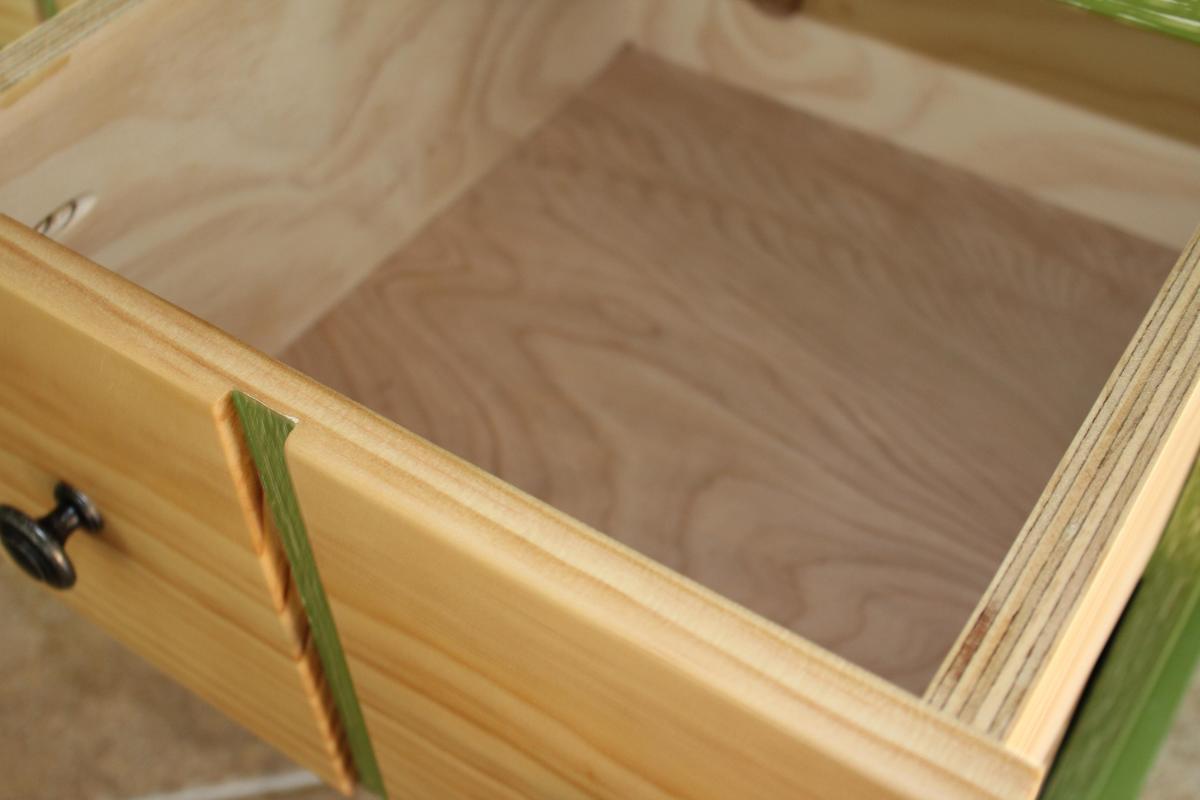
Are your drawer fronts made from one solid piece of wood with a rabbet down the middle? If so, how did you do the doors?

Side Table

Submitted by NickZed on Tue, 07/23/2013 - 04:33

I spent a few hours on a Saturday cutting the wood for this project and drilling the holes and putting it all together. It's a very sturdy side table....

I made two small errors -
1) When I bought the 285mm * 17mm pine for the centre piece of the top I neglected to check whether the board was dead flat - it wasn't and was bowed slighty, however, after the top has been attached to the base it's not noticeable.
2) The other error was my shelf - it wasn't quite long enough....I think that I made this error because my legs may have had a slightly different size to the wood/lumber from the USA (where the plans are from).

All in all, I'm very happy with the table. It looks great and is super sturdy.

Built from Plan(s)
Estimated Time Investment
Afternoon Project (3-6 Hours)
Finish Used
Top finished with:
1) One coat of Minwax Pre-Stain Wood Conditioner - applied with a rag and left to dry for about an hour, then,
2) I applied Minwax Wood Finish Stain - Dark Walnut colour. I left the stain to soak for about 4-5 minutes and then wiped the excess off the table top.
3) Finally, three coats of Minwax Water Based Wipe on Poly - Clear Gloss. I sanded this gently with 240 grit sand paper between coats.

Base:
1) I primed the base with a Taubmans white primer, then
2) I applied three coats of a Dulux low sheen acrylic paint.
3) As per the table top, three coats of Minwax wipe on Poly were applied.

Note: I primed and painted the base of the side table and then conditioned and stained the top. After both of these were done I screwed the table top with 50mm 8G self tapping wood screws to the base. I then applied the three coats of wipe on Poly mentioned above.

The wipe on poly rocks!!! No smell what so ever....

The cutting, drilling of the pocket holes and putting the tab;le together was reasonably quick - 1 to 2 hours, however, it's the painting, sanding, staining and applying the poly that takes the bulk of the time with this project.

The table is 42inches long in Ana's plans - I shortened mine to 37 inches to suit my room better.
Recommended Skill Level
Beginner

Ledge Shelves & Modular cabinet

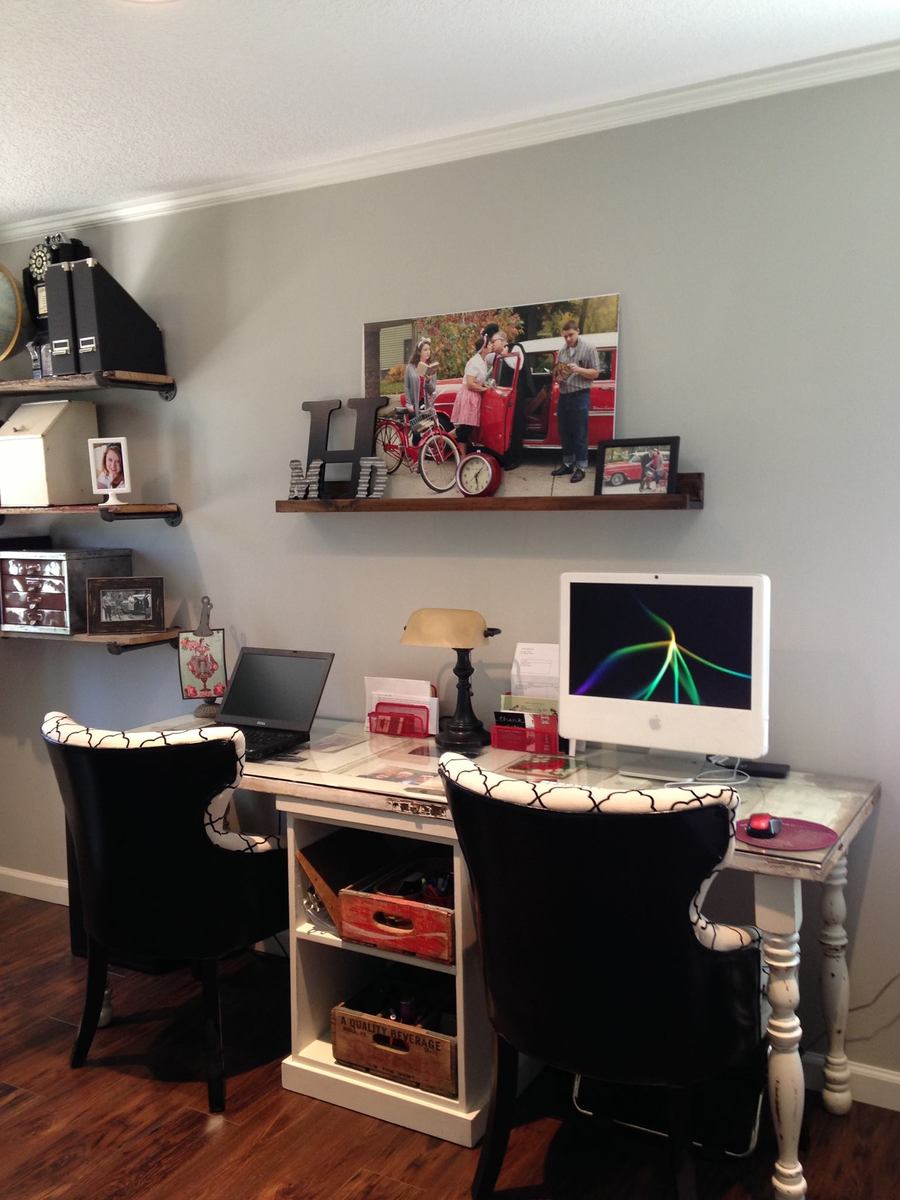
I love this site!  I used the Modular Office- Narrow Open File Base under an old 5 panel door added some old table legs and voila new desk for two!

I thought the perfect thing to go above the desk was the $10 ledge shelf. I actually had the wood and the stain already...so this project was basically free...just my time.


Estimated Time Investment
Day Project (6-9 Hours)
Finish Used
DIY chalk paint on desk. Old Masters Dark Maple on ledge shelf.
Recommended Skill Level
Beginner

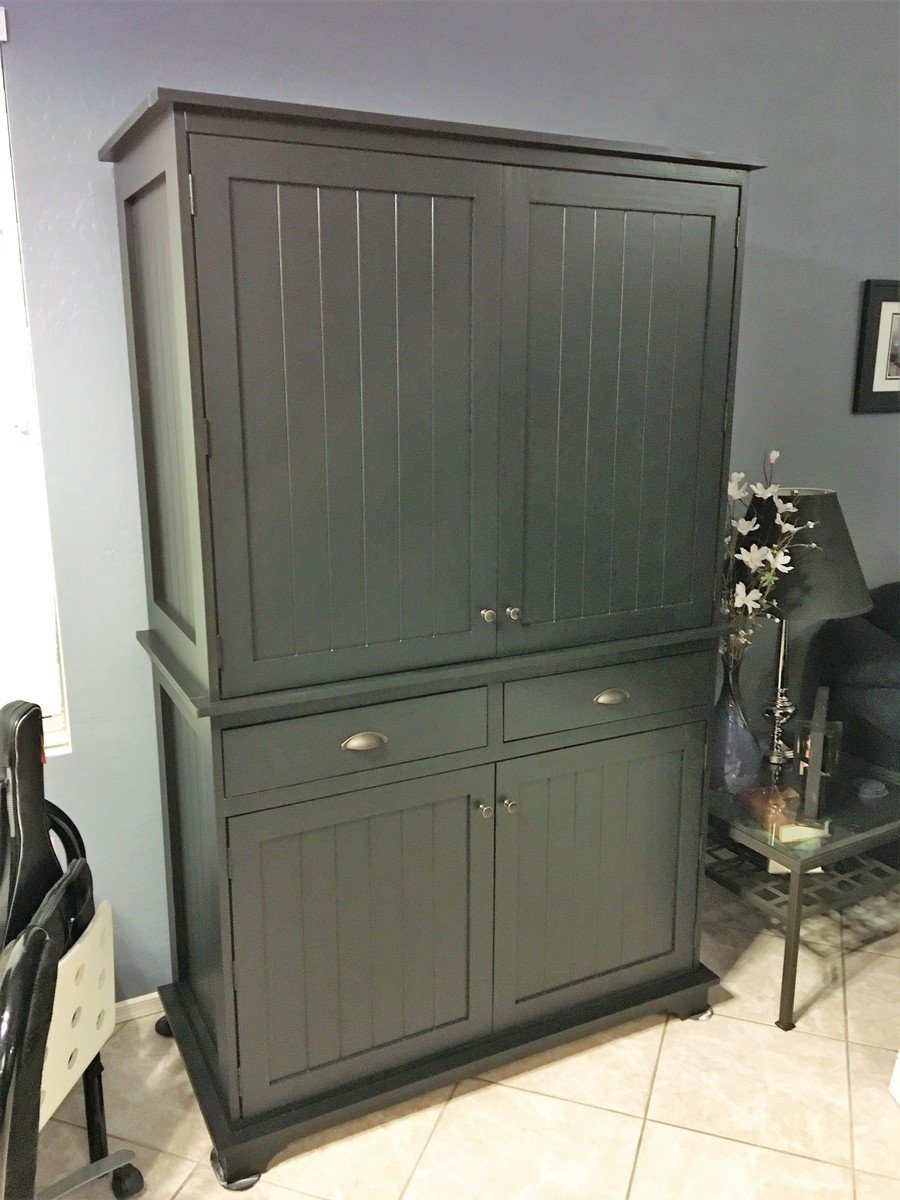
Armoire

Submitted by Runphar on Thu, 03/01/2018 - 20:39

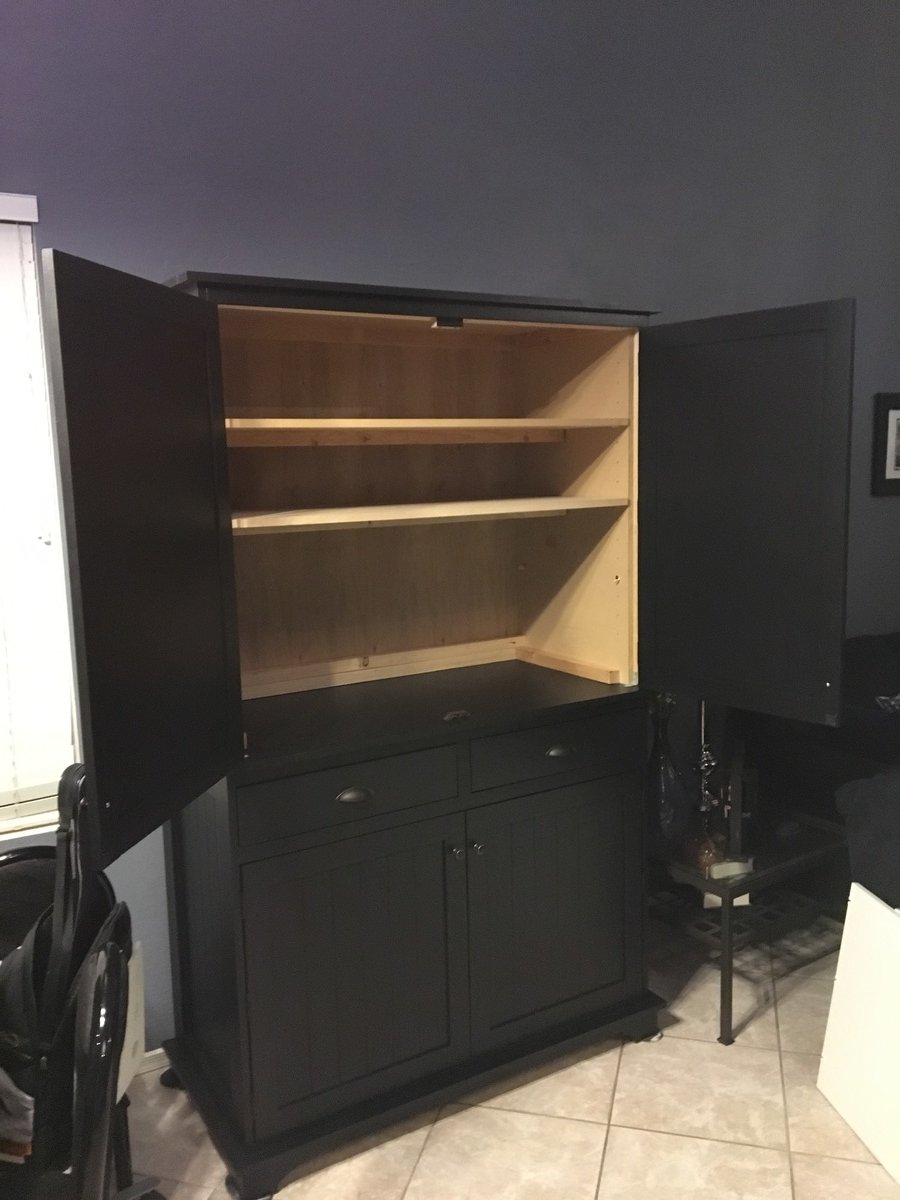
Another fun build! I increased the size to 4’W x 7’T and added some drawers! Thanks for your detailed plans. 

Built from Plan(s)
Estimated Time Investment
Week Long Project (20 Hours or More)
Finish Used
Milk Paint
Recommended Skill Level
Intermediate

Simple Kitchen Island

Submitted by mefisher on Wed, 06/08/2011 - 18:08

My first project! I modified the plan to make the island 2'x3' instead of 2'x4' and also added a second shelf. It was definitely a learning experience, but I'm happy with how it turned out!

Built from Plan(s)
Estimated Cost
$40
Estimated Time Investment
Day Project (6-9 Hours)
Finish Used
Minwax stain in mahogany for slats and white latex paint for everything else
Recommended Skill Level
Beginner

Comments

trukinranger

Fri, 07/08/2011 - 12:12

Seems like that's what I do.. browse plans and think of ways to make it my own... Keep up the good work!

Bathroom Organizer

Submitted by Jake on Thu, 07/25/2013 - 07:31

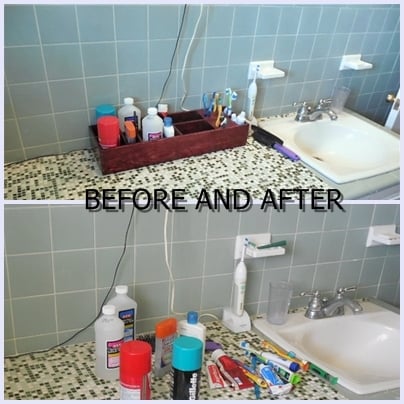
I think it is human nature that in the bathroom nothing is ever returned to its proper place in the cabinet or drawers. Everything has a place on the counter. Well it looks kind of messy so I decided to try to organize just a bit. I figured that if a person is OK with laying something on the counter they might actually put it in a designated slot if their arm movement was the same as before.

So I just came up with a simple box that is 22" long and 7" wide and it contains 12 cubby holes or slots of varing sizes. Two have holes in their tops to put toothbrushes and razors. By the way since I live in a 60+ year old home that has never been updated the original toothbrush holder will no longer hold modern toothbrushes.

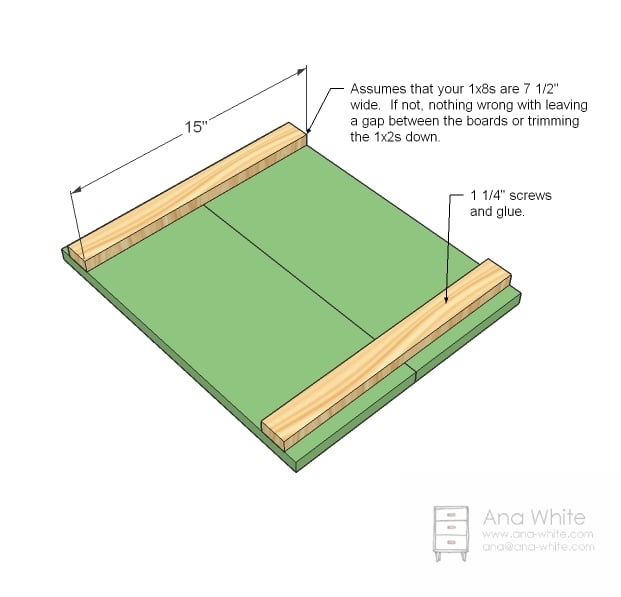
The picture can give you some idea of how it is supposed to work.

I took 1x4s from the scrap pile and re-sawed them using a band saw to produce a number of fairly thin (about 5/16" ) thickness boards. Then through trial and error plus a lot of measuring of toiletry items I came up with the final product. The size of the box and the internal cubby holes and slots are really just a guess in hopes it is functional. It is held together with Tightbond II glue and some copper nails in strategic locations.
Estimated Cost
I just used what I had in the scrap pile so give the cost at $2
Estimated Time Investment
Afternoon Project (3-6 Hours)
Finish Used
Stain covered by antiquing oil.
Recommended Skill Level
Beginner

Modified Reclaimed wood Look Bedside -- Dresser

Submitted by pmgriffith on Wed, 08/05/2015 - 11:28

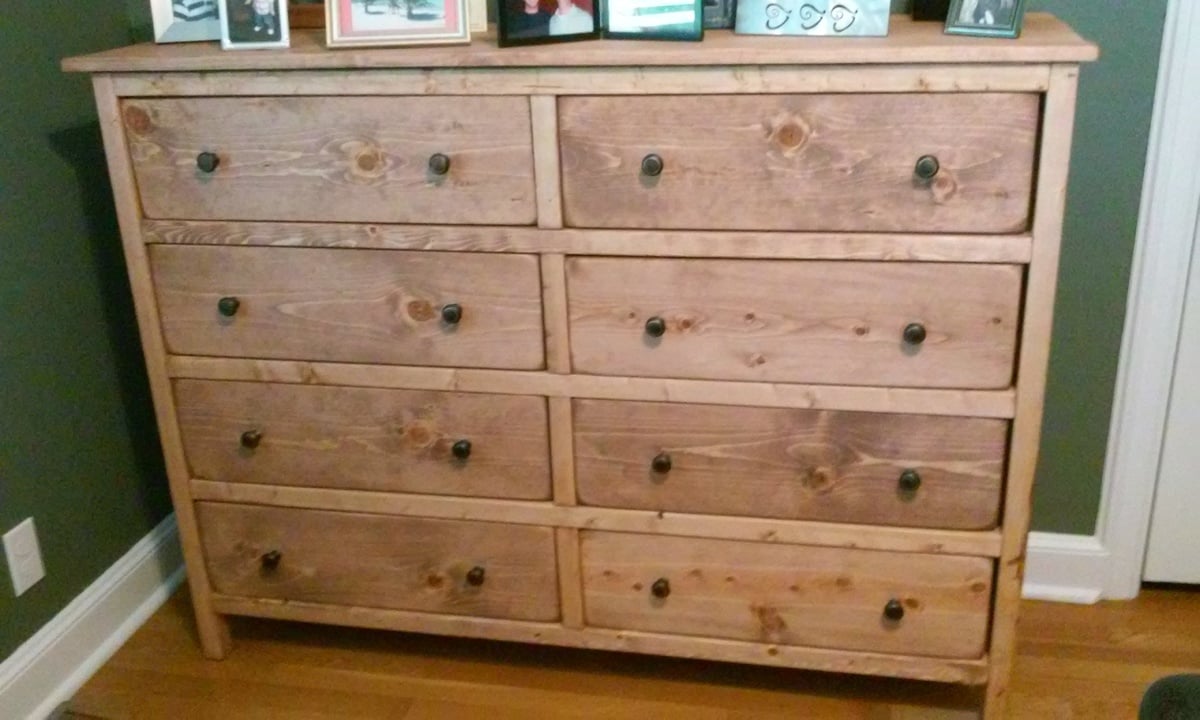
I loved the Reclaimed Wood Night Stand so much that I needed a dresser to match.  Virtually the same just added a single drawer height and widened. 


Estimated Cost
Cost about 75 bucks for wood and 20 for the hardware.
Estimated Time Investment
Day Project (6-9 Hours)
Finish Used
Cherry Minwax finish
Recommended Skill Level
Intermediate

Comments

nickkarim

Fri, 08/07/2015 - 11:12

I am looking to build something exactly like this, can you share plans or any suggestions, thanks!