Shoe dresser
Shoe dresser with an additional row.
Shoe dresser with an additional row.
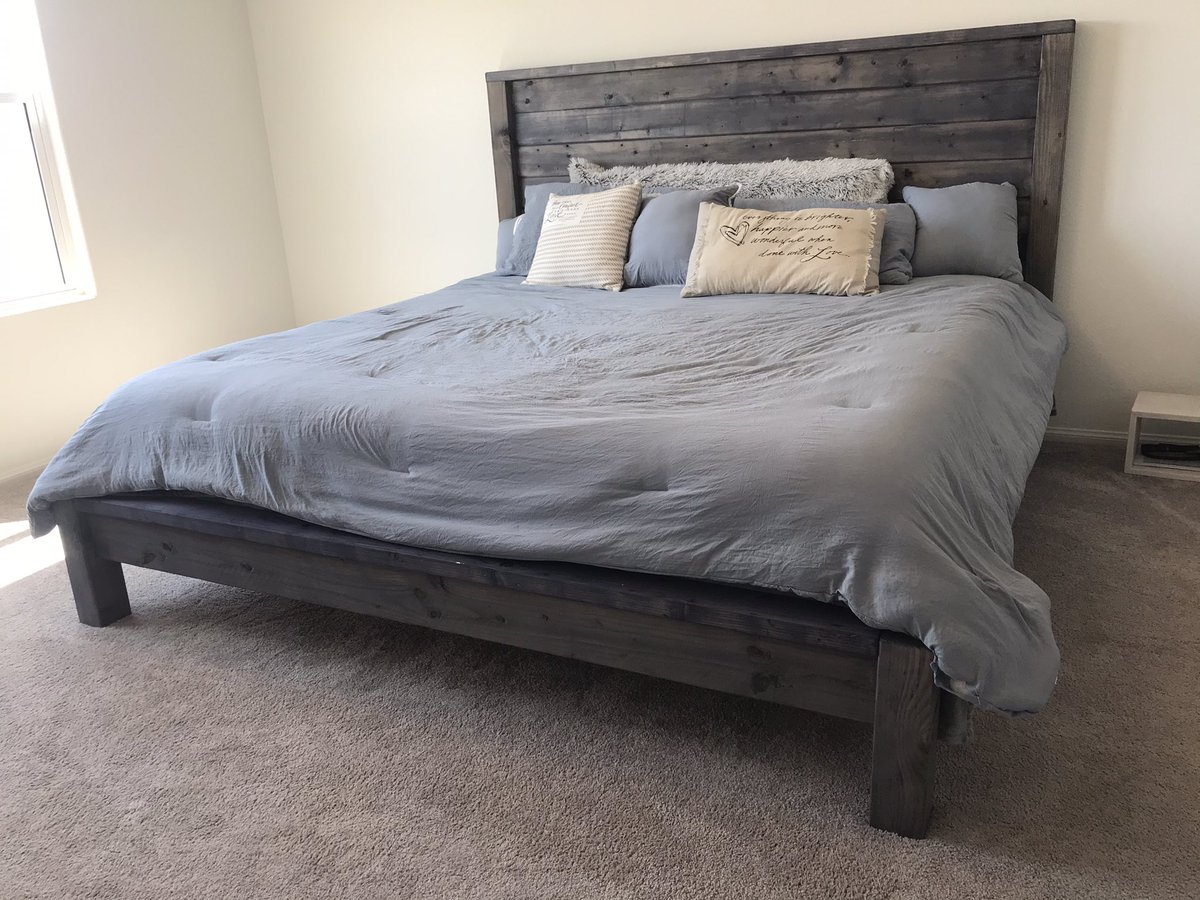
I built the modern farmhouse bed :)
So easy when you have the right tools. It is exactly what we needed. I can't wait for my next project!
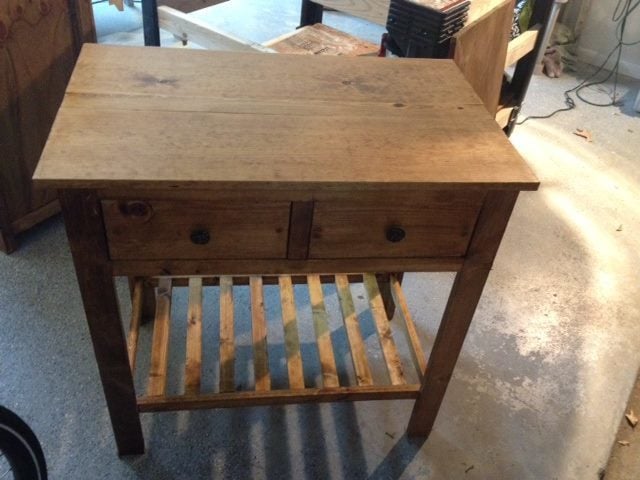
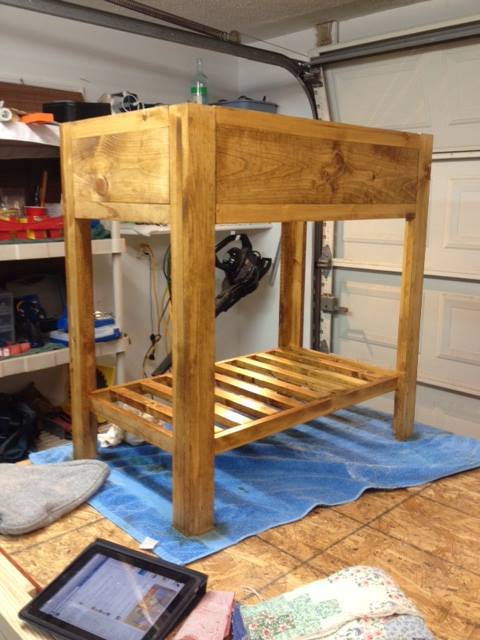
This is 2 different shirley console tables . I did both out of pine boards and golden oak stain. One I used wax on and the other poly.
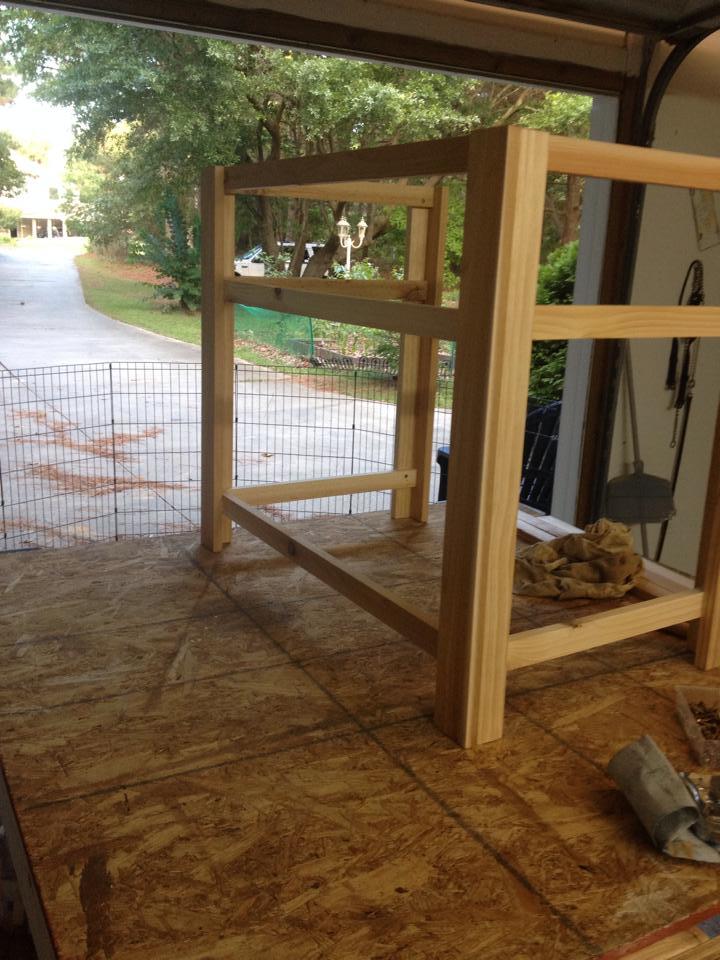
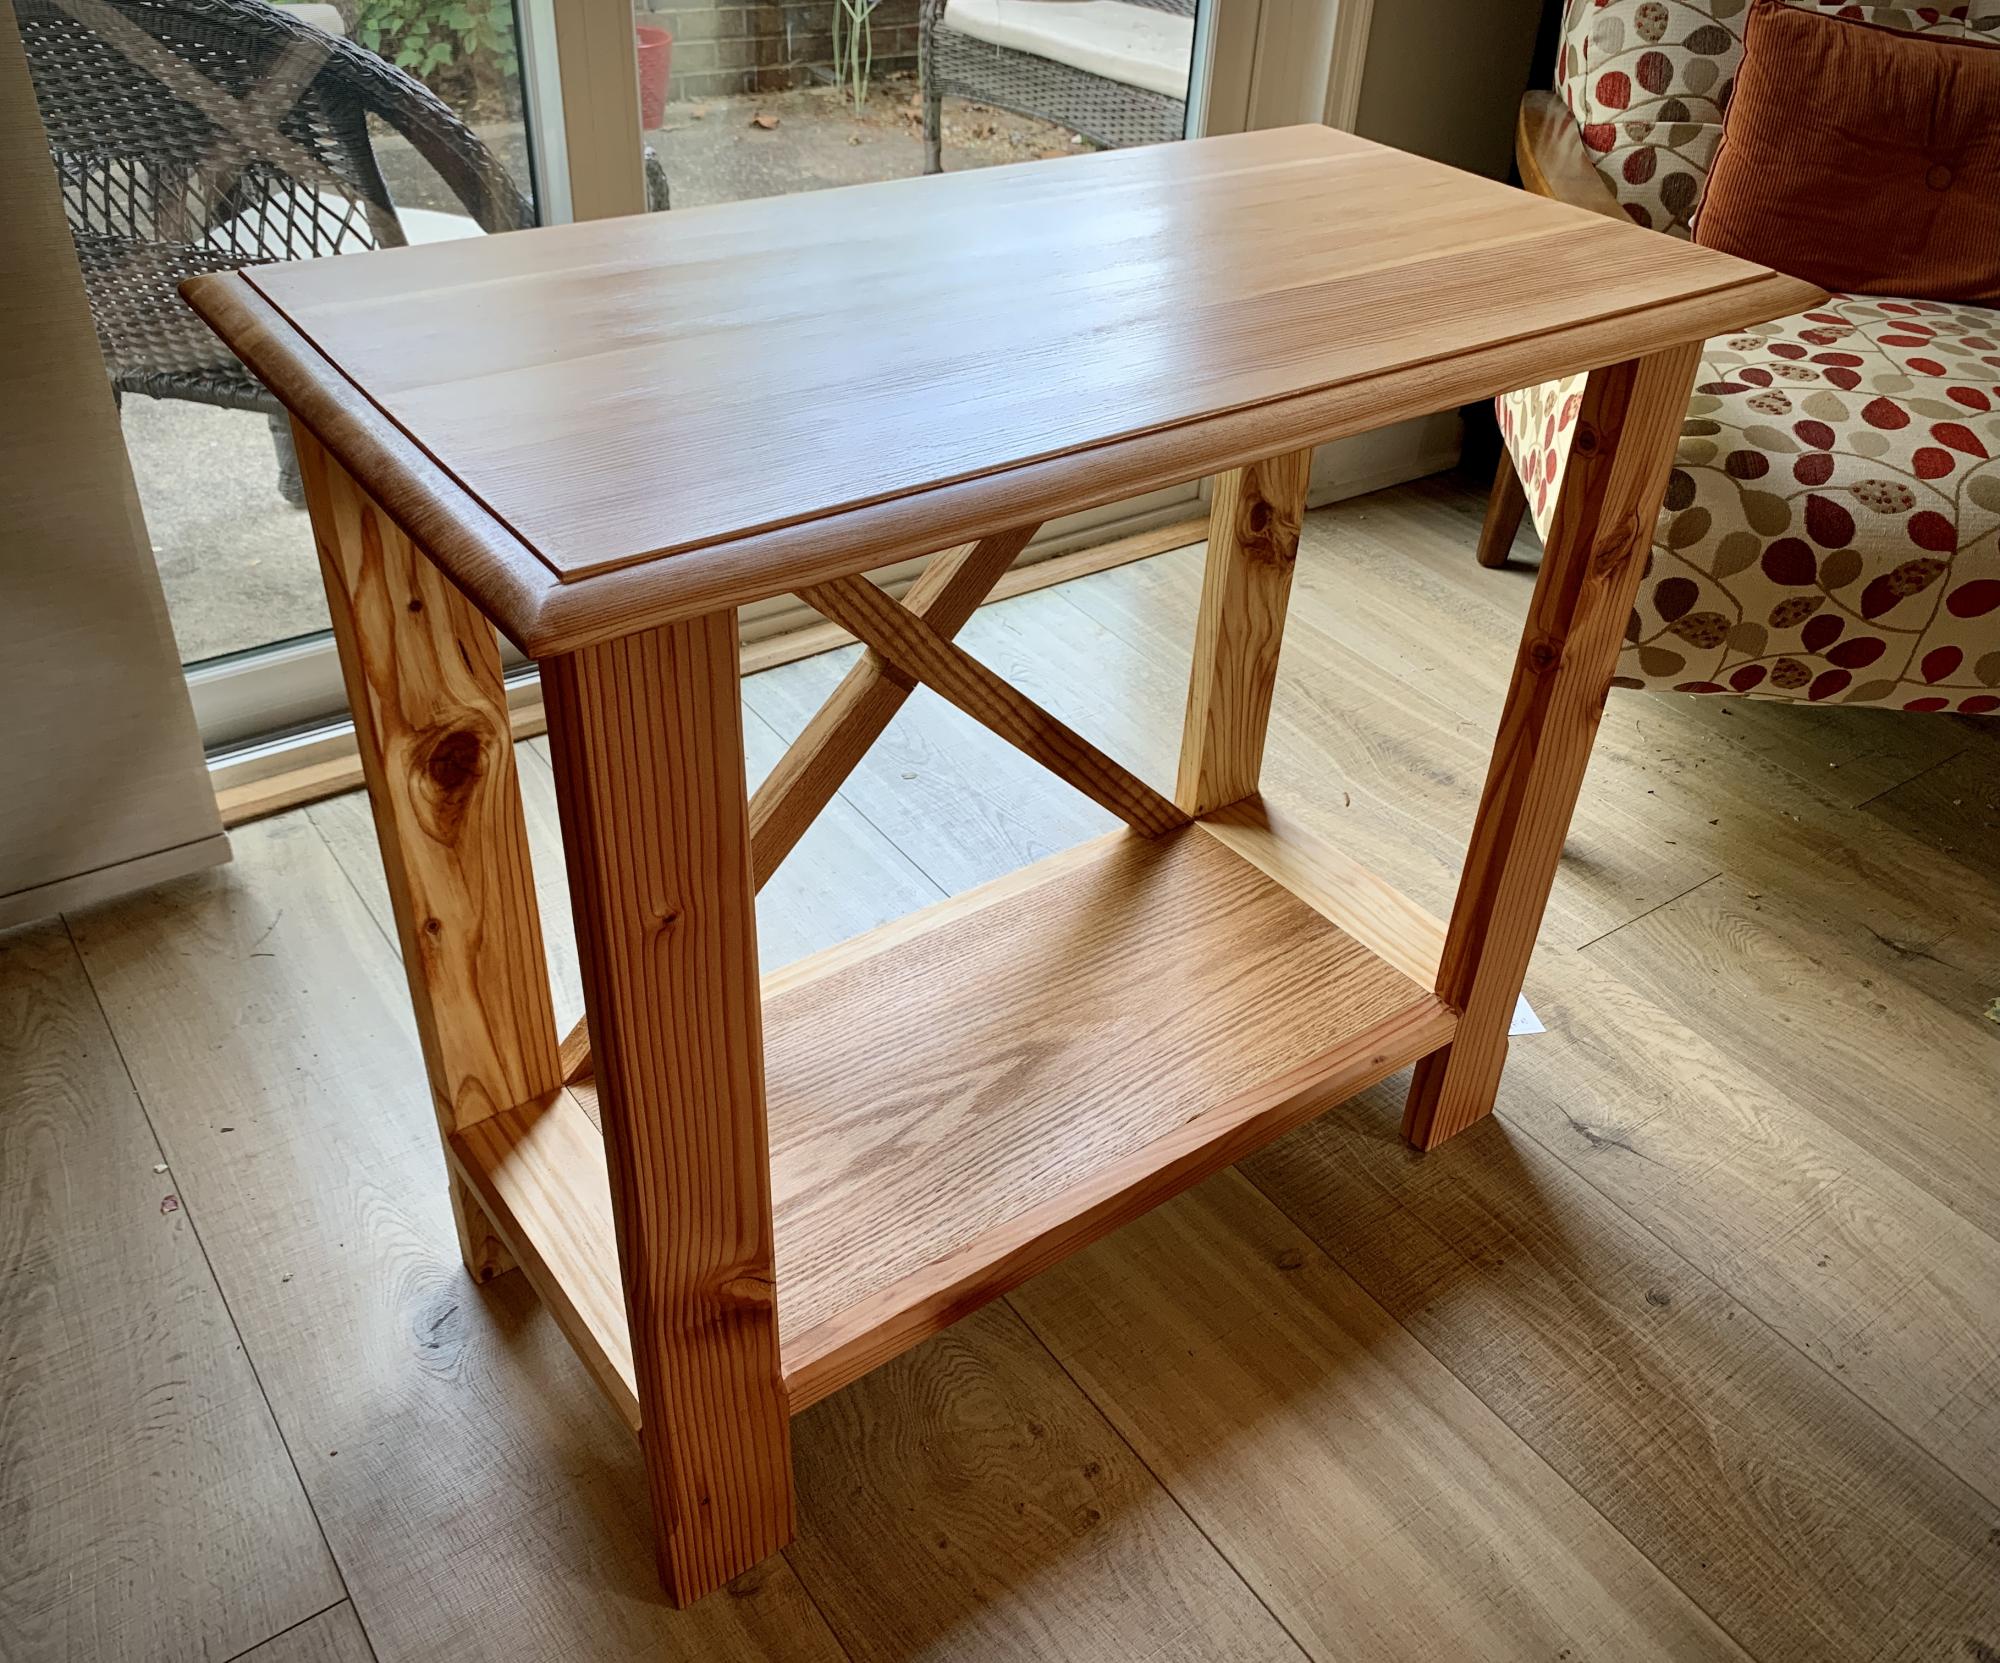
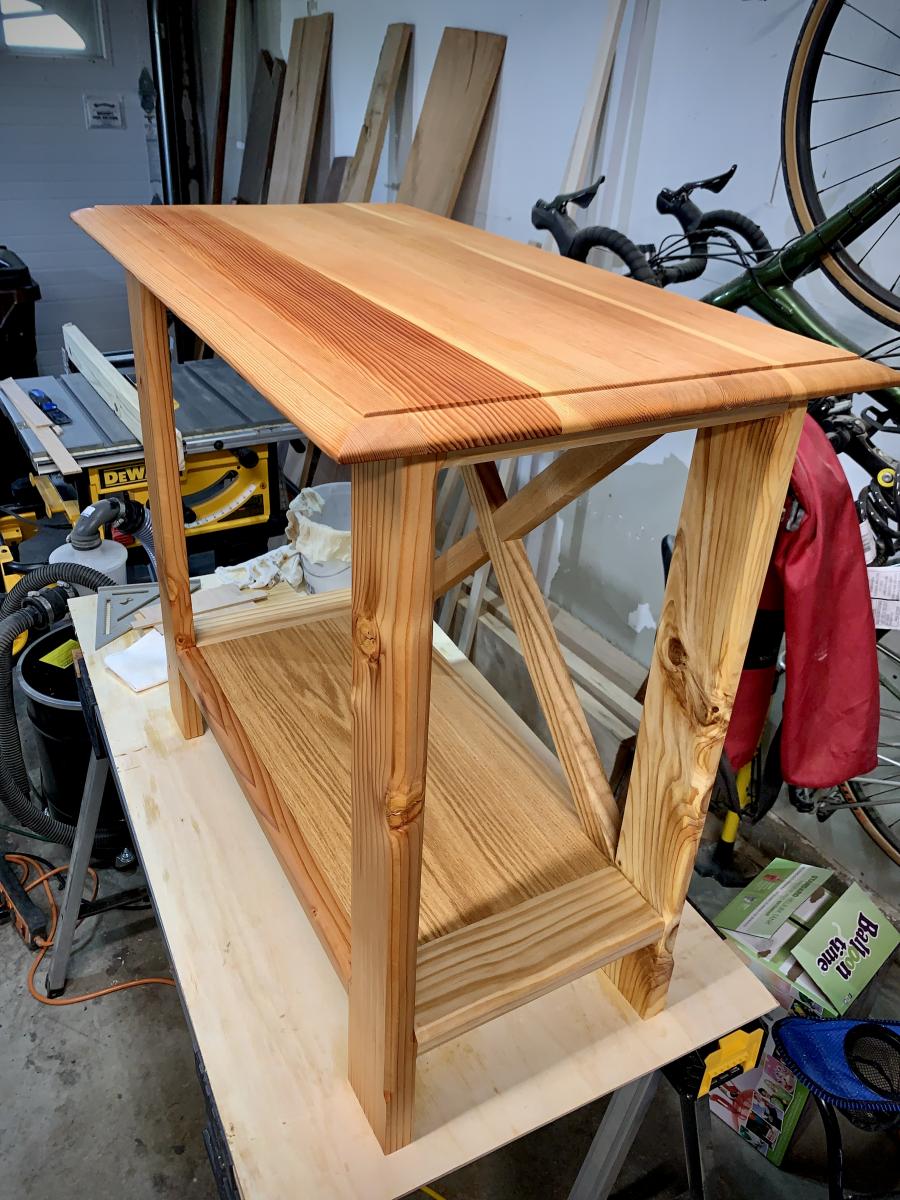
A couple more passes of finish and this will have a new lease on life. Beginning as a mixture of reclaimed wood and some shelving that Brian Carla Baker Smith had in their garage, it will soon be sporting a television as life begins anew for our friends. The most gnarly pieces turned out to provide the most character. I think that is a wonderful observation of life. Great plan from Ana White!
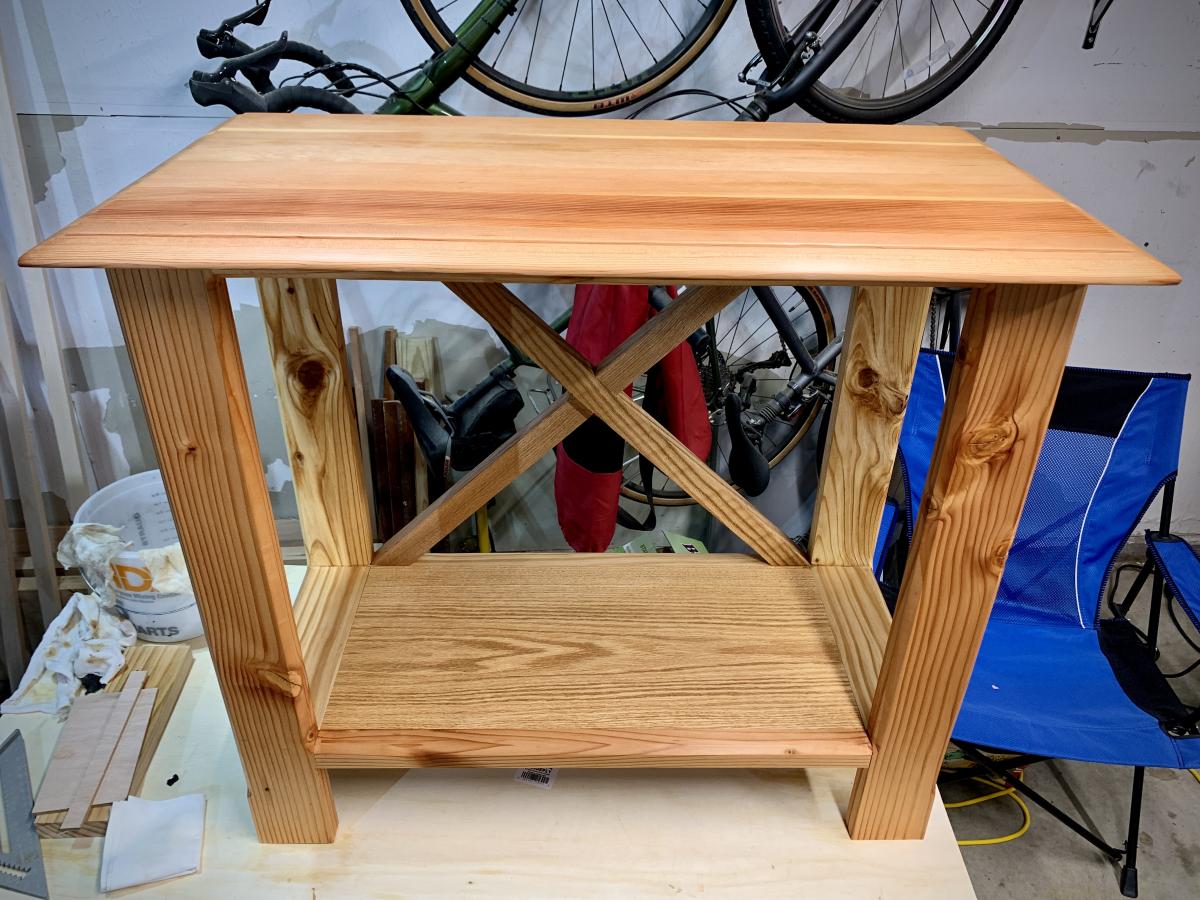
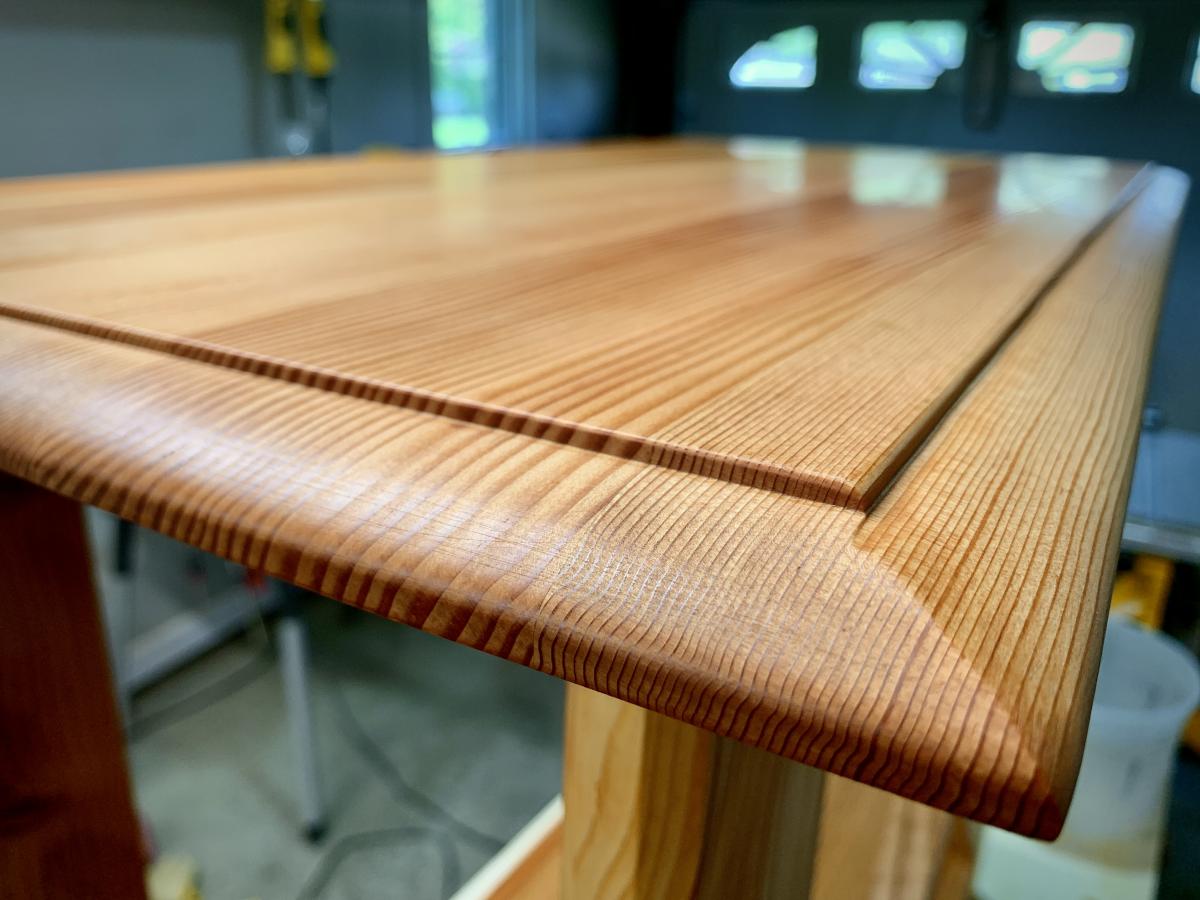
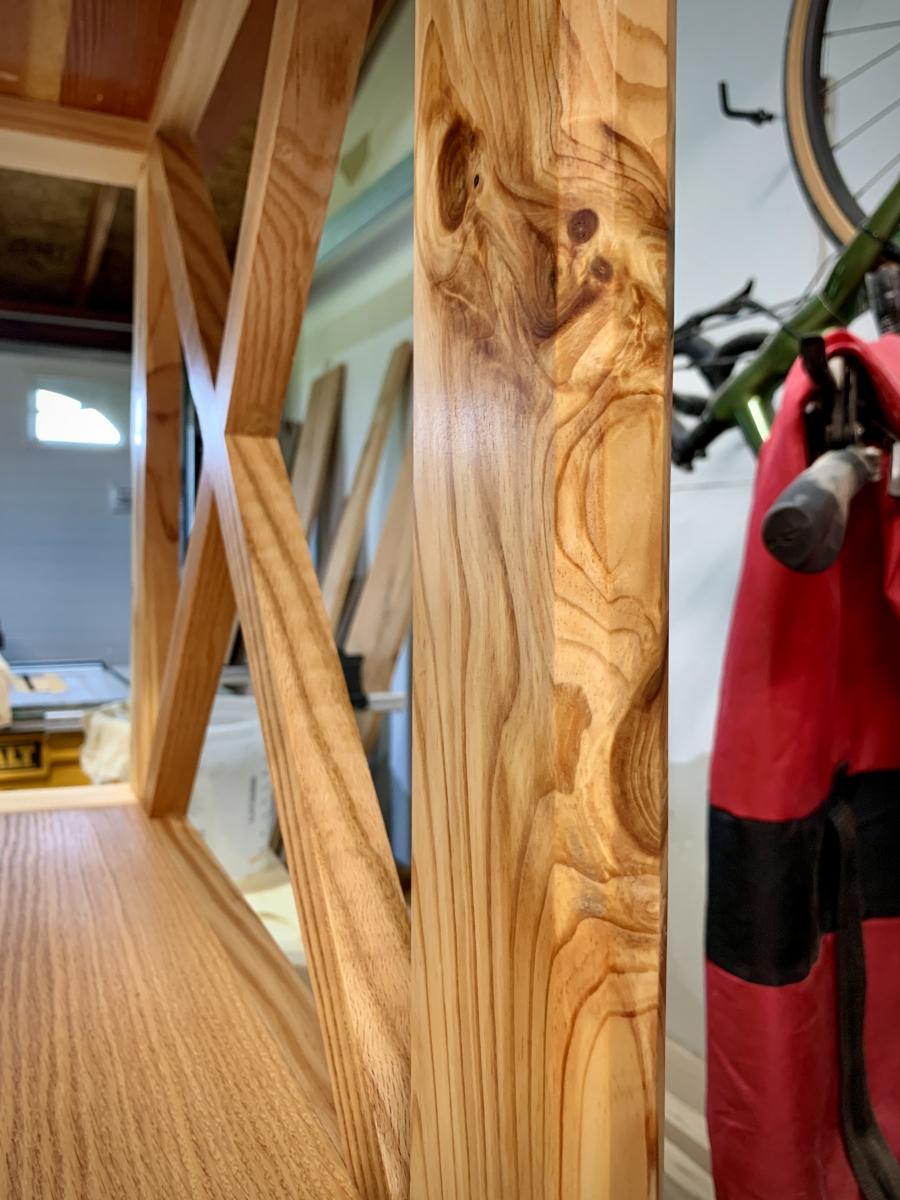
In reply to Wonderful details! by Ana White Admin
Fri, 07/16/2021 - 17:02
Thank you for the great plan Ana. Your plans, the details, and equipment required for the project have gotten me into woodworking. I appreciate all the work you put into your project posts.
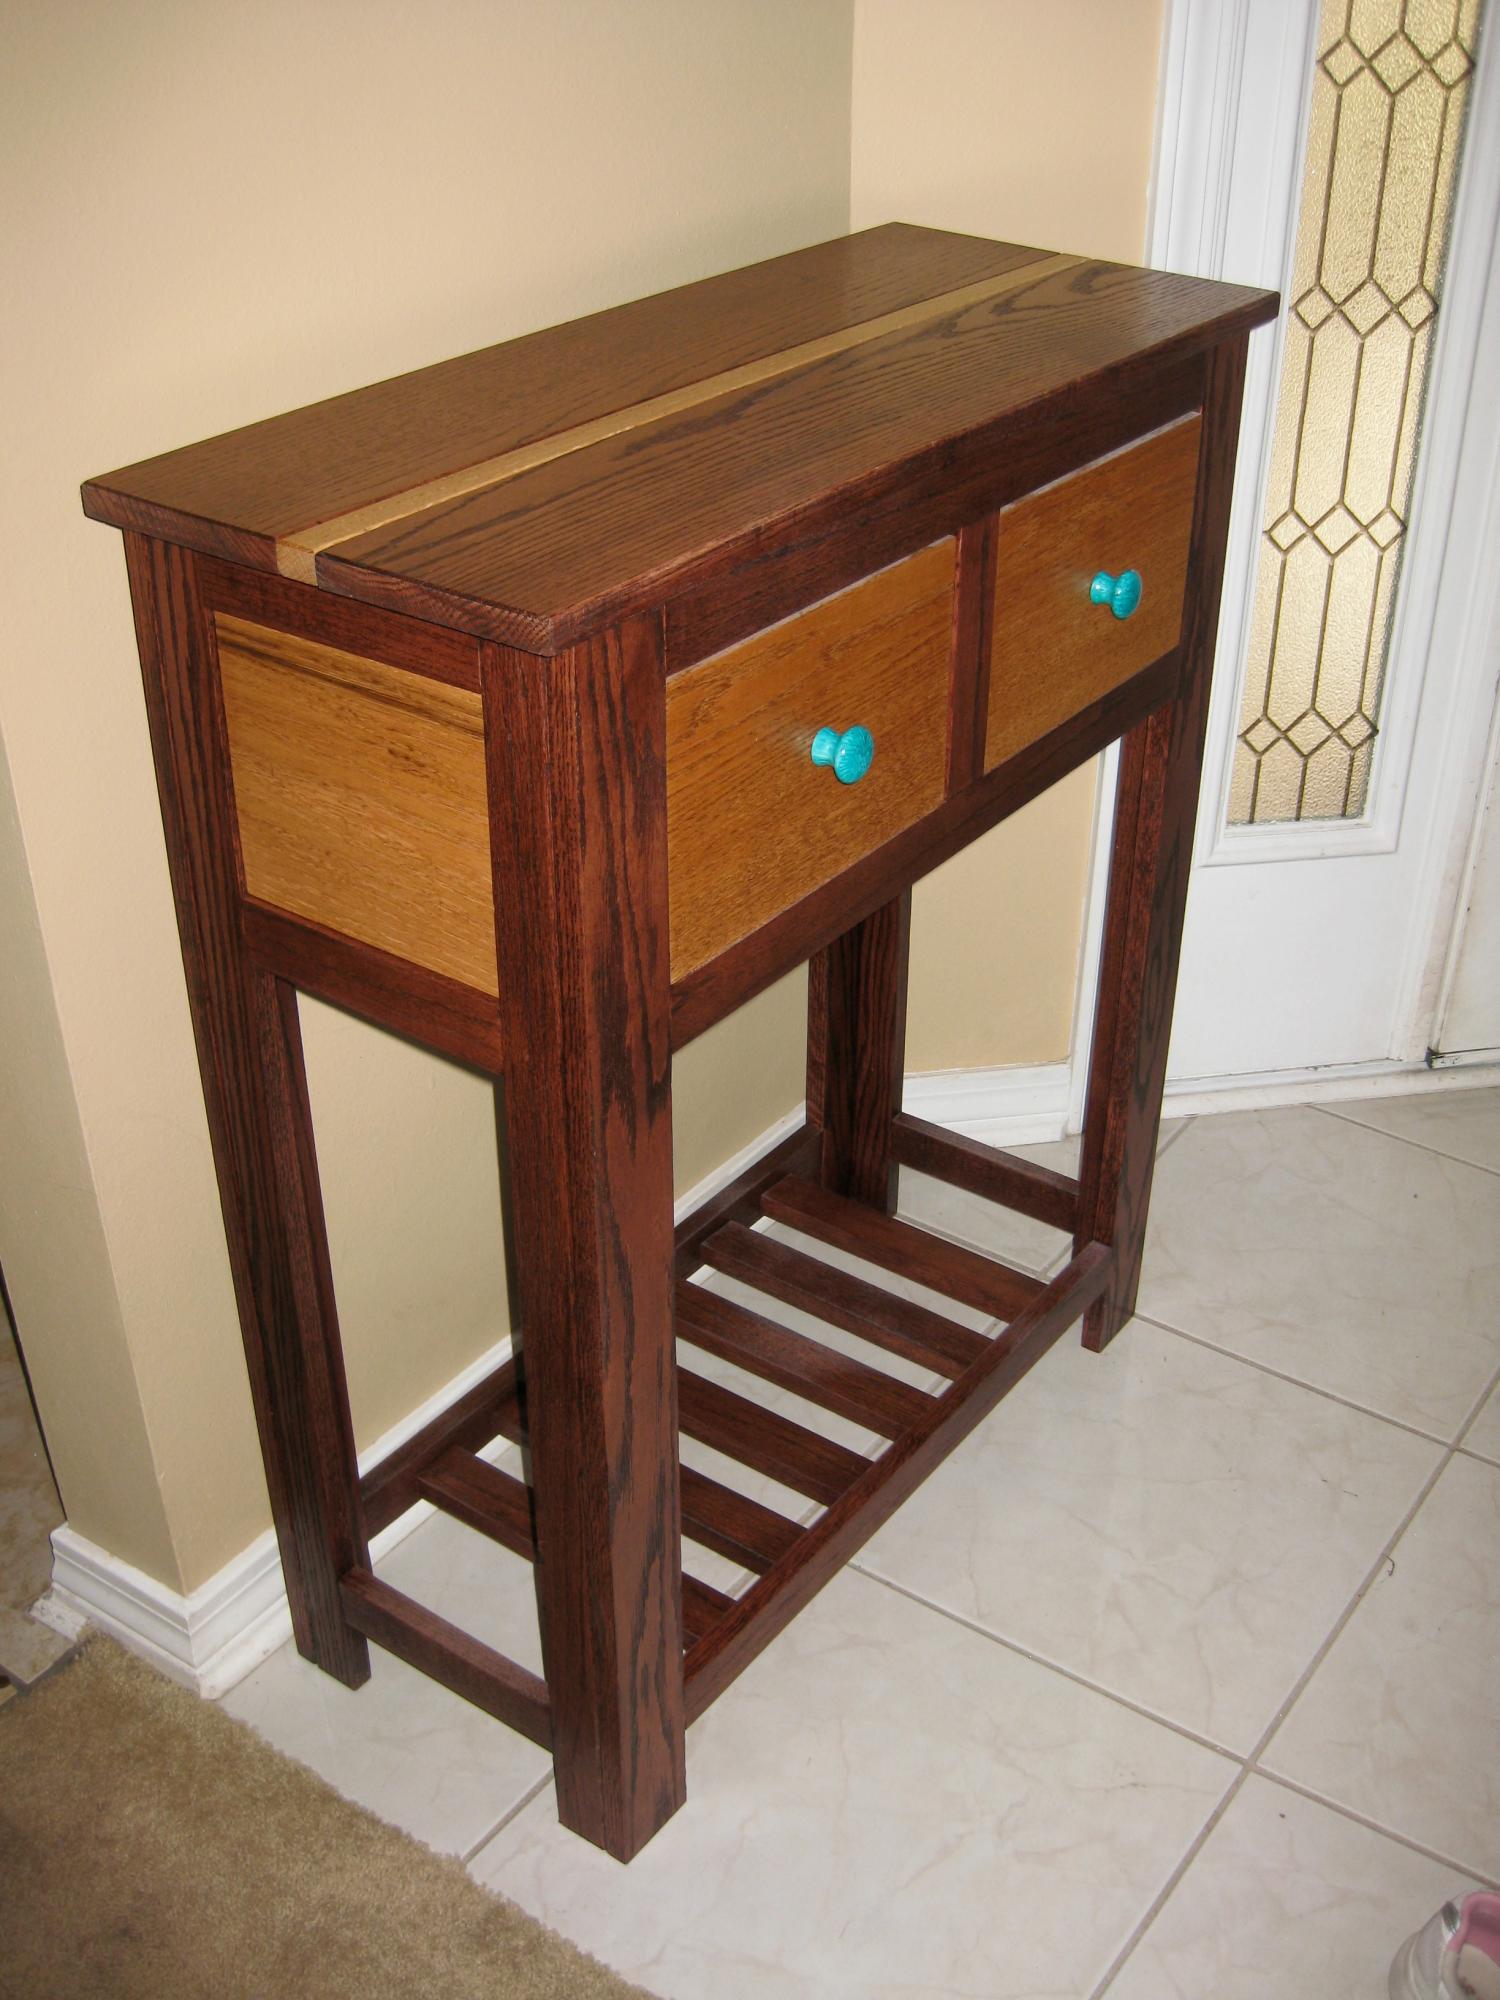
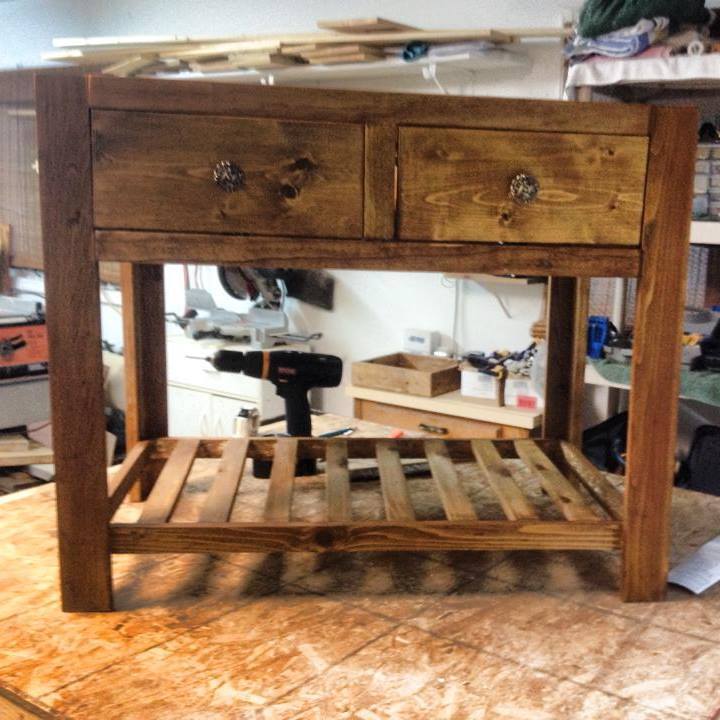
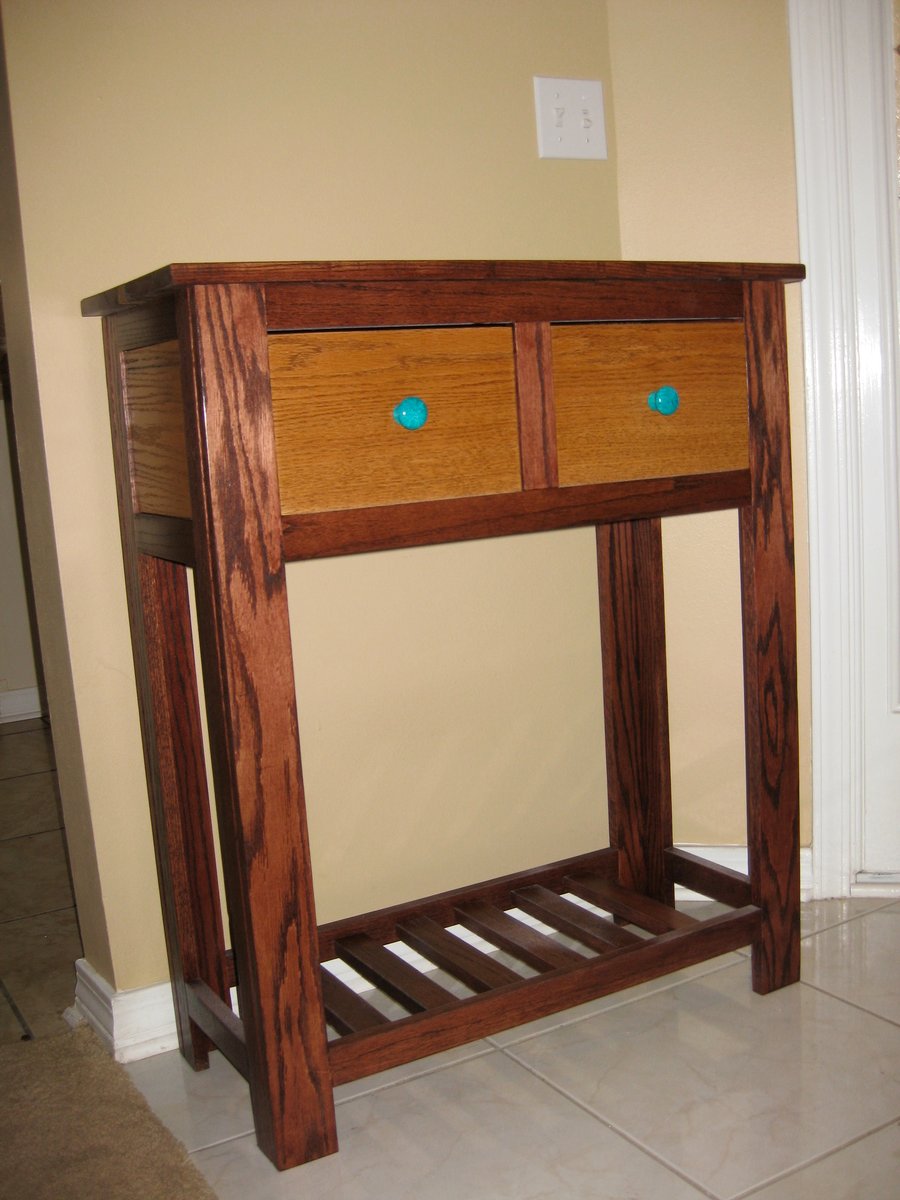
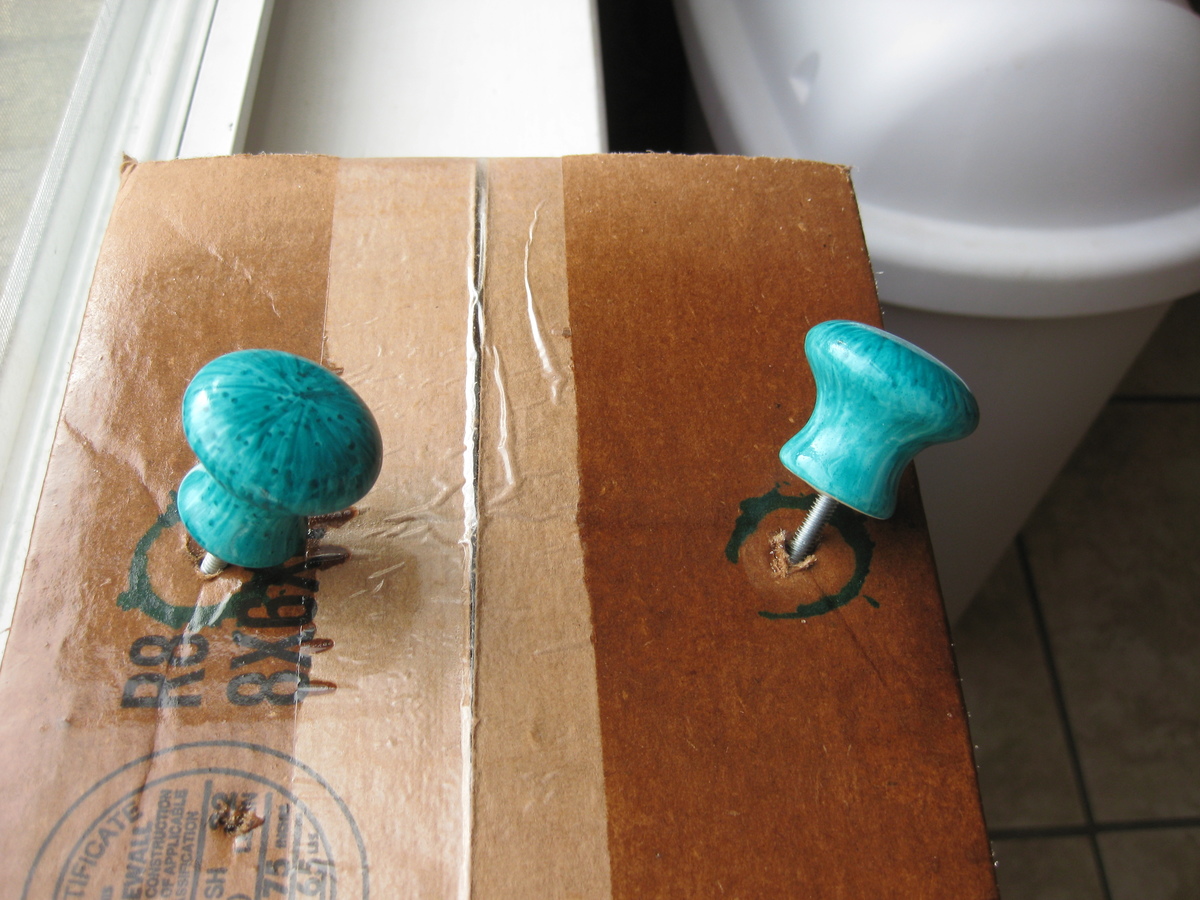
This was a modification of the Shirley Console Table. I had to change the dimensions to fit our entryway, and I wanted some color variation. Because I used two different stains, the pieces had to be fit together, sanded accordingly, taken apart, stained, and then glued/screwed together again. I learned how to use a router on this project, so it was a learning experience (thank goodness for wood filler!). I also inset the sides and back, though it's not really obvious in the picture. The drawers slide on a tongue and groove track. The pulls are white porcelain covered in teal sharpie (baked then coated with acrylic). Definitely learned a lot on this project! As this was made basically from wood scraps, I'm not sure what the cost was. The drawers, minus the facing, is 3/4" oak veneer plywood.
Thu, 04/04/2013 - 17:15
Great project! It's beautiful! Your porcelain knobs method sounds fascinating -- did you sharpie them first and then bake in the oven (what temp & how long?) - that's a super creative idea!
Thu, 04/04/2013 - 17:49
Thanks Joanne :) The tutorial I used is here:
http://www.tealandlime.com/2012/09/diy-faux-malachite-knobs
After perusing the comments, I decided to spray on a clear acrylic coat to protect the Sharpie from eventually rubbing off. It sounds like other markers may not work as well, so I'd stick with Sharpies. I think it would be fun to do other colors!
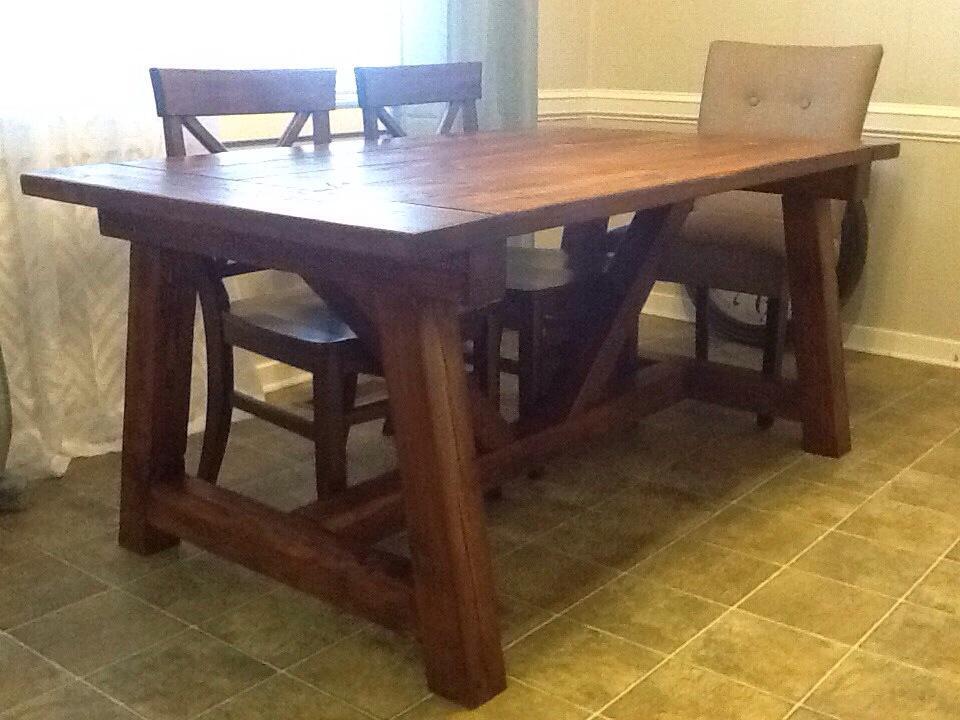
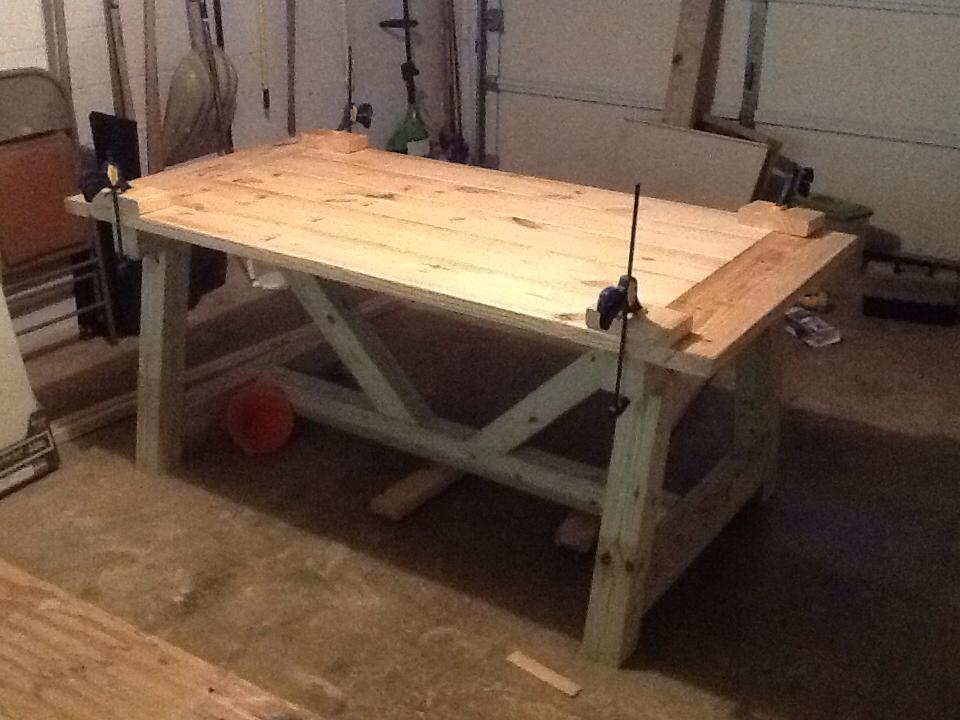
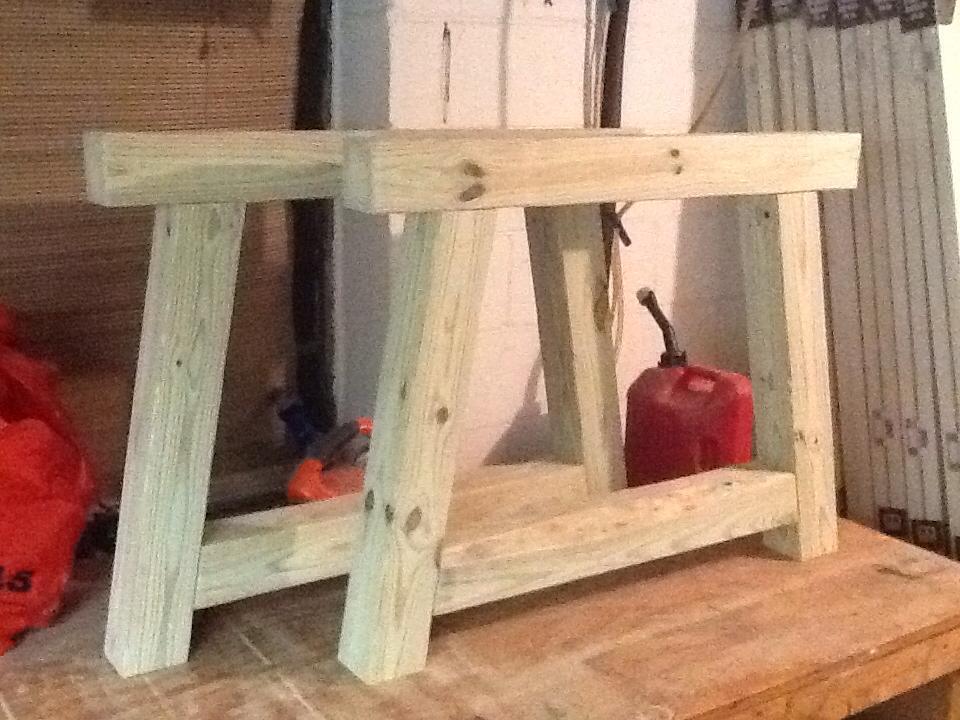
Shorted this length of the table by 6 inches to fit the available space. Came out great. Tip: If using pine, after stain dries, gently sand again with high grade paper to remove raised ridges after wood has absorbed stain, but not hard enough to remove stain. This will help make the eating surface much smoother to the touch.
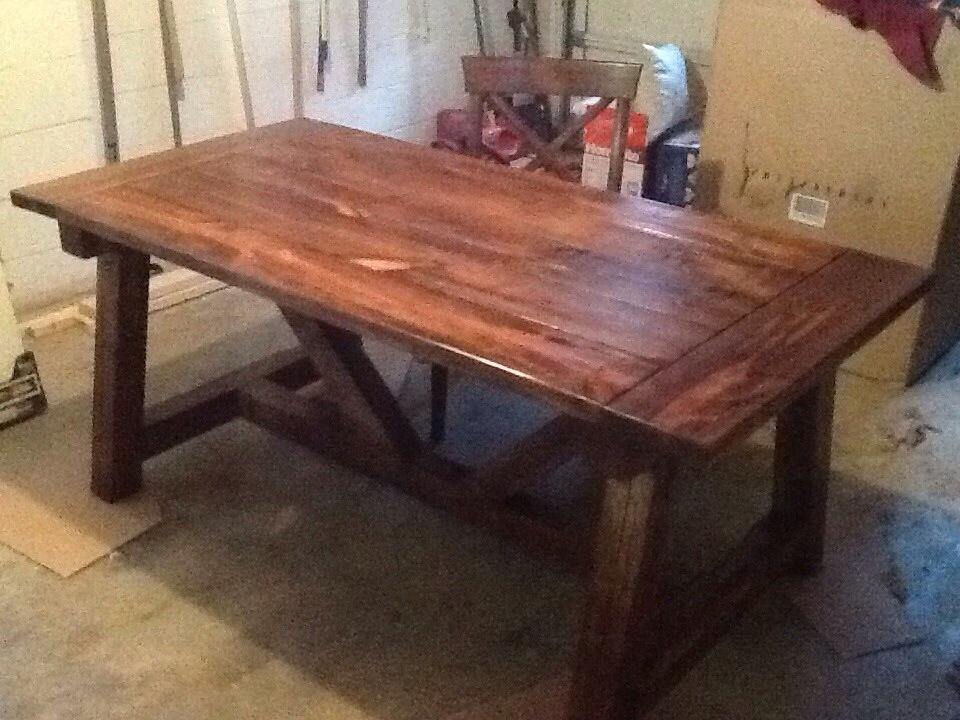
New chairs for our lake house. They turned out realy comfortable. Thank you Ana!

used Ana's plans, just modified the width and depth.
Fri, 05/28/2021 - 12:35
This is officially DONE!, just waiting for the paint to dry. Turned out heavier than I thought it would. Next time would try to use thinner materials. The X's weren't too bad, but were still a PIA. ... thats why most of them live in Texas
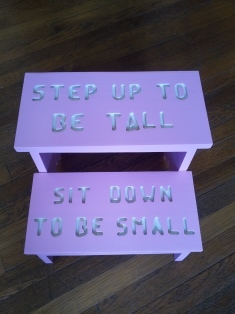
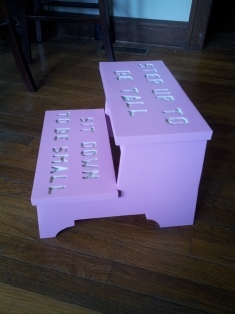
Saw your plan for the vintage stool and had to build it for my grand daughter. I added a little twist to it by adding a saying found on stools back in the 70s. Used a router sign kit for the lettering. The last picture shows the grand daughter's approval

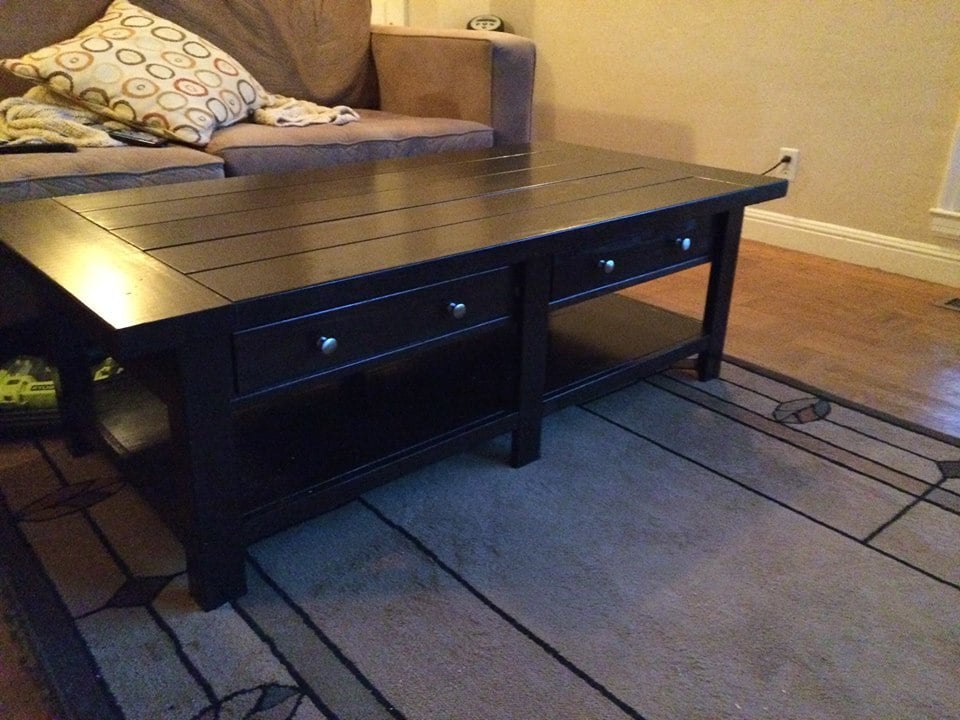
I used Douglas Fir instead of pine, which increased the cost but I love the warmth of the wood in this piece. The instructions were pretty easy to follow once I got going, and the longest part of it was the staining process. I love this piece and I'm ready to do another one!
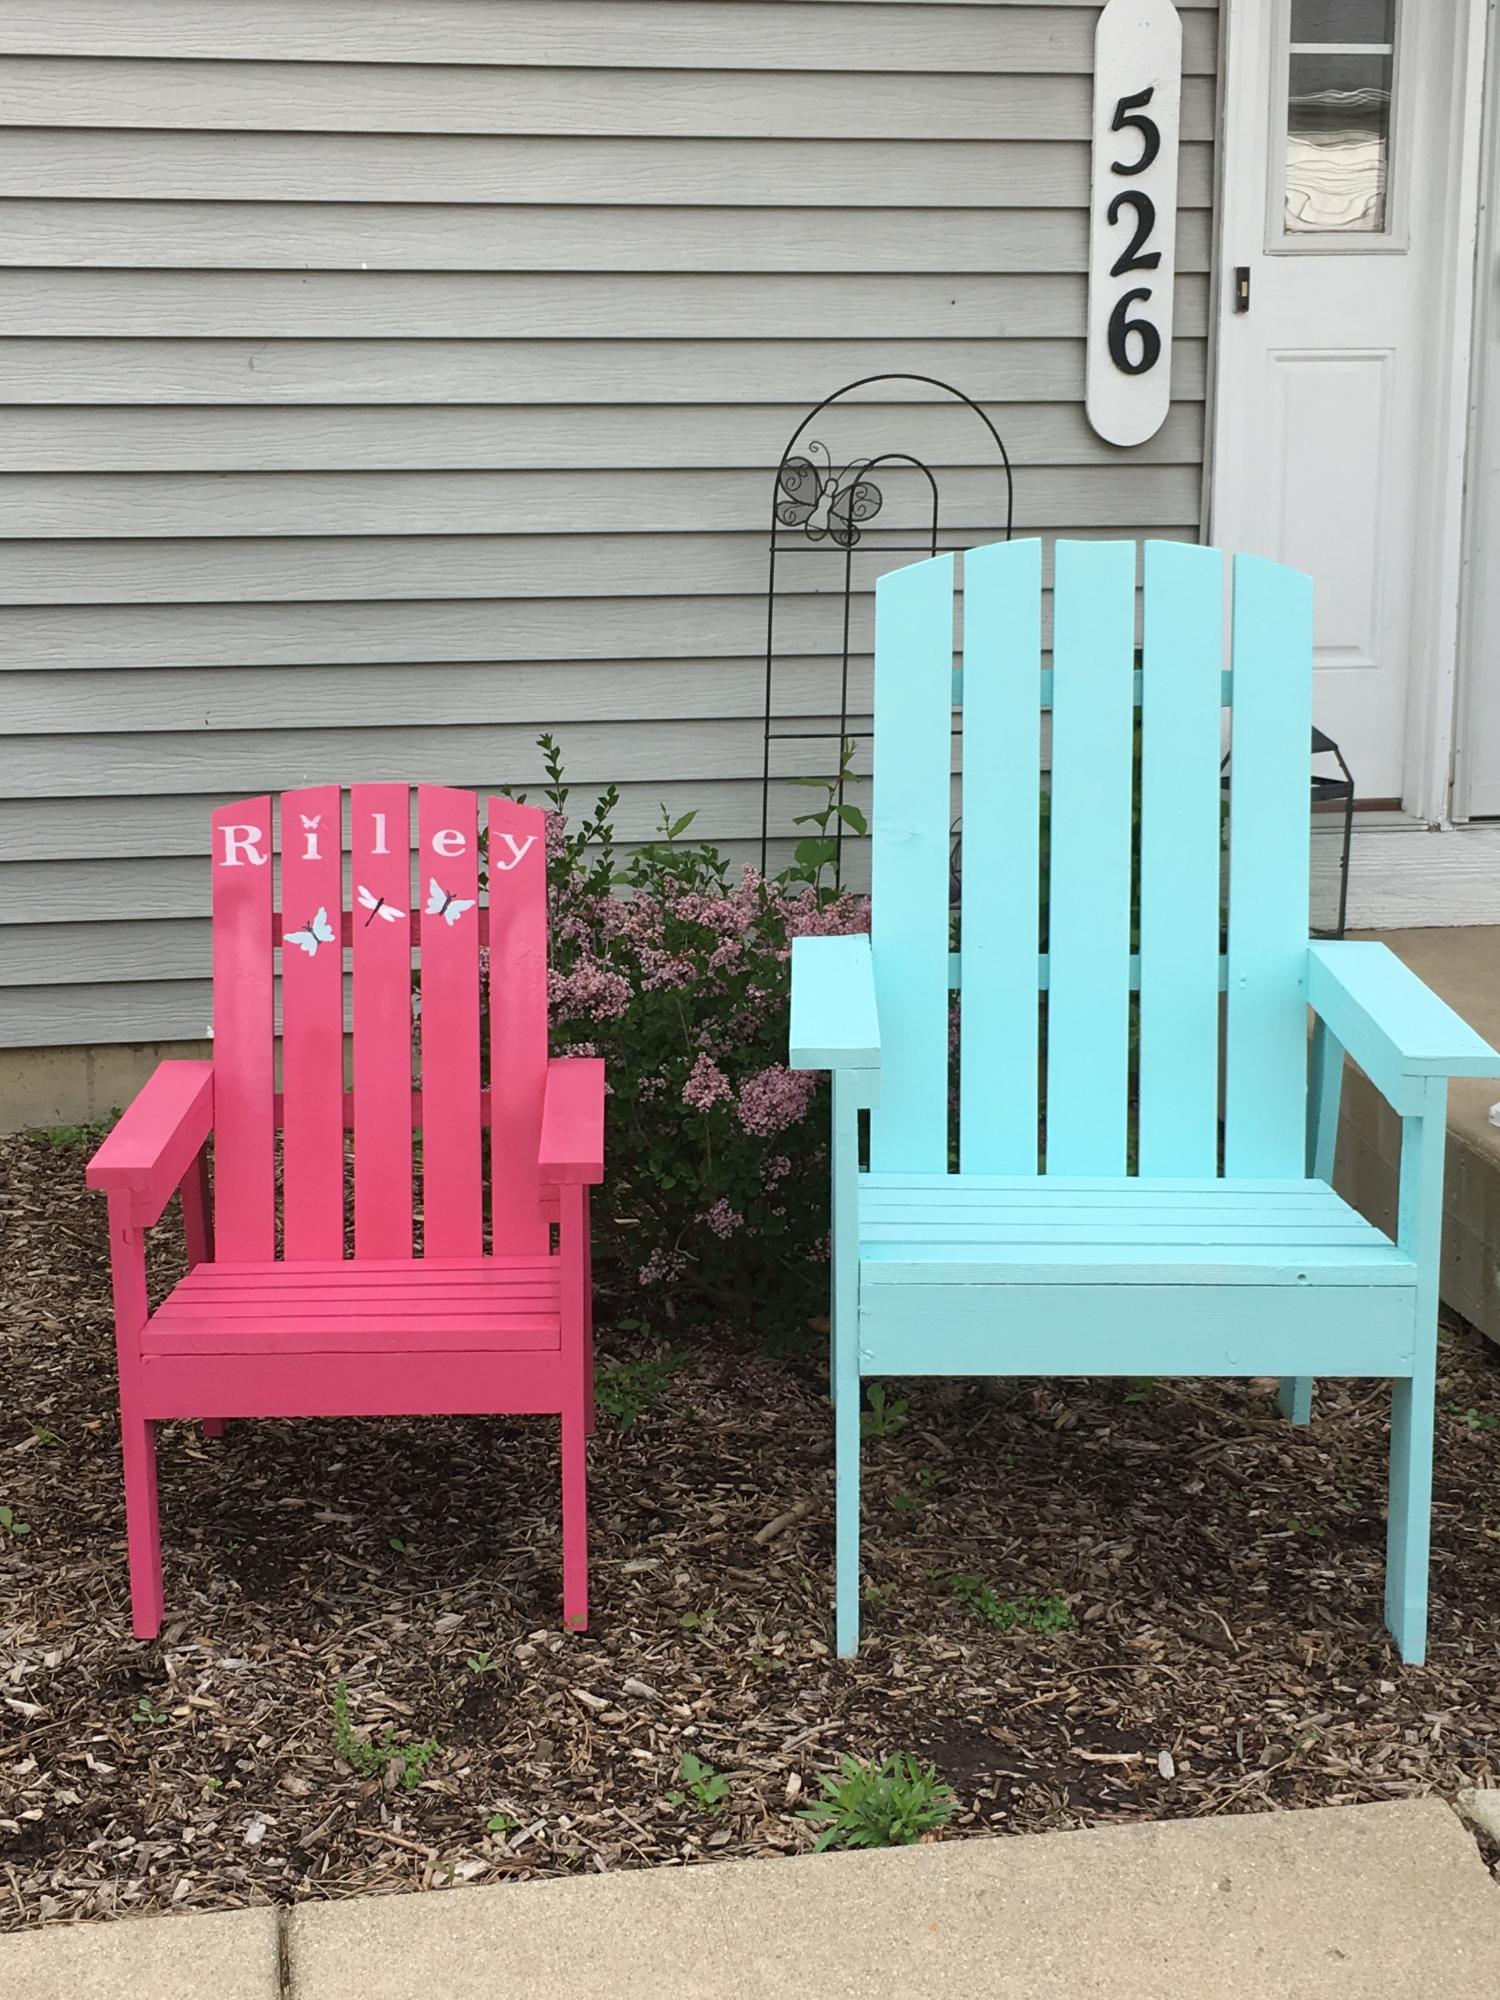
Love Ana's projects. Made a few mistakes, but all and all a fun and easy build
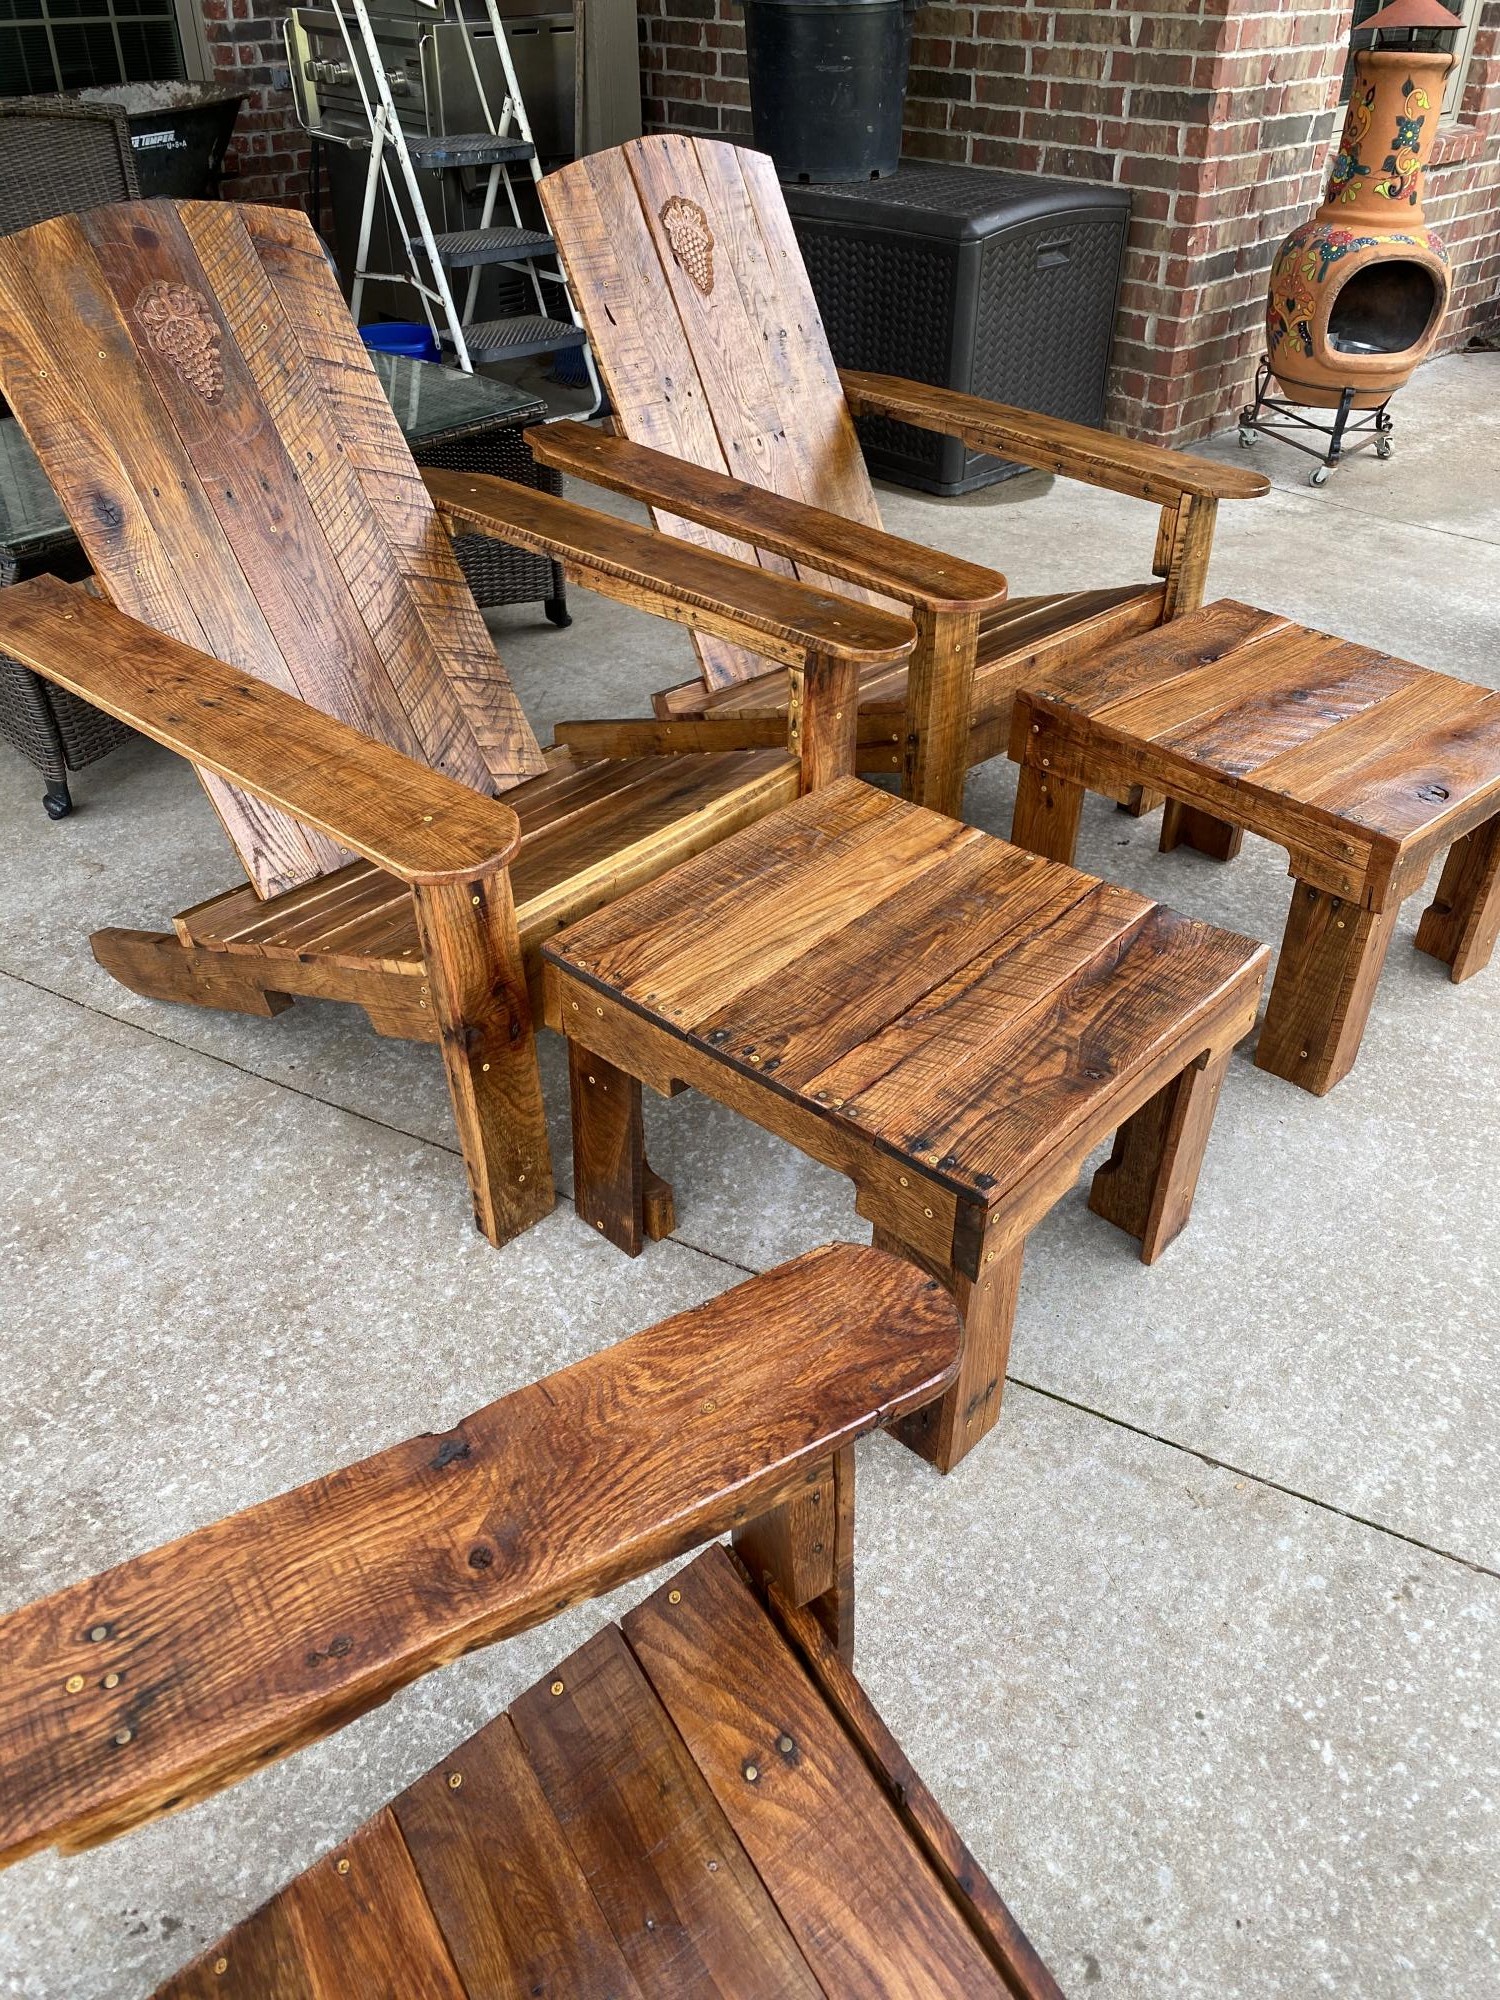
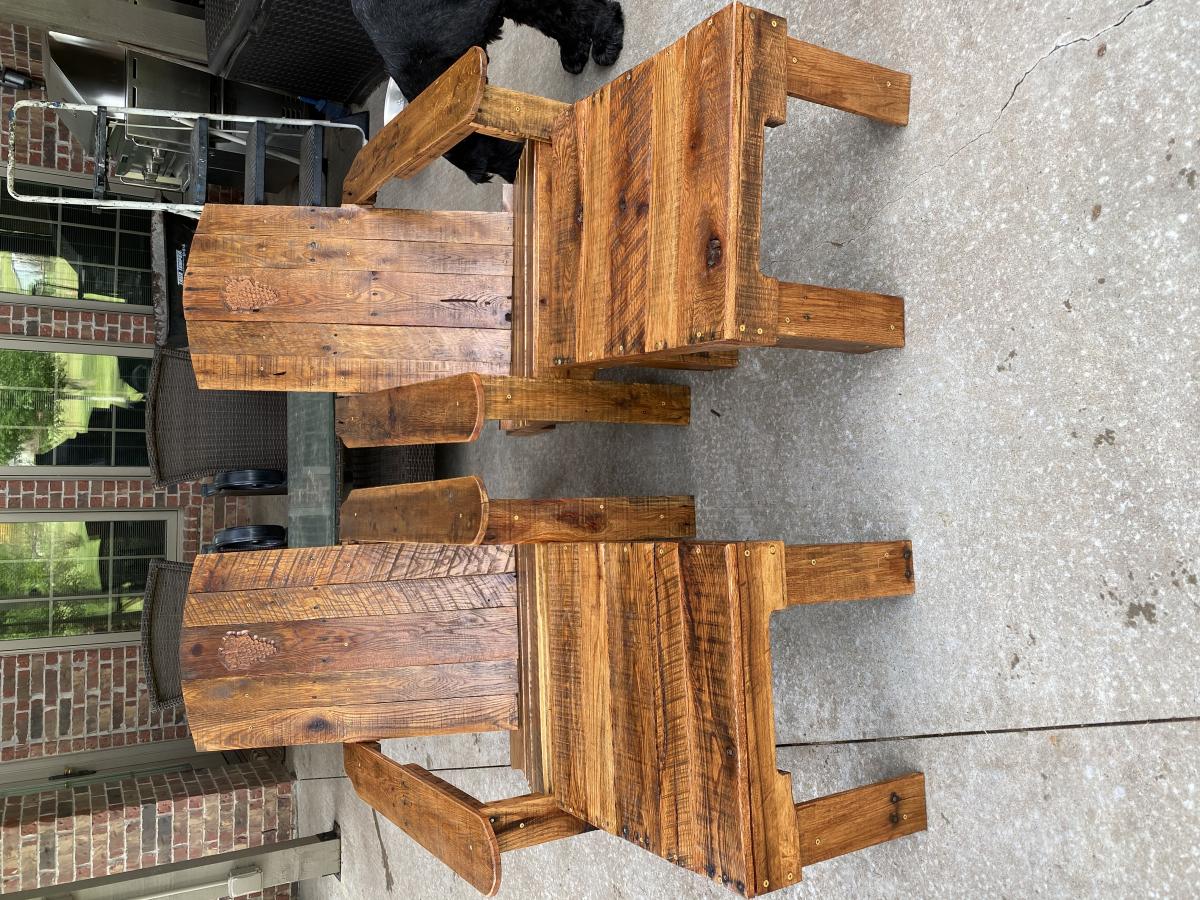
We used Ana’s plan for modern Adirondack chairs and modified them to build out heat treated pallet wood. The chairs are very comfortable. We appreciate her plans!
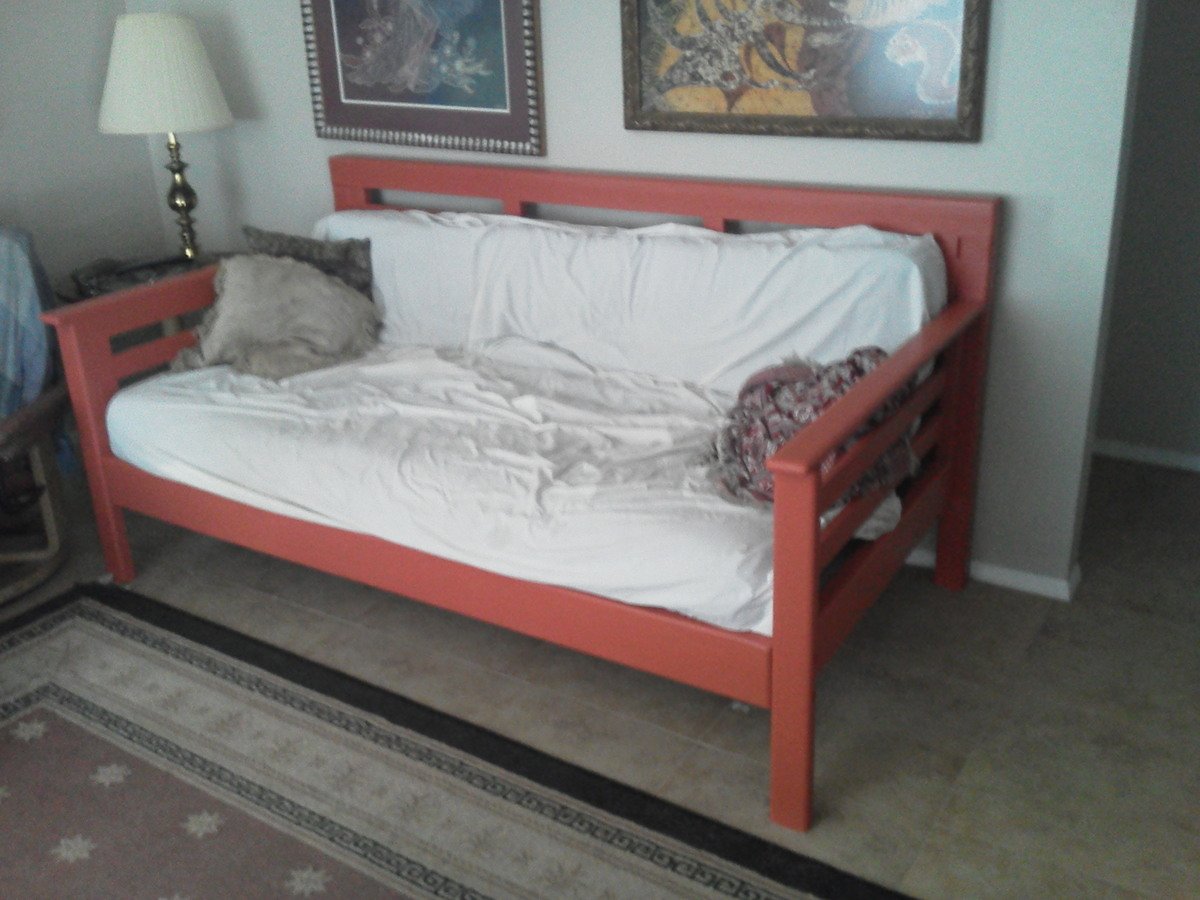
We (myself and my girlfriend) decided to build this daybed after considering several options for a new sofa. With three big dogs we knew we wanted a big sofa and after looking at many $400+ options we saw several issues (besides cost), The biggest was the availability of slip covers for easy cleaning. We went with the daybed route because a mattress is far cheaper than foam for sofa cushions and twin sheets are readily available for low prices in many colors.
Obviously I altered the plans significantly as I wanted a chunkier, heavier frame that would withstand the abuse of day to day life. Also I removed the canopy as it's not needed indoors. The rear legs are 4x4 nominal which I resawed to 3x3 actual. The rear frame is 1x3 nominal horizontal pieces with 2x3 nominal boards as the verticals. These have rabbets cut in them to join with the horizontal pieces. The bottom support for the mattress is a 2x6 resawn to 2x5 actual and rabbeted to fit each vertical and the legs. Also, the top two horizontals are longer to fit into rabbets in the legs - this allows the back structure to be far stronger.
The sides are constructed of 1x3 horizontals with the leg and arm cap being 2x4 nominal resawn to 1x3 actual. The verticals were rabbeted like the rear to accept the horizontal pieces. The front crossmember is a 2x6 nominal block planed to match the front legs.
Joinerys consists of the following -
All rabbeted joints are glued and brad nailed together.
The legs and arm/top caps are pockted screwed to the horizontal crossmembers.
The front, sides, and rear join with 3 1/2" deck screws and 5 1/2" lag bolts.
Stringers/mattress supports are 2x3 nominal.
Finish is Behr premium plus interior latex eggshell paint/primer sprayed with an HVLP sprayer.
If anyone is interested I can take some measurements and more photos. Right now we just have our old futon mattress on (we're saving to do some other projects).
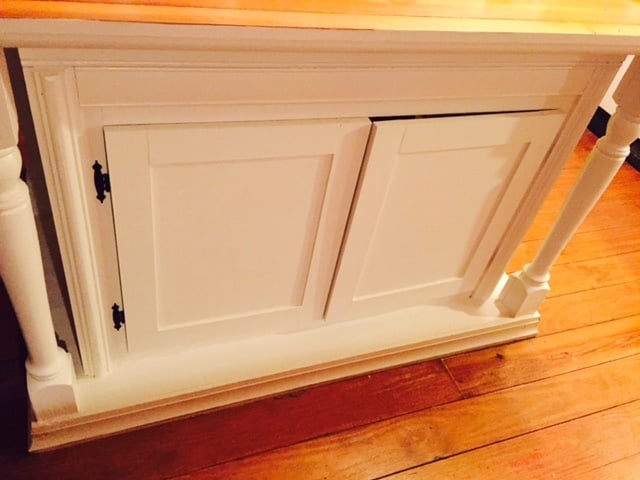
Needed to outfit an antique center island with some doors because our cookware was constantly getting dirty and having to wash before using. Followed the panel, rile and stile plans and ended up with some pretty decent cabinet doors. I would say that this style of creating doors while may seem easier due to not needing many tools (circular saw and kreg pocket set is about all you need), is actually intermediate because the panels have to be cut EXACTLY right or you will have gaps in your door. I remedied this with the help of my old friend wood putty, but this limits the doors since they must be painted. If your big box home improvement store has a COMPETENT worker (sometimes those are hard to find) you just might get some panels cut well enough, although I myself know how 1/8's of an inch add up  . If you do decide to get someone else to cut the panels bring your tape measure and verify the cuts are accurate. Anyway I have created doors both the traditional rile and stiles with inset panels and this way and this way is definitely quicker!
NOTE: I haven't installed any catches or handles thats why the door is slightly open.
Great Way to Spruce Up Your Kitchen!
-Martin
I build a Star Wars themed end table from a sheet of plywood and some scrap pine. Eventually, I'll add lazy susan hardware to make it spin. The top is glitter covered with a layer of resin. Click on the blog post link for a full tutorial on how to build it. :o)
I started with the no pocket hole plans. I then shortened them to fit my kitchen, and modified them to use the pocket holes.
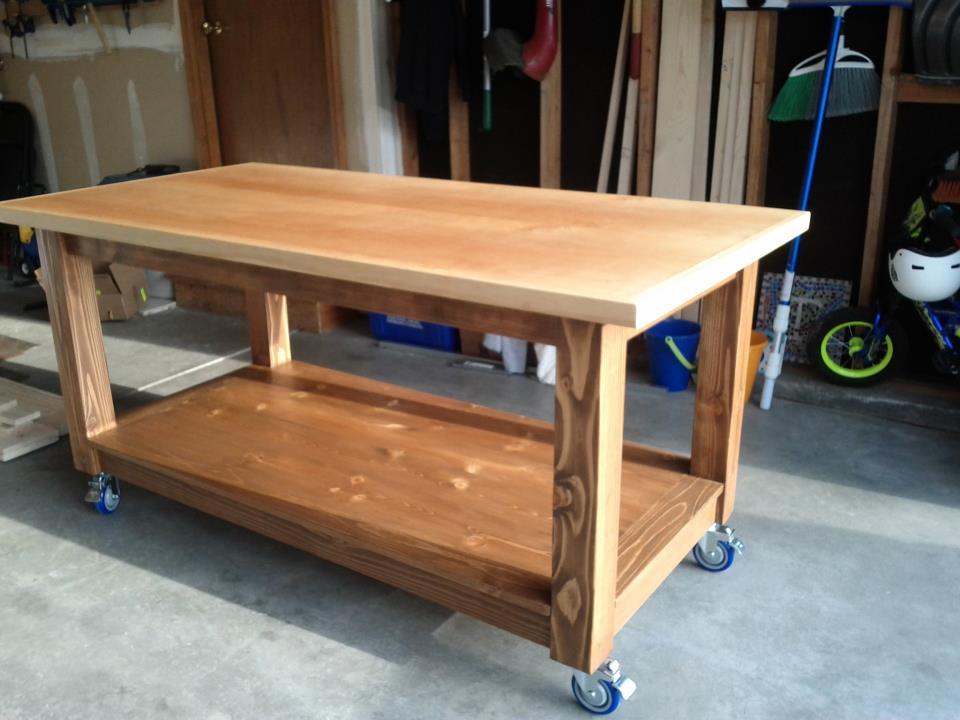
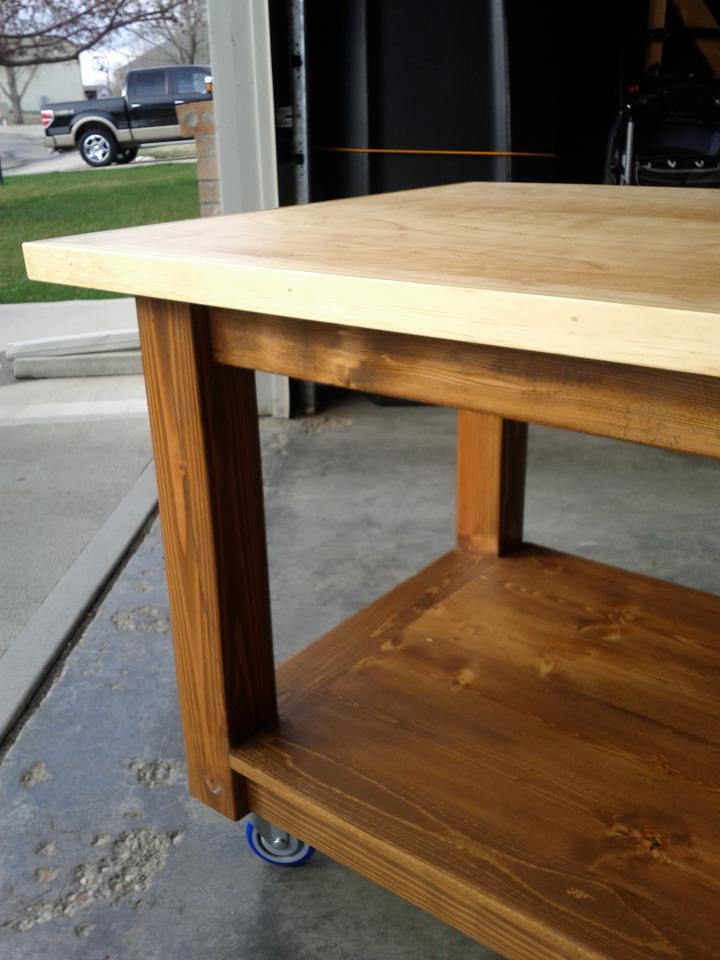
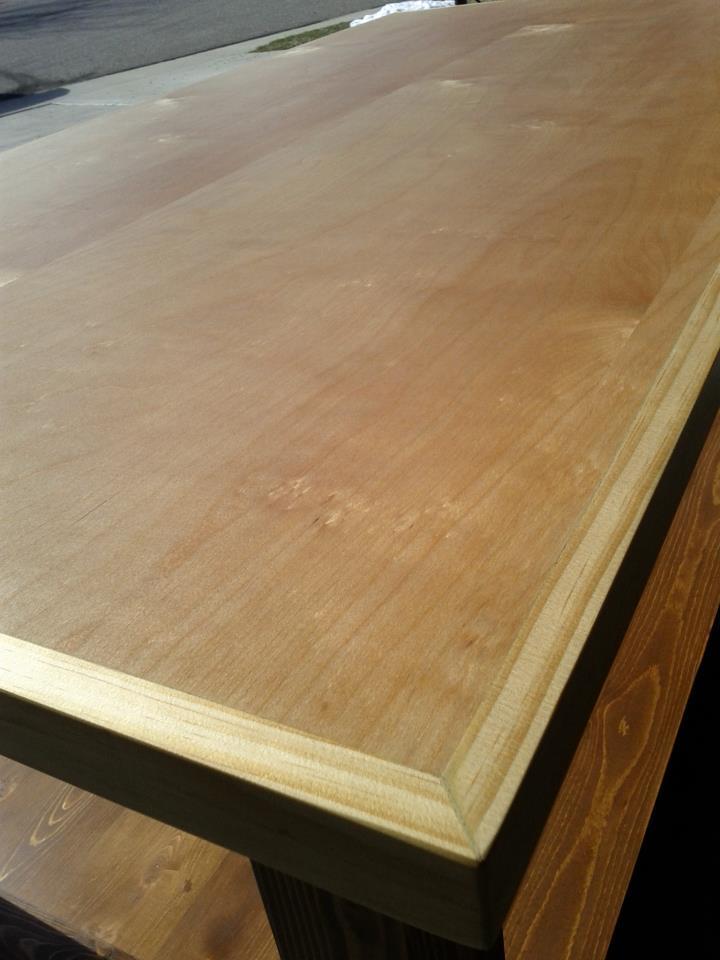
I needed a workbench to be able to create all of these wonderful plans. I used one of Ana's table plans and modified a little. I followed exactly, then I added a second top made out of birch pure bond plywood. I then put 1x2 edging to hide the edges. I used some pretty heavy duty casters with the double locking feature, I had to buy this off the internet.
This was my second build, the first being a 10 dollar ledge.
The plan is from Ana's book, the kitchen island. I can't seem to find it online.
This took me a long time due to limited time, because of work and kids. About 4-6 hours per week, for 2 1/2 months.
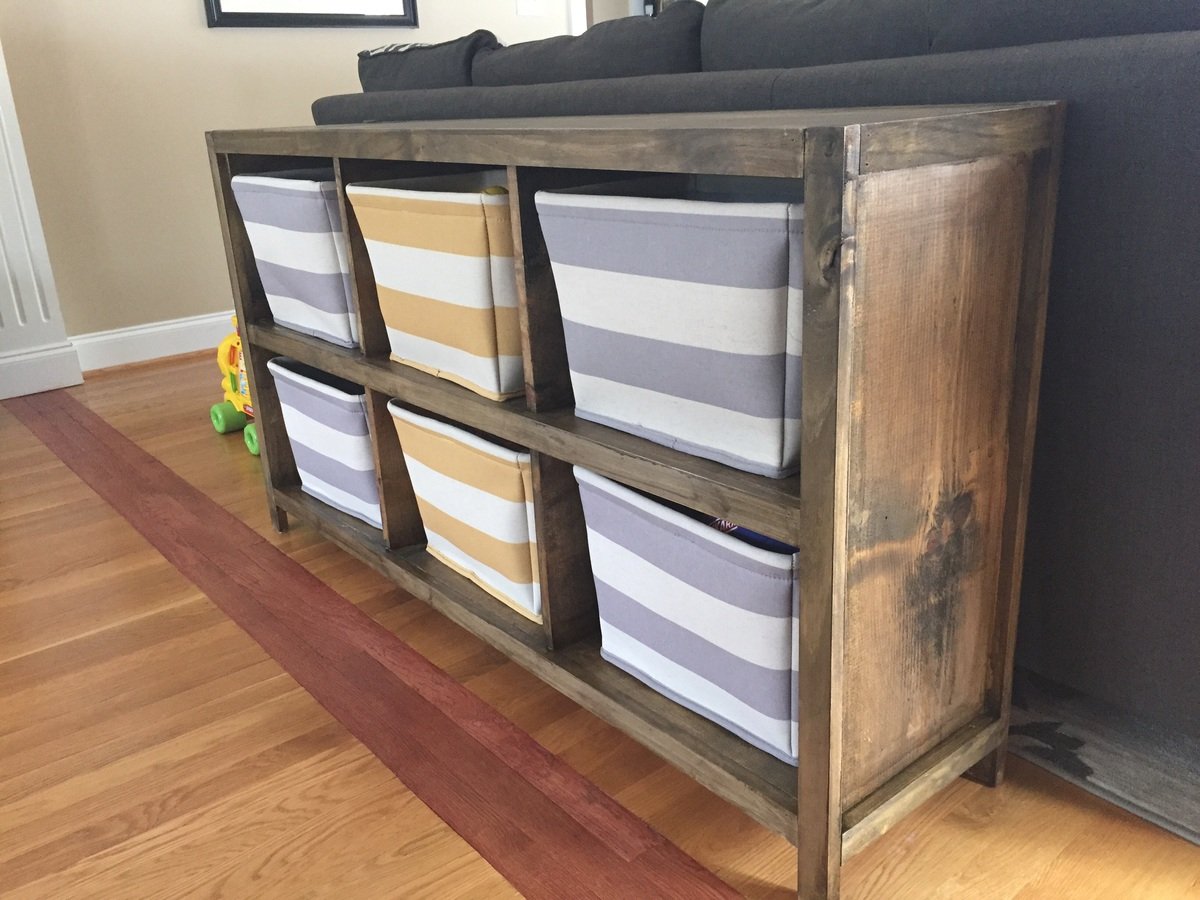
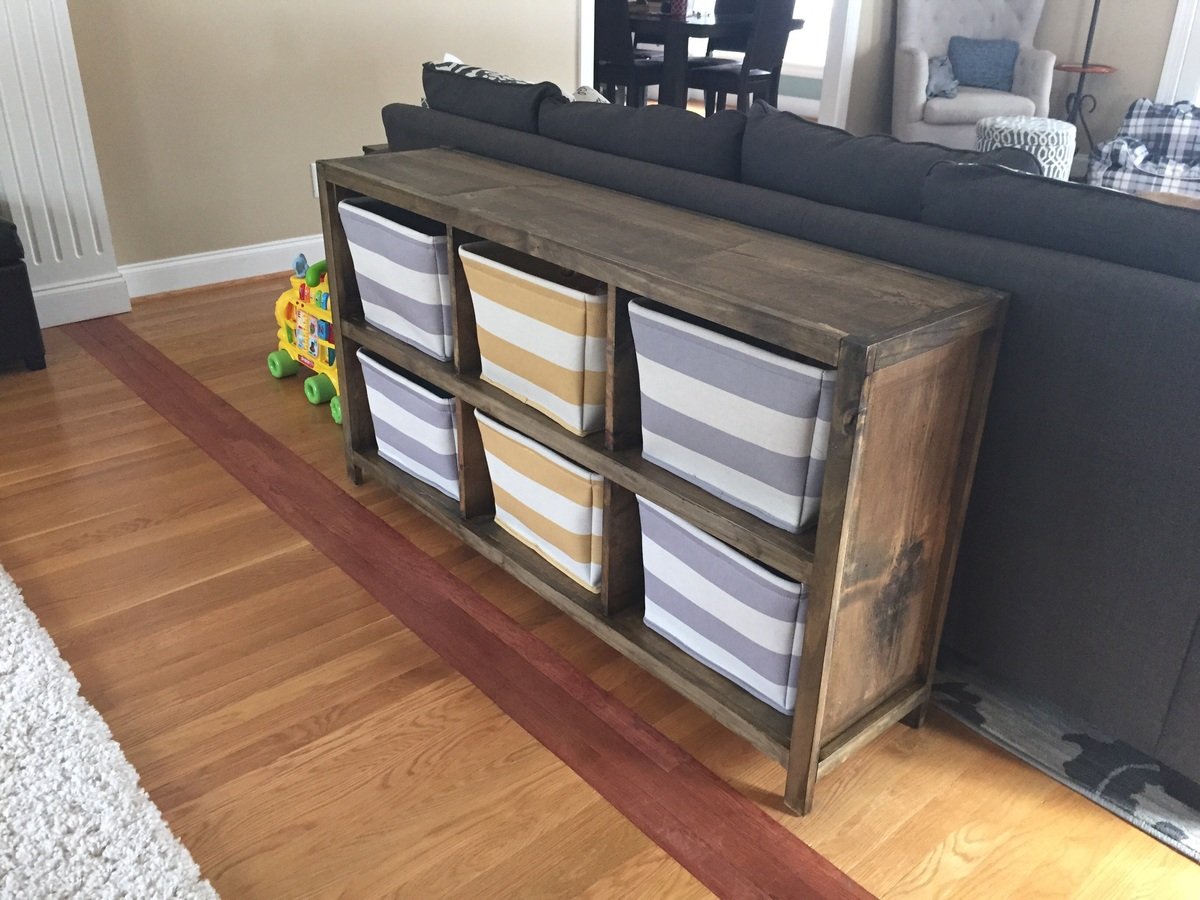
My wife and I wanted a nice way to hide more of our son's toys in the living room that didn't look tacky. We actually bought the cubby bins before even deciding what to make. (From target of course.) I made the bookcase out of wood shelving that already looked kind of beat up when I bought it knowing that the wood stain wood bring some character to it.
I only changed the plans slightly by making the legs flush with the inside so I could trim the ends and customizing the size of the cubby openings to fit the bins. (Mine aren't actually cubes.)
