Community Brag Posts

American Girl Doll Closet
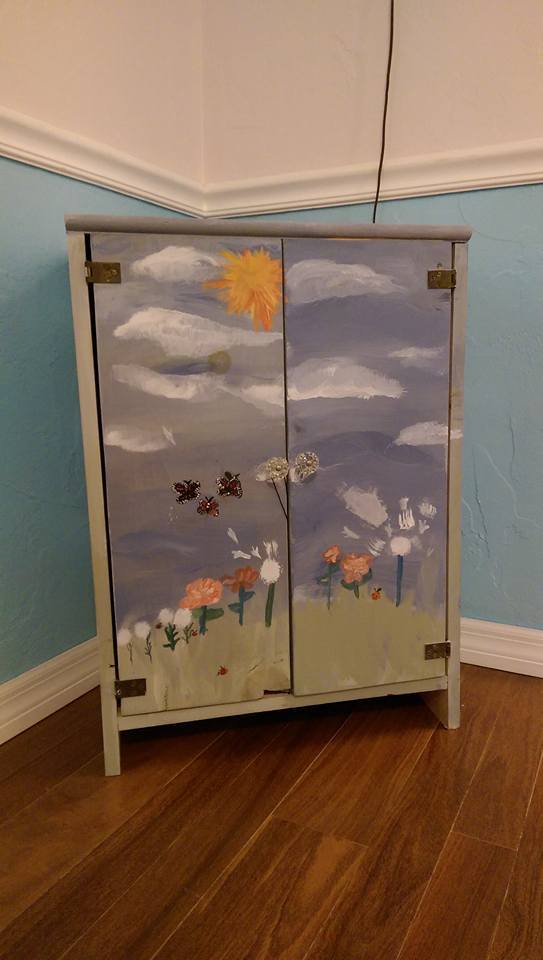
This was fun and easy. I had some of the wood already so I didn't spend that much. My girls painted it to add a personal touch. I would consider adding a magnet to help the doors stay closed a little better. Its been a couple of years and they are still enjoying this. At the time I had no idea how to make a star. Now I know it woudl be easy with a jig saw.
Built from Plan(s)
Estimated Cost
$50
Estimated Time Investment
Day Project (6-9 Hours)
Finish Used
Paint
Recommended Skill Level
Intermediate
Outdoor Hot Tub Table
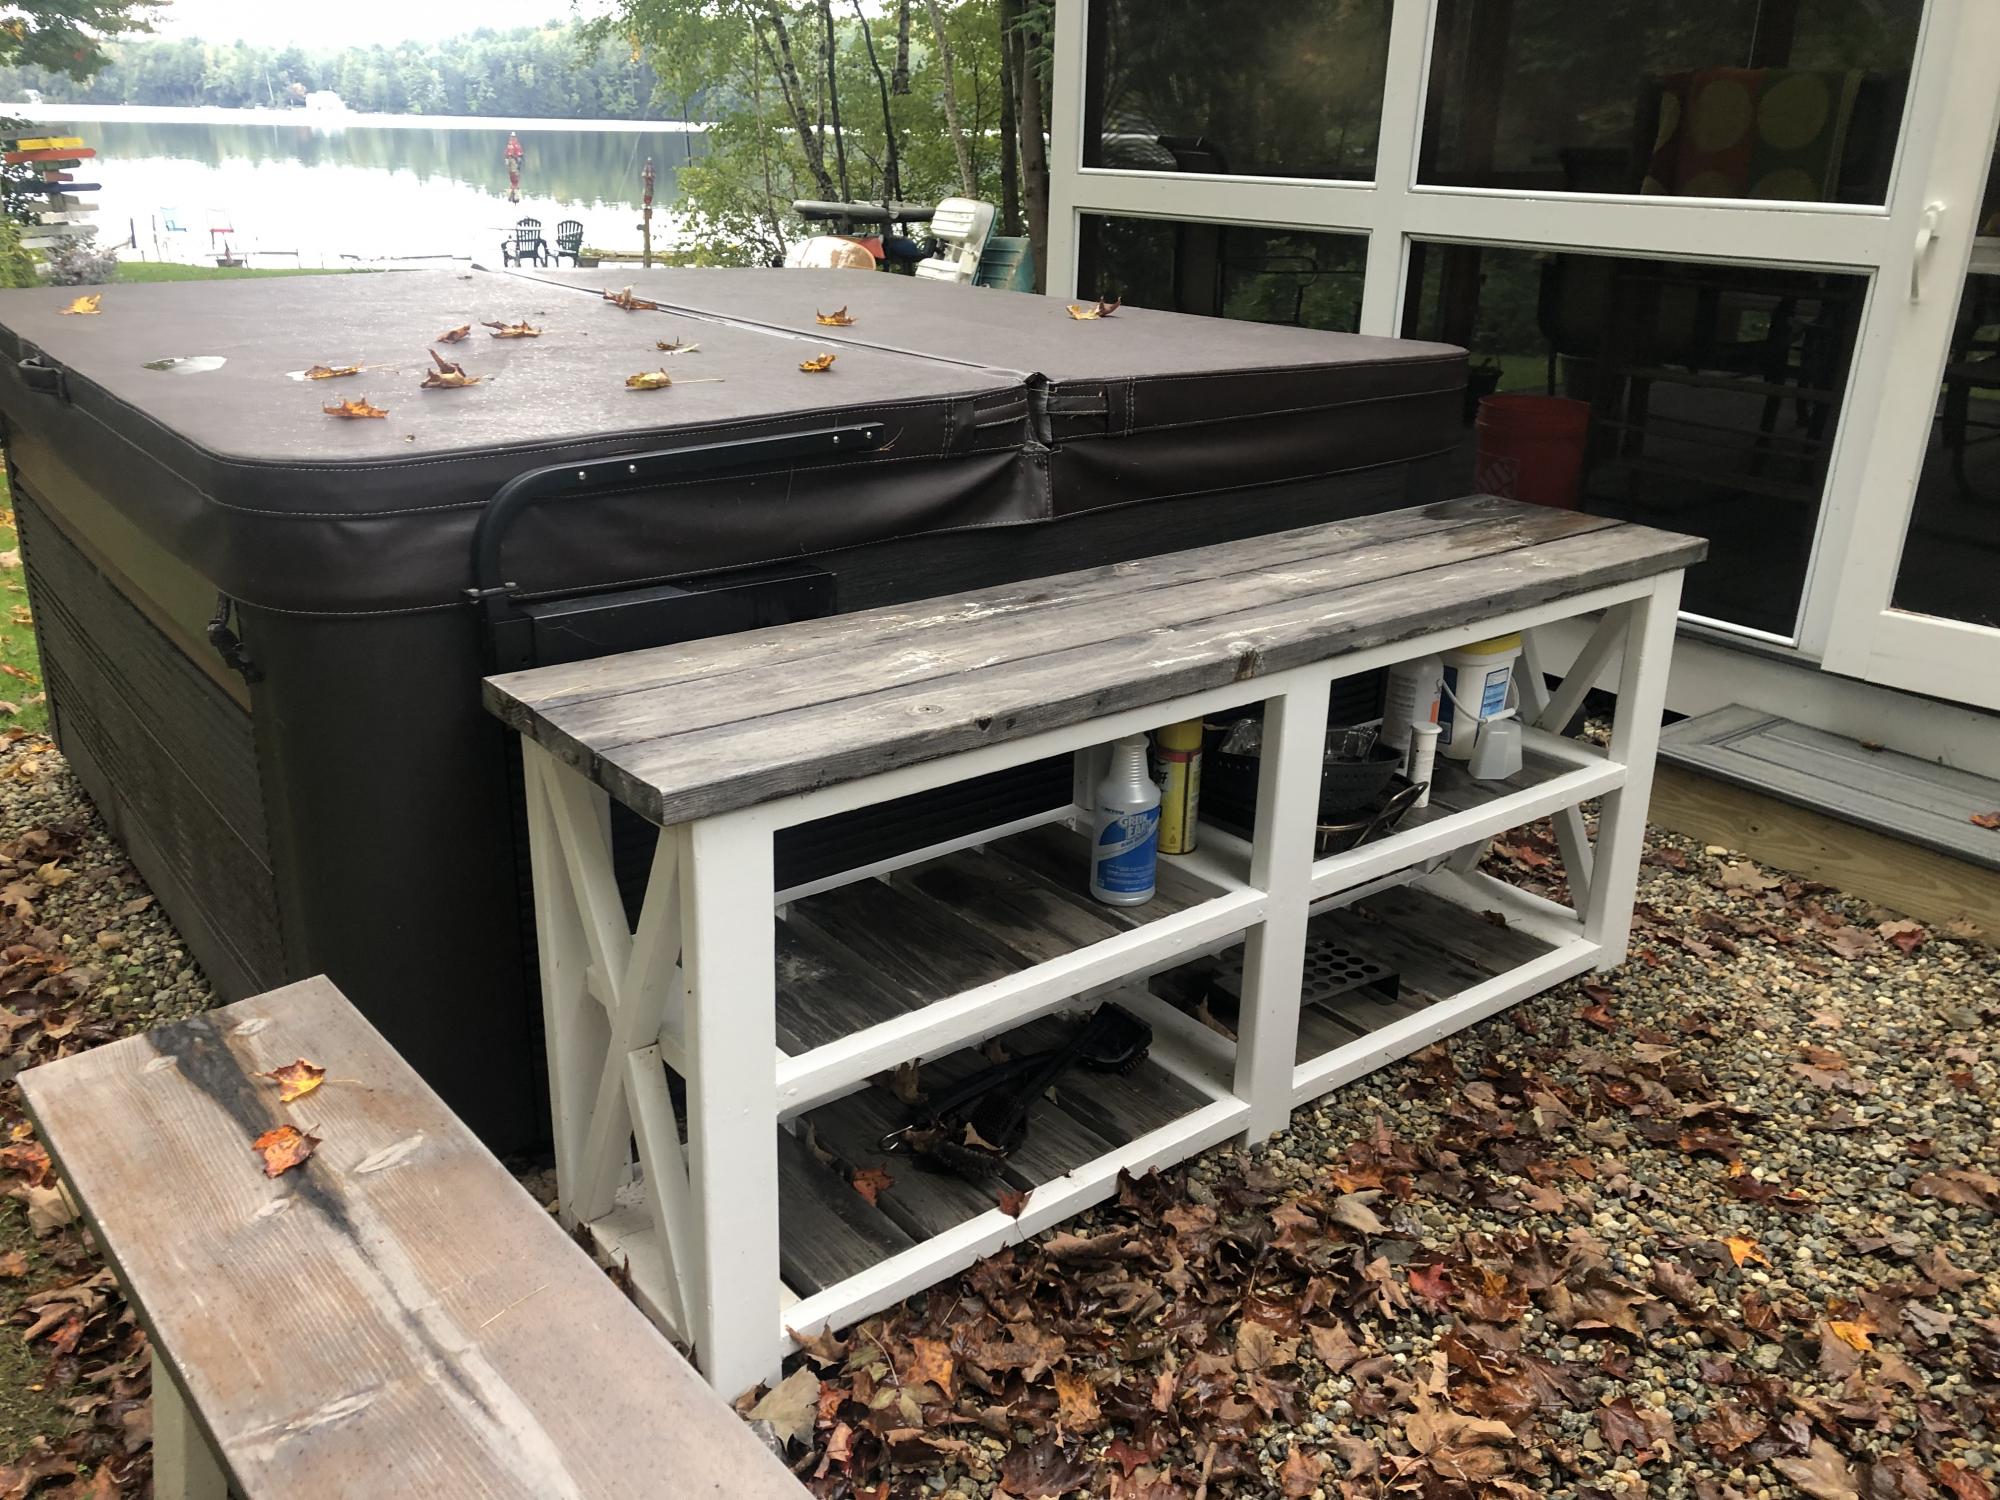
I needed a table along side our hot tub, primarily for drinks or appetizers while using the hot tub. The farmhouse table plan worked out perfectly to its height and how it fit in well with the structure of the hot tub. It also does double duty with my grill directly across from it allowing me some storage shelves or grill items.
Built from Plan(s)
Comments
Tue, 10/05/2021 - 10:56
Great idea!
YES, love the multiple uses, gotta have a place to set your drink and relax! Thanks for sharing:)
built by Grandpa
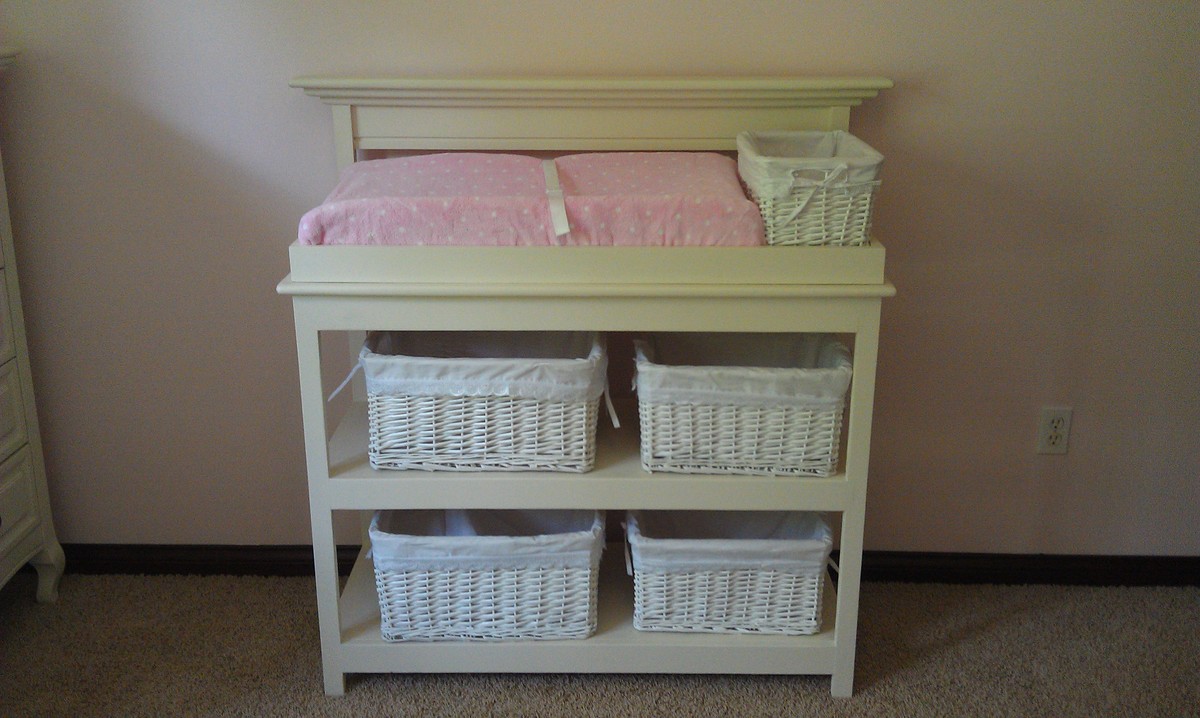
Grandpa modified the simple changing table to match the rest of our nursery furniture.
Built from Plan(s)
Estimated Cost
$100
Estimated Time Investment
Weekend Project (10-20 Hours)
Finish Used
Paint
Recommended Skill Level
Intermediate
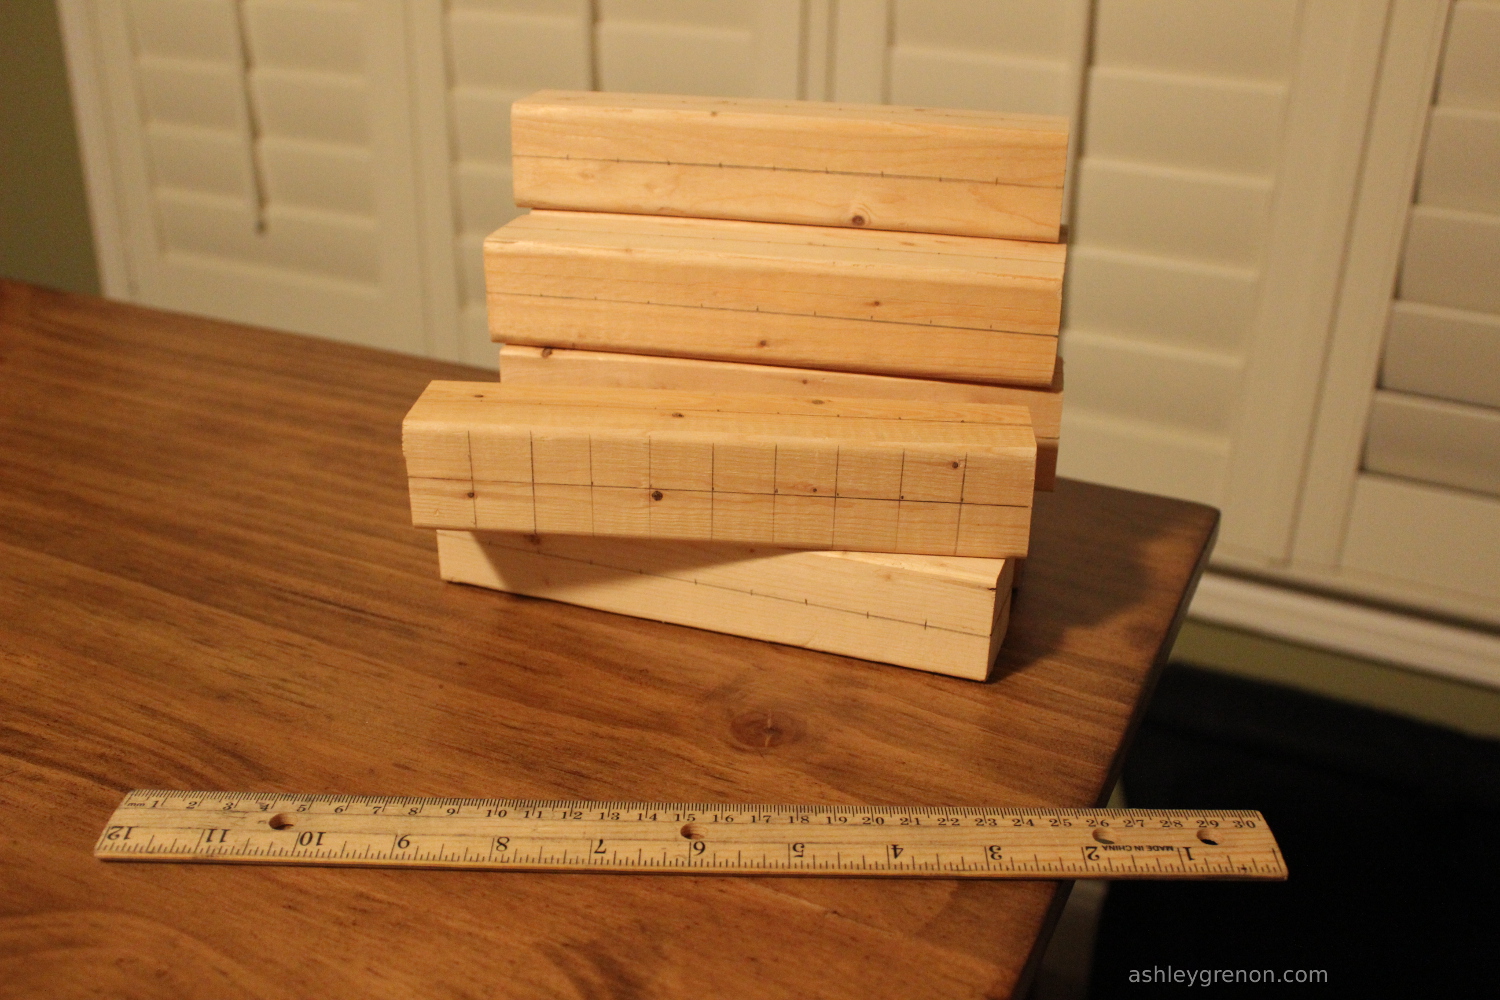
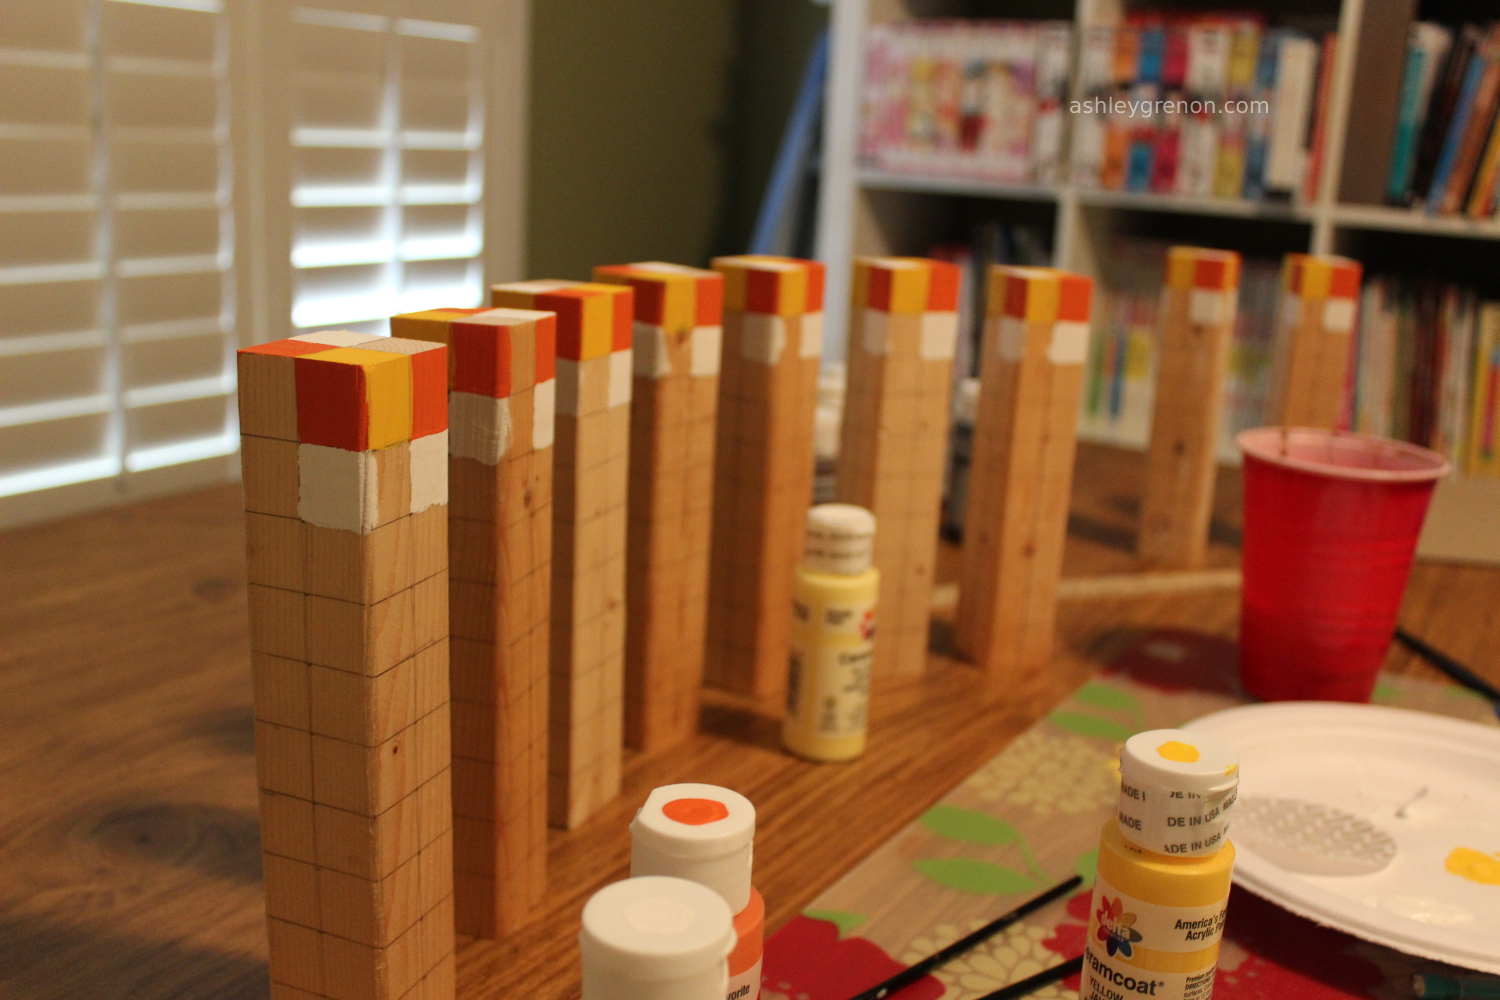
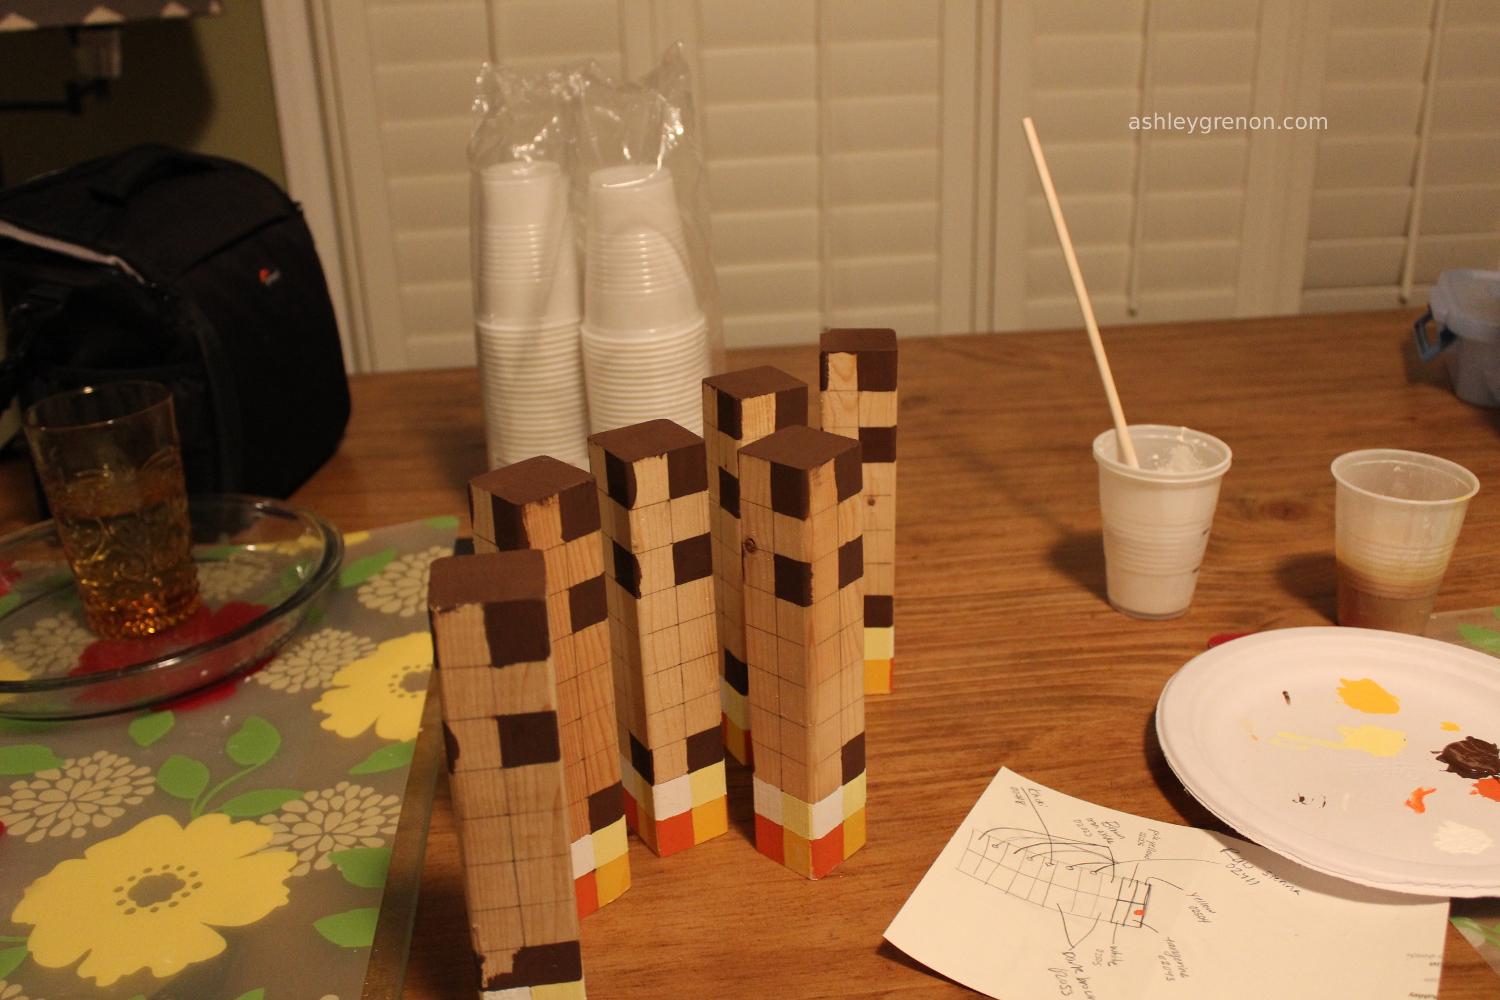
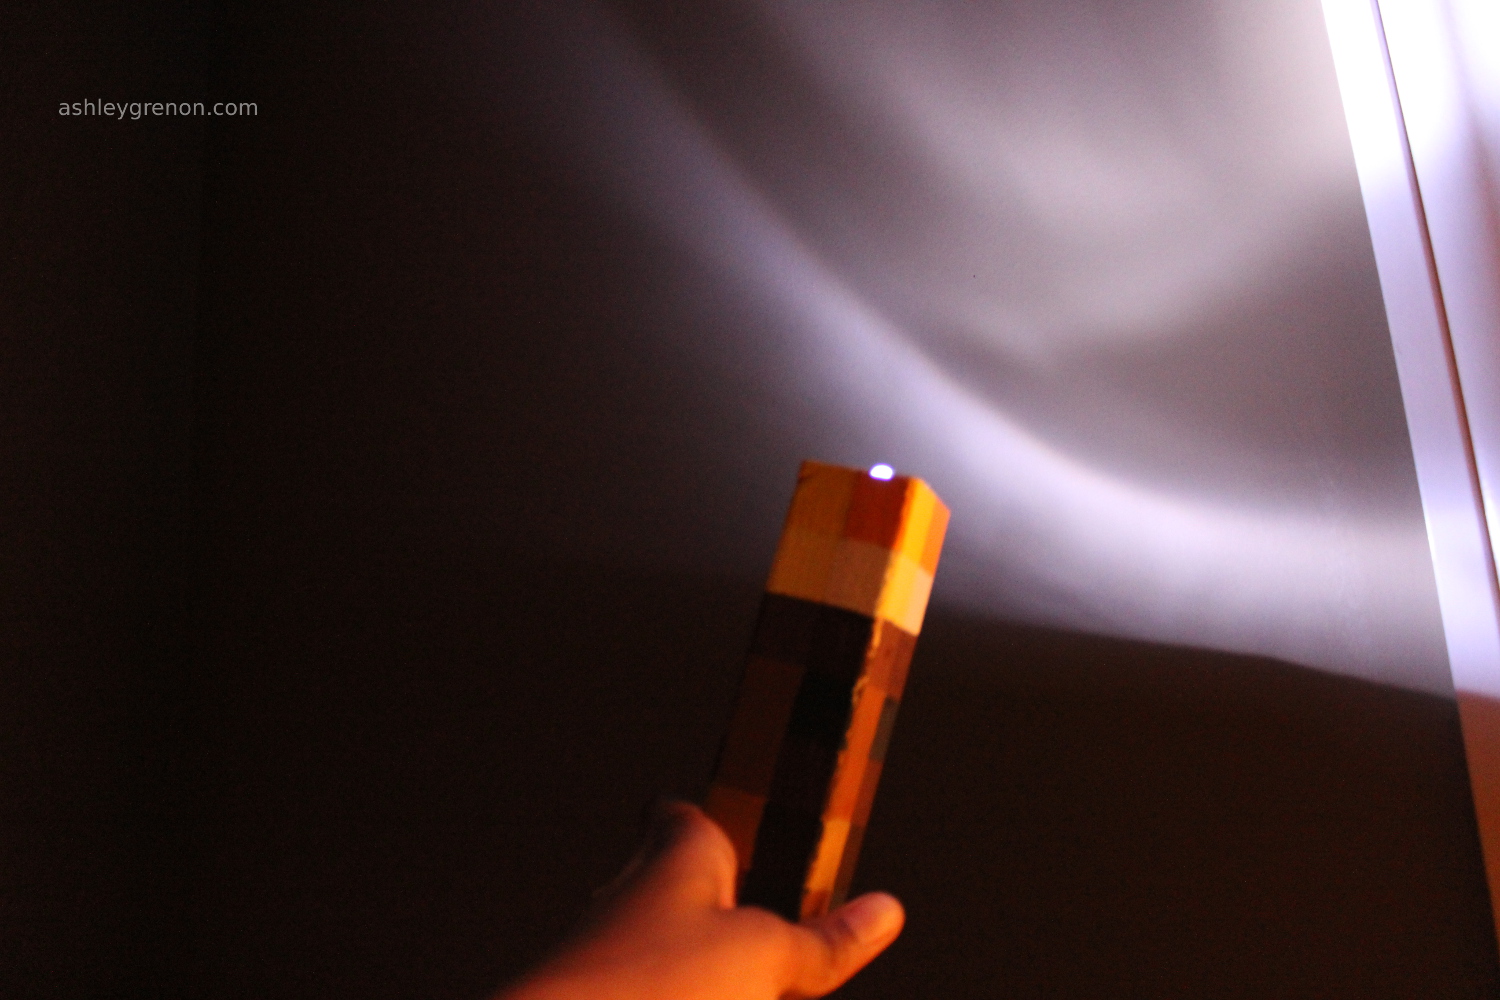
DIY Minecraft Torches
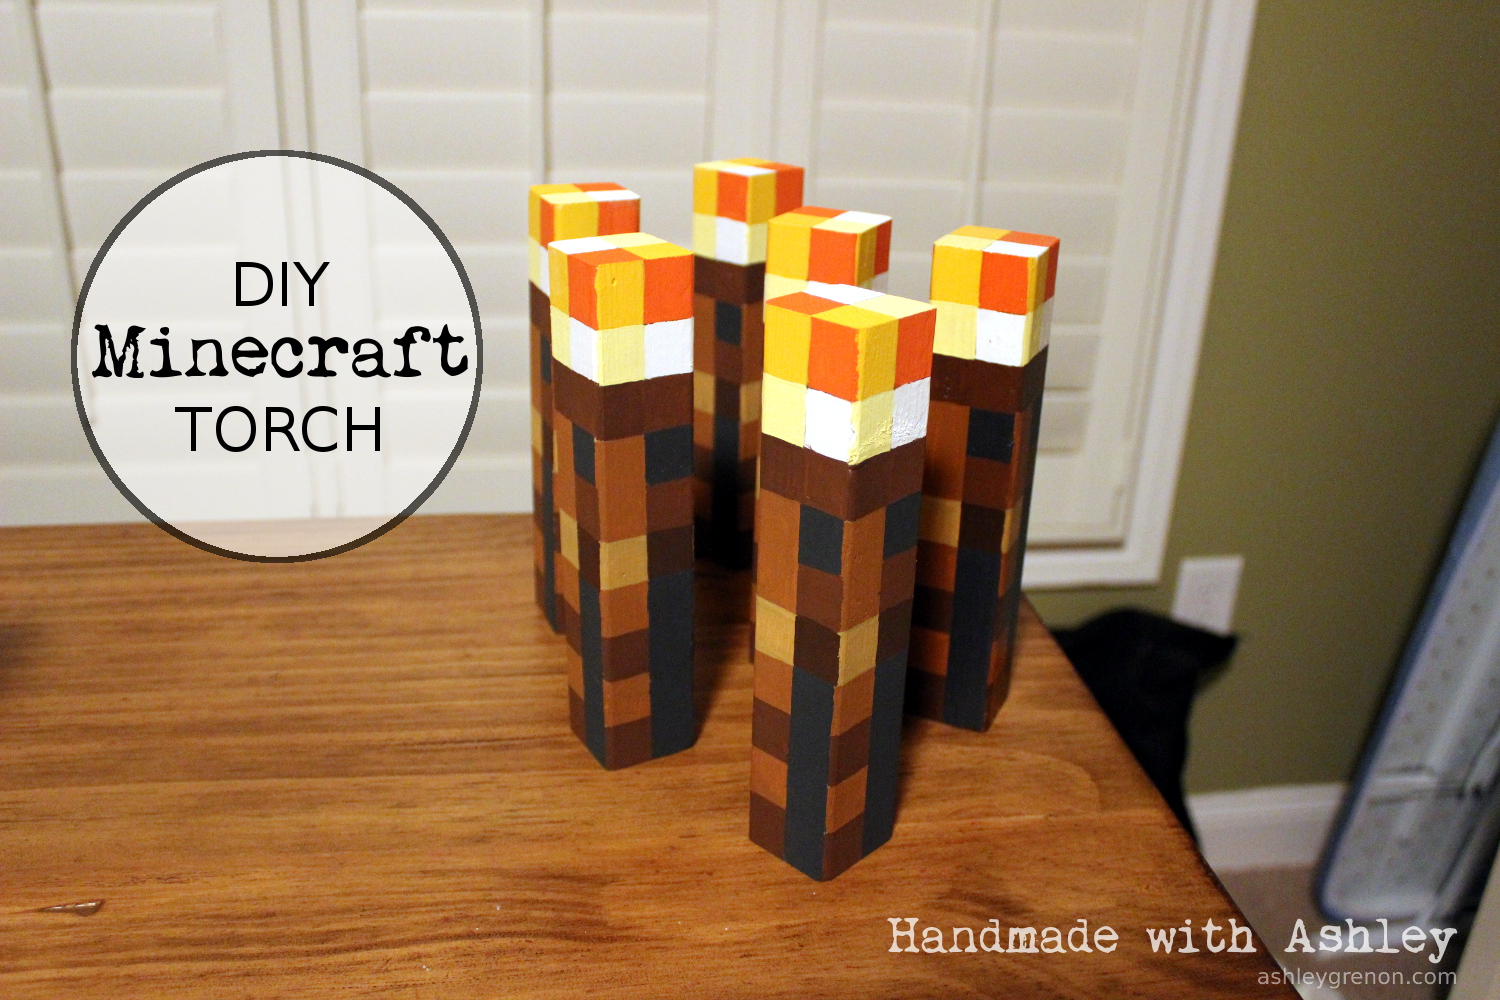
My favorite 7 year old recently had a Minecraft themed birthday party. For party favors, I made Minecraft torches from a 2×2 board. Painting each pixel of the torch was an incredibly time consuming process. This is definitely not a project you want to procrastinate on. I would budget two hours per a torch. The torches are 1.5″ wide and 7.5″ tall. The scale for the pixels is 0.75 inches. I am pretty happy with how the torches came out. It is a great way to use leftover 2×2 boards in the garage and a neat treat for fans of the game.
Estimated Time Investment
Afternoon Project (3-6 Hours)
Finish Used
Acrylic craft paint sealed with Mod Podge (Matte Finish)
Recommended Skill Level
Starter Project
Farm table for my sister
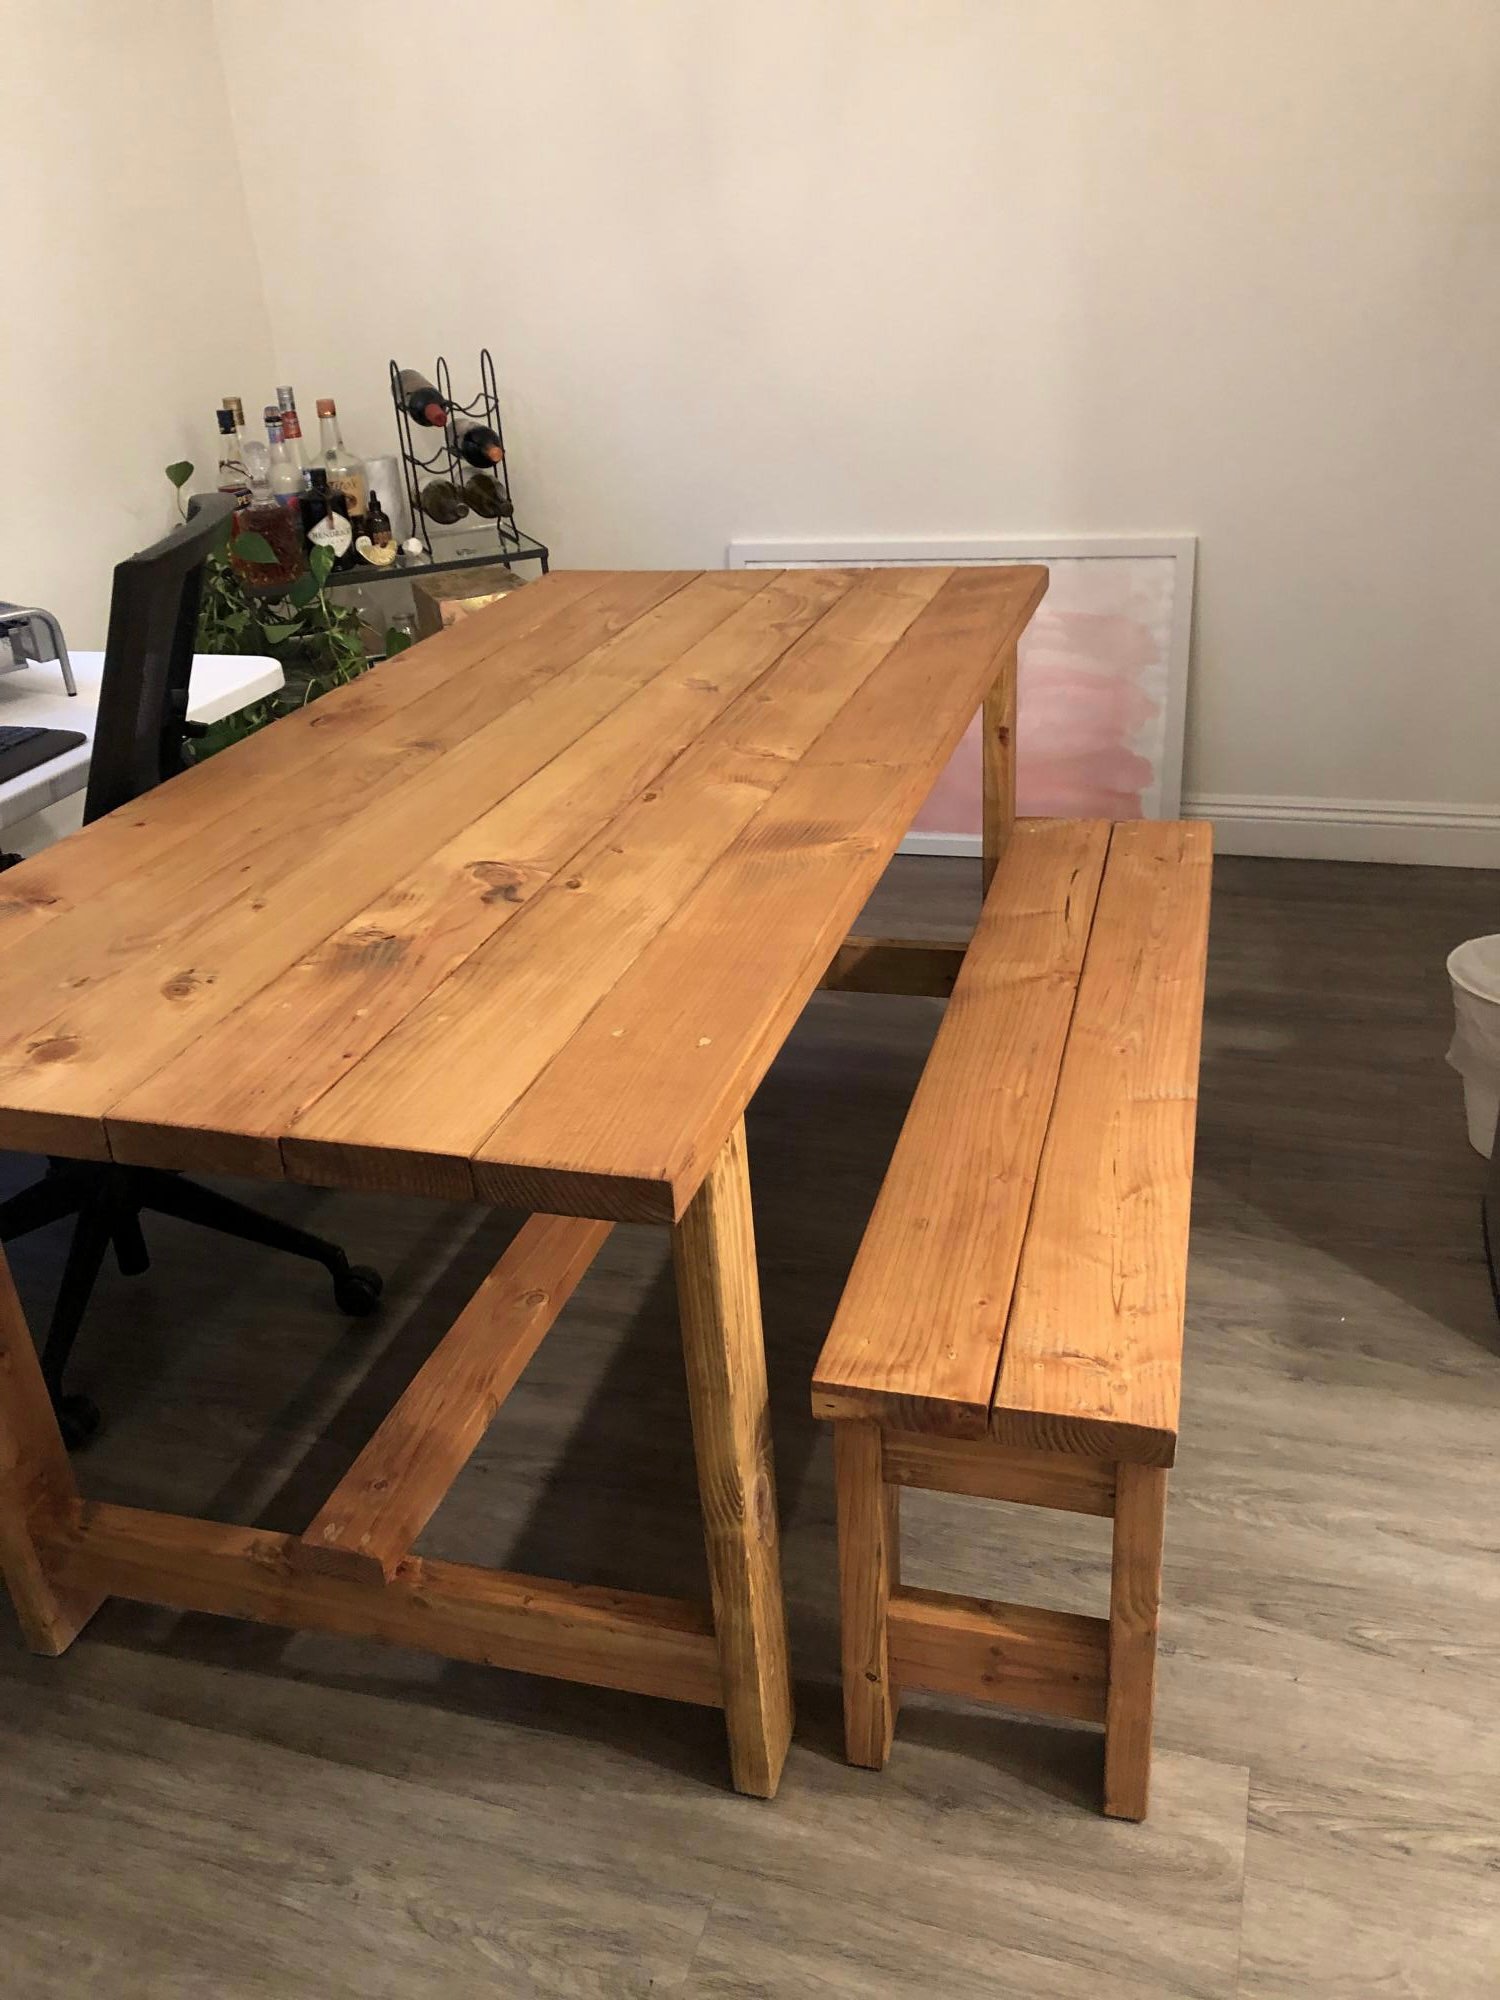
So my sister moved back to Southern California from New York. She found a great place but needed a table. I made one table and one bench. My sister then found two chairs for the other side. This is the second or third thing I have made/built from Ana’s site. Thank you for making me feel more manly with great instruction. I also built this pre Covid-19 when lumber was not so expensive.
Comments
Tue, 10/05/2021 - 09:55
Wonderful table!
Great housewarming gift, and very pretty too! Thanks for sharing!
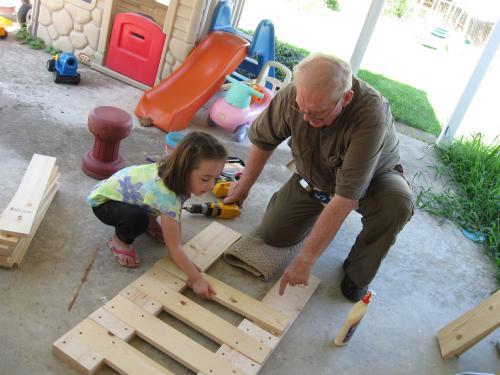
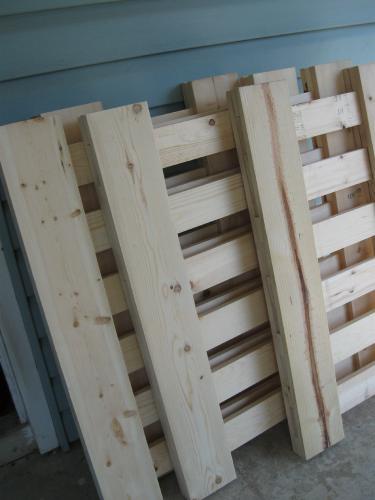
White Bunk beds with ladder instructions
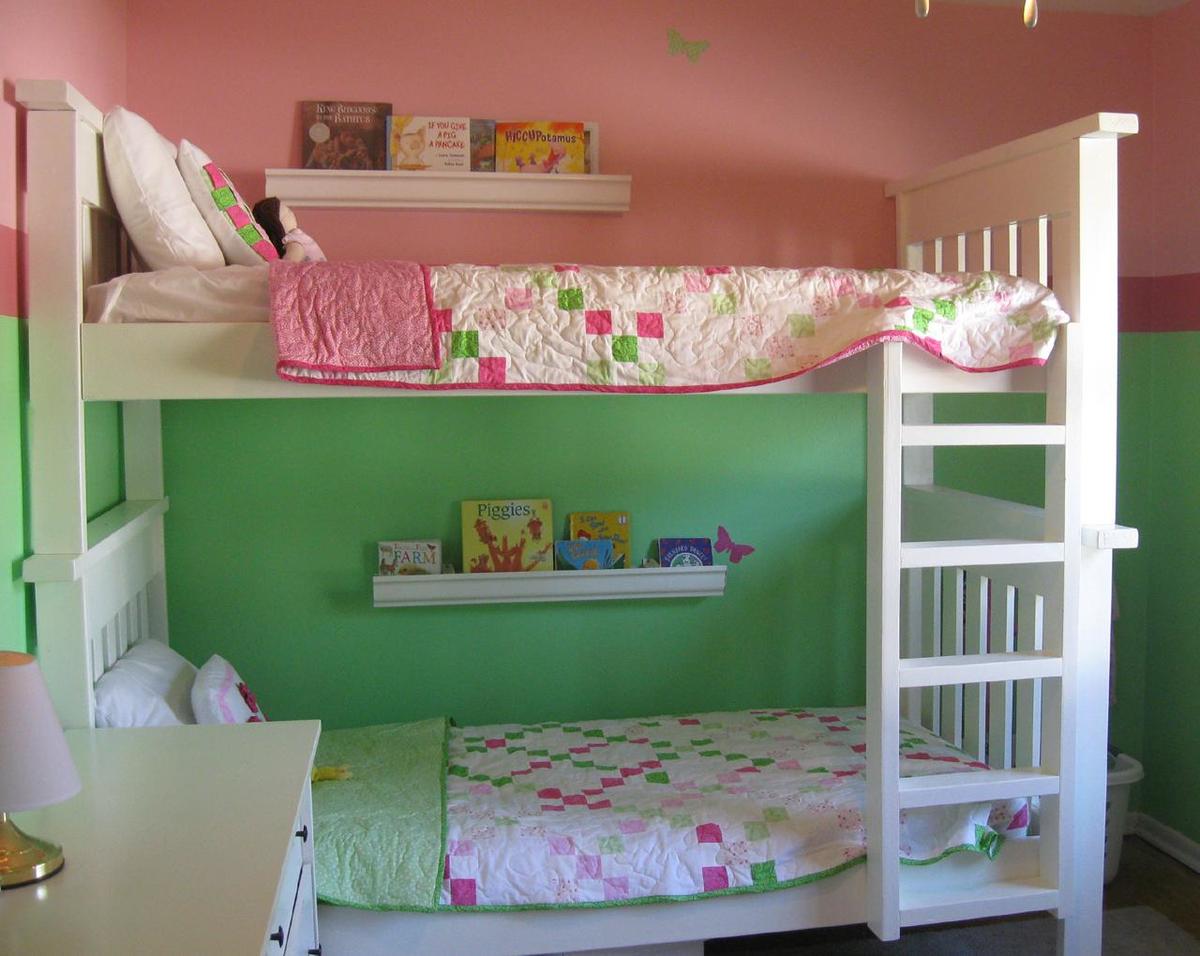
I redid this whole room for less than $600! Make sure you take your time with cuts and fitting. I did this with my father in law (my daughter even got to help out!), and it's less than perfect due to some rushing! More details on my blog.
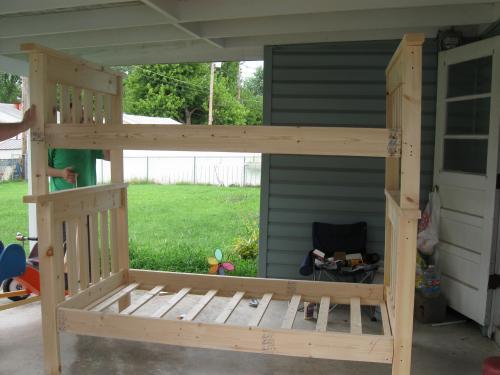
I also couldn't find any 4x4's. Instead of doubling up on 2x4's, I just used one. That allowed me to change the tops of the head/foot boards to only 48" instead of 50 1/2. You can get enough for a head and foot board out of one board this way.
After looking at a TON of bunk bed ladders online, I designed my own. Just some leftover 2x4's. The sides are 47 1/2 inches long, and the rungs are 13 1/2 inches long. It's screwed to the bunk bed from the back so you don't see the screws.
Built from Plan(s)
Estimated Cost
$300
Estimated Time Investment
Weekend Project (10-20 Hours)
Finish Used
Sanded the heck out of everything, then two coats of Behr primer, followed by 2-3 coats of Behr semi-gloss in New Day Dew (it's a Disney color)
Recommended Skill Level
Beginner
Murphy Bed
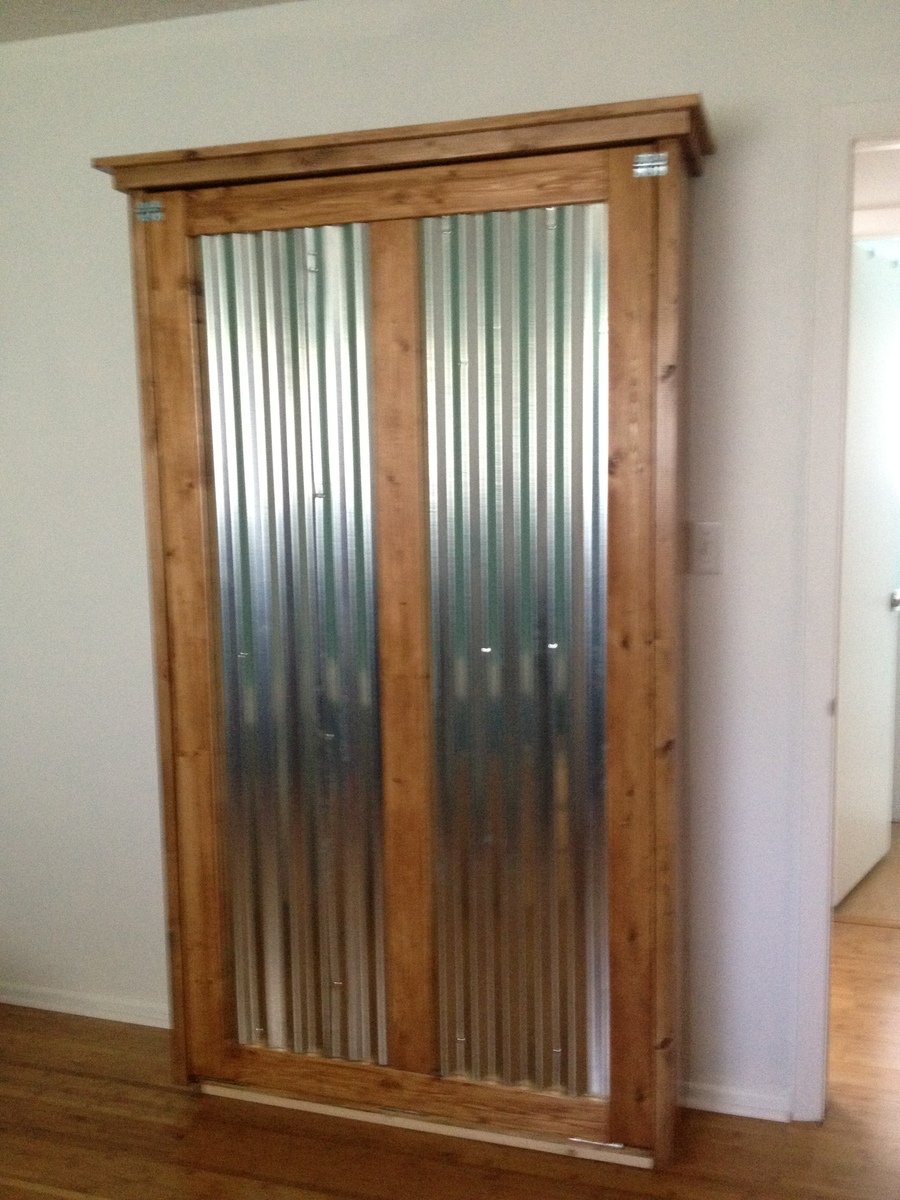
I'm turning my messy sewing room into an organized craft/guest room, so I made a murphy bed to conserve space. I used corrugated tin on the the face of the bed so that I can use it as a magnet board while not in use as a bed.
Built from Plan(s)
Estimated Cost
$100
Estimated Time Investment
Weekend Project (10-20 Hours)
Finish Used
Polyshades Antique Walnut--two coats with light sanding in between
Recommended Skill Level
Intermediate
Comments

Fri, 05/17/2013 - 09:54
Hardware Cost?
The estimated cost is $100, but the hardware linked from the original plan was over $300. Do you have an alternate method of mounting this?
Fri, 05/17/2013 - 11:23
Hardware cost
I think that link was a suggestion if you want an assisted lift/lowering system, and that hardware is part of what makes regular Murphy beds so expensive. I just used door hinges--3 for $8. It's not that heavy to lift and lower the bed, in my opinion.
Fri, 05/17/2013 - 11:40
Hardware Cost :)
Thank you for your reply! If I make this project, I think I'll try the door hinges. It won't be frequently used (a few times a year) and I'm pretty sure we can handle the minimal weight for those few occasions.
P.S. I really like the styling with the wood and corrugated metal, it looks sharp!
Fri, 06/28/2013 - 20:02
great muphy bed
thanks for sharing the murphy bed. have been looking for a space solution for my daughter's bedroom. the corrugated tin look sharp in this project--my daughter would like the corrugatged tin as well--except for hot pink stain on the cabinet.
anyone know where to get hot pink stain?
Sun, 09/08/2013 - 20:58
Does anyone have any
Does anyone have any suggestions on how to bring it up off the floor some?
Wed, 02/10/2016 - 04:24
Modify possibility?
Paint tin with dry erase or chalkboard on one side for daily notes?
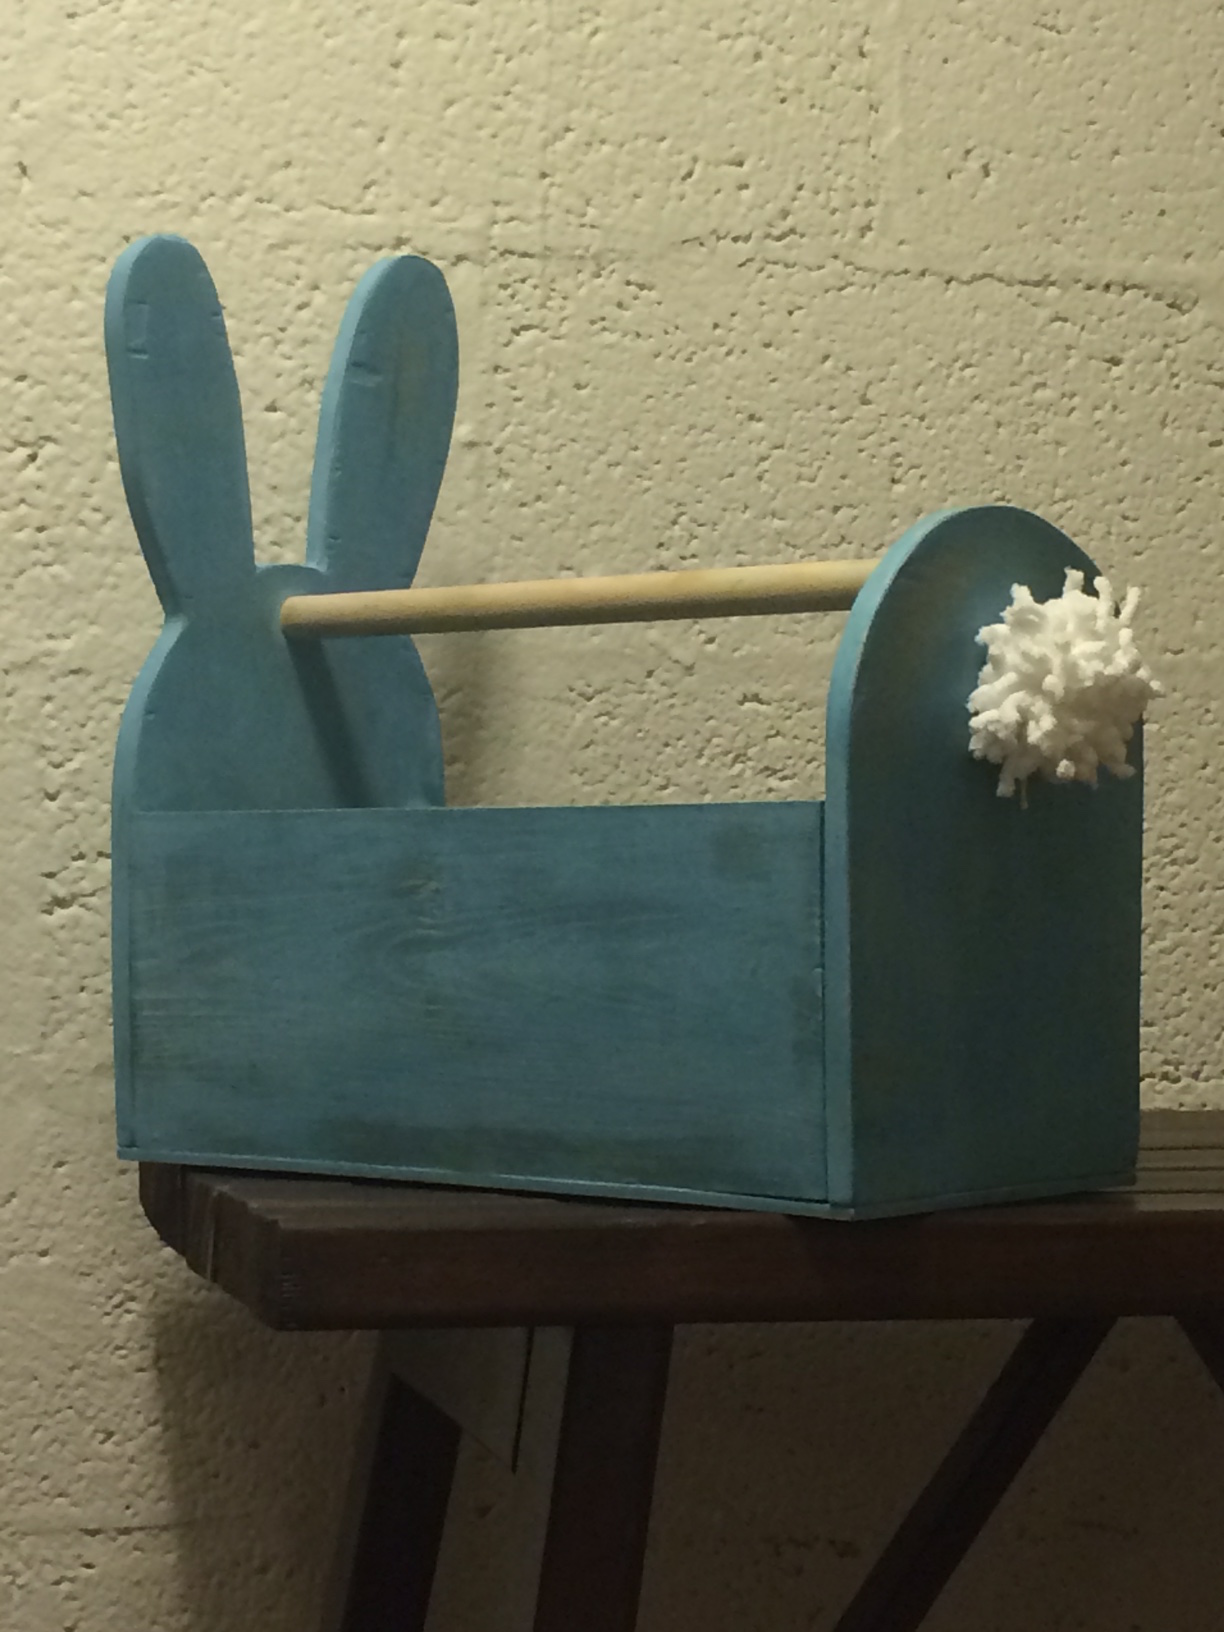
Bunny Easter Basket
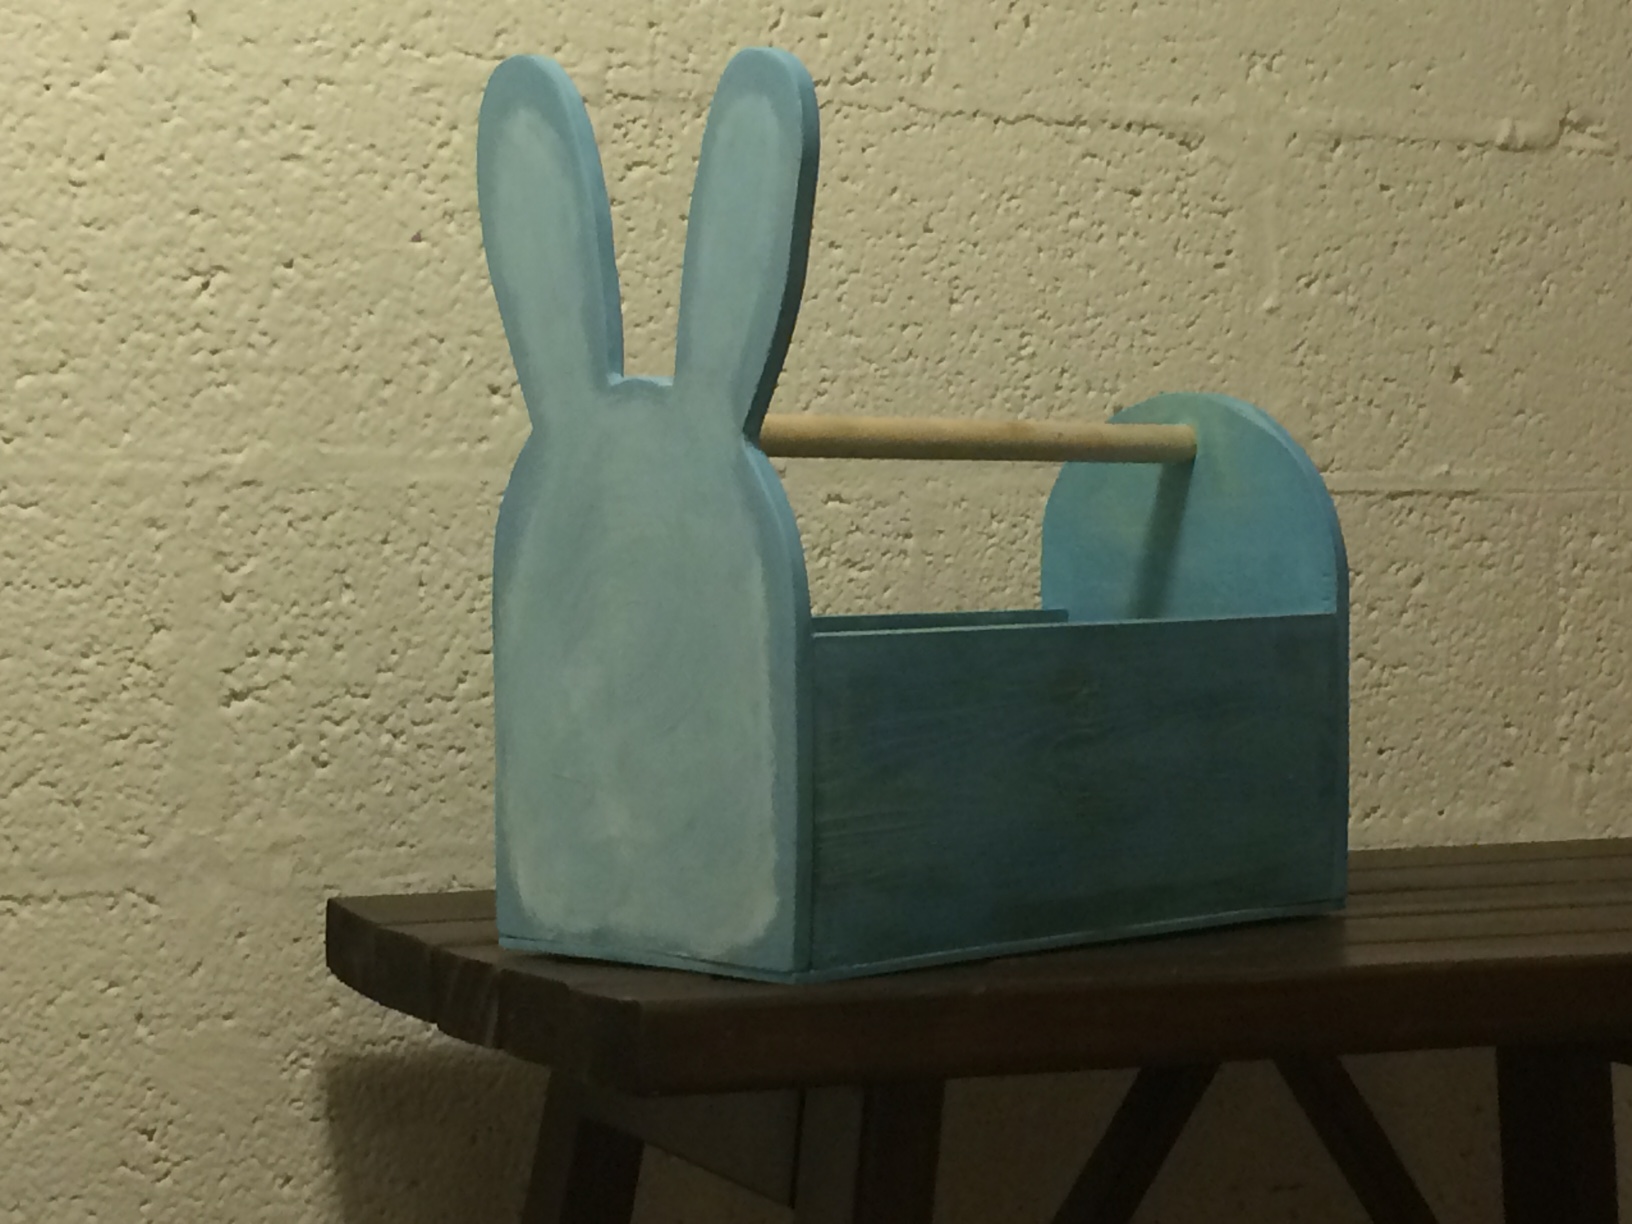
My son loved his new Easter basket! This was super cute to make and I just used scrap wood. The paint was CeCe Caldwell's chalk paint in Blue Montana Sky. I used CeCe Caldwell's Clear Wax for the finish. Love these projects!

Built from Plan(s)
Estimated Cost
Used scrap wood and materials I already had
Estimated Time Investment
Afternoon Project (3-6 Hours)
Finish Used
CeCe Caldwell's Blue Montana Sky chalk paint and Clear Wax for the finish
Recommended Skill Level
Beginner
Fancy X table
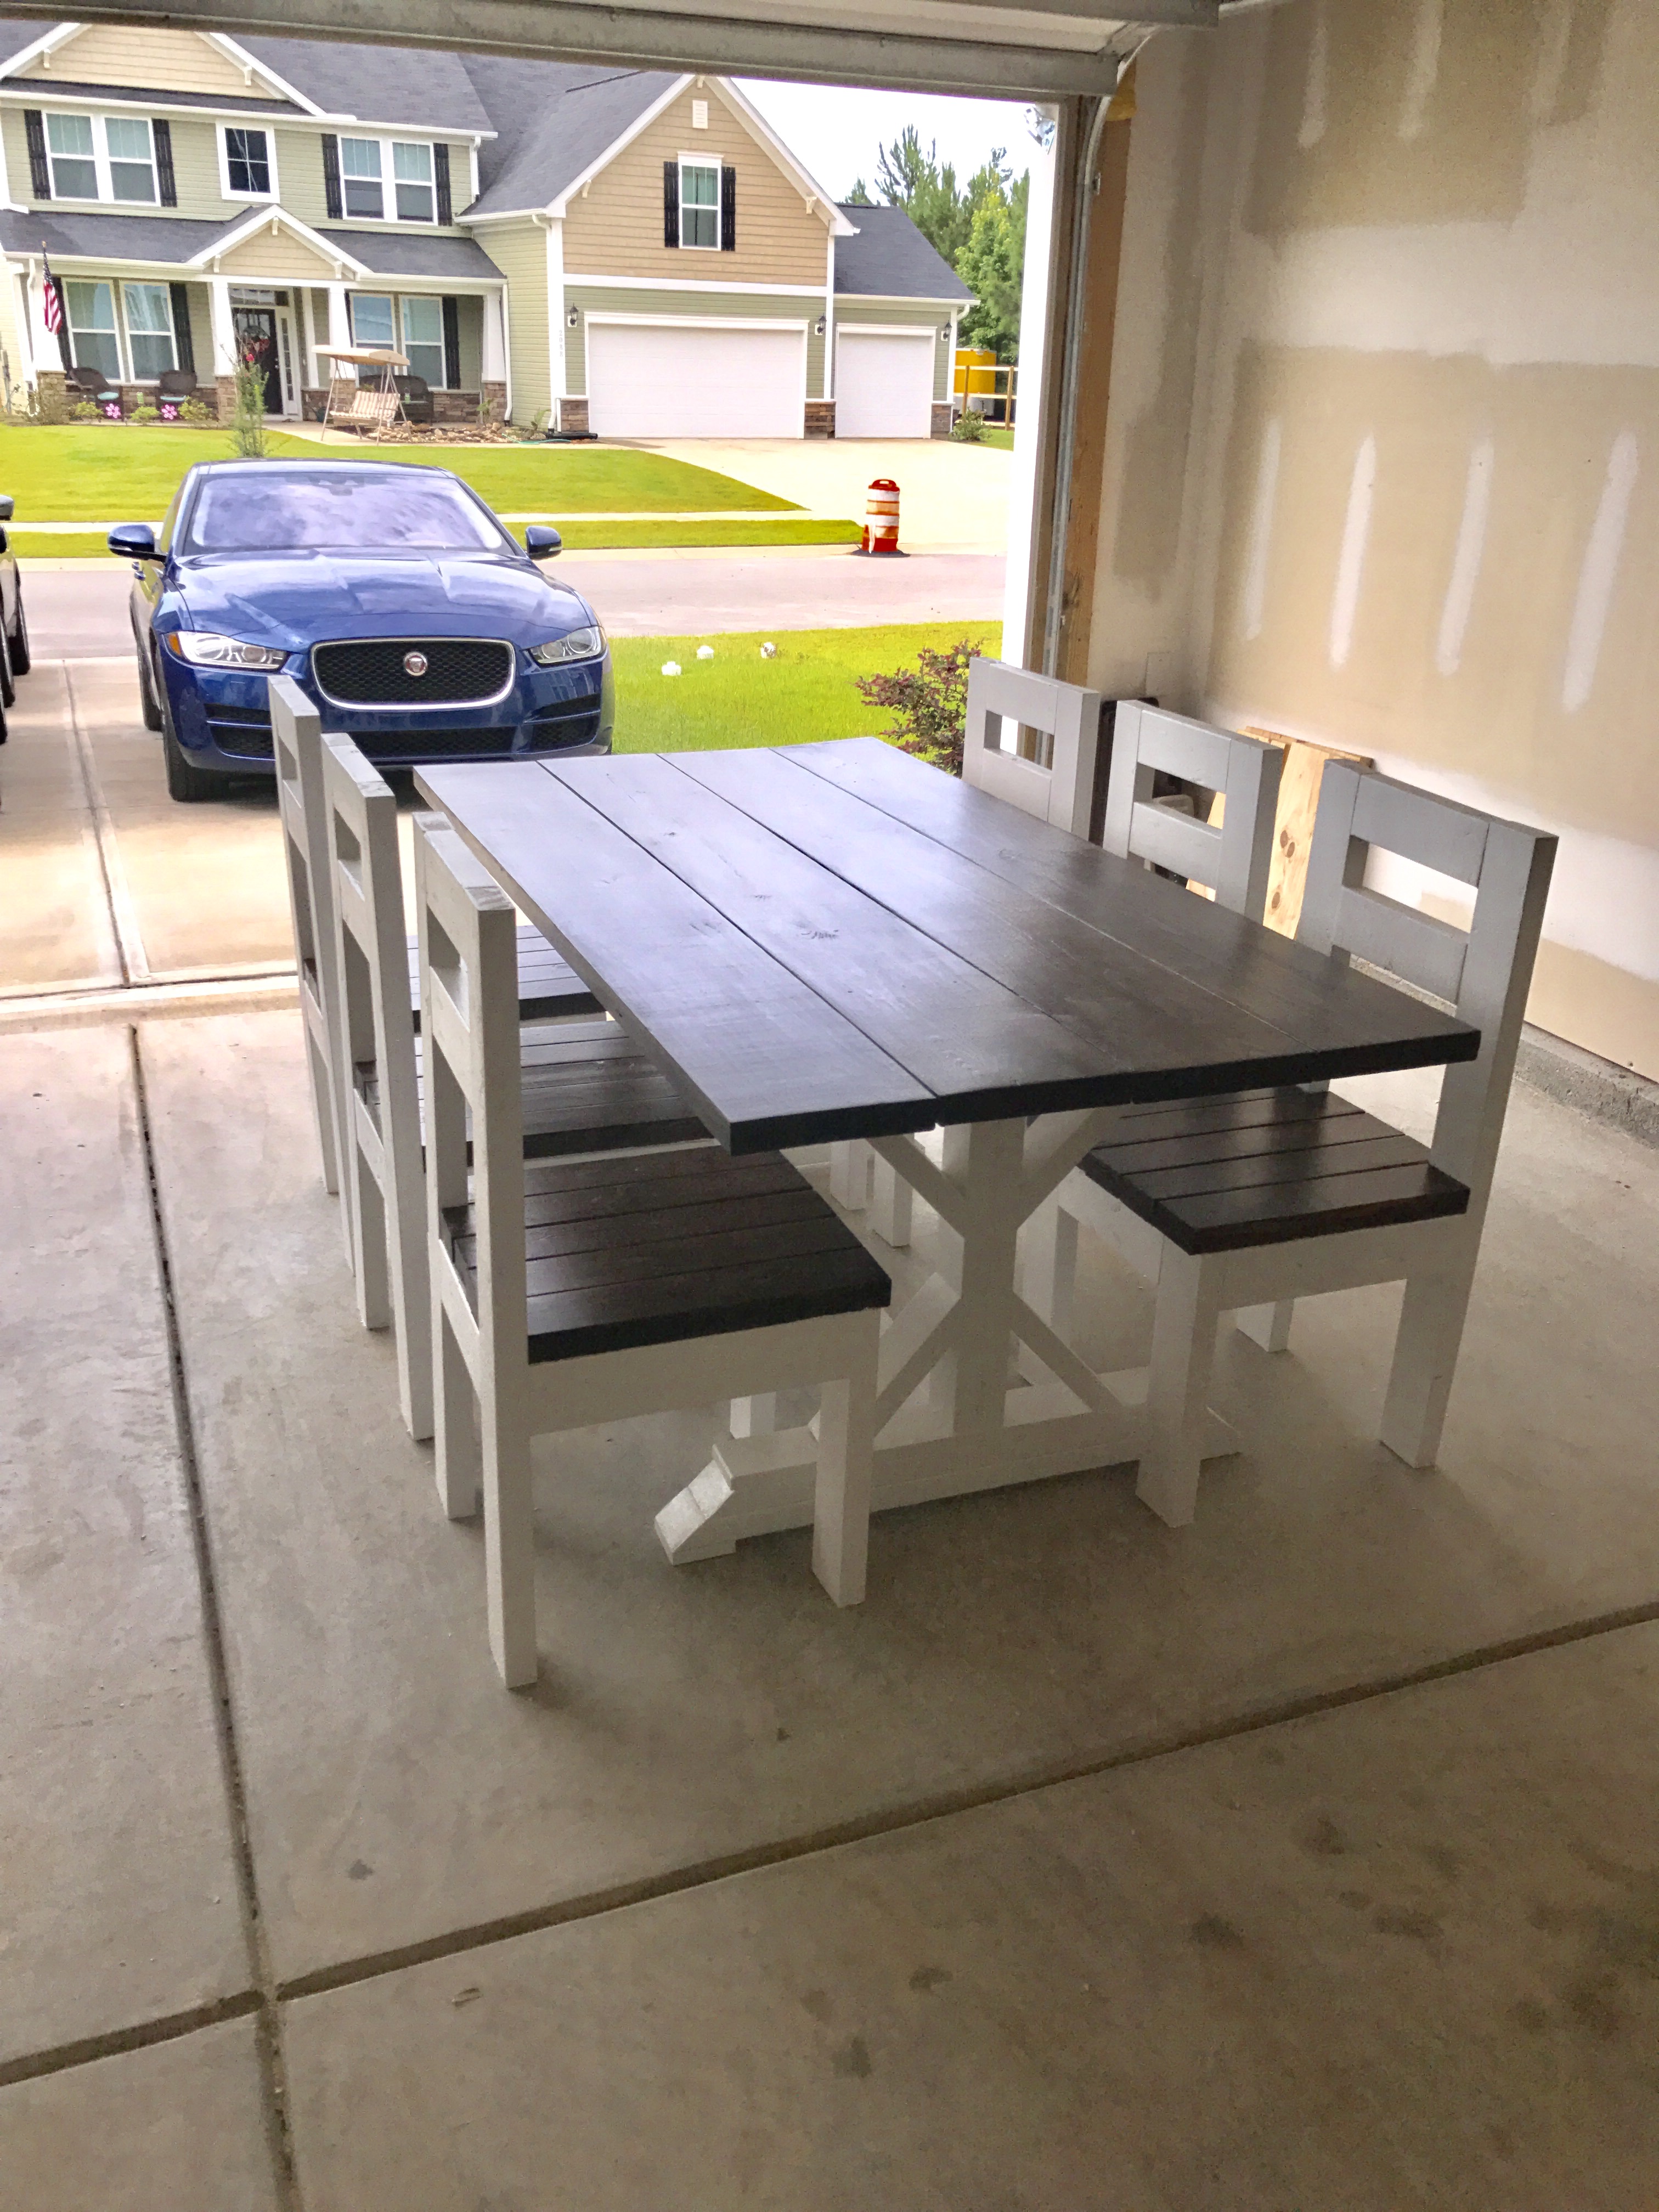
Great table and easy to follow plans/ directions! First time trying something like this and couldn't be happier. Kept debating if I should by the Kreg pocket hole jig, couldn't have done this project without it. What a difference it make! Can't wait to start the next build.
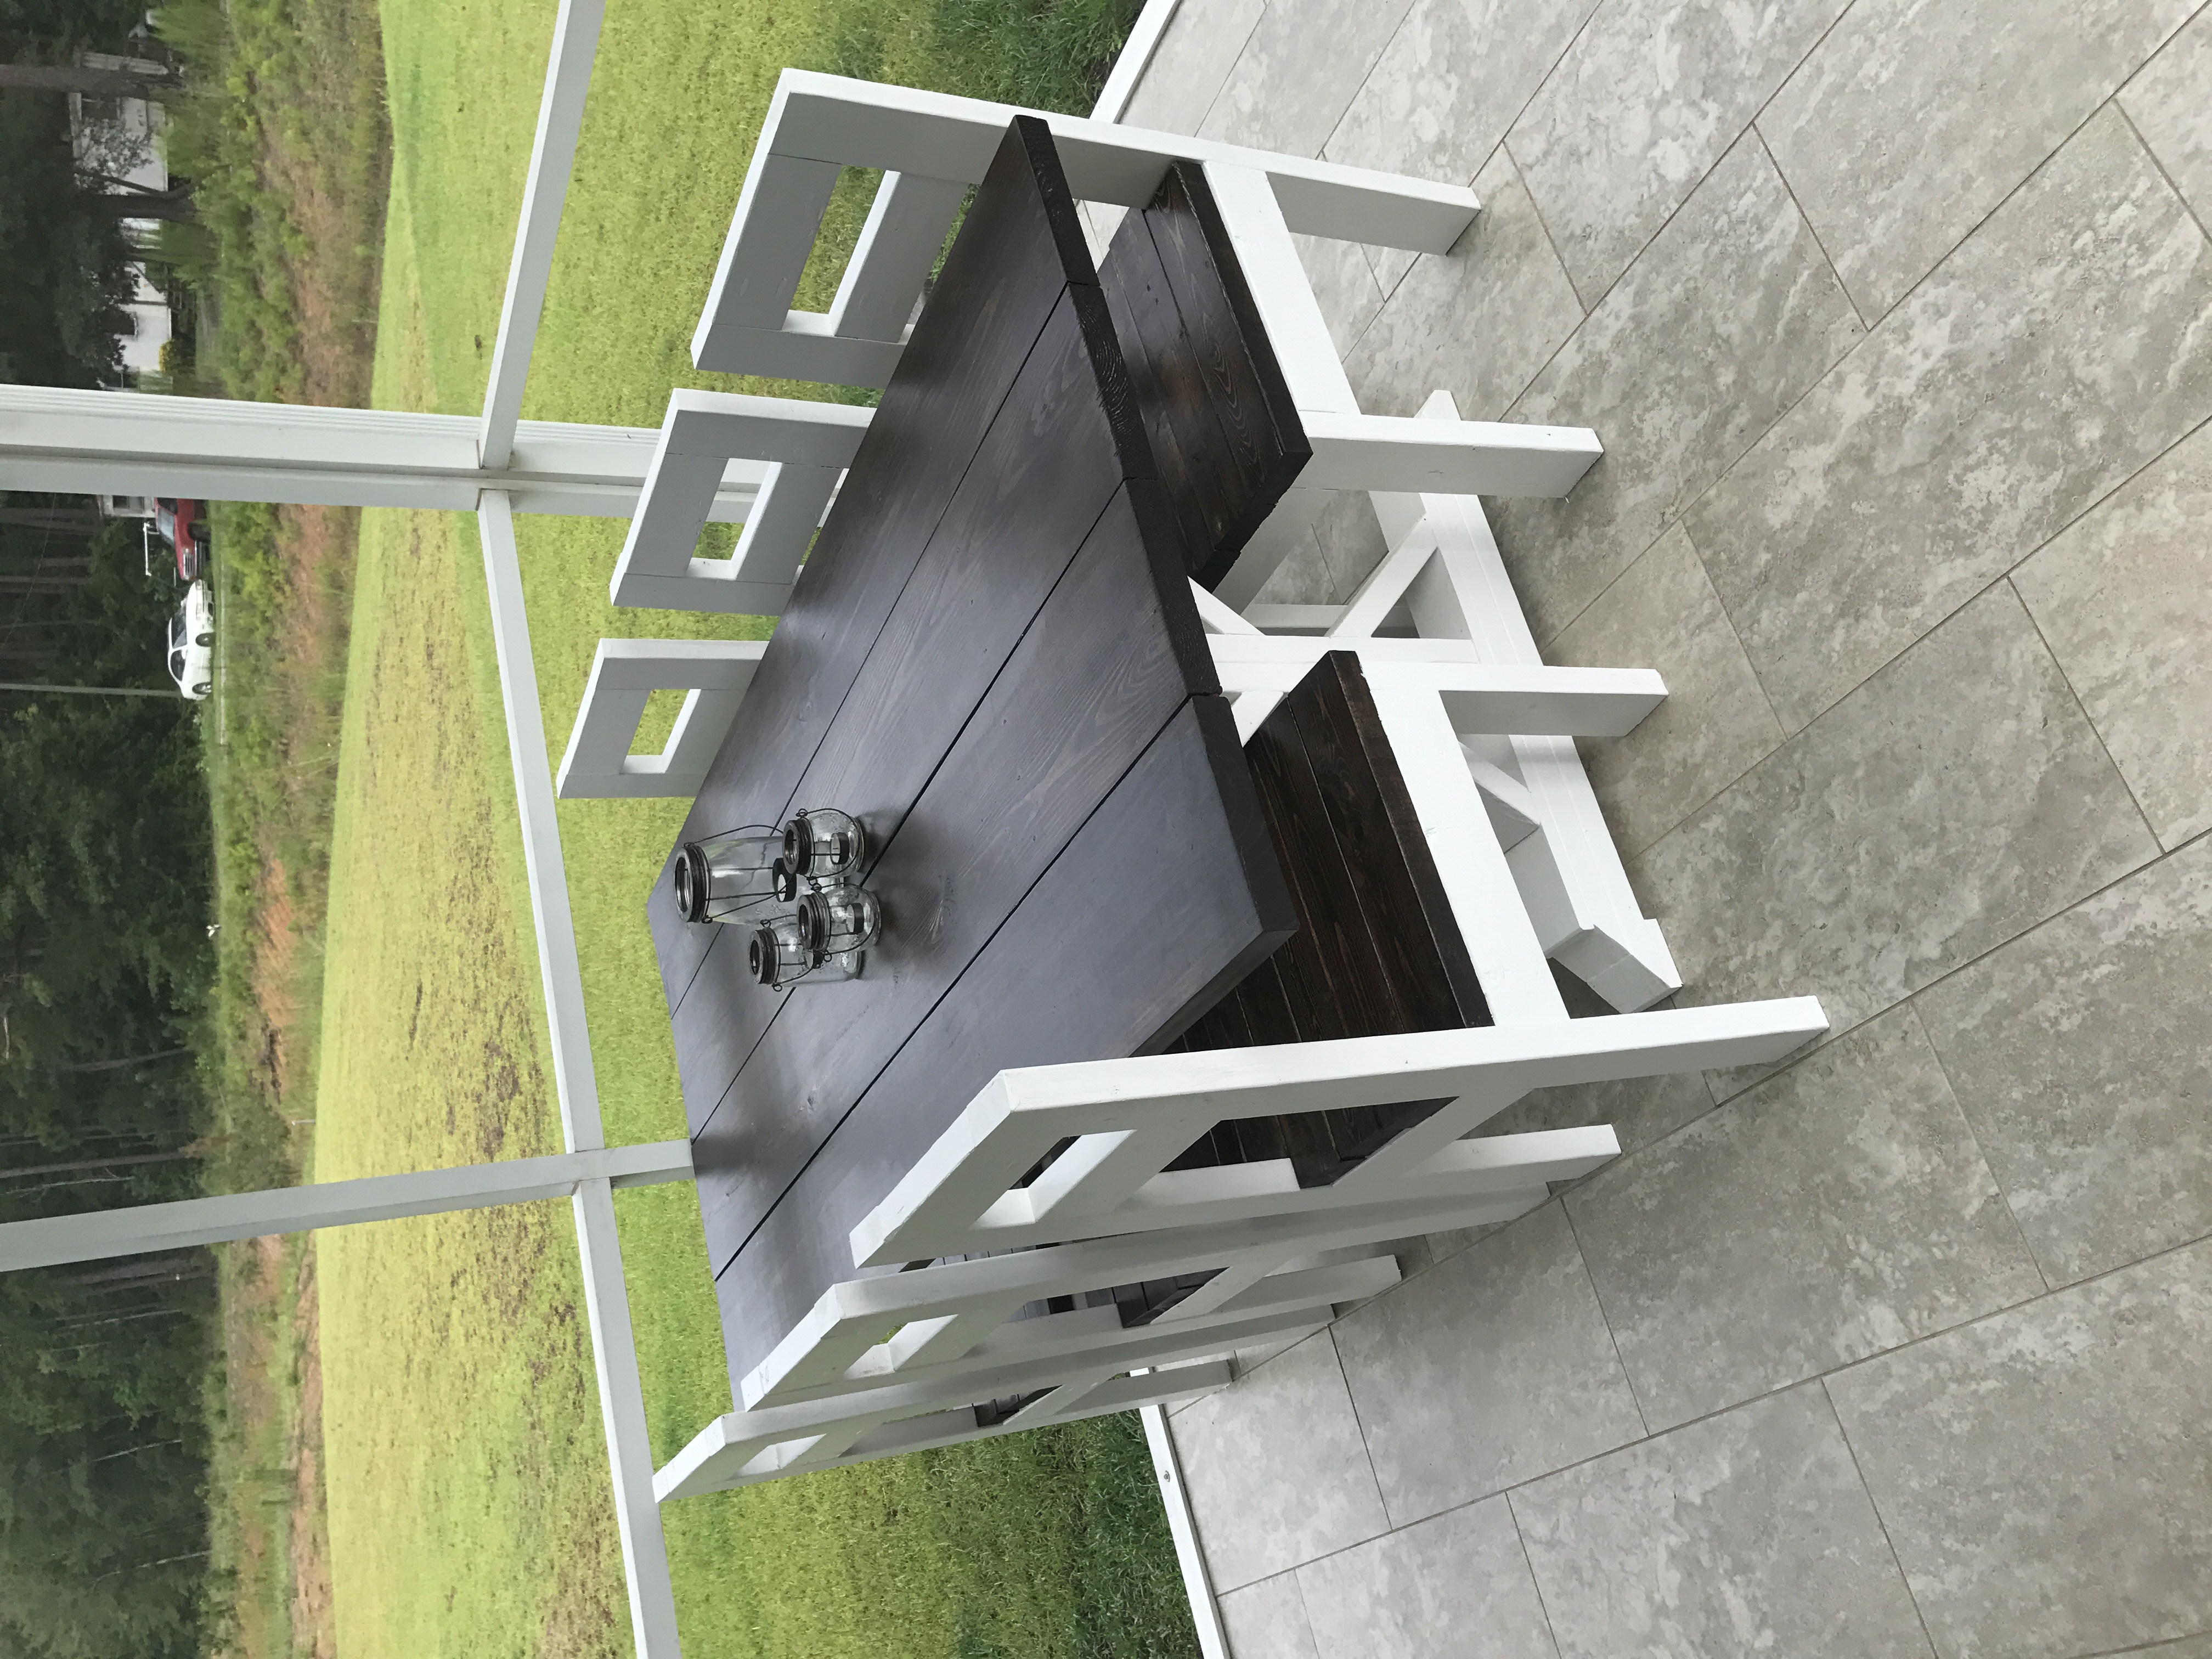
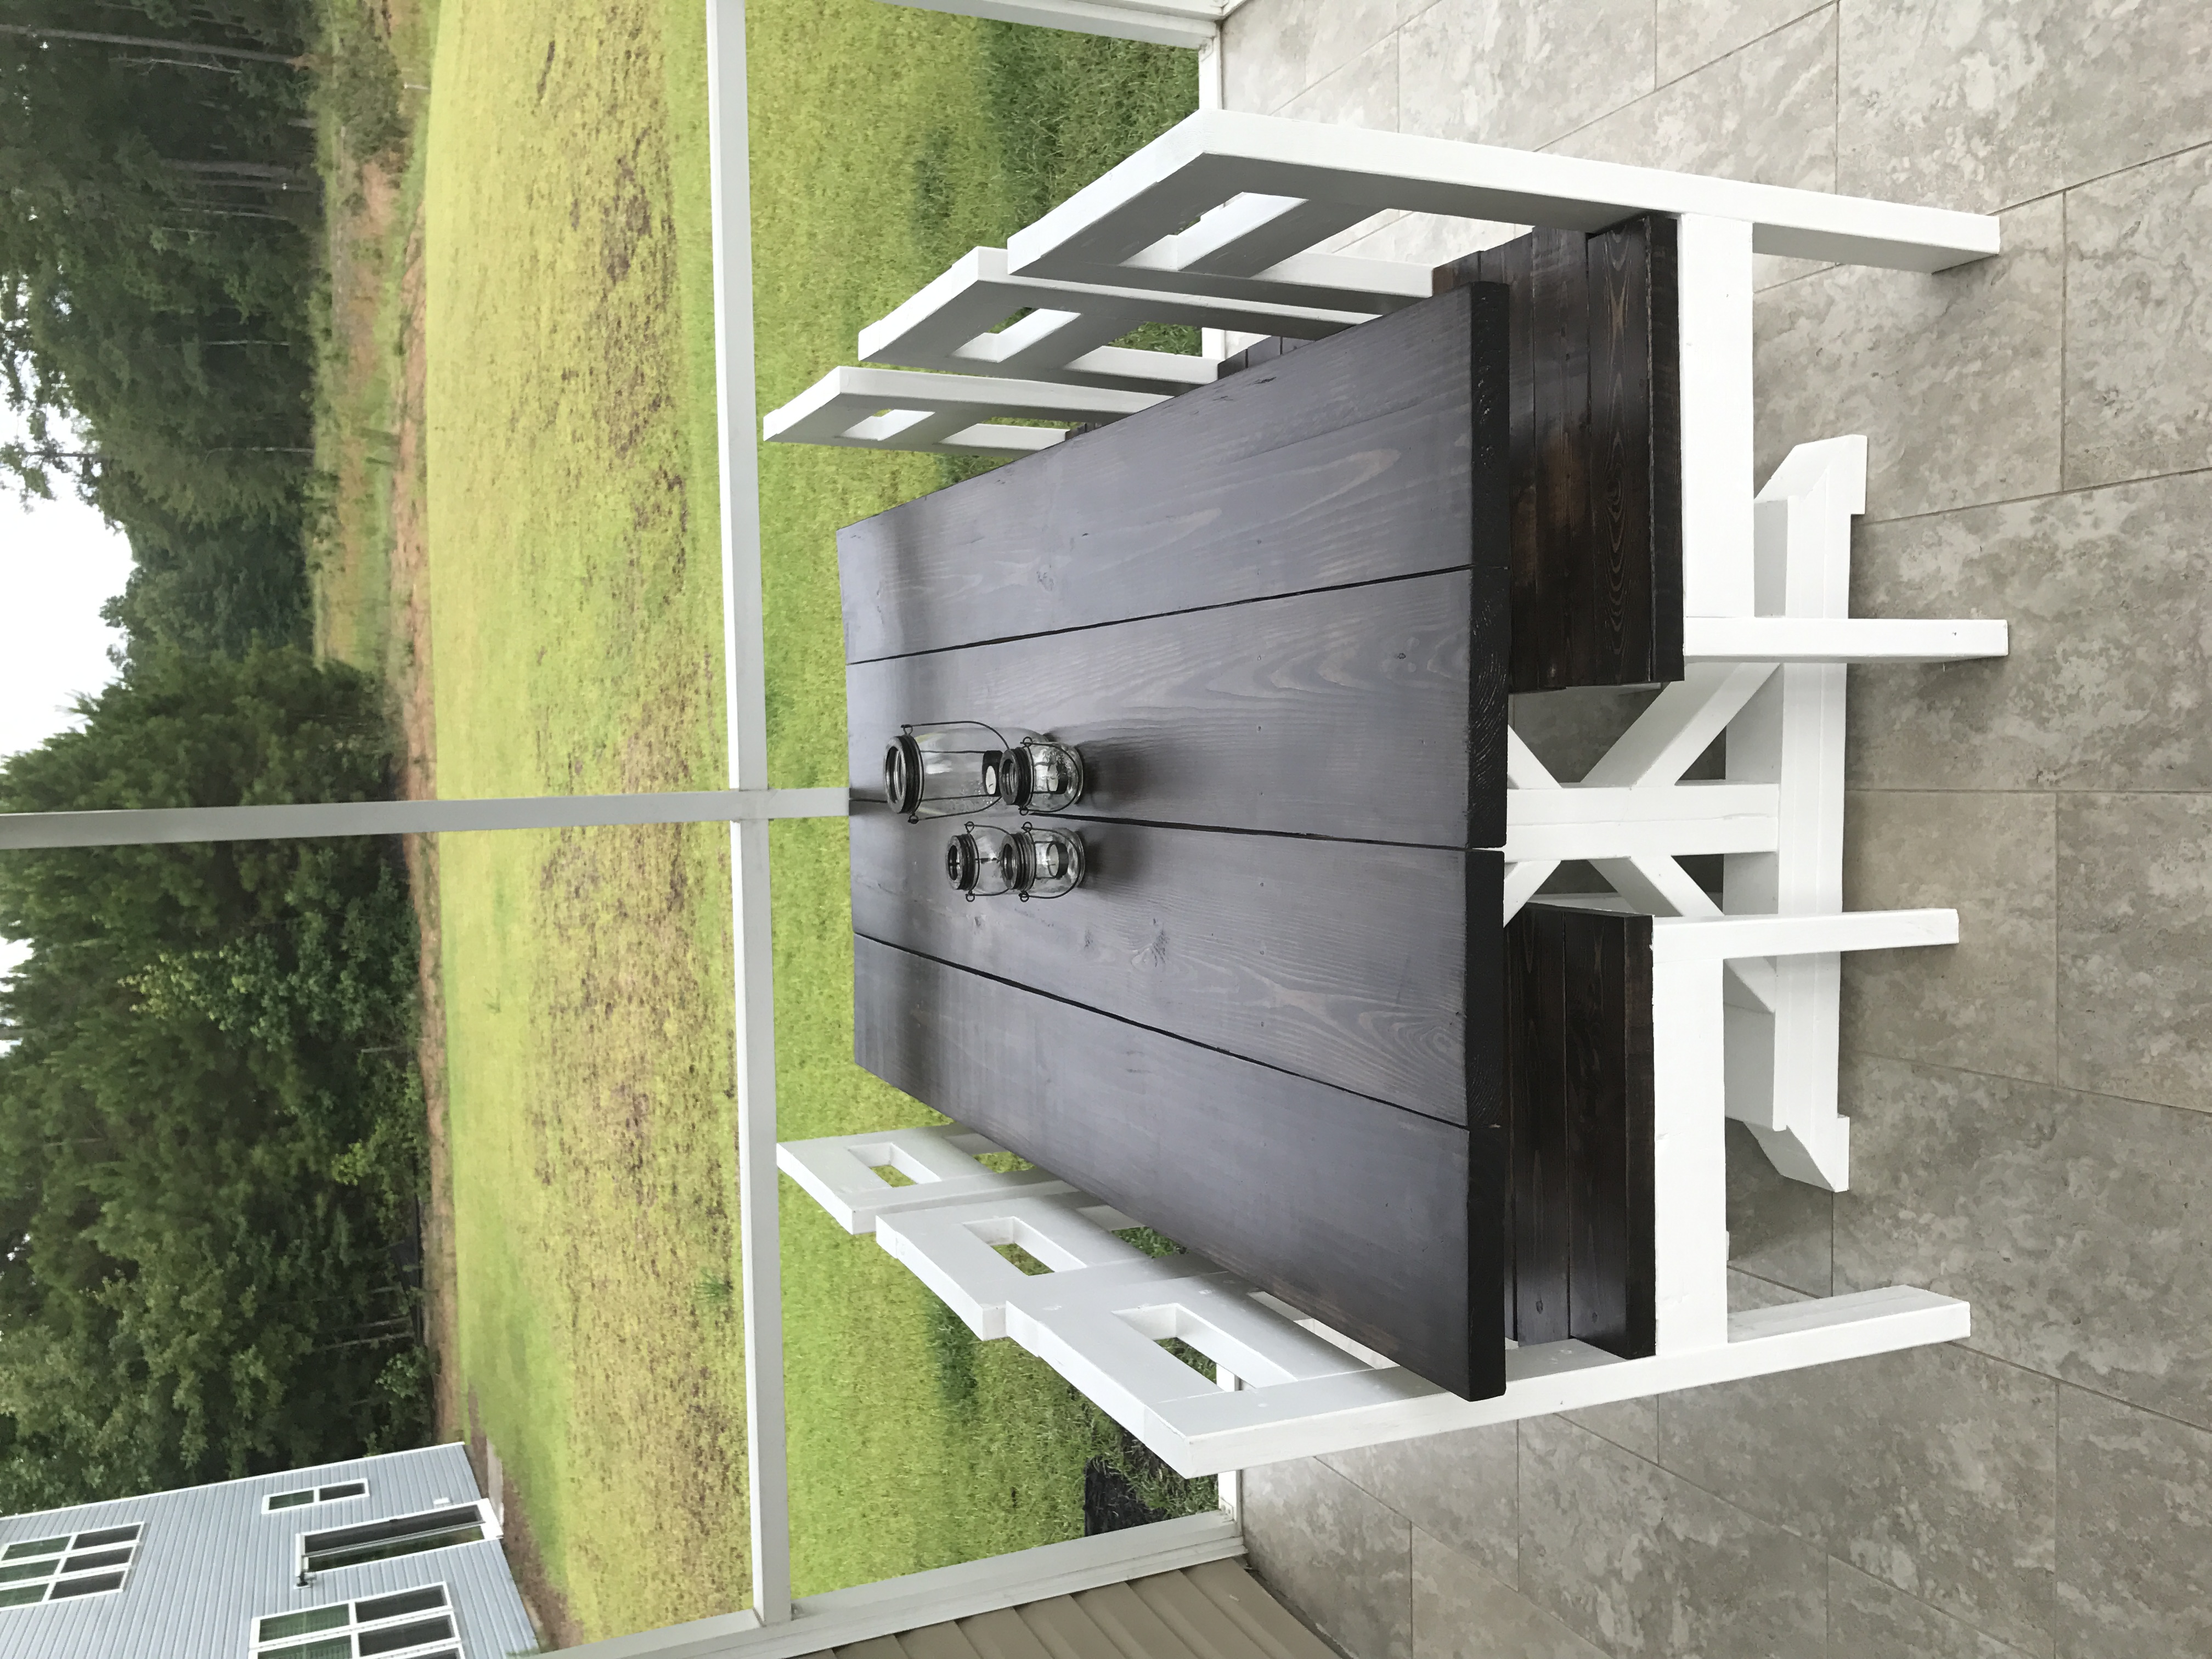
Estimated Cost
Under $200 to build both the table and 6 chairs. Including all lumber, screws, paint/ stains ect.
Estimated Time Investment
Weekend Project (10-20 Hours)
Finish Used
Minwax Pro Series multi-surface wiping stain and Minwax Spar urethane. Paint is HGTV by Sherwin-Williams weathershield
Recommended Skill Level
Beginner
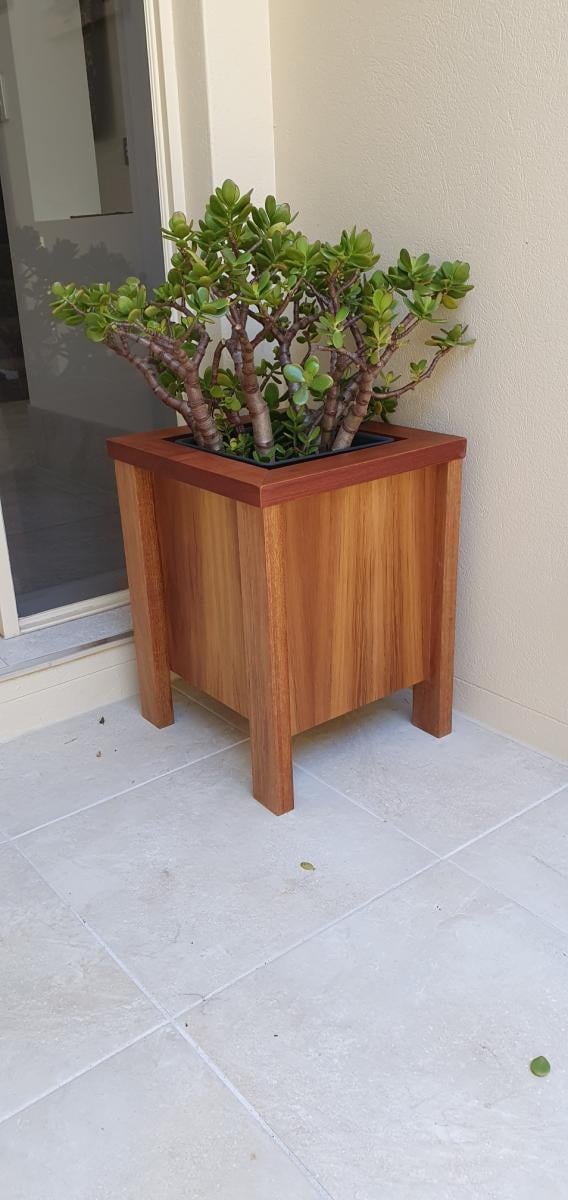
Planter Boxes
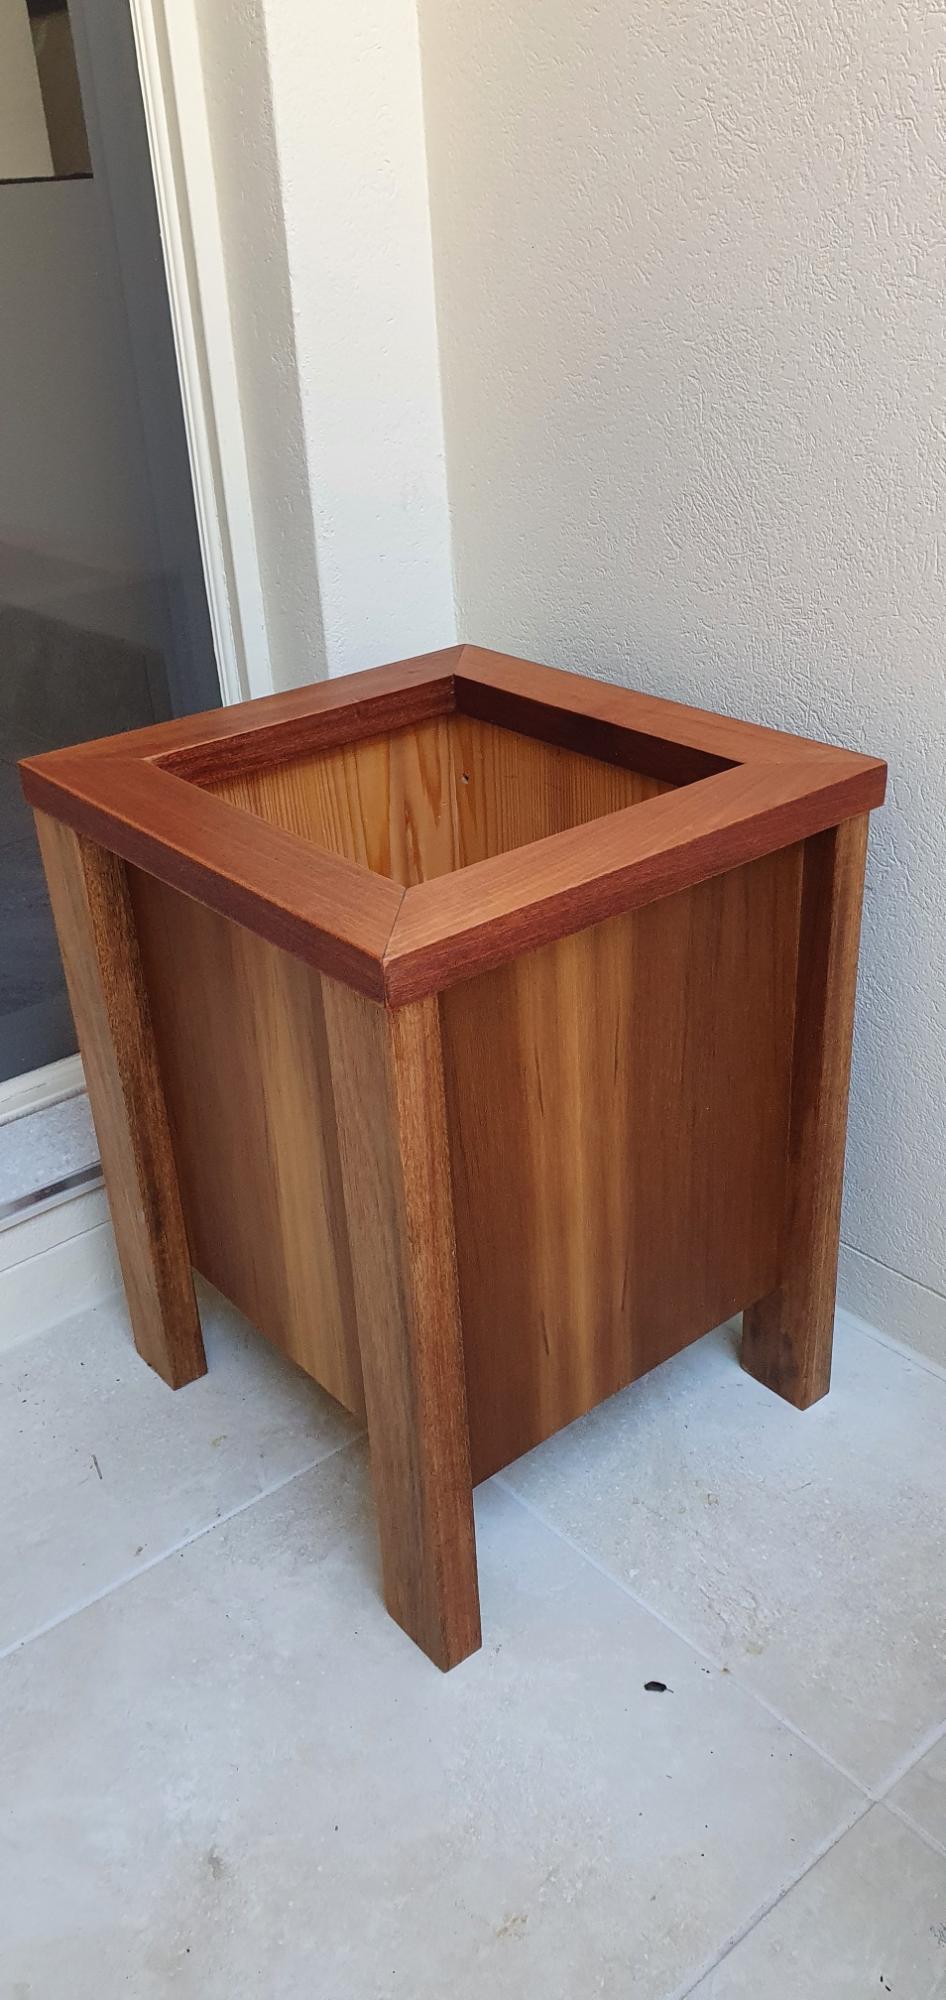
I wanted to build a planter box by our front door, which is not exposed to the weather. I based the design on the video I saw on YouTube for the “Easy Build DIY Planter Box” made from cedar and painted white.. Being based in Australia I amended the dimensions to metric, and used plywood rather than cedar. I am delighted with the finished product. So many thanks, Ana, for your part in making this planter box on the other side of the world.
Cheers Noel
Comments
Tue, 10/05/2021 - 09:33
So pretty!
Thank you for sharing from across the world, that is absolutely gorgeous!
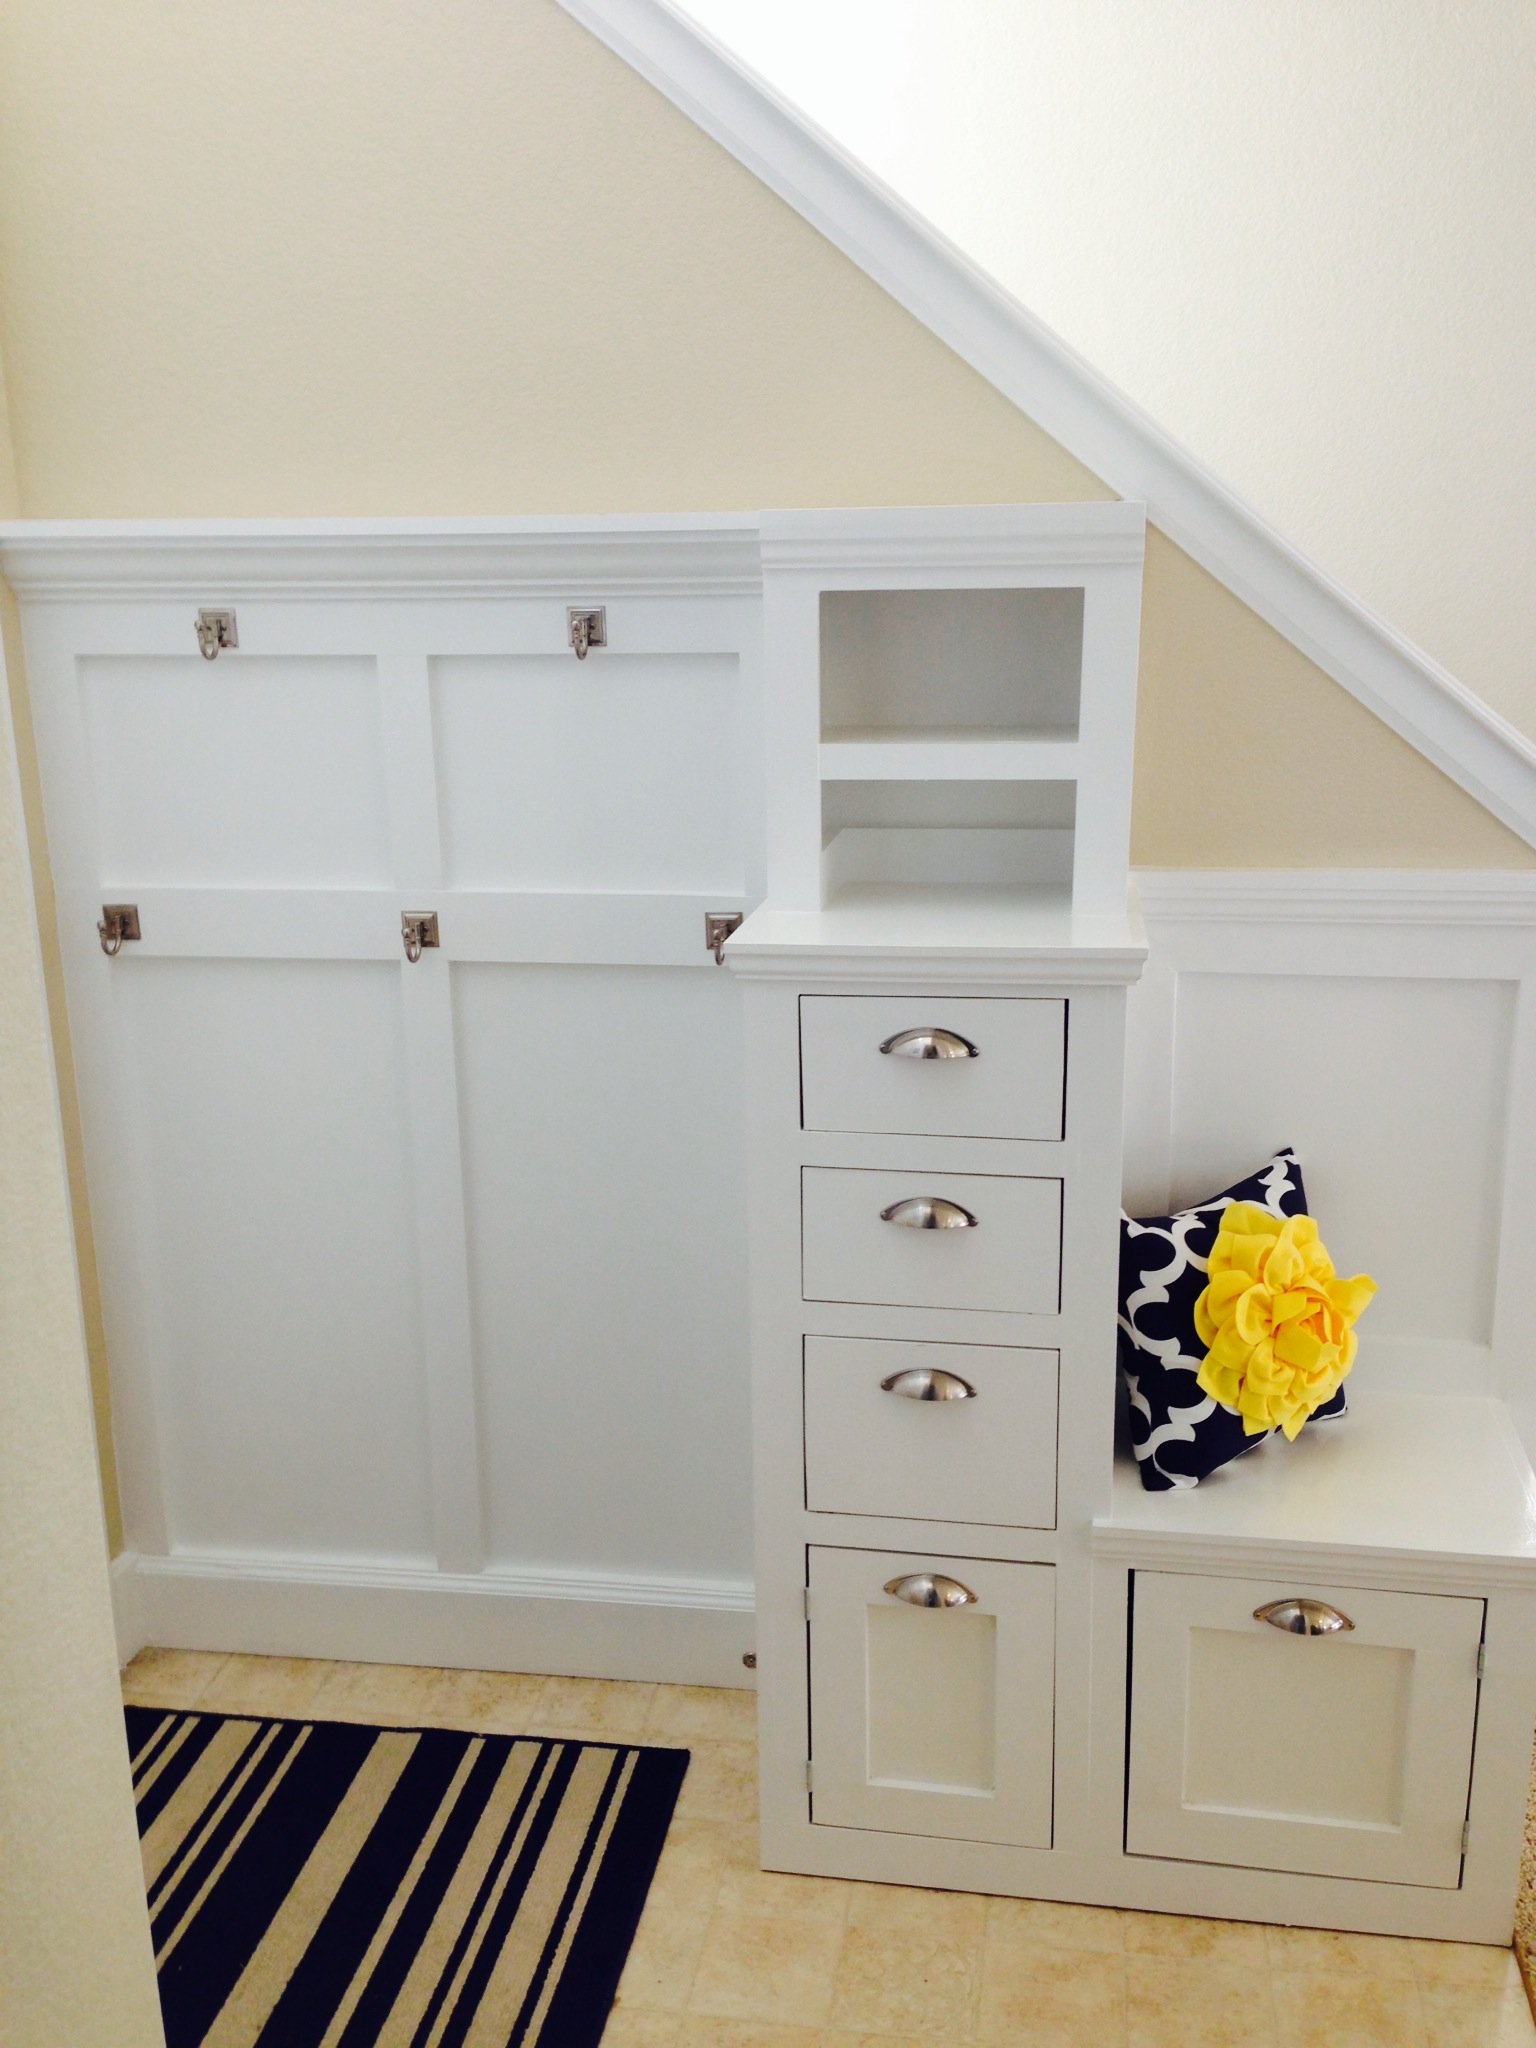
Leaning Wall Media Center
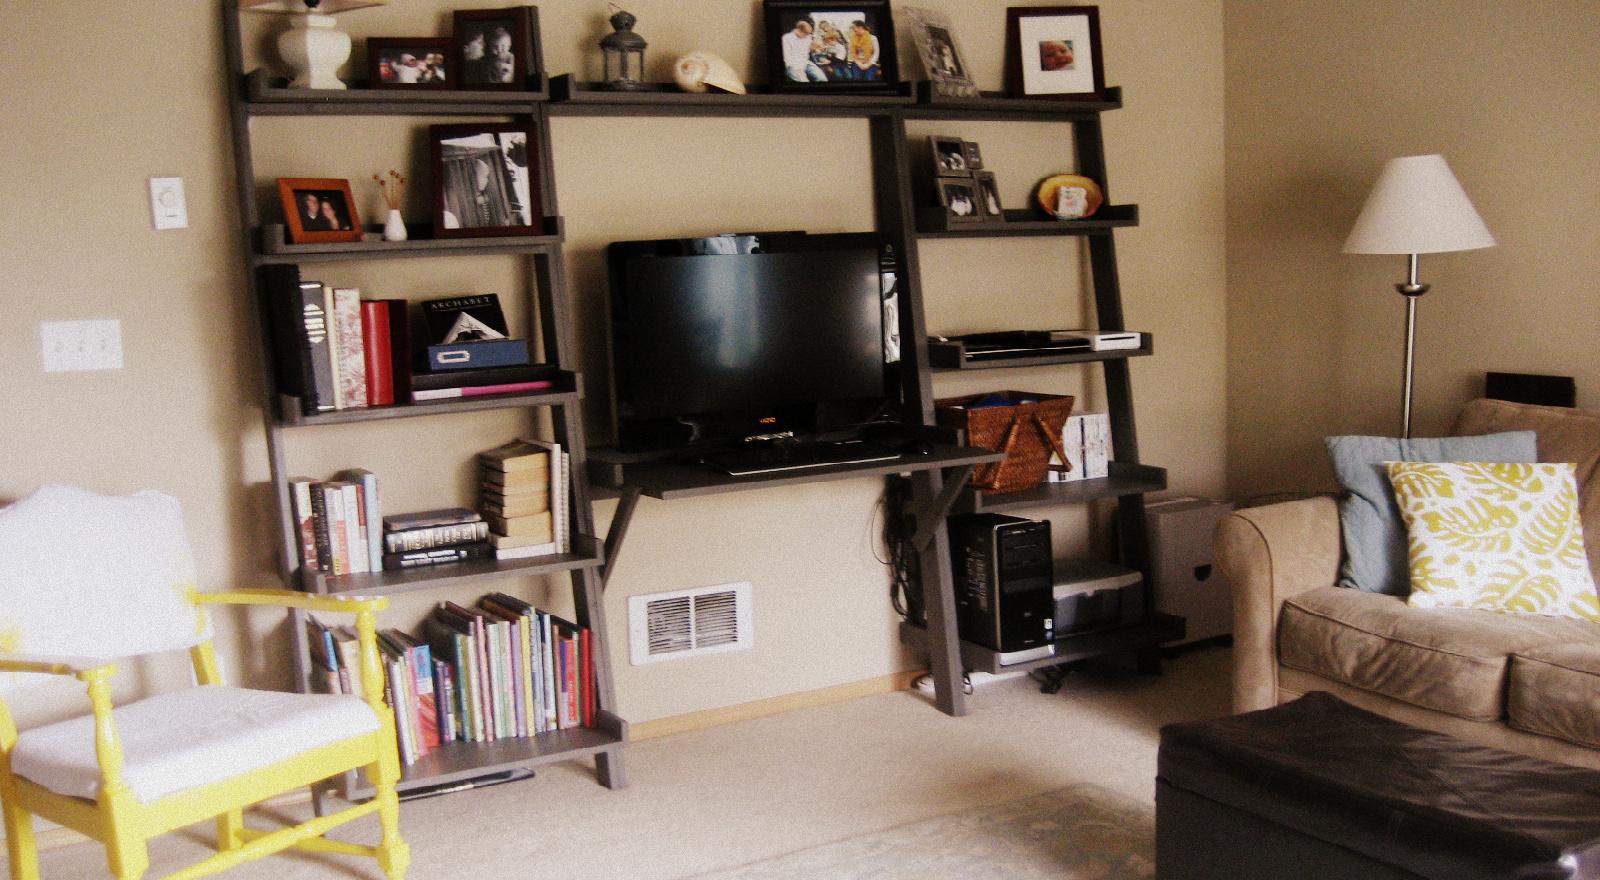
Recently I was a Crate and Barrel and I found the Sloane Leaning Desk and thought that it would be perfect for my media center. (See that wall heater under the desk, I needed that to be open and I was tired of my big wood box of a media center on the, now, couch wall.) So knowing that I had seen the Leaning Wall Shelf on this site I knew I could reconfigure it a bit to work out for my own needs.
First, I cut the dimensions down a bit. Instead of the 31 1/2" length on all of the shelves I cut them at 24". Then then all the back trim at 25 1/2". Then for the middle section, I cut the shelf and desk at 36" and the back trim to 37 1/2". The side trim for the desk is 14 1/4". The desk itself was 22x36" and the top shelf was cut from a 1x8x6. I did this because I could cut all the other shelves and the desk from one piece of 4x8' plywood. For added support I used a 2x4 as the brace under the desk and added 1x2 braces (cut at a 45 degree angle) for extra support on the front/ sides of the desk (see photo). I also left all the edges squared off for a more modern look, like the Sloane.
I hope this helps you and good luck with your project! FYI, this was my first build EVER, and with a little help from my dad cutting the wood and getting it level, I got it done pretty easily. Oh, and get yourself some large clamps or an extra set of hands to help hold things together while you're drilling.
Estimated Cost
$140
Estimated Time Investment
Week Long Project (20 Hours or More)
Finish Used
I built the main supports and shelves separately then sanded, primed and painted them before assembling them in my home. For the primer I used 1qt. Zinsser 1-2-3 (1 coat), then used 1qt. of Martha Stewart, Seal (2 coats with a smooth finish roller) in a satin finish.
Recommended Skill Level
Beginner
Comments
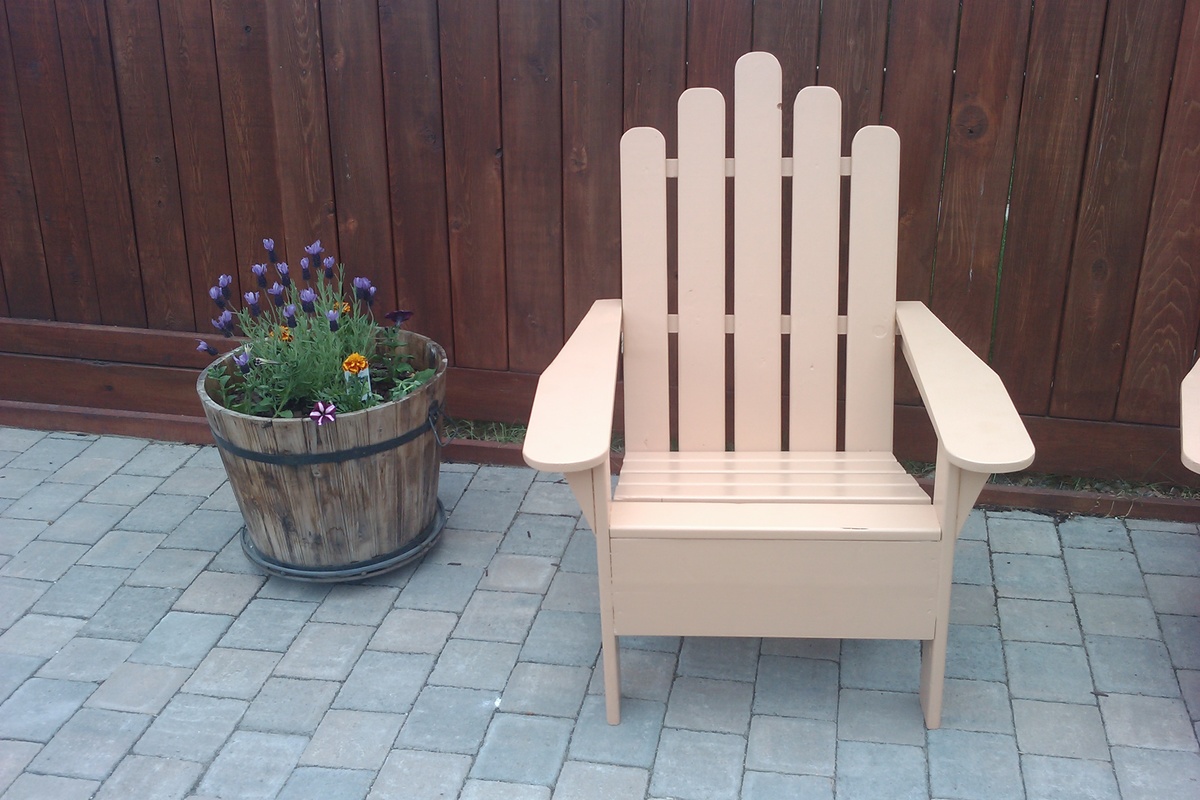
Adirondack Chair
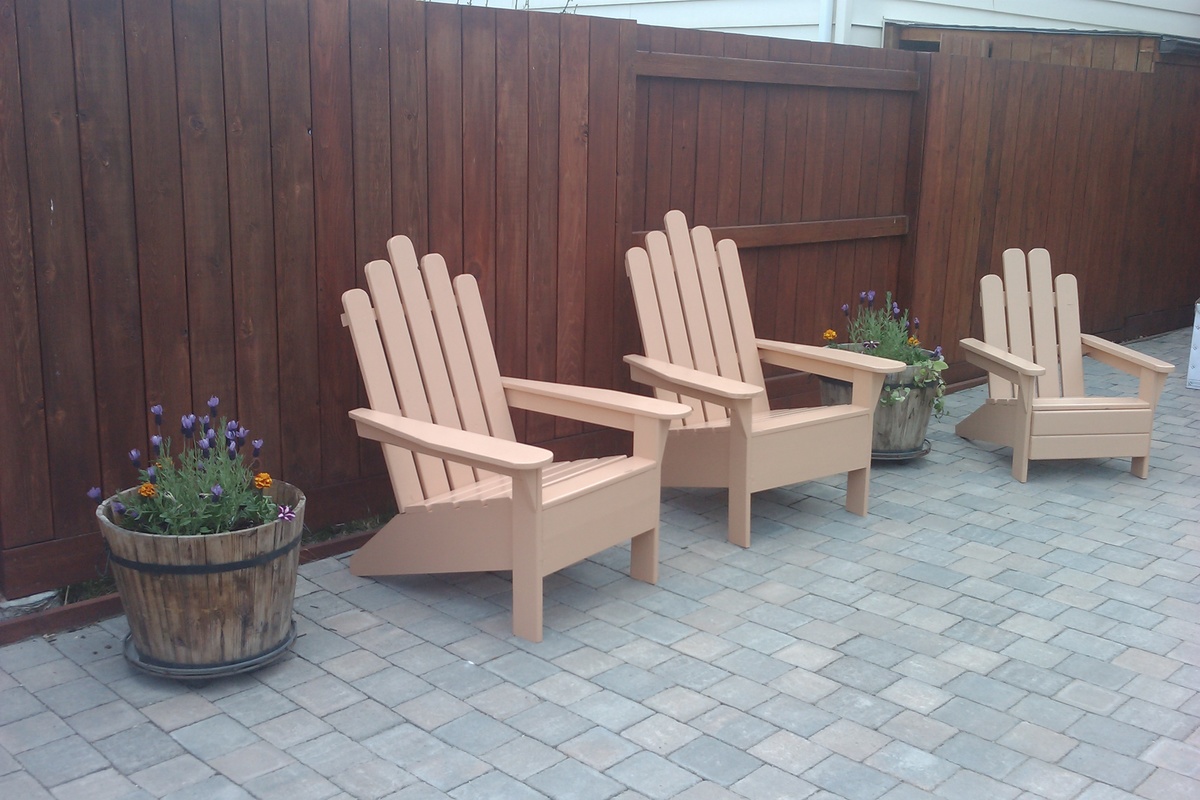
Built three Adirondack Chair, got the dimensions from Ana's Adirondack Chair and modify dimensions for the smaller chair for my daughter. Used ceder and pine. Cost about CDN 40 per chair. Specially I would like to thanks Ana giving information about simple but beautiful furniture designs.
Built from Plan(s)
Estimated Time Investment
Weekend Project (10-20 Hours)
Finish Used
Used for my backyard
Recommended Skill Level
Beginner
Comments
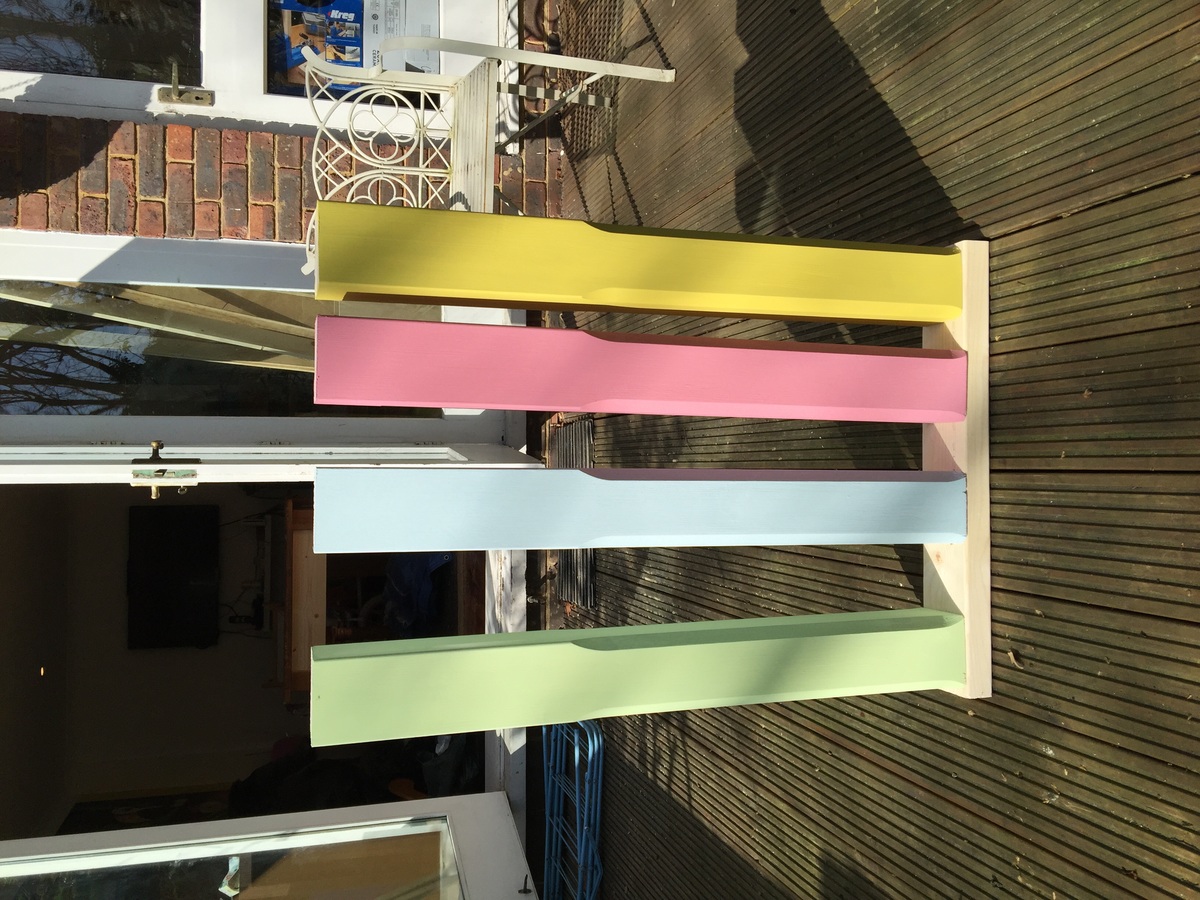
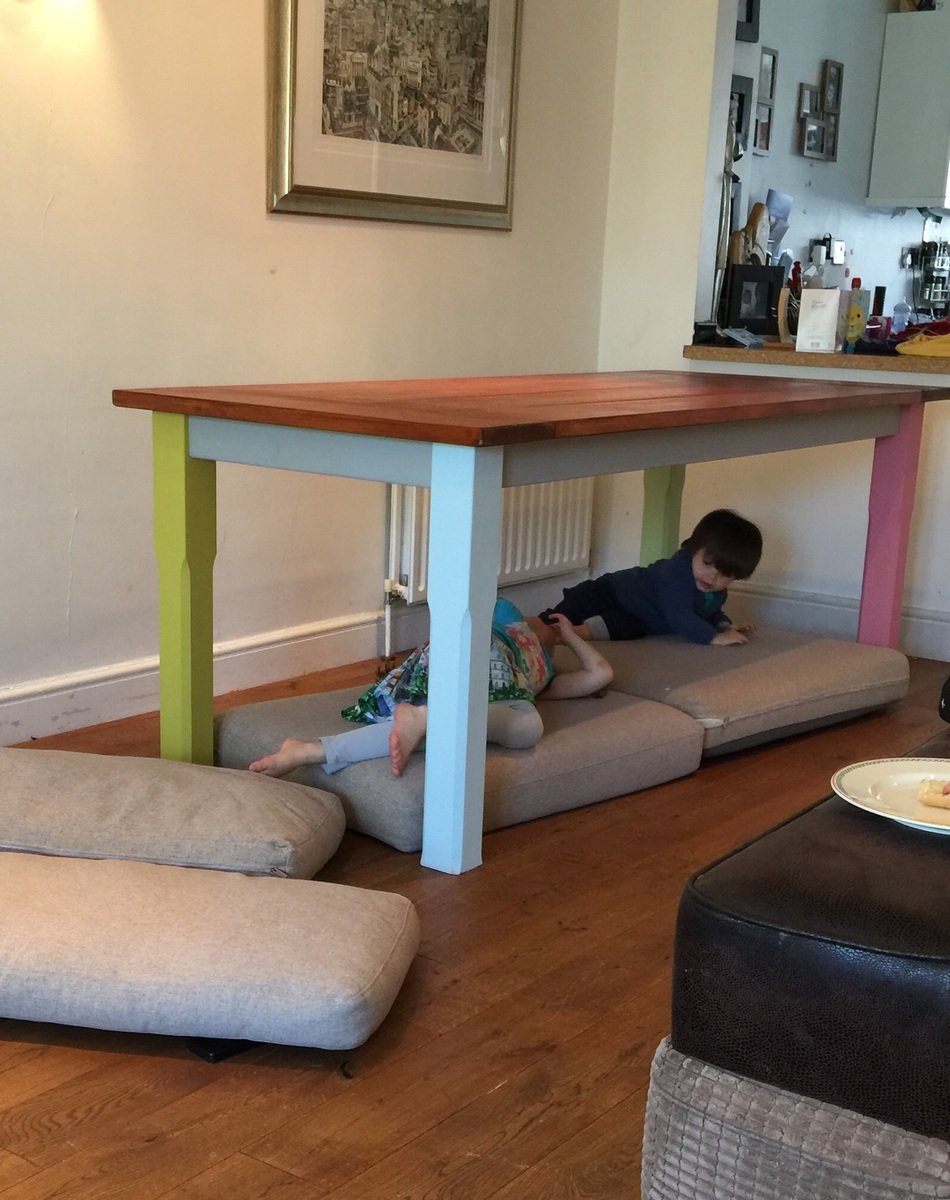
My first dining table!!
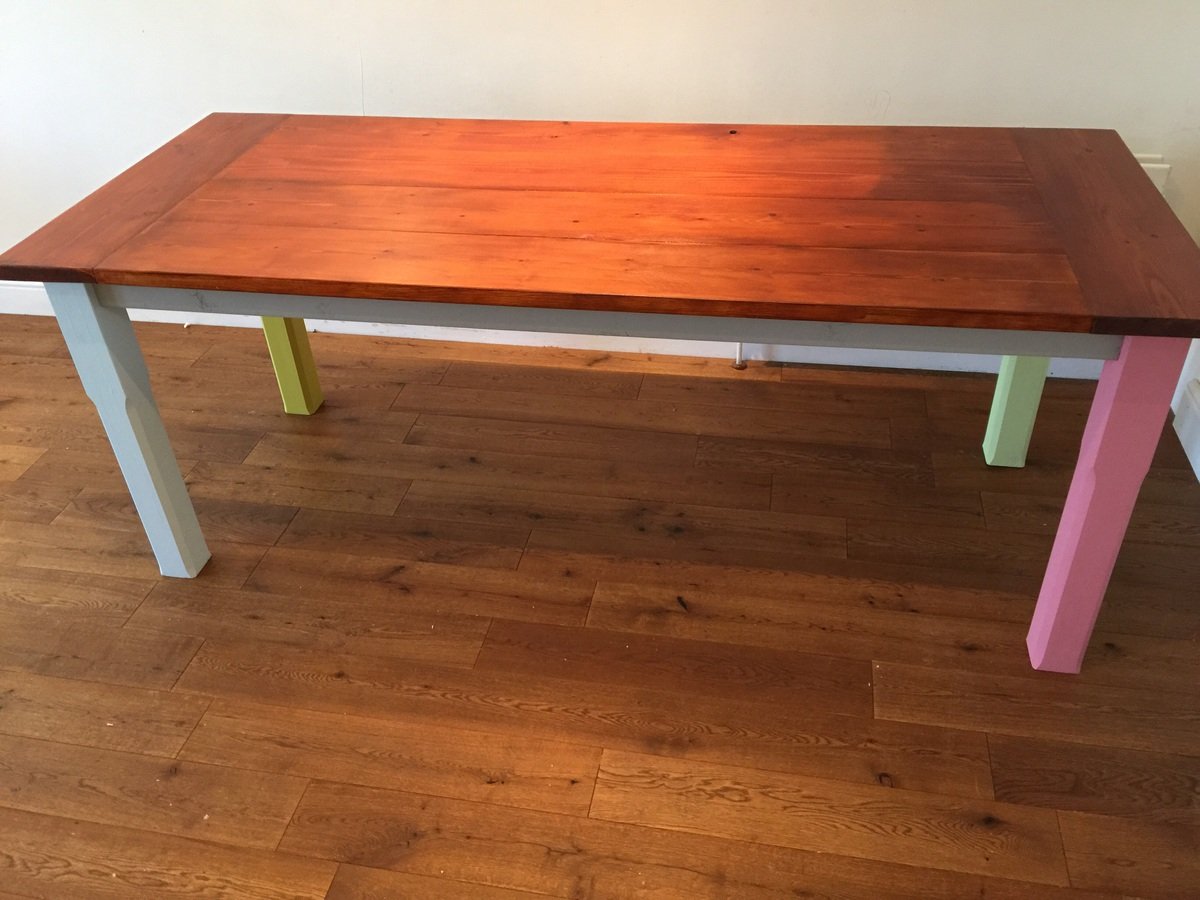
My first attempt at a country farmhouse style dining table, my children managed to also use it as a playhouse within minutes!!
Built from Plan(s)
Estimated Cost
Approx £200-£250 timber seems to be a lot more expensive here in the UK compared to the U.S.
Estimated Time Investment
Weekend Project (10-20 Hours)
Finish Used
Chalk paint for the legs and a mahogany stain for the top.
Recommended Skill Level
Intermediate
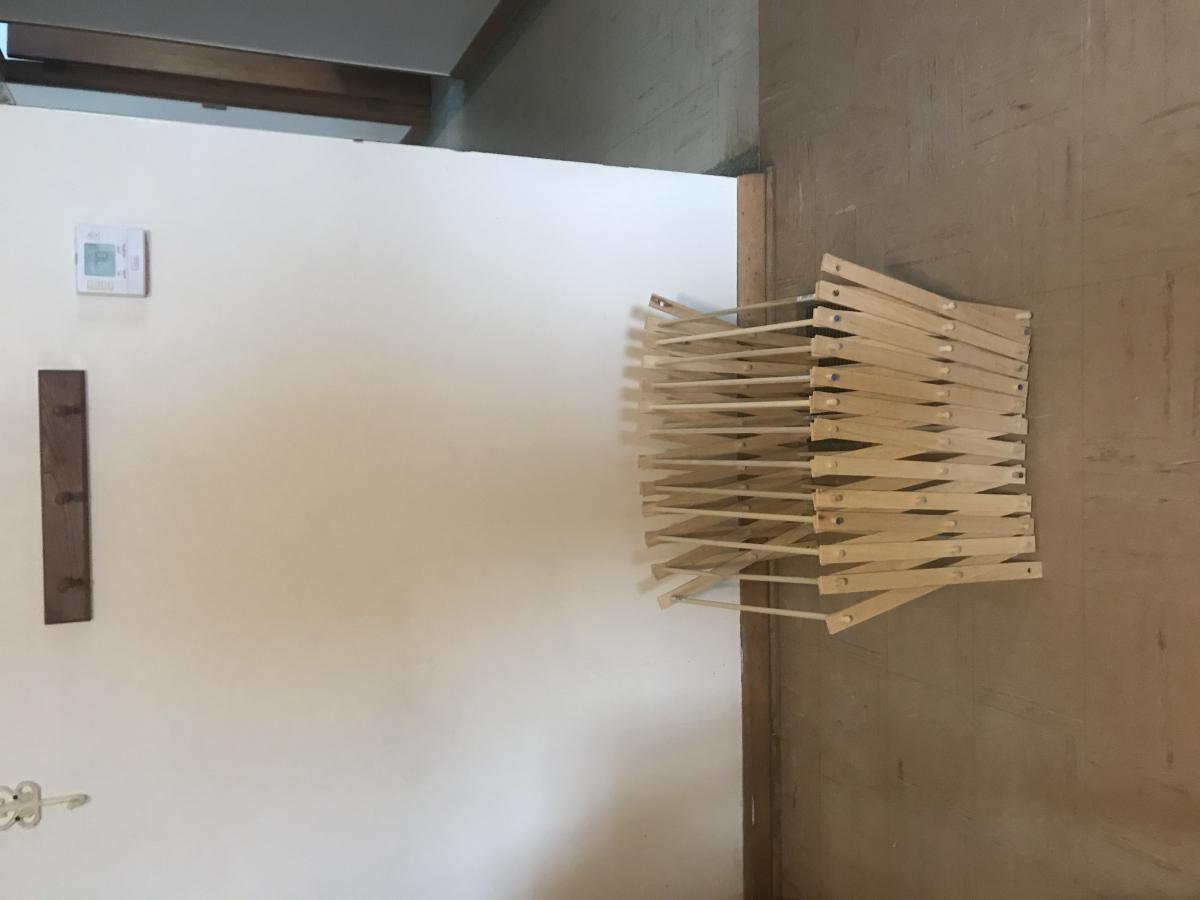
Clothes rack
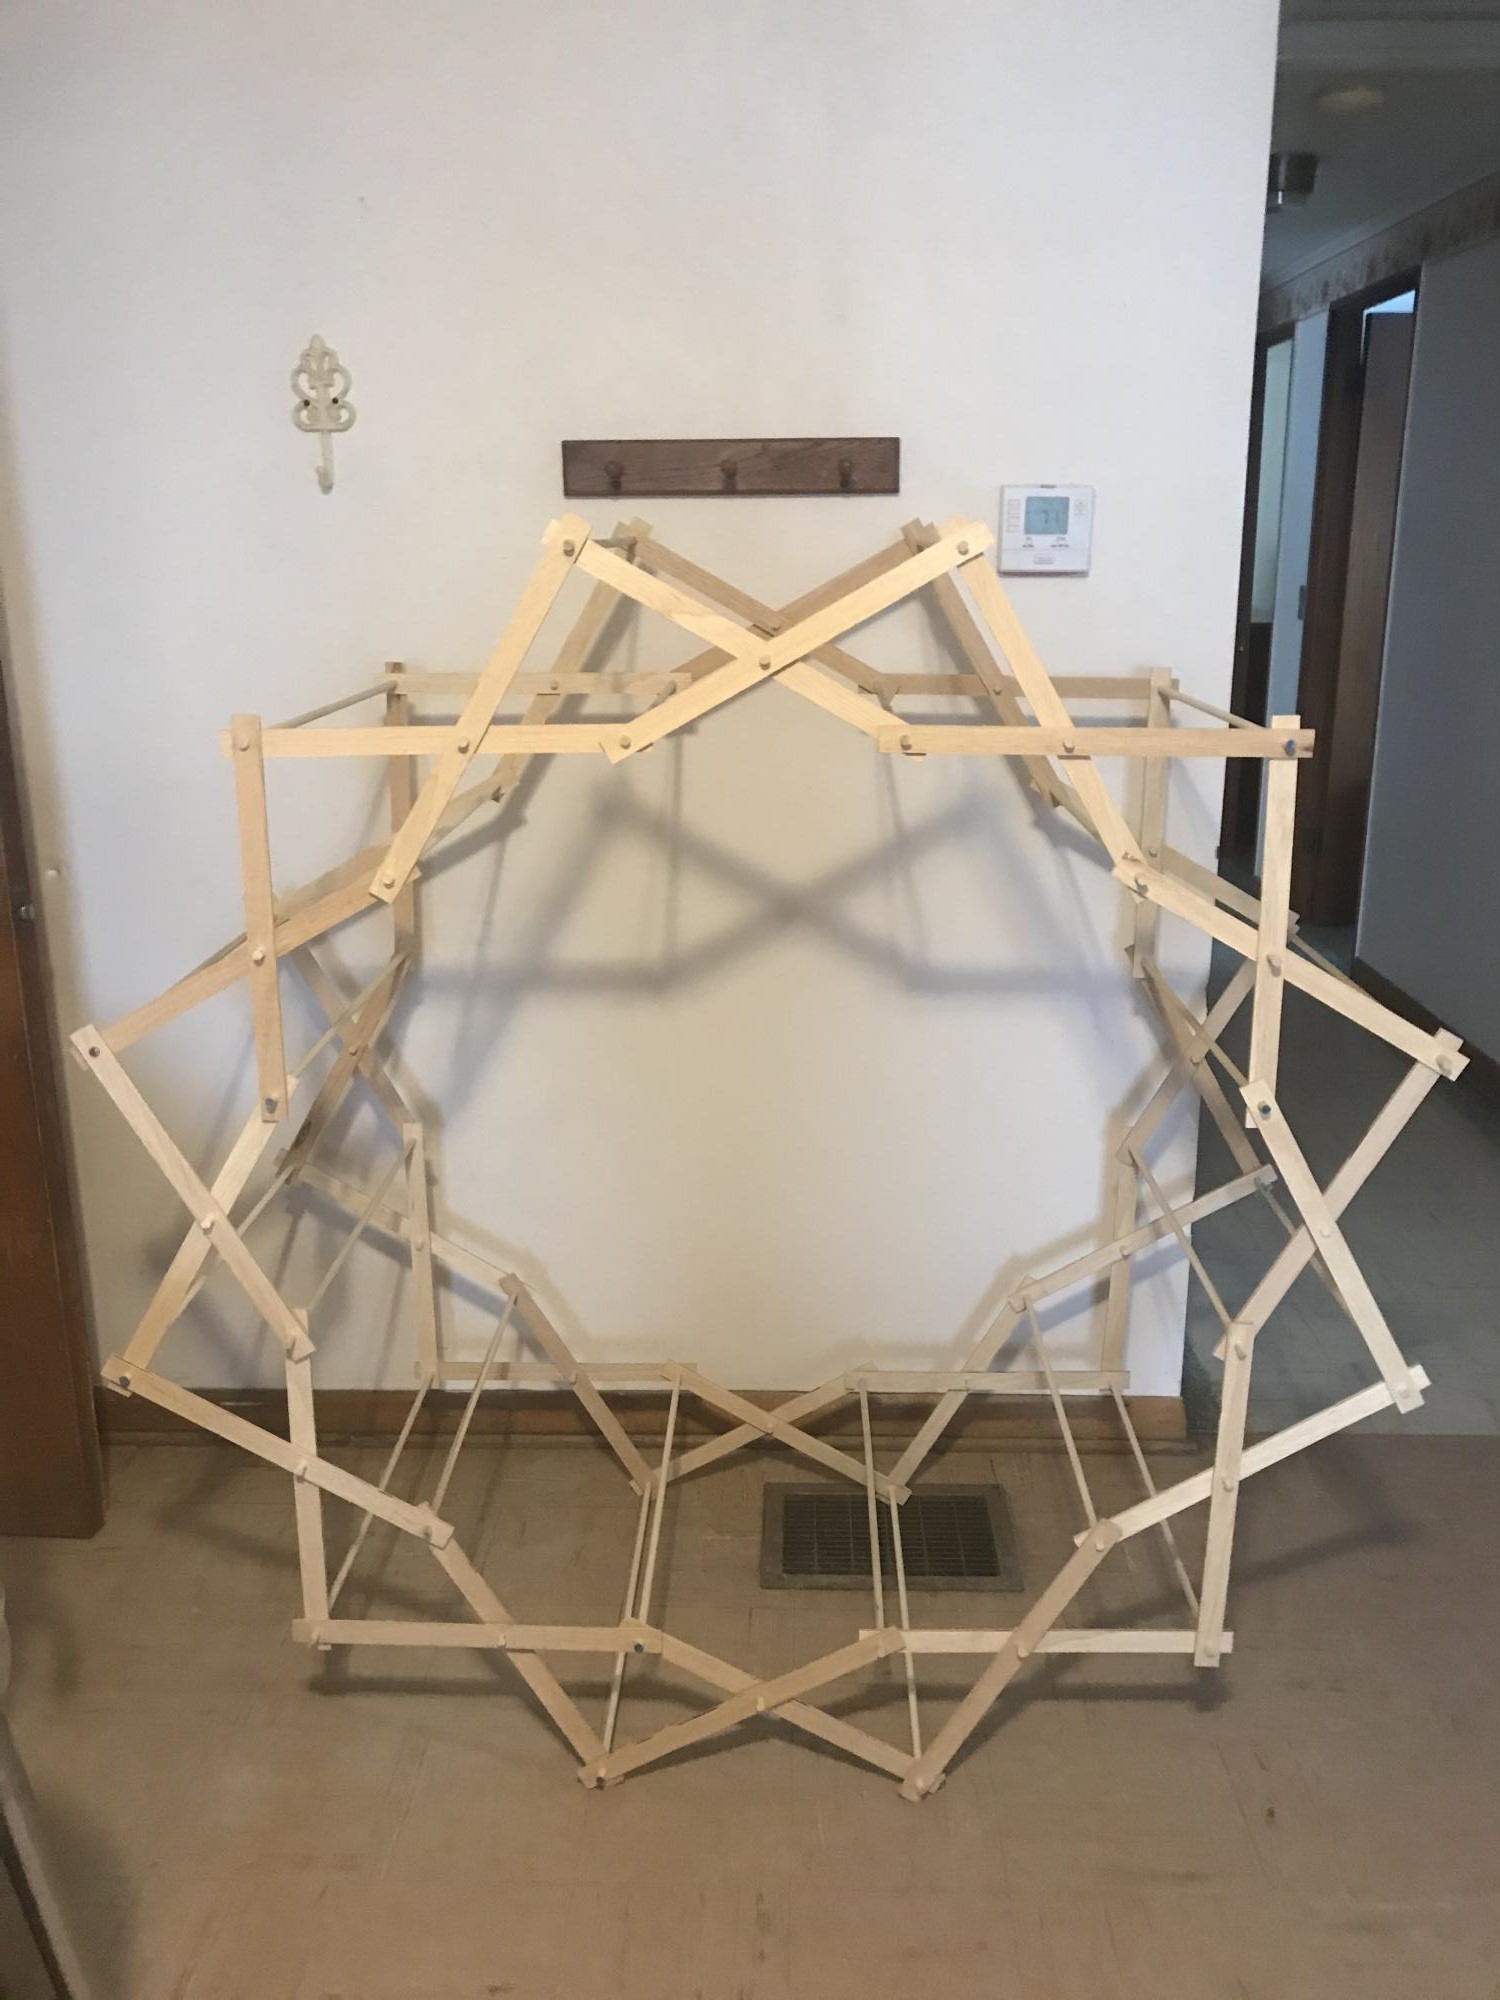
Simple beginner project. Would have preferred a more durable wood, but still a fun and quick project.
Comments
Pallet Shelf!
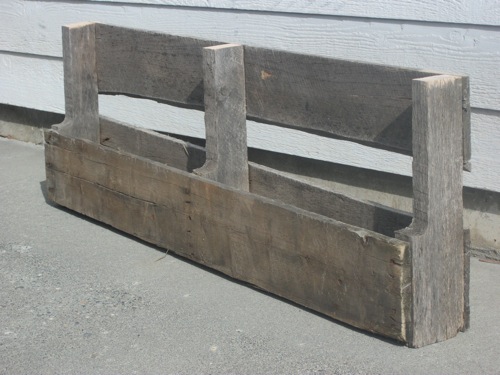
Ok, so no one is going to get really jazzed about this but me, but hey.. I actually had to cut this, which I did on my own with no help from the hubs and nail in the bottom boards. That was a bit tricky cause I used other pallet wood so I didn't have to rob any of the nice stuff from my scrap pile. :-)
Built from Plan(s)
Estimated Cost
FREE
Estimated Time Investment
An Hour or Two (0-2 Hours)
Finish Used
We ended up painting these for my Dad and step-Mom, but for my own that I have, we put nothing on them at all.
Recommended Skill Level
Starter Project
Portable countertop
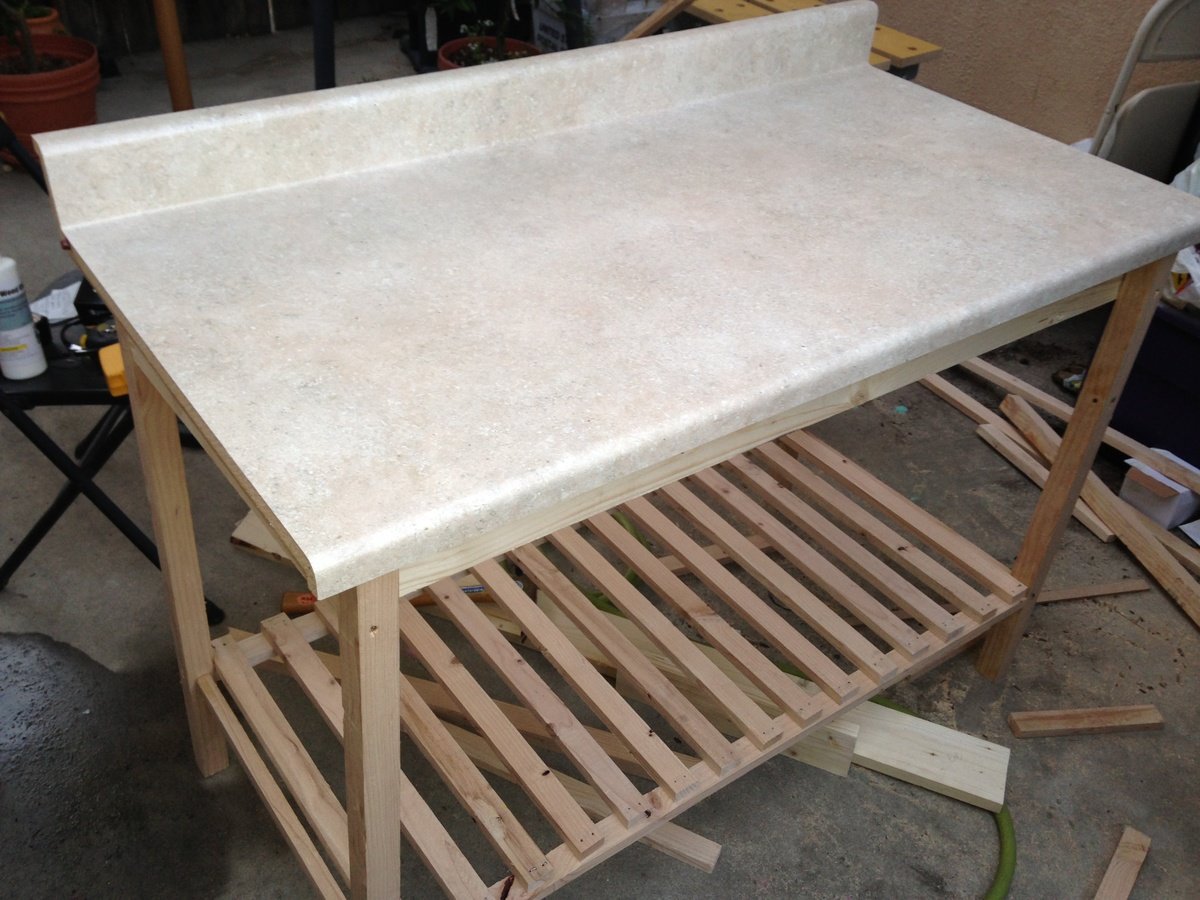
I made this from the kitchen island plans, but added a countertop. It's really sturdy and cost about $65 in materials. I love it.
Built from Plan(s)
Estimated Cost
$65
Estimated Time Investment
Afternoon Project (3-6 Hours)
Finish Used
Unfinished
Recommended Skill Level
Starter Project
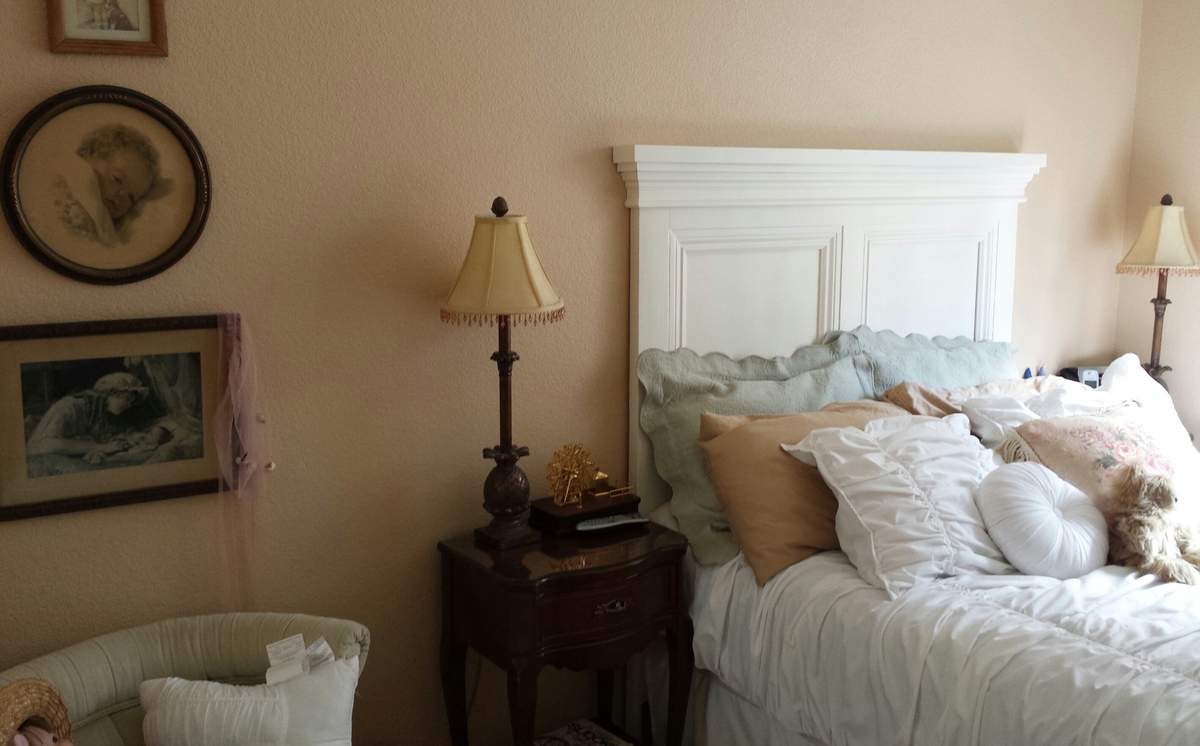
Modified Tall Panel Headboard
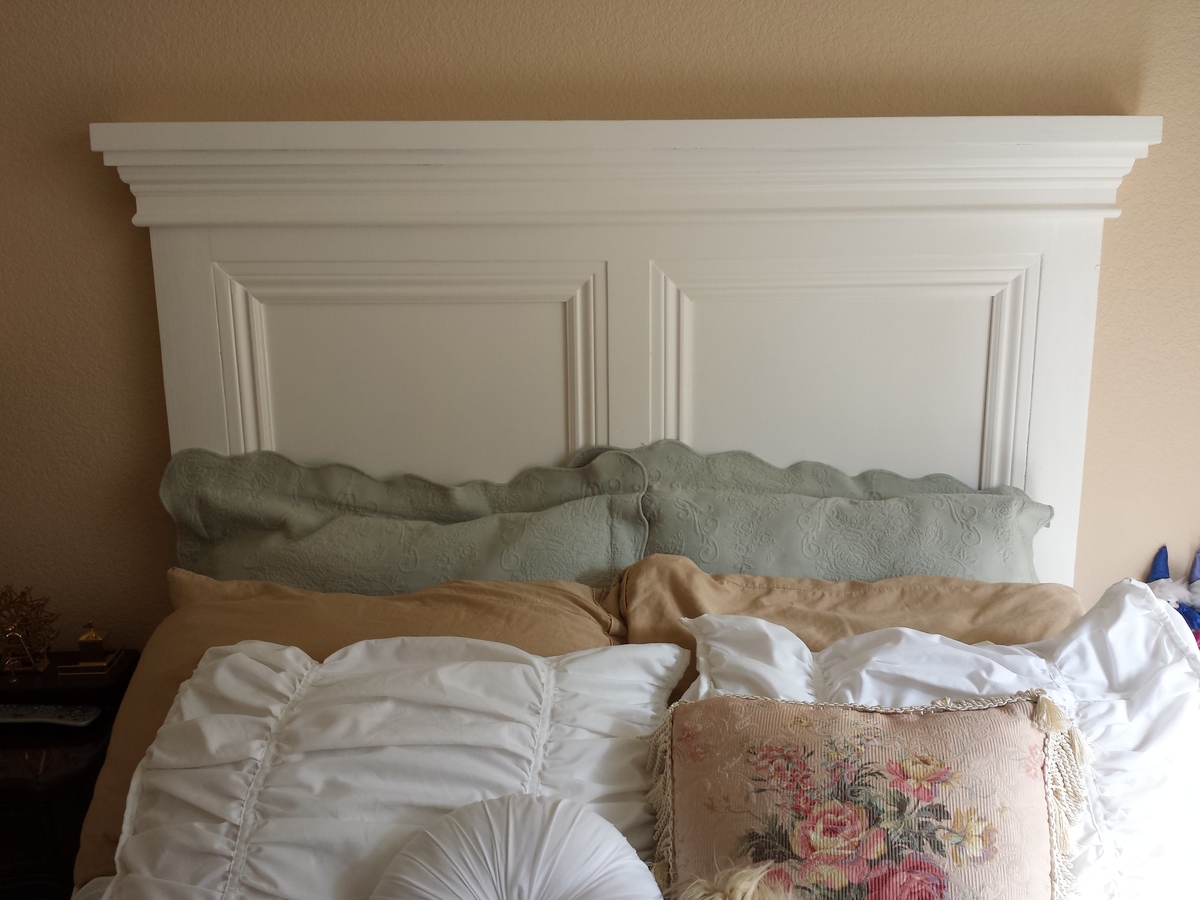
I built this headboard as a birthday gift for my grandmother. She had a rickety, old makeshift headboard composed of a couple of 2x4's and some lattice that was spray painted. I modified the plans to fit her Full size bed and lowered the height down to 62".
Built from Plan(s)
Estimated Cost
$180-$200
Estimated Time Investment
Day Project (6-9 Hours)
Finish Used
I sanded the entire headboard with 80 & 120 grit. I matched some Behr semi-gloss paint to the color of her door and baseboard trim. Painted it with my FinishMax paint sprayer, sanding between coats with 400 grit. 3 coats of paint overall.
Recommended Skill Level
Beginner
Comments

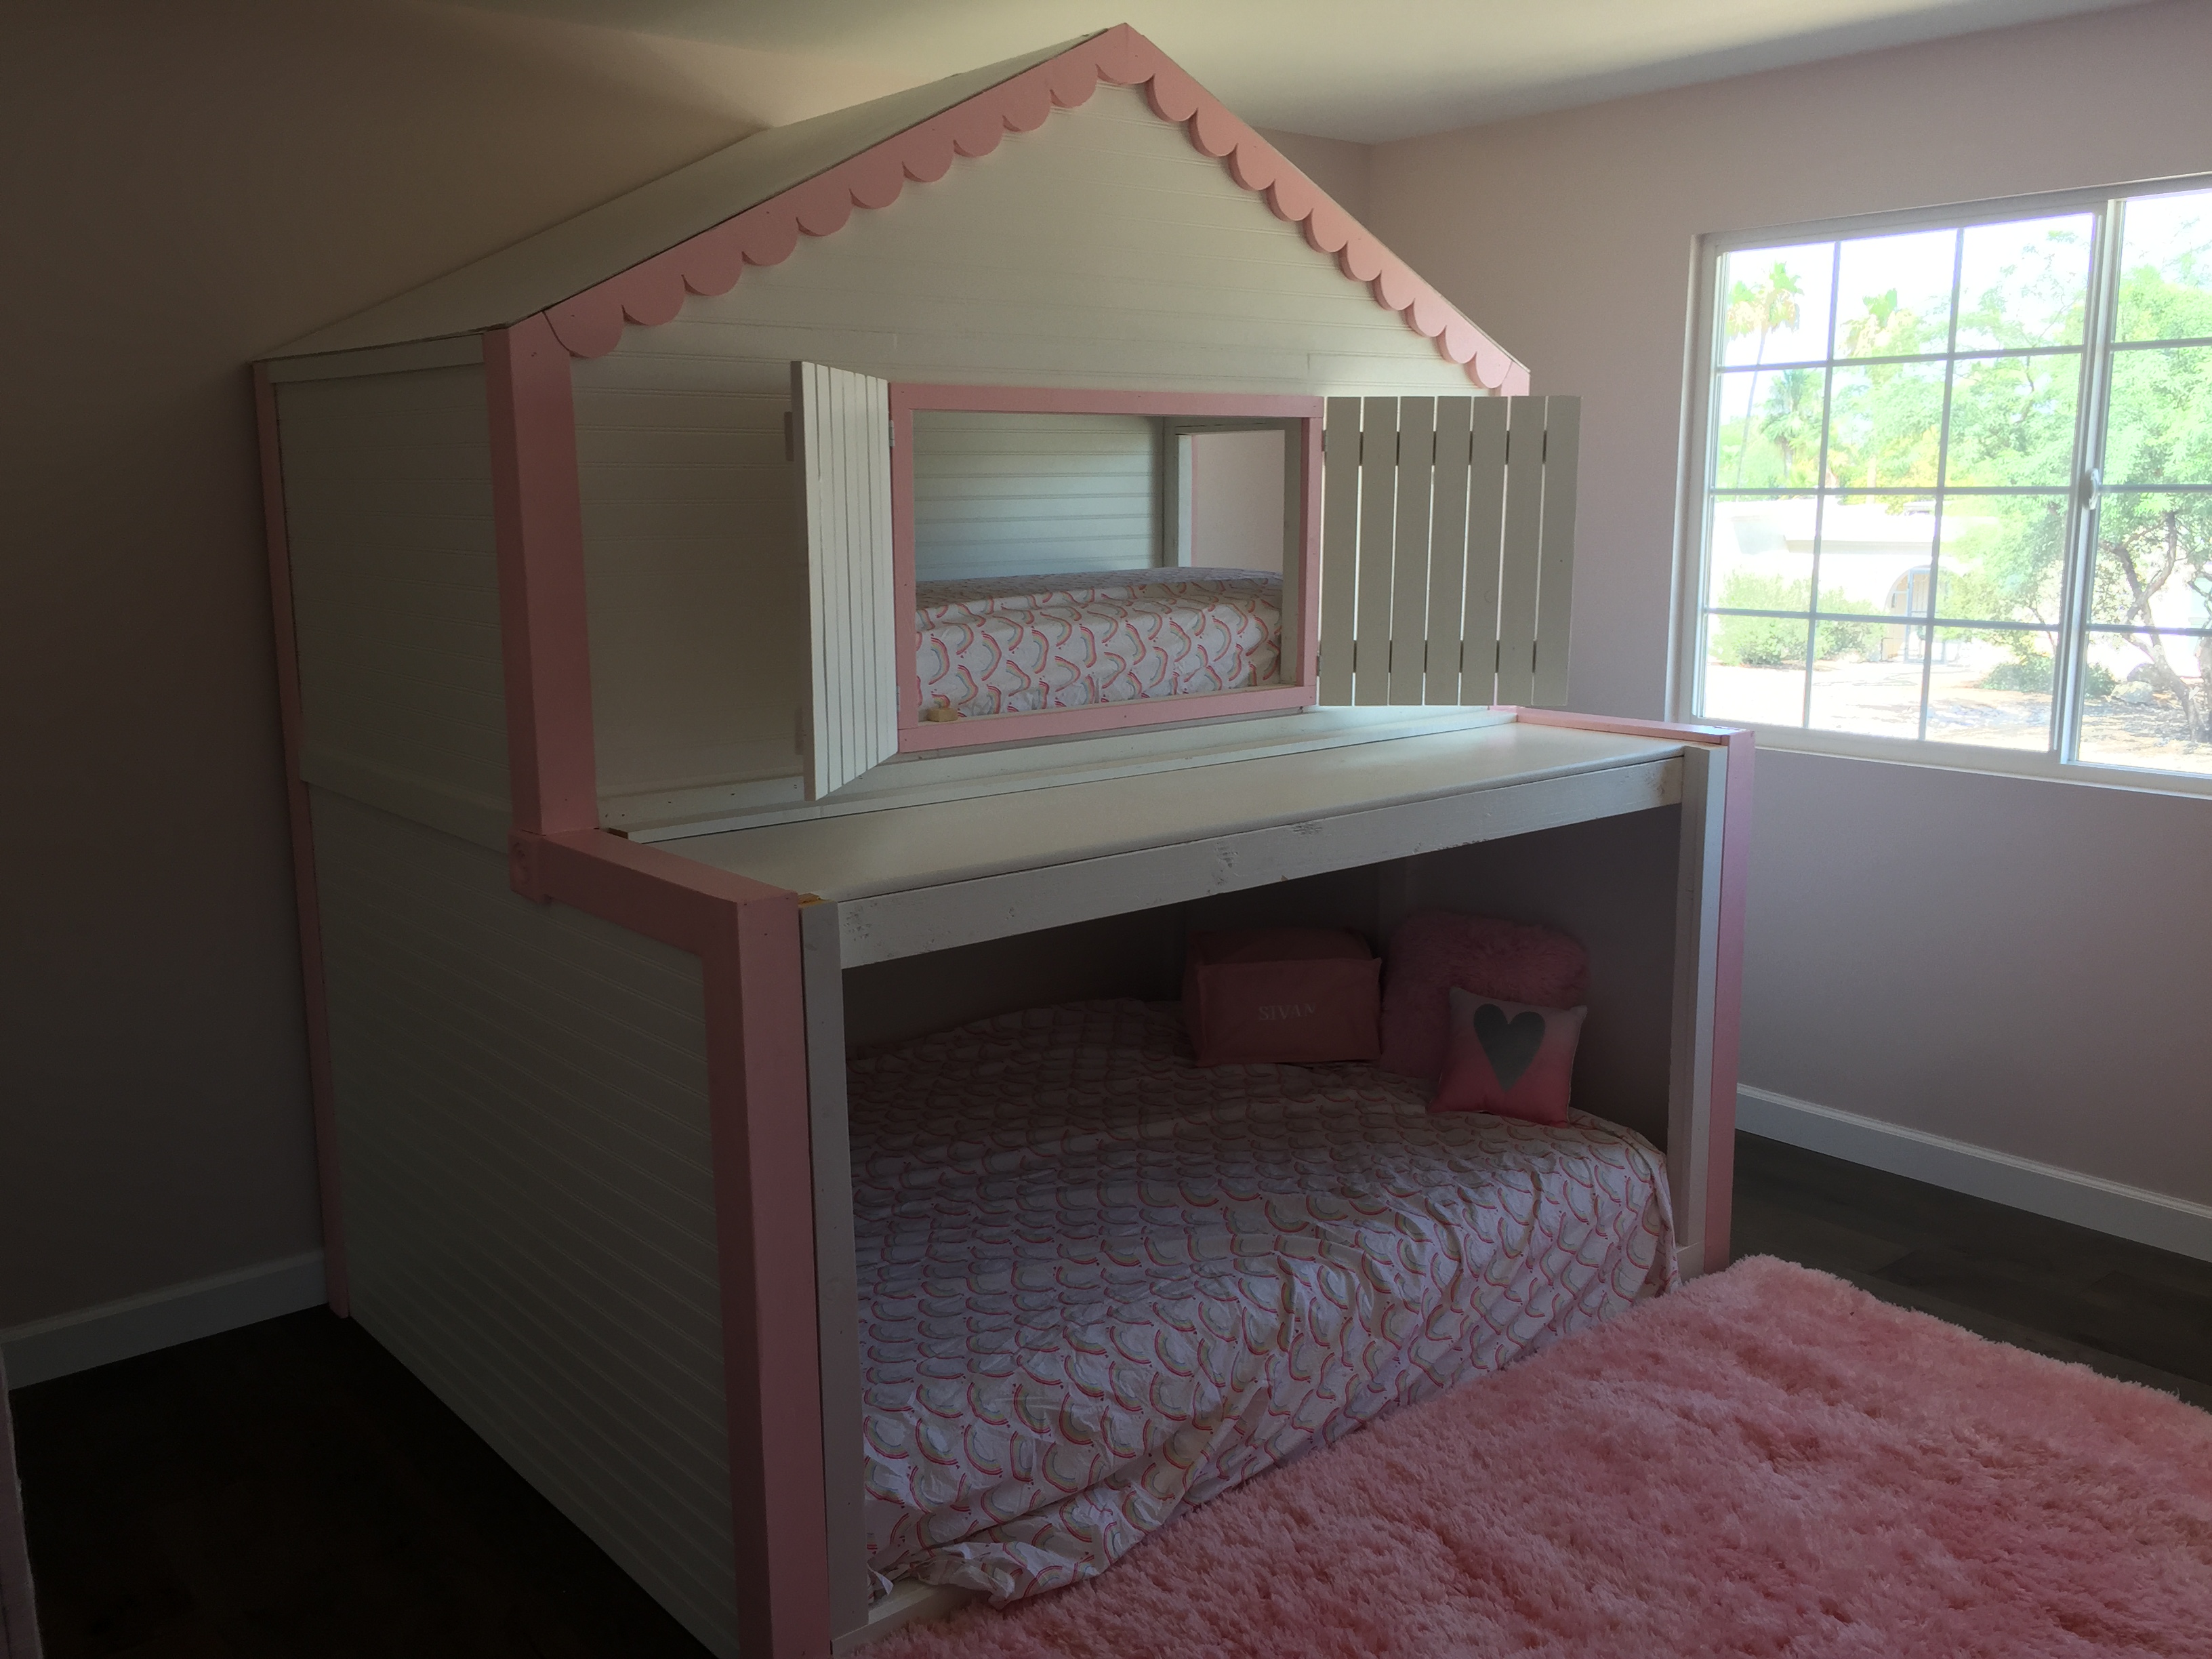
Custom Dollhouse Bed
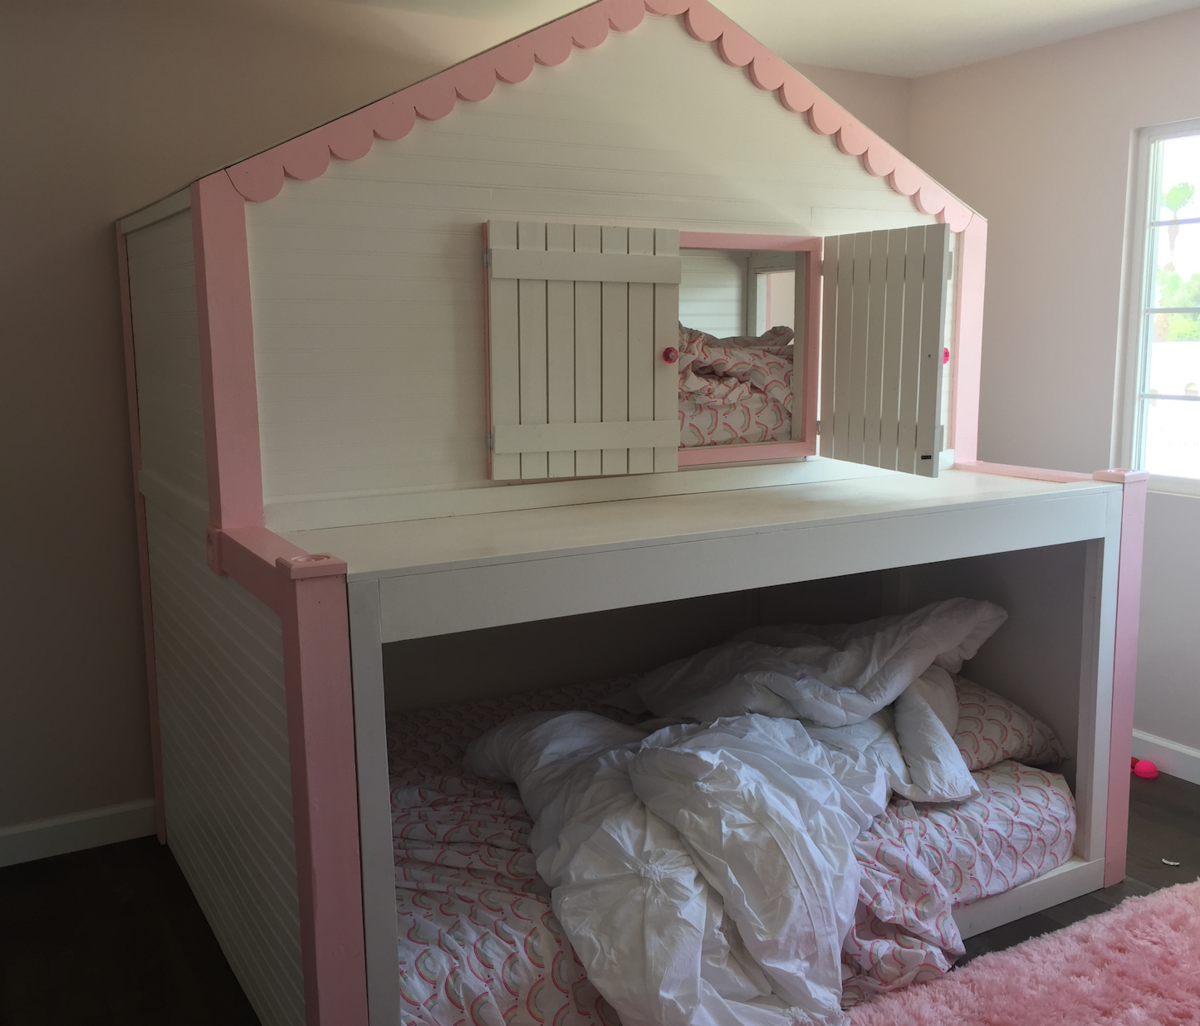
This was a custom build for one of my clients. It is a full over queen bunk bed. Scalloped trim on the top, and a balcony/platform from the top bunk. Access to the top via ladder and window! The pic with the messy bed is the FINAL finished product after I added a few more trim pieces to the front.
Estimated Time Investment
Weekend Project (10-20 Hours)
Finish Used
Used my Graco Airless sprayer.
Recommended Skill Level
Intermediate
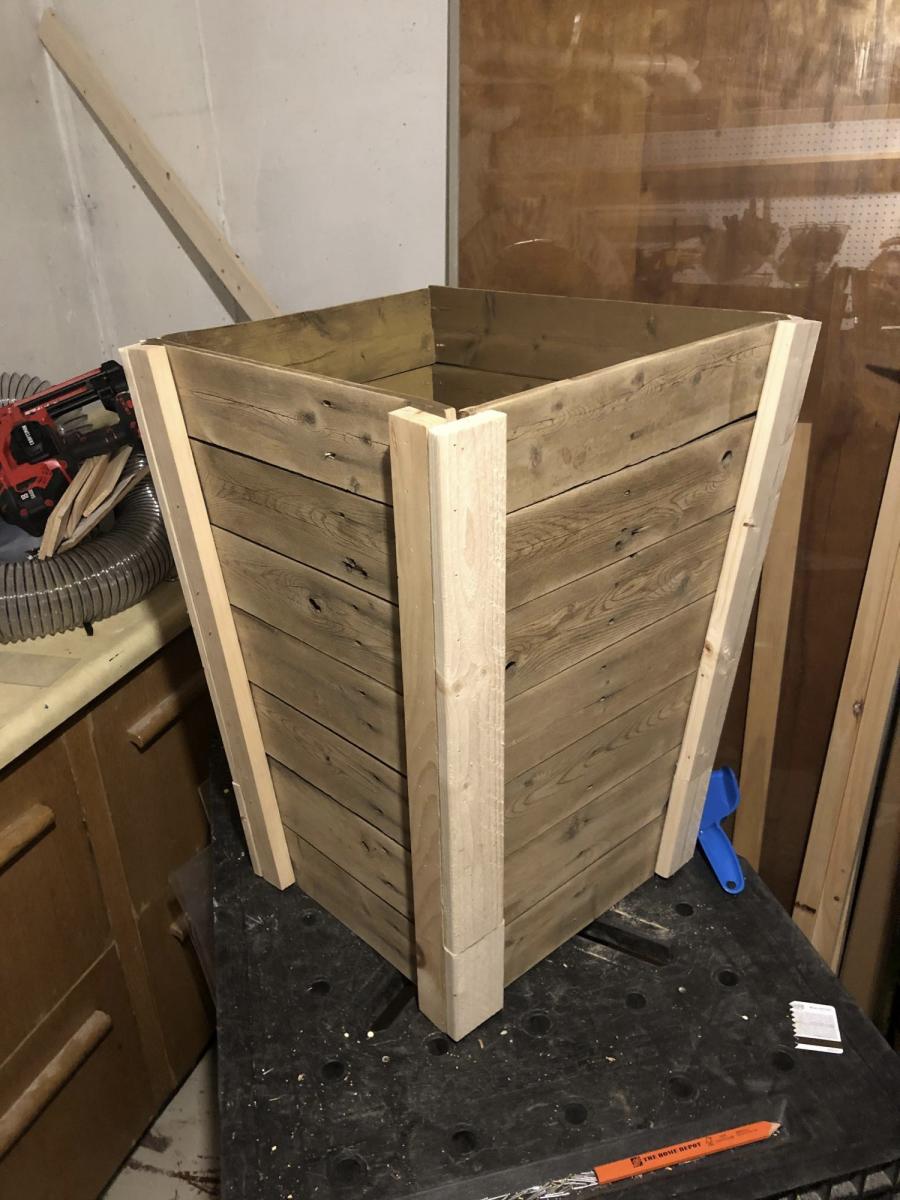
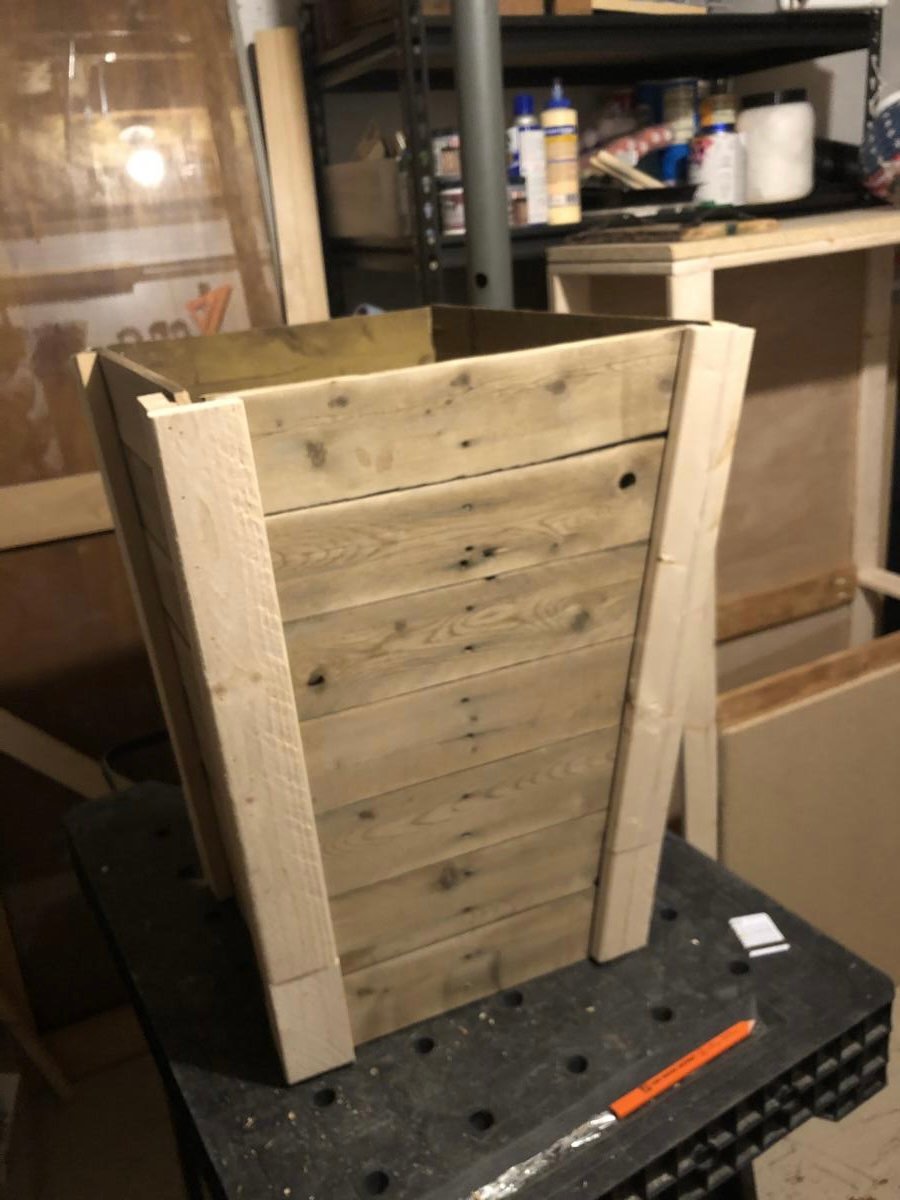
Tapered plant box
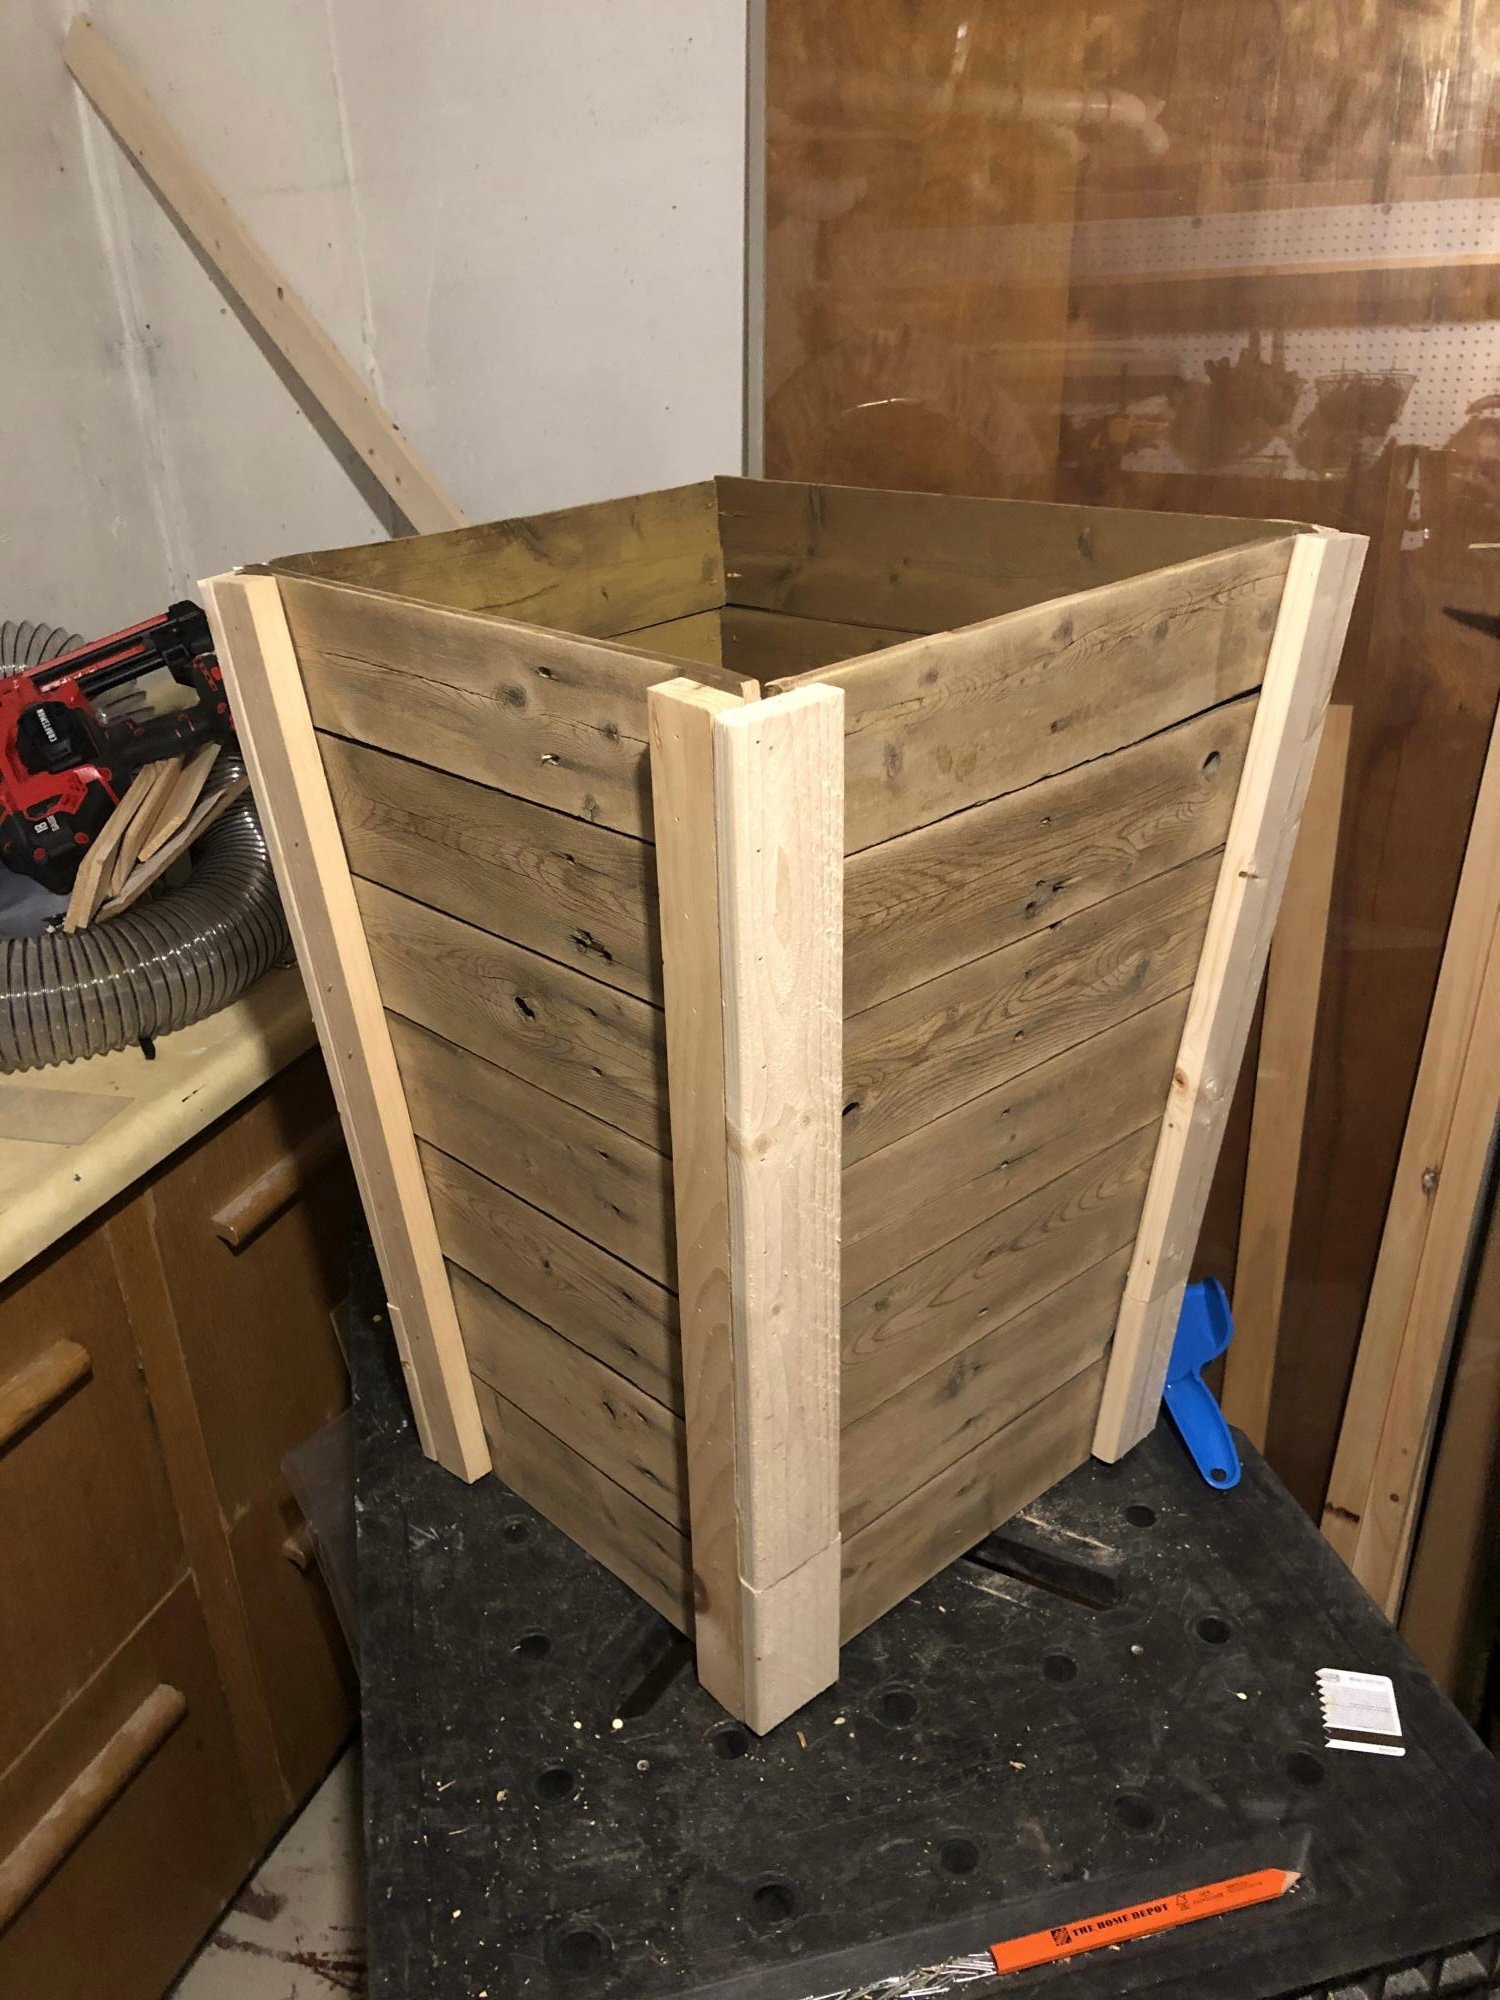
I was looking for an inexpensive way to dress up my deck and when I saw your tapered plant boxes I knew that was the gem I needed. I used pickets from a fence we took down and some 1 inch wood strips. I am planning on making more to line the new fence.
Built from Plan(s)
Comments
Ana White Admin
Tue, 03/31/2015 - 12:01
Beautiful!
Great use of space, love this! Thanks for sharing!
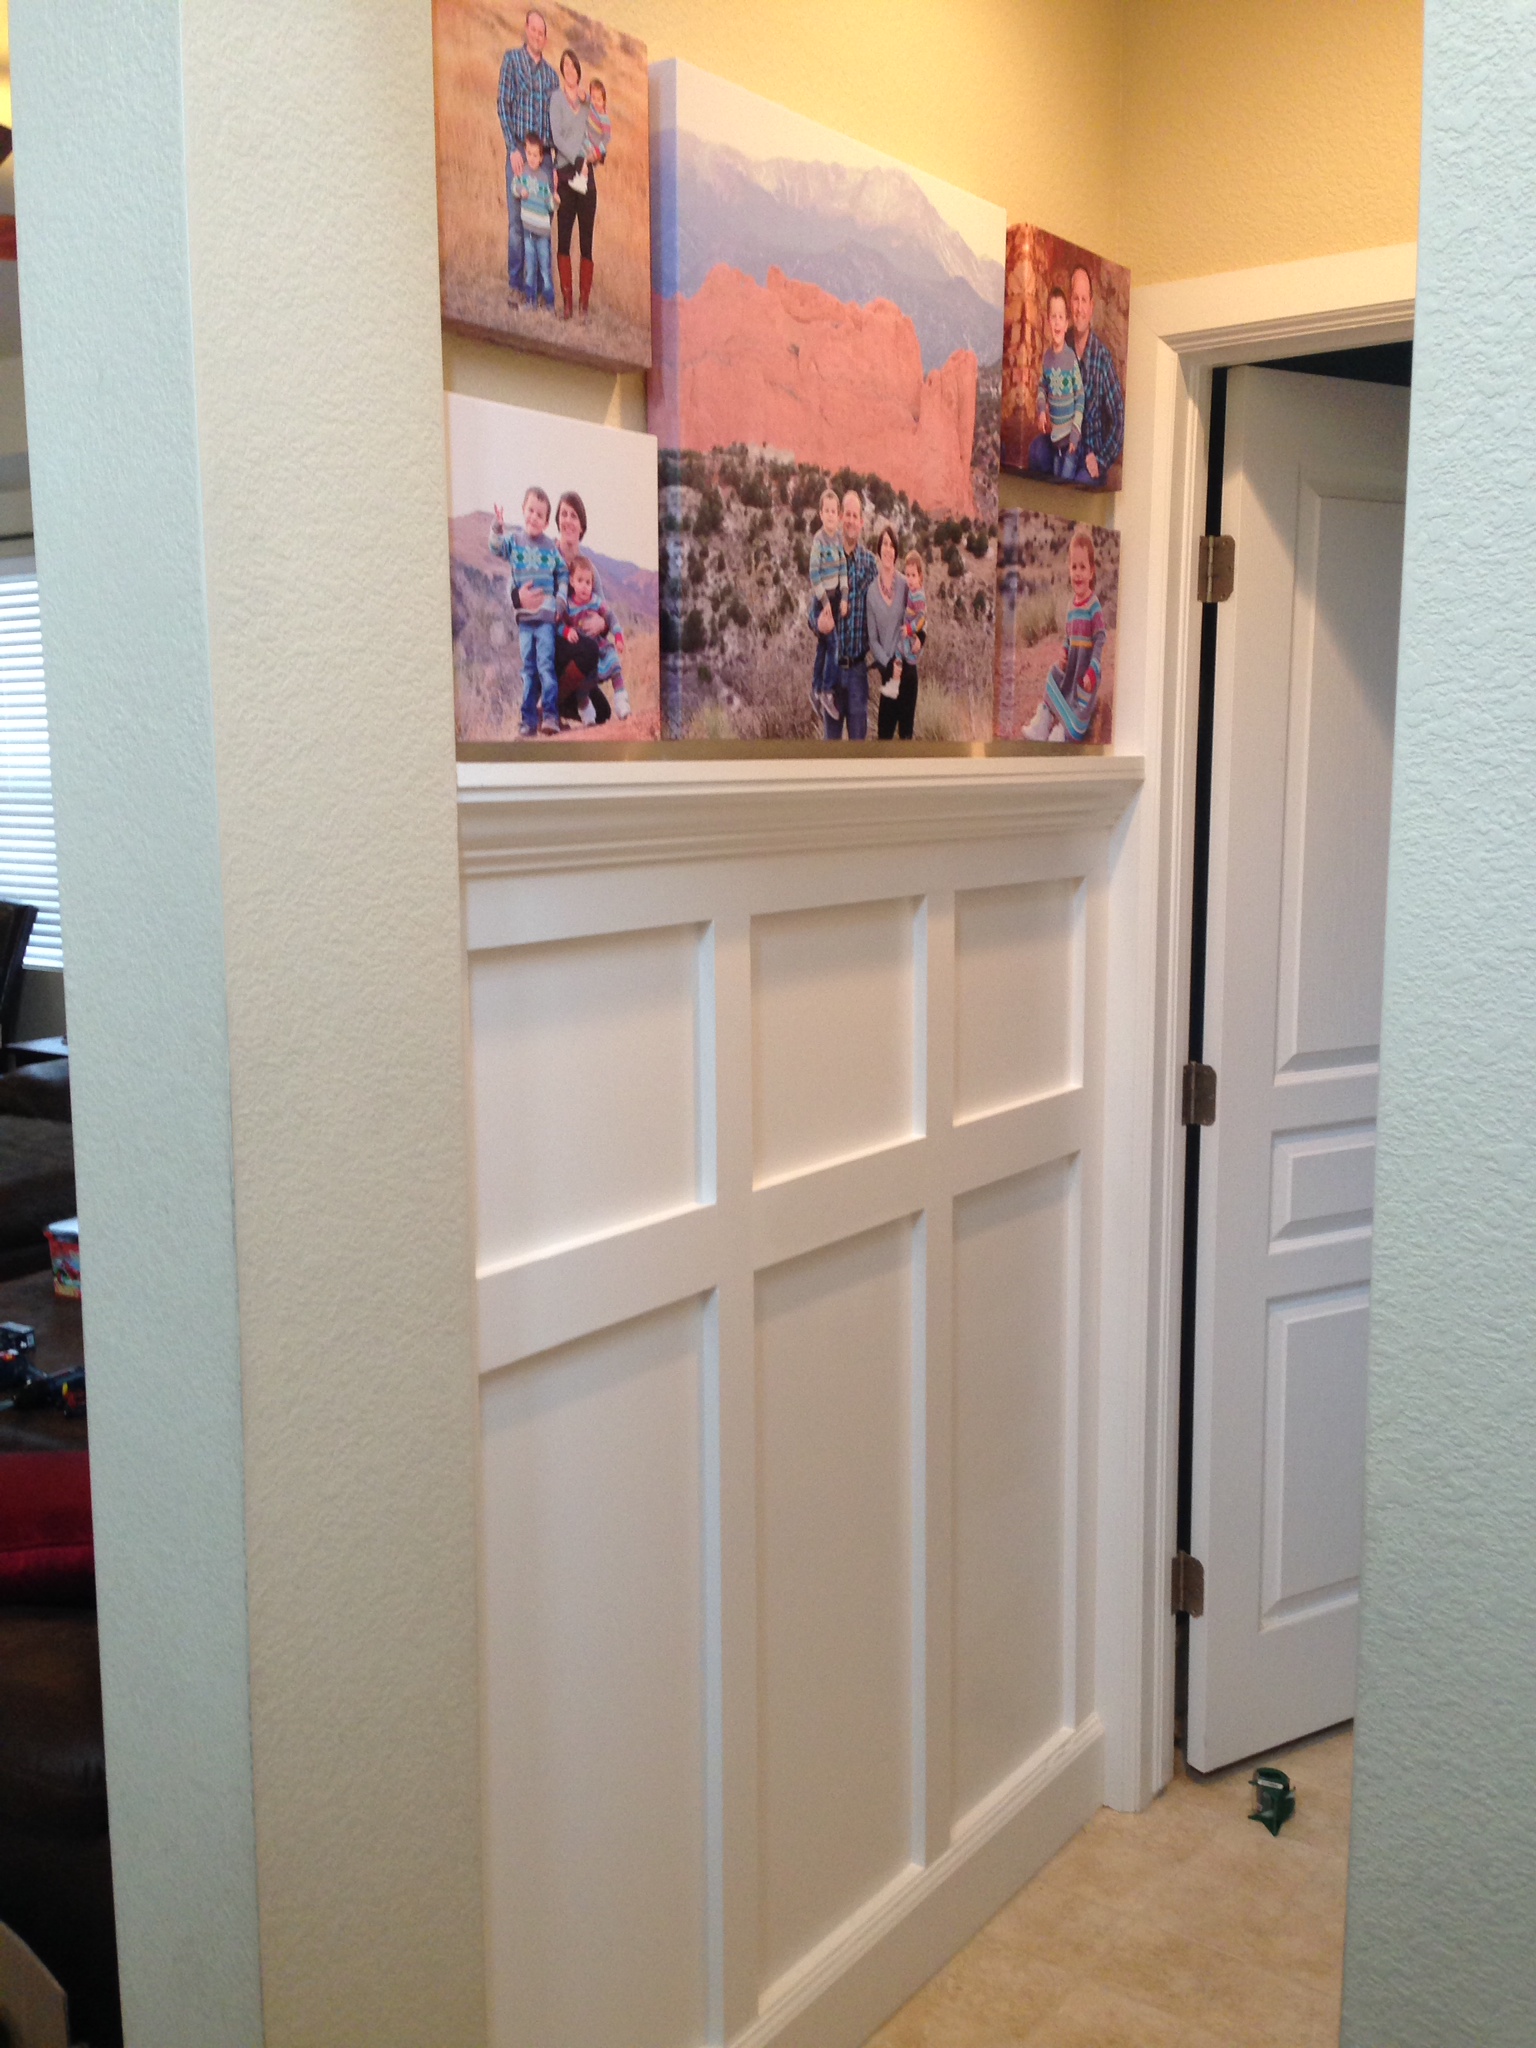
anb80
Wed, 04/01/2015 - 06:55
Thanks! We just sold our
Thanks! We just sold our house in under 48 hours and I think all these built-ins helped! Thanks Ana for all the great plans and inspiring me. I learned so much coming from some one that had never built anything. You're awsome!