Sliding barn door entertainment center
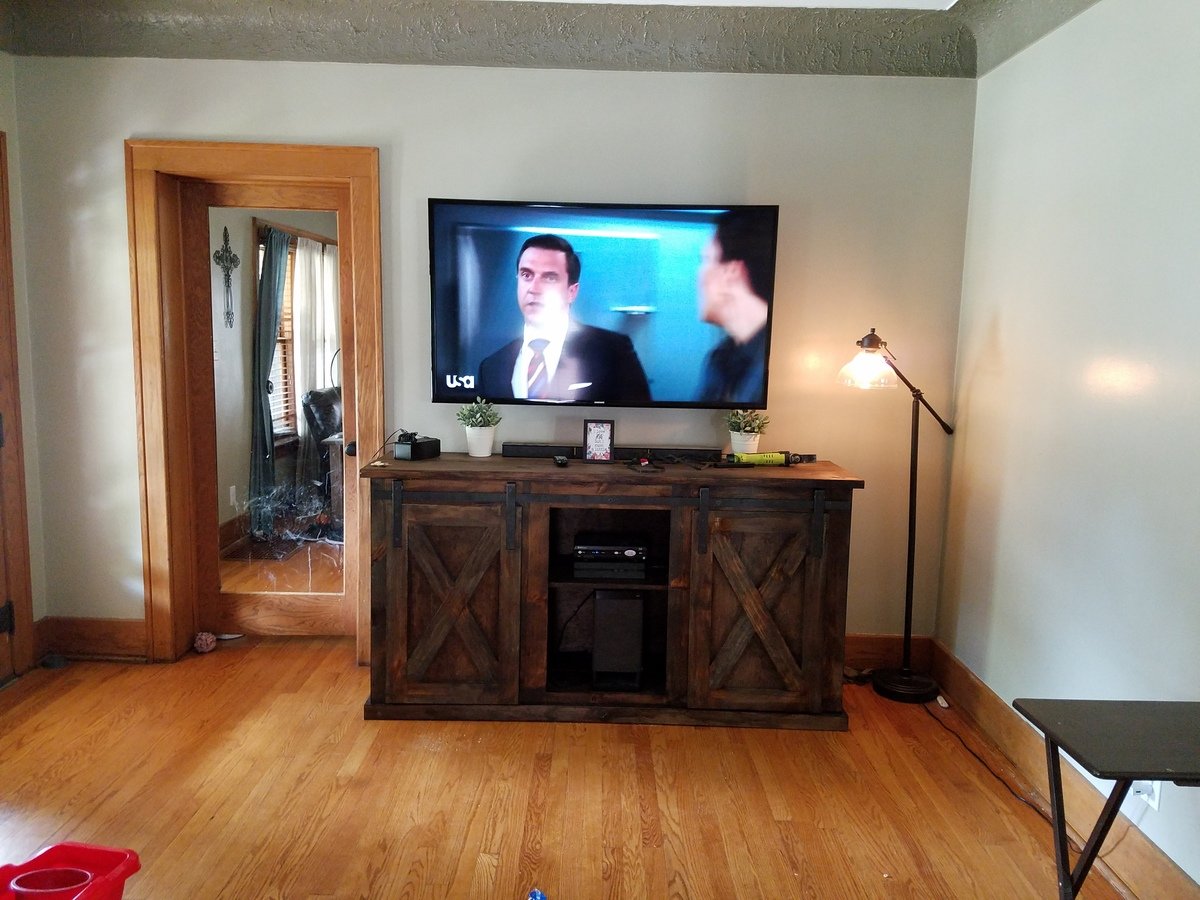
Fun project, ordered the hardware for the rail system itself and the wheels were too big so I made my own rail system.
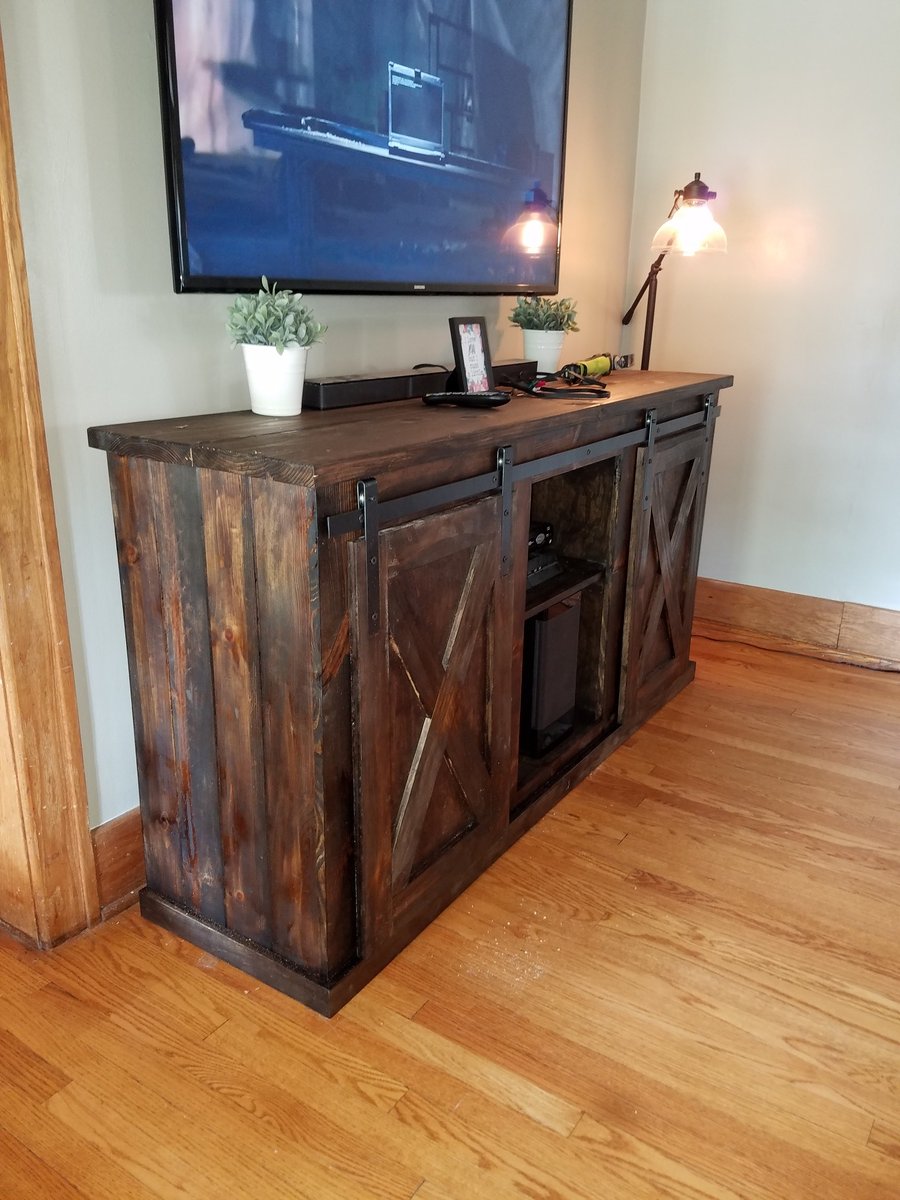

Fun project, ordered the hardware for the rail system itself and the wheels were too big so I made my own rail system.

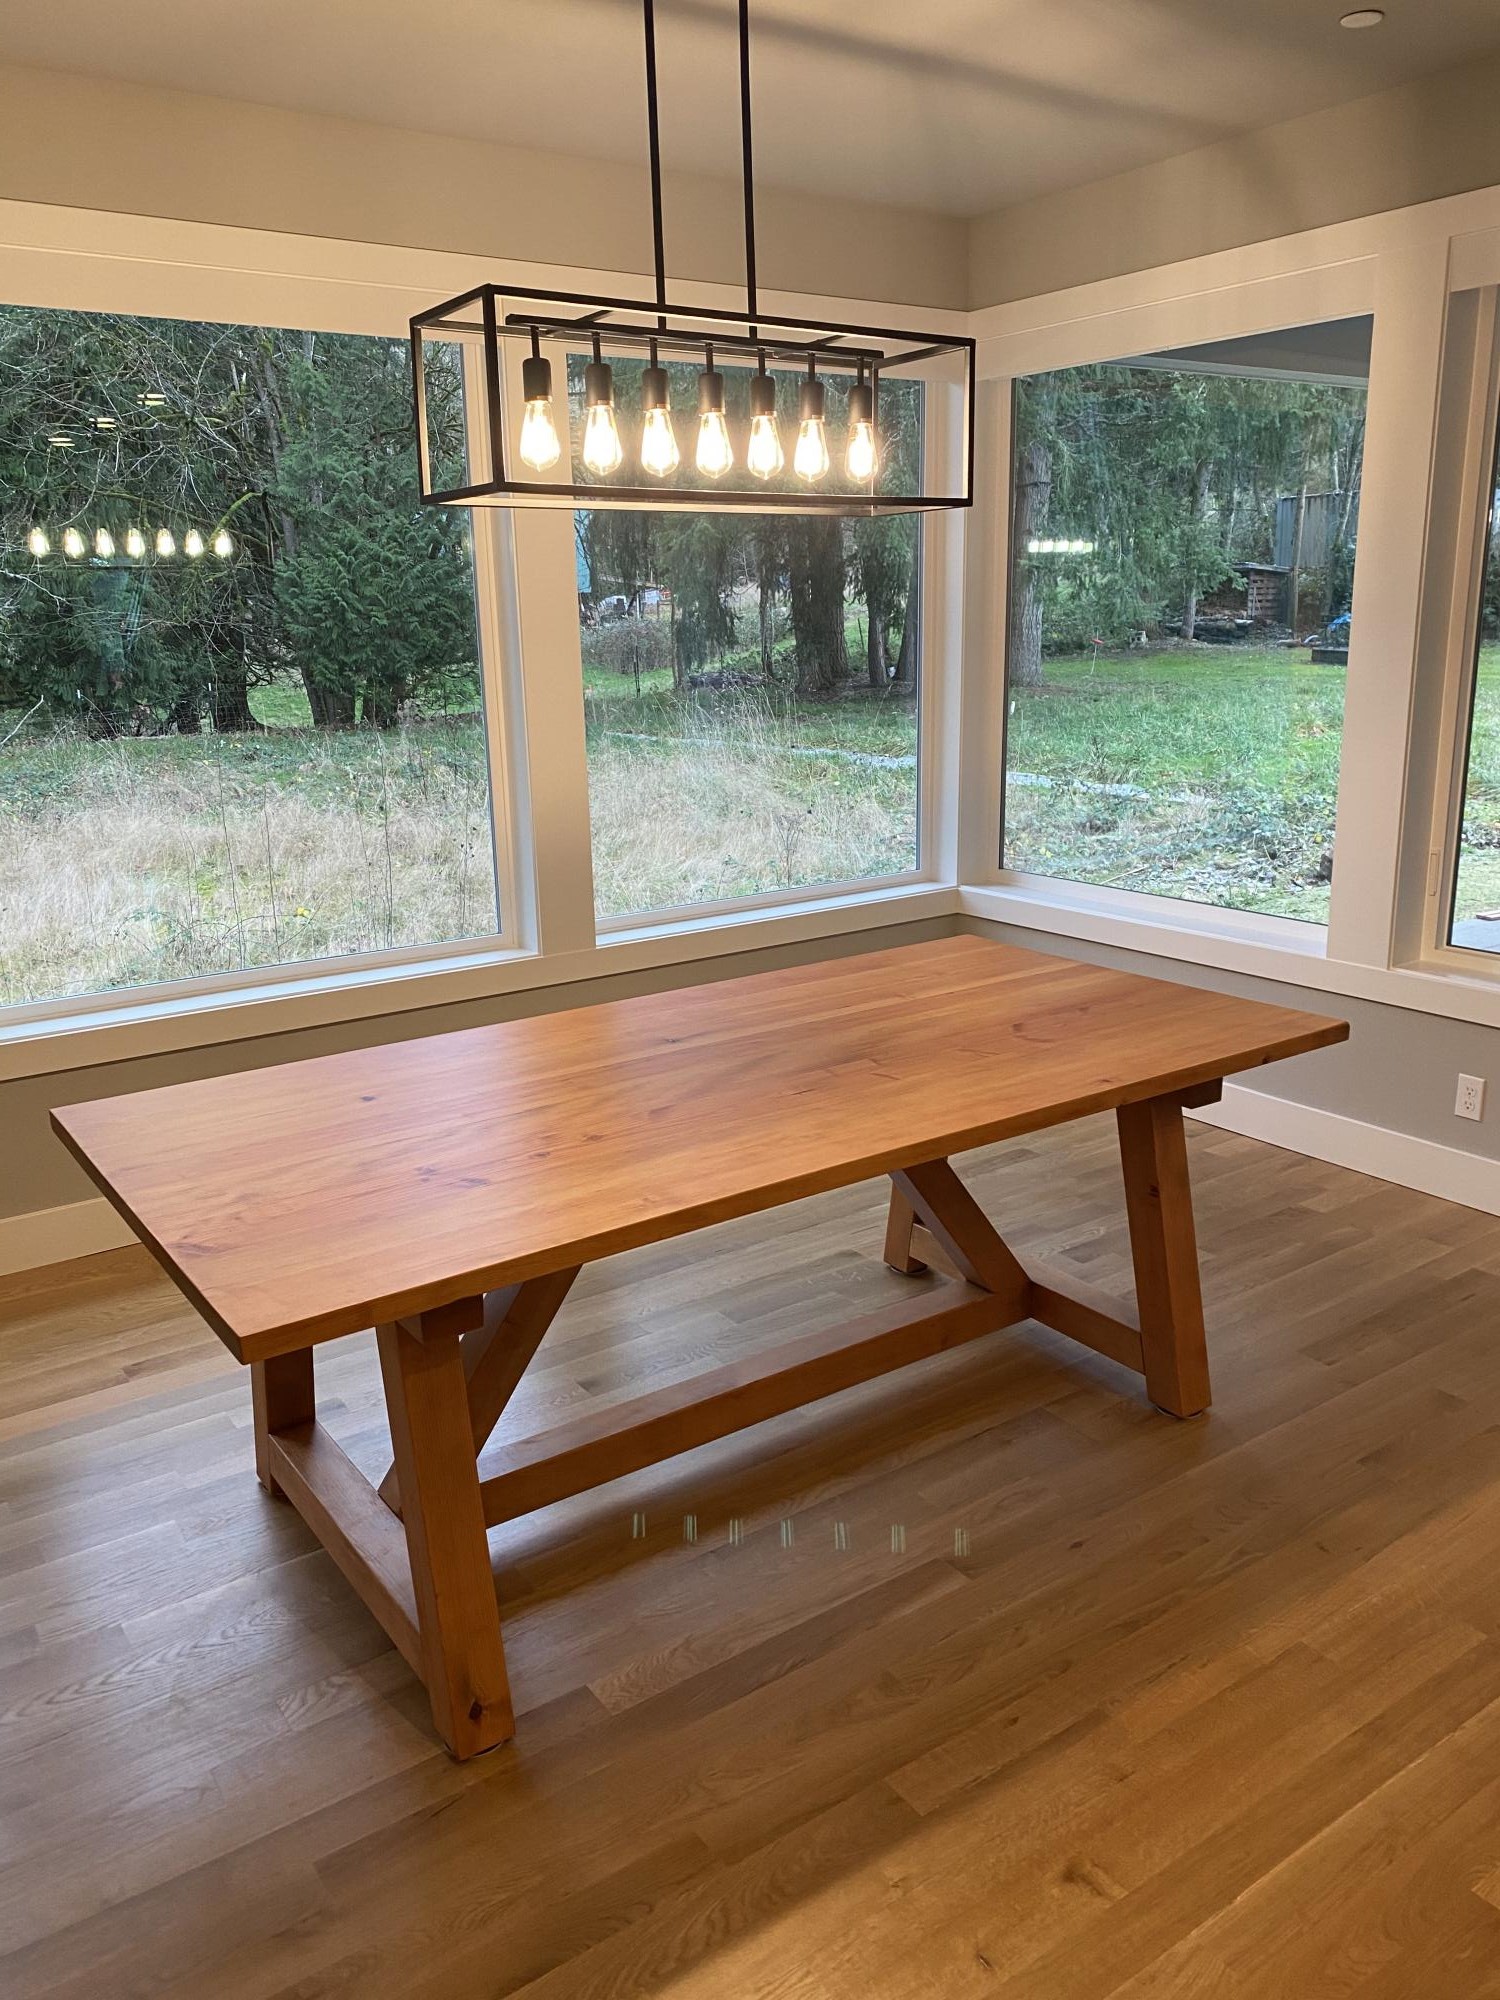
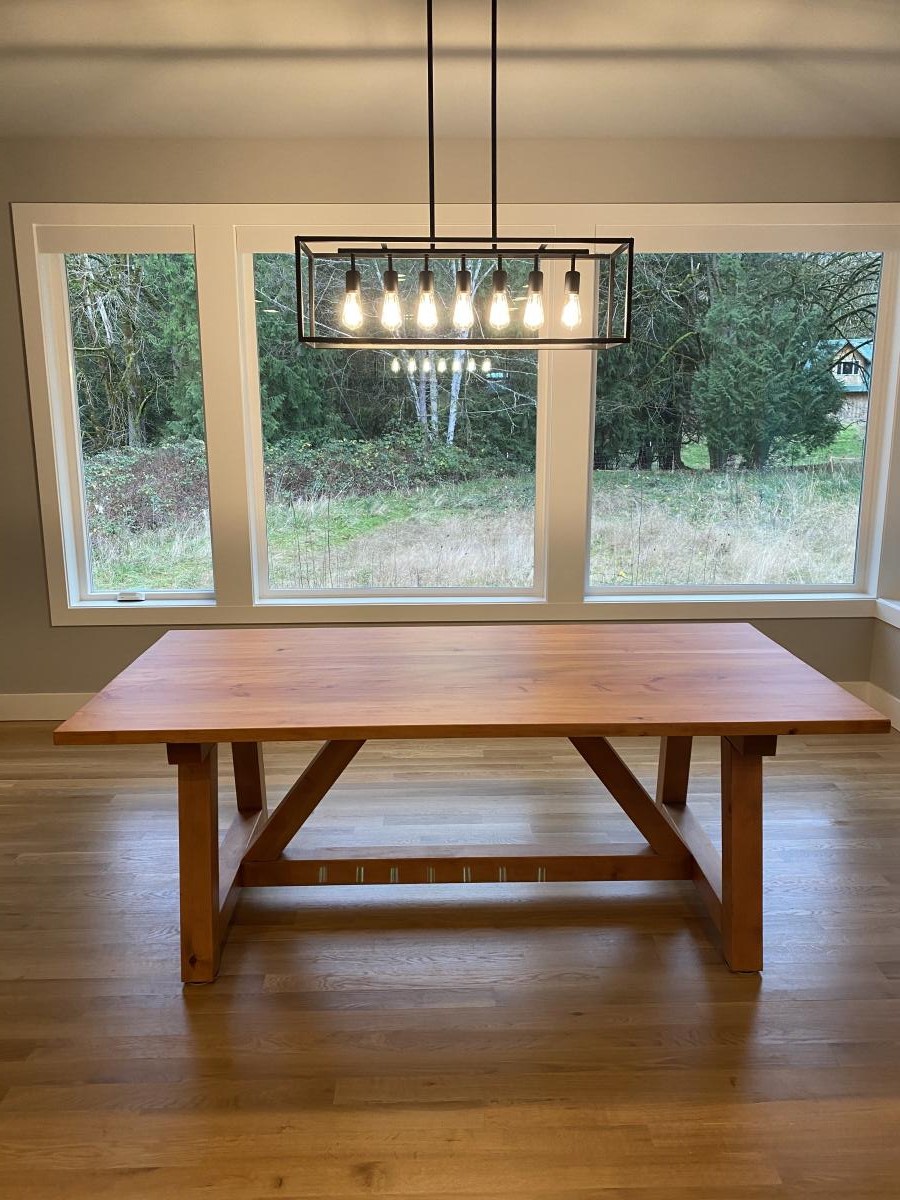
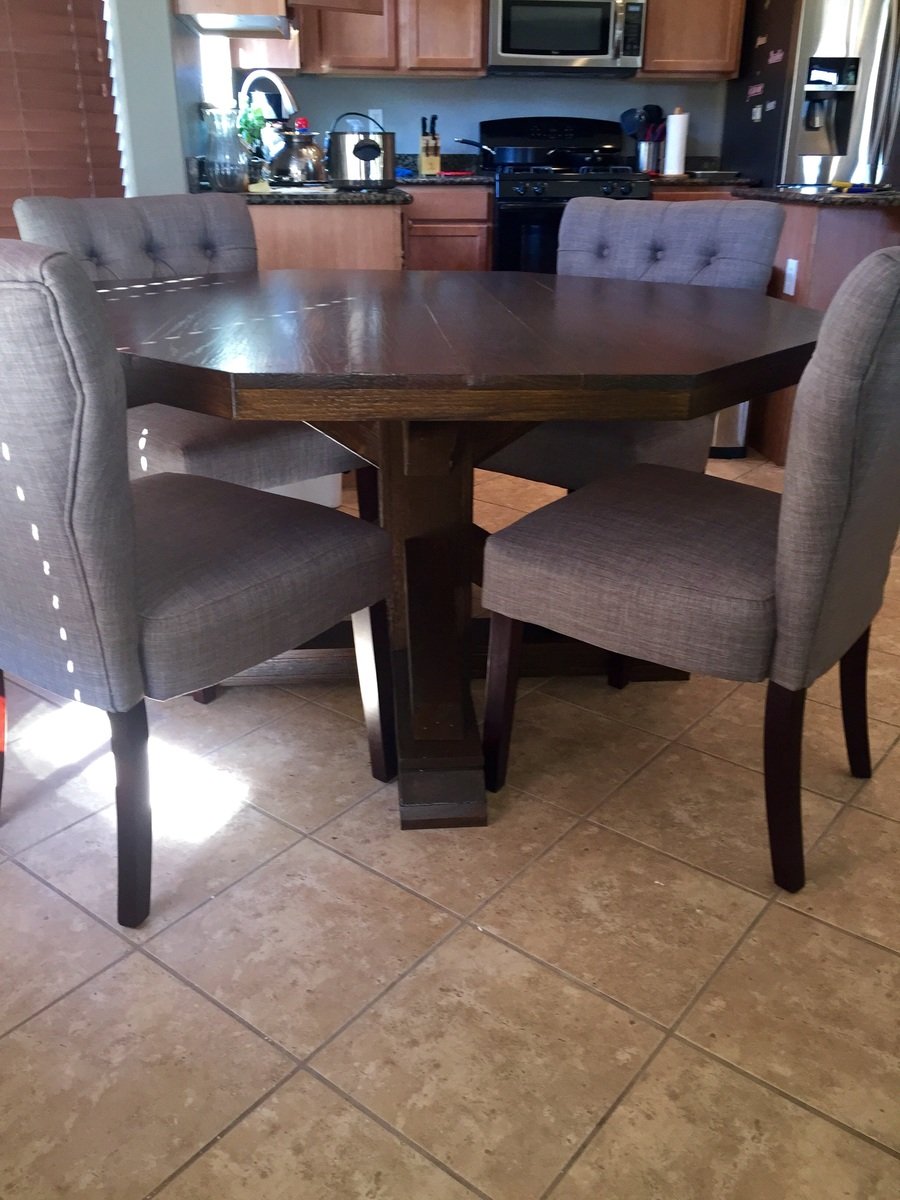
Inspired by the designs from Ana White and Whitney from Shanty2Chic and so thankful for the clear instructions, I built this 4x4 Truss Beam dining table using locally sourced clear Douglas Fir. We are so pleased with the results!
https://www.ana-white.com/woodworking-projects/4x4-truss-beam-table
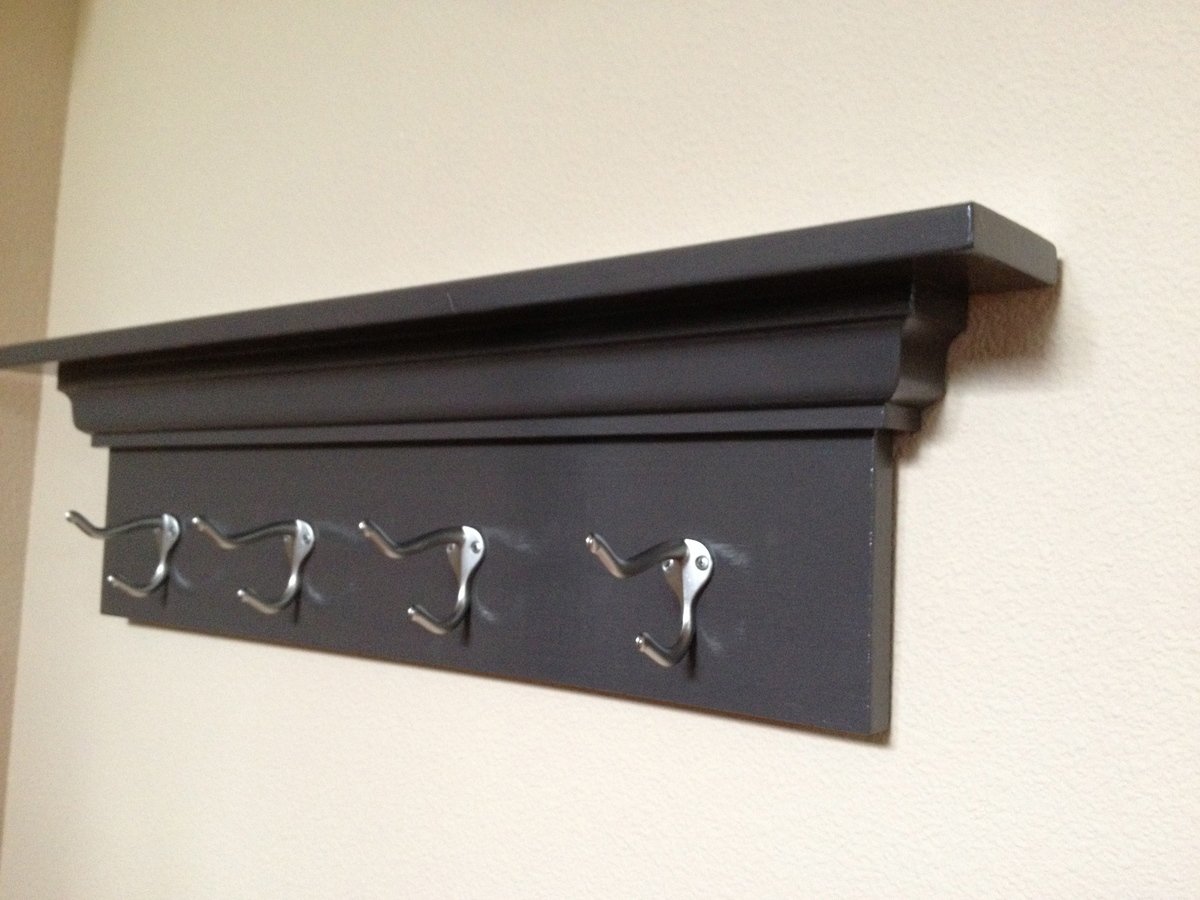
This was a simple coat rack I decided to make with some random scraps of wood I had from previous projects. The only out of pocket costs for me was the hooks!
***update****
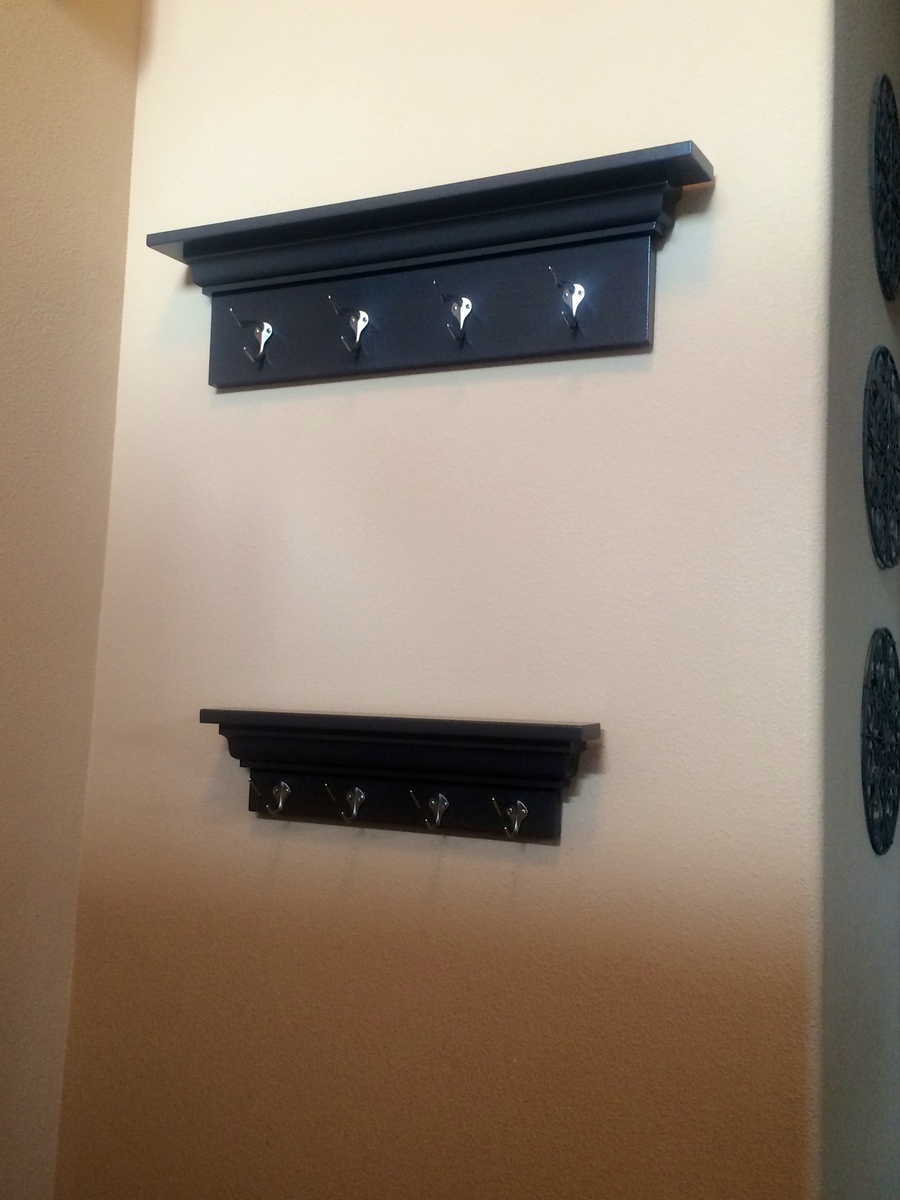
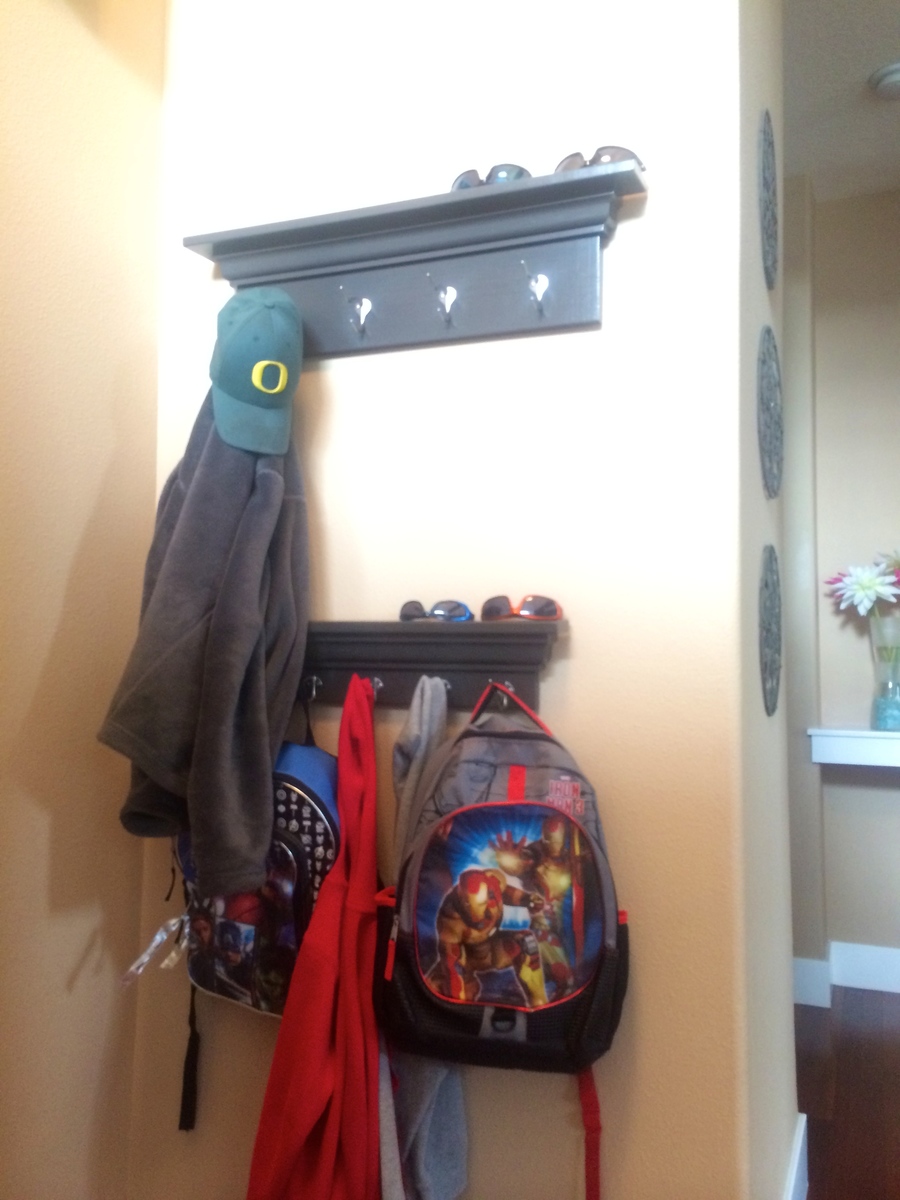
I decided to make a kid friendly version as my kids were creating quit the pile of courts and backpacks when they got home from school, mostly because they couldn't reach the adult one! With some left overs, problem solved!!
Tue, 05/07/2013 - 08:16
Exactly what I was looking to make without getting a router involved! What kind of moulding is that?
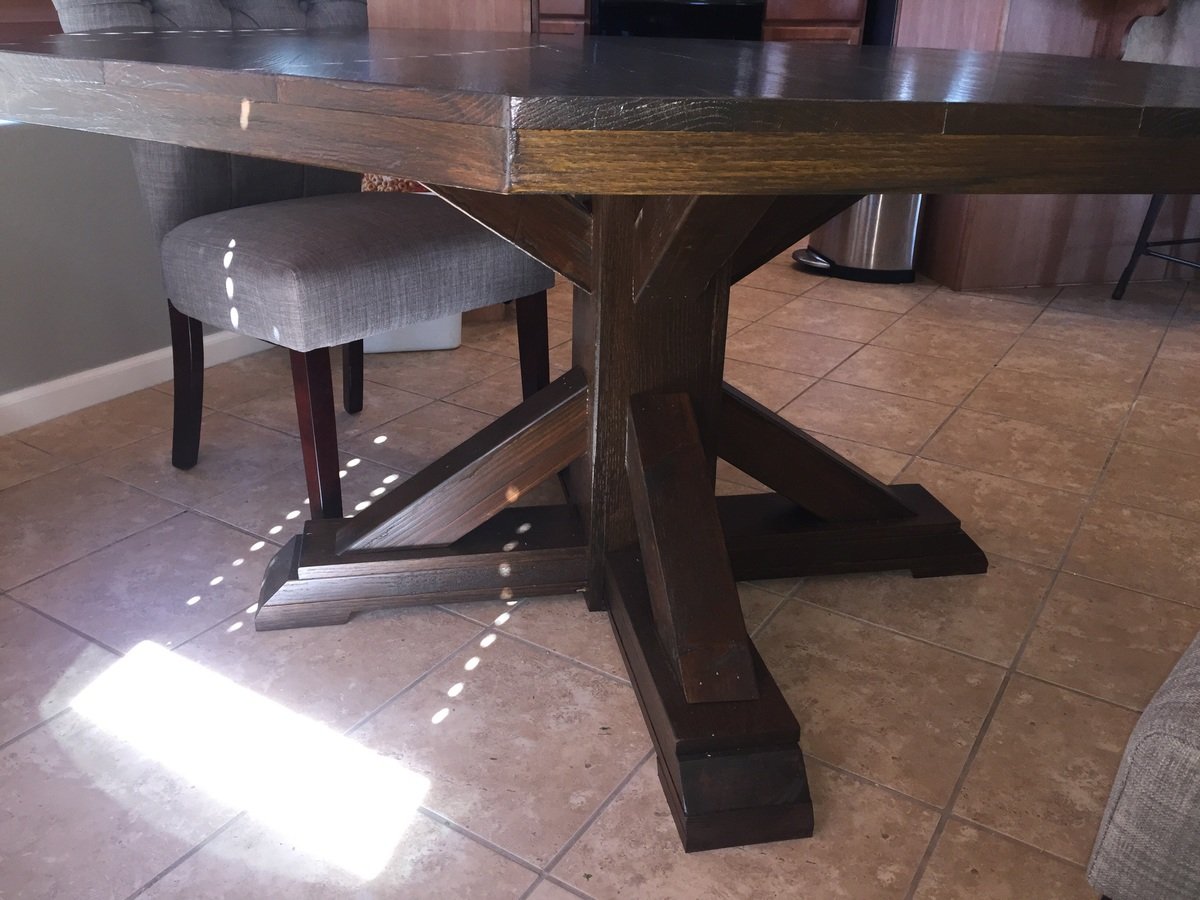
Surprisingly simple. We used 4x4s for the diagonal supports because I prefered the look.
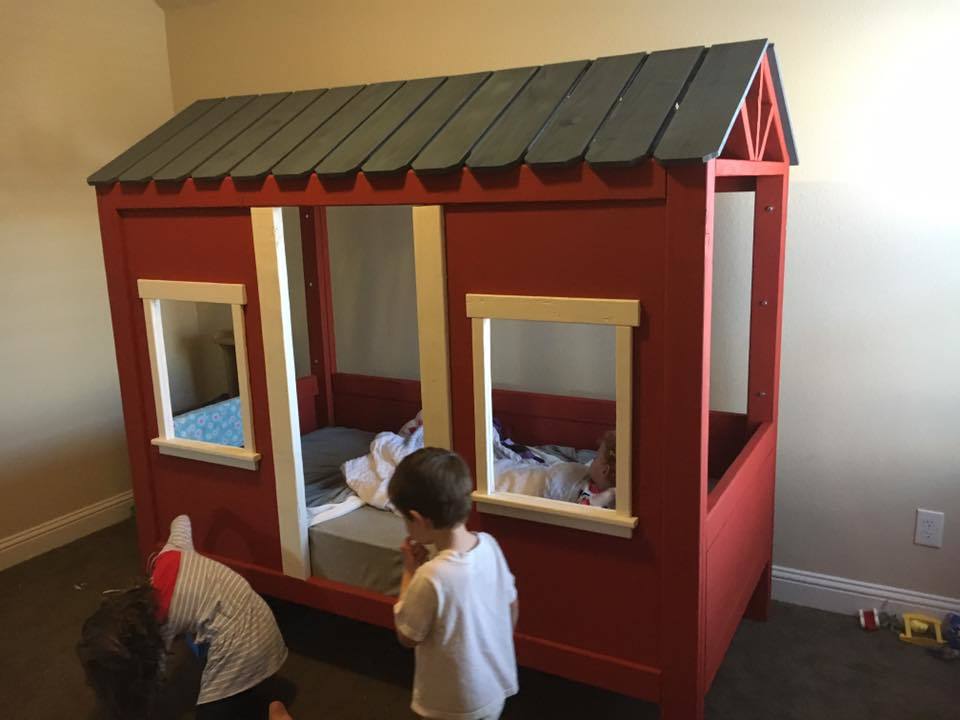
My son loves his new cabin bed and now my girls are beggin for theirs. I used nuts and bolts to secure together for easy removal once he grows out of it.
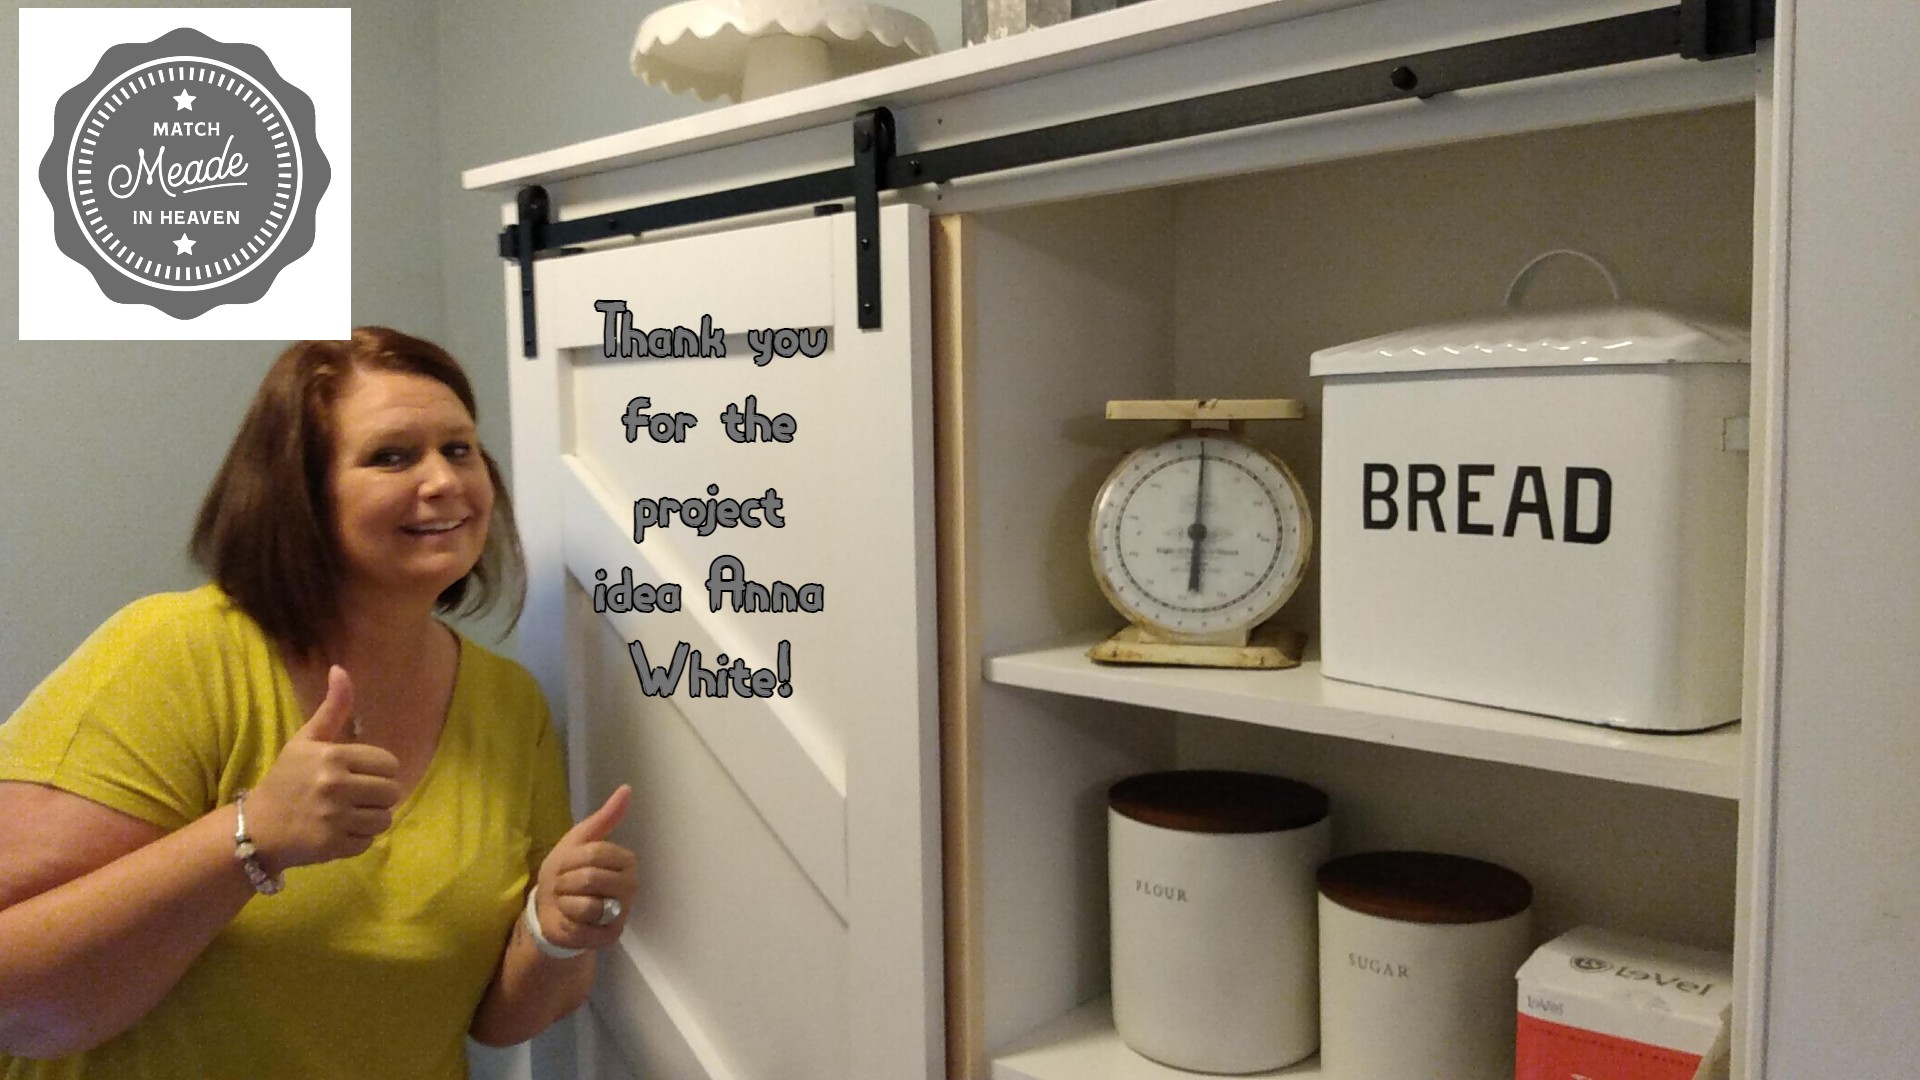
We have been a subscriber of Ann White's YouTube channel for quite some time. With our kitchen remodel we needed an idea for our pantry. All I can say is thank you Ann White!
Mon, 10/04/2021 - 12:48
Here is our YouTube video of the build - https://www.youtube.com/watch?v=cyheOb8kjB8
Tue, 10/05/2021 - 11:34
Way to go, thank you for sharing and posting your video!
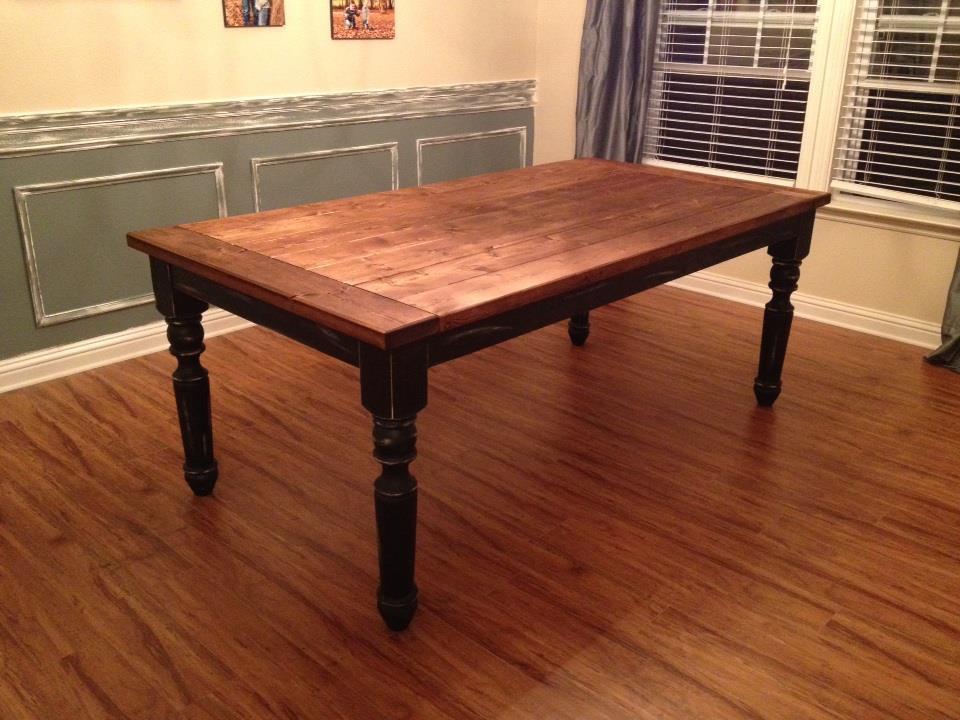
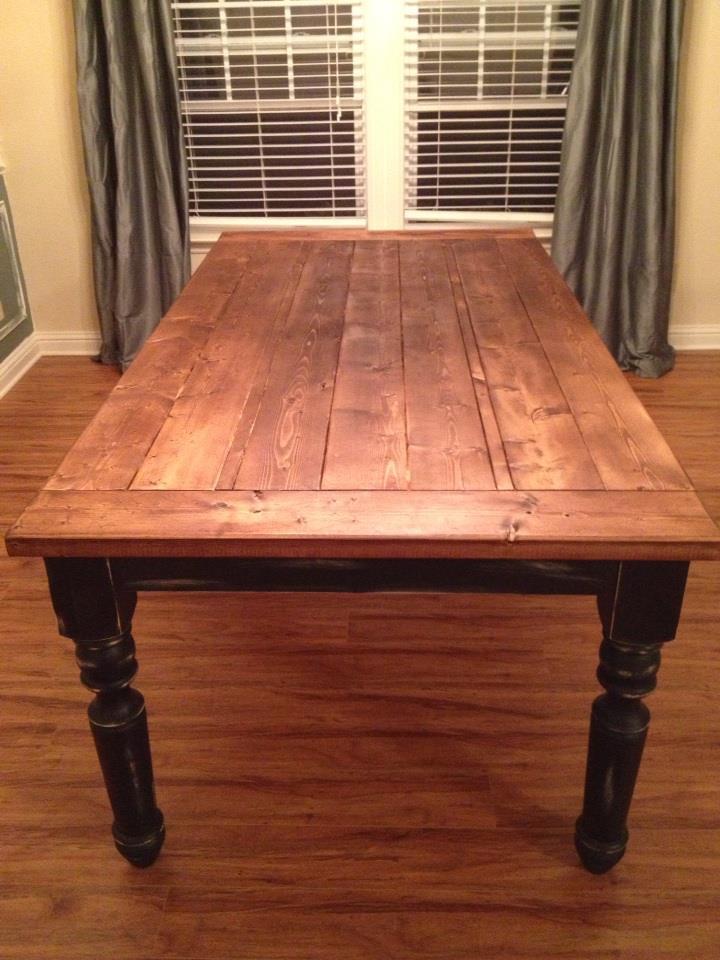
I am completely redecorating my home, Out is the furniture that no one was allowed to sit on or go near. I wanted furniture that we could use. I have 2 boys so I wanted it casual, fun and durable. Loved the farmhouse style and loved this table. It is made from pine, sanded and stained on top. I used Minwax provincial stain. Bottom is painted with black furniture paint then distressed. We purchased the legs from Osborne Wood Products.
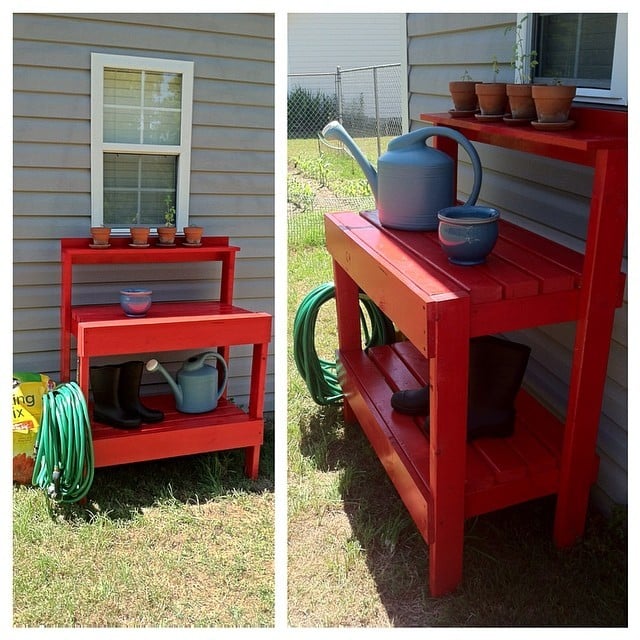
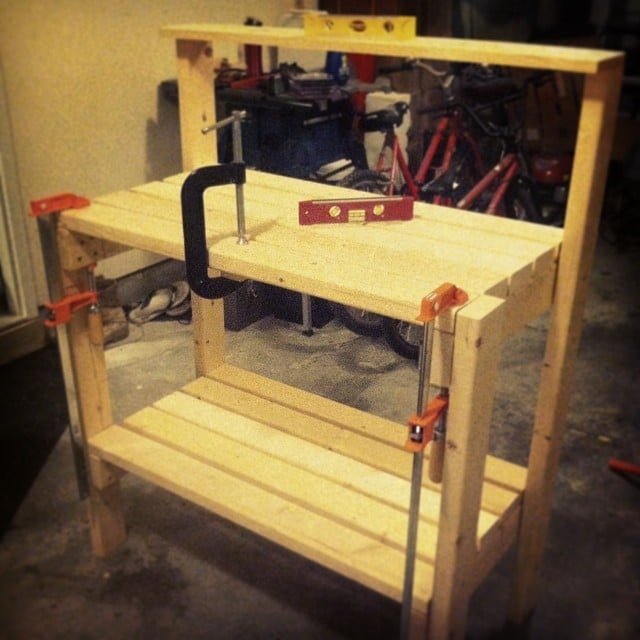
This was the first building project I completed by myself start to finish! I was able to use 2x4s we already had in the garage (sorry husband!) and some scrap wood for the few other pieces it required. The only thing I added to the plans was some trim for the front.
I built this last summer and since then the shelf on the very top has warped a bit. I would recommend adding extra support. It rains a lot here, and I think that contributed to it warping. Other than that, it has held up very well and the shelf can easily be fixed with some brackets.
Overall, this was a great first build for me! The plans were straightforward and easy to follow. And there's just nothing more rewarding than standing back at the end of a day of building and thinking, Hey I made that :)
Sat, 04/04/2015 - 14:15
Thank you!! I loved the red one in the plans and just had to have one of my own!
This is the table I made from your plans, but I changed up some of the dimensions and such to fit my needs...it turned out amazing and my wife, family and friends love it...I have been asked if I take orders, but my wife says no...I can only make one for her...lol
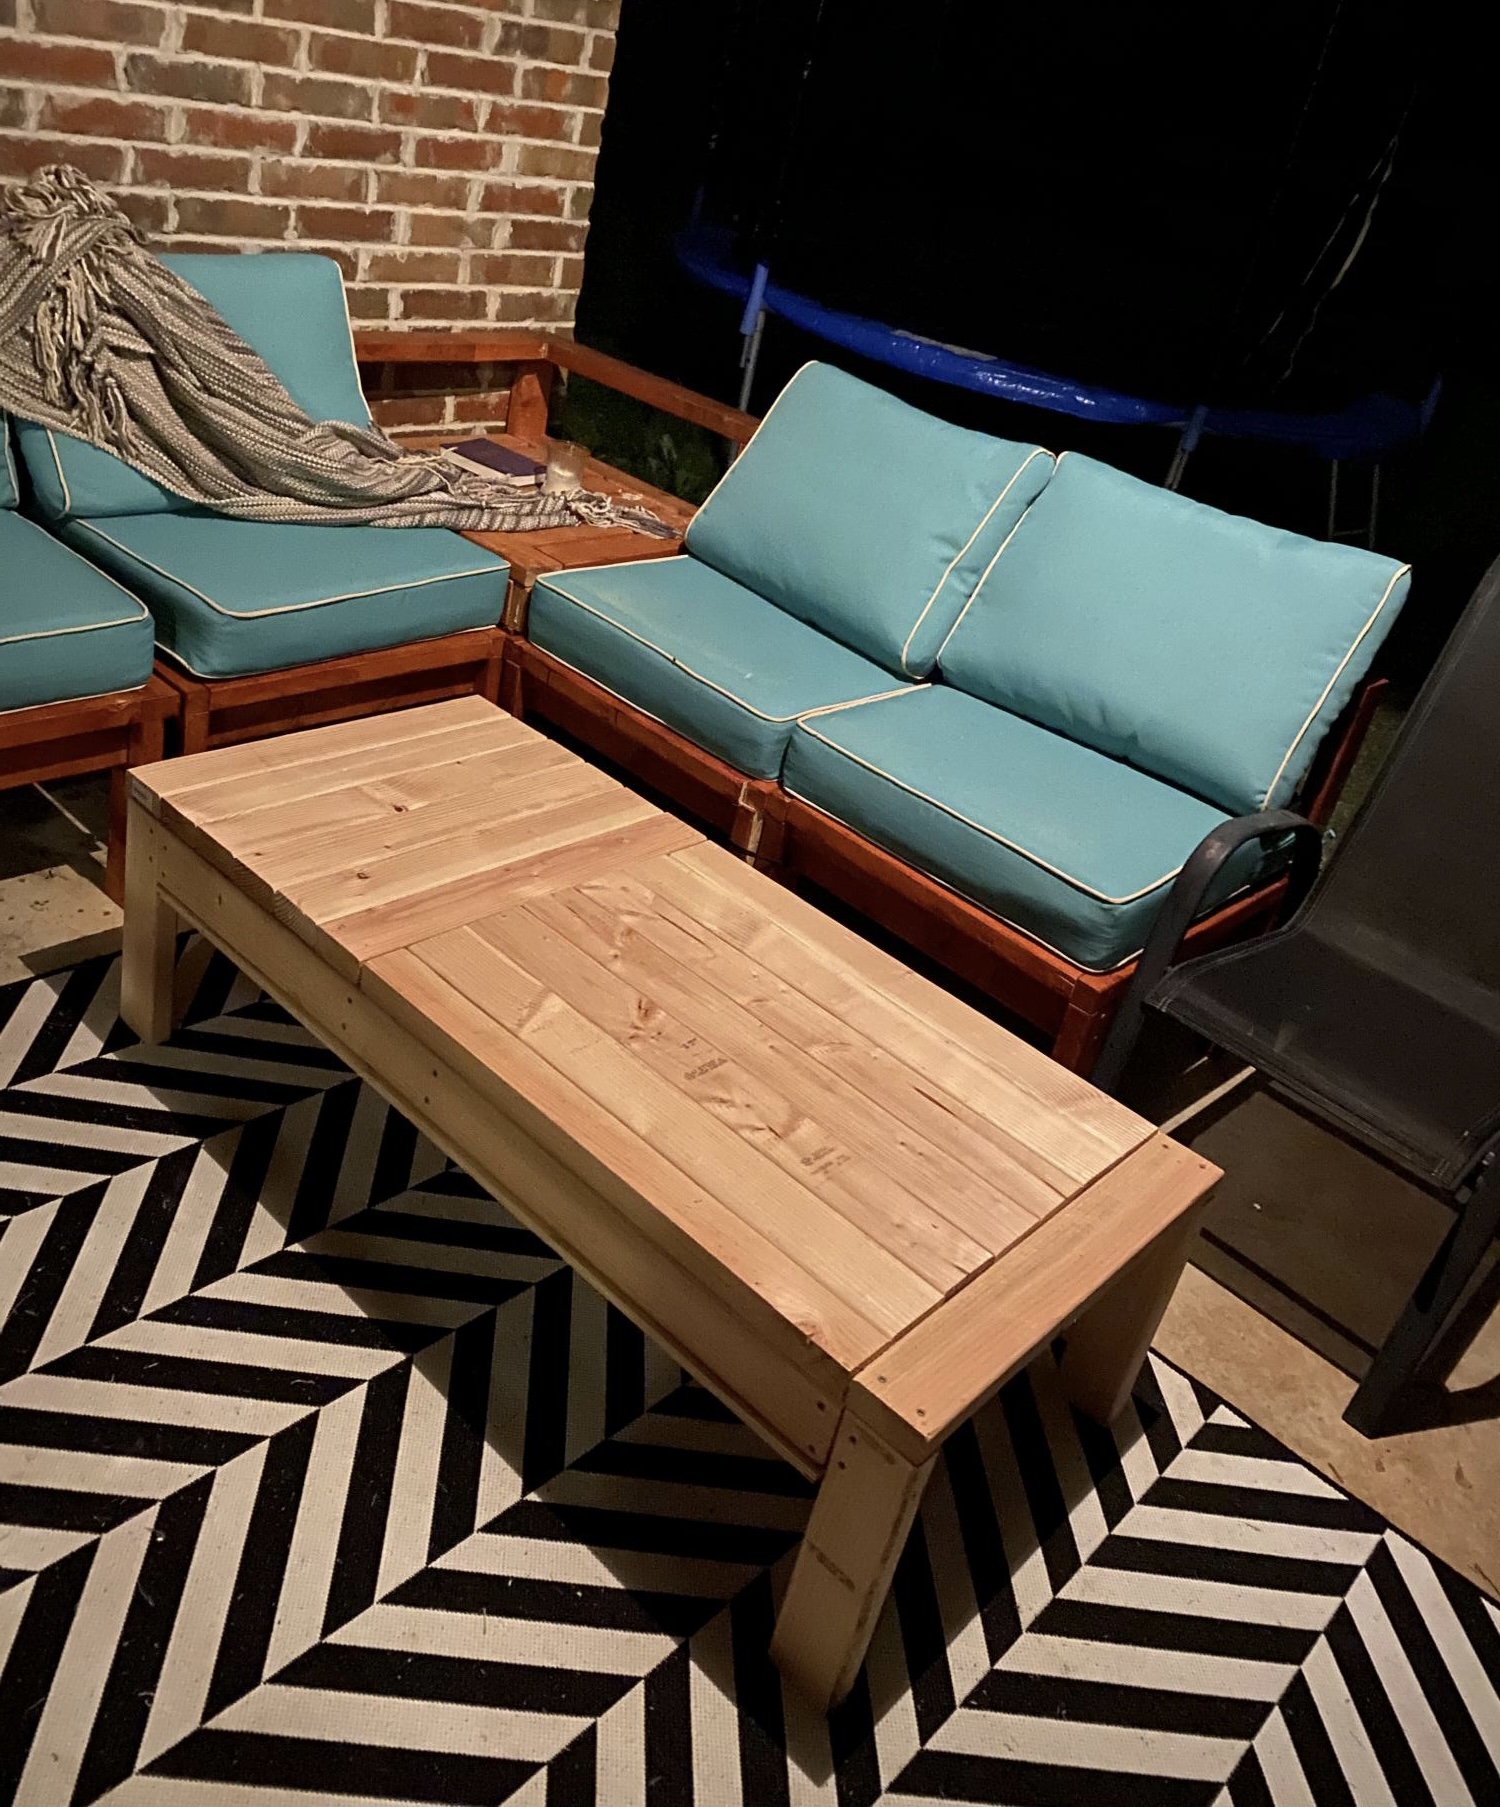
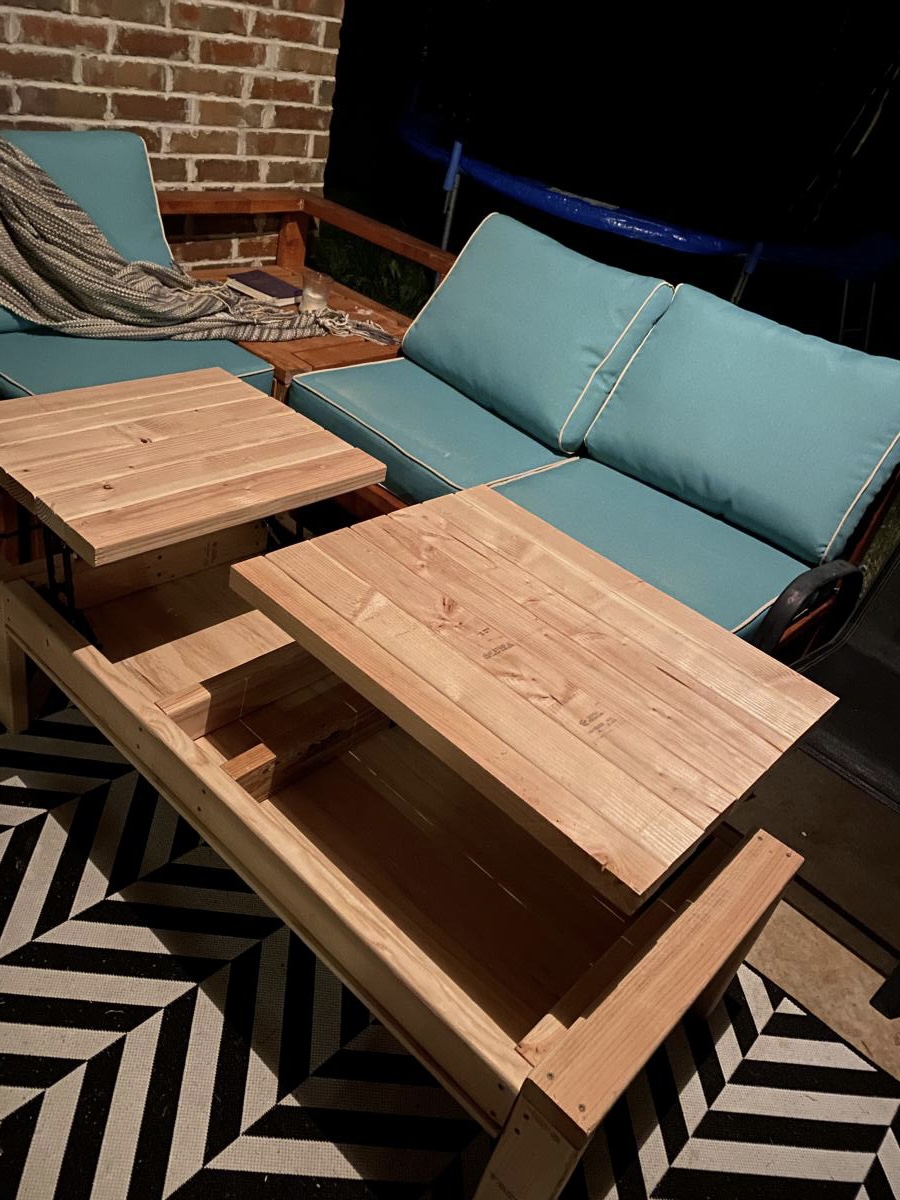
Outdoor coffee table with lift top. Modified the top slightly but went by the plans otherwise. Still need to paint/stain. A fun build and super functional!

With a new baby on the way, my husband, Steve and I had to move our 2yr old son out of the nursery and into his big boy bedroom. After casually looking at storage beds and falling over in shock at the prices, I came across Ana’s plans for the storage bed. Knowing that Steve is extremely handy but had not attempted to build furniture before, I started talking him into building this bed. He was sold the moment I told him that we would save close to $2400 by building it ourselves. This was a longer than anticipated project mainly due to Steve’s full time work schedule, my inablility to handle stain fumes, allowing a toddler to “help” build his bed and working around said toddler’s nap schedule. We modified Ana’s plans by adding some trim to the cubby hutch, omitting the doors on the small hutch and sizing everything to a full size bed. We also omitted the shelves on the storage headboard since we weren’t going to use them with the side towers. I am absolutely in LOVE with the final result and have a long list of other projects that we will be building in the near future.


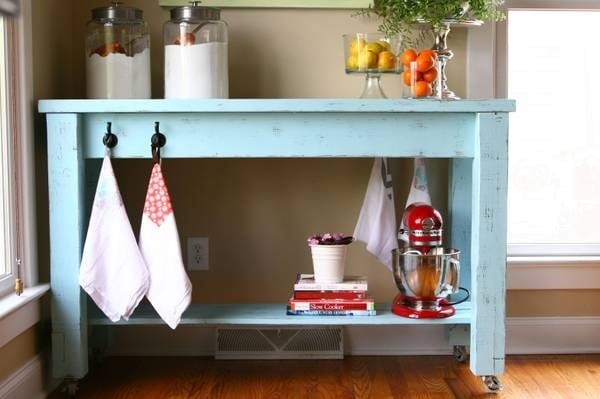
This table was so easy and so much fun, even for a beginner. In fact, it's so easy I've built it three times. The latest one is my favorite. I think it's the beautiful blue color...
Sat, 05/11/2013 - 15:05
The finish looks really simple but effective, reminds me that I really should finish my other halfs kitchen island I made in February!
Entry board and batten treatment with hooks, cabinet with doors and drawers and bench. Made from plywood.
Wed, 04/01/2015 - 06:55
Thanks! We just sold our house in under 48 hours and I think all these built-ins helped! Thanks Ana for all the great plans and inspiring me. I learned so much coming from some one that had never built anything. You're awsome!
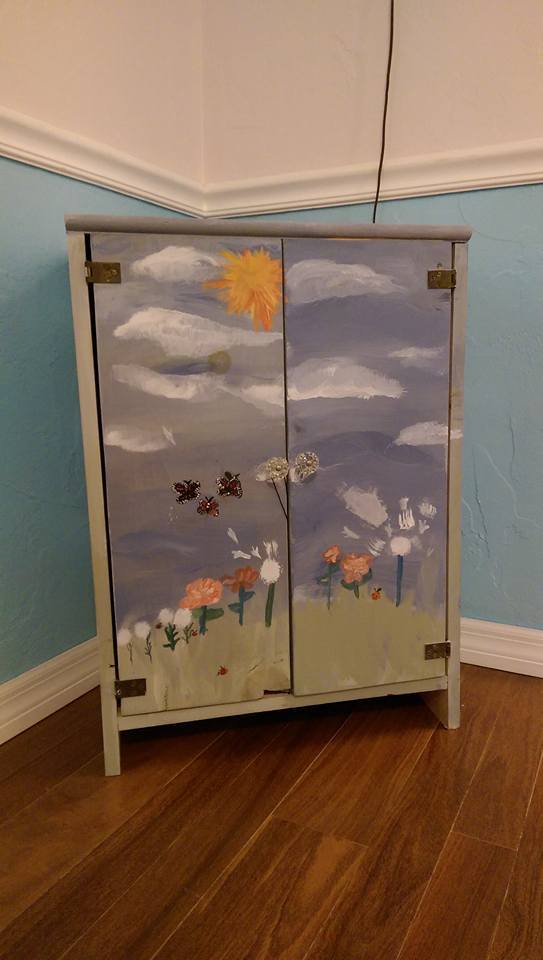
This was fun and easy. I had some of the wood already so I didn't spend that much. My girls painted it to add a personal touch. I would consider adding a magnet to help the doors stay closed a little better. Its been a couple of years and they are still enjoying this. At the time I had no idea how to make a star. Now I know it woudl be easy with a jig saw.
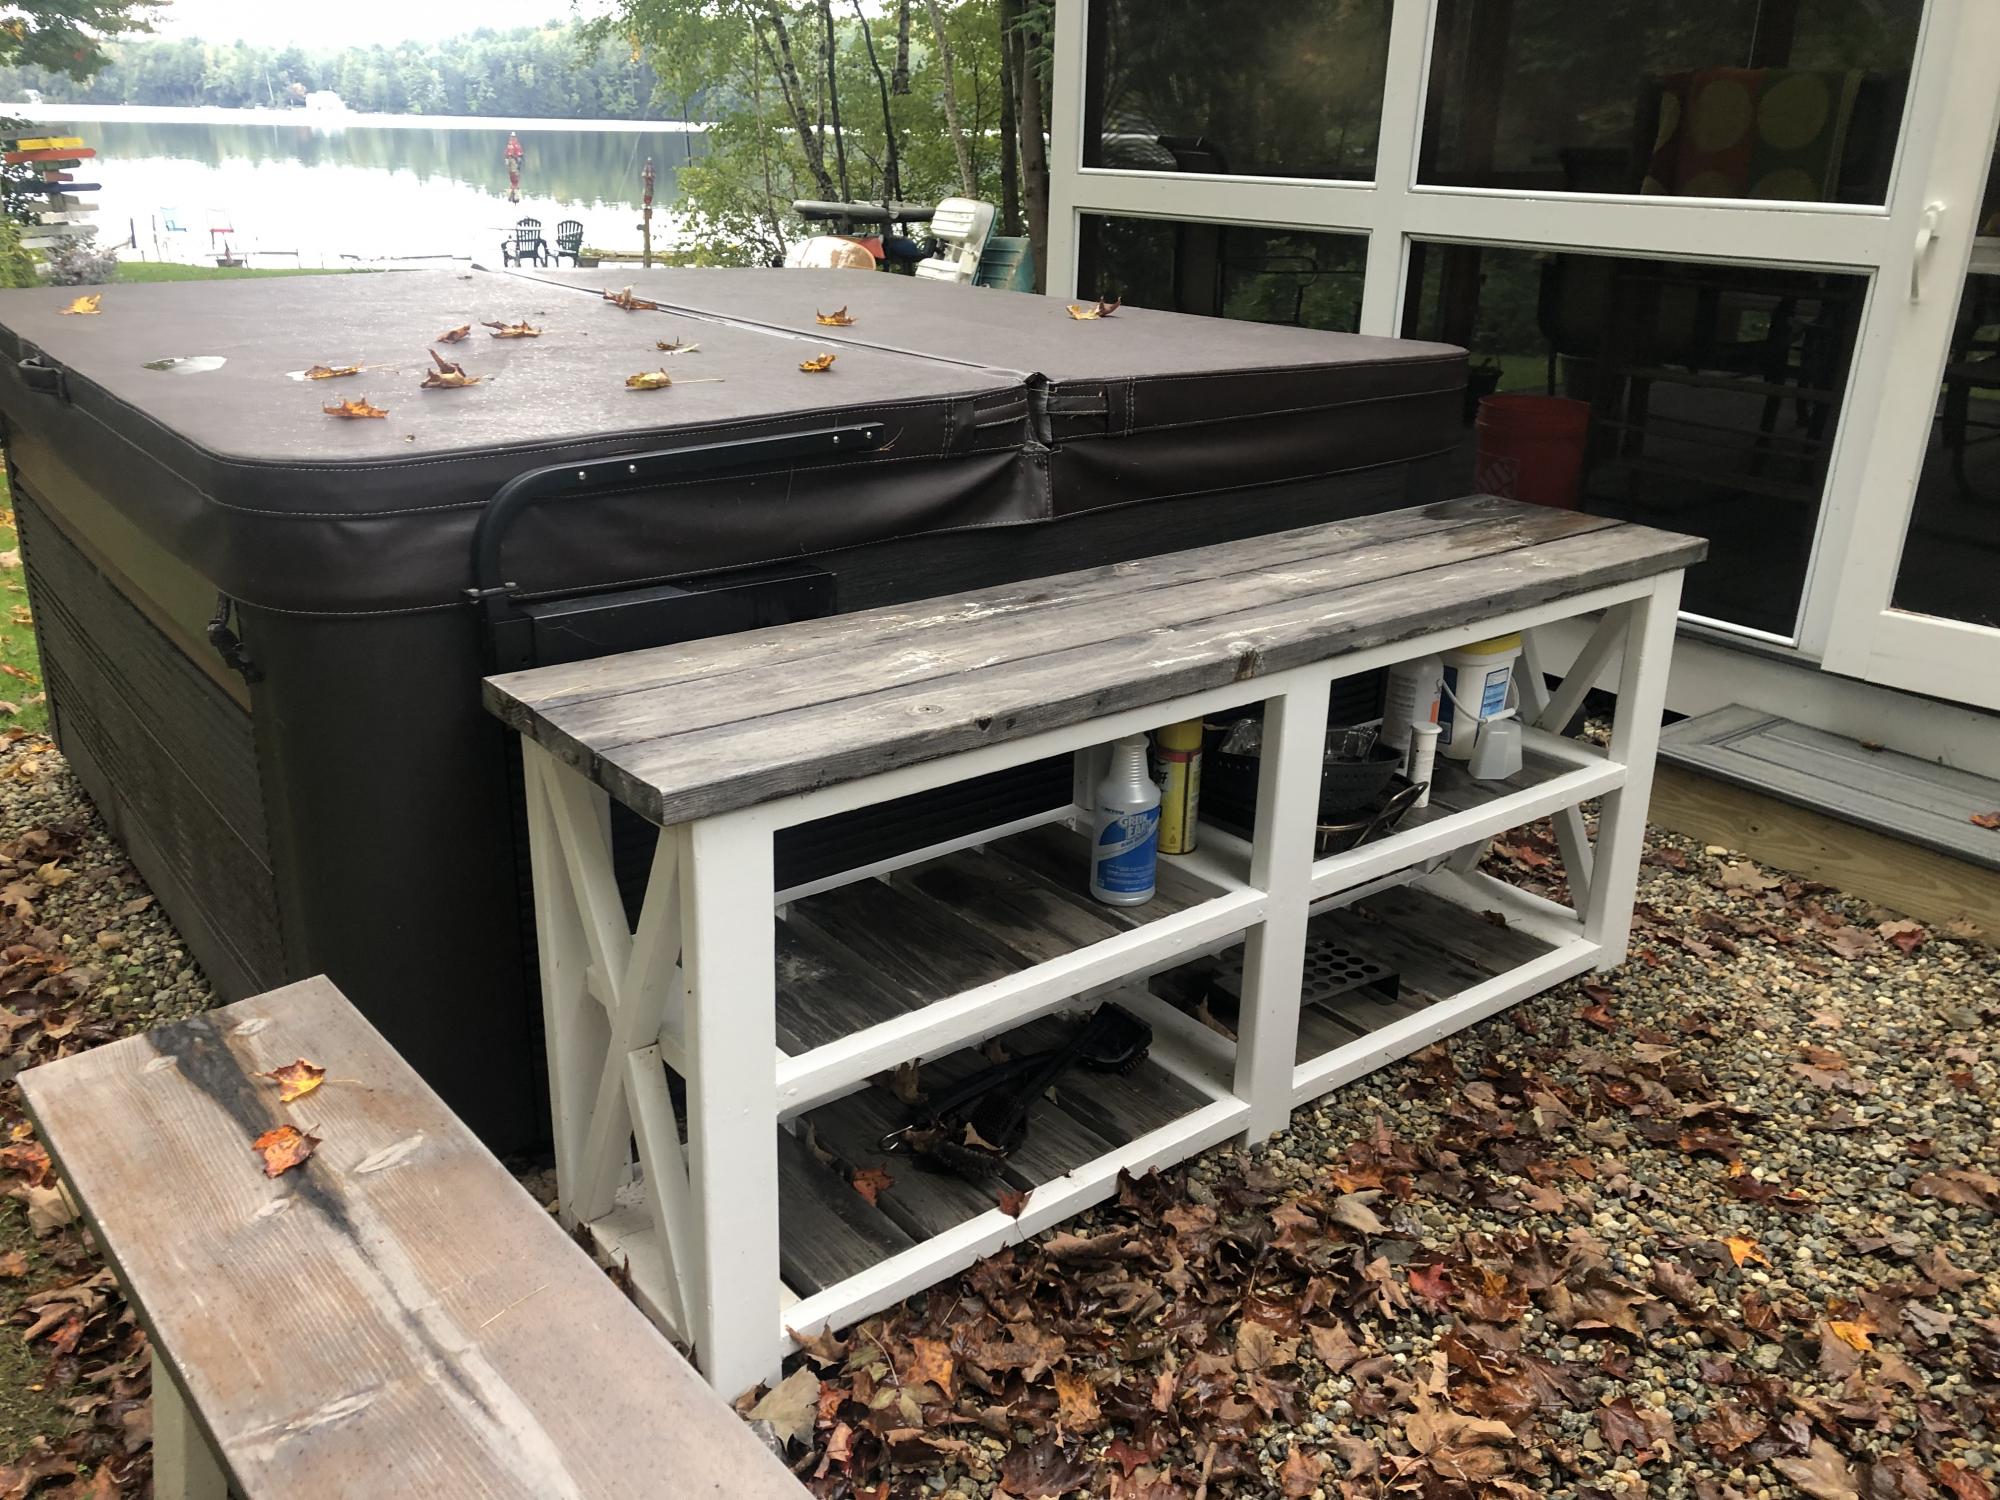
I needed a table along side our hot tub, primarily for drinks or appetizers while using the hot tub. The farmhouse table plan worked out perfectly to its height and how it fit in well with the structure of the hot tub. It also does double duty with my grill directly across from it allowing me some storage shelves or grill items.
Tue, 10/05/2021 - 10:56
YES, love the multiple uses, gotta have a place to set your drink and relax! Thanks for sharing:)
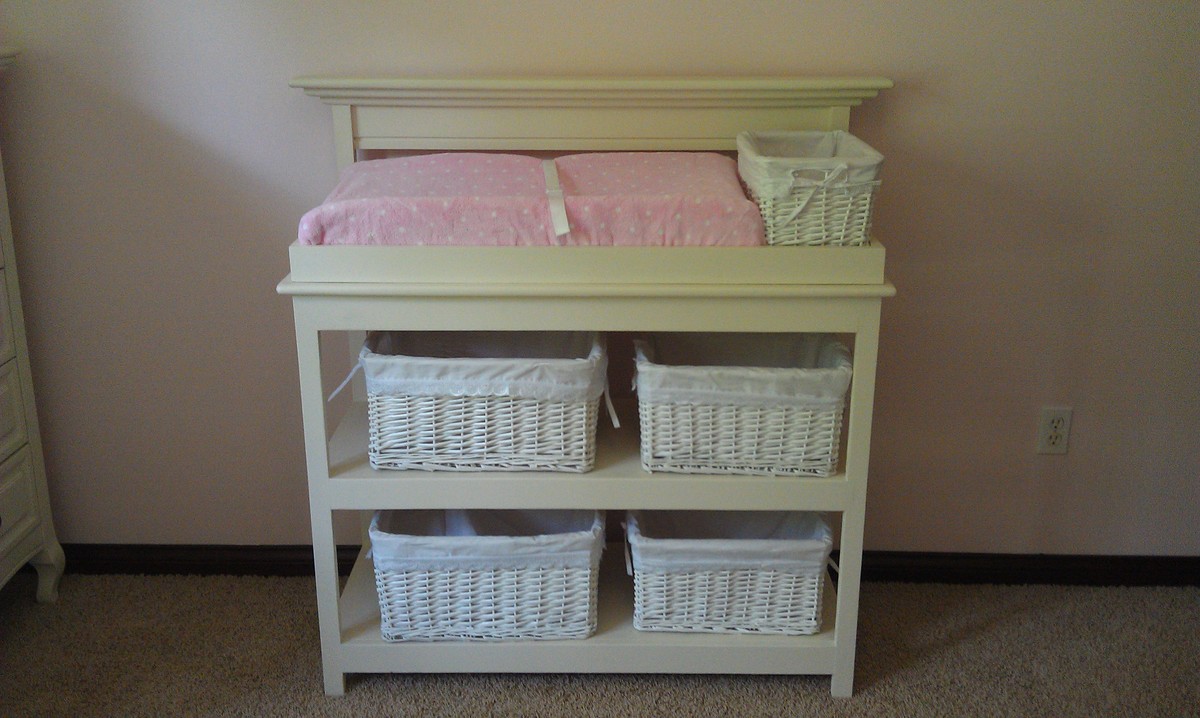
Grandpa modified the simple changing table to match the rest of our nursery furniture.
My favorite 7 year old recently had a Minecraft themed birthday party. For party favors, I made Minecraft torches from a 2×2 board. Painting each pixel of the torch was an incredibly time consuming process. This is definitely not a project you want to procrastinate on. I would budget two hours per a torch. The torches are 1.5″ wide and 7.5″ tall. The scale for the pixels is 0.75 inches. I am pretty happy with how the torches came out. It is a great way to use leftover 2×2 boards in the garage and a neat treat for fans of the game.
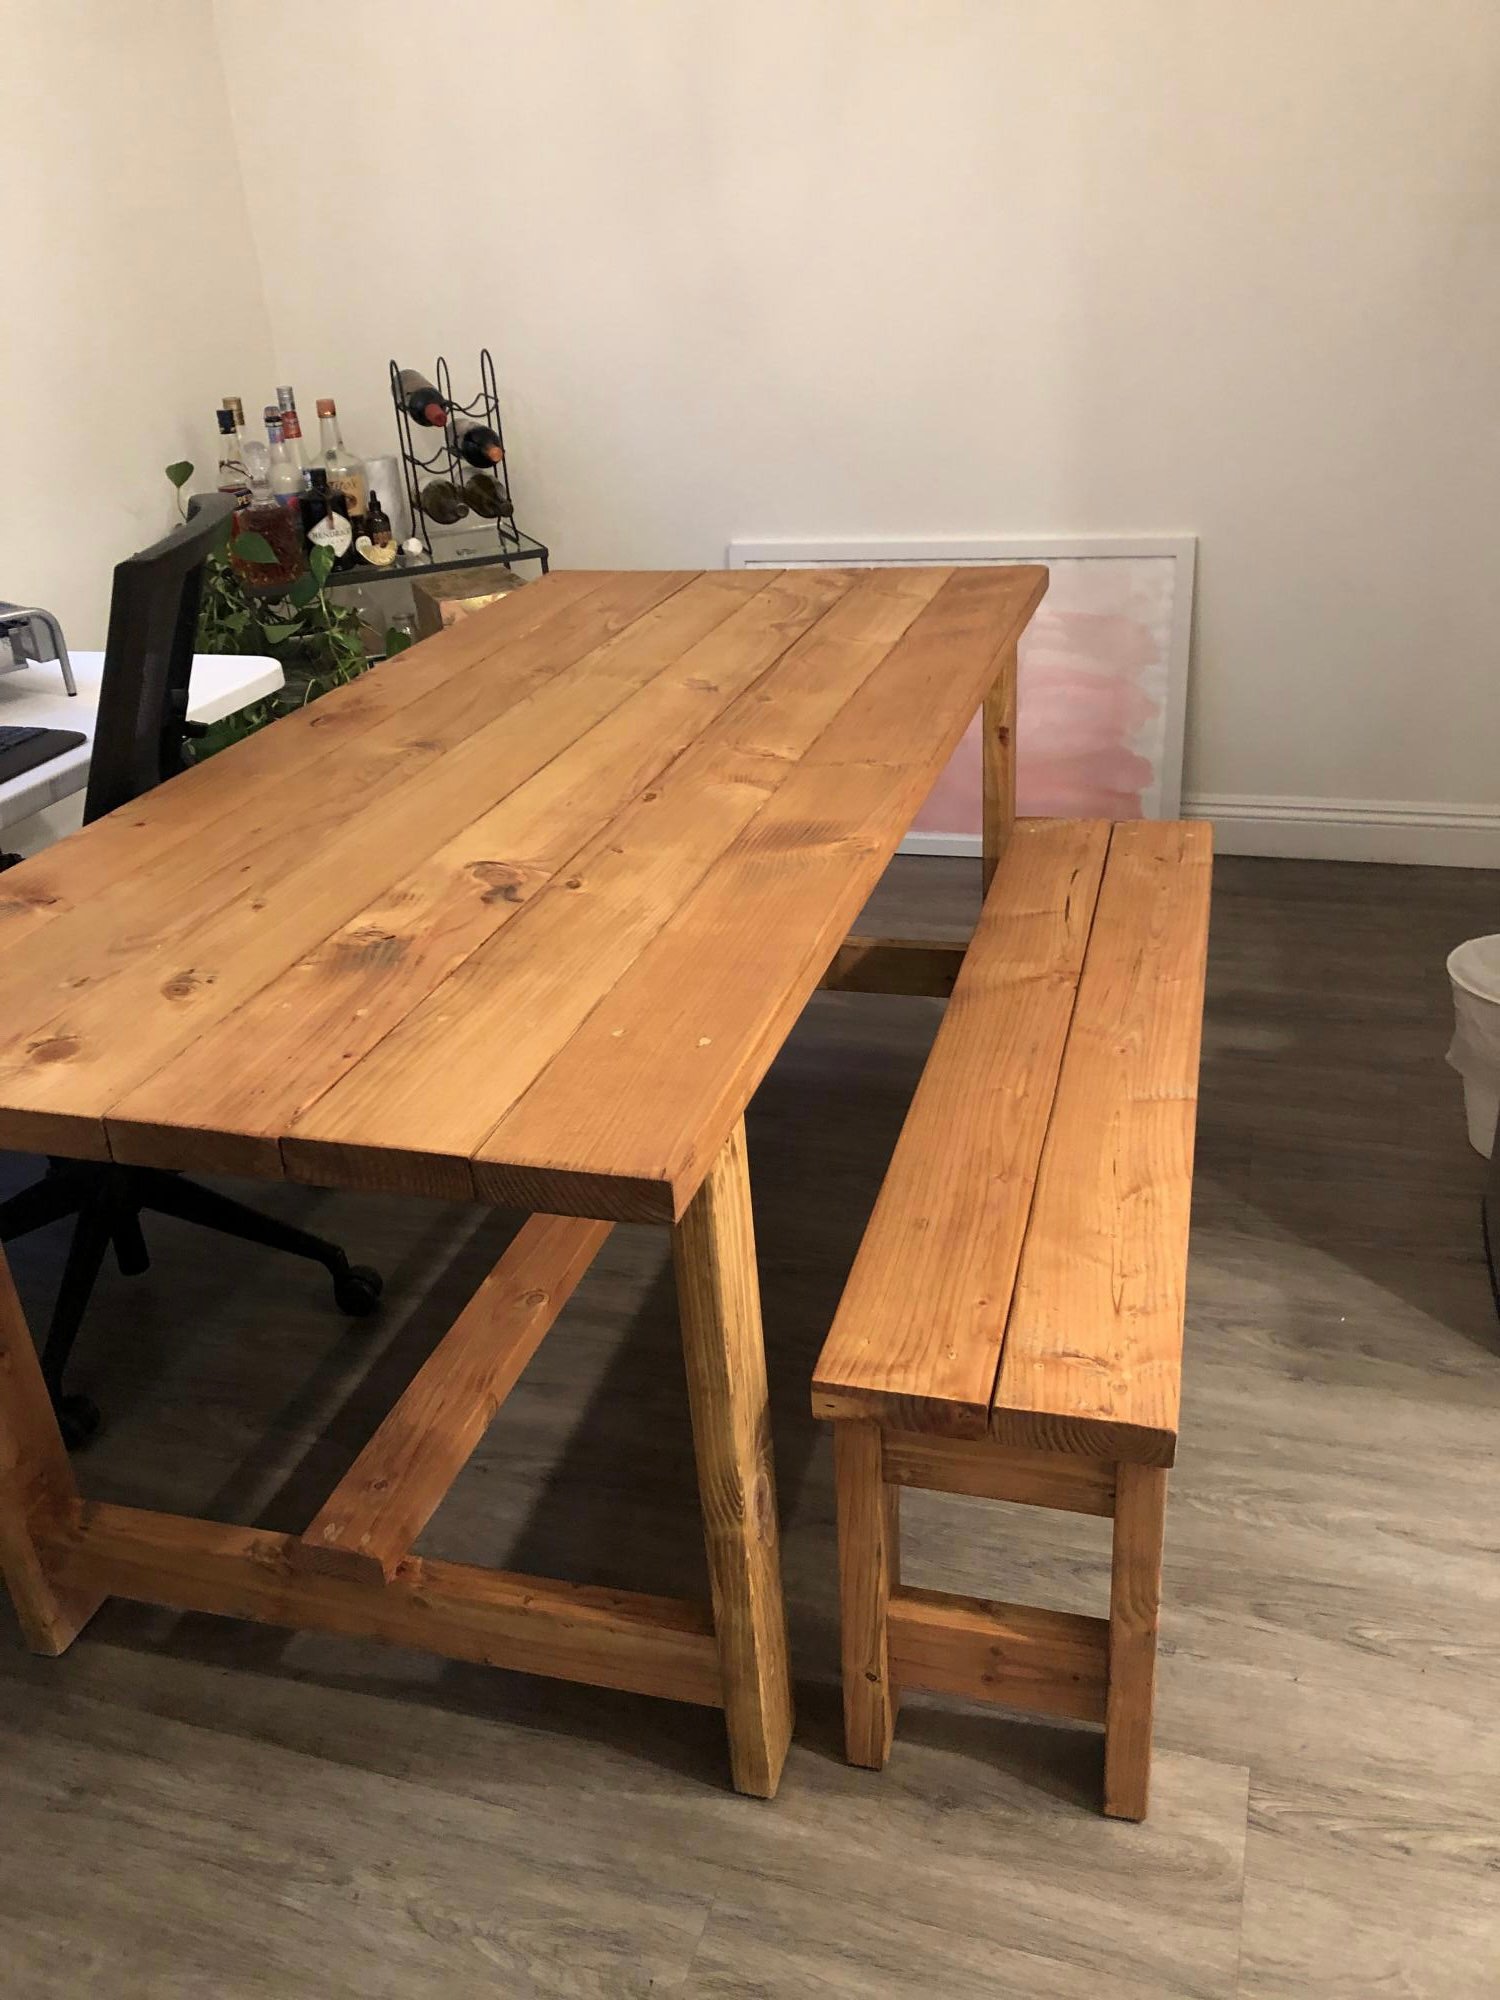
So my sister moved back to Southern California from New York. She found a great place but needed a table. I made one table and one bench. My sister then found two chairs for the other side. This is the second or third thing I have made/built from Ana’s site. Thank you for making me feel more manly with great instruction. I also built this pre Covid-19 when lumber was not so expensive.
Tue, 10/05/2021 - 09:55
Great housewarming gift, and very pretty too! Thanks for sharing!
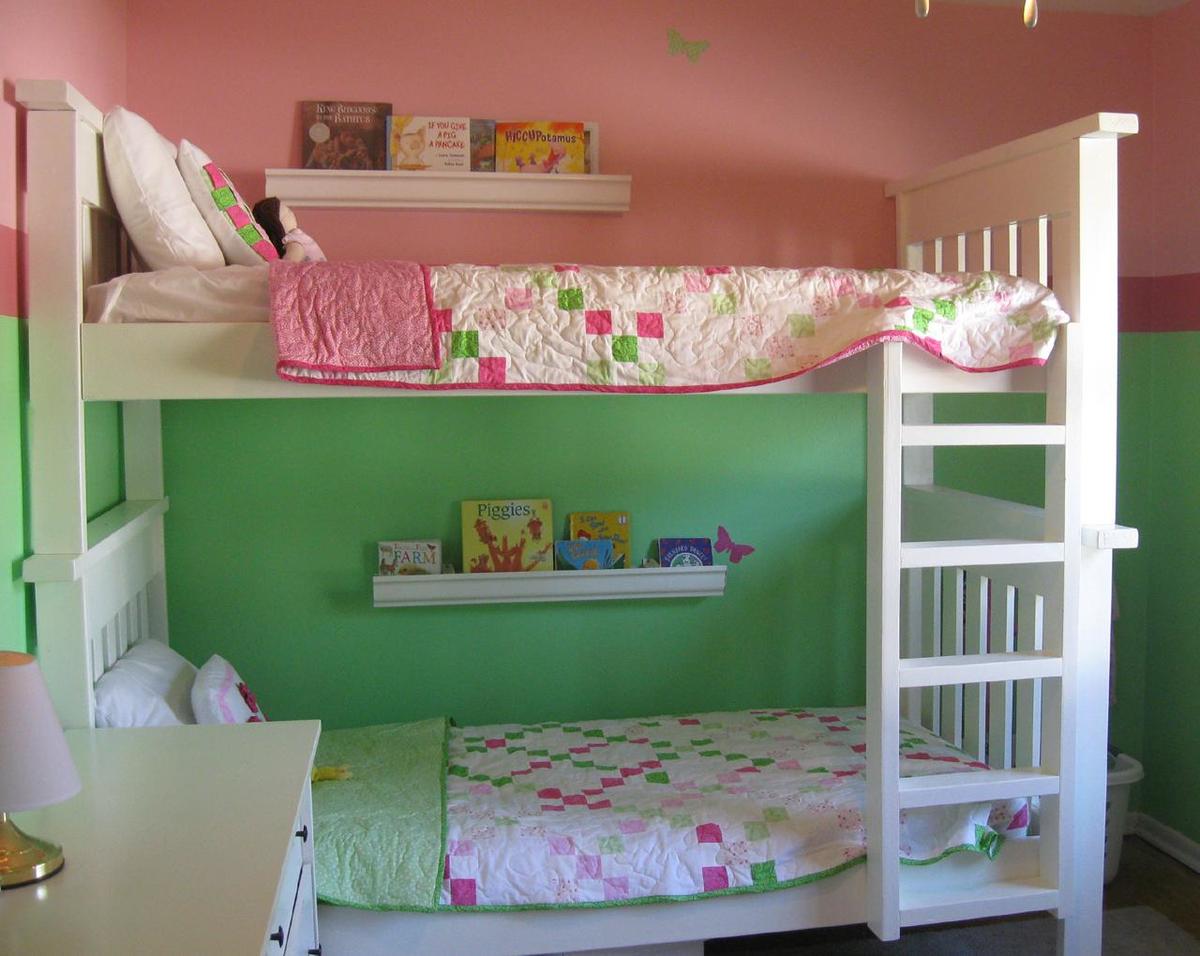
I redid this whole room for less than $600! Make sure you take your time with cuts and fitting. I did this with my father in law (my daughter even got to help out!), and it's less than perfect due to some rushing! More details on my blog.
I also couldn't find any 4x4's. Instead of doubling up on 2x4's, I just used one. That allowed me to change the tops of the head/foot boards to only 48" instead of 50 1/2. You can get enough for a head and foot board out of one board this way.
After looking at a TON of bunk bed ladders online, I designed my own. Just some leftover 2x4's. The sides are 47 1/2 inches long, and the rungs are 13 1/2 inches long. It's screwed to the bunk bed from the back so you don't see the screws.


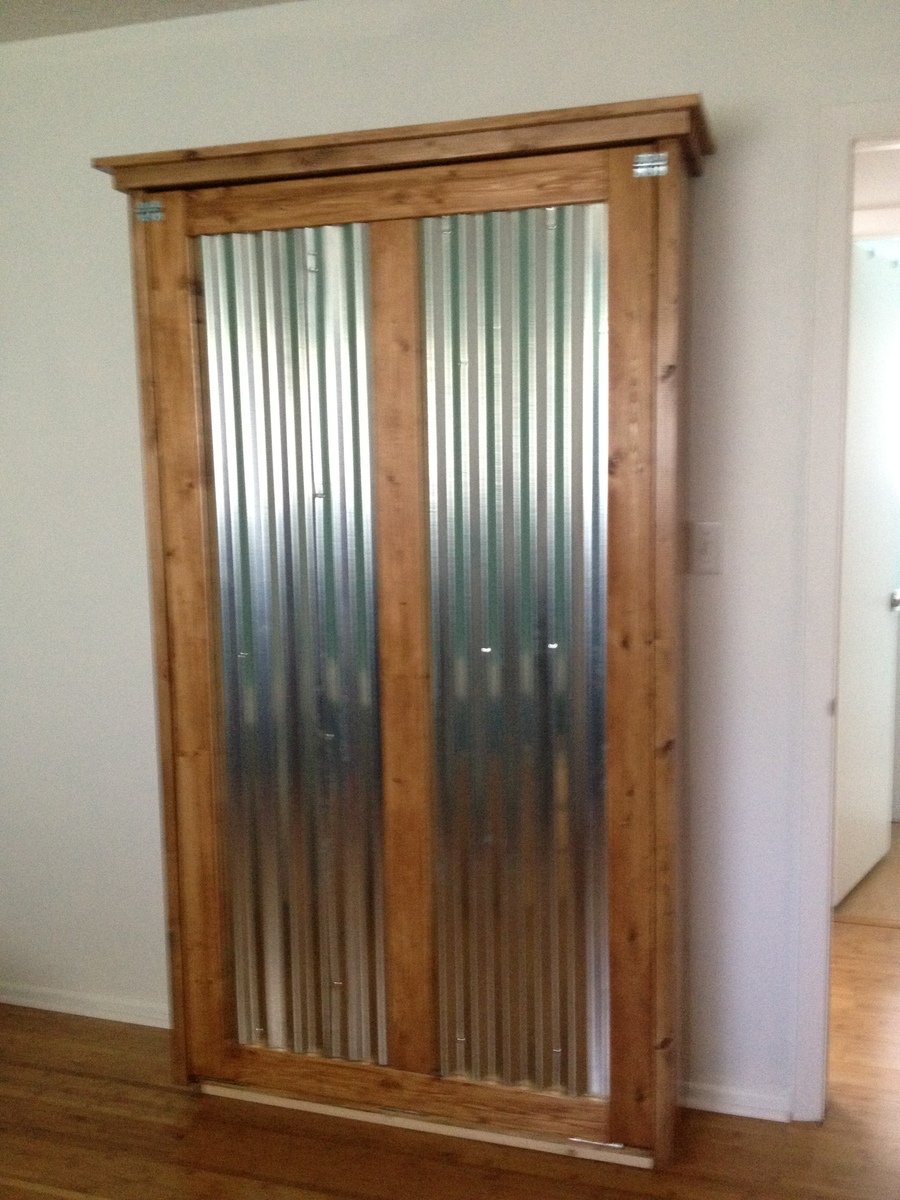
I'm turning my messy sewing room into an organized craft/guest room, so I made a murphy bed to conserve space. I used corrugated tin on the the face of the bed so that I can use it as a magnet board while not in use as a bed.
Fri, 05/17/2013 - 09:54
The estimated cost is $100, but the hardware linked from the original plan was over $300. Do you have an alternate method of mounting this?
Fri, 05/17/2013 - 11:23
I think that link was a suggestion if you want an assisted lift/lowering system, and that hardware is part of what makes regular Murphy beds so expensive. I just used door hinges--3 for $8. It's not that heavy to lift and lower the bed, in my opinion.
Fri, 05/17/2013 - 11:40
Thank you for your reply! If I make this project, I think I'll try the door hinges. It won't be frequently used (a few times a year) and I'm pretty sure we can handle the minimal weight for those few occasions.
P.S. I really like the styling with the wood and corrugated metal, it looks sharp!
Fri, 06/28/2013 - 20:02
thanks for sharing the murphy bed. have been looking for a space solution for my daughter's bedroom. the corrugated tin look sharp in this project--my daughter would like the corrugatged tin as well--except for hot pink stain on the cabinet.
anyone know where to get hot pink stain?
Sun, 09/08/2013 - 20:58
Does anyone have any suggestions on how to bring it up off the floor some?
Wed, 02/10/2016 - 04:24
Paint tin with dry erase or chalkboard on one side for daily notes?
Comments
rfrank23
Mon, 02/07/2022 - 10:10
Beautiful build. Looking…
Beautiful build. Looking forward to building one of my own.