Community Brag Posts

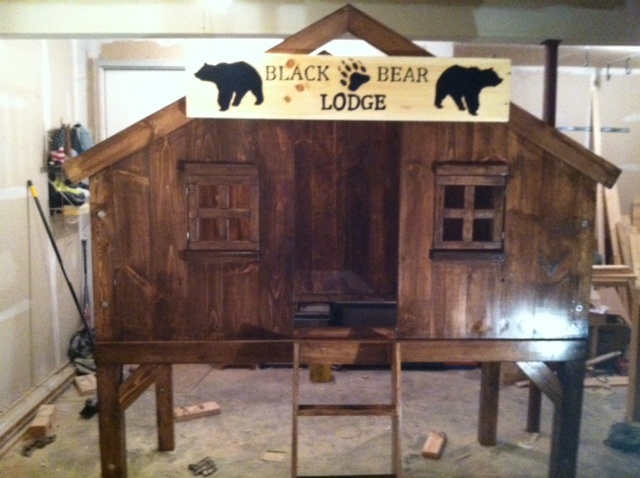
Adirondack Loftbed Cabin Playhouse

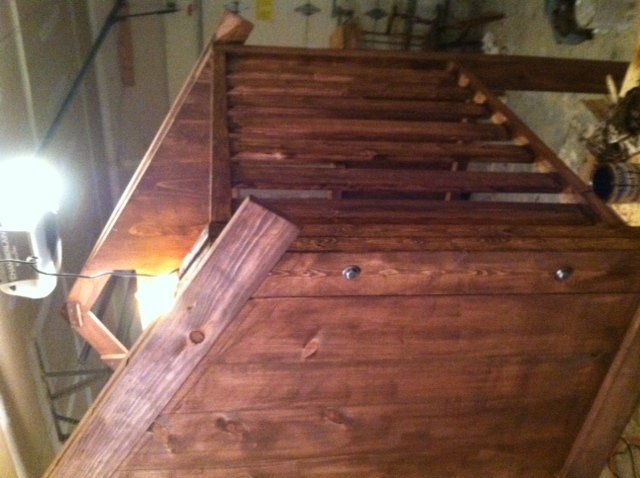
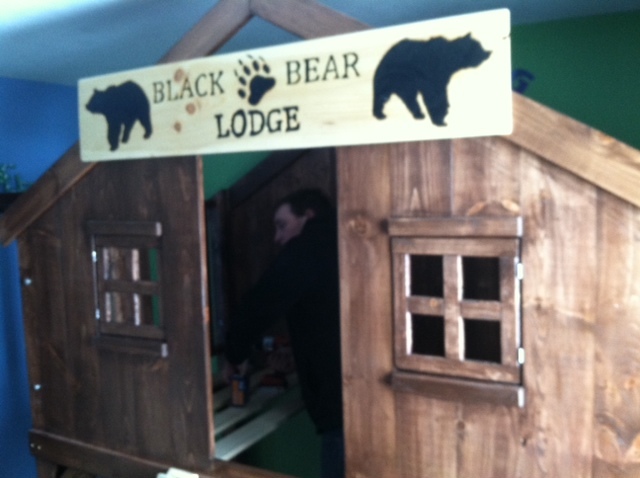
From the club house plans. I did go ahead kreg jig all the panels on the front and back walls.

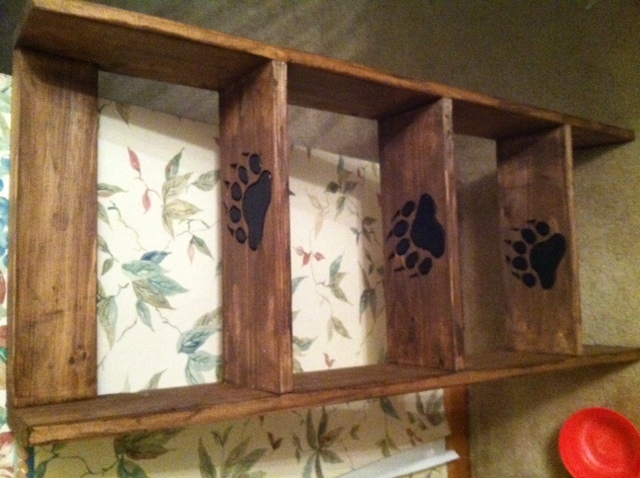
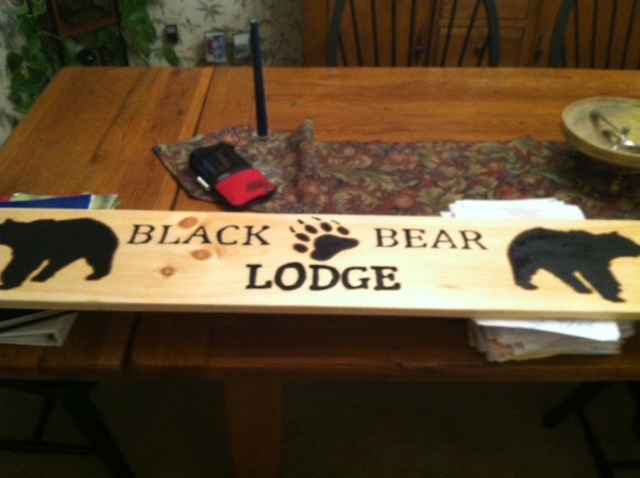
All the art work in the sign and on the steps i used a dremel and dug out and painted everything.

Came out beautiful.

Made so was easy to transports in parts to get up and down stairs in 8 pieces.

Built from Plan(s)
Estimated Time Investment
Weekend Project (10-20 Hours)
Finish Used
Minwax gel stain (toffee), and polyeurethene
Recommended Skill Level
Intermediate

Comments

Workbench console

Submitted by lincey23 on Wed, 12/31/2014 - 08:27

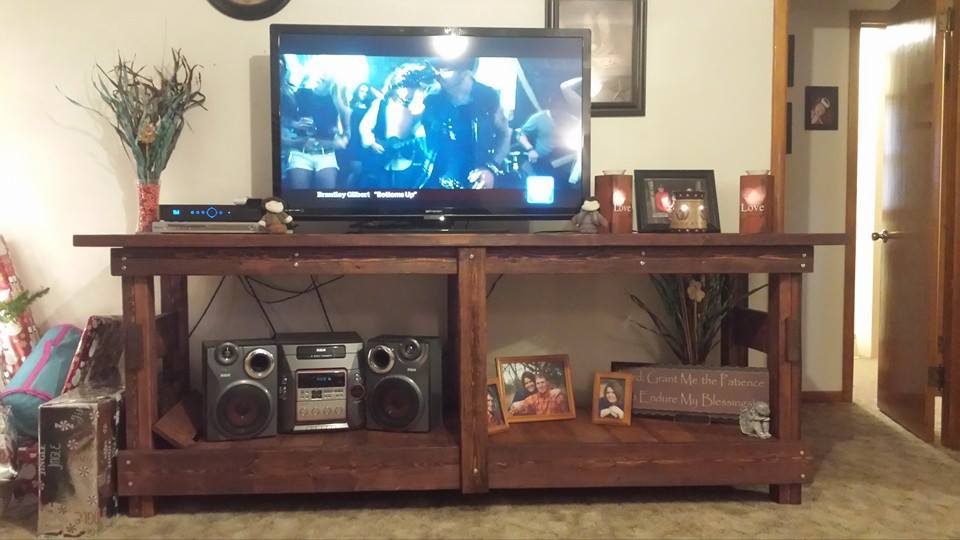
We built this after getting a new tv. We love it.


Built from Plan(s)
Estimated Cost
we used standard pine so it probably cost with stain around $90 to build. Took longer to stain and sand than anything.
Estimated Time Investment
Weekend Project (10-20 Hours)
Finish Used
oak stain
Recommended Skill Level
Intermediate

4x4 Truss Harvest Table

Submitted by Anonymous (not verified) on Wed, 03/29/2017 - 10:28

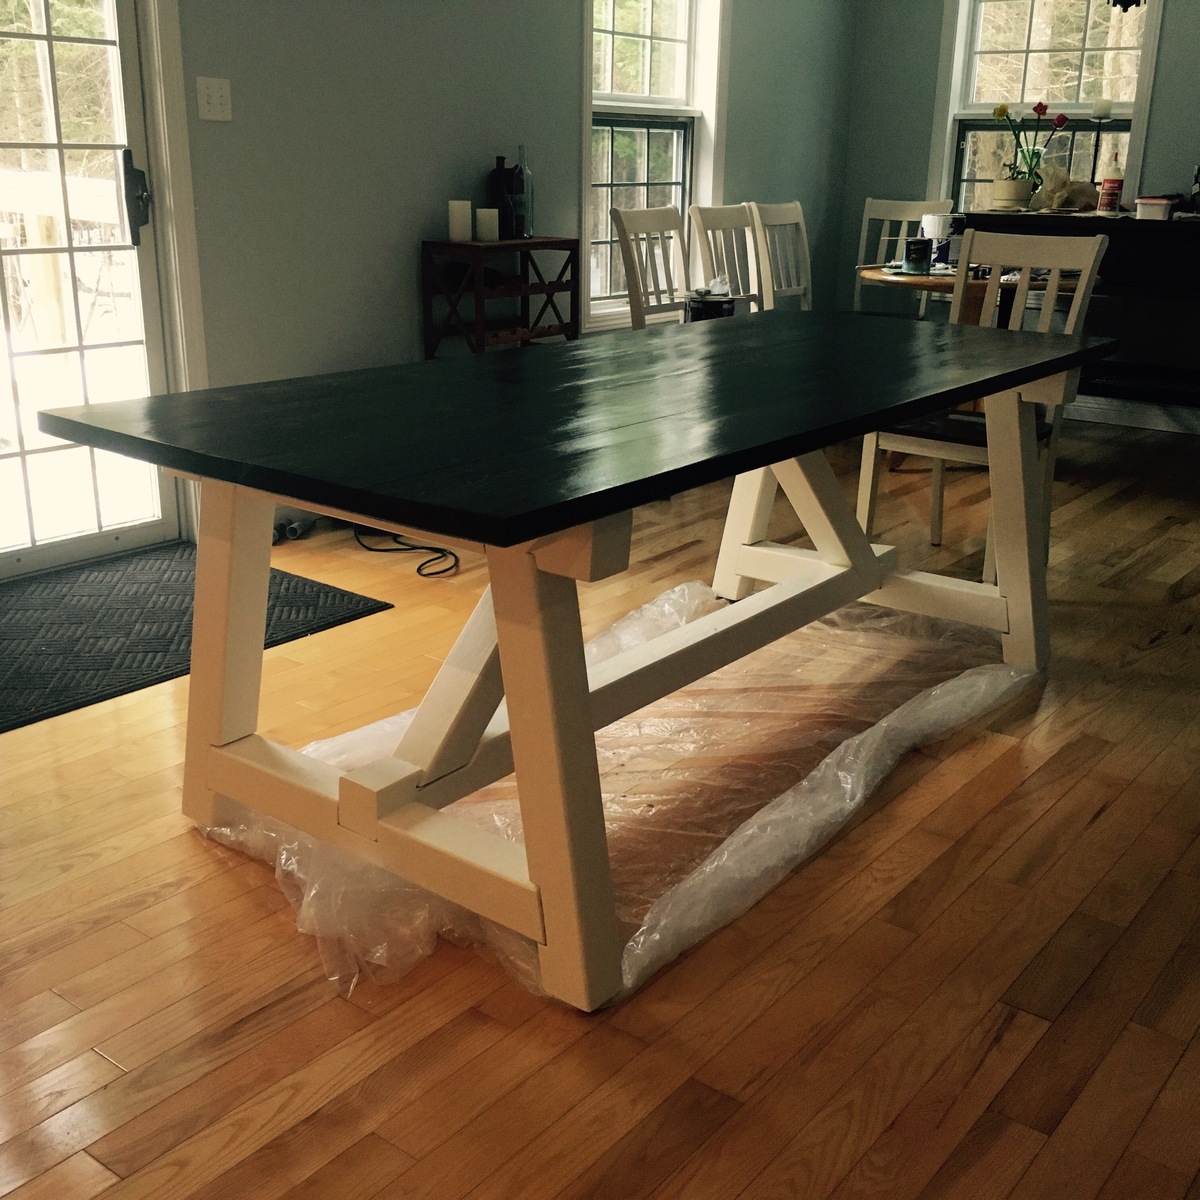
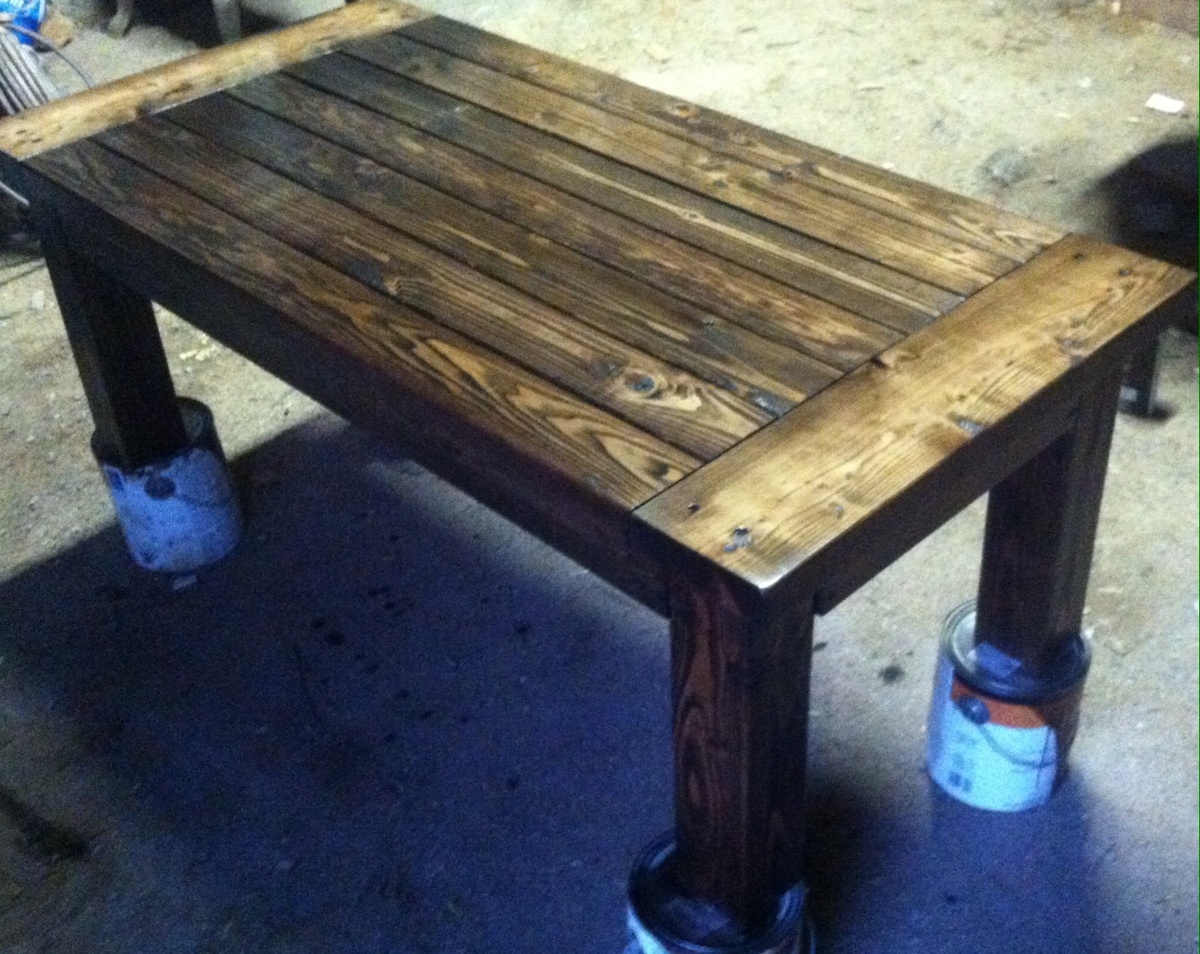
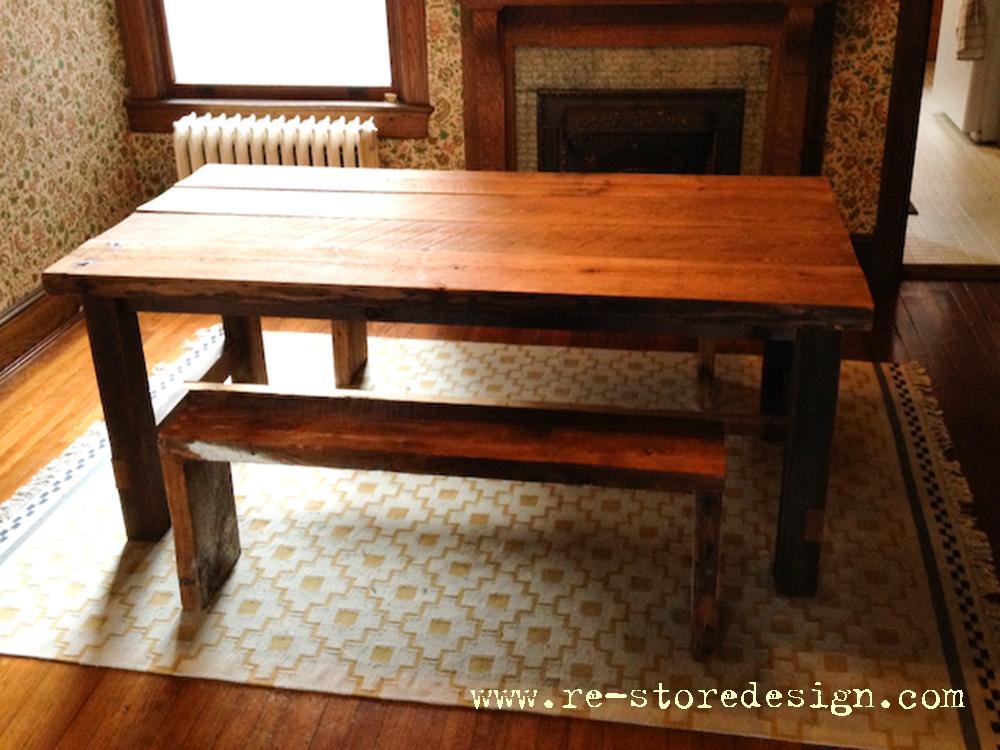
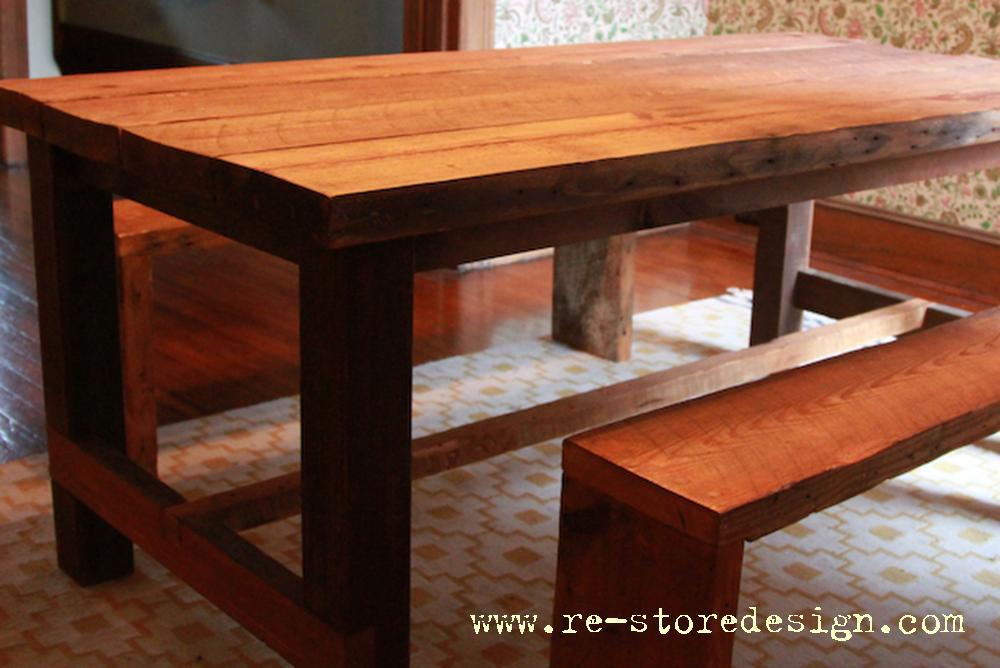
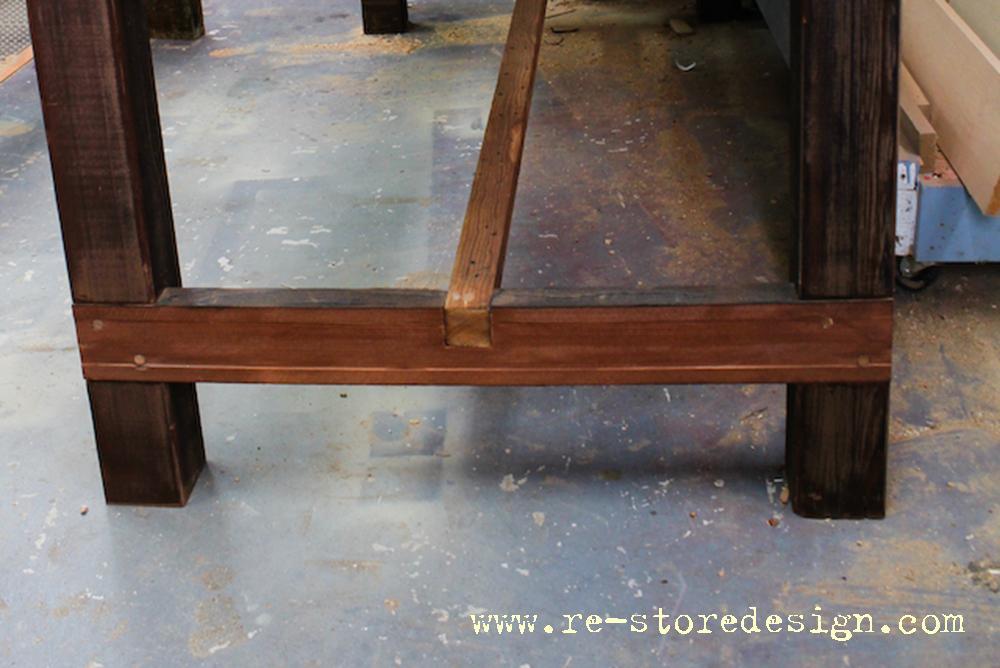
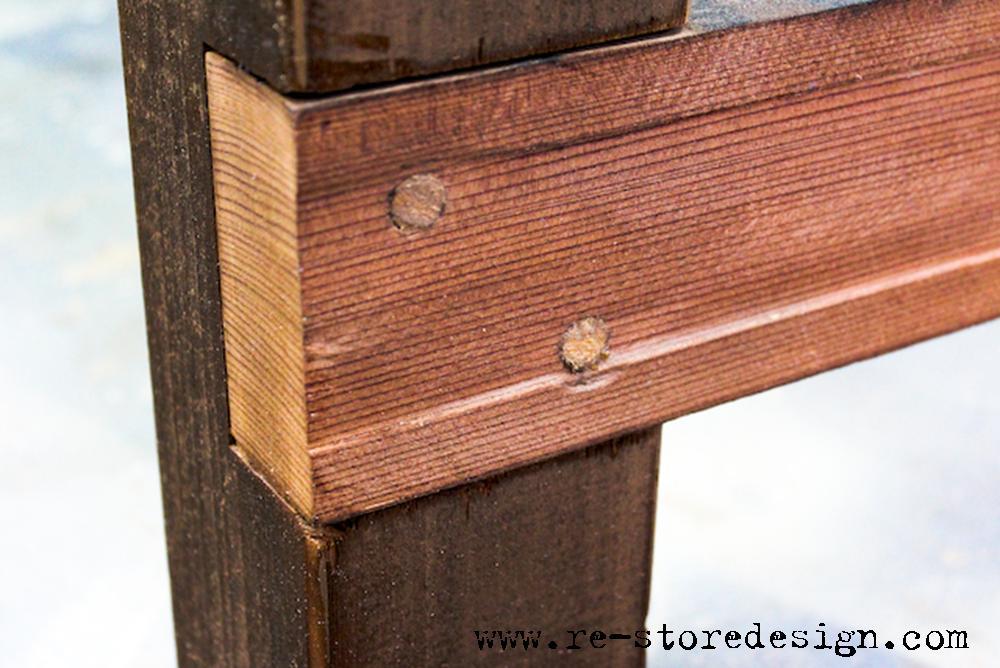
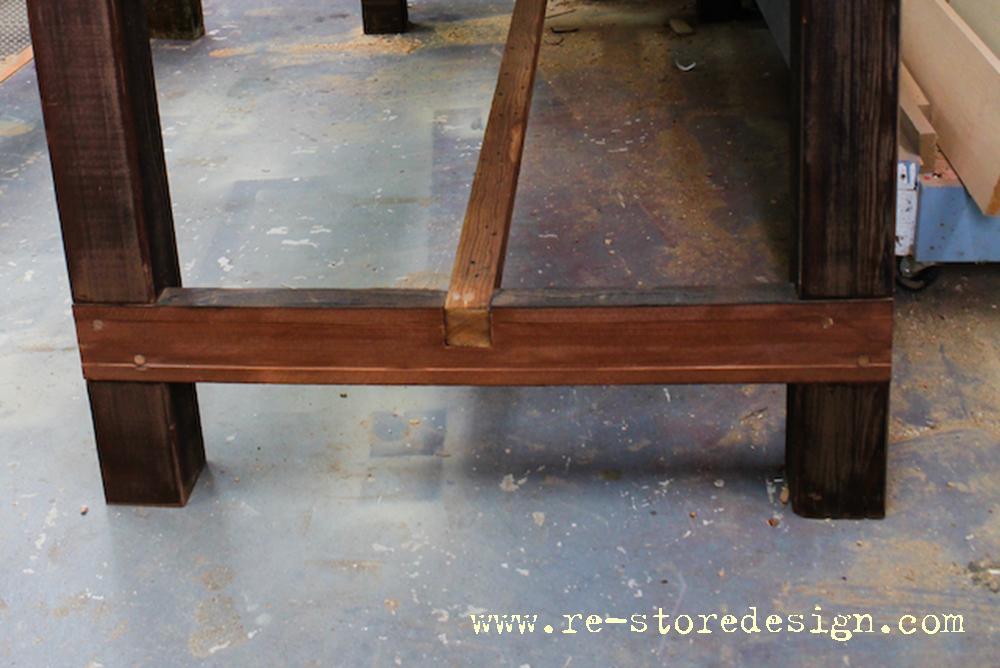
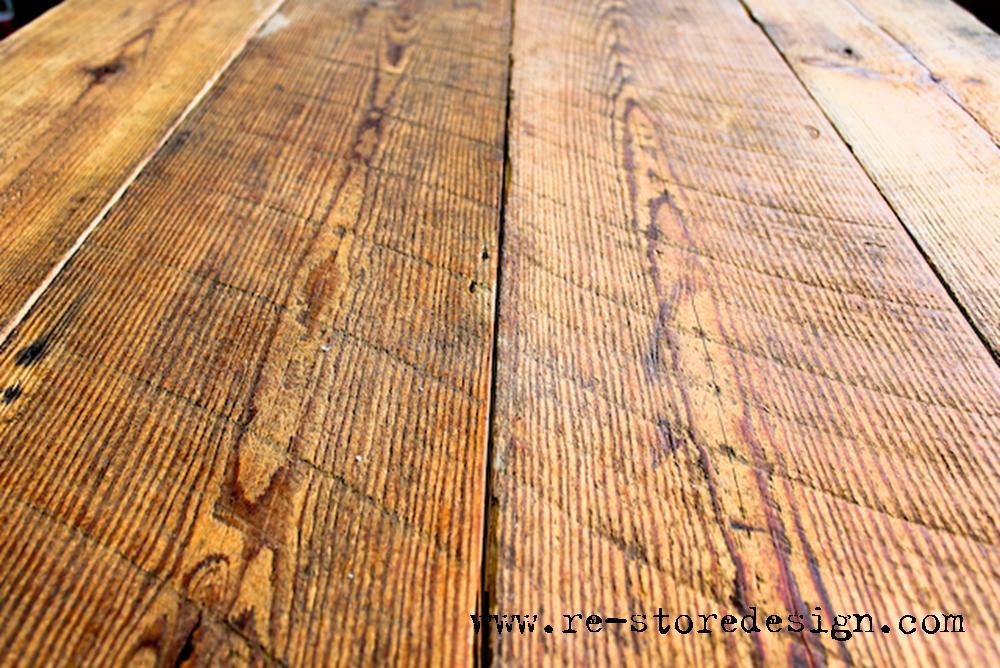
I began with the plans for the 4x4 truss table and modified the plans to include notched joints to make the table stronger. Finished the 4x4 pine base with paint to match our dining chairs and finished the 2x10 top with 1 coat of dark walnut stain and 5 coats of verathane. Added hardware under the legs to level the table. This was my very first woodworking project and everyone says how well it turned out! Next is a headboard and then maybe a dresser. Thanks for these awesome resources!

Built from Plan(s)
Estimated Cost
$250
Estimated Time Investment
Week Long Project (20 Hours or More)
Finish Used
Dark Walnut
Recommended Skill Level
Intermediate

Rustic Bench

Submitted by Anonymous (not verified) on Tue, 02/09/2021 - 14:53

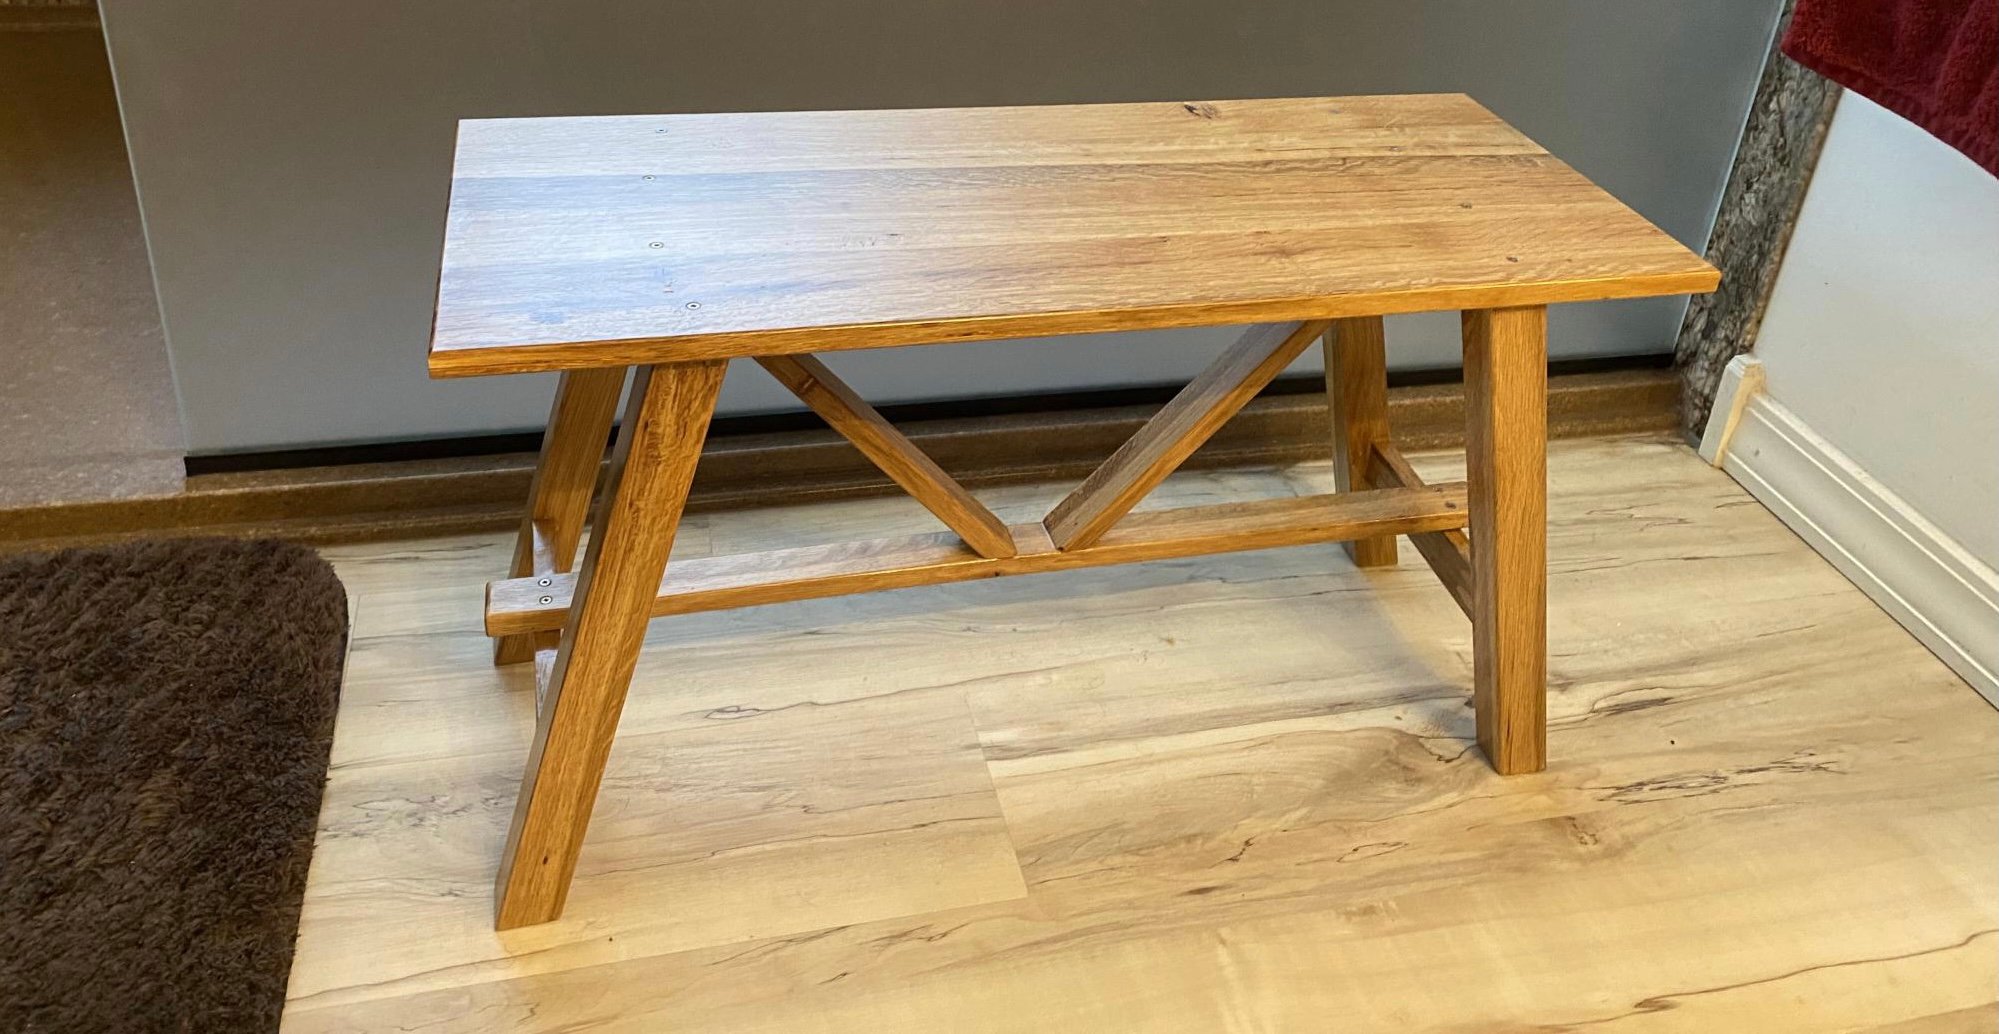
This rustic bench is perfect for our remodeled bathroom. It is made from post oak lumber harvested from my property and milled myself using a friend’s sawmill. No stain, just polyurethane.

Built from Plan(s)
Estimated Cost
$10
Estimated Time Investment
Day Project (6-9 Hours)
Finish Used
Polyurethane
Recommended Skill Level
Intermediate

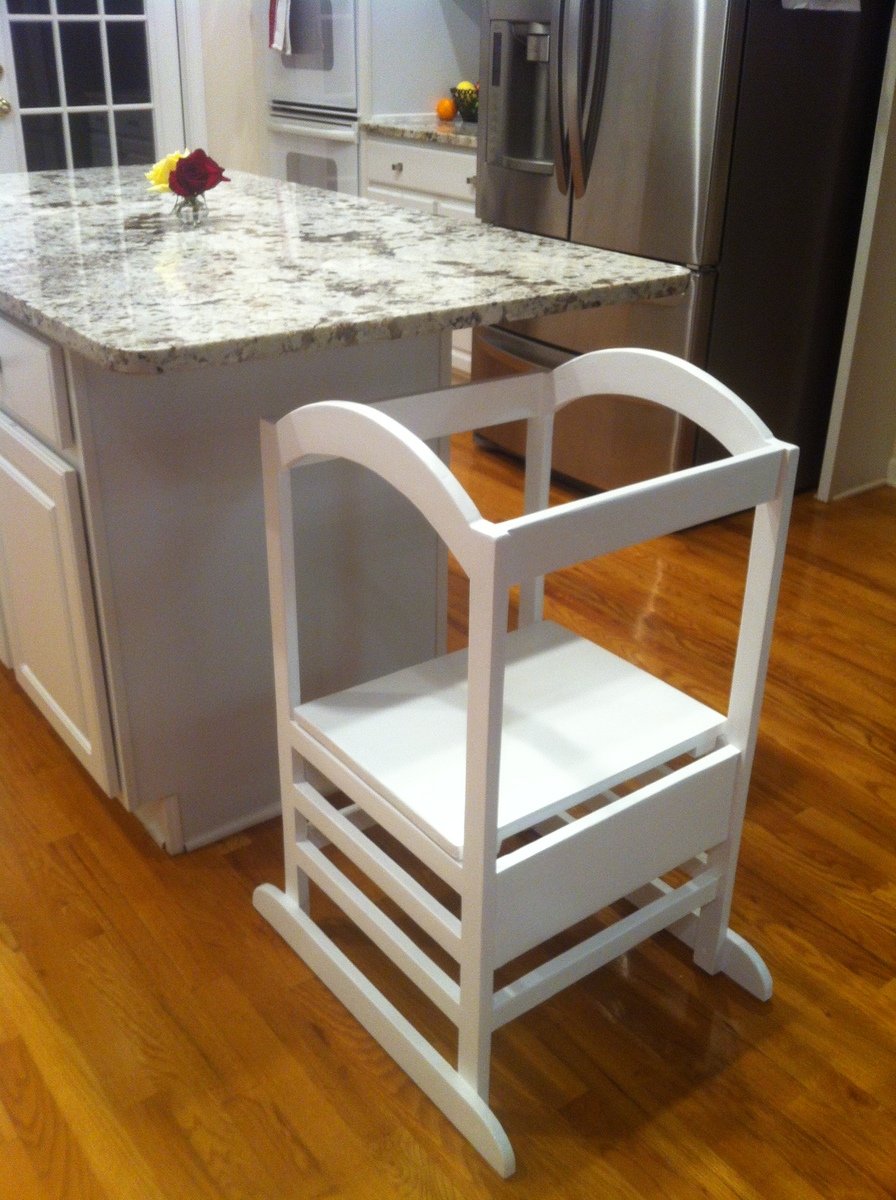
Helper Tower

Submitted by fmiddleton on Sun, 02/24/2013 - 19:01

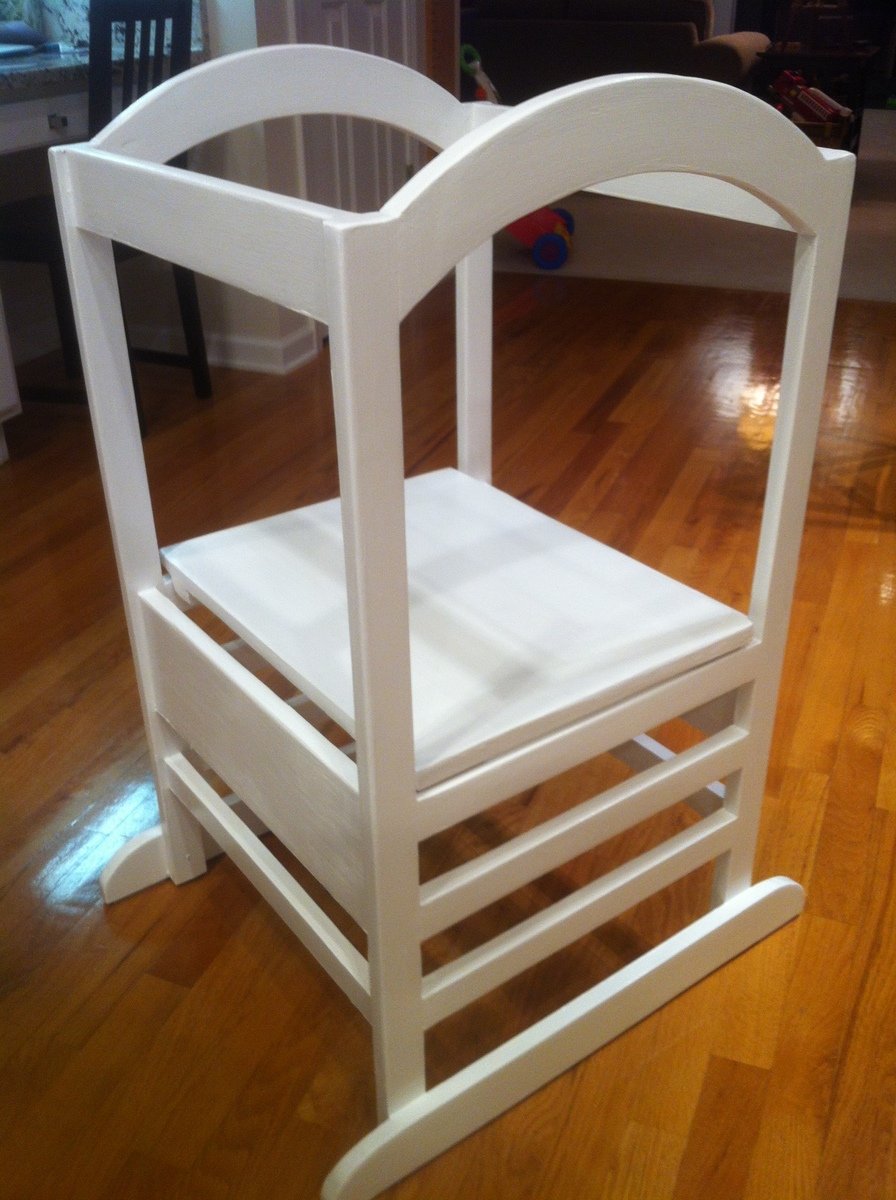
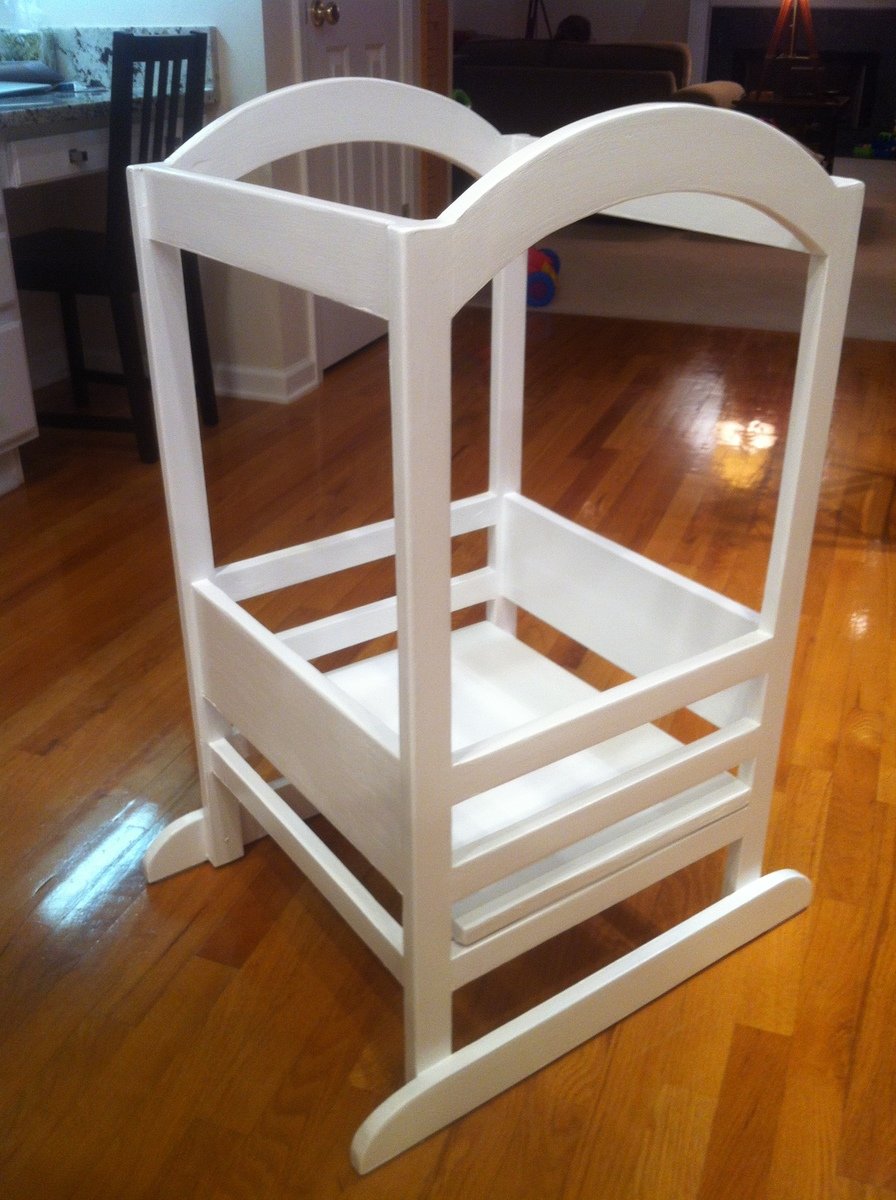
My first woodworking project since building a mug tree in school (I was about 12). This project started in the holiday break after I received a Kreg Jig as a gift, and this seemed like a good first project to tackle. We have a little boy about 20 months old who LOVES to help out, needed something more sturdy than standing on a chair, and this fit the bill perfectly.

I modified the design very slightly to ensure that the tower fits neatly under our kitchen island so that it stows mostly out of the way. That necessitated removing one of the "levels", and altering the dimensions somewhat to keep it proportional.

The biggest challenge of all was painting at the end! Made the mistake of using a spray can first, which made the wood fuzzy. So, sanded it all again, added primer (originally it was black), and then a couple of layers of white semi-gloss/enamel. Need to improve my painting technique to avoid brush marks in the future.

Built from Plan(s)
Estimated Cost
$50
Estimated Time Investment
Day Project (6-9 Hours)
Finish Used
Semi-gloss / enamel paint. Tried a rattle can to start, but the finish was terrible - sanded it down, primed the whole thing, and then a couple of coats of white semi-gloss.
Recommended Skill Level
Starter Project

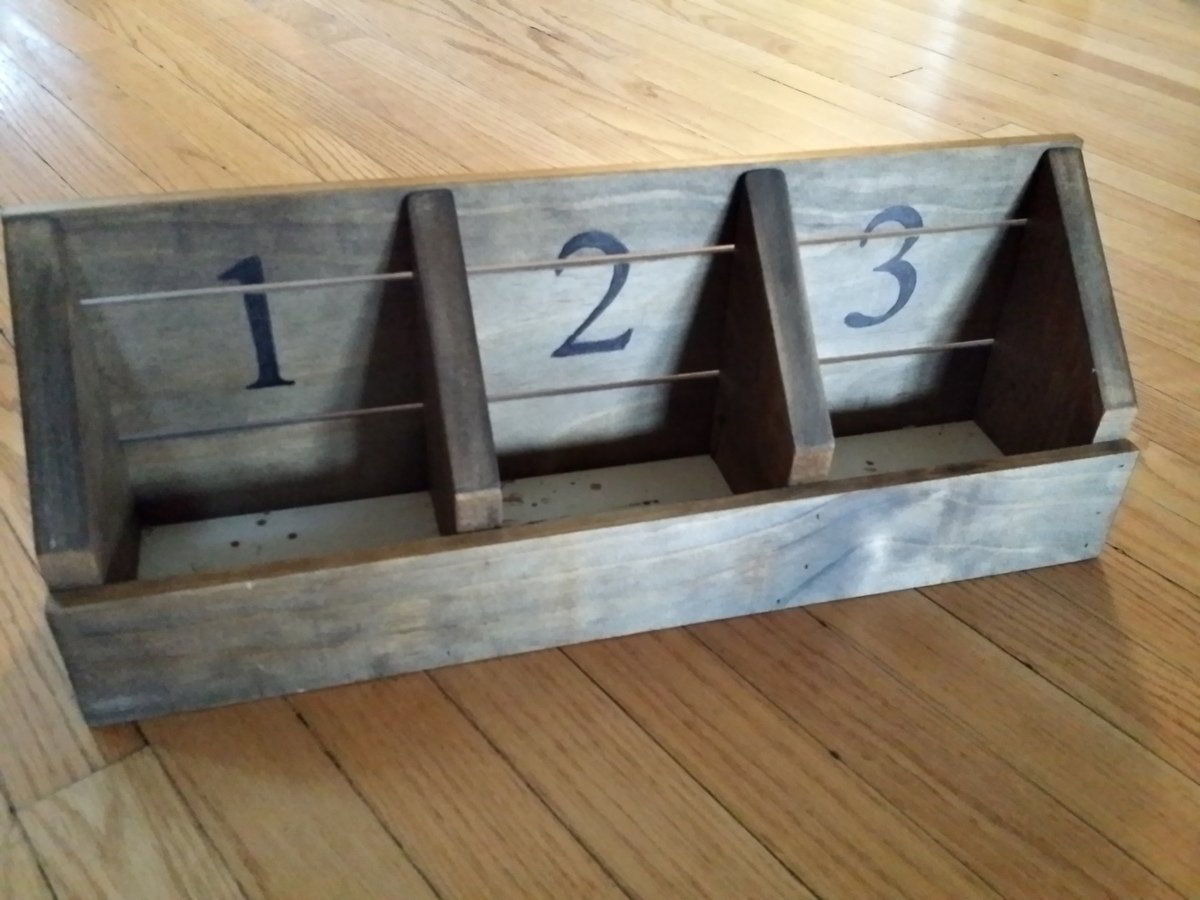
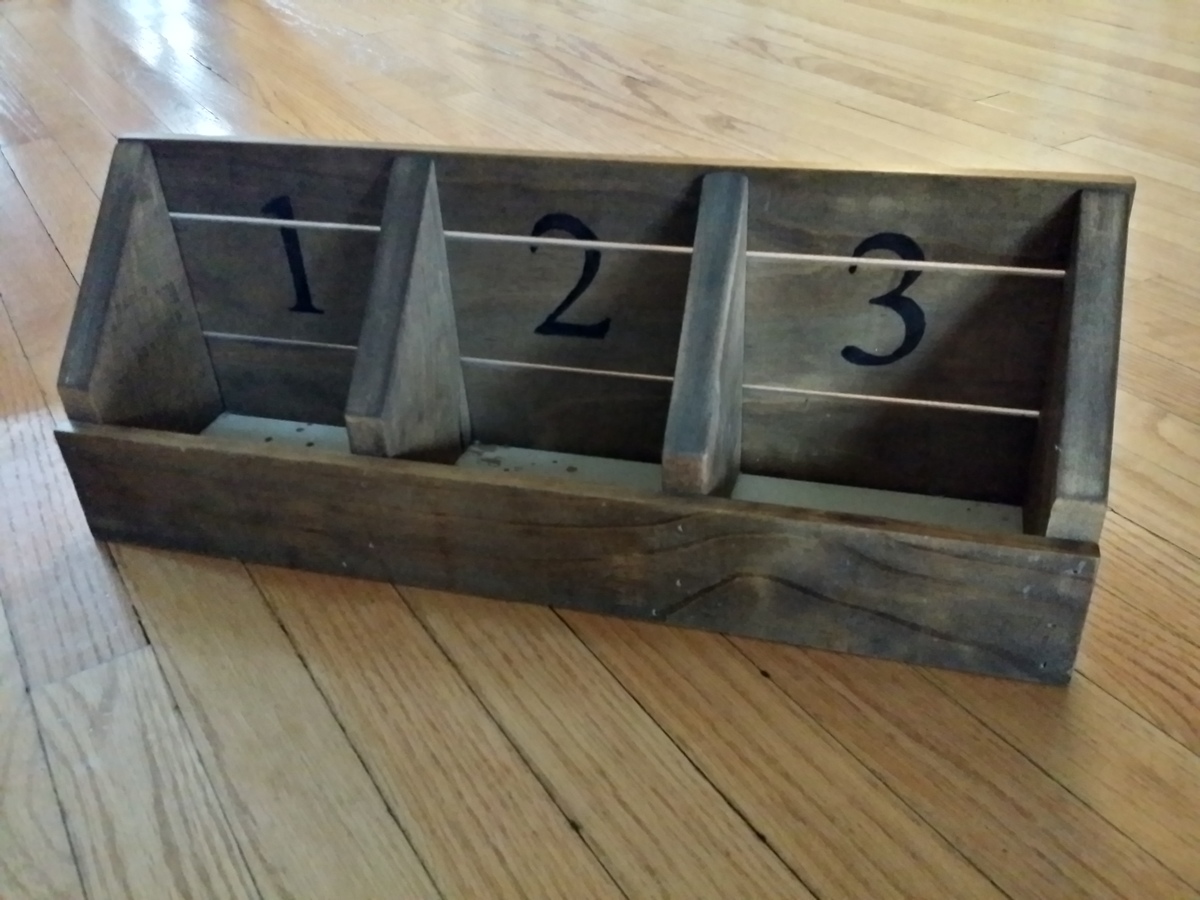
Numbered Cubby Desk Organizer

Submitted by donnamarie on Sat, 01/03/2015 - 12:50

Here's my version of Ana's 'Numbered Cubbies on the Wall'.  Mine is made from a 6' long 1/2" x 3" craft board and a 6' long 1" x 4".  I followed Ana's plan, adjusting mine for a smaller size and proportion.  I used a finish nailer with 1" nails.  The numbers were drawn on with black Sharpie following Ana's method.  First print out a 3" number in your choice of font, cut it out and tape to the cubby, press HARD to outline the number with a ball-point pen, then remove the stencil and fill in with paint or marker. 

This is an easy and fun project.  It's very versatile and cute and looks store bought and expensive.

Built from Plan(s)
Estimated Cost
$15
Estimated Time Investment
An Hour or Two (0-2 Hours)
Finish Used
Minwax Woodfinish in Provincial 211, with numbers written in black Sharpie
Recommended Skill Level
Starter Project

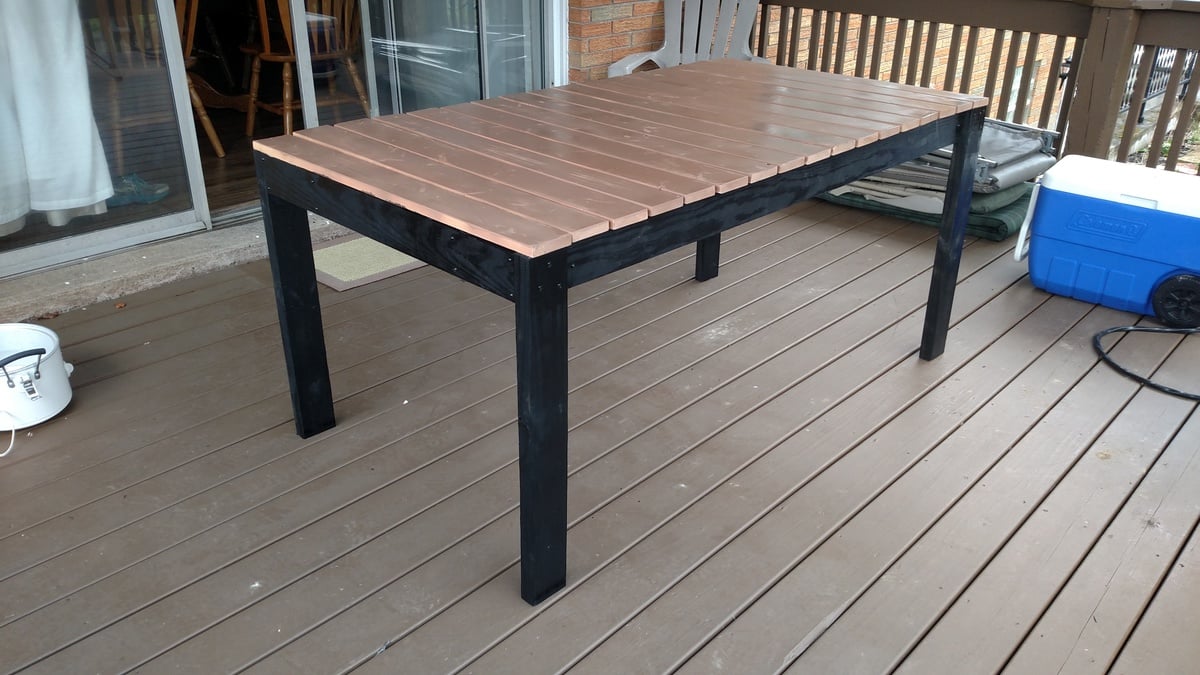
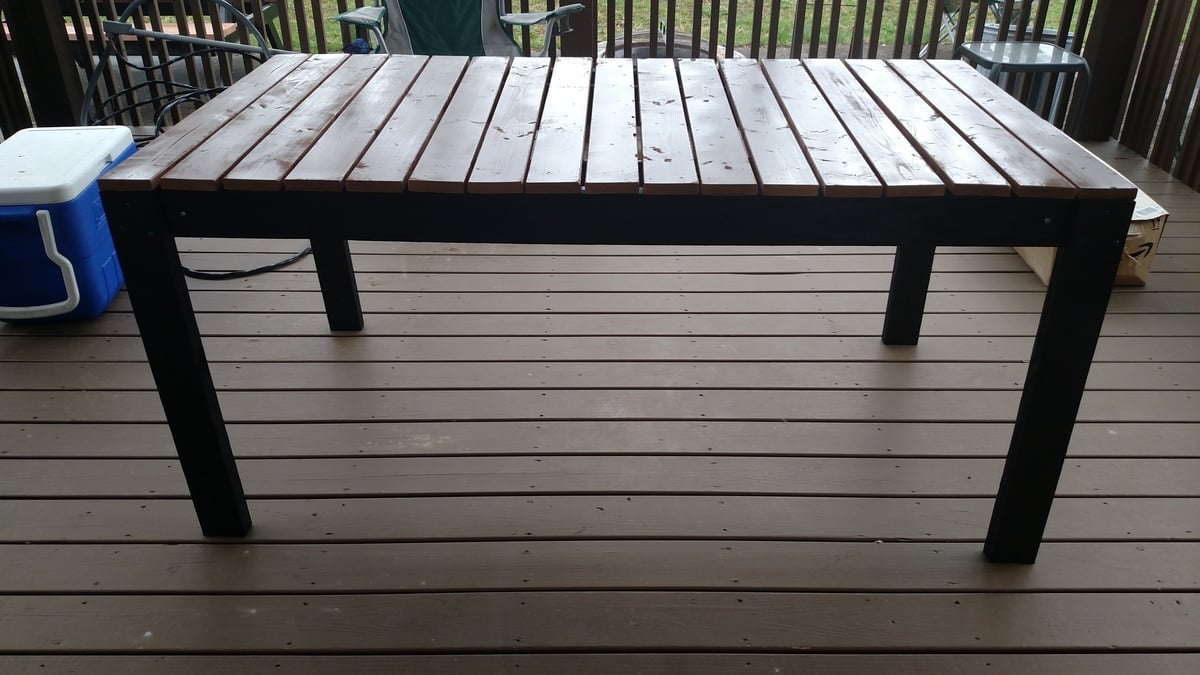
Black and Brown Simple Outdoor Table

Submitted by Anonymous (not verified) on Sat, 04/01/2017 - 12:47

I built the simple outdoor table using a black frame and Brown boards on top.  

Built from Plan(s)
Estimated Cost
$100 with paint
Estimated Time Investment
Afternoon Project (3-6 Hours)
Finish Used
Black outdoor paint and valspar color radiance dark brown
Recommended Skill Level
Beginner

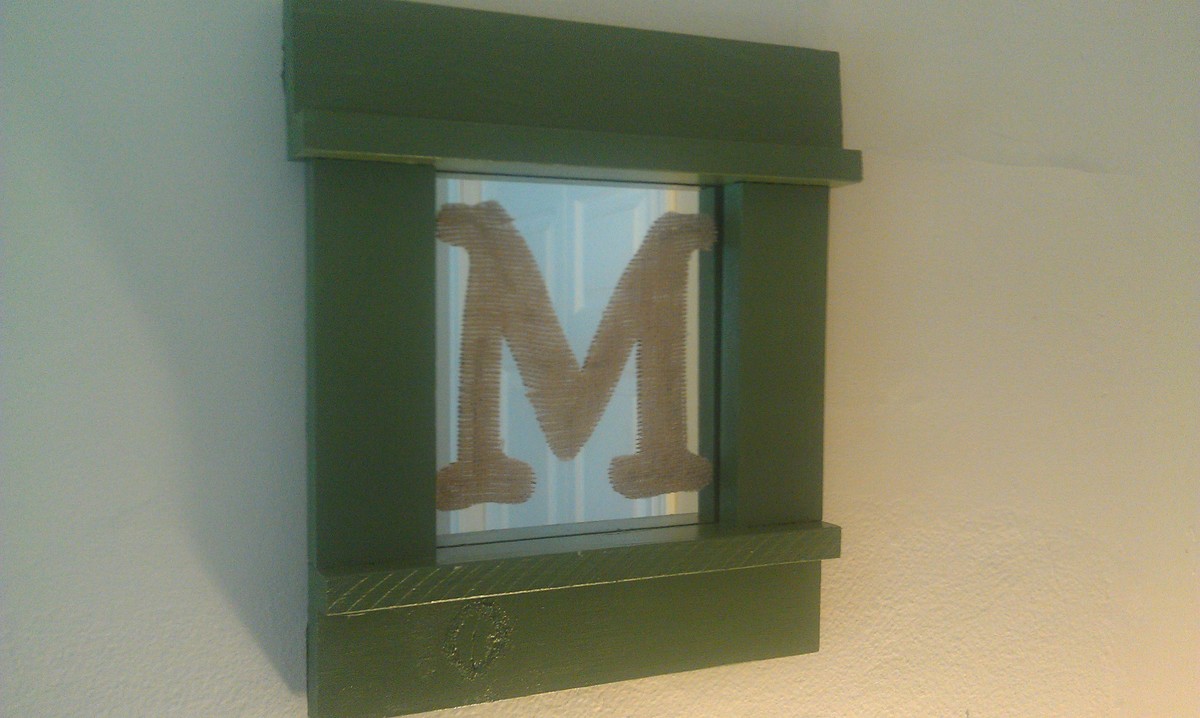
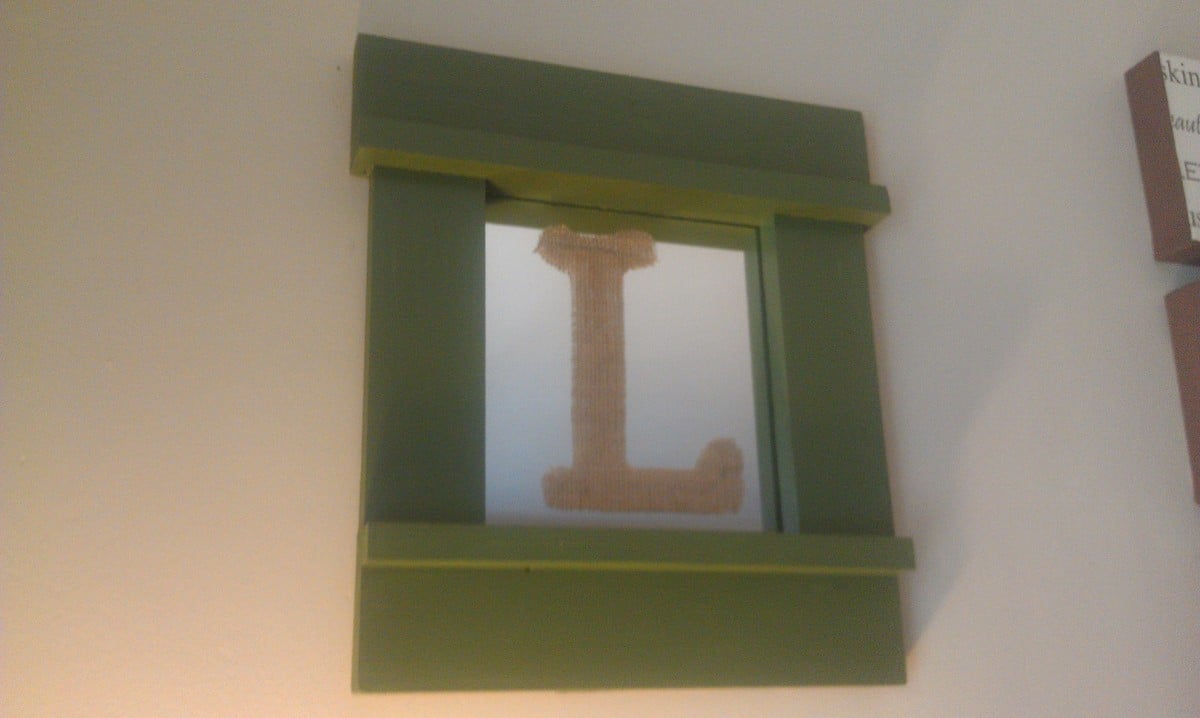
Mirrored Monogram Craftsman Frame

Submitted by cece3660 on Tue, 02/26/2013 - 11:18

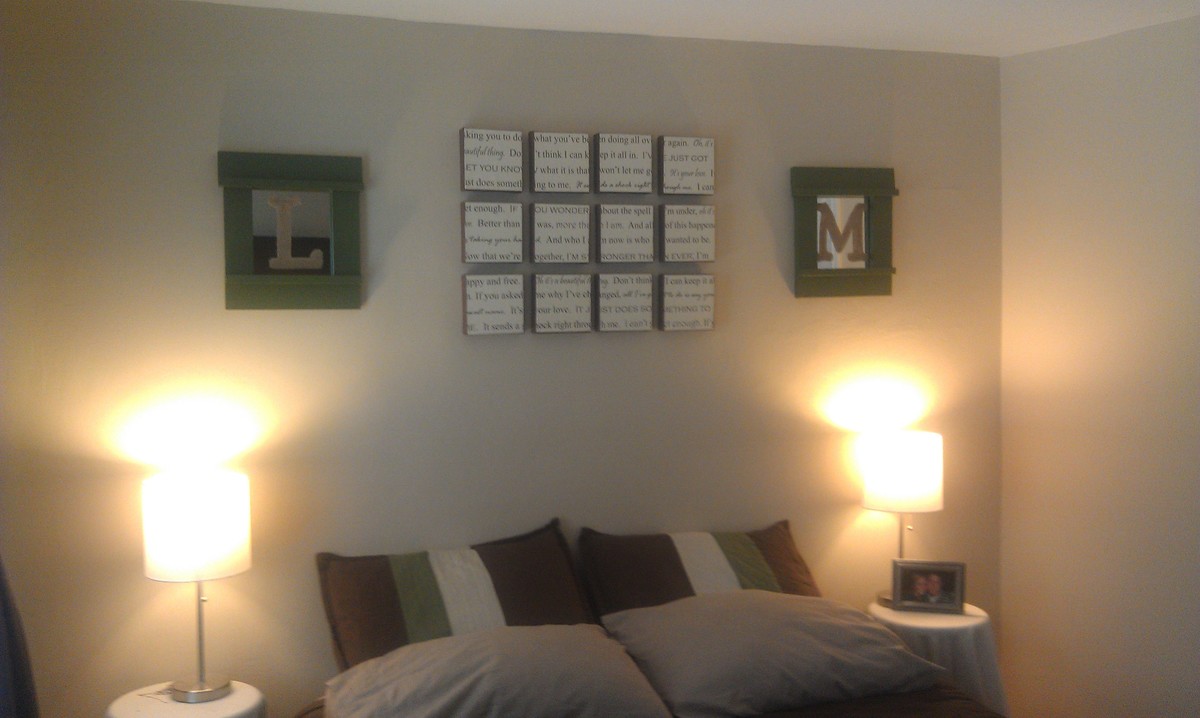
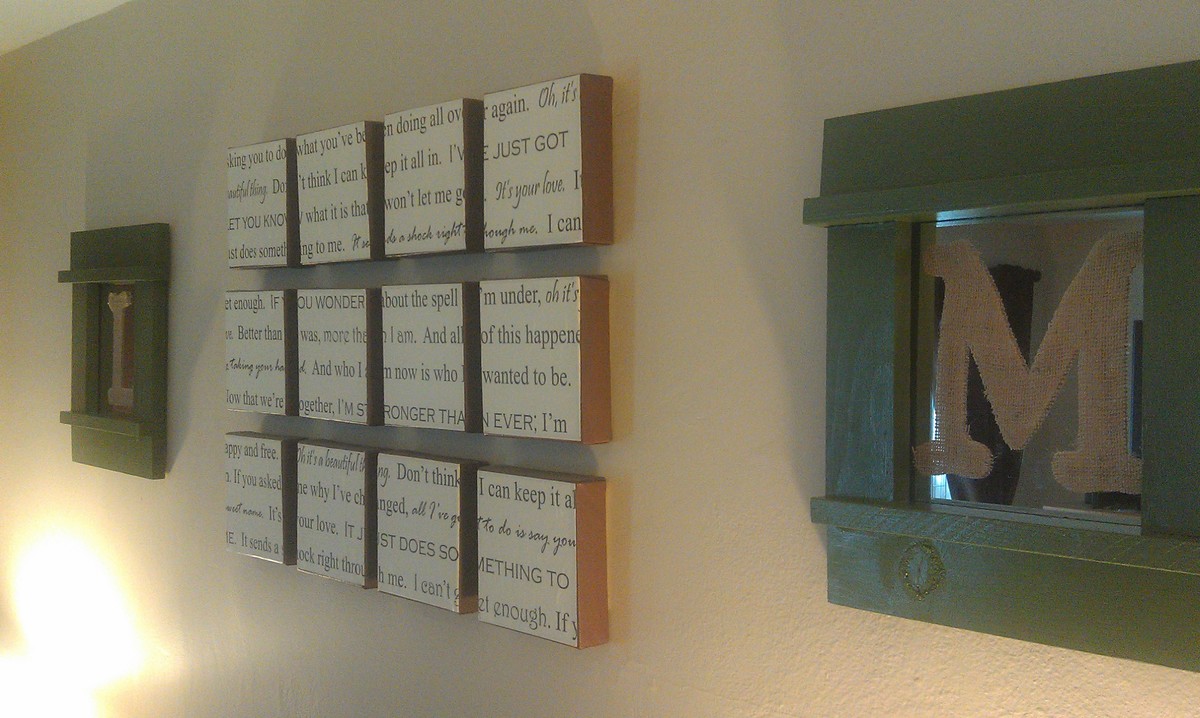
I only was able to complete this project for less than $10 because I happened to have most of the supplies I needed lying around the house already. If this isn't the case for you, it will cost slightly more, but not much.

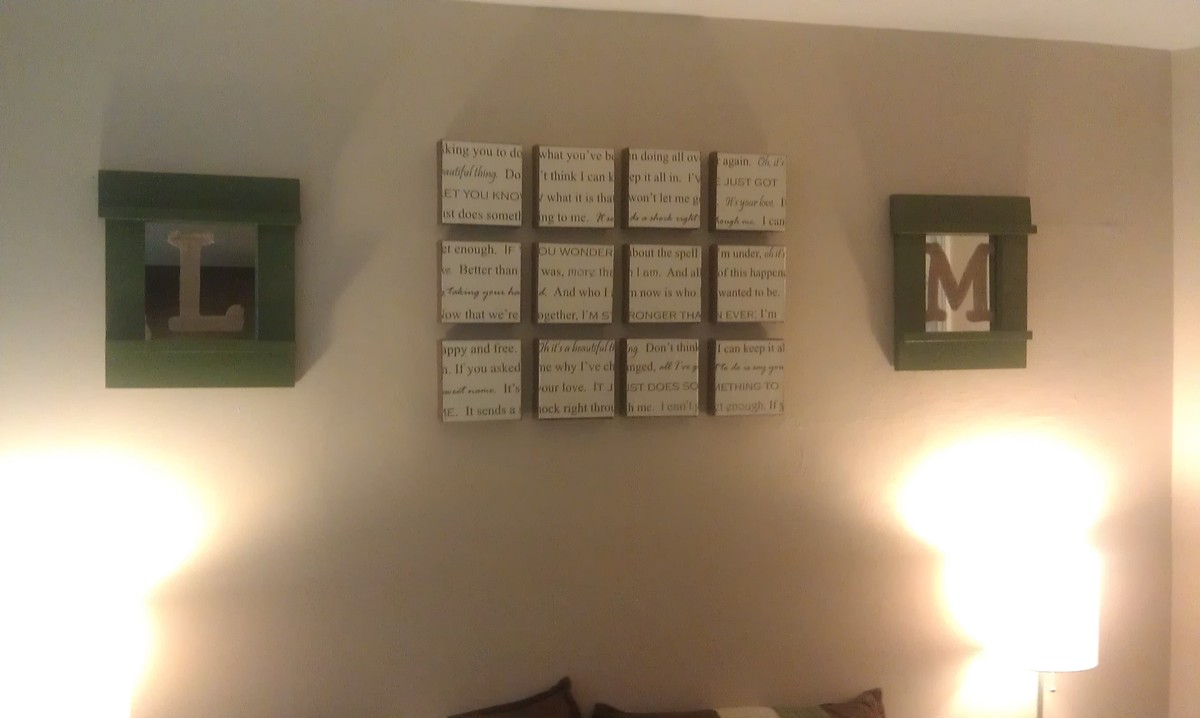
I had 2 extra 12x12" mirror tiles left over from another project that I've been saving for something creative. When I saw the plans for this picture frame I knew I had a winner. I figured out how much wood I needed and purchased the cheapest type I could that wasn't warped. Since I wanted a bit of the "weathered" look, I didn't mind wood with knots in it. I followed the original plan exactly, the only exception being the specific measurements I knew I needed to fit these mirrors. I also had some extra burlap lying around and made my own stencils for my "M" and "L" monogram letters. After cutting them out, I simply hot glued them directly to the mirrors. Finally, I attached the mirrors to the back of the frames and hung them in place!

I originally wanted more of a rustic look with the paint (similar to the original blue one), but I think the burlap brings that in enough. Overall, I'm very happy with how this turned out!

Built from Plan(s)
Estimated Cost
less than $10
Estimated Time Investment
Afternoon Project (3-6 Hours)
Finish Used
Since this is a small project, I just used acrylic craft paint. One 2-ounce bottle was just enough for 2 coats of paint on both frames!
Recommended Skill Level
Starter Project

Our family coffee table

Easy to build 

Estimated Cost
$30-$40
Estimated Time Investment
Day Project (6-9 Hours)
Finish Used
Black walnut stain s/g laquer
Recommended Skill Level
Beginner

Comments

Loft bed with side rail

Submitted by Anonymous (not verified) on Mon, 04/03/2017 - 13:53

na

Estimated Cost
$100
Estimated Time Investment
Weekend Project (10-20 Hours)
Recommended Skill Level
Beginner

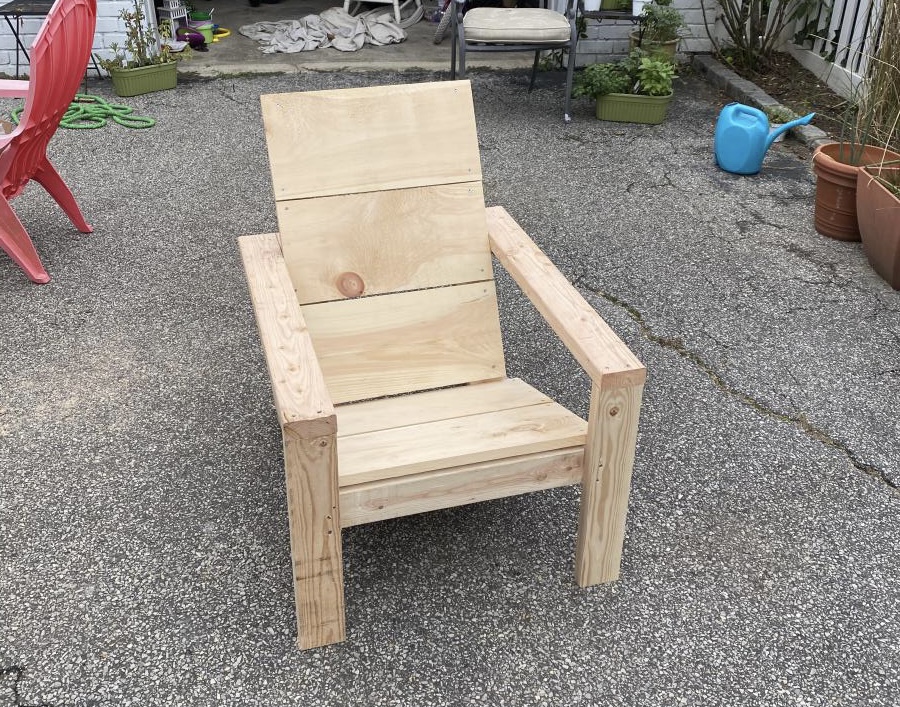
Went thru 5 different boards

Submitted by Anonymous (not verified) on Tue, 02/23/2021 - 08:49

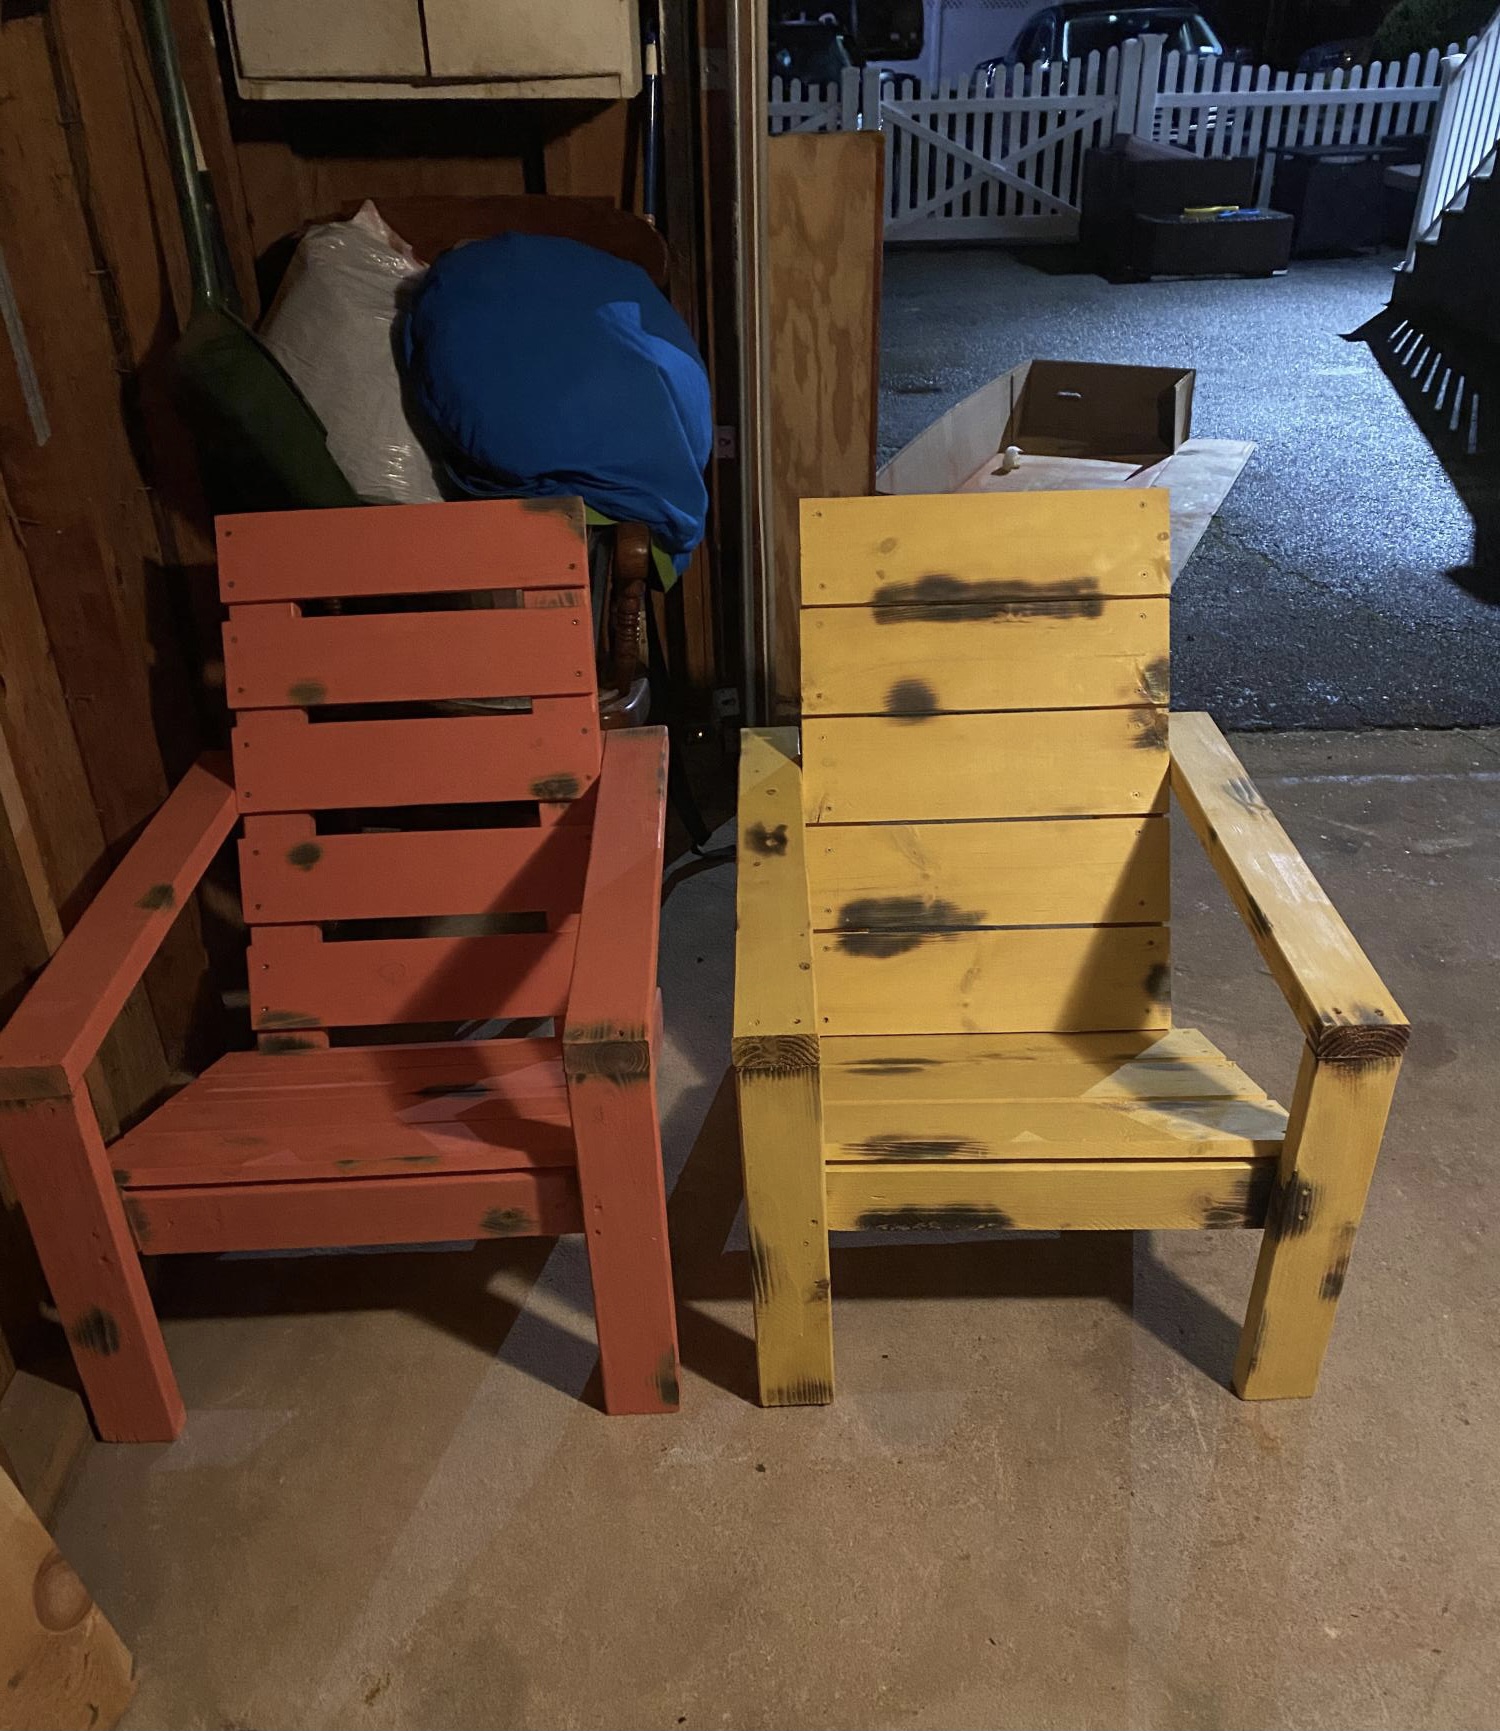
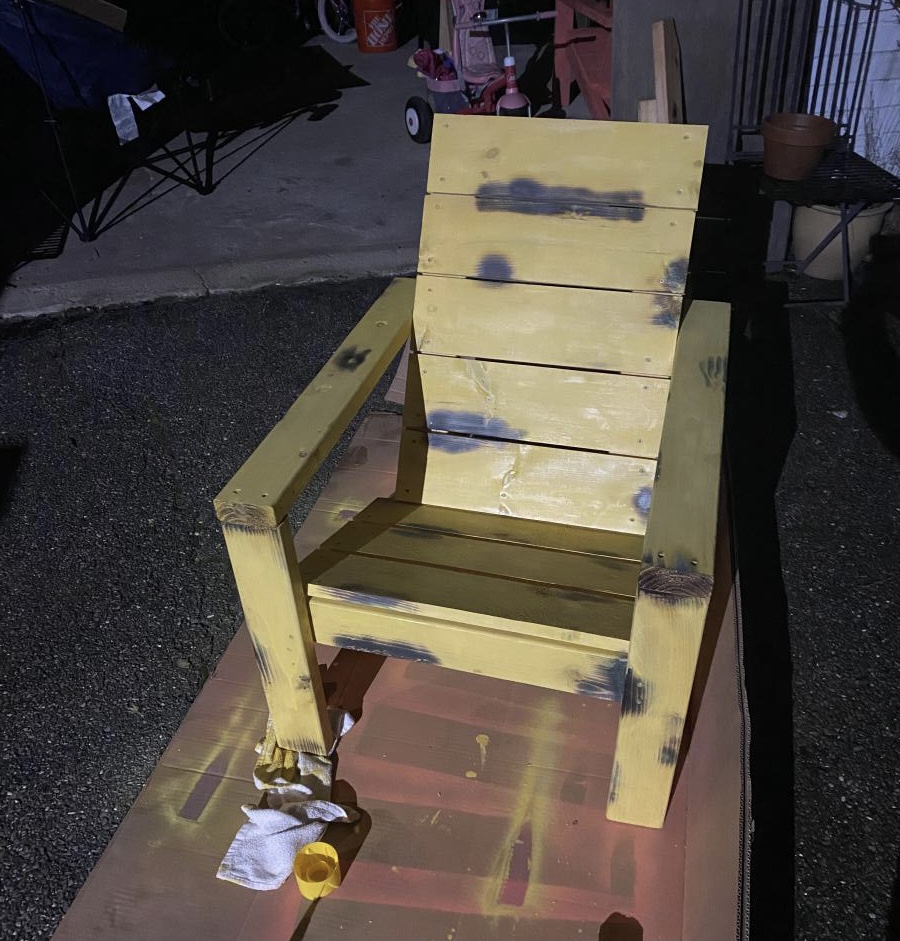
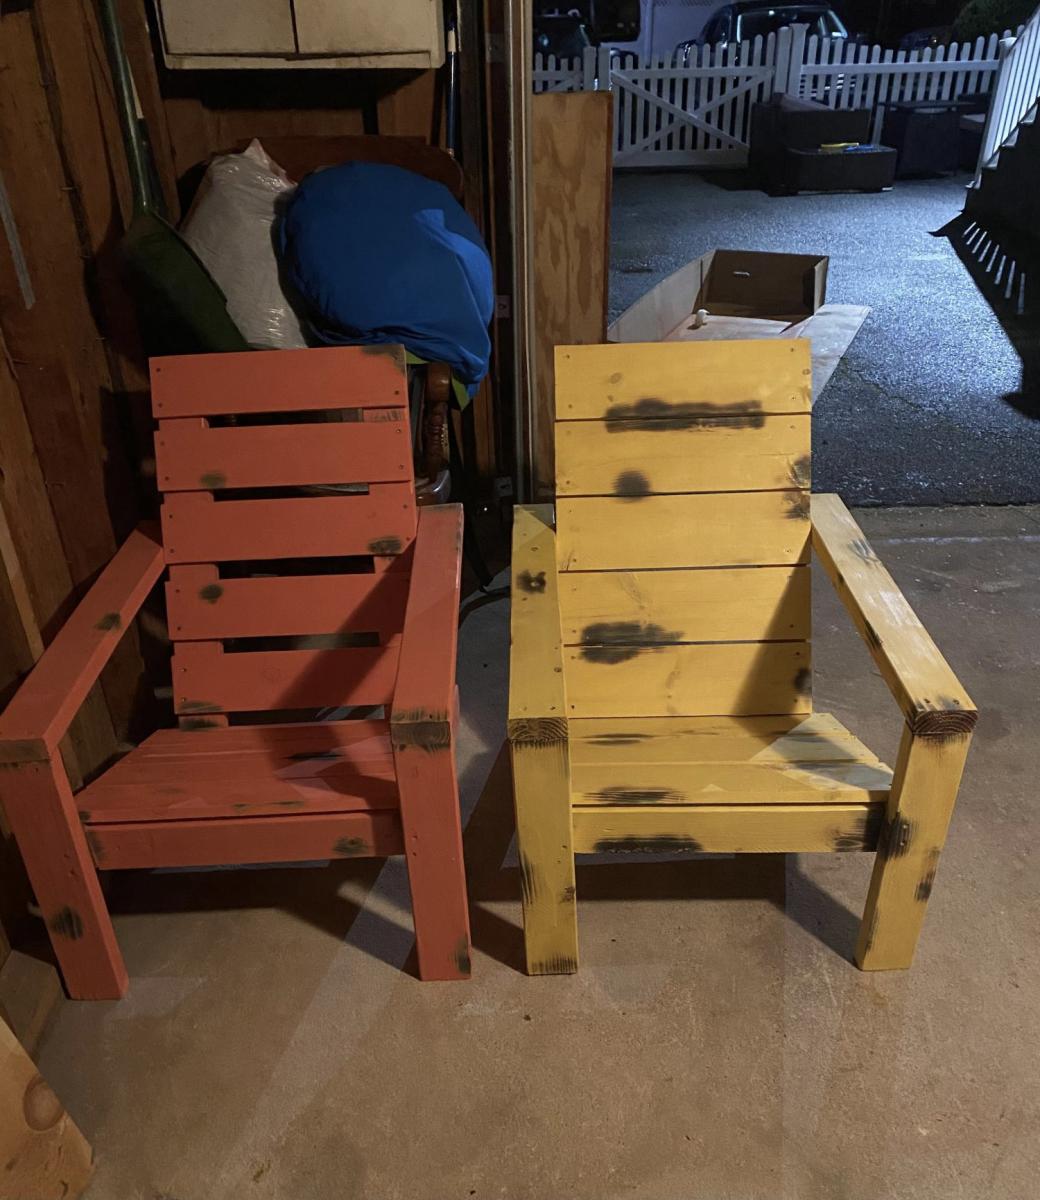
Loved the ease of making this chair but the modern look needed to be adjusted. 1x4, 1x5, 1x6.... tried a bunch and landed on 1x5’s and couldn’t be happier. Easy to do a chair in a day start to finish (build, sand, paint, dry, protective coat).

Estimated Cost
40
Estimated Time Investment
Afternoon Project (3-6 Hours)
Finish Used
A spray paint that shouldn’t but used. Grab a brush, easier in the long run!
Recommended Skill Level
Beginner

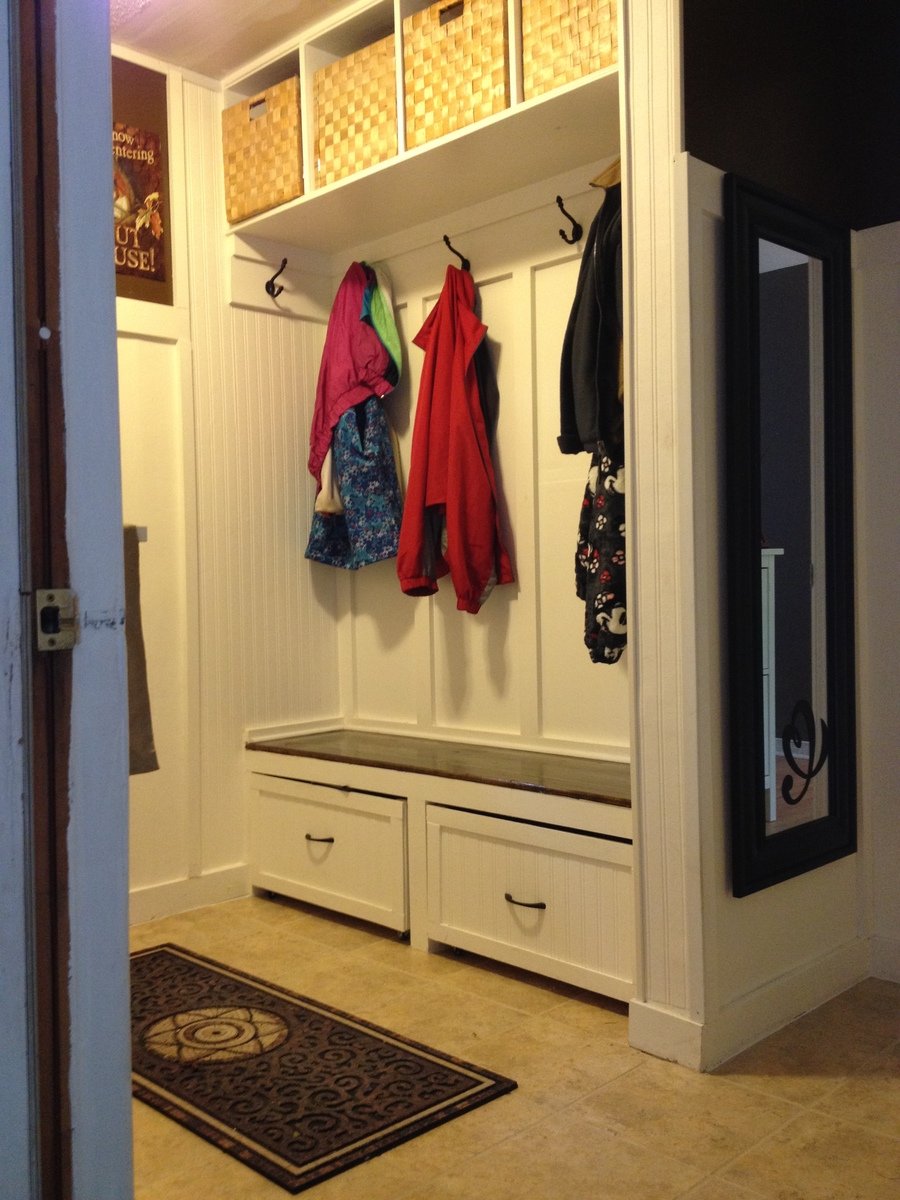
A twist on Modular Family Entryway Mudroom System - Pullout Rolling Bench Cart

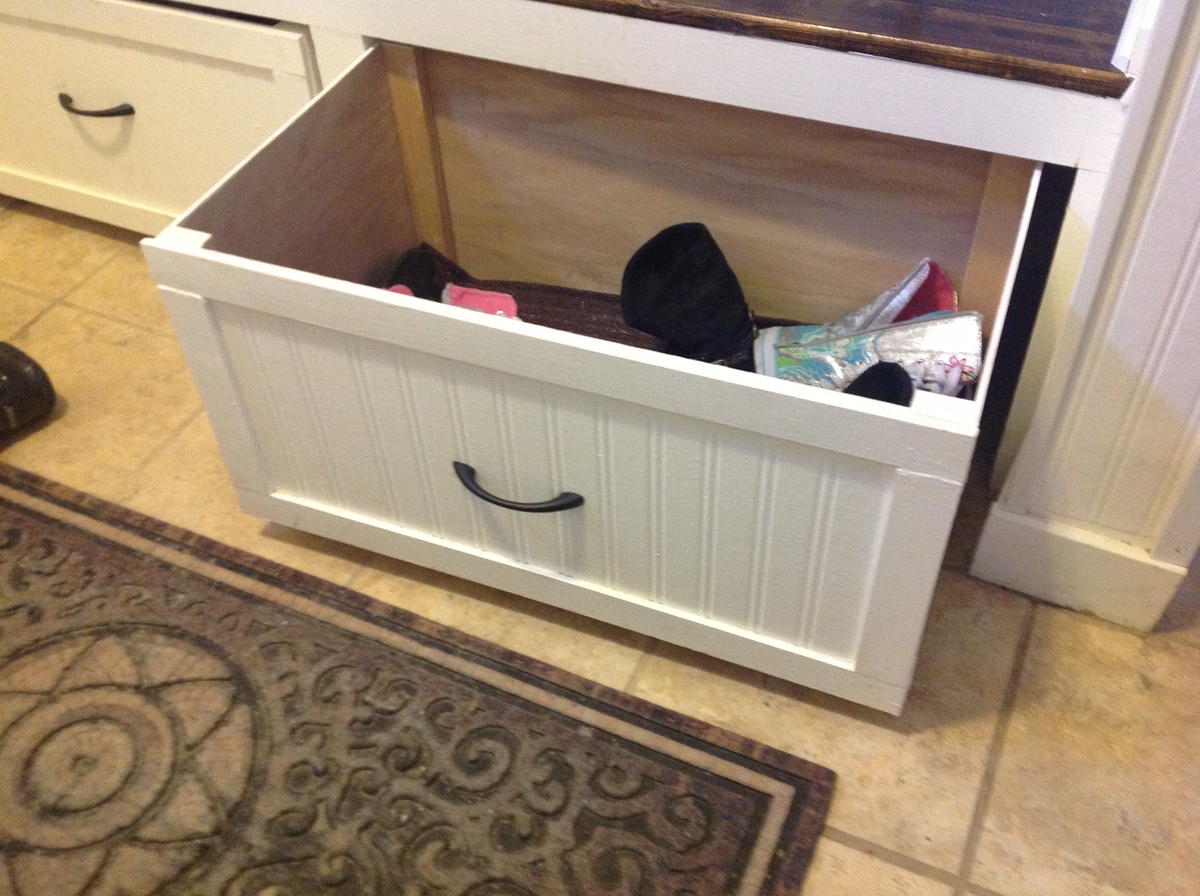
This is a twist on the Modular Family Entryway Mudroom System - Pullout Rolling Bench Cart . There have been many posts on the net for a mudroom locker set such as the one I have. In our case we had a mudroom with a closet, not much room to move when sliding the doors open, and as well we have kids that need a place to sit in order to put boots/shoes etc on. I took advantage of my husband's work assignment out of the country to rip back the closet,to 20 inches deep and open it up and added a bench for seating, baskets above for out of season/rarely used stuff, and used rolling cubbies below, but in my case I wanted storage bins instead. My thinking was so that I could make it look clean pretty quickly by just chucking every thing in to the bin... These are tall enough for our boots. In the bottom of the bins I put a piece of outdoor carpeting, then a plastic grid, and over that another layer of outdoor carpeting so if the footwear is wet it will drain and dry-no biggie to vacume or sweep out. Best deal: I can simply roll them out of the way when I want to sweep underneath! I measured cubby space to basket size above, and made the bins below after doing the bench and middle supports, to ensure a good fit. The bench top is an old piece of pine board I sanded, stained and used 4 coats of marine varnish so it would take lots of wear and tear.

Estimated Time Investment
Week Long Project (20 Hours or More)
Finish Used
minwax walnut stain, and marine varnish benchtop
behr marshmallow paint
Recommended Skill Level
Intermediate

Comments

14' dining room table

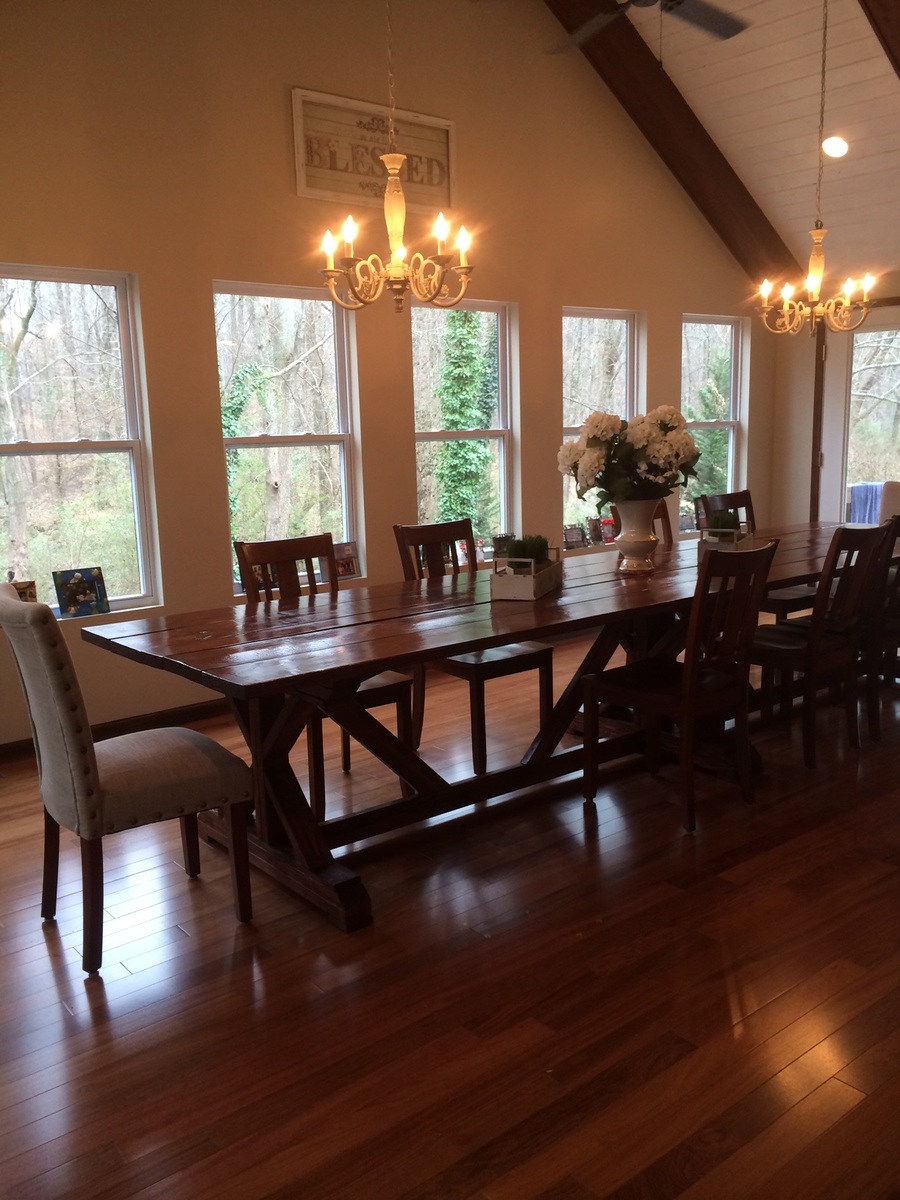
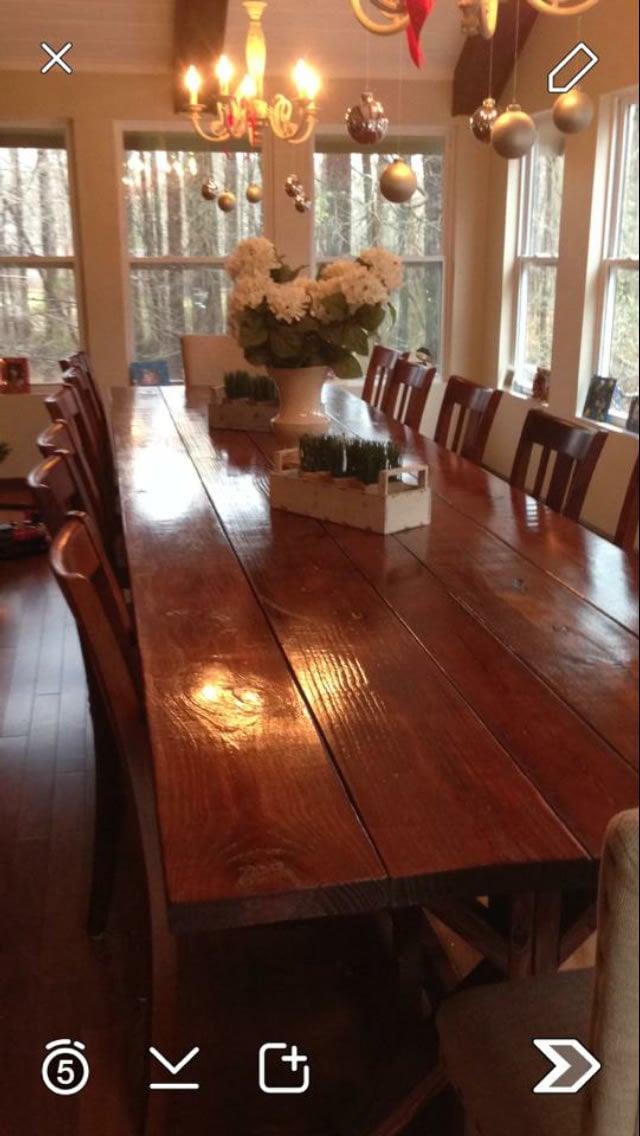
followed Ana's plan to a T!!  took 2 full days of cutting and assembling.  Then stain and many, many coats of poly.  14 foot dining room table seats the entire family together!!

Estimated Cost
$320
Estimated Time Investment
Weekend Project (10-20 Hours)
Finish Used
american walnut stain
Recommended Skill Level
Beginner

Smiling mudroom

Submitted by Anonymous (not verified) on Thu, 04/06/2017 - 15:46

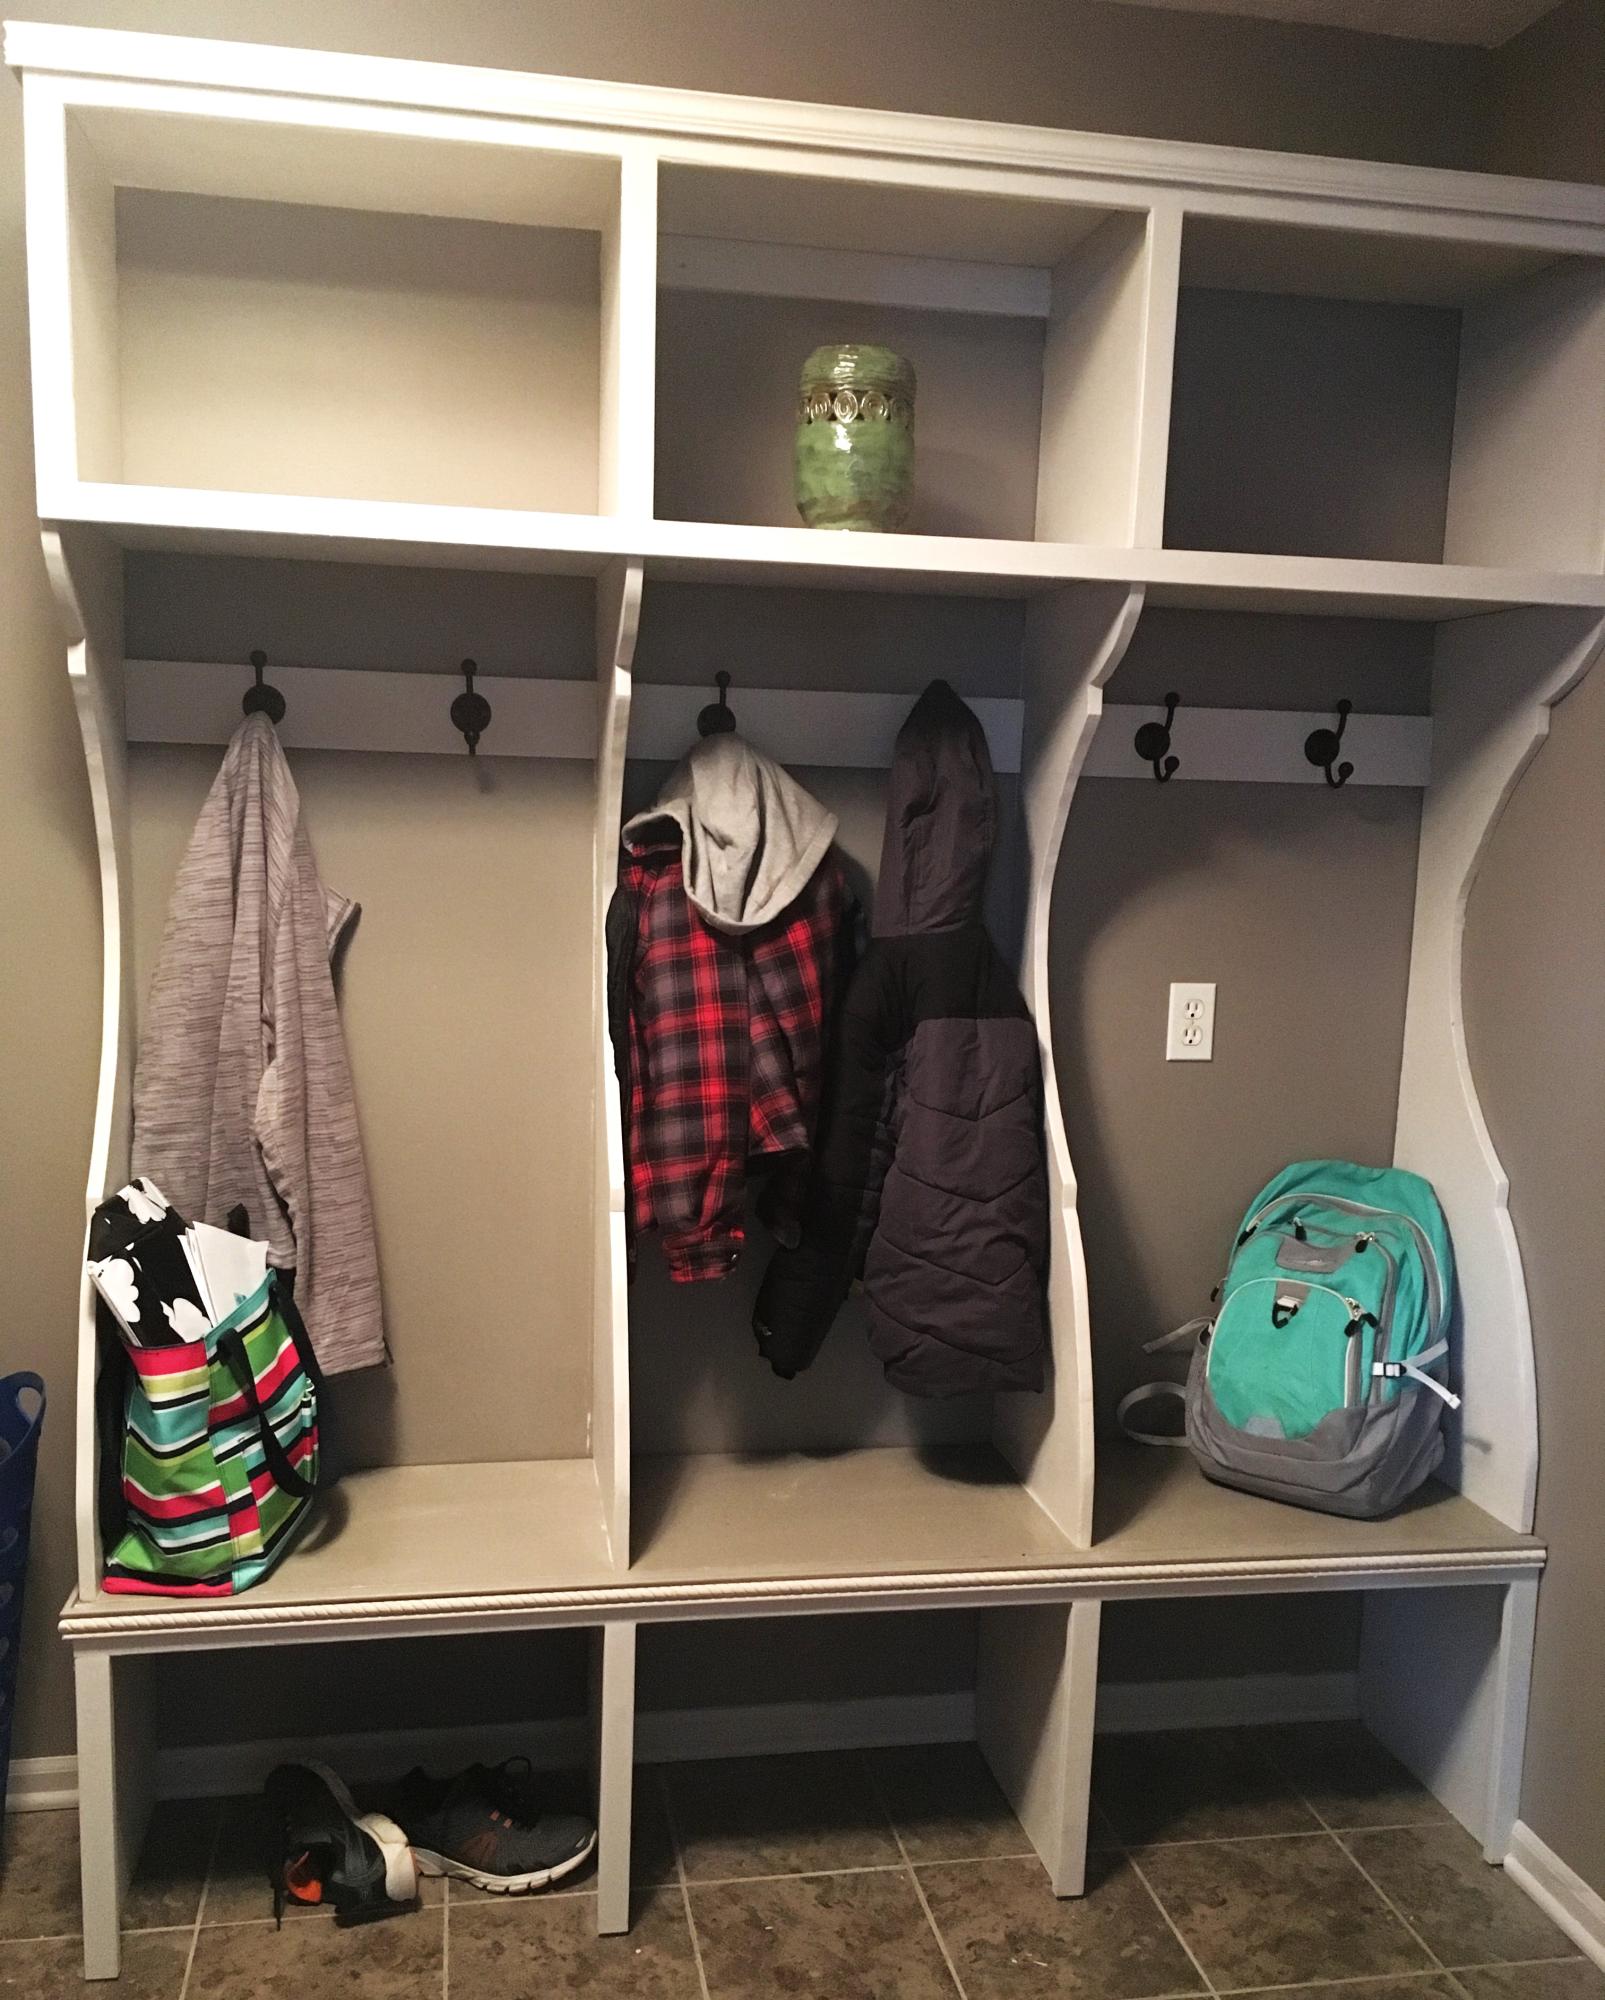
Made from birch plywood and painted. 

Estimated Time Investment
Weekend Project (10-20 Hours)
Recommended Skill Level
Intermediate

Large Old English Style Farmhouse Dining Table

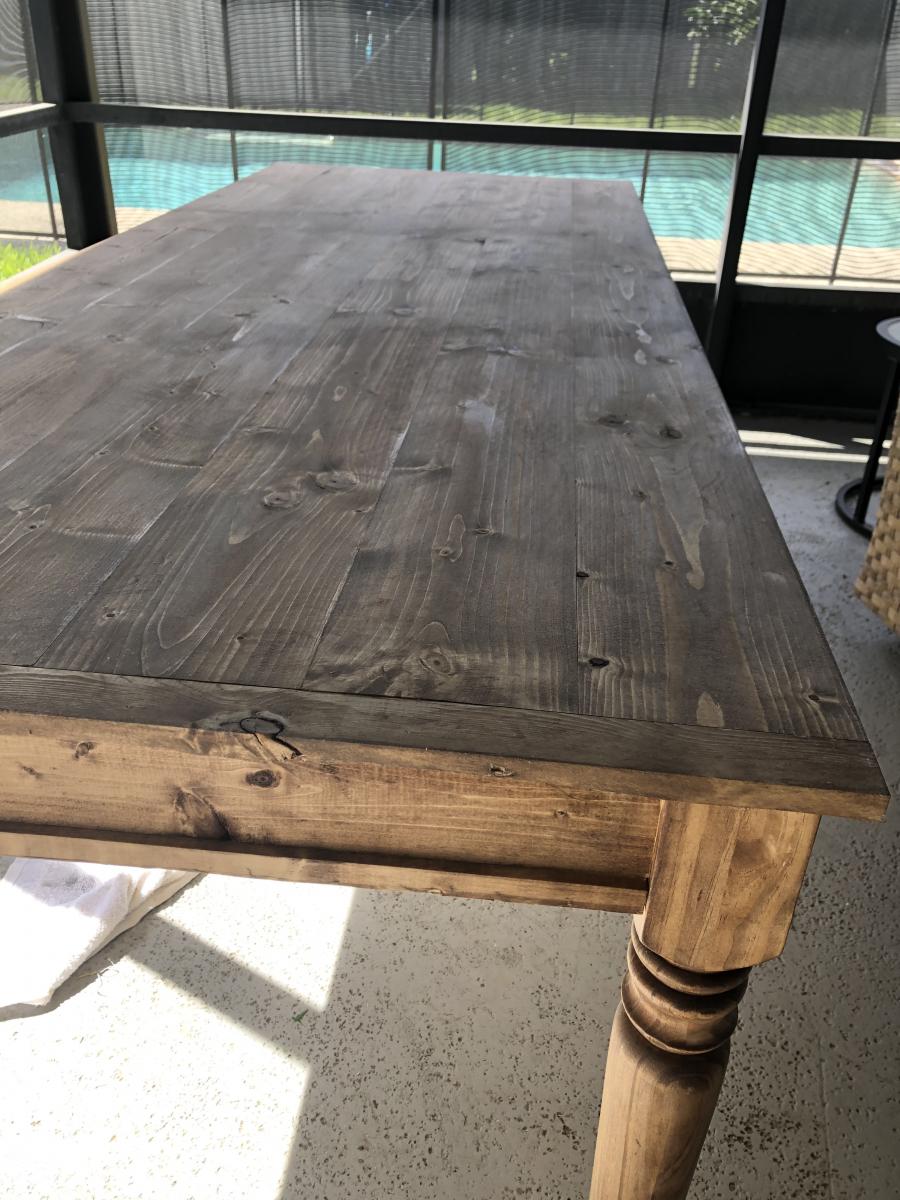
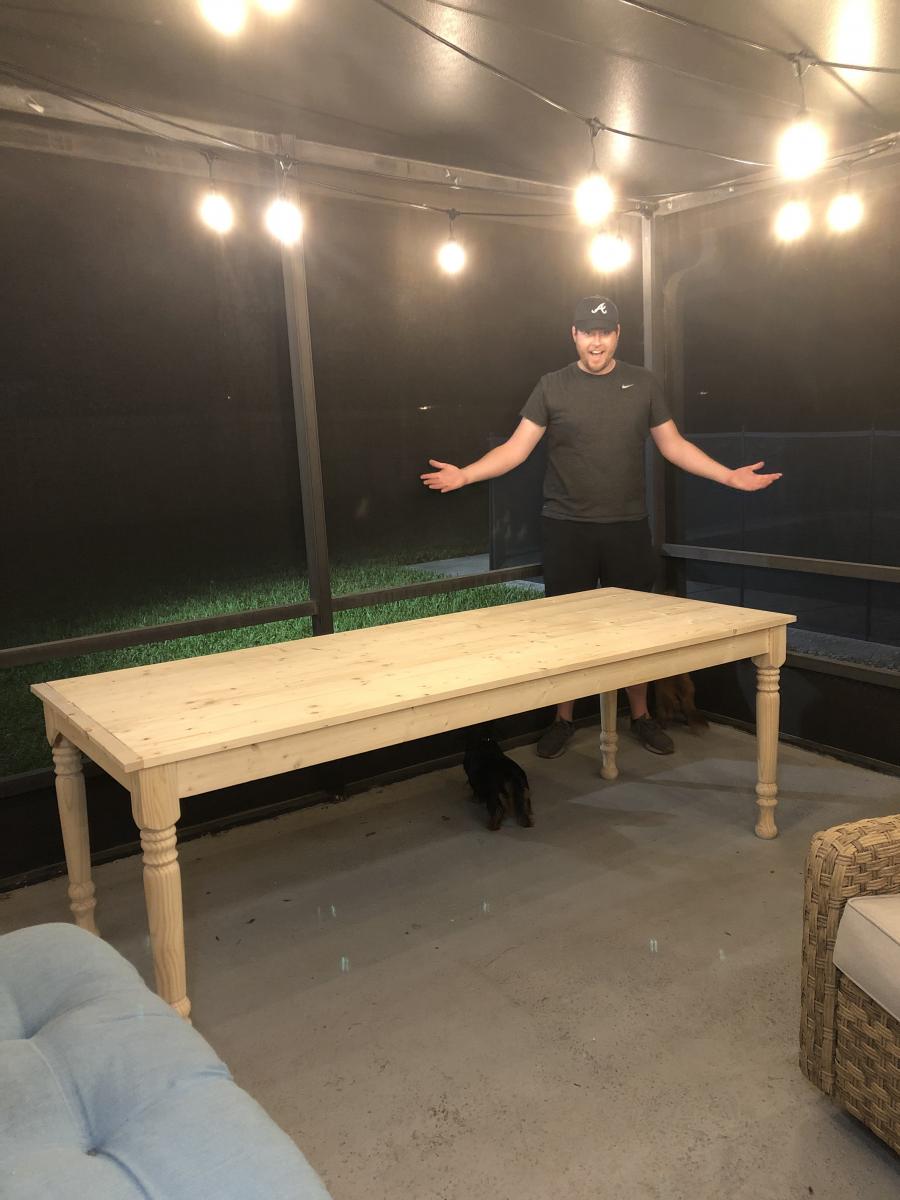
My wife and I were wanting a large outdoor farmhouse table that looked stylish, and like it could have been bought at Pottery Barn or another high-end furniture store. We found this plan that Ana white had made "Small Old English Style Farmhouse Dining Table". We often host groups from our church and will have 15-20 people on our patio or around our pool area, so we needed a bigger table... I just made some modifications to make it longer (7ft) in length to better fit our space and allow for more people to sit.

To make this plan longer, I simply adjusted the cut-list on the long 1x2s, 1x4s, and 1x6; and added a crossbar to prevent the longer tabletop from sagging. I also added the diagonal corner struts to make the table a little sturdier.

Adjusted Shopping List:
4 - 1x2 @ 8ft
5 - 1x4 @ 8 ft
6 - 1x6 @ 8ft
Waterproof 1 1/4" Kreg screws (for outdoor use)
Minwax Weathered Oak
Minwax Vintage Grey

Adjusted Cut-List
• 2 - 1x2 @ 26.5"
• 2 - 1x2 @ 76.5"
• 2 - 1x2 @ ~33.25"
• 2 - 1x4 @ 26.5"
• 2 - 1x4 @ 76.5"
• 4 - 1x4 @ 7.25" w/ 45º miter (diagonal corner supports)
• 1 - 1x4 @ ~28" (Crossbar - I forget the exact measurement)
• 6 - 1x6 @ 82"

For seating we just bought some inexpensive farmhouse weather resistant chairs from Walmart:
https://www.walmart.com/ip/Yaheetech-Metal-Dinning-Chairs-Stackable-Cof…
Estimated Cost
$170
Estimated Time Investment
Day Project (6-9 Hours)
Finish Used
Minwax Early American (base), Minwax Weathered Grey (2nd coat)
(See more on outdoor use of stains: https://ana-white.com/blog/2019/05/outdoor-wood-furniture-finishing-secrets)
Recommended Skill Level
Beginner

Comments

Providence Bench

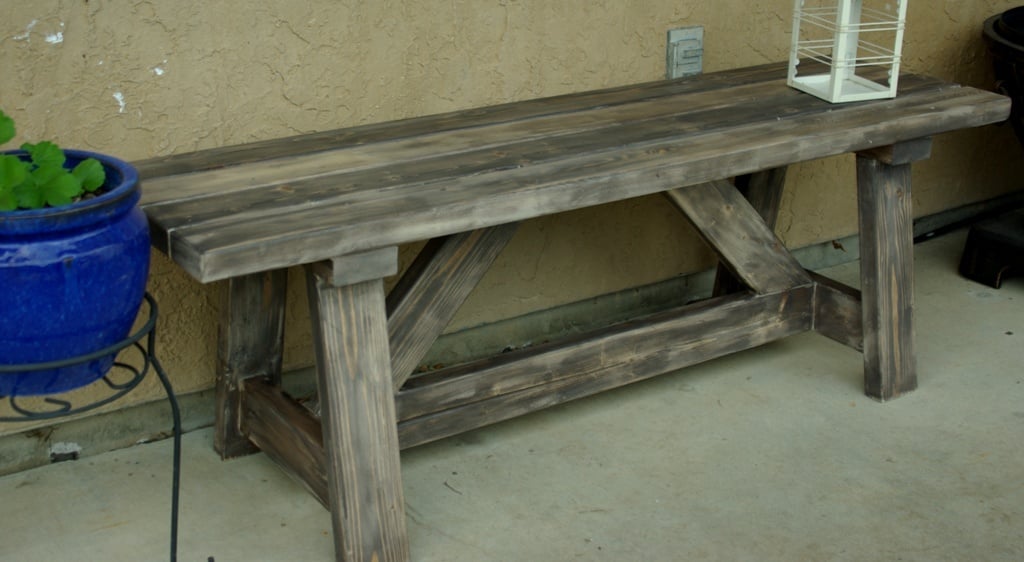
This bench is on my back porch. Its nice to have a few extra seats when entertaining!

Built from Plan(s)
Estimated Cost
$20-$30
Estimated Time Investment
Afternoon Project (3-6 Hours)
Finish Used
I wanted this bench to have a weathered look. So I first applied Sunbleached stain all over & then applied Kona stain after, in random spots. Last, I used spar varnish since it will be outside!
Recommended Skill Level
Beginner

Comments

Mobile Kitchen Pantry

Submitted by webjr on Wed, 01/07/2015 - 19:56

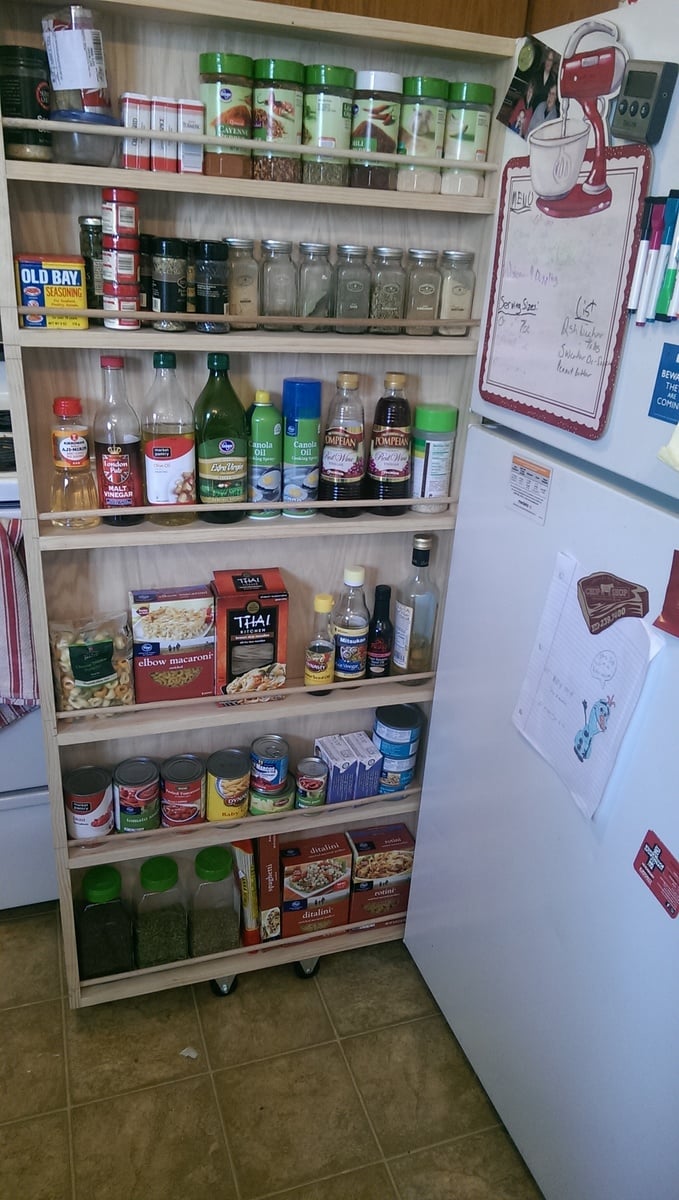
I made a version of the "DIY Rolling Pantry - Classy Clutter" project, but I sized my shelves differently than in the original photo. This is an easy starter project for just about anybody. It is full of counter-sunk butt joints and can be constructed in a single afternoon or evening.

We couldn't apply any finish because it is too damn cold.

The frame is 59"x26" to match the size of my fridge (minus the door). Add in the casters on the bottom and it matches my fridge perfectly.

Materials Used:
- 4, 1x4" select Pine boards
- 1, 4'x8' sheet of Red Oak plywood
- A bunch of 1 1/2" wood screws
- A bunch of nails

Estimated Cost
$50
Estimated Time Investment
Afternoon Project (3-6 Hours)
Finish Used
None at the time. It is too cold to finish in my garage shop right now.
Recommended Skill Level
Starter Project

Comments

webjr

Thu, 01/08/2015 - 13:33

To be perfectly honest, other than some stuff in shop class in middle school and the quick work table in my garage, I hadn't done any woodworking in my life. I have the tools, but I never just sat down and did it. It was a learning experience. I can't wait for my next project.

Counter stools for our breakfast bar

Submitted by Anonymous (not verified) on Sun, 04/09/2017 - 15:48

I made these to use as counter stools for our breakfast bar. They're shown in the pics at our outdoor grill island but that's only until the finish dries completely. I built the set of three in "assembly line" fashion - in other worlds I built 12 leg assemblies, 3 seats, etc and then assembled it all. Total it took me around 8 -10 hours to build all three. My 11 year old daughter even helped.  I taught her how to use the drill press and had her drill and countersink all of the pilot holes on the legs. I used pocket holes to attach the cross braces and the seats are attached with just wood glue. A pretty easy project and we ended up with a nice, simple set of counter stools.

Estimated Cost
$30 per stool
Estimated Time Investment
Day Project (6-9 Hours)
Finish Used
Minwax colonial maple for base; Minwax English chestnut for seats. Three coats of poly coat. The distressed look of the seats was accidental but we decided it looked nice so we stuck with it. For some reason I had a weird piece of pine that wasn't taking stain well (it was not drying after 24 hours). I ended up re-sanding and re-doing the stain only to have the exact same results. This time I tried wiping off the stain that wasn't drying with mineral spirits and it gave me this distressed look, which my wife and I decided looked nice, so we kept it.
Recommended Skill Level
Beginner

Vertical Star Planter for Succulents

Submitted by thediyplan on Mon, 03/08/2021 - 14:59

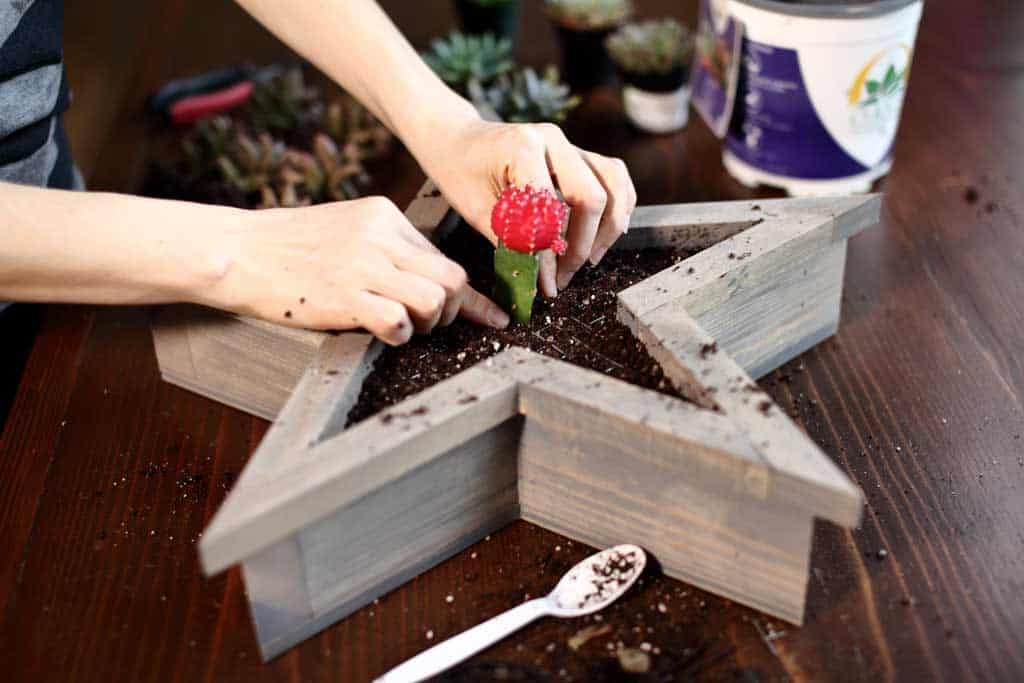
Are you looking to make a small planter for your succulents? There are many different shapes and sizes out there that you could choose from. Some planters are easy to make and some are more complex. The planter in this tutorial looks a bit intimidating to make, but it’s actually quite simple. Follow my step-by-step plans on how to build a DIY Vertical Star Planter for Succulents.

Since this project does not require any large wood pieces, I’ve built it using scrap wood that I had in my scrap pile. The overall size of this star planter is about 18” wide. You could easily adjust these plans to make the star any size you want.

See my website for additional pictures and how I've built it, TheDIYPlan.com

Estimated Cost
$15
Estimated Time Investment
Afternoon Project (3-6 Hours)
Recommended Skill Level
Intermediate

Comments

My daughter and niece's new stables, they painted them themselves

my first project, the second went a lot easier. We are still waiting on the doors to dry to hang them but the girls are excited for their horses to have a place to sleep.

Estimated Time Investment
Afternoon Project (3-6 Hours)
Recommended Skill Level
Beginner

Comments