Community Brag Posts

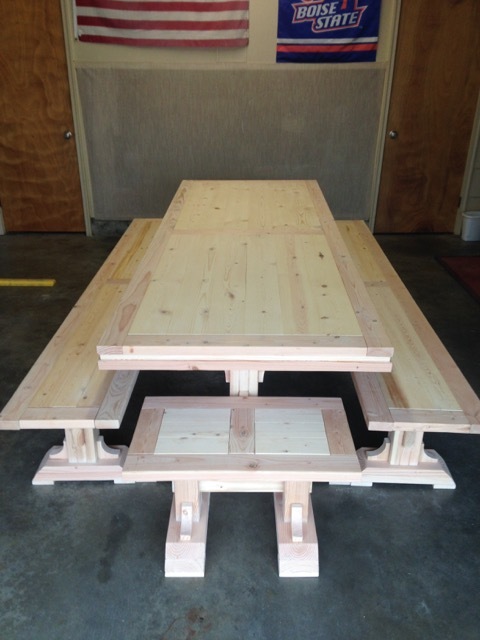
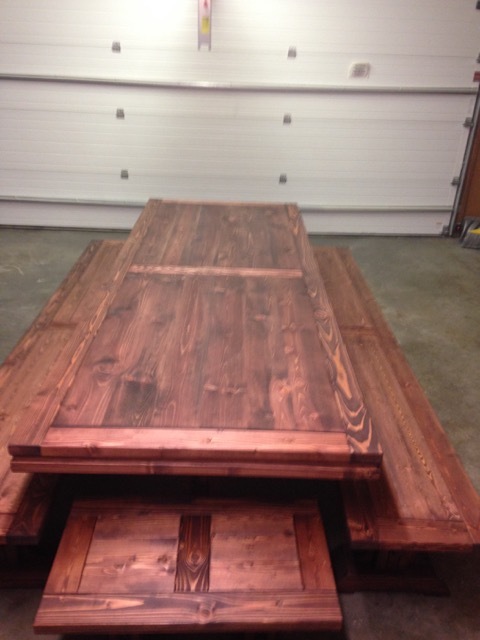
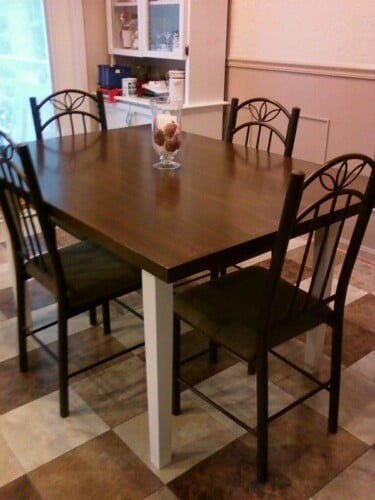
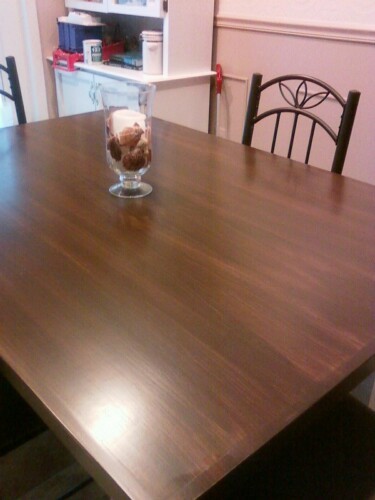
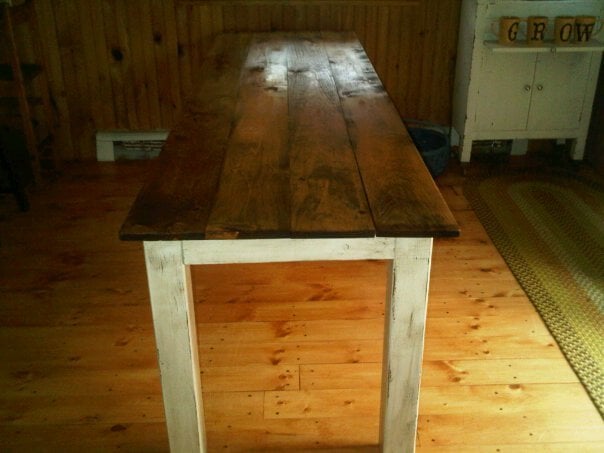
my new farm table!!

Submitted by downtownbb on Fri, 04/29/2011 - 18:30

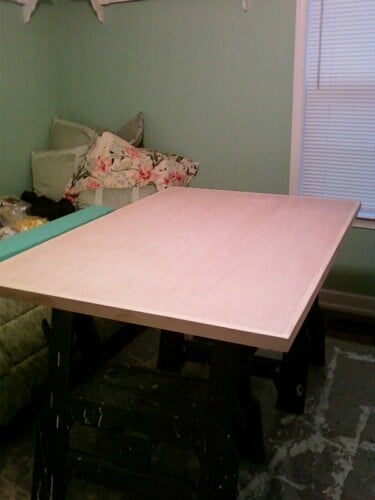
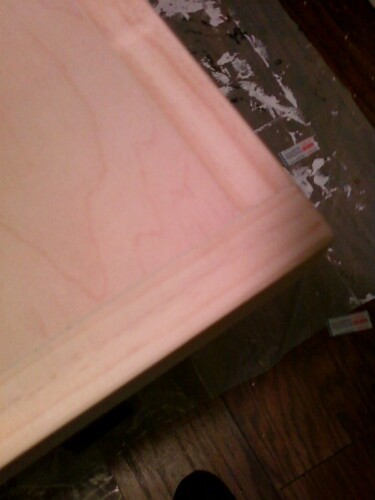
I have recently started working with wood and I love it!!! It started with a few little cubbies, then a small primitive cabinet and today I built my farm table and I absolutely LOVE it!!! I kind of combined plans,,used the size of the narrow farm table and did the basic frame of michaelas kitchen island

Built from Plan(s)
Estimated Cost
50.00
Estimated Time Investment
Afternoon Project (3-6 Hours)
Finish Used
country white legs distressed with golden oak stain over it and golden oak stain on the top
Recommended Skill Level
Beginner

Adirondack Table/Stool

Submitted by Geoffrey on Thu, 06/27/2013 - 12:16

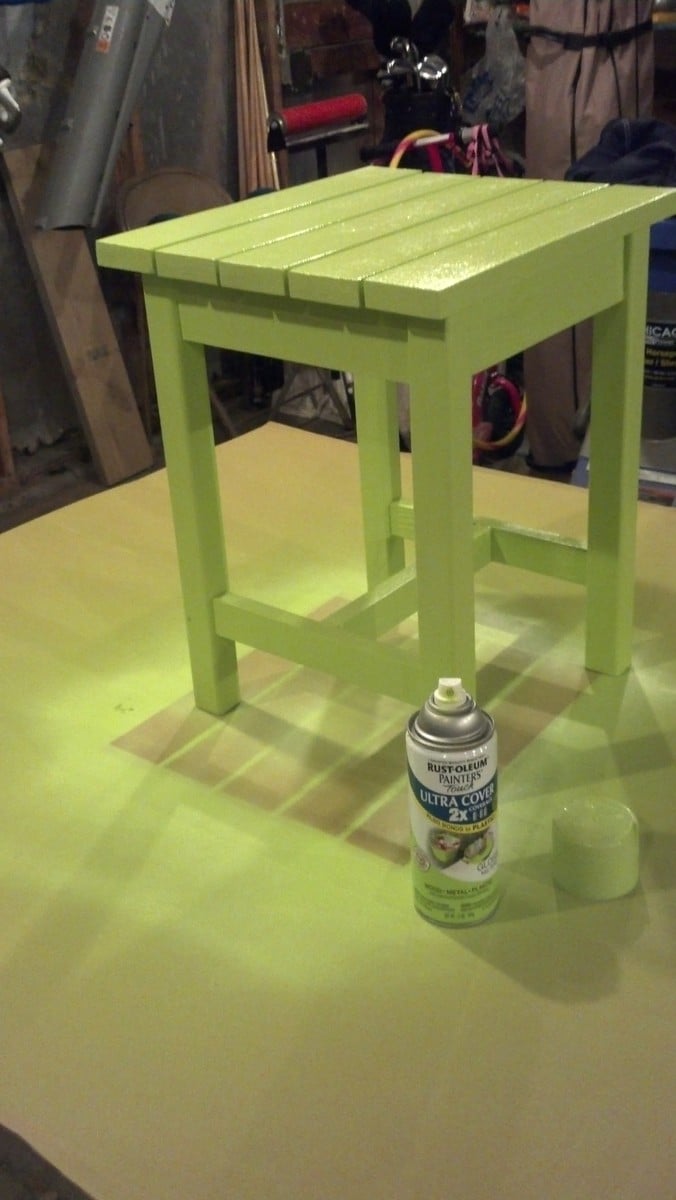
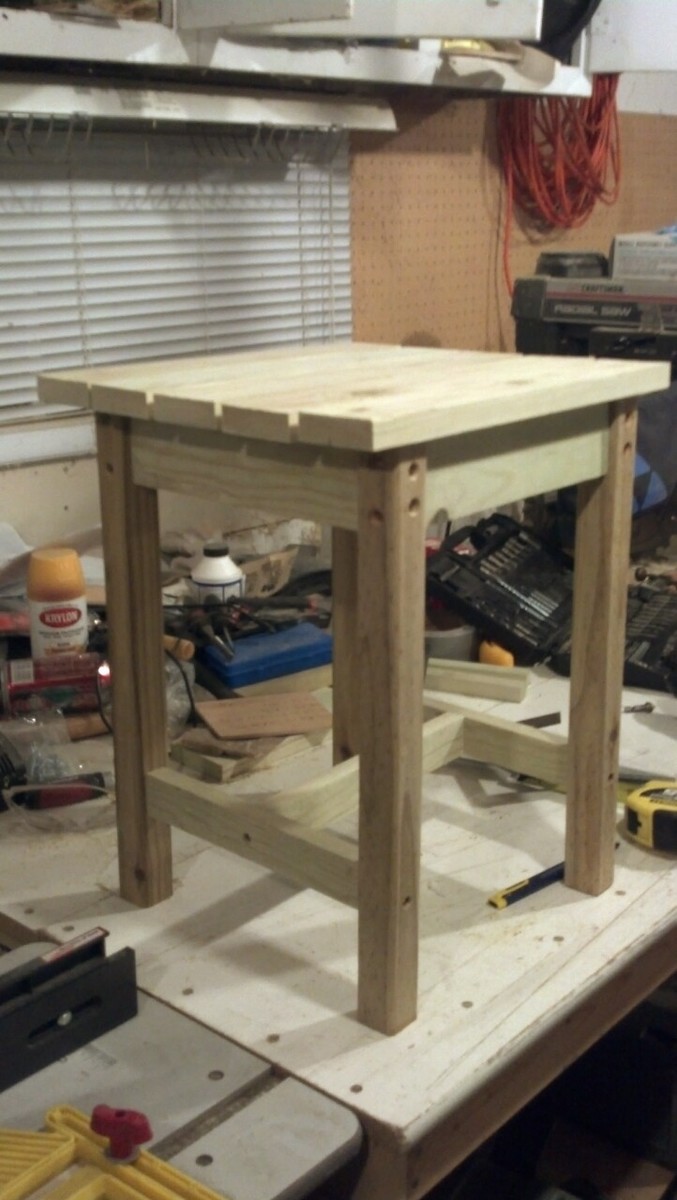
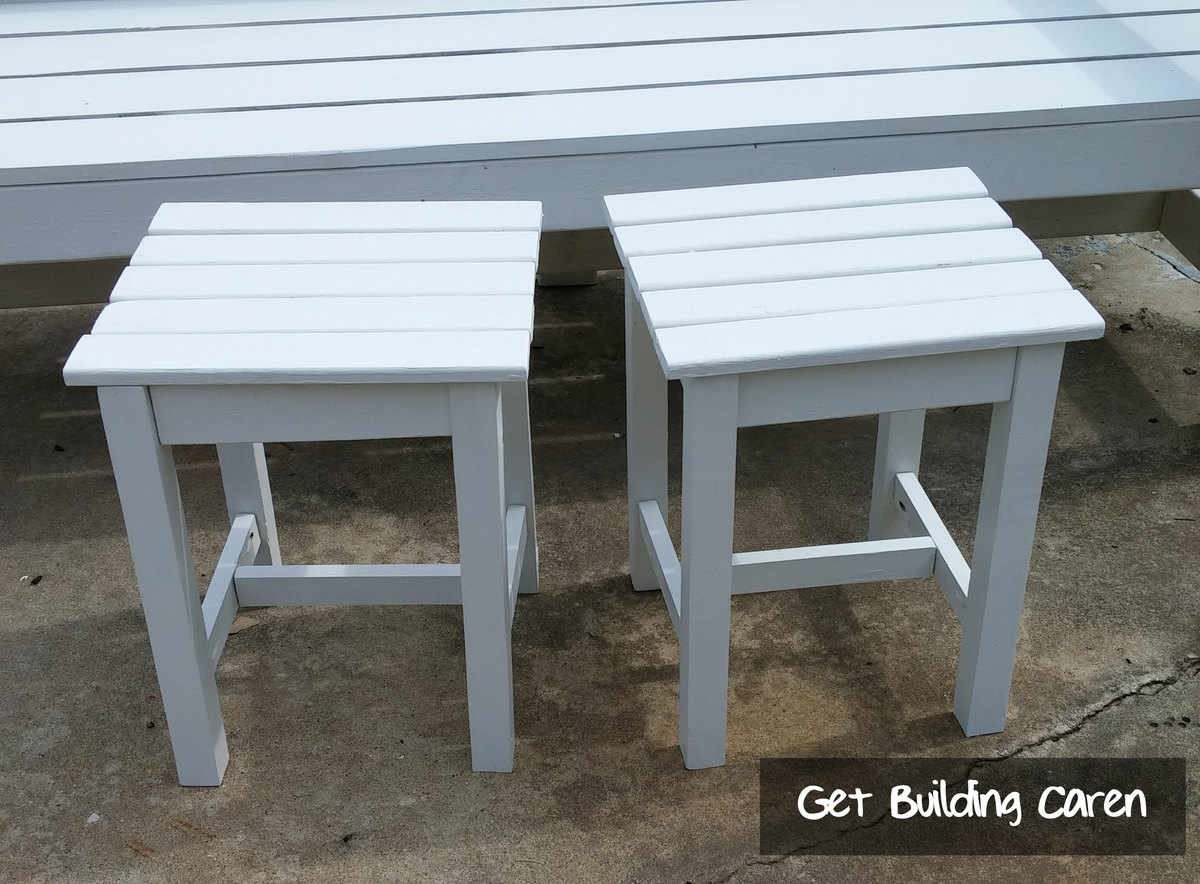
I built this using scrap 2x2s and 1x4s that I ripped down to the appropriate sizes. Also instead of using pocket holes I counter sunk the screws and filled with wood filler.

Built from Plan(s)
Estimated Time Investment
Afternoon Project (3-6 Hours)
Finish Used
Painter's Choice key lime
Recommended Skill Level
Beginner

Comments

Natural Finish Cedar Planter

Submitted by benpryor82 on Mon, 06/15/2015 - 07:15

Great results from this plan. The additional mitered top is easy as long as you can get a good 45 degrees on your saw. If you decide to do the top piece, glue the 4 mitered pieces together and clamp for a couple of hours in order to make sure the angles set correctly. Once the glue is dry, then attach to the top of your planter with glue and nails. I built 2 planters, including the mitered top edges, in about 5 hours.

Built from Plan(s)
Estimated Cost
Less than $50 for two planters.
Estimated Time Investment
Afternoon Project (3-6 Hours)
Finish Used
Unfinished, but will likely seal with Thompson's
Recommended Skill Level
Beginner

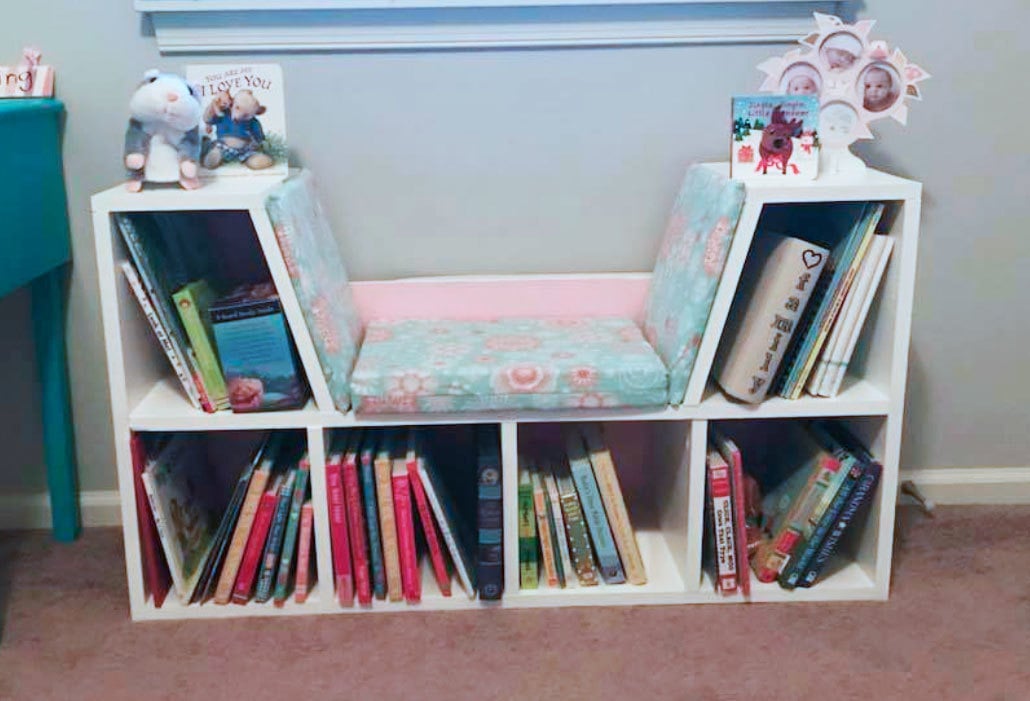
Book shelf with reading nook

Submitted by Knathu121 on Fri, 01/05/2018 - 20:24

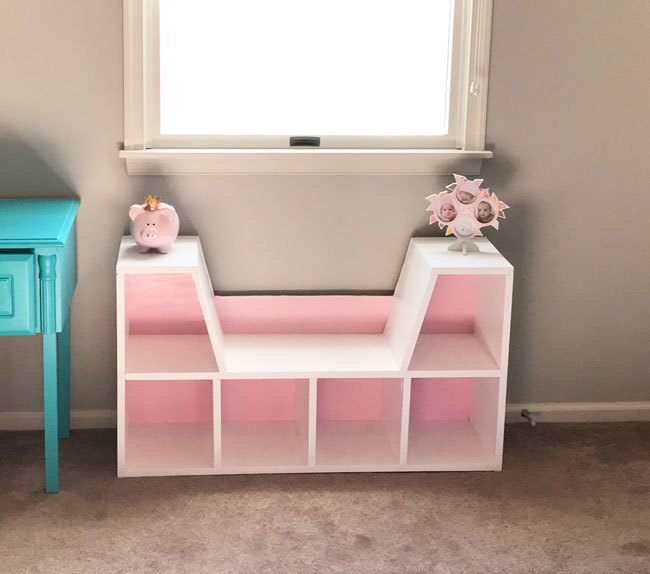
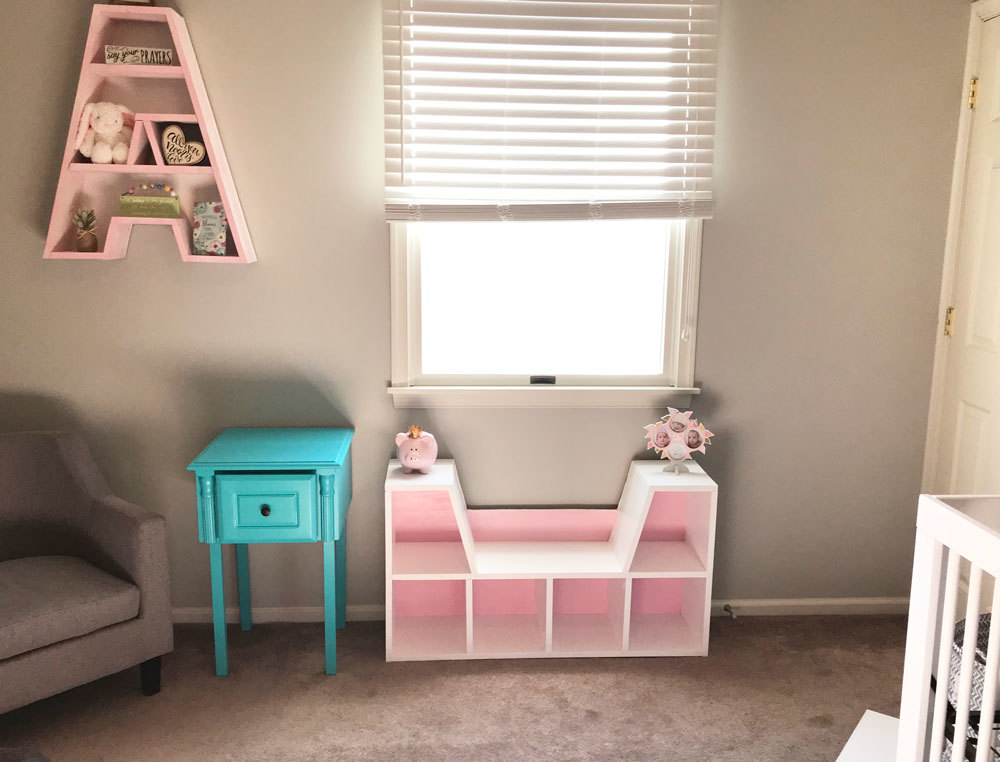
I made this book shelf with a reading nook for my daughters nursery. I found one you can buy online for $250 and decided I could make it for much less. I used 1 x12’s and the cushions were made by my mother and grandmother. All together it cost about $65 to make. 

Estimated Cost
$65.00
Estimated Time Investment
Afternoon Project (3-6 Hours)
Recommended Skill Level
Beginner

Comments

Ana White

Sat, 01/06/2018 - 11:41

This is adorable!  I love the entire room!

We've had a couple of people ask for plans.  If there aren't any available, would you be willing to let us draw some plans up from your photos?  Thanks! Ana

Knathu121

Sun, 01/07/2018 - 09:11

I don’t have my cut list anymore but rough dimensions are as follows;

height - 23.5” 

width 44.5

depth- 12”

I tried accounting for the width of the wood in order to make each square on the bottom 10x10 and the 2 middle shelves to be 12 inches high and the bottom on the middle shelves to be 10” wide. I wanted to have at least 20” for the seat while also having 2 wide enough shelves at the top to be able to put things. Sorry but I don’t have the angles of the 2 side walls for the sitting area. I know that’s a pretty rough explanation but with the things I’ve seen you make I’m sure you can make do!


Knathu121

Sun, 01/07/2018 - 15:43

I don’t have my cut list anymore but rough dimensions are as follows;


Height - 23.5”

width 43.75”

Depth - 12”


I tried making dimensions to account for each box on the lower level to be 10x10 and the boxes in the middle to be 12” high and 10 inches wide. I wanted the seat to be at least 20” but I miss calculated the angle cut length and my seat is less then 20”. I can’t remeber the angle I used for the walls (sorry!) but I wanted to make sure that the top shelf was wide enough to put stuff on it. I know this is a rough explanation but based on the incredible stuff you make I’m sure you can work it out and make some pretty awesome plans!

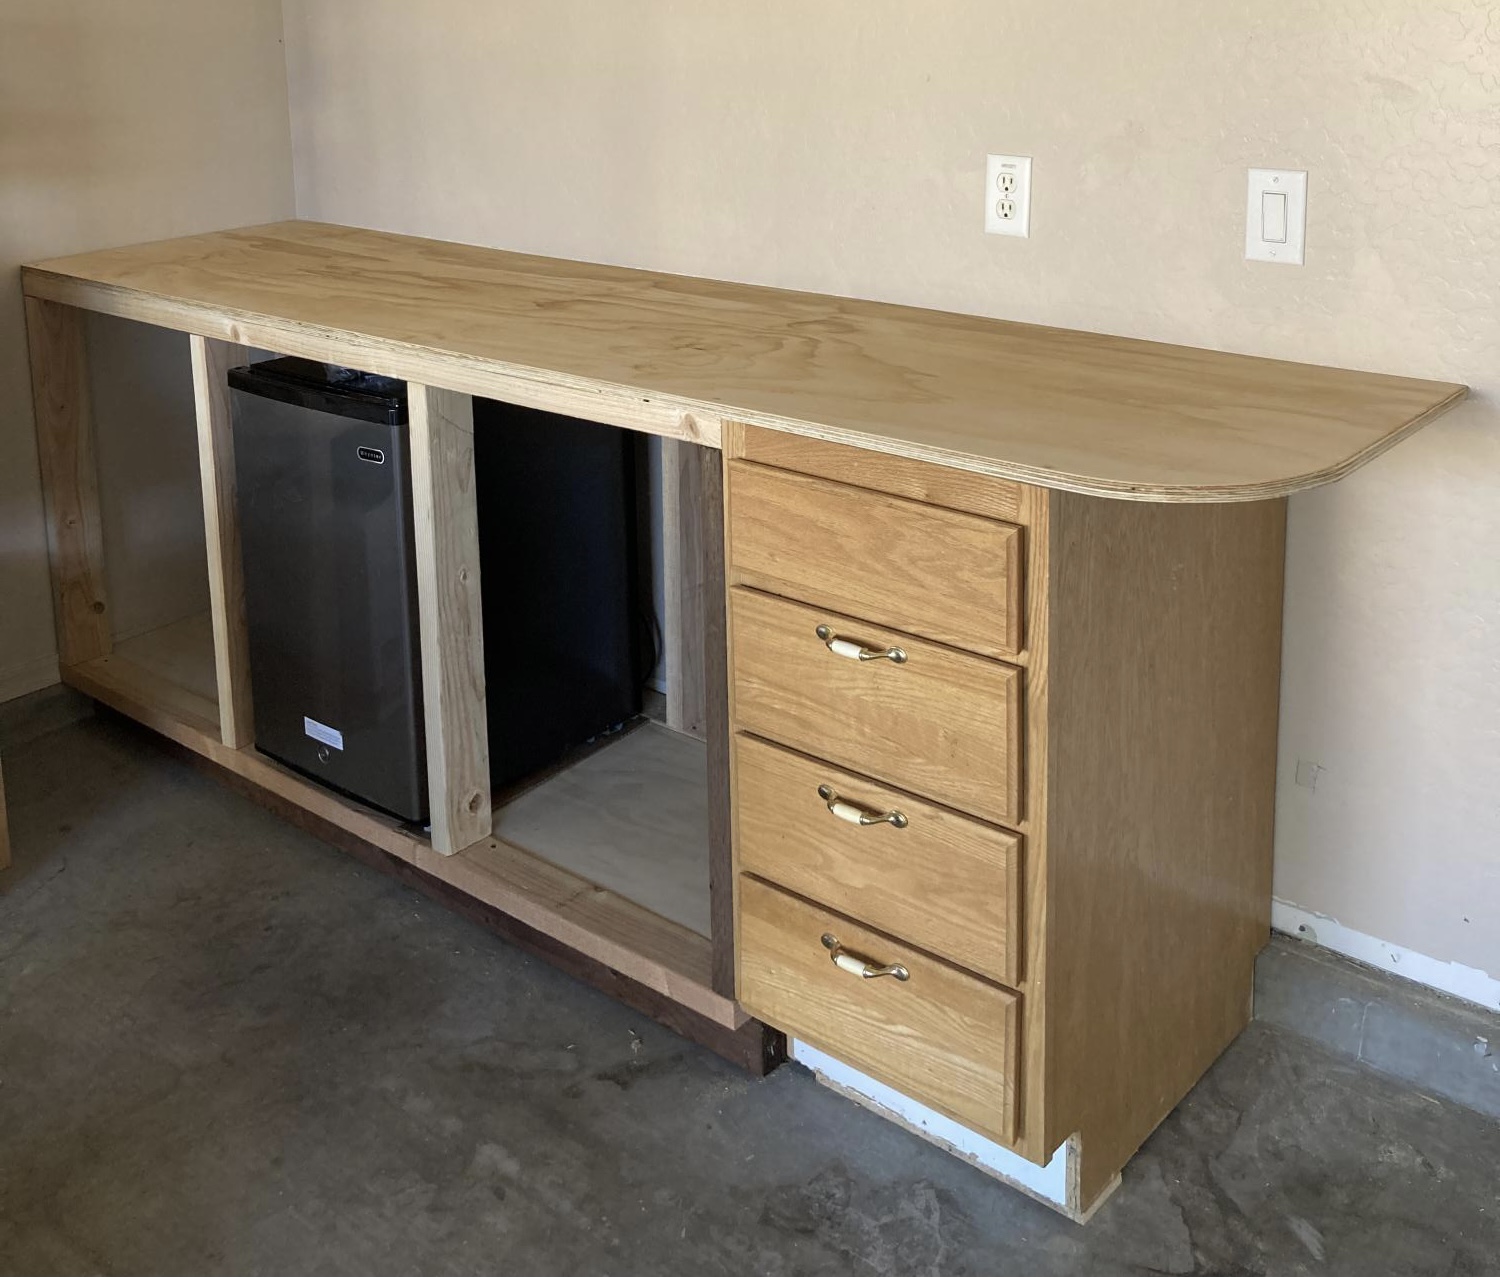
Work Bench

Submitted by Anonymous (not verified) on Sun, 12/26/2021 - 20:58

Had to tweak the pony wall plans a bit because the garage floor had a 2” x 3 1:2” cement retainer. I also wanted to incorporate an end cabinet I already had, so I shortened up the base to 69” and tied it together with the top.

Built from Plan(s)

Comments

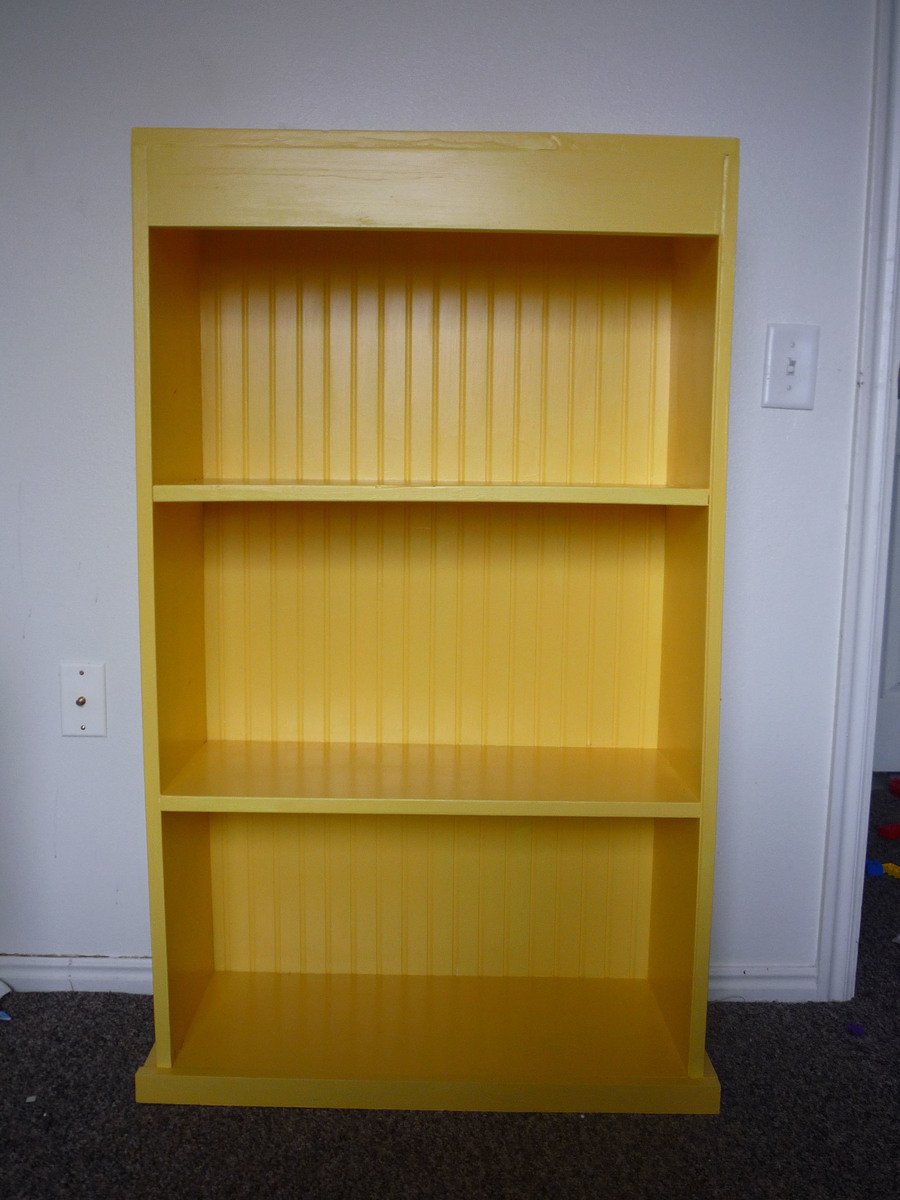
Sunny Yellow Bookshelf

After a rough start when my MDF beadboard flew off the roof of my car in a huge gust of wind and tore in half... and the lumber yard not selling 1x3's so I had to use a 1x4 for the header.... my boys were really excited to see their new bookshelf this morning. I omitted the bun feet for now, and elected not to do a cutout on the header.

The MDF I used is 1/4 inch beadboard because my local lumber store didn't have 1/4 inch plywood in stock. I love how it looks, and it didn't add a lot of weight. The price was comparable to 1/4 inch plywood too. But it did tear and luckily one of the pieces was long enough to use as the backing. Barely.

Except for the footer pieces and backing which were nailed on, the whole thing was built with my new Kreg jig! :-)

Estimated Cost
About $30 for all the wood, and another $15 for paint and nails/screws.
Estimated Time Investment
Day Project (6-9 Hours)
Finish Used
Do It Best semigloss in SunnyVale
Recommended Skill Level
Beginner

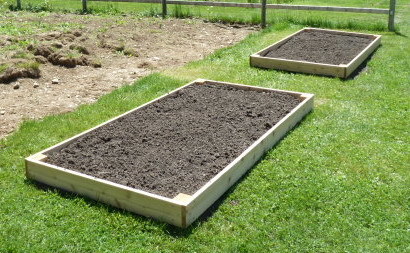
Raised Cedar Bed

Submitted by NitePagan on Sun, 06/30/2013 - 08:27

I built cedar raised beds out of cedar decking, 3 pieces 5/4" x 6" x 8', actual dimensions were 1" x 5.5" x 8', plus 1 - 2 x 4 cedar. I made 48" x 96" boxes. I cut 1 of the cedar deck pieces into 2 - 48" long pieces. For the corners, I cut the 2 x 4 into 8 - 5.5" long pieces. I then screwed 2 of the 2 x 4 pieces together to form a 4 x 4 block. I used these as the inside corner to screw the decking to. The total cost was $60 to build 2 cedar beds. The other option would have been to make them double height, by cutting the 2 x 4's 11 inches long. This is more expensive then the boxes Ana did, but I could not find cedar fence slats, they appeared to be Northern White Pine which would have deteriorated quickly. I obtained the lumber from Lowes.

Estimated Cost
$60.
Estimated Time Investment
An Hour or Two (0-2 Hours)
Finish Used
No Finish.
Recommended Skill Level
Beginner

End Tables

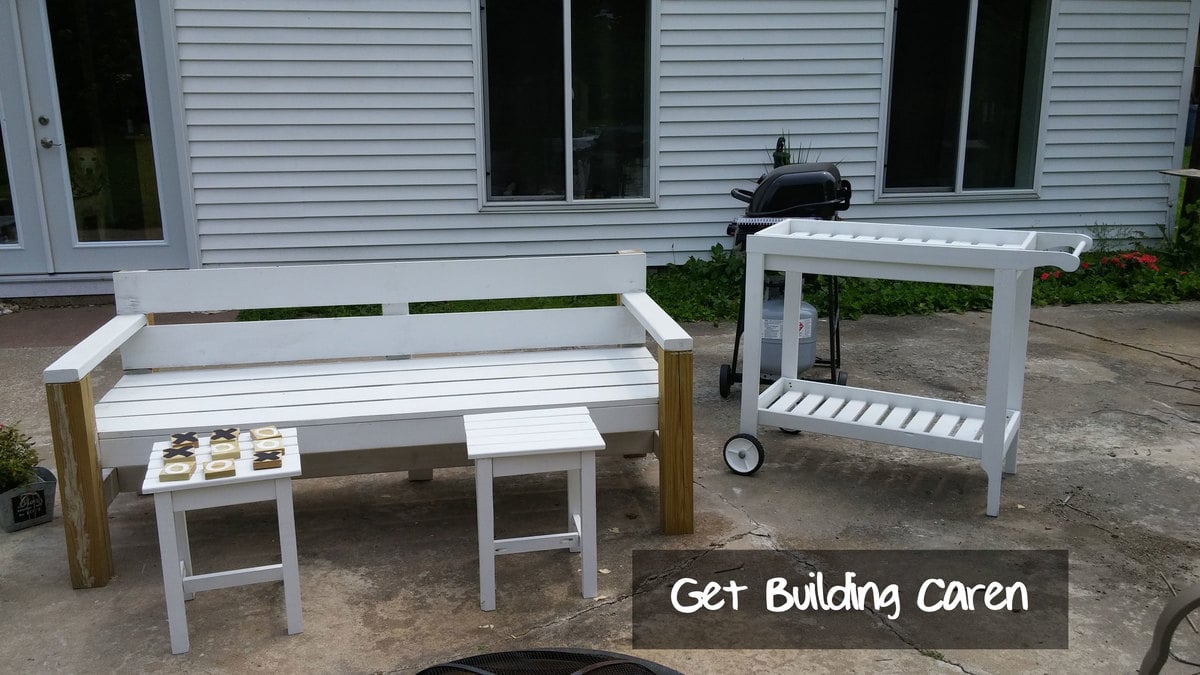
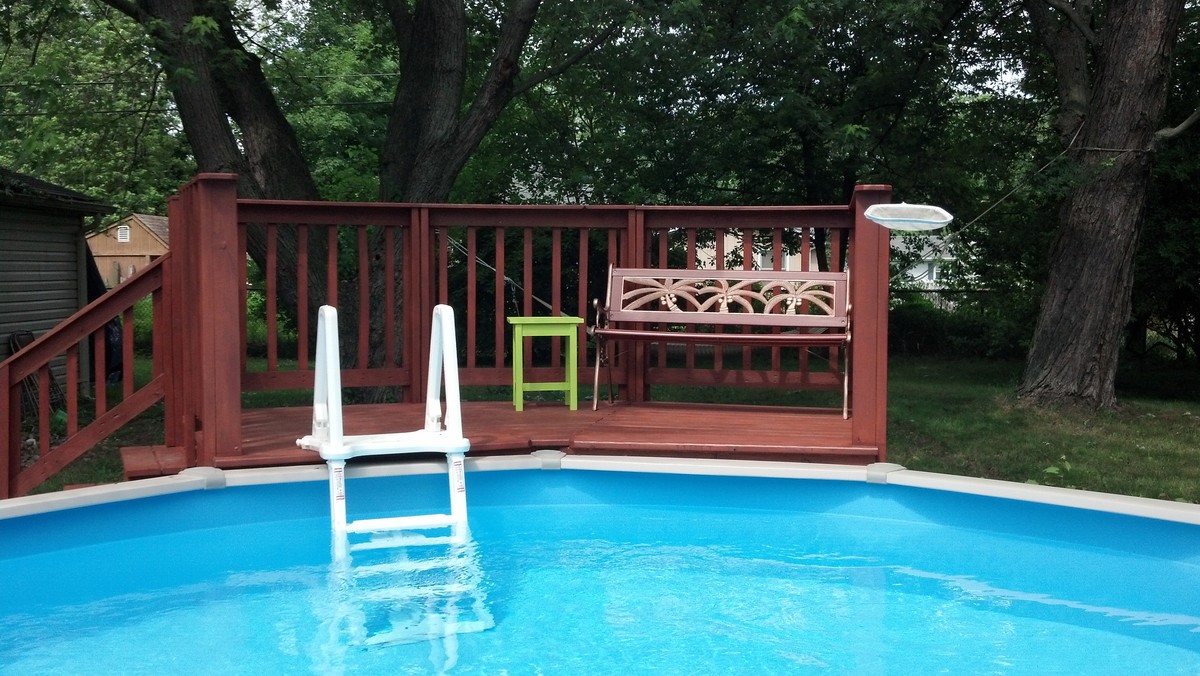
I built 2 end tables to go with my park bench. I had a lot of trouble with splitting wood, because the 1x2s where so thin. I'm used to more robust lumber. I tried something new. I drilled pocket holes, sanded, primed and painted everything before I assembled. I don't like painting as much, because I love using power tools. I psyched myself out by thinking I was giving it an elegant finish. Sounds so much nicer than slapping some paint on wood.

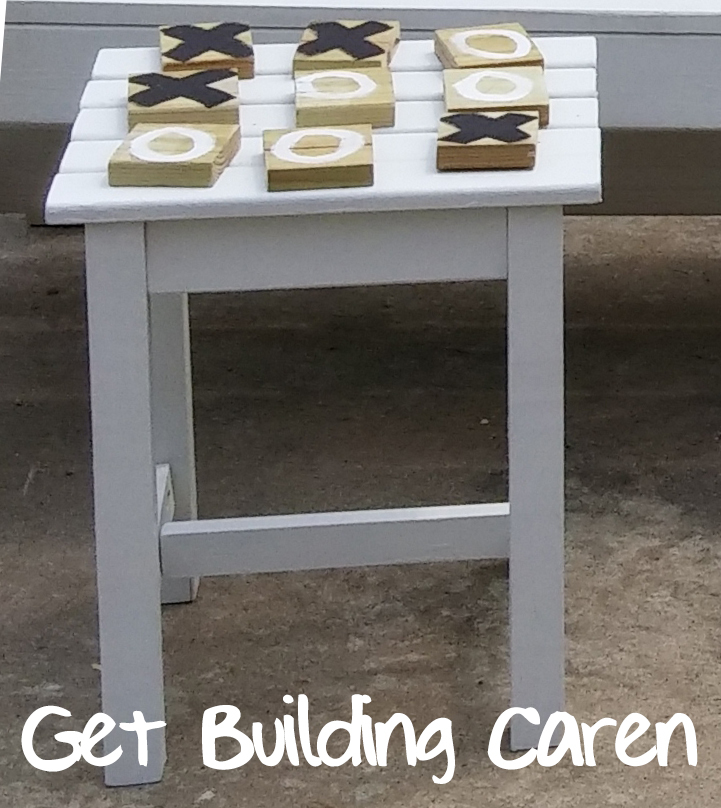
My son made some tic-tac-toe pieces from scrap treated lumber, by painting black X's on one side and white O's on the other. Now we can play on the end table!

Ana White's site is wonderful with downloadable, step-by-step shopping list, cut list and instructions.

#AnaWhite #GetBuilding2015

Built from Plan(s)
Estimated Cost
less than $20 for 2 end tables
Estimated Time Investment
Weekend Project (10-20 Hours)
Finish Used
White exterior latex paint.
Recommended Skill Level
Beginner

Barbie Dollhouse

Submitted by Anonymous (not verified) on Mon, 12/27/2021 - 10:18

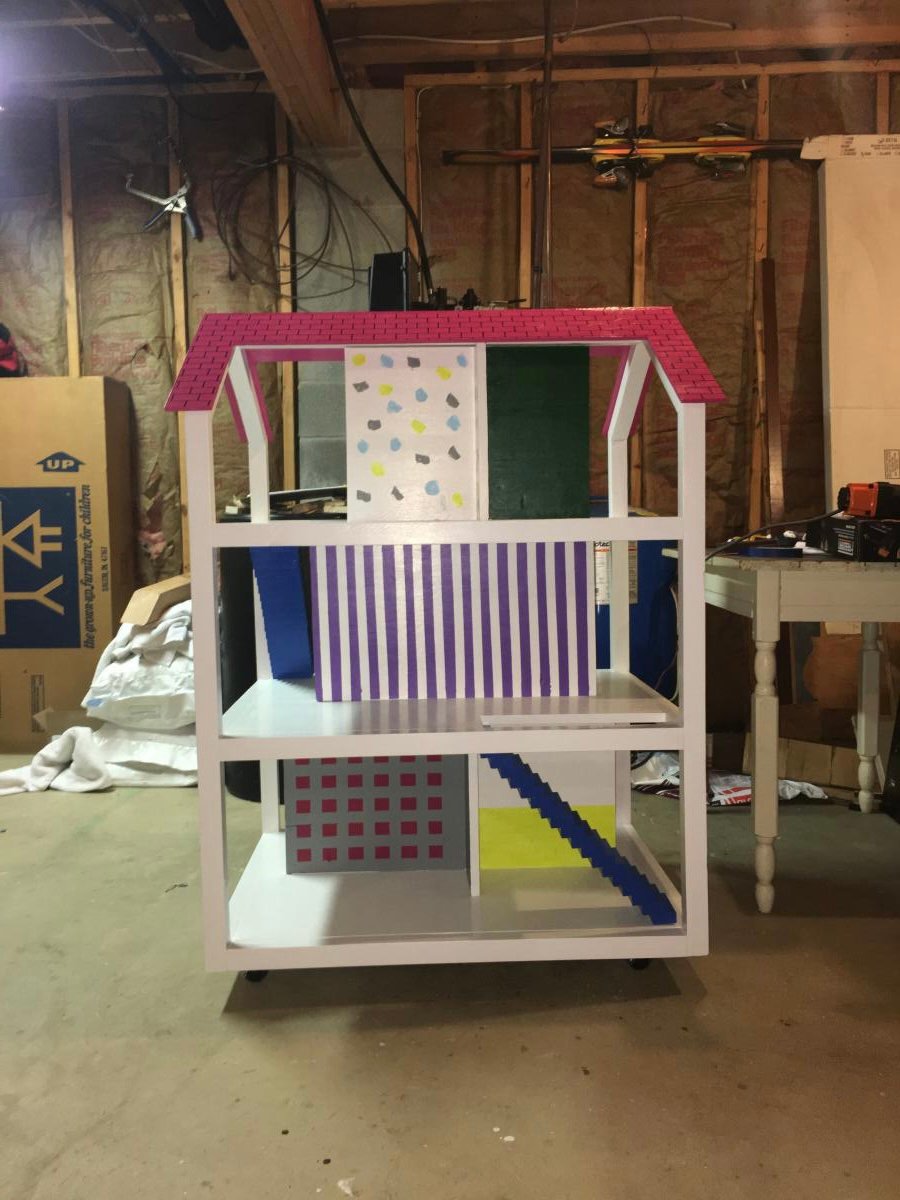
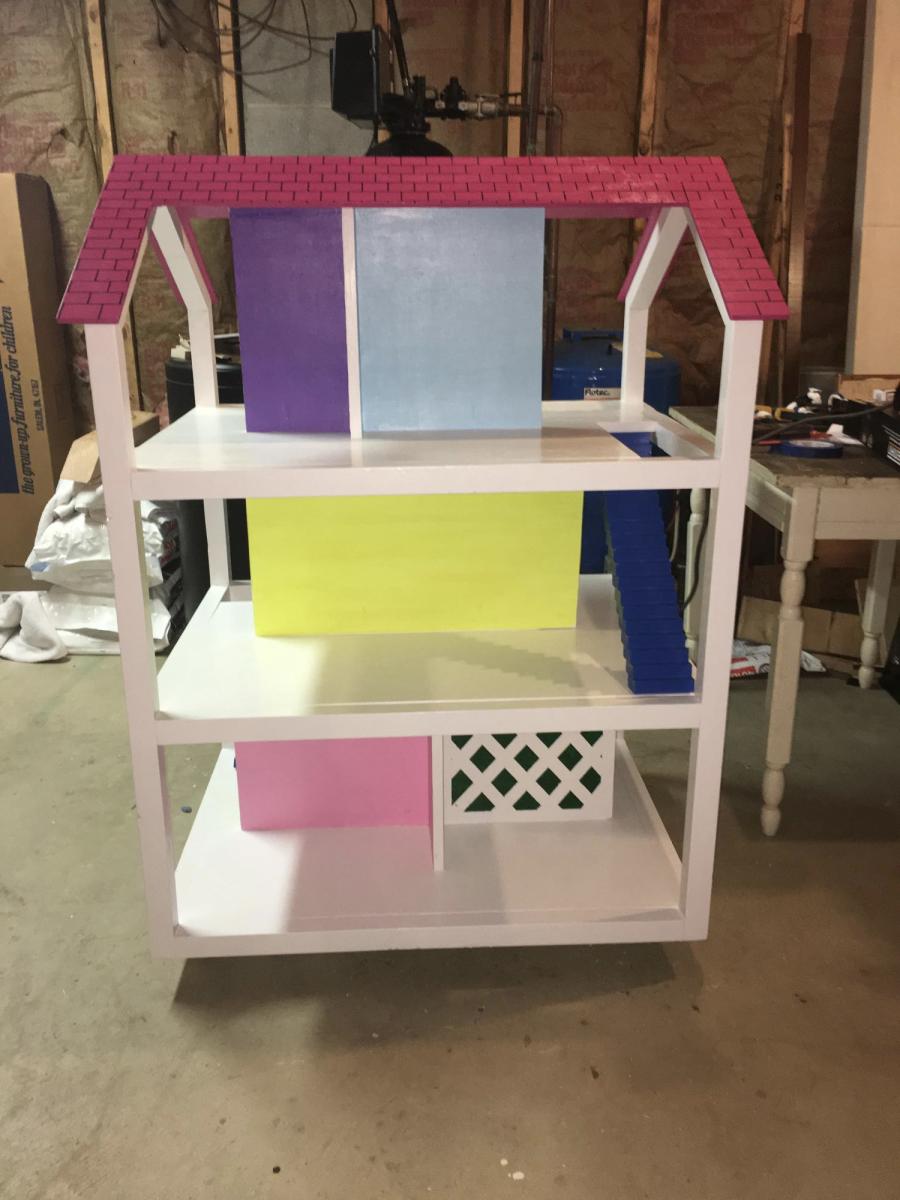
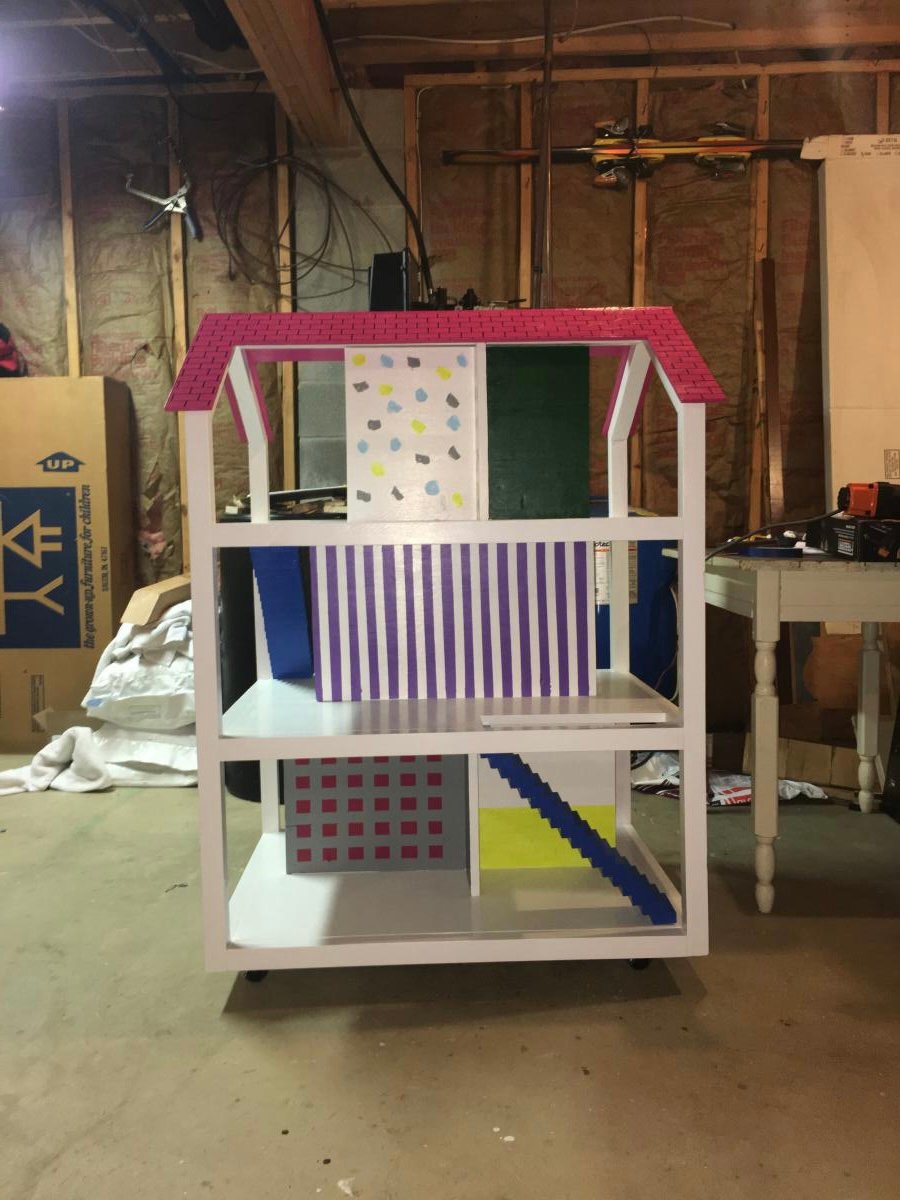
My granddaughters are into Barbie’s and I was looking for a dollhouse that worked worth the 12” dolls. I constructed this in my basement and gave to the girls for Christmas. They played with it all day!

Comments

My new Almost Farmhouse table

Submitted by JES on Fri, 05/06/2011 - 20:33

I LOVE the farmhouse table! Ours is an "almost farmhouse" since we didn't do our top with individual boards. For the table top, we used hardwood plywood and select pine 1x2 for edges. To get the Farmhouse look with a stain effect, I brushed on Minwax Express color in Walnut to get the appearance of long boards, applied 5 coats of poly, and put 2 coats of primer and paint on the legs of the table we already have. We attached the tabletop with glue and screws.

Estimated Cost
$75
Estimated Time Investment
Afternoon Project (3-6 Hours)
Finish Used
Minwax Express Color (walnut) brushed on. 5 coats polycrylic in satin finish. Sanded with 320 grit between coats. Legs: 2 coats zinsser primer and 2 coats of high hiding white in semi gloss
Recommended Skill Level
Beginner

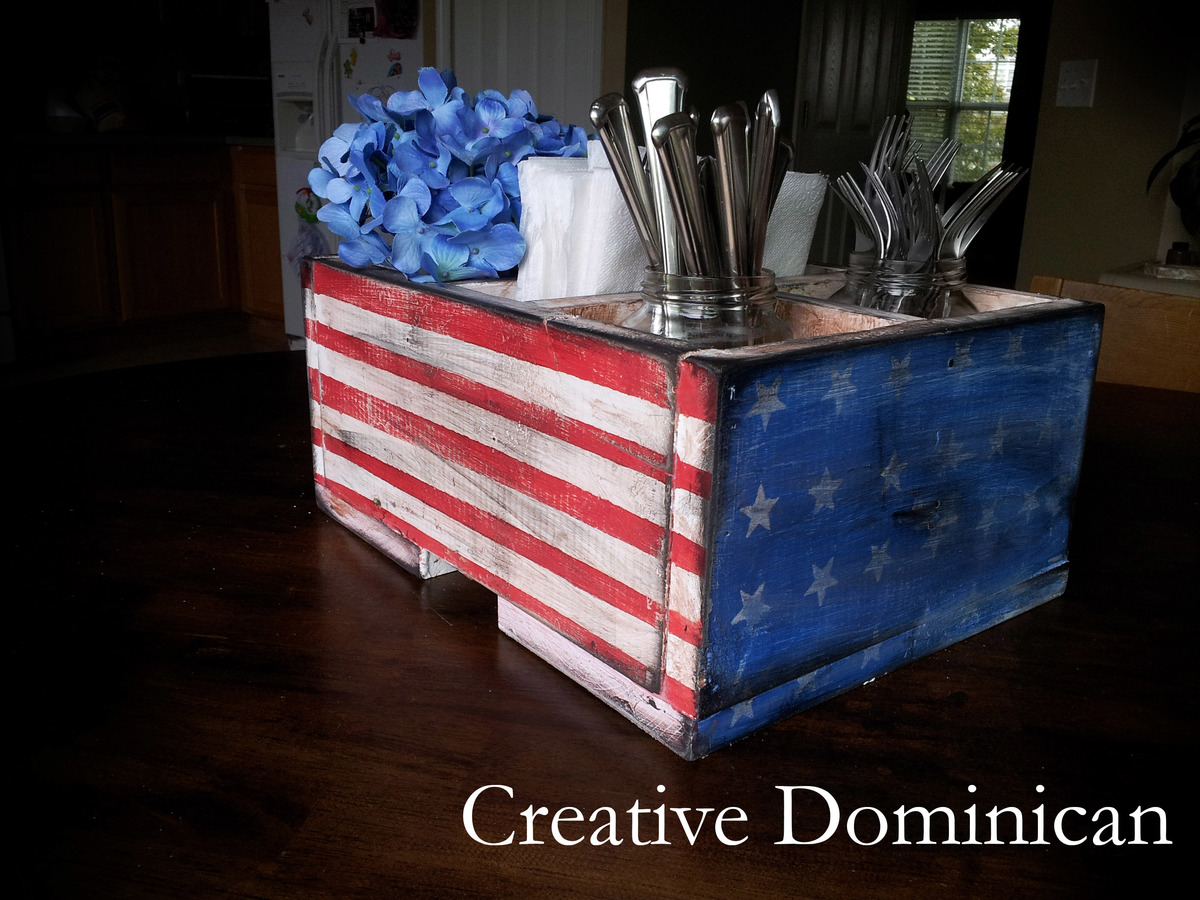
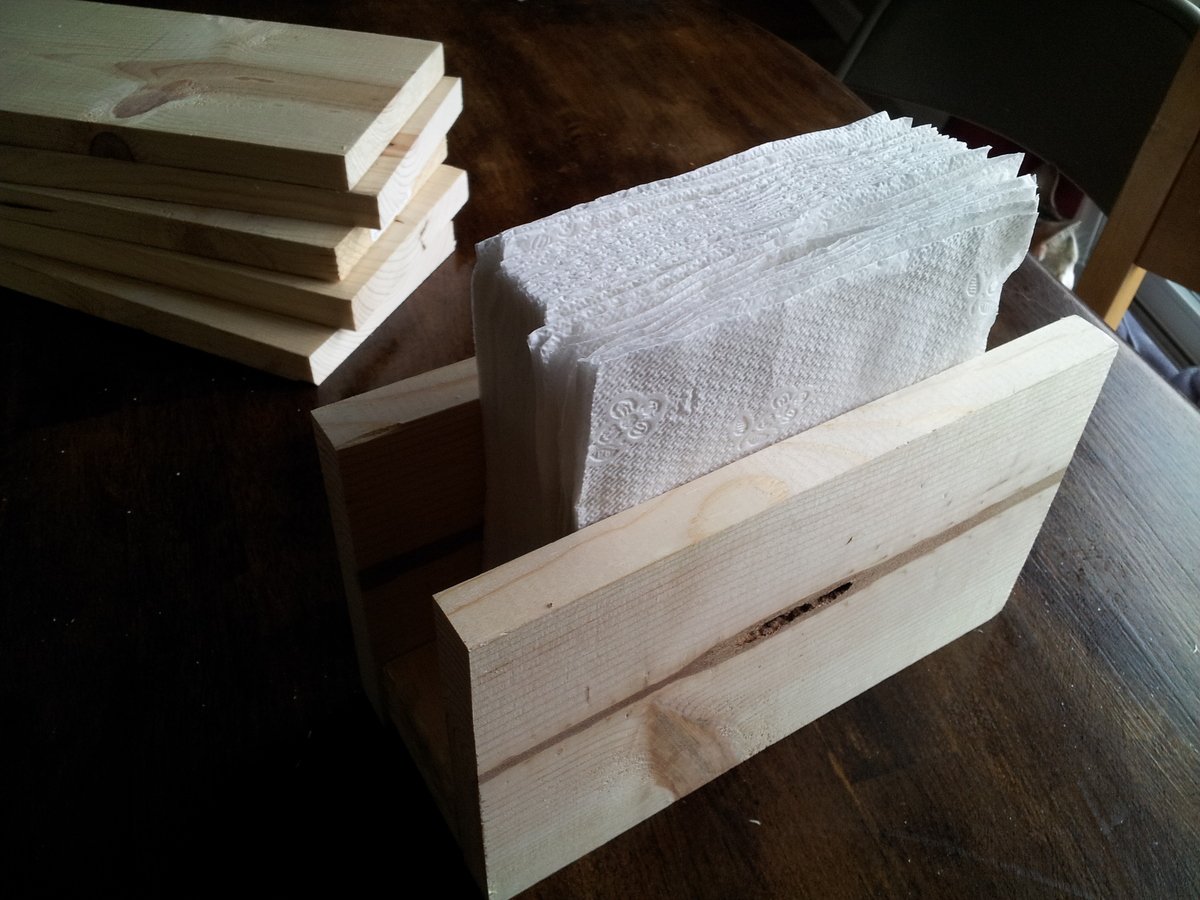
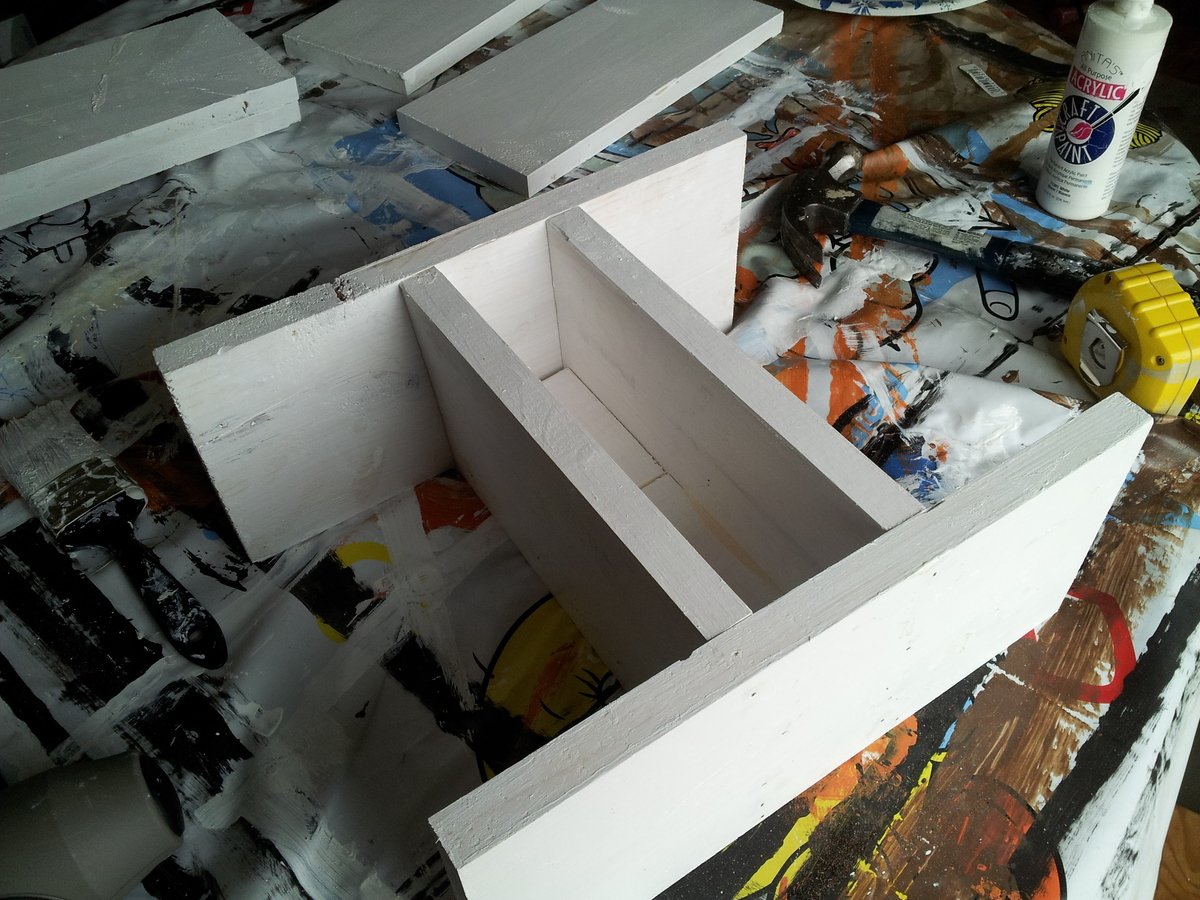
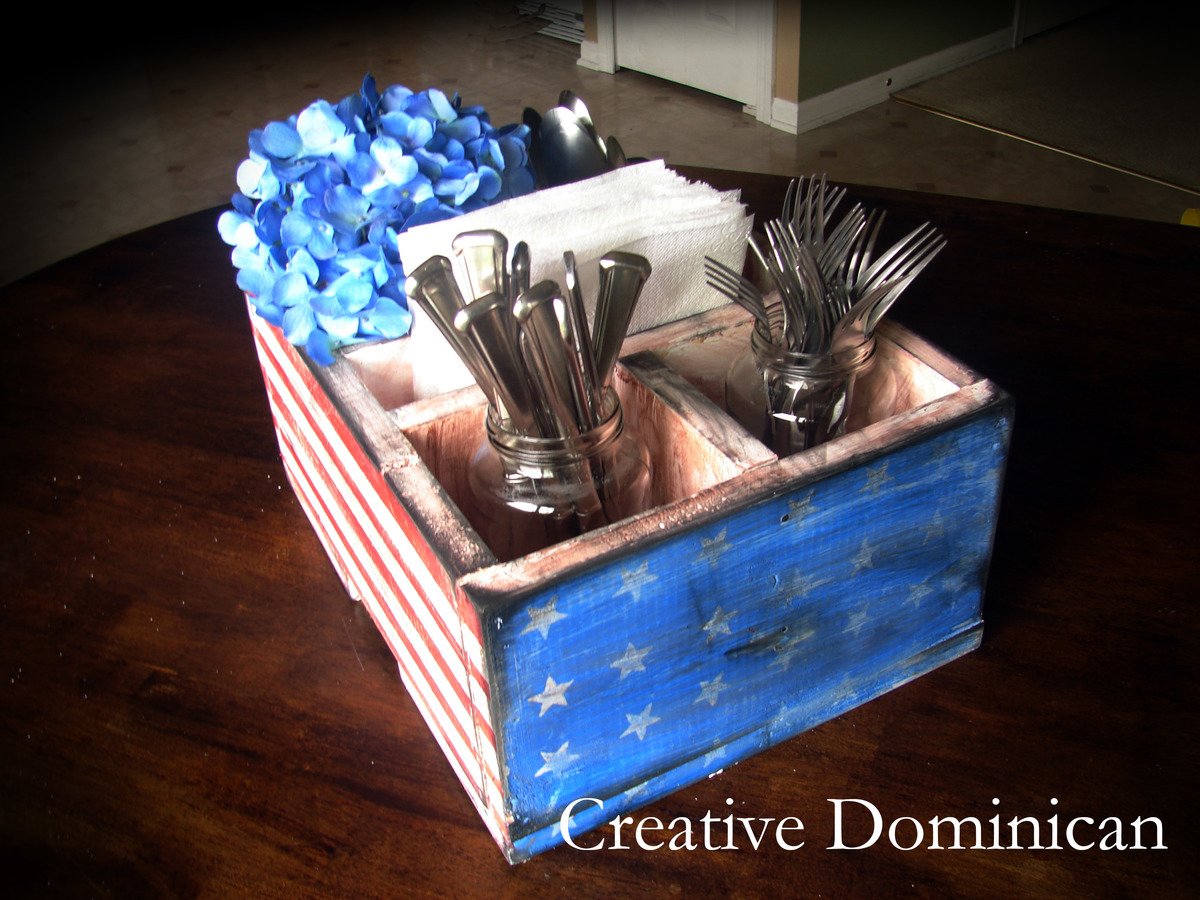
Patriotic Silverware and Napkin Caddy

This fun patriotic caddy was created with some small modifications to the plans that inspired this project : Ana White's Soda Caddy . I added a space for napkins to my version.

Built from Plan(s)
Estimated Time Investment
An Hour or Two (0-2 Hours)
Recommended Skill Level
Beginner

Comments

Disentanglement Puzzle

Submitted by mtairymd on Fri, 01/12/2018 - 05:46

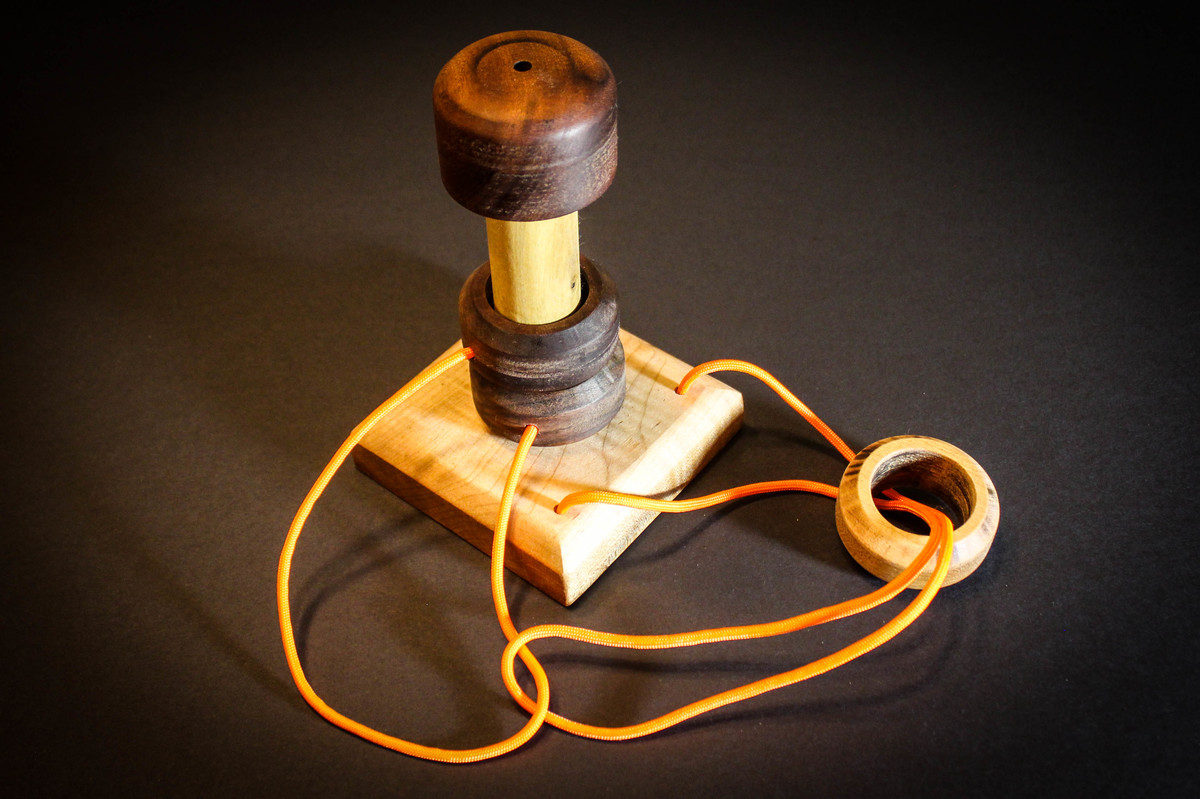
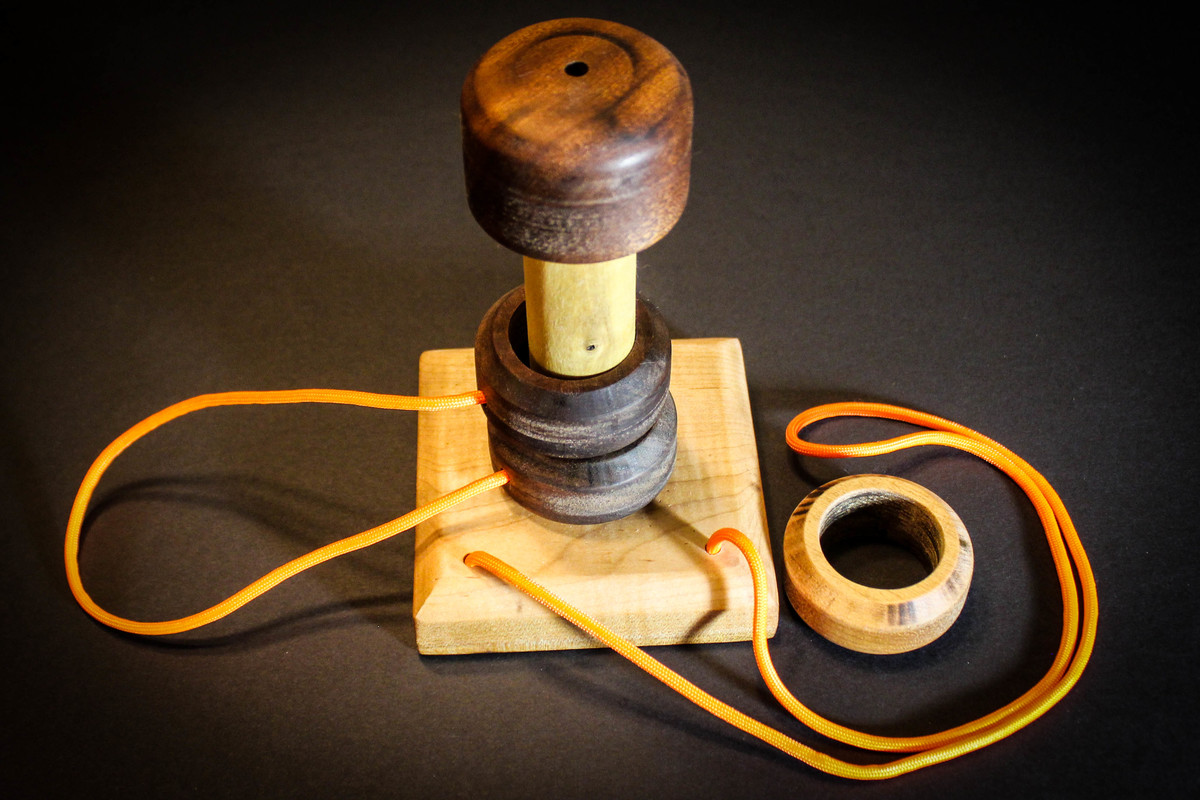
This is my take on a classic rope and ring disentanglement puzzle. The goal is to separate the ring (the light colored one) from the puzzle strings. As with most disentanglement puzzles, the solution isn’t intuitive. Can you figure it out from the pictures? If not, refer to the video for the solution.

Build Instructions: https://www.instructables.com/id/Disentanglement-Puzzle/
Solution: https://youtu.be/cwdpTndAEw8

Estimated Cost
$5
Estimated Time Investment
Afternoon Project (3-6 Hours)
Finish Used
Oil
Recommended Skill Level
Beginner

My entry way bench in Hickory

Submitted by Anonymous (not verified) on Tue, 12/28/2021 - 12:19

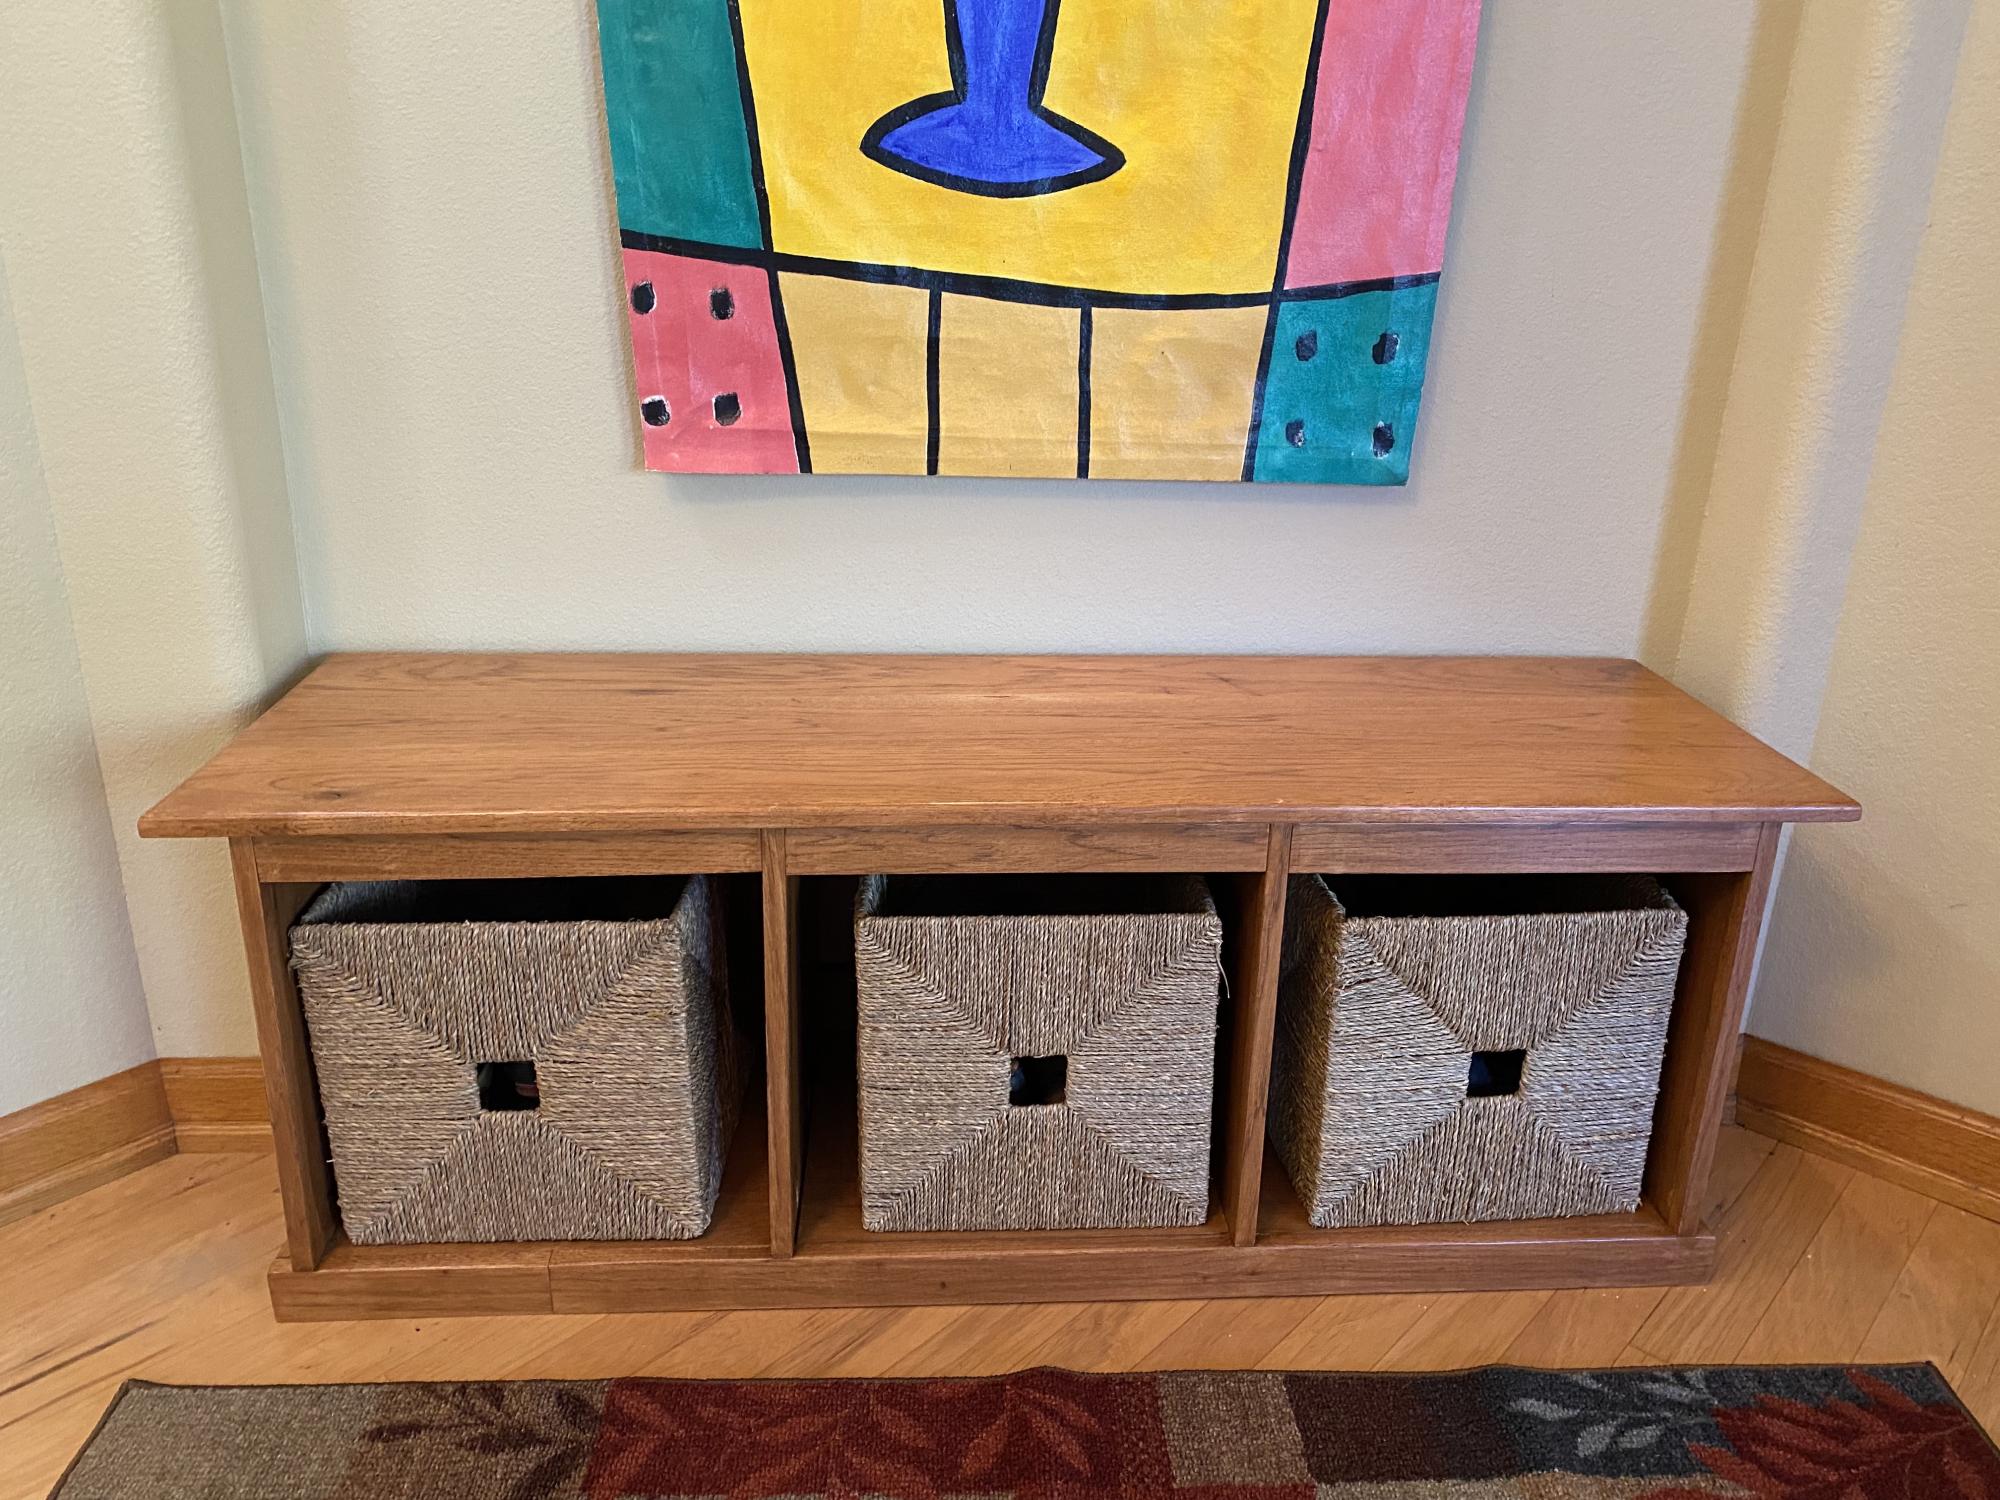
The bench plans were super helpful!!

Built from Plan(s)

Comments

Modified Version - Wall Built-In

Submitted by ColleenM on Tue, 05/10/2011 - 10:50

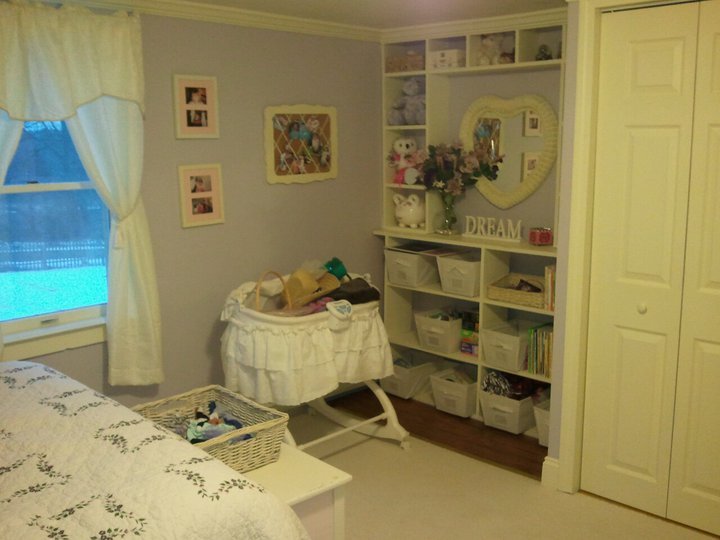
I used a combined/modified version of the Logan and Kristen's modified version as well. The opening in the middle houses the mirror currently, but was designed to fit a 27" flat panel tv when Ceira is older (maybe, LOL). I used regular pine to build it. I built it in two pieces (top and bottom). I couldn't put a back on it, as the heater (baseboard) is there, as well as outlets, and I didn't want to have to move either one. I adjusted the top portion to be slightly wider to cover the distance between the wall and the base bookshelves. This actually worked out well, as when we do eventually install a tv, we will be able to install and hide the wiring easily, and without having to add/move electrical outlets. I made sure to attach the shelves to the studs behind the wall as I am convinced some child, at some point will attempt to climb them. :)
Things I learned from this project - paint BEFORE assembling. This was a huge pain to get inside all of the upper shelves after it was already installed. Also - I hadn't had the carpeting installed at the time I built the shelves (it came about 2 weeks later). Make sure you either do your flooring first, or keep enough scrap flooring to cover the space behind the bottom shelves and under the radiator. Fortunately, I had enough (this time).

Estimated Cost
$80
Estimated Time Investment
Day Project (6-9 Hours)
Finish Used
I used leftover primer, and the same paint that I used for the moldings & trim (leftover) - Valspar semigloss in a shade of cream. Against the pale lavender walls looks very classic and girly.
Recommended Skill Level
Beginner

My Z Gallerie inspired Outdoor Dining Table

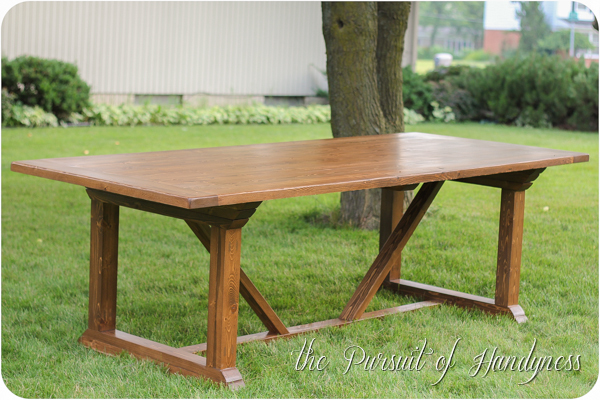
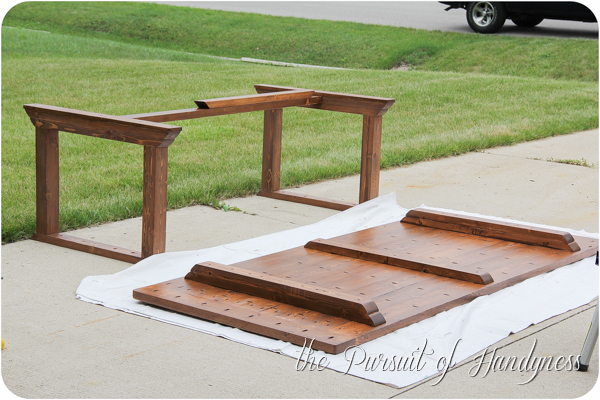
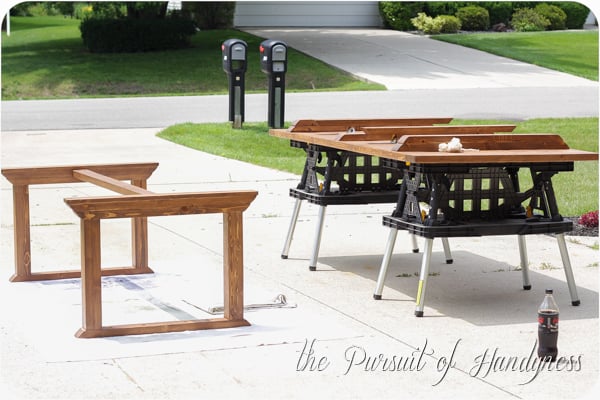
I used Ana's plans and only made one adjustment. I could not cut the 50 degree angles on my miter saw so I just borrowed the "V" design from one of her other plans. This table is really heavy and sturdy. A helper is necessary to flip the table top back and forth.

Built from Plan(s)
Estimated Cost
$80-$100
Estimated Time Investment
Week Long Project (20 Hours or More)
Finish Used
Rustoleum Ultimate Wood Stain in Early American
Rustoleum Ultimate Spar Varnish in Satin (2 coats on base, 3 coats on tabletop)
I'm having issues with the Spar Varnish drying as white spots keep appearing when the table gets wet. I'm assuming it takes longer than 3 days to fully cure like the label says.
Recommended Skill Level
Intermediate

Comments

coffee table

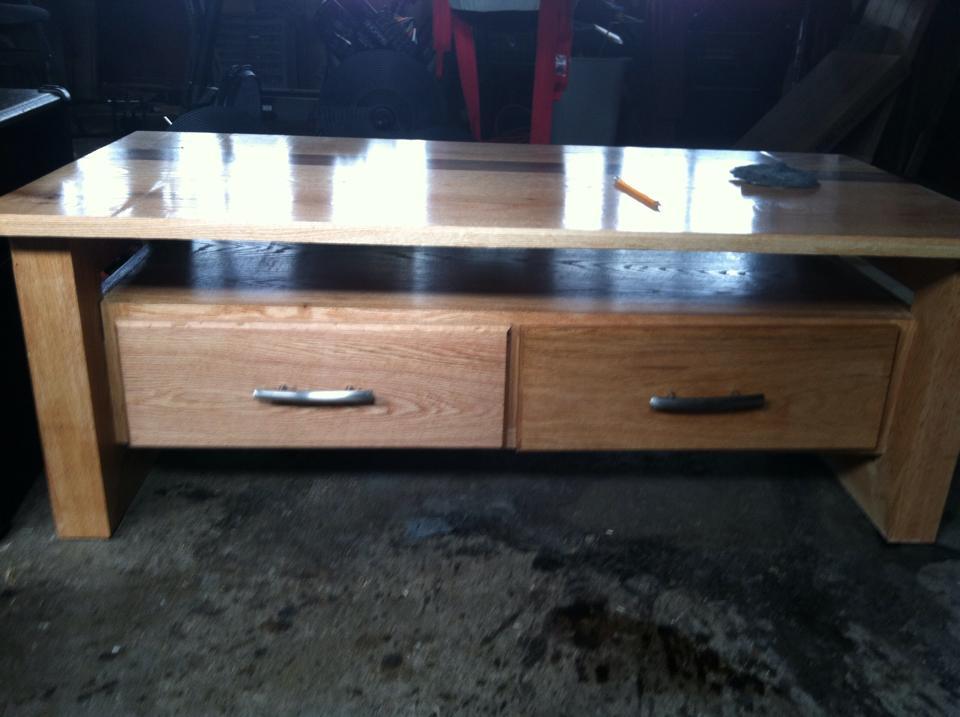
this is a coffee table that i had build just by looking at a picture and taking measurements of my previous coffee table that i had, I'm very glad to show the table off!

Estimated Cost
roughly $80-$90
Estimated Time Investment
Week Long Project (20 Hours or More)
Finish Used
polyurethane
Recommended Skill Level
Intermediate

Leaning wall desk

Submitted by nanpannapa on Mon, 01/15/2018 - 09:56

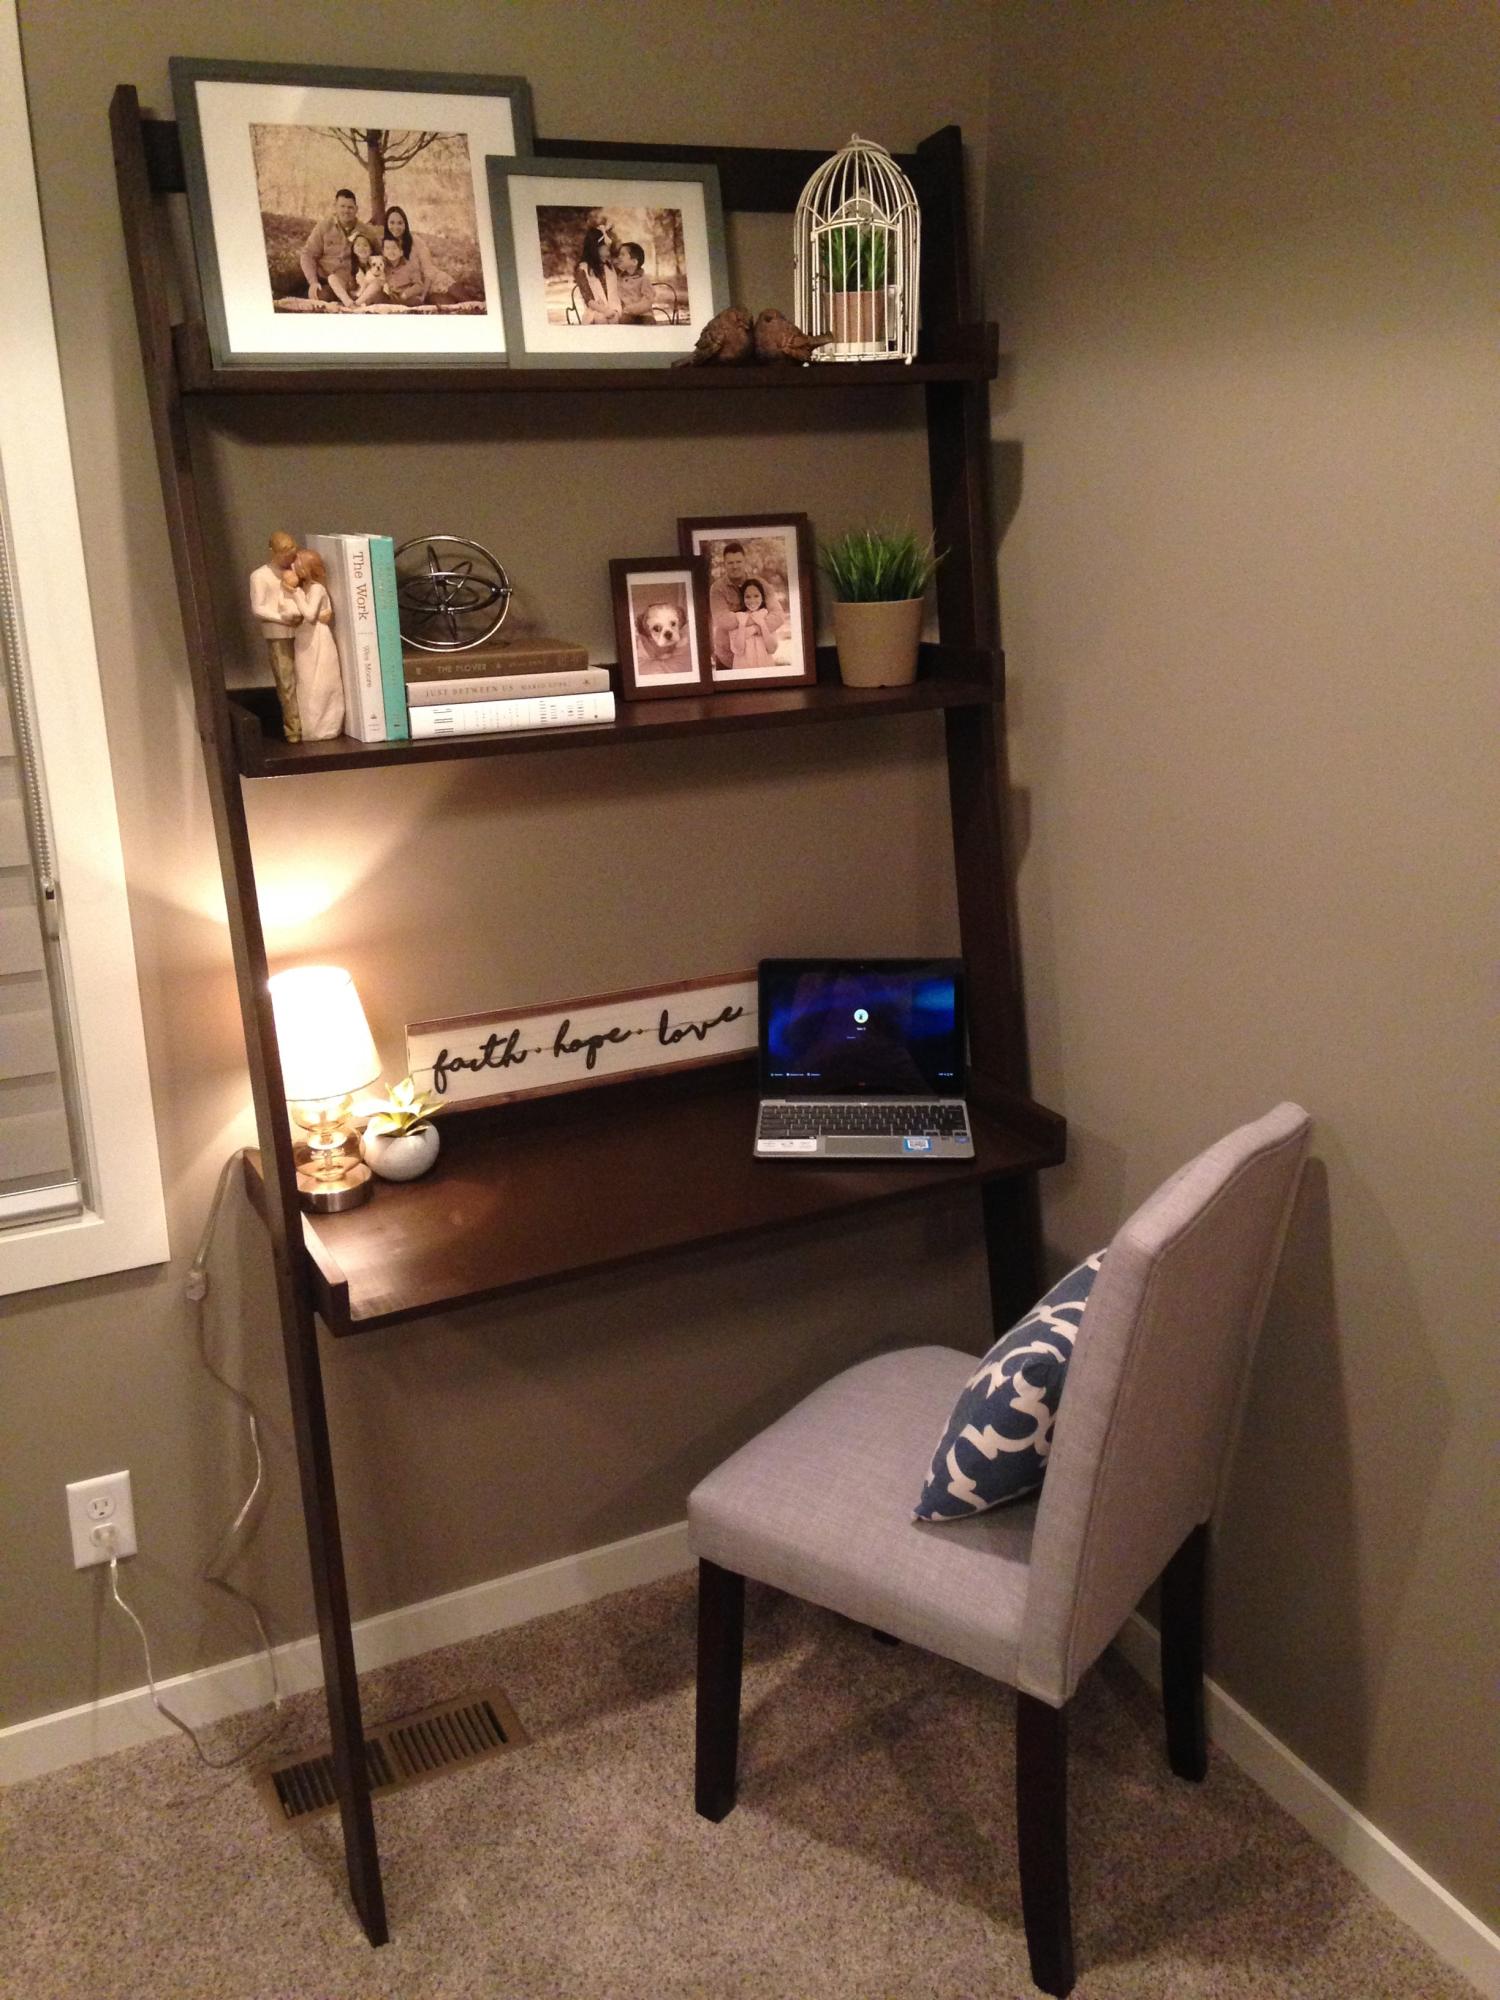
Thank you Ana for the plan my husband loves it. So functional yet requires very little space. I made it a littlest wider- 38 inches overall width and 83 inches overall height.

Built from Plan(s)
Estimated Cost
$50
Estimated Time Investment
Afternoon Project (3-6 Hours)
Finish Used
Painters touch Expresso
Recommended Skill Level
Beginner

Our Chicken Coop (Aka Dollywood)

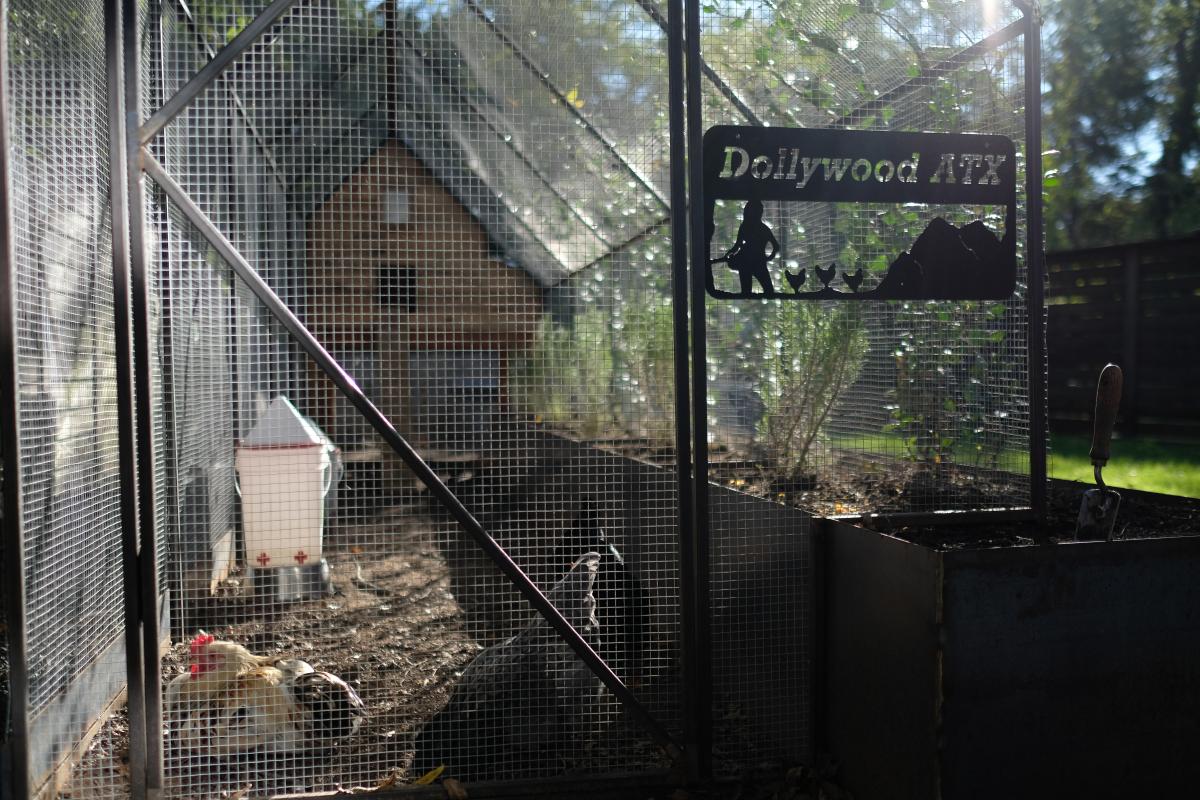
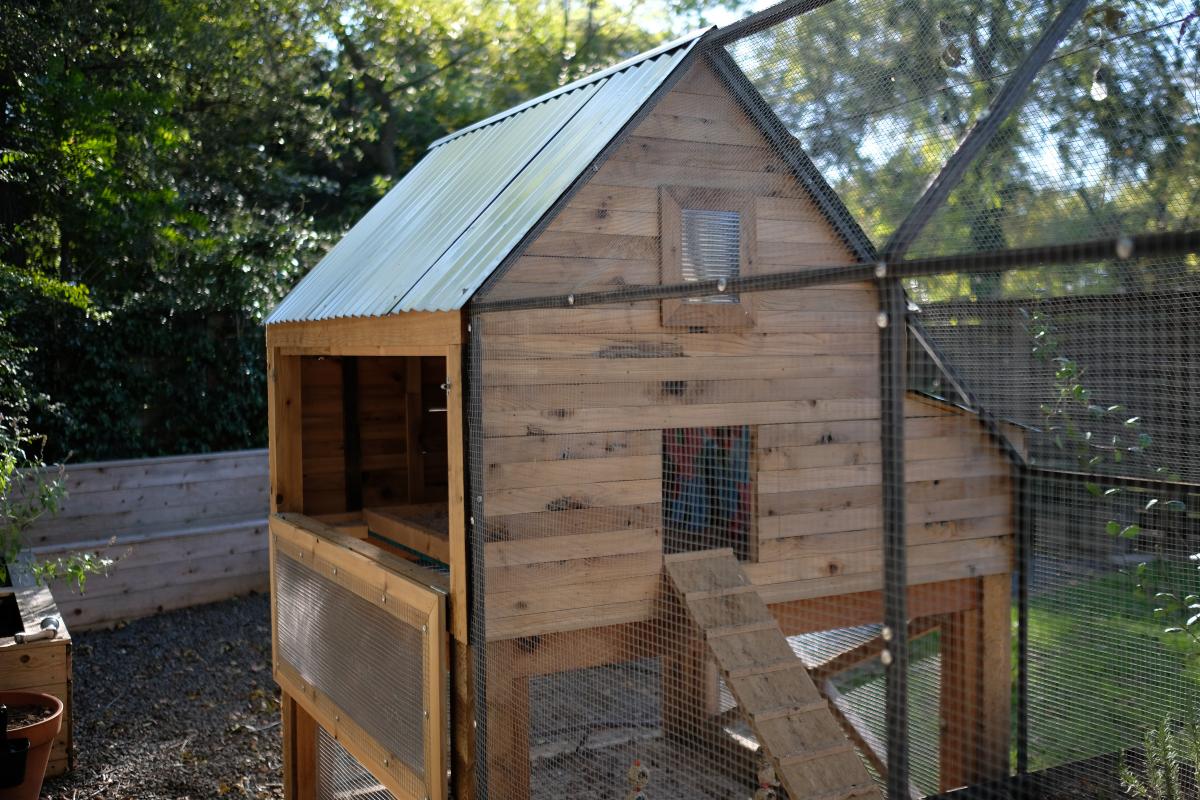
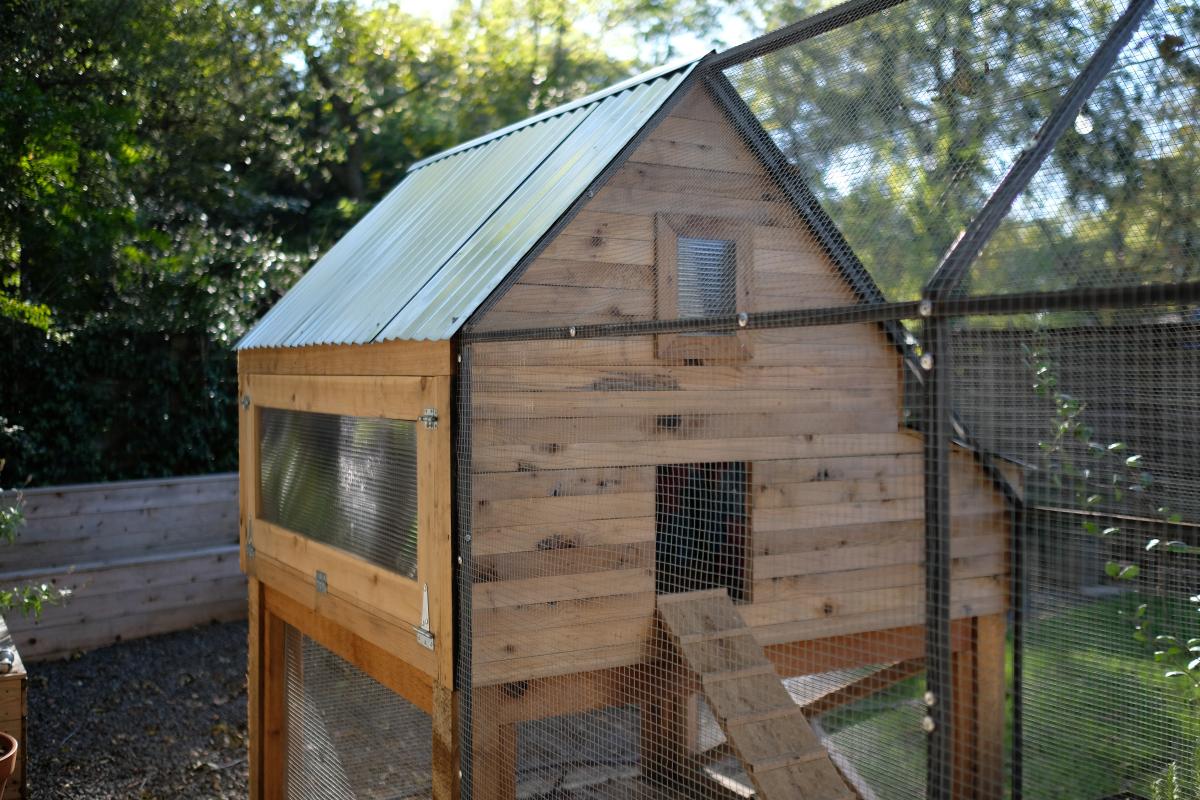
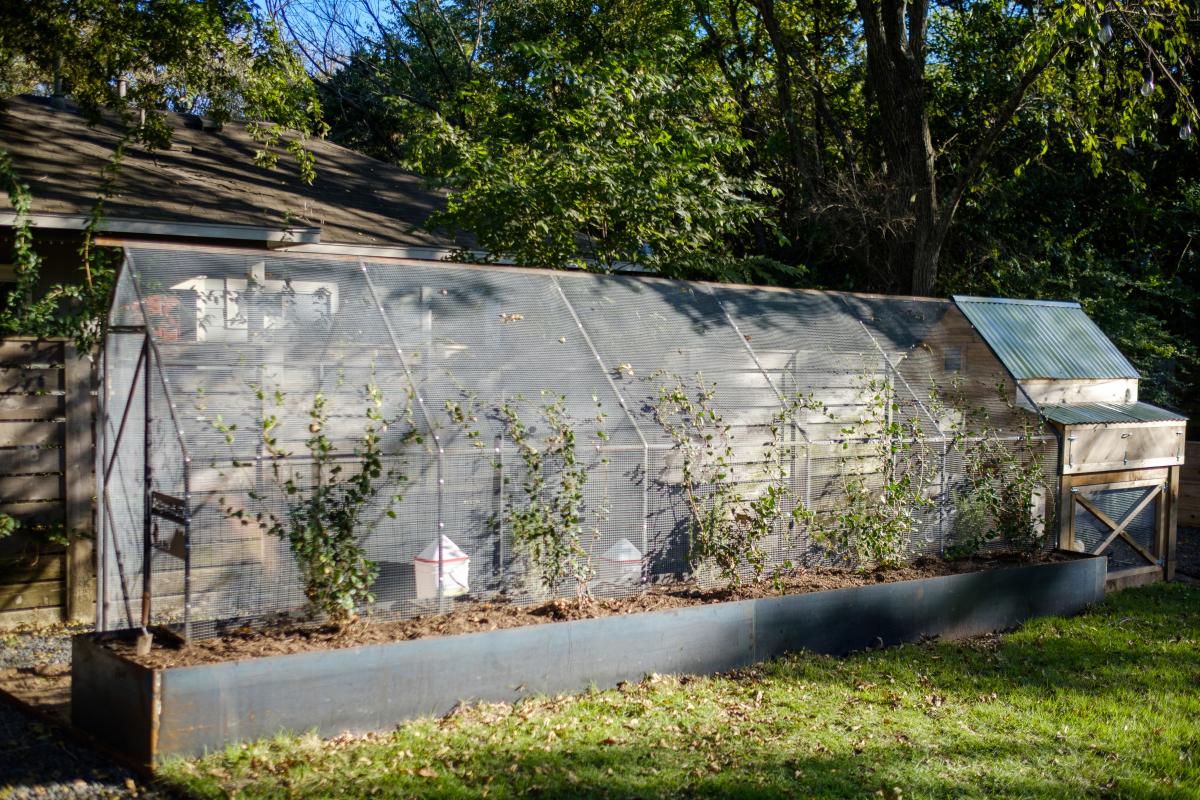
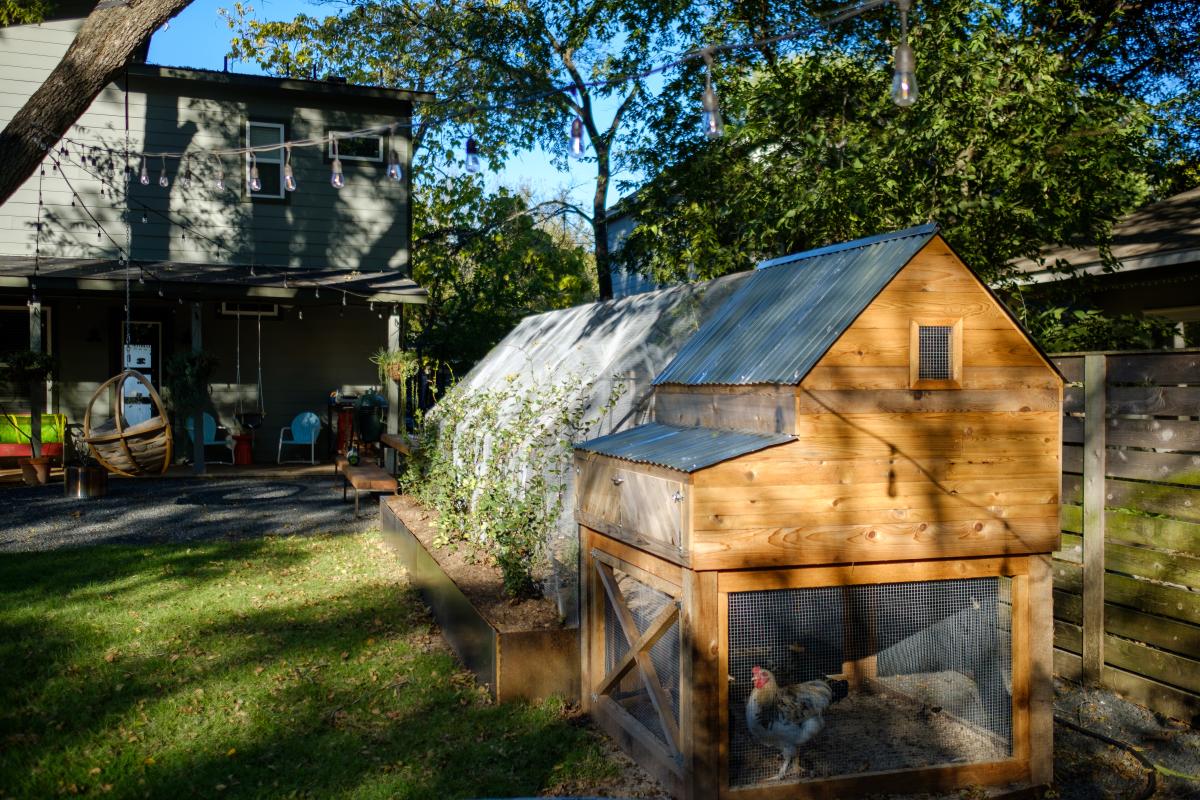
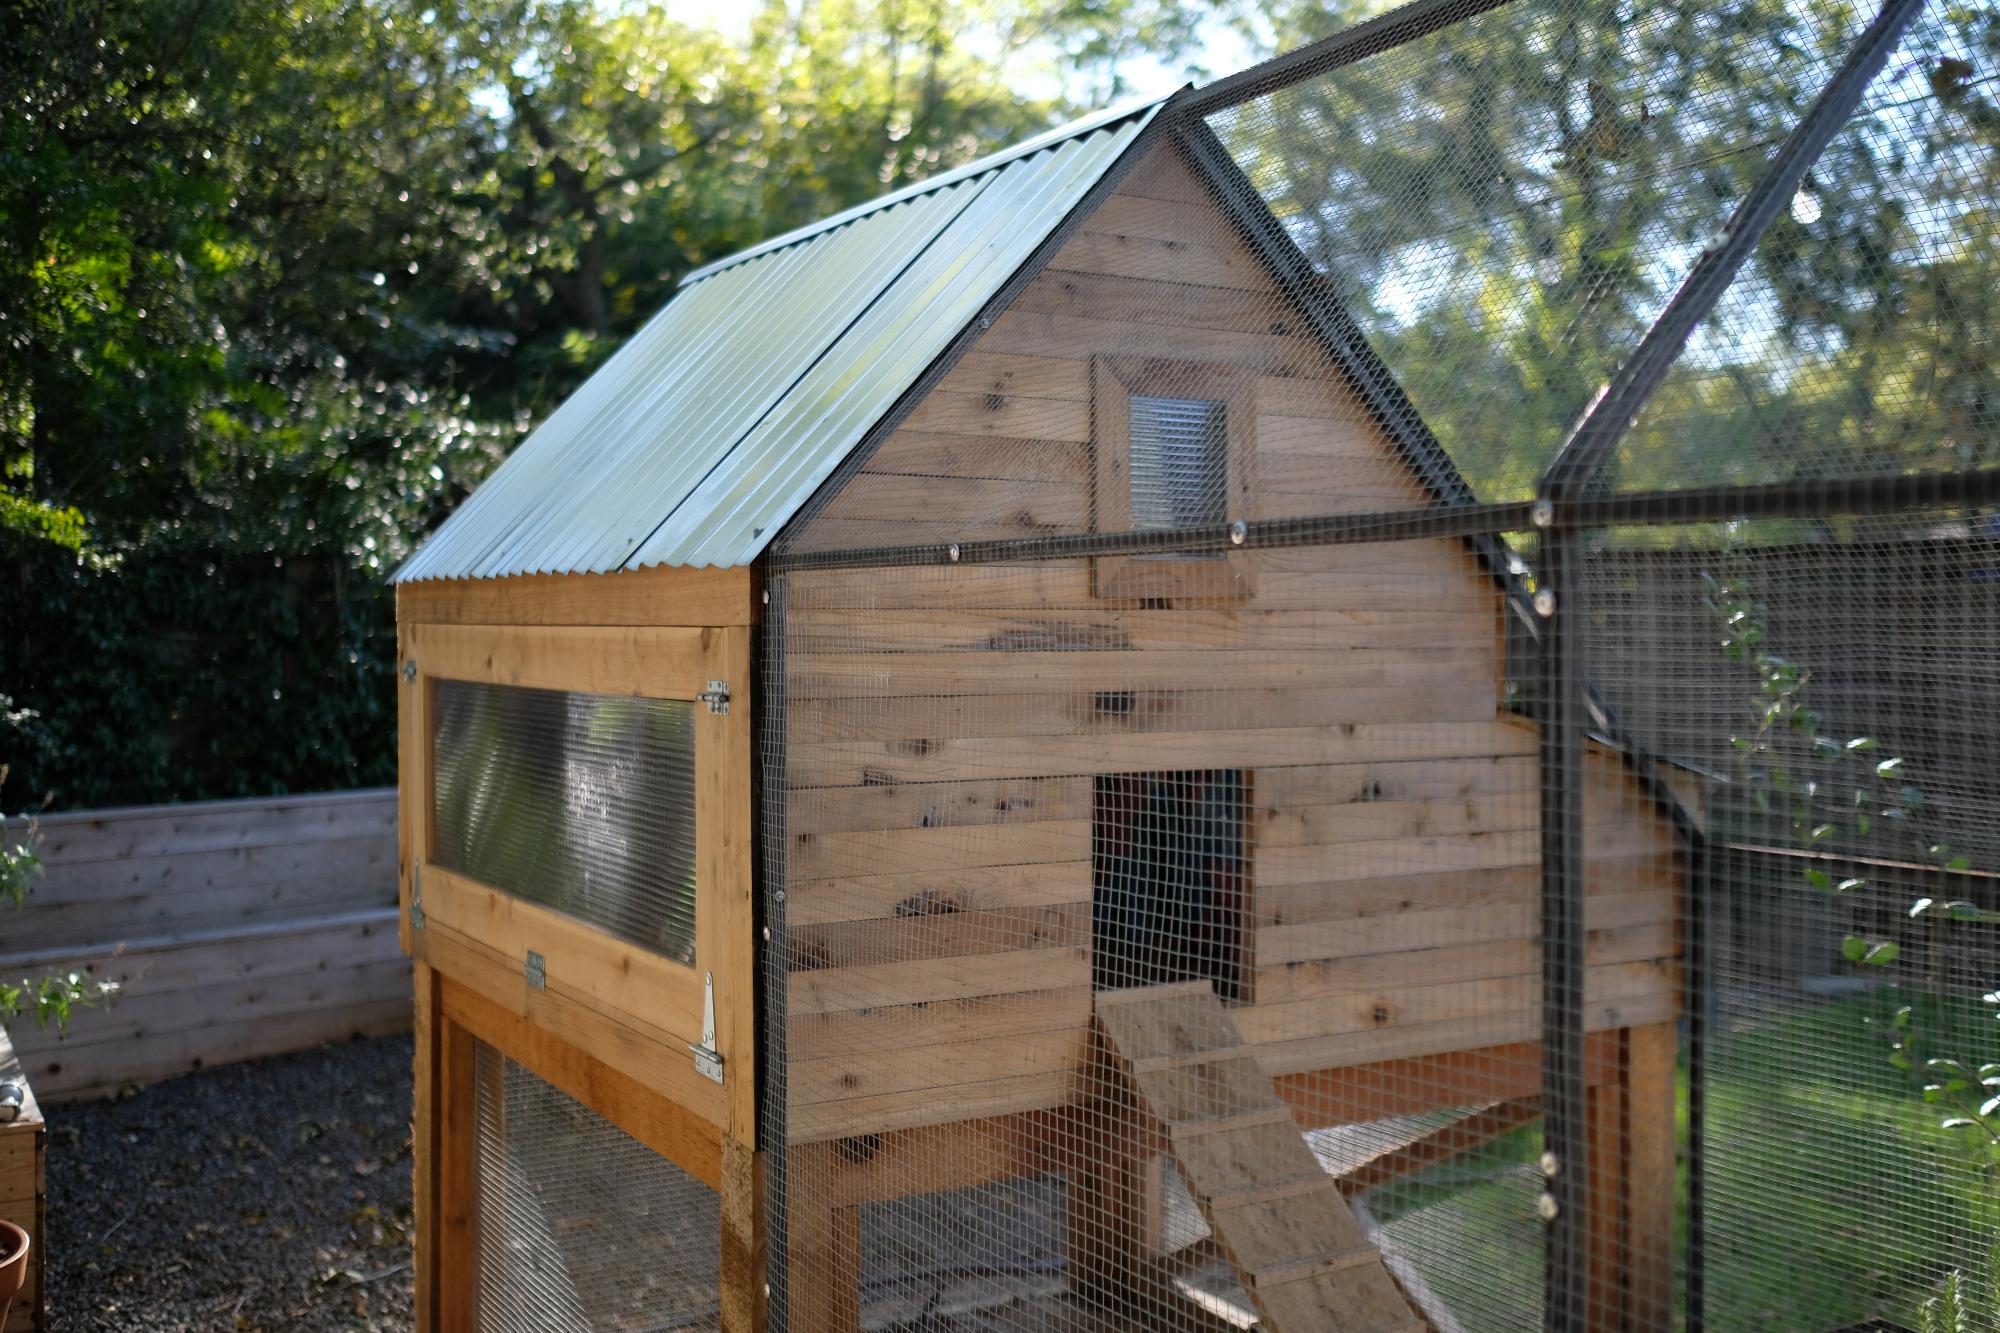
When we became accidental chicken owners, we had to build a coop fast. I found the plans for Ana’s replica of the Williams Sonoma chicken coop and got to work. They were very easy to follow and easy to modify to fit our own needs and aesthetic. We decided to enlarge the coop and remove the planter in the original plans to accommodate more chickens while keeping the original footprint. Instead of plywood, we used cedar reclaimed from an old fence we had recently replaced. We also enlarged the rear door to make clean-out as easy as possible. I cut pieces of polycarbonate to fit inside the door and windows to winterize the coop when temps drop below freezing. The run is designed to follow the shape of the coop and is large enough to give our 5 chickens plenty of space to roam when they aren’t free ranging in the yard. The planter box runs the length of the chicken run, providing plants to munch on inside and shady vines that will eventually cover the outside.

Comments

Reclaimed Wood Farmhouse Table

Submitted by Tanjia on Wed, 05/11/2011 - 19:31

I managed to score some reclaimed wood when my neighbours tore down their deck. I don't know that I would ever try to build any more indoor furniture from reclaimed wood because it was tough! Much of the wood was warped. I worked on this table for weeks and I was not very happy with it. I was whining on the Knock-Off Wood page on Facebook and Ana encouraged me to finish it. I still think I might build another dining table this summer but I learned a lot from building this table.

Estimated Cost
About $10 (screws and one 2 x 4)
Estimated Time Investment
Week Long Project (20 Hours or More)
Finish Used
I made my own stain by mixing some left over paints with water. I love how the stain on the top of the table turned out! I poly'd over the top. 3 coats I think.
Recommended Skill Level
Beginner

Changing Table

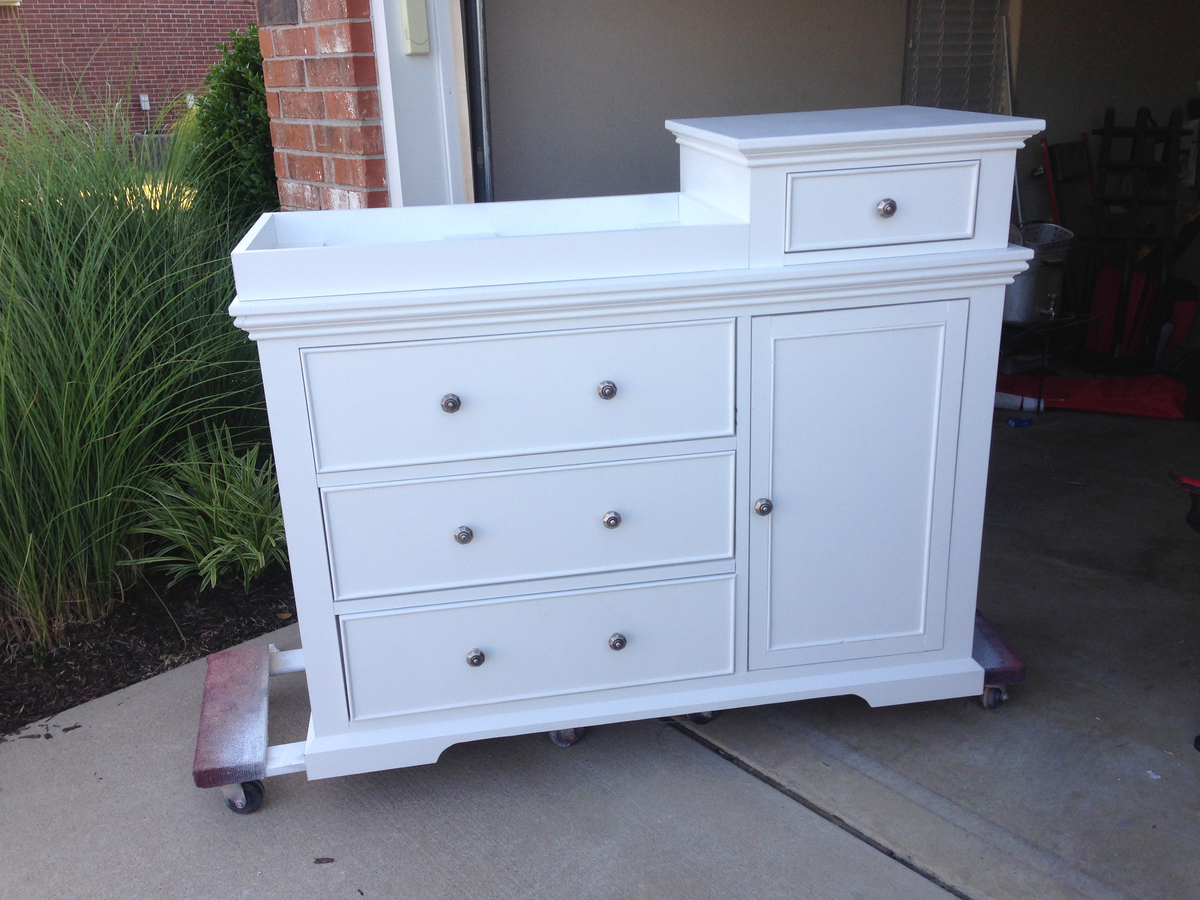
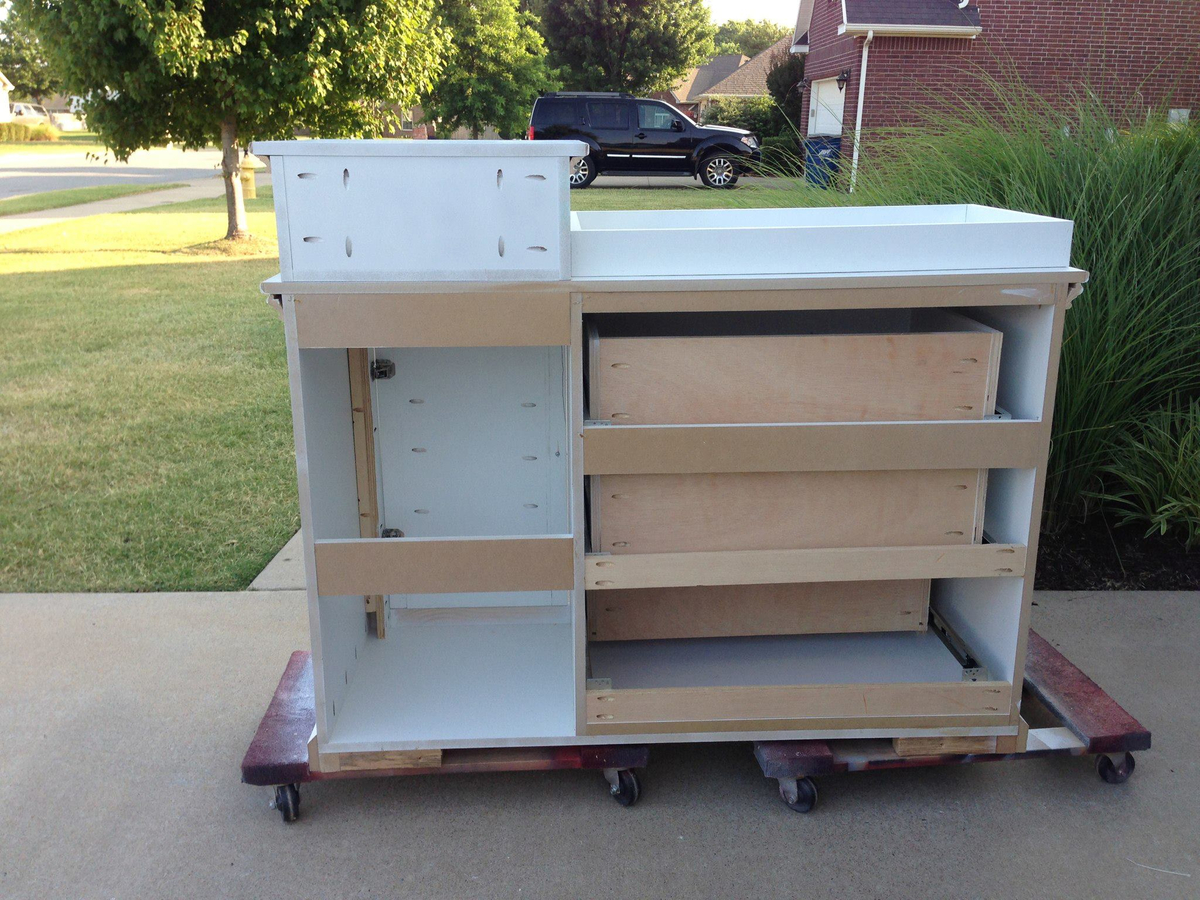
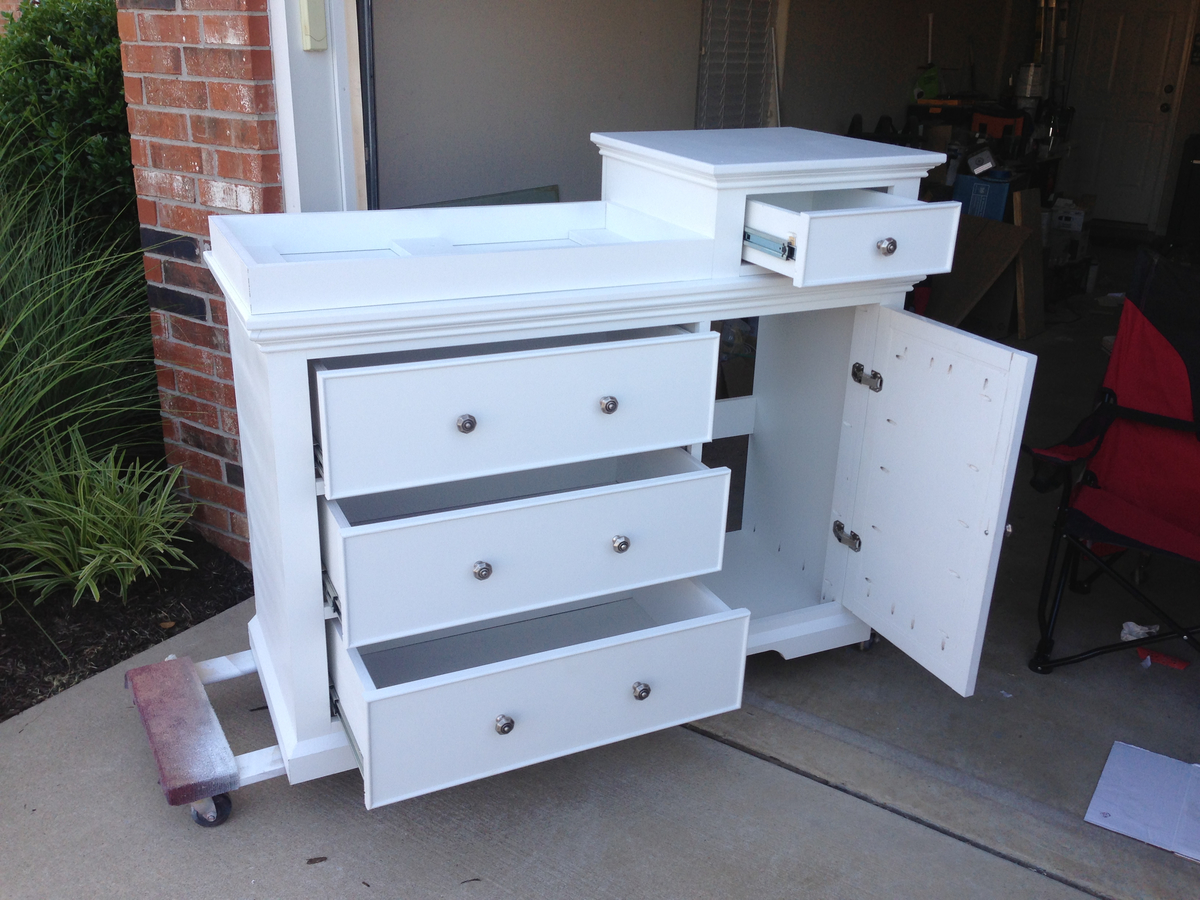
My wife liked the PB Larking High/Low table, but I didn't like the price. Took about 3 weeks of evenings and weekends.

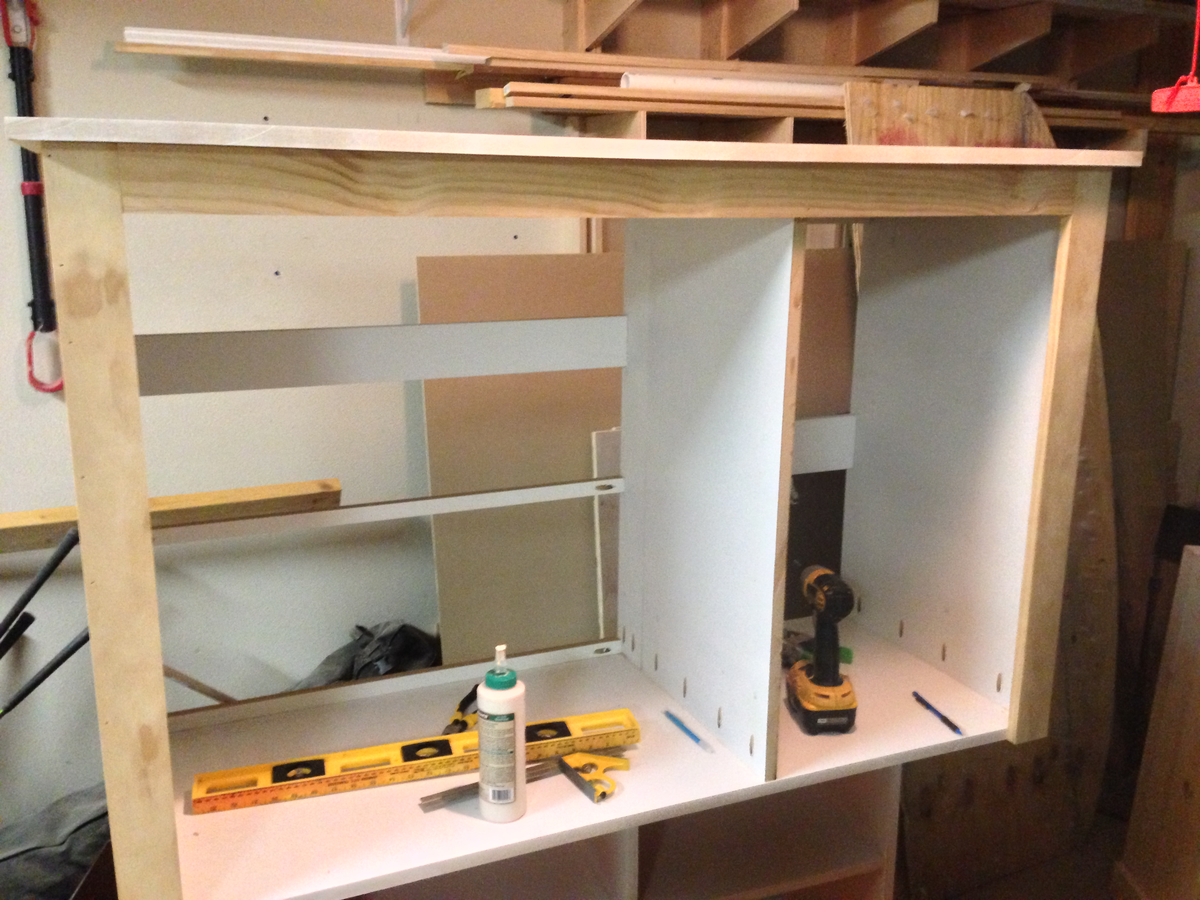
Used 3/4" MDF Panels for sides, bottom, and top
used 3/4" select Pine for face frame
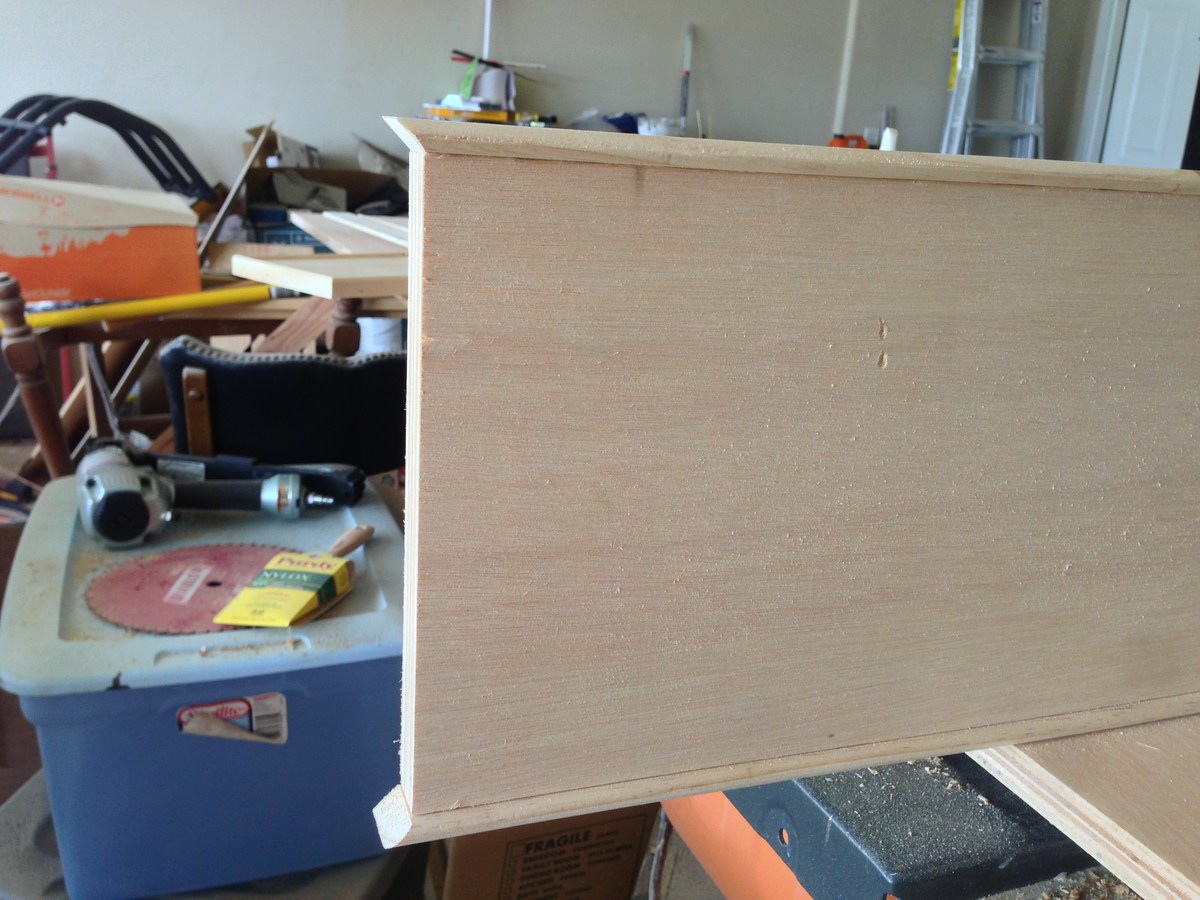
used 3/4" smooth plywood for drawer faces.
cut additional pine strips at 15/16" and then routed one edge for trim work around drawer face.
same process for right side door, but added 1 1/2" pine to trim along sides and bottom
Attached 2x4's to bottom of table and then covered with MDF panel for skirt.
Skirt is an 1/8" raised from floor to give space for carpet and not cause stress on skirt
used a jig saw on front of skirt for cutout
used decorative molding for under the table top lip, you'll need to figure out your overhang for whatever molding you use.
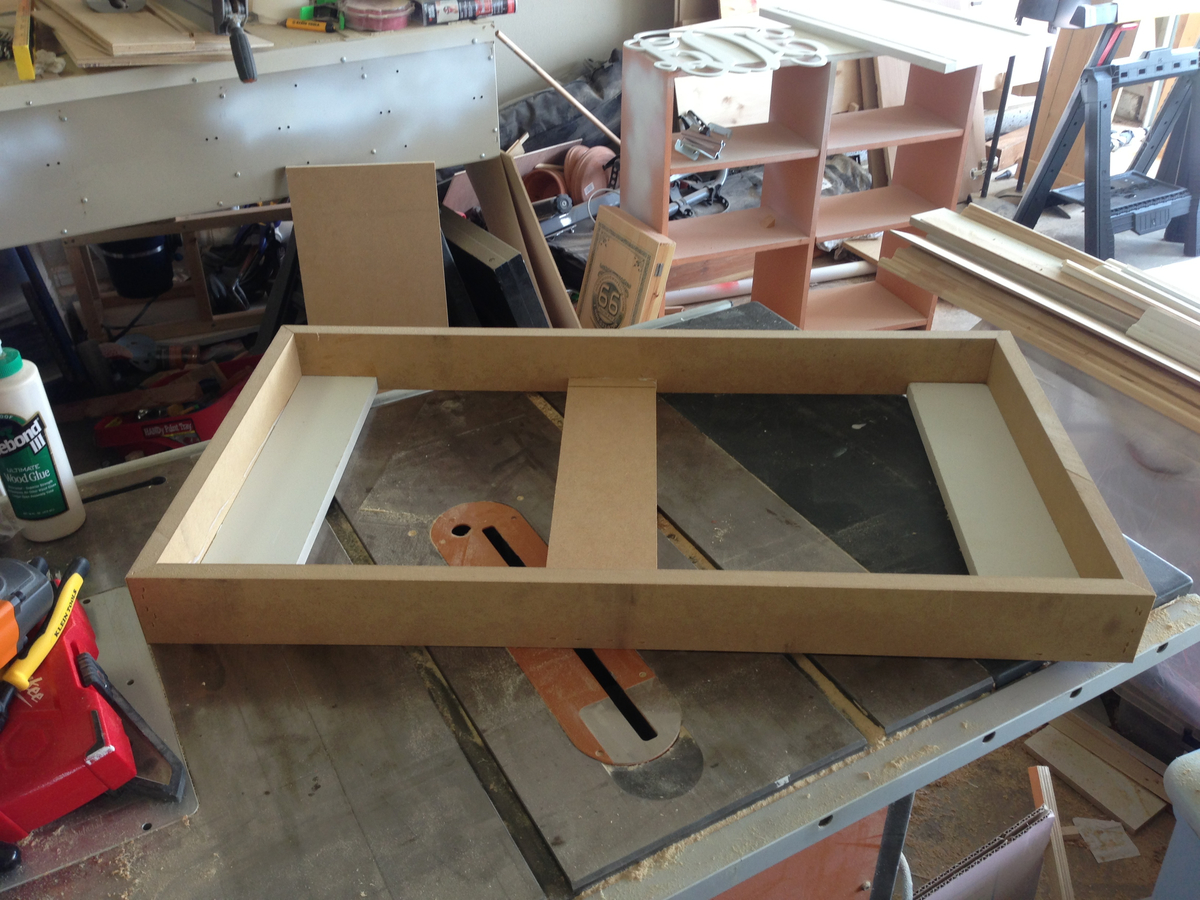
Used MDF for the changing pad holder. about 3 inches tall and then cut to dimensions of pad.
Topper on the right is just a miniature of the full table, from a contraction perspective.

My dimensions are slightly customized from the below.

Changing Table
Overall: 55" wide x 21" deep x 44" high
Dresser Cabinet: 15" wide x 19" deep x 23" high
Dresser Drawer (3): 31" wide x 18" deep x 7" high
Small Top Drawer (1): 11.5" wide x 15" deep x 5" high

Topper
Overall: 34" wide x 17.5" deep x 3" high
Topper drawer inside small cabinet: 16.5" wide x 11.5" deep x 5" high
Estimated Time Investment
Week Long Project (20 Hours or More)
Finish Used
sprayed Sherwin Williams Extra White Pro Classic.
Recommended Skill Level
Starter Project

Comments

bluesboy5

Tue, 07/09/2013 - 20:15

if you have a plan or at least dimensions and material list for this project, i believe many people including myself would love to try this one. My wife is due in Oct and would love me to build this for out nursery.

Thanks and great job

numba1vennda

Fri, 07/12/2013 - 14:40

Glad she likes it. I have a ton of pics, but only able to post a few here. I tried to add some more detail on my post as well. Basically I looked at the Pottery Barn Kids Larkin High/low Table. When to the store and took some pics, then sat down, drew it out and started building it. I wish I would have done the skirt out of a solid piece of wood instead of MDF, because I'm pretty sure it's gonna get banged around and not hold up as well.

Babylove

Mon, 09/16/2013 - 15:57

OMG! Amazing! I've been looking at this changing table the last 2 months at pottery barn but so expensive.

Would you be kind enough and email me the plan? My husband said if I can get the plan for him he will make it for me!
Thank you! ❤

theblade88

Mon, 01/20/2014 - 08:25

Awesome job!!! My wife is in love with this changing table and we just found out PBkids is discontinuing this line of furniture. She's due in August so this may be a good project for me between now and then. If you have plans or more pics I'd absolutely love it if you'd share them
Thanks

rdsport

Thu, 01/30/2014 - 21:26

If possible please email me the plans for your version of the Larkin PB hi low dressing table. My wife loves it but I don't want to spend that much money. Any help you can provide will be appreciated. Thanks!!