Play House
Made from plans on website. Granddaughters favorite color is purple so that's the theme. Siding and room match house.
Made from plans on website. Granddaughters favorite color is purple so that's the theme. Siding and room match house.
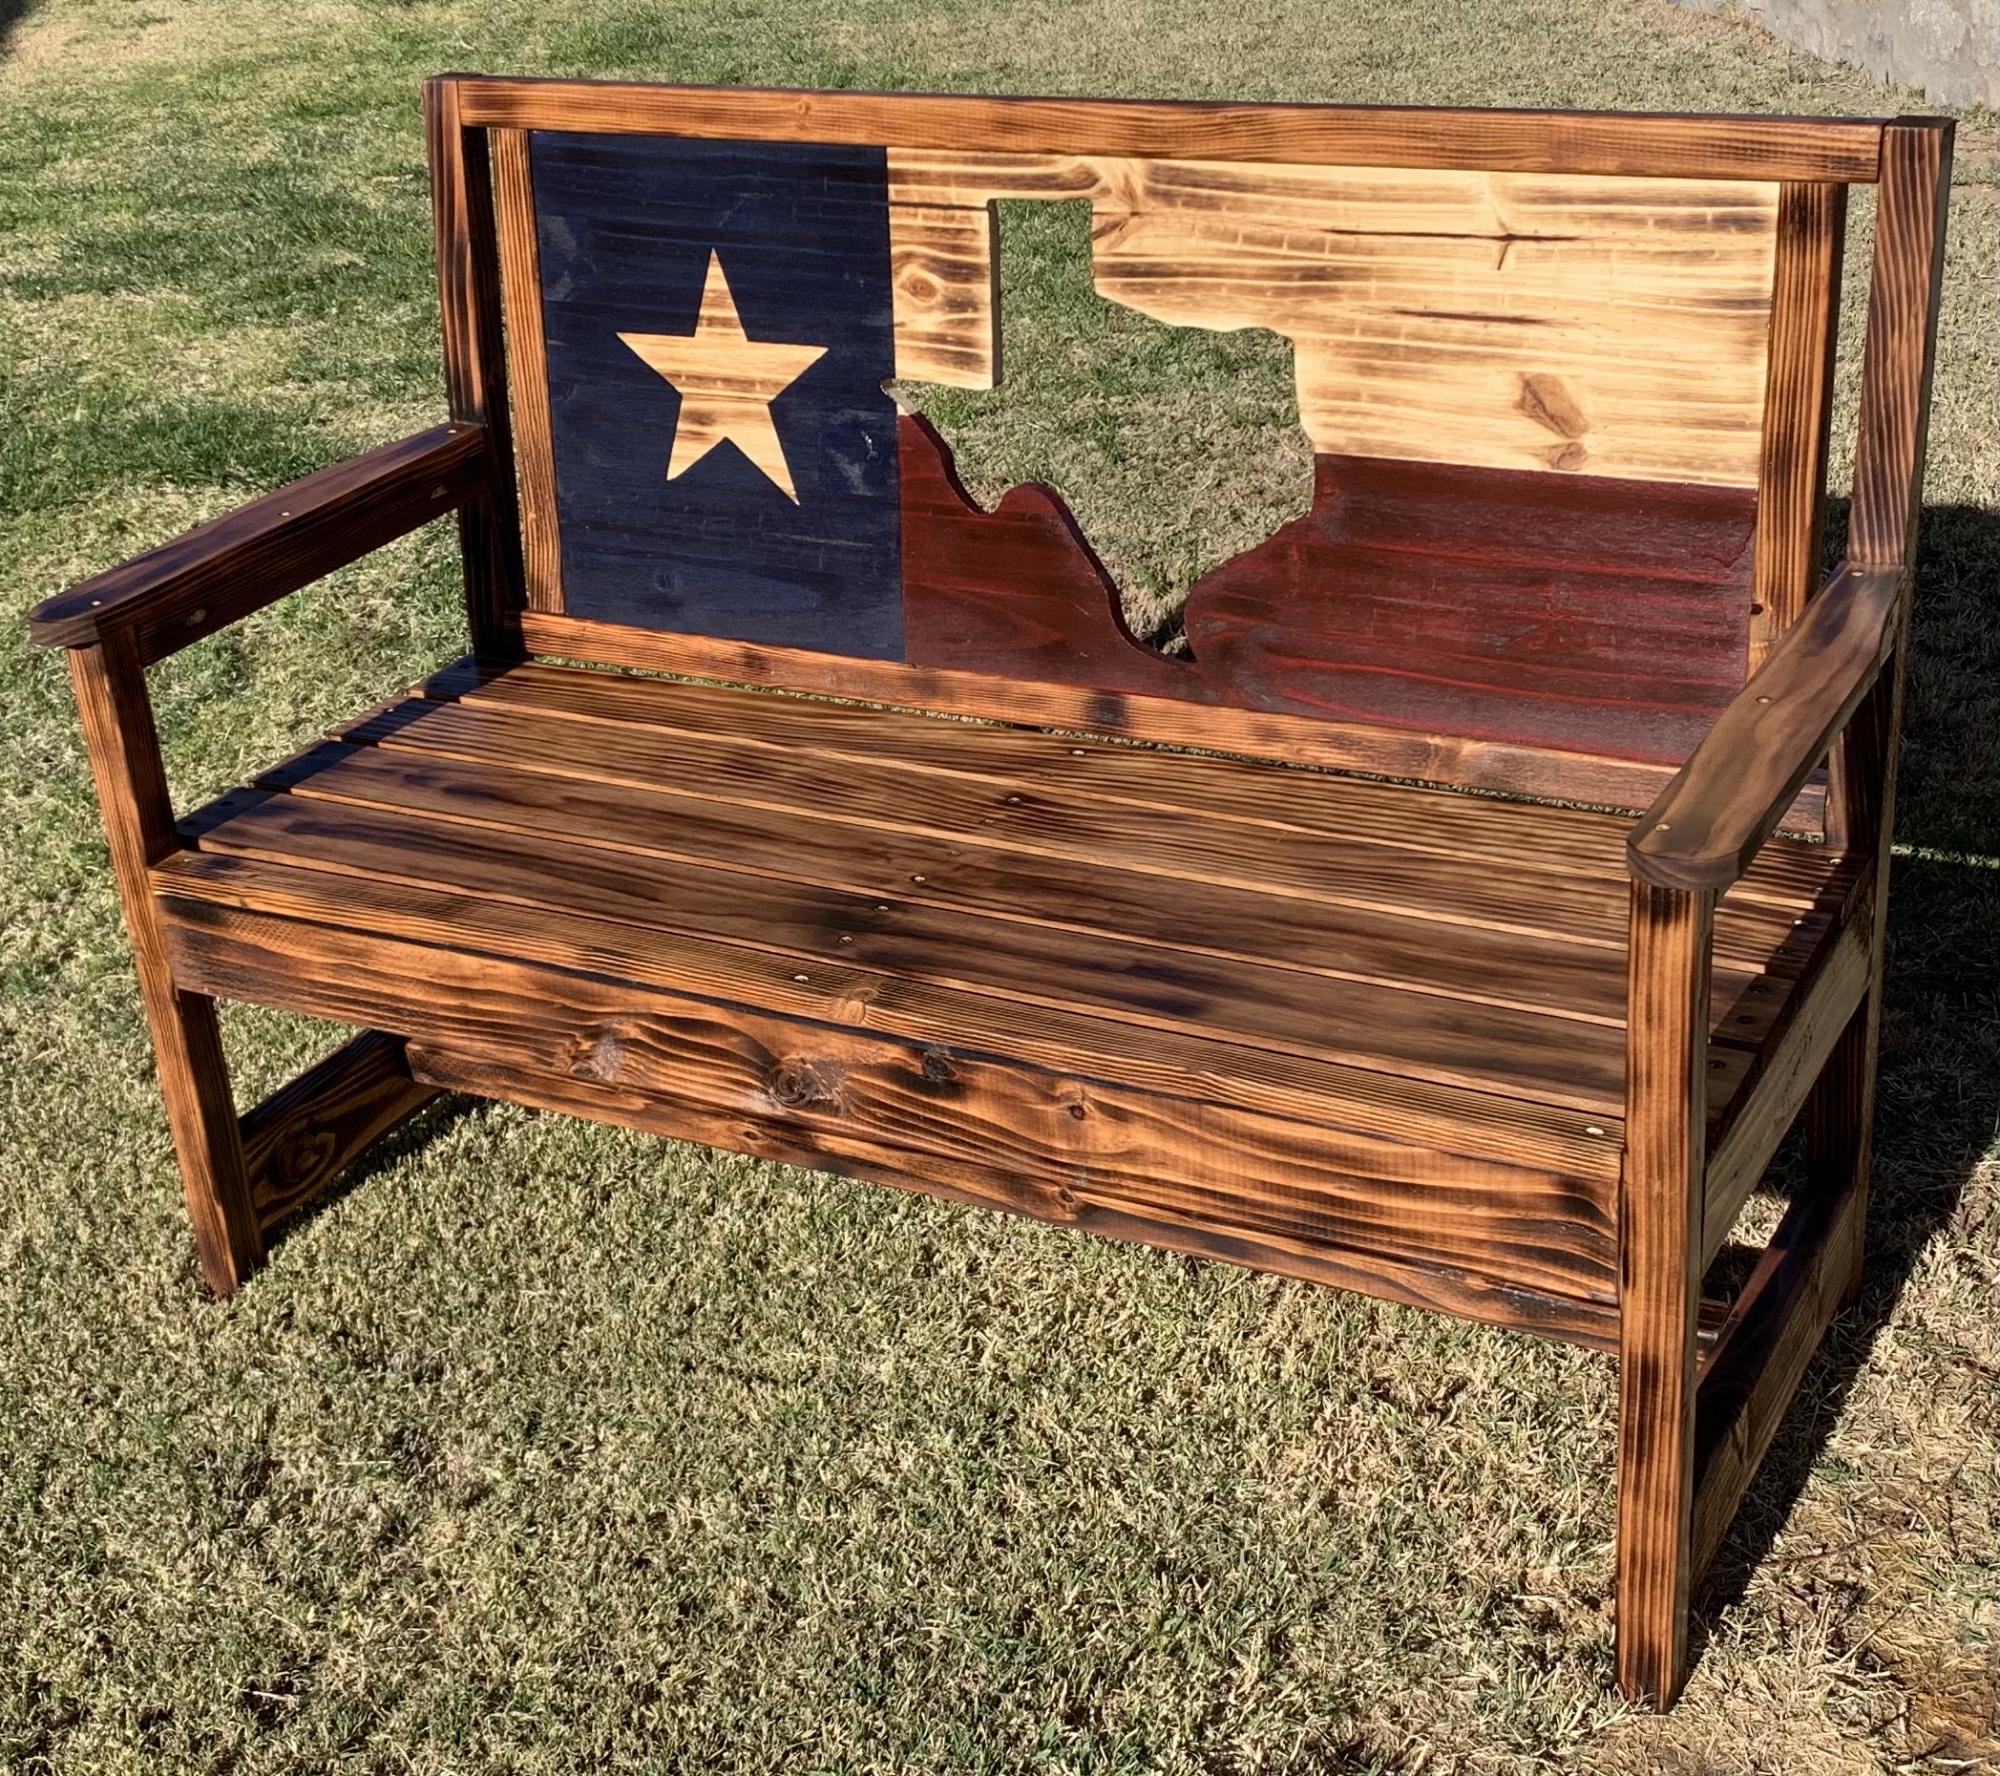
Modified the woven back bench plans to make this Texas Flag Bench. 48 inches wide.
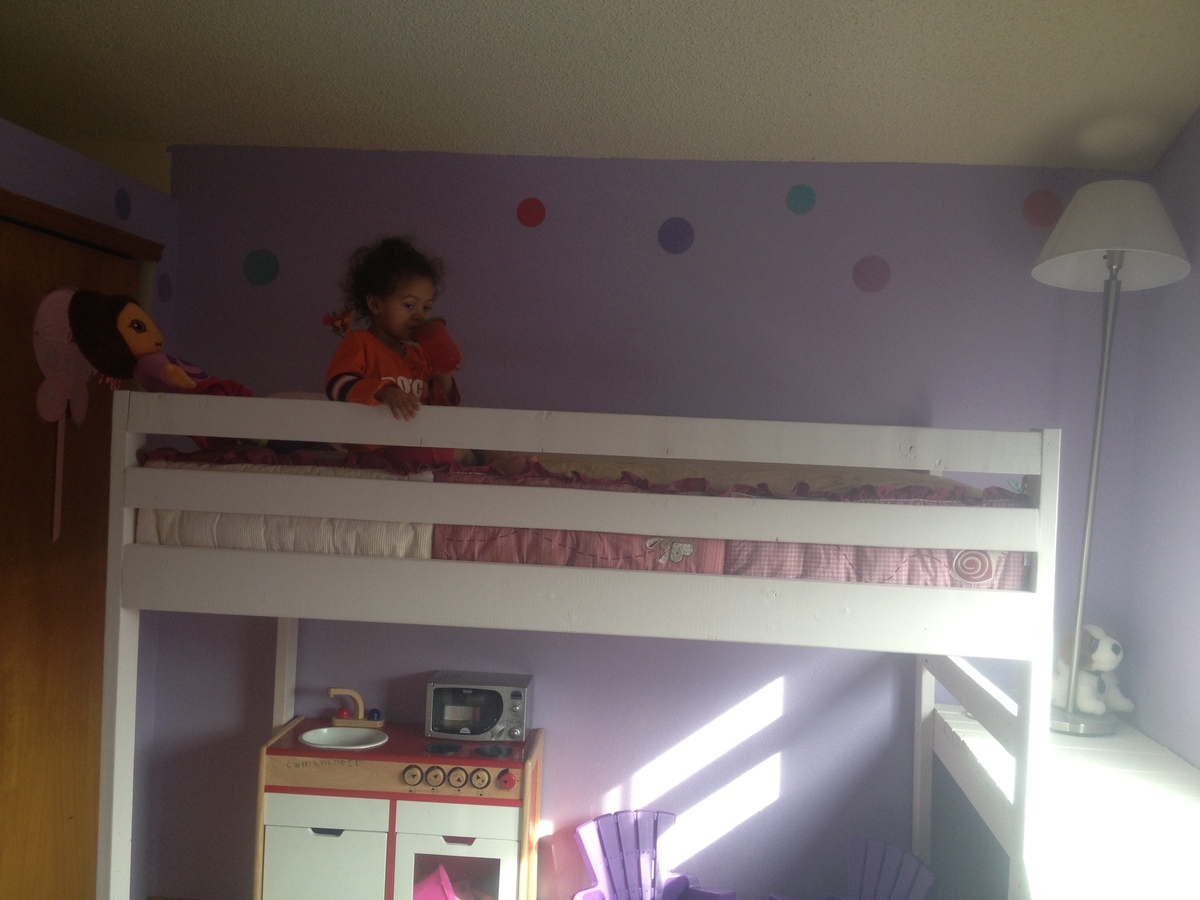
I used Ana's camp loft bed plans. Built it directly in the room since I had the kiddo's with me and hubby working late couldn't help carry pieces upstairs. Built this "big girl" bed for my three year old and she loves it. Hubby and Bro-in Law got the mattress and it was a little high for the plans, so I have since added a foldable side rail for extra security. Plans worked great as is, no changes made.
This is a replica of the Pottery Barn benchwright coffee table. I altered Ana's plans slightly by changing the design of the legs to be 2.25" by 2". I added full extension drawer slides. The finish is a combination of transtint shellac base coat, gel stain, transtint dye, and poly.
Wed, 02/11/2015 - 05:37
This looks so professional and just like the real Potter Barn table! Great job!
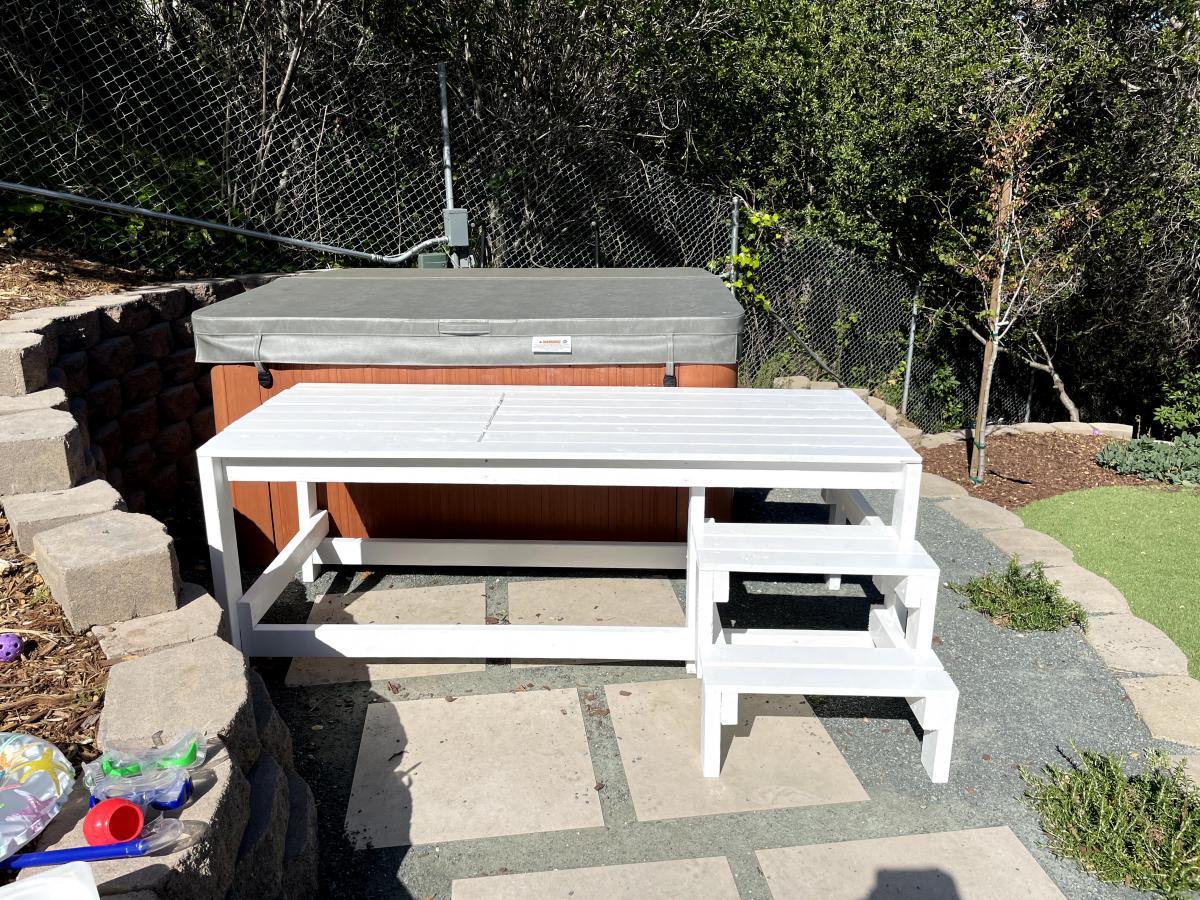
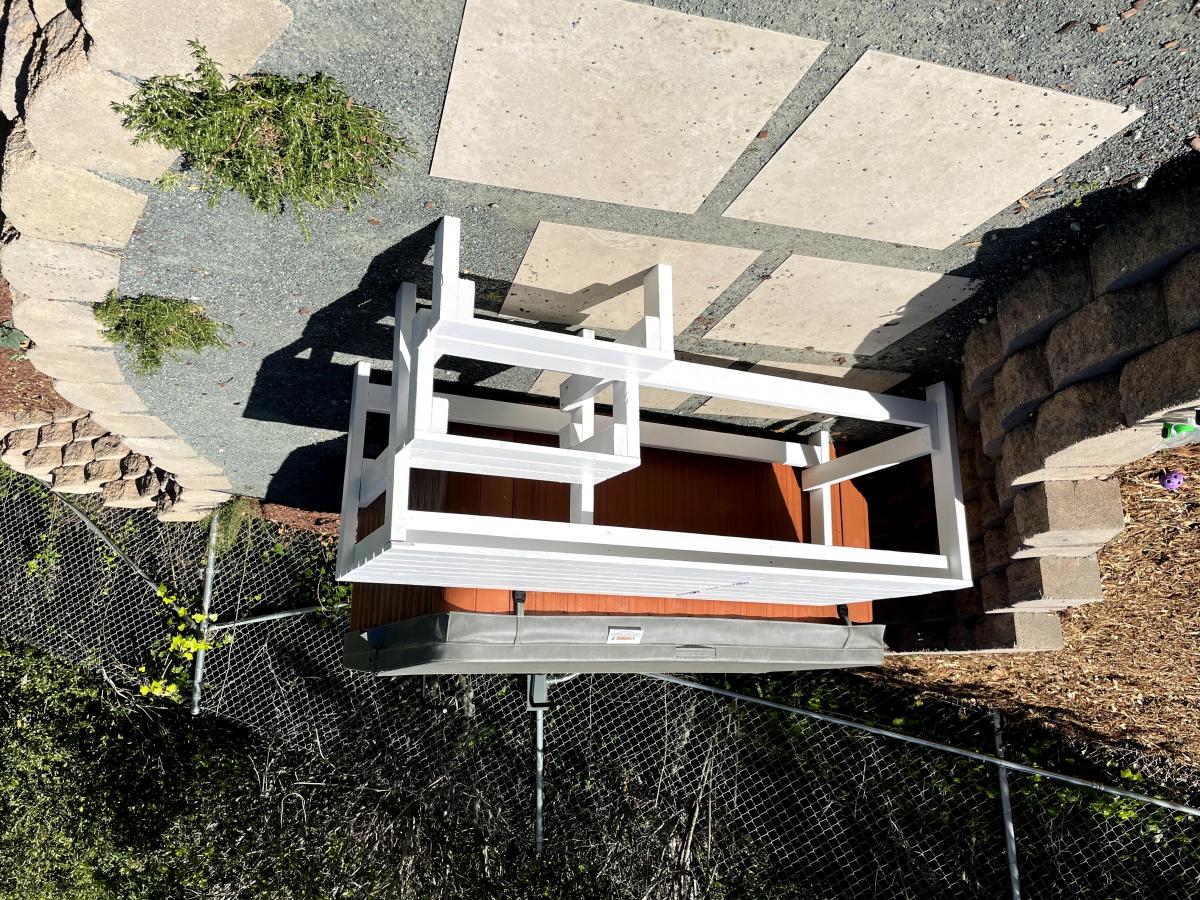
I changed the entrance from the front to the end and added the steps.
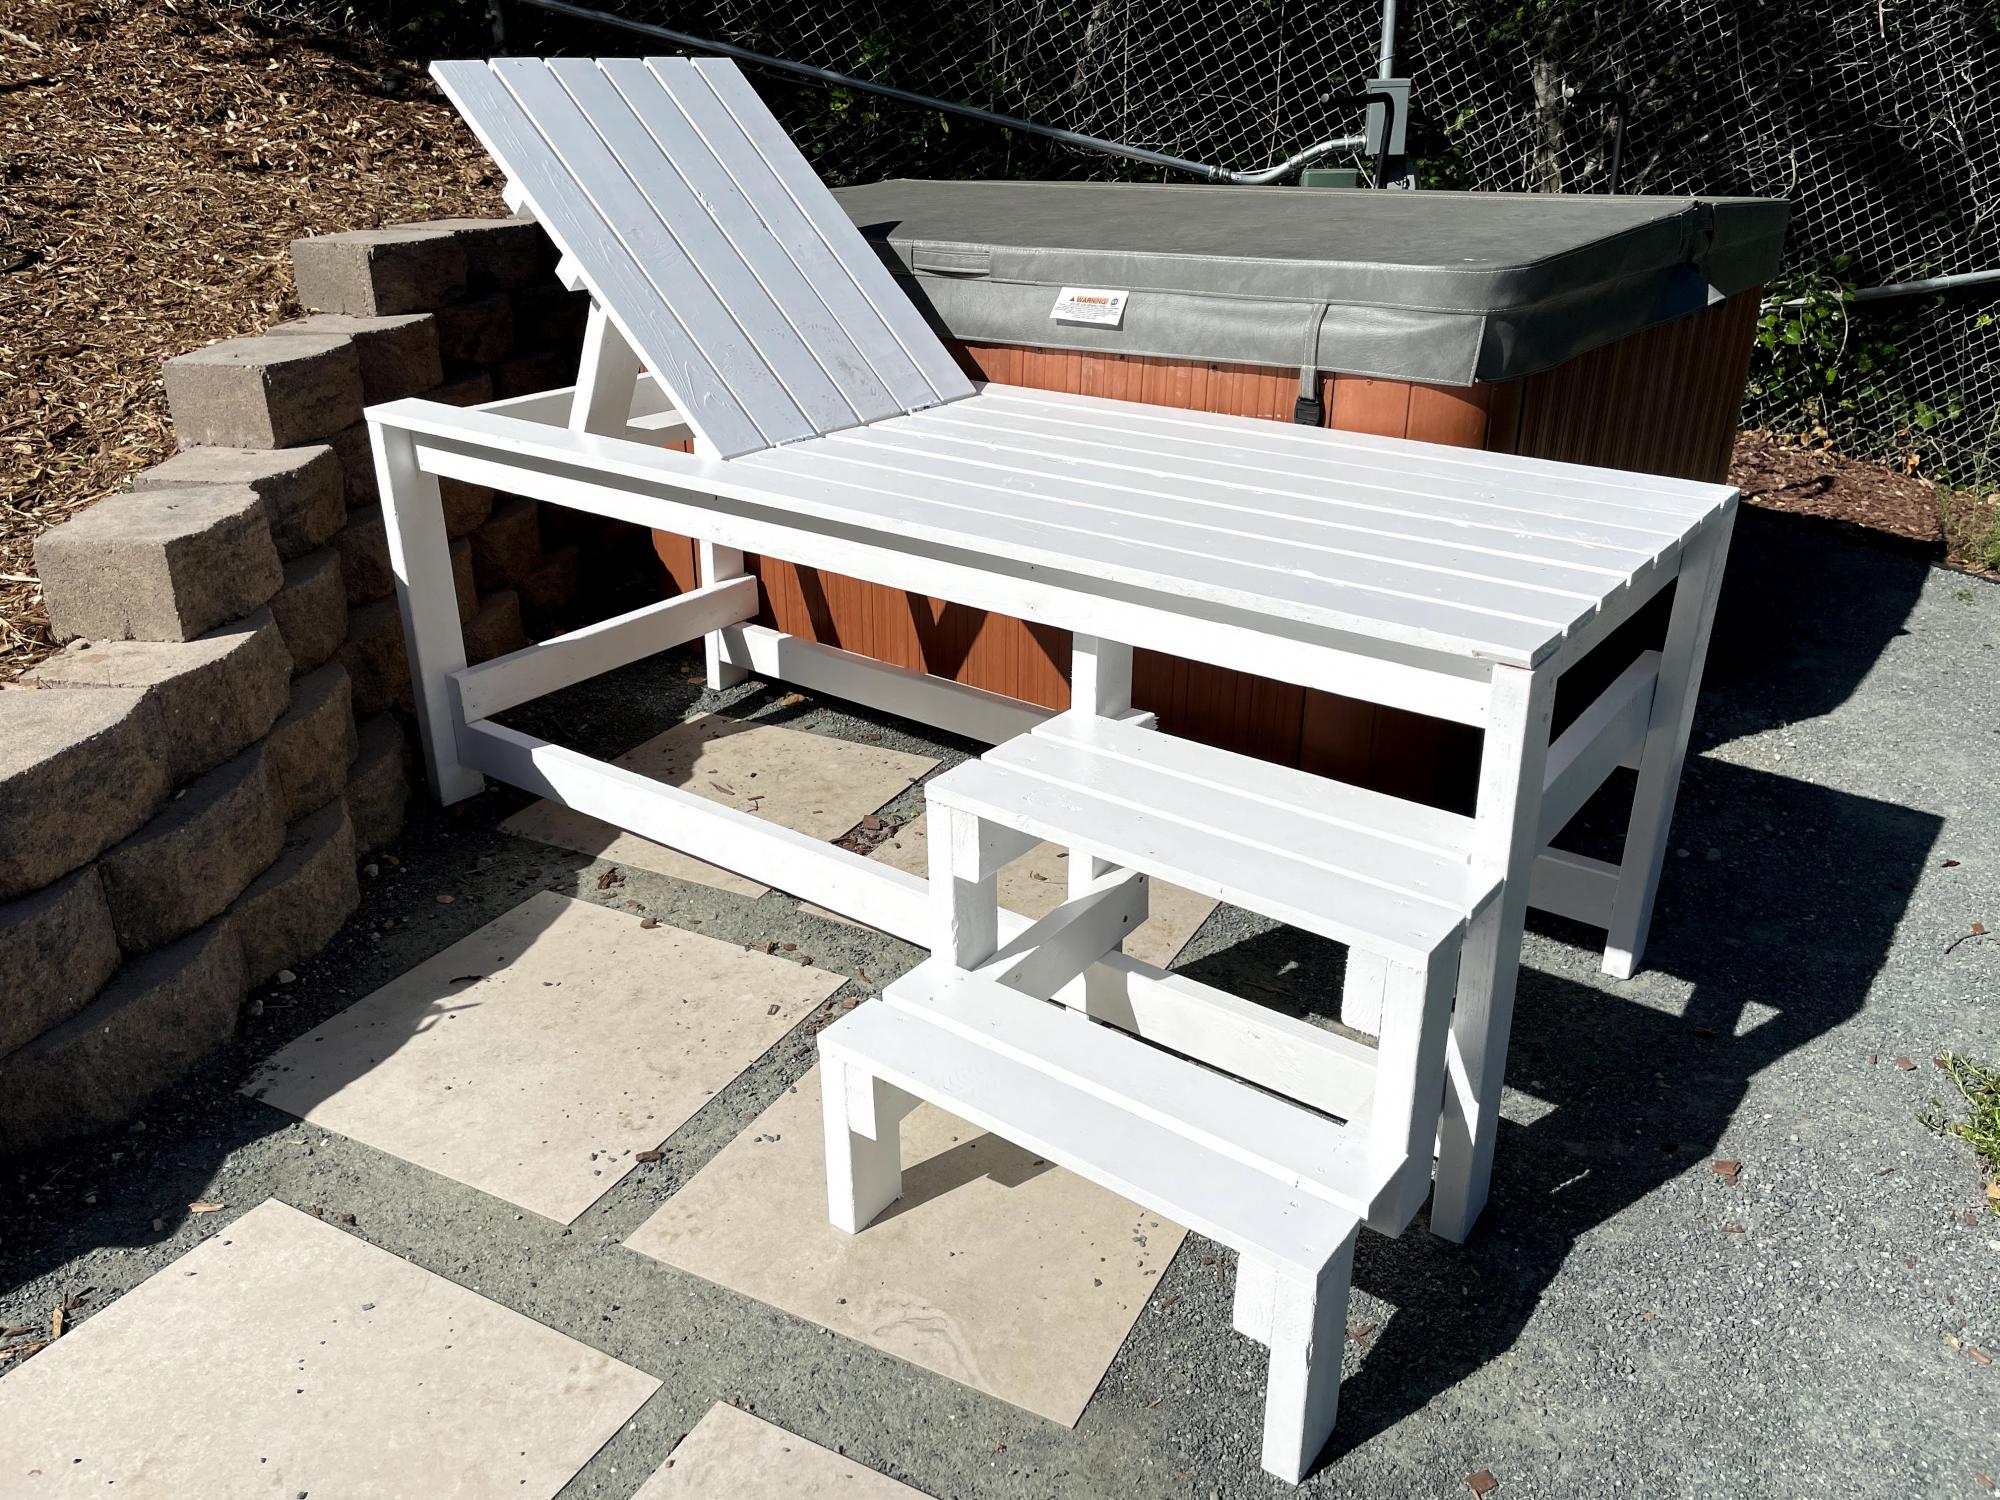
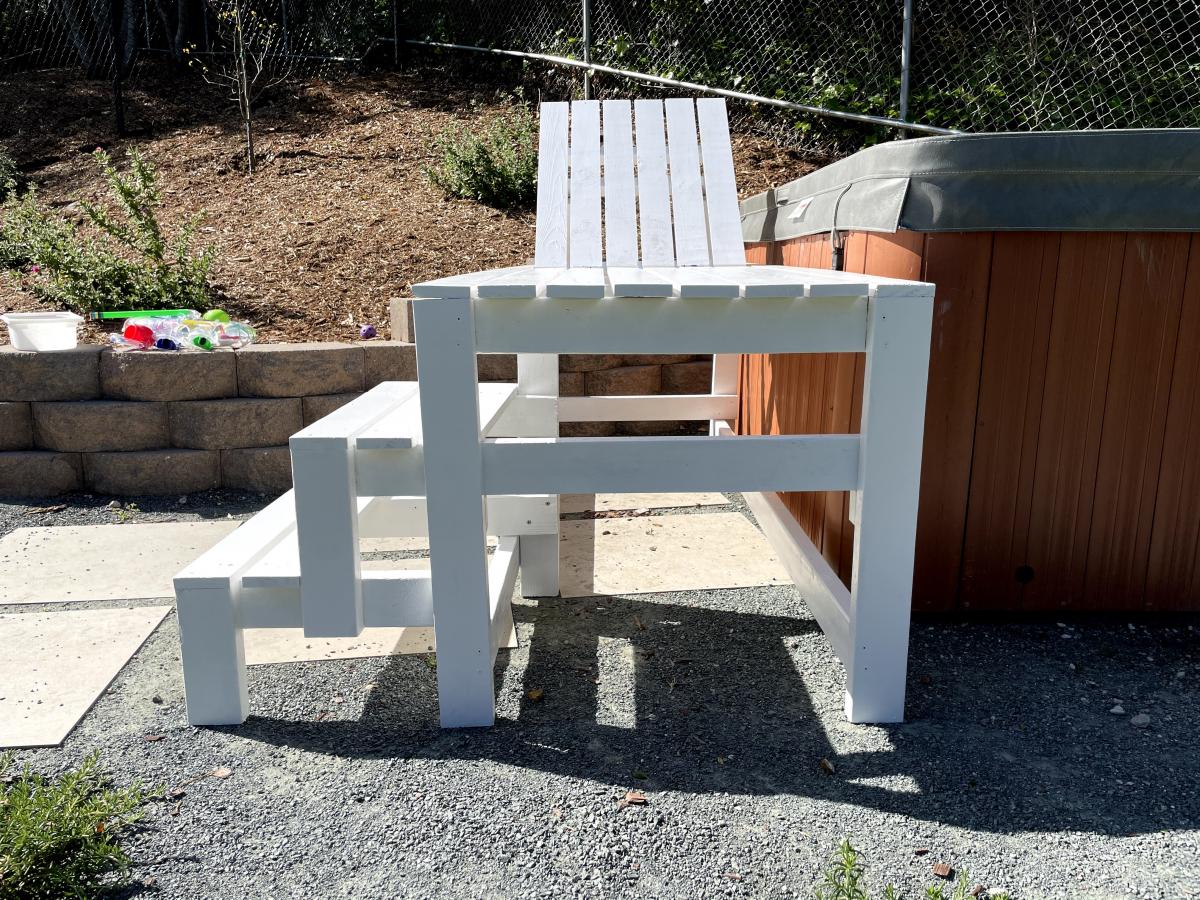
I saw the lounger that Ana posted https://www.ana-white.com/woodworking-projects/modern-single-outdoor-ch… and thought it would be really nice to have that near the hot tub. Combine that with the need for some kind of platform for the kids to get in and out of the hot tub and voila! The Chaise Lounge with Steps for Hot Tub.
All I did was extend the 2x4 legs to 28" to give the lounger enough height to act as a platform. Raising it required an extra set of 2x4s lower down for lateral stability. The steps used a similar approach of 2x4s for the legs and cross supports with 1x4s for the tread.
Thanks for all the plans, Ana!
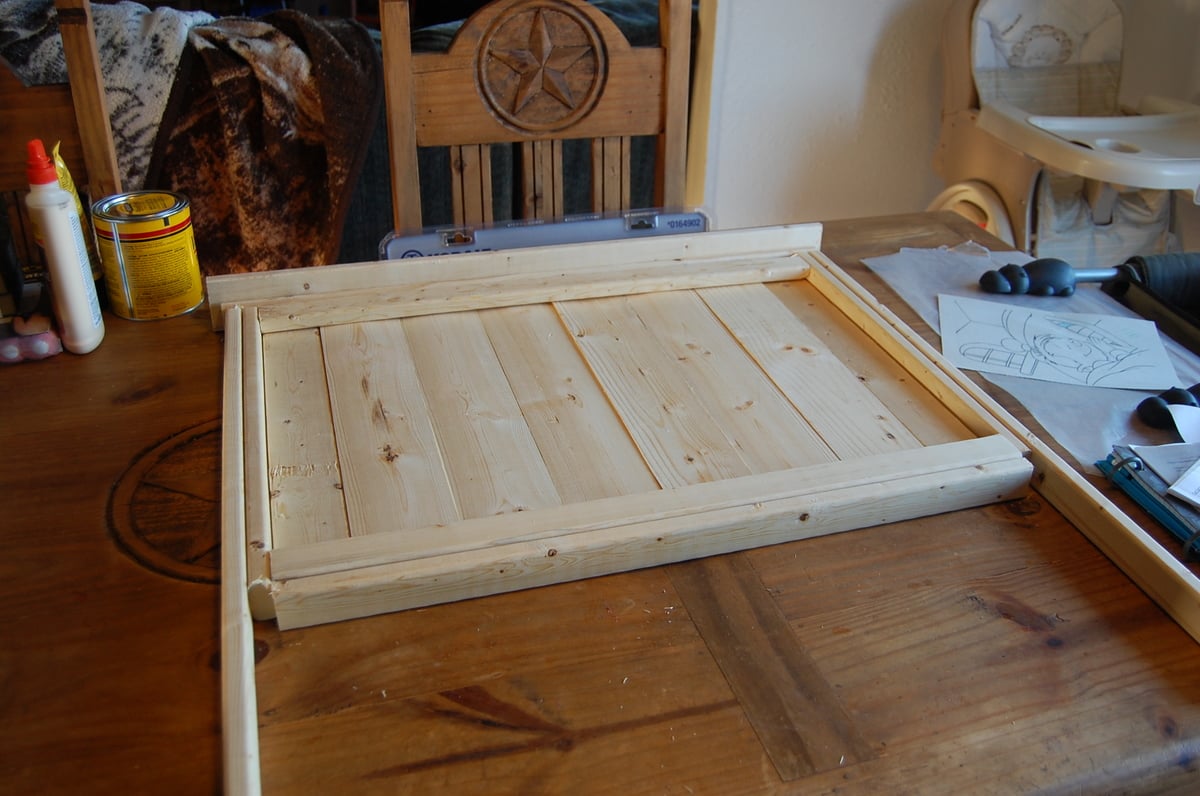
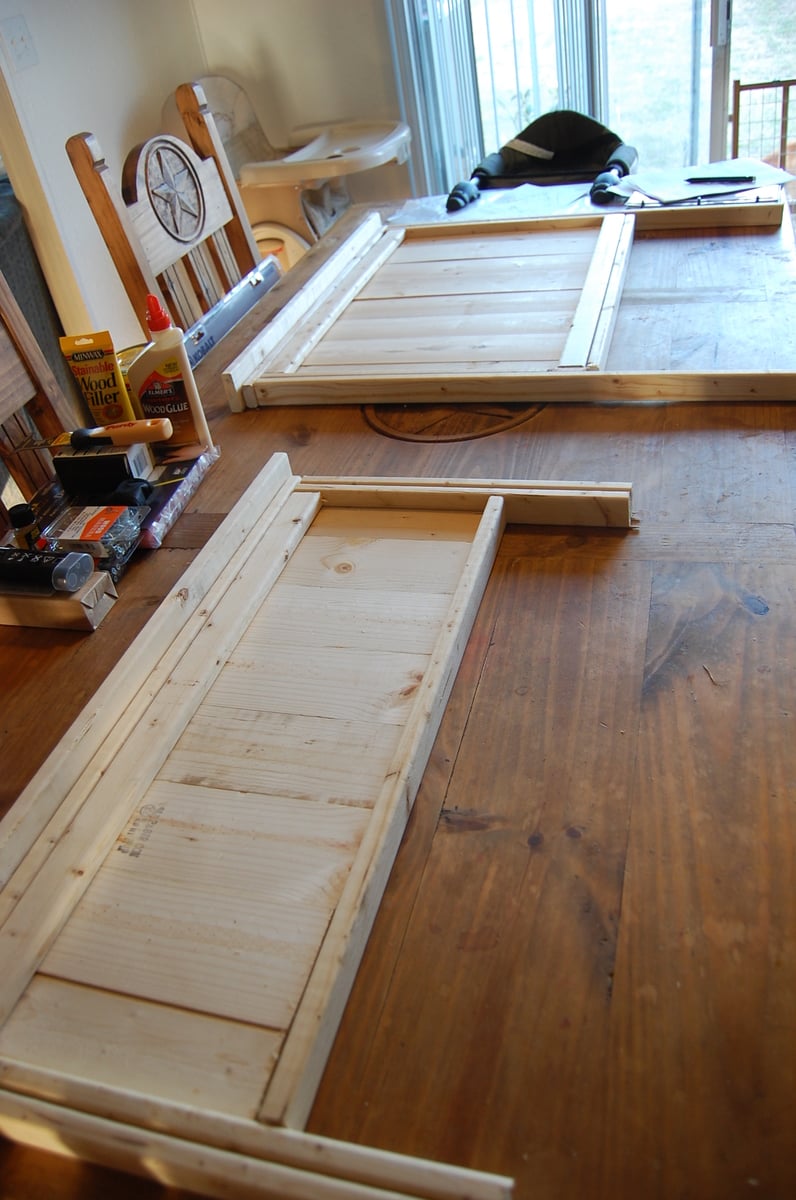
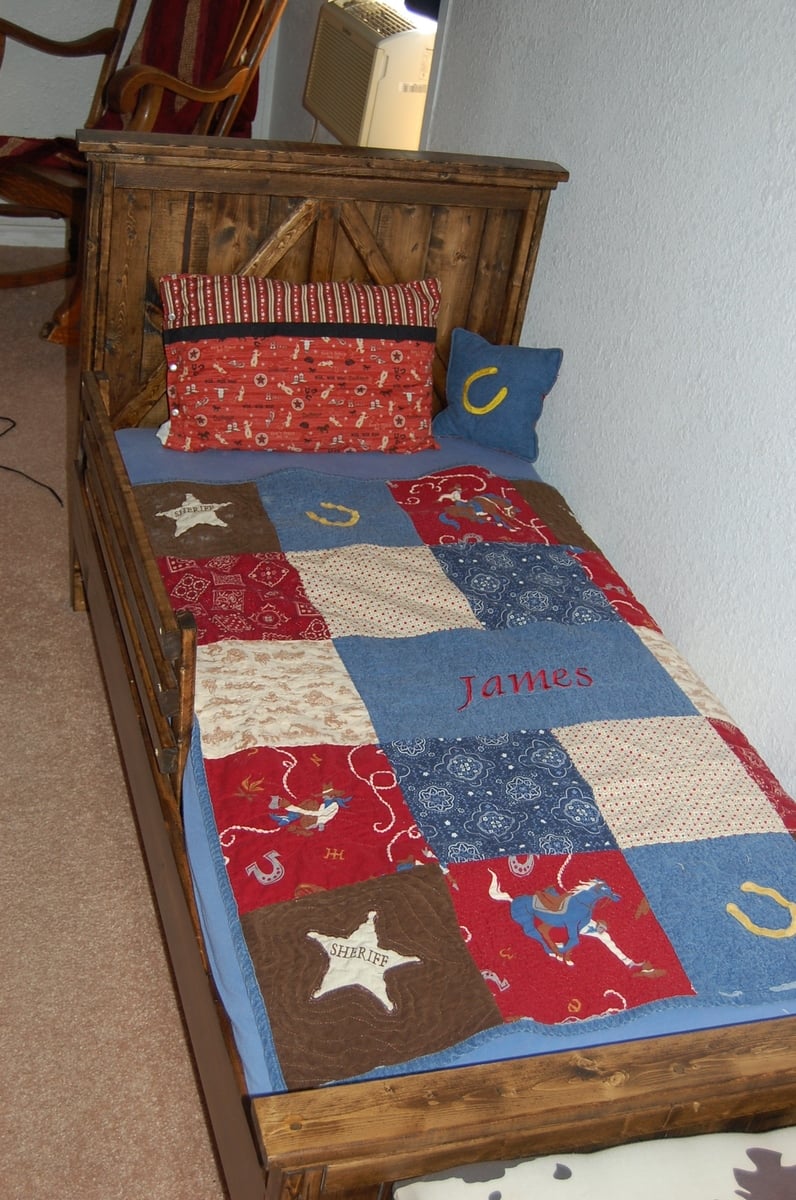
This is a cross between the Farmhouse toddler bed plans and the Brookstone storage bed. My youngest son's bedding was all western stuff that I had made and wanted a bed that did it justice. We combined the headboard from Brookstone with the Farmhouse plans. I think it looks pretty good considering it was our first project!
Shoe dresser with an additional row.
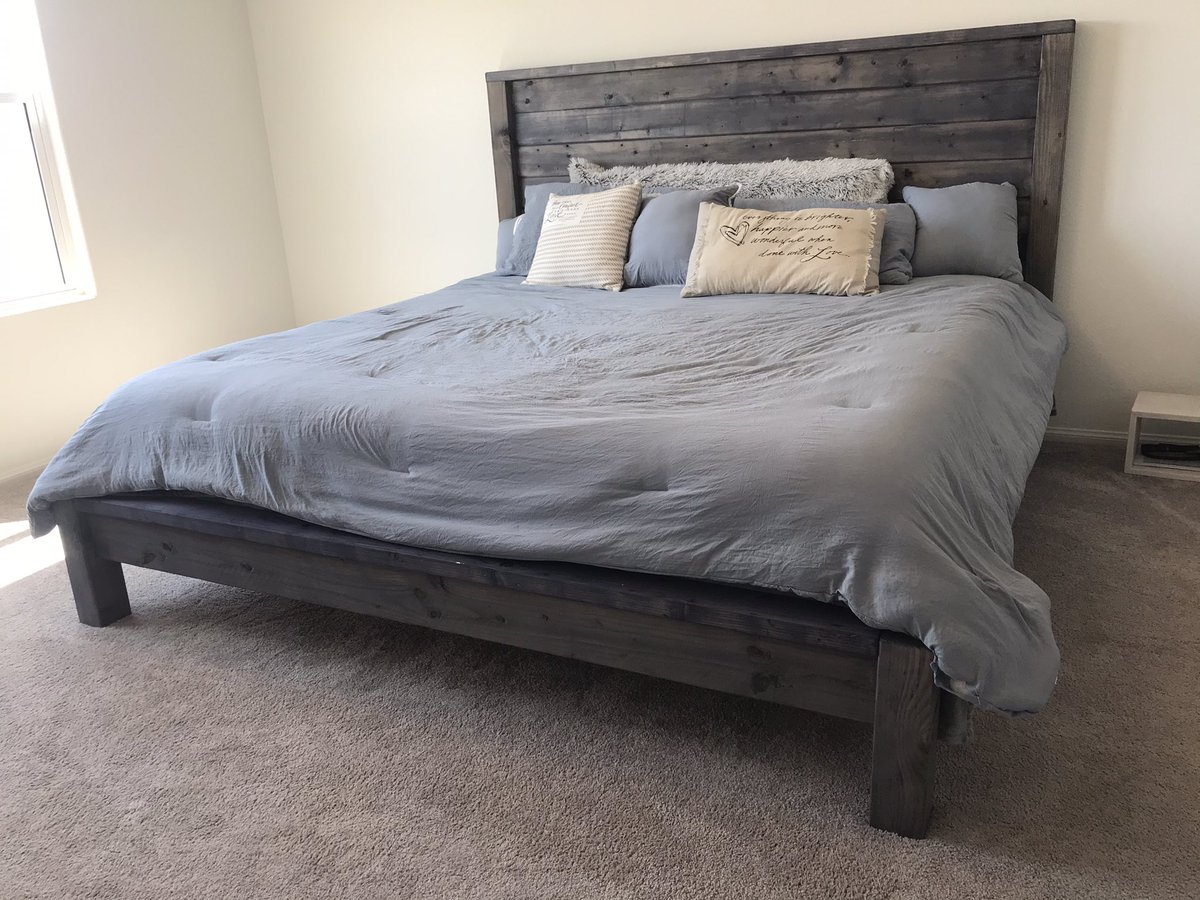
I built the modern farmhouse bed :)
So easy when you have the right tools. It is exactly what we needed. I can't wait for my next project!
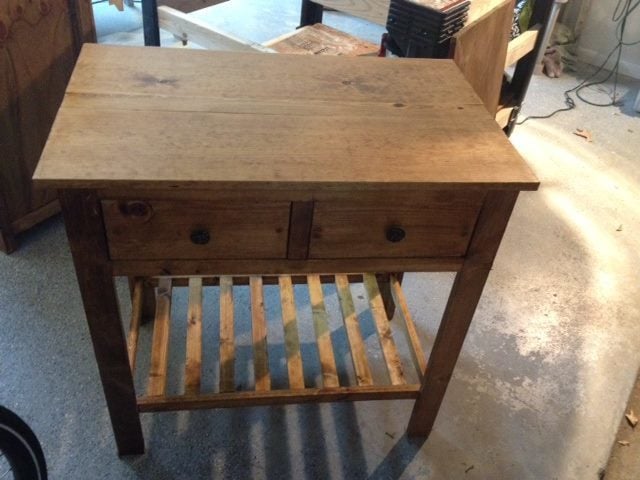
This is 2 different shirley console tables . I did both out of pine boards and golden oak stain. One I used wax on and the other poly.
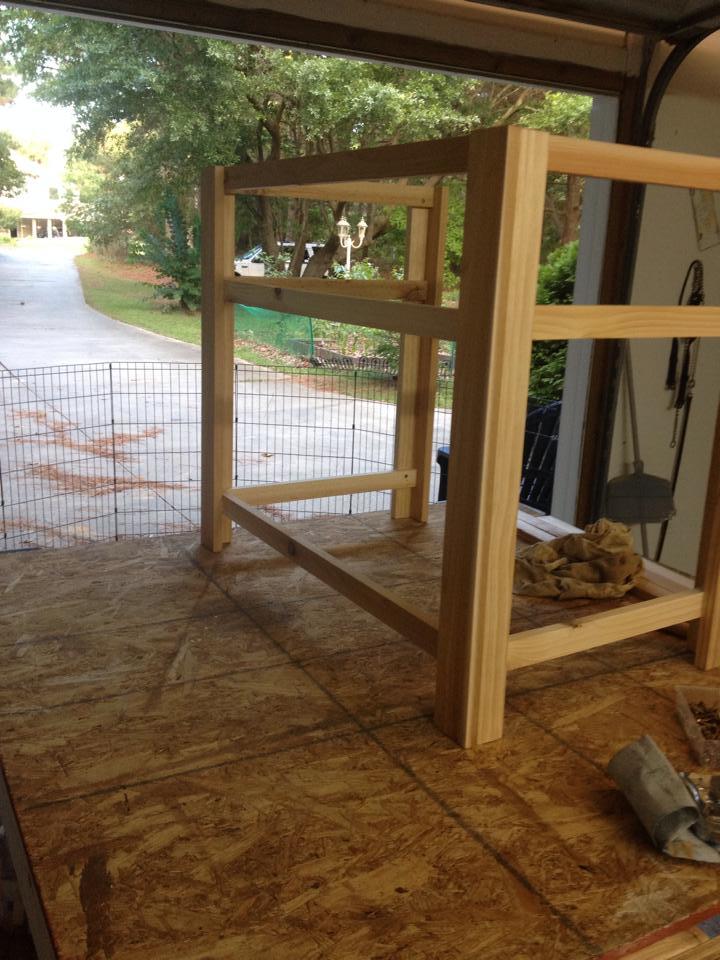
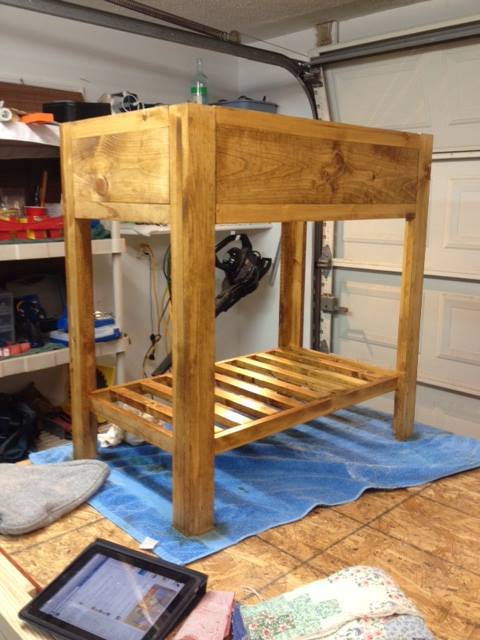
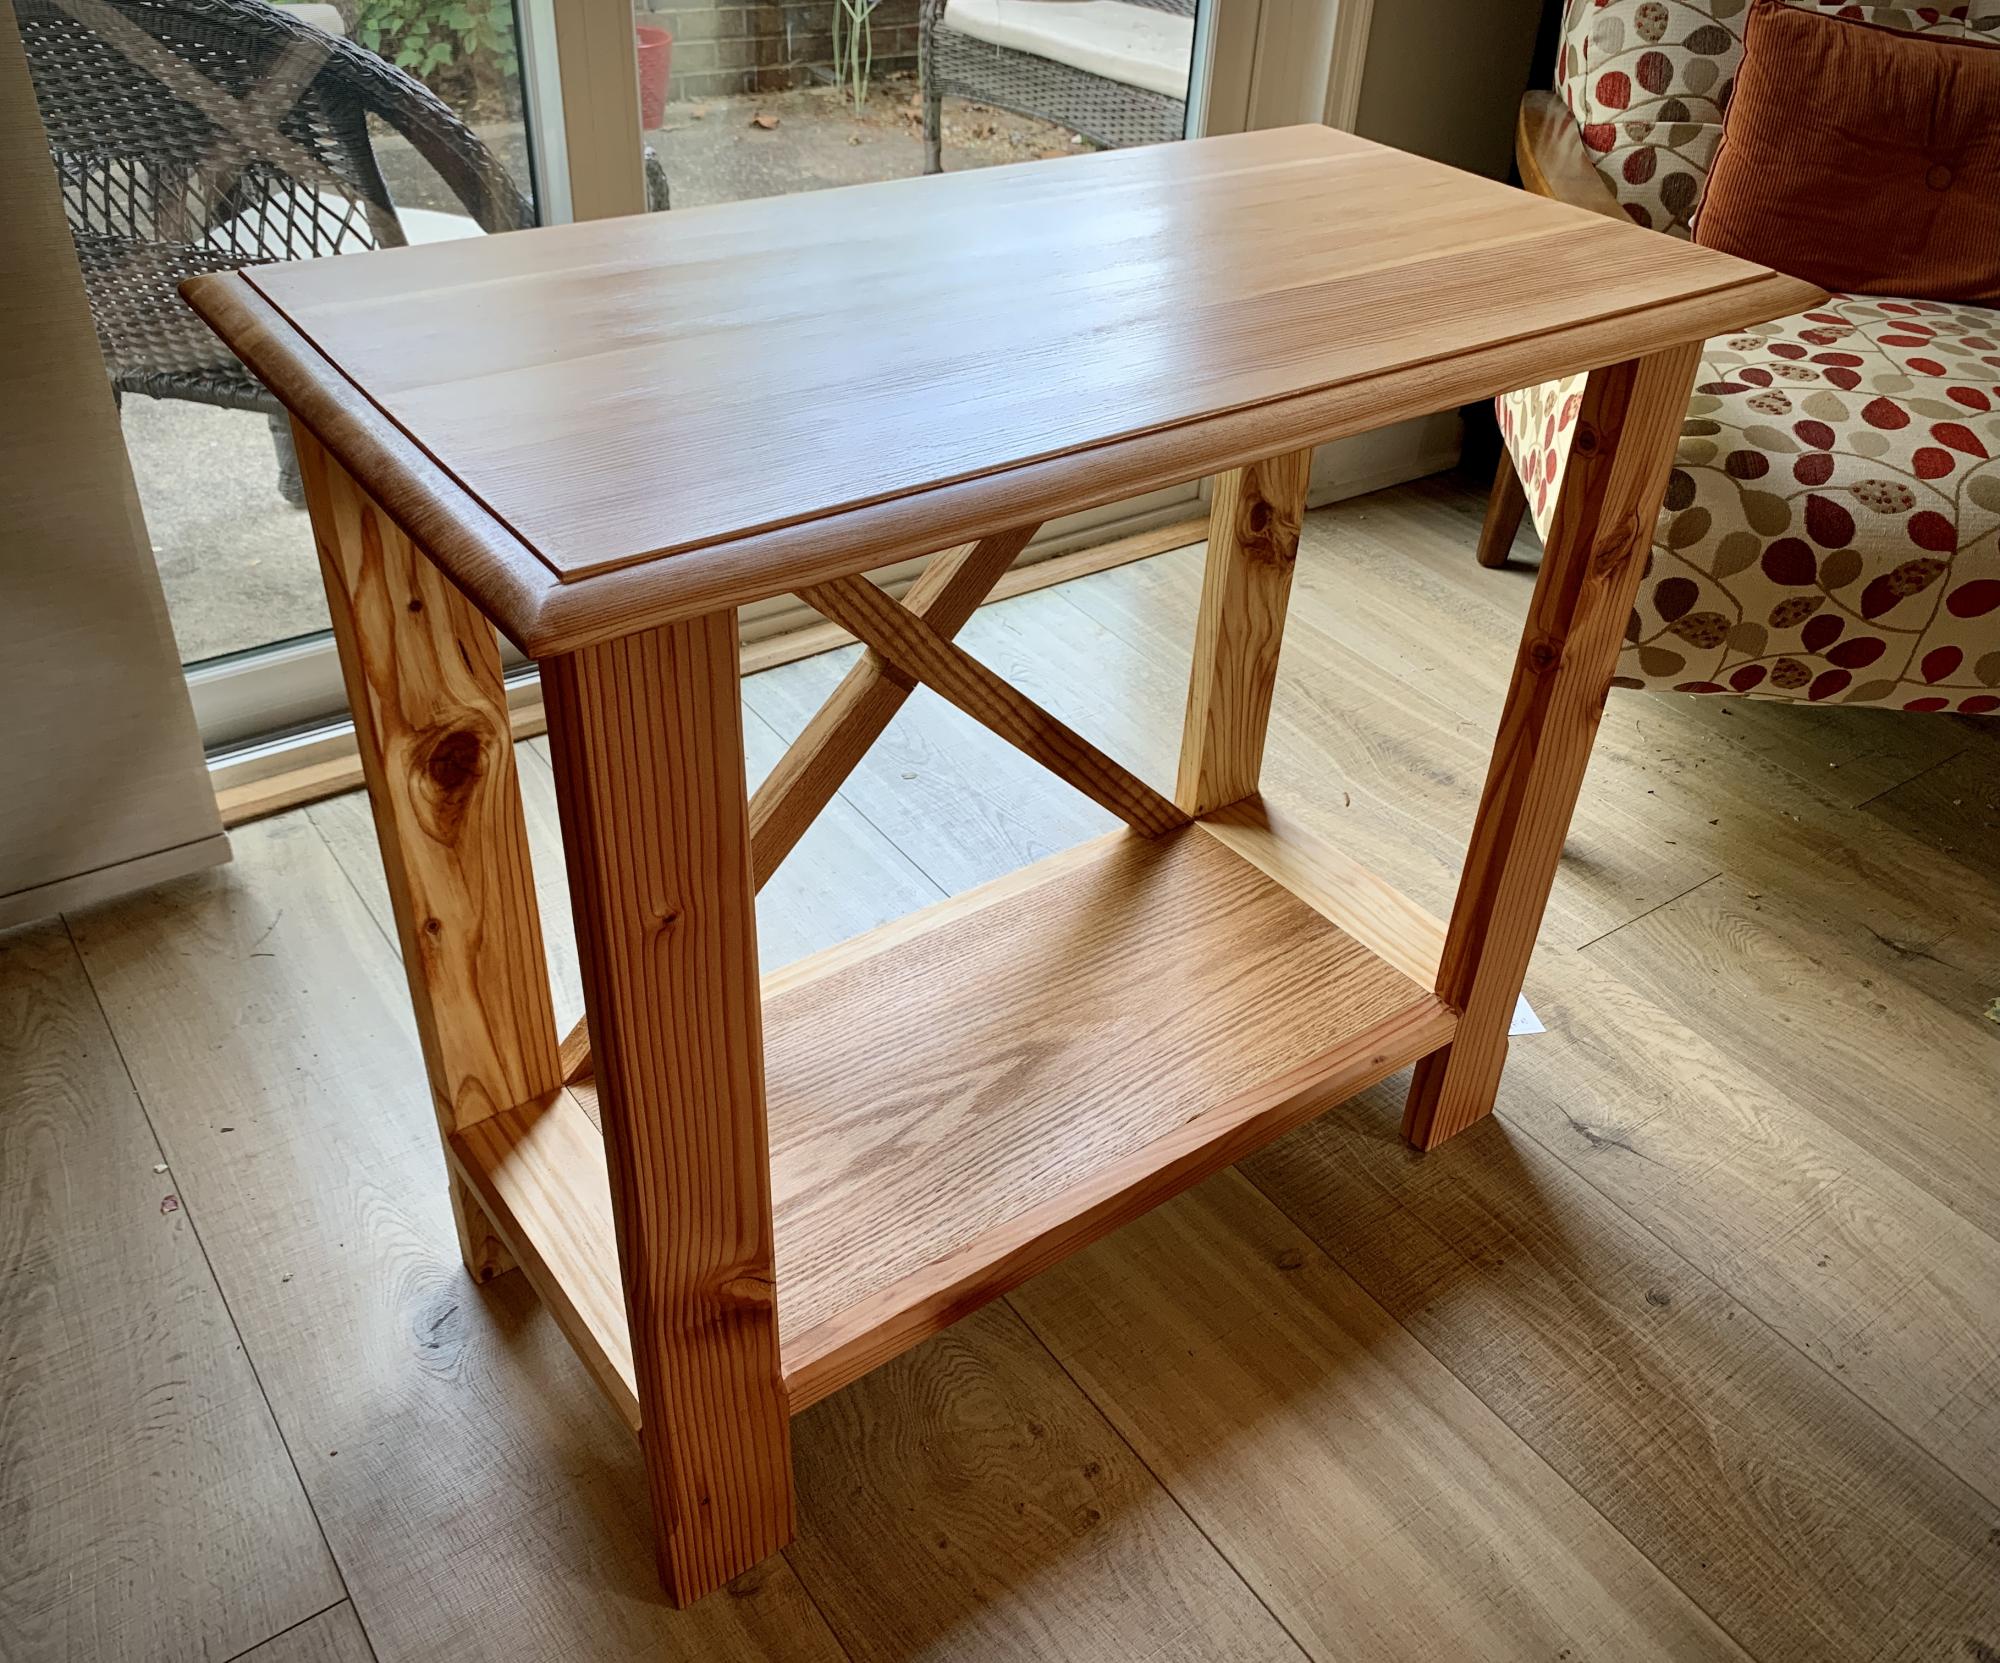
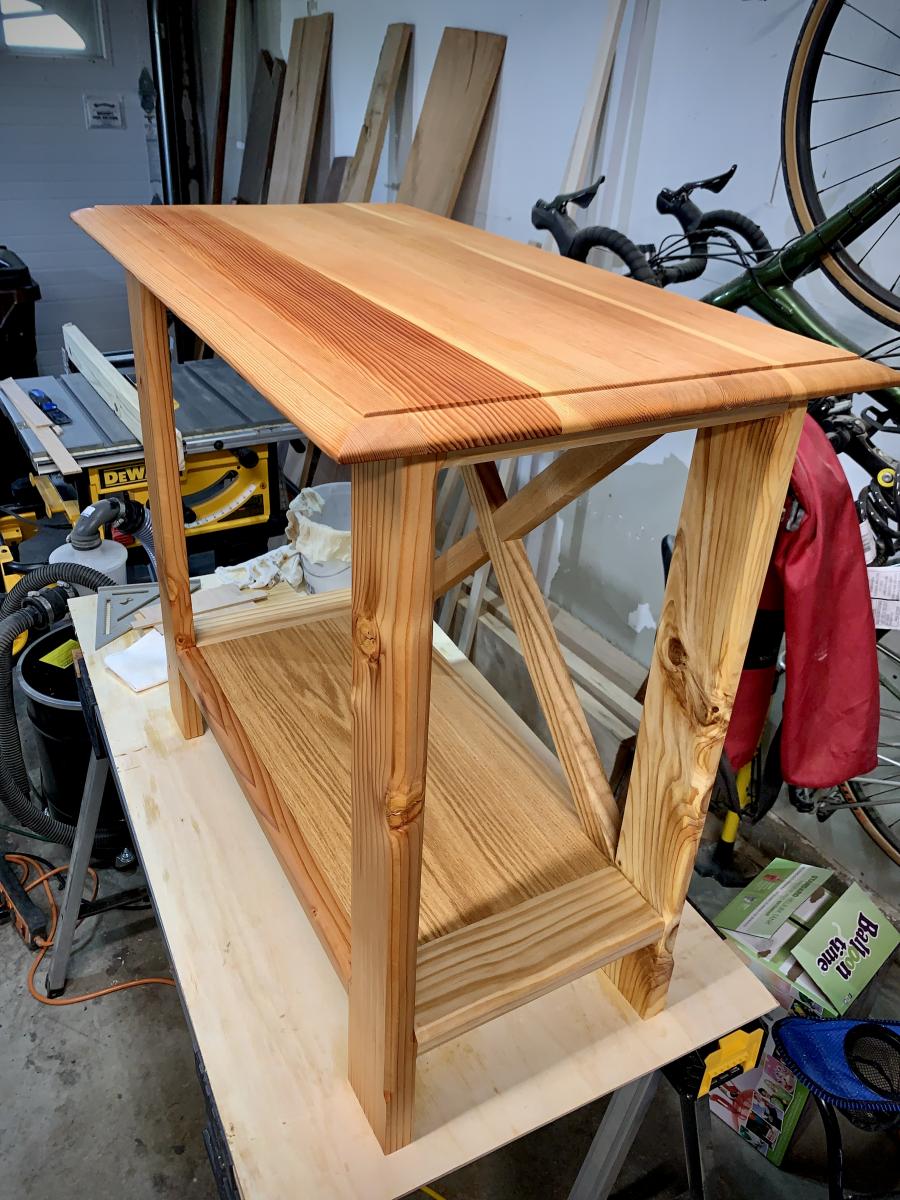
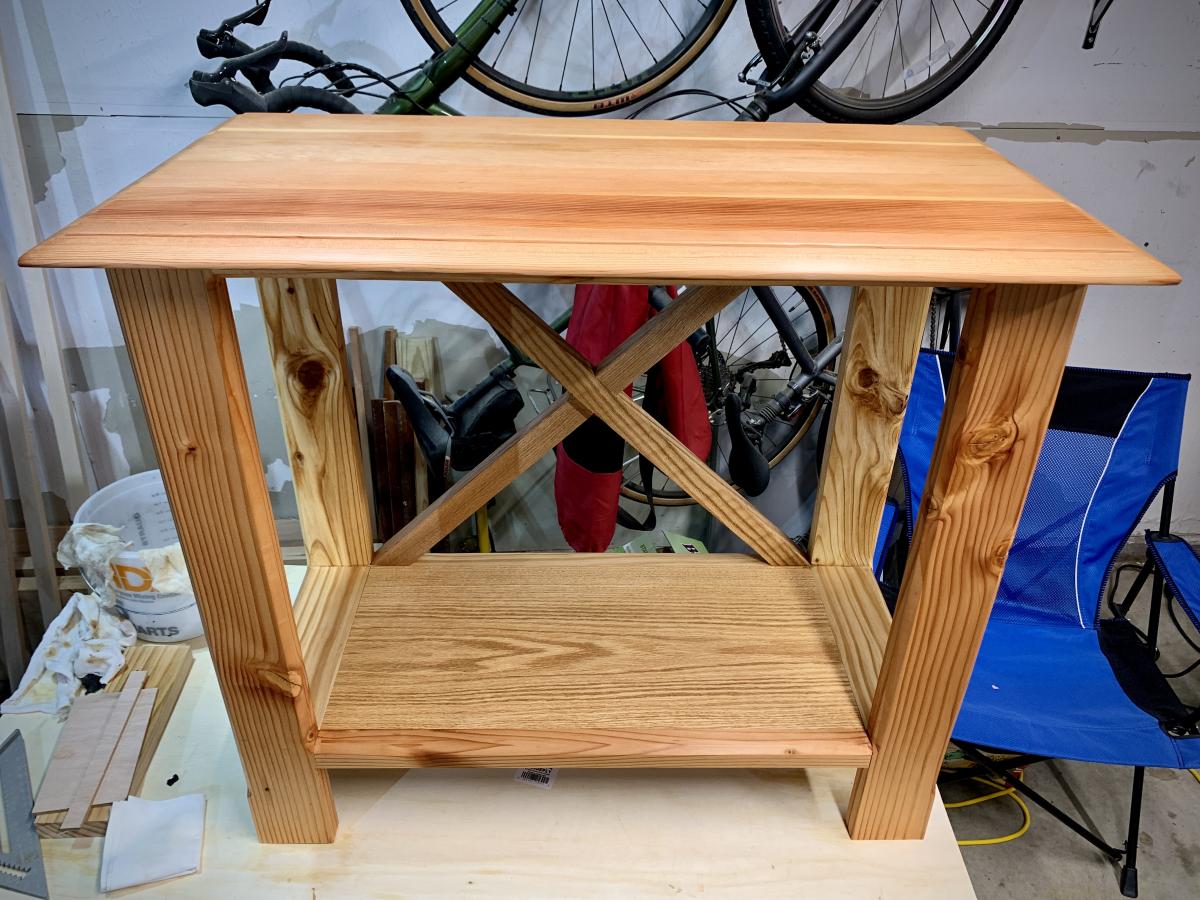
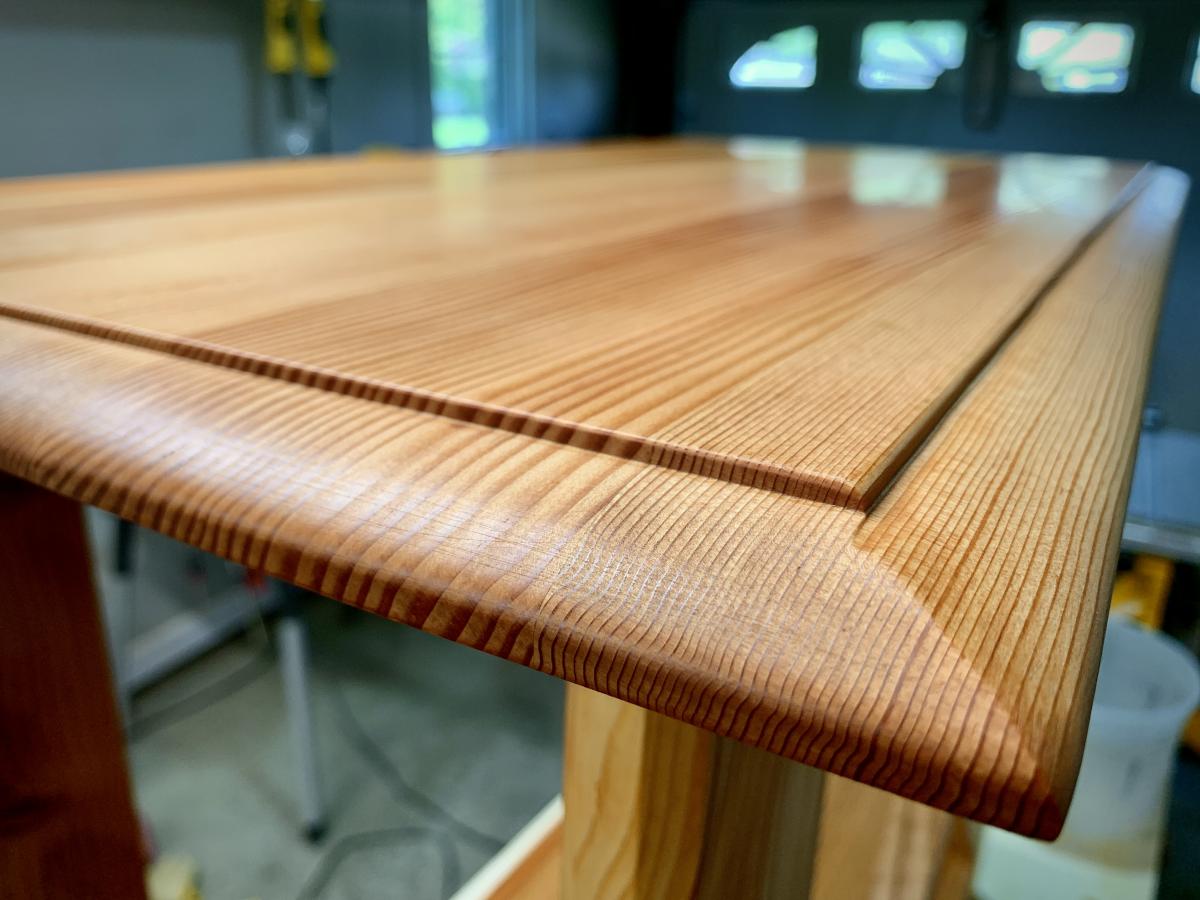
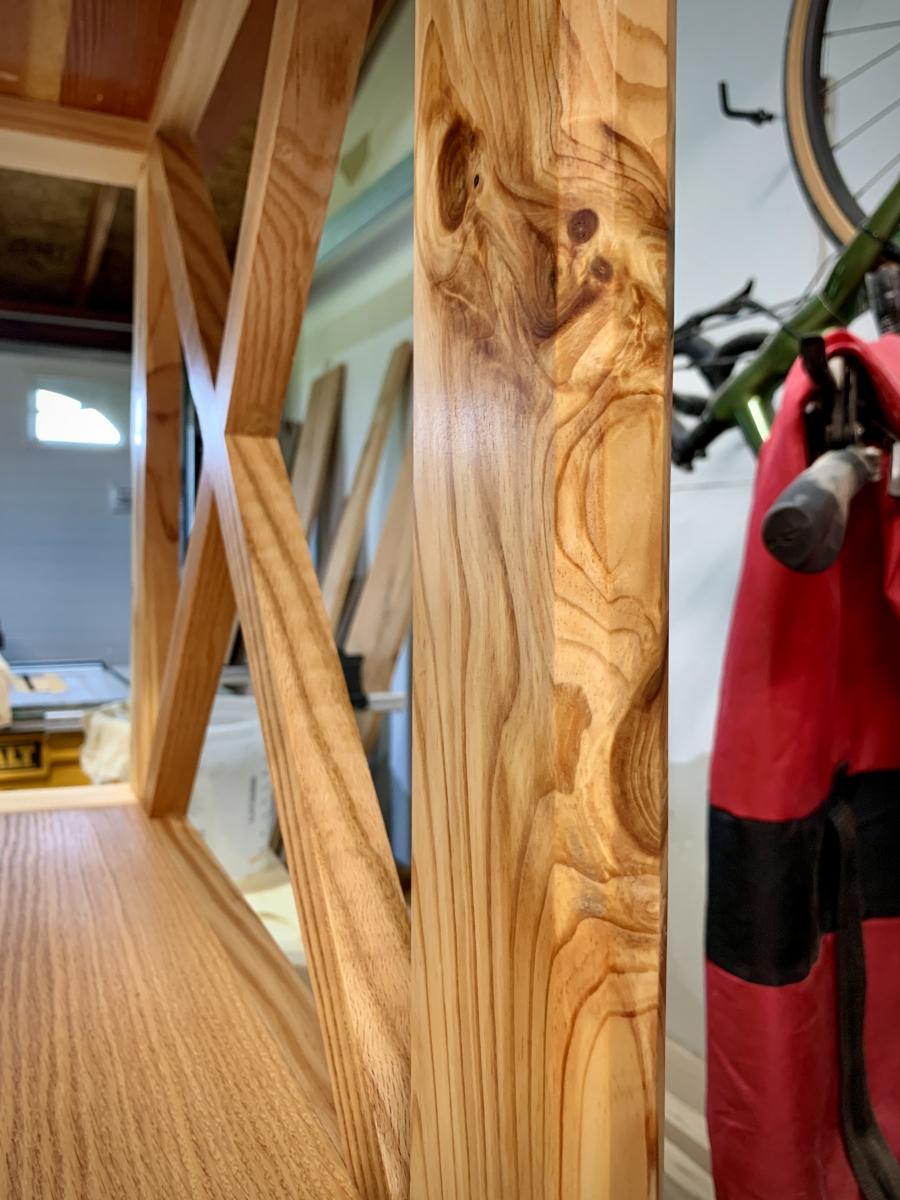
A couple more passes of finish and this will have a new lease on life. Beginning as a mixture of reclaimed wood and some shelving that Brian Carla Baker Smith had in their garage, it will soon be sporting a television as life begins anew for our friends. The most gnarly pieces turned out to provide the most character. I think that is a wonderful observation of life. Great plan from Ana White!
In reply to Wonderful details! by Ana White Admin
Fri, 07/16/2021 - 17:02
Thank you for the great plan Ana. Your plans, the details, and equipment required for the project have gotten me into woodworking. I appreciate all the work you put into your project posts.
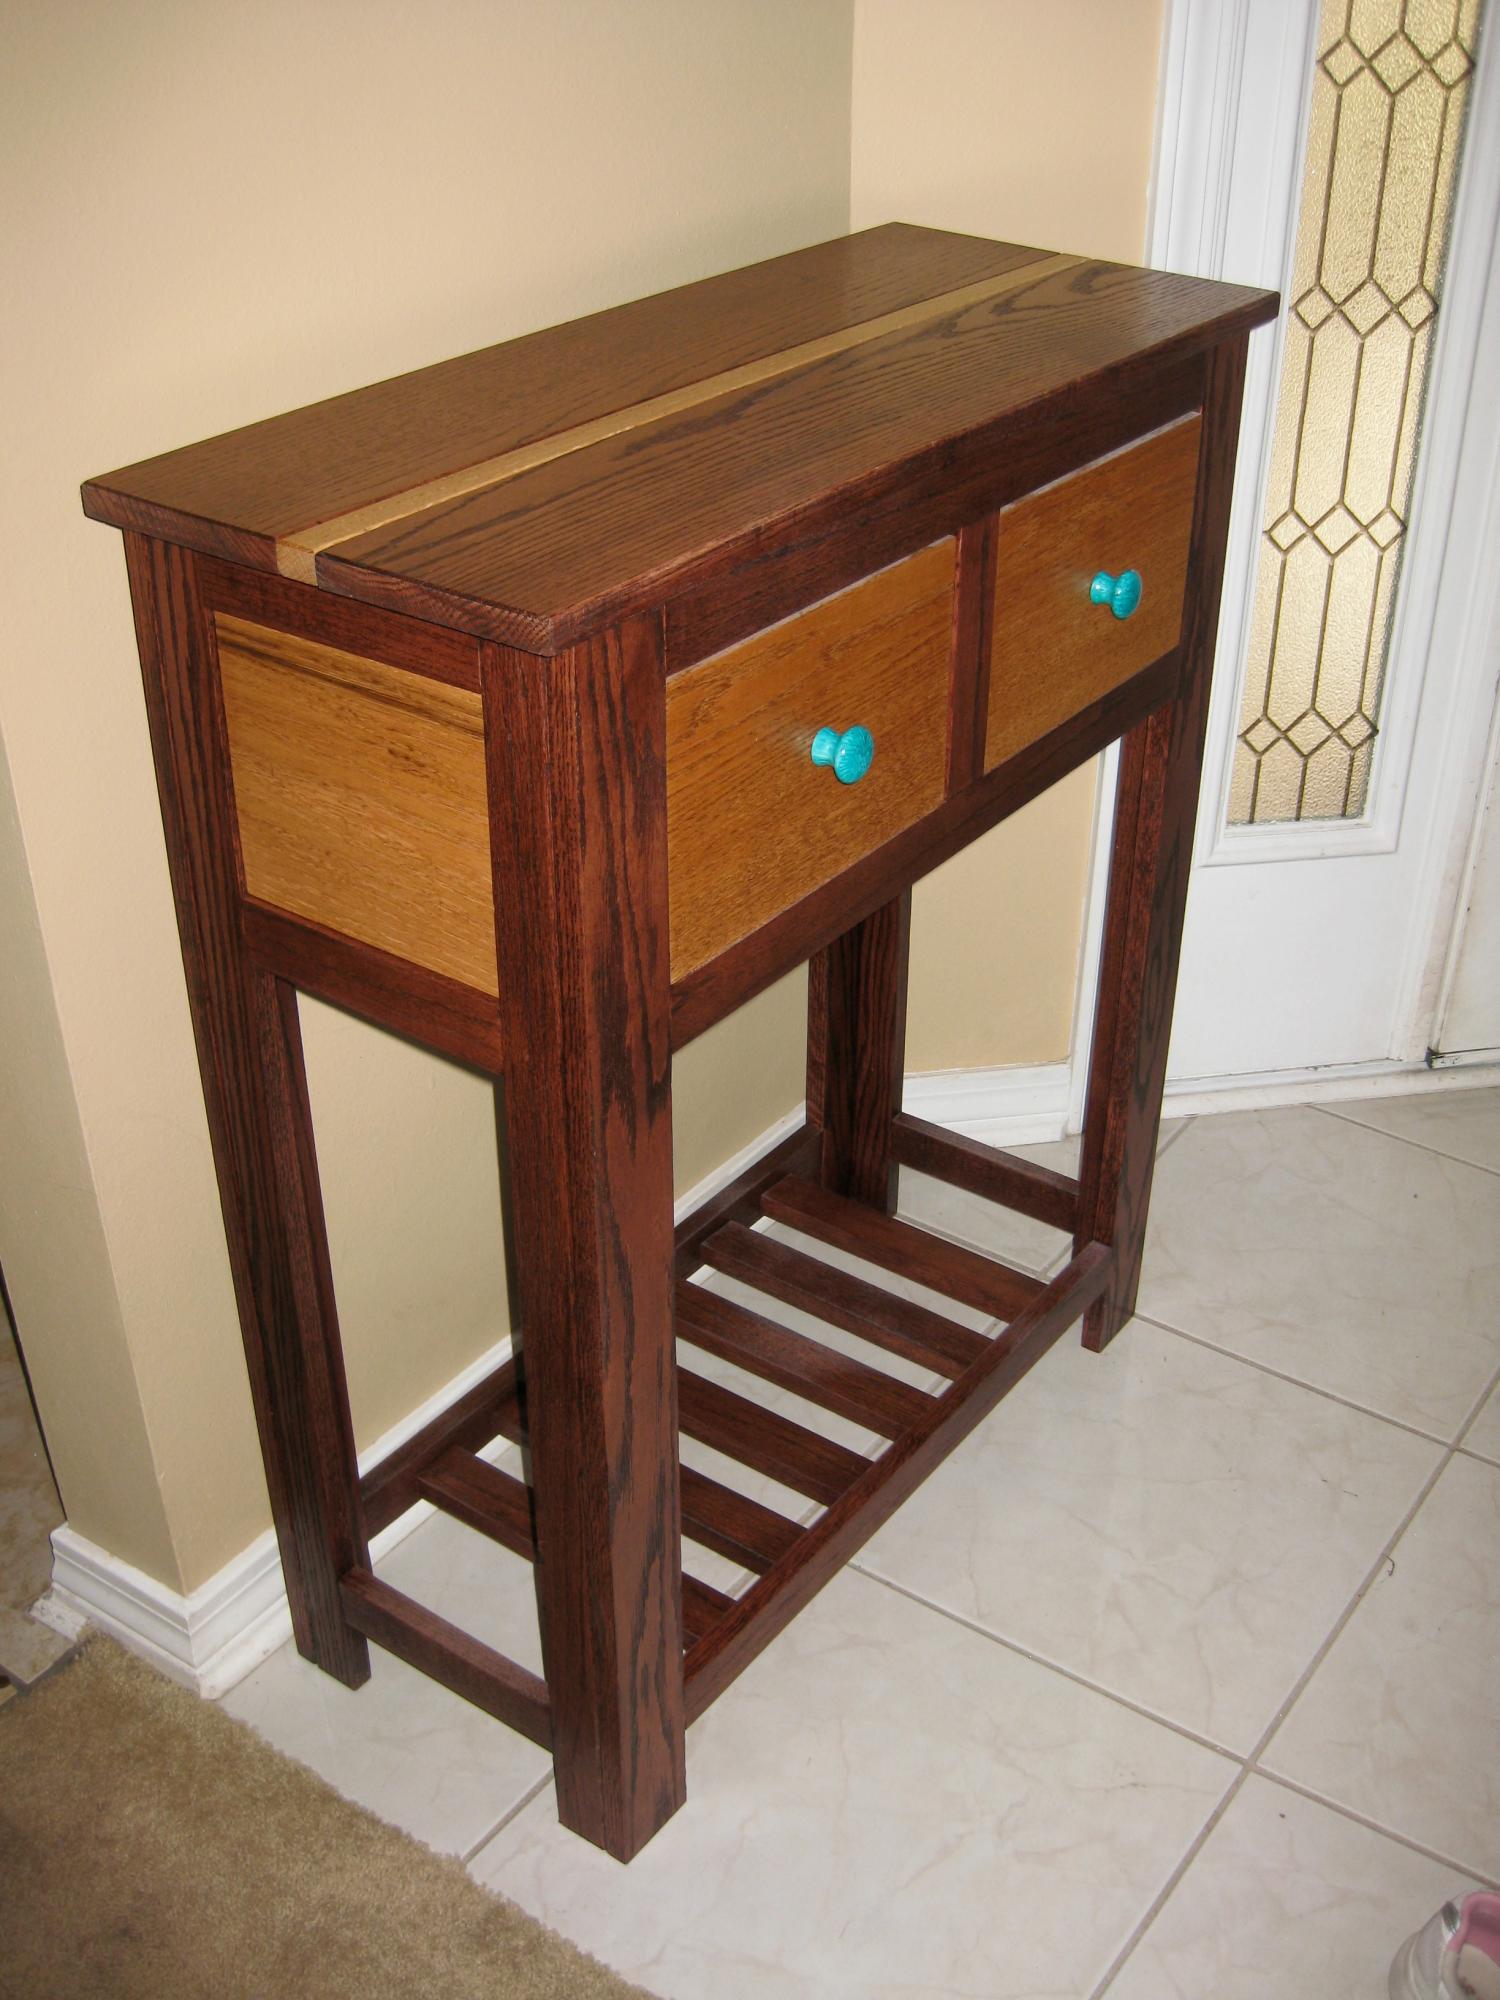
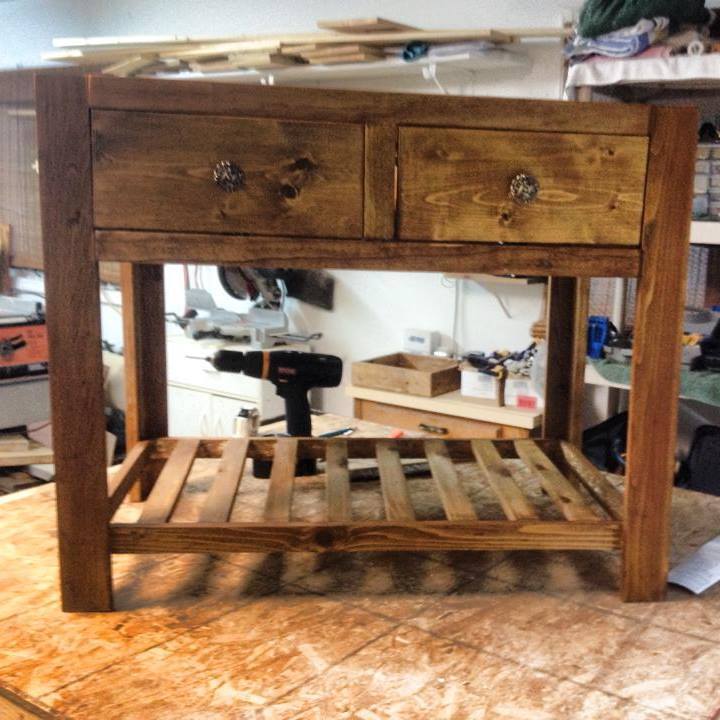
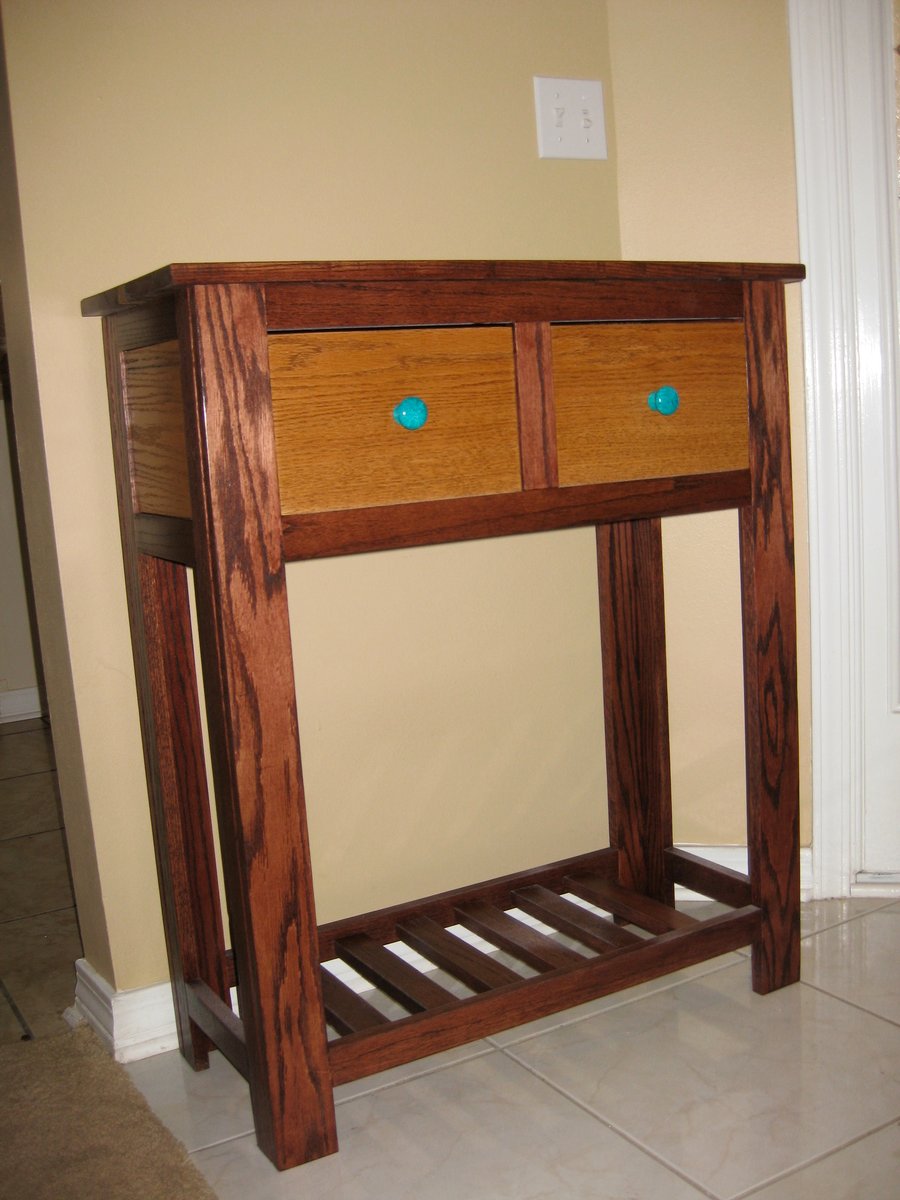
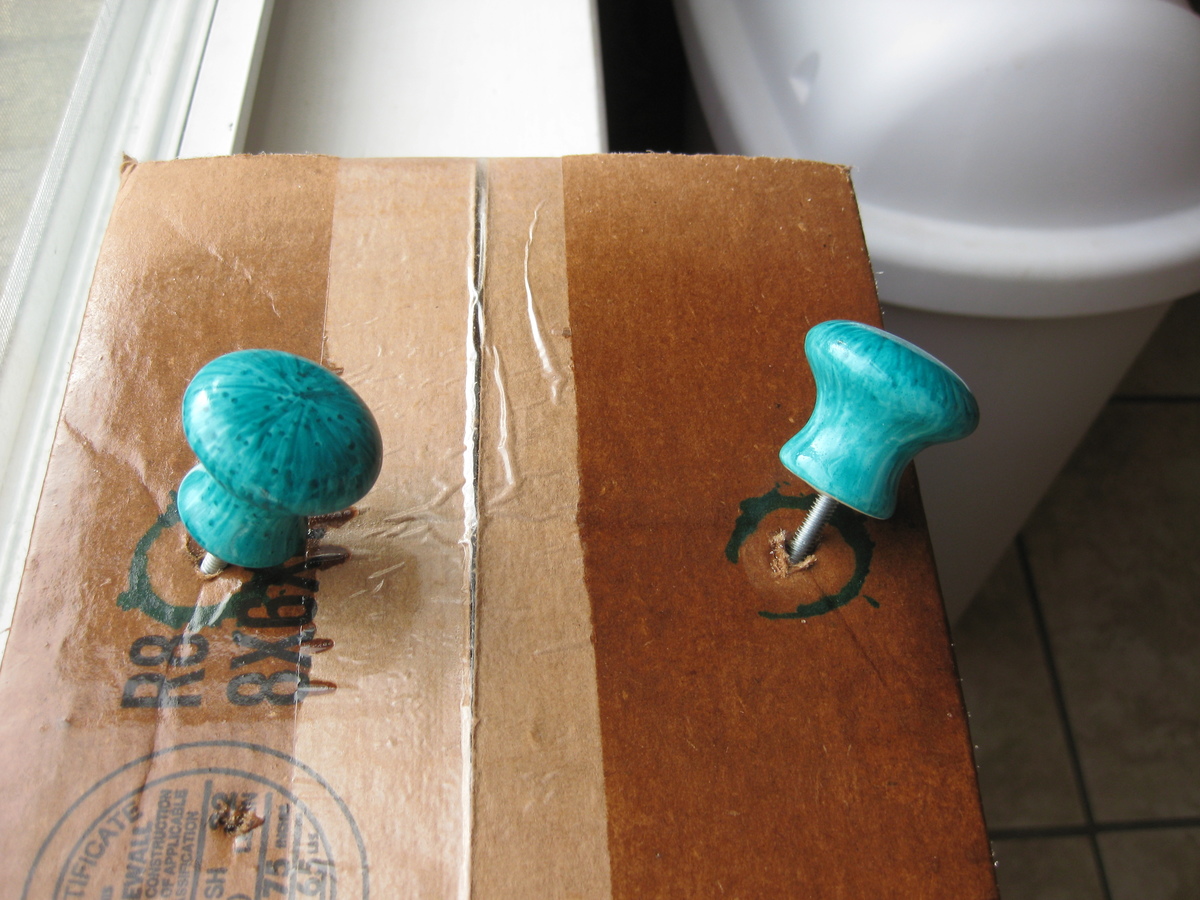
This was a modification of the Shirley Console Table. I had to change the dimensions to fit our entryway, and I wanted some color variation. Because I used two different stains, the pieces had to be fit together, sanded accordingly, taken apart, stained, and then glued/screwed together again. I learned how to use a router on this project, so it was a learning experience (thank goodness for wood filler!). I also inset the sides and back, though it's not really obvious in the picture. The drawers slide on a tongue and groove track. The pulls are white porcelain covered in teal sharpie (baked then coated with acrylic). Definitely learned a lot on this project! As this was made basically from wood scraps, I'm not sure what the cost was. The drawers, minus the facing, is 3/4" oak veneer plywood.
Thu, 04/04/2013 - 17:15
Great project! It's beautiful! Your porcelain knobs method sounds fascinating -- did you sharpie them first and then bake in the oven (what temp & how long?) - that's a super creative idea!
Thu, 04/04/2013 - 17:49
Thanks Joanne :) The tutorial I used is here:
http://www.tealandlime.com/2012/09/diy-faux-malachite-knobs
After perusing the comments, I decided to spray on a clear acrylic coat to protect the Sharpie from eventually rubbing off. It sounds like other markers may not work as well, so I'd stick with Sharpies. I think it would be fun to do other colors!
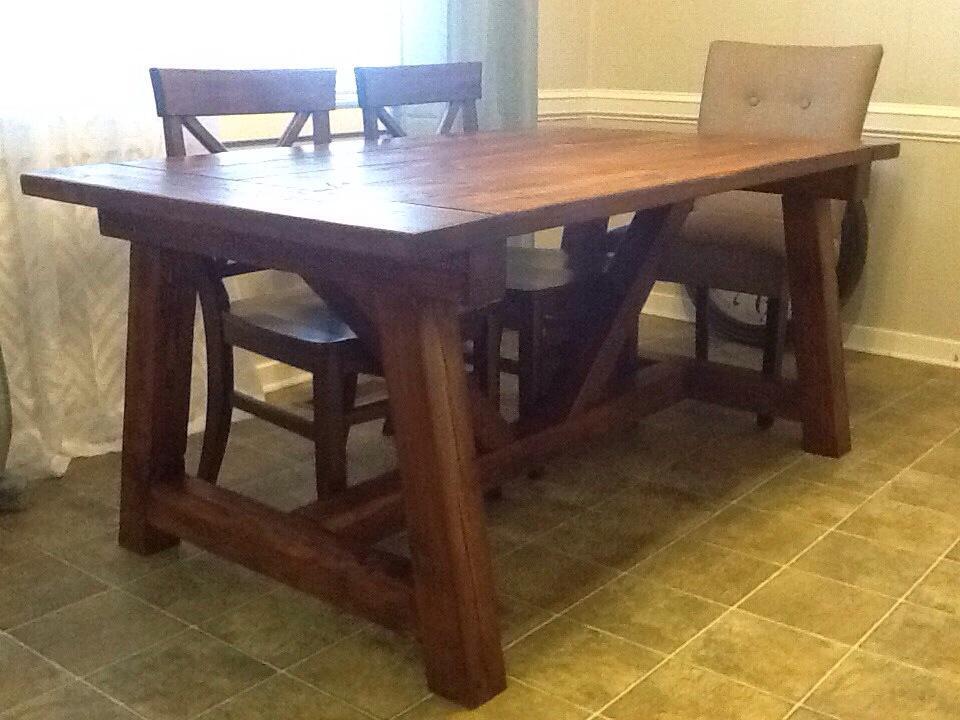
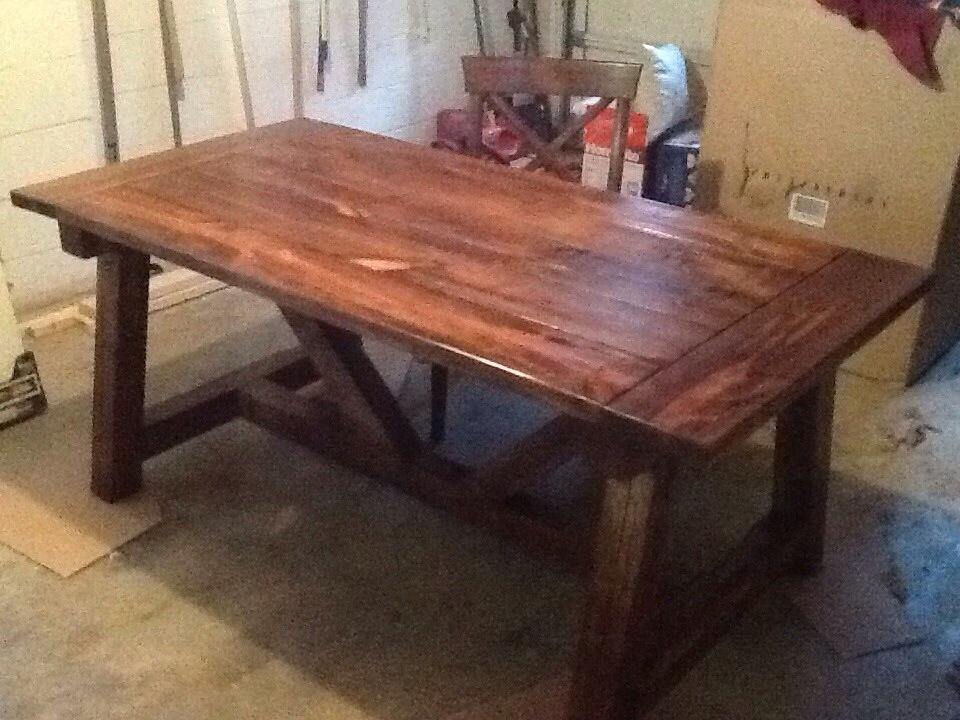
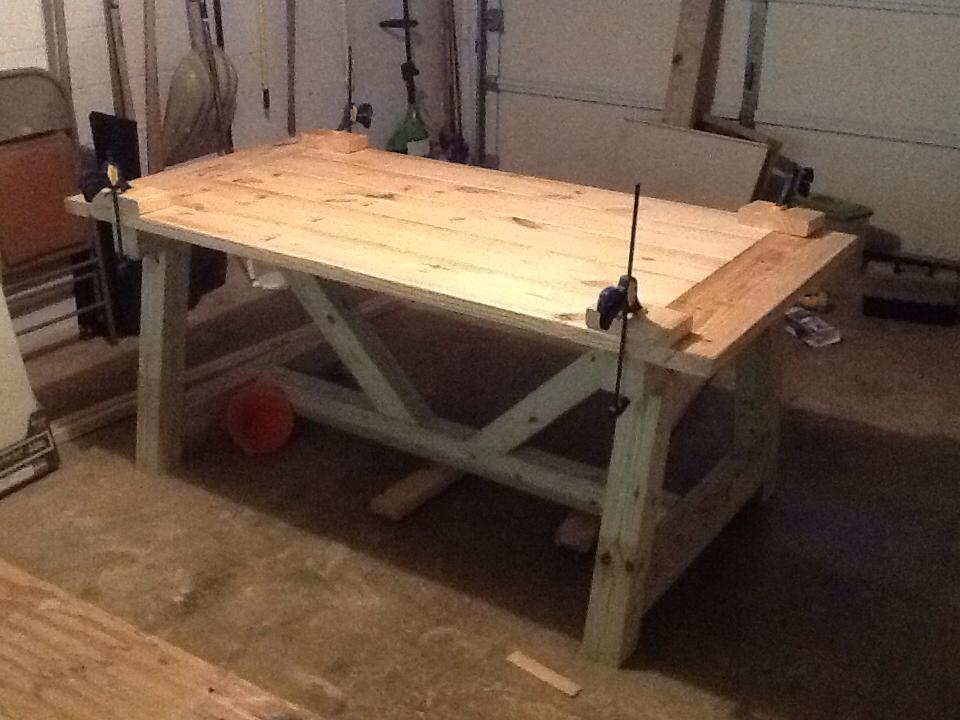
Shorted this length of the table by 6 inches to fit the available space. Came out great. Tip: If using pine, after stain dries, gently sand again with high grade paper to remove raised ridges after wood has absorbed stain, but not hard enough to remove stain. This will help make the eating surface much smoother to the touch.
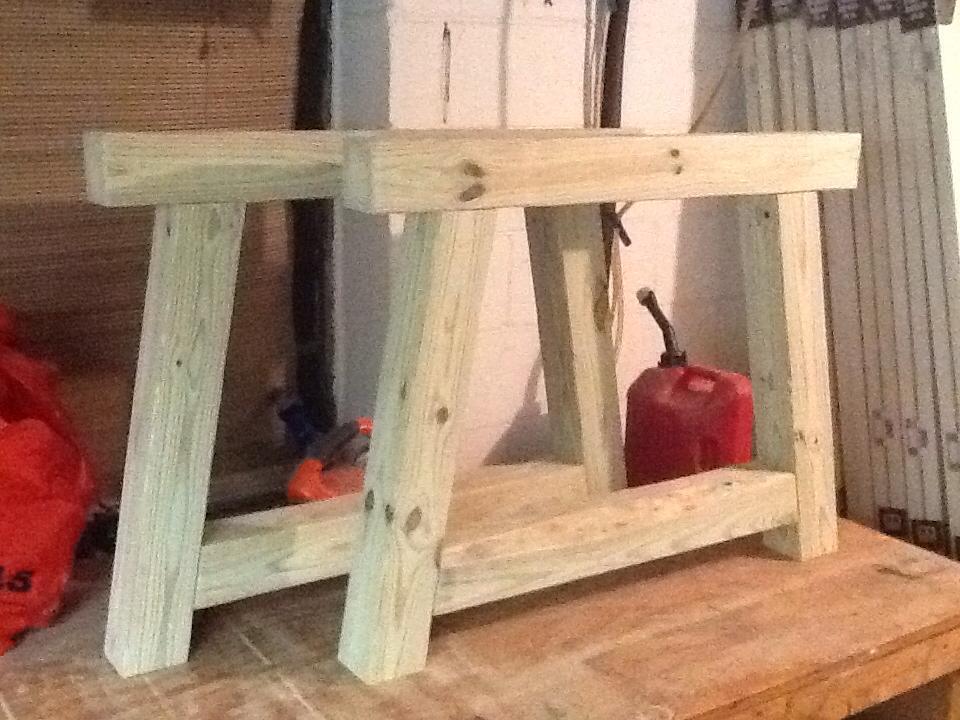
New chairs for our lake house. They turned out realy comfortable. Thank you Ana!

used Ana's plans, just modified the width and depth.
Fri, 05/28/2021 - 12:35
This is officially DONE!, just waiting for the paint to dry. Turned out heavier than I thought it would. Next time would try to use thinner materials. The X's weren't too bad, but were still a PIA. ... thats why most of them live in Texas
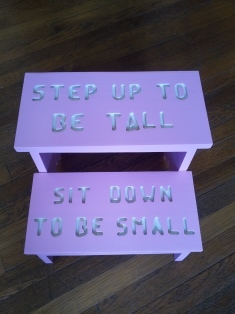
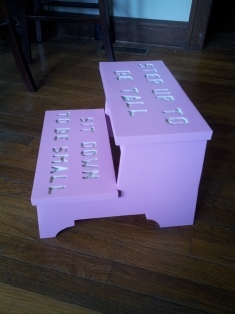
Saw your plan for the vintage stool and had to build it for my grand daughter. I added a little twist to it by adding a saying found on stools back in the 70s. Used a router sign kit for the lettering. The last picture shows the grand daughter's approval
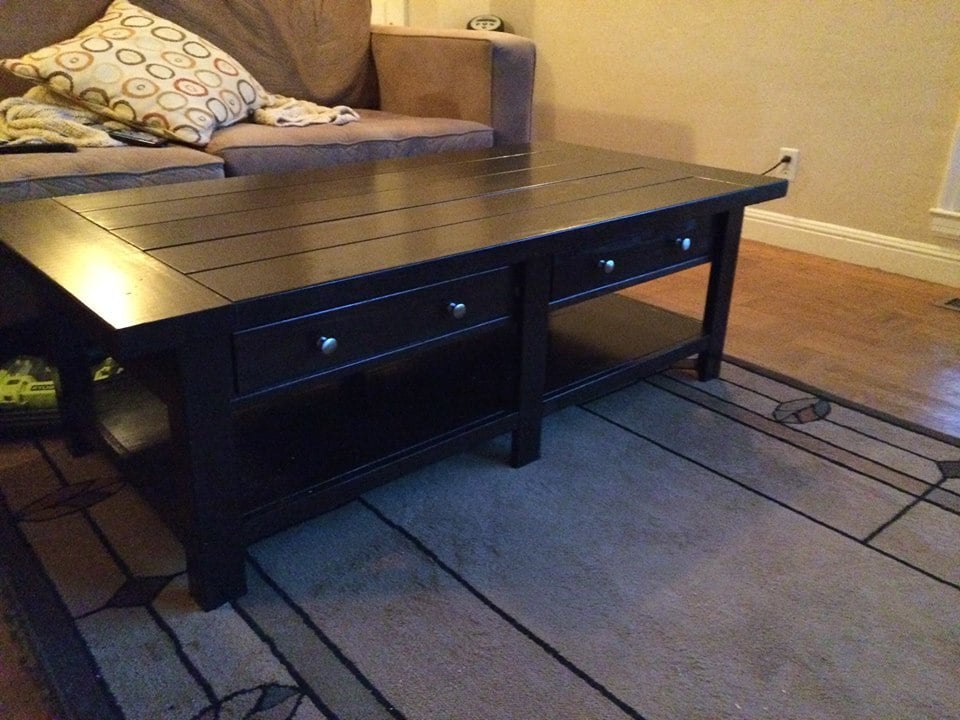
I used Douglas Fir instead of pine, which increased the cost but I love the warmth of the wood in this piece. The instructions were pretty easy to follow once I got going, and the longest part of it was the staining process. I love this piece and I'm ready to do another one!
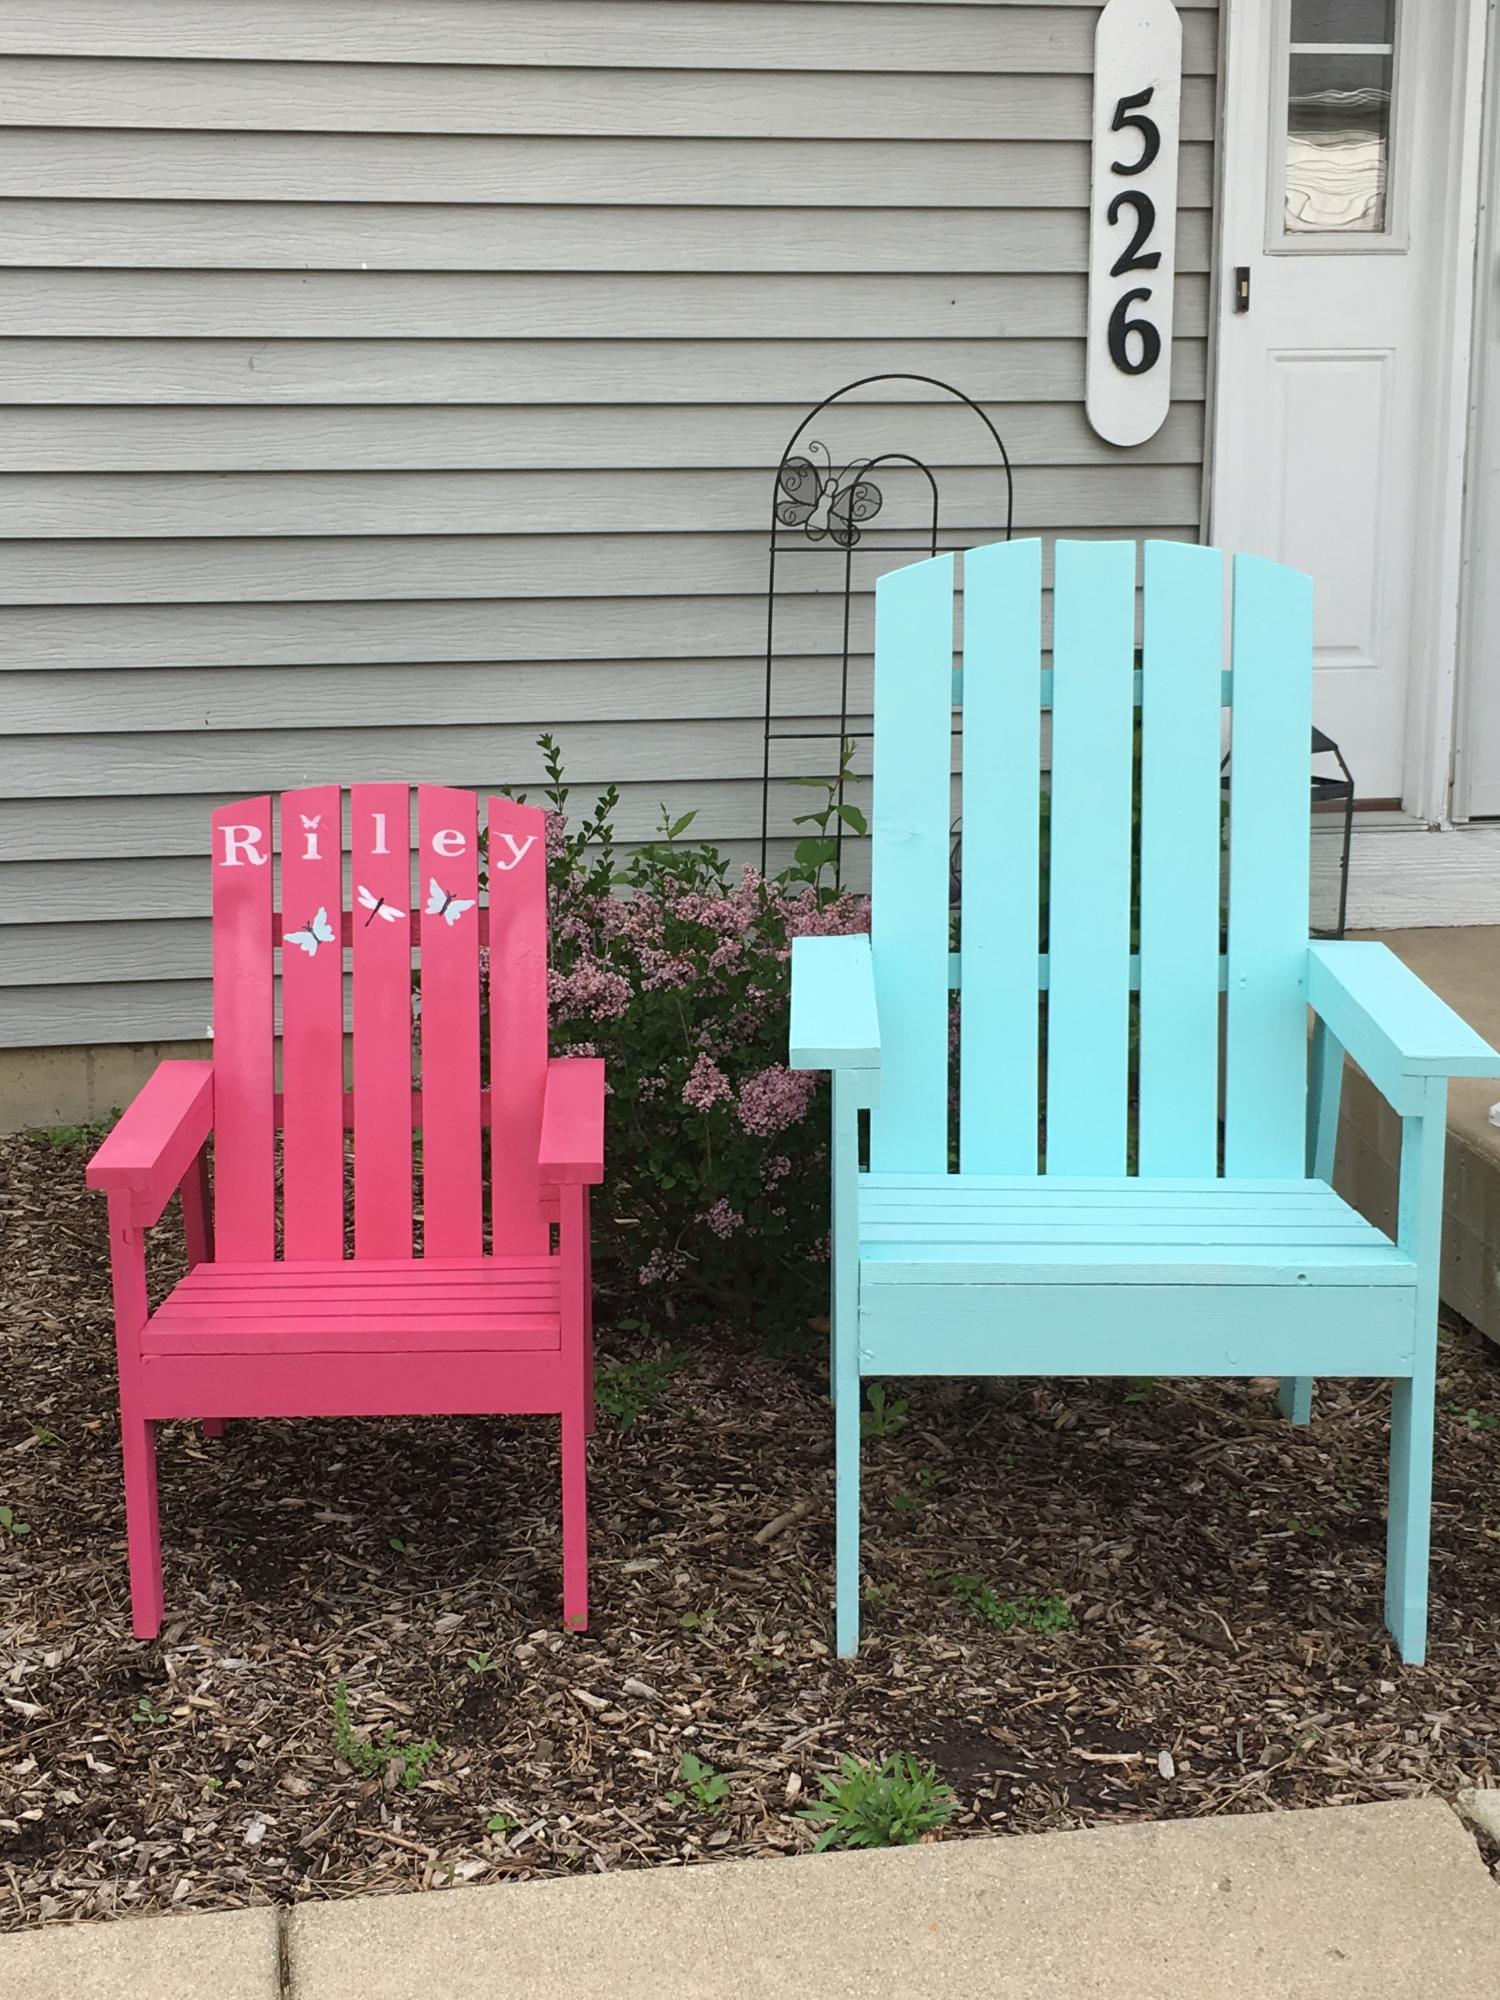
Love Ana's projects. Made a few mistakes, but all and all a fun and easy build