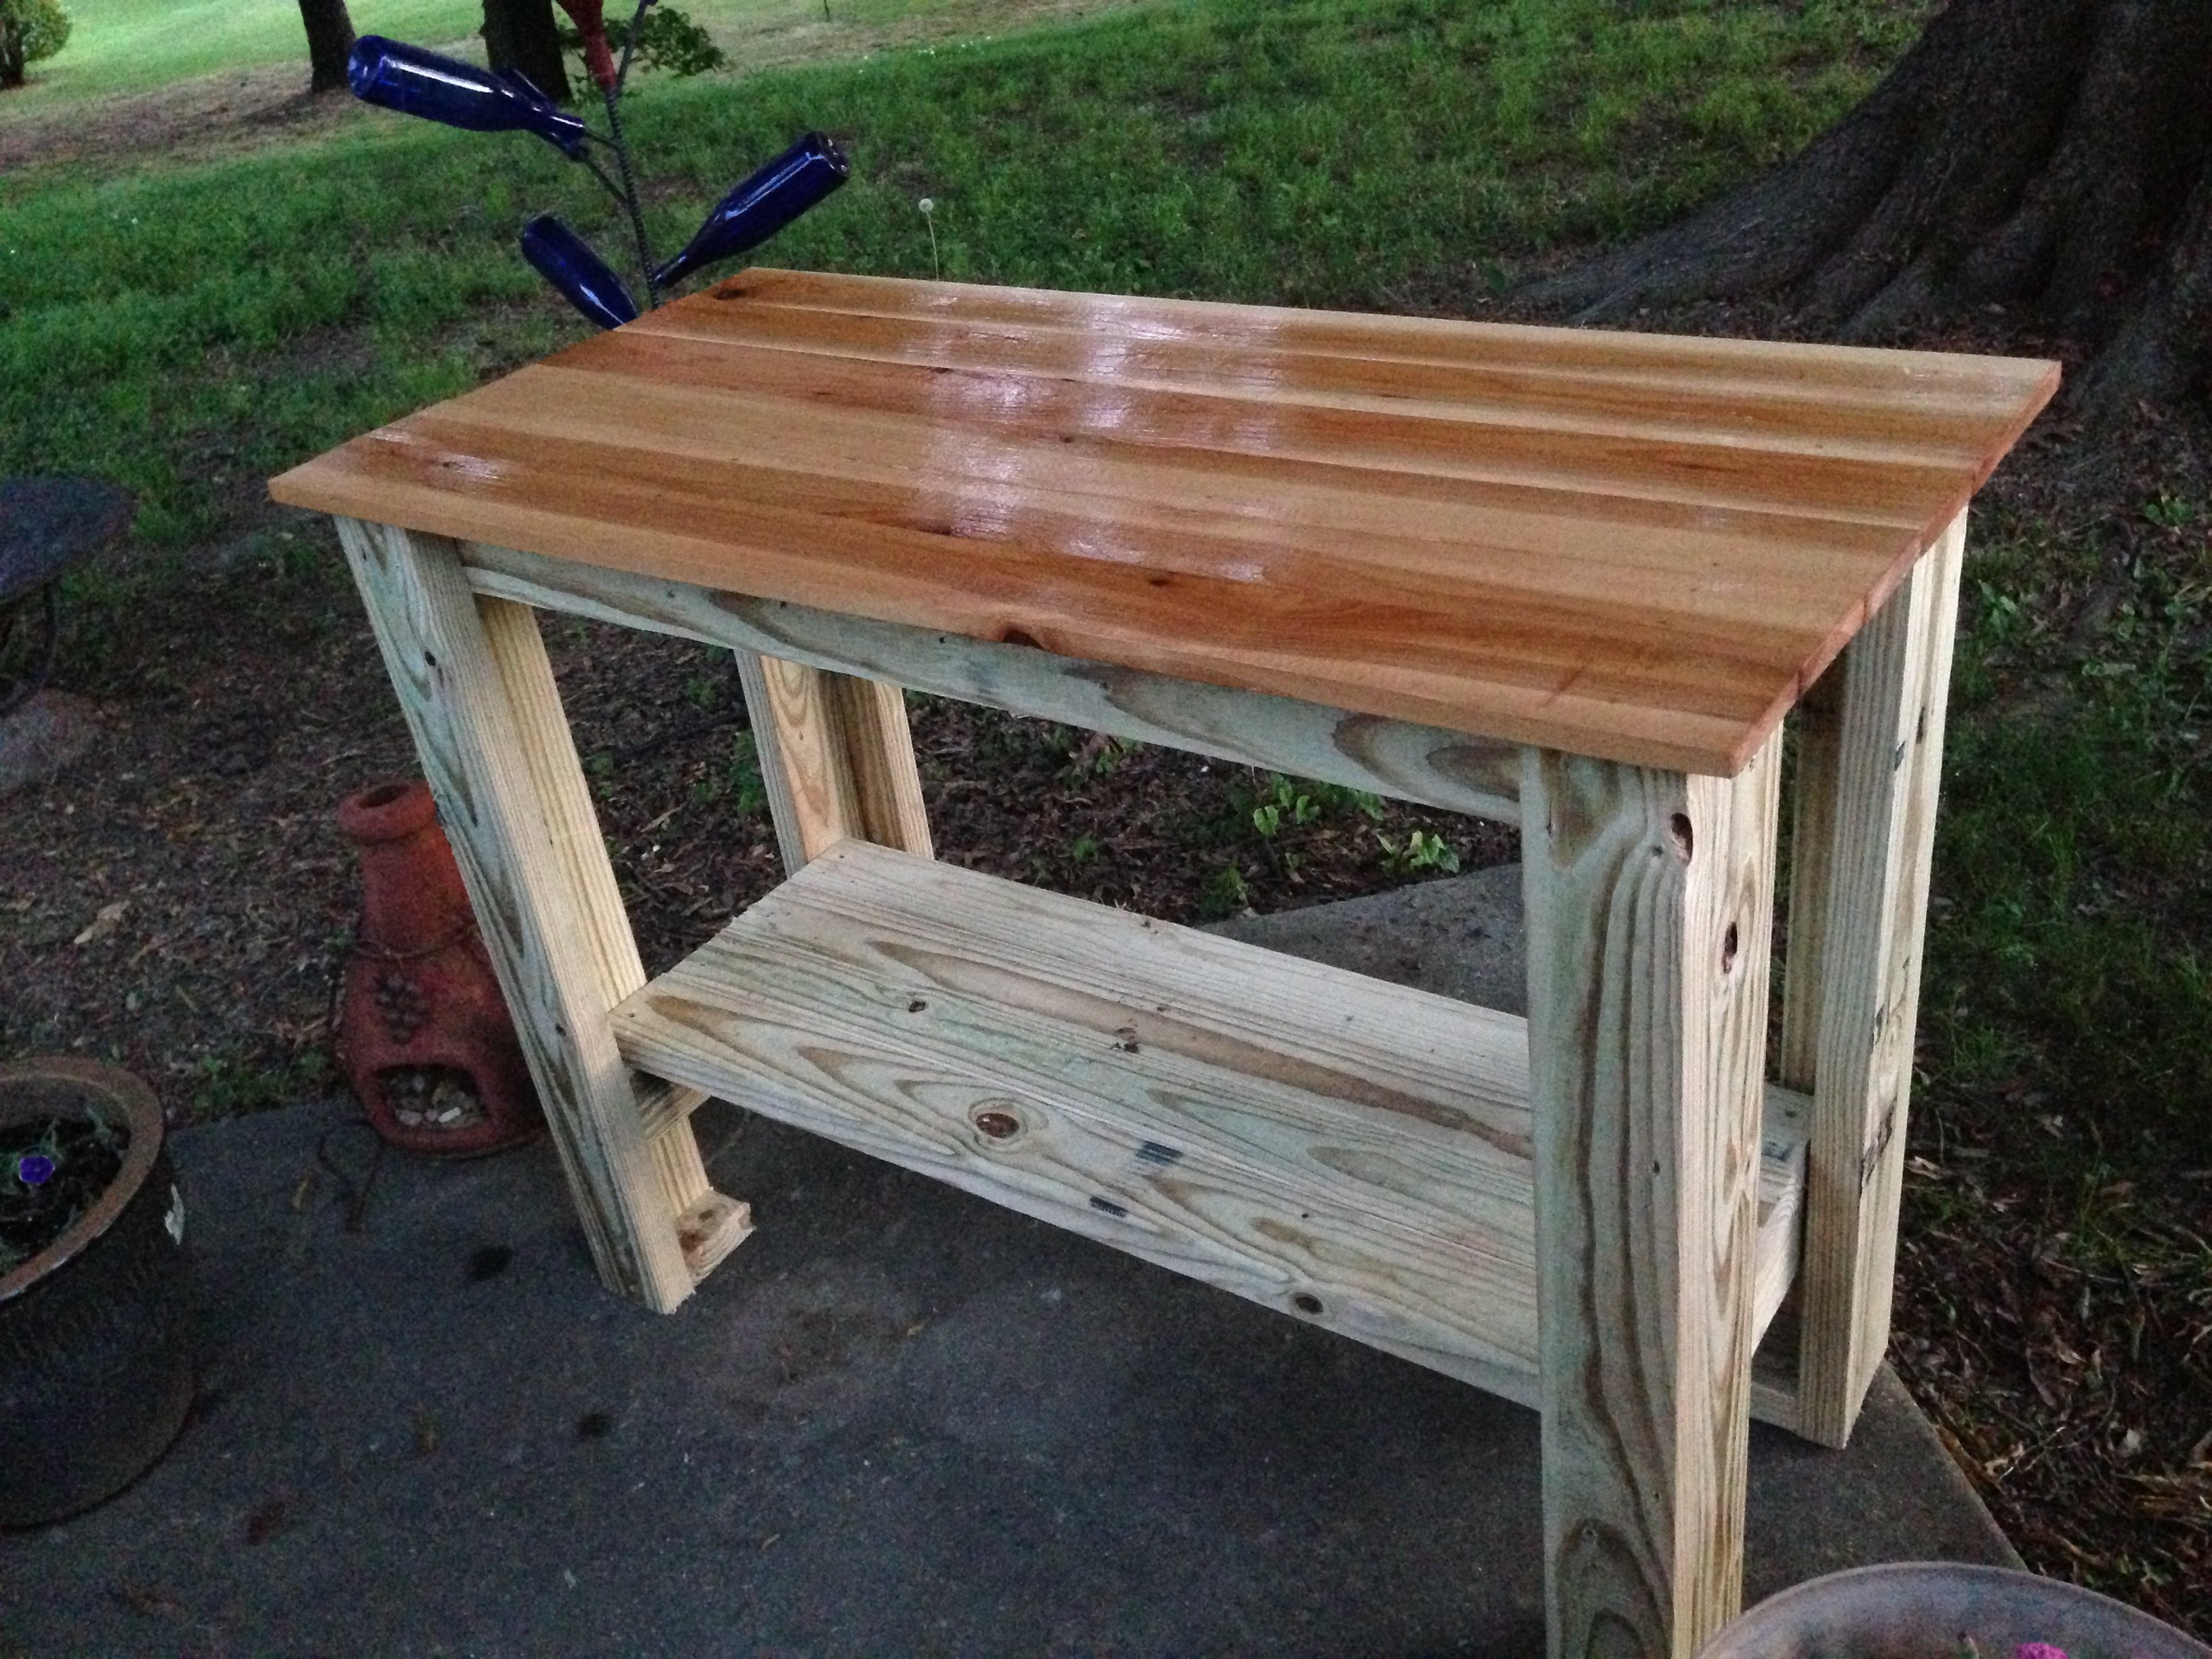
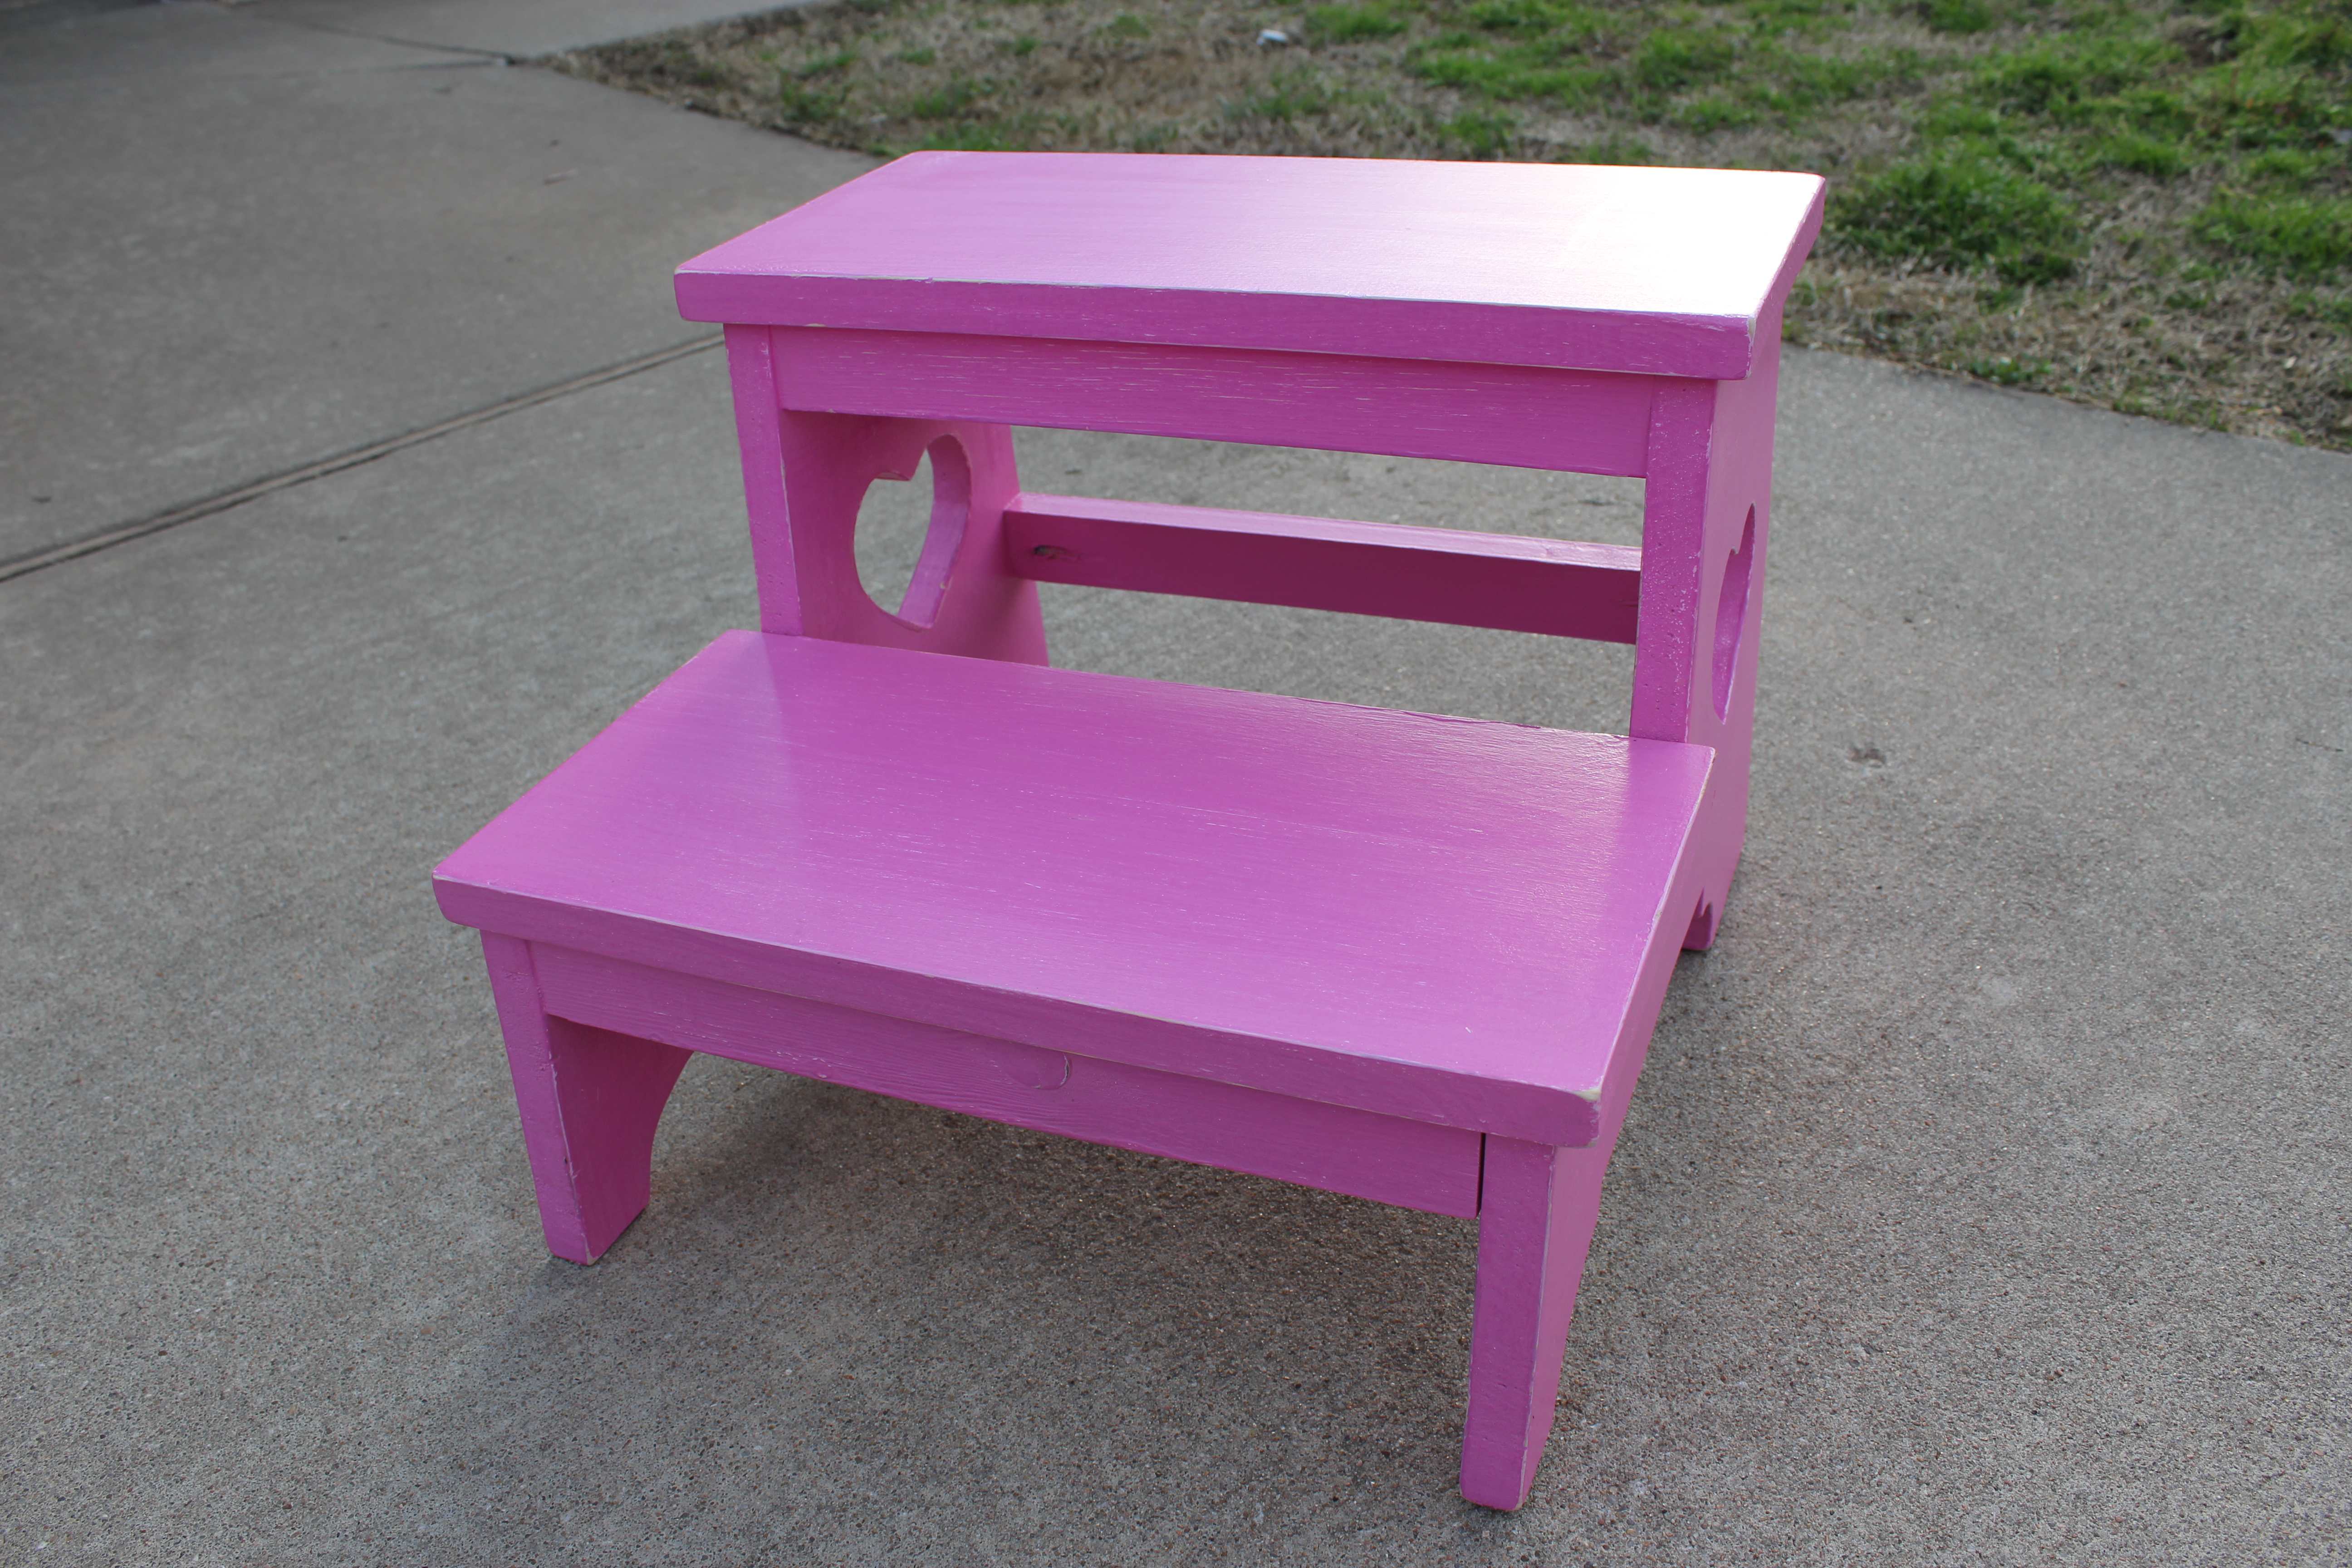
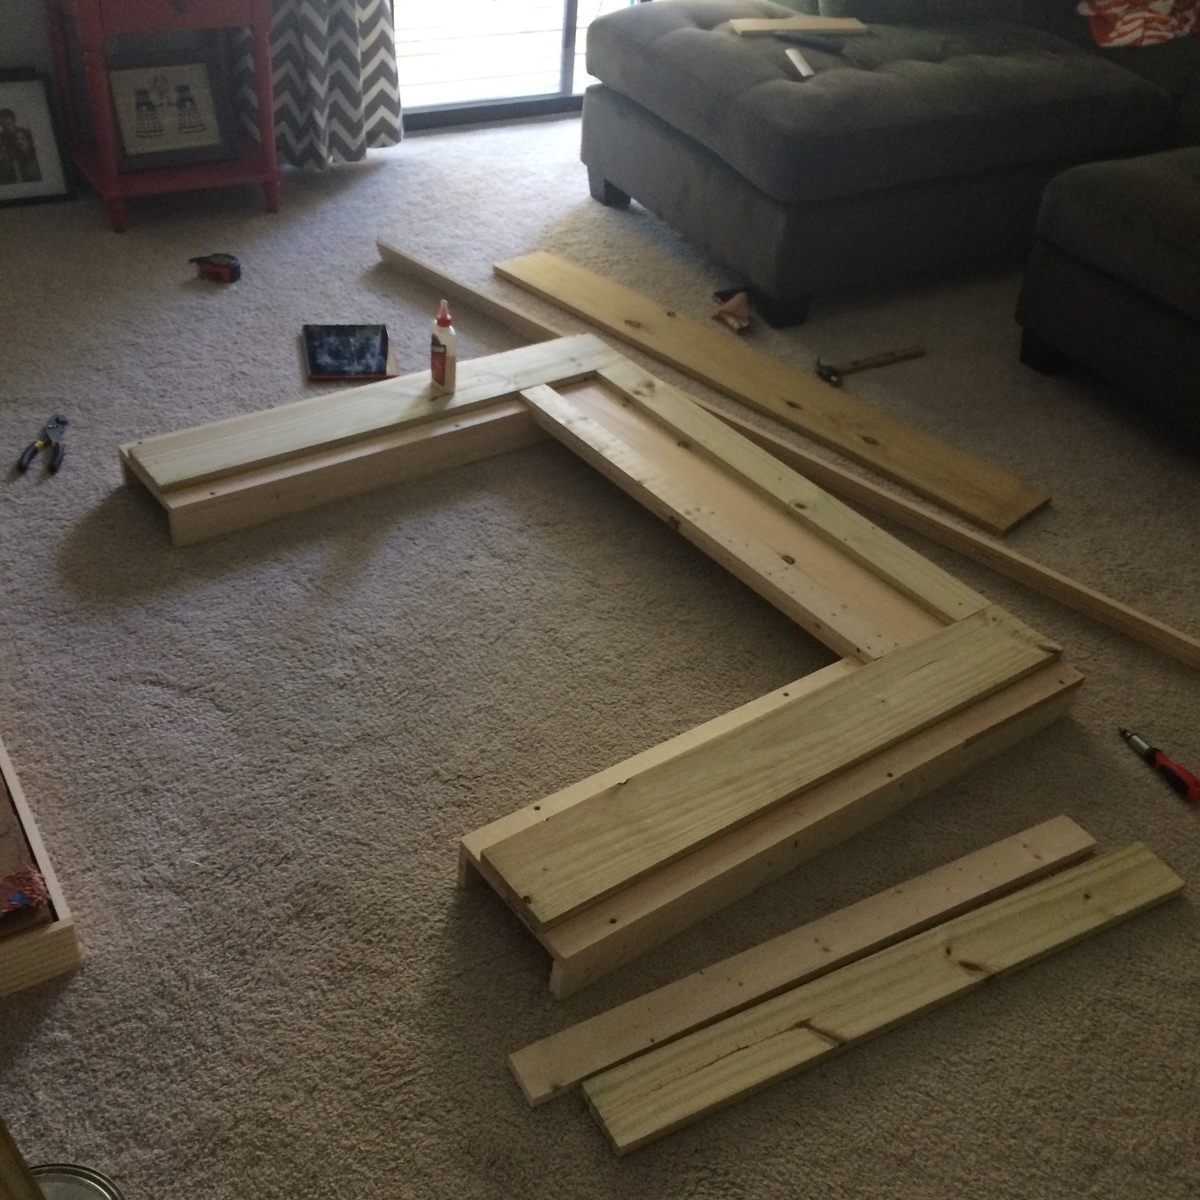
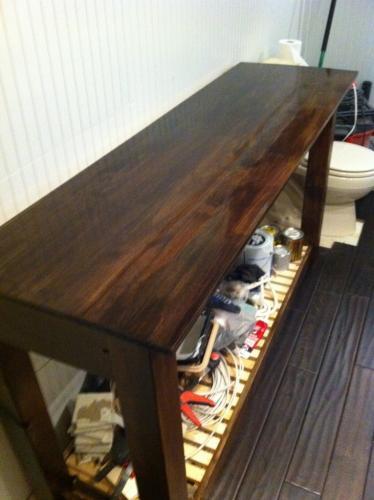
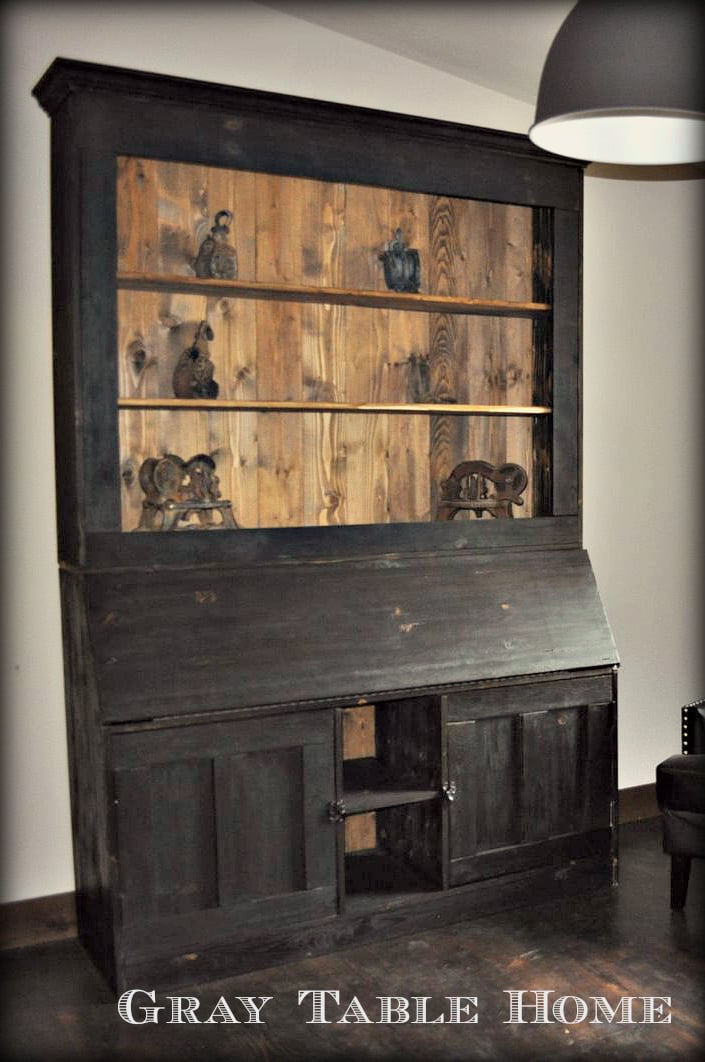
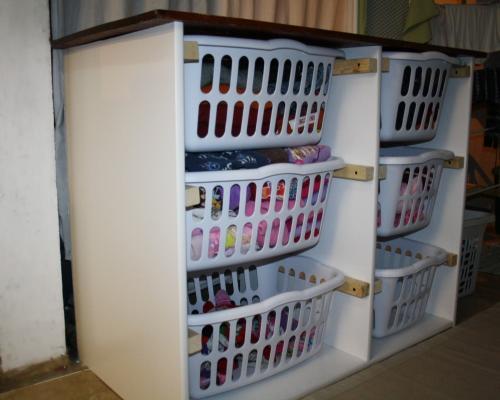
This was the first time I built something from scratch. I've done assembly required bookshelves and a doll-house, but never before had I cut my own wood and drilled my own screw holes, nor had I ever tried my hand at painting a piece of furniture. My husband's friend mentored me and got me going with the power saws, I used his shopsmith for a table saw, and I used the compound miter saw we own. Because this website is so user-friendly, I might have even tried to do this on my own, but it helped having someone much more experienced than I check in on me every now and then and give me some tips.
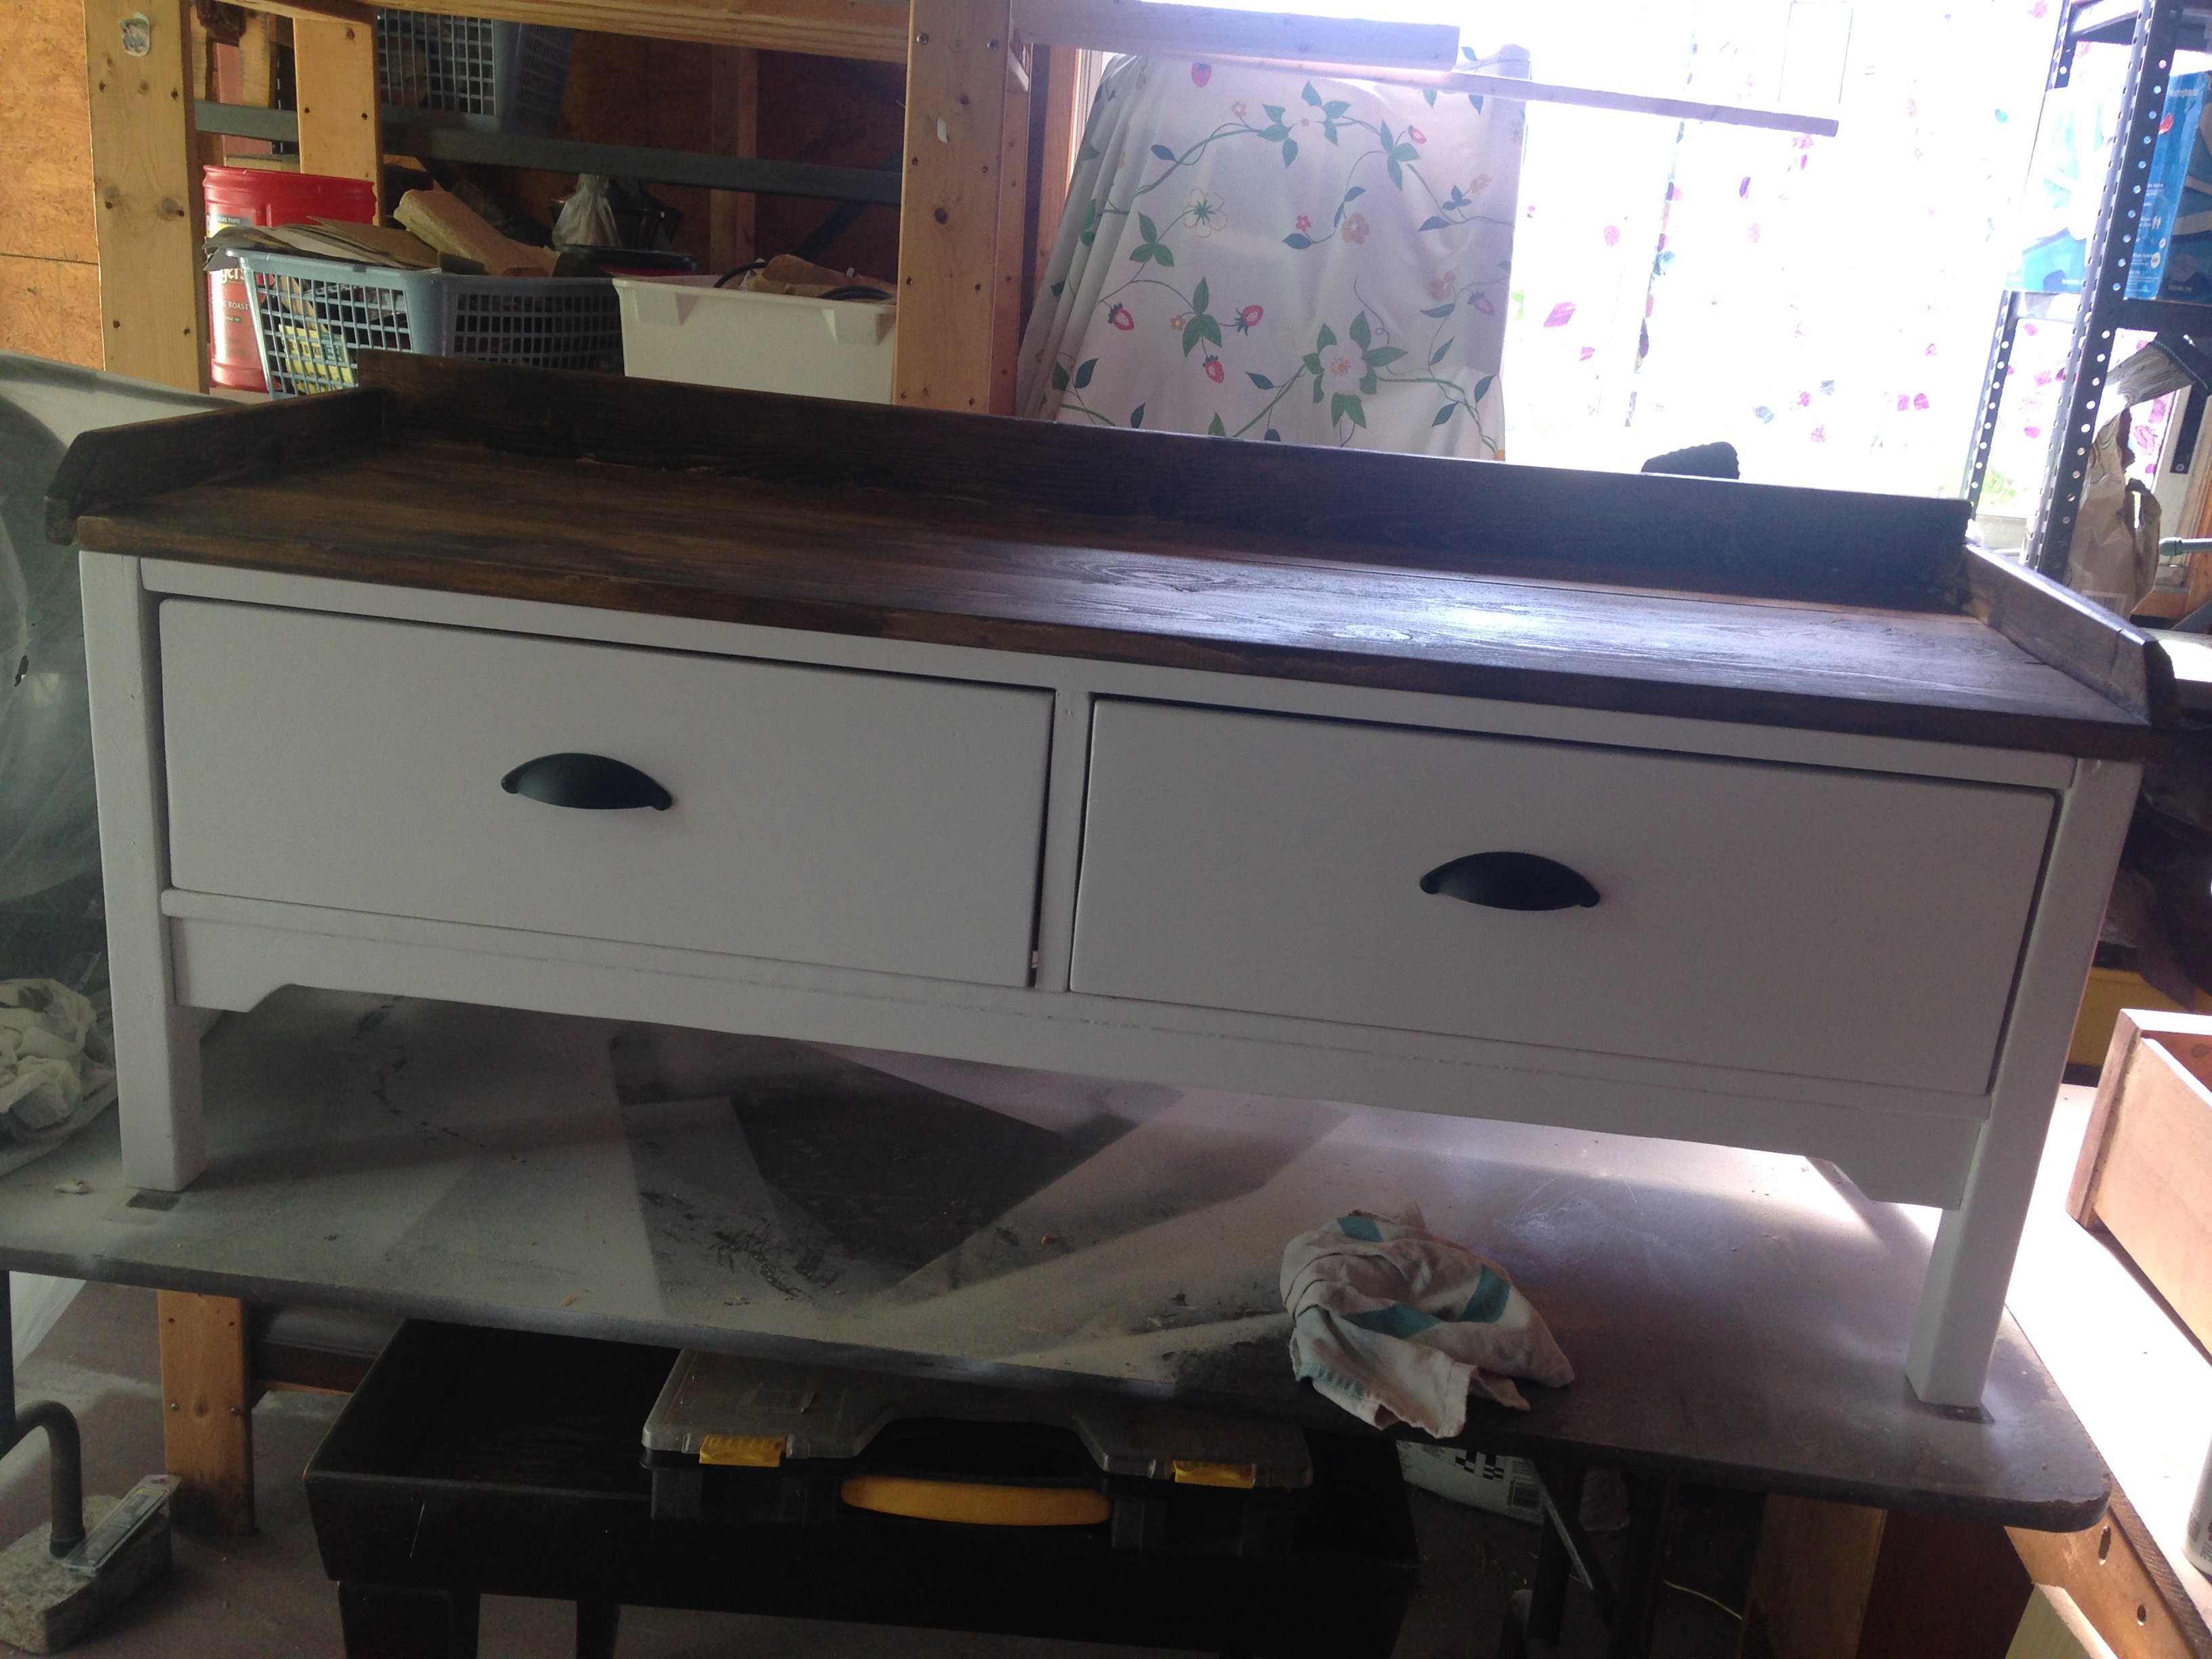
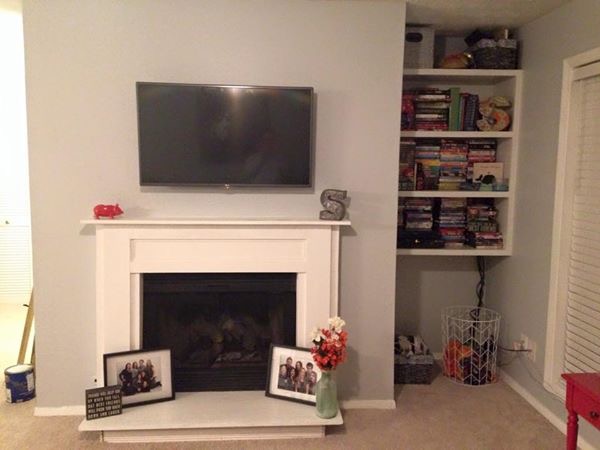
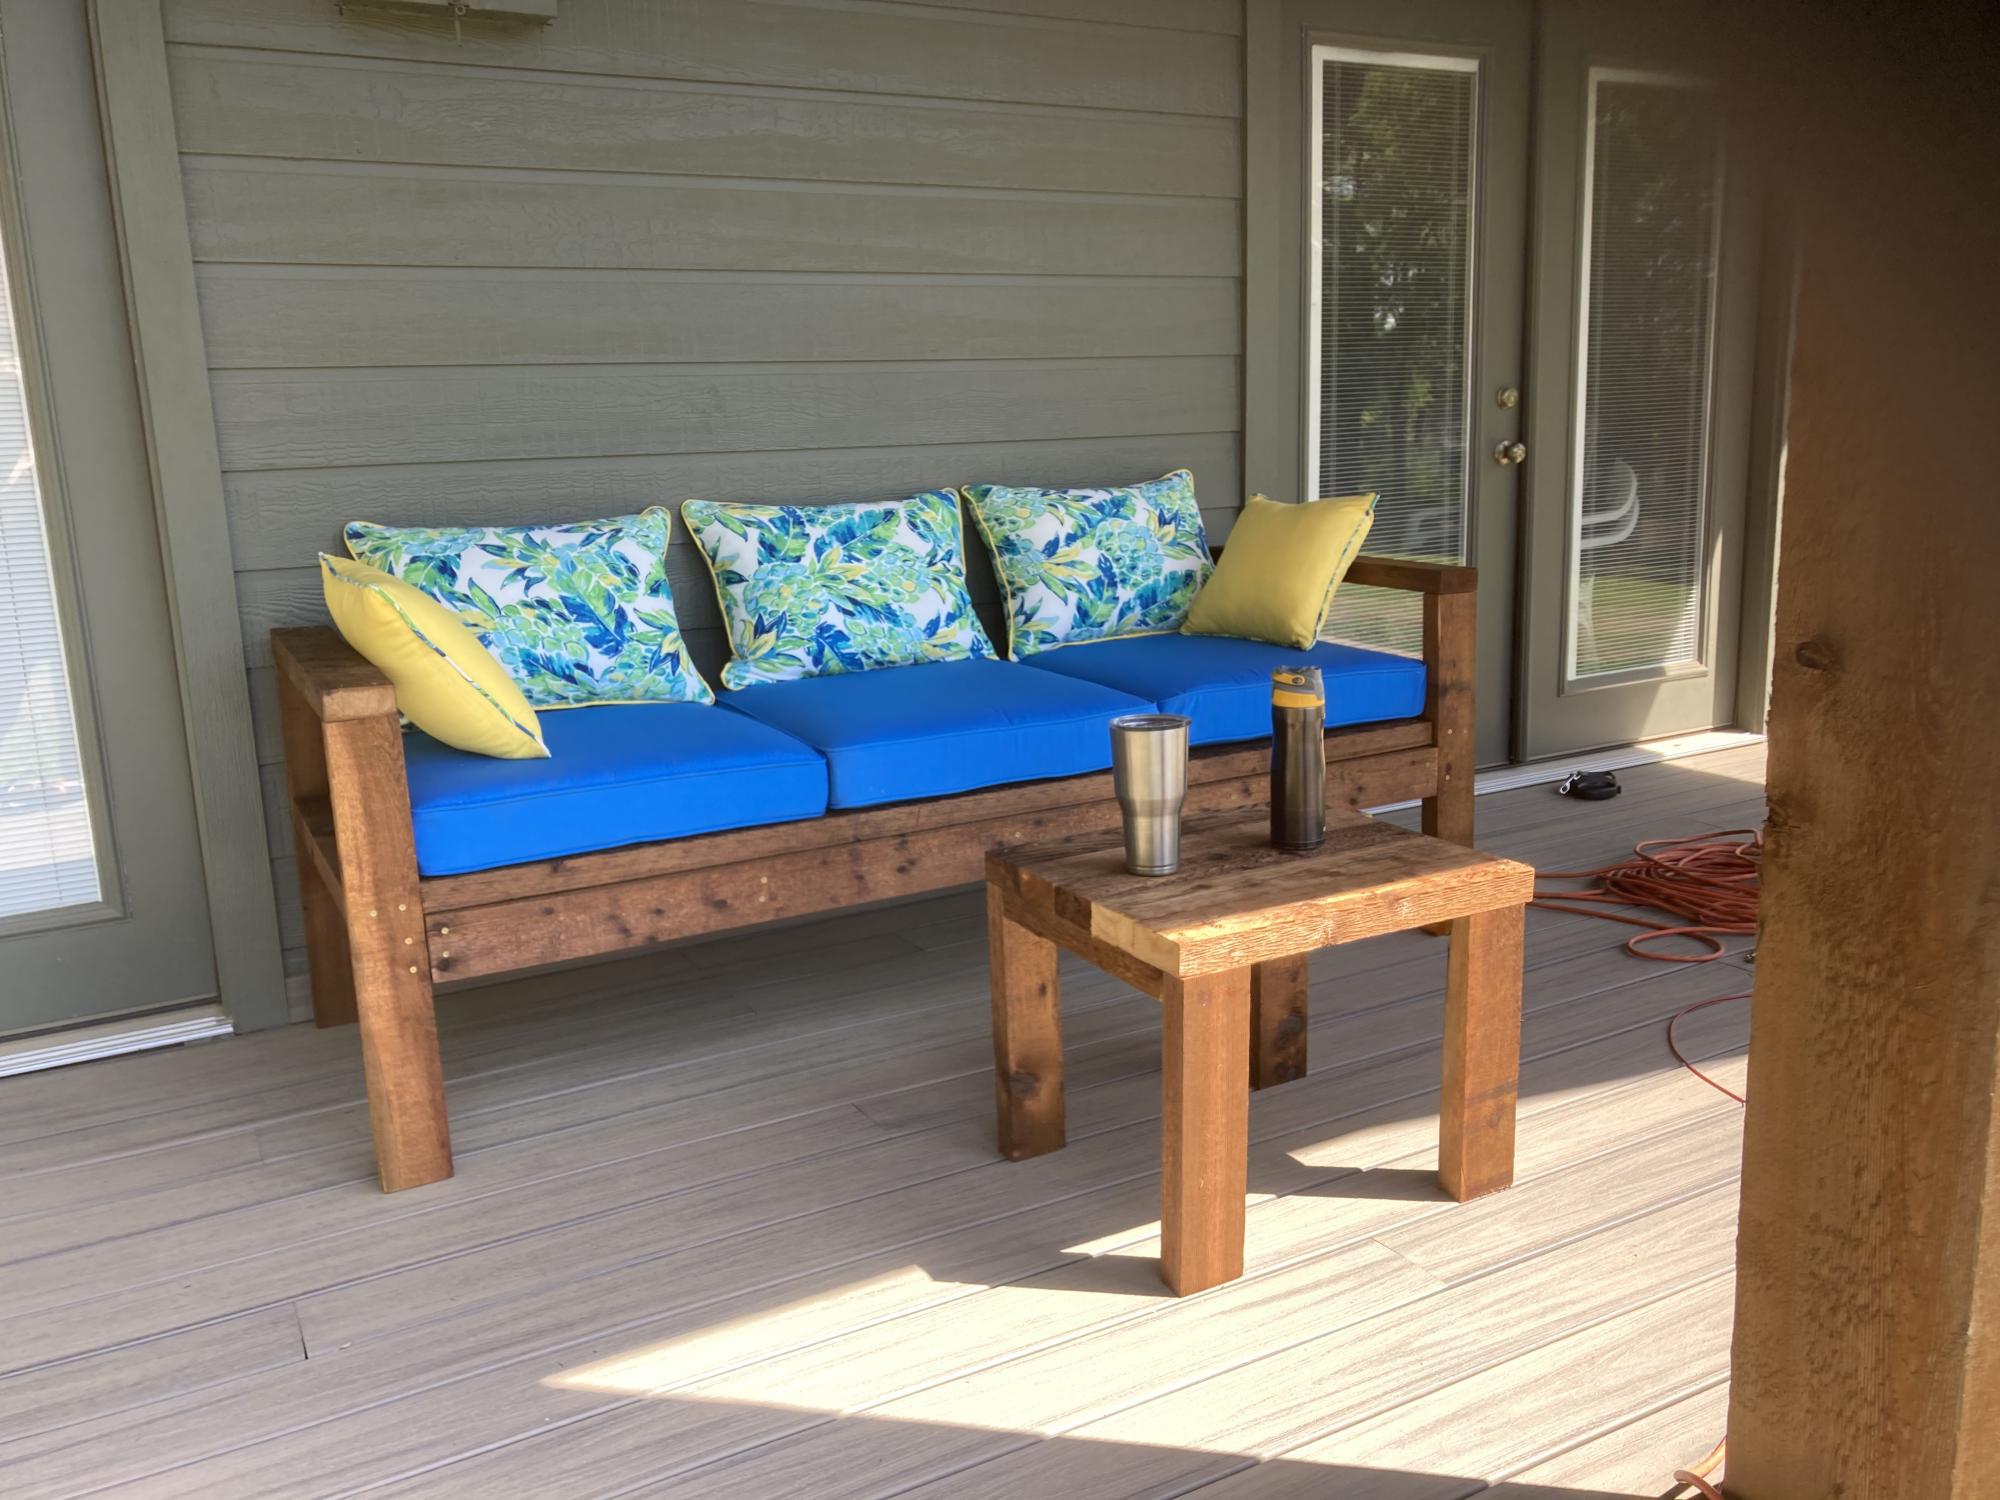
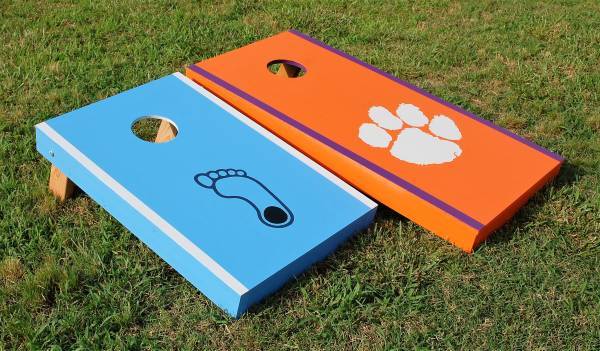
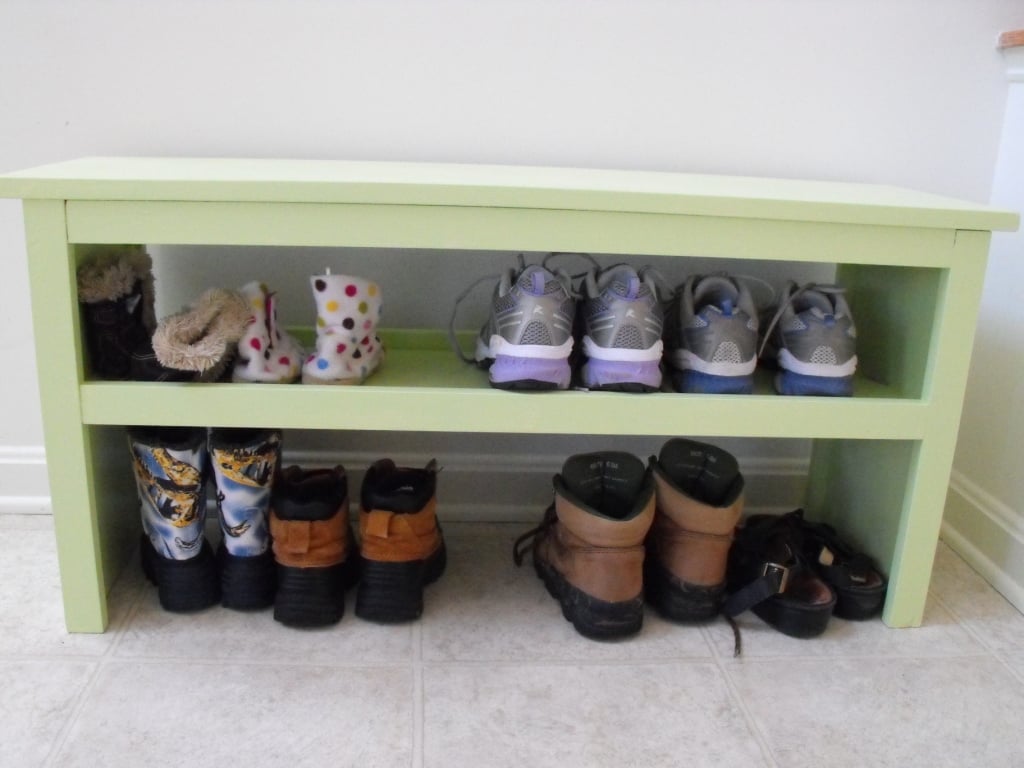
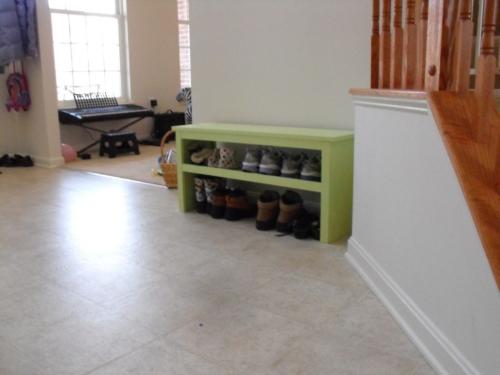
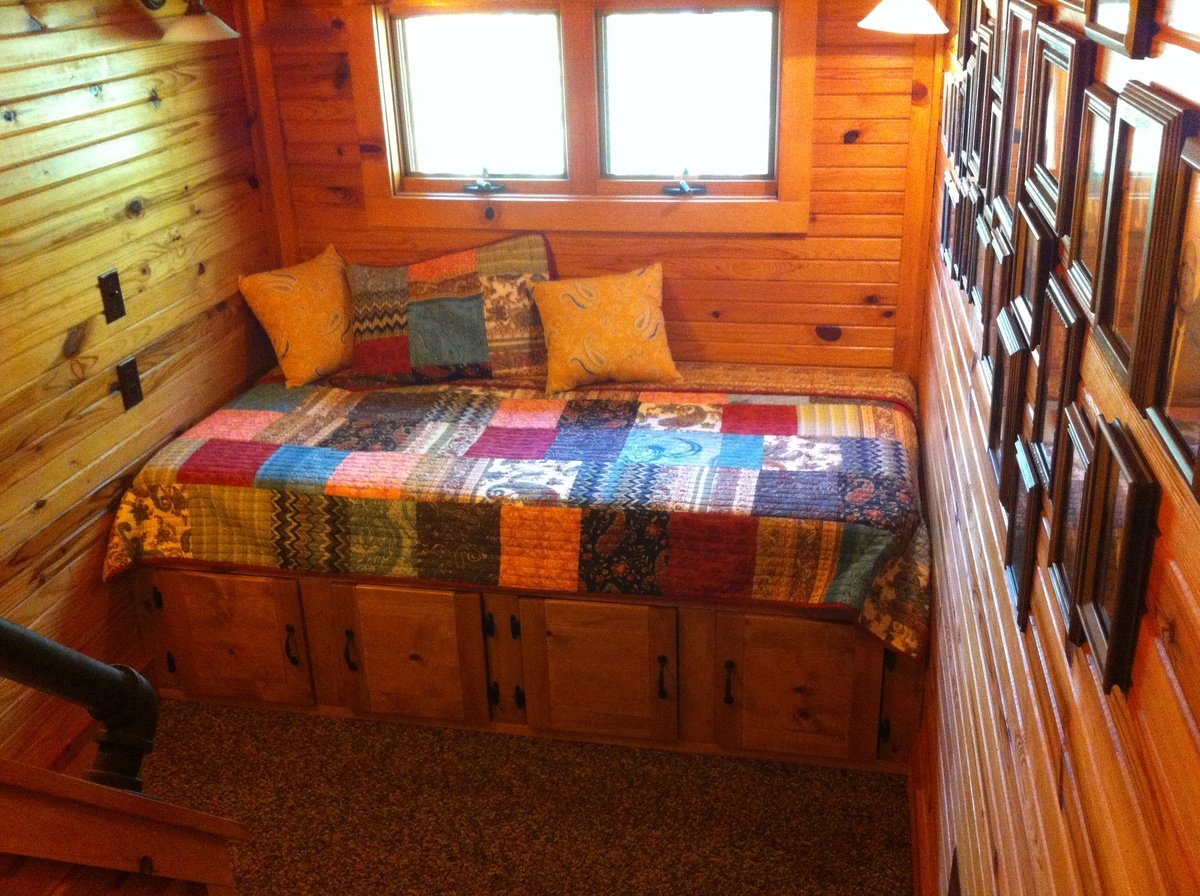
We are in a new house, so most of our walls are still white, but we did paint the family room a bright green, so I used leftover paint for the bench. I had to work on this in the evening after the kids were in bed so it took me about a week, working for about 1-2 hours a night. I found relaxing for the most part(except for where the newspaper underneath the bench started sticking to the painted legs).
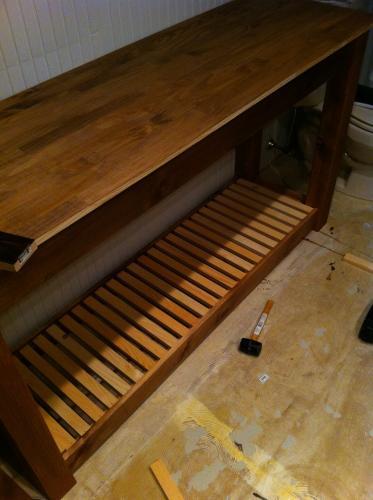
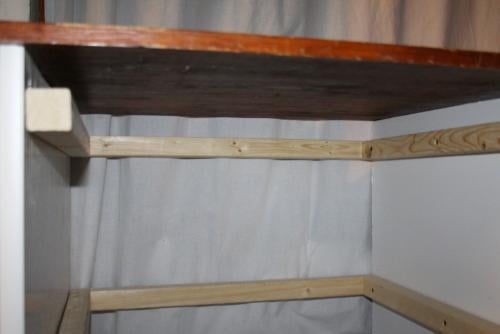
I did not use furring strips even though they would have been cheaper, since my friend convinced me they would have required more sanding. The upgrade only cost a few extra dollars.