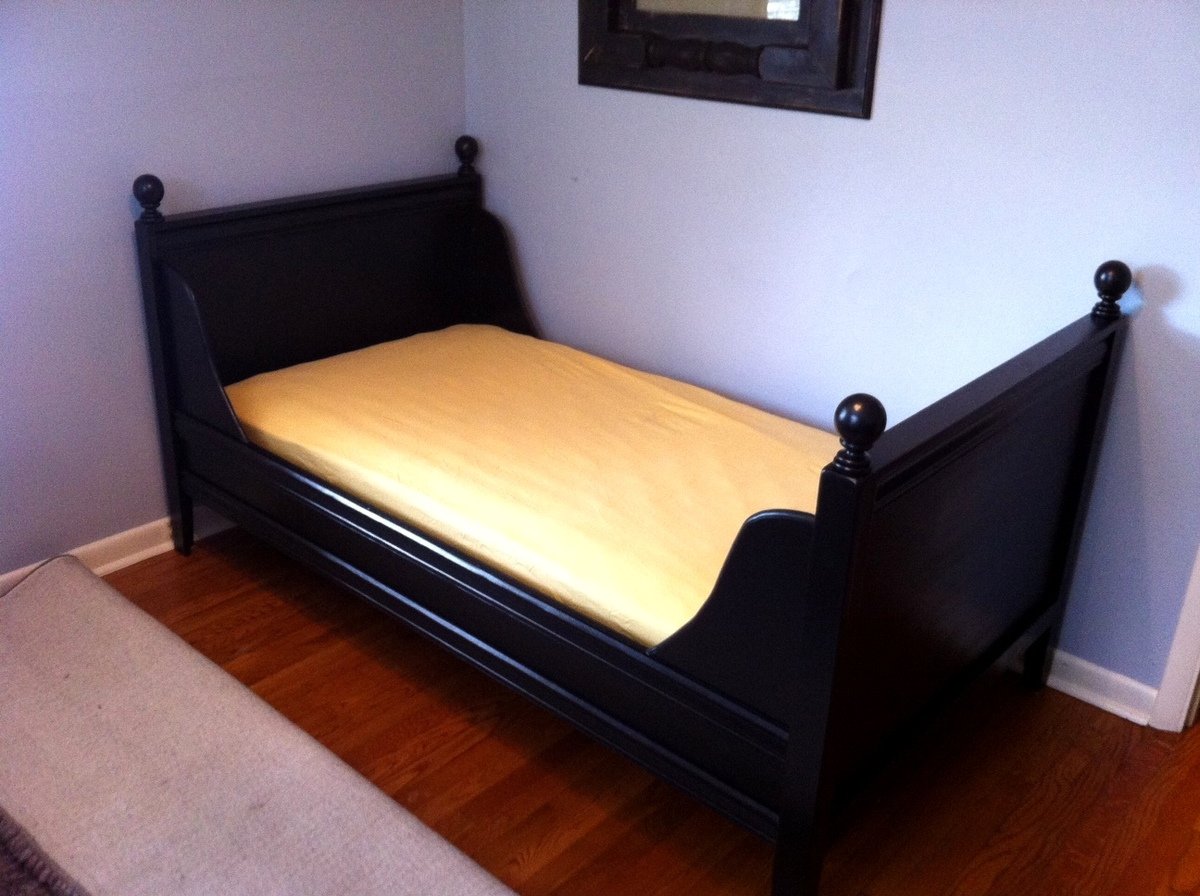
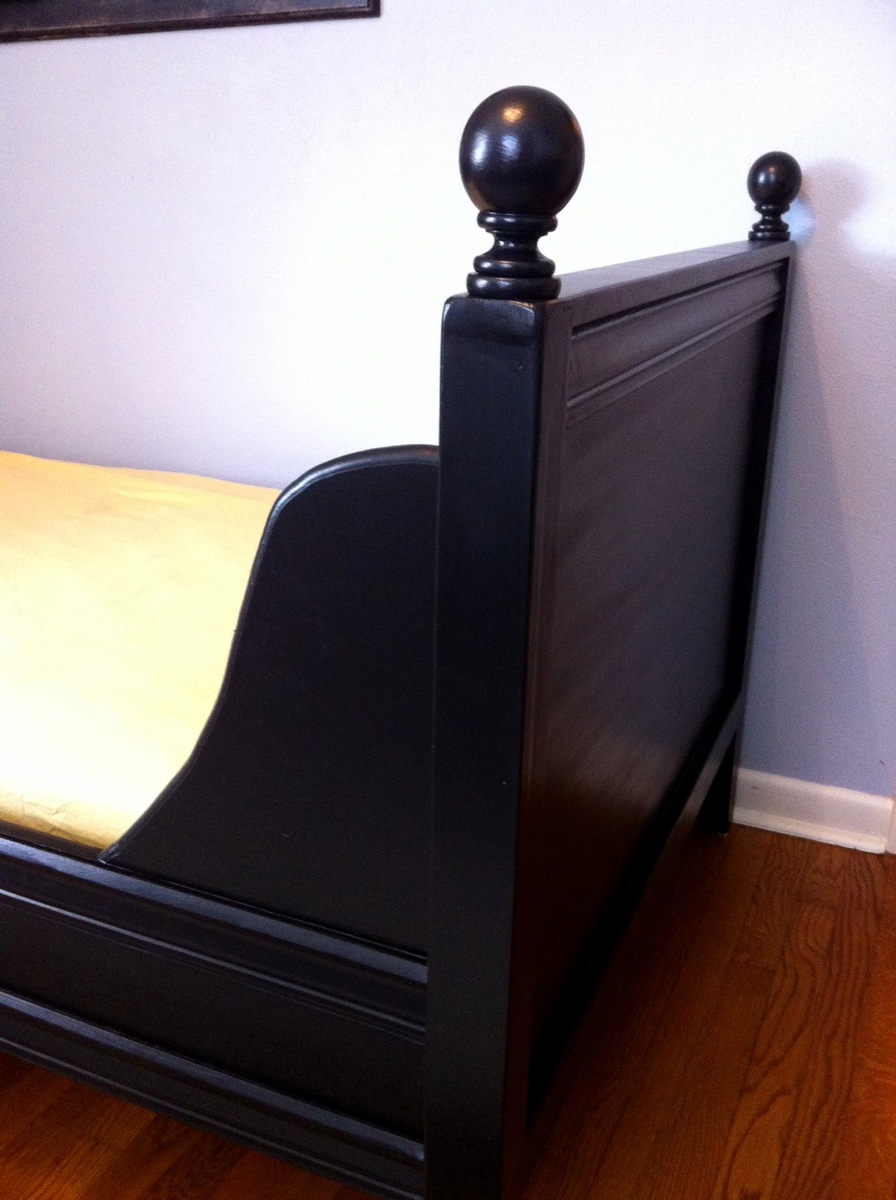
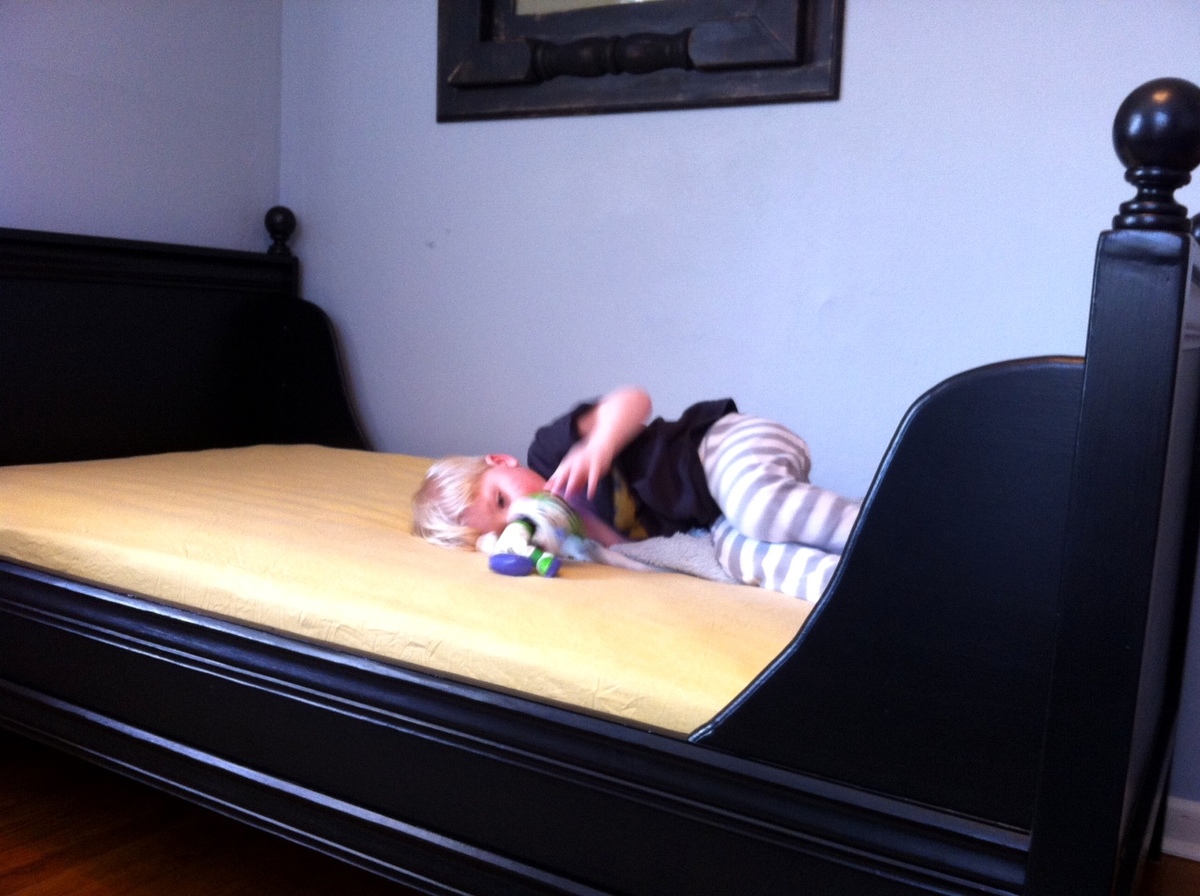
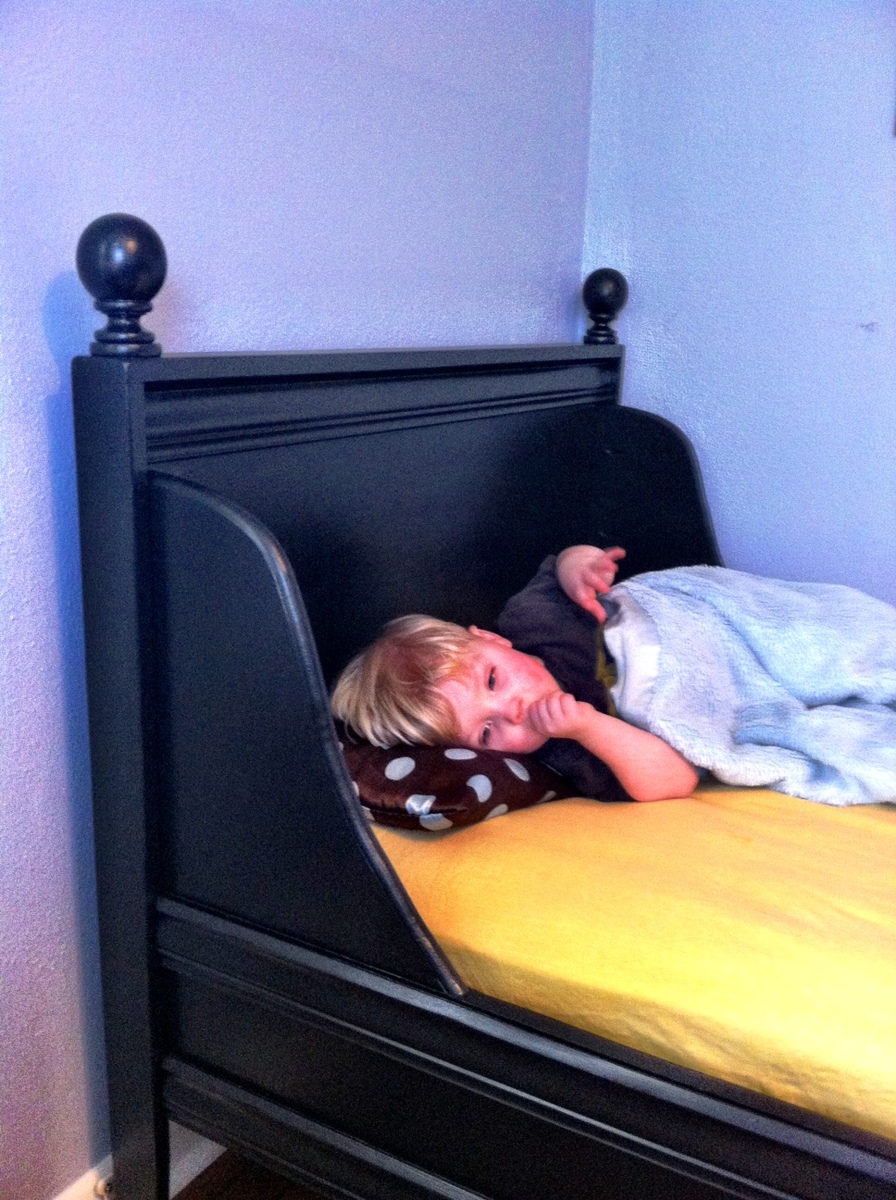
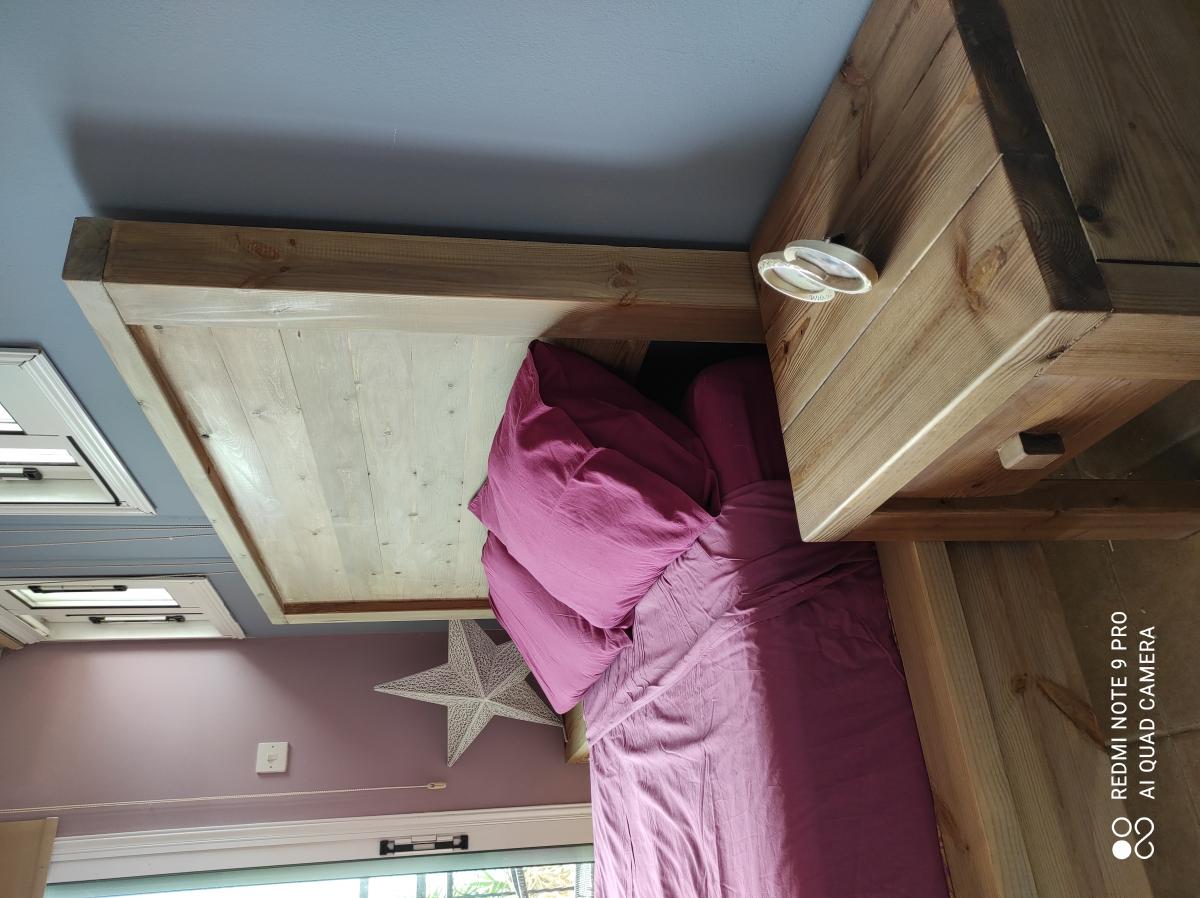
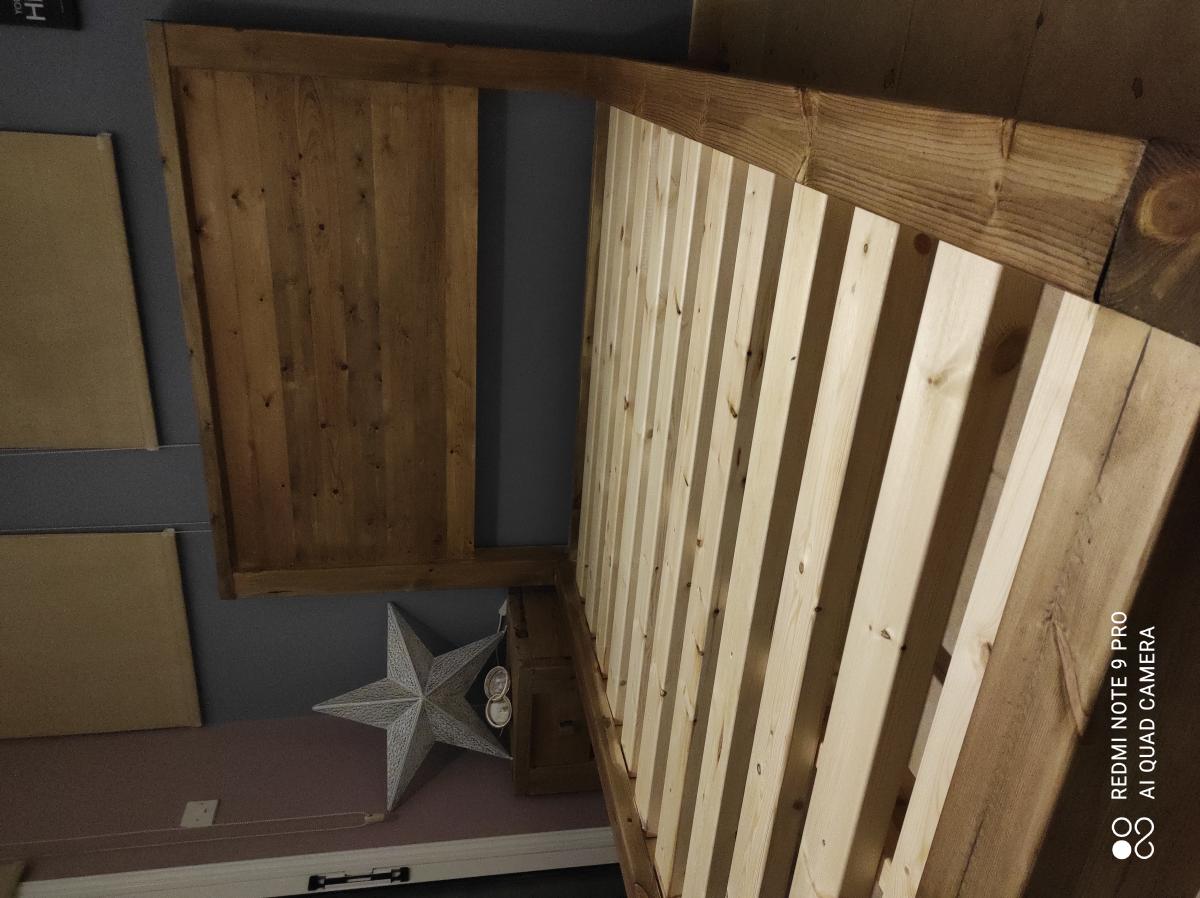
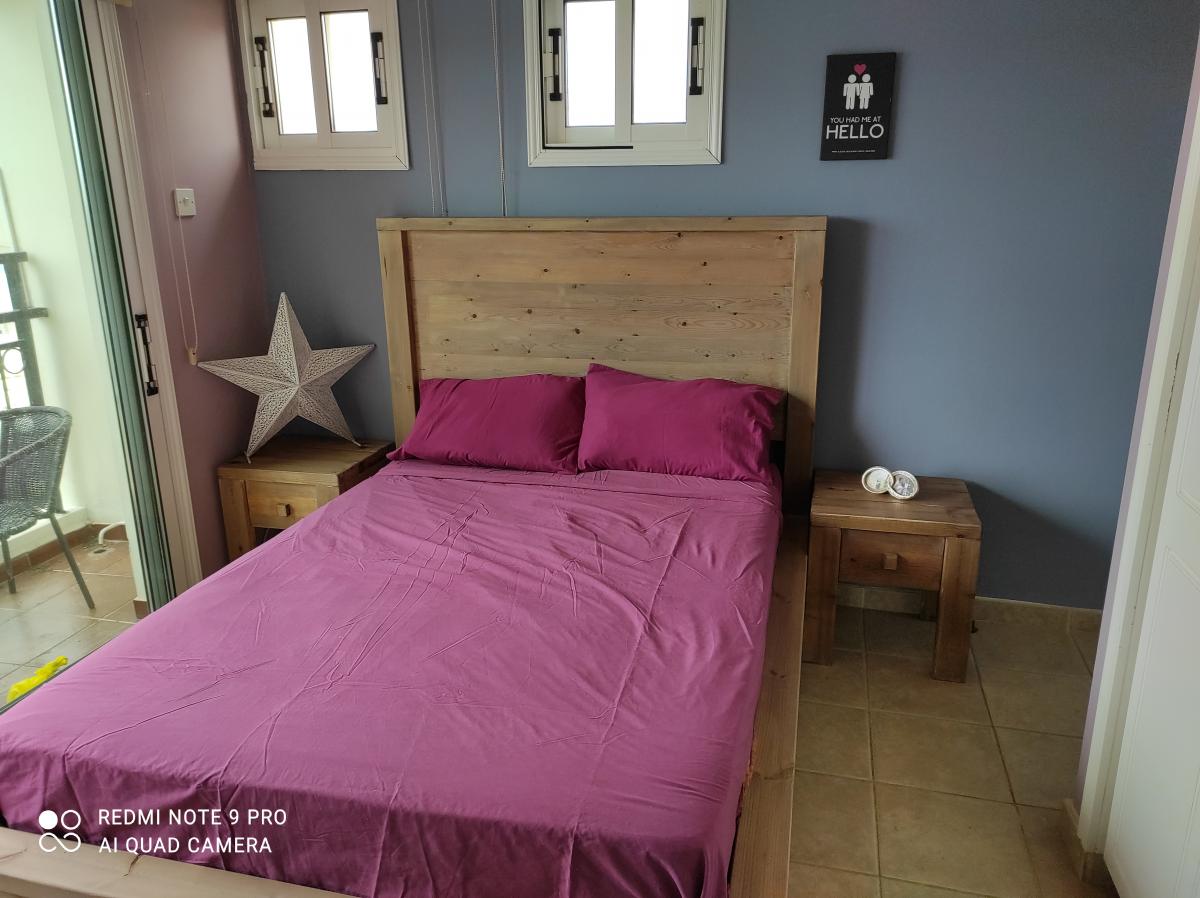
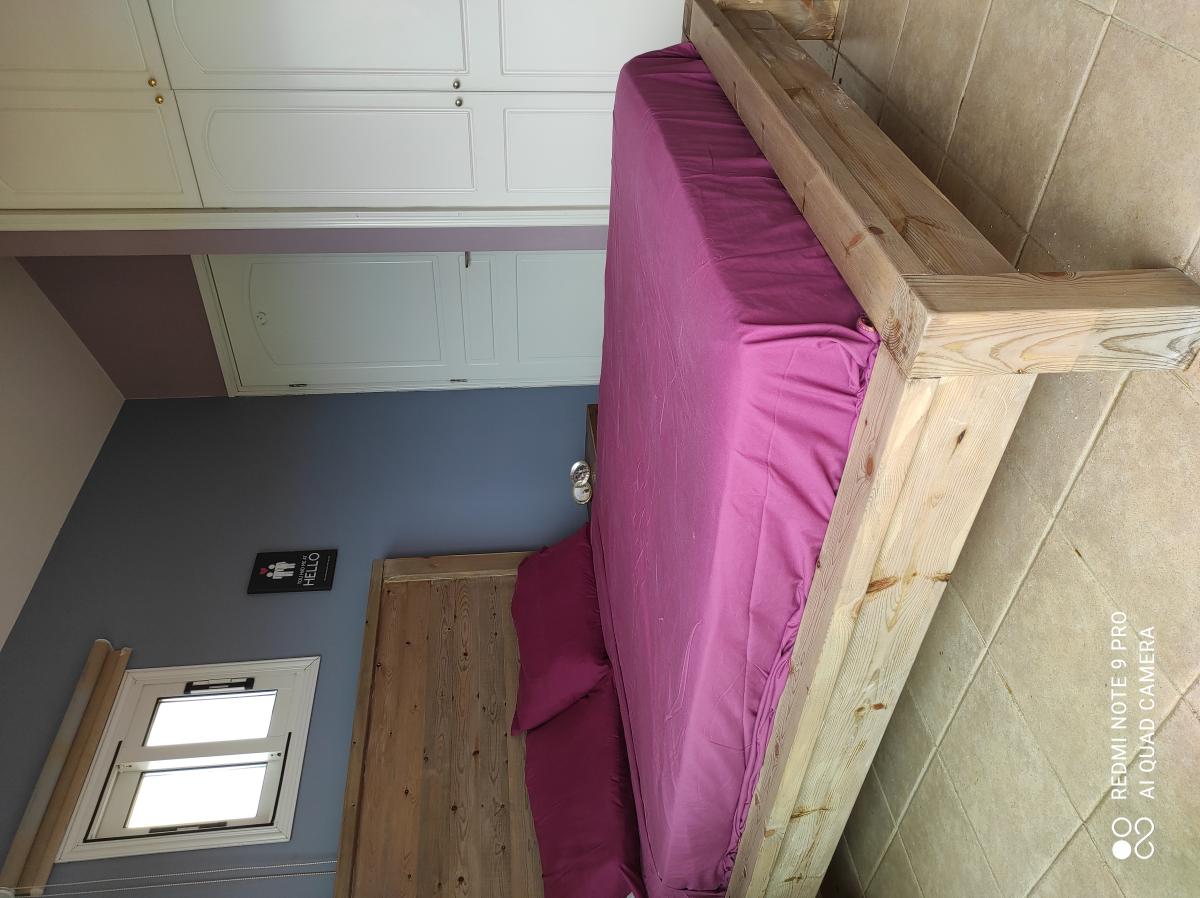
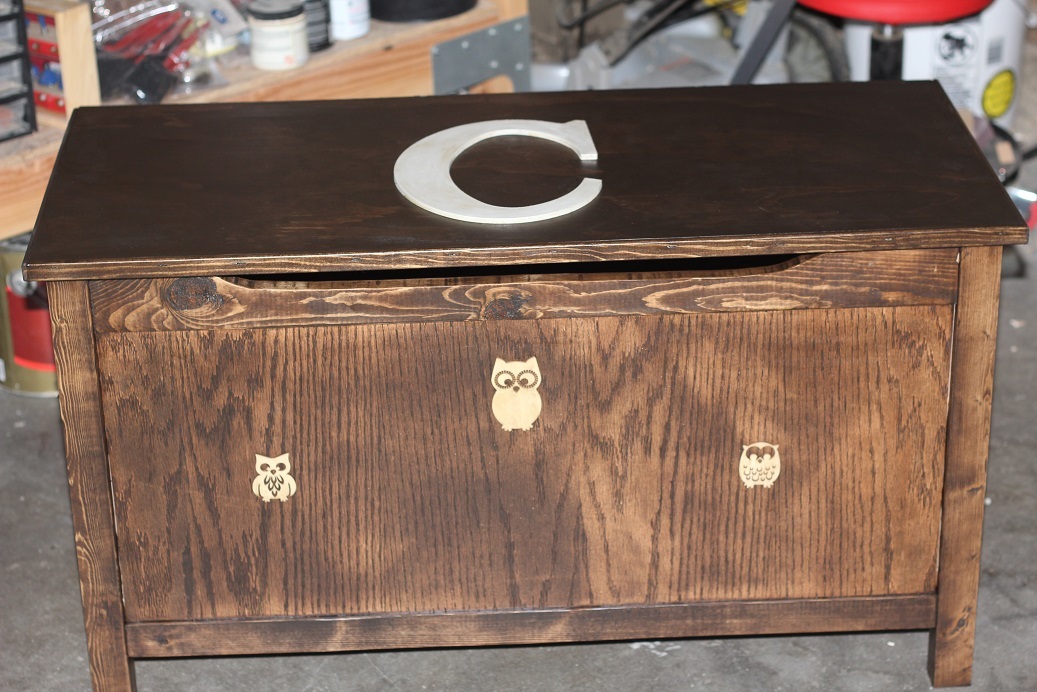
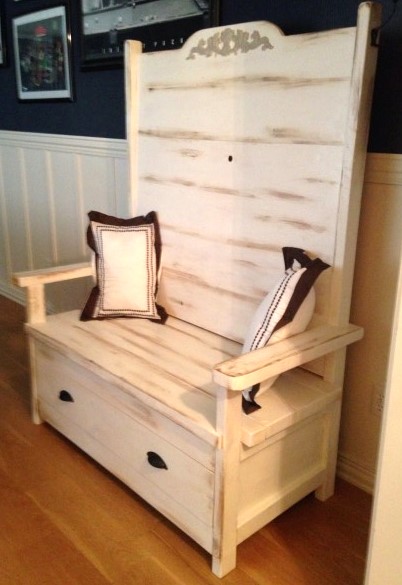
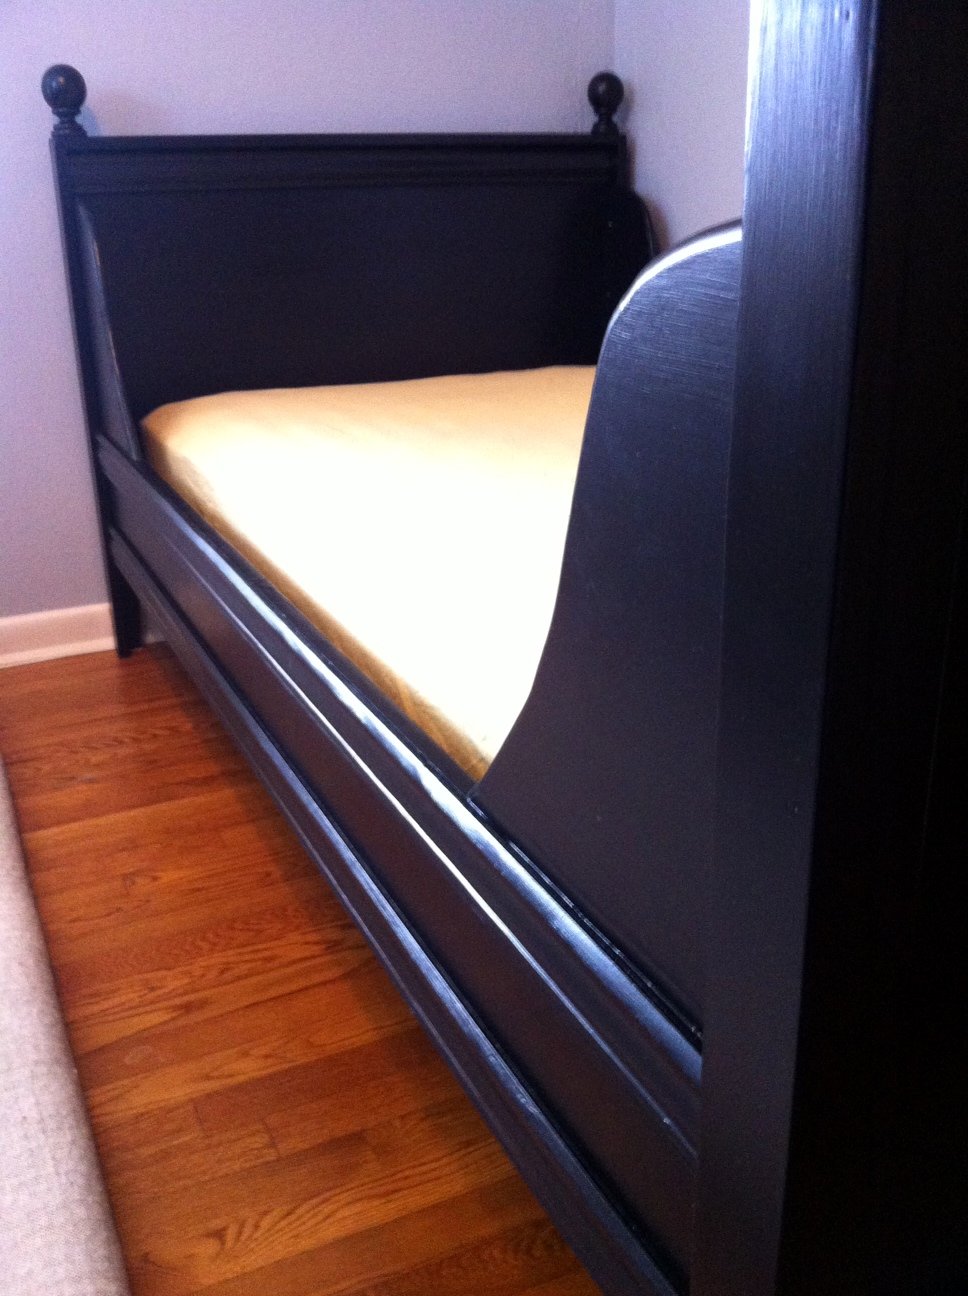
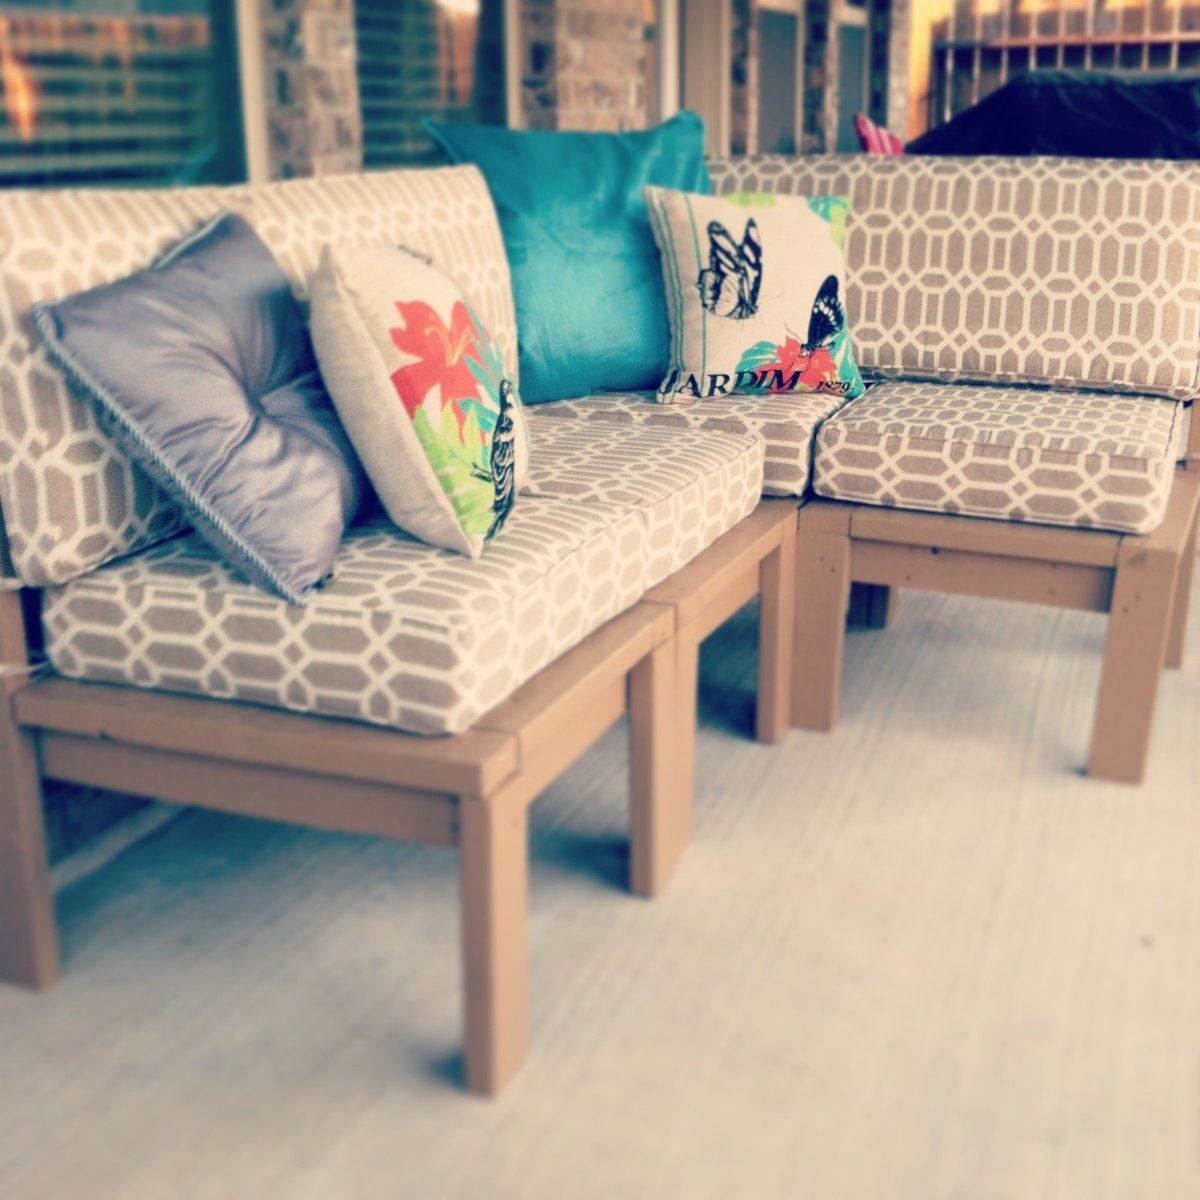
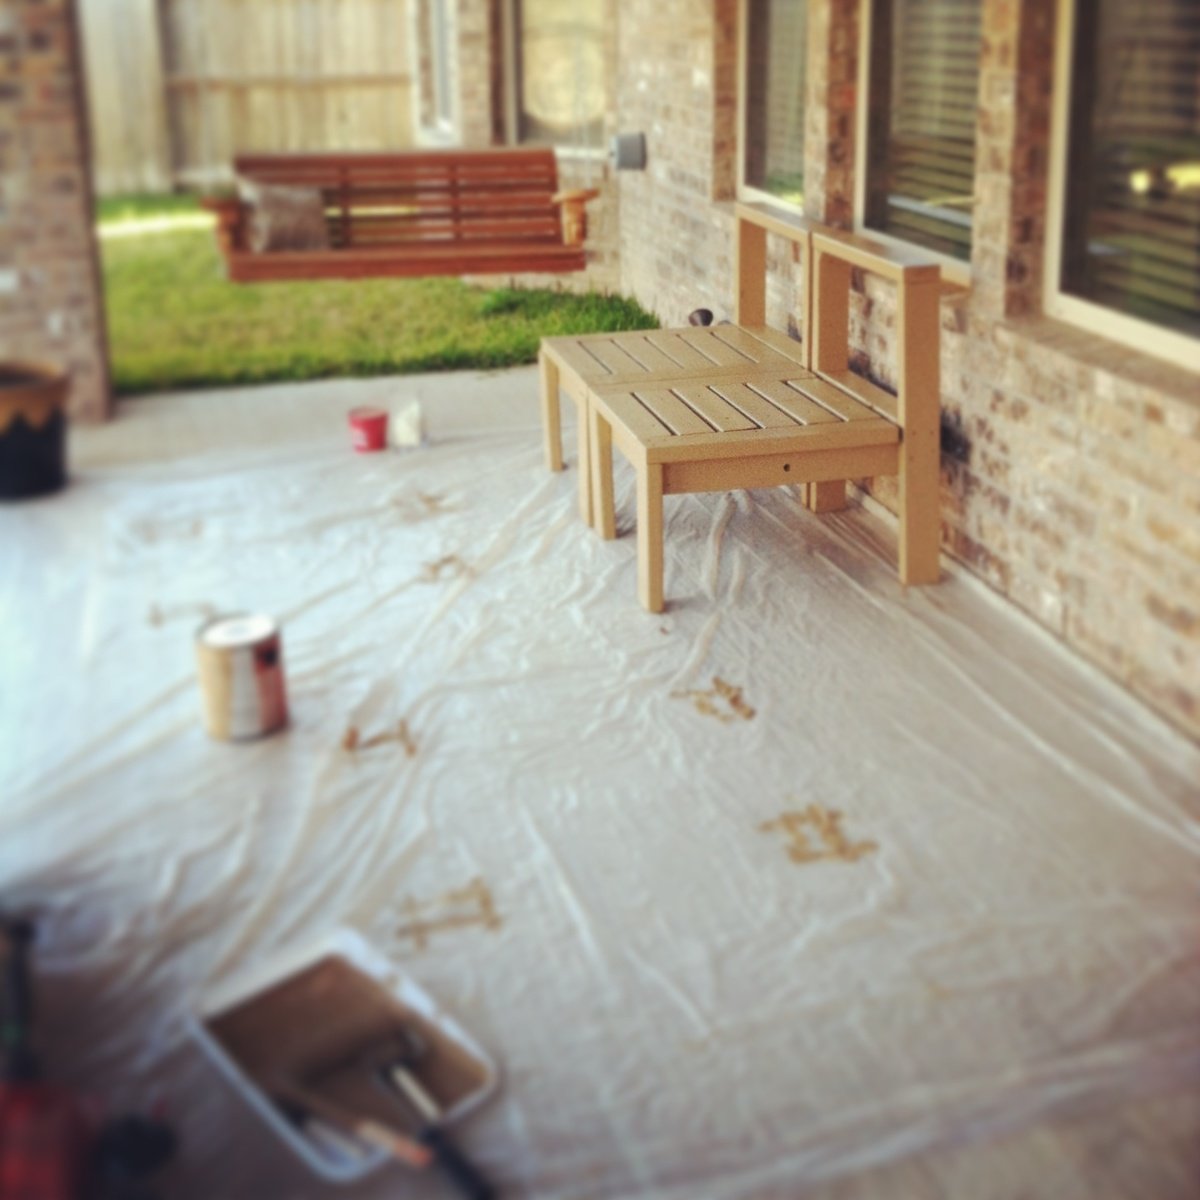
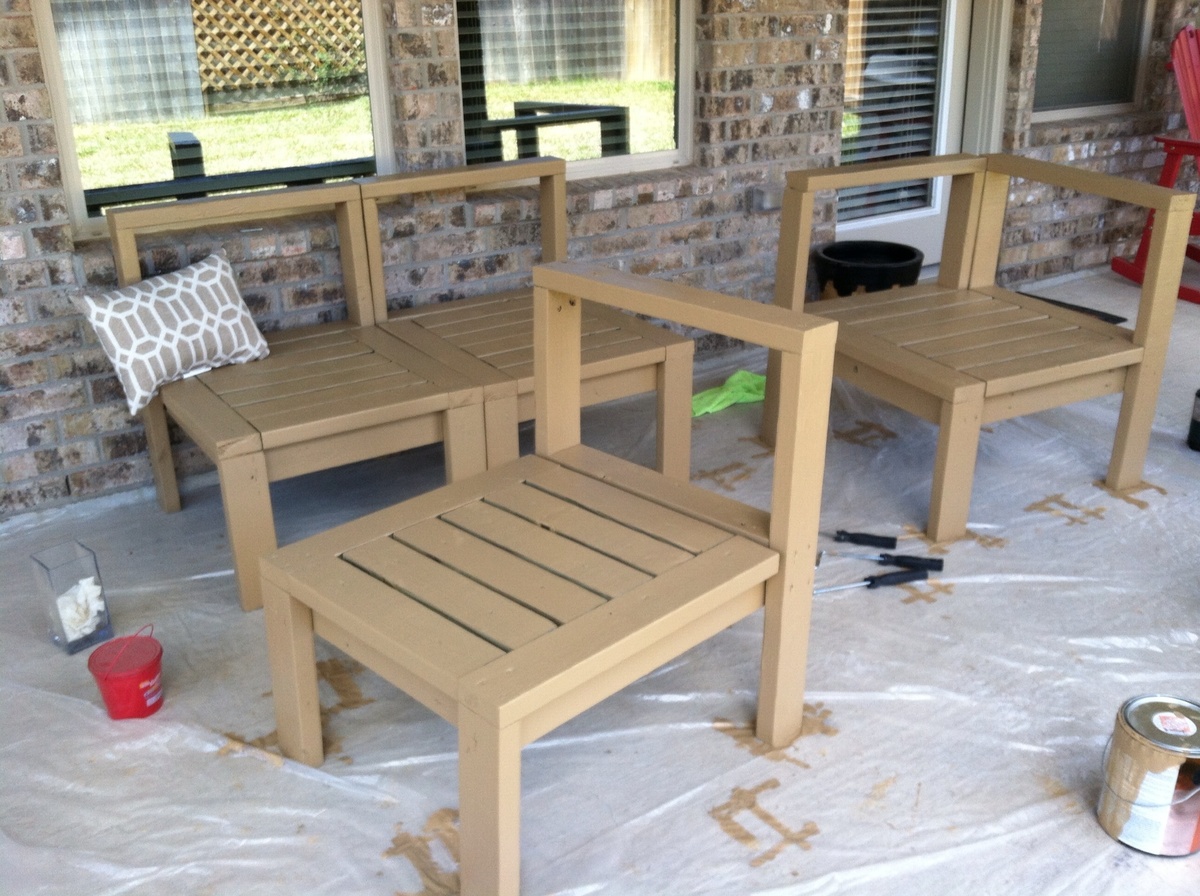
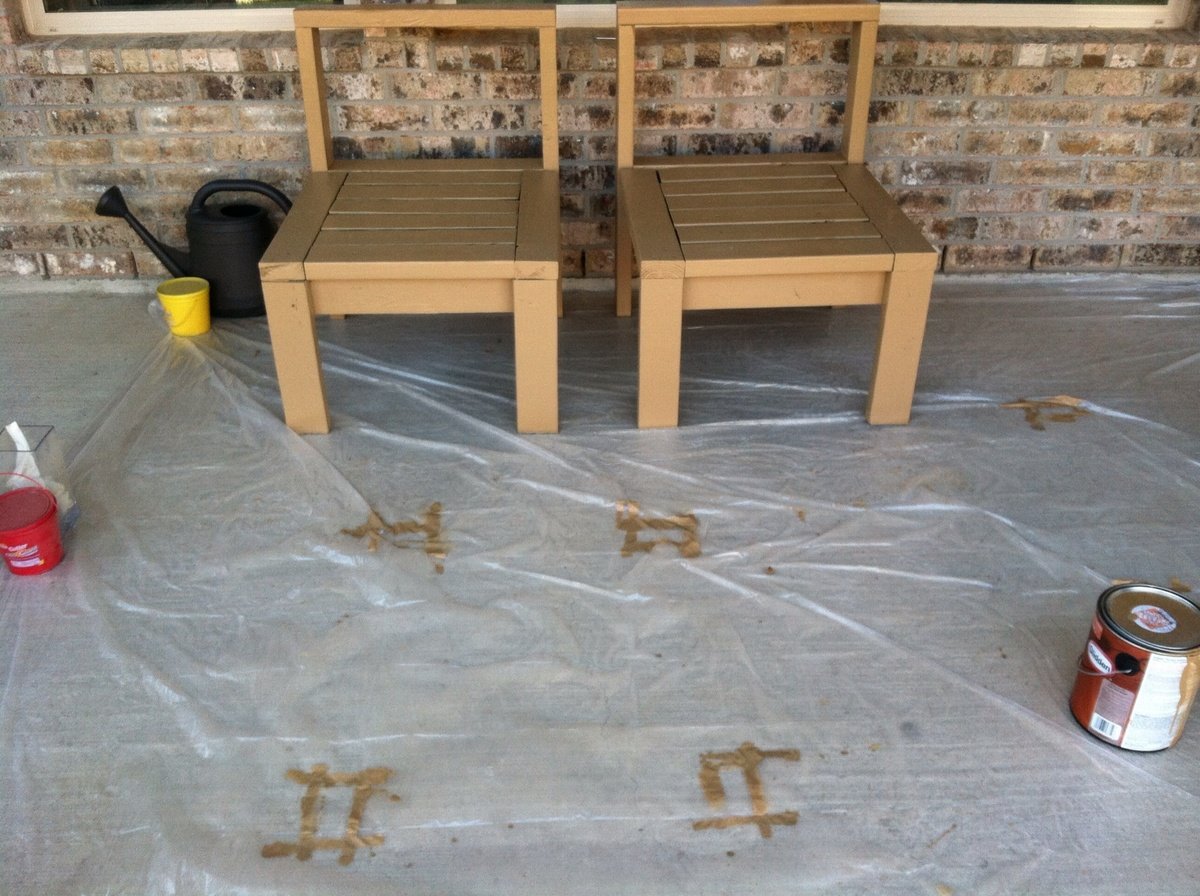
Tryde end tables
![](/sites/default/files/image_365.jpg)
Tryde end tables
![](/sites/default/files/image_366.jpg)
![](/sites/default/files/image_367.jpg)
![](/sites/default/files/image_368.jpg)
Tryde end tables
Followed the plans, a decopage floor and roof, and a sign for the stable.
Sat, 01/26/2013 - 18:37
Very cool project. My daughter really liked it and the cost was under 20.00.
Thanks, Ana! My main recommendation is to give more details on how to connect the three separate pieces. I ended up using two 3/8" carriage bolts on each side of the headboard and four 5/16" carriage bolts across the footboard. I also made the 2x6 slats in the frame such that my mattress is "countersunk" since we have such a tall mattress. Otherwise, the design and instructions were great.
We used Silk Pillow mate paint from Home Depot, and then did some distressing (but not much!) and went over with American Paint Company brown glaze (sponge brush with a old white t-shirt to customize the darkness).
I spent more than Ana's impressive $120, but definietely kept all my expenses under $400. Worth every penny!
-Mike
I really enjoyed making this plan. Only disappointment was the red stain finish I chose, live and learn.
The plans were helpful and accurate!!
Another thing I goofed up on and learned was on the 45's on the legs, I cut along the length instead of the width at first, wasted a 2x4 lol That was a good lesson to learn though. Shouldn't happen again any time soon...
Here is our version of the Rebecca Media Center. We love it!! It provides so much storage and since it's only 11 3/4 inches wide it does not take up a lot of space. Thank you so much Ana for these plans.
I wanted to build my Wife a kitchen island and we settled on the Michaela's Kitchen Island design. I made it without the bottom shelf and bought a couple of spin top stools from Pier One.
Ana, thanks for your awesome website that has inspired me to get into wood working. Thanks for sharing your knowledge, experience, and passion with the rest of us.
God bless,
Jody & Glenda Knowles
Thu, 12/04/2014 - 21:55
I absolutely love this! The crackle finish is awesome!
Just had to raise the top to make room for the Amazon purchased barn door rails
Really enjoyed building these stools. This is the most difficult project I have attempted yet from your plans. Next, I am going to build a farmhouse headboard / footboard. I really enjoy browsing through all of your wonderful plans.
The joys of military life is constant moving and rarely having a mantle to hang stockings on. Problem solved with Mimi's Faux Mantle and it'll come with us next time we move. This was my husband's second build that I teamed up with him on. We're both pretty excited about how it turned out.
Sun, 11/30/2014 - 13:02
Looks Marvelous! Love the trim, and the finish is awesome. Great job on this build!
Thu, 12/04/2014 - 22:44
Well done! This looks fab and right in time for Christmas!
Basically went off the design of the 3 cubby storage bench but extended to about double size. Took me a while to rework all the dimensions but luckily it worked out. I also extended the sides and back up 2 inches to accommodate a cushion (at some point)
This was my husband and I's first building project. The plans were very easy to follow, with exact dimensions and lists of materials needed. We are really pleased with how they turned out and are about to build a matching king size Farmhouse bed to go with the Farmhouse bedside tables.
The pocket hole jig was optional, but it definitely helped make the finished product much more sturdy and professional looking. Since that cost about $100, it raised the total price of the tables, but now we can use that on any project. We highly recommend it!
We built both of these in about 2 weekends.
**Also, the plan we followed was for the bedside table in Ana White's published book of plans. It may differ from the plans that this post links to**
Sat, 02/02/2013 - 19:06
This turned out beautiful! I already started cutting the wood for mine and will hopefully get it finished by tomorrow (with the exception of the finish). I just love this nightstand and I now have all new bedroom furniture for under $300. Again, you did a beautiful job!
Sun, 02/03/2013 - 13:02
thanks so much! yes it's definitely cheaper and way more satisfying to make it yourself..good luck with yours!
I burnt the wood with a torch, and then sealed it with polyurethane. I don't have the tools to cut medal lathe, so I used wood. This is a Christmas gift for my nephew.
A hefty nightstand with deep drawer and open shelf. Built to match headboard, the legs are 4" x 4" with slightly angled panel boarding around to add lines. Oak slat top with a counter-top style retractable charging port (two plugs, two USB). 27" x 27" top gives more than enough room to decorate as well as place tablet or phone to charge over night.
Sun, 05/03/2020 - 16:00
Where can I find the plans for this night stand?
Decided to try my hand at a faux fireplace for our house to be completed and setup before christmas. Used ana white's faux fireplace with hidden storage plans but made a few tweaks to the size and style. Still have to add the electric fireplace logs and will update photos once it is added.
This was the first time I have built furniture, and I really enjoyed it. (And my wife loves the results!) I made it about a foot shorter and two inches wider to fit under the window, and I attached it directly to the wall.
This was my first time building a project that had a drawer involved. It took me three attemts to get the drawer right and I ended up building internal wood slides for the drawer to sit on and a couple of stops to keep it from falling out or going too far back. Not having to deal with finicky drawer slides made it much easier for me. I think it looks nice and it really is the perfect height for next to a bed or chair.
The cuts are very simple but I don't know how I would have done this without a kreg jig. It made putting all the boards together so much easier and kept them tight and strong.
Sat, 12/13/2014 - 18:15
I really appreciate your site Anna! I spend so much time on here plotting :) and looking at all the great stuff other people are coming up with to match their own style. Thank you for all the work you put into this and the amazing plans you create.
I used the plans for the Nightstand for Modern Farmhouse Bed, but modified them. My nightstand is 30 inches tall and I added an additional drawer. It is made entirely from reclaimed wood and I left the natural edges on the top and the drawer fronts. The woods I used are cedar, oak, heart pine and poplar. This is the first thing I have ever made, so I am pretty pleased with how it turned out. I purchased a nail gun to make it, so I foresee more wood making projects in my future.
Comments
Ana White
Fri, 11/21/2014 - 09:32
I really love the rounded
I really love the rounded edges! This is beautiful!
Avi8tor727
Fri, 11/21/2014 - 11:06
Thanks. I'm happy how this
Thanks. I'm happy how this turned out too