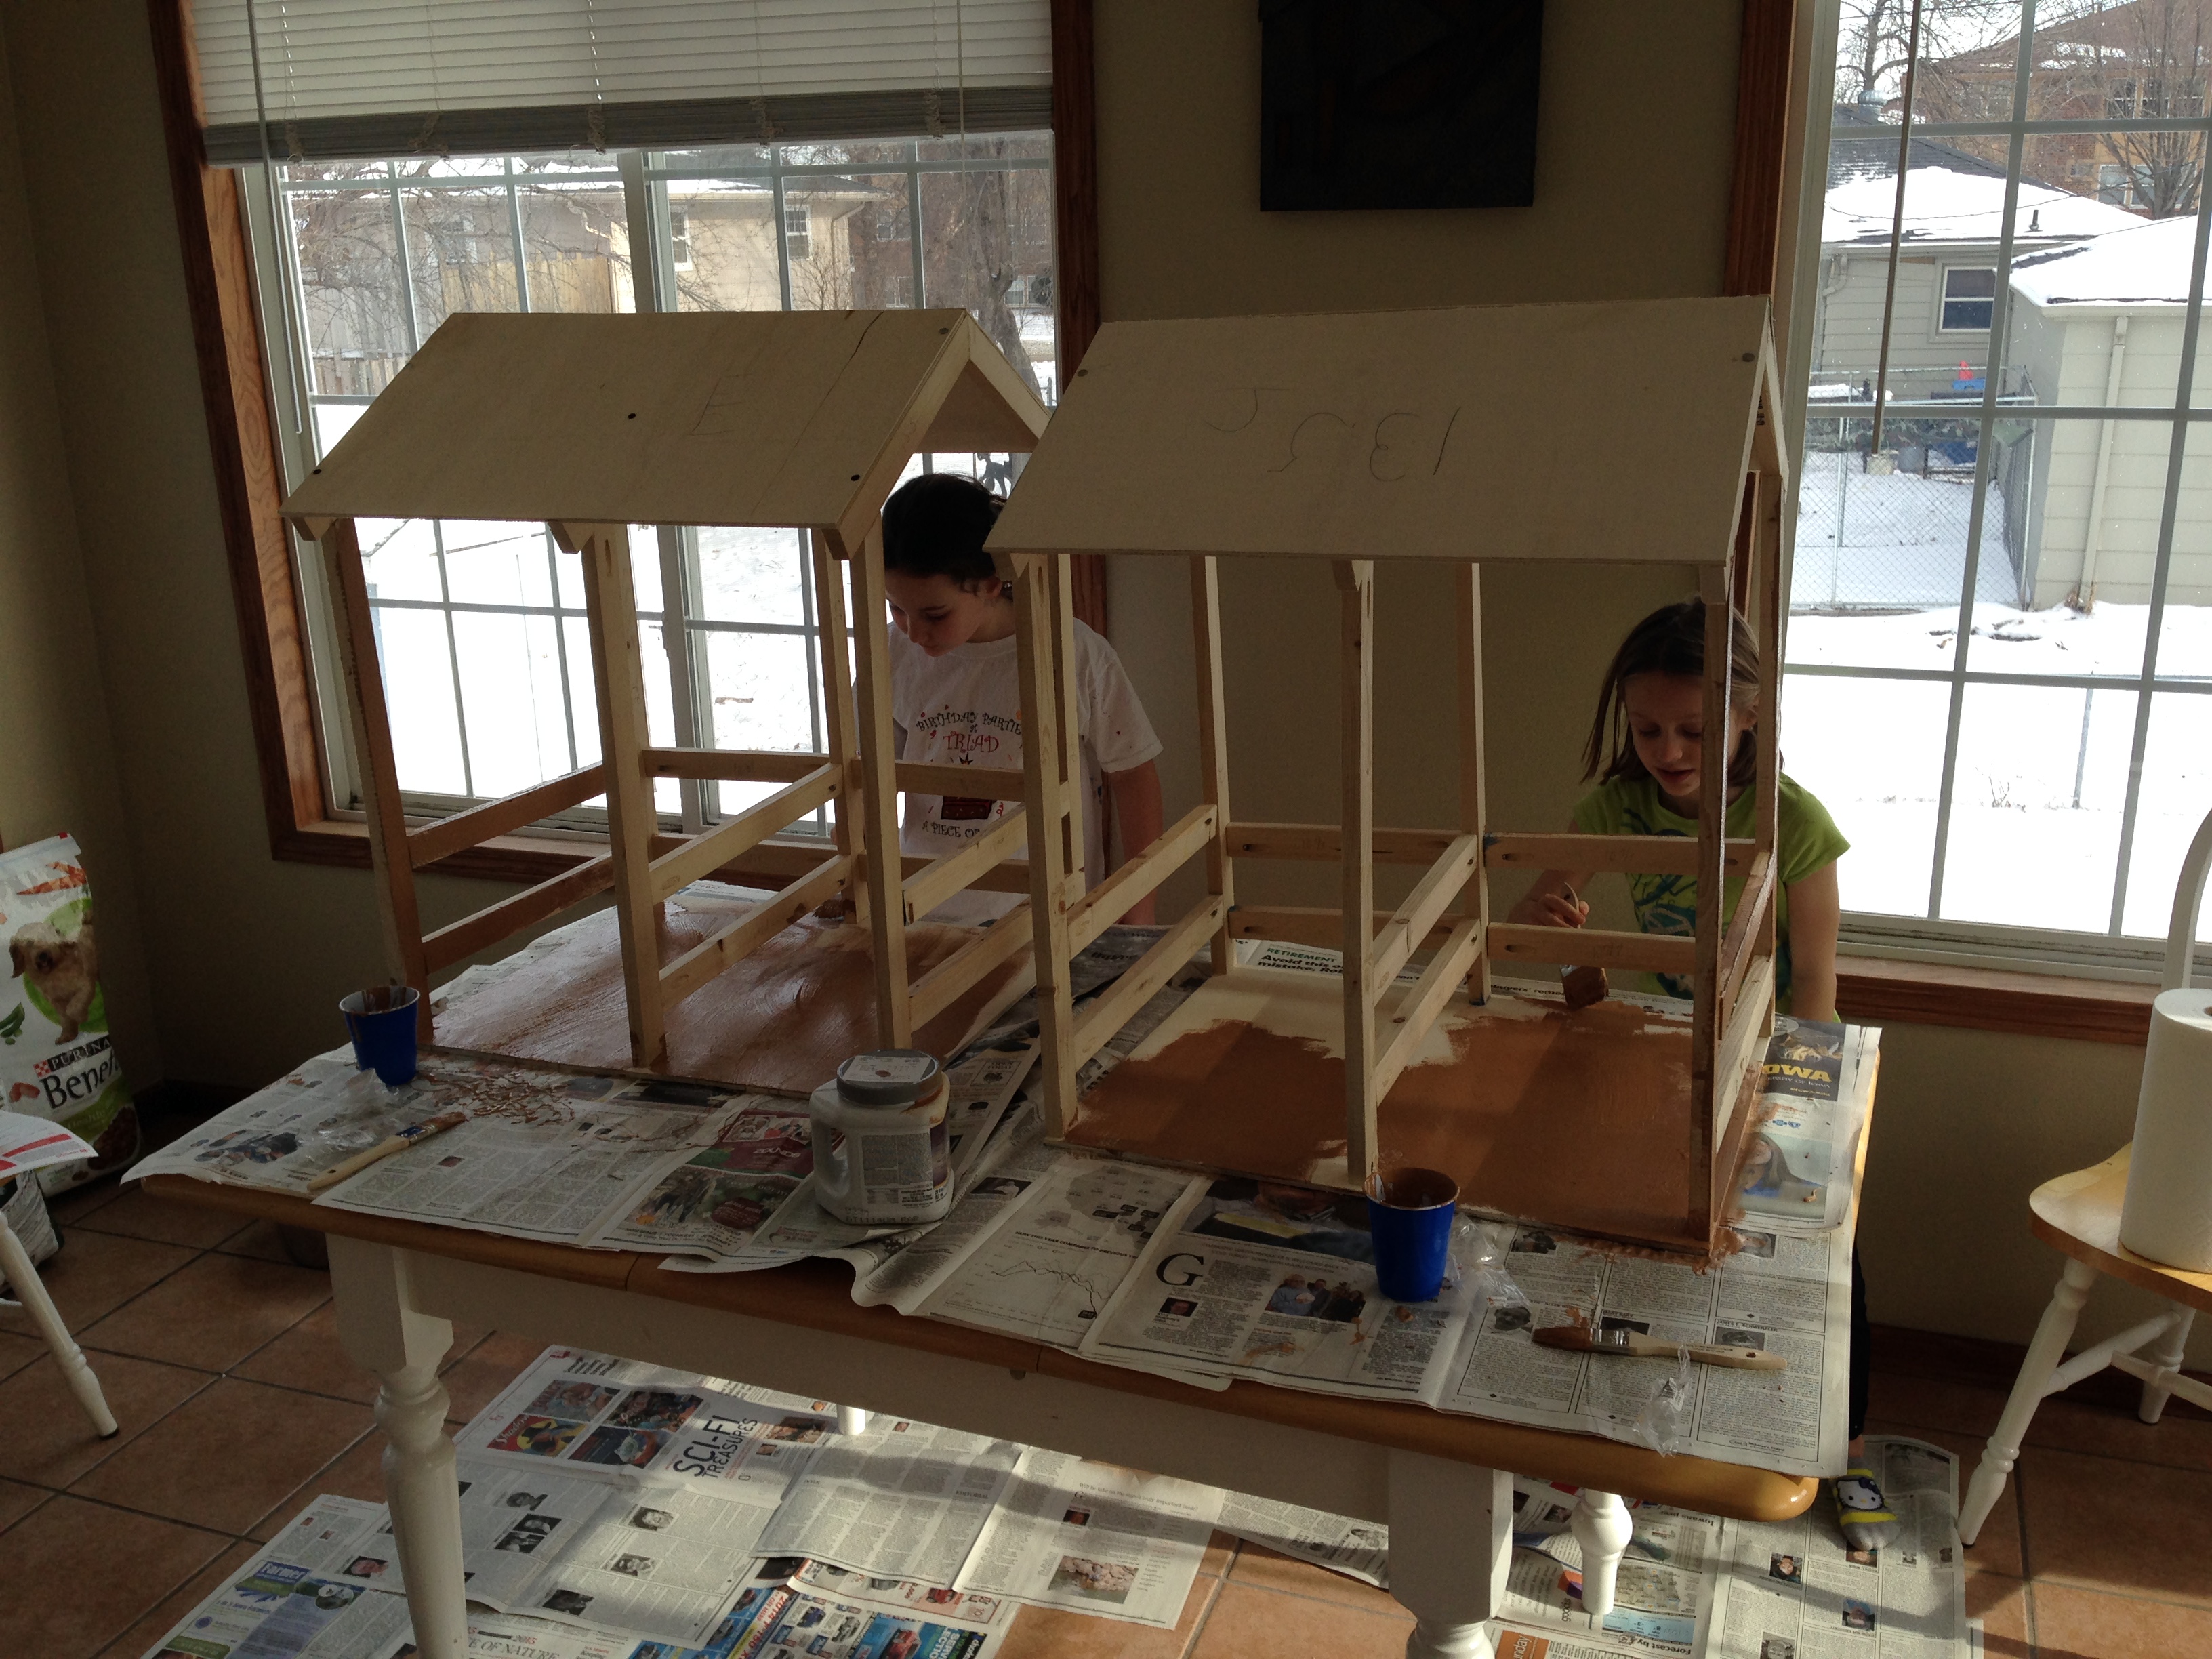
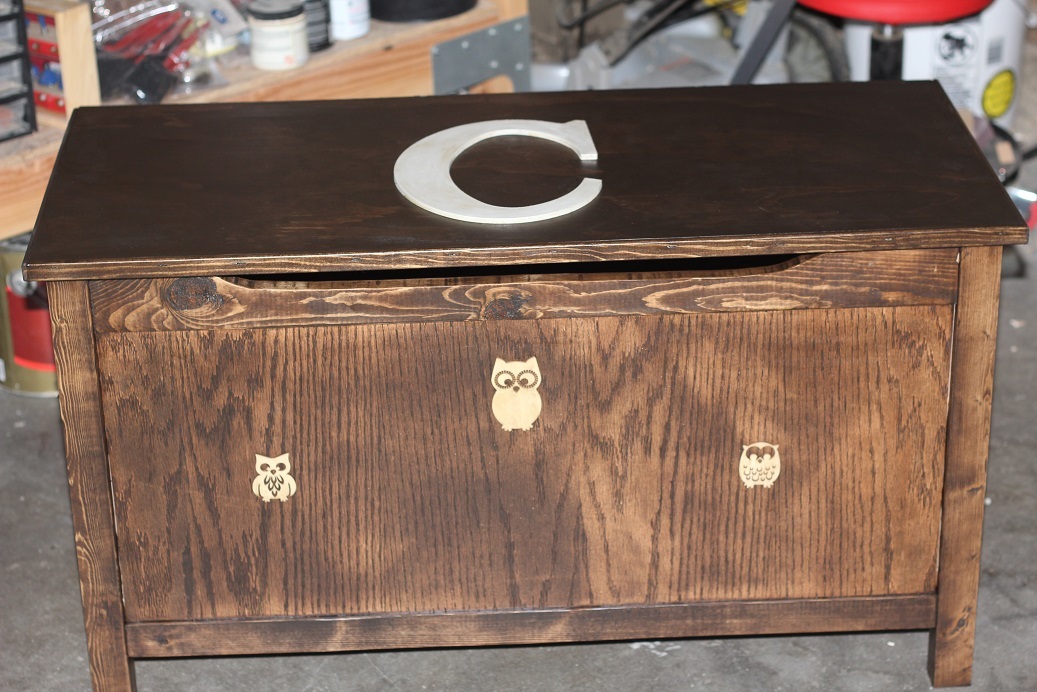
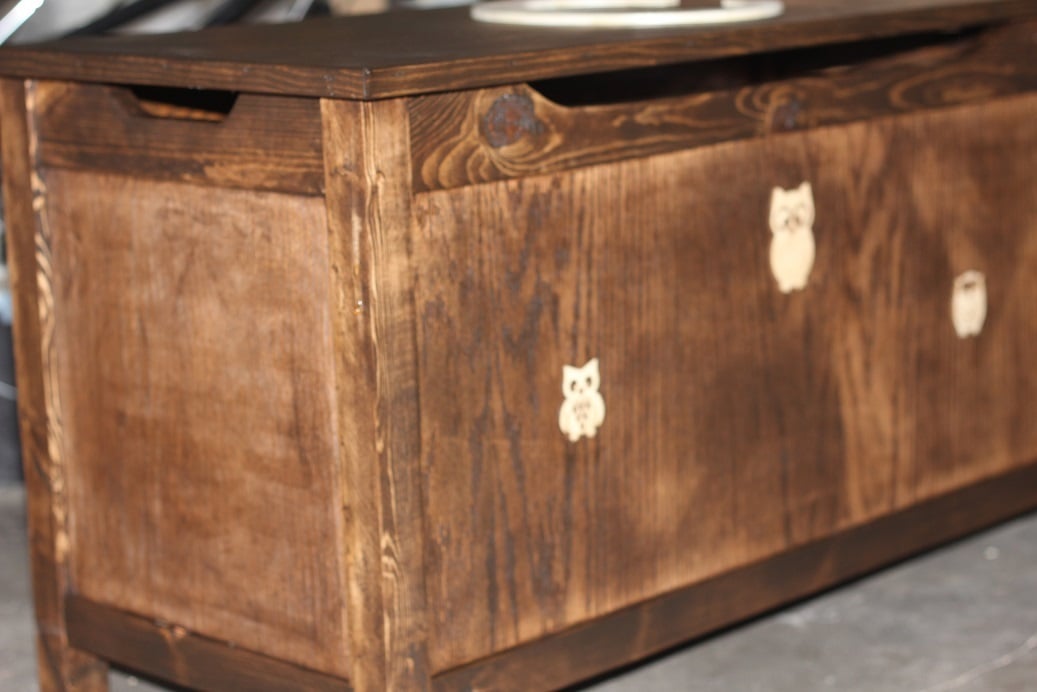
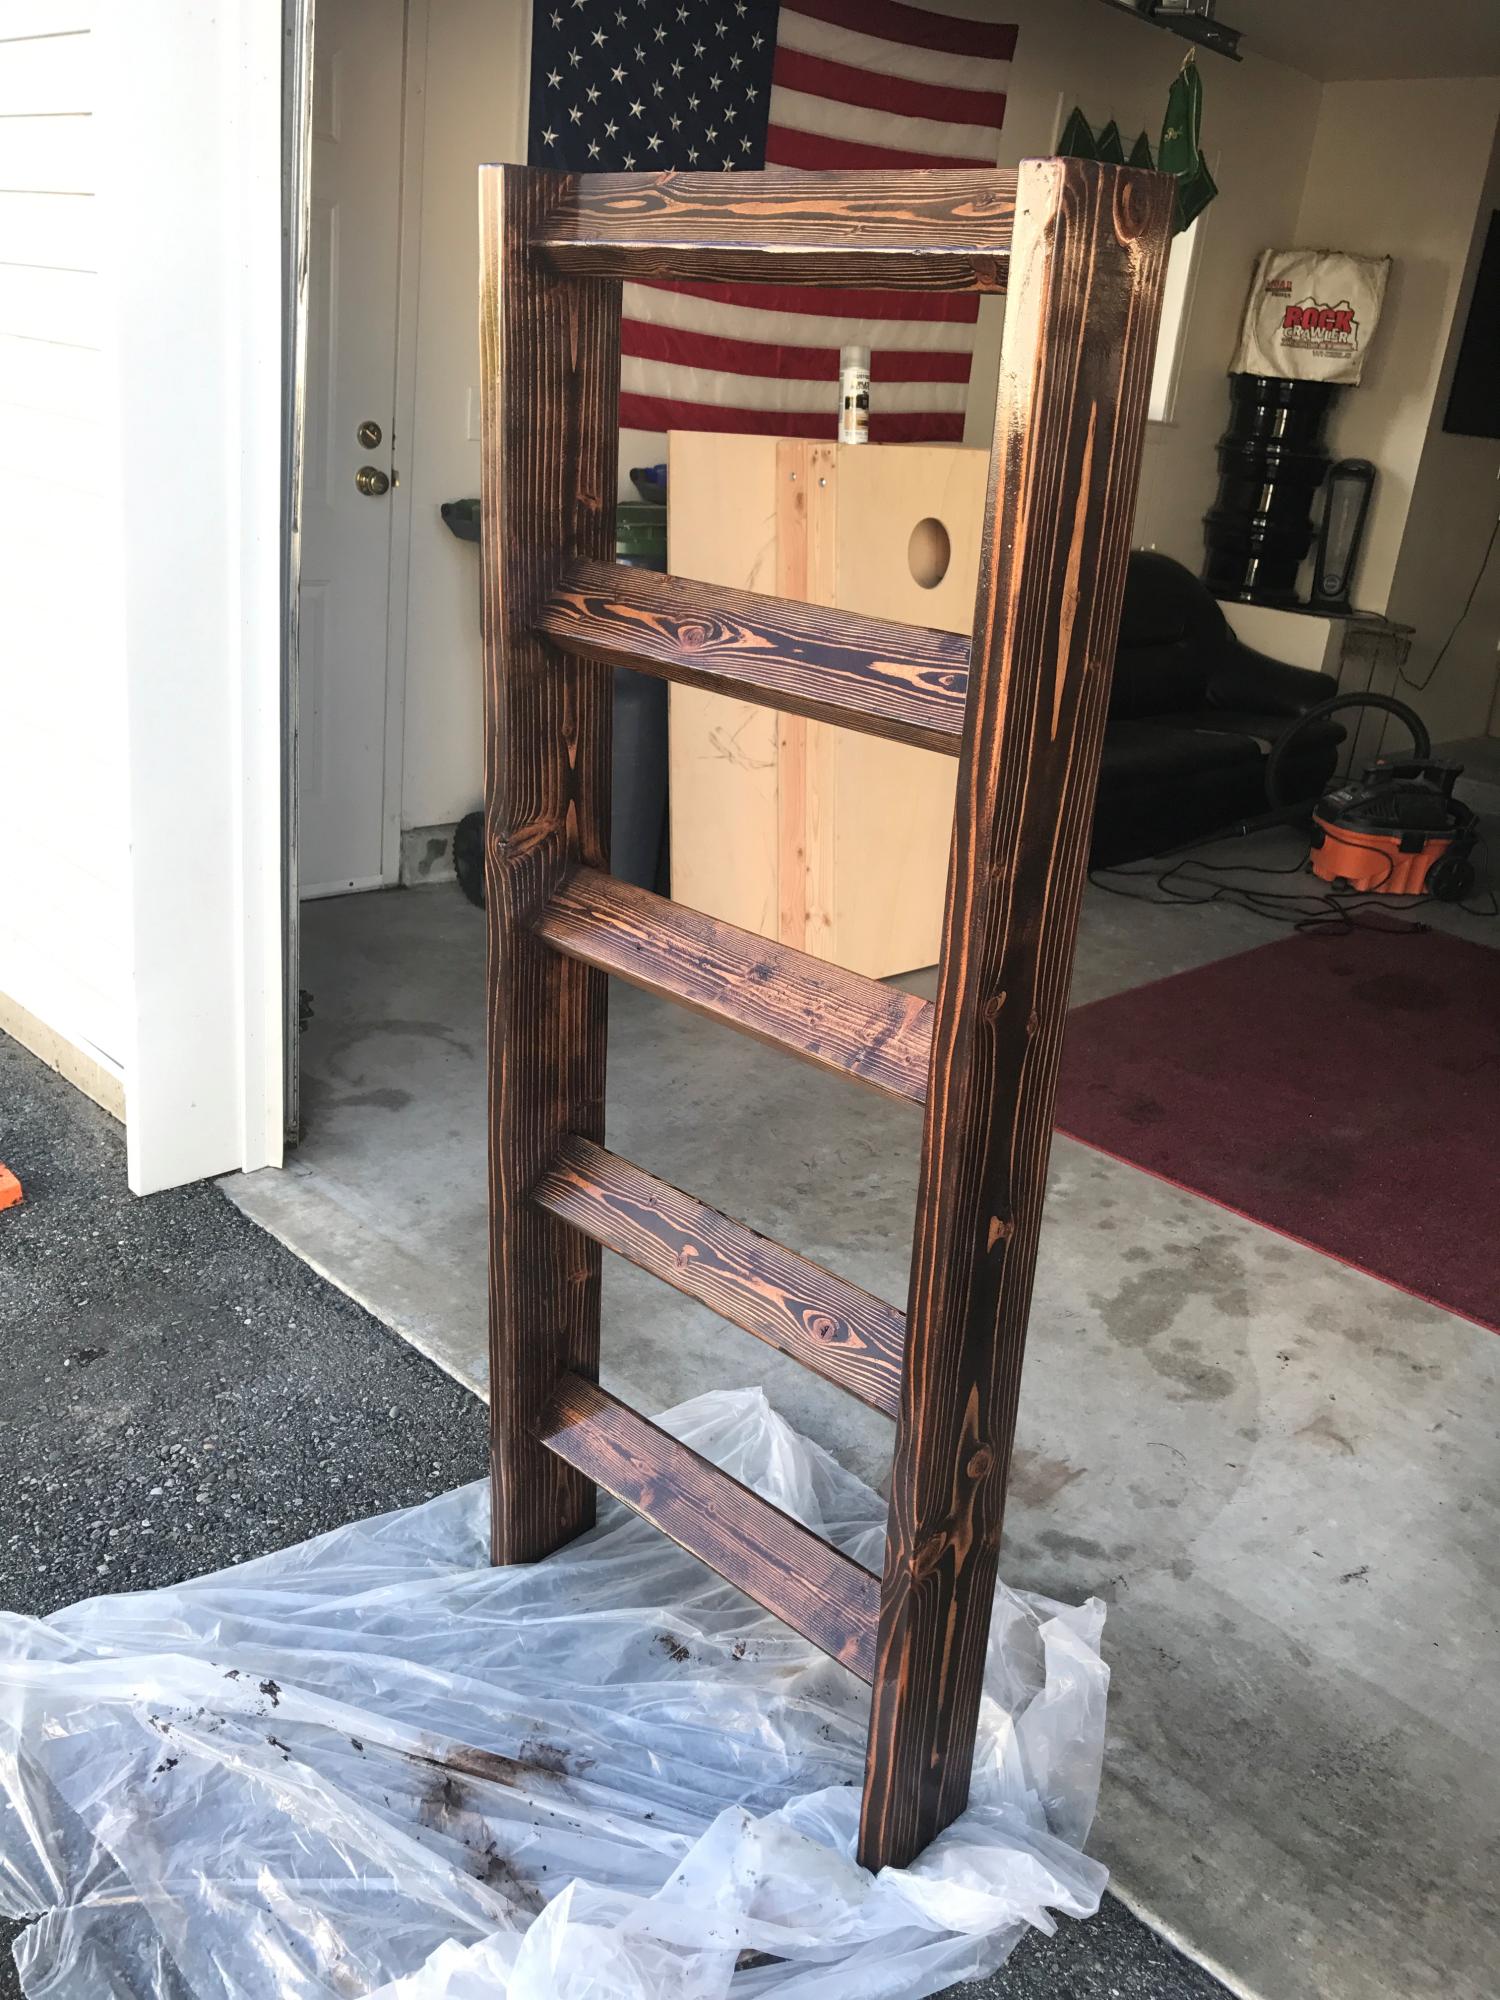
My daughter and niece's new stables, they painted them themselves
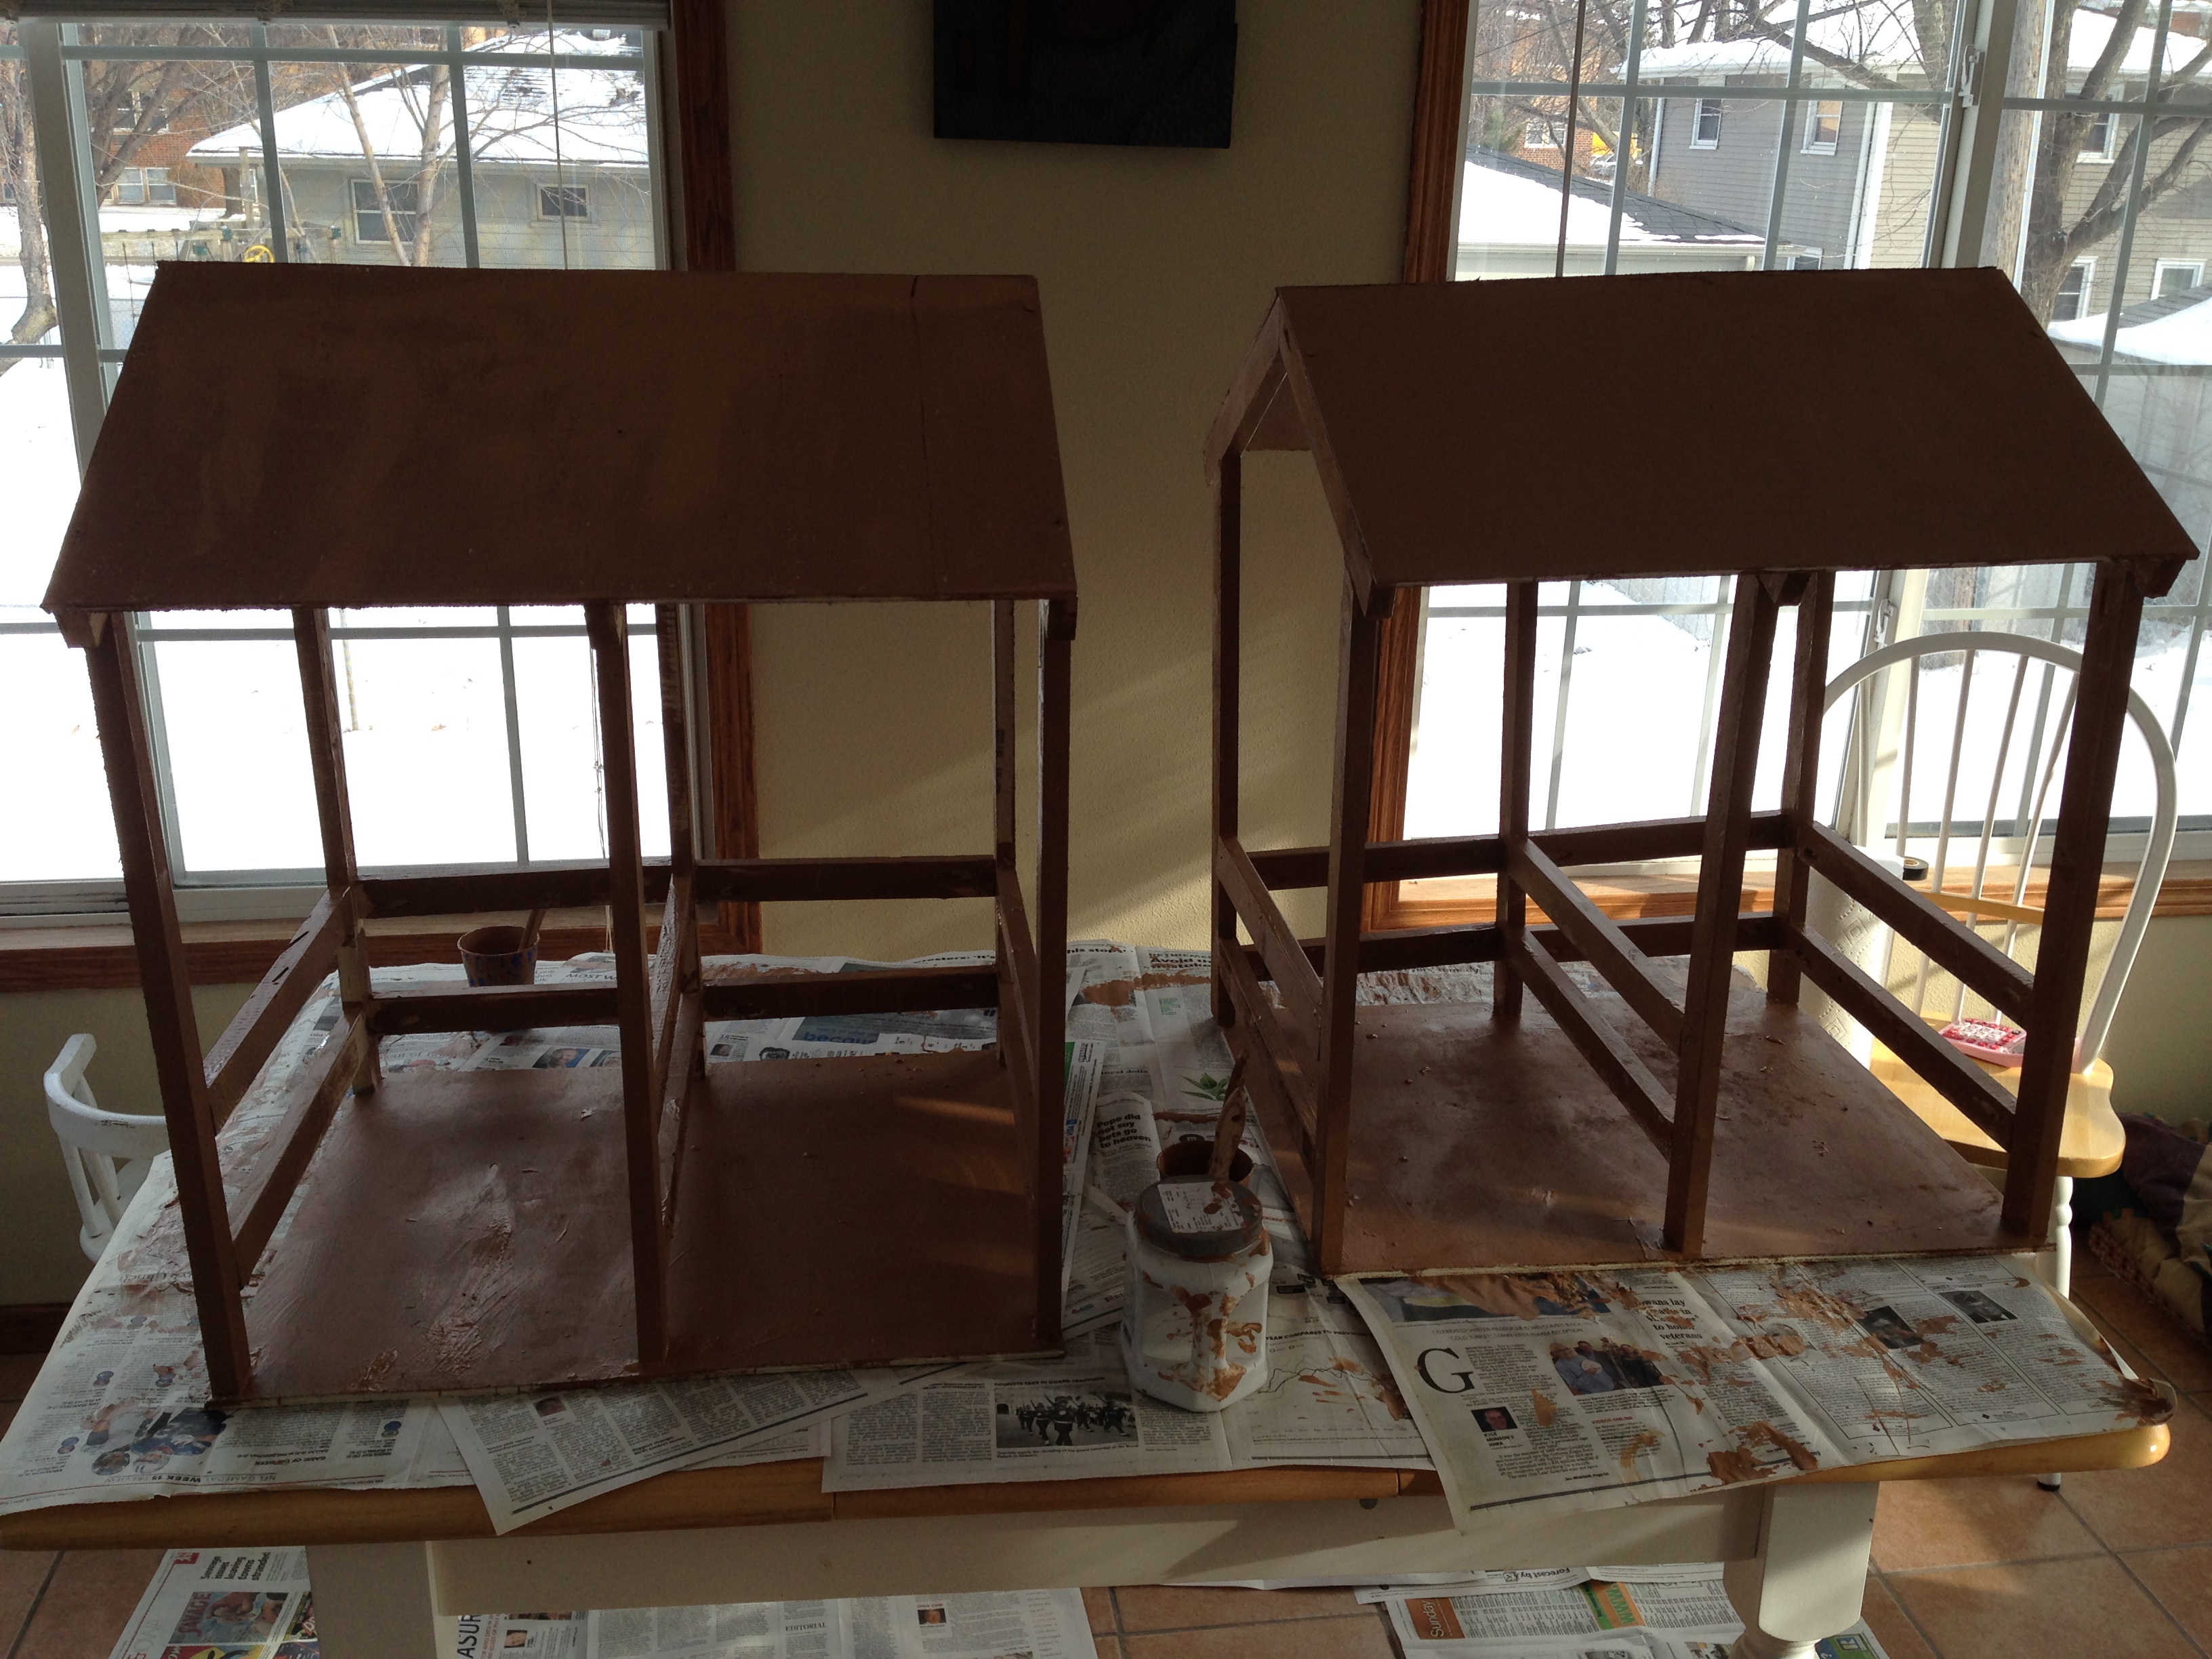
my first project, the second went a lot easier. We are still waiting on the doors to dry to hang them but the girls are excited for their horses to have a place to sleep.
Built from Plan(s)
Estimated Time Investment
Afternoon Project (3-6 Hours)
Recommended Skill Level
Beginner


Comments
Ana White
Sun, 01/11/2015 - 01:49
That's so cool! I love it,
That's so cool! I love it, and thanks for sharing!