Community Brag Posts

Adirondacks

Submitted by Tom_H on Mon, 11/09/2020 - 15:23

Built a couple of these earlier this summer for the wife. We went with a torched wood look, so after cutting all the pieces, everything got torched and then finished with spar urethane. After assembly I sprayed a few more light coats just to seal up the screw holes. These are super sturdy, and really comfy. By far the majority of the build time was in the finishing. Cutting and assembly can be done in an hour or two.

I'll probably be making ~4 more of these for around the fire pit by the lake, but this time after torching the wood, we're going to use some color-dyed stains to change it up.

Estimated Time Investment
Afternoon Project (3-6 Hours)
Finish Used
shou sugi ban (wood burning)/spar urethane
Recommended Skill Level
Beginner

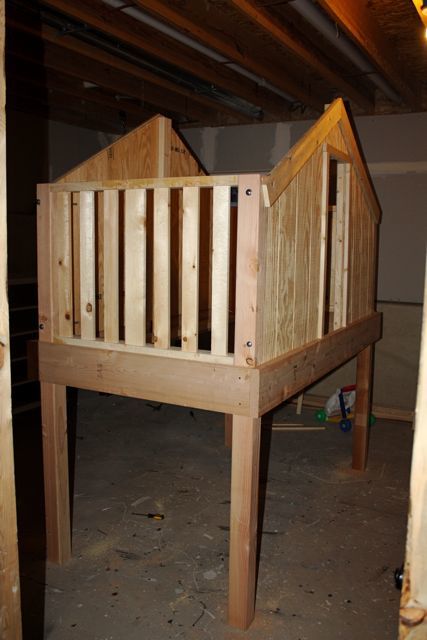
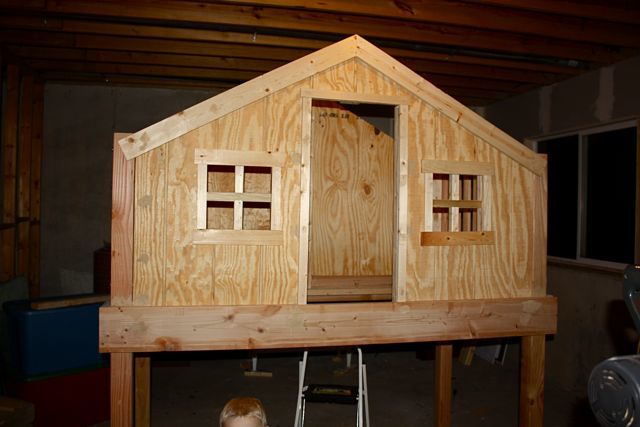
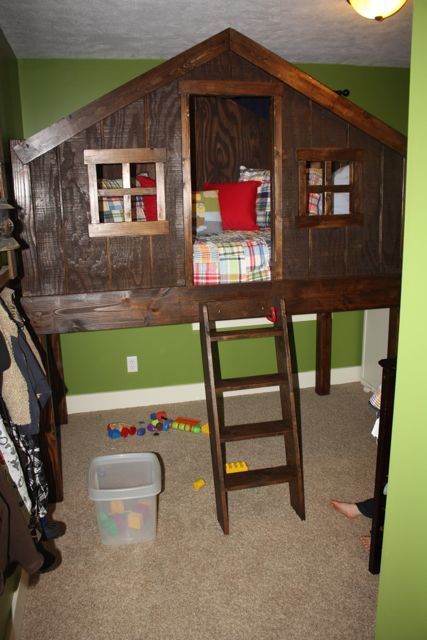
Clubhouse bed for my Eli :)

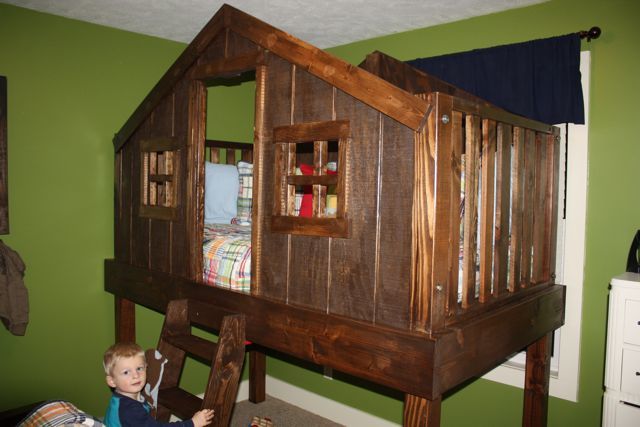
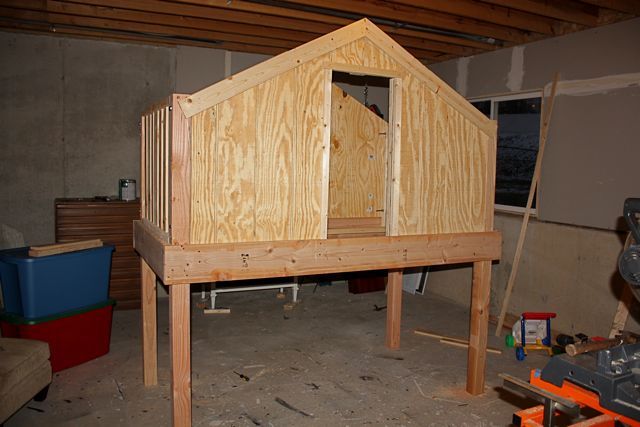
I was sitting down looking through the pottery barn catalog one day and saw the Eli fort bed. My sons name is Eli so I found it funny it had his name but also decided he had to have one! I of course was not going to pay the pretty penny of $1400 that pottery barn wanted so I knew if he was going to have it , I would need to build it. He is 2 years old btw. I decided to google Eli fort bed to see if I could get any other measurements. Then I saw Ana Whites website for the first time. I was in my glory and super excited when I saw the clubhouse plans. Though I changed alot of things, her plans gave me a great layout to give me the confidence I needed to go and do it! So here is my building before and after pictures. Just thought Id share and of course the last picture is my son super excited about his new fort bed!

Some of my changes:

I added 7 inches to the posts height to give more space underneath it and to give me space to lower the mattress .Then I changed the angle of the peek as well to make it shorter to make up for the height difference as well.

I used plywood that looked like panels for the walls instead of pine planks. Im not sure if the cost is cheaper or more but I wanted wood above the door instead of just a piece of trim like in the Clubhouse plans and this I believe was much faster then cutting planks and putting them all together.

I dropped the mattress height down 6 inches because I wanted the railing to be taller after the mattress was in the bed for extra safty since he is only 2. It is easier for him to climb up into the bed with the mattress being lower in the doorway as well. I hid the fact that is was much lower behind the 2x8 trim in lou of the 1x6 trim the plans called for.

I also added the top step to the ladder as well because 3 wasn't going to get him up there. :)

Thanks Ana White for the plans!! They helped to give me a starting point so that I knew which bases to cover when I altered something!
Estimated Cost
$210.00
Estimated Time Investment
Weekend Project (10-20 Hours)
Finish Used
Dark Walnut stain by minwax and apolycrylic satin clear coat.
Recommended Skill Level
Beginner

Comments

bhoppy

Fri, 01/11/2013 - 14:45

It looks so awesome! I can't believe this was your first project!! This may seem like a silly question but how did you get the mattress inside the bed?
Storage Sectional

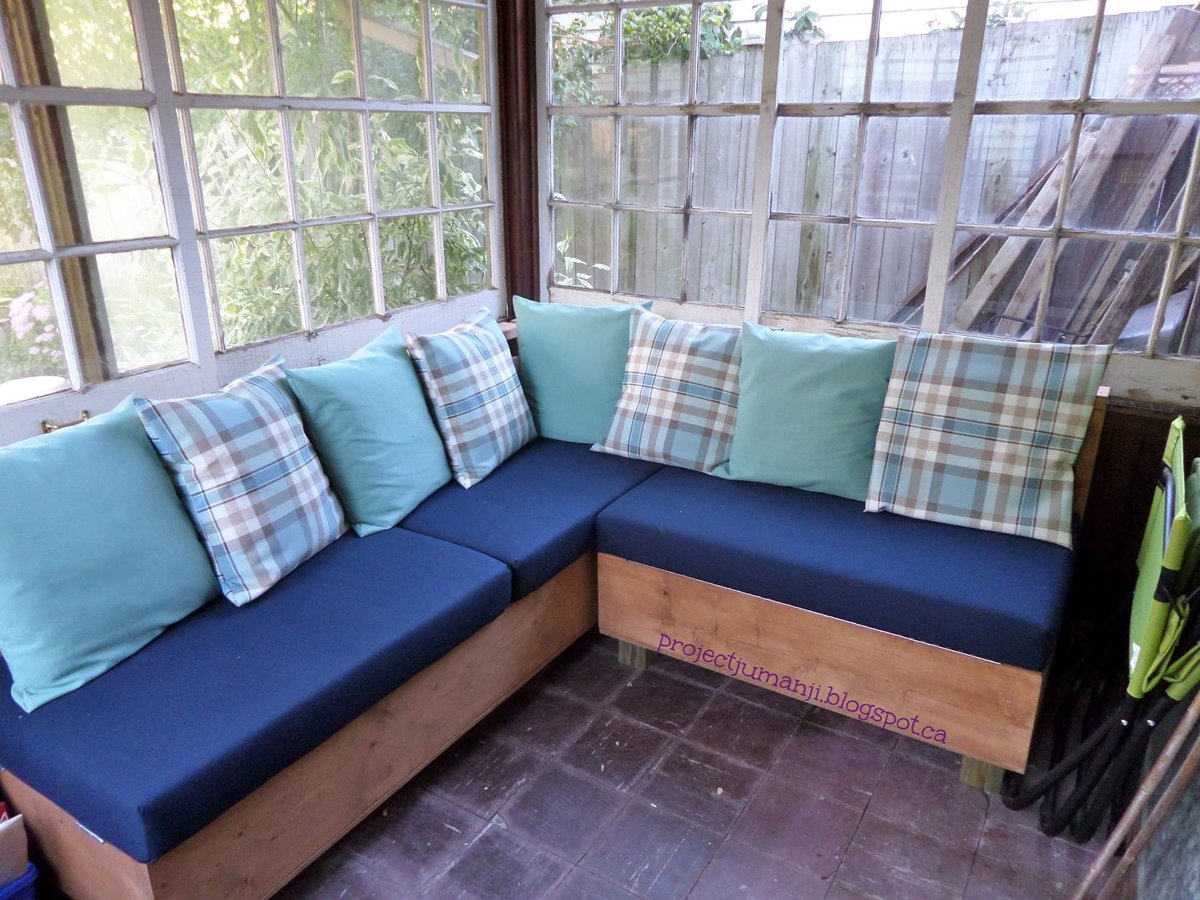
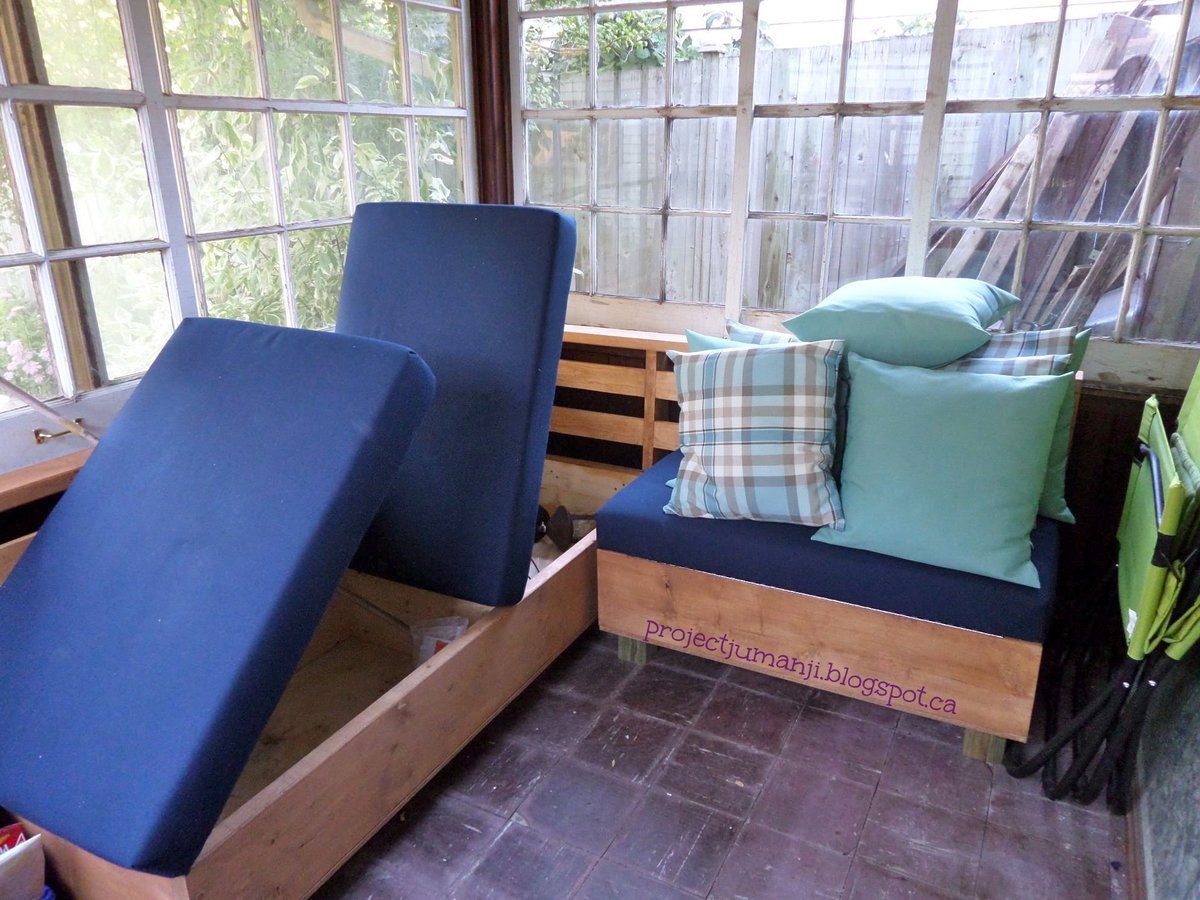
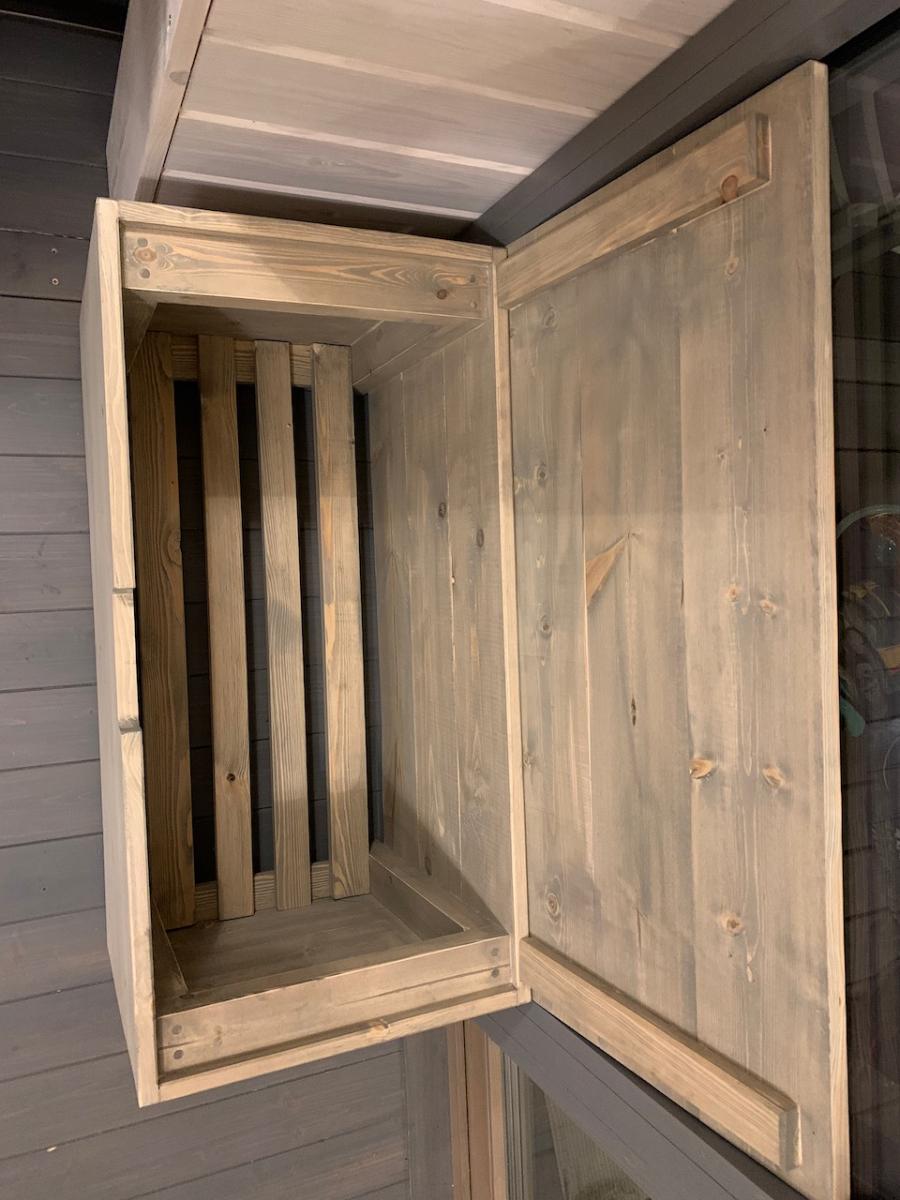
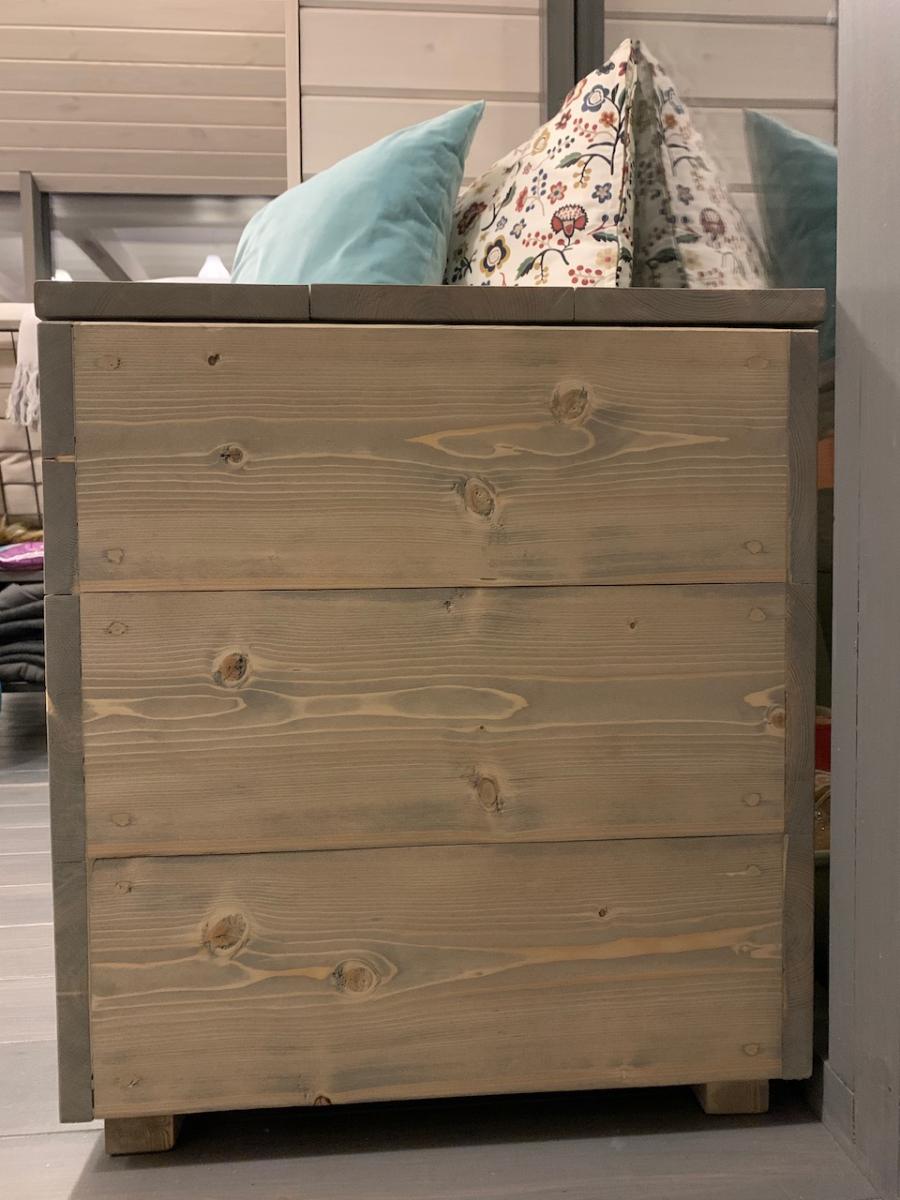
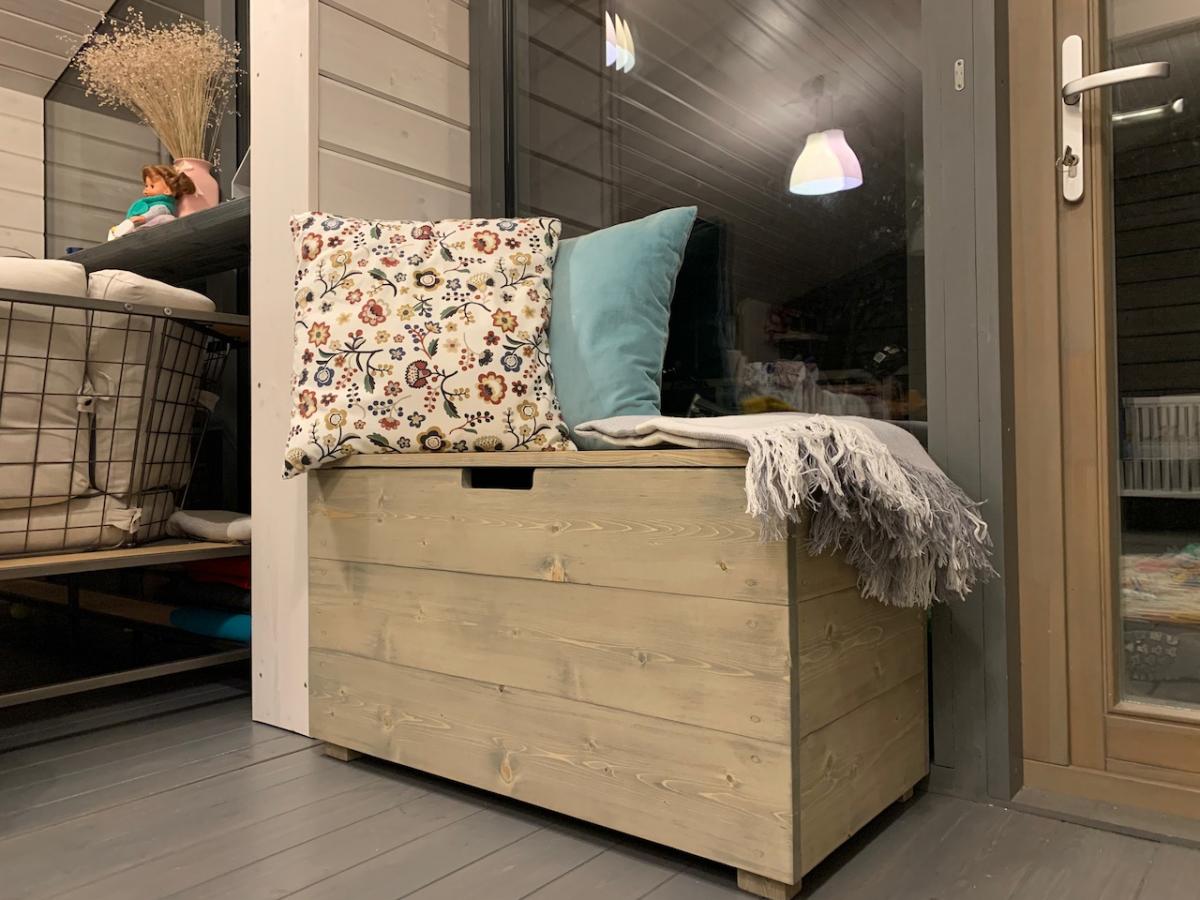
I had a horrible time finding an outdoor sectional that fit in my sunroom and didn't cost a fortune, so I adapted the Storage Sofa plan to work for my needs!

It took a couple of weekends, but I didn't work straight through both days - I would do one task at a time; cut all pieces, assemble boxes, stain, put together cushions, install in sunroom.

I used my kreg jig for as much as I could, and adapted from the original plan to leave the backrest open to give it a more outdoor look.  

Built from Plan(s)
Estimated Cost
$300-375
Estimated Time Investment
Weekend Project (10-20 Hours)
Recommended Skill Level
Intermediate

Comments

Sandbox with seats

Submitted by Anonymous (not verified) on Mon, 02/13/2017 - 22:09

This was my first project ever. I had a lot of fun and it didn't quite turn out right but next time it will be perfect.

Built from Plan(s)
Estimated Cost
$65
Estimated Time Investment
Day Project (6-9 Hours)
Finish Used
Thompson water seal in cedar
Recommended Skill Level
Beginner

Modern Platform Bed with 4x4 legs

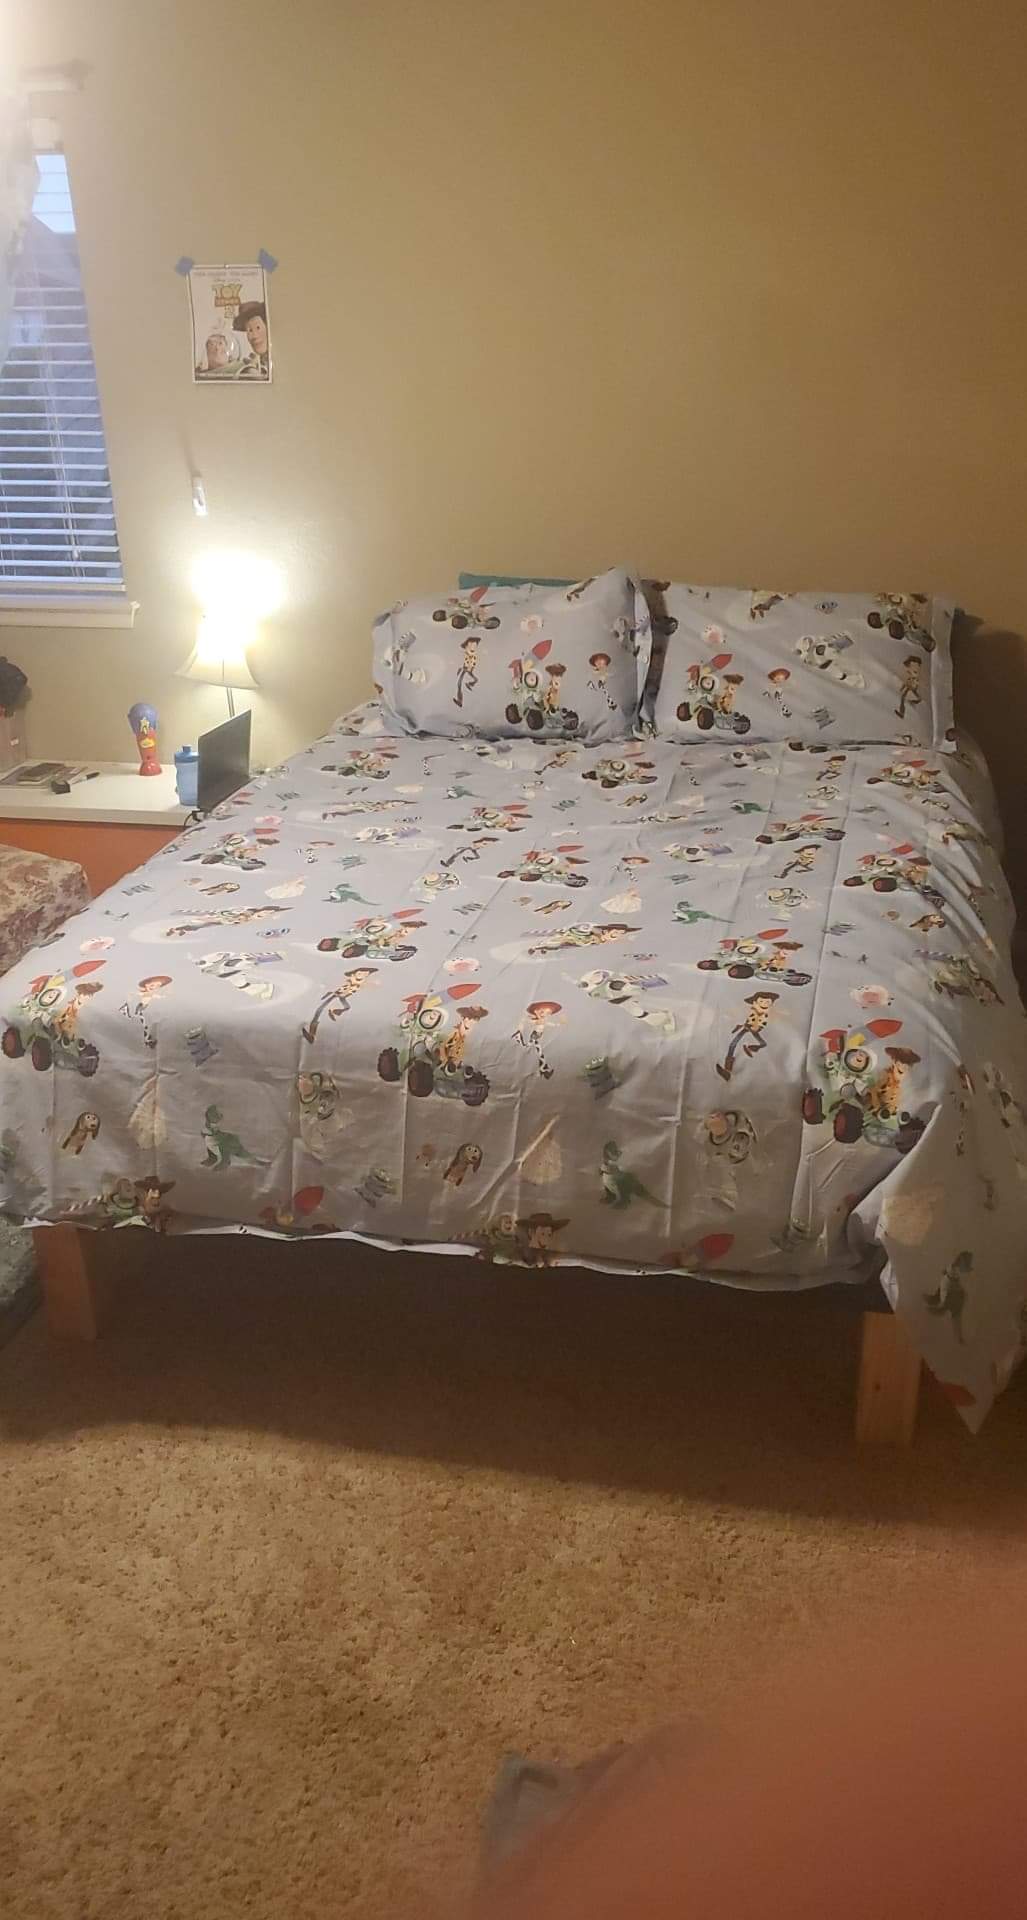
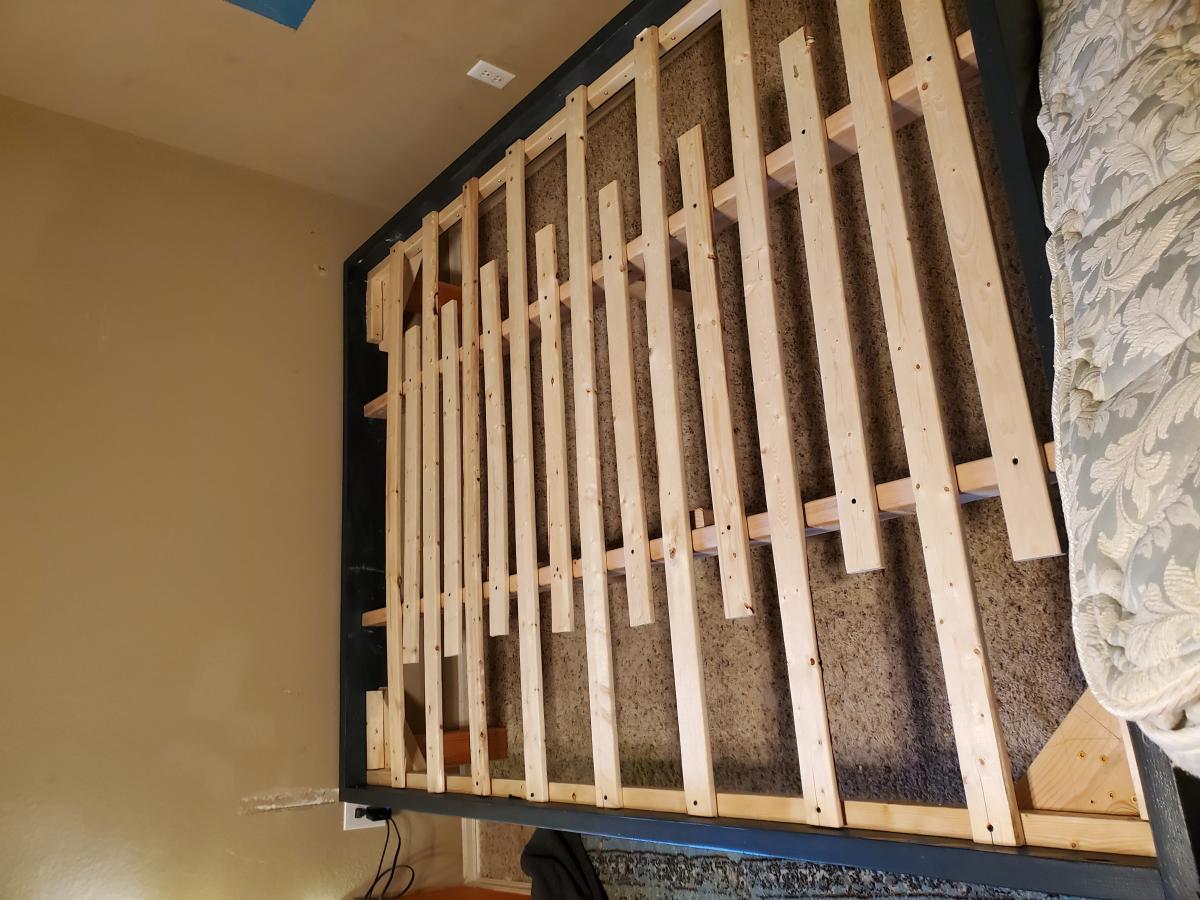
Needed a sturdy bed for our Autistic adult son. Added an extra bracket at the head and base to support the corners. Then used 4x4 for the legs. Painted it a fun color and he loves his new bed! Need to find some ideas for a headboard but this is such a sturdy bed. We love it! Thank you so much for these great plans.

Estimated Cost
65
Estimated Time Investment
Afternoon Project (3-6 Hours)
Finish Used
Krilon Chalk paint. Blue gray off the self color. (Primed first)
Minwax stain for legs.
Recommended Skill Level
Beginner

entry bench using barnwood for shelf/coat rack

thanks for the plans! Took me about three hours to build, sand and stain!

Estimated Time Investment
Afternoon Project (3-6 Hours)
Finish Used
gun stock stain and a mat finish
Recommended Skill Level
Beginner

Comments

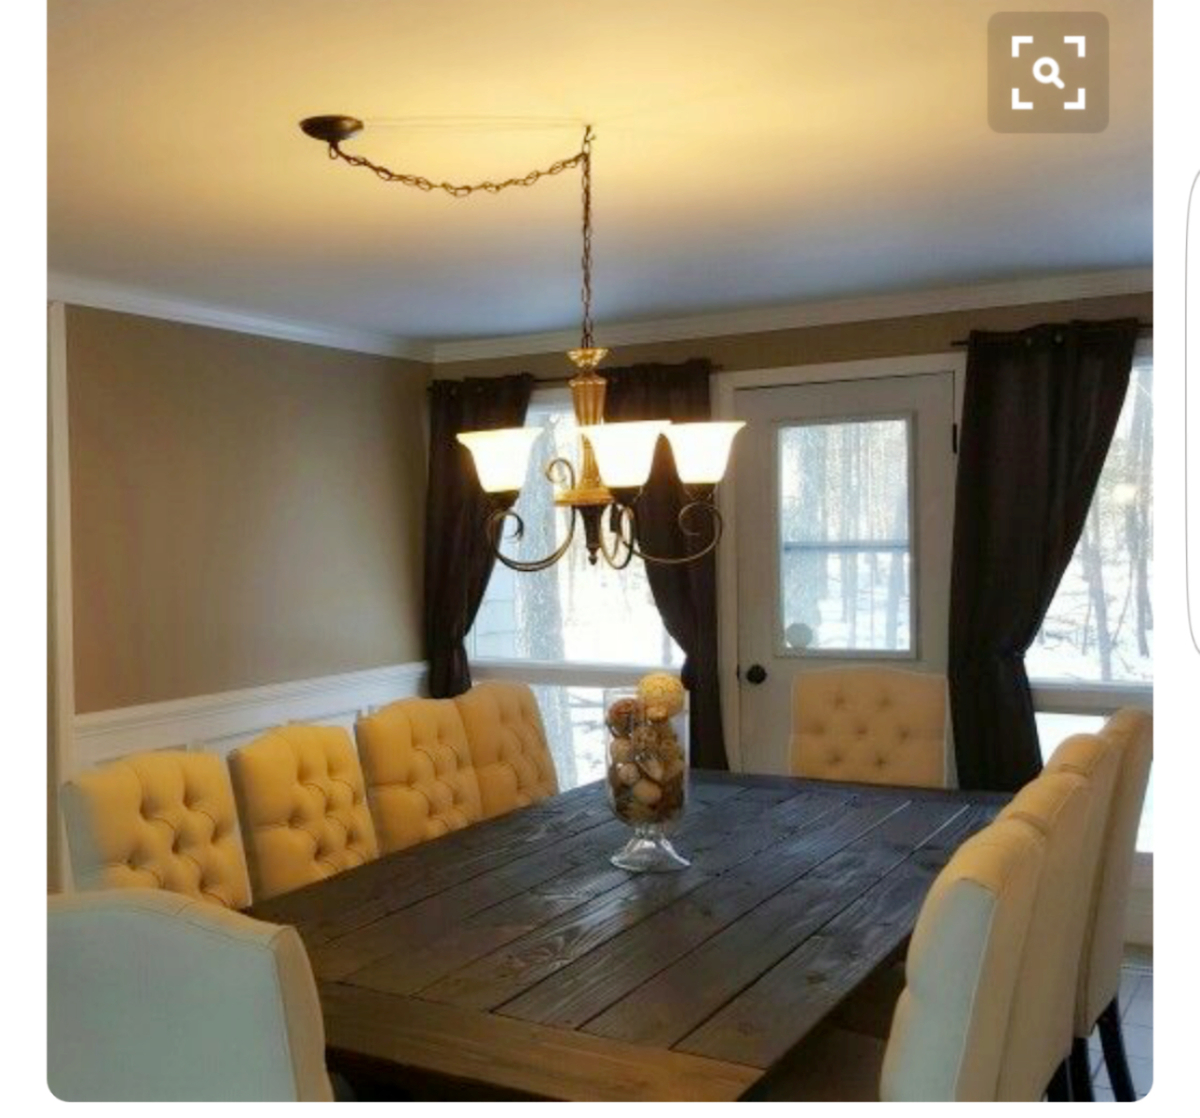
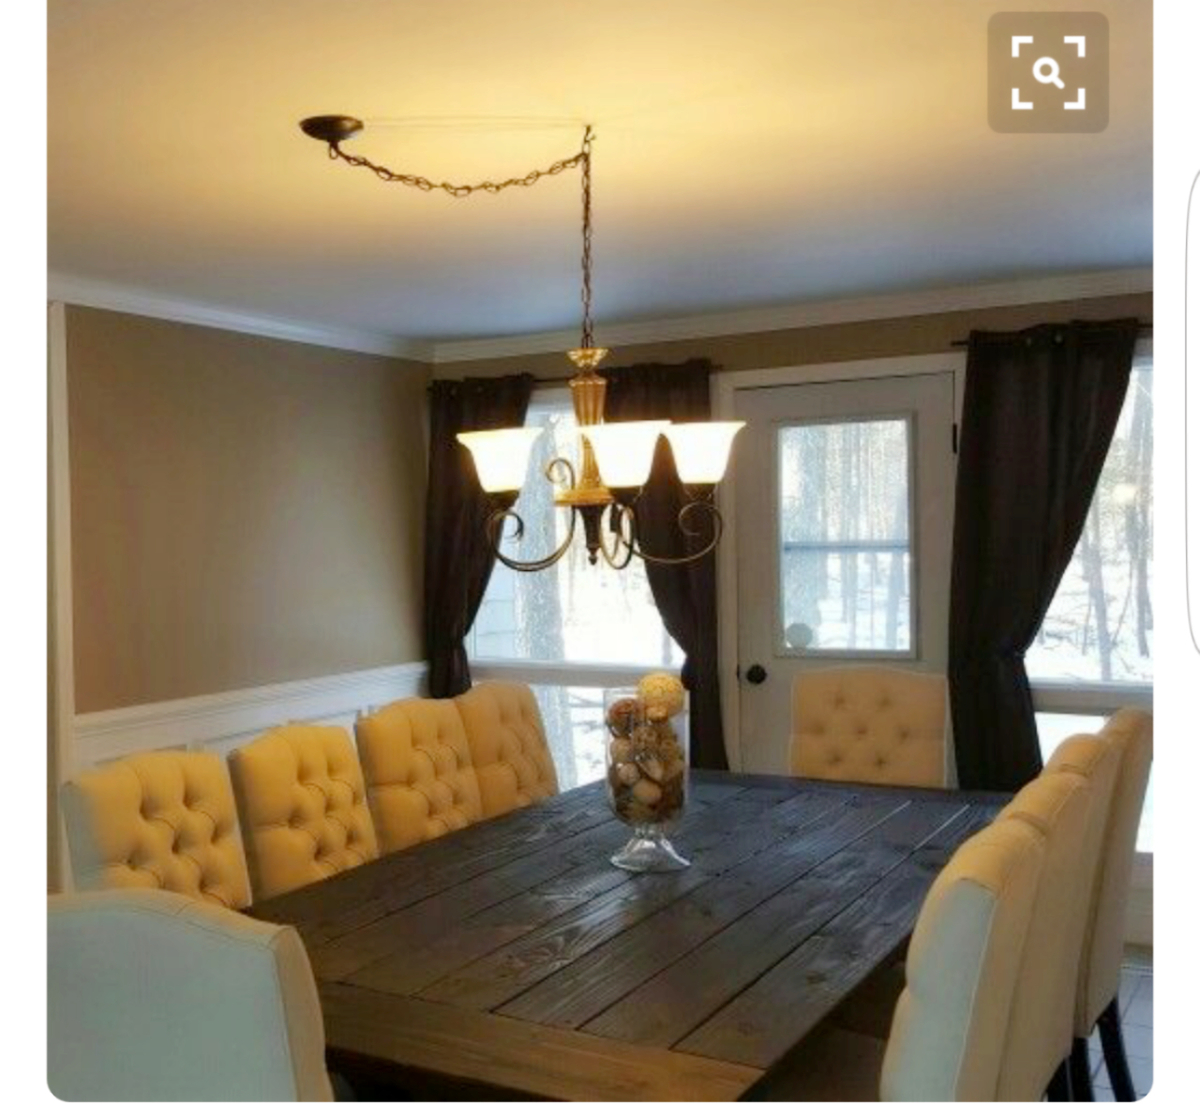
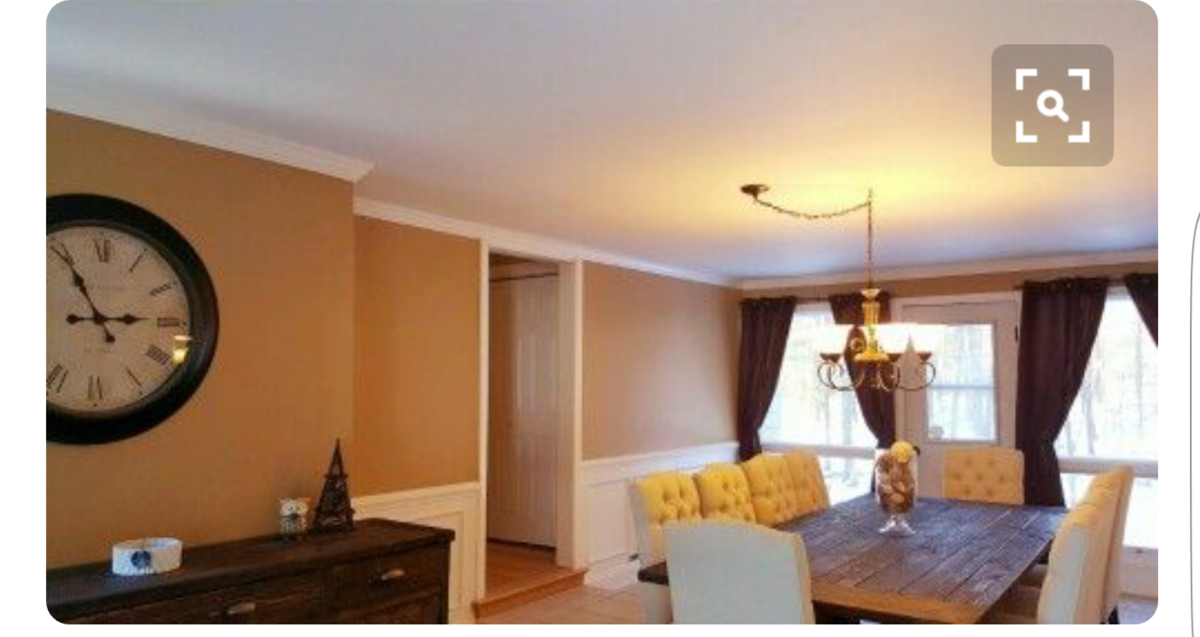
Fancy X farmhouse with extension

This was the first piece of furniture  my husband  built. He also built a matching sideboard/buffet table.

Built from Plan(s)
Estimated Time Investment
Weekend Project (10-20 Hours)
Finish Used
I used a wood conditioner then used a dark walnut.
Recommended Skill Level
Intermediate

Modified Wide Cabin Dresser

Submitted by rhettar on Fri, 01/18/2013 - 20:59

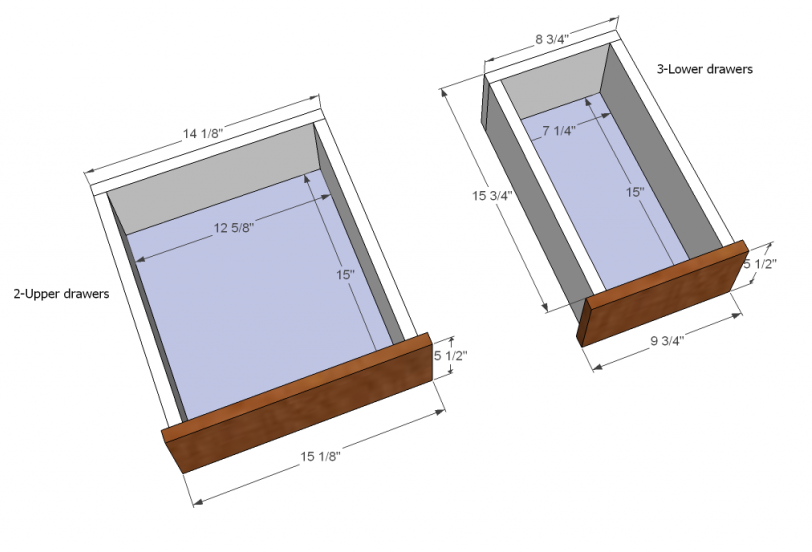
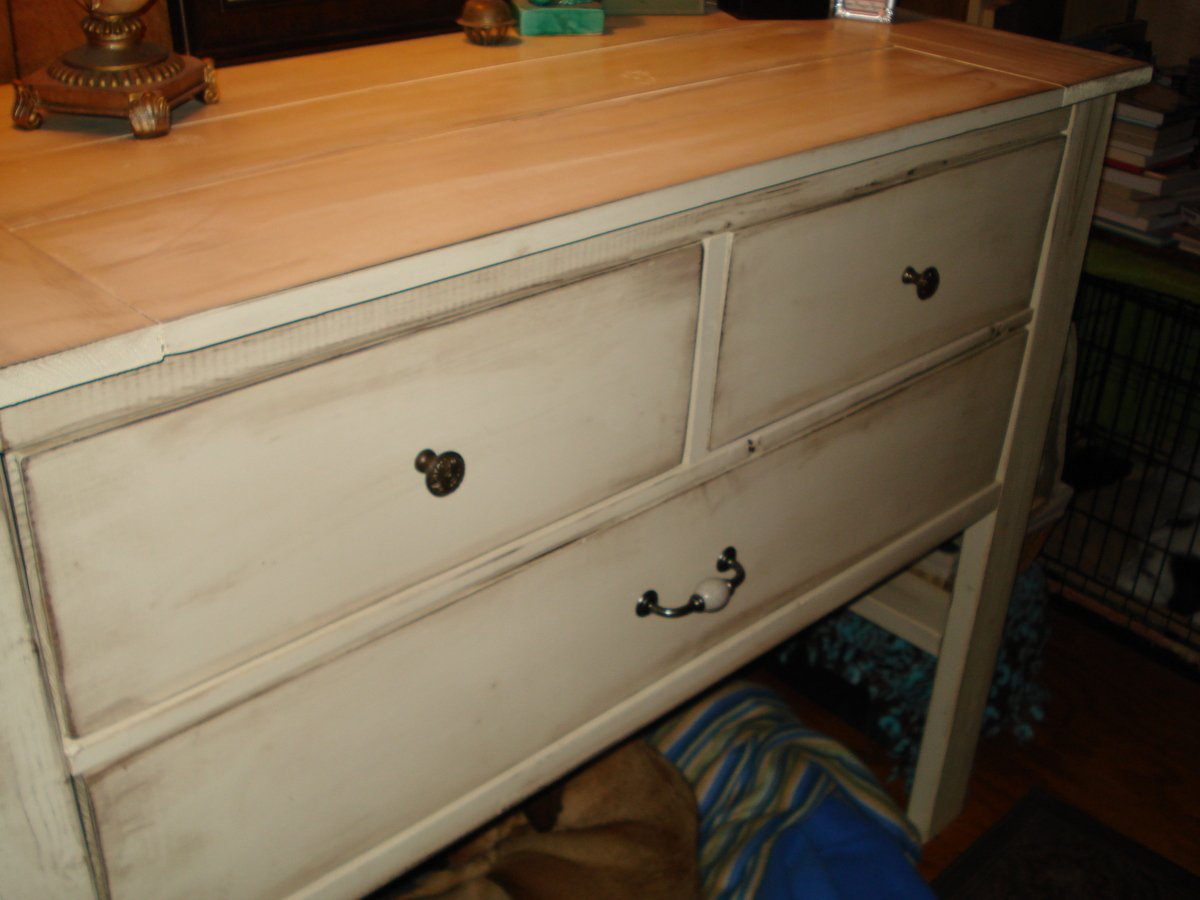
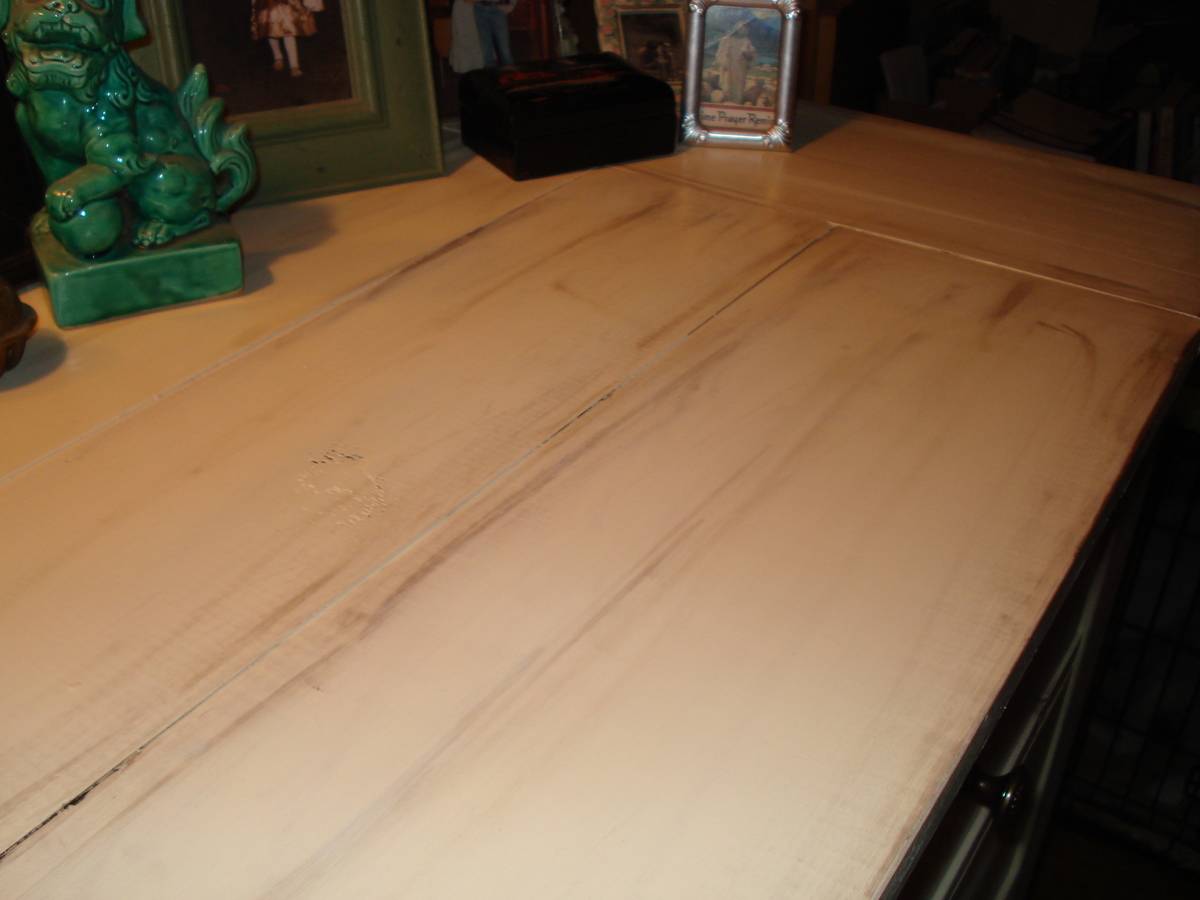
I live in a small mobile home, so I didn't make the dresser as wide. I also used a little combo of the 2x4 look from the Rustic X Console (which I already made a modified version of) I liked the 2x4 look and I wanted the dresser a little sturdier because I was making it a little taller without a bottom shelf. It's 44" wide and 40" tall. I wanted a space where my dog could have her bed out of the way (you can already see her in her spot :) ) Because I didn't make it as wide I also thought 3 drawers to the top would be too busy, so I put two to the top and one large bottom drawer. It is already given me more room for clothes.

I have to estimate on skill level and time, because I do it here and there, but I probably finsihed this with in a week. I haven't been real good at keeping track of costs because I have bought wood here and there, but this may have been around a $100 more or less?

This was also my first project with drawers. The first was a toughie...but the other two went right in (???).

But I am proud of it and love it! Without Ana and her website I wouldn't have been able to do it....

I also have 4 other dogs who started out as fosters....so more space saving projects on my list....tons to do! So, please don't look at any mess, still lots of work in progress :)

Estimated Cost
$100
Estimated Time Investment
Weekend Project (10-20 Hours)
Finish Used
I used 2 coats Behr paint and primer "Corner Stone" and Rust O Leum Dark Walnut stain (I've used Minwax before, but thought I would give it a shot). I paint and stain my pieces before I put everything together. This is just my preference I find it not as frustrating as trying to paint a big piece and getting into odd spots. The finish is what seems to be the most time consuming, waiting for the drying between coats. Before staining, I sanded around edges of pieces some enough to expose some wood. I also use a small brush for my stain mostly making a streak where the exposed wood was, use it sparingly and wipe immediately, letting the rag do the rest of the work in some places. I found this gives me the finished effect I like vs. other techniques I have seen or tried.
Recommended Skill Level
Intermediate

Comments

Ann M. (not verified)

Sat, 01/19/2013 - 04:51

Lovely build and excellent space saver too. Also, so kind to keep your furry buddies comfort in mind as well.!

ACM (not verified)

Sat, 01/19/2013 - 04:53

Lovely build! Love the adaptations to fit your space AND make a wonderful place for your furry buddies!

rhettar

Sat, 01/19/2013 - 05:20

Thank you for the comment Ann. Quite a few of my projects will have my babies in mind :)

Dana P (not verified)

Sat, 01/19/2013 - 09:19

I love the way you painted it. Looks great!

Dana P (not verified)

Sat, 01/19/2013 - 09:20

I love the way you painted it. Looks great!

Laundry Cart

Submitted by ashlie on Thu, 11/13/2014 - 10:10

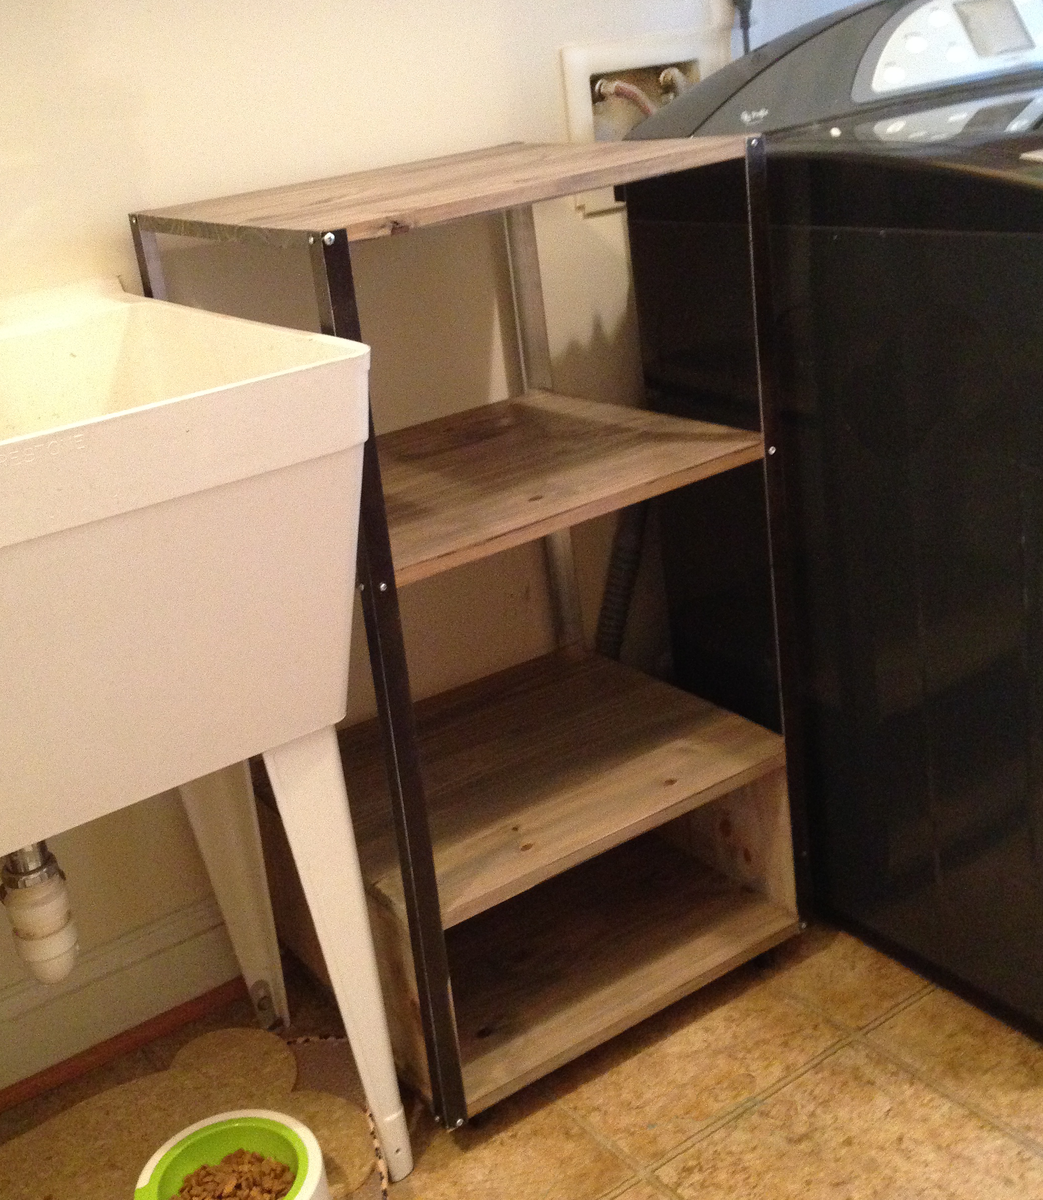
Super easy. Under $50 .. wanted an industrial look to match new shelves, and could storage laundry baskets. Wanted a certain width / color. Added extra pieces to bottom shelves to create a cubble shelve.

Love the outcome!

Built from Plan(s)
Estimated Cost
$50
Estimated Time Investment
Afternoon Project (3-6 Hours)
Finish Used
Varathane - Weathered Gray Poly Wood Stain (home depot stain + poly $14)
Recommended Skill Level
Beginner

Comments

Table

Submitted by Anonymous (not verified) on Sat, 02/18/2017 - 20:16

Here is my try at your table. I skipped the x's on the sides. 

Estimated Cost
$50
Estimated Time Investment
Afternoon Project (3-6 Hours)
Finish Used
Minwax stain in Dark Roast
Recommended Skill Level
Beginner

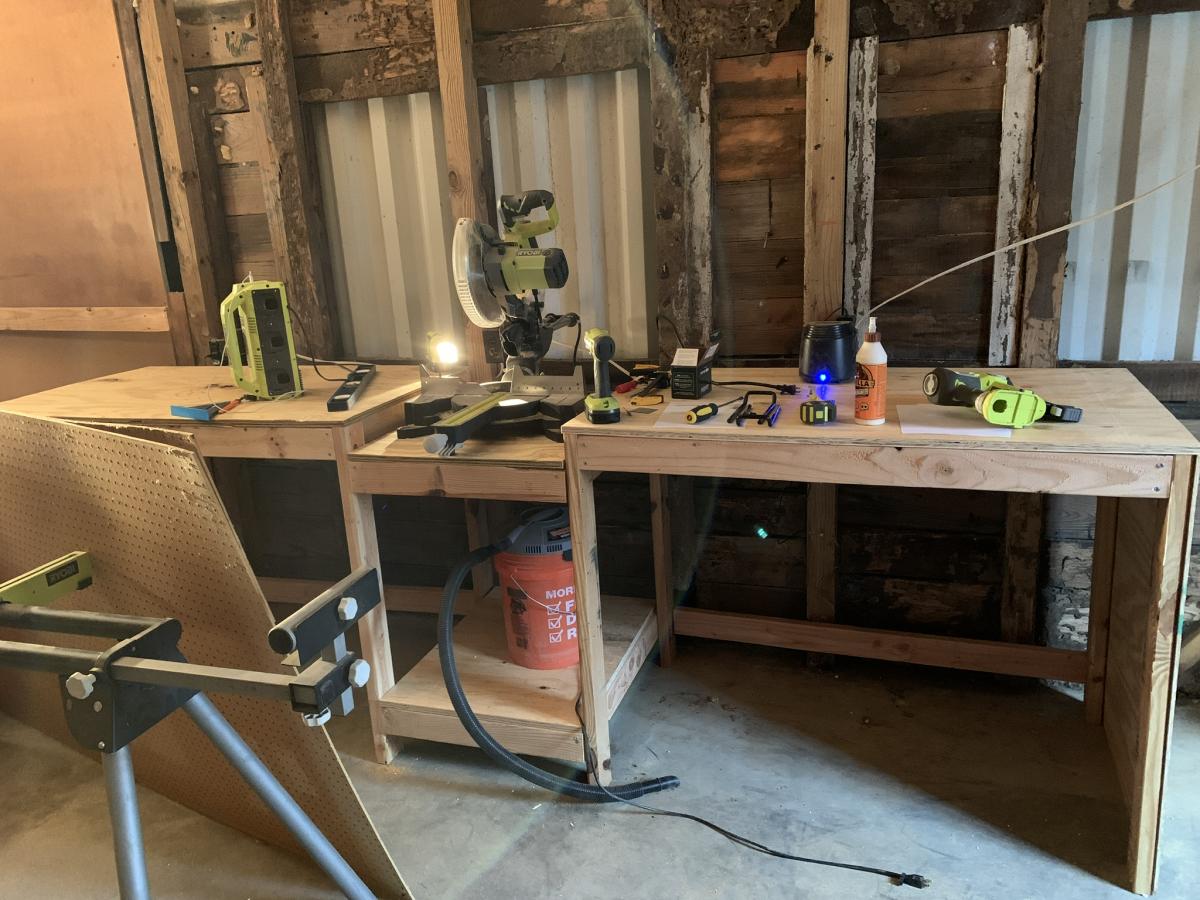
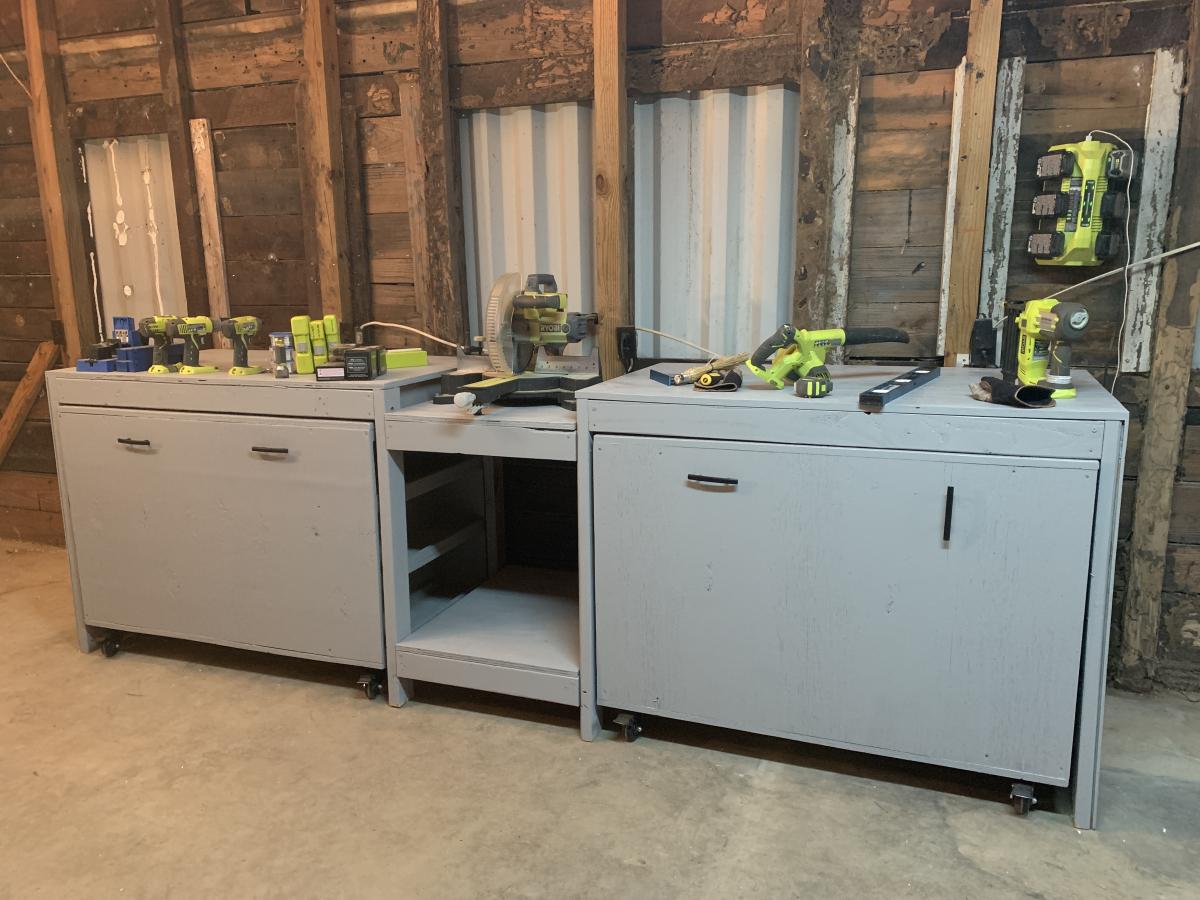
In love with my new miter saw stand and work benches

Submitted by seahawklvr on Fri, 11/27/2020 - 05:58

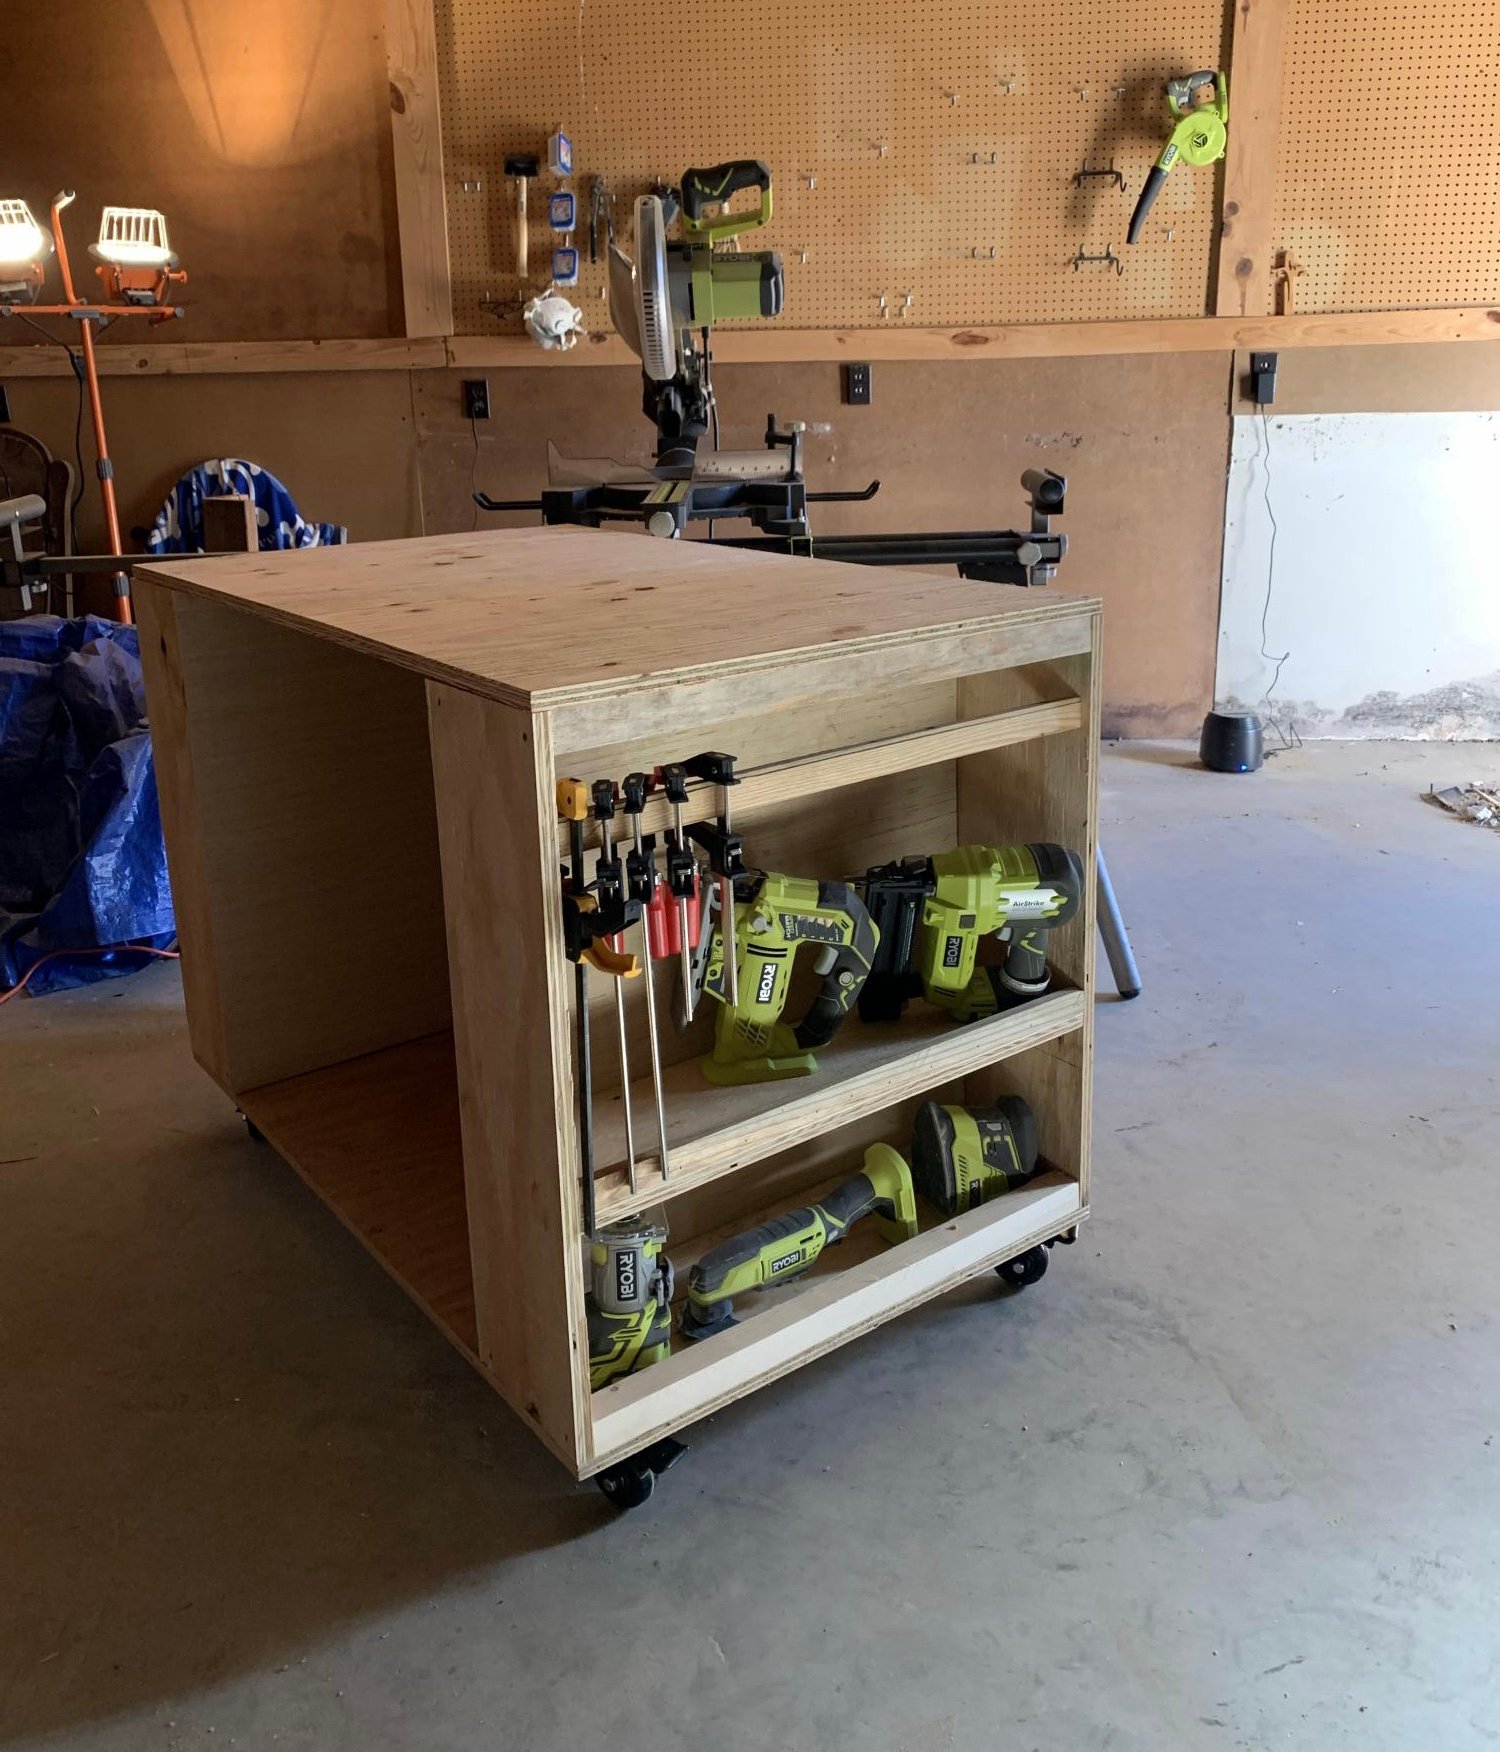
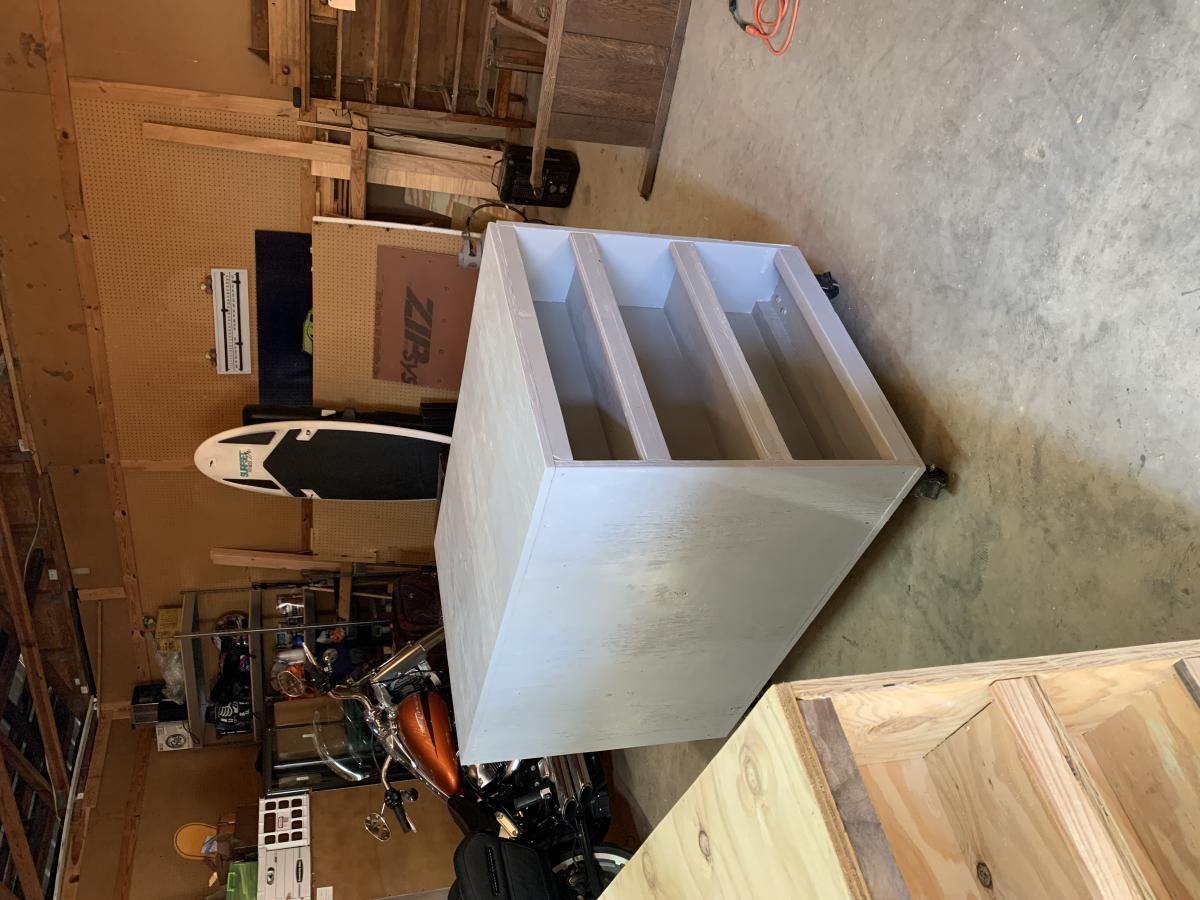
We purchased a fixer up house that requires a complete gut but the property came with a detached shop! I quickly realized I needed to get the shop cleaned up and organized so it would be easier and more efficient to work on projects for the house. I am a beginner as far as I am concerned and even though this was rated as an intermediate level build, as long as you take your time, it’s definitely doable for a beginner. The plans called for staples but since I just had a Brad nailer, I just used that and it worked fine. I did have one fail, and that was that I had a 1x2 to hang my clamps on but I placed it too far near the outside of the mobile work bench and when I went to store the work bench under the miter stand, the clamps prevented it from sliding in so I had to reposition it. Other than that, it was perfect and as soon as I save up for my Ryobi table saw then I will position it on one of the work benches. Because of the raise in the cost of lumber dut to COVID, the cost was probably twice as much as it should’ve been but I still feel I couldn’t have purchased a huge miter saw station and two mobile work stations for less than I spent on building this. Besides, I can be proud that I built this myself!

Estimated Cost
$325
Estimated Time Investment
Weekend Project (10-20 Hours)
Finish Used
Behr Marquee #MQ6-22 Gateway gray in satin enamel
I found it more cost effective to purchase a 6 pack of handles vs purchasing 4 individual handles. Now I have two spares for a project down the road.
The Caster Wheels were Moogiitools 3” locking from Amazon and were @$50 for 8 wheels. Very smooth and heavy duty
Recommended Skill Level
Beginner

Comments

Dollhouse Bookshelves

Submitted by GBolton on Mon, 01/21/2013 - 19:17

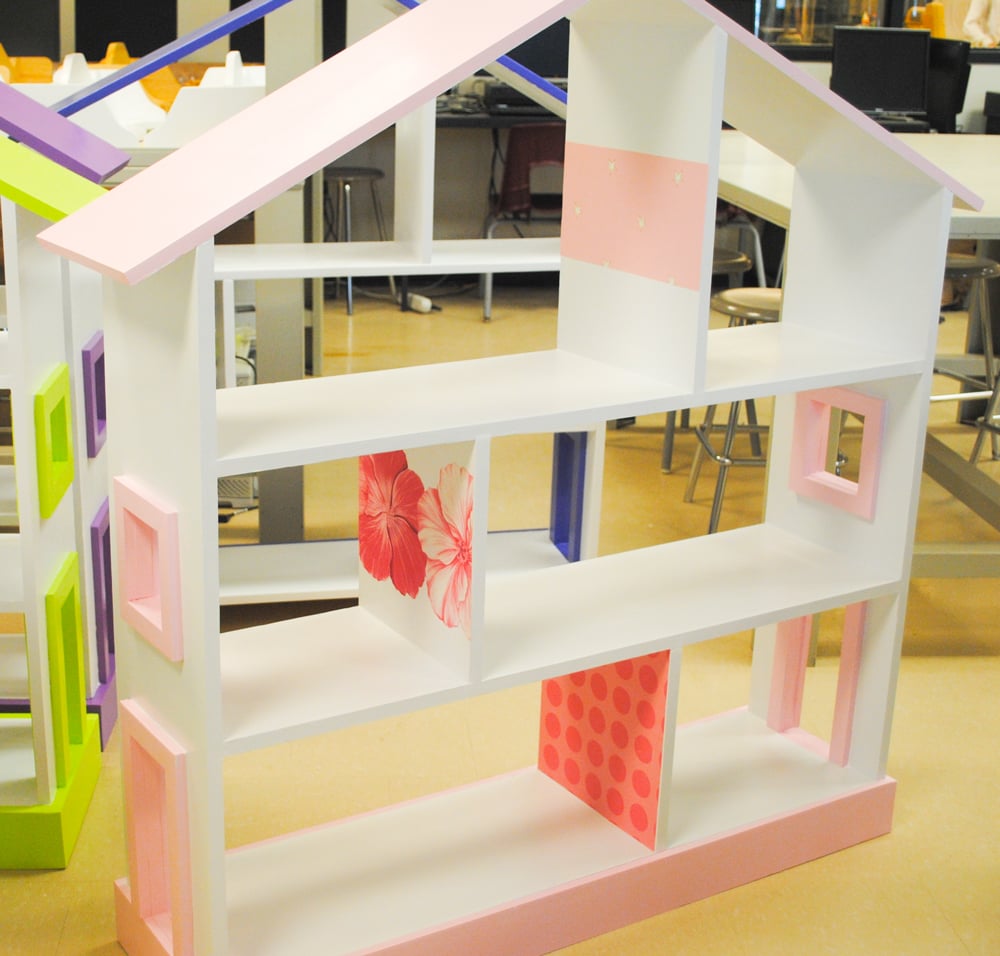
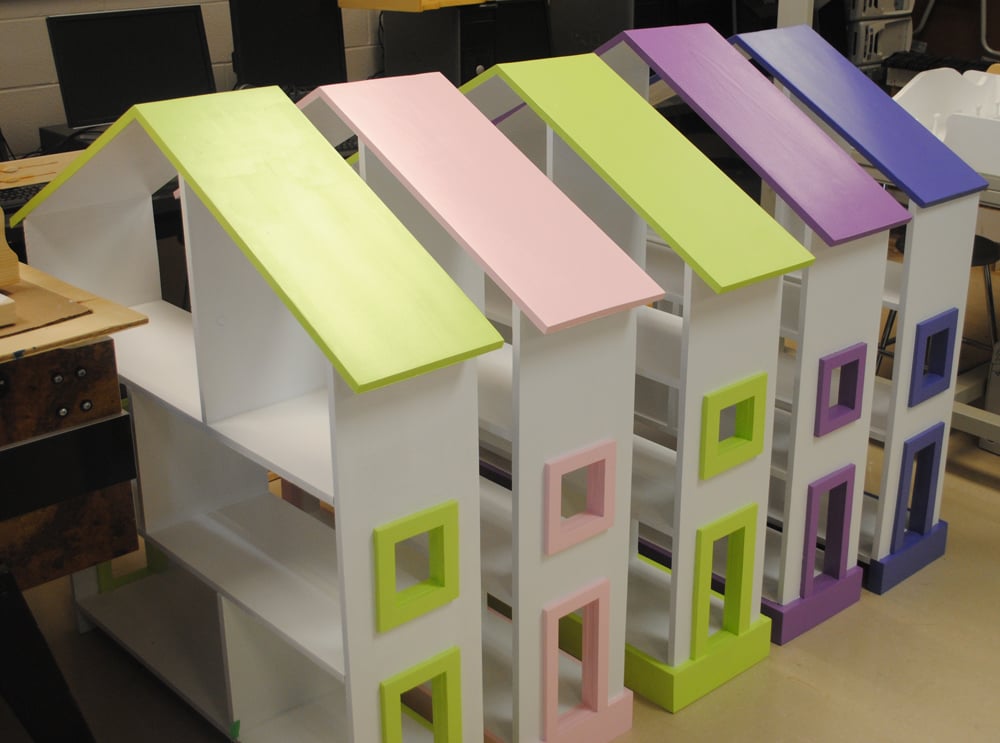
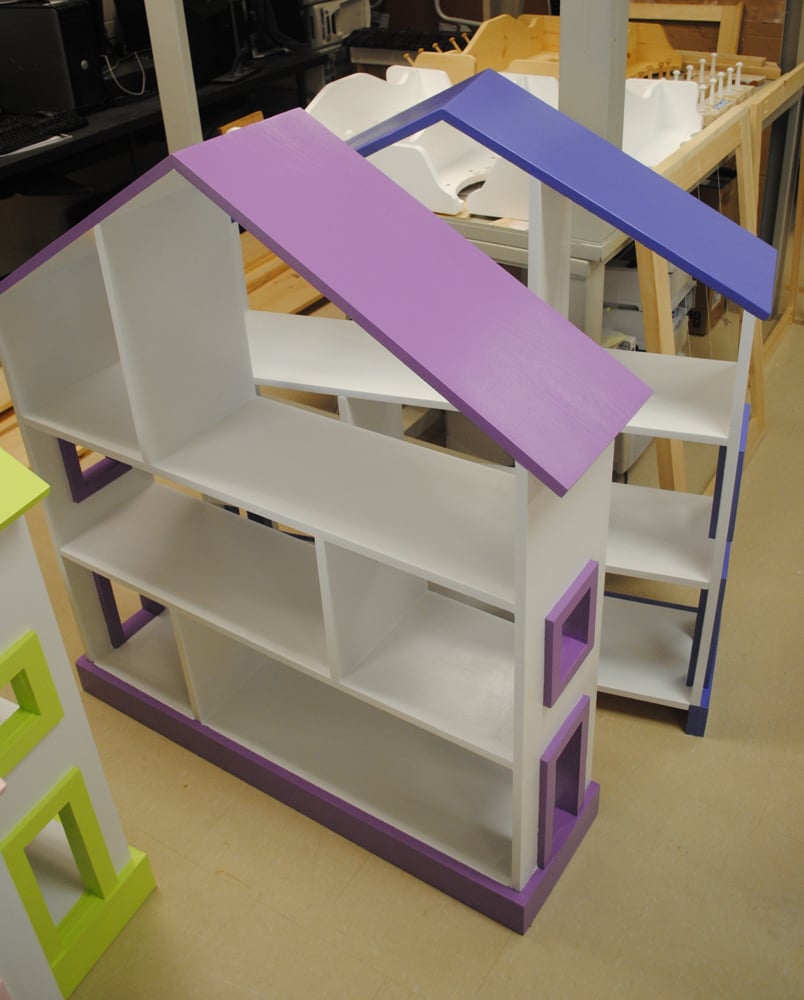
We used Ana’s plans in the Grade 12 Custom Woodworking class this semester at St. Theresa of Lisieux CHS in Richmond Hill, Ontario, Canada. Surprisingly the all boys class really enjoyed the project and there effort shows in the final products. We built them to order and sold them at cost to the other teachers to replenish the ever shrinking lumber budget.

For the first few bookcases we used wood screws,dowel plugs, and biscuit joints, but quickly smartened up and purchased a Kreg Master System. If you were on the fence about getting this system, then take our advice and go out and buy one. We now have a second system on order.

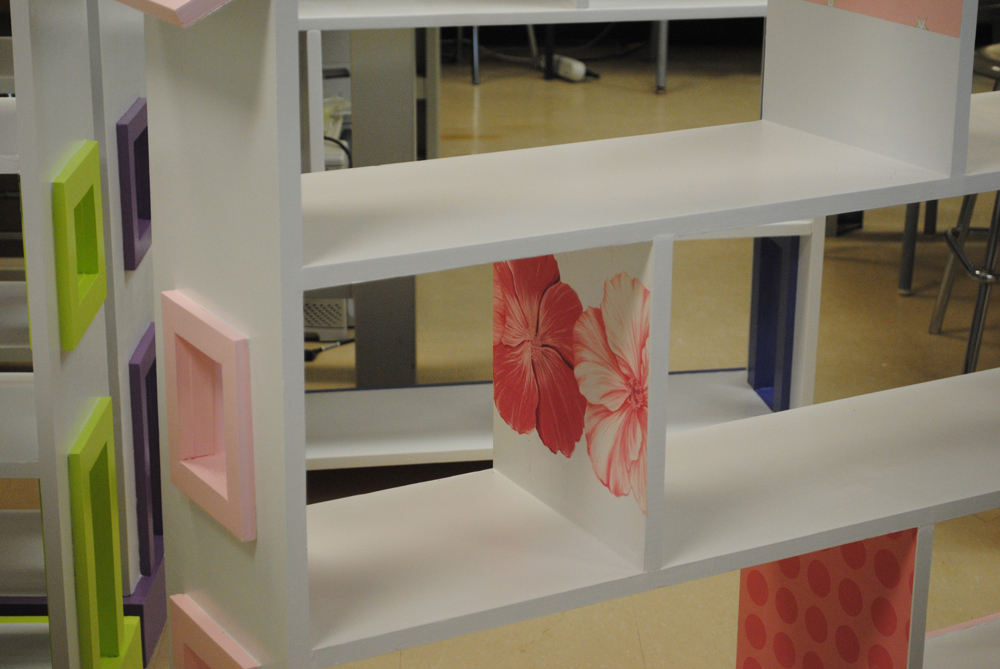
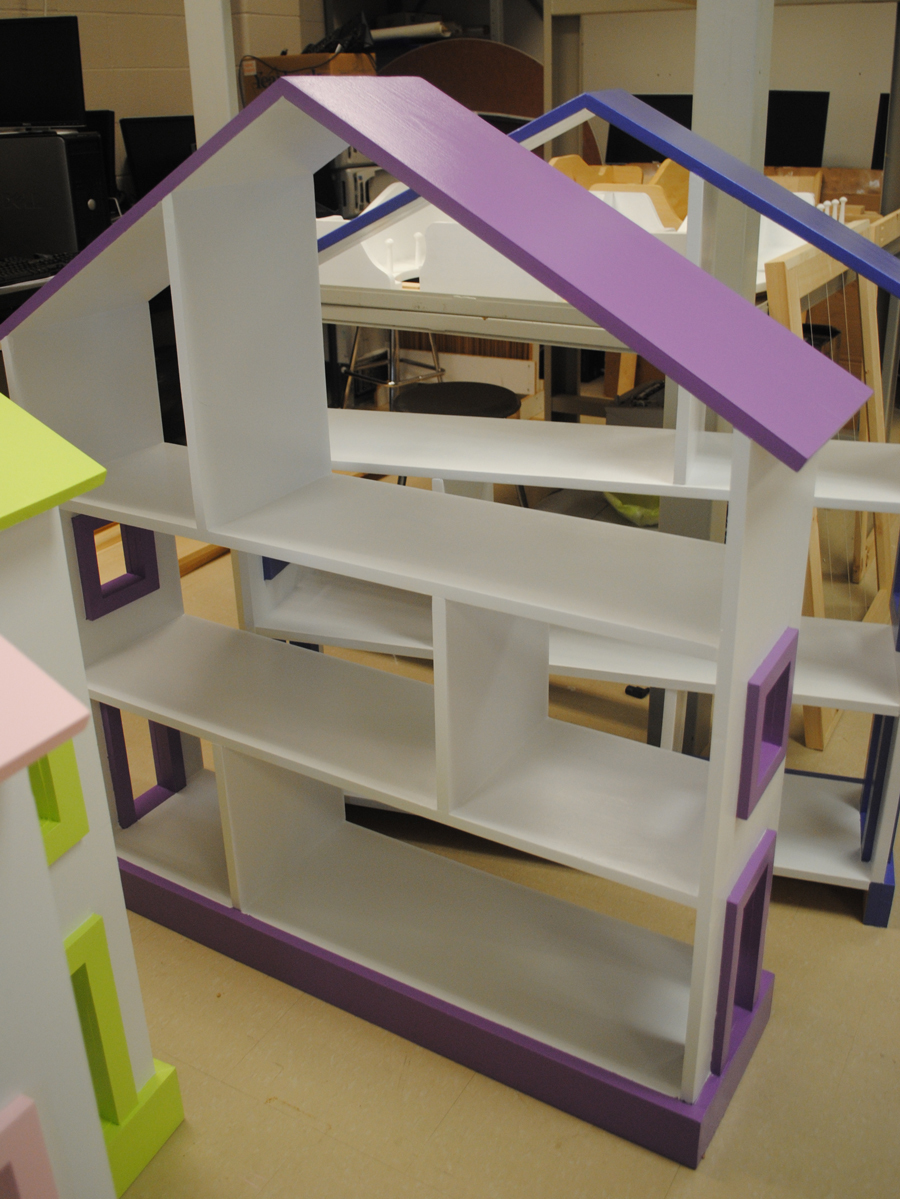
We added customizations with mitered trim pieces, custom colours, wallpapering (see pink shelf), and choice of a backer board or choosing to leave it open with trim all around. The project is such a hit, we now have 6 more shelves on-order for next semester.

Thanks for a great website.

Built from Plan(s)
Estimated Cost
$120 CAD
Estimated Time Investment
Week Long Project (20 Hours or More)
Finish Used
Lowes Valspar Signature Paint (primer + paint)
(White, Pink, Lime Green, Wild Grape)
Because we used Pine with knots we used spackling compound to seal the knots and all parts were sanded with 80, 120 and finally 220 grit sand paper. Prior to painting in all corners we ran a bead of paint-able white caulking to give a nice finished look.
Recommended Skill Level
Beginner

Comments

Thank You!

Greetings from Brazil. Thank you very much for the dollhouse bookcase plans. I did it to my goddaughter and she love it!

Built from Plan(s)
Estimated Time Investment
Week Long Project (20 Hours or More)
Finish Used
acrylic paint and fabric
Recommended Skill Level
Intermediate

Comments

Large square Balustrade Coffee Table

Submitted by Dea Roc on Mon, 02/20/2017 - 13:53

About This Project

Loved loved the table and thought it would be perfect for our living room. I wanted an oversized square table so I adjusted the plans for a 55" square.  I also added center support frame due to size

I found round feet at Home Depot and counter sunk a nut onto bottom to screw in. 

I ordered the legs from Osborne. We assembled the table in sections since it was too large for our work table. I stained each section prior to assembling top to bottom. 

I used Minwax Pre stain. 2 coats Minwax Special Walnut. One coat Minwax classic grey which I wiped on and off immediately. Top coat Minwax poly 

My first ever wood project!

Thanks Ana and Jen's House of Wood for the idea and plan. 

Built from Plan(s)
Estimated Cost
275. Including legs.
Estimated Time Investment
Weekend Project (10-20 Hours)
Finish Used
I used Minwax Pre stain. 2 coats Minwax Special Walnut. One coat Minwax classic grey which I wiped on and off immediately. Top coat Minwax poly
Recommended Skill Level
Beginner

Comments

Tryde Side Table

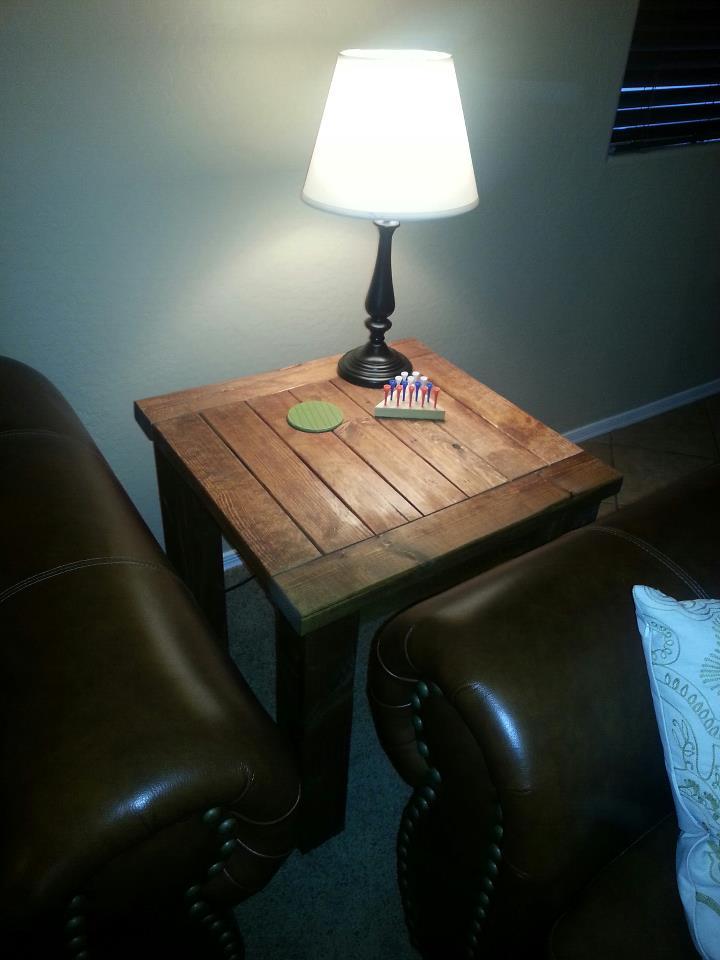
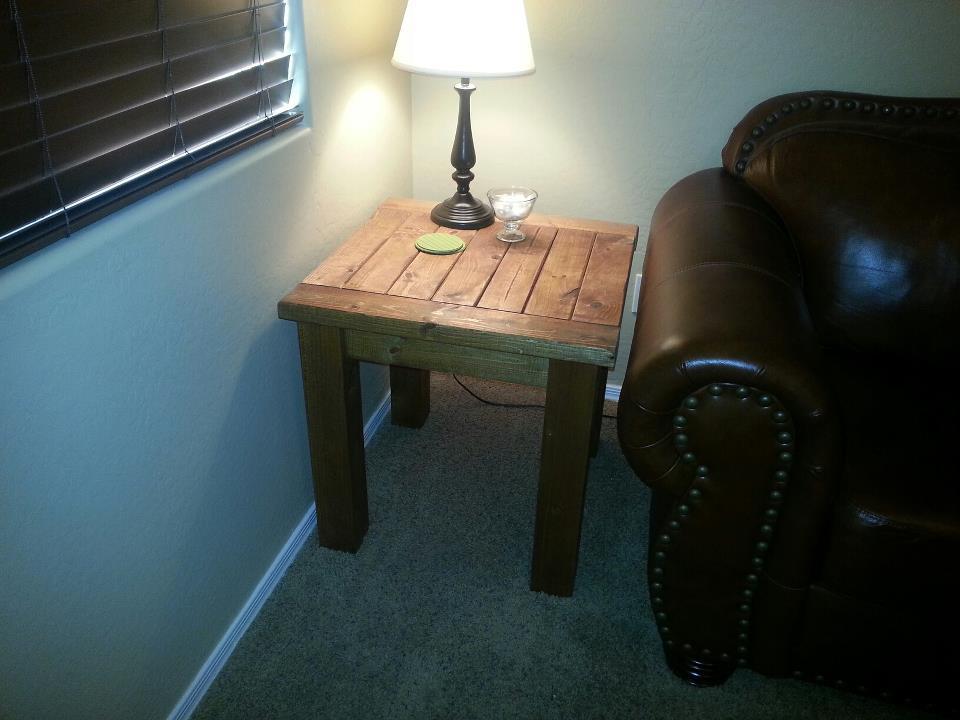
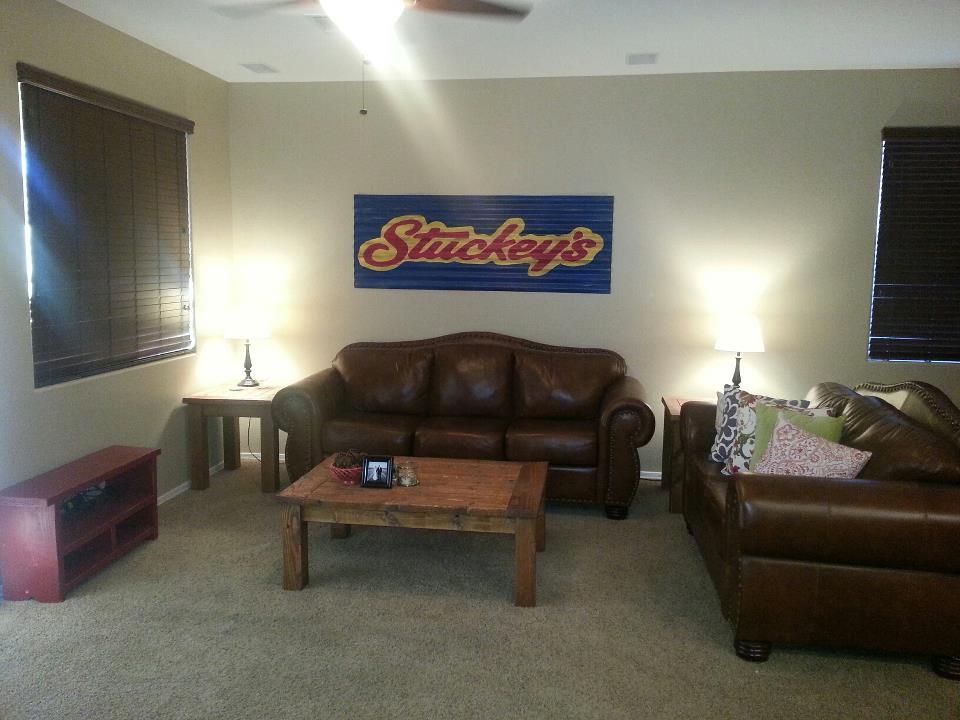
Made a couple of Tryde side tables for our living room along with a Tryde coffee table and kids country bench.

Estimated Time Investment
Day Project (6-9 Hours)
Finish Used
Dark Walnut Danish Oil
Recommended Skill Level
Intermediate

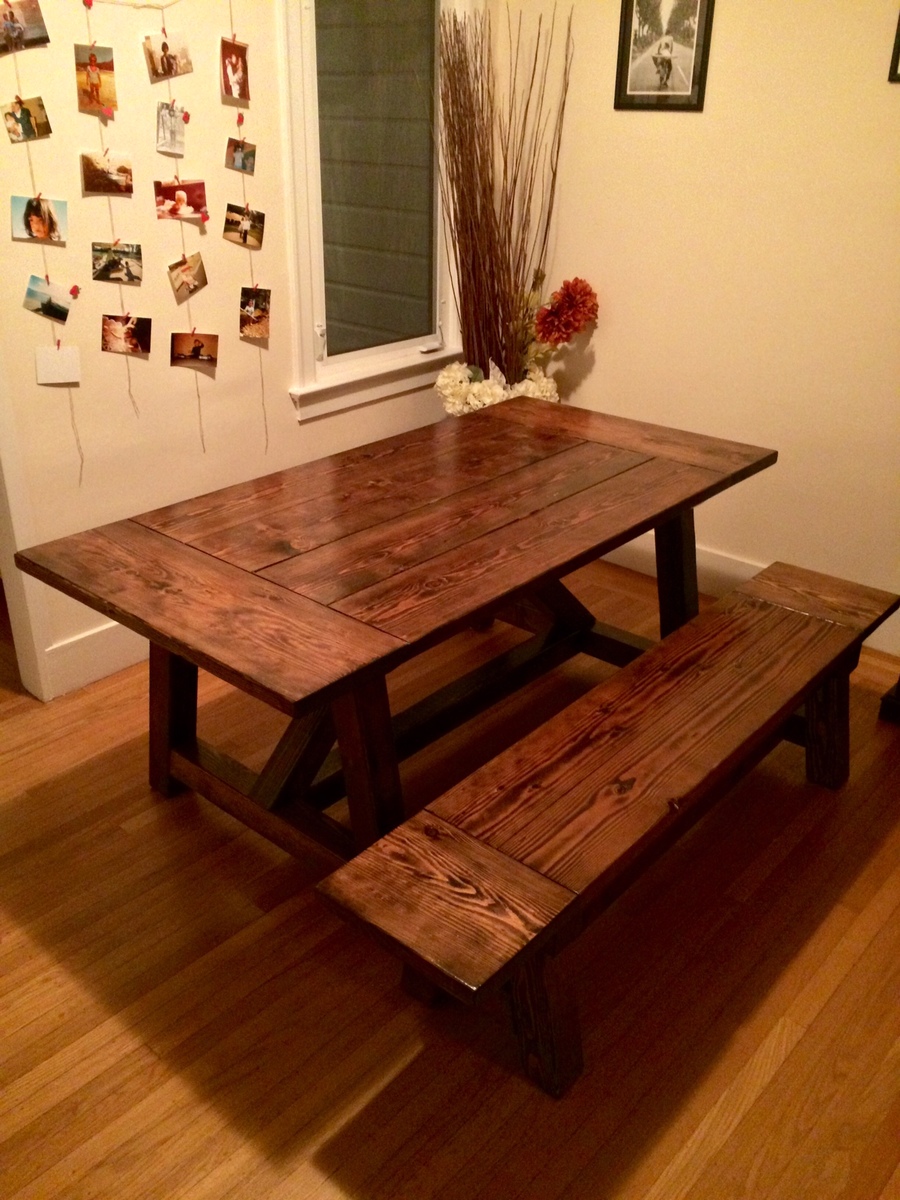
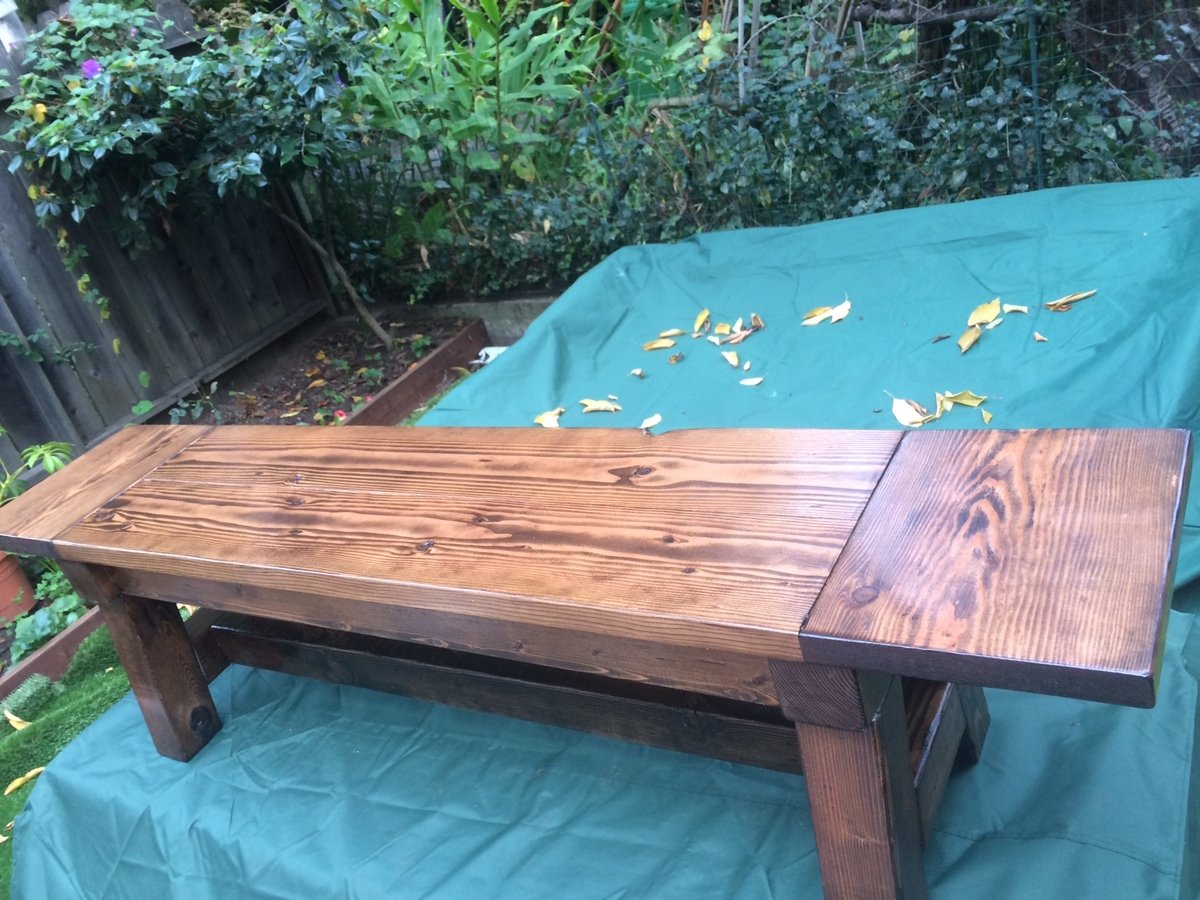
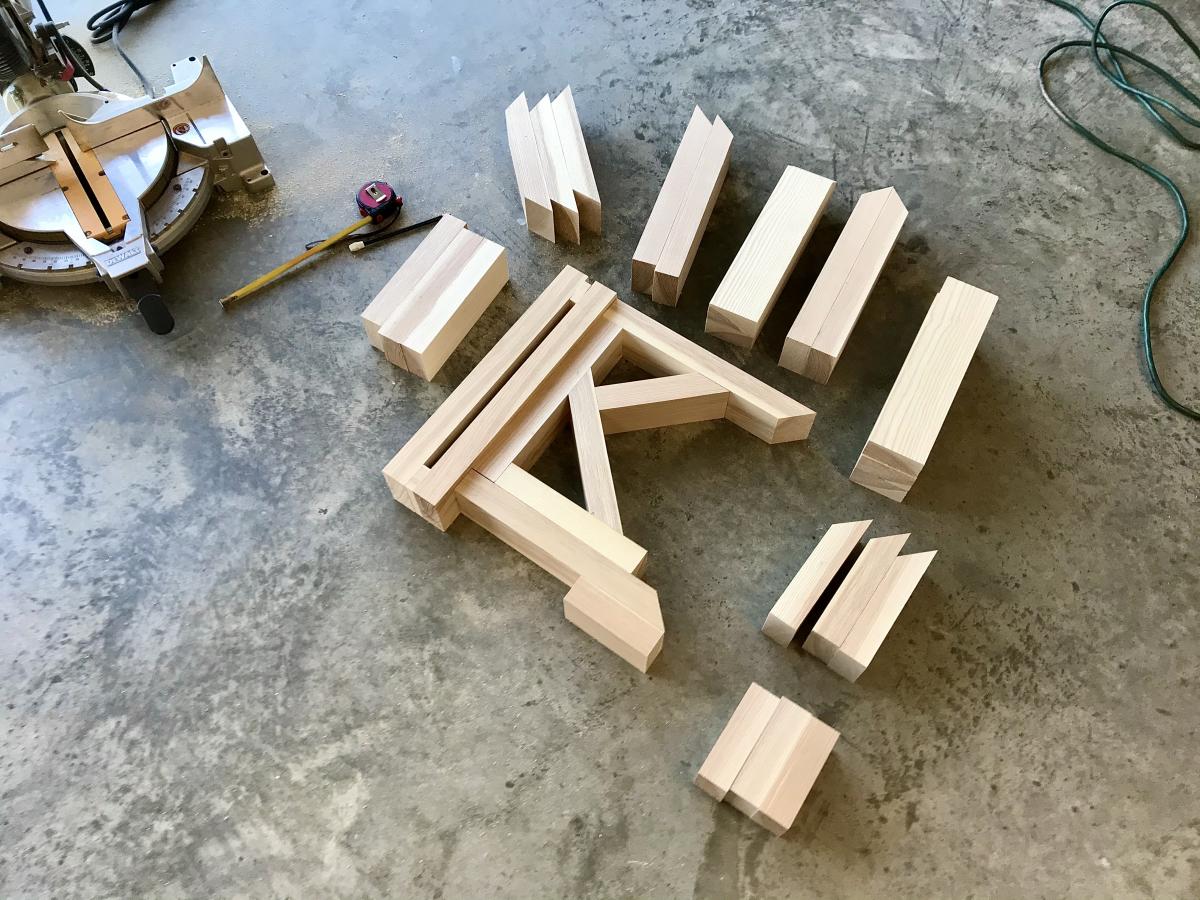
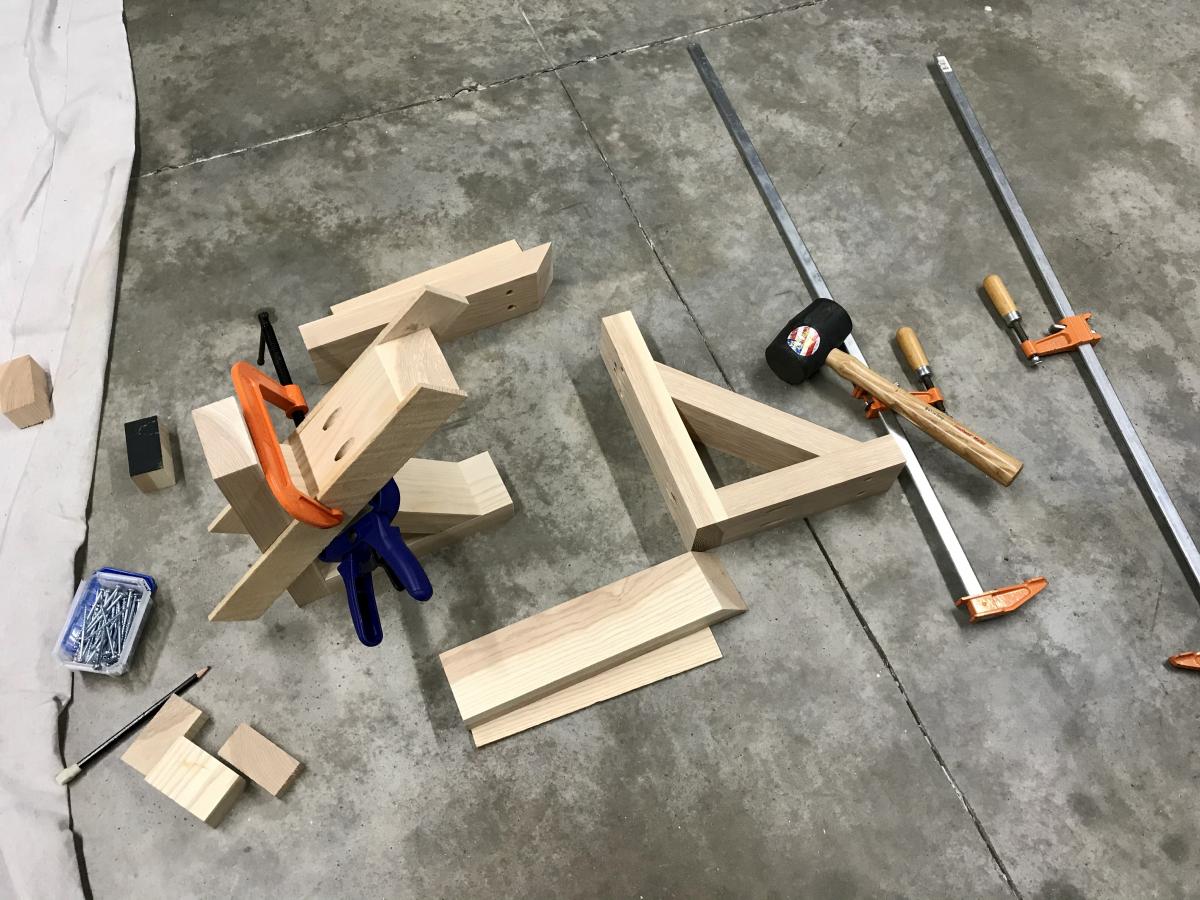
4x4 Truss Table and Bench

Submitted by smiljke on Wed, 11/19/2014 - 07:18

Great Project! a ton of fun!

Estimated Cost
$200
Estimated Time Investment
Week Long Project (20 Hours or More)
Finish Used
Dark Walnut
Recommended Skill Level
Starter Project

Comments

Round Farmhouse Coffee Table

Submitted by Anonymous (not verified) on Mon, 12/07/2020 - 17:22

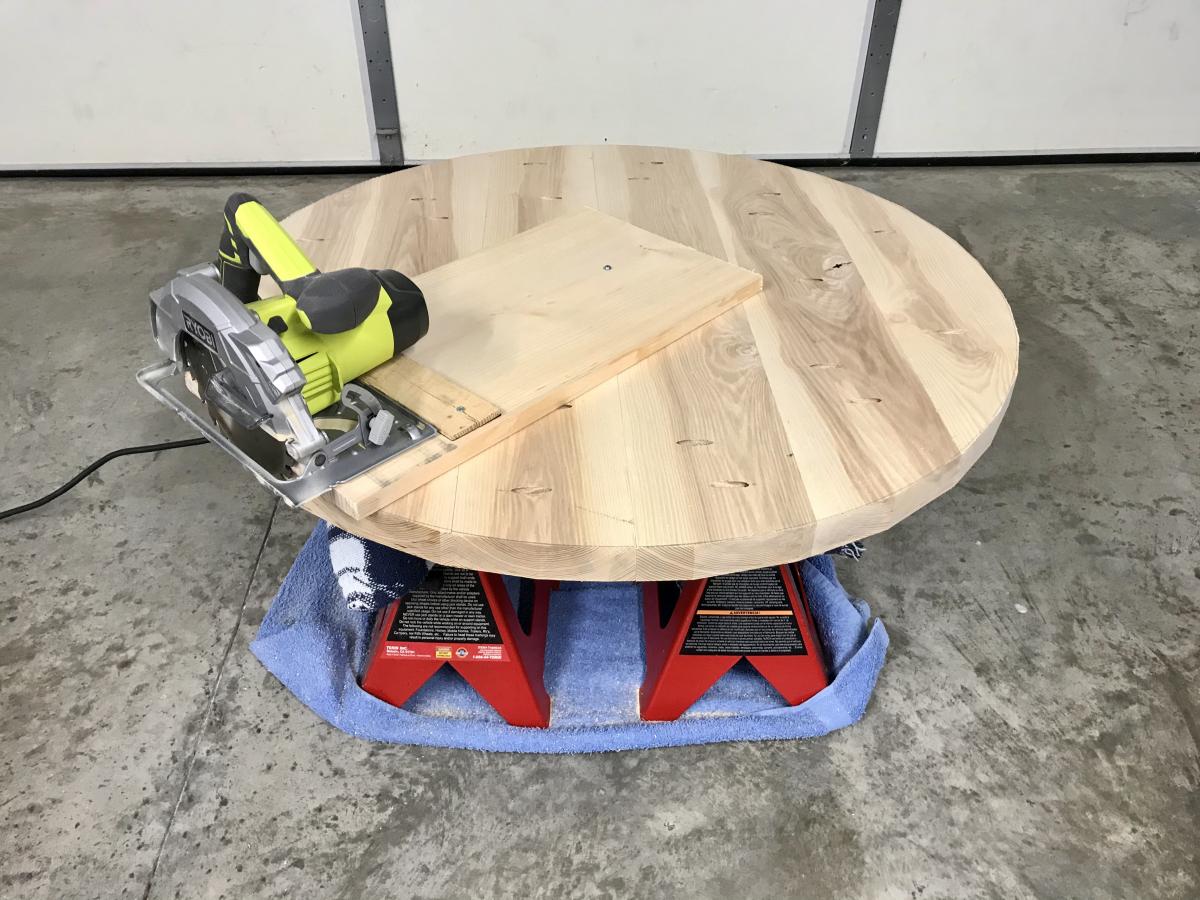
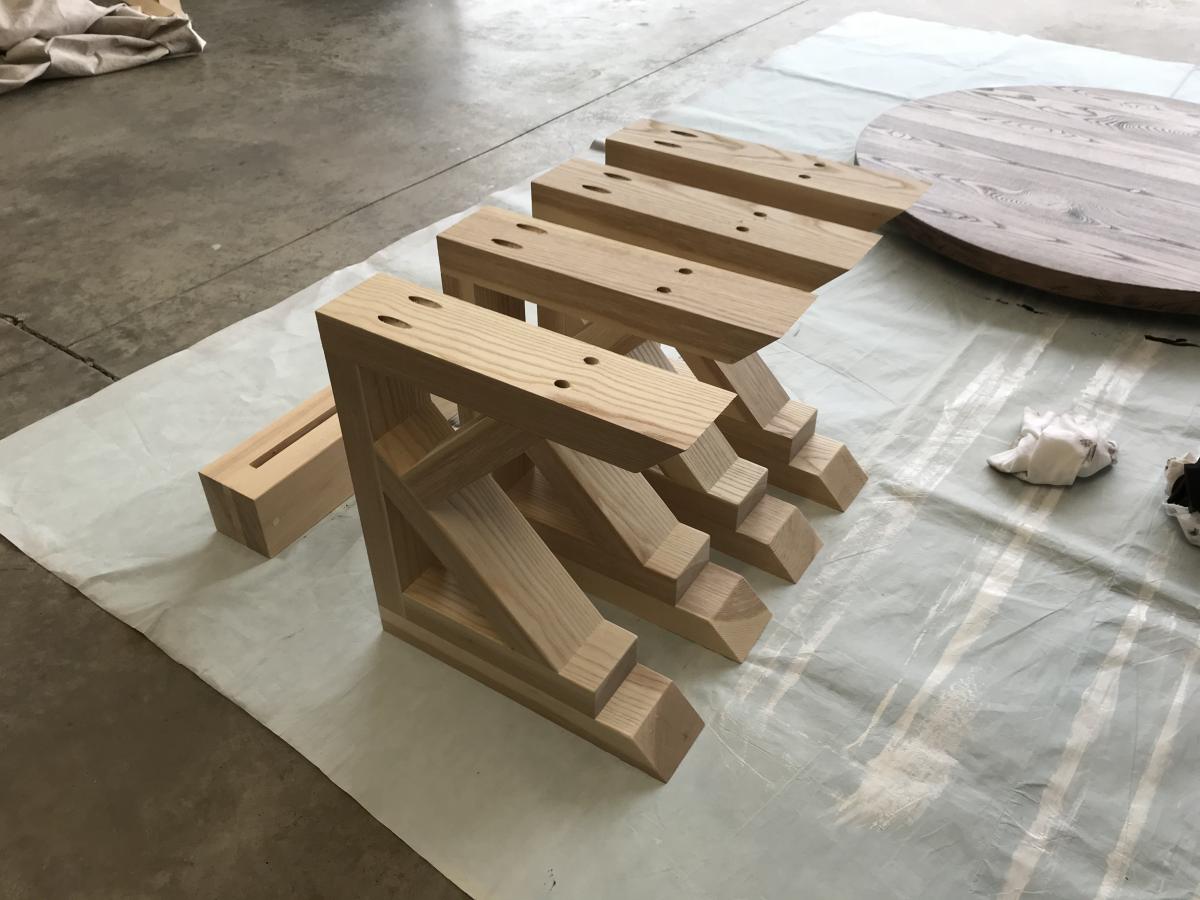
Here is Ana White’s round farmhouse table miniaturized into a coffee table measuring 18” in height and 36” in diameter using hardwood Ash.

The table top construction was slightly simplified by screwing six (1.5” x 6” x 36”) panels together. The circular saw jig setup worked out well.

A Kreg jig and a variety of clamps were instrumental in securing clean, tight joints for the base.

Thanks for the inspiration and useful tips on your site!

Built from Plan(s)
Estimated Cost
$250
Estimated Time Investment
Weekend Project (10-20 Hours)
Finish Used
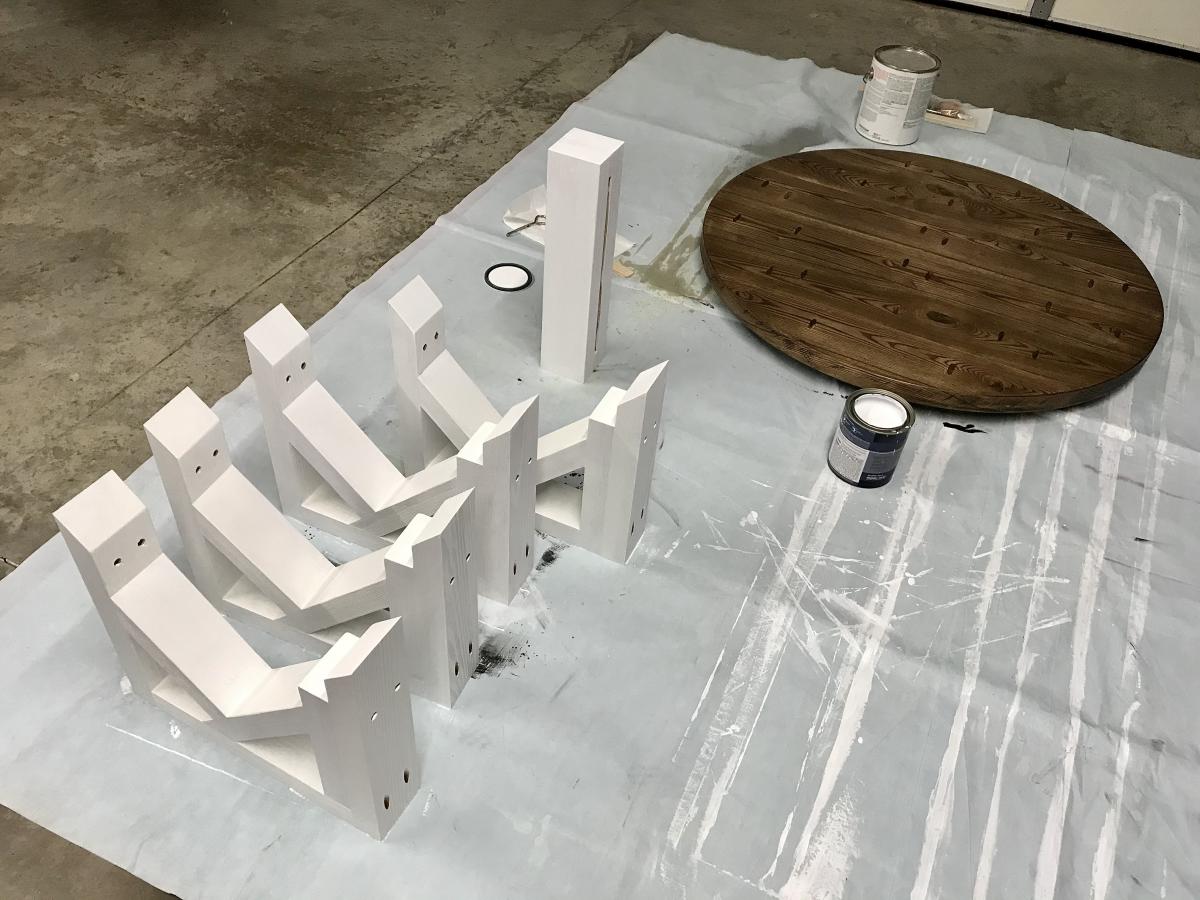
Top: Varathane Premium Wood Stain - Kona / Rust-oleum Polyurethane Satin Interior

Base/Legs: Behr Ultra Pure White (7750) Interior Satin Enamel
Recommended Skill Level
Intermediate

Comments

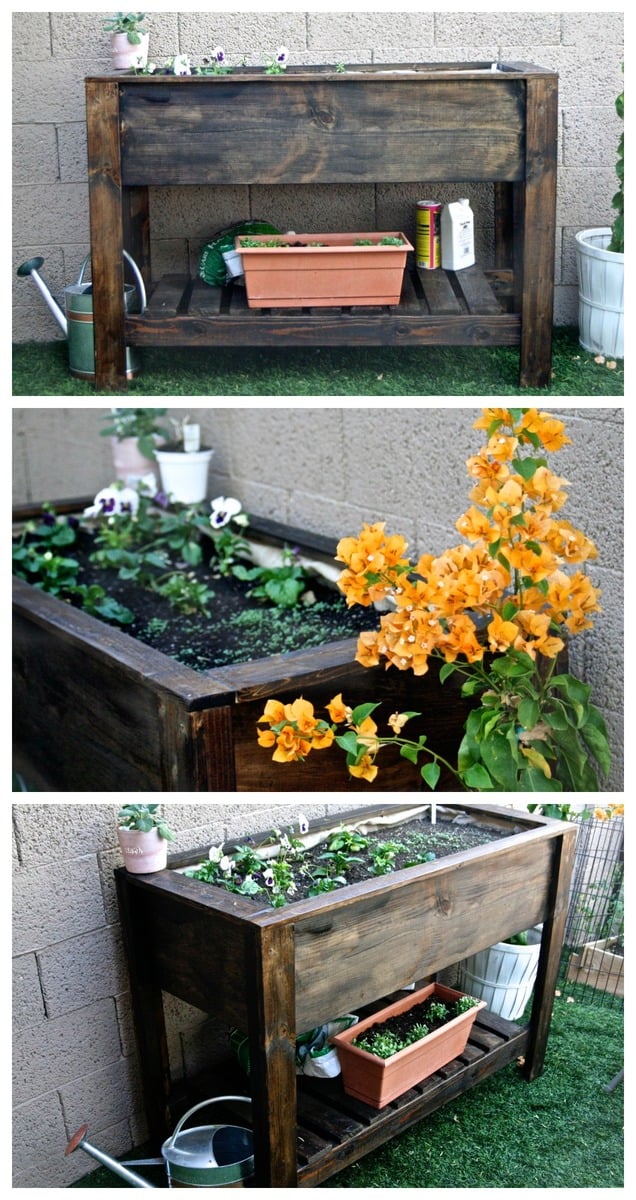
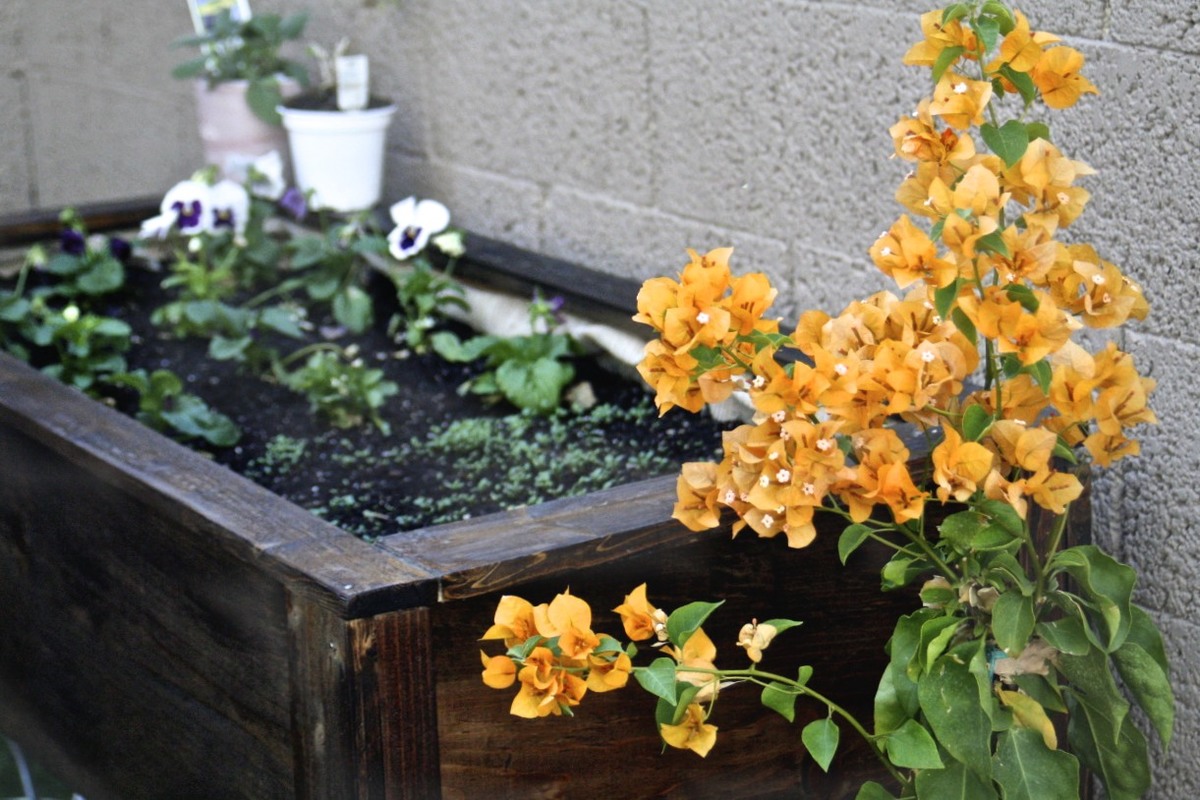
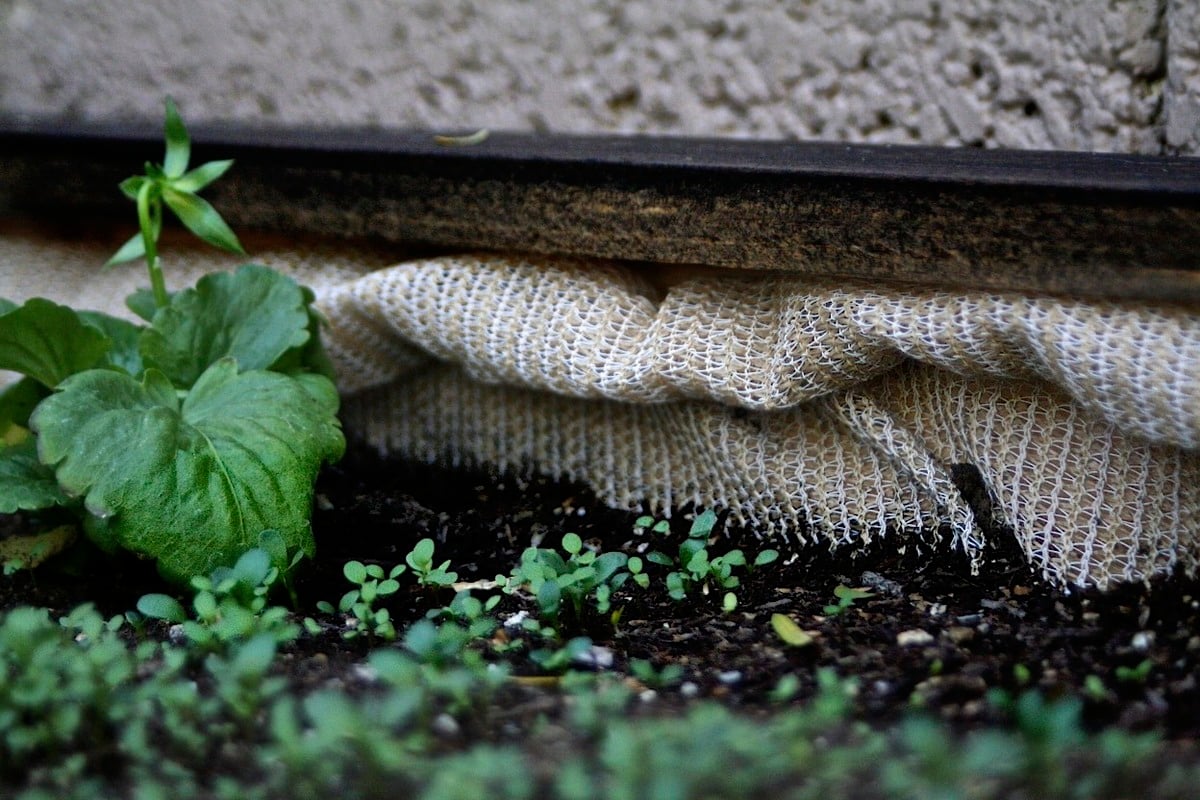
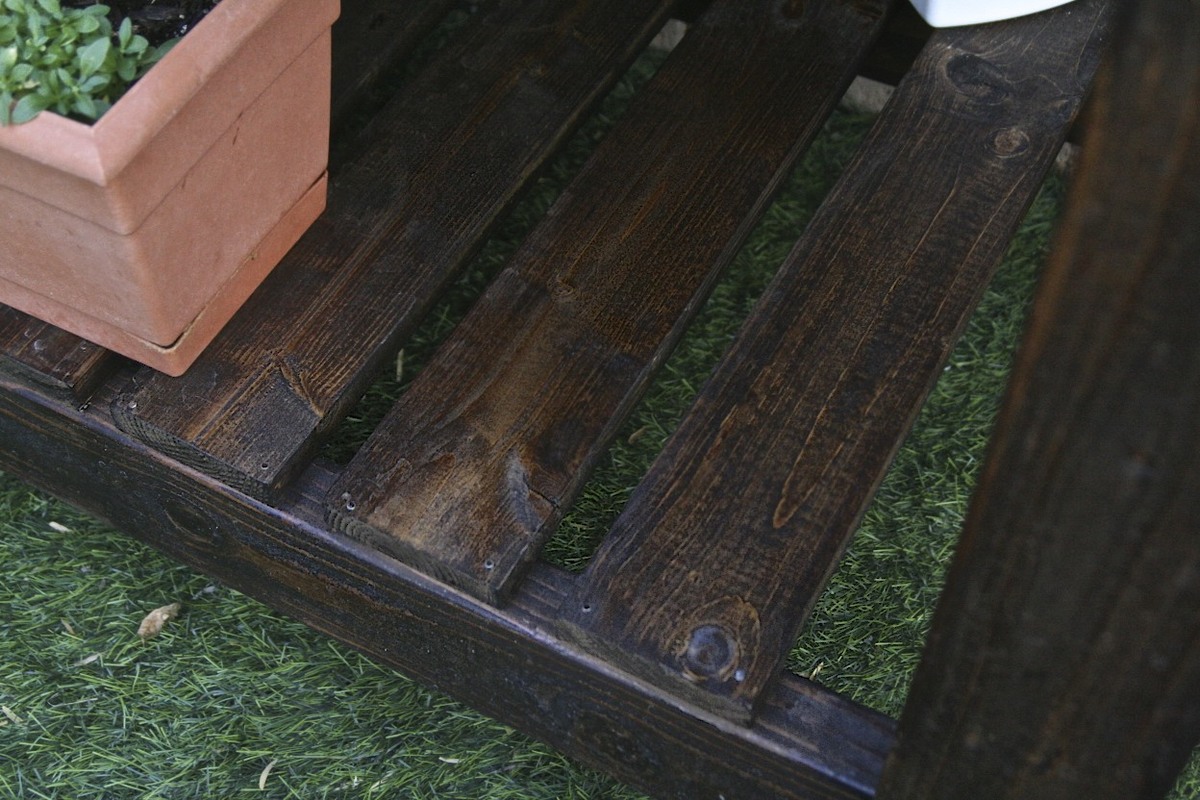
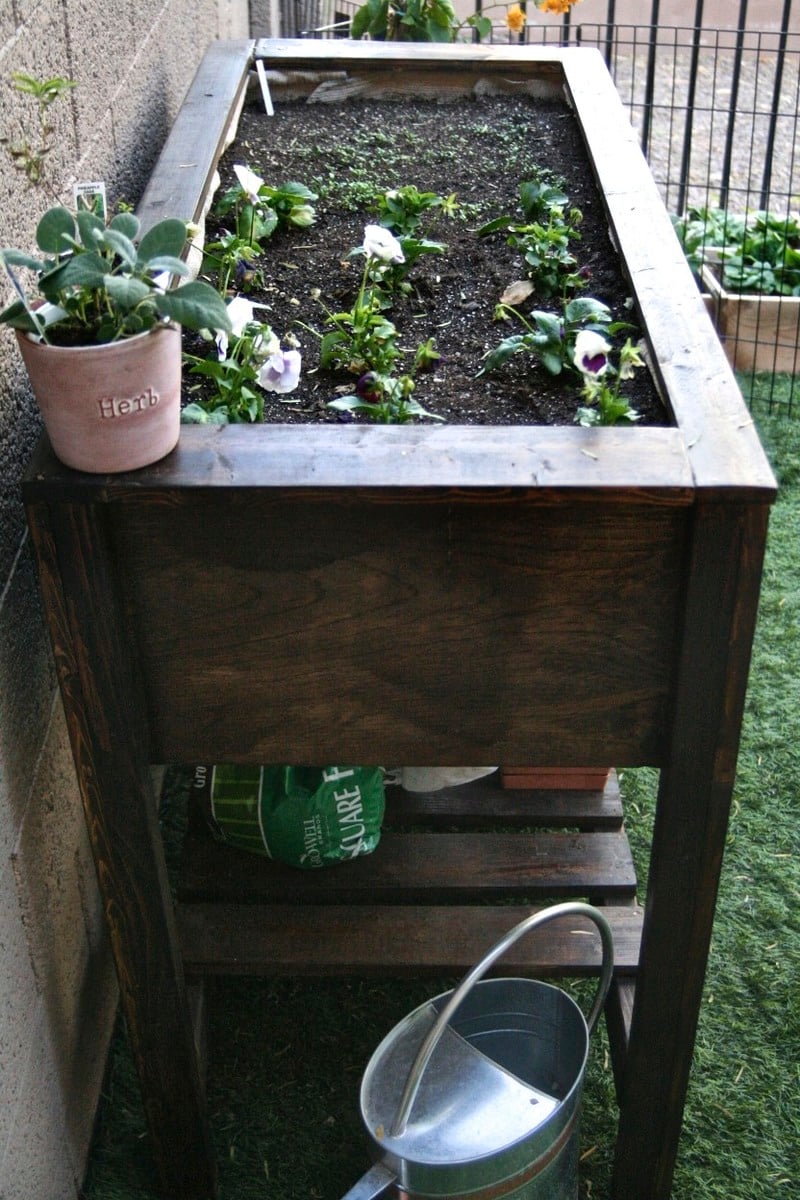
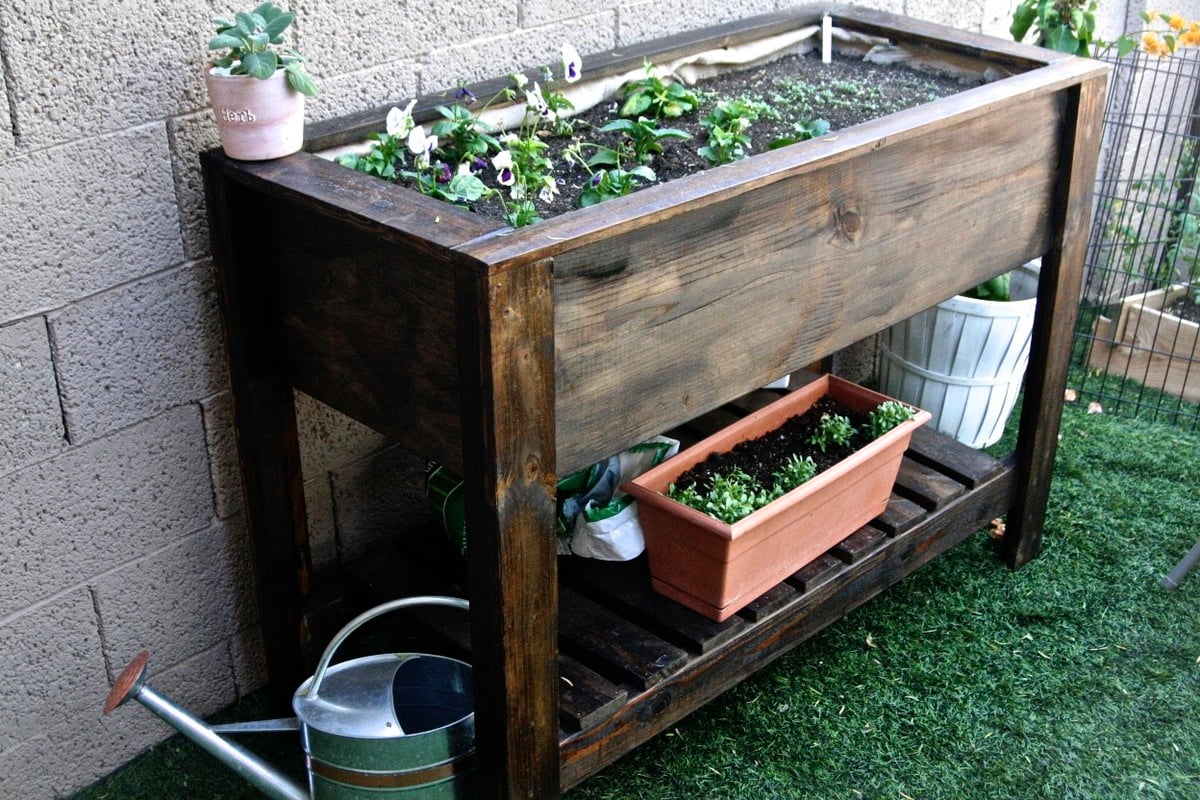
Raised Planter Box

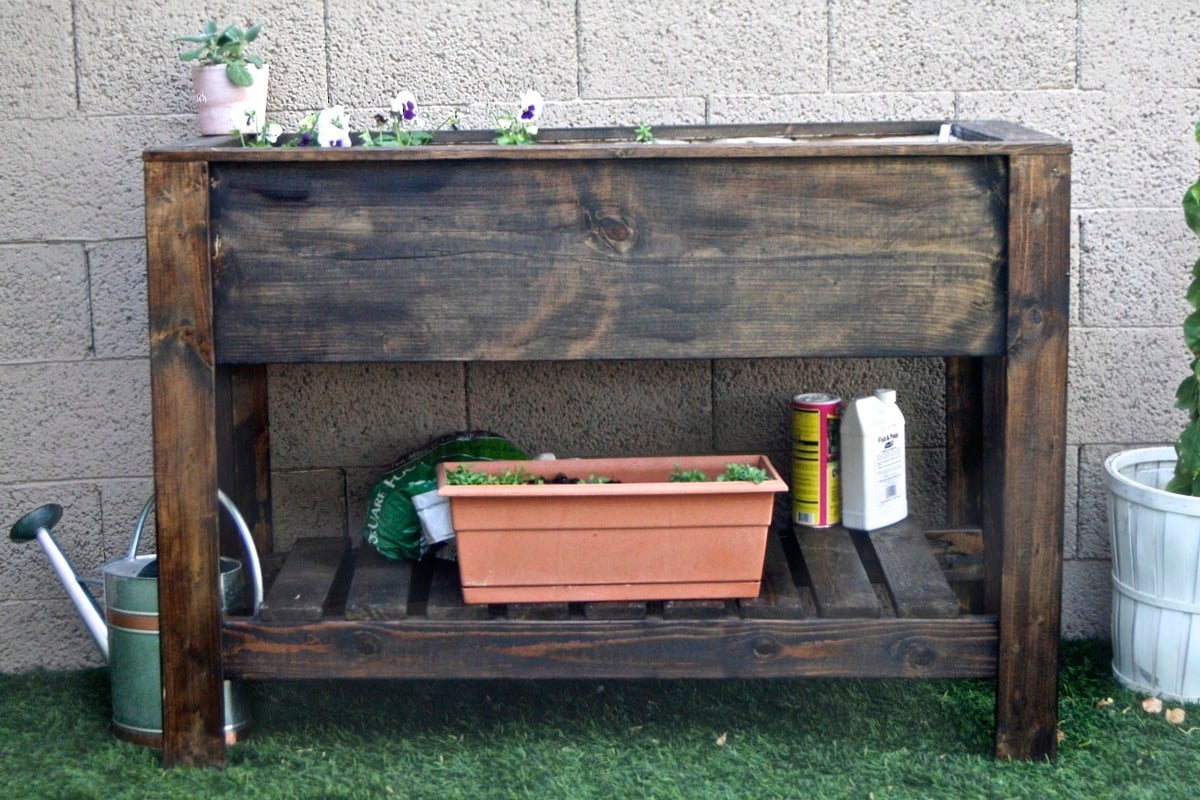
Submitted by ang312 on Fri, 01/25/2013 - 12:24

Living in Tempe, Arizona, I am always in need of creative planter boxes so that I can garden with more ease. I loved this tutorial and recommend it to anyone, even beginners! A full tutorial can be seen here: http://www.barerootgirl.com/homemade/2012/11/5/homemade-diy-raised-gard…


Estimated Cost
$30
Estimated Time Investment
Weekend Project (10-20 Hours)
Finish Used
Minwax Stain in Provincial
Recommended Skill Level
Beginner
Seasonal And Holiday

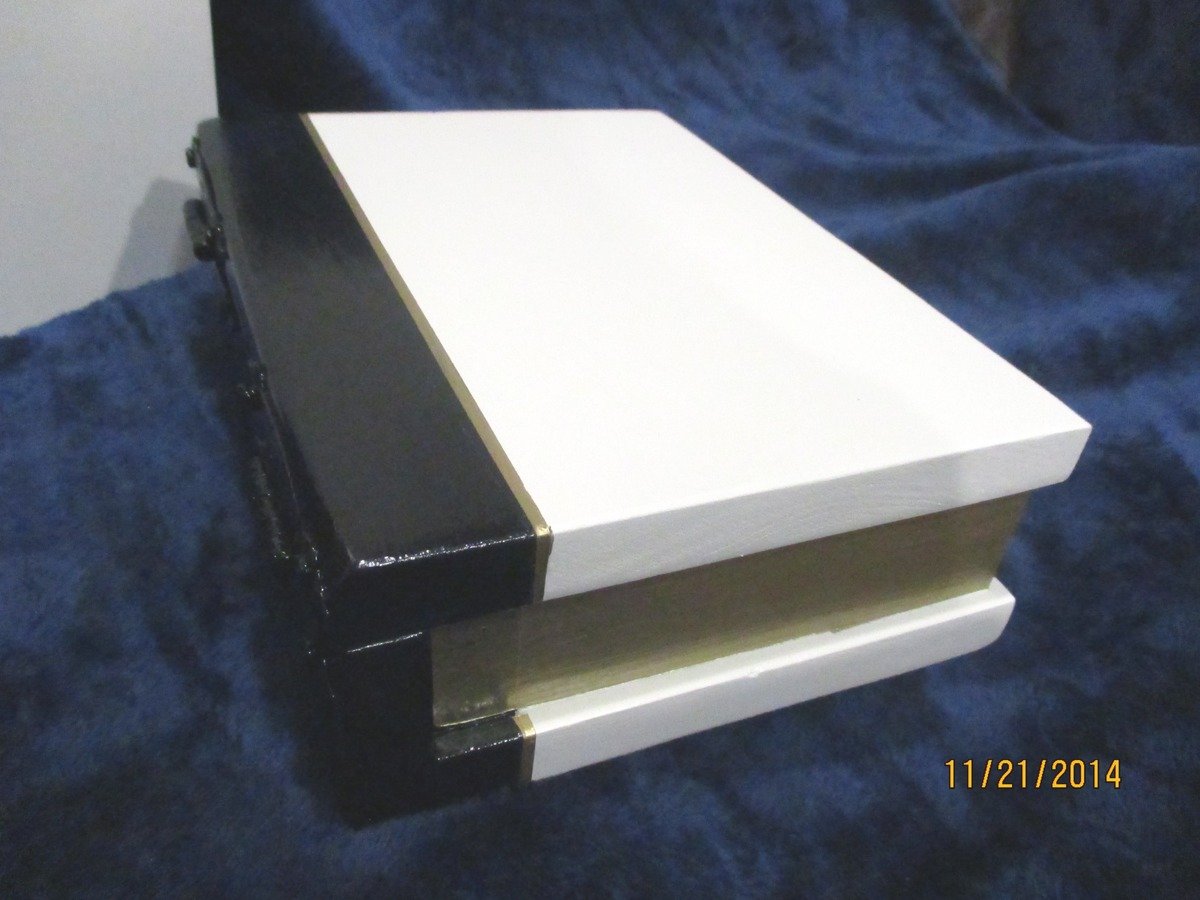
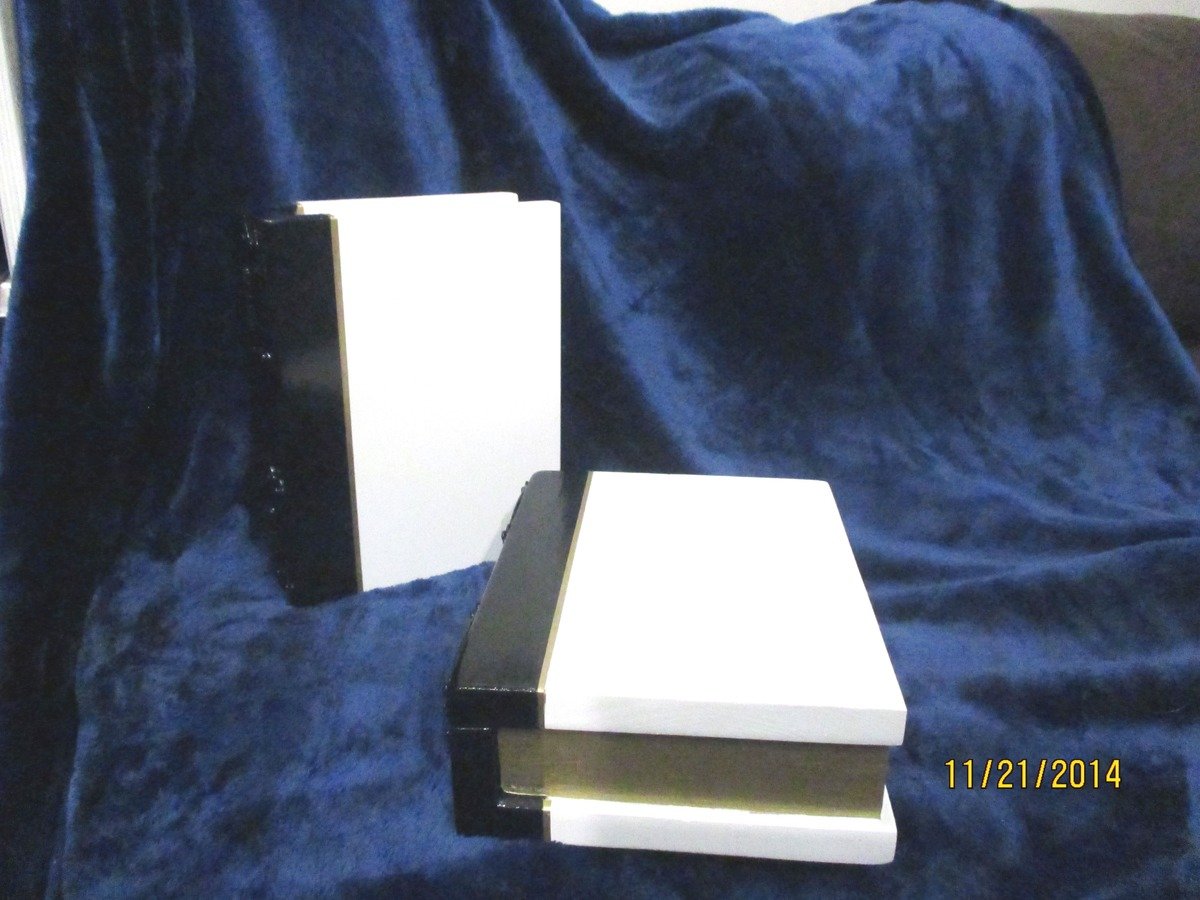
Book Box

Submitted by JoanneS on Fri, 11/21/2014 - 17:00

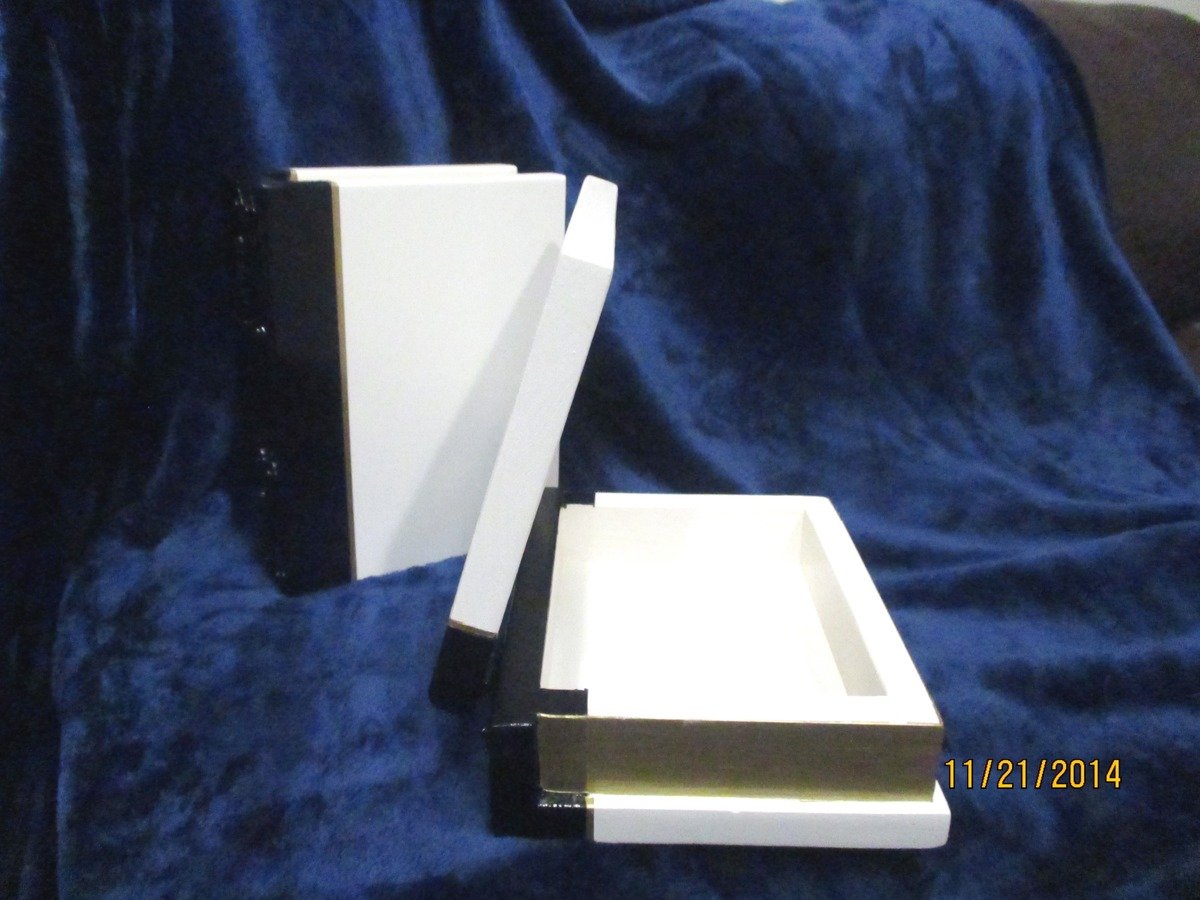
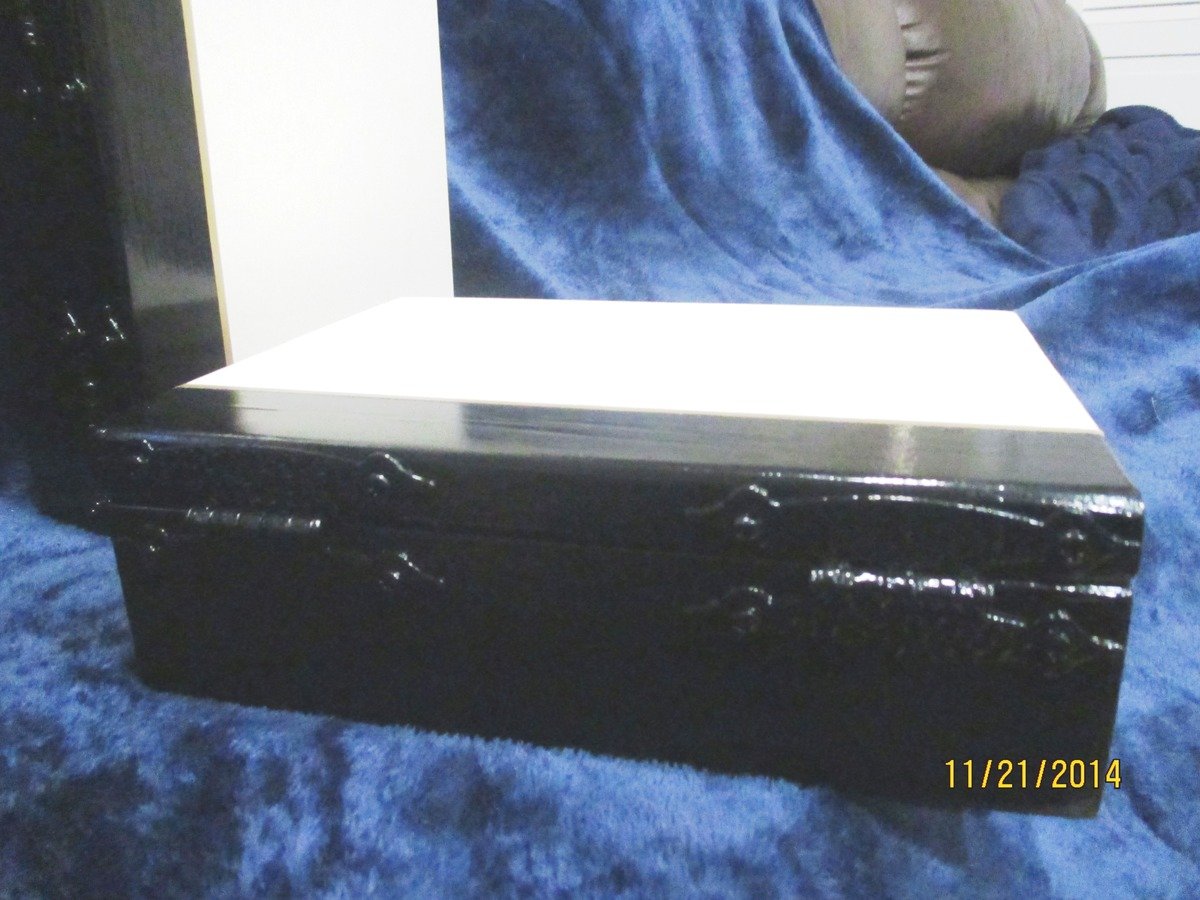
This is the prototype build for the Book Box plan.  It was a lot of fun coming up with the decoration ideas, and the build was quick and super-easy.  I plan on making more of these!    I used scrap wood and left over finishes for this build.  

Estimated Cost
This build was from scrap wood, and the paint was already on hand. The only things I had to purchase for this build were the hinges (about $3) and the craft paint ($2.49) and optional sticky-back velcro dots (they come in a package of 15 for $2.99)
Estimated Time Investment
Afternoon Project (3-6 Hours)
Finish Used
Box: 3 coats Clark & Kensington semi-gloss in Crushed Peanut; spine: 3 coats Clark & Kensington gloss black; Pages/stripe: 2 coats Americana gloss enamel metallic in Glorious Gold;

Tip for clean paint lines: tape off the area to paint, and apply clear poly to tape edges and allow to dry before painting on the color.
Recommended Skill Level
Starter Project

Comments

JoanneS

Tue, 11/25/2014 - 14:11

Thanks Ana!  I had a lot of fun with this project.  Your Handmade Holidays collection inspired me!  Happy Thanksgiving to you and your family!  :)  Joanne