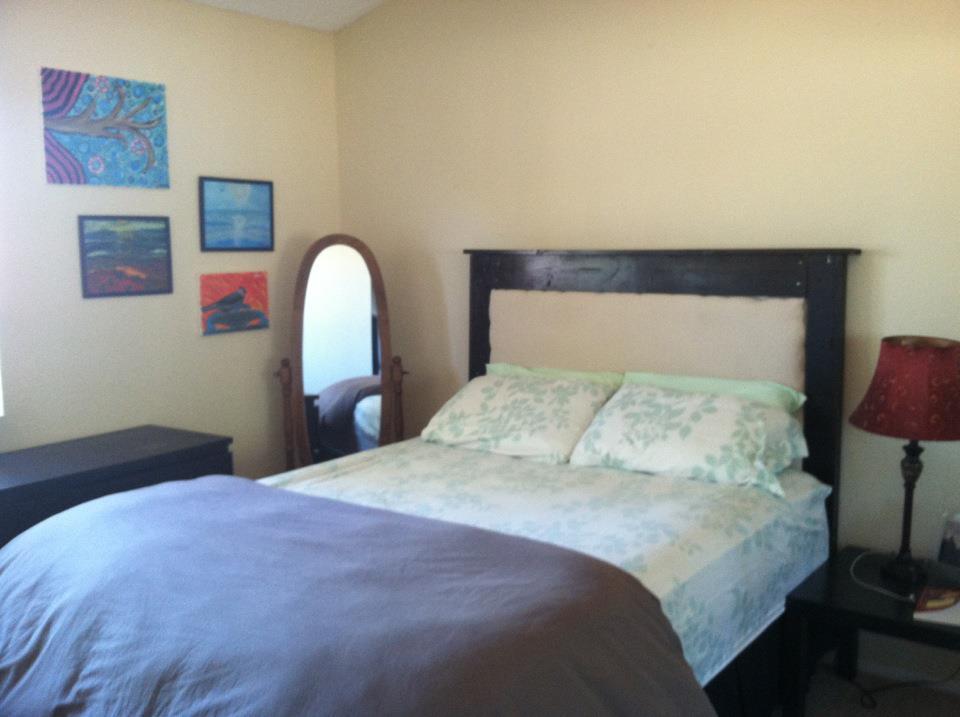
This is my first attempt to make any kind of piece of furniture, and I am really happy with how it turned out! I have been searching for over a year for an affordable solution to the blank wall above my bed, but never found something I loved enough to spend money on or time on to repaint, etc. I just loved the way this one looked in the pictures so even though I have never built anything before I thought I would give it a shot! I found the instructions to be really easy to follow, but the actual process a little harder than I'd thought it would be (due to my own mistakes). I thought I'd list some of the mistakes I made in case someone else reads this and can stop themselves before they make the same ones :)
First, I put the padded part a little wider than the allotted space, so when I went to nail the boards on the edges they didn't go down as smoothly. If I had just kept it within the lines I marked, this wouldn't have been a problem.
Also, I somehow missed the part of the instructions where I was supposed to use glue when I nailed the boards, so between that and the relatively flimsiness of the 1/2 piece of plywood, my boards came undone a couple of times. I eventually decided to use screws to hold everything and that was WAY better and sturdier, even though you can see the screws.
Also, I did not square it well enough along the way and I ended up with a sliver of extra plywood hanging off the side of the board, which made the trim piece on one side have a little gap at the bottom. I don't care though, since the bottom is out of sight anyways!
I saw other people had wondered how to attach this to a metal bed frame, but I never read a way to actually do it. I plan to figure out a way to either attach it to the bed frame or the wall, but for now, I just have it wedged between my mattress and the wall, and it seems stable enough. I hope it doesn't fall on me in the night ;)
I followed the lead of the Shanty to Chic lady and used a 5 dollar canvas drop cloth from Lowes for my fabric and I LOVE the way it looks in my room. I also took her advice and used Rust-Oleum stain (in Kona) and applied two coats of the stain to get the really dark wood.
Overall, I am super stoked to finally have a headboard, and to have made it myself! There is definitely a great feeling of accomplishment for building something like this so if you are hesitant to do it, I suggest you go for it! Next, I think I am going to make the tilt out trash can cabinet for my kitchen :)
Comments
CSaintD
Sun, 05/18/2014 - 08:31
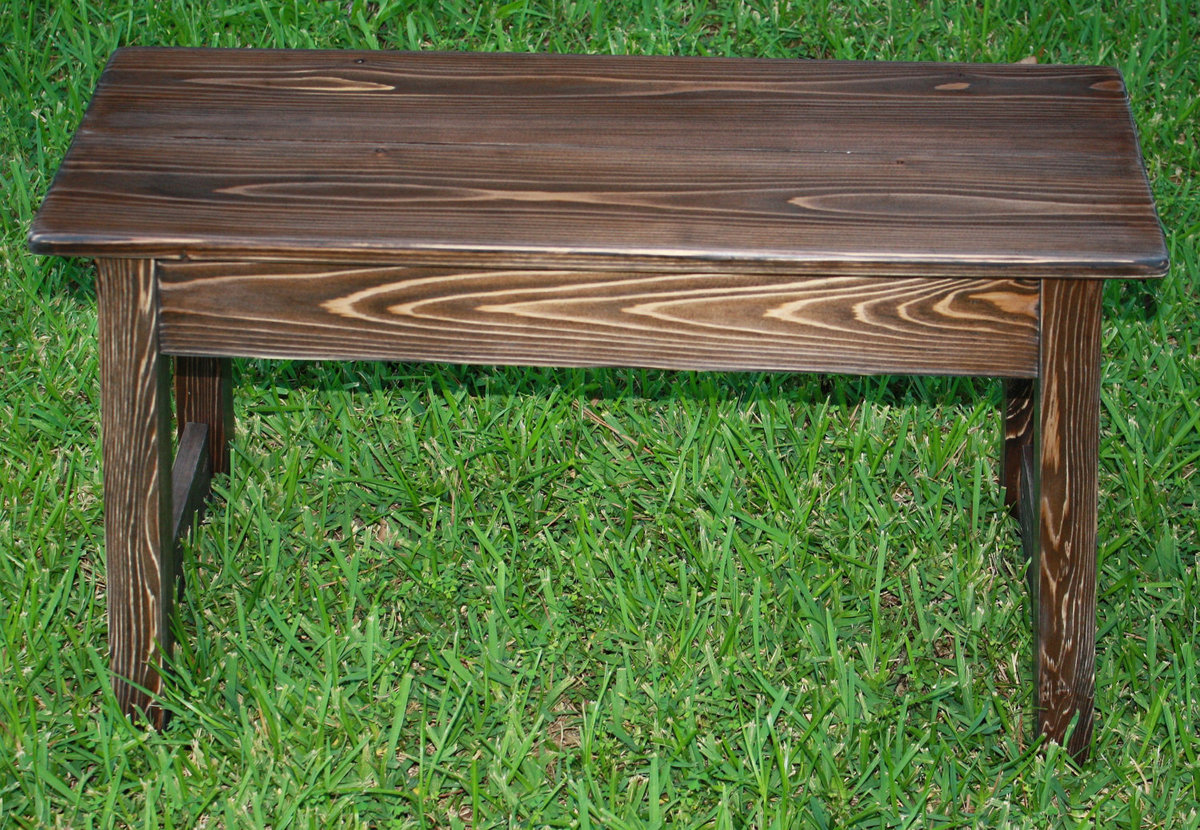
Fabulous table
Absolutely gorgeous! Can this be disassembled?
g82martin
Mon, 05/19/2014 - 07:29
Disassembly
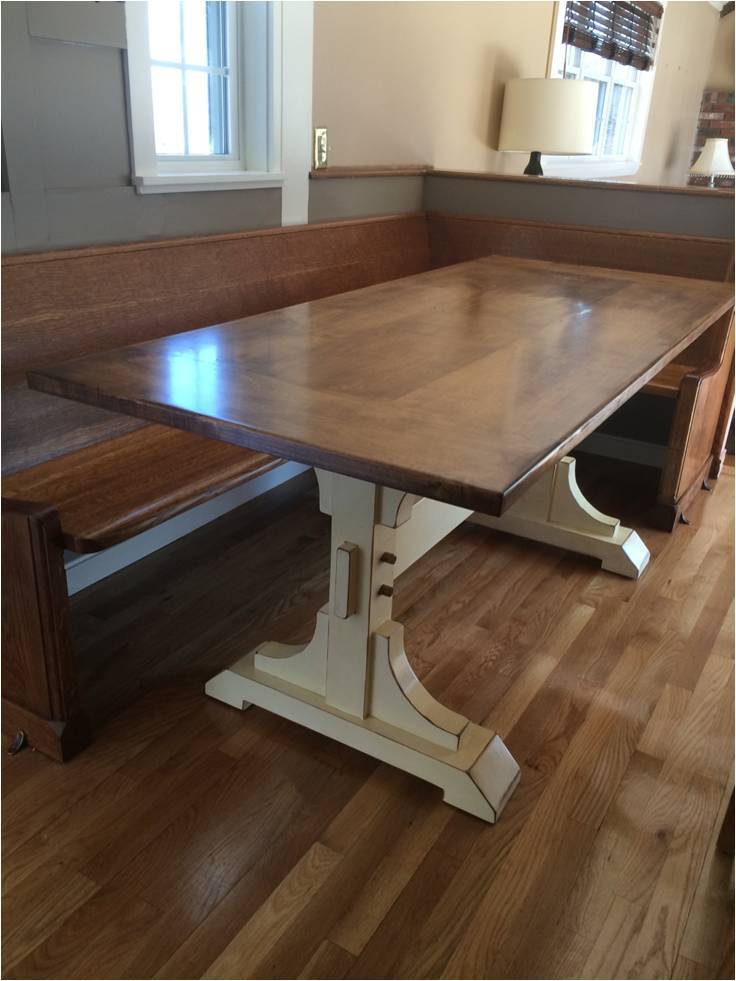
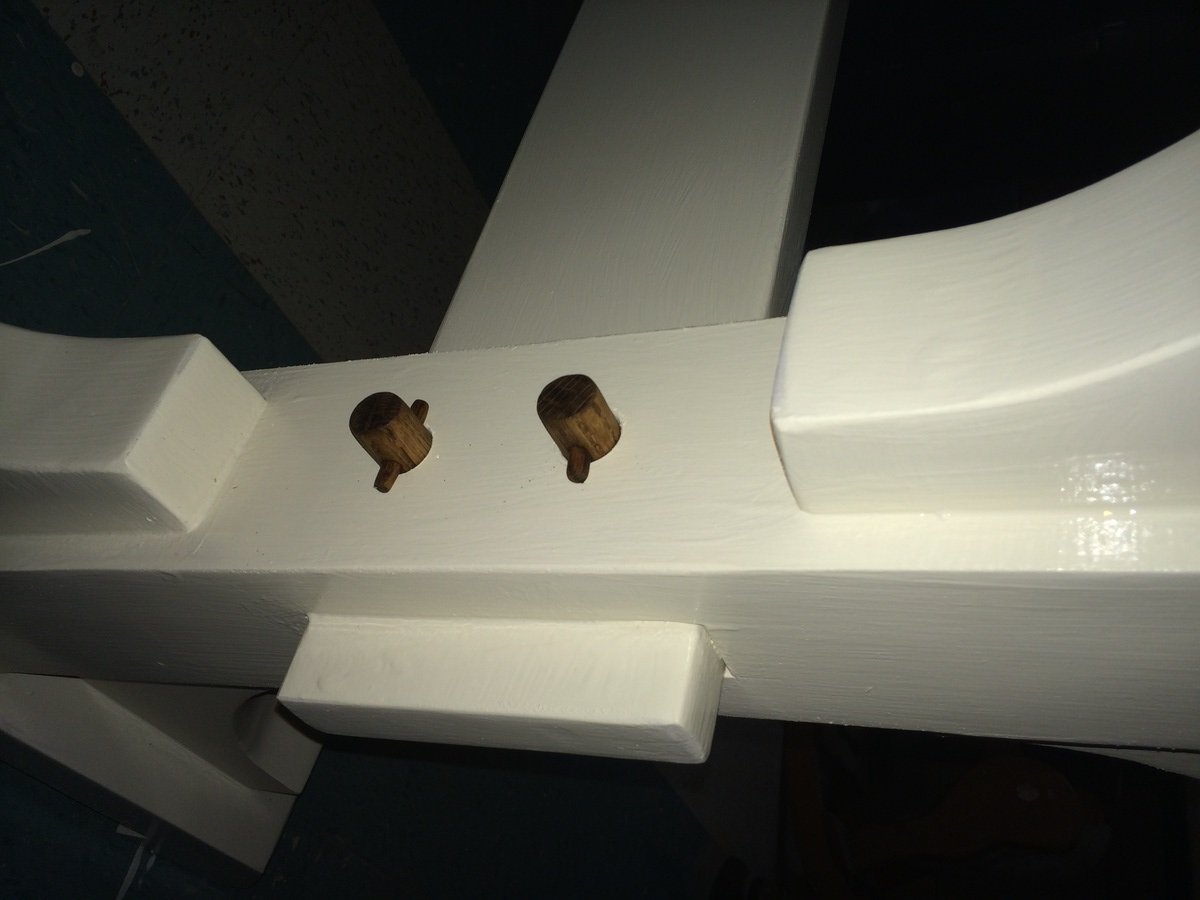
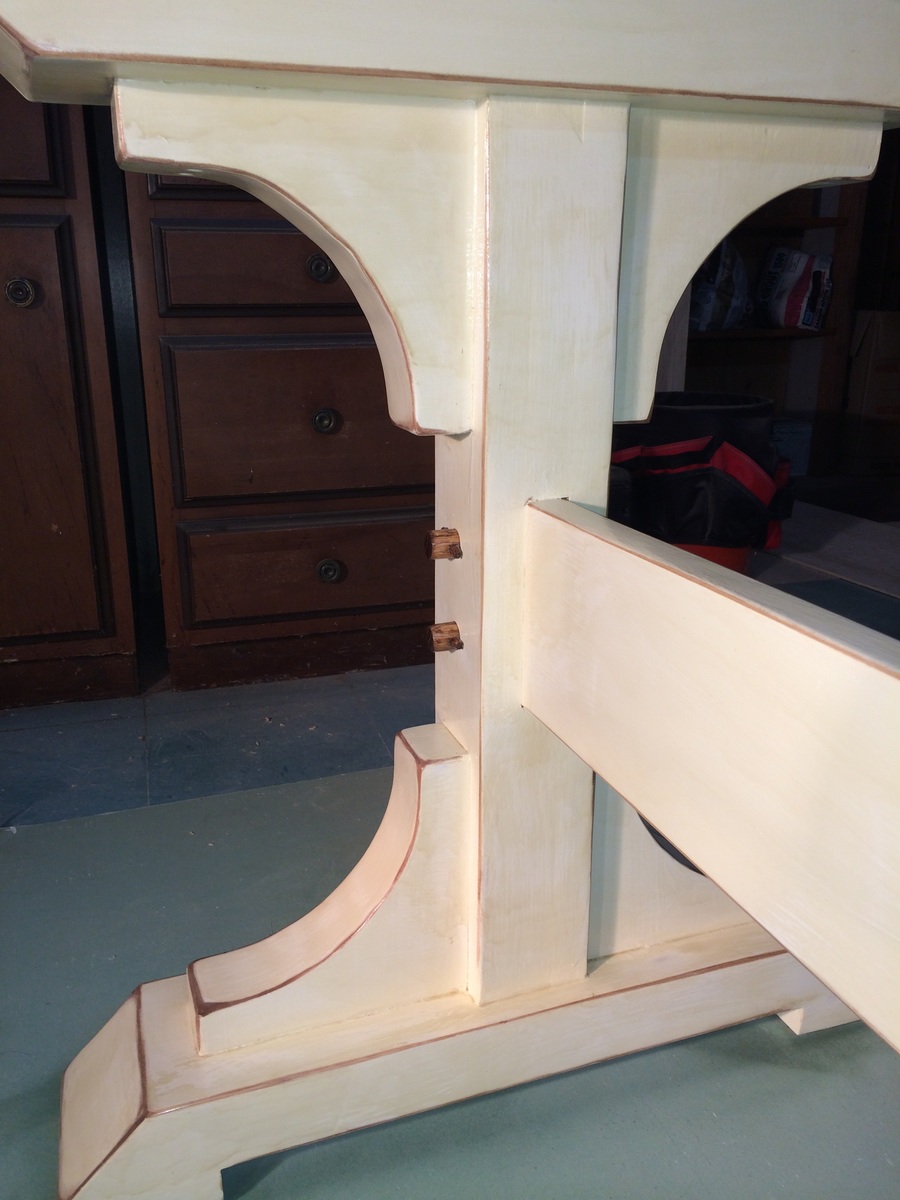
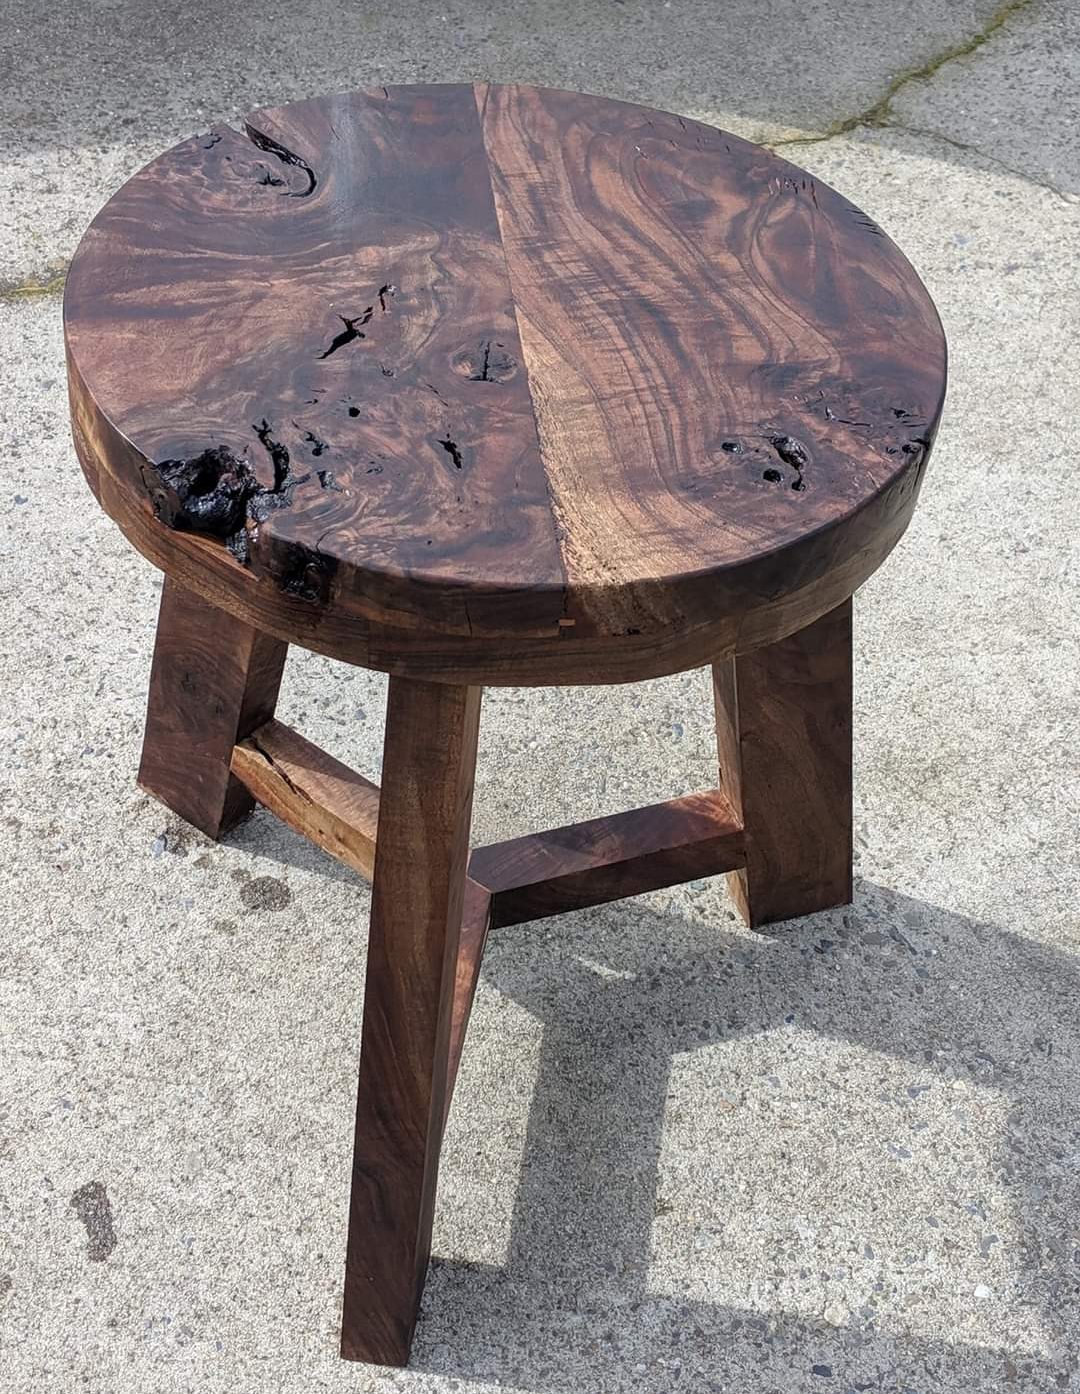
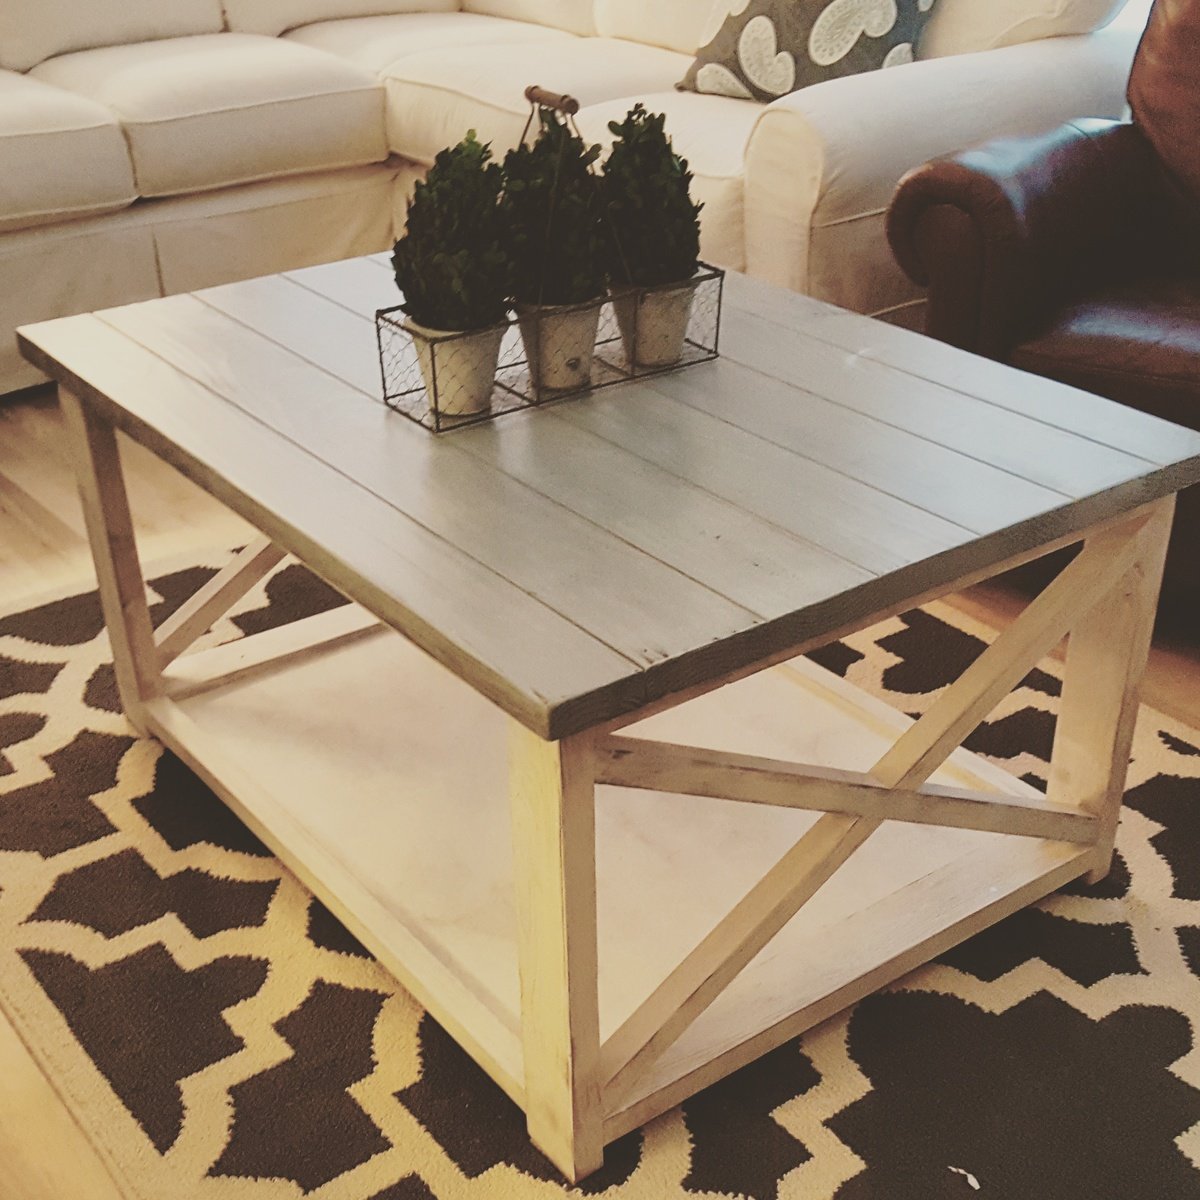
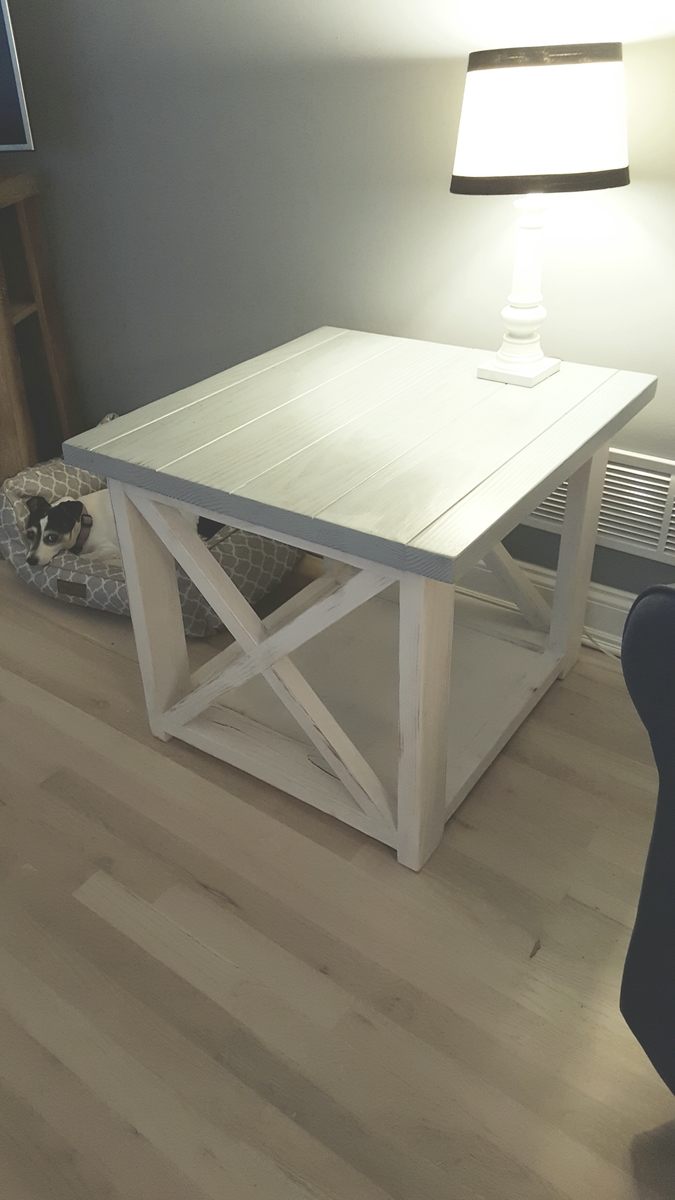
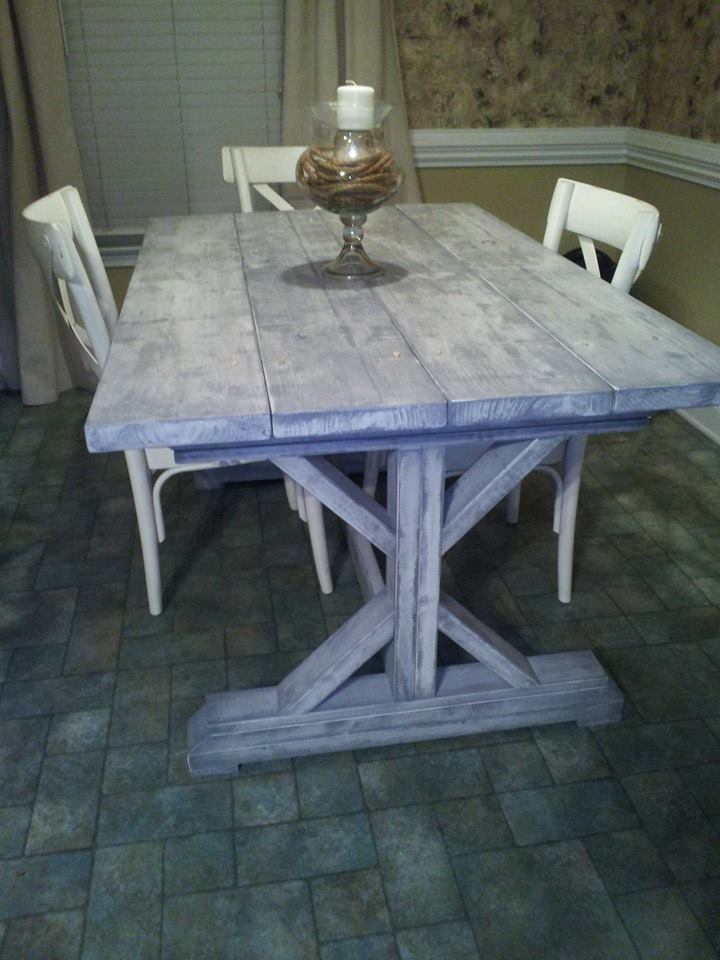
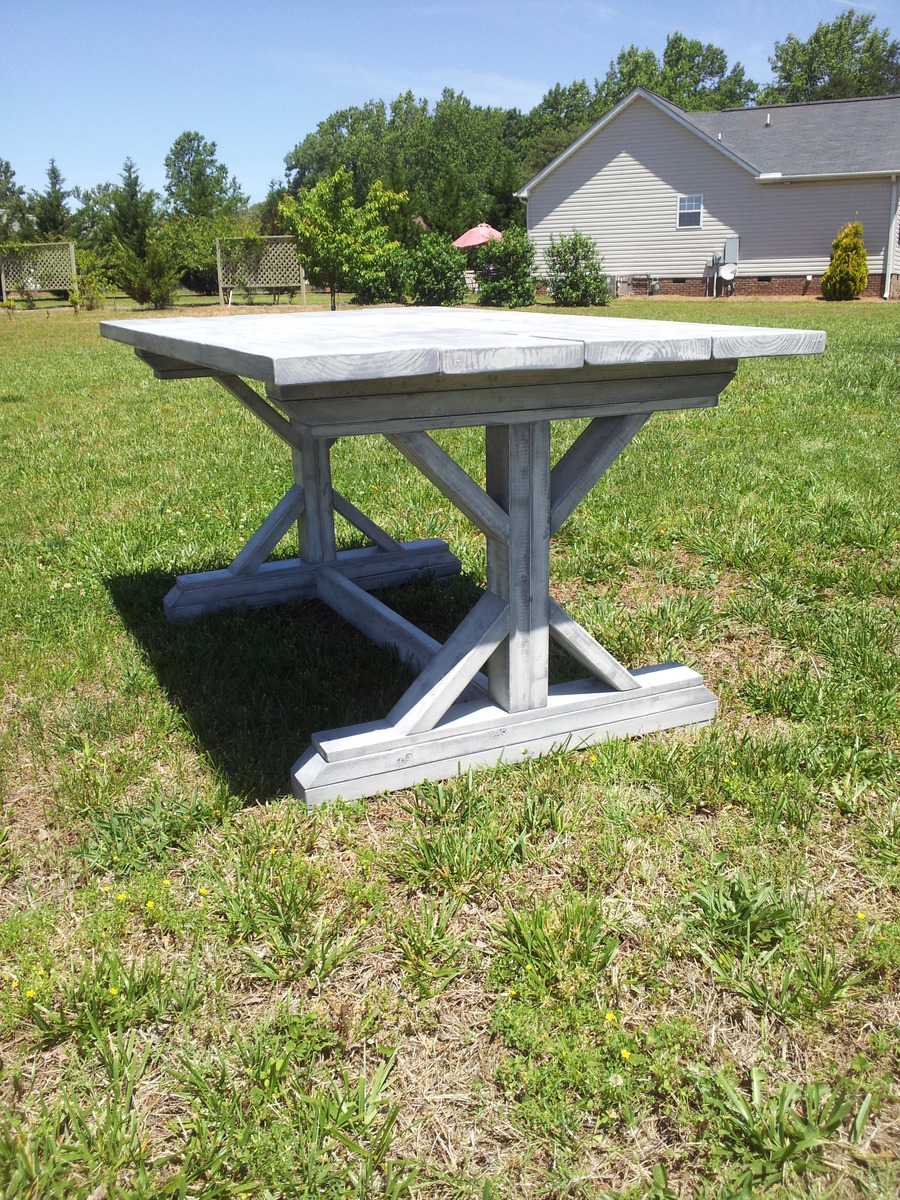
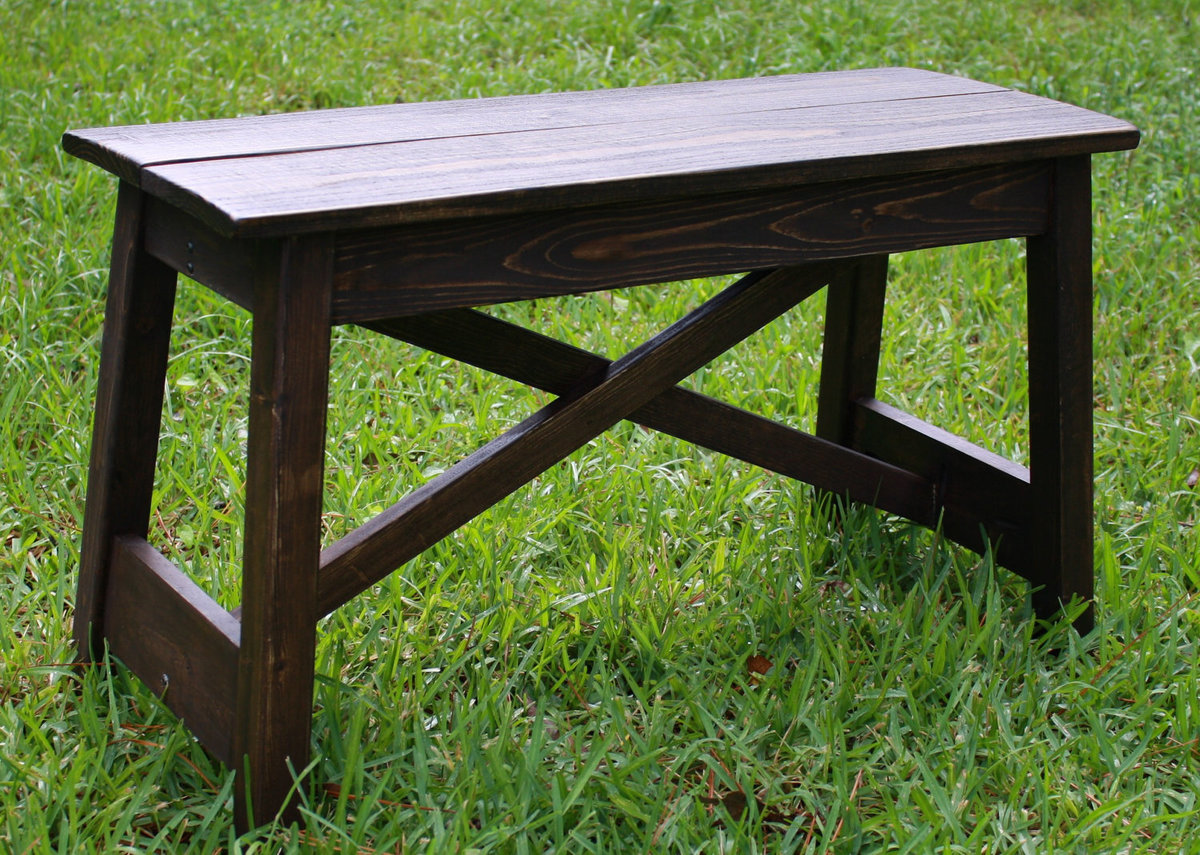
CSaintD - The top can be removed as I did not glue it. I set 3 dowels on top of each of the 2 legs so that the top would always lign up correctly if disassembled and reasembled. The stretcher could be removed, but would probably cause some damage to the finish as it was a tight fight when I finished it. The stretcher would be removed by removing the dowel pegs that I fabricated on each leg.
In reply to Disassembly by g82martin
CSaintD
Mon, 05/19/2014 - 08:21
Thanks. I really like the
Thanks. I really like the dowel pegs on the legs/stretcher. Very nice top finishing as well. Did you square the boards to get them to be so smooth when joined?
g82martin
Mon, 05/19/2014 - 08:26
table top
I cheated a bit on the top. My neighbor who got me the wood works in a furniture reupholsery shop. He planed and joined the boards for me, which saved me a good amount of time. I'm confident I could have done this at home with my table saw, miter saw and hand plane, but what he did in 2 hours probably would have taken me 10.
MathewAbercrombie
Sun, 05/18/2014 - 16:41
Awesome!
You should be proud.
spiceylg
Sun, 05/18/2014 - 18:02
Sweet
Beautiful build!
bclute
Mon, 05/19/2014 - 08:06
Very Nice
Table looks great! Great antique finish on the base and your table top looks nice a smooth.
bclute
Mon, 05/19/2014 - 08:06
Very Nice
Table looks great! Great antique finish on the base and your table top looks nice a smooth.
betsydaniels2010
Tue, 05/12/2015 - 11:32
Plans?
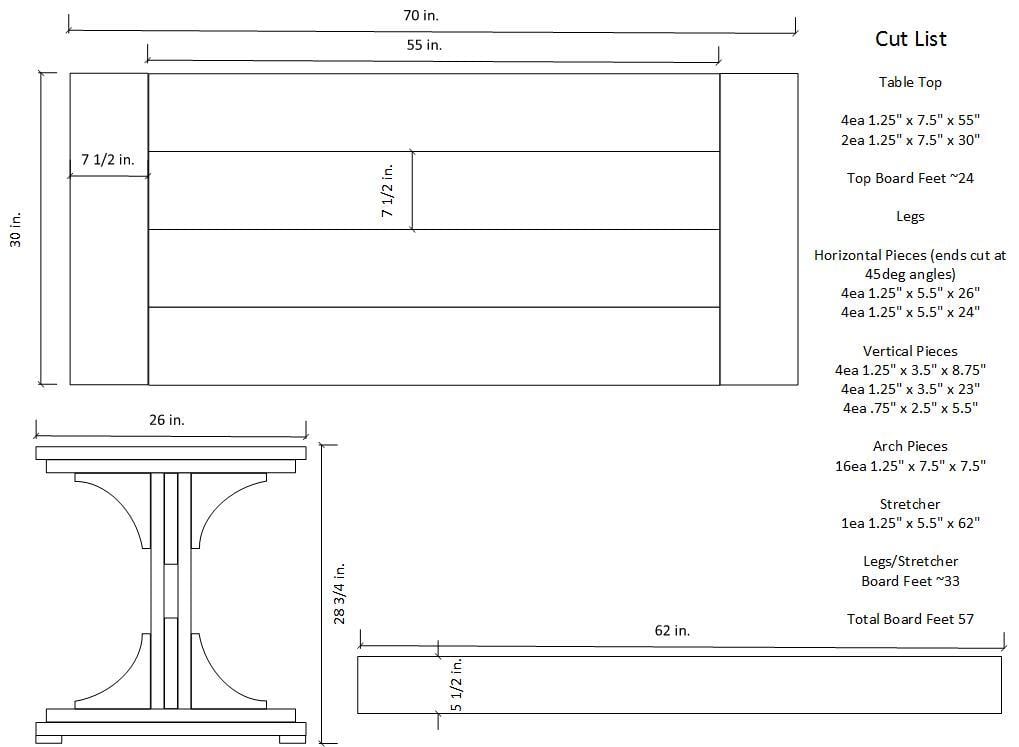
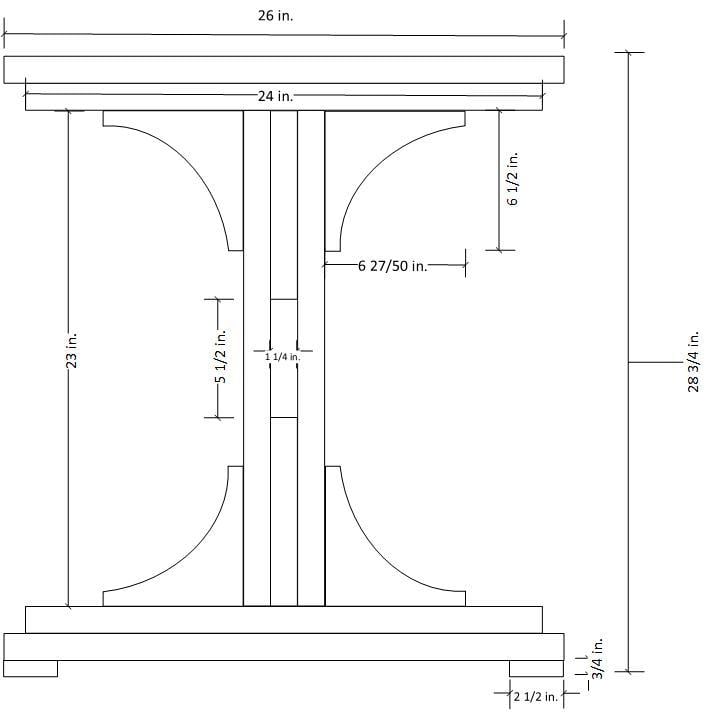
Where can I find the plans for this table?
KathrynK13
Fri, 01/01/2016 - 12:00
Booth
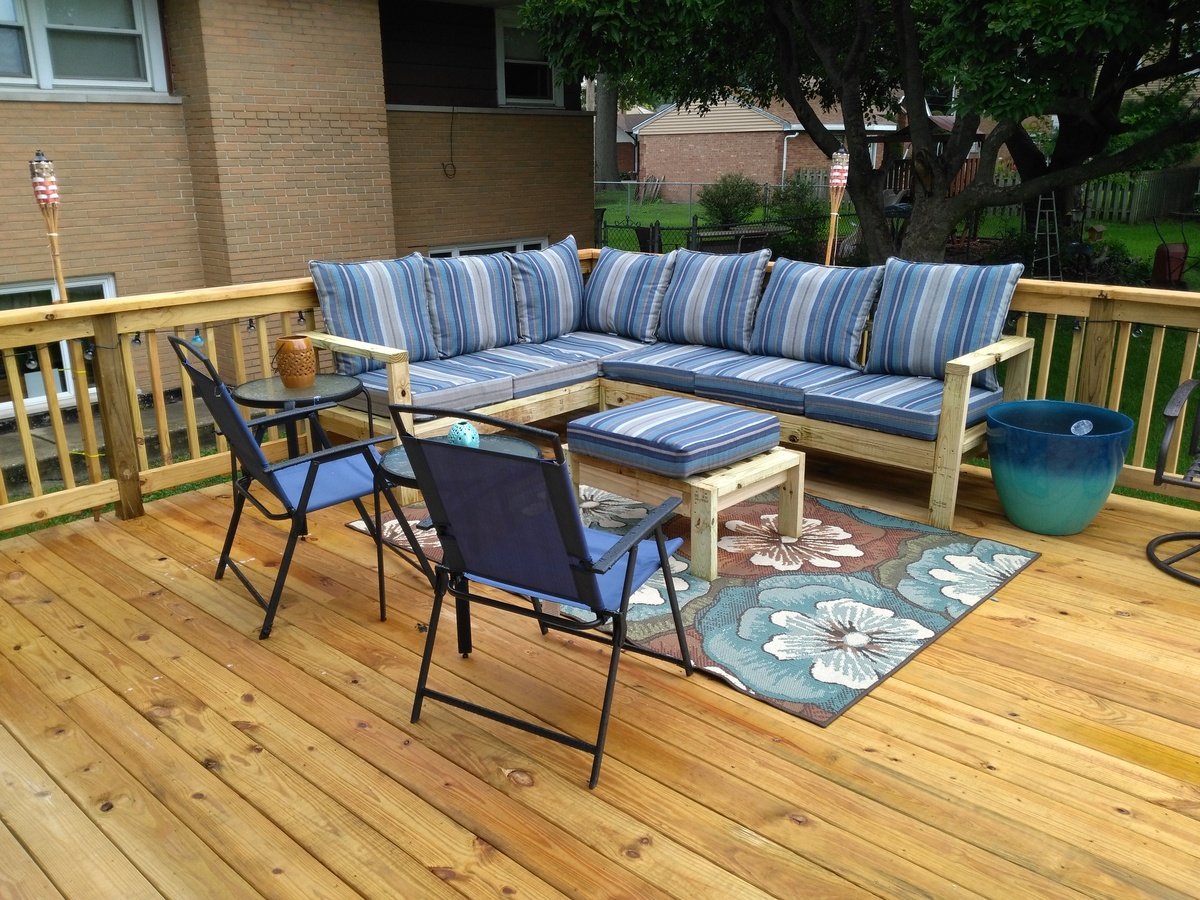
I love the table...but I wanted to ask about the booth? Is that a church pew? Did you make it? Any tips for recreating it?
Lenaluv87
Fri, 08/05/2016 - 20:35
Pew!
Love the dowels you added! Planning on building this exact table pretty close to your dimensions and have a very long church pew as well! Trying to decide between L-ing my pew and cutting to straigjy 6'. Do you mind sharing the dimensions of your pew? And how did you miter the pew?
Brian Famous
Tue, 01/21/2020 - 09:40
Beautiful table. I love the…
Beautiful table. I love the pegs added to the legs and stretcher, they add a historic detail lost in a lot of today's building techniques