Simple modern toy box
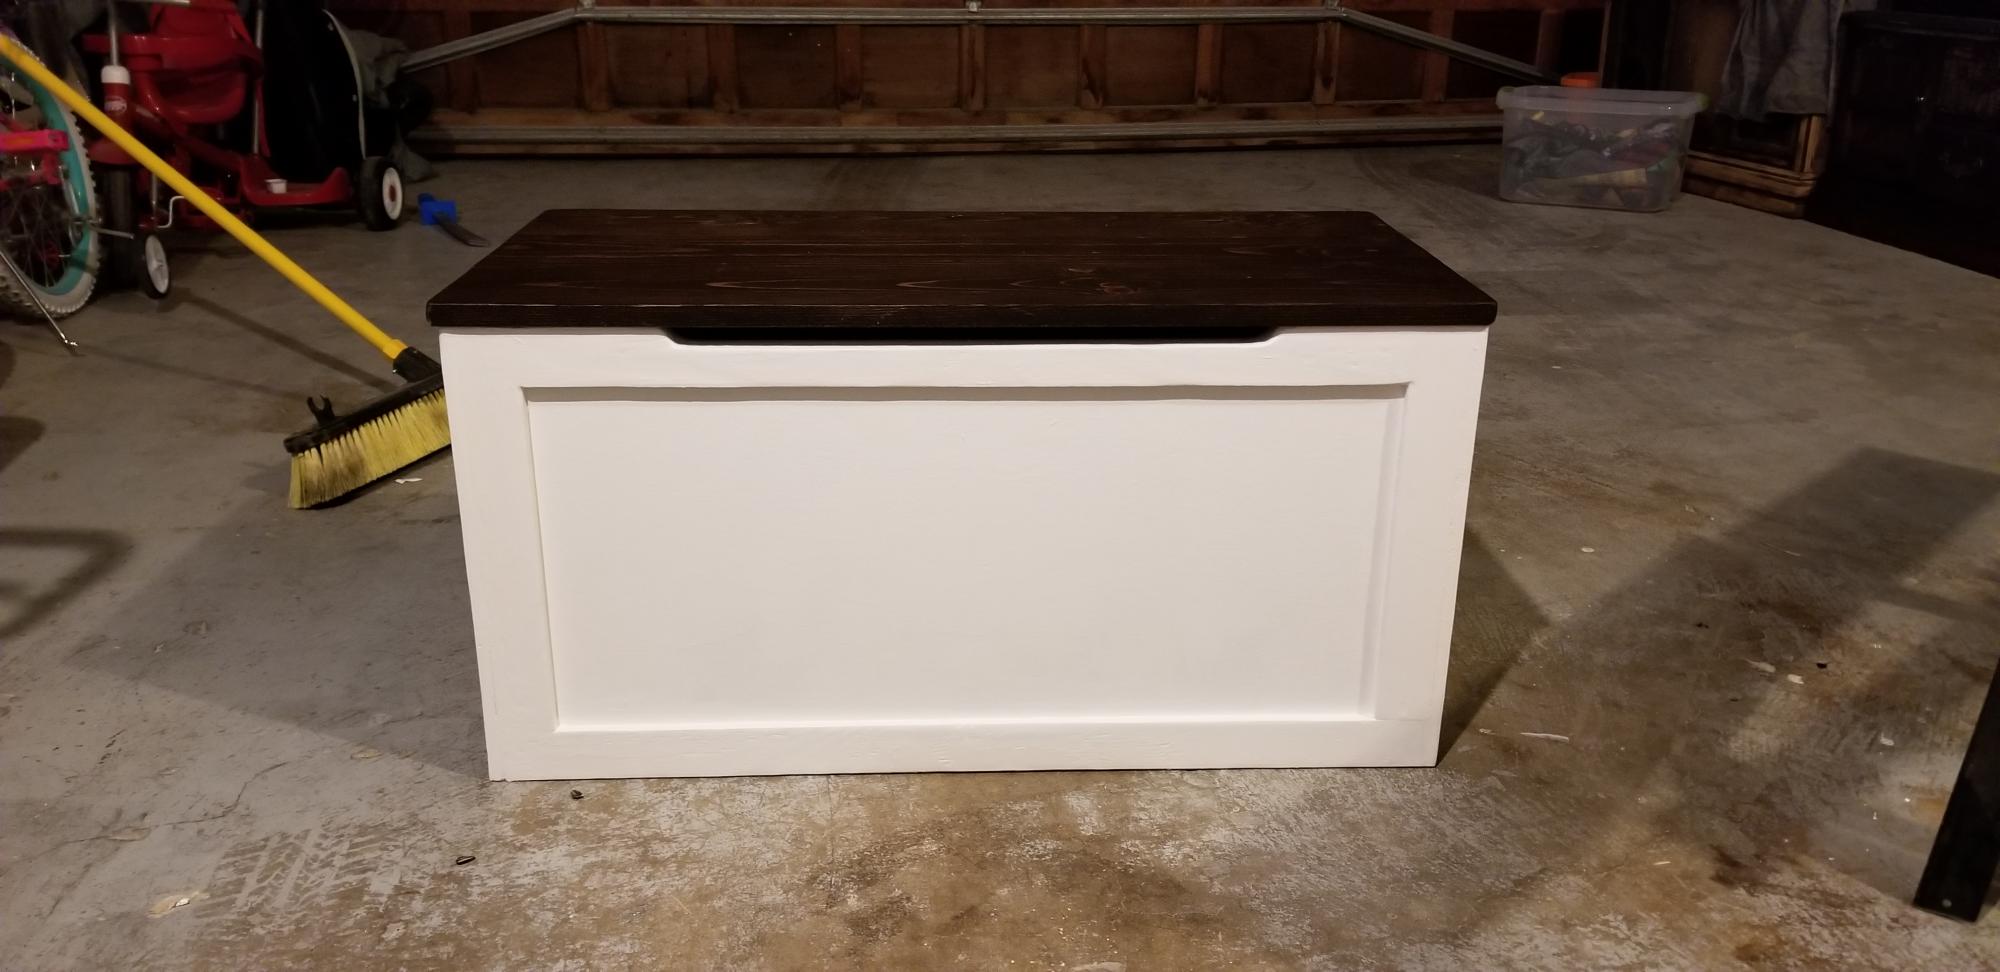
This toy box was actually something that was passed down through my wife's family. I saw this plan and gave it a face lift using this plan.
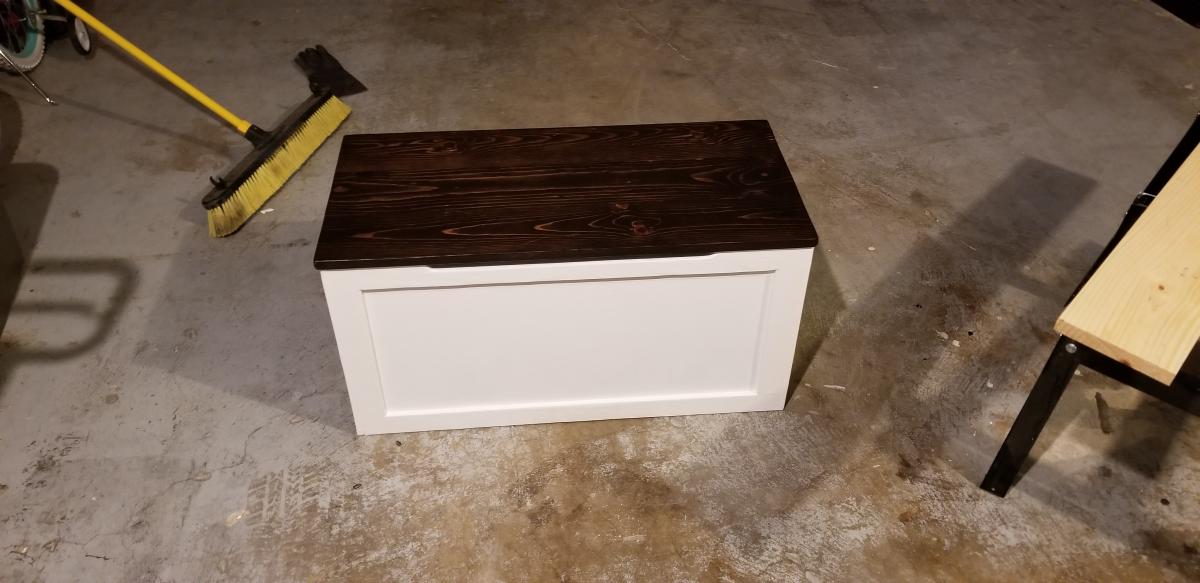

This toy box was actually something that was passed down through my wife's family. I saw this plan and gave it a face lift using this plan.

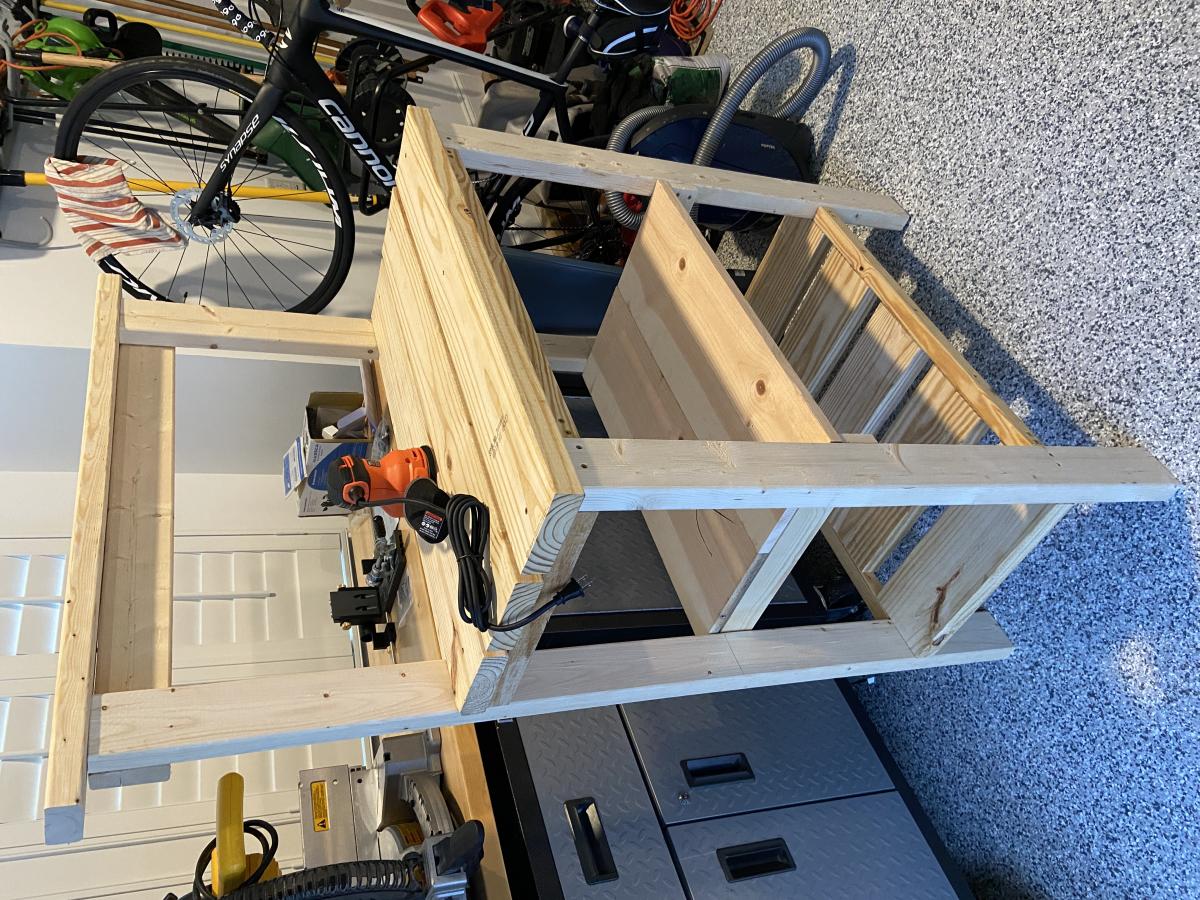
Proud of this, my very first build. Thanks to Ana White for the detailed, easy to follow plan. Can hardly wait to start the next project!
Fri, 06/16/2023 - 22:02
Absoutely love this, way to go! Can't wait to see your next project.
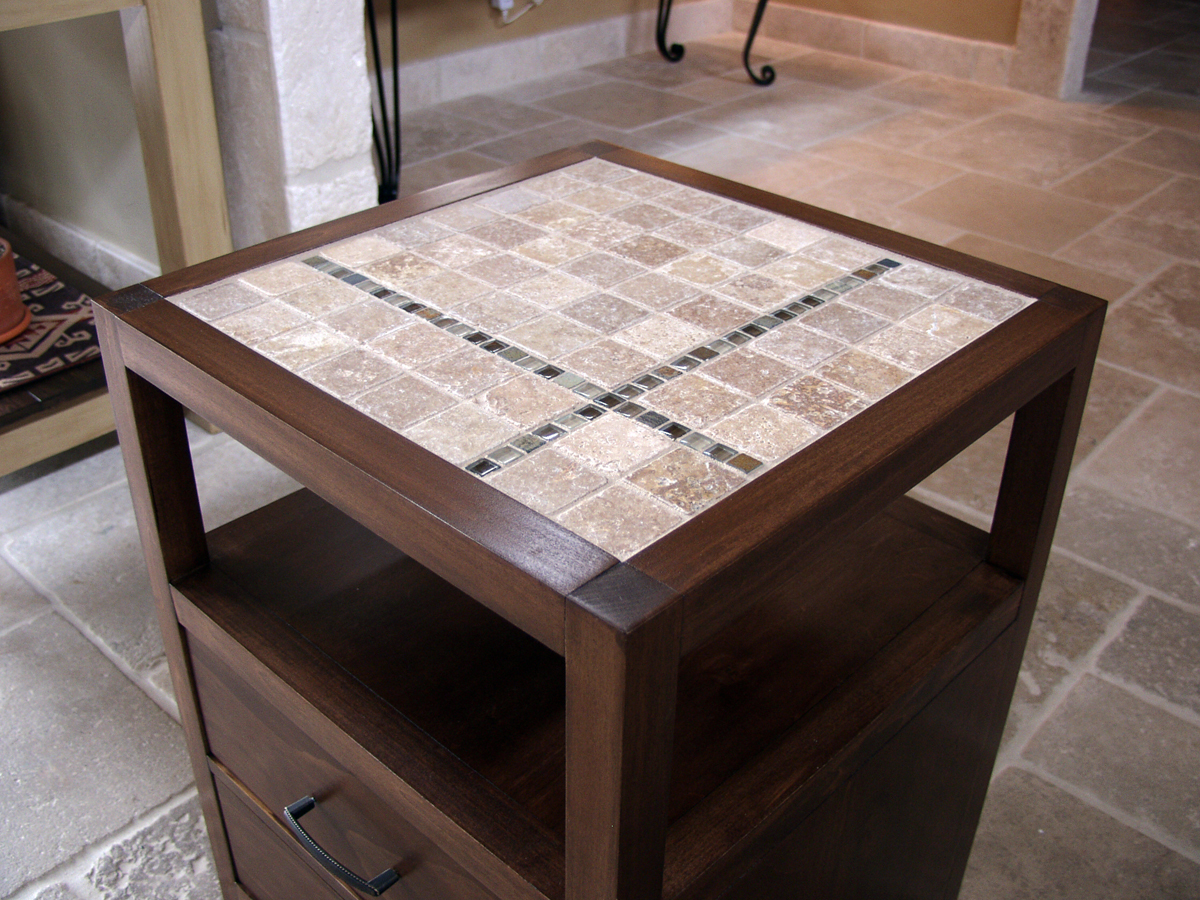
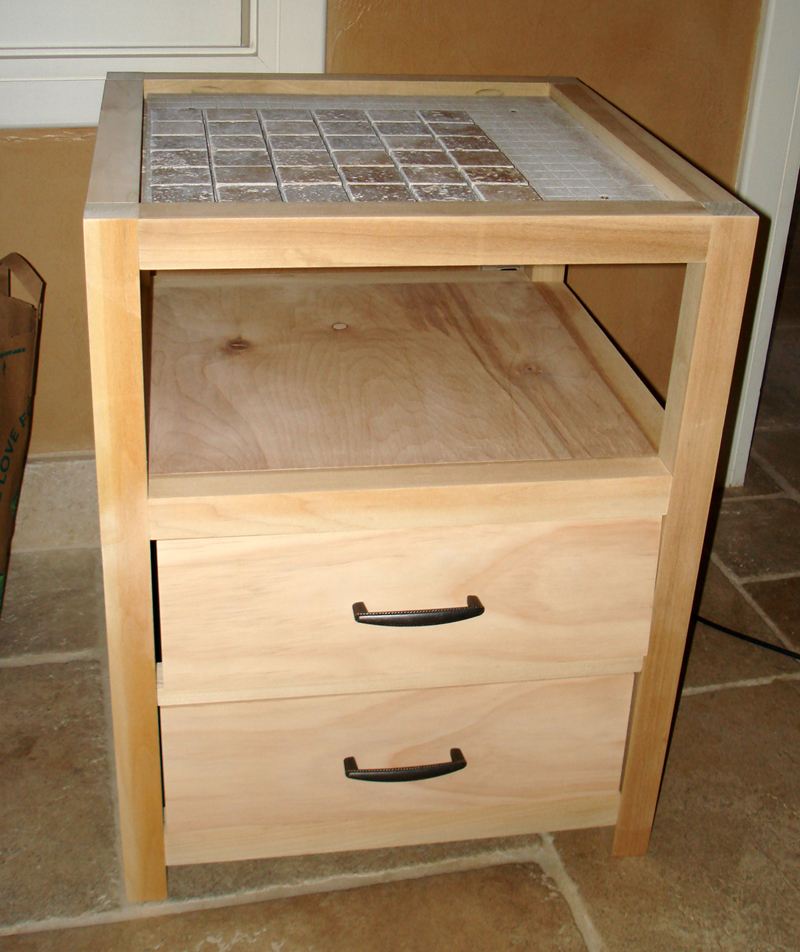
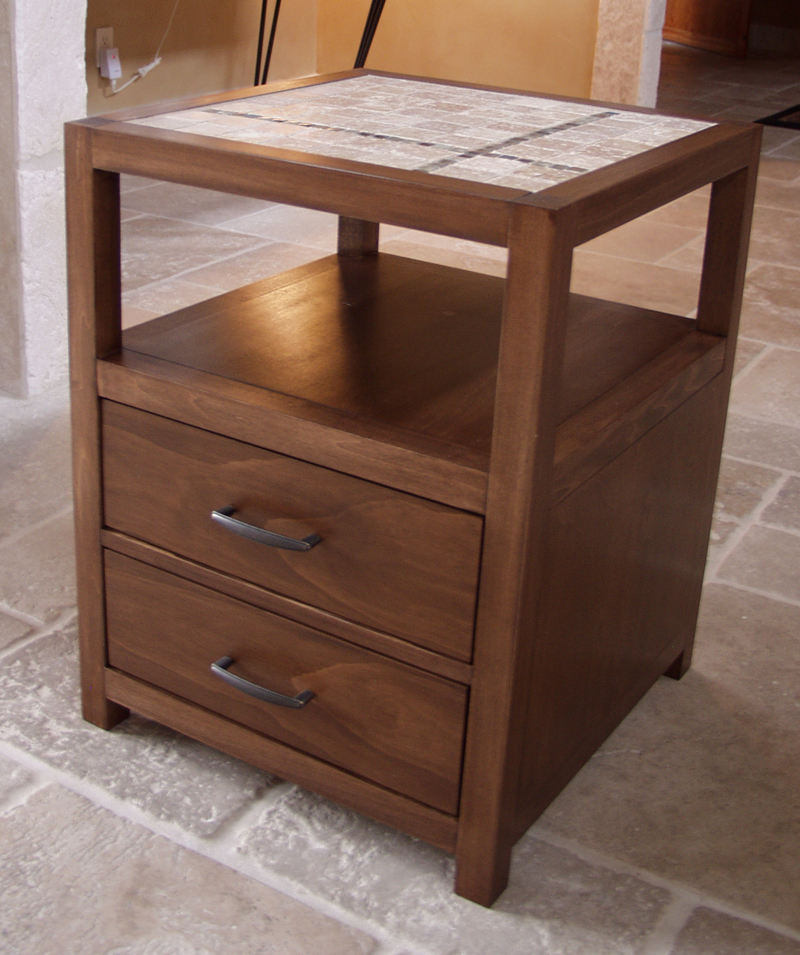
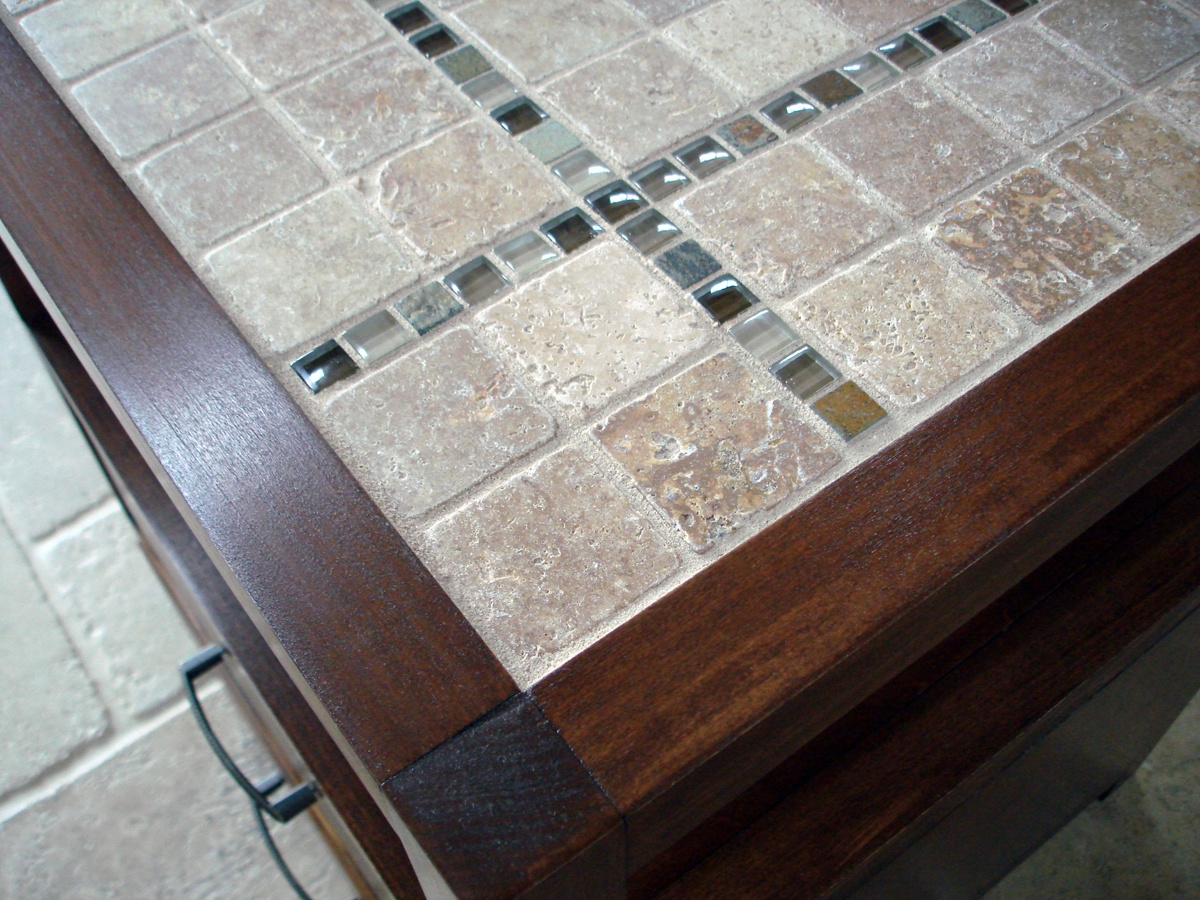
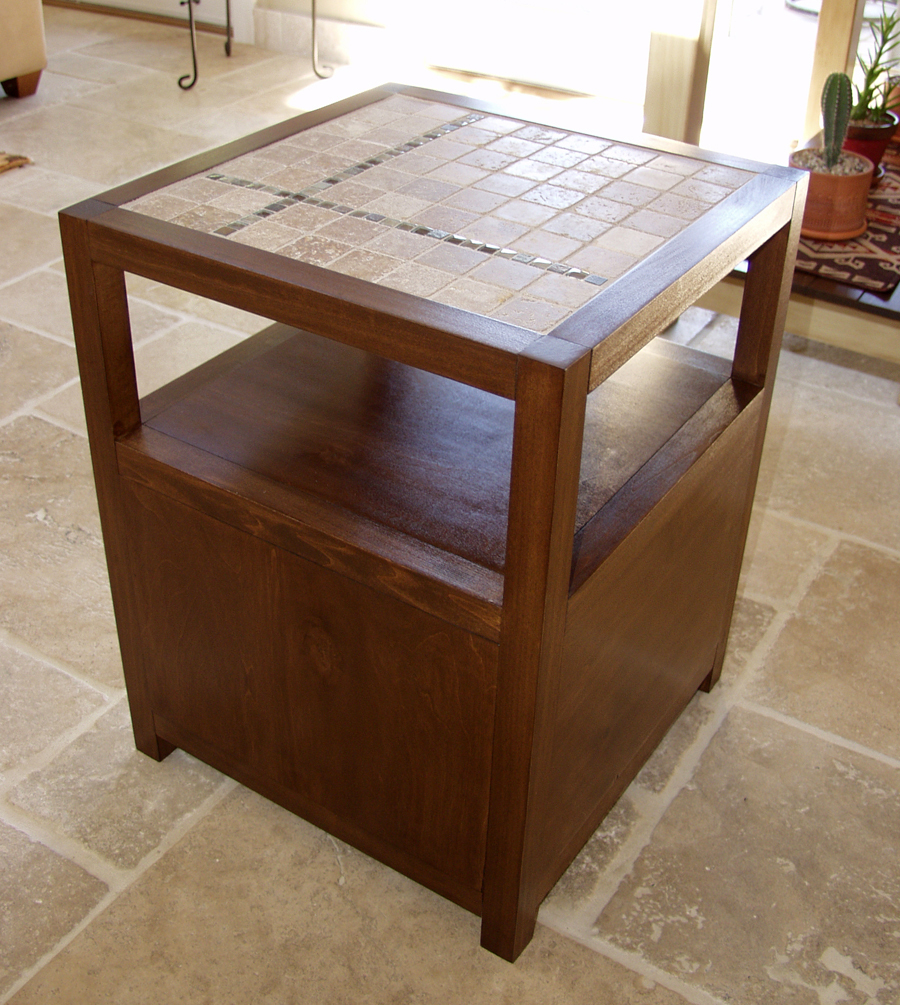
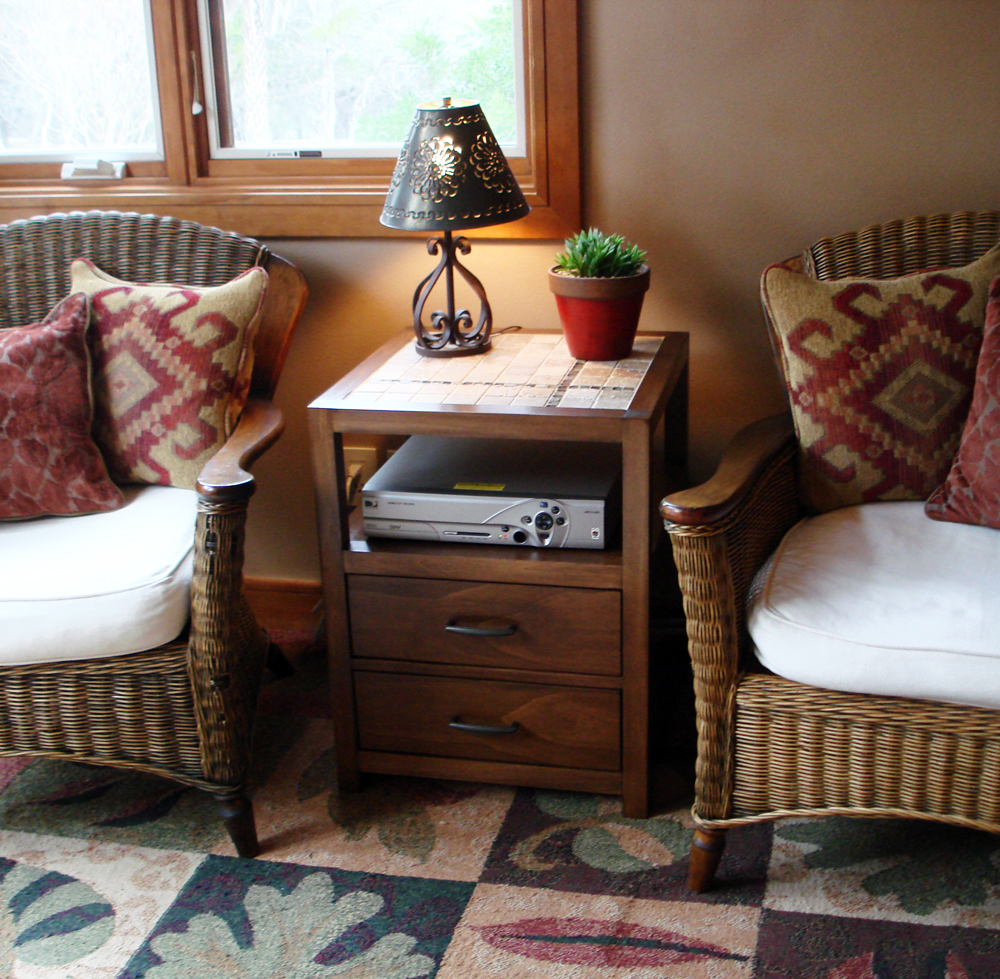
I used Ana's plan, but modified it to incorporate a tiled top. If you want to do the same, you simply align the upper shelf with the bottom of the 2x2 frame, fill it in with hardibacker cement board, and tile over that. My stone was thicker than the border used, so I made a narrow shim in order to accommodate and bring them all to the same level.
Thu, 02/02/2012 - 11:03
Simply stunning! Love the tile top, but the wood construction is breathtaking! Thank you so much for sharing, absolutely love!
Fri, 02/03/2012 - 07:34
I love the tile top and am blown away by the finish. Who knew poplar could look so rich!
Fri, 02/03/2012 - 10:18
Wow! The stain is amazing! It's so perfect! That takes a lot of time and patience, but clearly it was so worth it. Great job!
Sat, 02/04/2012 - 00:54
Love, love, love the stain on this. Your construction is perfect and looks like a high end piece! Congrats!
Sat, 06/30/2012 - 11:24
This table is obviously put together like a pro, the tile top is beyond beautiful and creative but what really gets me is your GORGEOUS staining work. I struggle with staining on every project! Any advice or tips on how to get a beautiful finish like yours? You should give a tutorial!
In reply to AMAZING STAIN JOB! by Julie D. (not verified)
Thu, 07/19/2012 - 08:05
Julie, Thanks so much for the feedback. I hate to admit it, but I am unable to get anything to look decent with an oil-based stain; all I get is blotch. I see others on the site with gorgeous colors and finishes that I want, but I can't use them. I can only get consistent results with the water-based stain, and I have to use the pre-stain wood conditioner. With 2 coats of stain, I have fairly consistent results (applying with foam brushes and wiping off with paper towels). On this particular project, I had to mix several colors and layers to get exactly the tone that I wanted.
I'm on my last can of Bartley's gel polyurethane, and they no longer make the product. It allows such control in getting a perfect finish. I don't know what I'm going to use when my can runs out!!
Thu, 11/08/2012 - 10:26
This end table is amazing; looks like an end table you'd buy in a high-end furniture store. The finished looks perfect and the tile top is really creative.
Question: where did you find the 2x2 poplar? I'm looking for some to use for the Rhyan Coffee Table and can't find anything longer than 3 feet.
In reply to Awesome by Newbie07 (not verified)
Thu, 11/08/2012 - 11:57
Thanks for the feedback!! I had to go to a bigger lumber yard to get the poplar 2x2s (Austin Fine Lumber in Austin, TX). The poplar was the cheapest (by far) of the better 2x2s, and the guys told me it wouldn't take a stain very well. They were wrong; it took the stain beautifully. The 2x2s were perfectly straight and had straight edges...much different than the ones from Home Depot or Lowe's.
Mon, 01/20/2014 - 15:45
How did you do the tile to the wood ? We are building a coffee table and two end tables just like them, we just don't know which way is best to attach the tile
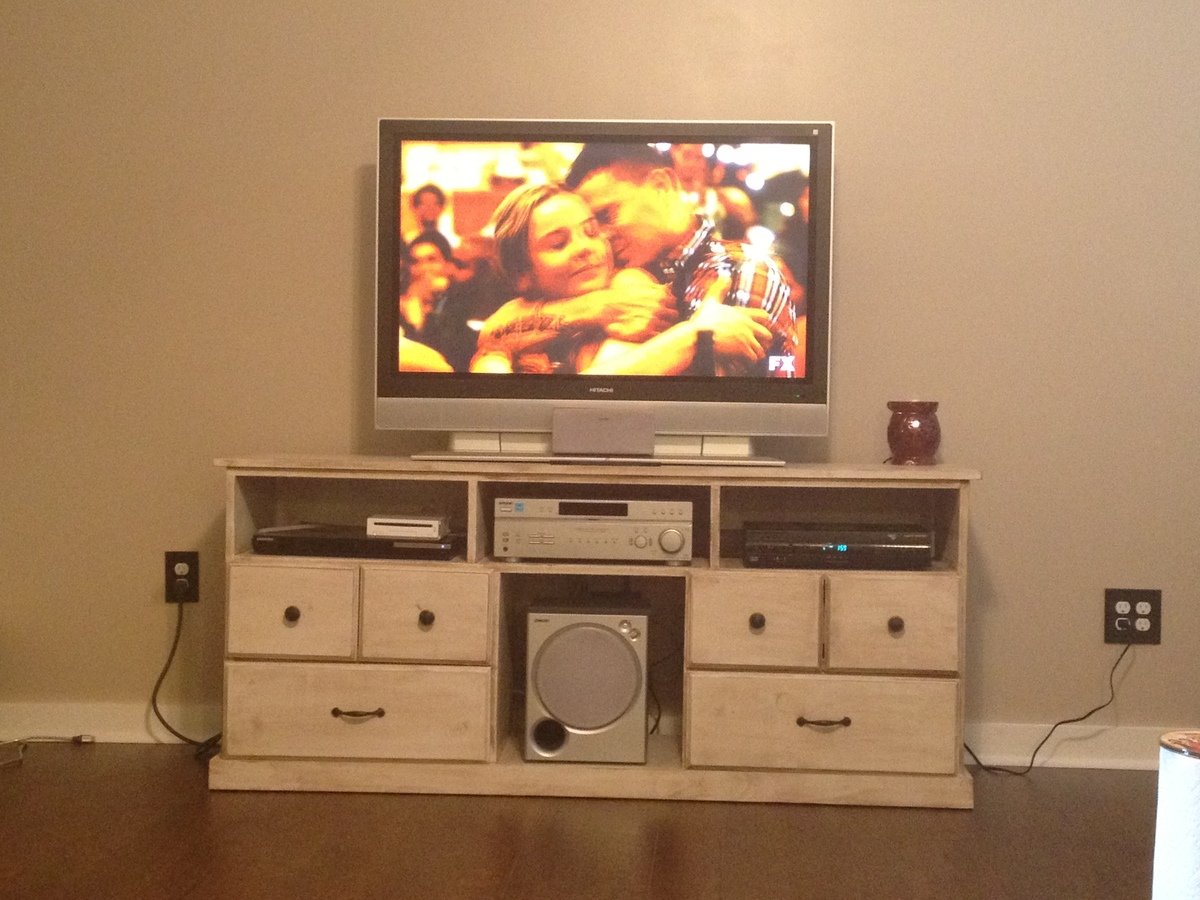
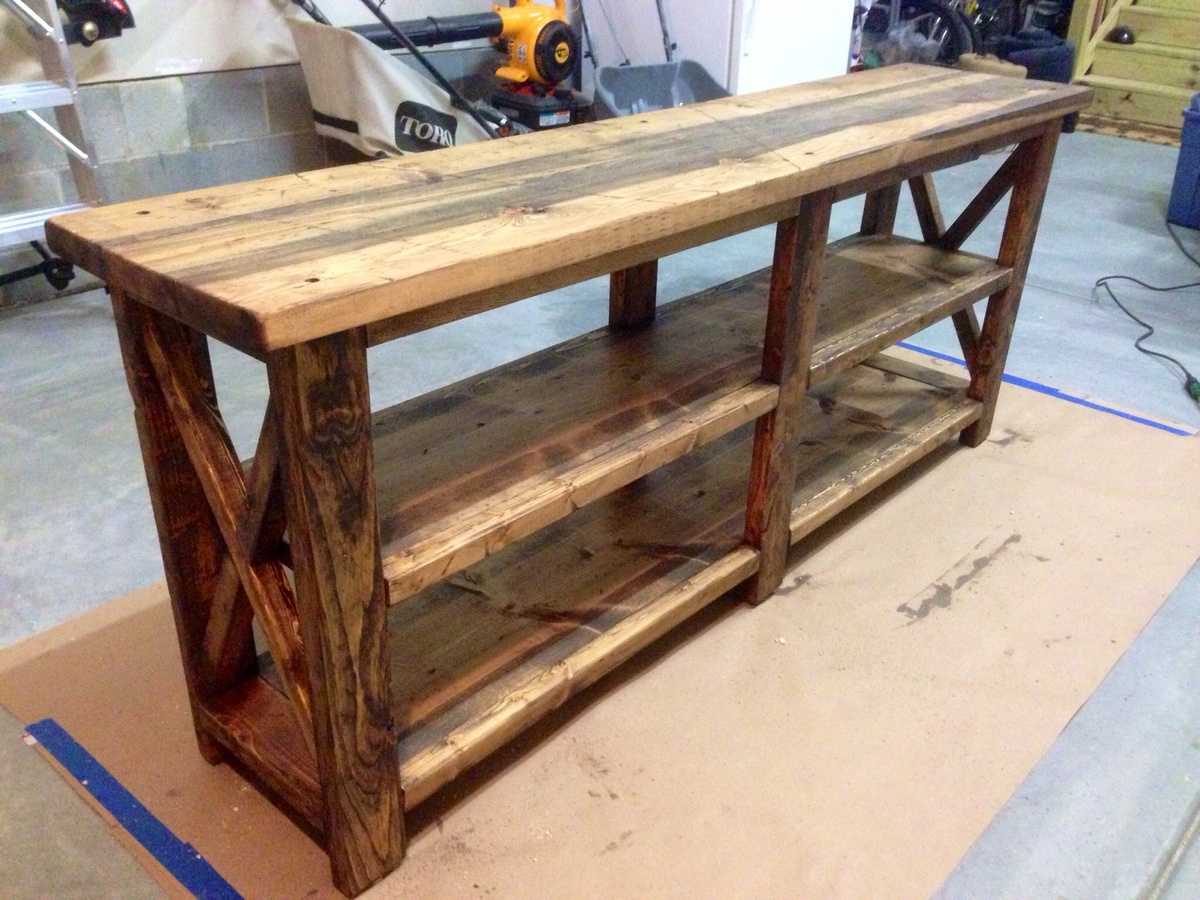
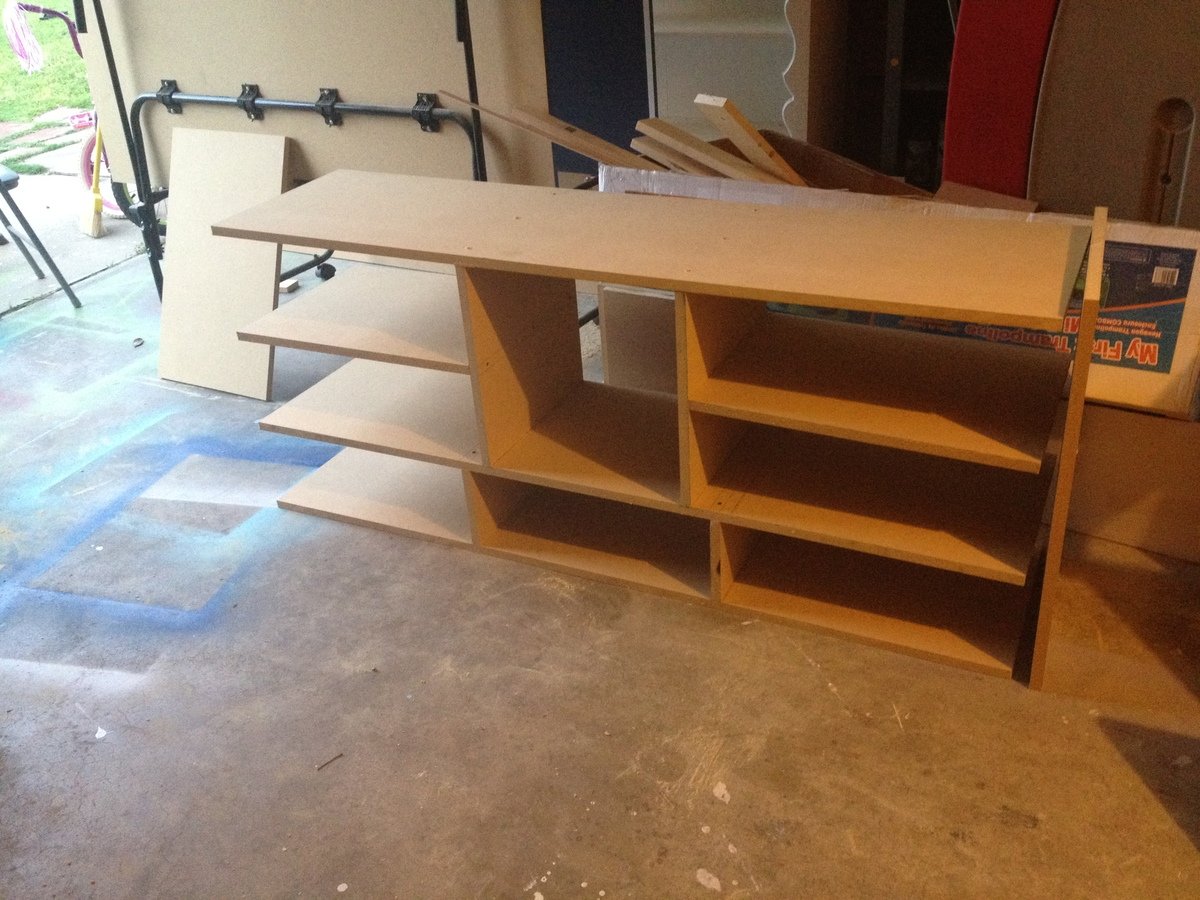
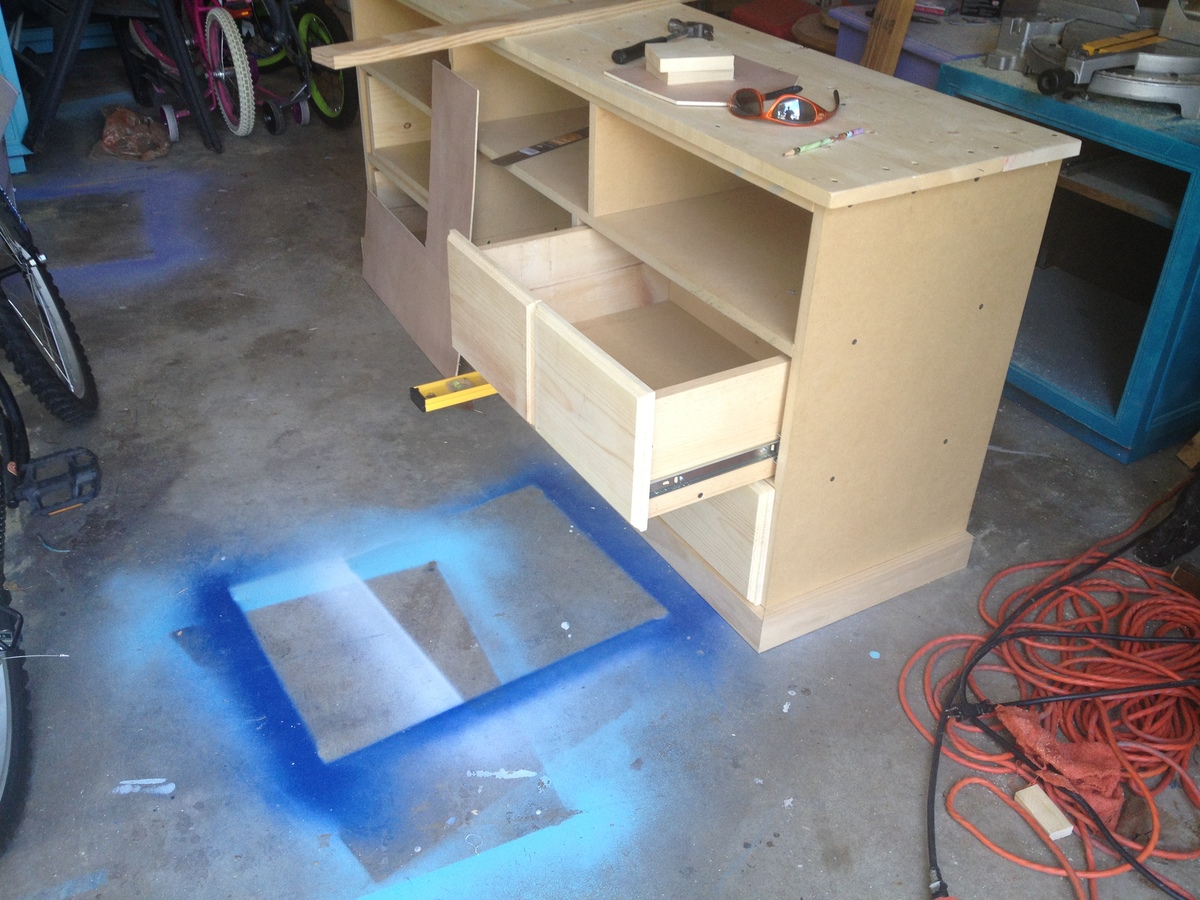
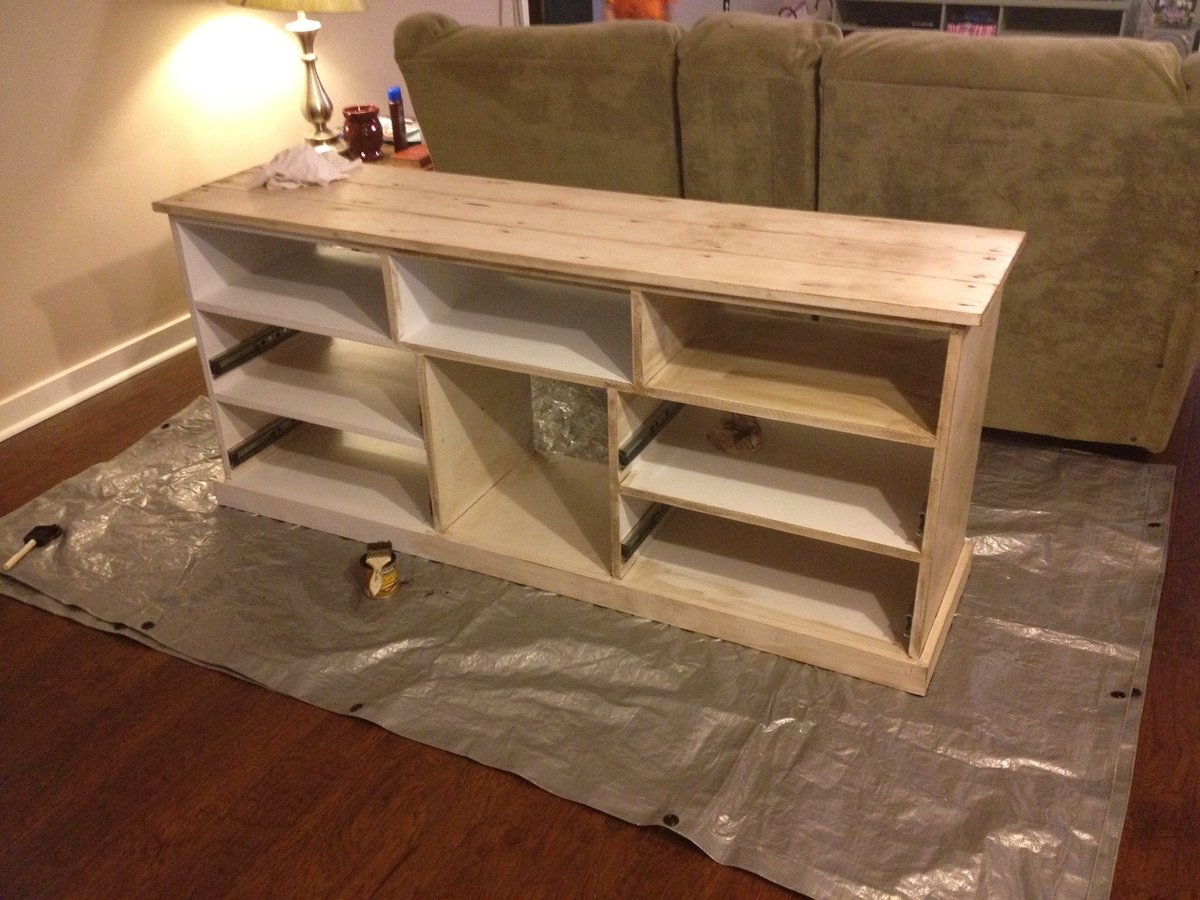
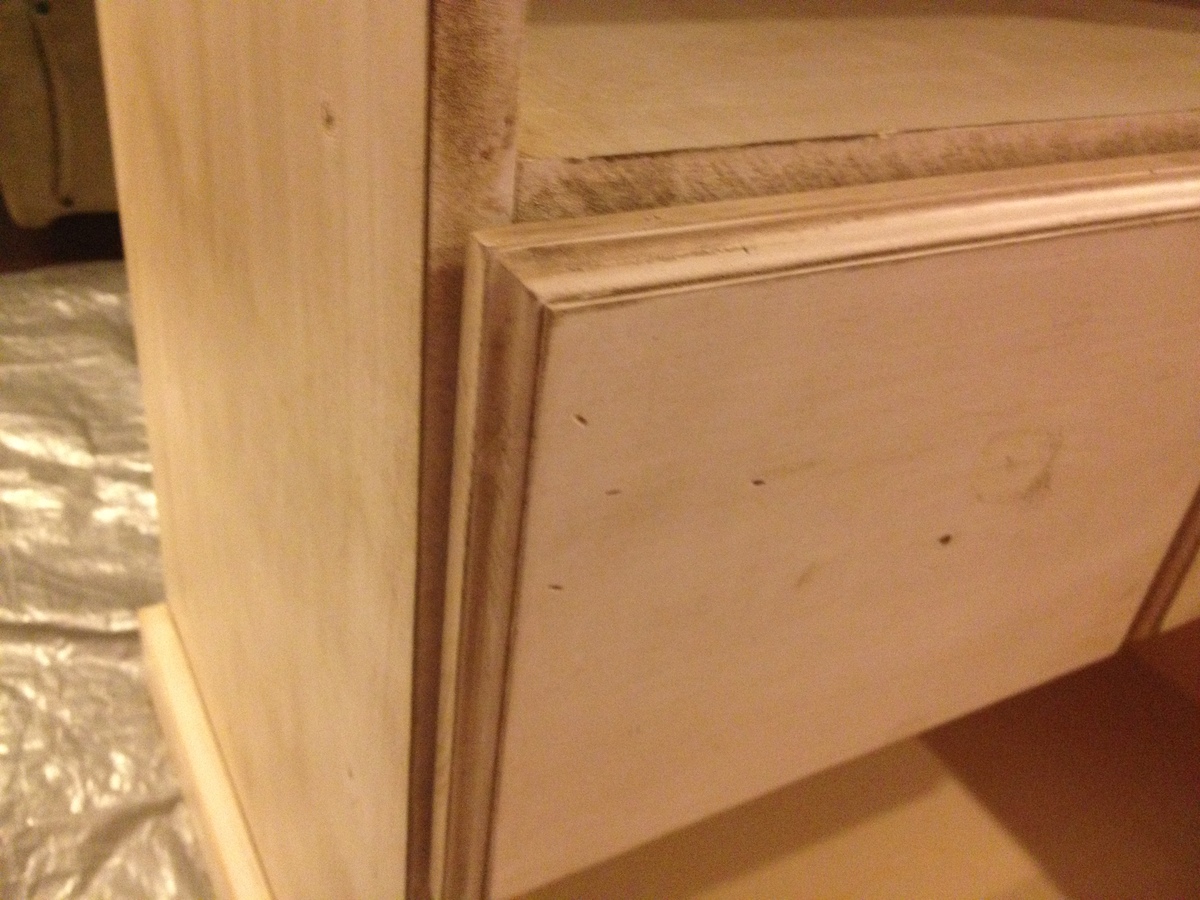
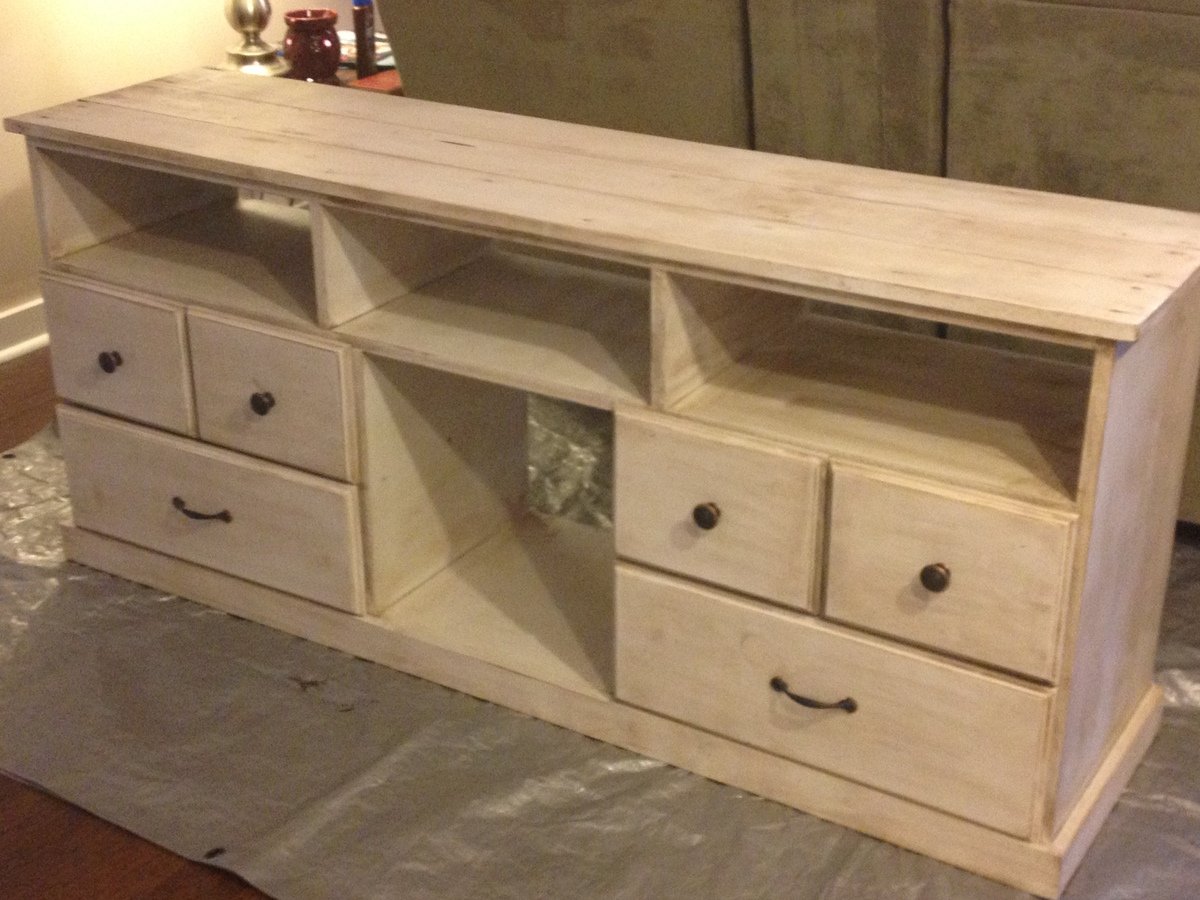
I really wanted a new entertainment center but could not find one in the stores that I liked and looked to be made of good quality. I liked the Apothecary Console but needed to make a few adjustments to the plan, which is why I marked my project at an intermediate level.
I built this about a year ago and love it as much today as I did the day I finished it. I have had a ton of compliments on it and many are impressed when I tell them I made it myself.
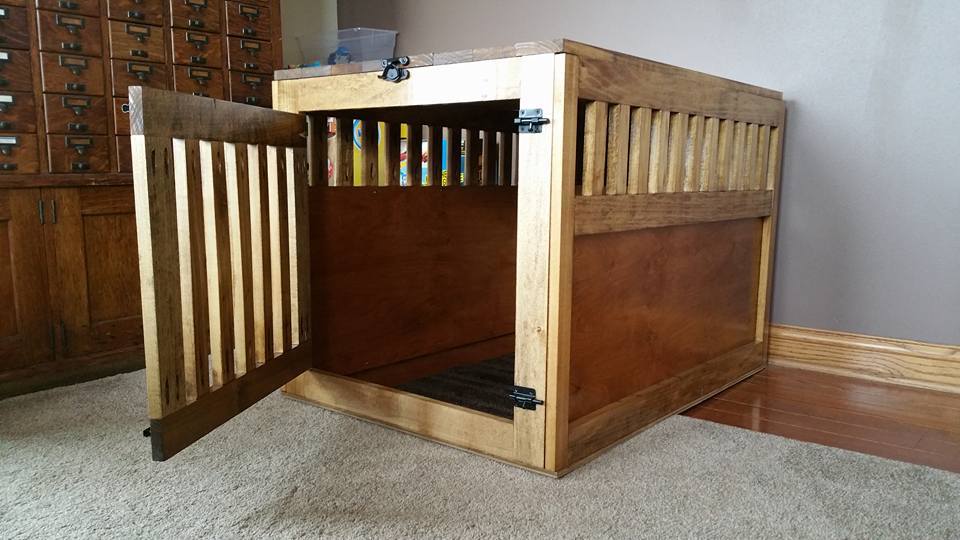
I saw this plan on pinterest and really liked the way it looked. I bought the wood, but let it sit for a year because it wasn't a priority. Well, we were getting a new dog and he needed a little more room due to hip surgery. So, I expanded the crate dimension and got to work. I added 6 inches to the width, and 4 to the length but turns out I was about an inch shy all the way around to fit a plastic liner tray. Next one will be better. I used birch plywood on the side panels and the bottom panel, but used 4 inch wide board to create a slatted top rather than a solid top. I put hinges on the top with a window latch style lock, and put 2 slider style gate locks on the door. the color was from using medium walnut Danish oil, finished with 3 coats of gloss poly. During the project, I took time to teach my 9 yr old daughter how to use various tools, from the drill to the power miter saw. It was a great bonding time for us, and for a worthwhile reason- the new dog.
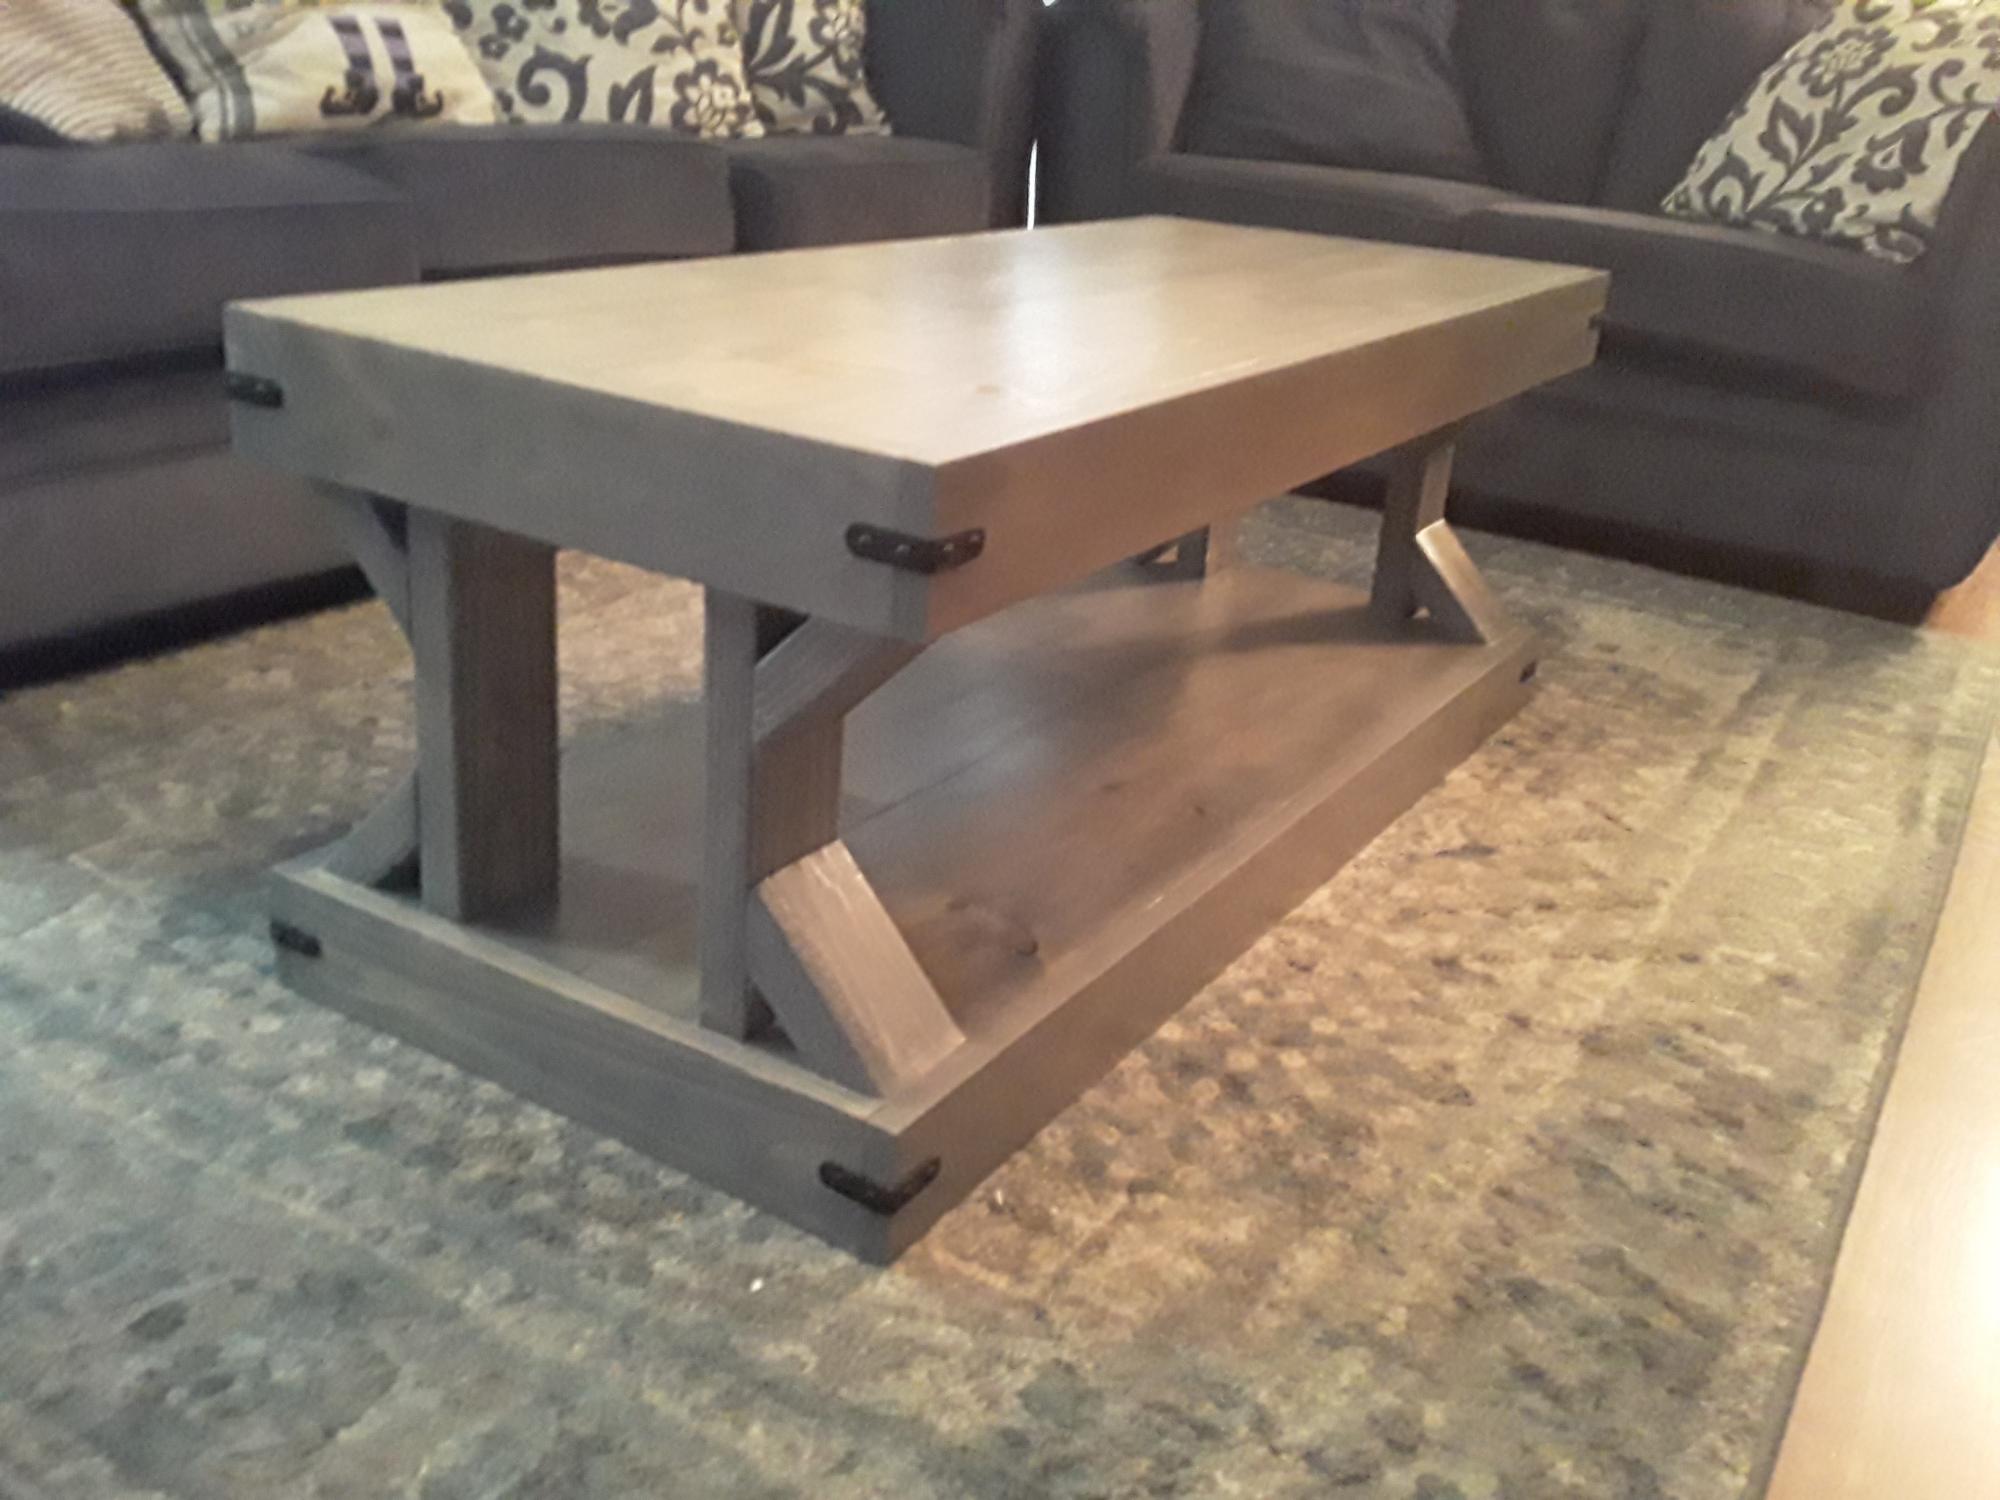
Saw this table and had to build it, love it, easy and fairly quick to build, I also built the console table after seeing the finished coffee table. I also want to make matching end tables. Love this site and how easy it is to build projects with the plans, my go to when finding projects, Thank you
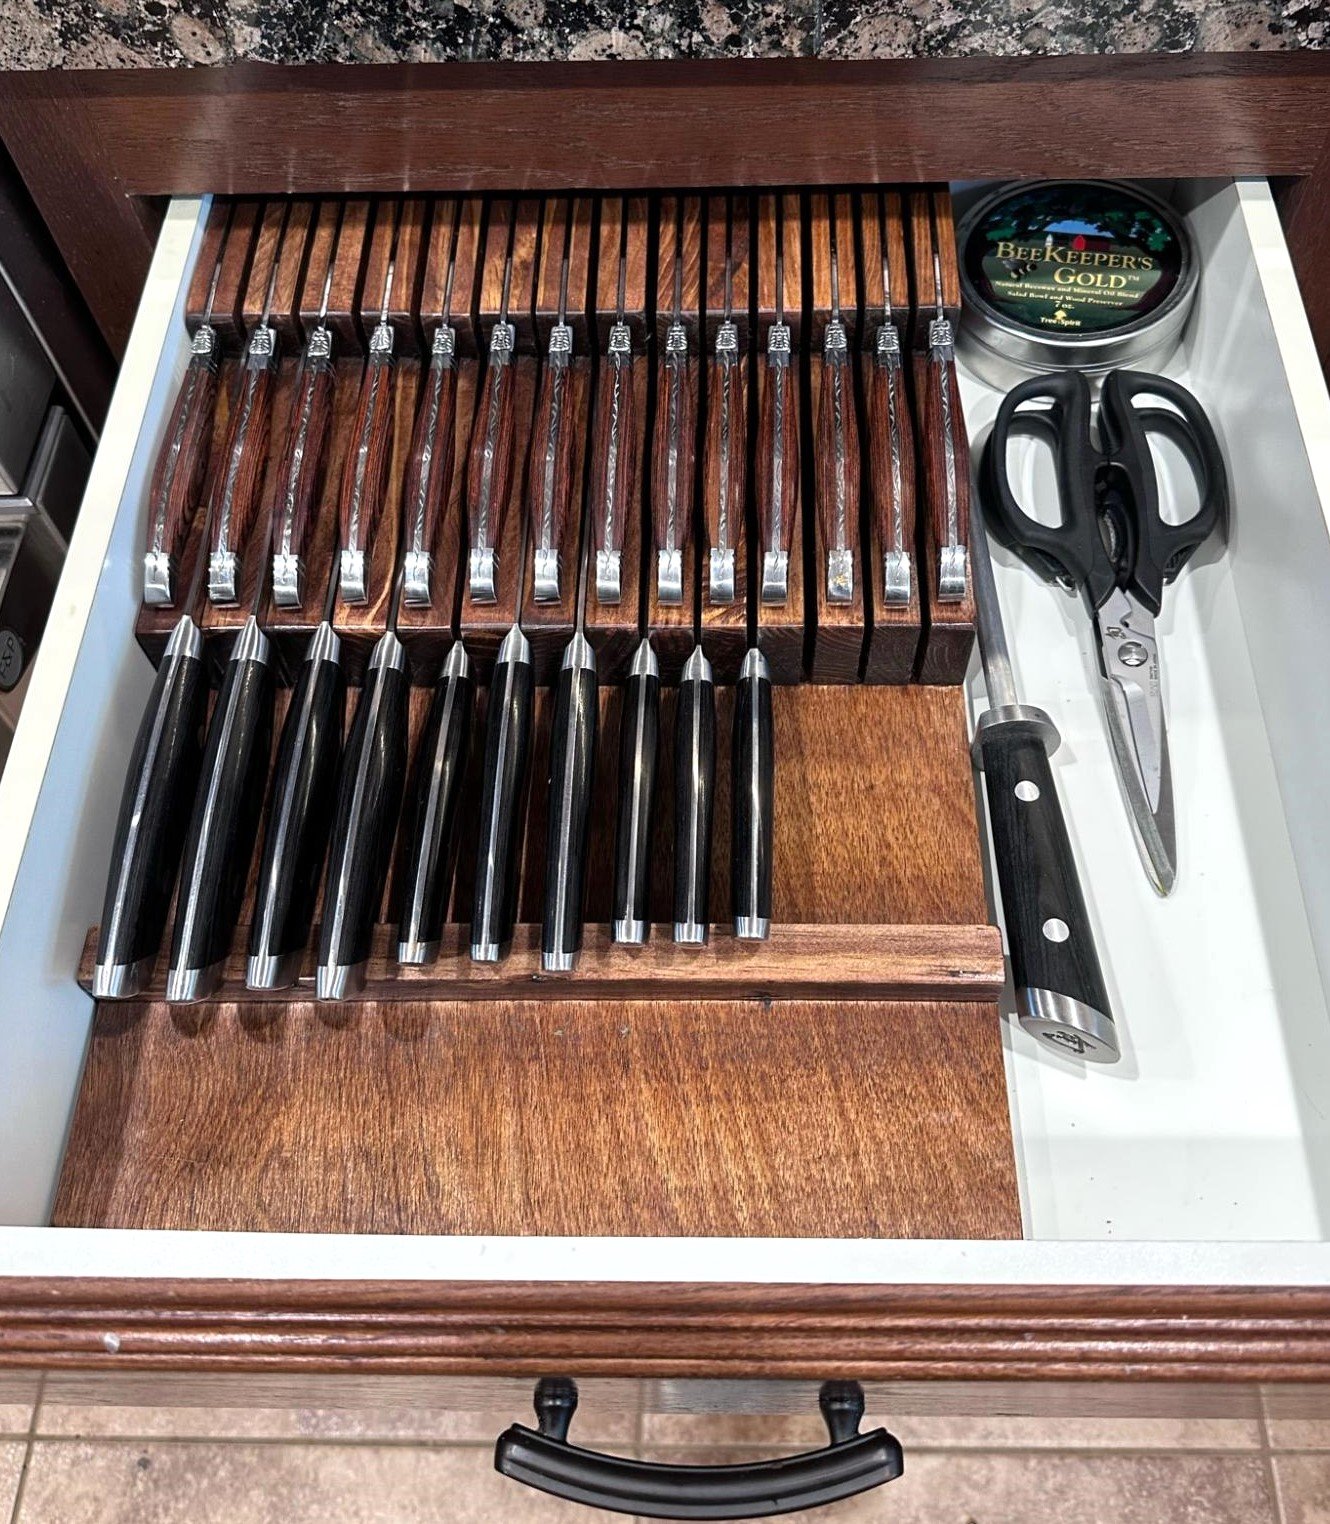
I watched your video and modified mine to take up less space by using 1 x material instead of 2X material, and I cut a notch in the top to allow steak knives to store on top. Once a cut a notch, then I used my table saw to create the space where the steak knife blades fit.
From there, lots of sanding and gluing. I made the plywood base about 1/4” shorter than the depth of my drawer so it could be easily placed inside my drawers that don’t fully extend out.
I finished it with pre-stain conditioner, stain, and then an oil/beeswax blend (used for cuttting boards) applied with 0000 steel wool for a super smooth, satiny finish.
Angie
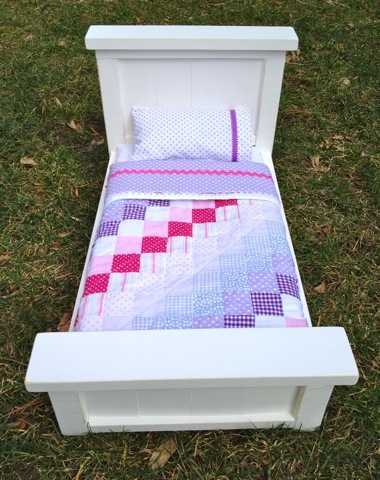
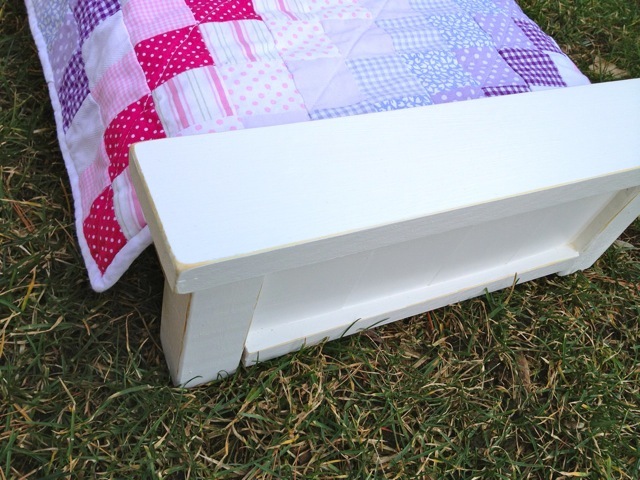
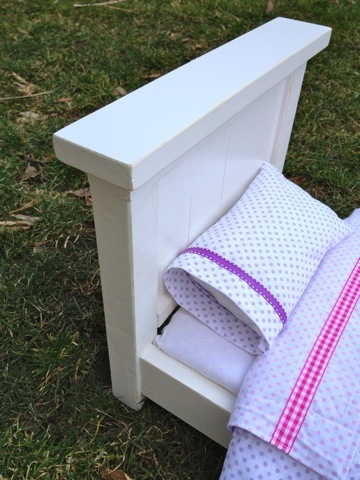
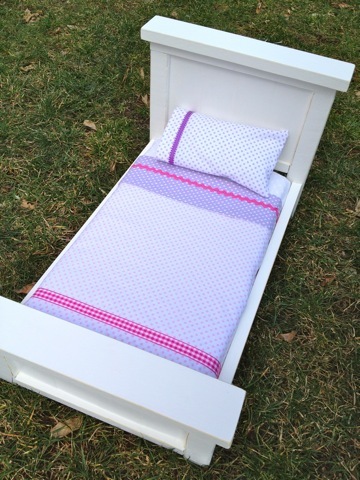
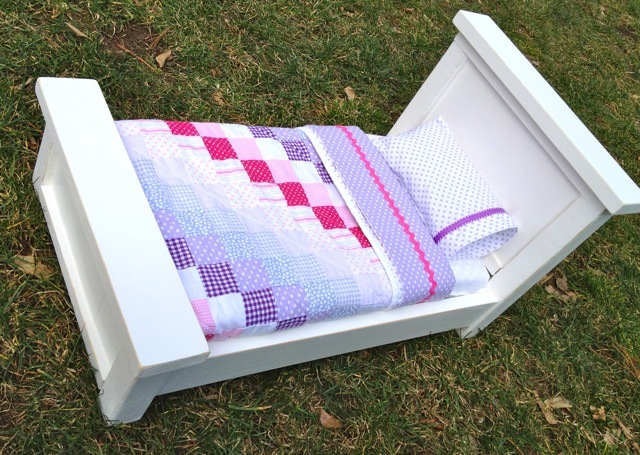
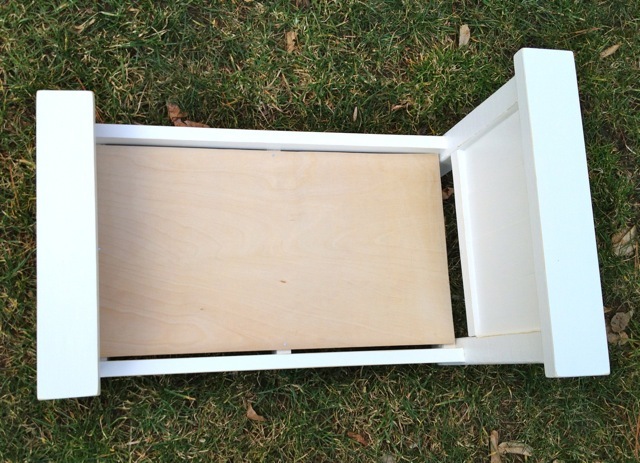
Farmhouse style doll bed, modified width one less slat.
Fri, 03/09/2012 - 05:36
What are your finished dimensions on this bed? I was thinking of making it with one less slat also to make it more like a twin bed.
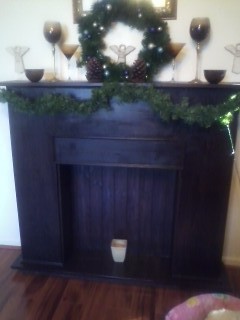
1st of all I want to apologize for posting several of my builds at once. I am not trying to steal the show, but I'm just deciding I would like to share my builds.
Ok, now to this build. I didn't get this mantle from this site but still wanted to share. I used the one from "blue roof cabin" site and adjusted it to my desire. I wanted my depth to be bigger so I used 1x8's to bring it out from the wall more. I got the backing idea from "Netties Expressions" by using Whitewood V-Groove Wainscot wall panels.
I plan on building one from Ana's site to do one for my dining room. I check this site daily just to see what you all have built so I can get more ideas. Thanks Ana for sharing your builds.
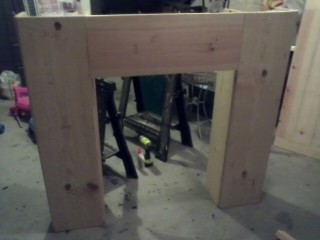
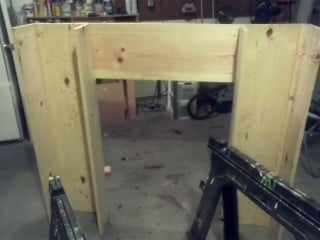

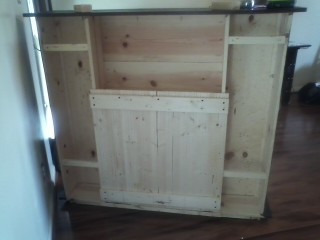
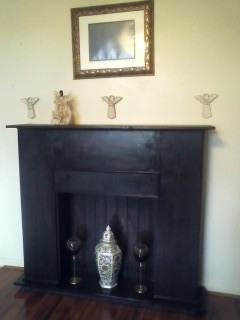
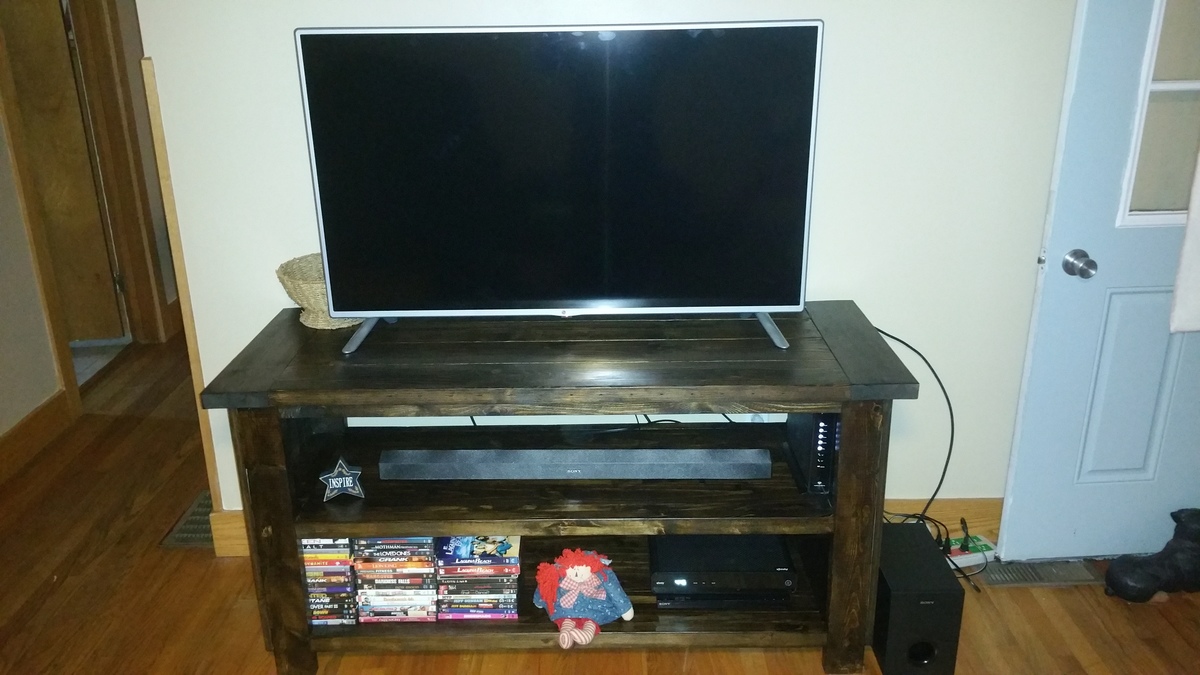
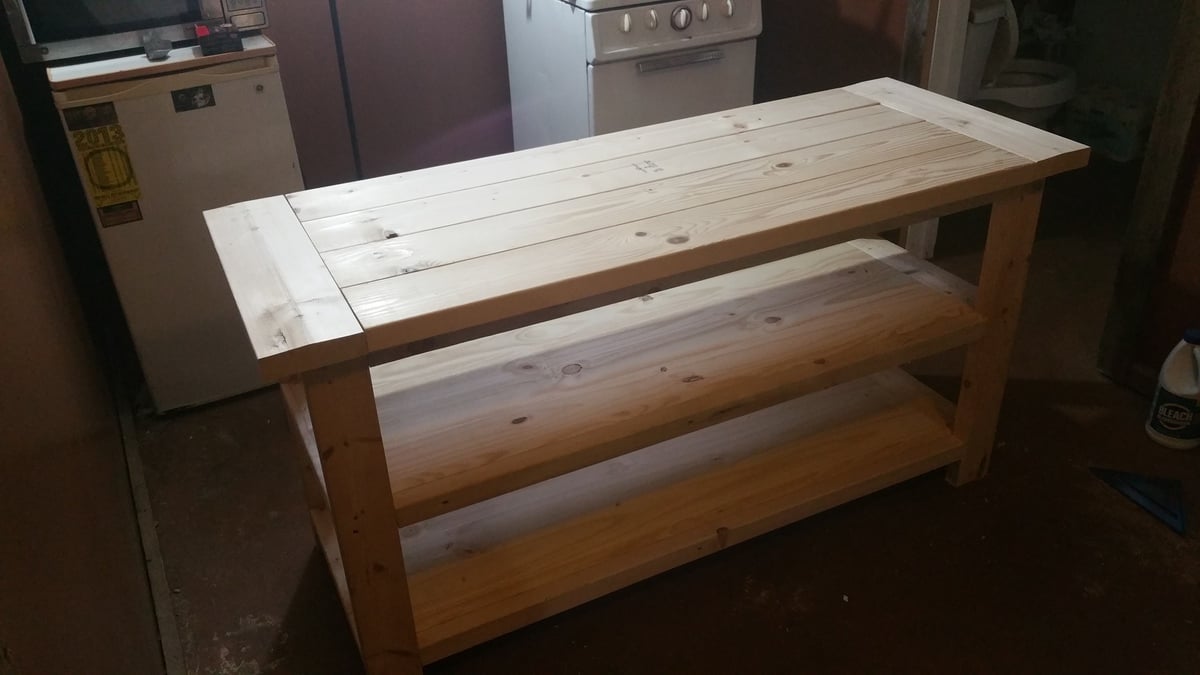
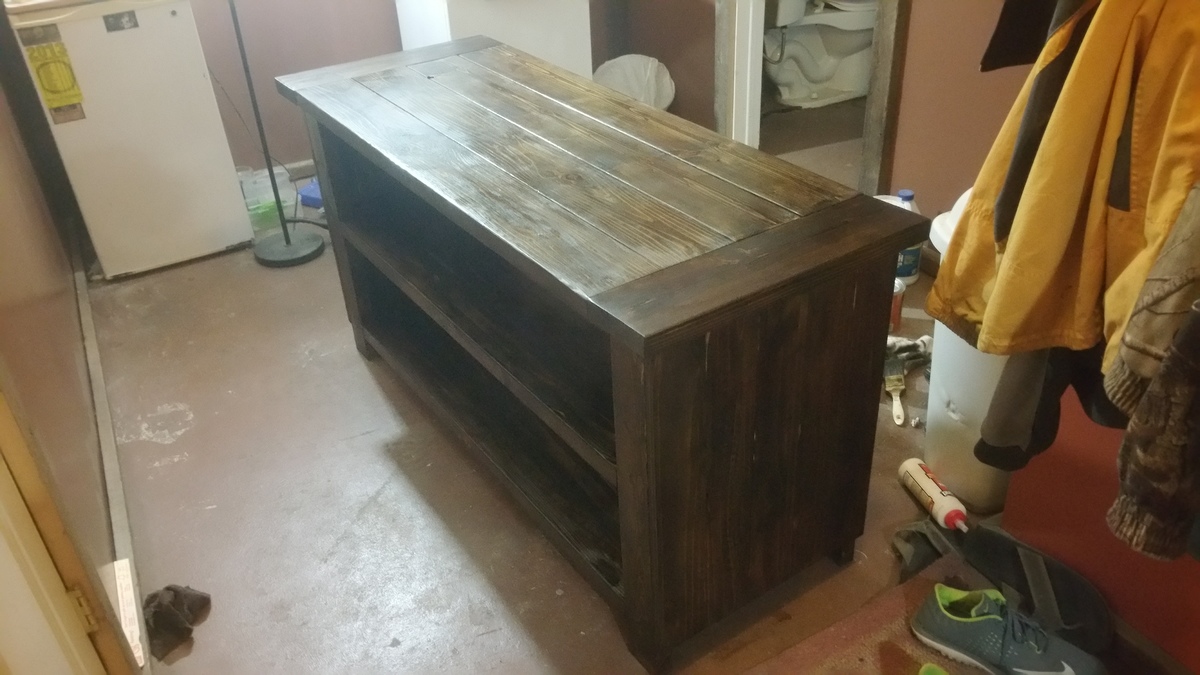
I saw someone else make a stand similar to this by combining the rustic x and tryde plans. I just used 1x for the sides instead of the x. Didn't take more than a few hrs to build but finishing took forever bc a couple boards were crowned so I sanded forever. If anyone has aby questions or needs help feel free to email me @ [email protected]
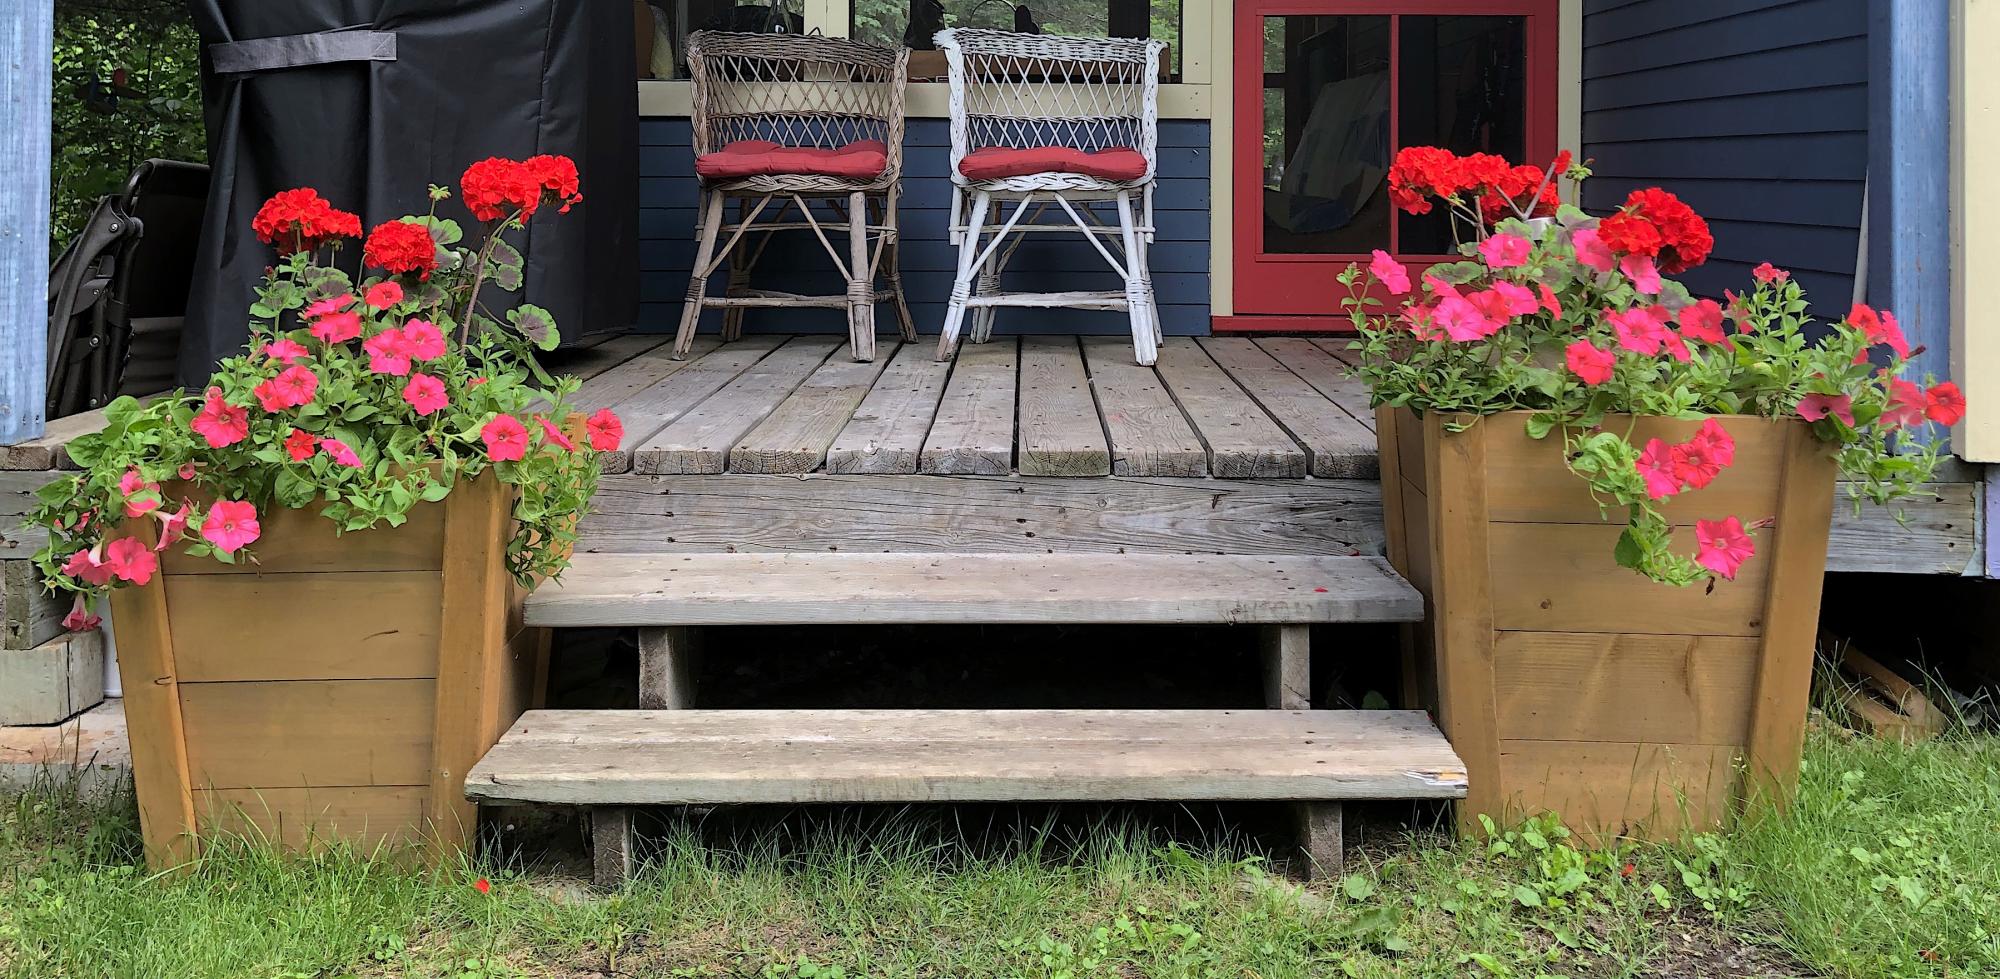
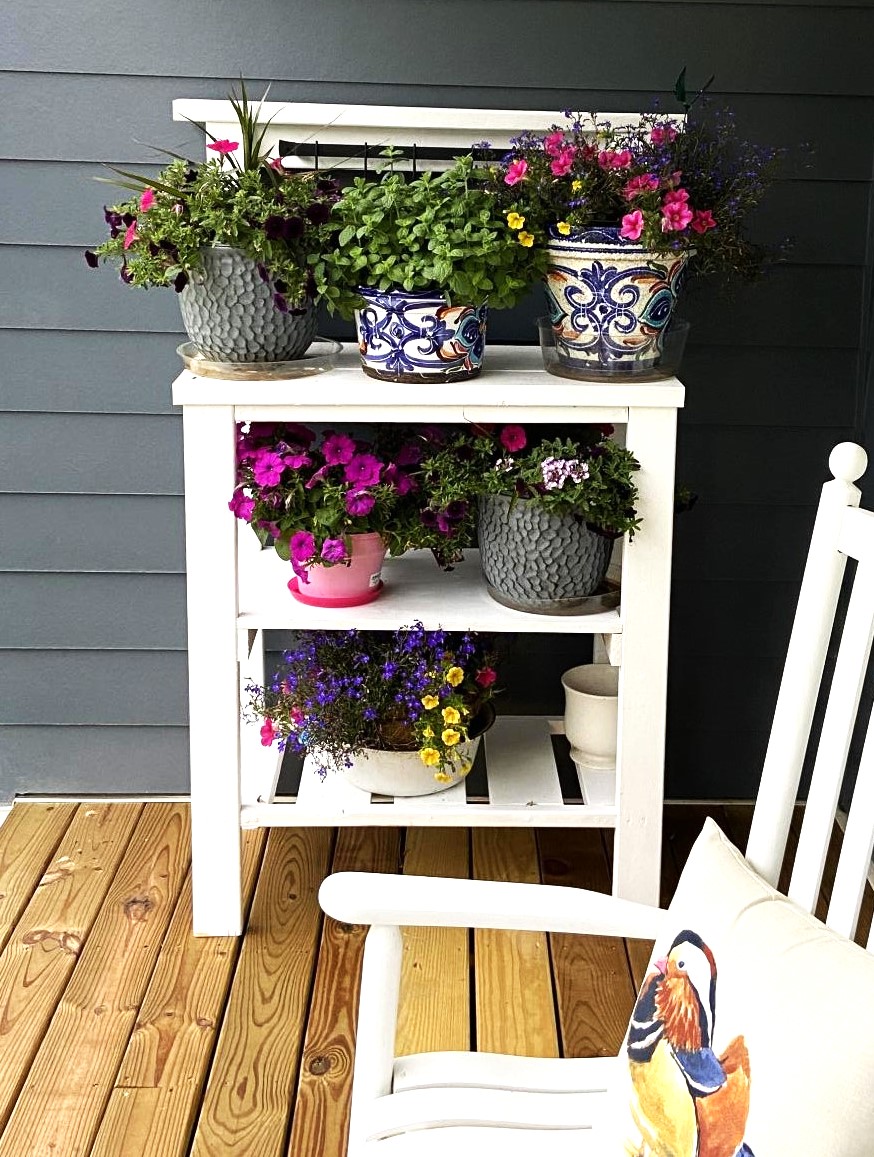
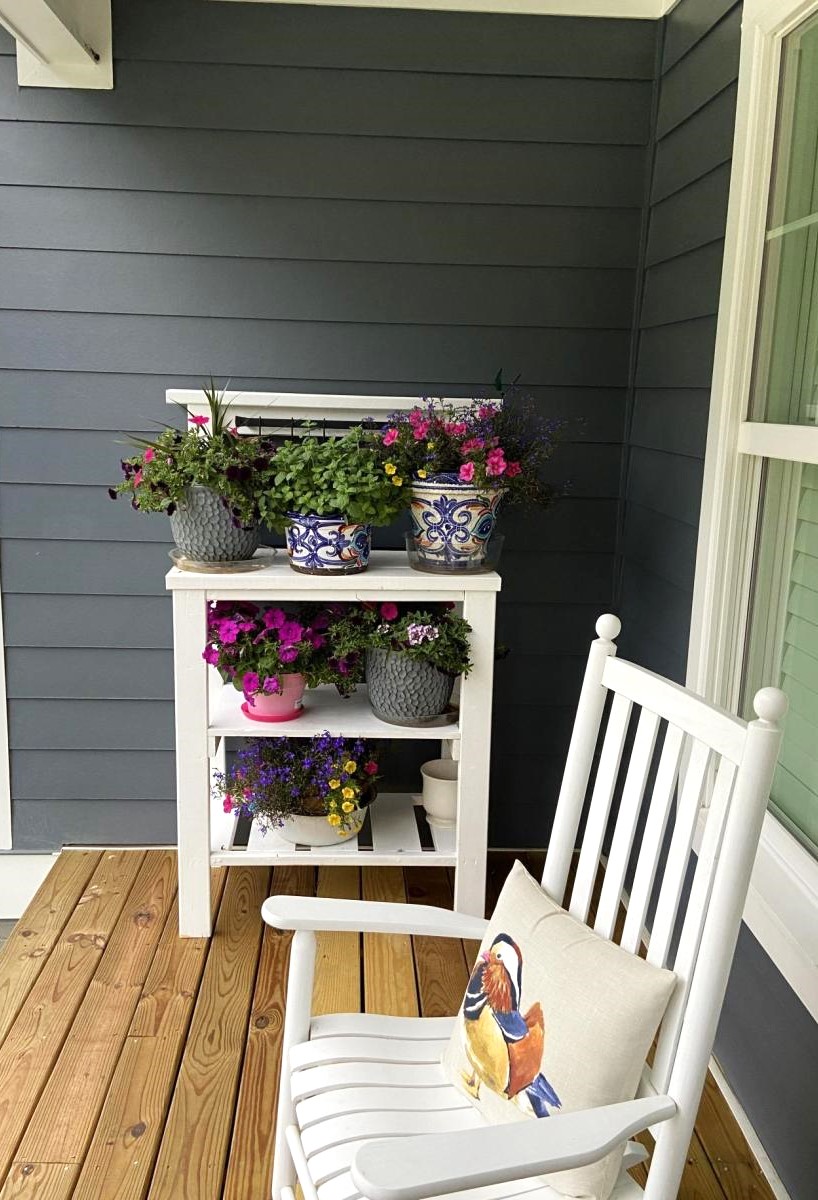
Very happy with how these planters turned out. Beautiful with red Geraniums and ping wave petunias.
Built by Dave
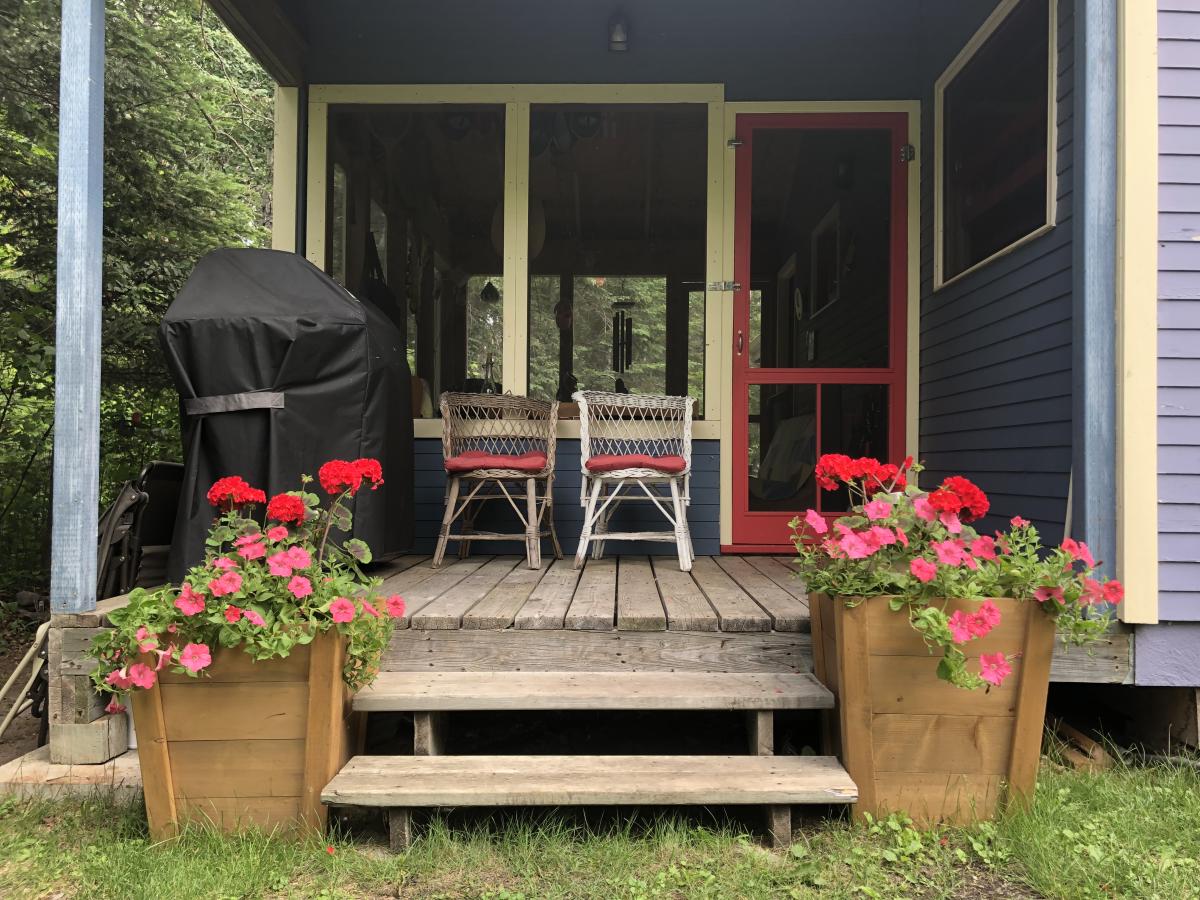
Tue, 06/27/2023 - 13:15
Thank you for sharing your wonderful planters!
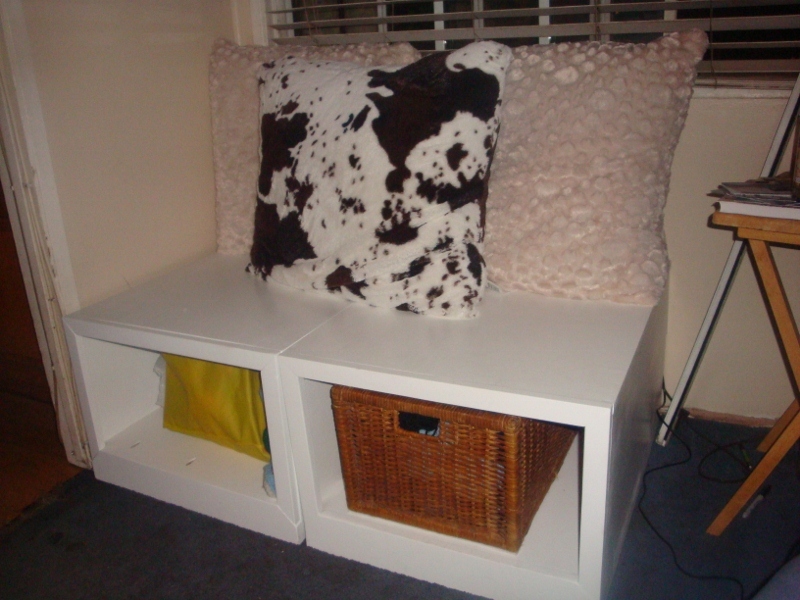
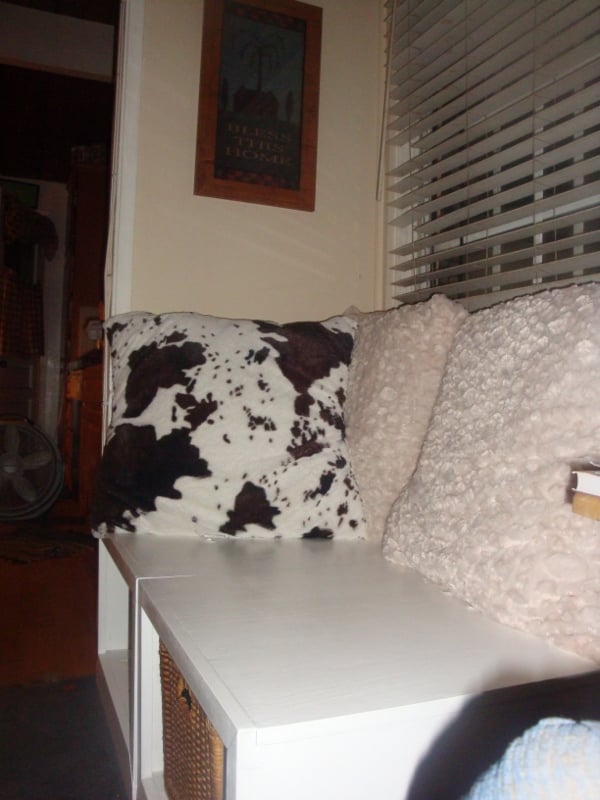
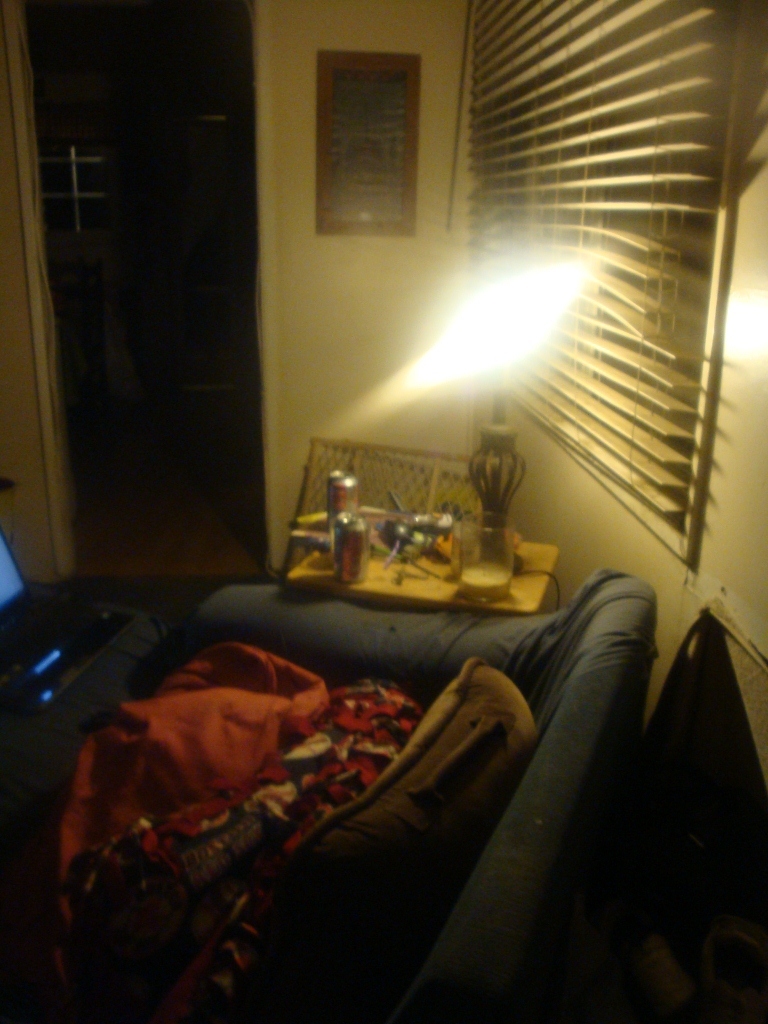
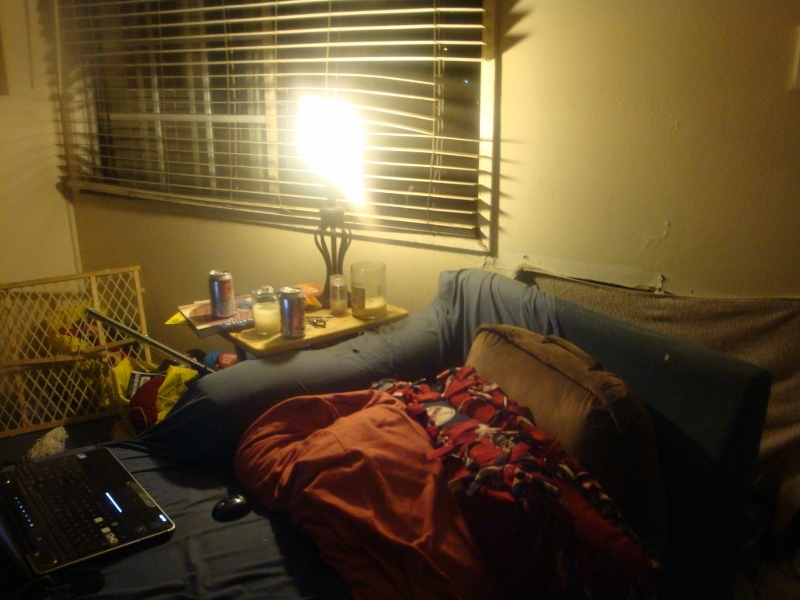
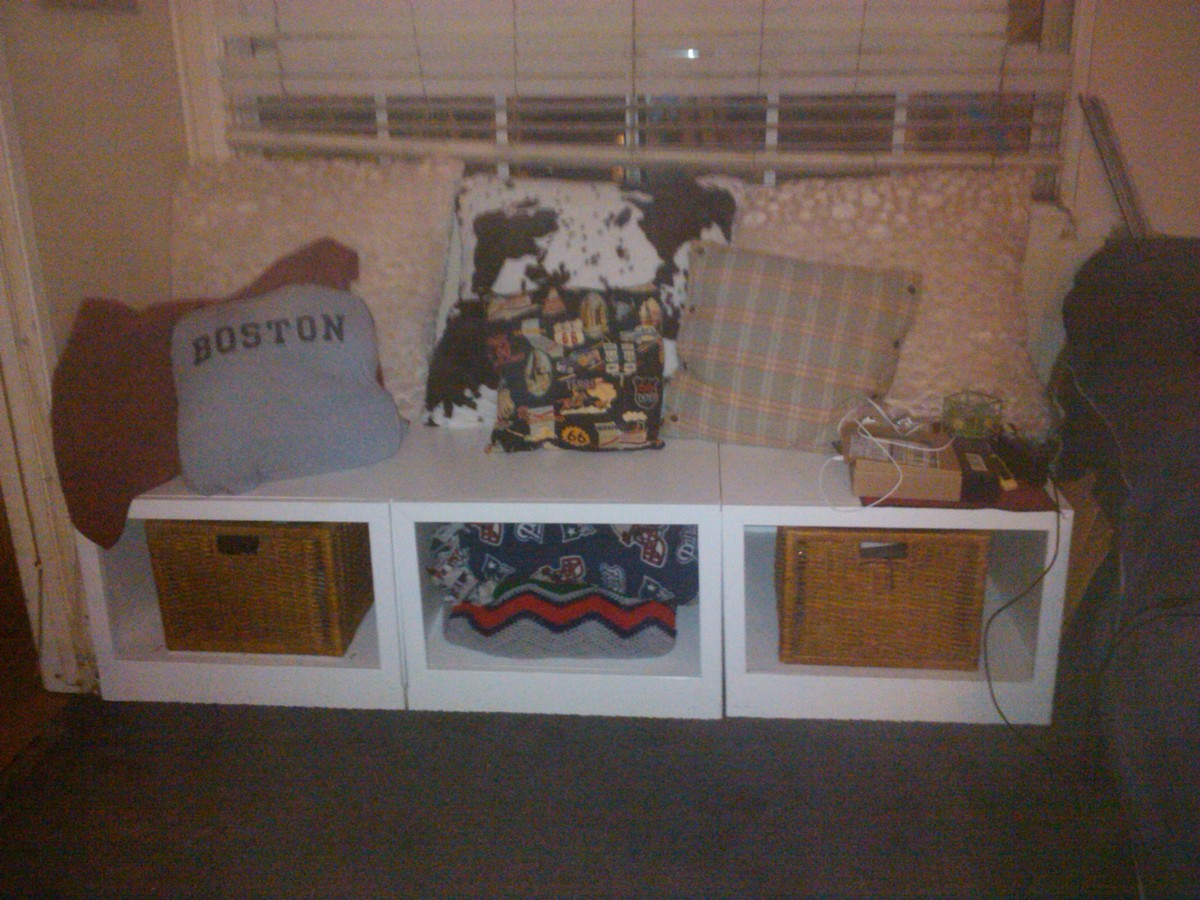
This was one of my first big projects, this site motivates you to get better. No, at first I couldn't build a box, now, I'm building outdoor bars! All of my skills, I learned from this site. The boxes are heavy, sturdy, they've had 5 golden retrievers on it, 4 adults at once, and the storage is incredible. The pics below show what an improvement a piece of furniture can do. This piece went into a dead space corner, a catchall. I'm not proud of the mess, :), but I am proud of the after. Extra room, light, airy, yeah!
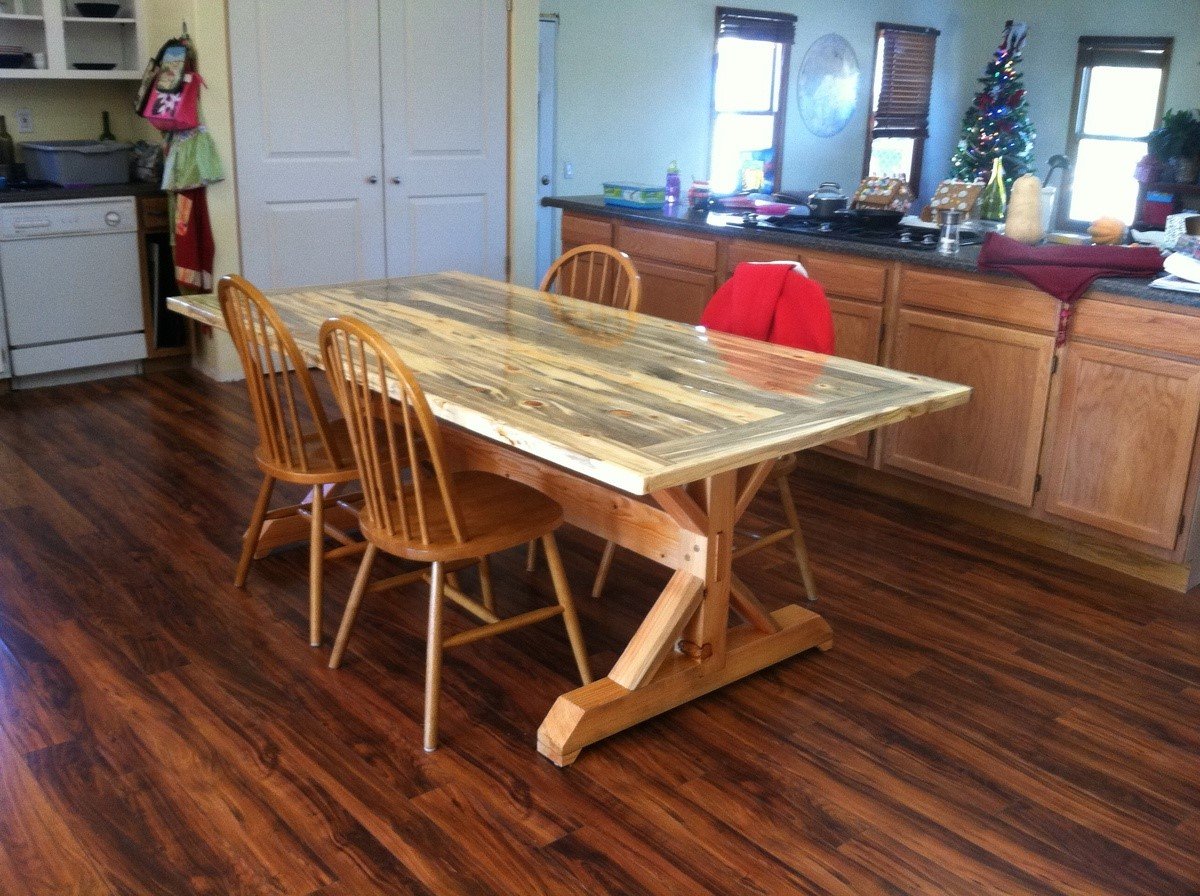
Beetle kill table. I chose to mortise the support and use pegs for effect. As such used 4x4 for leg uprights. Made the top removable because it's heavy!
Wed, 08/03/2016 - 09:59
That table looks awesome ! I am in the process of making one similar i went to a local mill and they had ambrosia maple to make the table topper and i am making the base. I was wondering how you went about making the table top removable did you use threaded inserts ? also how did you get the cross support cut out done? Last question i have is where did you find the 4x4 material i am in eastern north carolina and it seems it doesnt exist around here. thank you for sharing
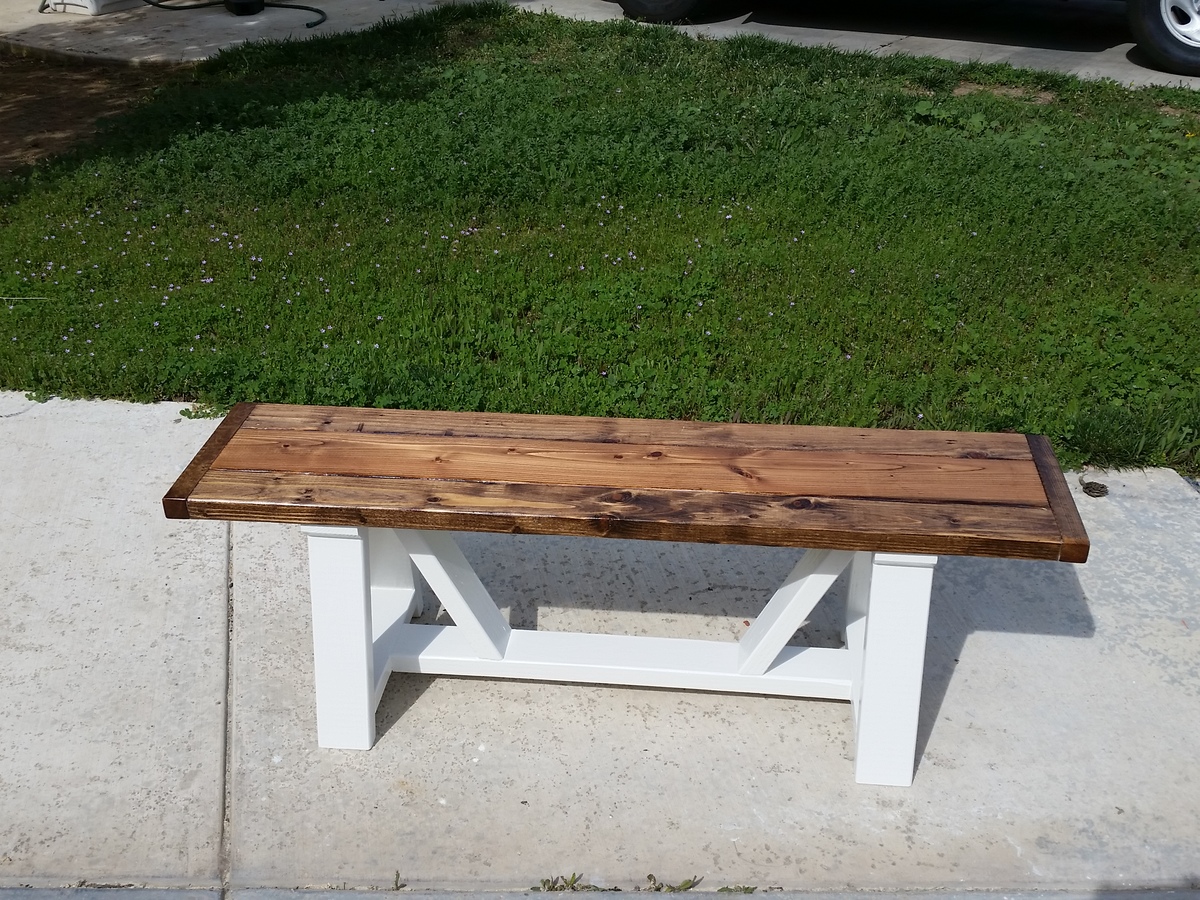
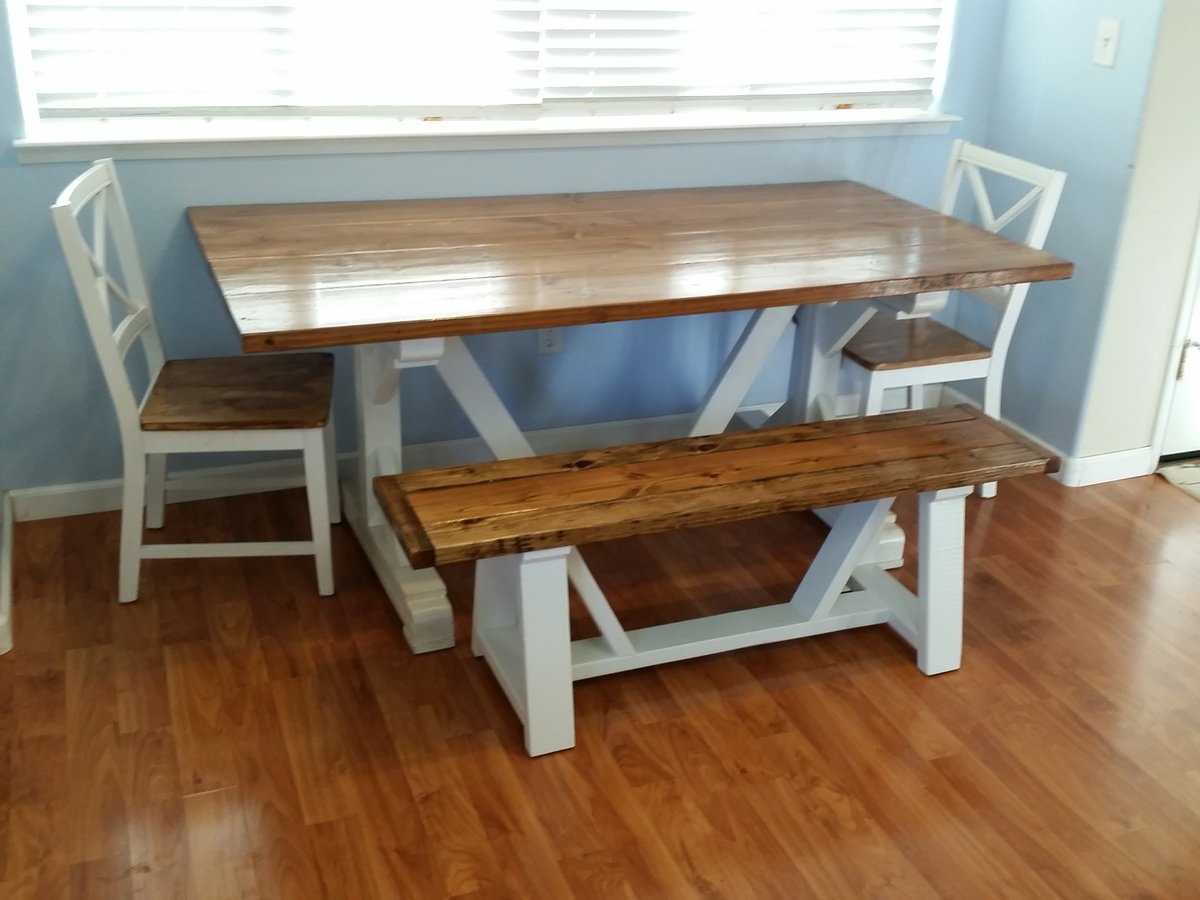
I made my bench a little shorter (54") and did not need the center support. I also cut the top and bottom of the leg horizontals 3/4" shorter so the legs tucked under the bench top more. It was a great bench and looks good with the Fancy X Farmhouse Table I also followed from Ana White.
Mon, 02/29/2016 - 19:11
In case there is any questions, this is my adaptation of the Alaska Bench.
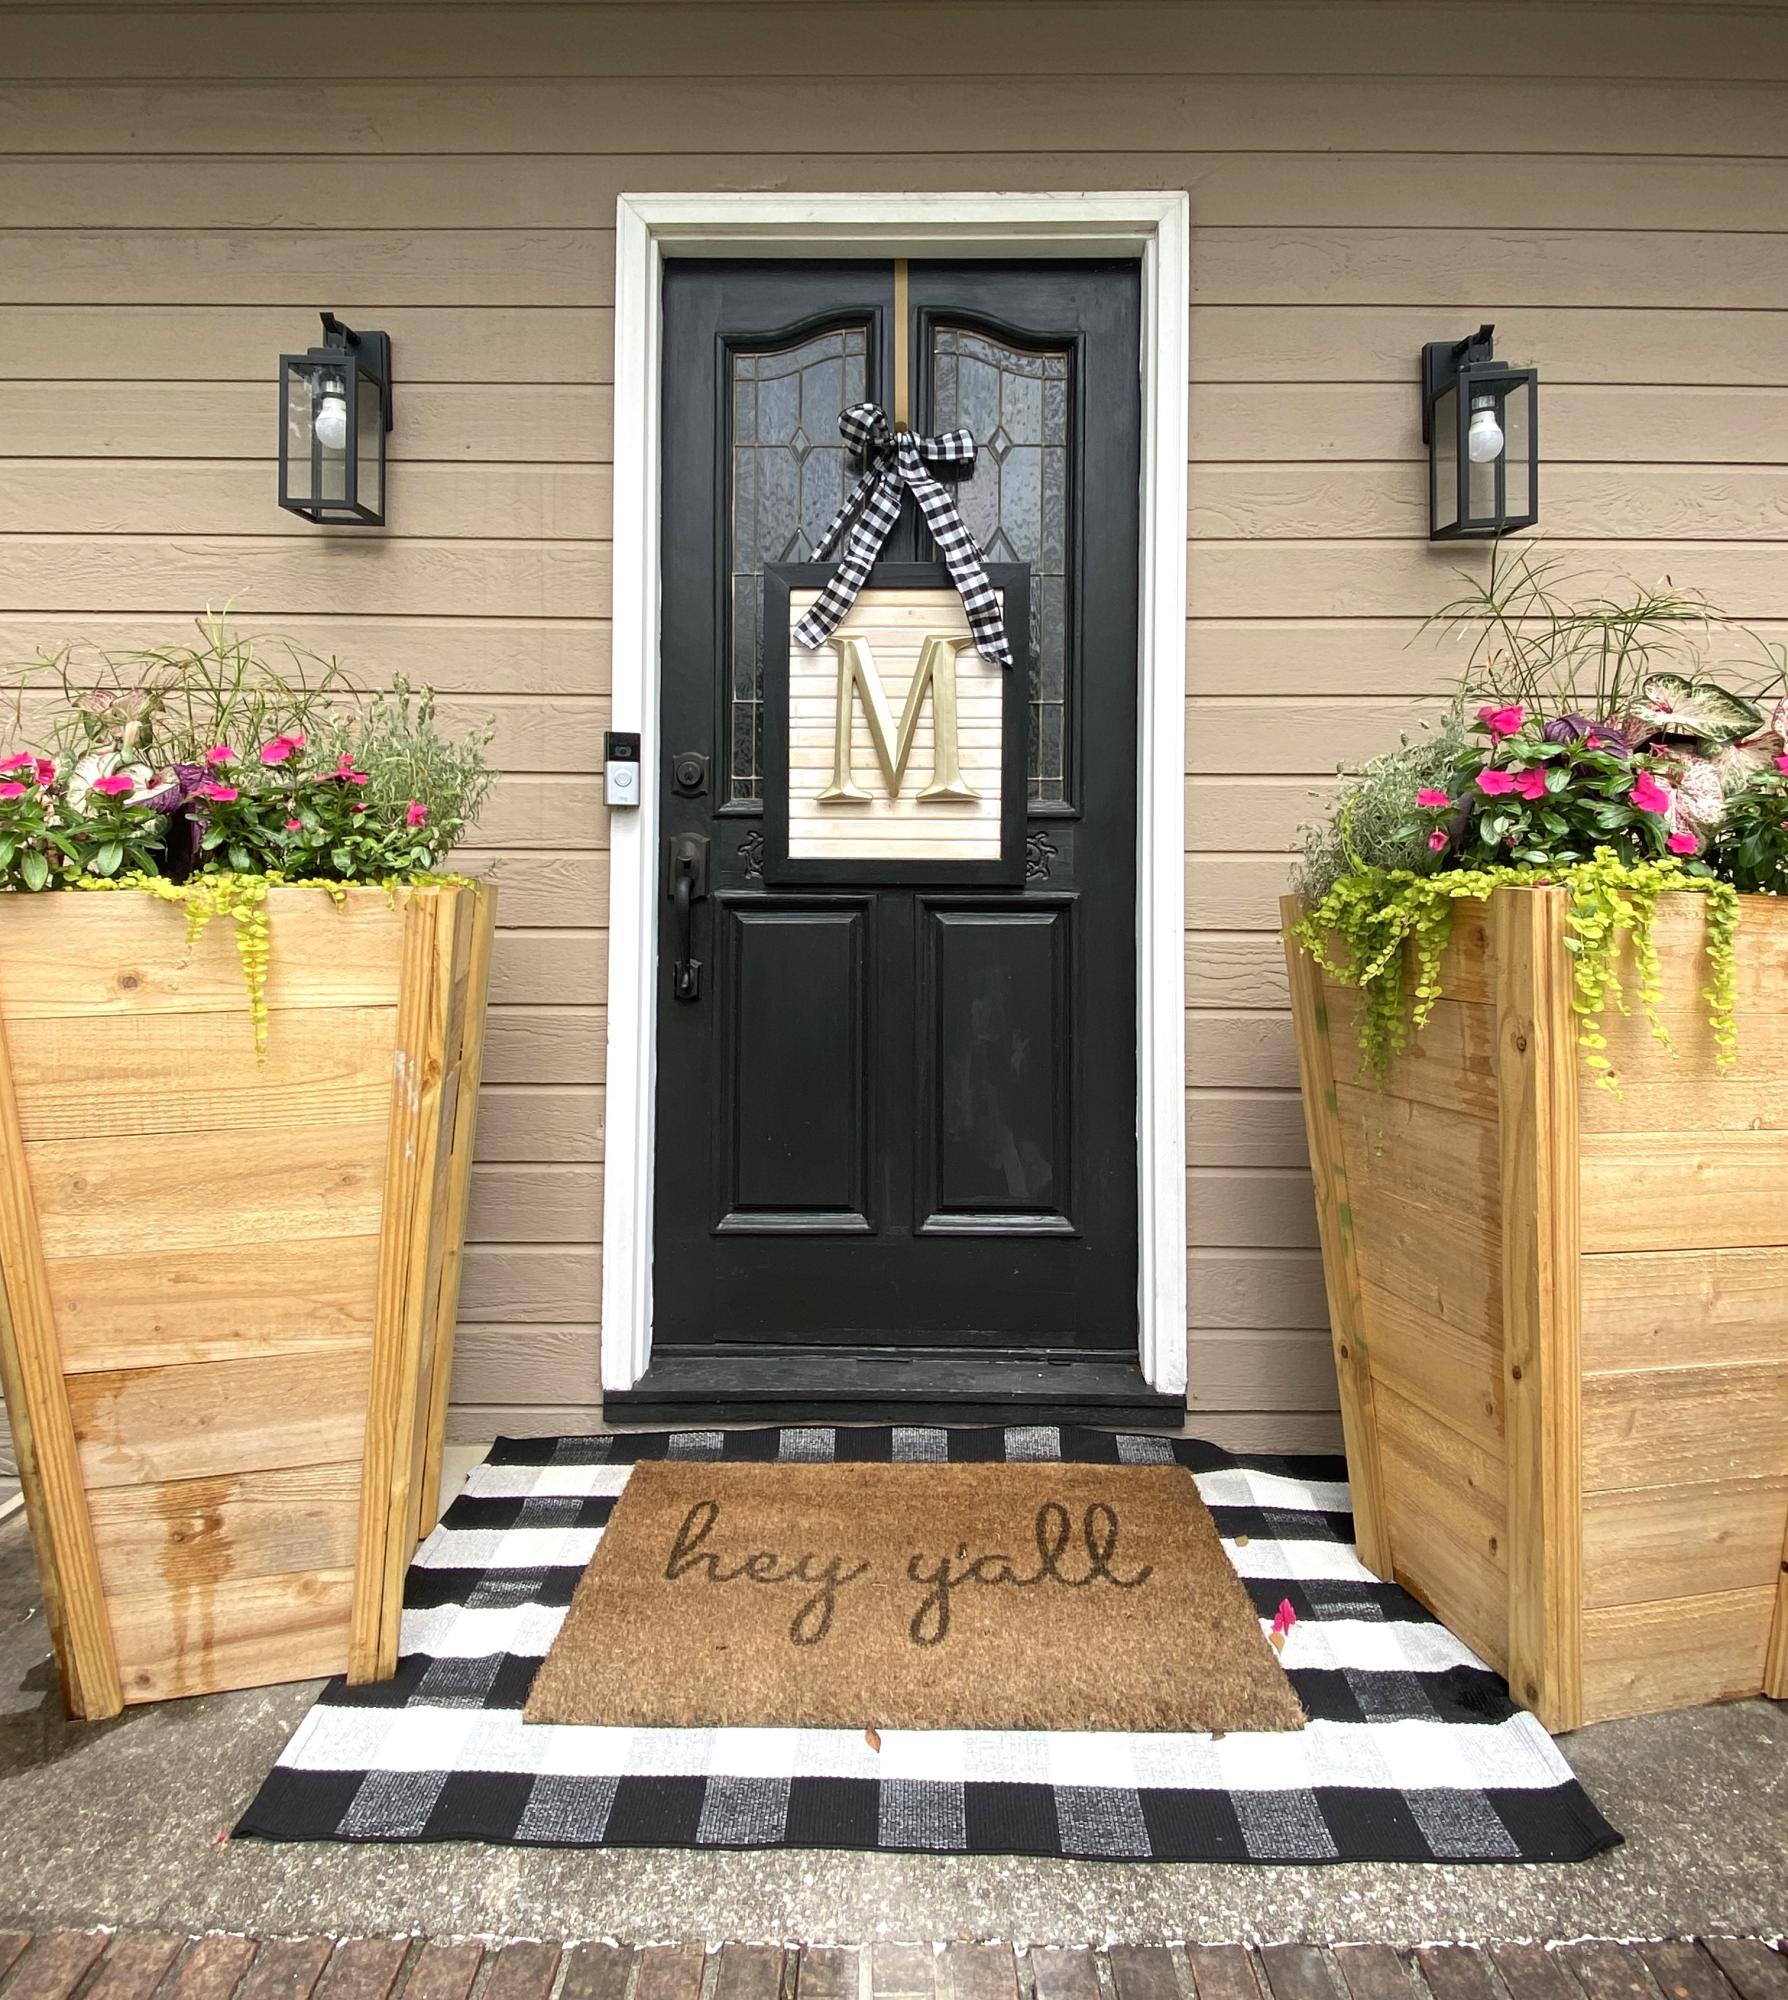
Two 7-plank cedar planters, unfinished. Thinking of charring….
Kim M
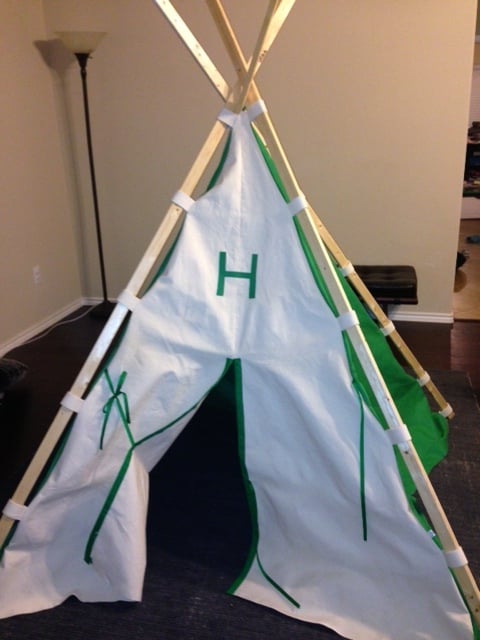
I just had to build these for my two kids. Thanks Ana!
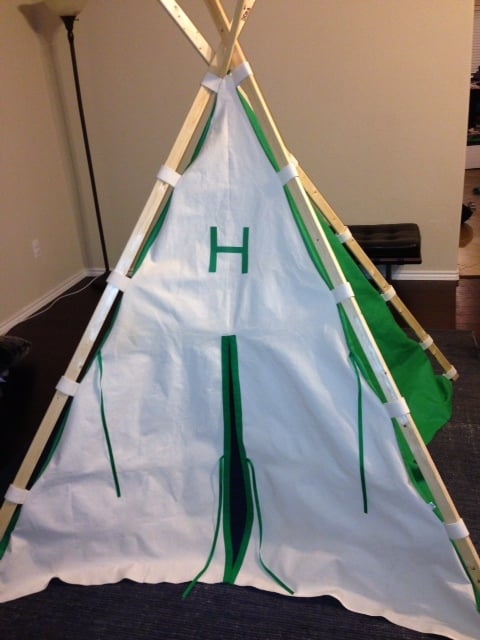
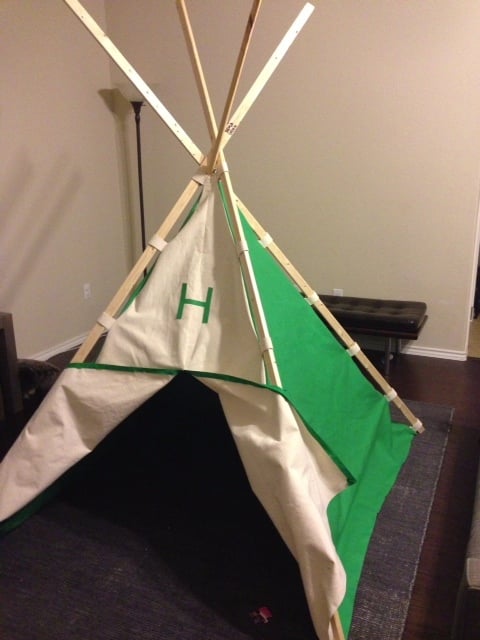
Play Teepee used 4 yds of fabrics, 2.5 yd of webbing, bias tape, ribbon, heat and bond double sided adhesive, and 4 1x2s at 8 ft.

I looked at all the sofas that people built and took bits out of a lot of them to decide what I needed to fit my needs. I am in a tiny house and I wanted the sofa to be super versatile as well as being good for storage. I decided to build it the size of a double bed, but to divide this into three sections so that it can be used as a sectional, a seating area for meals and a bed for overnight guests. It was a lot easier than I thought it would be.
Thank you for this, I would not have known where to begin.
I decided on brightly printed outdoor fabric because the interior of my tiny house is all wood and I though the bright colours would be a nice addition. The outdoor fabric was chosen so that it would resist water and stains as well as pet hair.

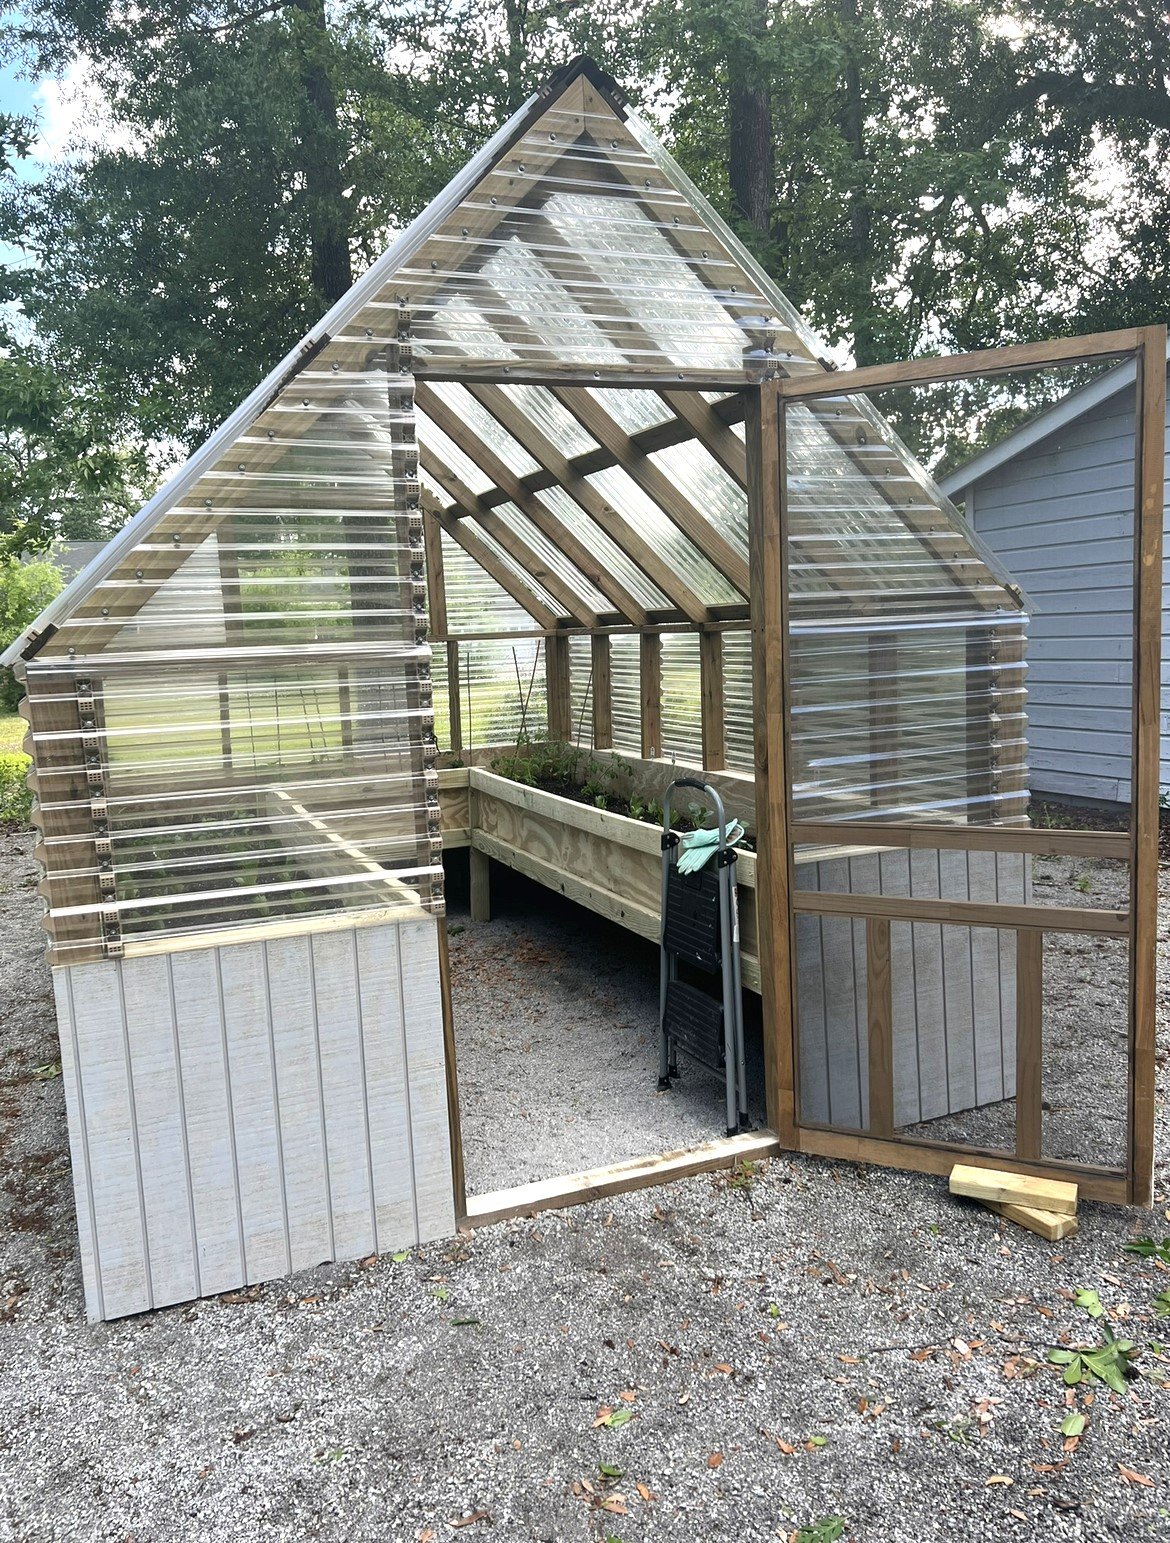
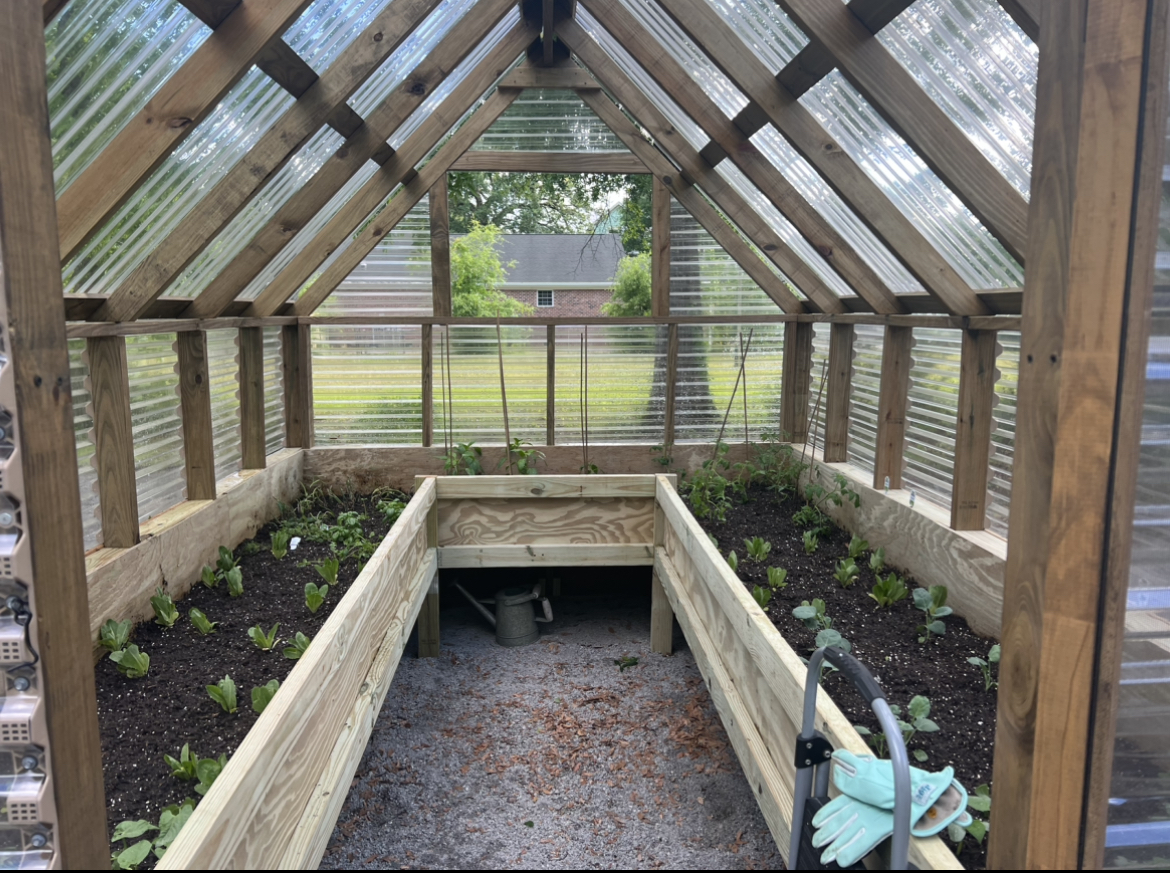
Greenhouse Project - Built to Plans Exactly
Christy LaChapelle
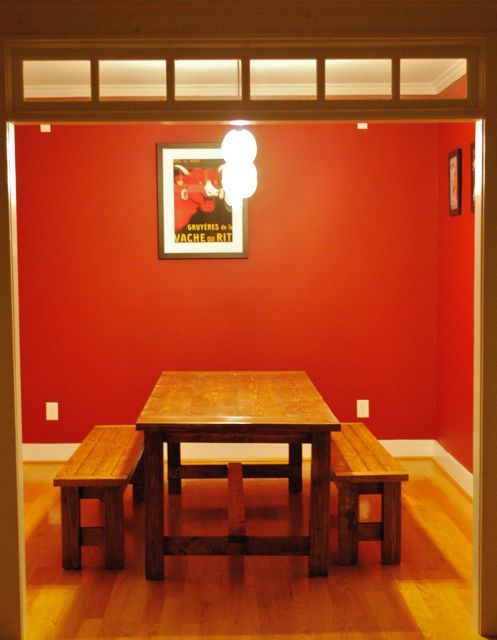
We made this table from the farmhouse table plan but used 4x4s for the legs and slightly wider (2x10) boards for the top.
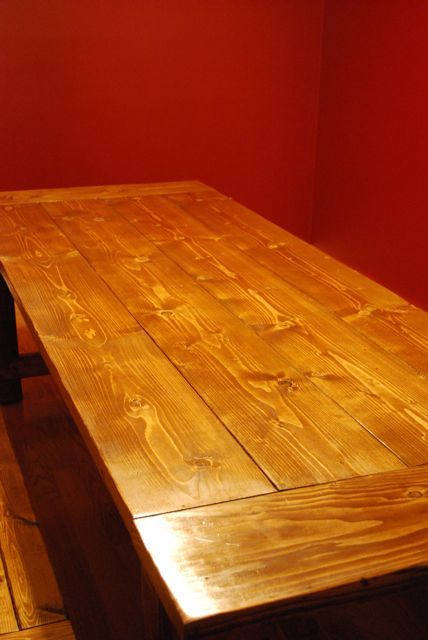
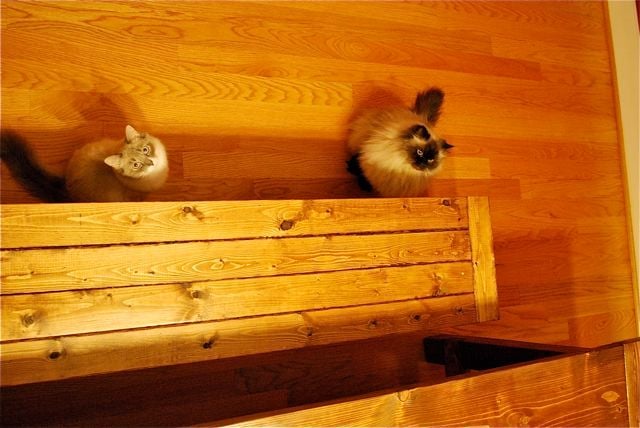
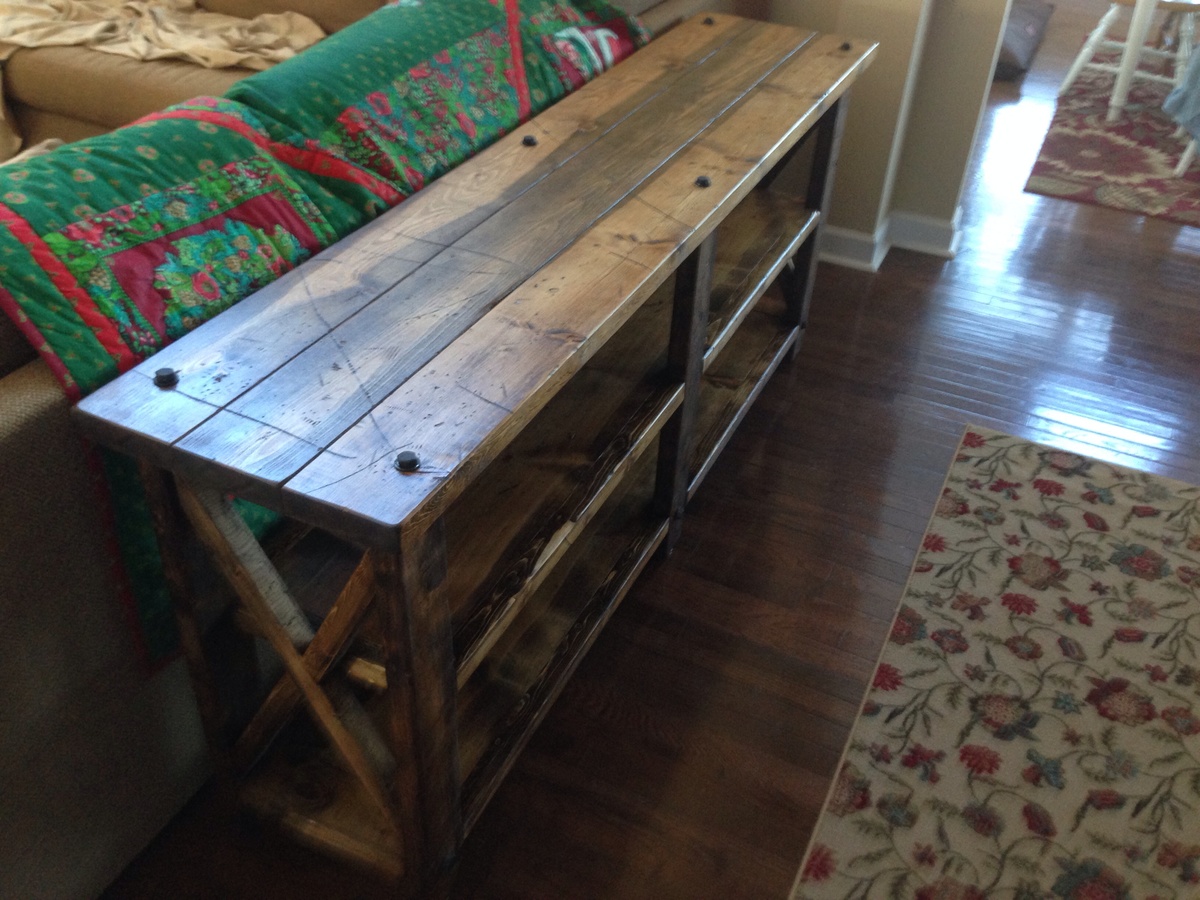
So my wife found this on Pinterest last month and loved it. We have been searching for something to go behind our sectional couch in our den. When she showed it to me I discreetly emailed it to myself as a plan was forming in my head. She was working nights for the month of December so I worked on it in the garage in the evenings and hid it in the crawl space so she wouldn't see it. She woke up Christmas morning to find it in place with a bow (clearly made by a man who is much better at carpentry than bow making) attached and was very surprised and excited.
I distressed the wood using several highly complicated techniques such as hitting it with a hammer, dropping a bag of screws on it, and scratching it with a screwdriver. It was then sanded and stained with Minwax Provincial 211. I applied two coats of satin polyurethane for protection.
I liked the look of the hex head screws so after painting them flat black I actually used them to hold the top on.
