Spice Cabinet
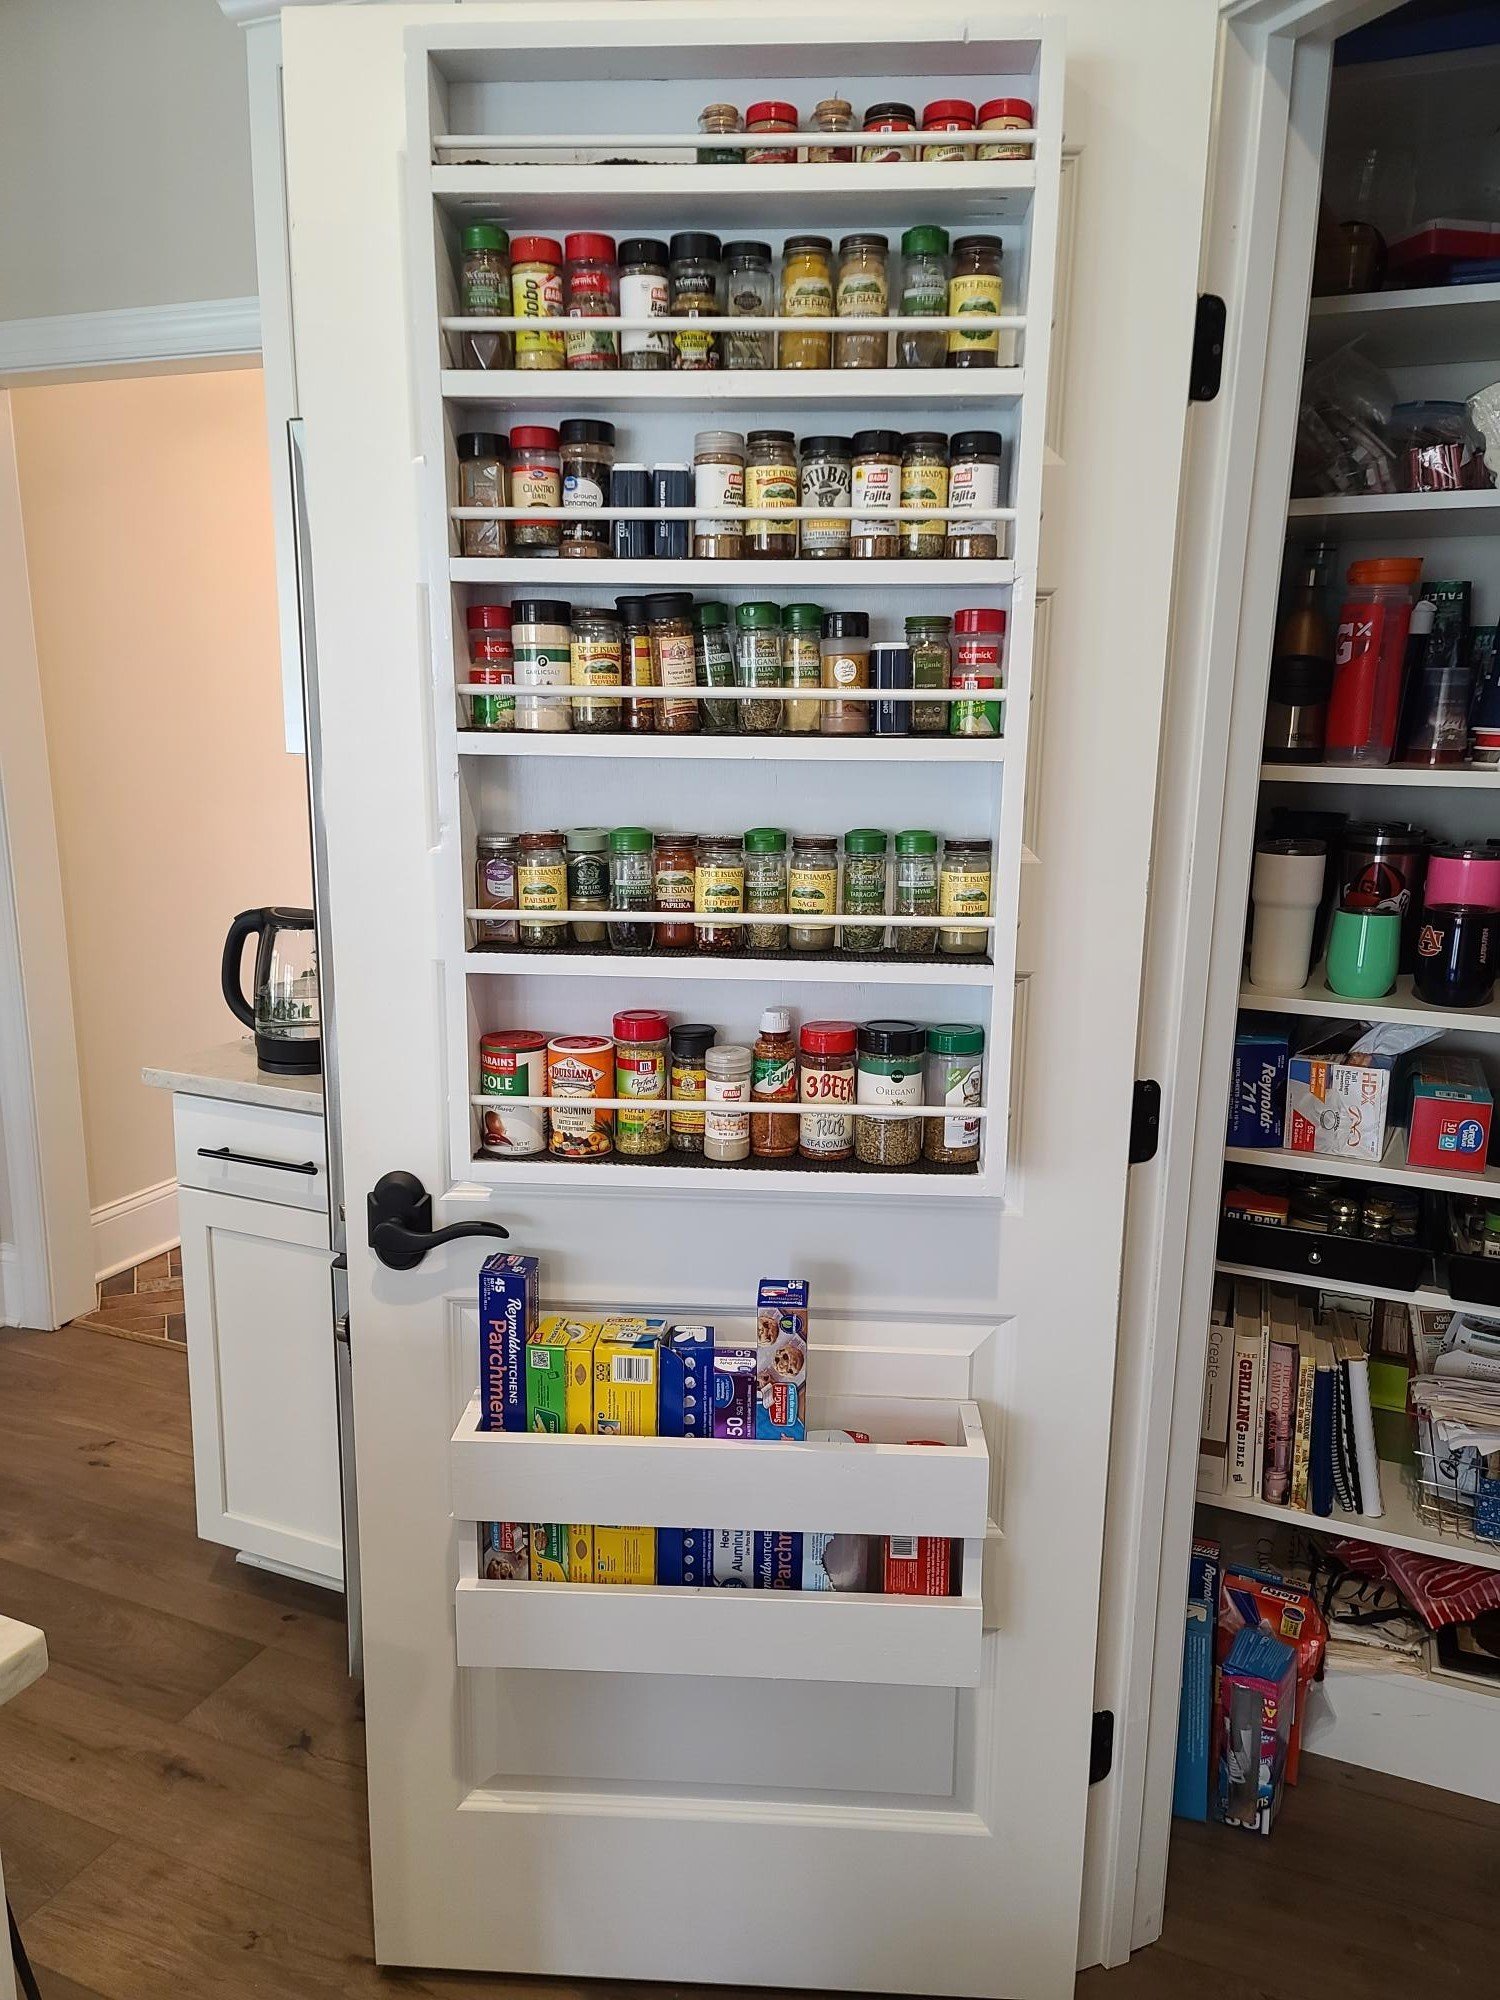
Love to cook, didn't have enough space in the pantry for all my spices. Used the spice cabinet plan and it was perfect.

Love to cook, didn't have enough space in the pantry for all my spices. Used the spice cabinet plan and it was perfect.
I first came across Ana's site while looking for a table and chairs set for my little ones. Their room is Jungle themed so I decided to take on the project and build the set myself. My wife and I ended up painting it in the Jungle theme to match my daughter's dresser. We added a checkerboard on one side of the table, and a bamboo tic-tac-toe board on the other side. We had previously painted the dresser so we had experience with the finish. I had a great time building this, and I can't wait to start my next project! I just got my hands on some pallets, so we will be tackling a preschool picnic table next! Bring on the Miter Saw!!!
Made with western red cedar from Lowes. So pretty!
Wed, 08/21/2019 - 09:00
Did you use any kind of finish on the cedar? I’m making one as an indoor end table.
What grit sand paper did you use?
Looks great by the way. Excellent job!
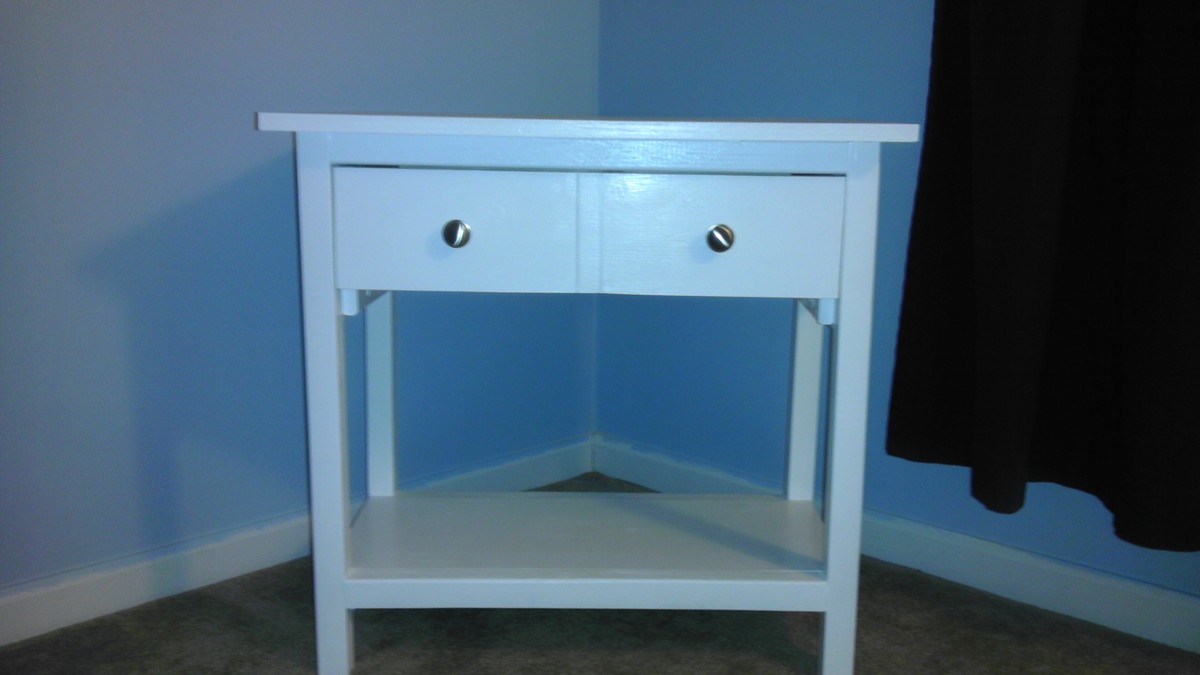
This project was very fun, and it was my first nightstand. The directions are so easy to follow. Thanks Ana : )
Wed, 06/03/2015 - 22:59
Do you have a cut list that you used to modify the original plan? I love this version of it, very well done!

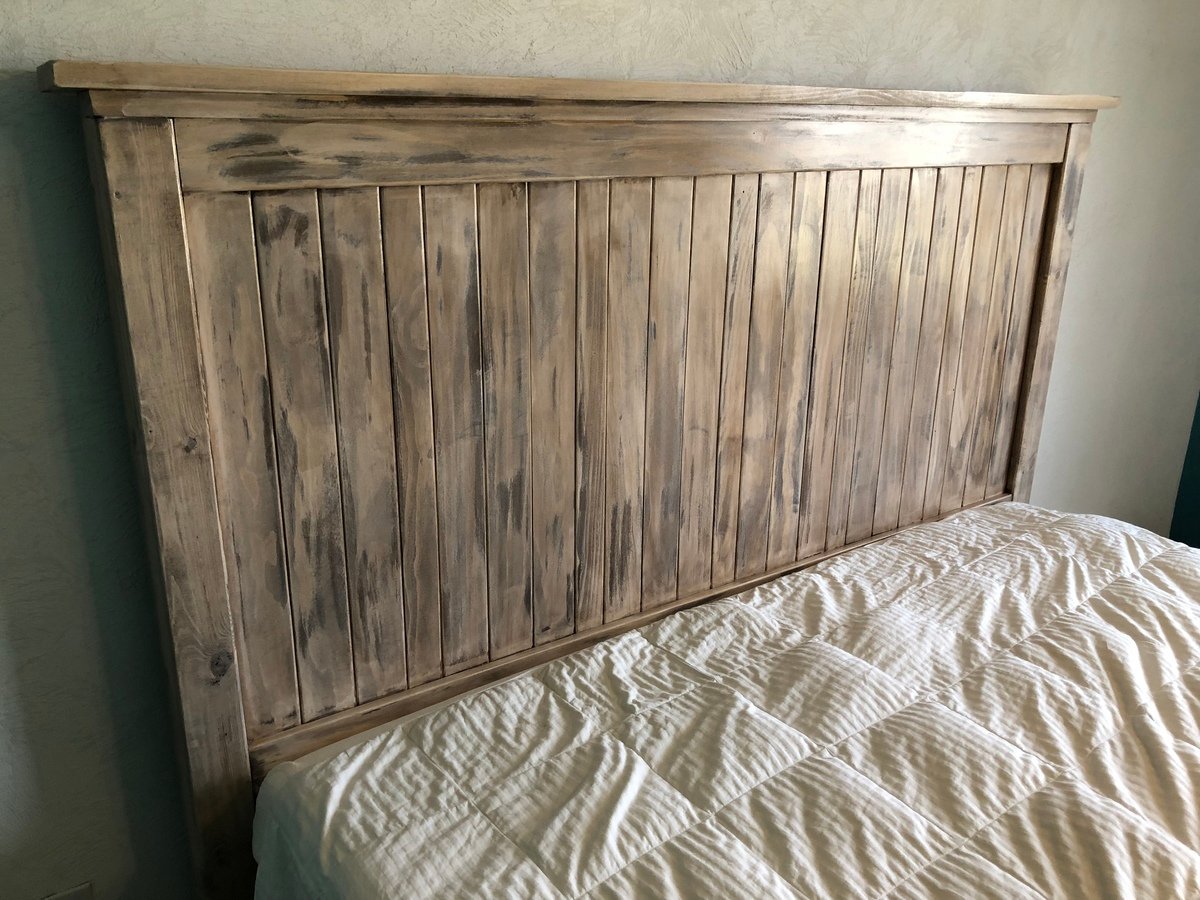
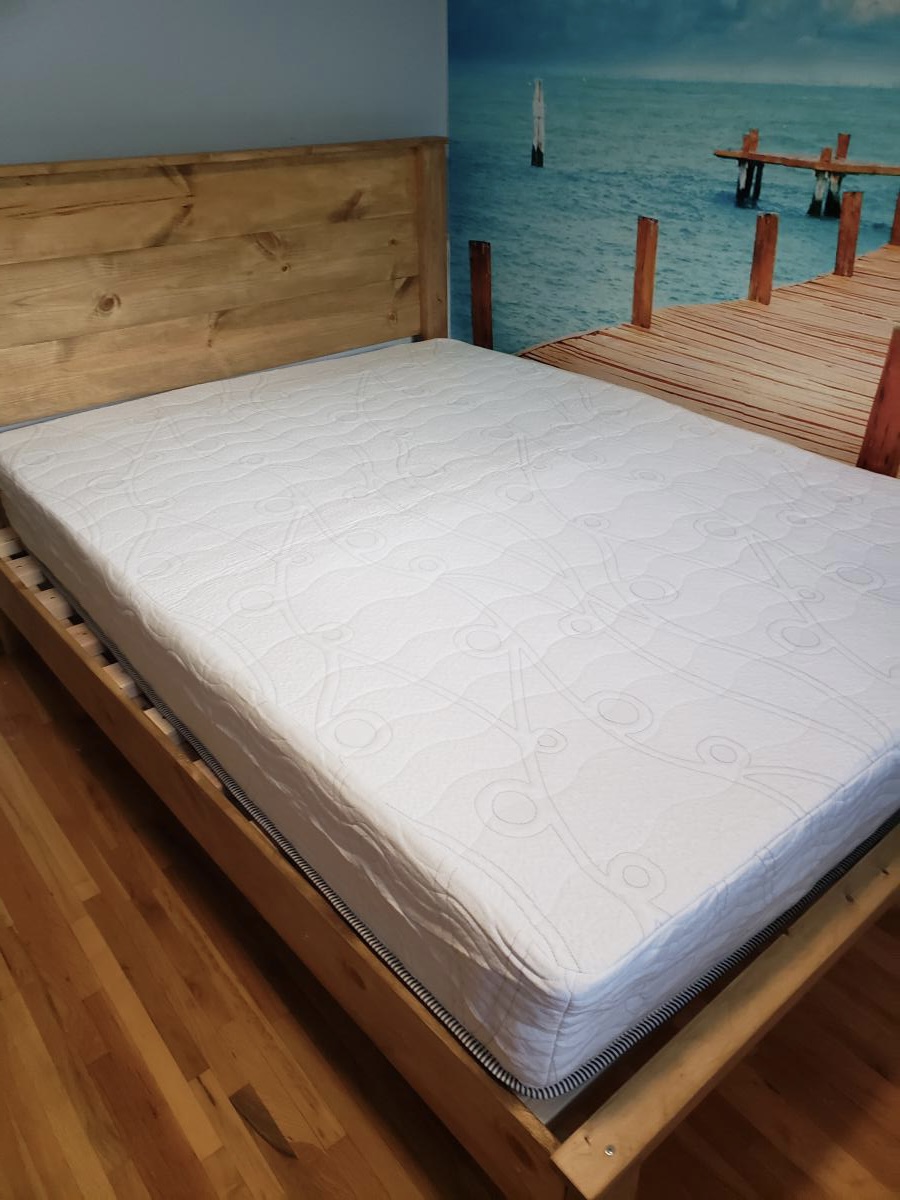
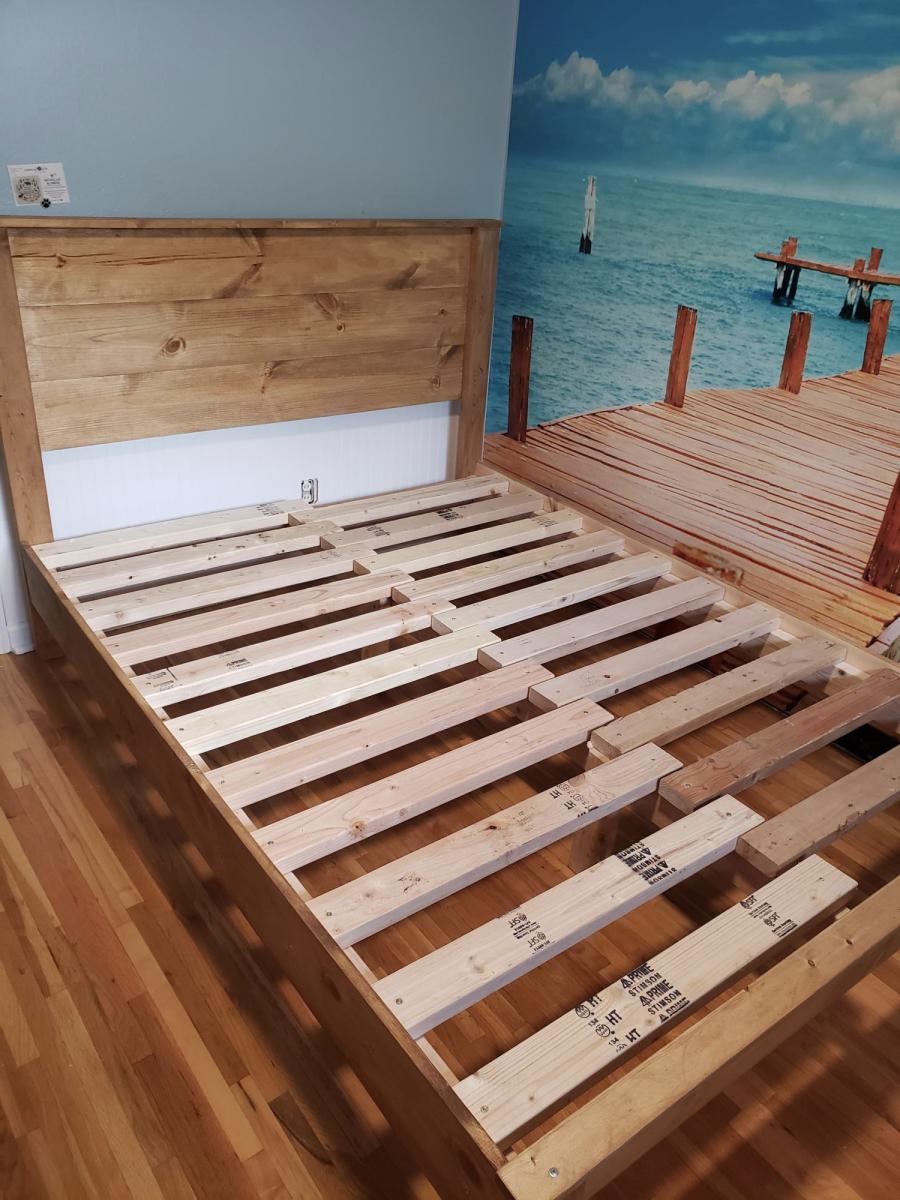
Modified the standard farmhouse king plan a bit. Made the headboard 4" taller and utilized 1x4's and 1x3's to fill in the headboard instead of 1x8's. I used 2x8 from front to back for the runners and horizonal 2x6's just under the lip of the 2x8 for the matress to sit on. It turned out great and we get lots of compliments.

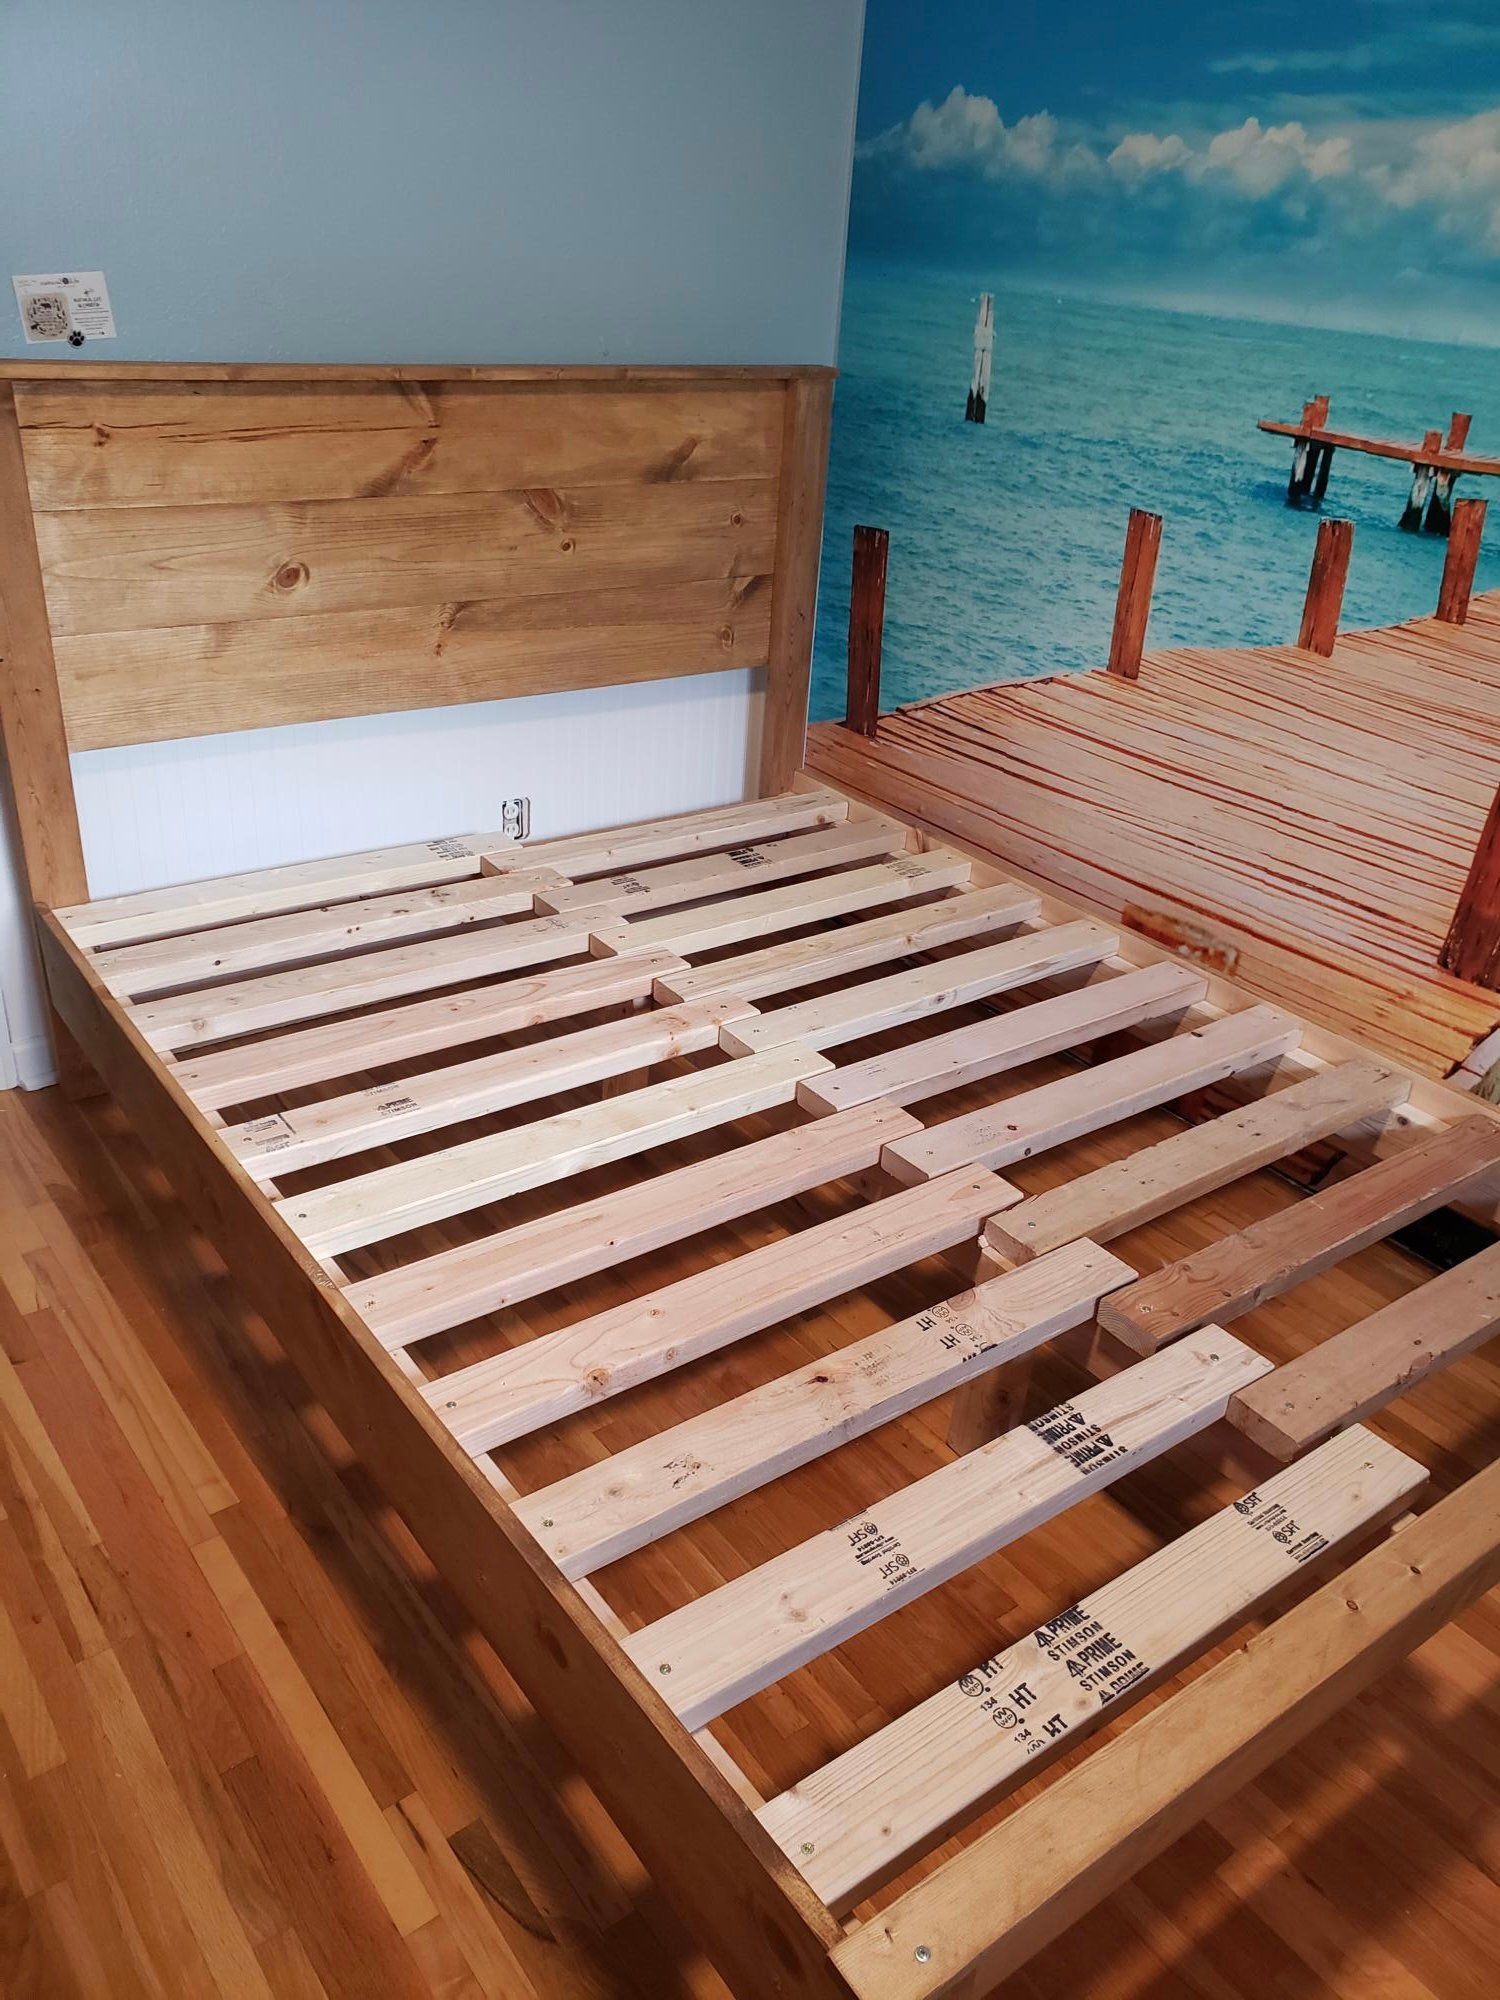
Thank you Ana! Your plans are so easy to follow, they make me feel like a master carpenter! I still cannot believe I built this myself. I look forward to building more this year!!
A photographer friend of mine requested I build her this after she saw them selling on Etsy for $115. They make super sweet props for newborn shoots, as well as a really cute doll bed for those popular 18" dolls. I free-handed the side details, and cut them out with my new Dremel Trio. It's an awesome tool! I used scrap MDF and plywood for everything but the 2x2 legs and finials, which I snagged for about 60 cents each at Lowe's. I played around with my finishing to give it a rustic look, since the cheap MDF I had on hand is super ripply and can't be sanded smooth.
I used the Farmhouse Doll Bed as a jumping off point for the dimensions. I put it together with my Kreg Jig, but I wouldn't recommend it, since those holes are really hard to fill, and you can see the indentations on the back of the headboard and footboard. Though it's sturdy enough to hold my 55 pound boxer, so I'm pretty sure all those newborns will be safe and sound on it! I really love how it turned out, and can't wait to get my own newborn photographed in this bed come August!
This was my first project from ana white. Thank you for making such great and easy to follow plans! I will be making the matching coffee table next!
Mon, 07/08/2013 - 10:16
Was the color of the table brown like that after just the oxidation process or did it turn brown like that because of the Vermont Natural Coatings Polywhey?
The reason I ask is we're trying to decide between the wax finish, which we love, or the more protective and durable PolyWhey.
Mon, 08/12/2013 - 12:43
Sorry for the late reply. I hope this advice is still useful for you. I figured I would have got an email if someone replied to my brag post. I just changed my settings so I will get emails in the future.
After the oxidation process It was a fairly dark brown. At this stage the colouring was not even everywhere so I used 220 grit sandpaper on a sanding block to lighten the colour and even it out. I sanded fairly lightly. After applying the Polywhey the colour did not change much. It is hard to describe as I am not a very artistic person, but it definitely made the colour richer and more pleasing to the eye after applying the Polywhey. As for the Polywhey, it is oderless and very quick and easy to apply. I put on 3 coats. I hope that helps. Let me know if you have any other questions.
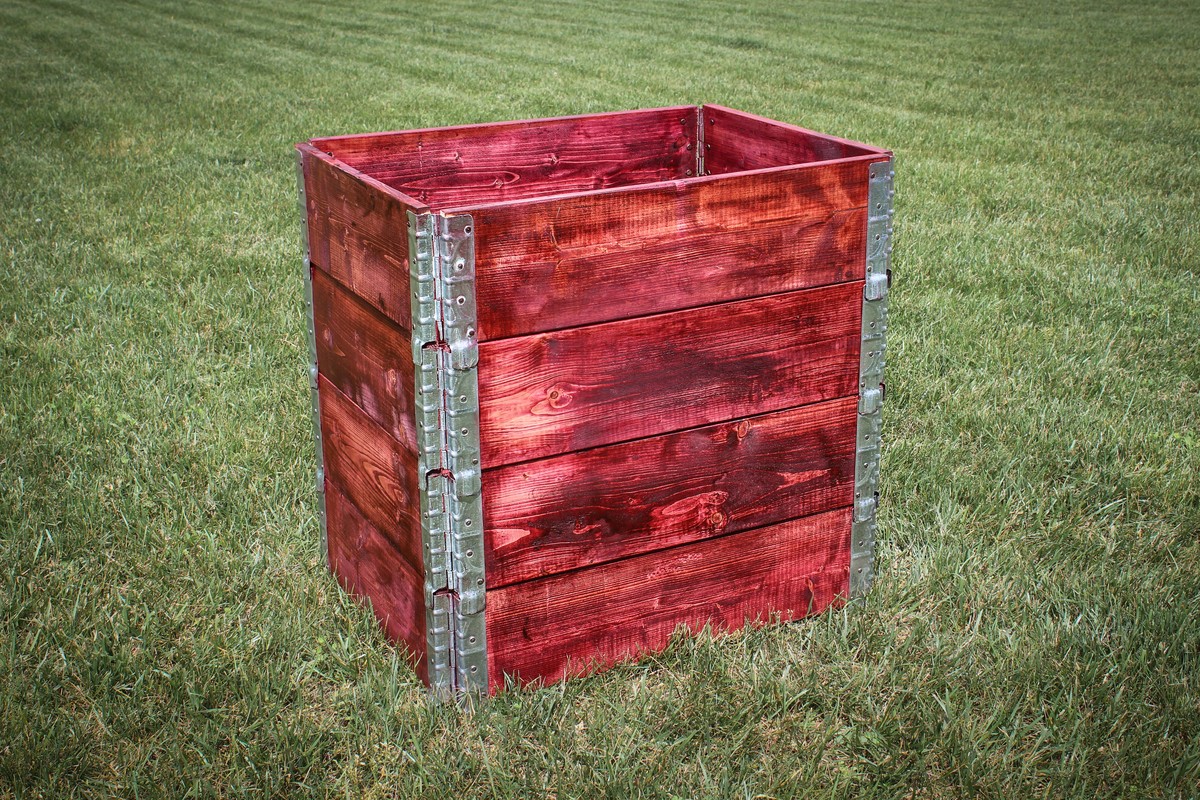
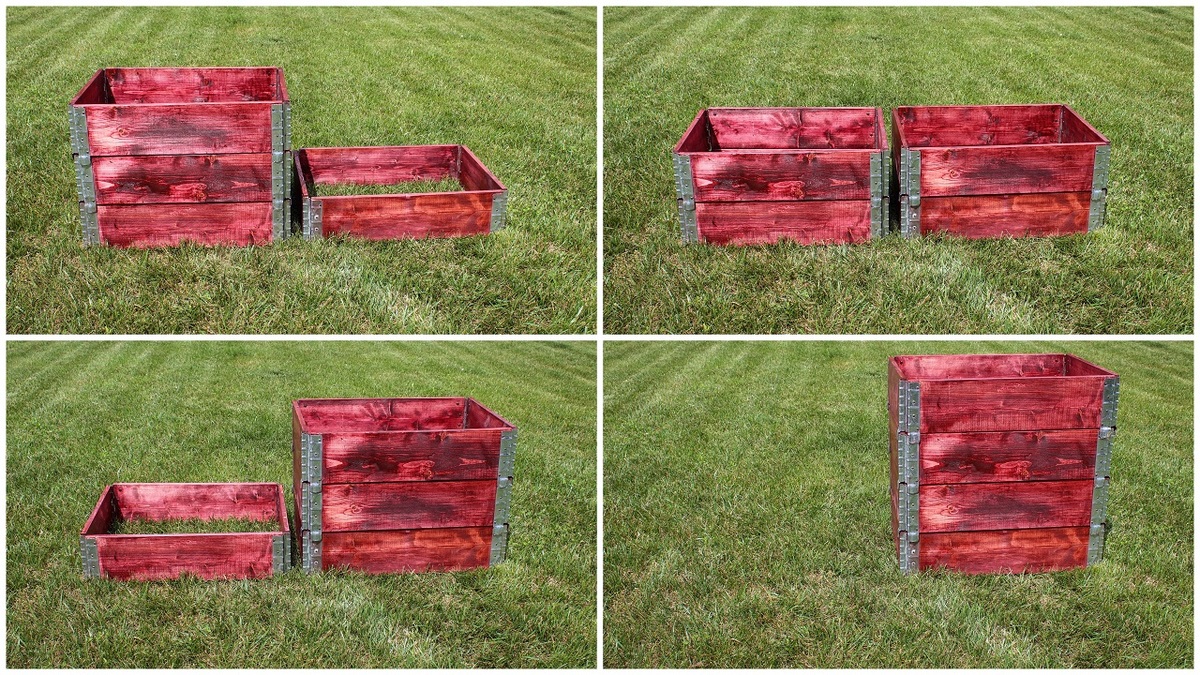
Build Instructions:
http://www.instructables.com/id/Simple-Stackable-Compost-Bin-from-Palle…
How it works:
https://www.youtube.com/watch?v=Tgtd88kKIn0
With one single unit as opposed to two or three bins, the space needed for composting is minimized. Each tier stacks on top of the other, latching together to make the bin. This setup makes it easy to turn and rotate the compost, since moving the collars is simple. Just remove the top collar and place in a new location adjacent to the original bin location. Turn the compost into the new location and stack the collars until finished. This is a great alternative to having multiple compost bins next to each other.
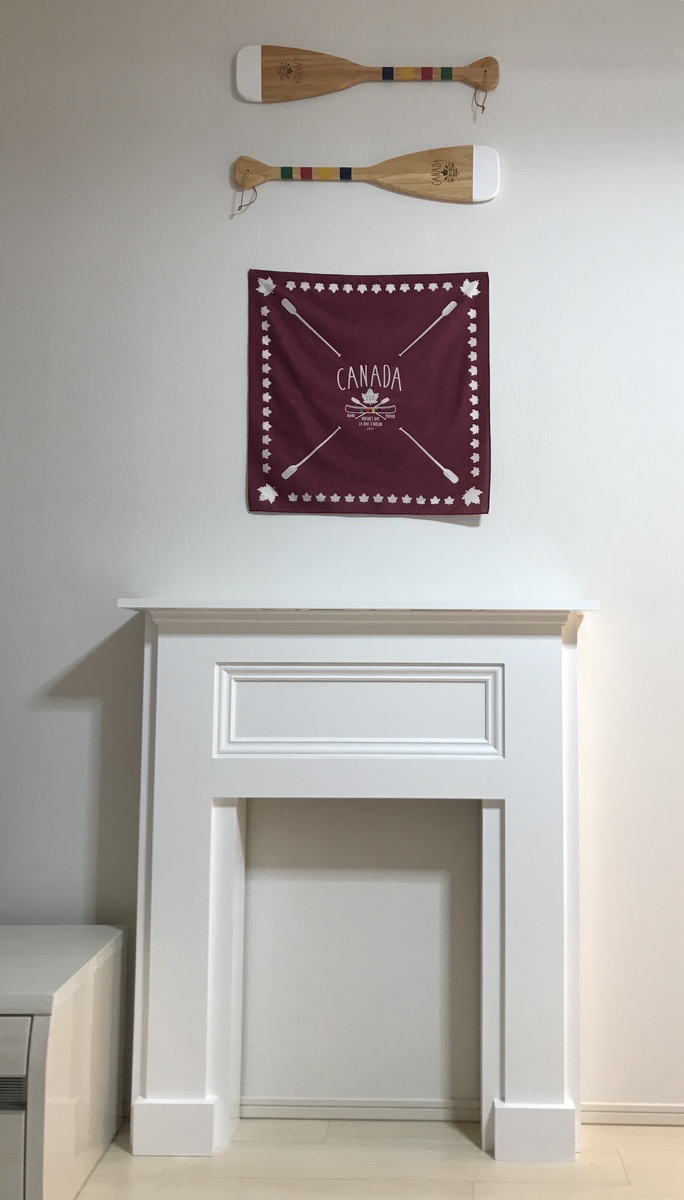
I live in an apartment, so I had everything cut for me at the nearby hardware store except the trimming. I scaled it so that it fits in my living room. It was my first woodworking project since high school, but I’m happy with how it tuned out. Thank you so much for the easy to understand instructions!!
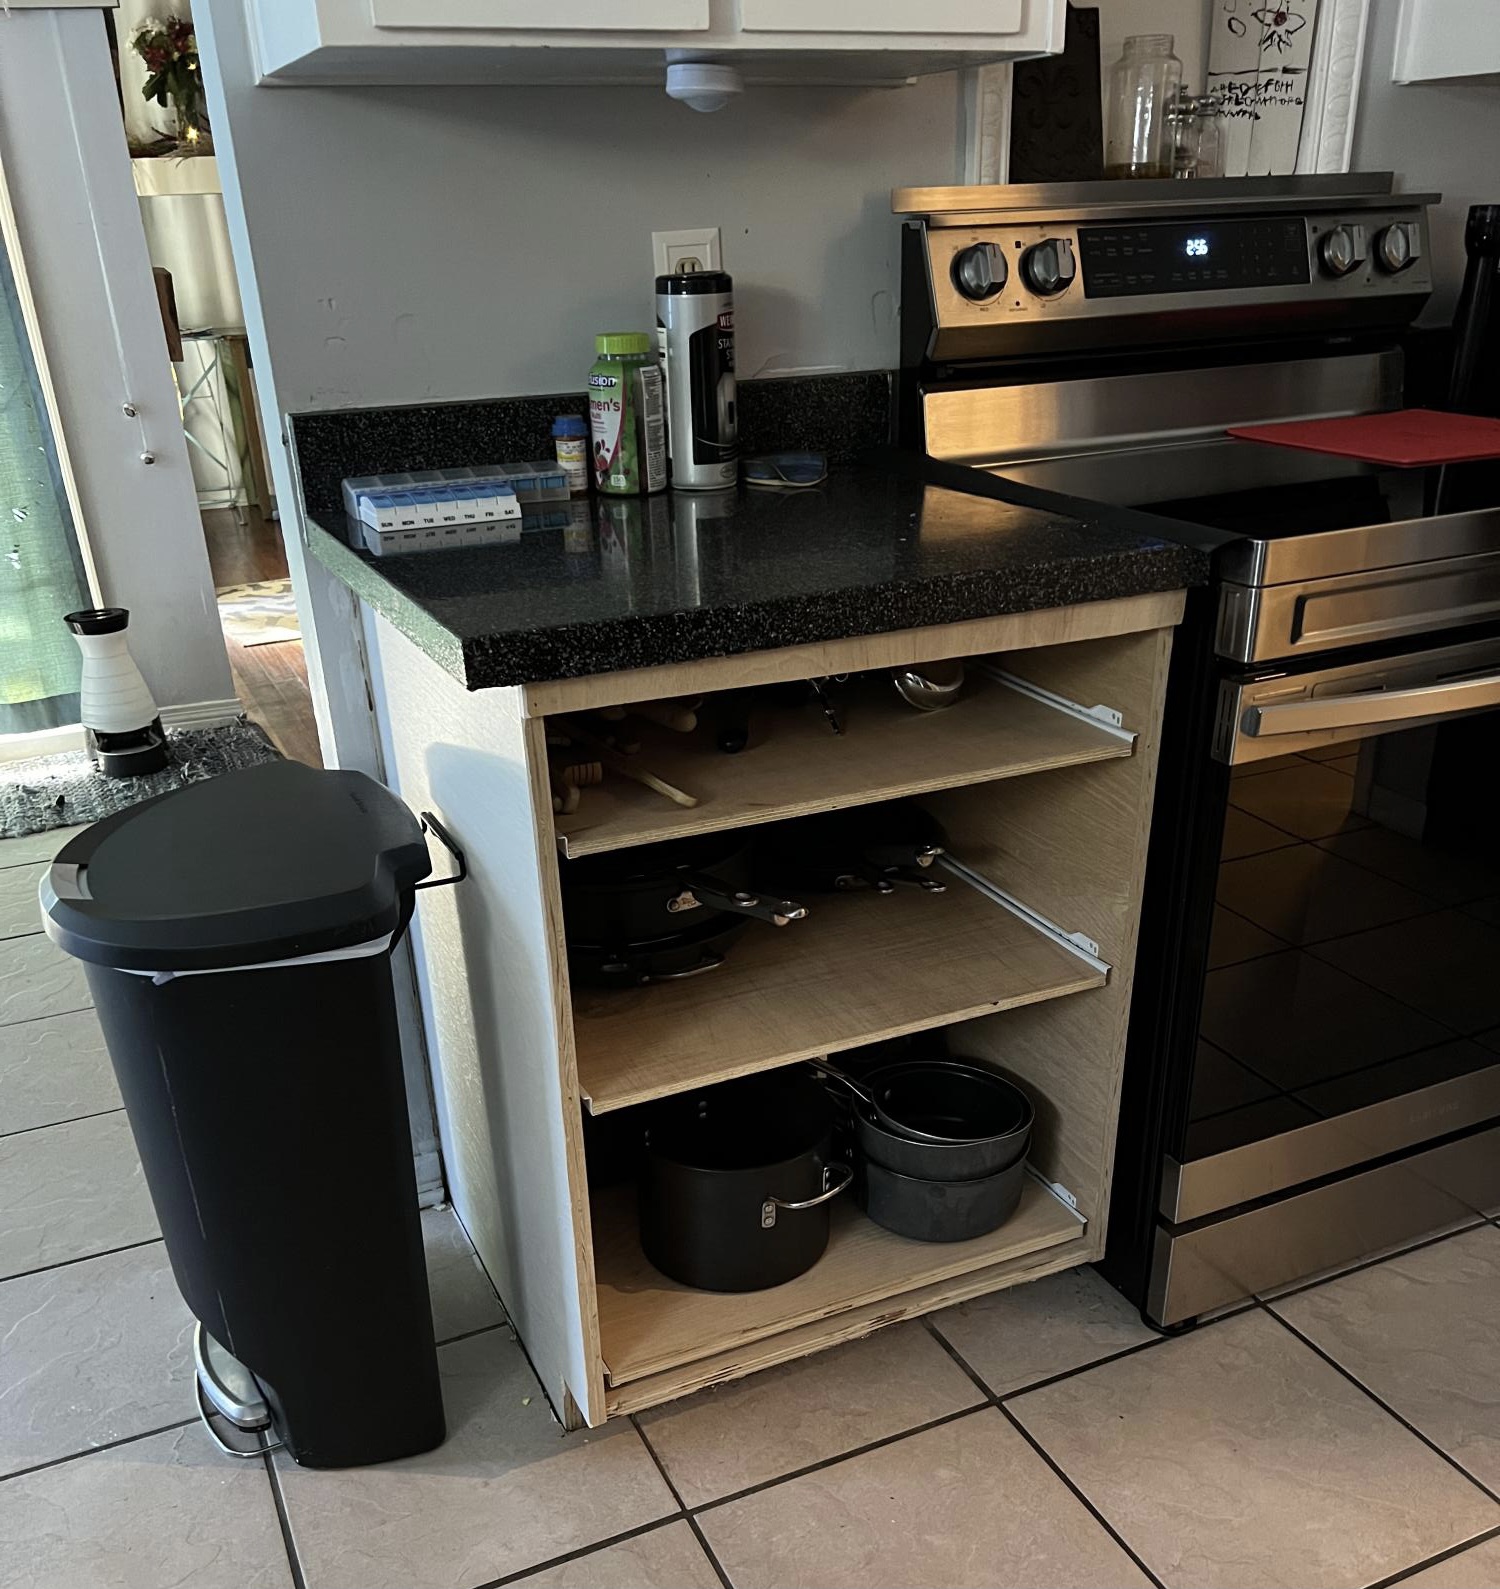
We are in the beginning stages of our kitchen redo. Three sliding drawers; not sure how we are finishing the front yet though.
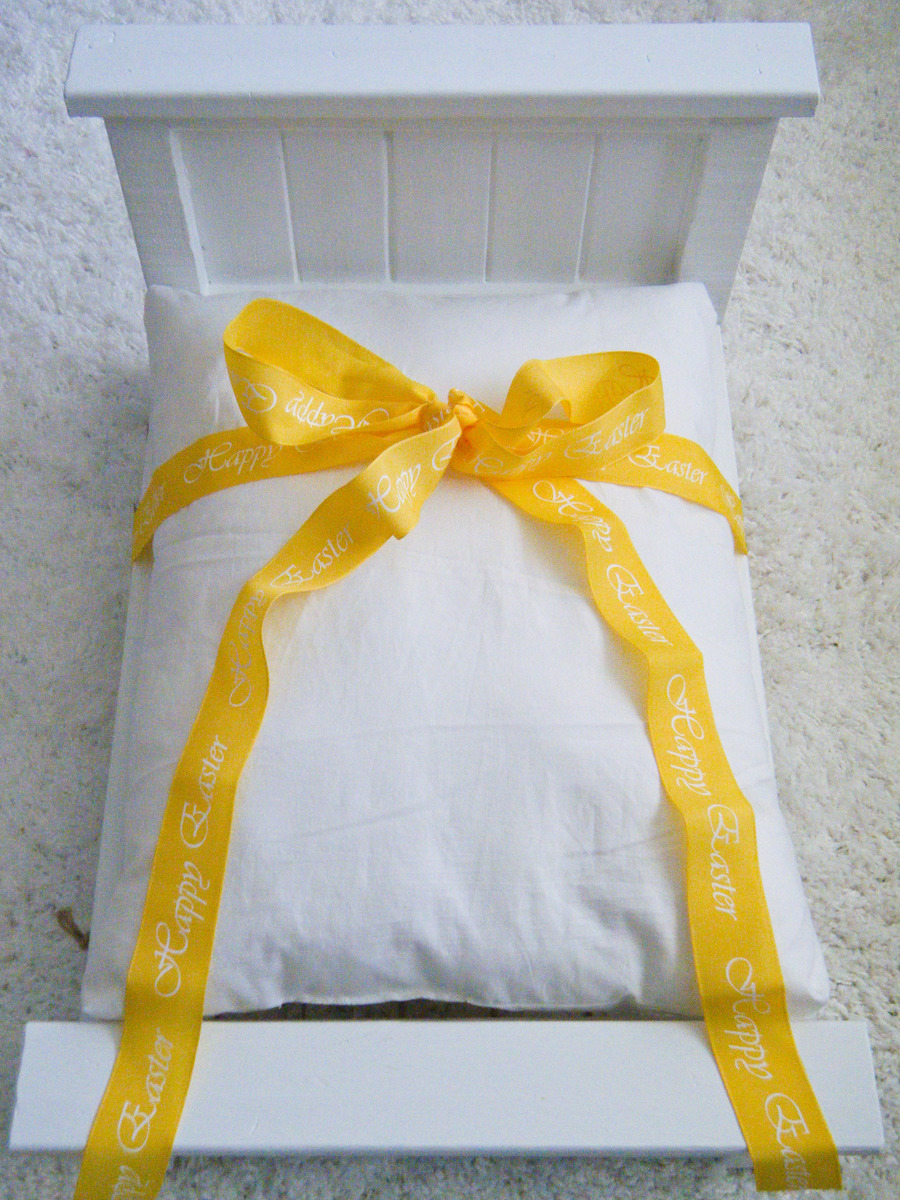
I've been wanting to make this doll farmhouse bed for a while now and Easter was a great excuse to get it done. I want to make the big-girl version for myself one day but there are too many projects in line to get through first. It was very easy to follow the plans Ana so kindly provided and the pan is very adaptable to materials you might have on hand to substitute. I made mine a rope bed, which my daughter loves.
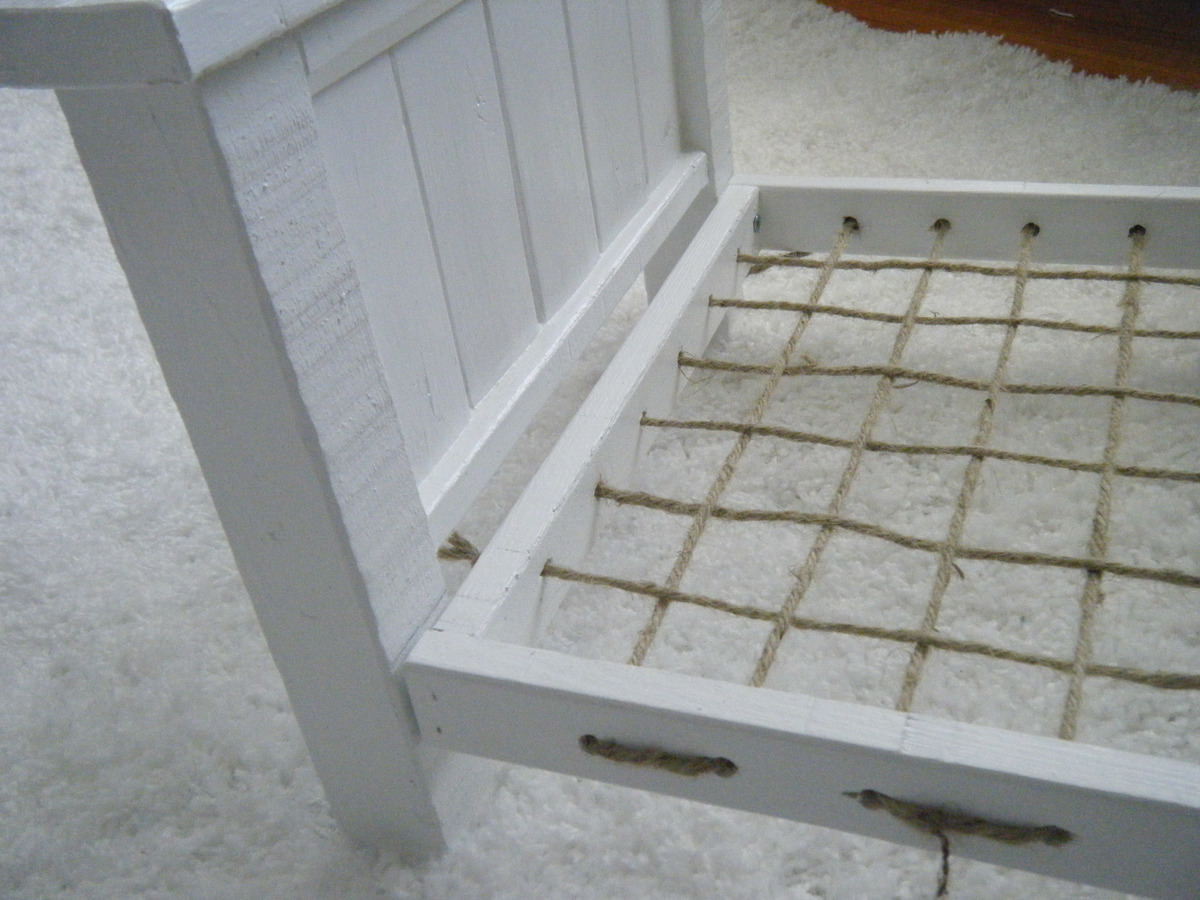
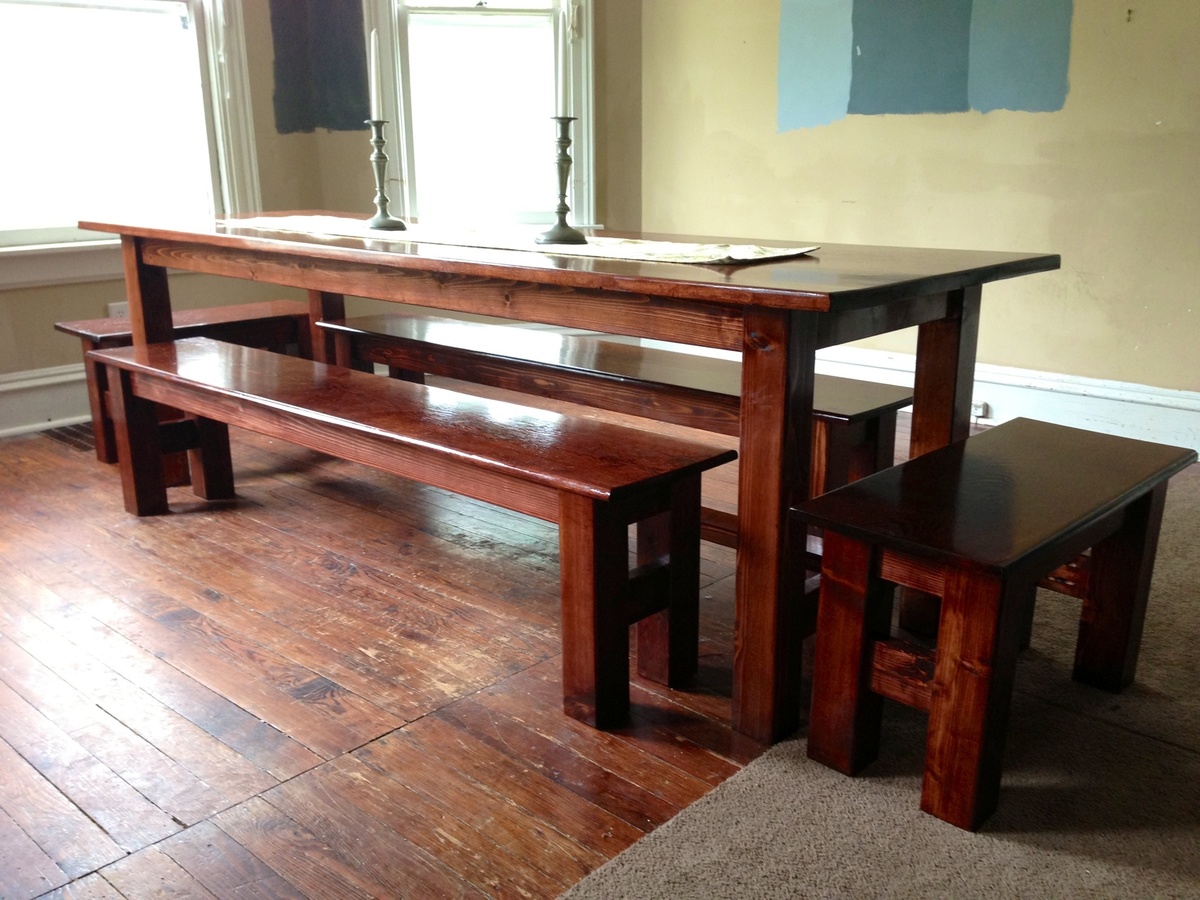
Table was built using refinished tops from an old table/bench set. Cedar was used for the base of the table and benches. Also created two half-size benches that can be used to add seating at the table, or moved to the living room when additional seating is needed there. Finished with mahogany stain and several coats of clear gloss polyurethane.
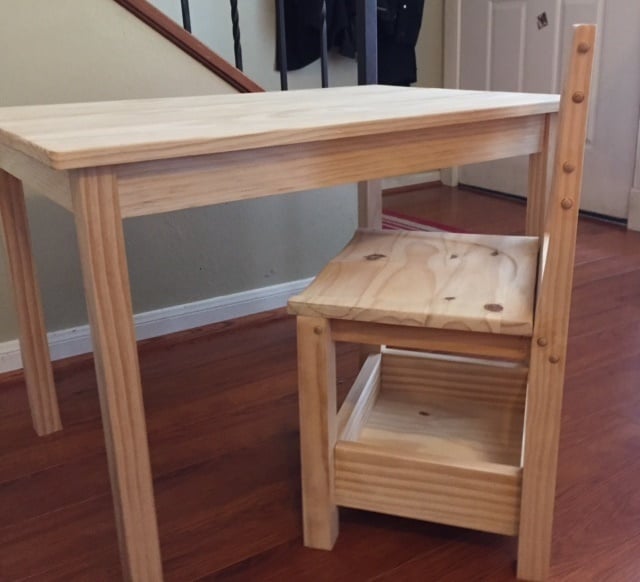
Such great and easy to follow plans. Even for a beginner like me. I did both projects in stages at my own pace and time. It probably could have been finished in a weekend, if I worked steady and straight through. Also if you are good and know exactly what you are doing, definitely in a weekend(haha). I just took my time and worked in baby steps, working through both plans. I am very pleased with the outcome. I did change a few things but that was my preference. I attempted to contour the chair seat, not bad but definitely not great. I used a handheld grinder with about 60 grit sandpaper to make the mold. If you are good and have a very very steady hand this can work. I have a router but not a jig for that type of pattern. All in all though I was very pleased with the outcome and so was my little Hannah. Thanks for this great website and keep up the great ideas.
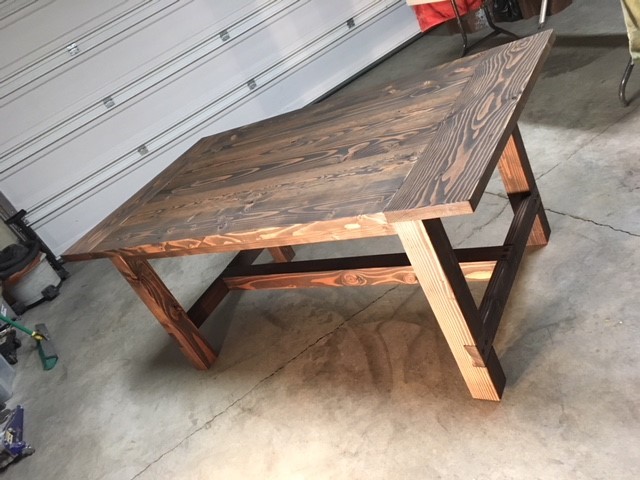
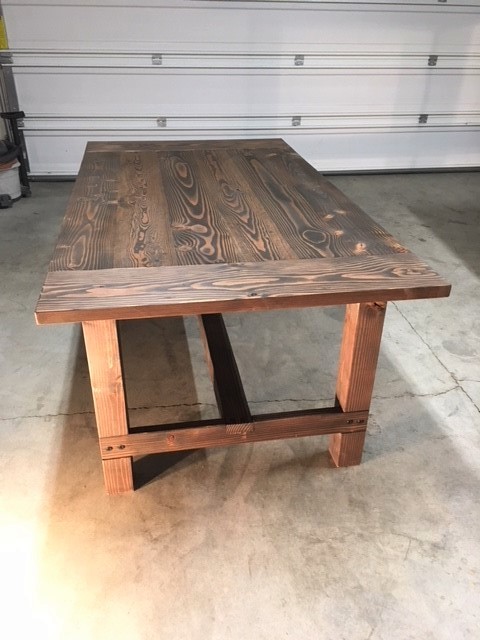
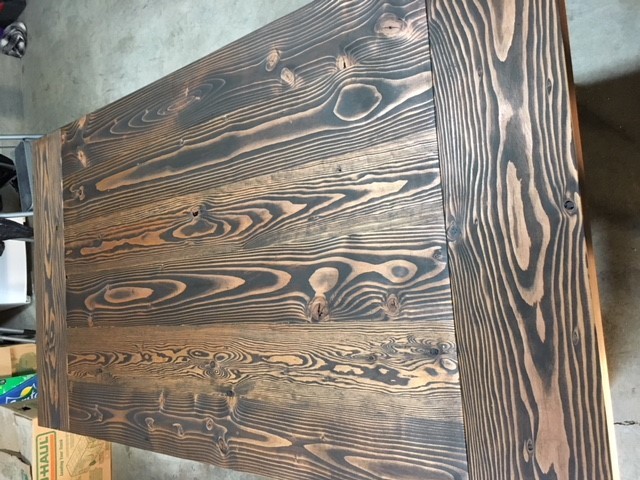
I did a few thing different than the plan calles for. I used kiln dried douglas fir 2x8's and ripped them to remove the rounded mill edge. For the stretcher I used 4x4 rather than the 2x4. Where the bread board is attached I put a very small bevel at the joining edges of the bread board and table to create a visual distinction.
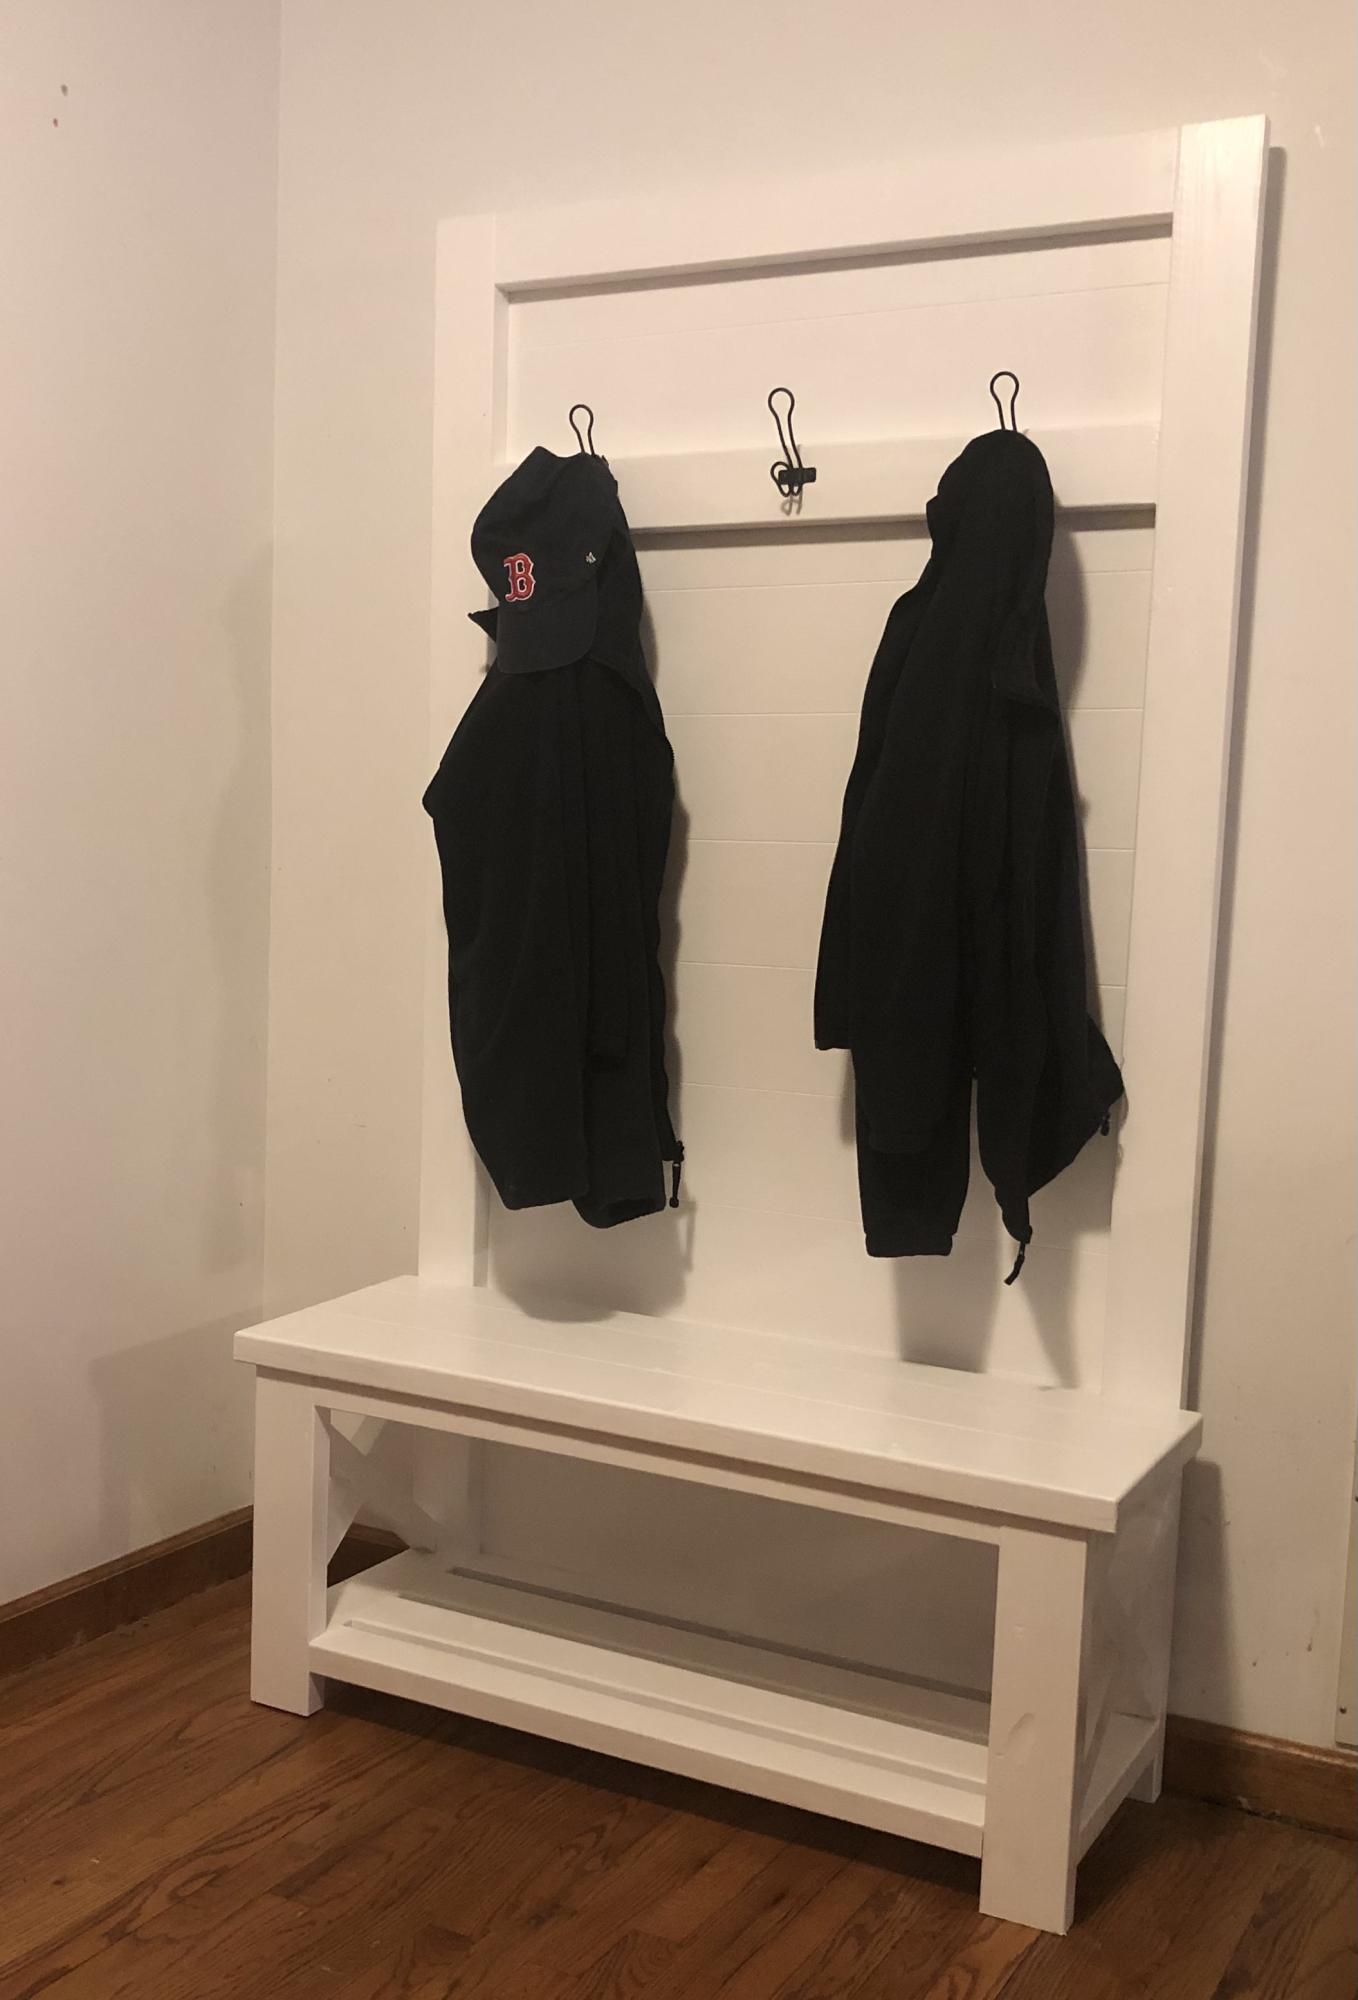
Smaller version of yours but works really well in our foyer.
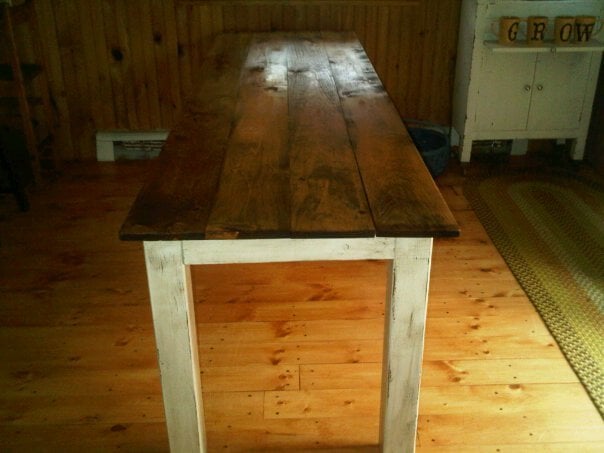
I have recently started working with wood and I love it!!! It started with a few little cubbies, then a small primitive cabinet and today I built my farm table and I absolutely LOVE it!!! I kind of combined plans,,used the size of the narrow farm table and did the basic frame of michaelas kitchen island
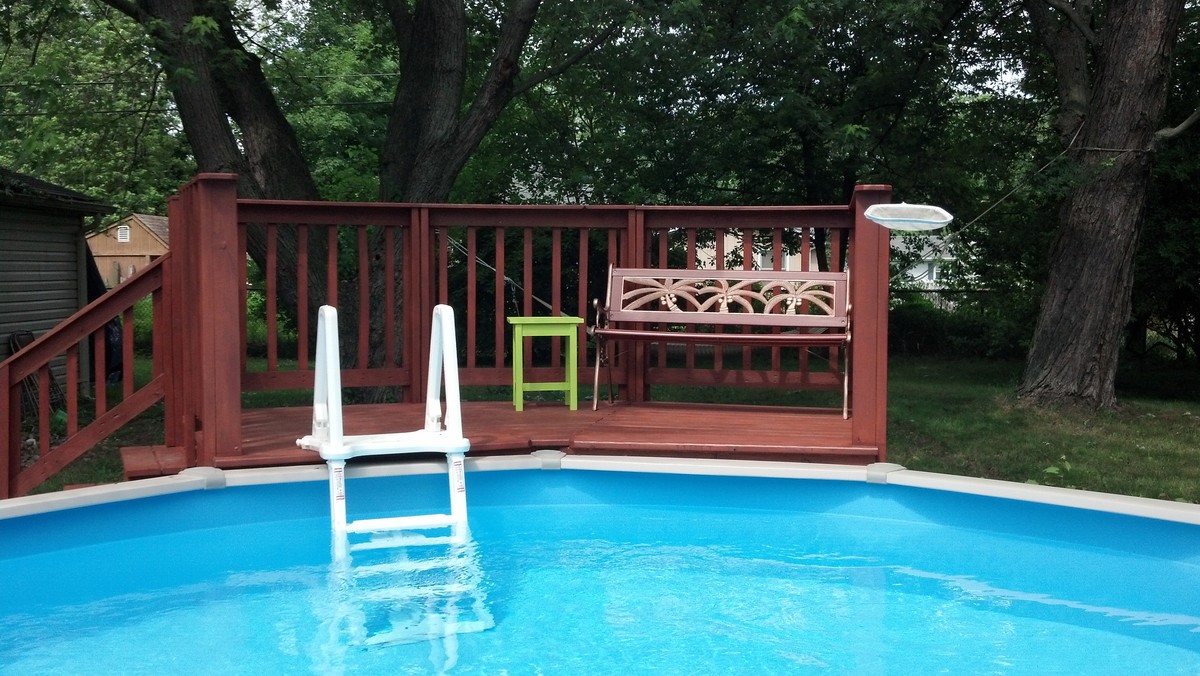
I built this using scrap 2x2s and 1x4s that I ripped down to the appropriate sizes. Also instead of using pocket holes I counter sunk the screws and filled with wood filler.
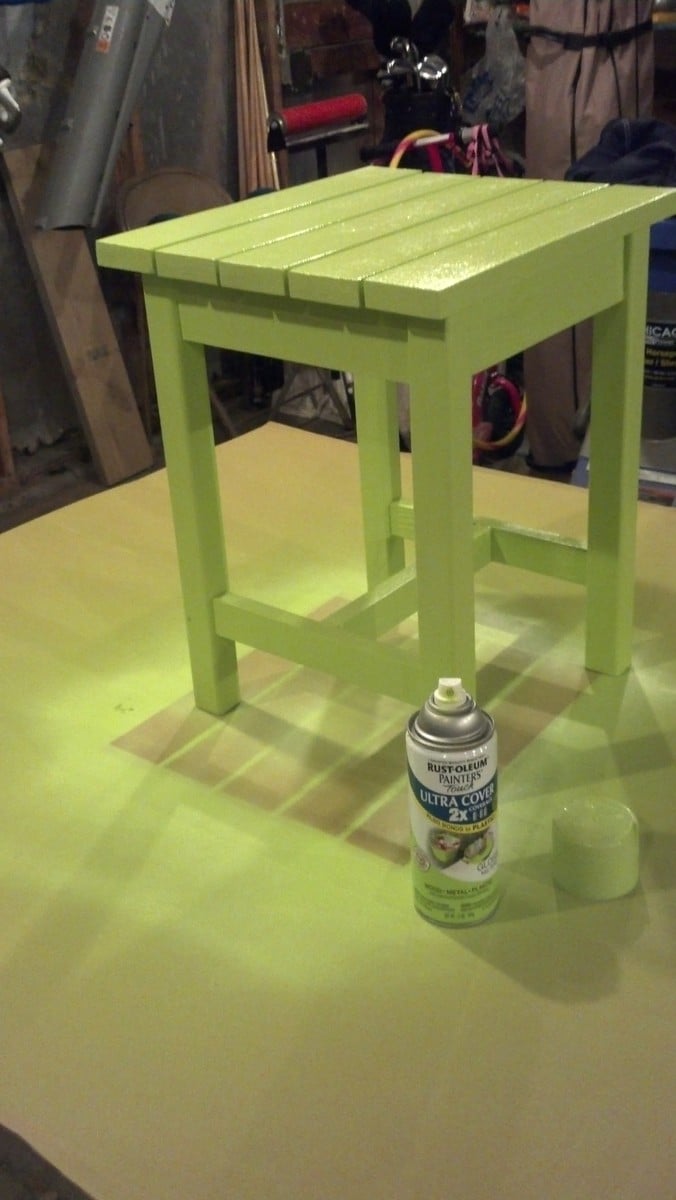
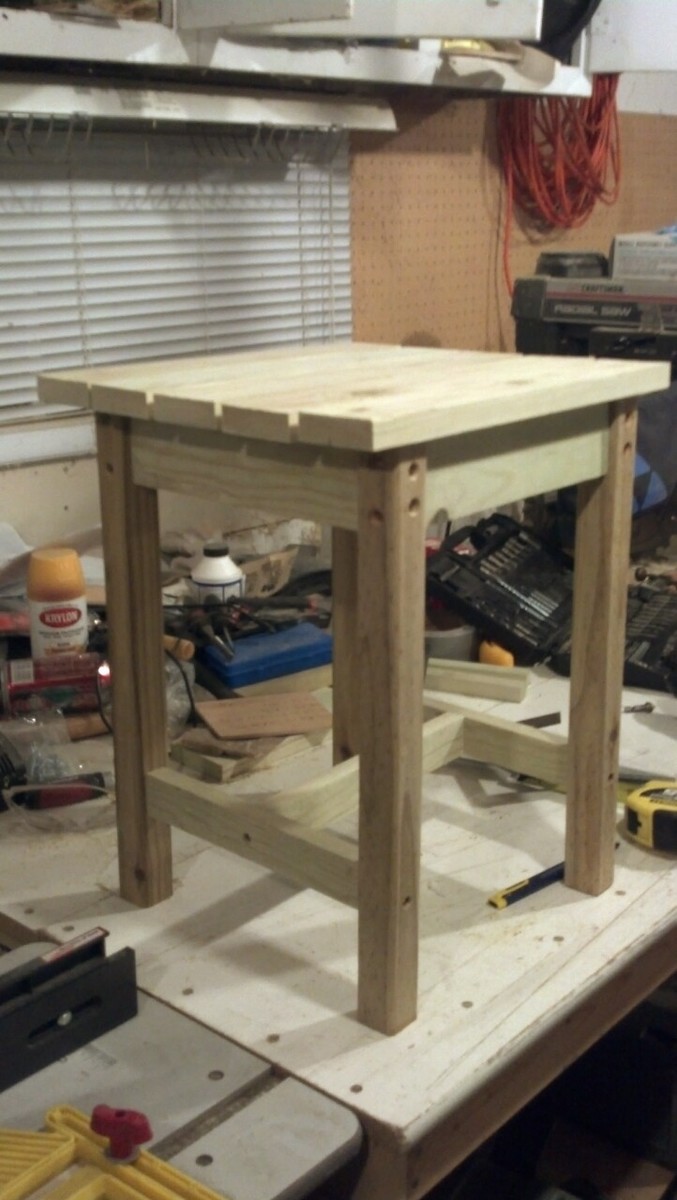
Great results from this plan. The additional mitered top is easy as long as you can get a good 45 degrees on your saw. If you decide to do the top piece, glue the 4 mitered pieces together and clamp for a couple of hours in order to make sure the angles set correctly. Once the glue is dry, then attach to the top of your planter with glue and nails. I built 2 planters, including the mitered top edges, in about 5 hours.
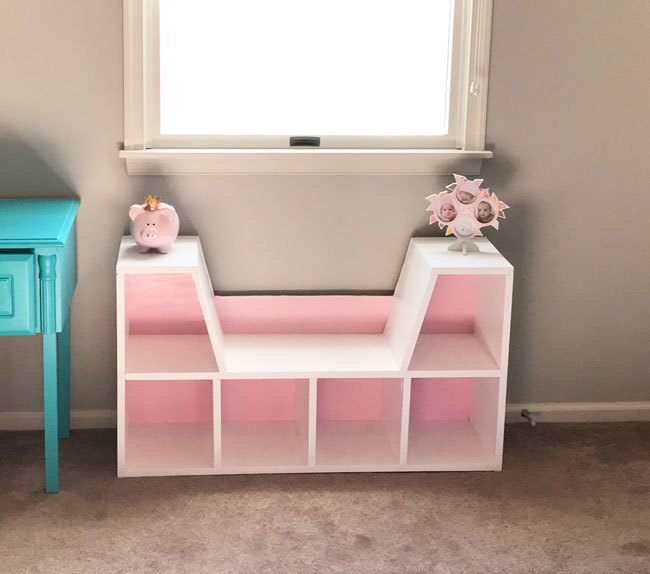
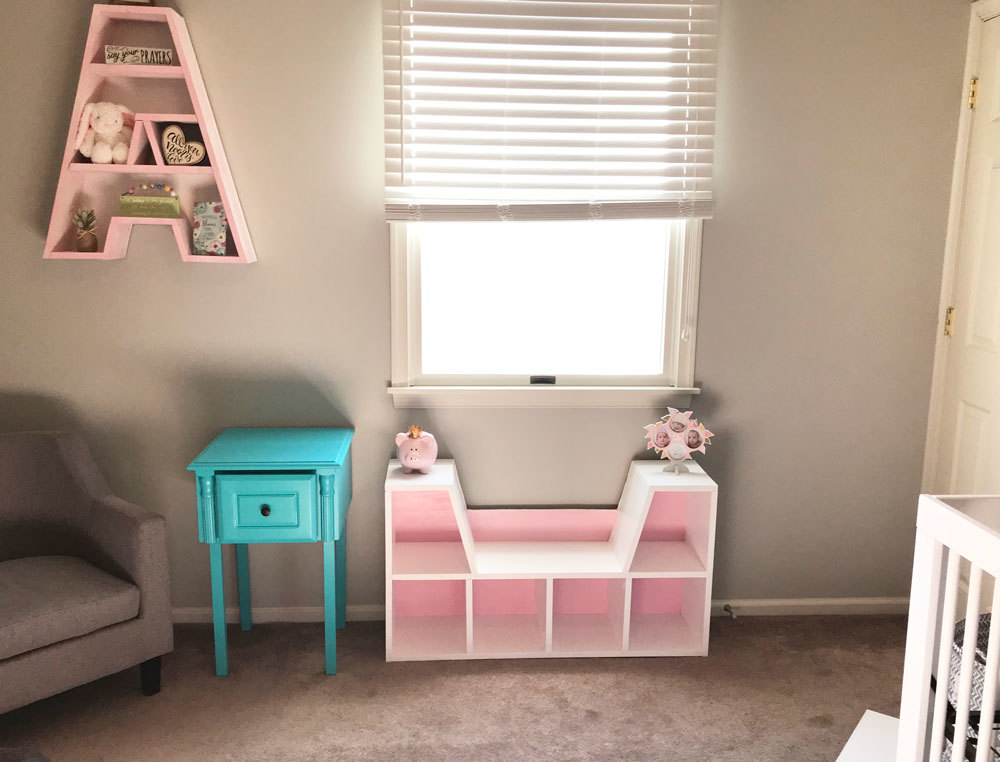
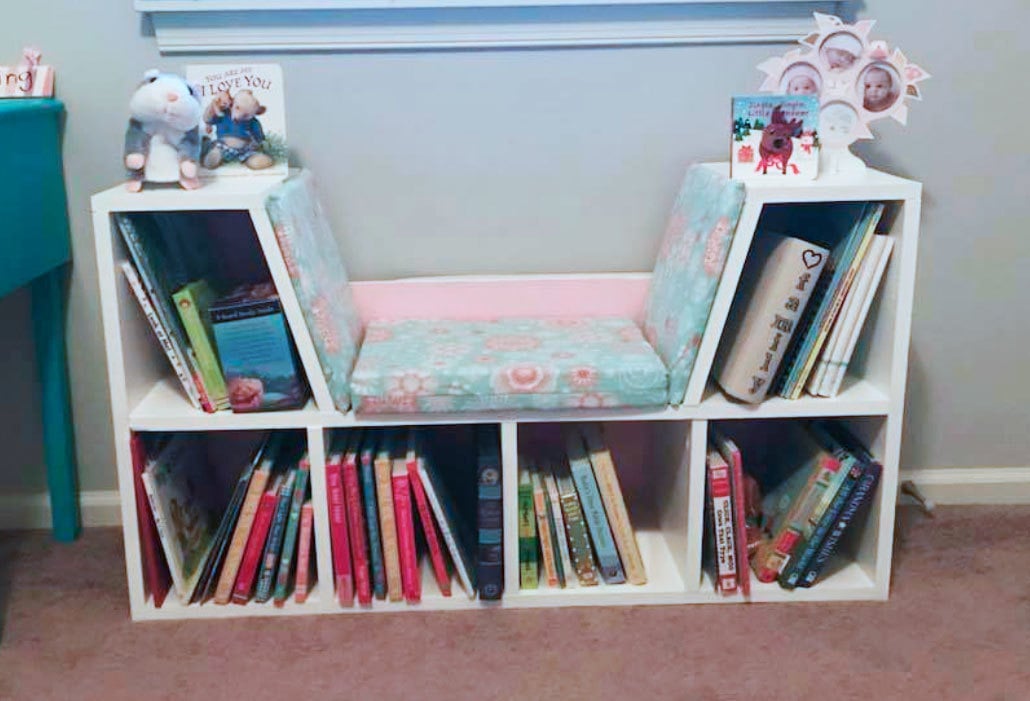
I made this book shelf with a reading nook for my daughters nursery. I found one you can buy online for $250 and decided I could make it for much less. I used 1 x12’s and the cushions were made by my mother and grandmother. All together it cost about $65 to make.
Sat, 01/06/2018 - 11:41
This is adorable! I love the entire room!
We've had a couple of people ask for plans. If there aren't any available, would you be willing to let us draw some plans up from your photos? Thanks! Ana
Sat, 01/06/2018 - 17:19
Absolutely! Sorry I didn’t have plans to post. It was an off the cusp kind of build and I just figured it out as I went along.
In reply to Absolutely! Sorry I didn’t by Knathu121
Sat, 01/06/2018 - 20:20
Thank you you are too kind! Do you happen to have your cut list? Or just rough dimensions?
Sun, 01/07/2018 - 09:11
I don’t have my cut list anymore but rough dimensions are as follows;
height - 23.5”
width 44.5
depth- 12”
I tried accounting for the width of the wood in order to make each square on the bottom 10x10 and the 2 middle shelves to be 12 inches high and the bottom on the middle shelves to be 10” wide. I wanted to have at least 20” for the seat while also having 2 wide enough shelves at the top to be able to put things. Sorry but I don’t have the angles of the 2 side walls for the sitting area. I know that’s a pretty rough explanation but with the things I’ve seen you make I’m sure you can make do!
Sun, 01/07/2018 - 15:43
I don’t have my cut list anymore but rough dimensions are as follows;
Height - 23.5”
width 43.75”
Depth - 12”
I tried making dimensions to account for each box on the lower level to be 10x10 and the boxes in the middle to be 12” high and 10 inches wide. I wanted the seat to be at least 20” but I miss calculated the angle cut length and my seat is less then 20”. I can’t remeber the angle I used for the walls (sorry!) but I wanted to make sure that the top shelf was wide enough to put stuff on it. I know this is a rough explanation but based on the incredible stuff you make I’m sure you can work it out and make some pretty awesome plans!
Thu, 11/26/2020 - 20:31
Hi Ana! I’ve been searching for plans for this. Did you happen to draw any up? If not, I’ll go off the OP’s dimensions and wing it! Thanks!!
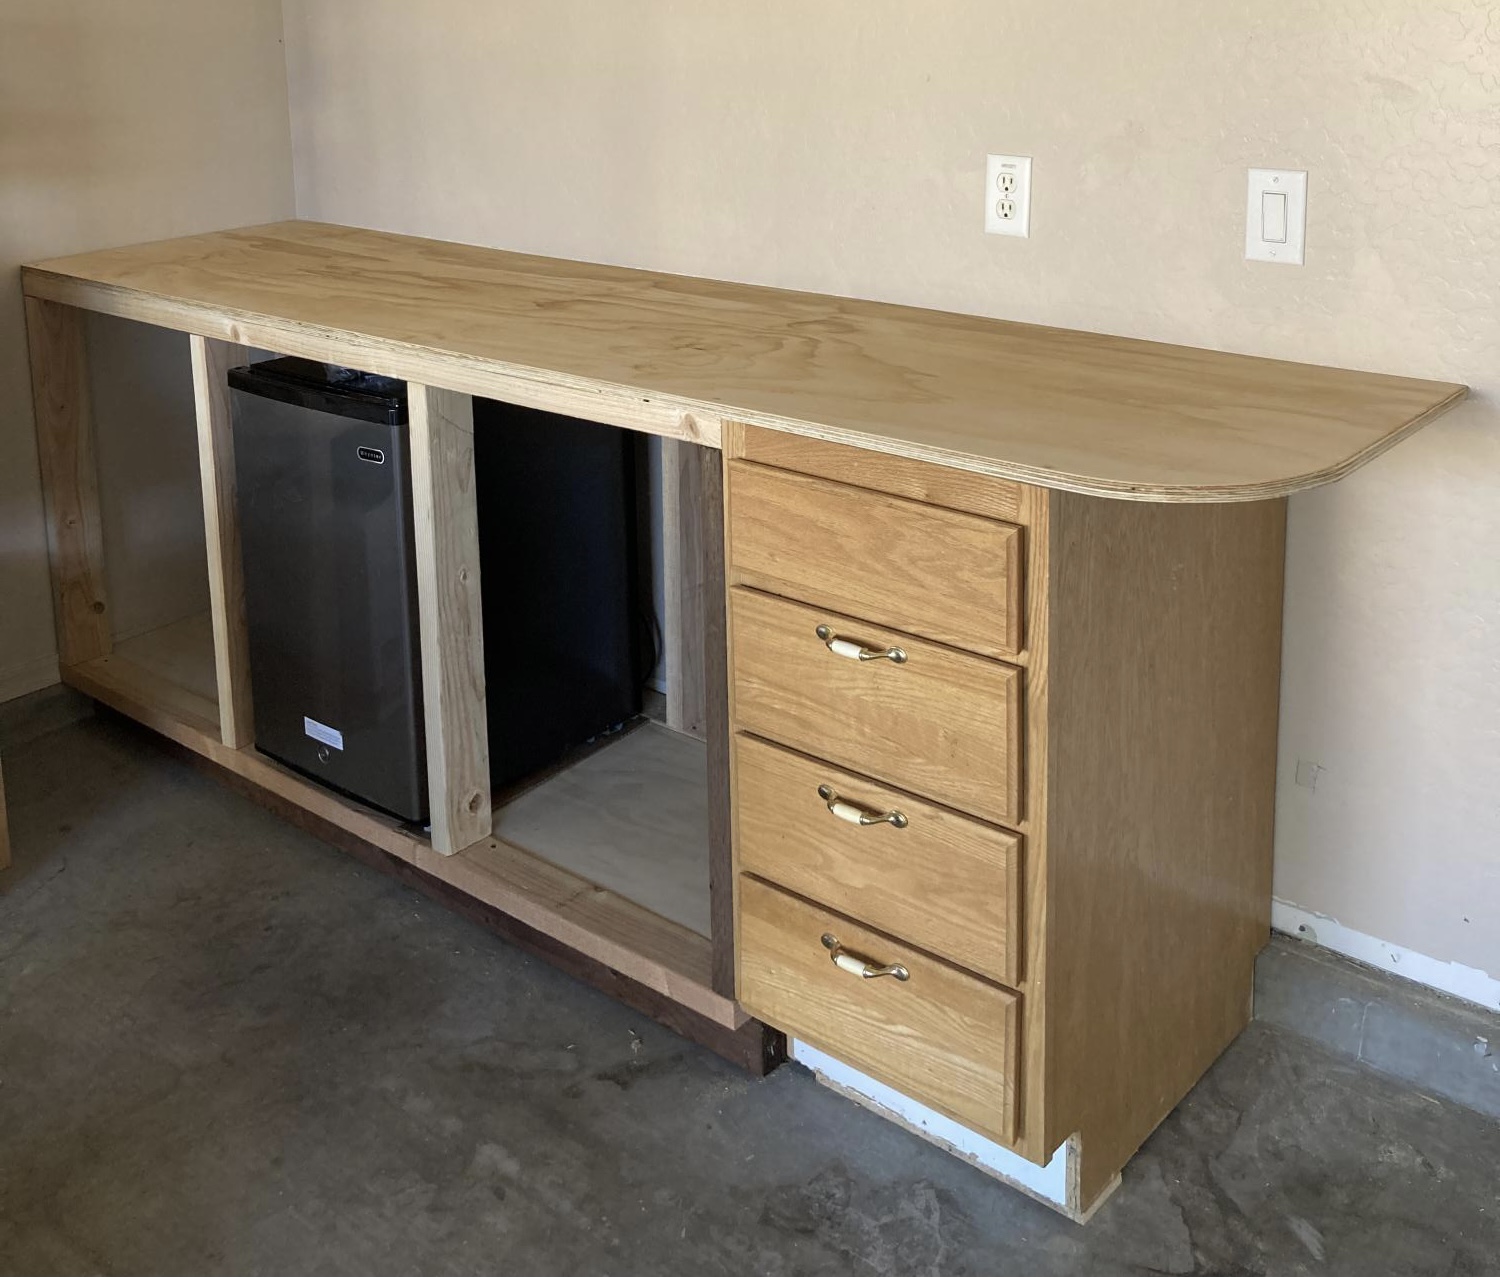
Had to tweak the pony wall plans a bit because the garage floor had a 2” x 3 1:2” cement retainer. I also wanted to incorporate an end cabinet I already had, so I shortened up the base to 69” and tied it together with the top.
Comments
Ana White Admin
Sat, 12/25/2021 - 15:11
Perfect!
Excellent addition to your panty, and looks great!