I had always wanted a bigger entry way at my front door. Last year my husband was gone for 3 weeks (military training) and I had the perfect opportunity to make it happen.
as you can see the original closet took up half of the entry way, and was not very functional as far as storage. It was always crammed full of stuff and there was just no good way to organize it.
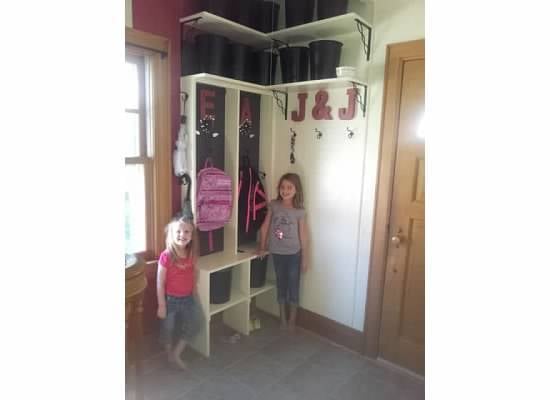
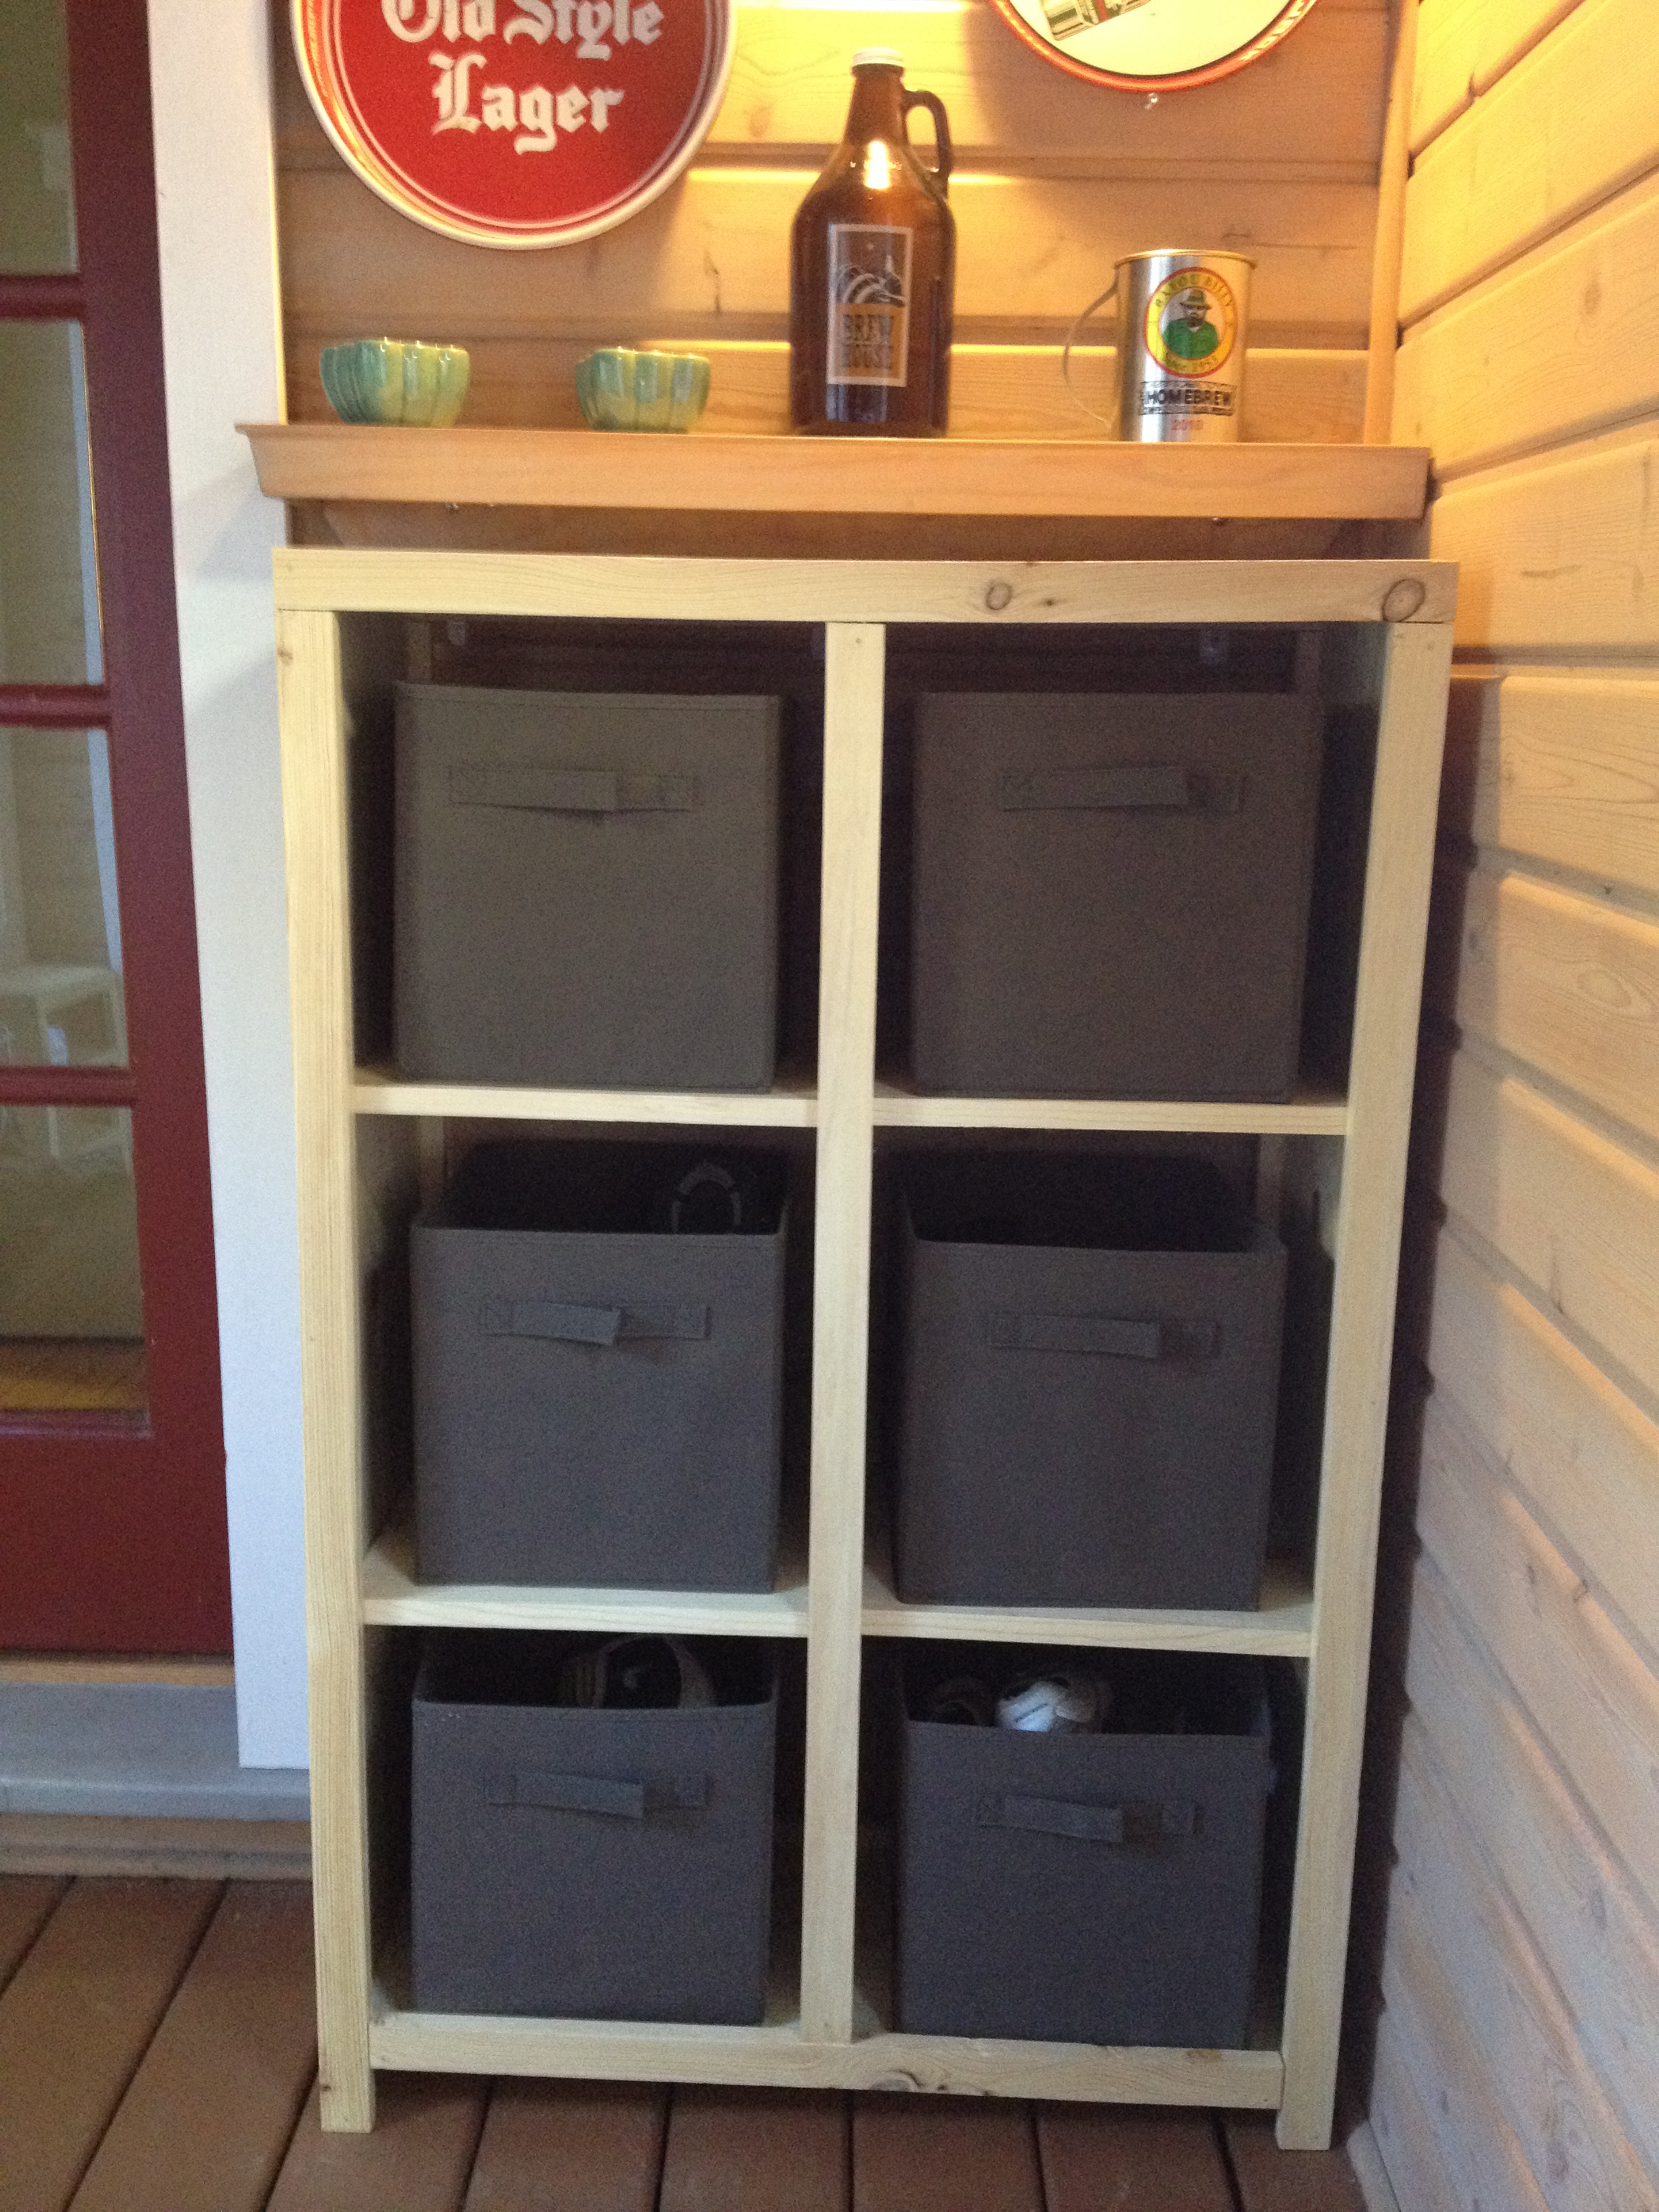
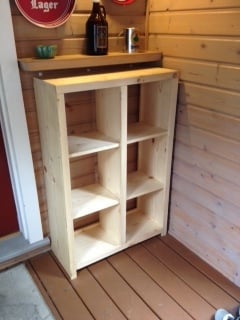
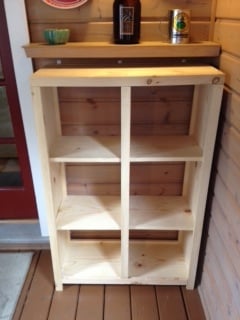
With the help of my mom and sister (huge thanks) we tore out the closet, put in a new floor in the entry way, built a bench with nooks for my girls, shelves below for shoes, and shelves above for storage containers.
The new floor was added as we found after the closet was out that the oak flooring did not continue under where those walls had been, and after consulting with a wood floor specialty guy, I was informed that the flooring in my house has not been made for some 50 years now. We added new flooring (which has been better with wet shoes anyways) and moved on.
The bench/ shelf was built by us with the size of the space in mind, and the height of the tallest shoes also in mind (my husbands boots) there are two cubbies and enough bench to seat one at a time to get shoes on or off. the back of the cubbies is painted in magnetic paint. very helpful when the girls need to take notes to school with them, I simply hang them up and they stuff them in their back packs on the way out the door. we have found that friends pictures go up through the school year there too. The round black containers that you see are perched along the top two shelves. They are $1 discounted, plastic garbage cans that I spray painted black to match. They have recently been labeled, gloves, hats, scarves, flip flops, out door chalk, etc. the very top shelf which you need a step stool to reach hold the off season bins and the lower shelf holds the in season bens. there are also 2 bens below the bench seat to hold, flip flops or gloves and hats for easy access for my girls.
Over all, the overhaul (:) has been great. people can now actually get into my house and out of the weather more then one at a time. the storage is much more efficient, and I feel much cleaner looking.
and best of all, because I like to change things up all the time, I can change out the bins to square or rectangle and any other type of material, anytime I like, I wont always have to stick with the repurposed garbage cans that I am using now. although these suckers hold a lot more then I ever would have thought.
This was my first really big project. and I am pretty proud of it. - And my husband actually thought he was in the wrong house when he came home from training :)