Community Brag Posts
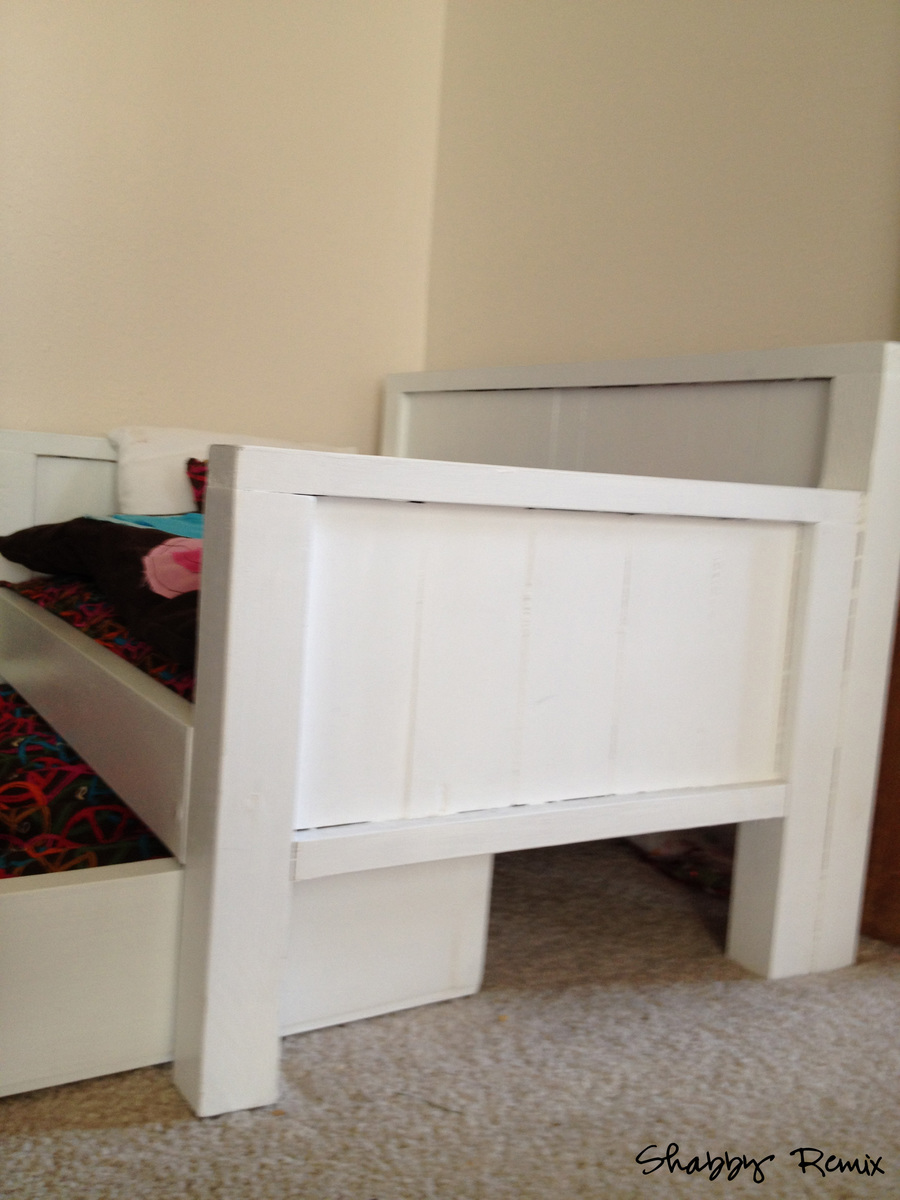
American Girl Doll Trundle Day Bed

My neice wanted a bed just like hers for her American Girl Doll. I did manage to find one, but I also found plans here! Thank you!! :) So I modified the plans a little bit to add the back of the daybed. She loves it!
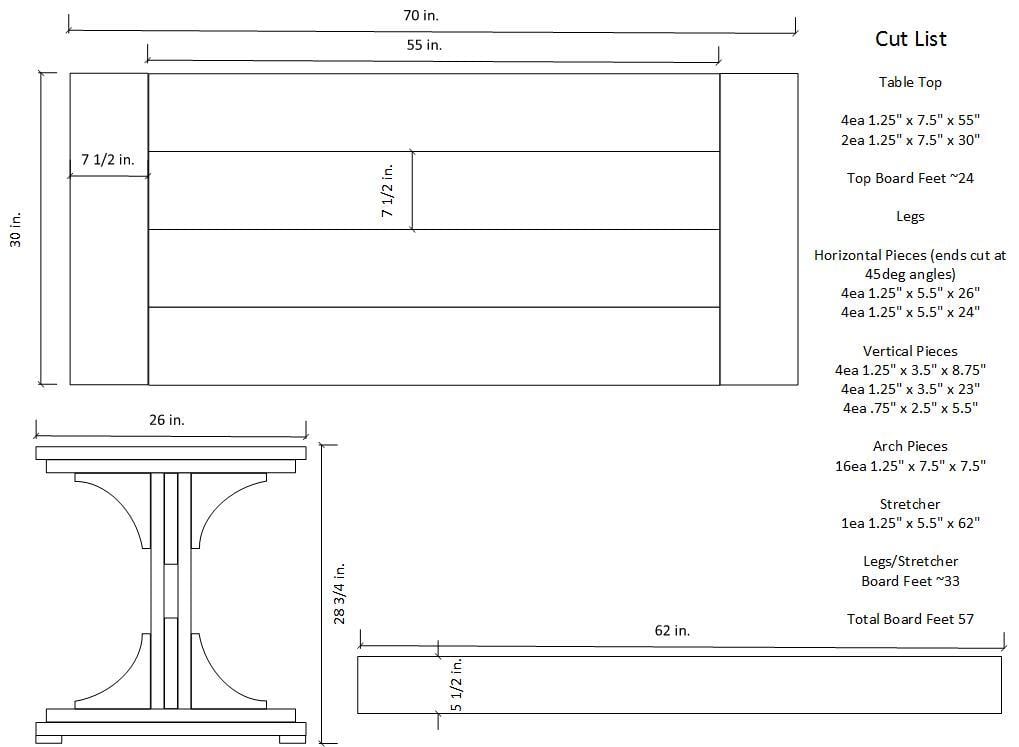
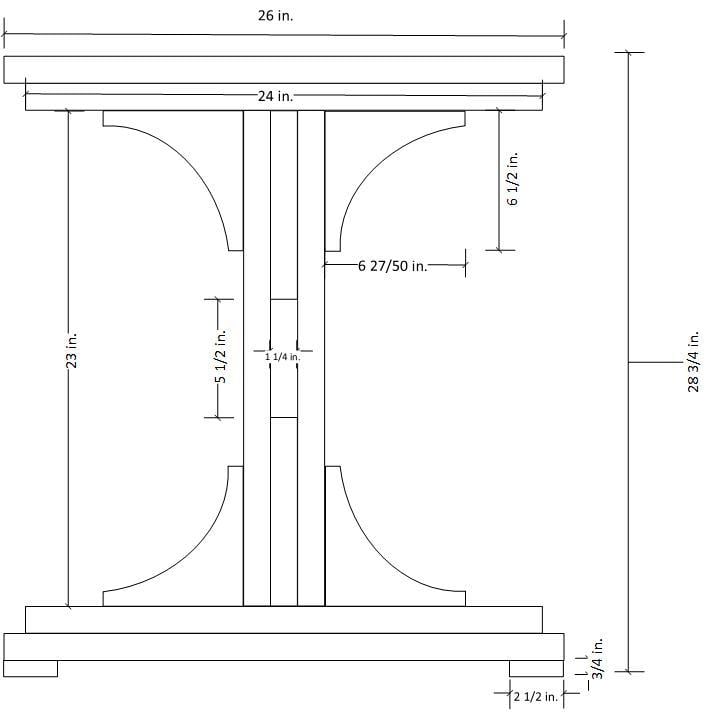
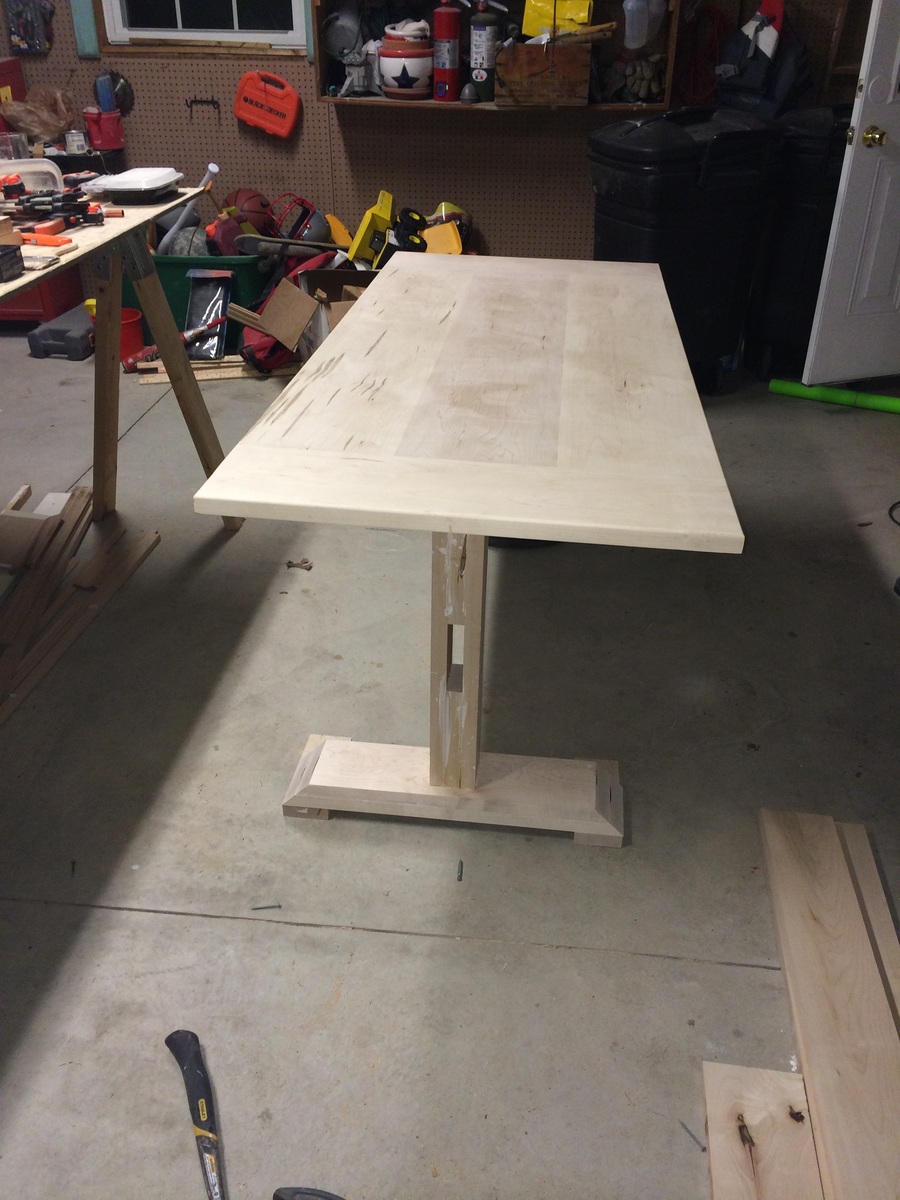
Double Pedestal 6' Farmhouse Table
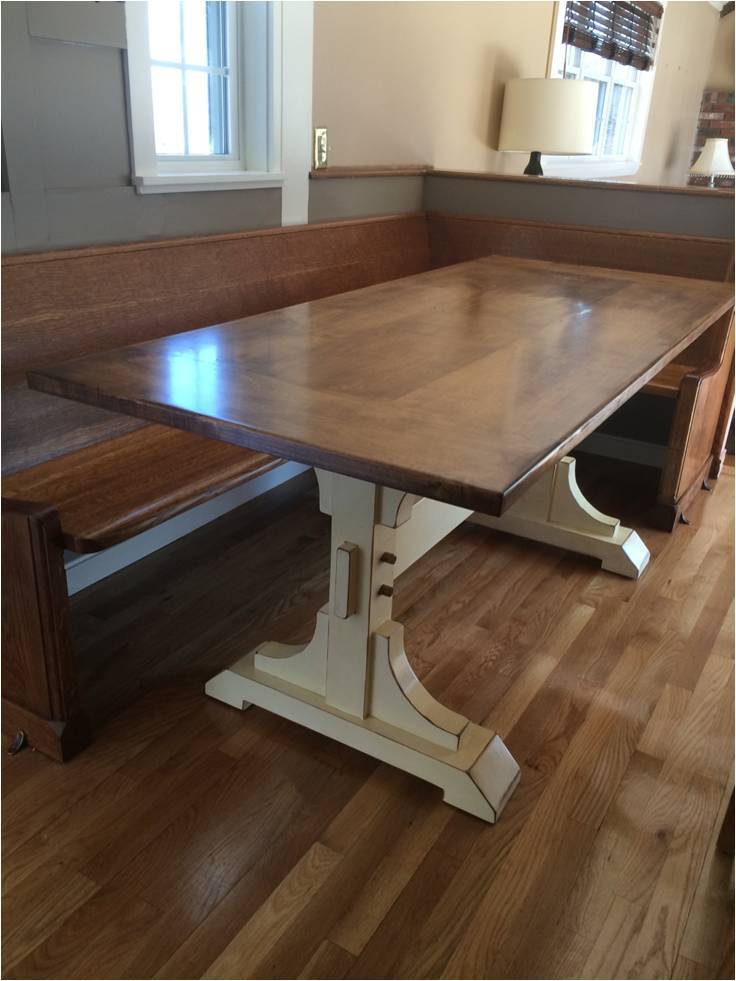
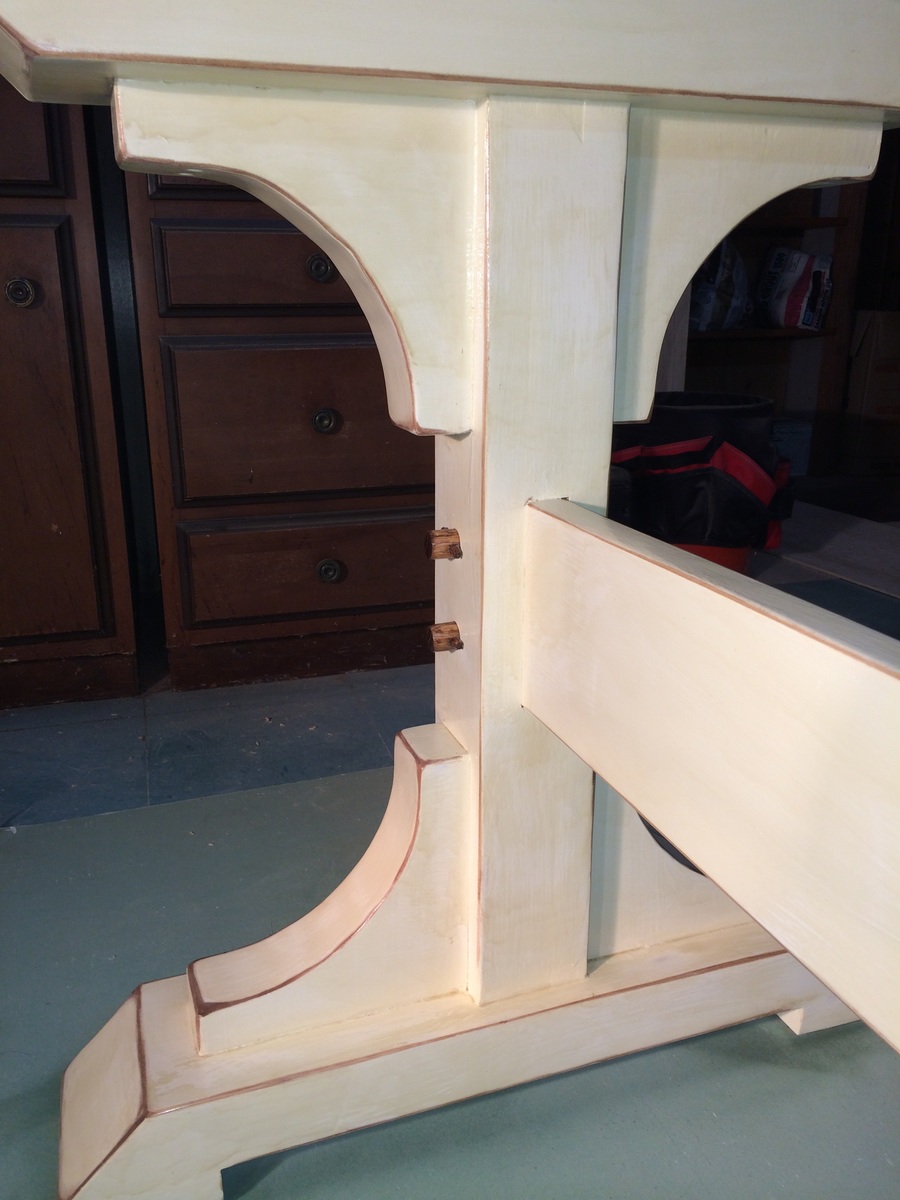
Farmhouse table made from distressed (worm hole) maple.
My neighbor was able to get me the 5/4 distressed maple for about $2/bd ft - I ended up buying 100 board feet and had plenty leftover. The finished board feet for this project was about 60 if I remember correctly. So the $200 was the bulk of the expense. The only other costs were sand paper, I bought a Kreg Jig, screws, Minwax Marker, paint, stain and urethane (much of which I already had).
It came out better than I anticipated. The antique white finish was not difficult at all.
Tip - When following the instructions for the finish here, I applied the first coat of urethane with a brush almost immediately after applying the Minwax marker to all of the sanded edges. I did this in haste, but ended up with some unexpected results that really added a nice touch. The stain from the marker incorporated a bit into the urethane as I brushed it giving it an antique, yellow hue. At first I thought I made a big mistake, but it turned out to add a really nice look.
Comments
Mon, 05/19/2014 - 07:29
Disassembly
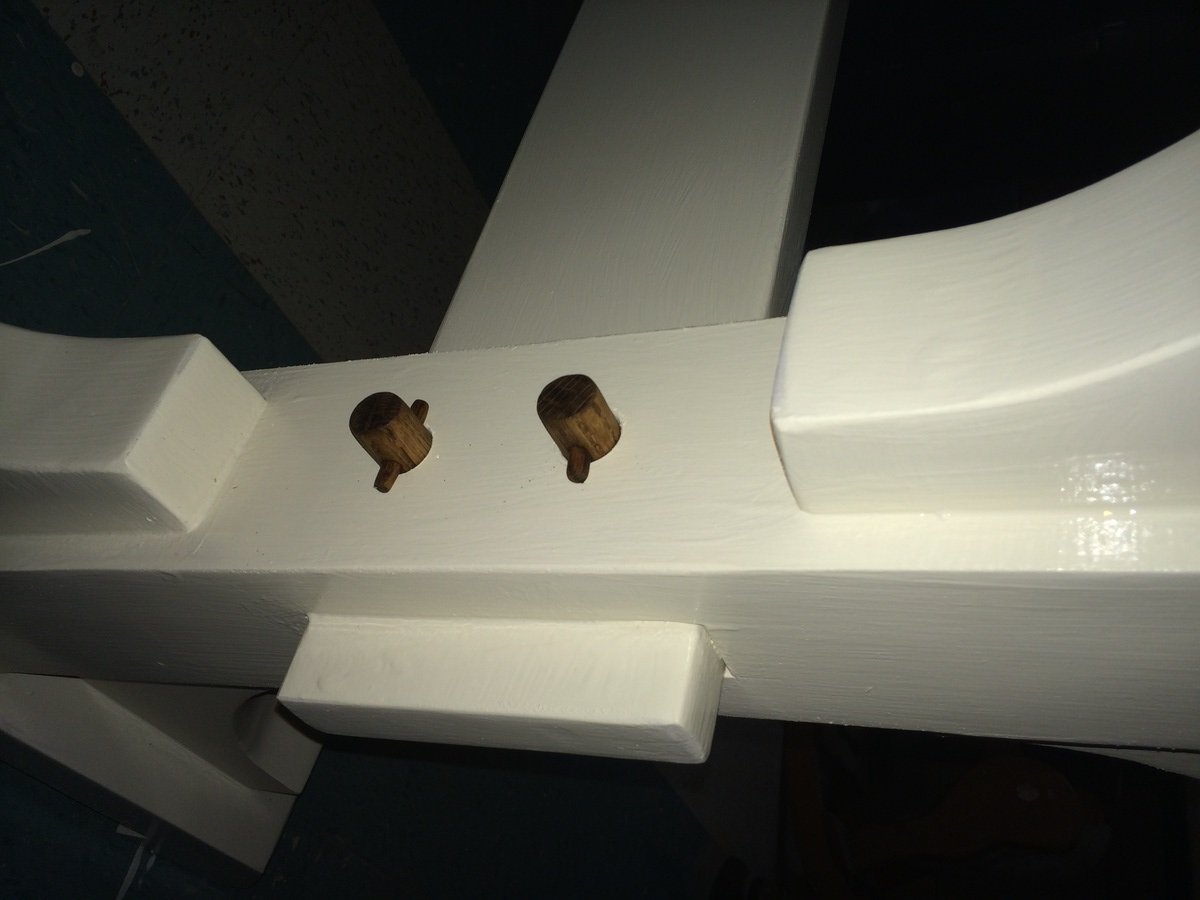
CSaintD - The top can be removed as I did not glue it. I set 3 dowels on top of each of the 2 legs so that the top would always lign up correctly if disassembled and reasembled. The stretcher could be removed, but would probably cause some damage to the finish as it was a tight fight when I finished it. The stretcher would be removed by removing the dowel pegs that I fabricated on each leg.
In reply to Disassembly by g82martin
Mon, 05/19/2014 - 08:21
Thanks. I really like the
Thanks. I really like the dowel pegs on the legs/stretcher. Very nice top finishing as well. Did you square the boards to get them to be so smooth when joined?
Mon, 05/19/2014 - 08:26
table top
I cheated a bit on the top. My neighbor who got me the wood works in a furniture reupholsery shop. He planed and joined the boards for me, which saved me a good amount of time. I'm confident I could have done this at home with my table saw, miter saw and hand plane, but what he did in 2 hours probably would have taken me 10.
Fri, 08/05/2016 - 20:35
Pew!
Love the dowels you added! Planning on building this exact table pretty close to your dimensions and have a very long church pew as well! Trying to decide between L-ing my pew and cutting to straigjy 6'. Do you mind sharing the dimensions of your pew? And how did you miter the pew?
Tue, 01/21/2020 - 09:40
Beautiful table. I love the…
Beautiful table. I love the pegs added to the legs and stretcher, they add a historic detail lost in a lot of today's building techniques
Folding Workbench with Storage
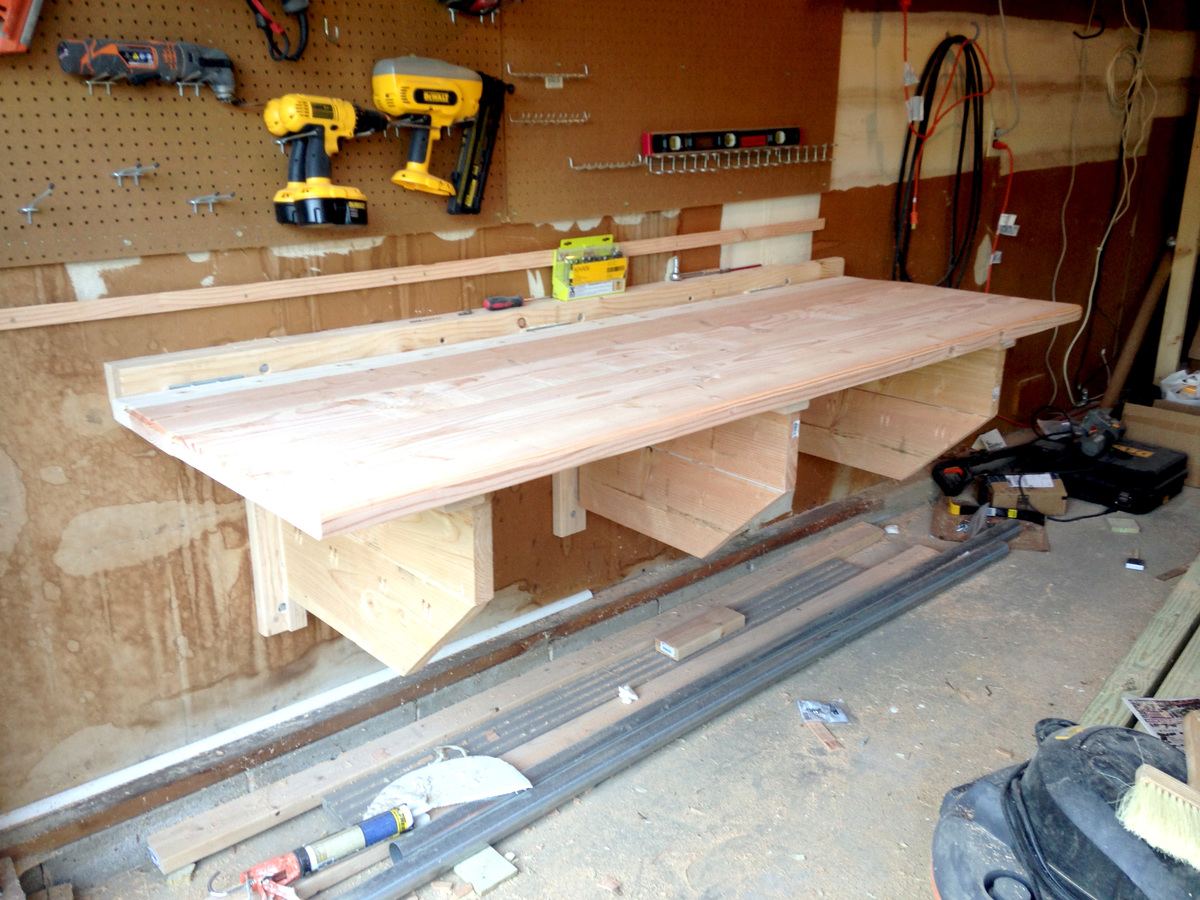
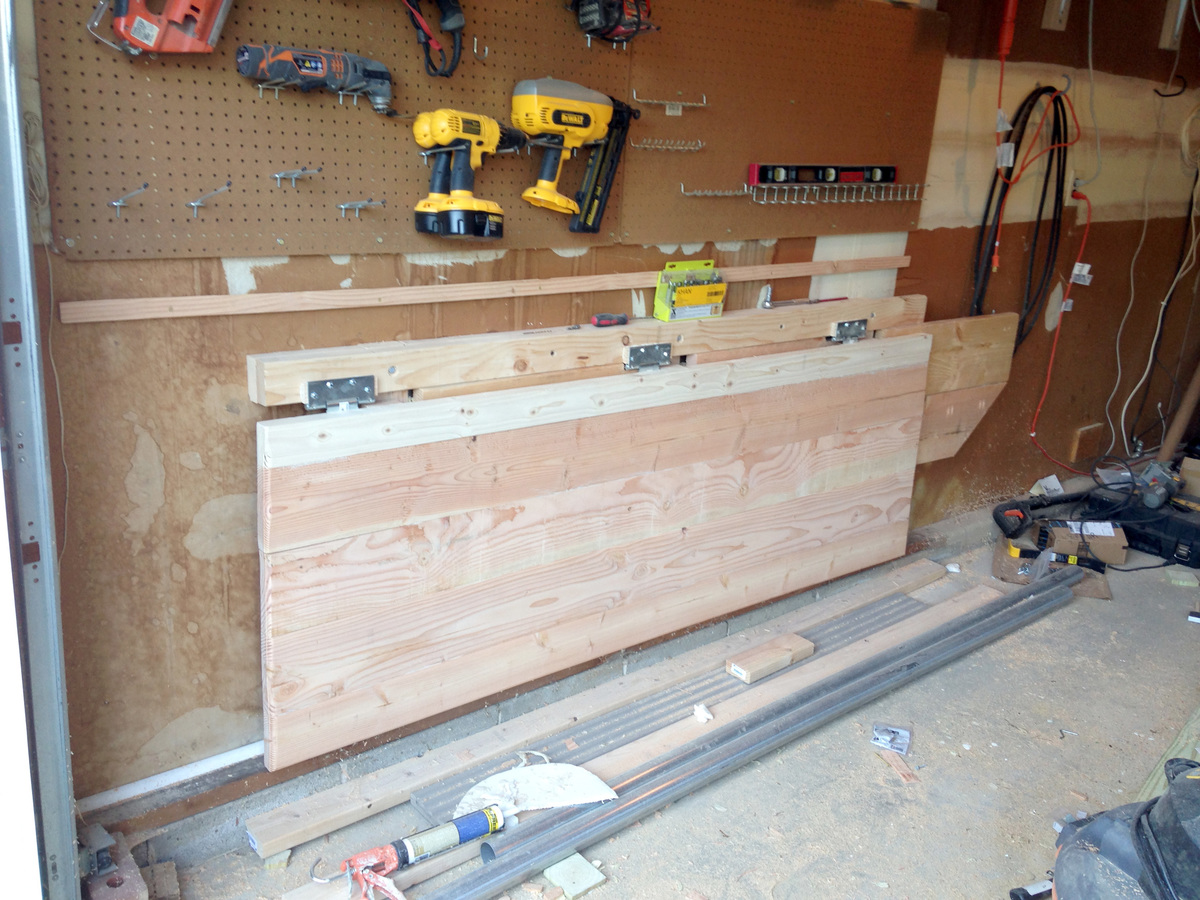
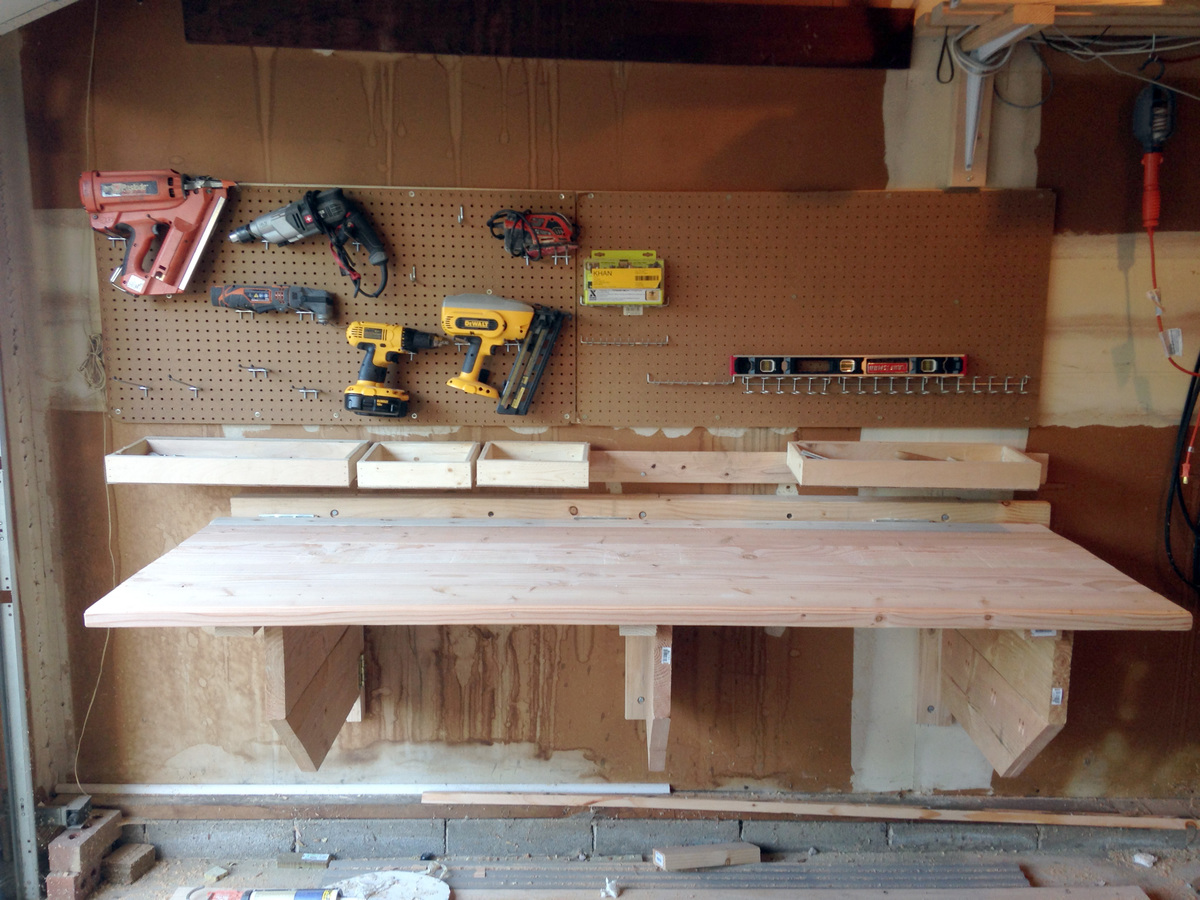
Digging through my scrap wood collection, I came across some pieces of pegboard from our previous home that I had forgotten about. I had just relocated a lot of garden tools to the shed, and there was an empty wall in the garage that would now be perfect for the pegboard. After mounting the pegboard and hanging up some tools, the wall still looked a little empty. I had a vision of mounting a heavy duty folding workbench to the wall. This was the perfect location, and if the workbench folded, we could still fit the car in the garage. You can read all the details about my folding workbench on my blog at:
http://www.justmeasuringup.com/blog/building-a-folding-workbench-with-french-cleats
The workbench is a perfect addition to my garage, and its used every day. Best of all, I just fold it down when I need to park the car!
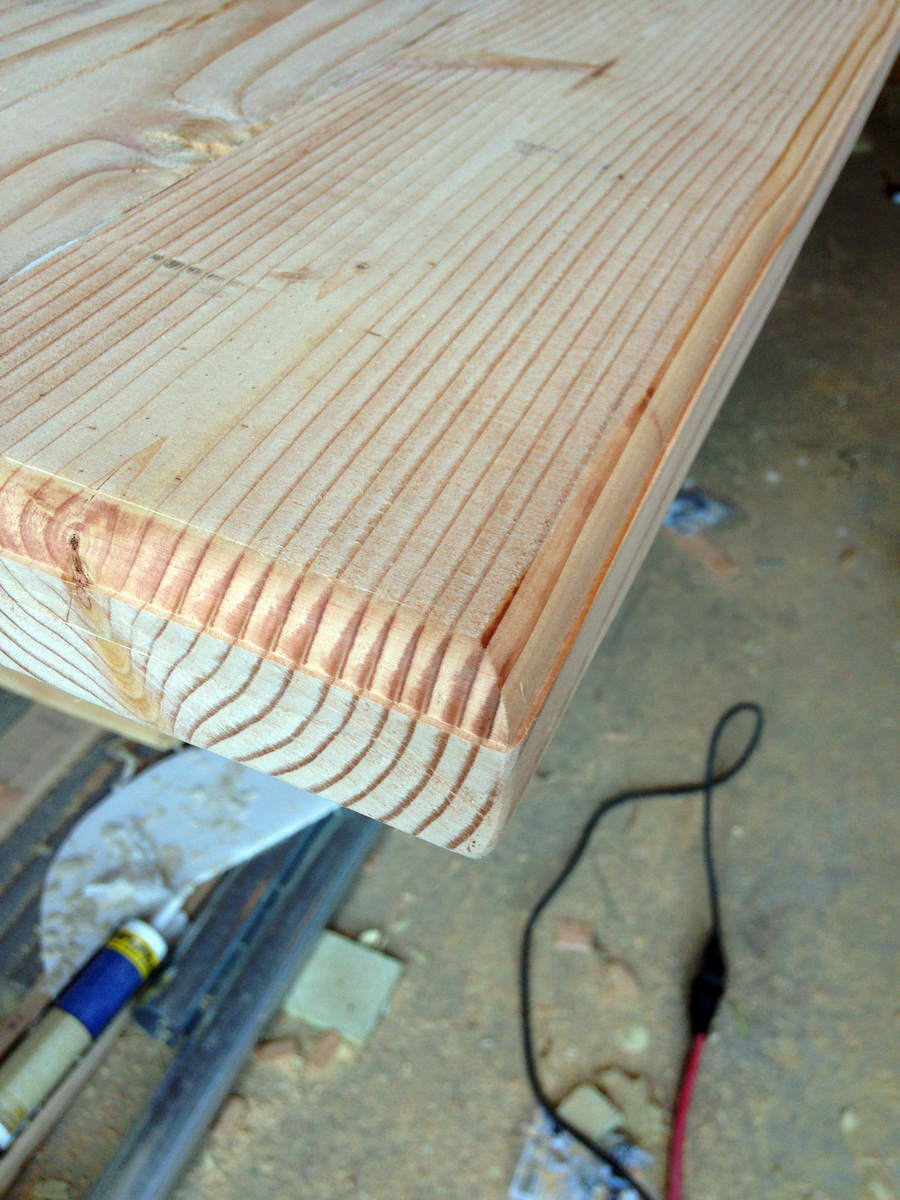
Easy Build DIY Planter
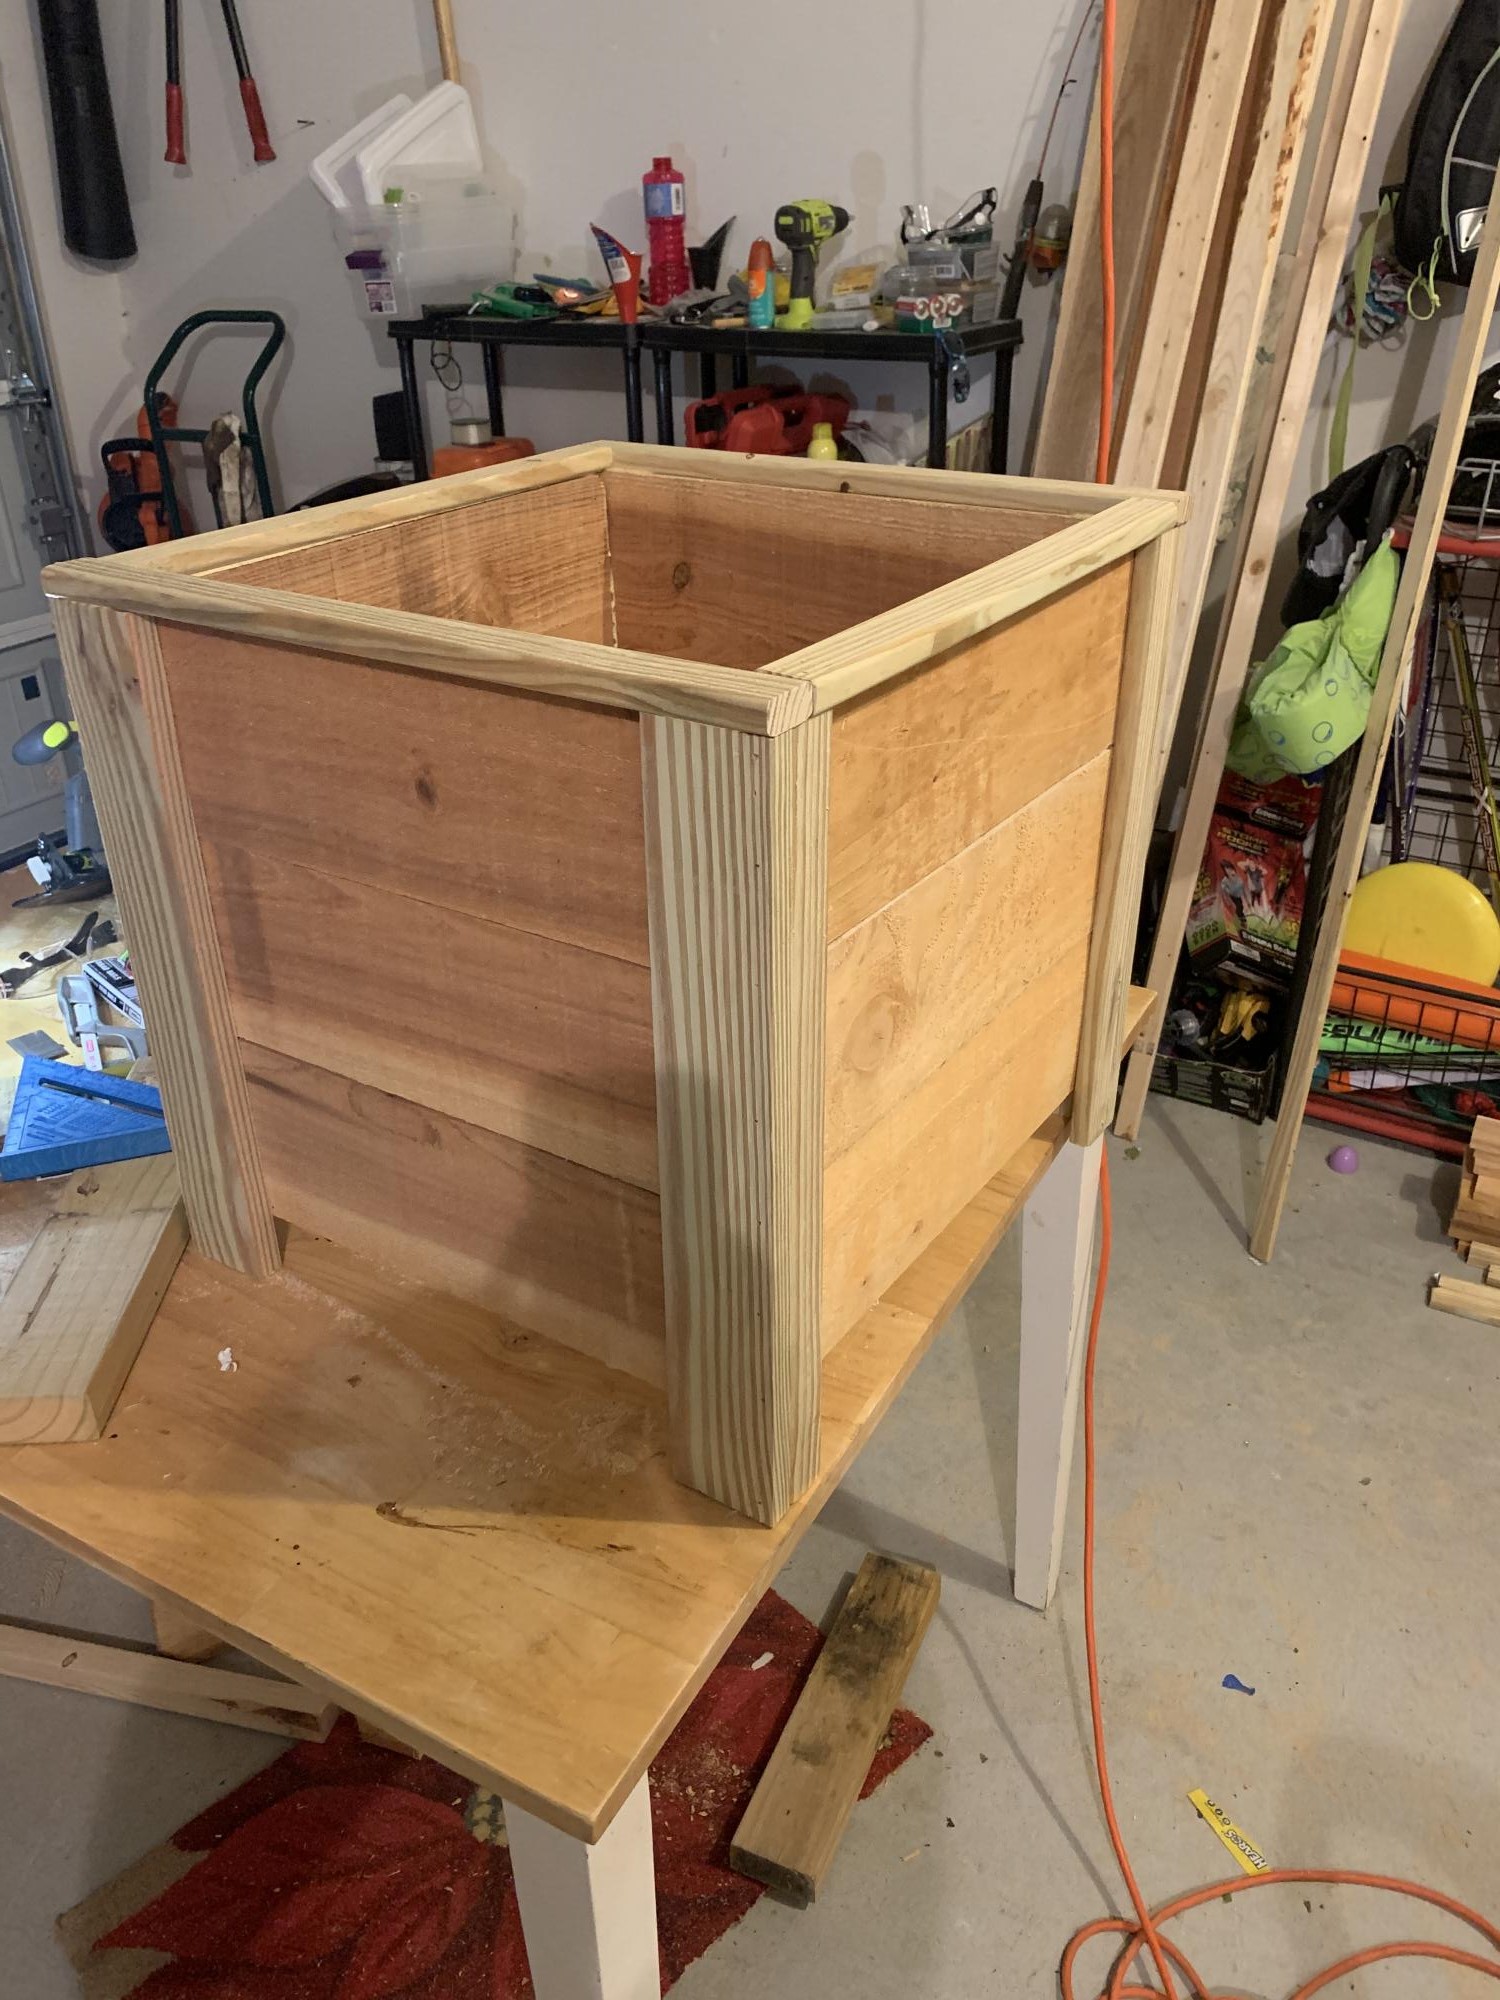
Directions were perfect! This is my 3rd project and I really enjoyed it! Fast and easy.
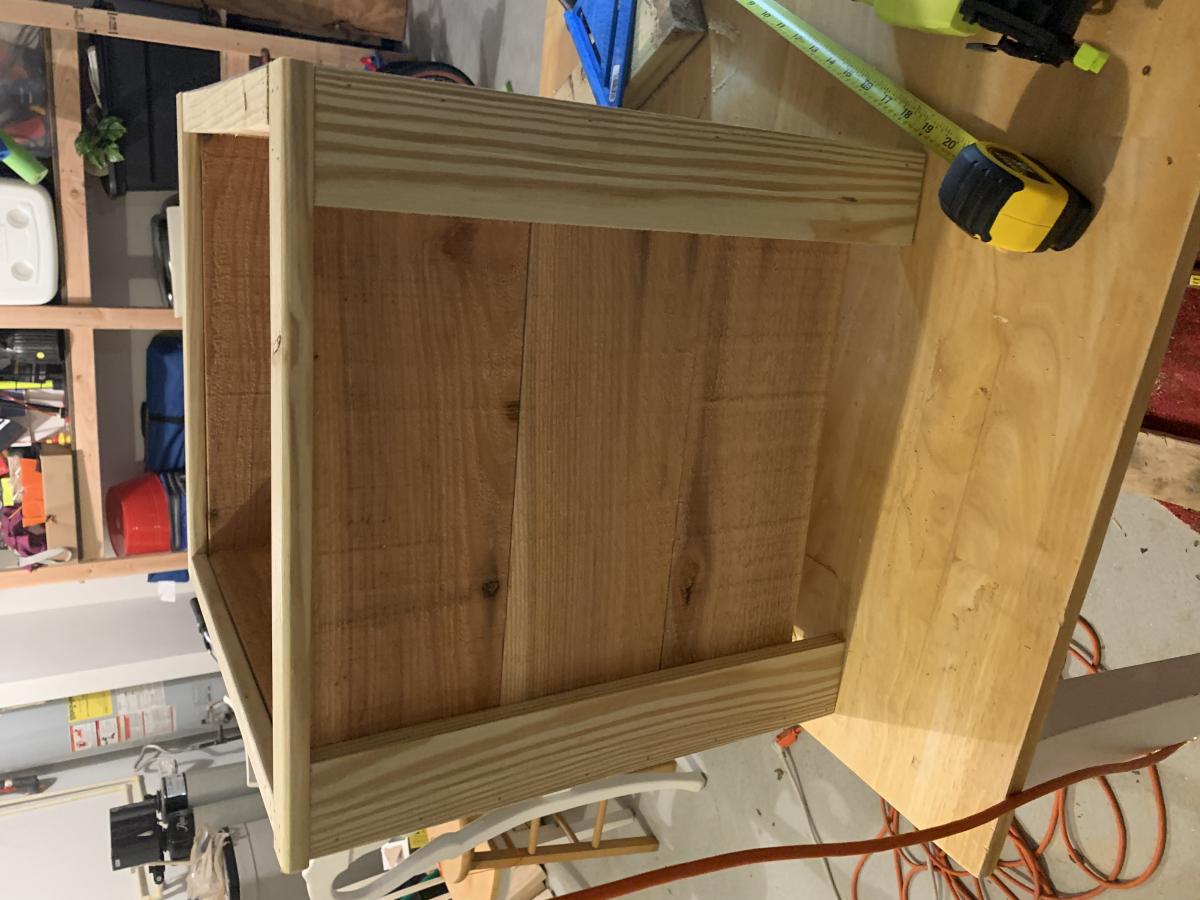
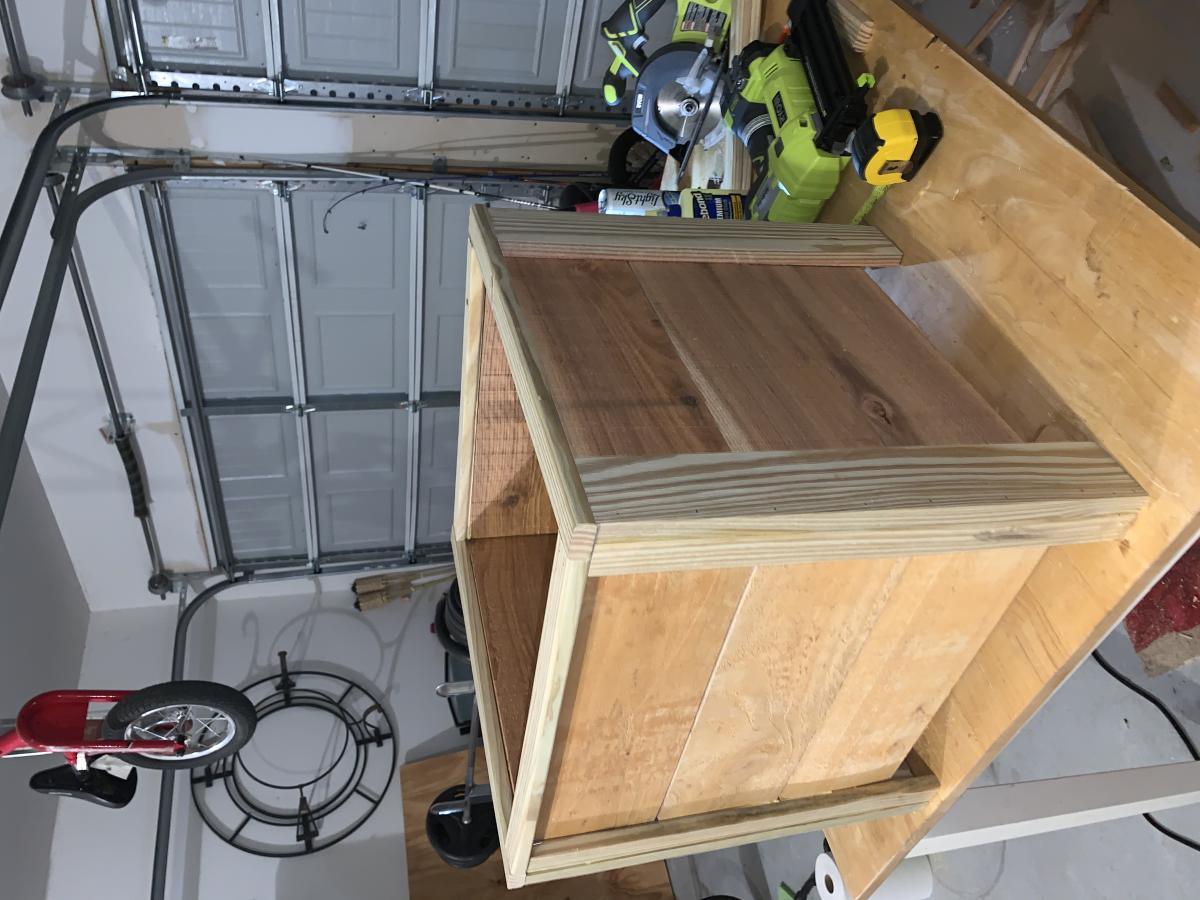
Wood Accent Table
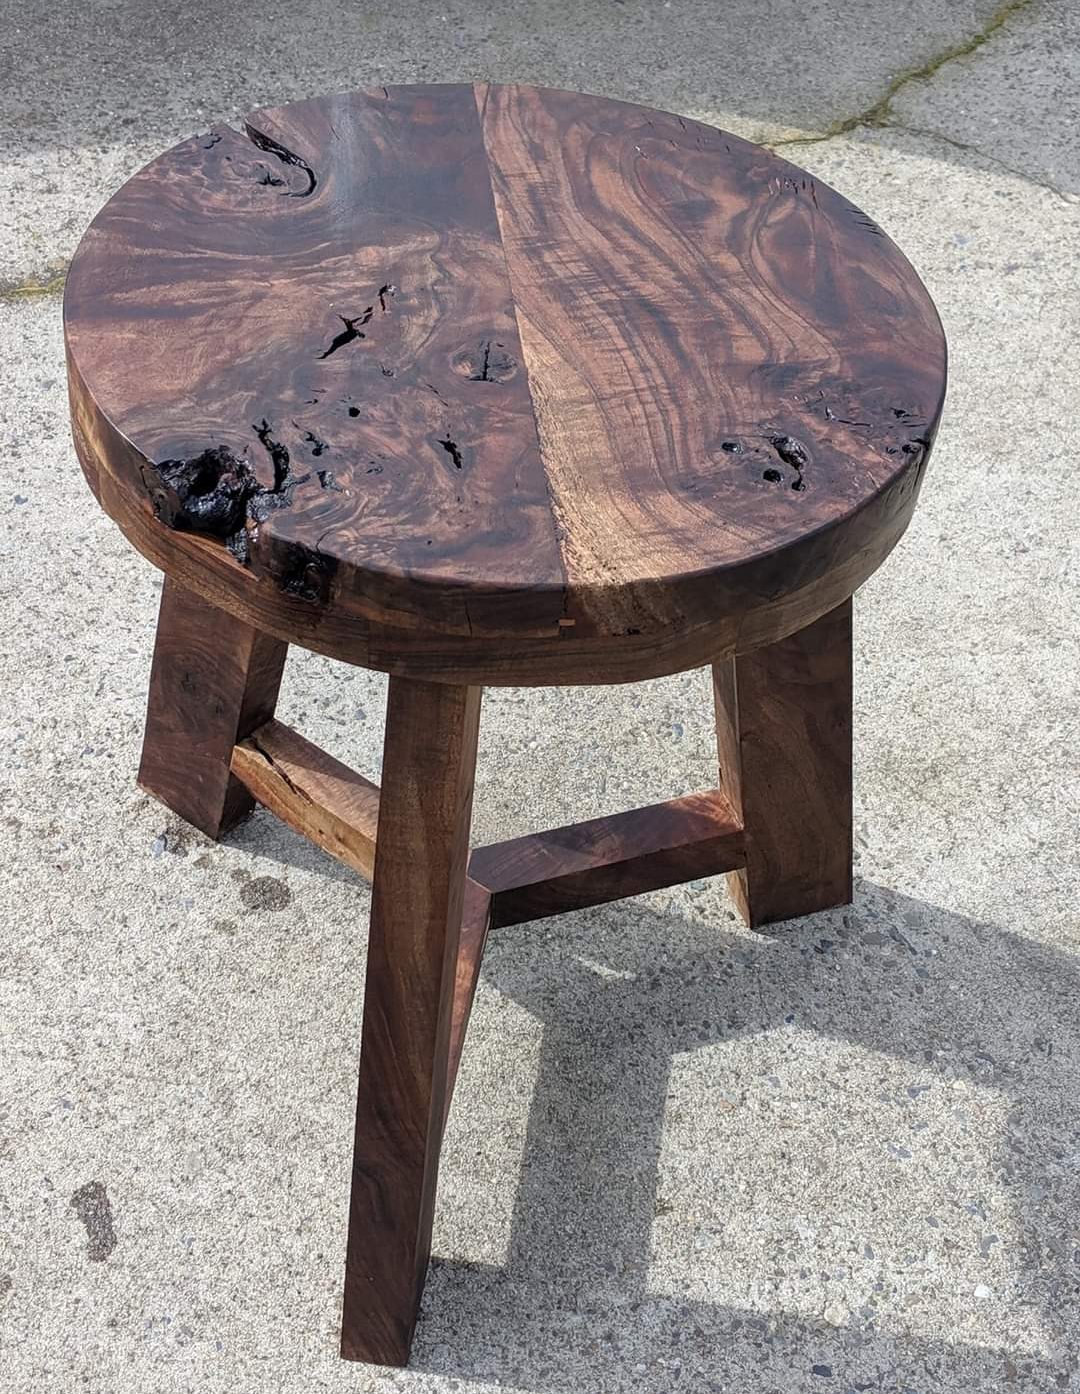
This thing is a beast ! I made the top way thicker than I should have but I love it.
Daughters Desk
This was one of my first, bigger projects. It was so easy! I still need to finish the trim, but my daughter loves it as is!
Comments
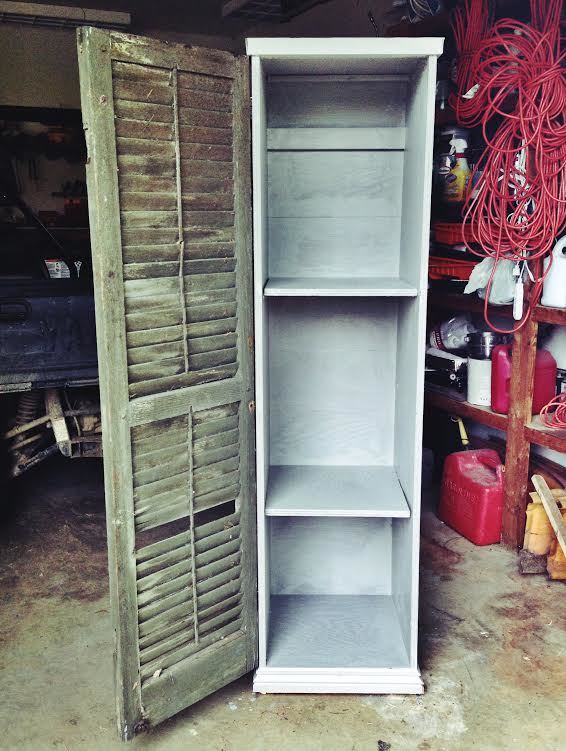
modular locker with old shutter
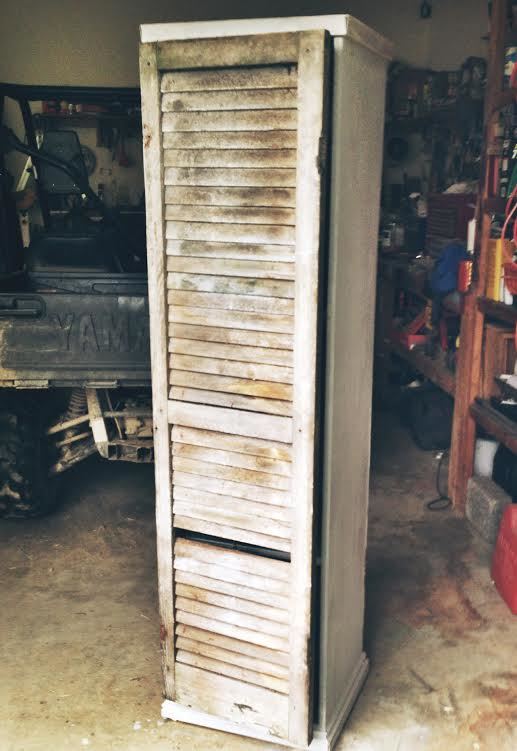
This was my first project! I used the plans for the modular locker, but used an old shutter for the door instead. Next, I think i'm going to try to connect 5 or so in a row for an entryway, all with different shutter doors :)
Comments
Wed, 05/21/2014 - 16:27
looks great!
I am a total sucker for shutters. Love the look of them, not sure why..lol. this is nice, great job!
Stone Fireplace Entertainment Center
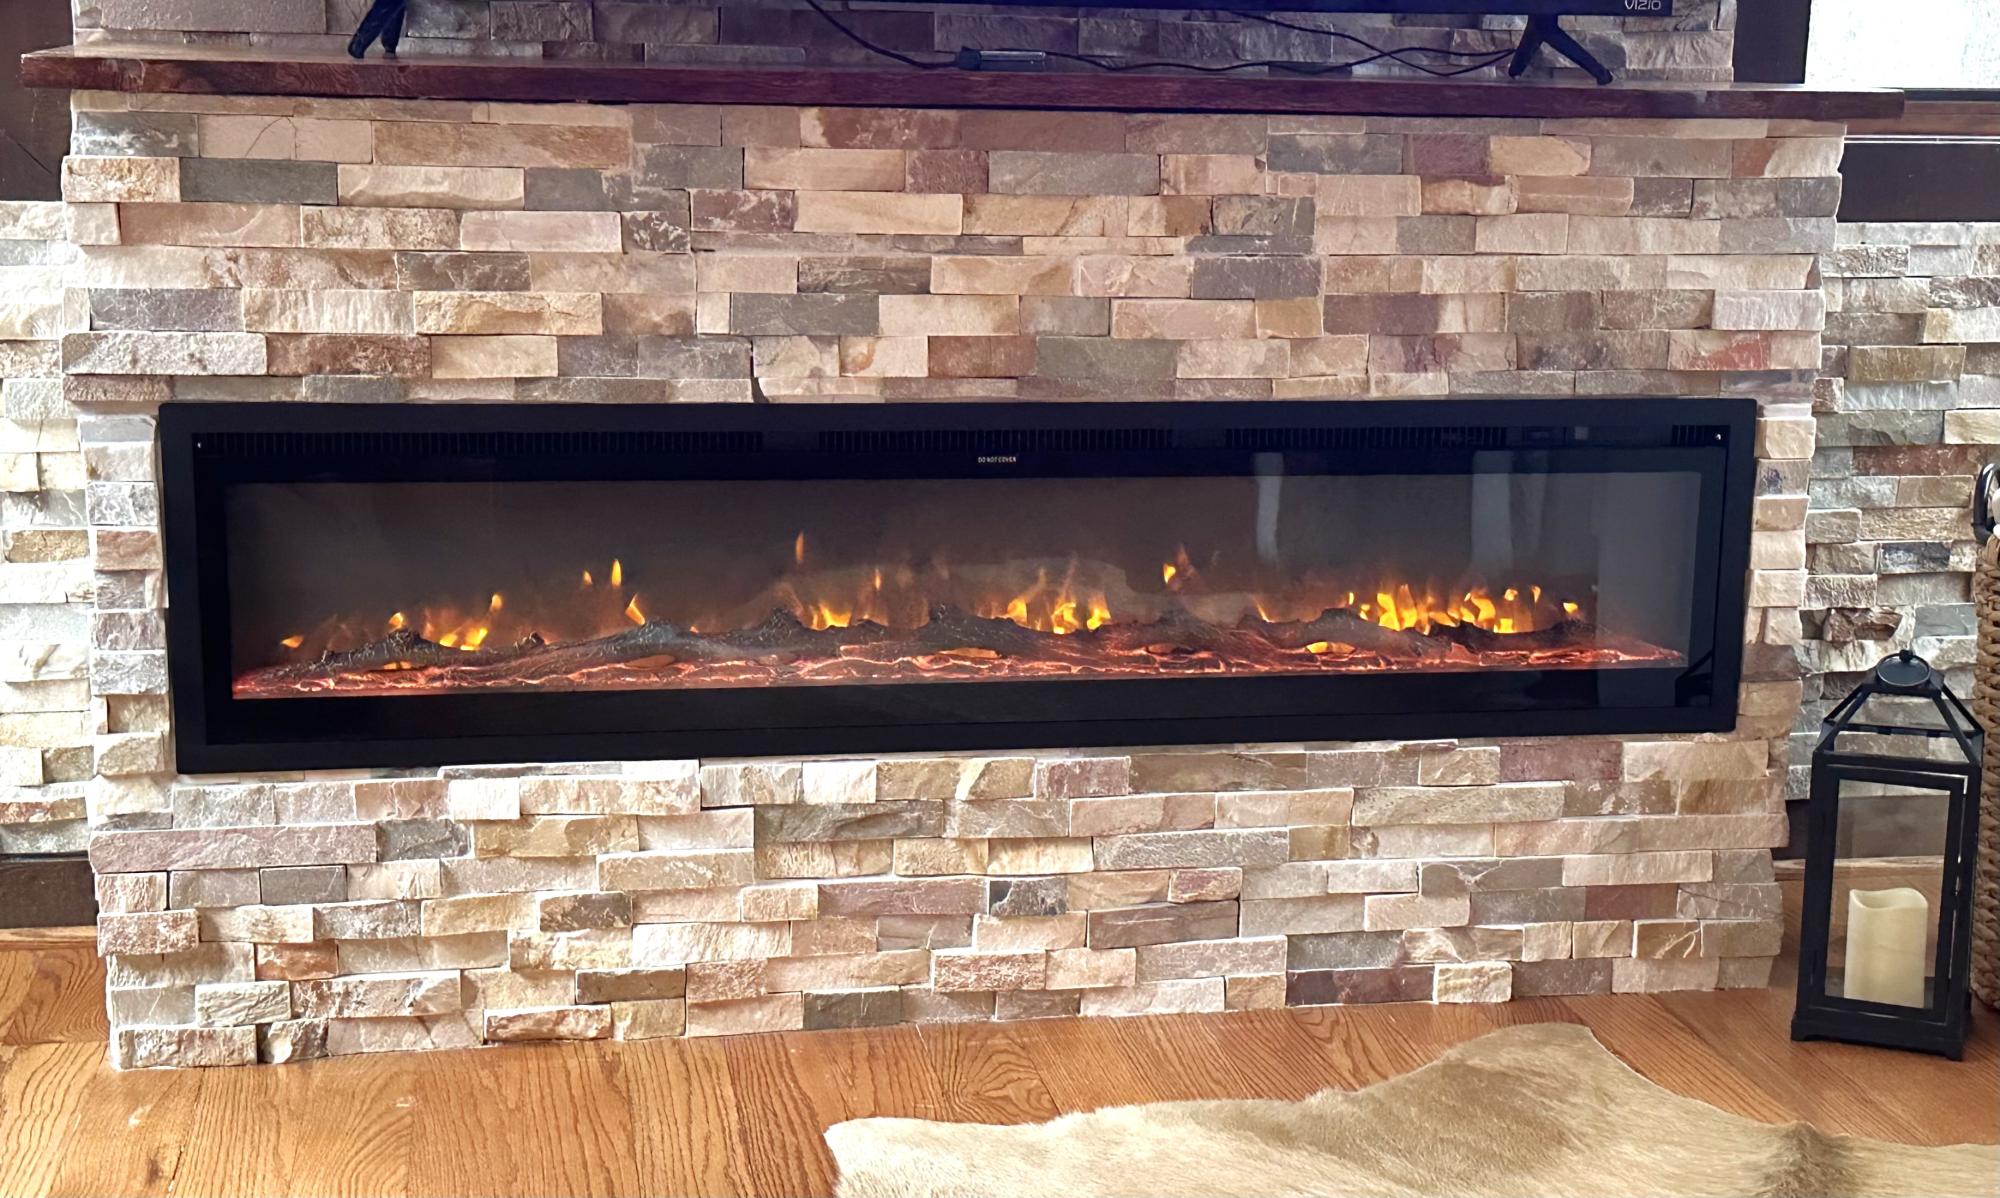
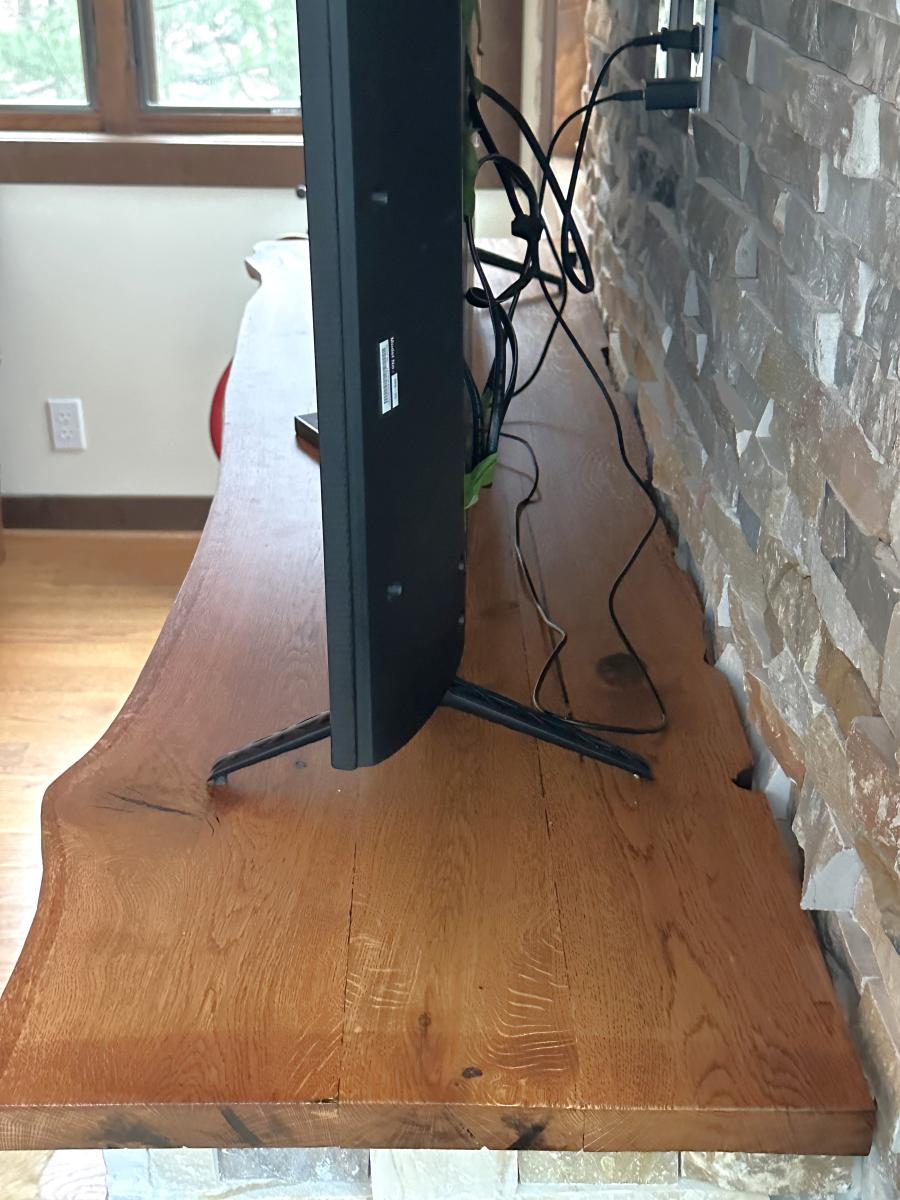
We took out the tv entertainment cabinet and built a frame for a 60” electric fireplace. We found the ledger rock to match the wall I completed two years ago and then I tiled the rock over the backer board and installed the fireplace. The wood on top of the fireplace came from an oak tree that was growing through our deck. I milled the wood and joined three boards to give me the depth I needed, sanded, stained and put a poly finish on it. Love the final result and we gained 6” of space in the room.
Wes Silvey
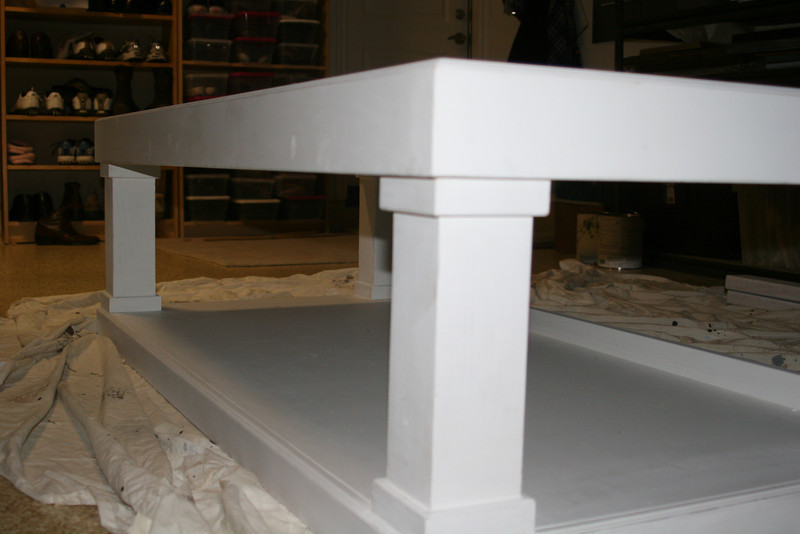
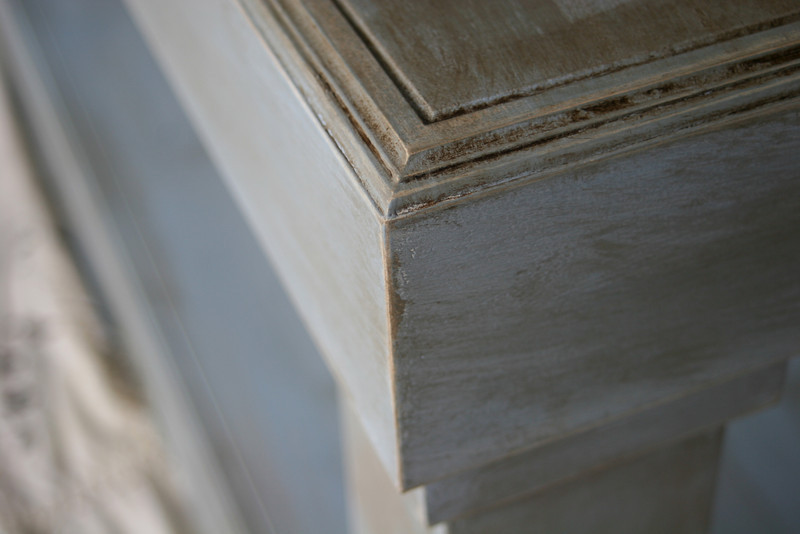
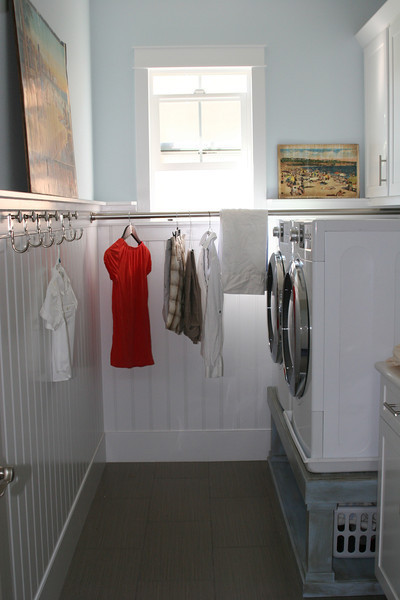
beachy cottage laundry room with Sausha's pedestal!
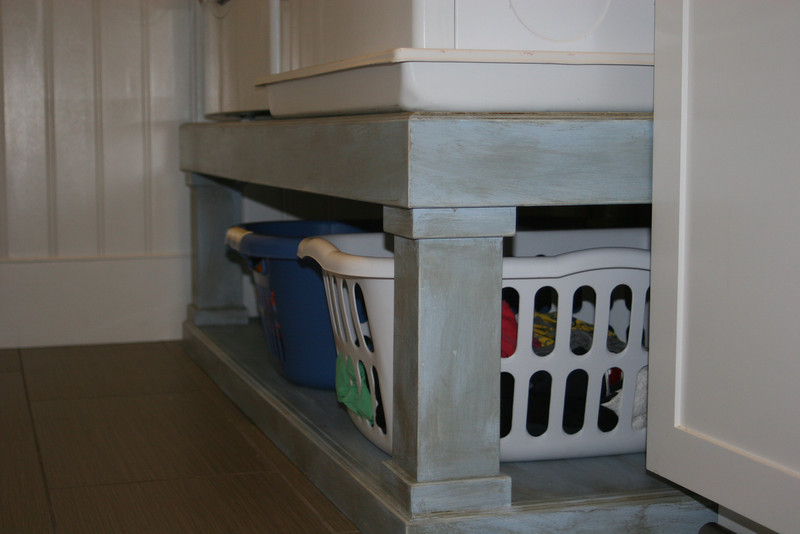
we remodeled the laundry room to have a beachy cottage feel. best part is getting the washer and dryer off the ground with Sausha's pedestal.
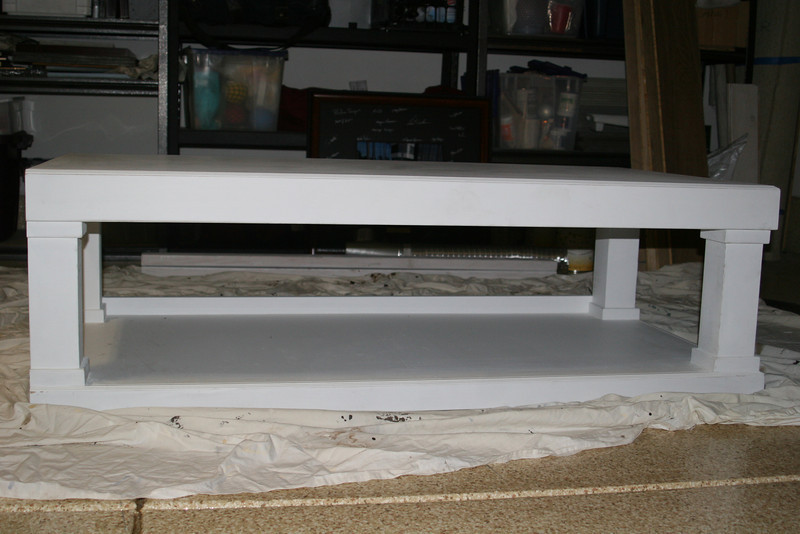
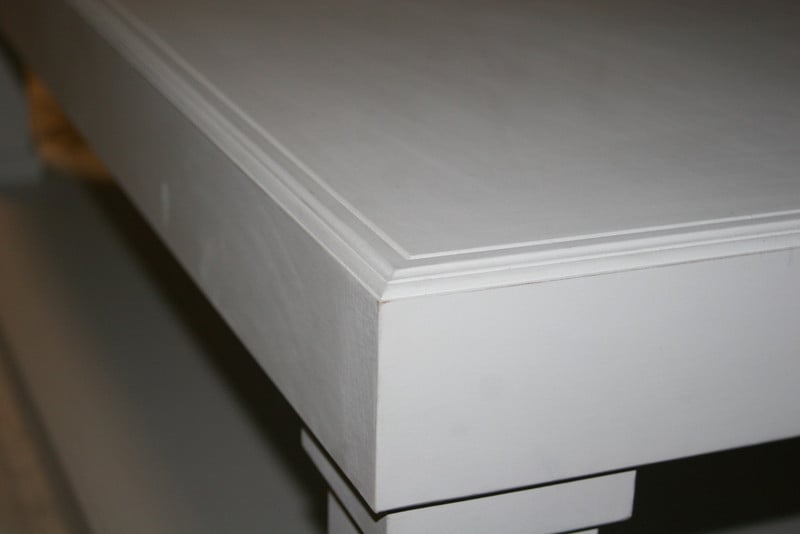
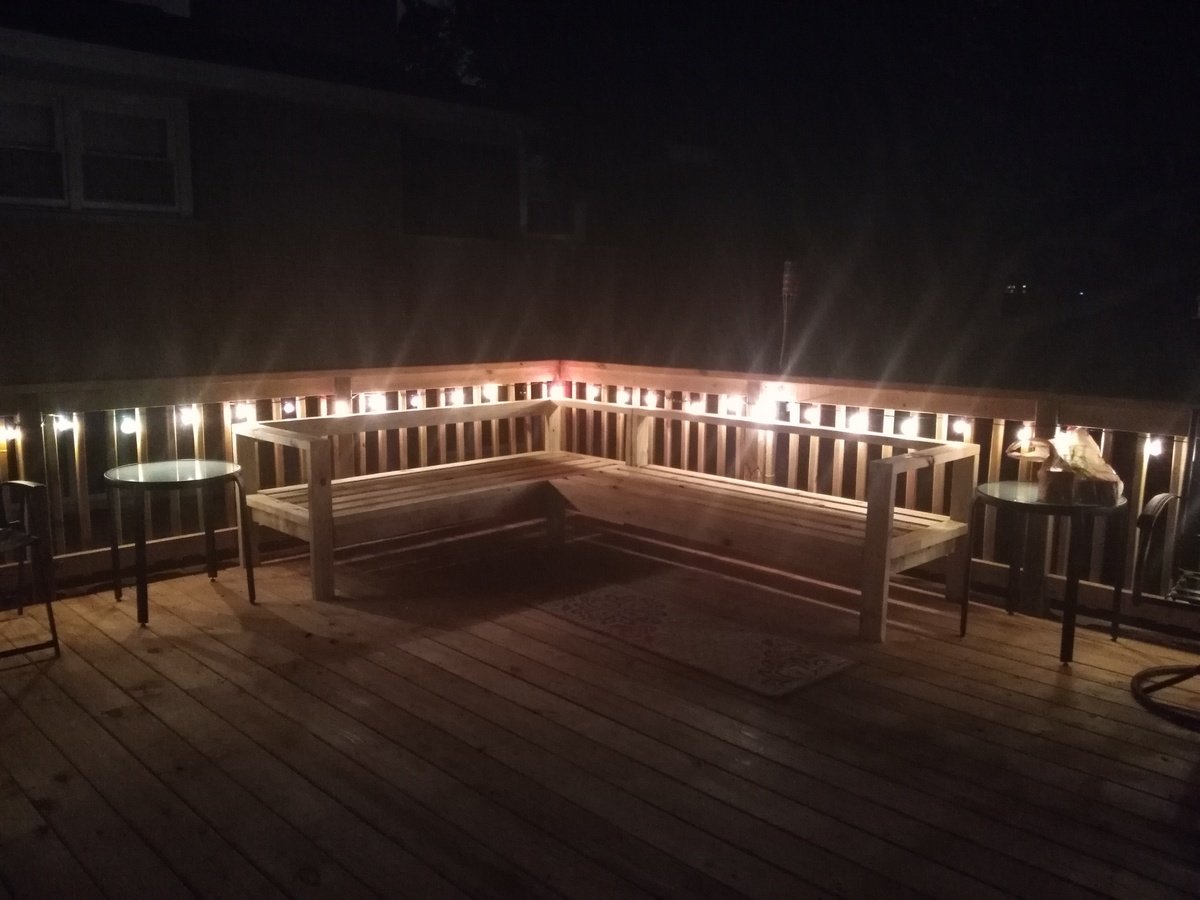
My outdoor sectional
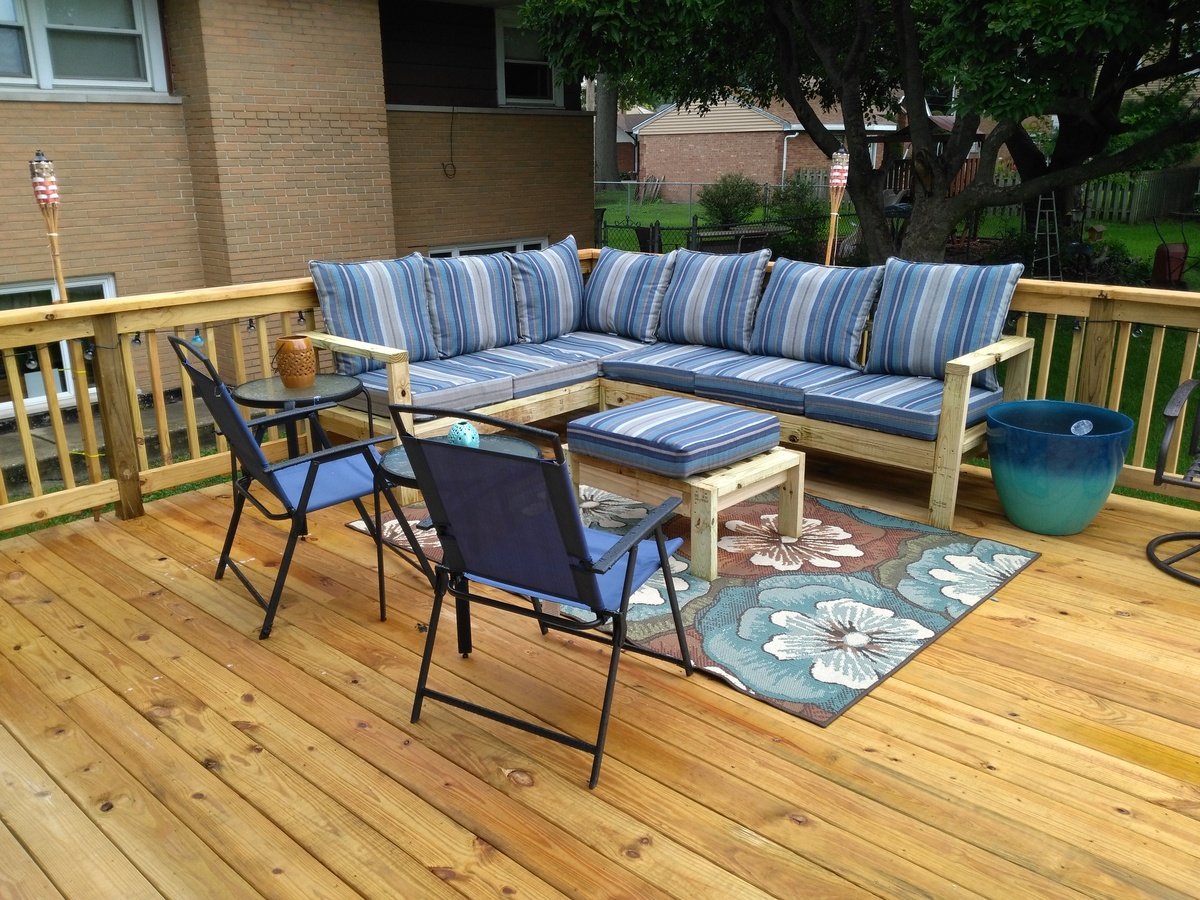
My version of the outdoor sectional couch.
Easy planter
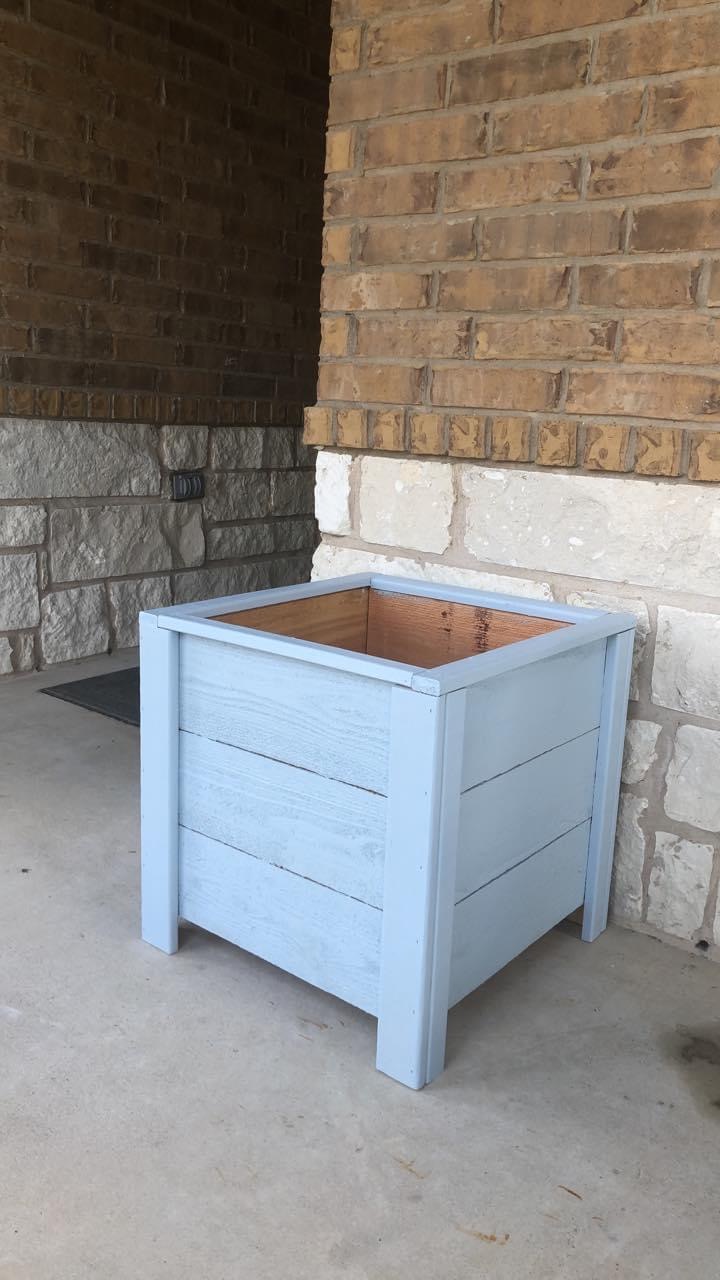
Love this little planter. Already have ideas for anew version. Need to work that out, but that’s another brag. Thanks for the easy planter plans.
Comments
Custom Toy Box
A toy box, im not a profesional, but its a grate hobby. Regards from Hidalgo, México.
Herwin
My Own Chestwick Headboard!
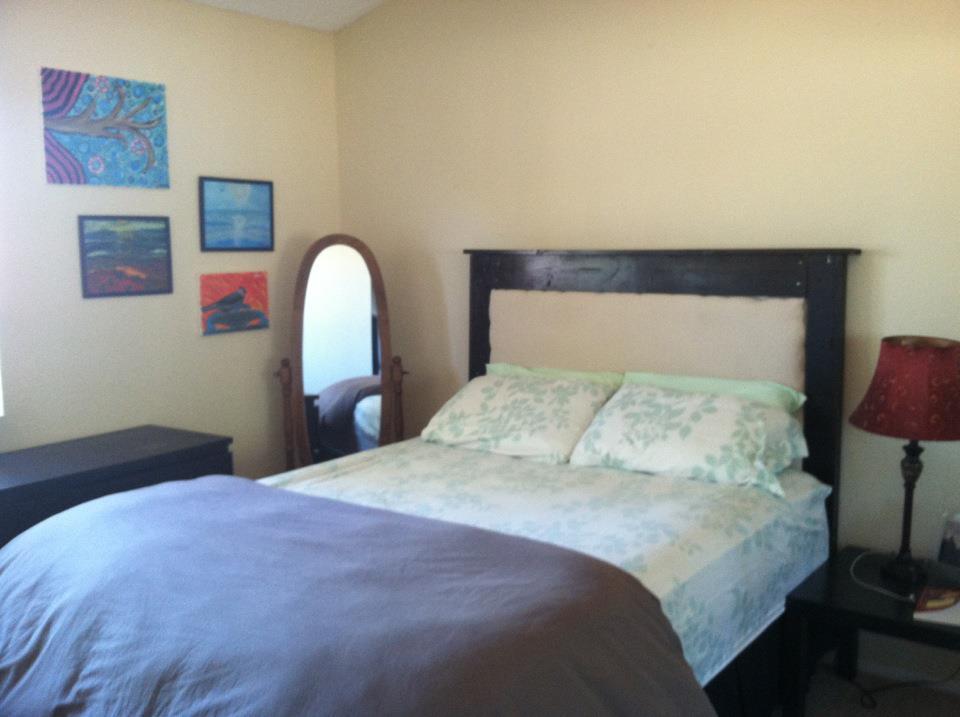
This is my first attempt to make any kind of piece of furniture, and I am really happy with how it turned out! I have been searching for over a year for an affordable solution to the blank wall above my bed, but never found something I loved enough to spend money on or time on to repaint, etc. I just loved the way this one looked in the pictures so even though I have never built anything before I thought I would give it a shot! I found the instructions to be really easy to follow, but the actual process a little harder than I'd thought it would be (due to my own mistakes). I thought I'd list some of the mistakes I made in case someone else reads this and can stop themselves before they make the same ones :)
First, I put the padded part a little wider than the allotted space, so when I went to nail the boards on the edges they didn't go down as smoothly. If I had just kept it within the lines I marked, this wouldn't have been a problem.
Also, I somehow missed the part of the instructions where I was supposed to use glue when I nailed the boards, so between that and the relatively flimsiness of the 1/2 piece of plywood, my boards came undone a couple of times. I eventually decided to use screws to hold everything and that was WAY better and sturdier, even though you can see the screws.
Also, I did not square it well enough along the way and I ended up with a sliver of extra plywood hanging off the side of the board, which made the trim piece on one side have a little gap at the bottom. I don't care though, since the bottom is out of sight anyways!
I saw other people had wondered how to attach this to a metal bed frame, but I never read a way to actually do it. I plan to figure out a way to either attach it to the bed frame or the wall, but for now, I just have it wedged between my mattress and the wall, and it seems stable enough. I hope it doesn't fall on me in the night ;)
I followed the lead of the Shanty to Chic lady and used a 5 dollar canvas drop cloth from Lowes for my fabric and I LOVE the way it looks in my room. I also took her advice and used Rust-Oleum stain (in Kona) and applied two coats of the stain to get the really dark wood.
Overall, I am super stoked to finally have a headboard, and to have made it myself! There is definitely a great feeling of accomplishment for building something like this so if you are hesitant to do it, I suggest you go for it! Next, I think I am going to make the tilt out trash can cabinet for my kitchen :)
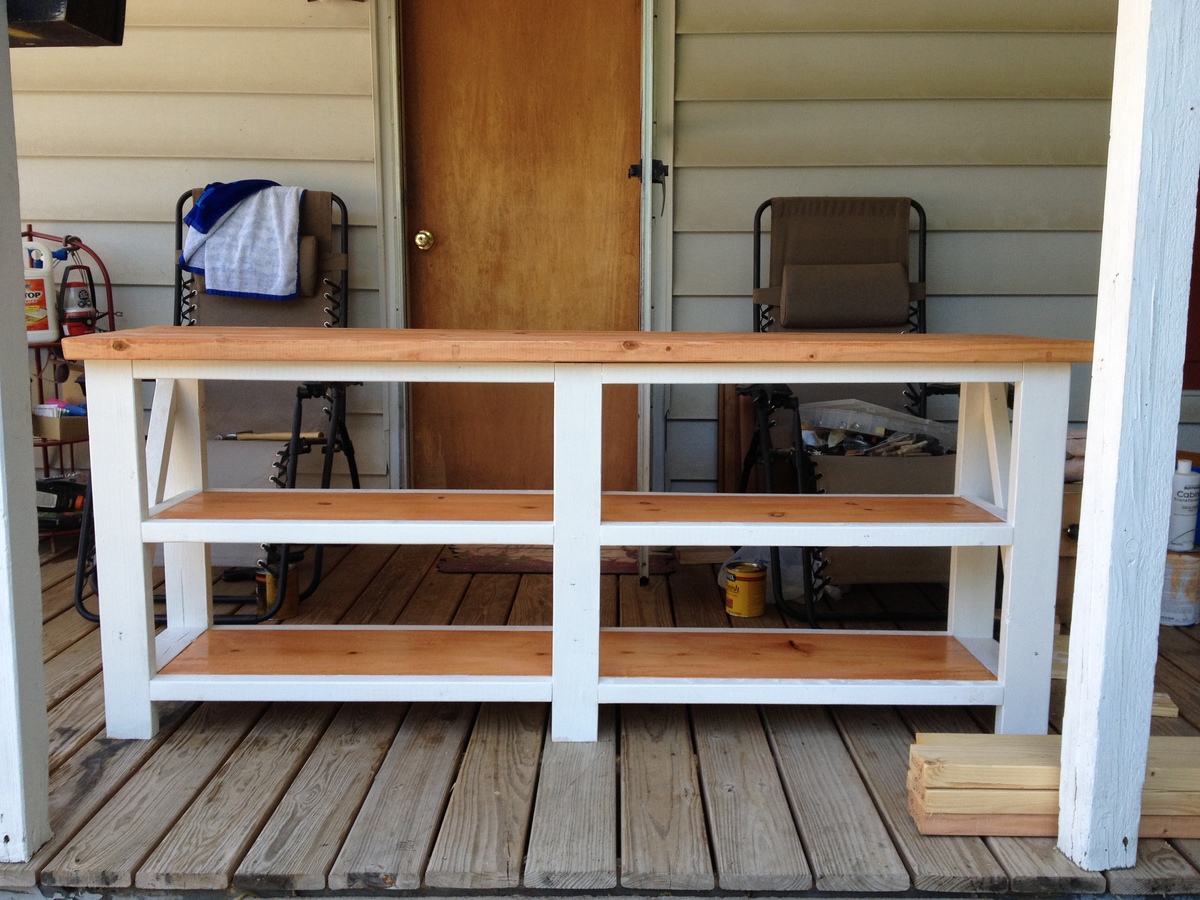
First Buffet
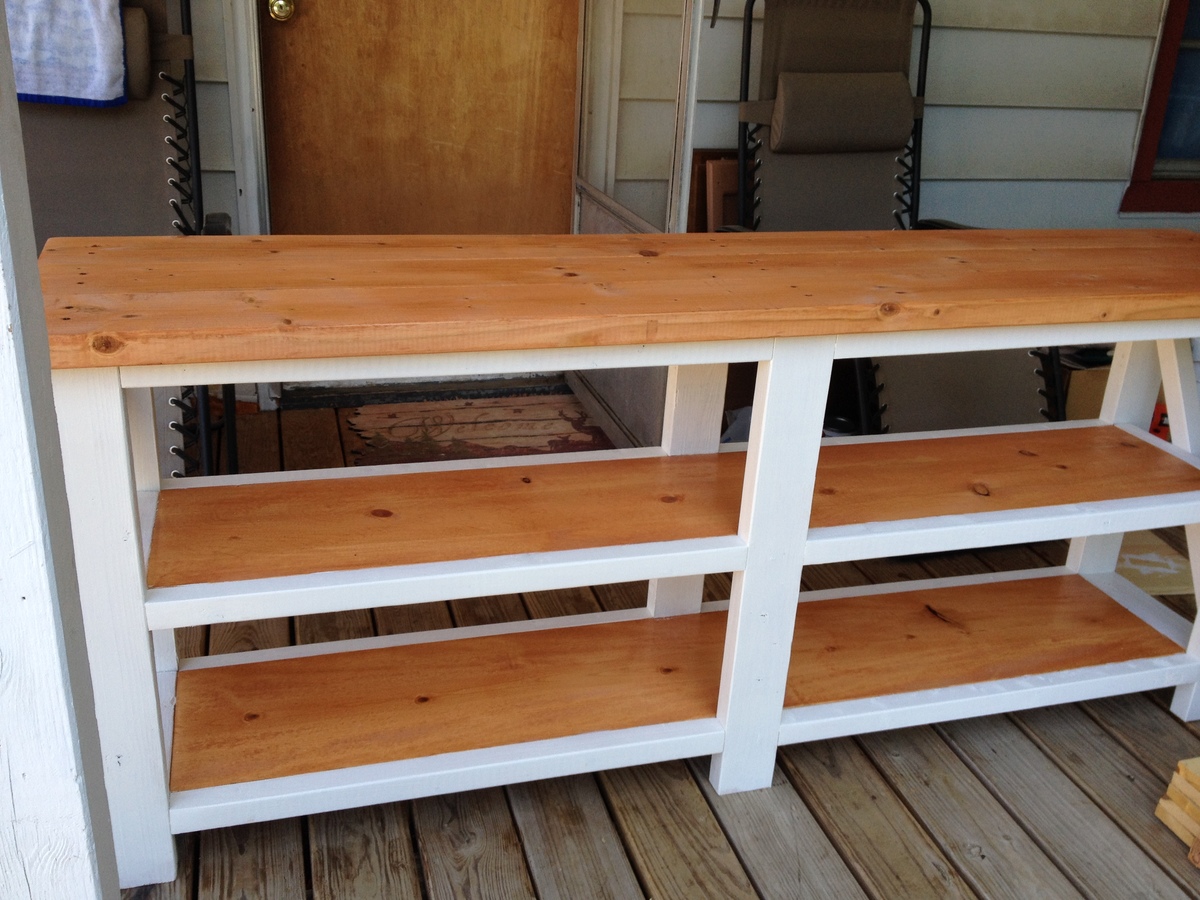
I took the plans from the Fancy X Console table and made all but the end "X's". I painted the legs and trim with a vanilla white, and stained the top and shelves with a golden pecan. Turned out great and looked amazing in the house of the woman I made it for......AKA my mother.
Minwax Golden Pecan stain
Minwax Fast Drying Polyurethane
Multi-Use Desk with File Cabinets - 3rd configuration
The first version of this desk was built for our office prior to having kiddo #2. My husband altered the plans a bit to fit our room and instead of open shelving on the end cubbies, he converted them into drawers and a file cabinet.
Checkout more photos and details on my blog at www.momontrend.com
2x4 Adirondack Chairs
This is the regular (not modern) plan for an Adirondack Chair. The plan worked great and was easy to follow and even more importantly the chair was easy to build! I swapped out the 1x4 for old barn board for the backer and didn't cut the scallop. Nana loved them for her birthday present!
Wood Closet Shelving Freestanding
Our cottage bedroom doesn't have a closet. This is the perfect solution. We hung curtains over the front also to look more finished.
