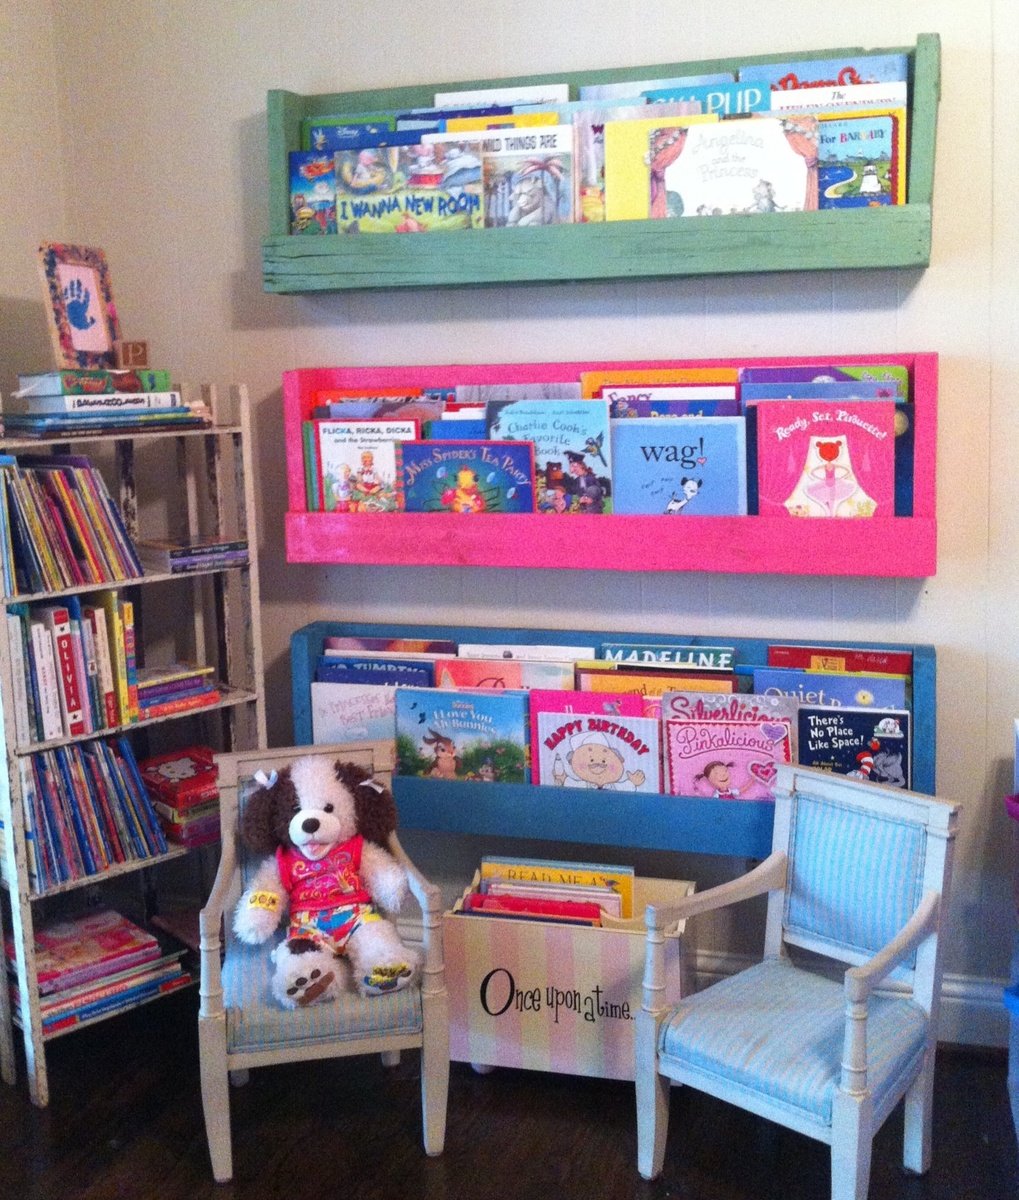
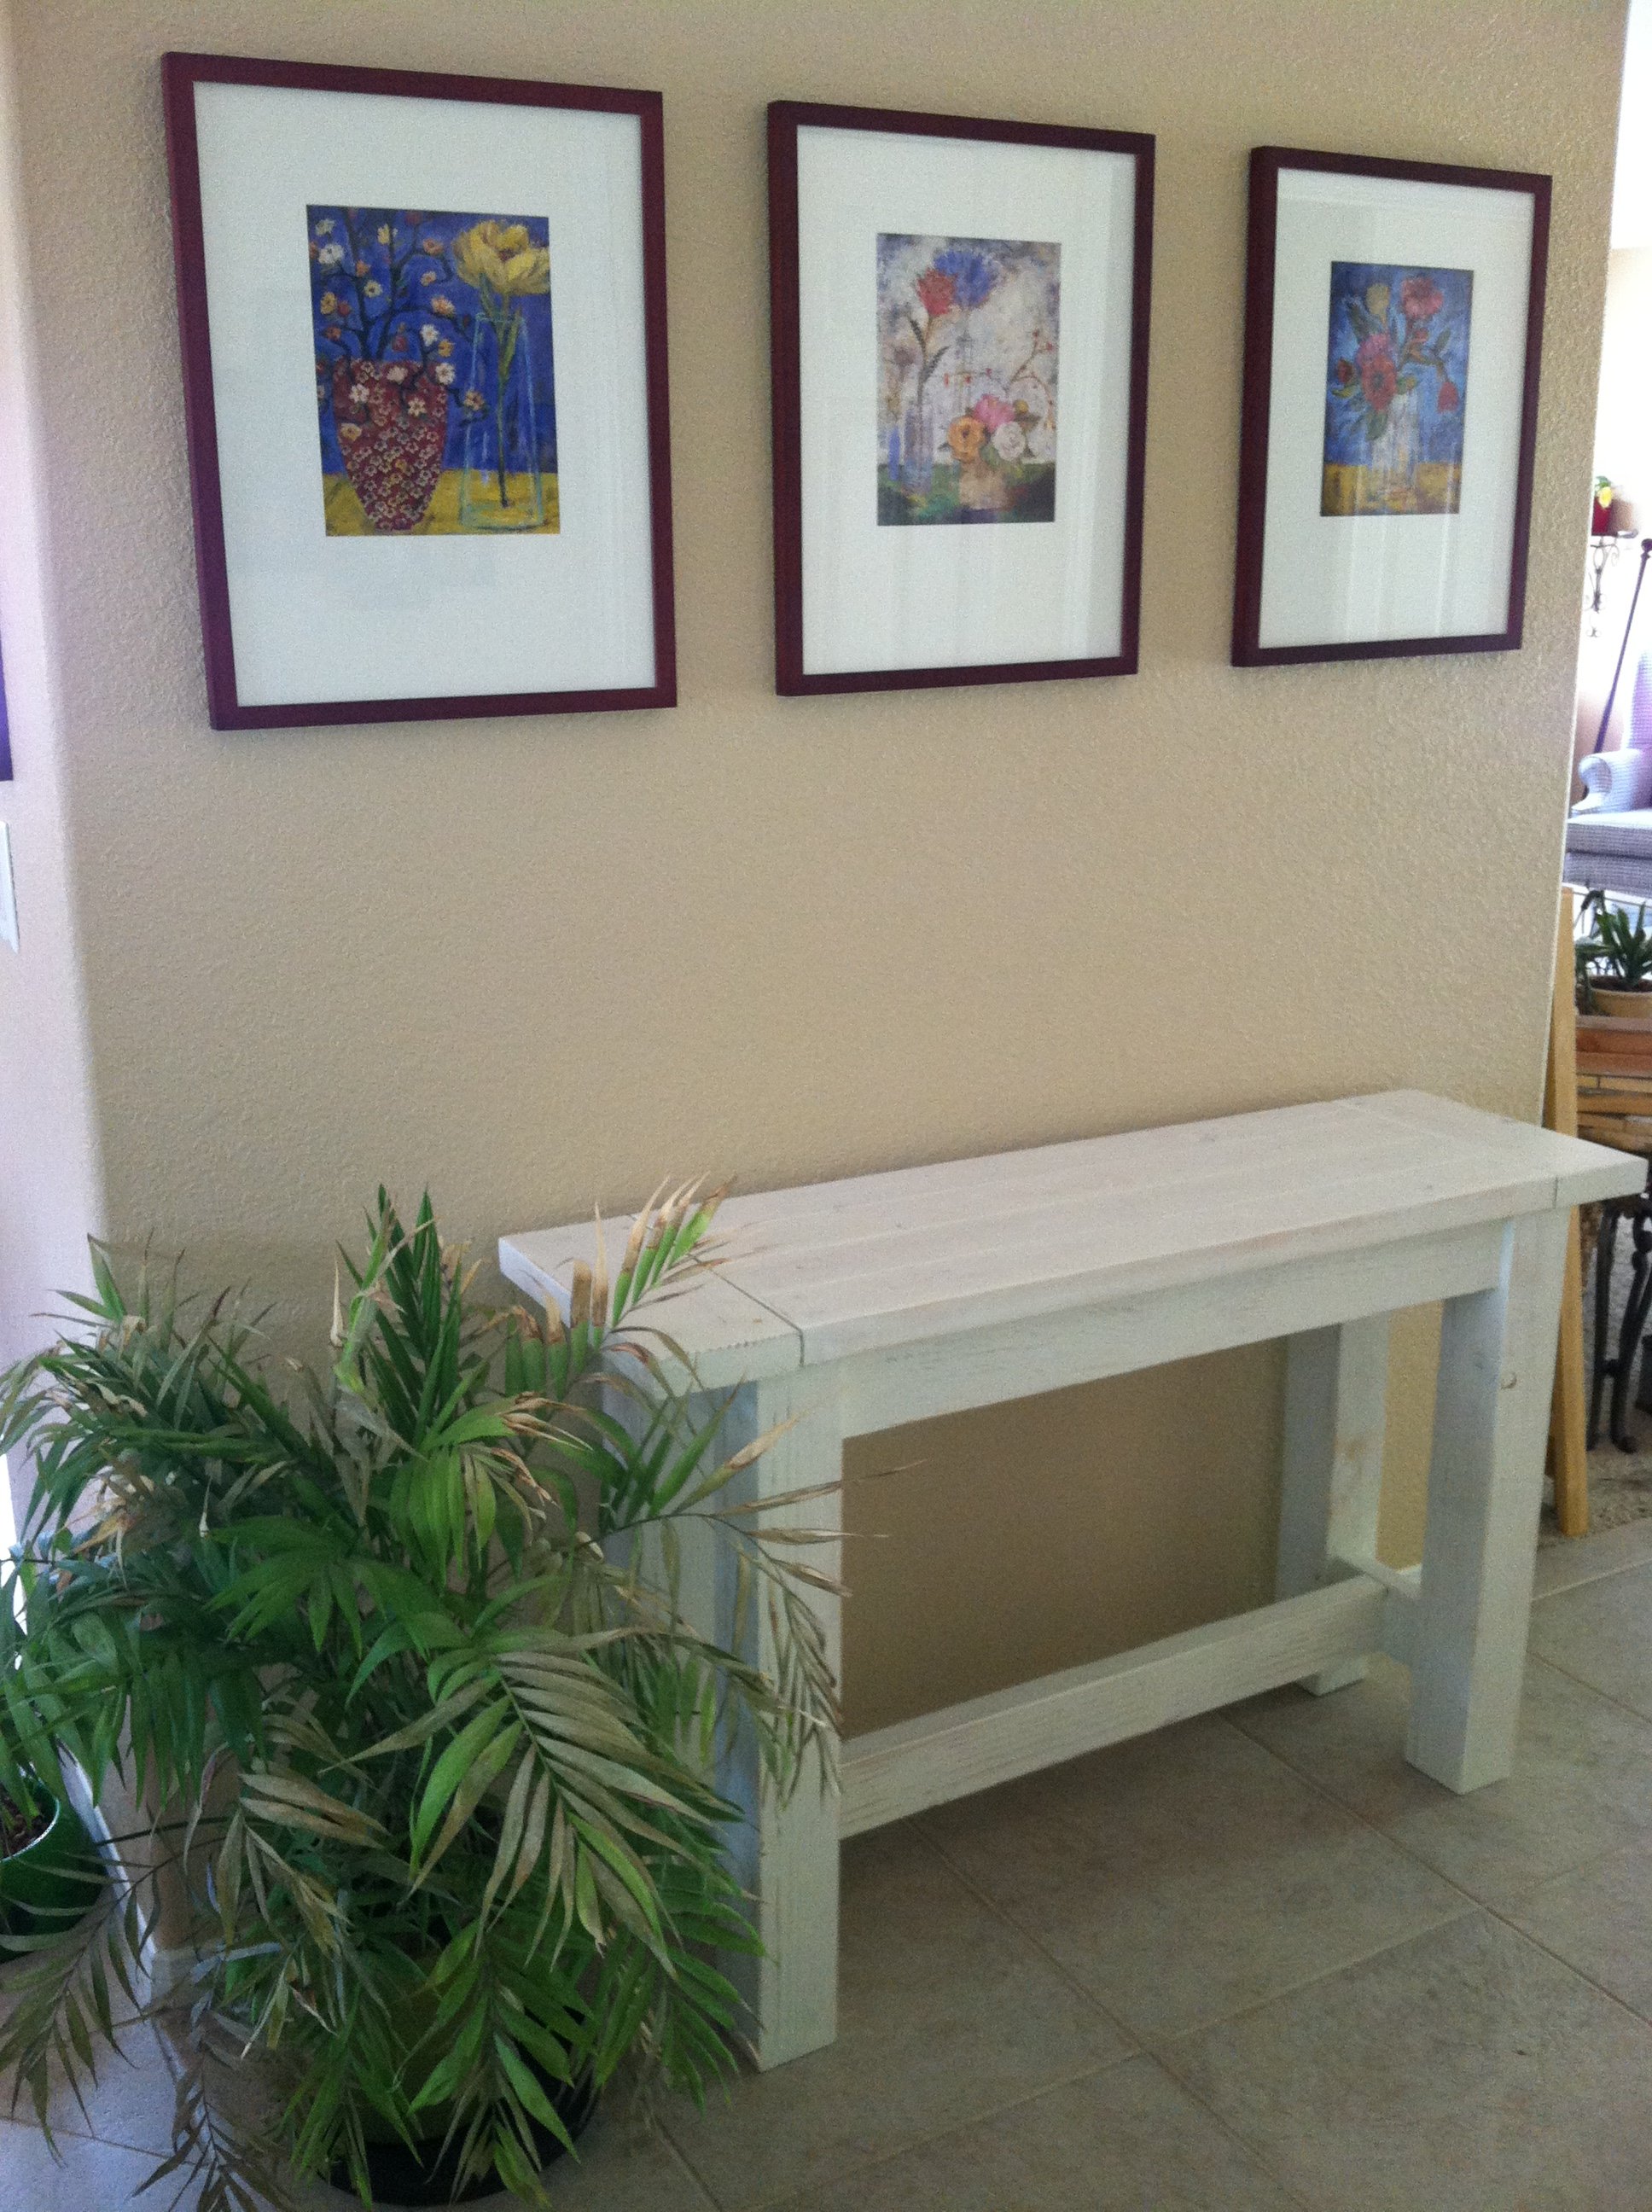
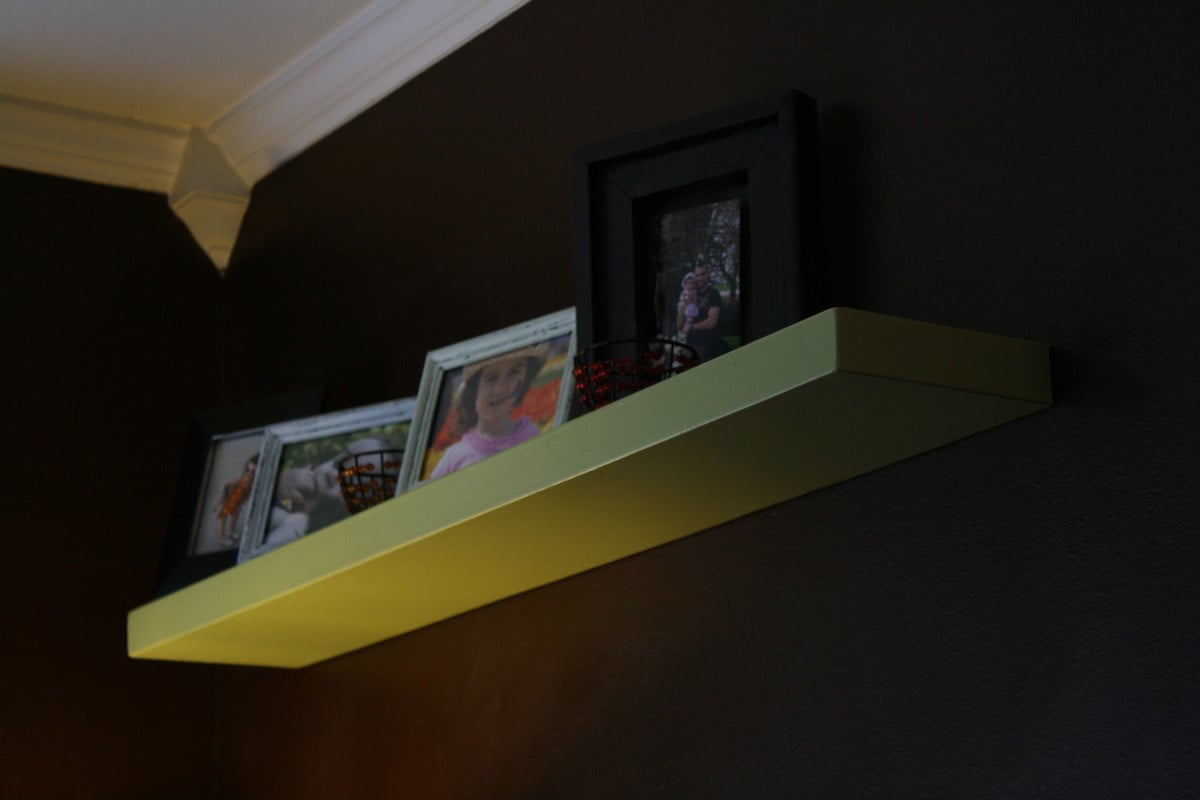
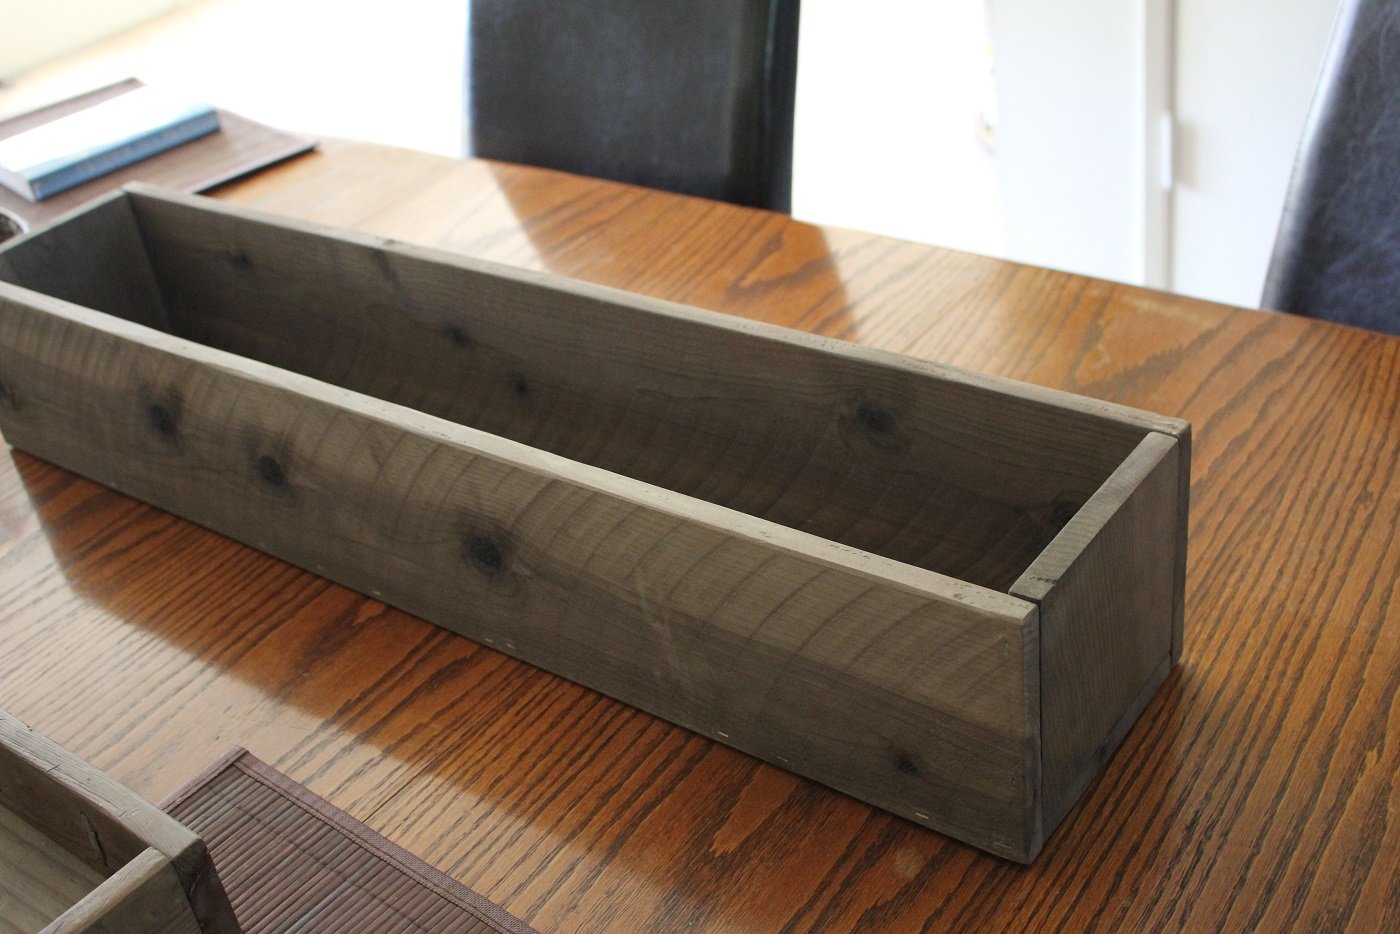
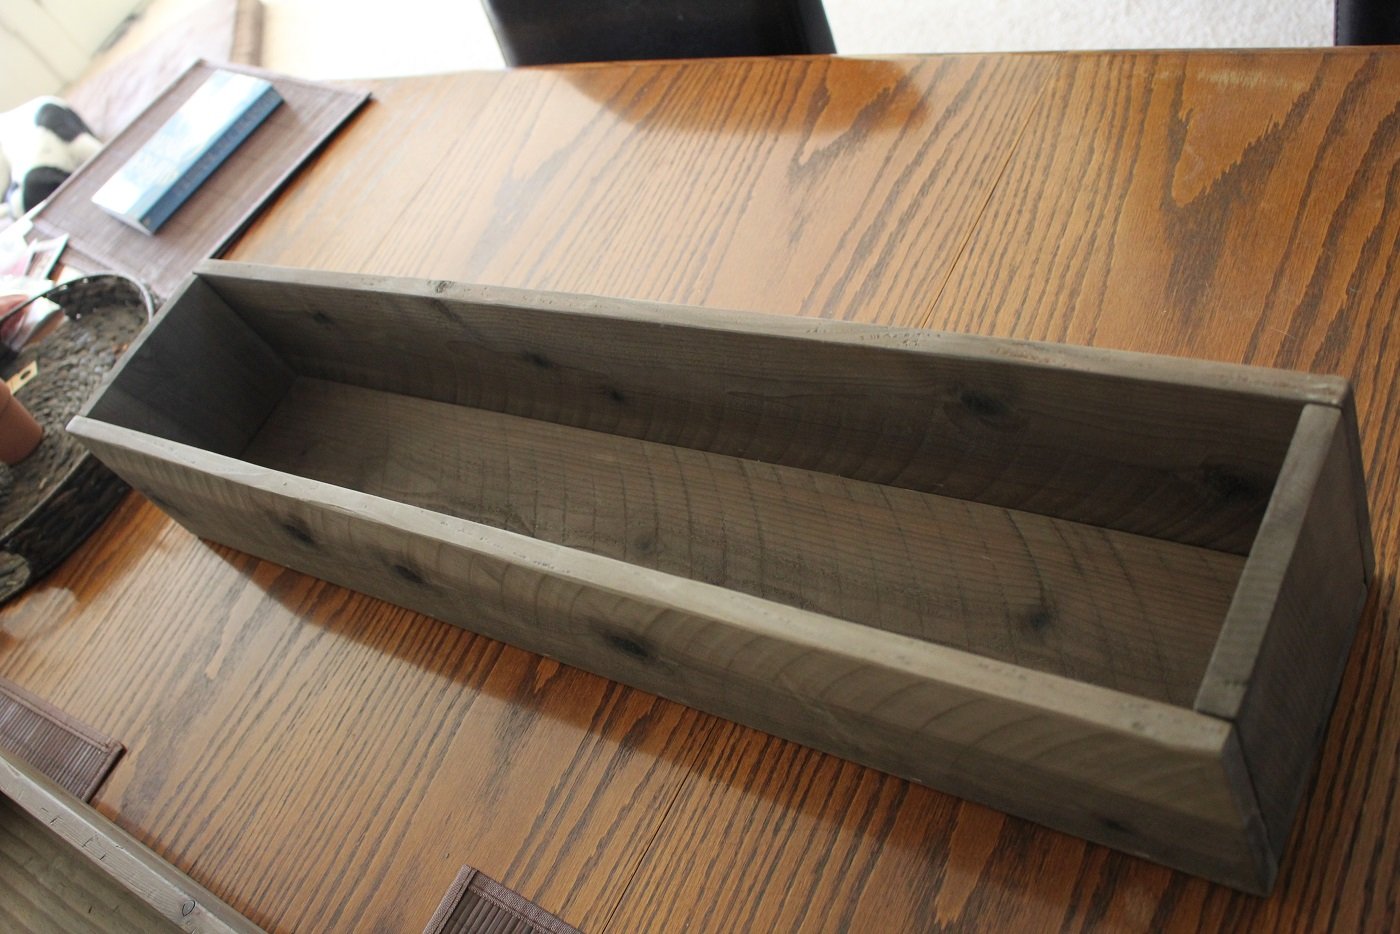
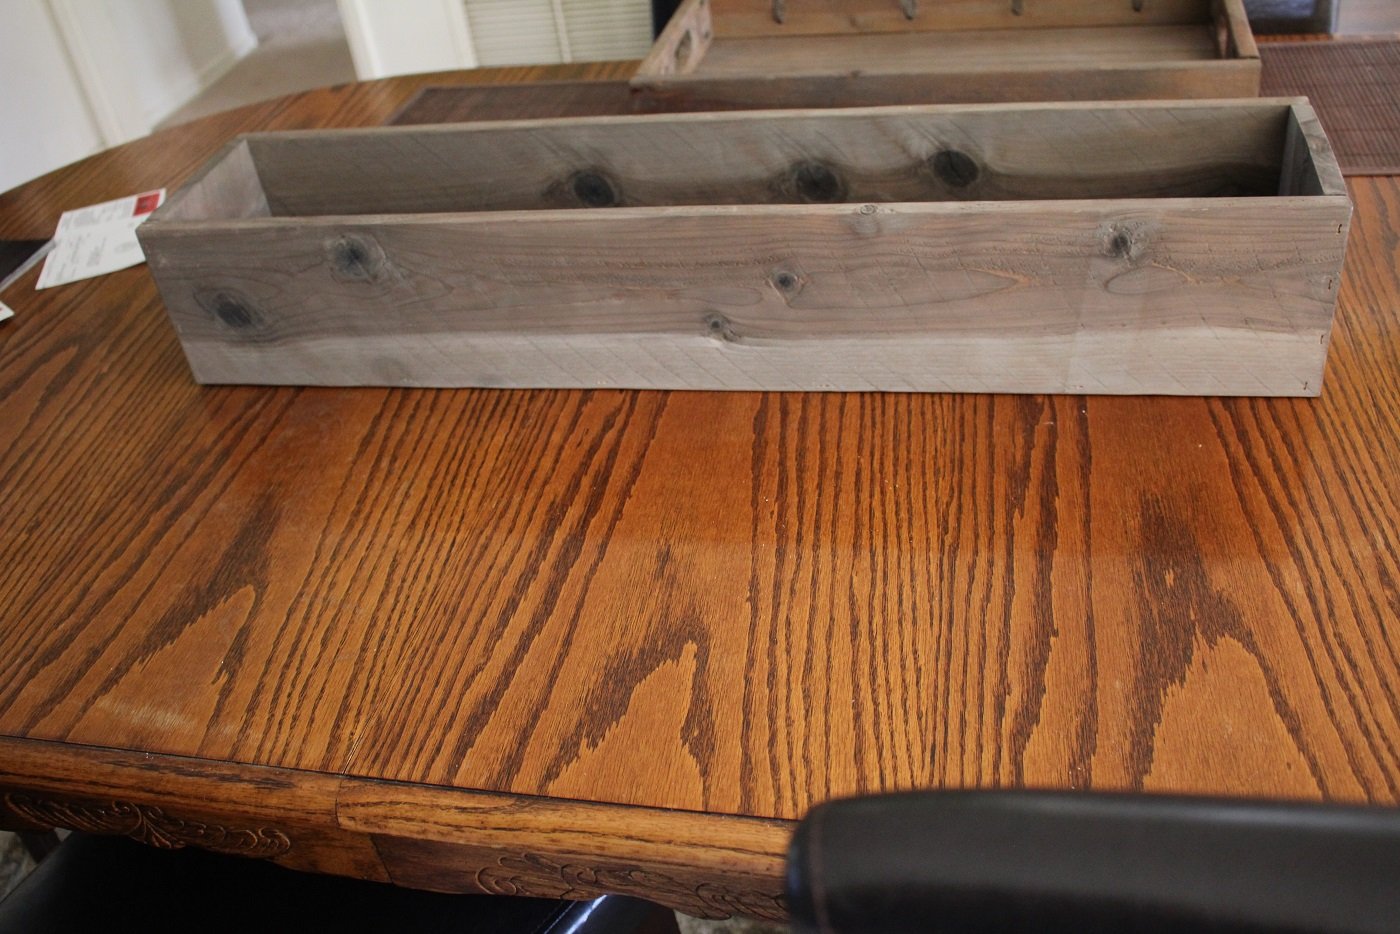
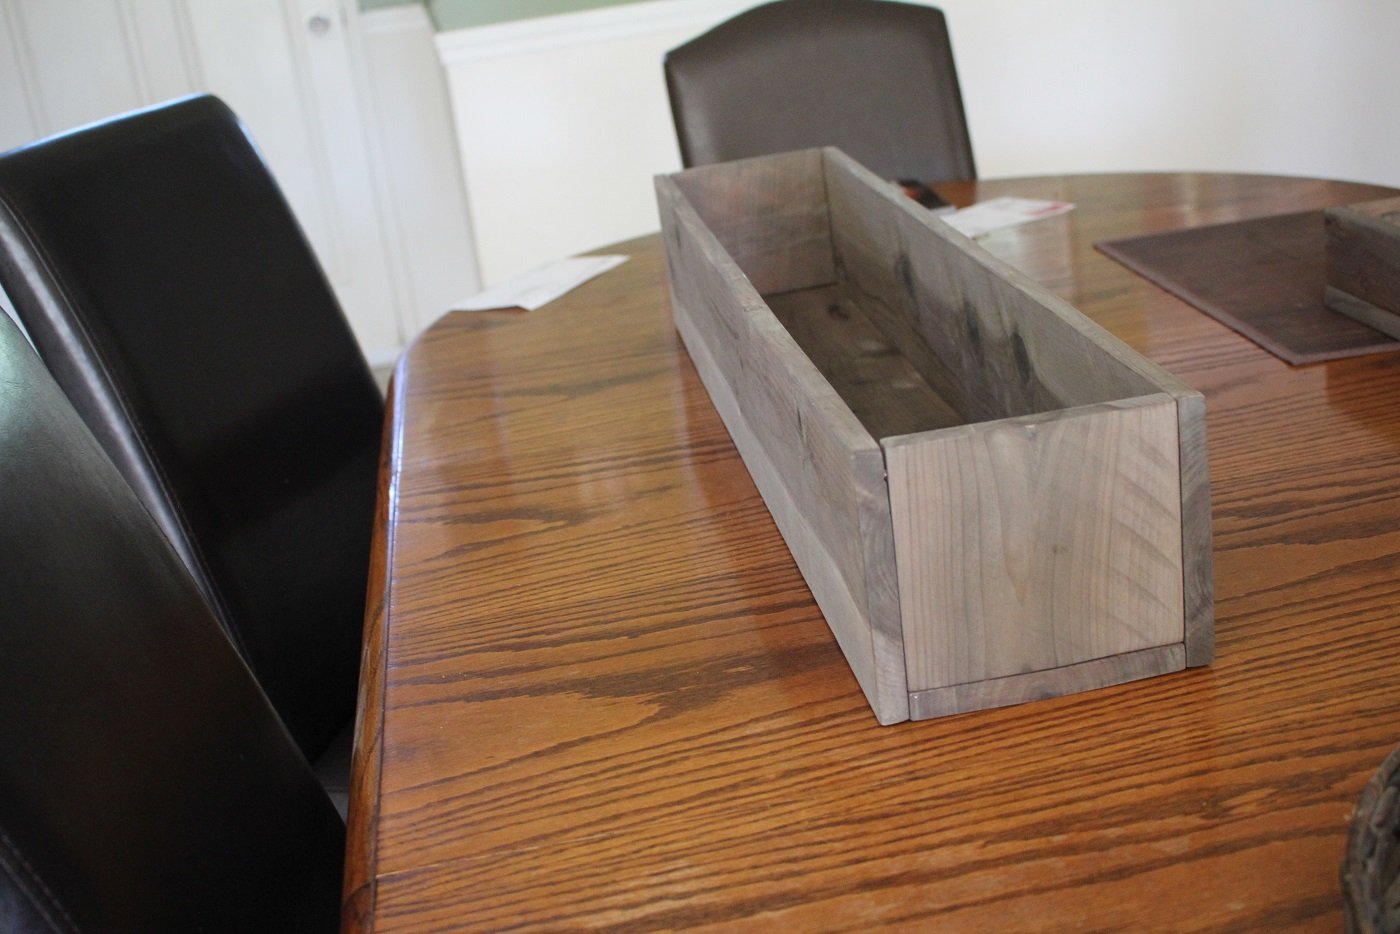
Chunky Rustic Kitchen Island
![](/sites/default/files/stacked%20islandpin.jpg)
I wanted a Super Rustic and Super Chunky Island with out the Super High price tag. So I turned to pintrest for inspiration. I switched up a few things , but the end result was EXACTLY what I was looking for. Score!!!!
![](/sites/default/files/3154833101_1377439904.jpg)
![](/sites/default/files/3154833102_1377439904.jpg)
I wanted a Super Rustic and Super Chunky Island with out the Super High price tag. So I turned to pintrest for inspiration. I switched up a few things , but the end result was EXACTLY what I was looking for. Score!!!!
I built this case for my Grandma when my Grampa died. I wanted to be able to display the shells as well. The design is a combination of a few I saw and like different aspects of.
104.5” long, 17 1/2” wide. Heughan varies but on average is 72”. My garage slopes downward, so each front leg is a different length which made the unit level. I used joist hangers instead of pocket holes.
I have not yet sanded or sealed the chairs. I made two in 5 hours because I ran out of screws and had to go and get some more but I made these for my husband and my 15 year wedding anniversary to be able to spend more time outside after the kids go to bed. It cost me $130 plus the cushions to build
I constructed this generous sized king-size headboard (tagged "Sweet Dreams") from a large number of beautiful deep discounted photo frames (pretty matting, exotic glass, all black purchased from Kroger for $1 each on a clearance rack) and featuring favorite photos of my daughter (for whom the headboard gift was intended) and her husband and children. For little more cost in wood for the framing and rope lighting to provide a soft glow through the channeled glass that surrounded each photo in the center frames made this the perfect gift. When it was hung on the wall with legs for support and mounted on a "french cleat". I coupled the headboard with two beautiful black nightstands I bought from a yardsale and painted to match the headboard. Then we placed wrought iron candlelabras over each nightstand and VOILA! It is a beautiful beadroom! Total cost: approximately $60 Best footnote, the photos can be changed out to keep the headboard fresh and current. (Do know...this is VERY heavy and must be handled with great care because of all the glass in the frames.)
Mon, 08/01/2011 - 08:36
What a great idea. Would love to see a photo of all the projects combined for the full effect!
Tue, 08/02/2011 - 16:12
could you add some close ups and different angles please i really would like to see how this was done.
Wed, 10/17/2012 - 14:35
Unfortunately Luis, I do not have other photos of the headboard...none of the "construction process" nor other angles of the finished piece. The basic process was first knowing the average width of a king sized headbard, then acquiring the inexpensive photo frames and laying out the configuration you like best. Then I took 1"x1" 8 or 10 ft long pieces of unfinished wood and built a "frame" of horizontal pieces..first laying the wood on the floor, then putting the frames in their planned final arrangement by using cut pieces of 1x1 to put vertically between the individual frames to get the spacing correct. Then I put the end 1x1 pieces on to complete the 4 sided "frame". NOTE: I worked with the framing wood "face down" so that once the entire configuration was determined and all wood pieces were cut and in place, they could be joined together. I used glue and small metal plates that spanned the tiny joints and screws that made the joints more "permanent". Once all joints were finished, I used tiny wood screen moulding and glued it in place on two of the four sides of each opening (toward the back, precisely placed so that each photo frame fit flush with the face of the front of the frame). Then I painted the wood frame black (front, back, sides, top, bottom, etc). Once dry, I glued each frame in place in each opening. NOTE: Each frame, accessible from the back,allows for photos to be inserted and changed out. Finally I glued tiny wood medallion wood embellishments in each of the four corners and applied narrow wood trim that appears "carved" and three dimentional (using glue and tiny finishing nails) to the primary vertical and horizontal frame pieces. Then I carefully applied a final 2 coats of black paint. Lastly, on the back side, I took rope lighting "holders" that screw in place and mapped the hidden rope lighting and installed the rope lighting...out of view of the front view but where the soft light could illuminate the headboard. The final puzzle was how to put the headboard in place. First I built a wood rectangle the width of the headboard and the heigth I wanted the overall headboard to be and glued and screwed the base together...and painted it too. Then I made a "french cleat" that is simply a 2x4 cut at an angle so that when one piece is permanently attached to the back of the headboard with screws. Attach the other half to the wall, screwing it into the wall. Then 2 people can lift the heavy headboard onto the wall cleat. The base should rest on the floor and the cleat holds it to the wall. NOTE: You can google "french cleat" an look at photos and note instructions to see how to do this part. Hope all this helps. I will be glad to answer any other questions. Good luck.
I used 2 x4 x8 cedar instead of the the 1x4x8
I'm just learning to make things with wood, I made two of these for the bedropom update last year.
Tue, 10/30/2018 - 11:03
Thanks for sharing all these brags!!! Love them all!
I followed the plans on the site but made the rear posts the full size of an 8 foot 4X4. For the front posts I had to cut down to fit around the fan/light. For the headboard I simply put 2X6's spaced out 3 1/2 inch between, I used scrap 2X4 for spacing. To attach all the piece I use those newer large Kreg screws for large lumber, way bigger and stronger screws. The bed platform is 1/2 plywood, added a 2X4 for support and skipped the support in the middle. Extra screws and metal L brackets hidden and added for support. Used a router to round out all edges and multi-tool to sand the rest.
I made this for my girls' huge collection of dress-up clothes. I had to modify the plans a little to fit more costumes, and also to try to fit the longer length. I was hoping the longer dresses would hang without filling the bottom quite so much, but to make it tall enough for that the little one wouldn't have been able to reach the hanger bar.
I ended up with 4 foot boards all around - 6 pieces of 1x12 cut to 4 feet long, including the shelf at the top.
The eight year old cut the letters out of scrapbook paper and we glued them on with elmers glue then varnished over it.
All in all it looks great and holds 4 big plastic totes worth of dress-up (11 Halloweens/4 little girls/5 flower girl dresses and miscellaneous other outfits).
Now I'm just hoping they'll learn to use hangers and it will stay neat and tidy!
Construction was very easy and went well - took us longer to shop than it did to build!
Painting on the other hand took a long time, mostly just to wait between coats. I used spray paint and some polyurethane to gloss it up.
I love my new lockers, and I am in love with building! I think the Kreg Pocket Jig is my new best friend!
This is my first project, and I made a couple of changes to Ana's awesome plans. I used bead board for the backing instead of ply wood, and I added divider shelves on the bottom shelf. I also added hooks on both sides of each locker so that my kids can hang lots of stuff.
Since I am a total beginner builder, I made a few mistakes as I built these lockers. If you are a beginner, too, please check out my post on OneCreativeMommy.com so that you don't have to make the same mistakes! I included a chart that shows the order I used to put everything together and added instructions for the extra dividers.
I am loving my organized space (and so are my kids)!
See the project now: http://bit.ly/lockers-kids
Pin it for later: http://bit.ly/14FpeHD
I decided it was time to use up some of the leftover materials from previous projects. This little nightstand is a mix of spruce, mdf and plywood. I constructed the little "feet" from a stair baluster that I cut up and drilled a hole into the top to add a piece of dowel before gluing to the table leg.
Bath Board! My very first woodworking project. It's 2 pieces of 2x6 cut to about 36" inches long each. You will need to measure your bath tub to see what size boards you will need to fit across it. I ripped 1 long side of each board on my table saw so I could join them togther. I used 3 pocket screws and glue to join them. I plugged the pocket screw holes and sanded the plugs down smooth. You can barely tell in the pictures after the stain was applied. I mixed saw dust with the glue when I put the plugs in so it would take the stain better and blend in. I marked up the outline of the areas that I needed to cut out with my router and penciled them in. The areas I cut out are for a wine glass, phone, soap bar, and a candle. You can arrange your board however you want, this is just the order I did mine in. Then, I used my router to cut out those areas free handed. I stained it with a dark wood stain. I used my wife's vinyl cutting machine to cut out the word "Relax". I painted over the vinyl with white chalk paint and pilled it off. Mother-in-law was very happy with her new bath board. Being my first wood project, I thought it turned out fairly nice and exceeded my expectations.
Ask any questions and I'll try to help the best I can.
Loved this simple desk project for my teenage daughter. She has spent many hours here with her school work. My favorite part is that it only took a couple of hours to build, is lightweight and doesn't take up much room. I think it would be perfect for a dorm room or small space. Thanks for the great plans Ana!
My wife first saw these in Pottery Barn one day listed for over $2,000.00, we then stumbled upon Ana White's Website and noticed she had plans. I printed them out and went to lowes to buy the material. I didnt own a saw so I had them cut the MDF for me. They ended up cutting it way off from the measurments so I ended up buying a skil saw and some stain grade pine and went to work. I get frustrated following measurements, so I ended up just looking at a picture and making it custom. Took me a few months working on it every few days, sometimes a week at a time. Thanks for looking!
Mon, 08/08/2011 - 08:04
Nice job! Thanks for including the progression pics. I'll have to attempt this soon.
Wed, 08/31/2011 - 07:39
Looks like you built 3 boxes and joined them together ? You said you used pine for this. Did you just go with 1x12's or did you join boards together with a kreg jig to make it deeper ? Awesome job this is my next project.
The idea for this project (and the final image that you see) came from the Whiskey Drink Studio ! Cheers to them for the original design.
So, this is a really fun project that has to solve the following problems:
Great, lets start with the:
The sizes are entirely up to you, but if you're going to be using a canvas as a cover, you should first pick the size of your artwork and then scale everything else to size.
They go as follow:
1 x A3 Canvas Painting (420mm x 100mm)
1 x Same size hardboard cover (420mm x 100mm)
2 x Wooden Boards (420mm x 100mm x 50mm)
2 x Wooden Boards (287mm x 100mm x 50mm)
1 x Bundle of nails
1 x Bundle of screws
1 x Bundle of screw hooks
1 x Magnetic catch set
3 x Standard cabinet hinges or 1 x Piano Hinge
This a very very beginner level build, so we're using the easiest techniques possible. Advanced users, who want to make the strongest box possible, can use alternative materials and methods.
So, very straightforward, just start building the box, starting from the frame. In the GIF above you see how we put the shorter boards in between the longer ones and just nailed them together.
If you want this to be extra strong, you can use corner braces on the inside.
After the frame is ready, flip it on it's face and nail in the hardboard. The hardboard should be thick enough so it holds the screw hooks and your jewellery. It should also be pretty sturdy and well attached to the frame so use plenty of nails (well, don't go overboard).
Take your canvas (or whatever other cover you picked) and mark equidistant locations on the lower back side. Take your measurements and mark the same locations on the bottom of the frame. Put the two together and see if they match.
Now screw the hinges in the cover and then, into the frame.
At this point the door should open and close, lining up perfectly.
The next step is to think about the internal layout. Using a pencil plan and divide your space to represent your needs for storage. Then simply screw the hooks in.
The last part is attaching the magnet catches. They will hold the cover tighly close, with no accidental falls and issues. This can be substituted for a hydraulic arm, but we chose the simplest options.
Special thanks to Rachel at Whiskey Drink Studio for the inspiration !
Check out the full tutorial over at my blog - DIY Wall Mounted Jewellery Organiser
Thu, 10/22/2015 - 05:05
I love your animations! Really cute project you've done there! Cheers
Simple project. Only took 3-4 hours. The kids love it!
This was a great project! If a 70 year old woman can build it, so can you. I had an old bench that used 2x4's and those plastic ends. I took it apart and salvaged most of the boards after sanding them down. So my cost was zero dollars to build this, but I'm sure it wouldn't last as long as using new wood.
I found the instructions easy to follow. I used 2 1/2" exterior star screws, and finished the wood with solid exterior stain in a sage green. The wood wasn't in great shape, so a transparent stain would not be a good choice for me.
I bought a $16 chair cushion and I'm tempted to make another chair!
Fri, 08/12/2022 - 17:05
Great use of material, love the finish! Than you so much for sharing.
I made this bed for my 2 girls who share a room. It was my first real attempt at building anything substantial. They are thrilled. The plans were so easy to follow. The only thing I did different was use 3 inch screws in the hutch base because I felt it made it more sturdy. I used bead board for the outside of the hutch and the back of the book cases. Thanks Ana for such great plans.
Tue, 12/25/2012 - 04:39
I really want to do this for our twins who are about to move to big girl beds. However, I do not see the plans for this. Do you have a pdf to show how to build them? I especially love the hutch!
In reply to I really want to do this for by Rachel Stacy (not verified)
Wed, 01/16/2013 - 18:16
It's from the twin storage bed plans, and the storage hutch plans too. I don't have a pdf myself, but all the plans are from Ana's site. Good Luck!
I really liked the look of the 2 Drawer Modern Nightstand but I wanted to add a twist to it. Since I can't live without my devices (laptop and phone), I decided to add an open slot to the middle shelf of the nightstand for power cables. It also has a space that I added in the back that can hold a power strip. Embarrassed that I did not paint the back of the nightstand but I was really done at that point after a long weekend's worth of work!