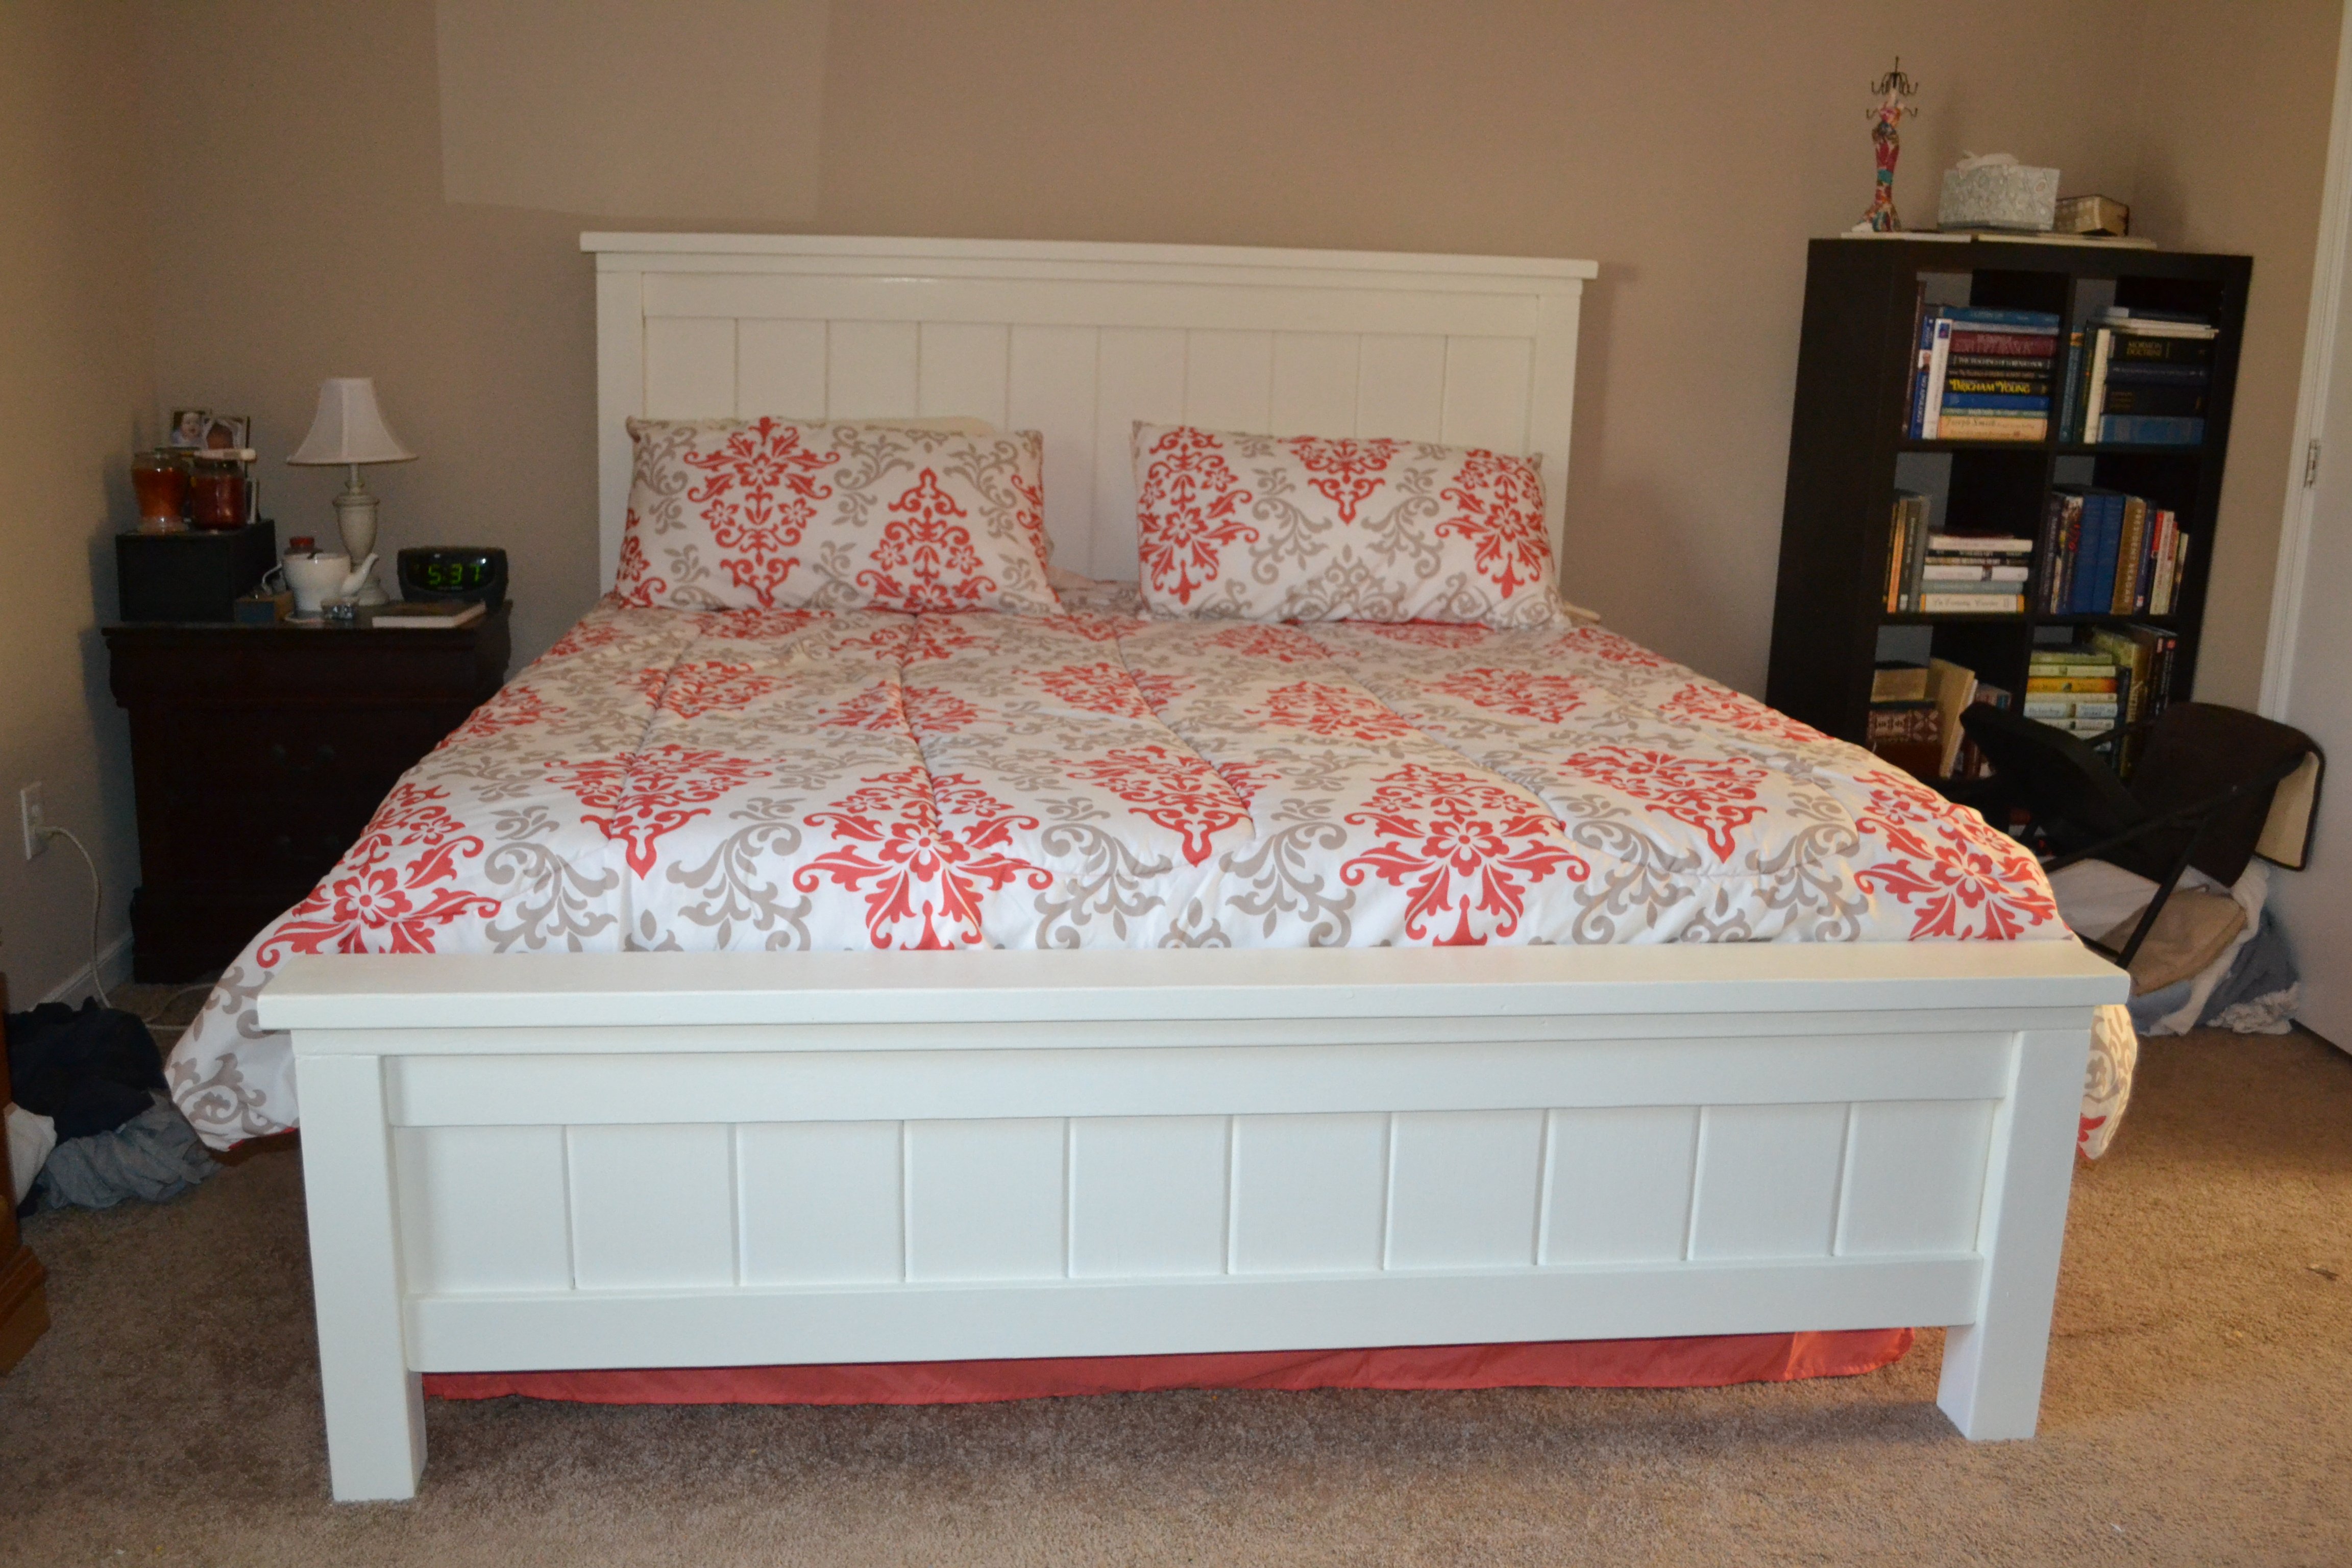
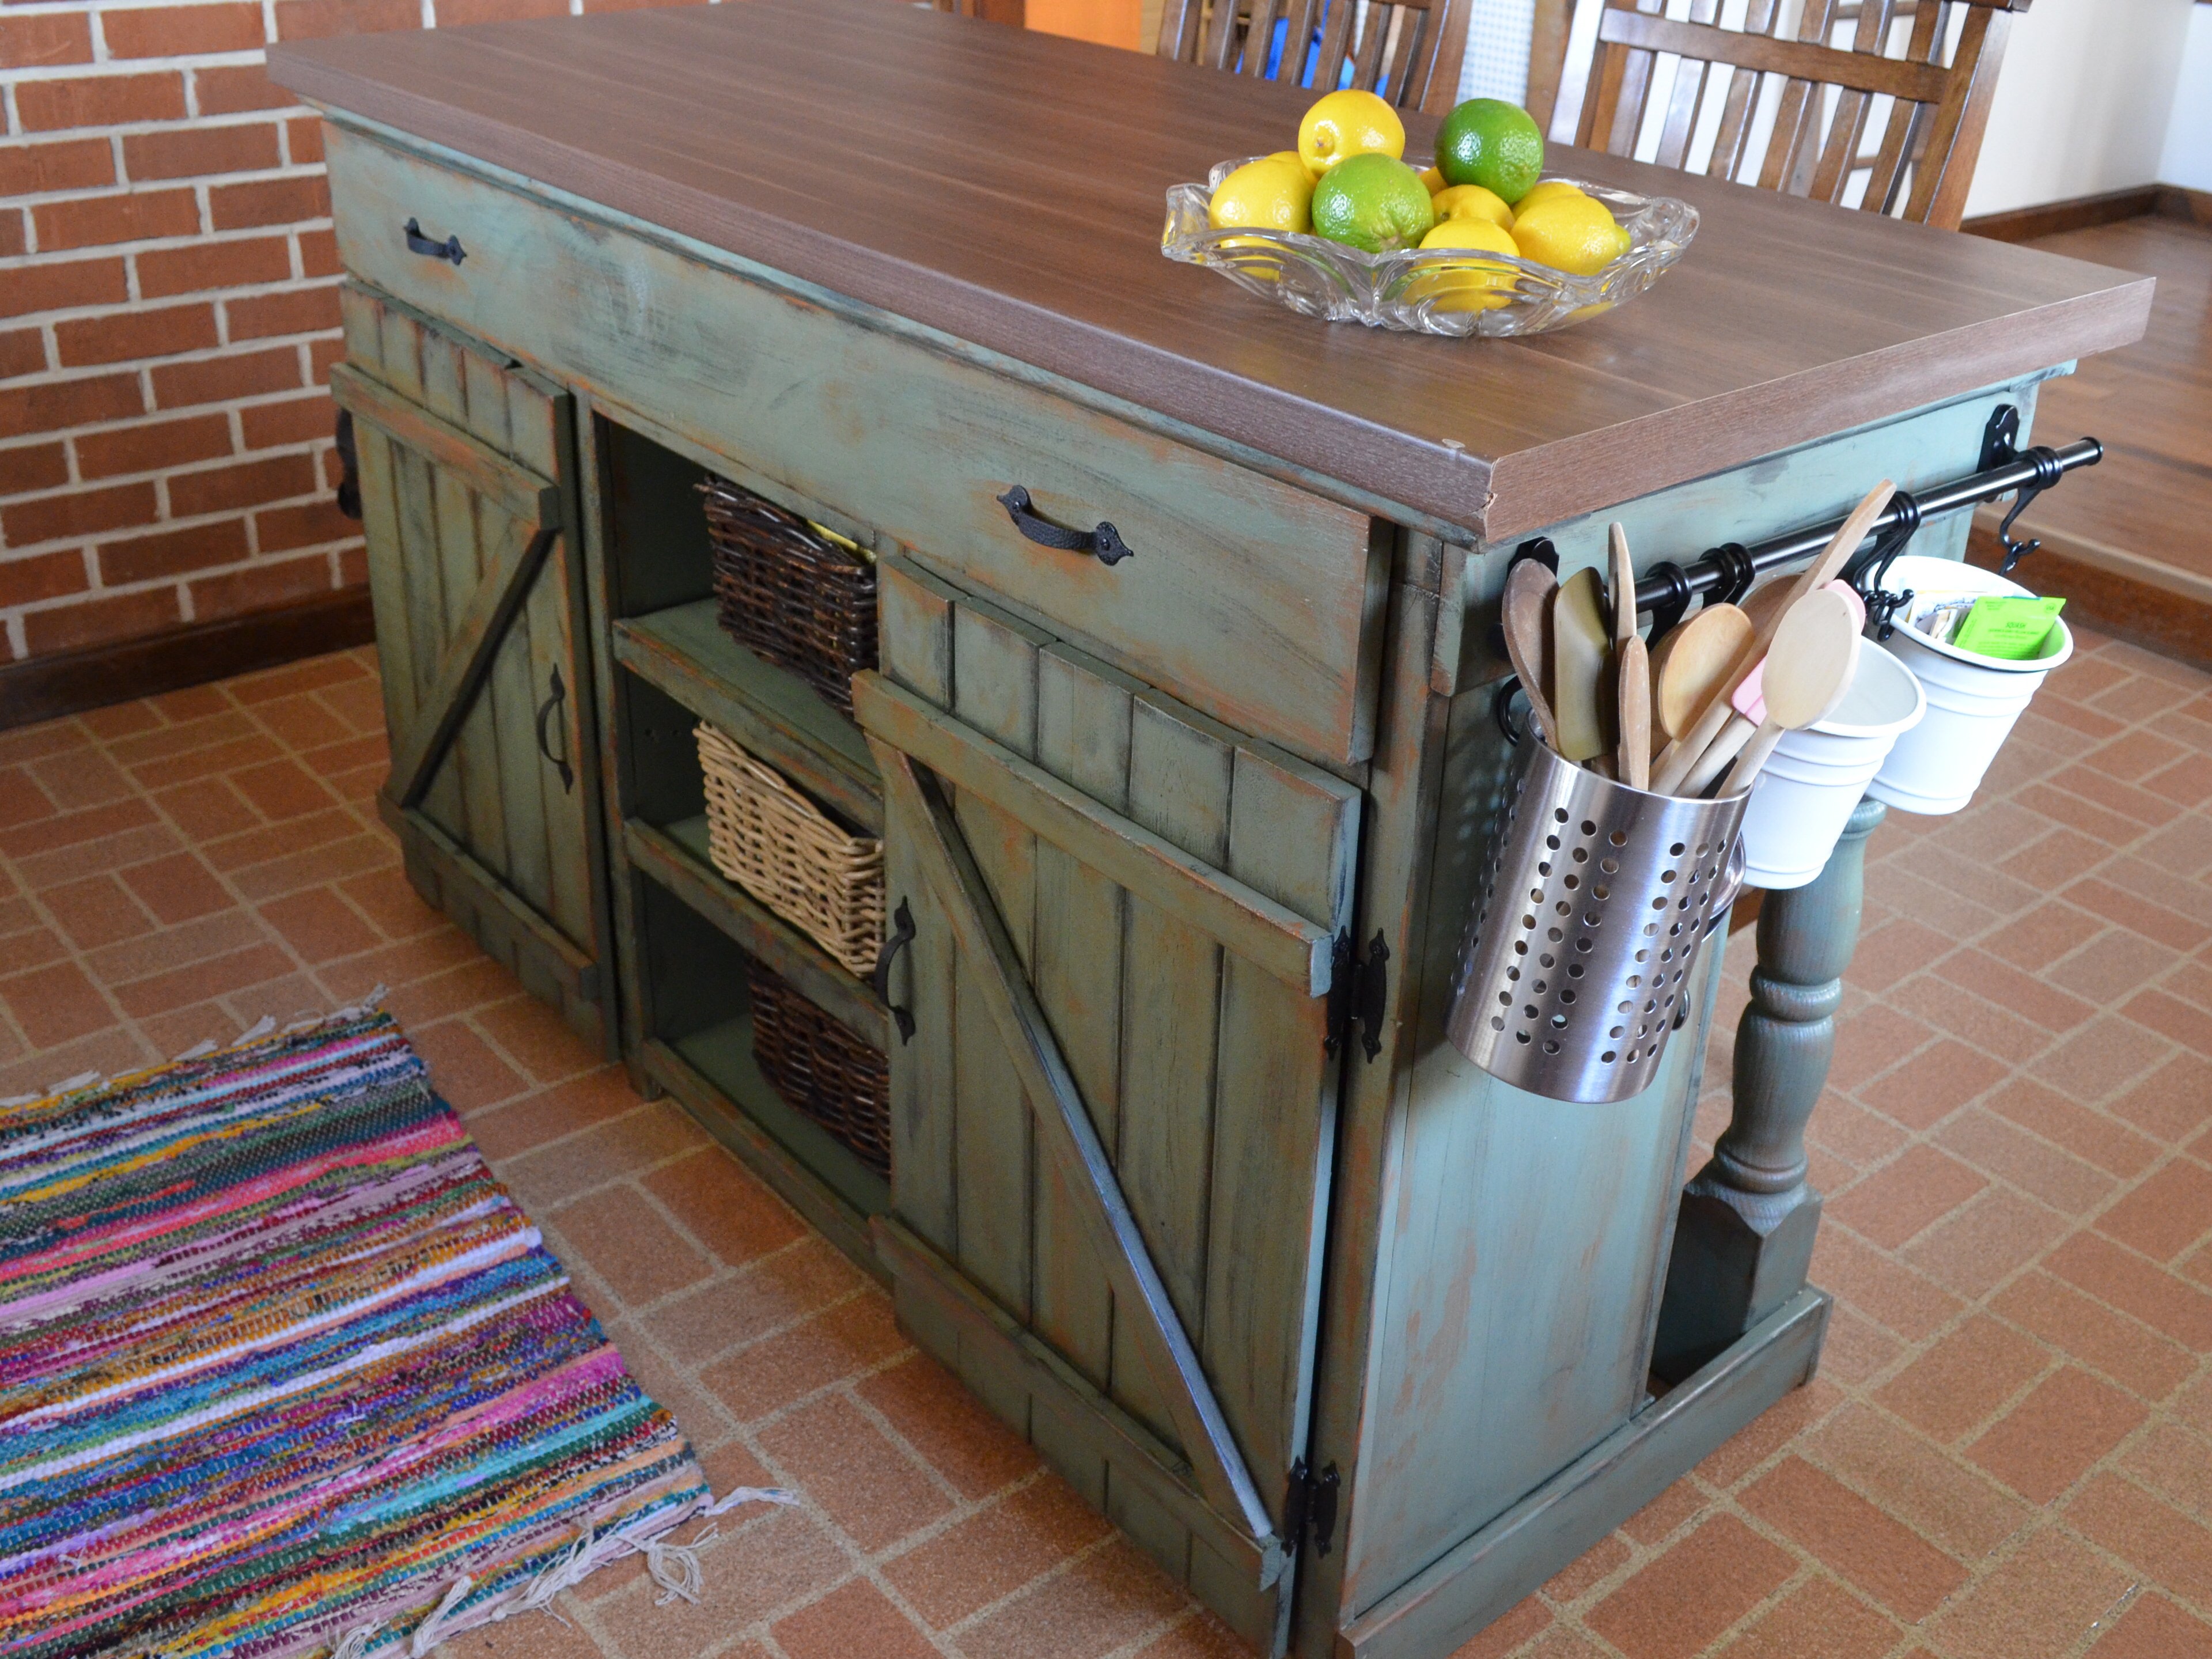
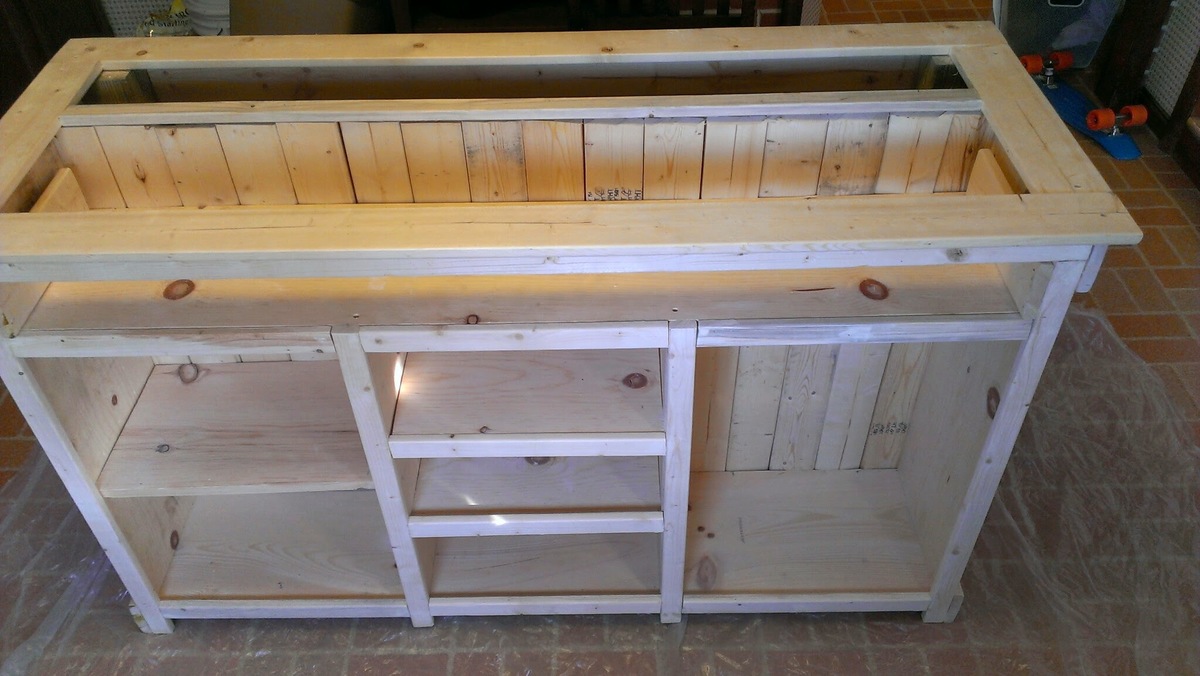
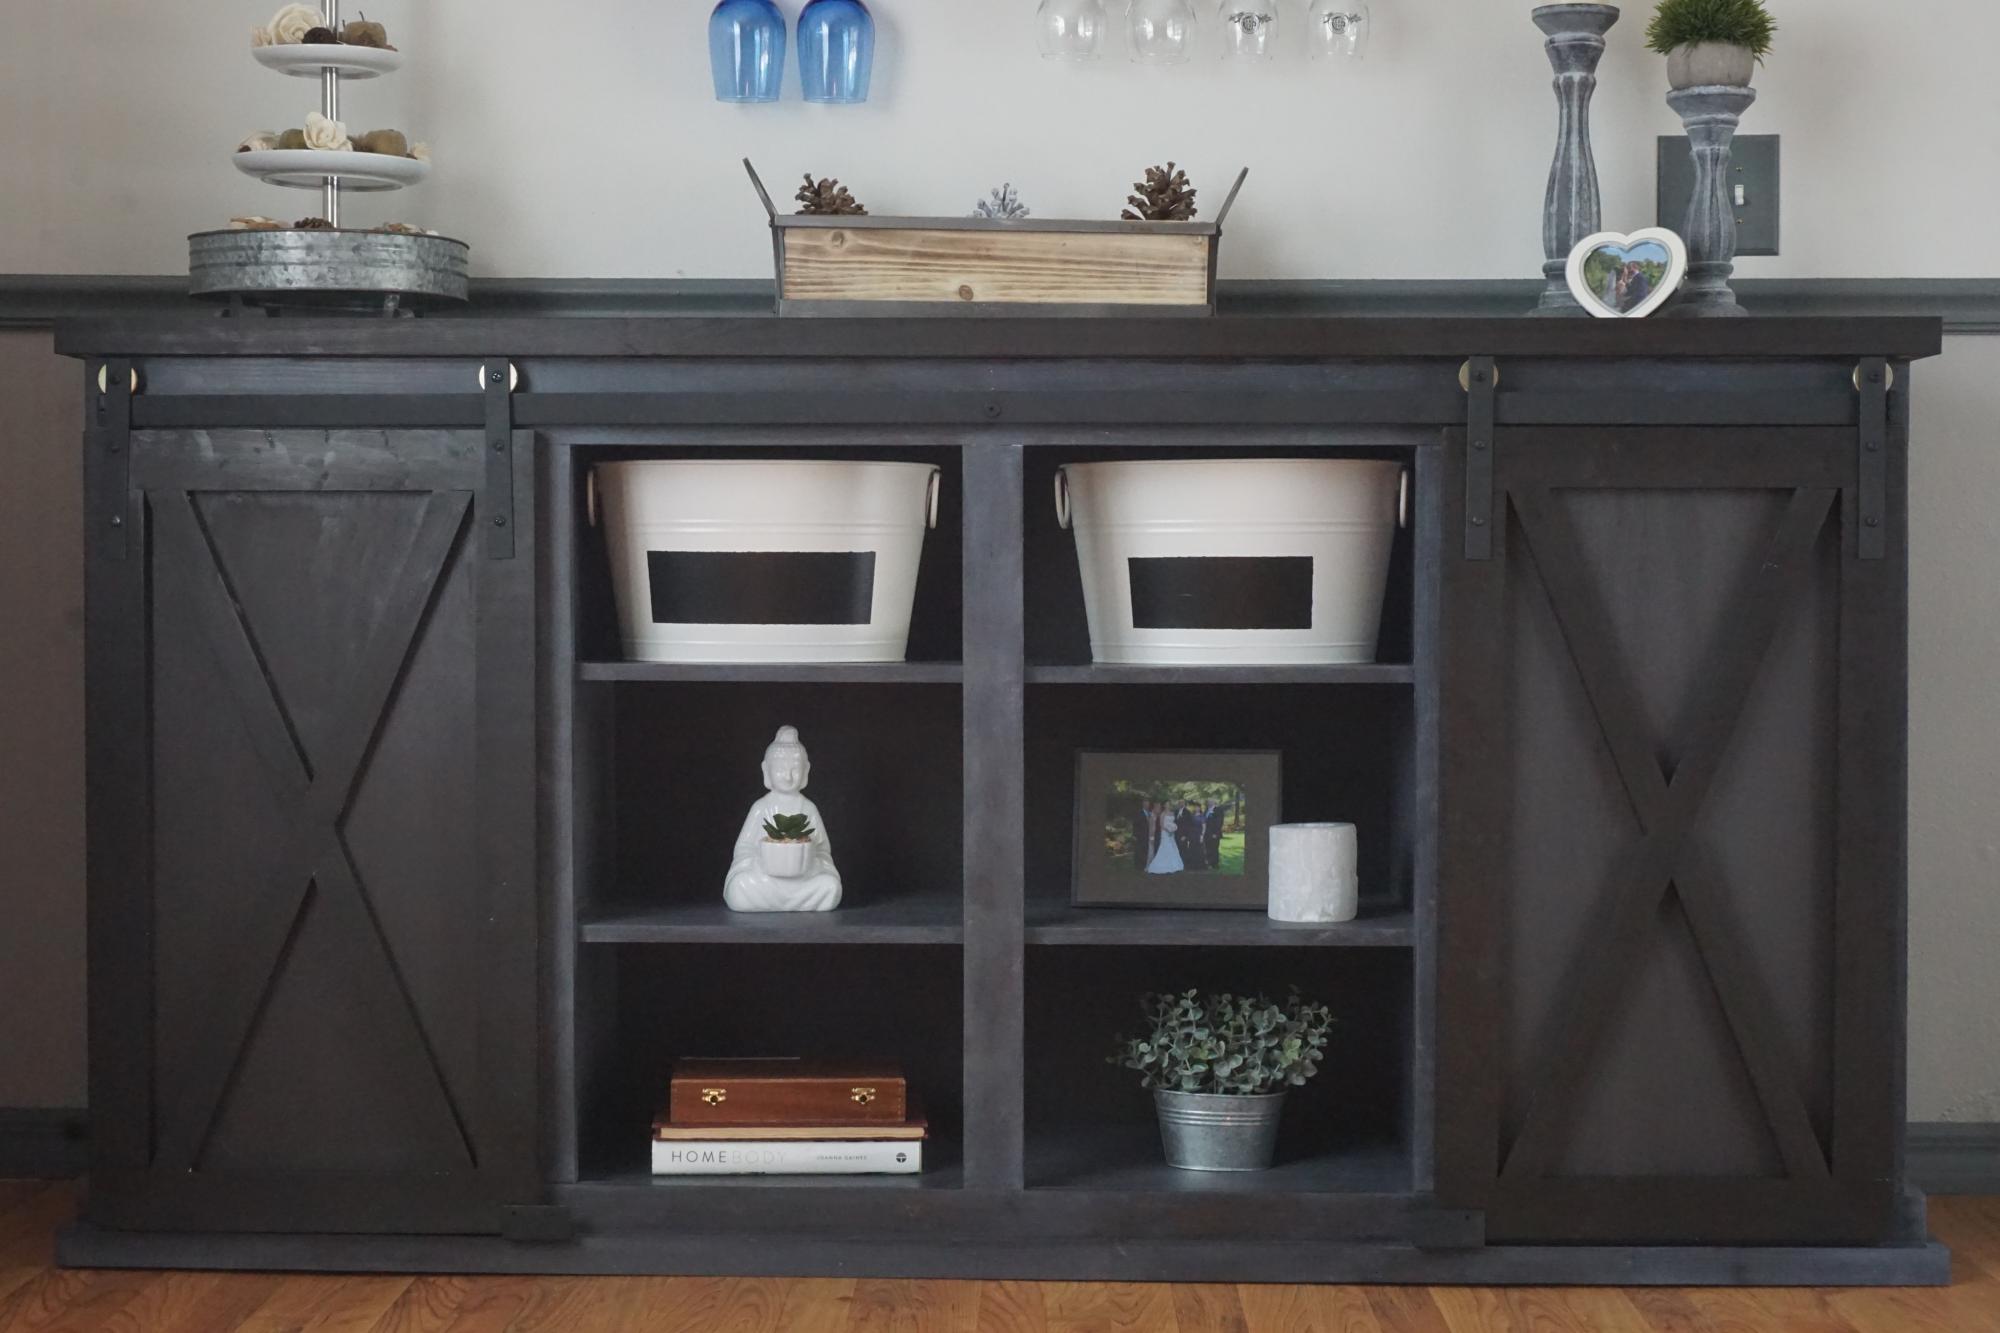
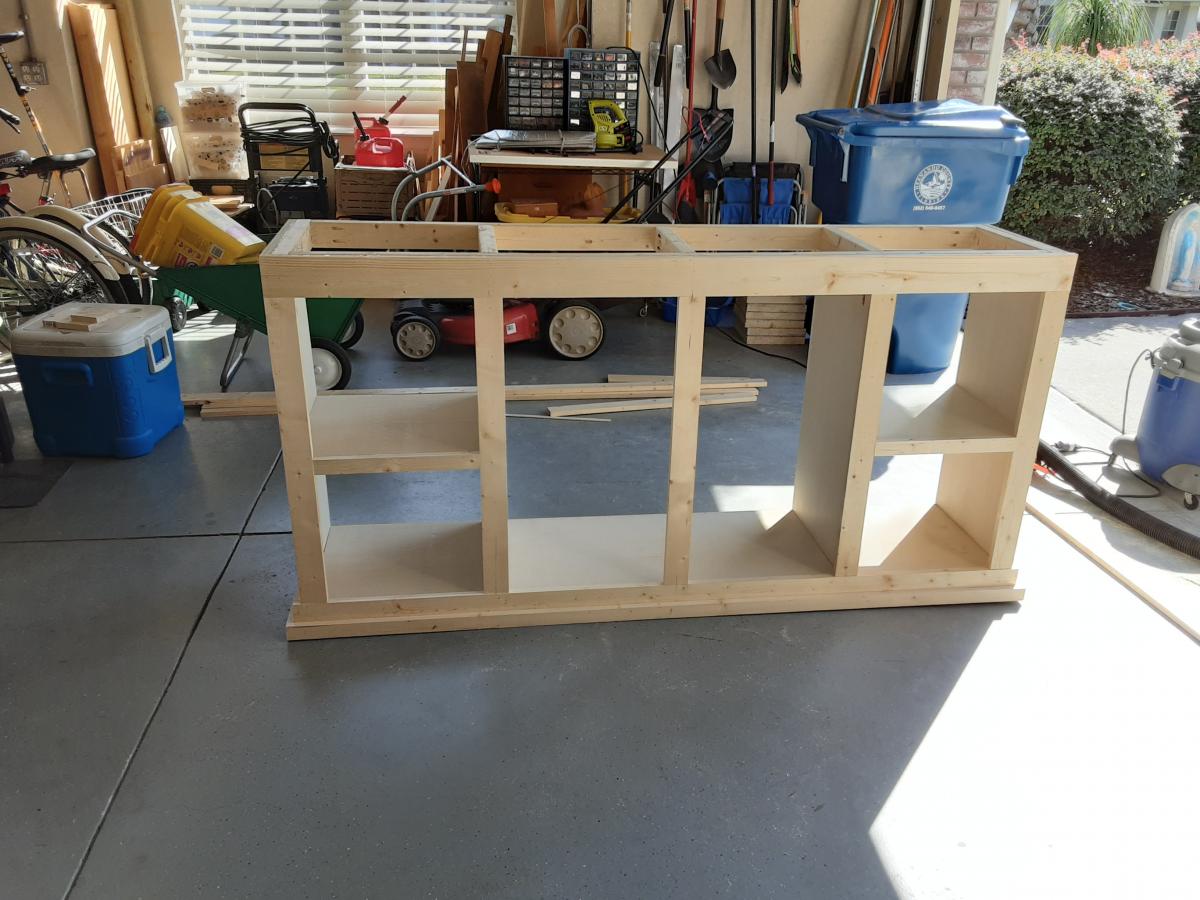
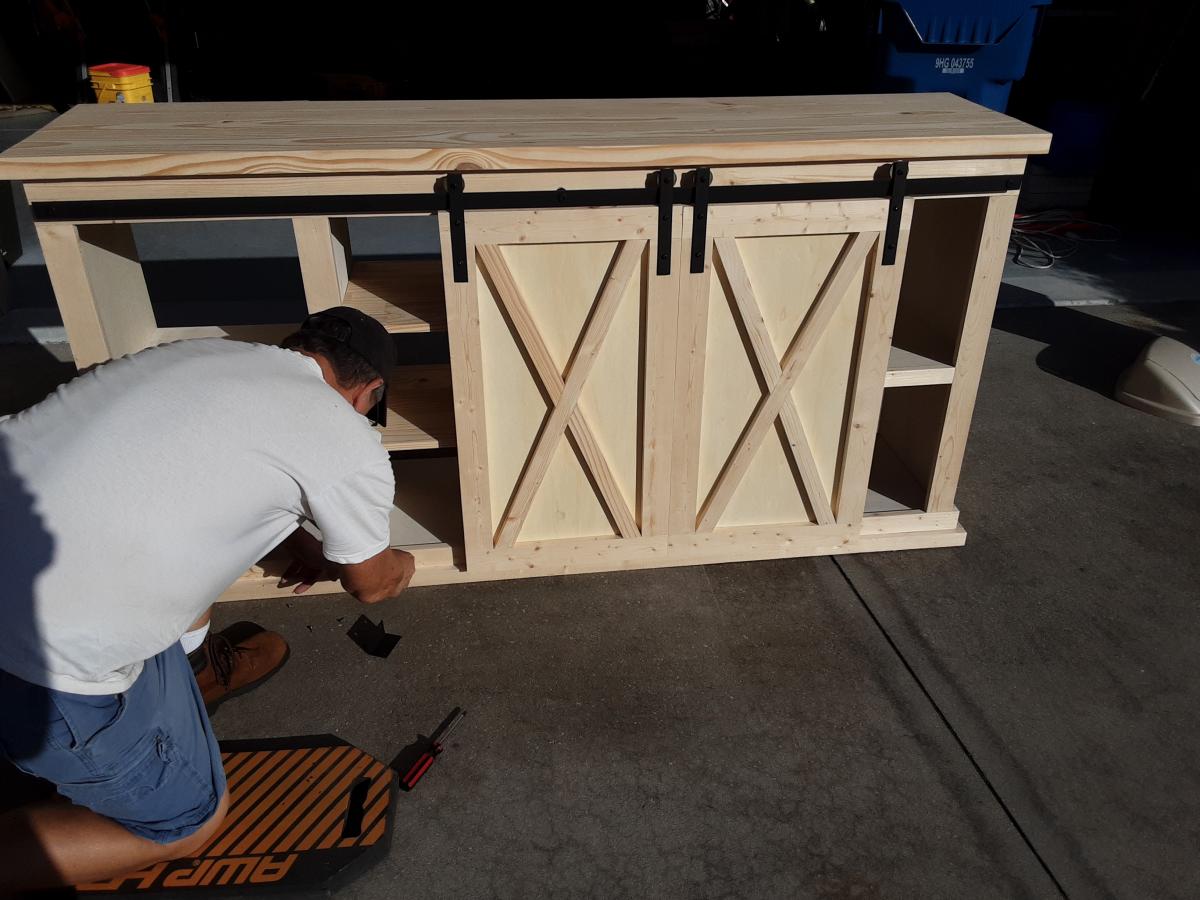
Grabbed some cheap whiteboard for my first project. My wife was looking at buying an island and I decided to surprise her by trying my hand at building one. Turned out to be an enjoyable new hobby that I hope to continue (plus, Laura now says I am her "favorite husband!").
Materials breakdown:
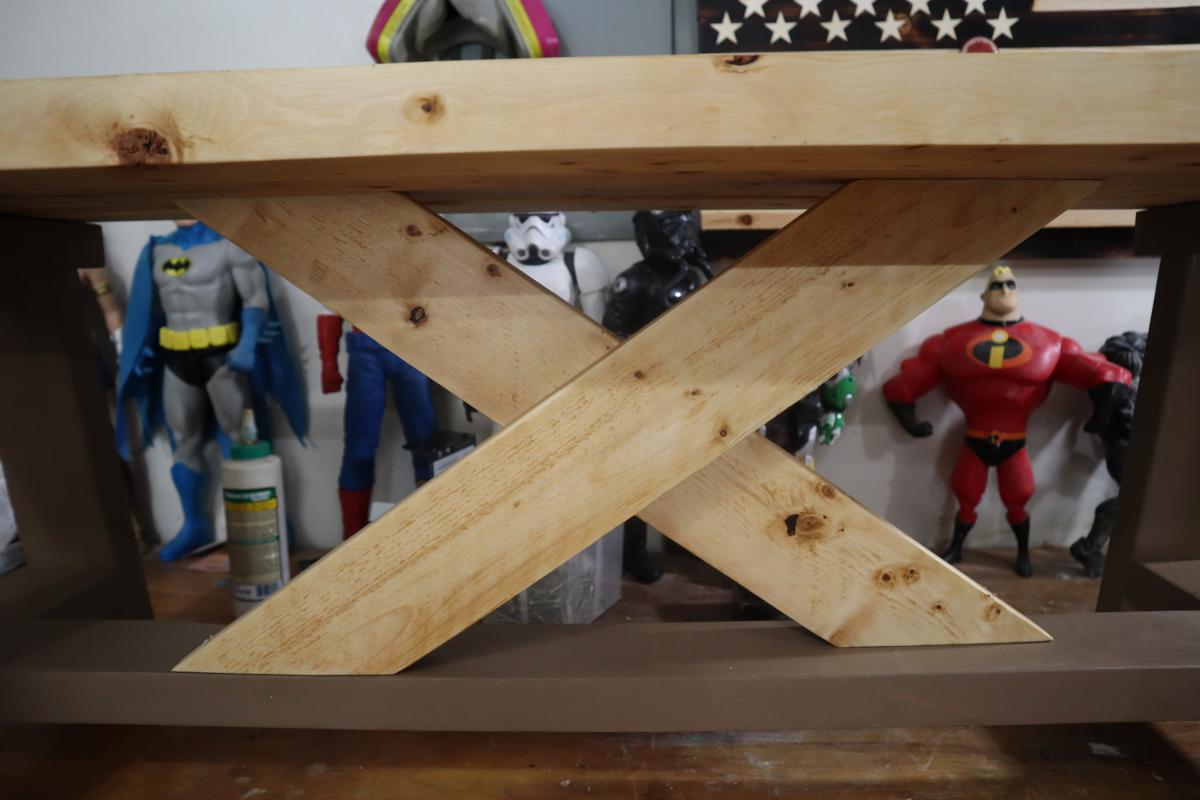
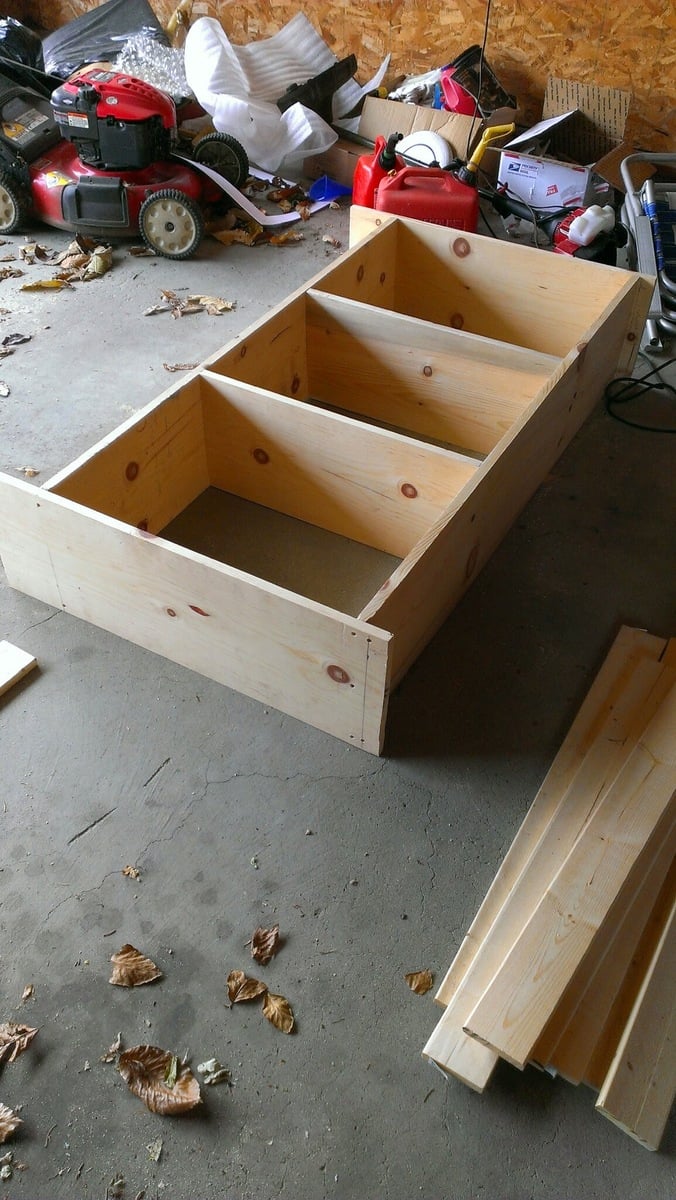
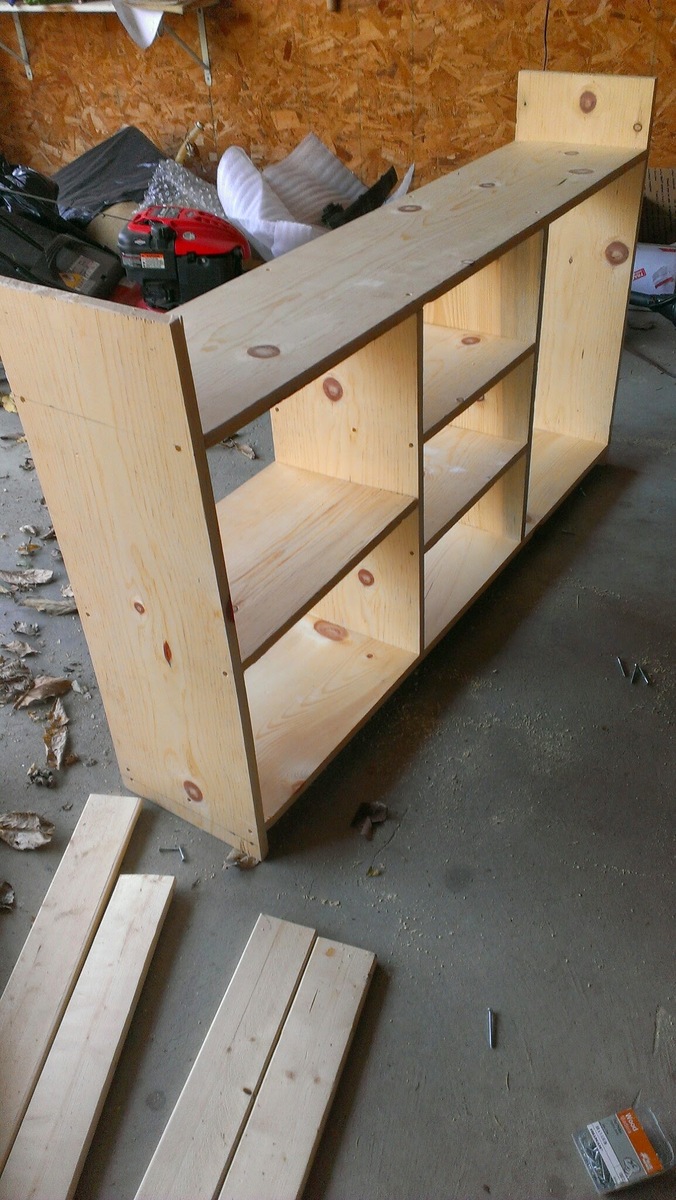
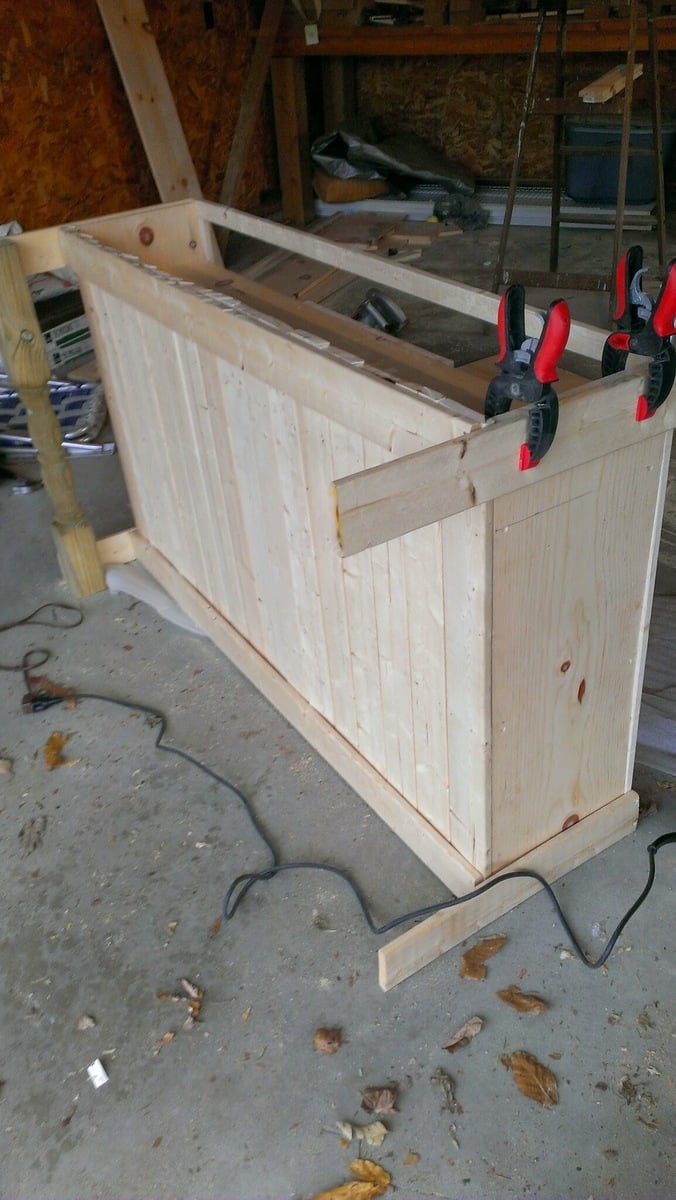
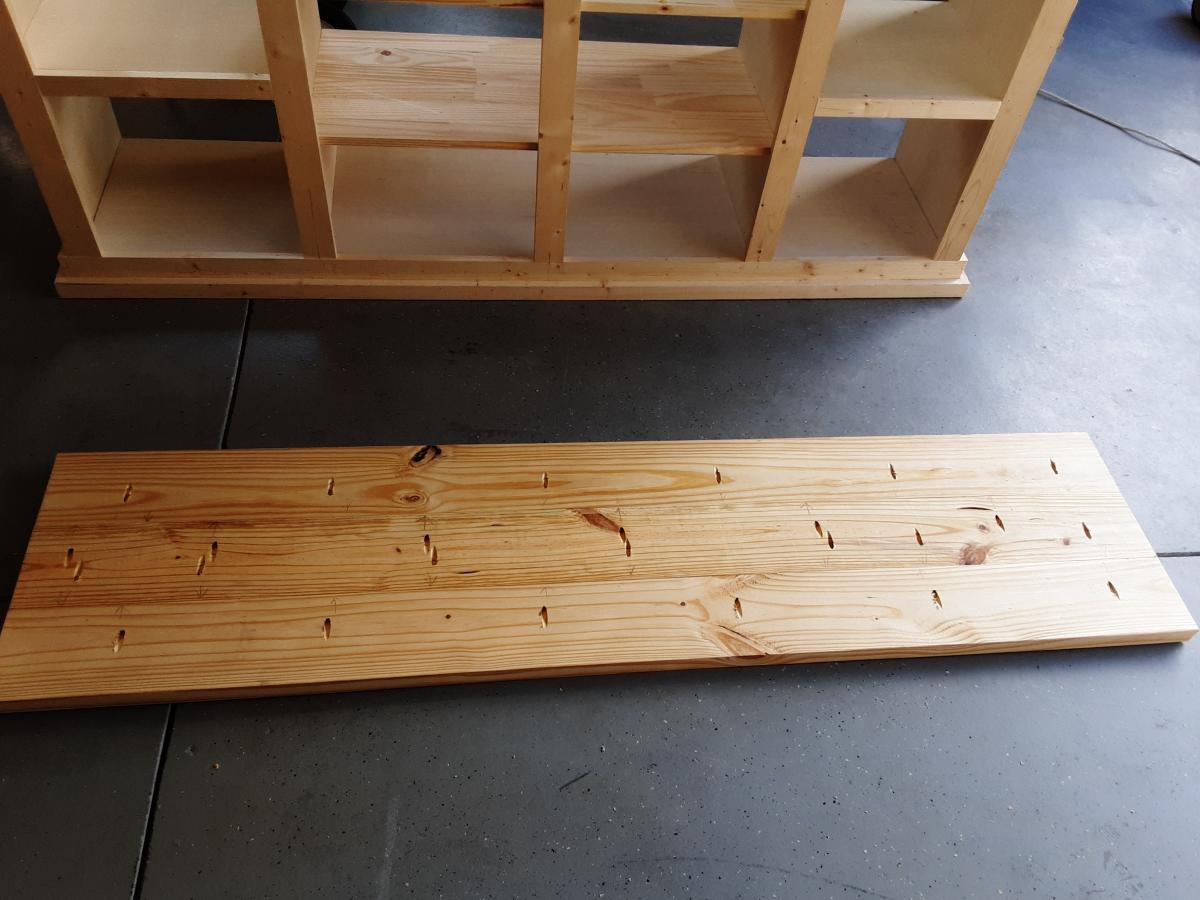
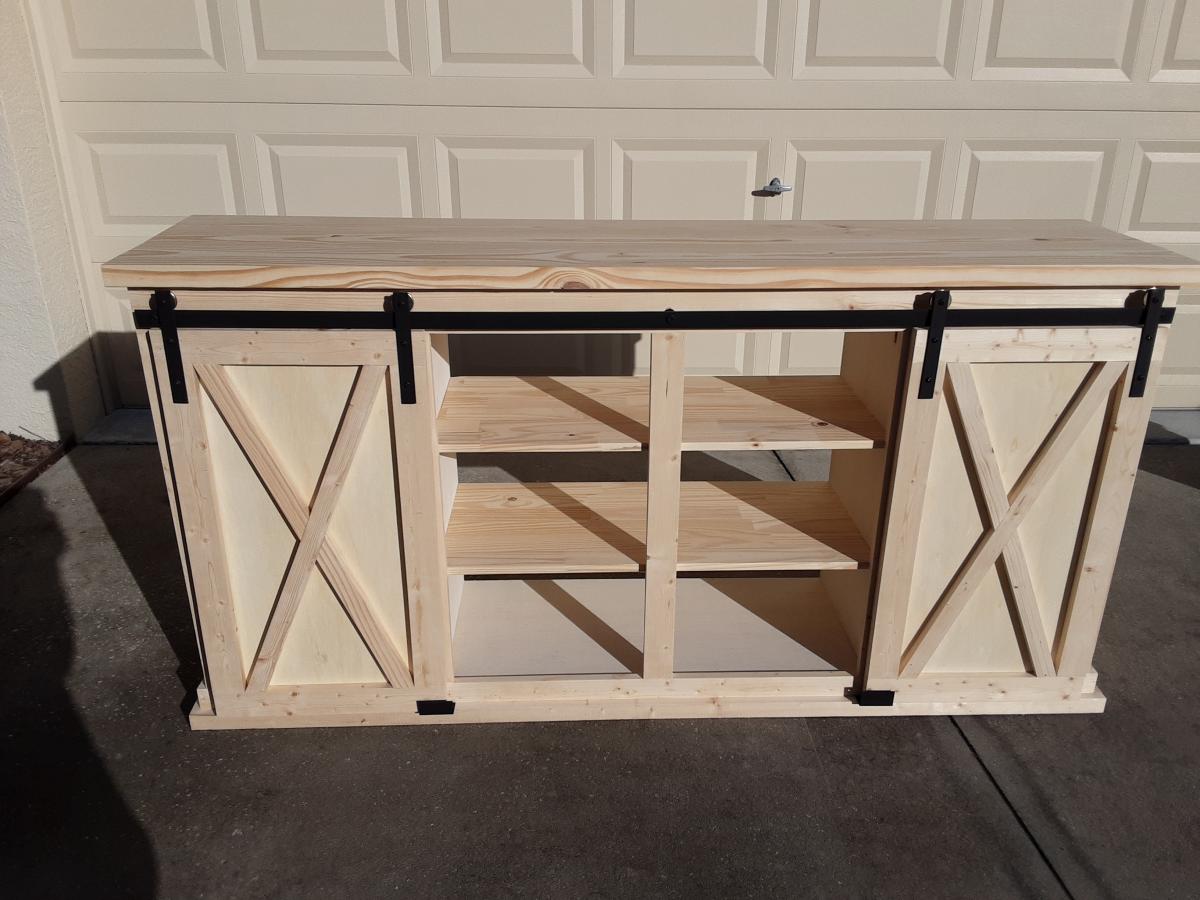
The lumber is white board from Lowe's for $115
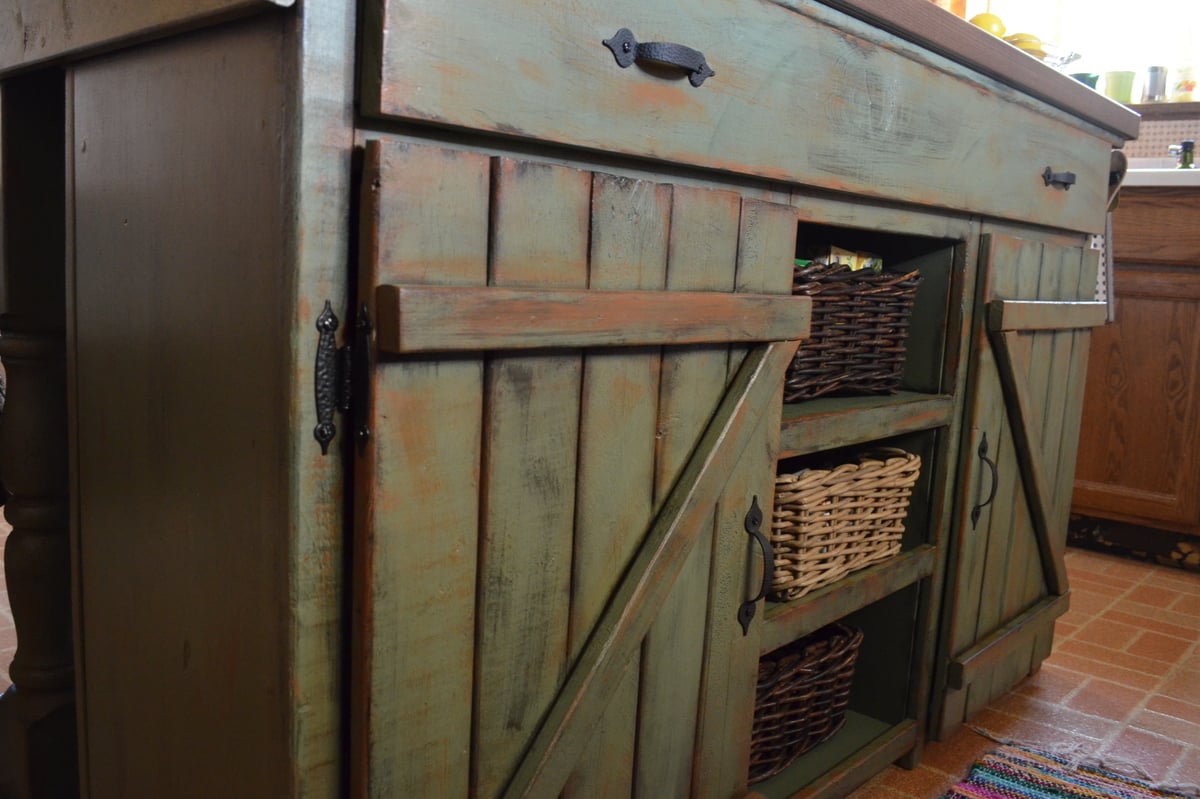
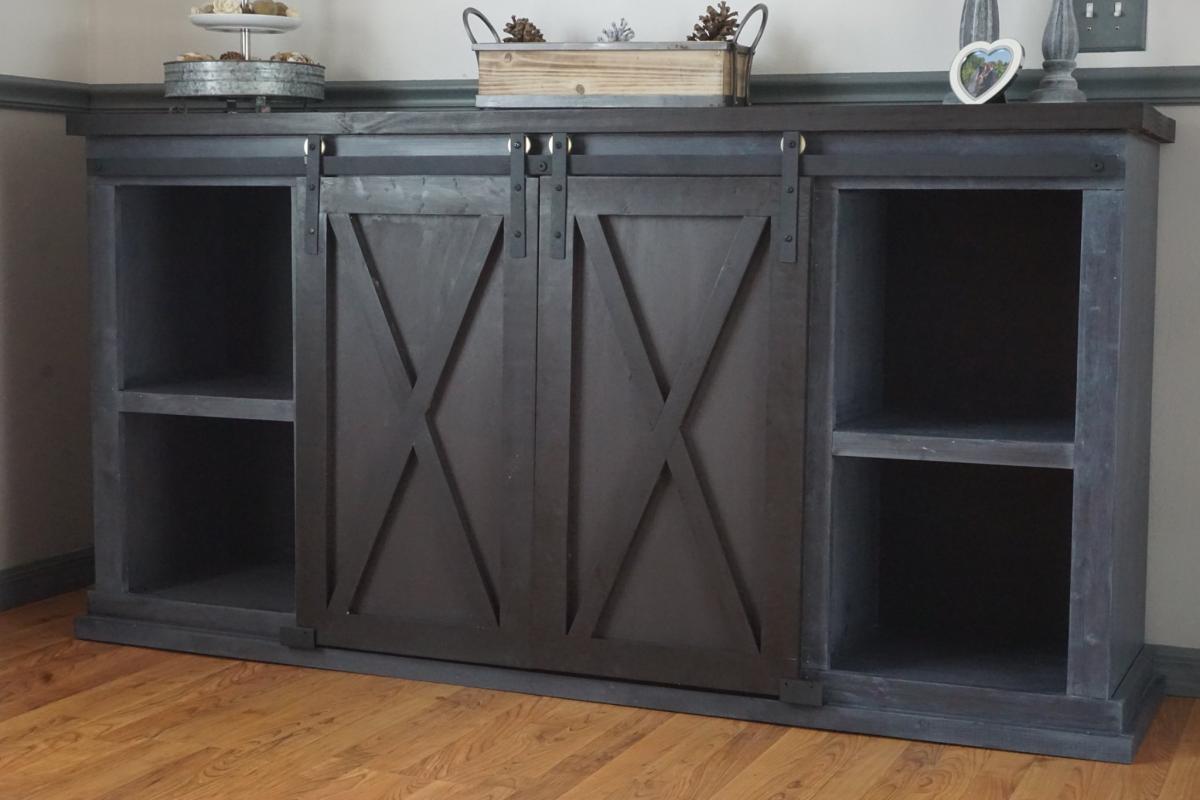
The countertop is laminate Pragel from Ikea for $59 (cut to size)
Paint, polyurethane and drawer hinges were $50
I had another $75 in tools, glue, wood filler, nails, etc, because this was my first project.


Comments
Ana White Admin
Sat, 11/18/2023 - 12:48
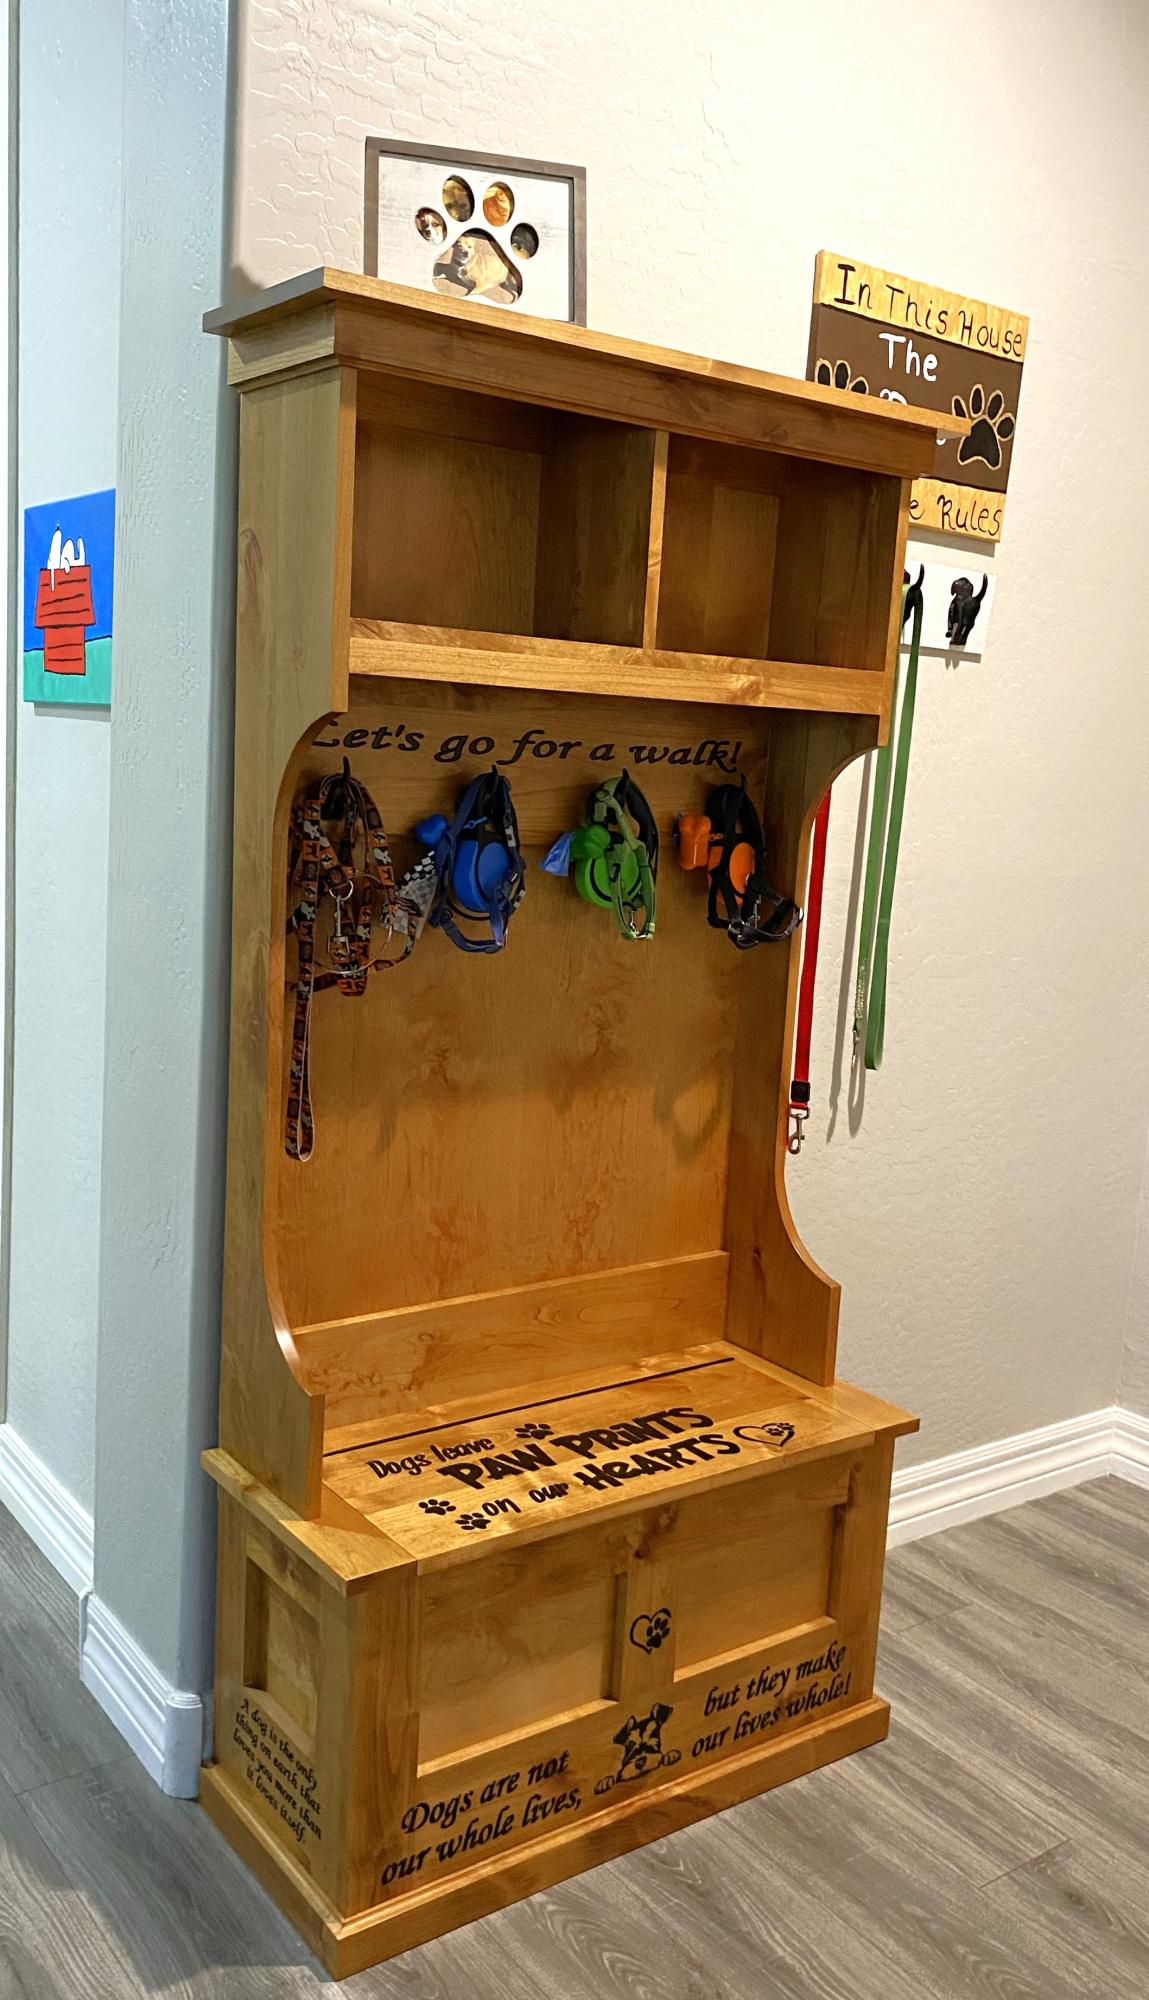
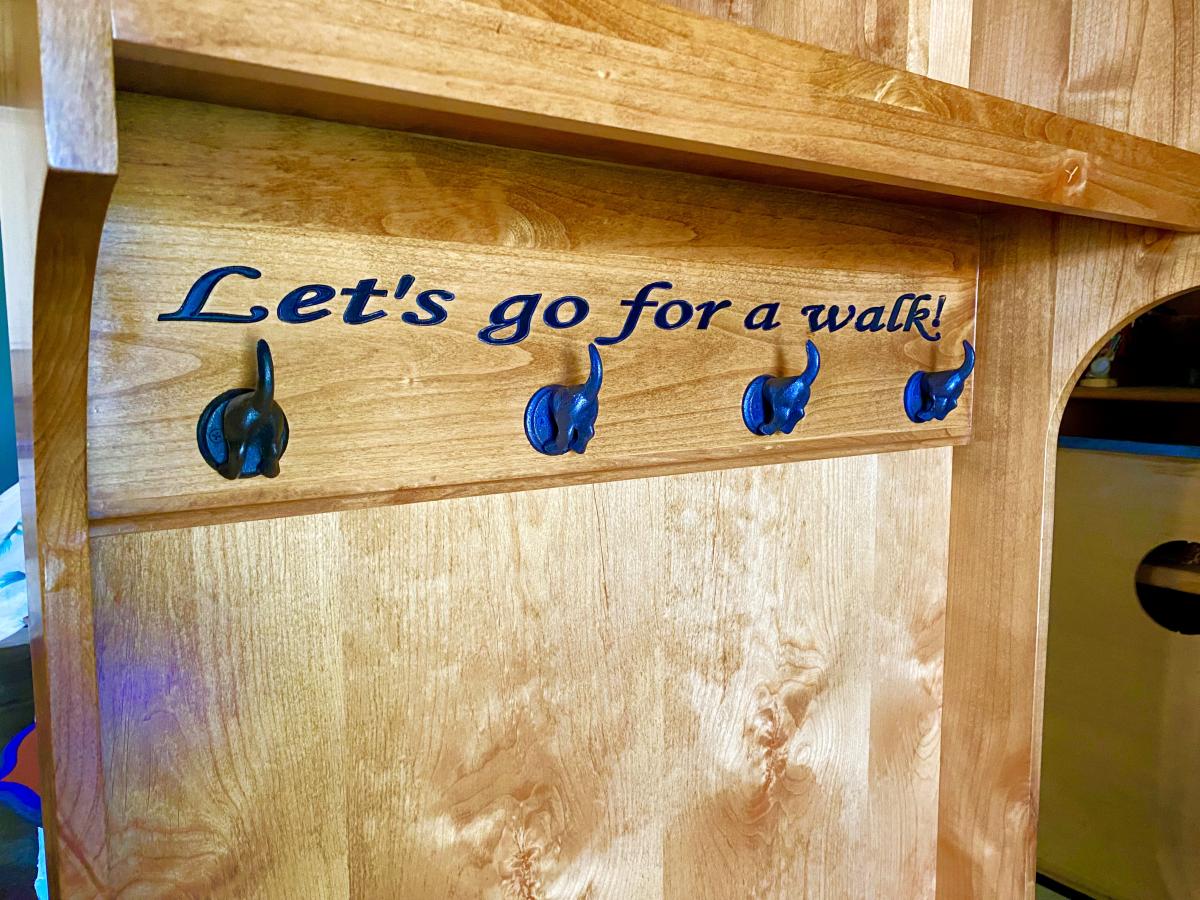
Dog Lovers!
Love this, such a great storage solution for a pet walking station!