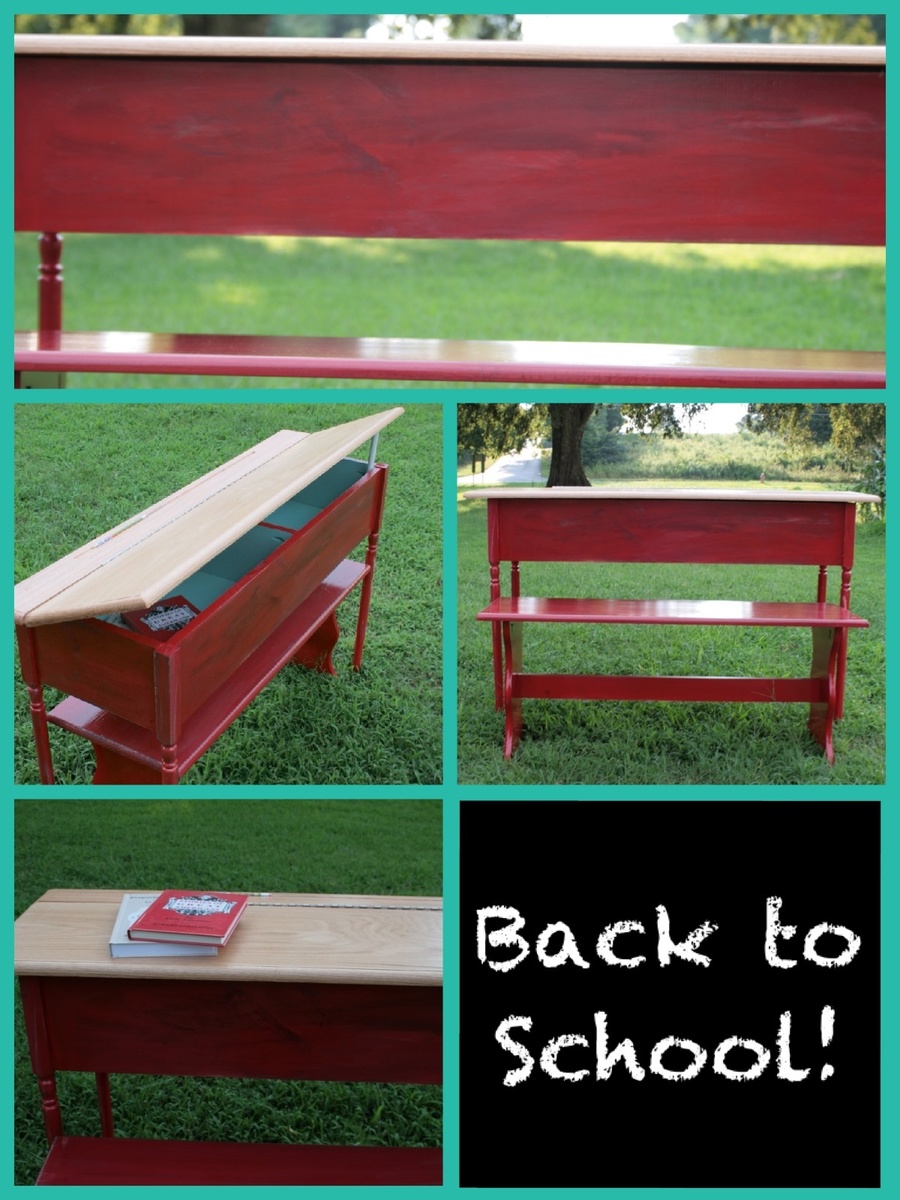
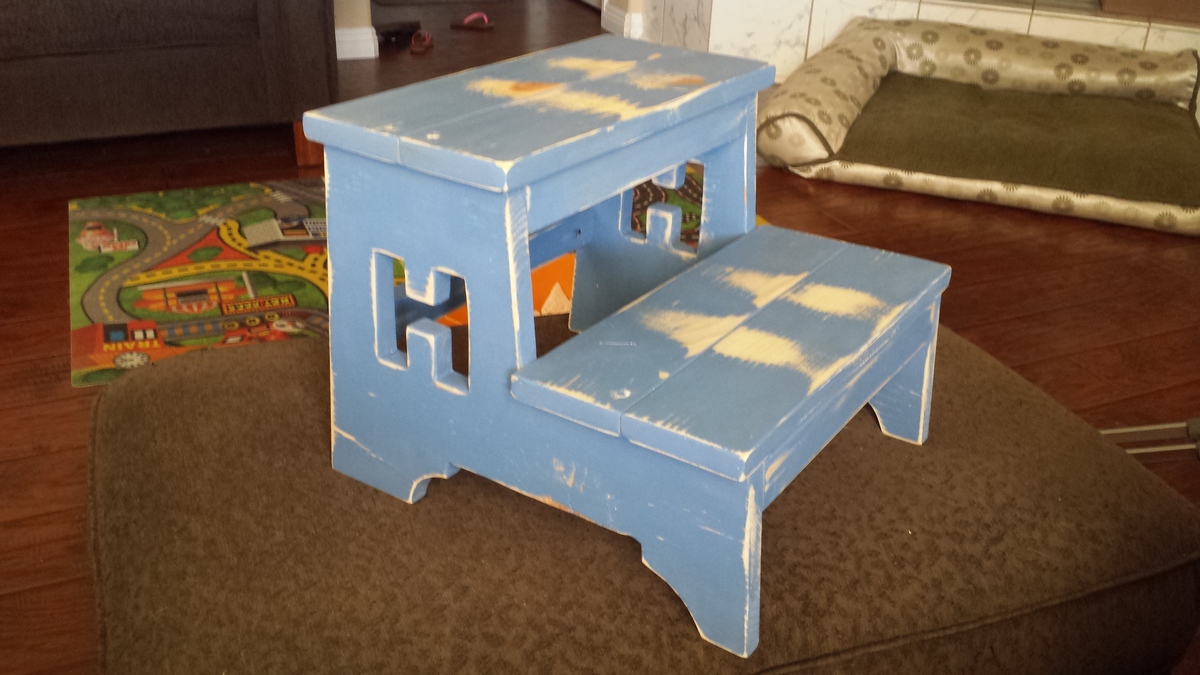
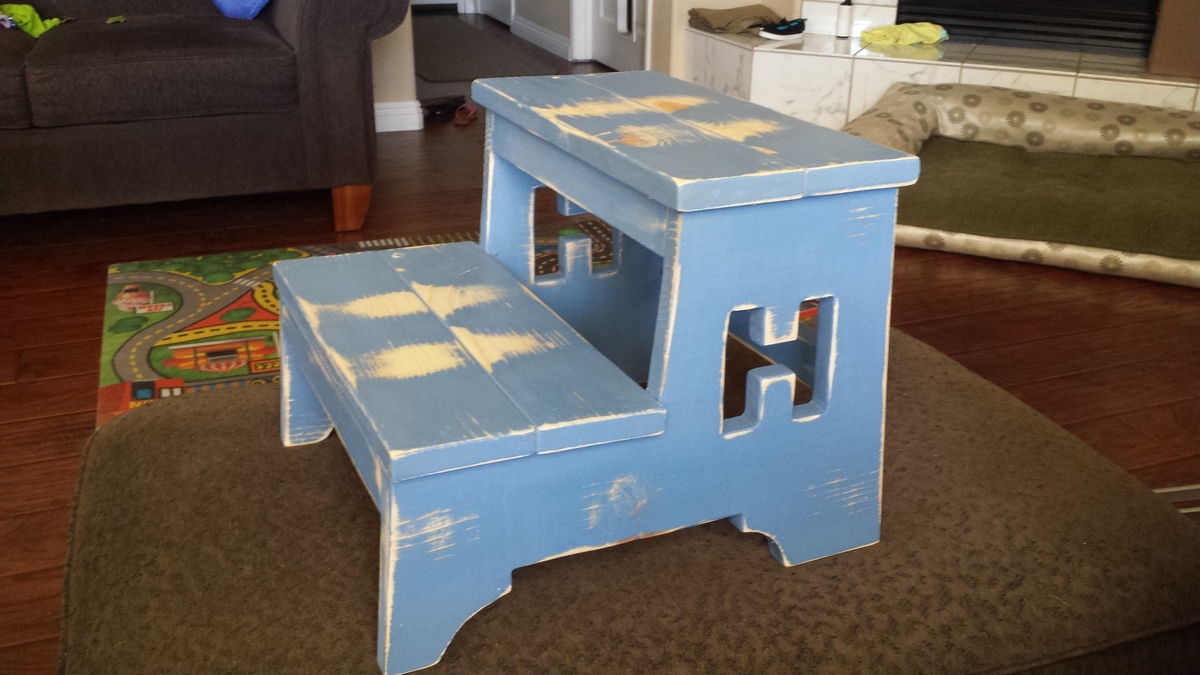
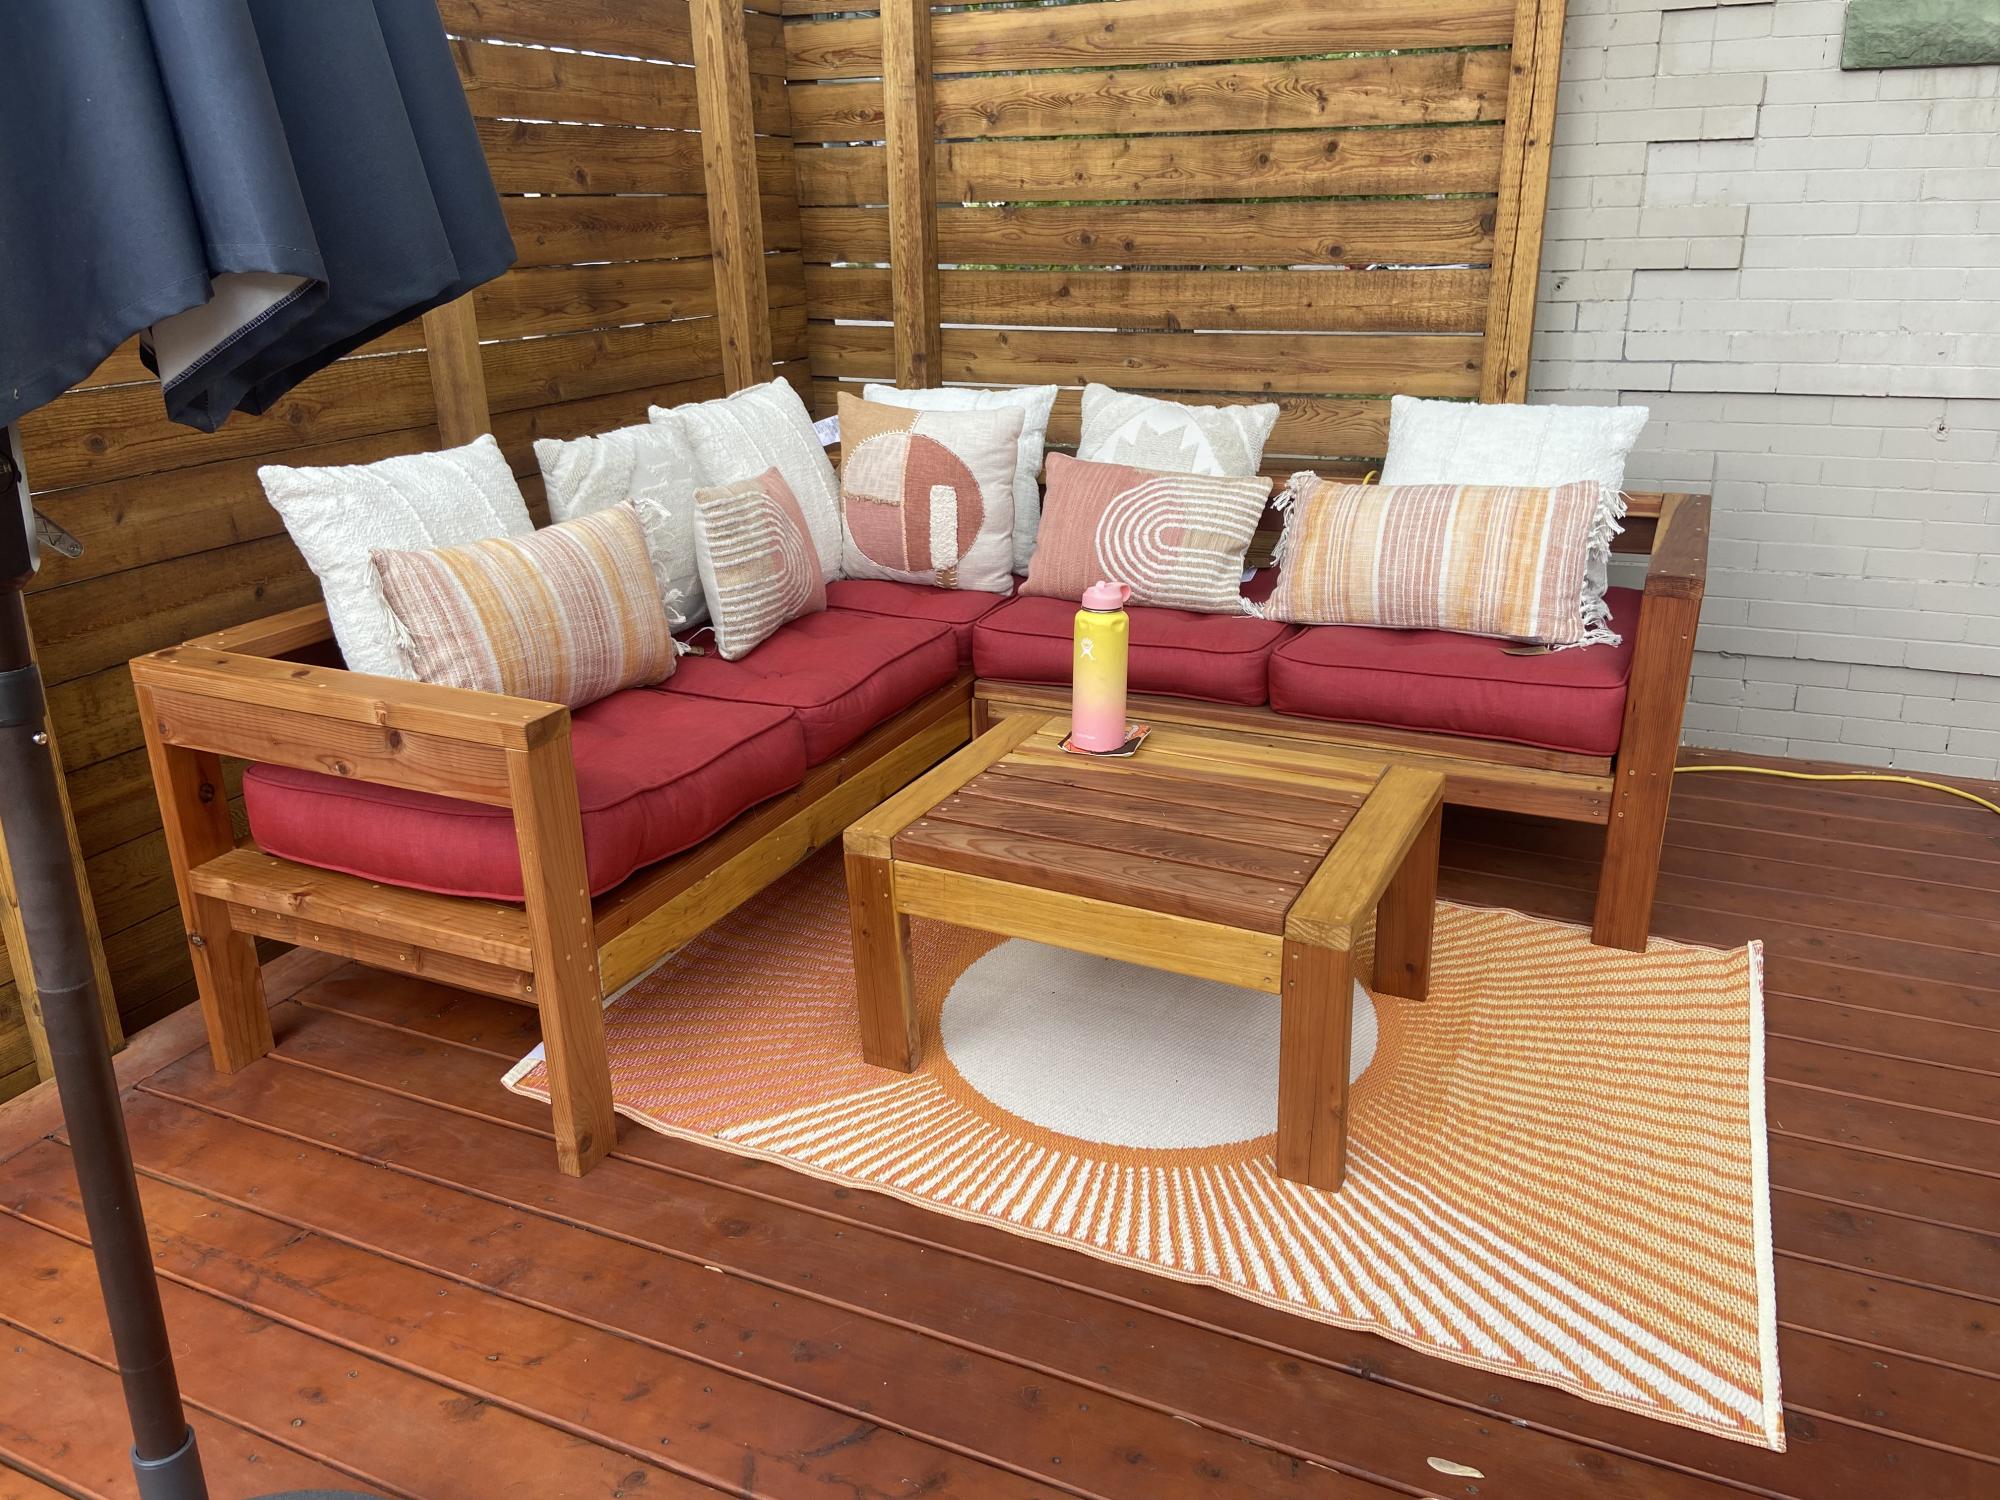
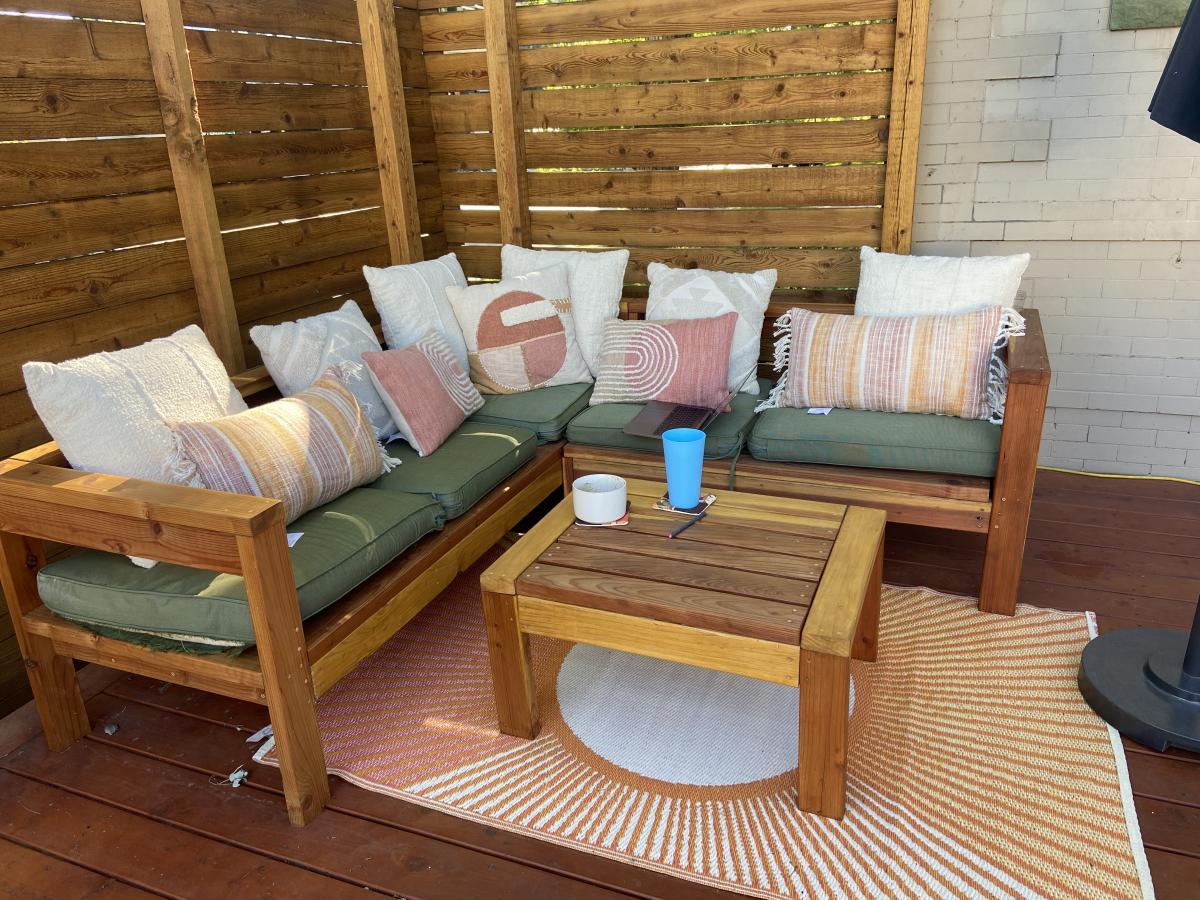
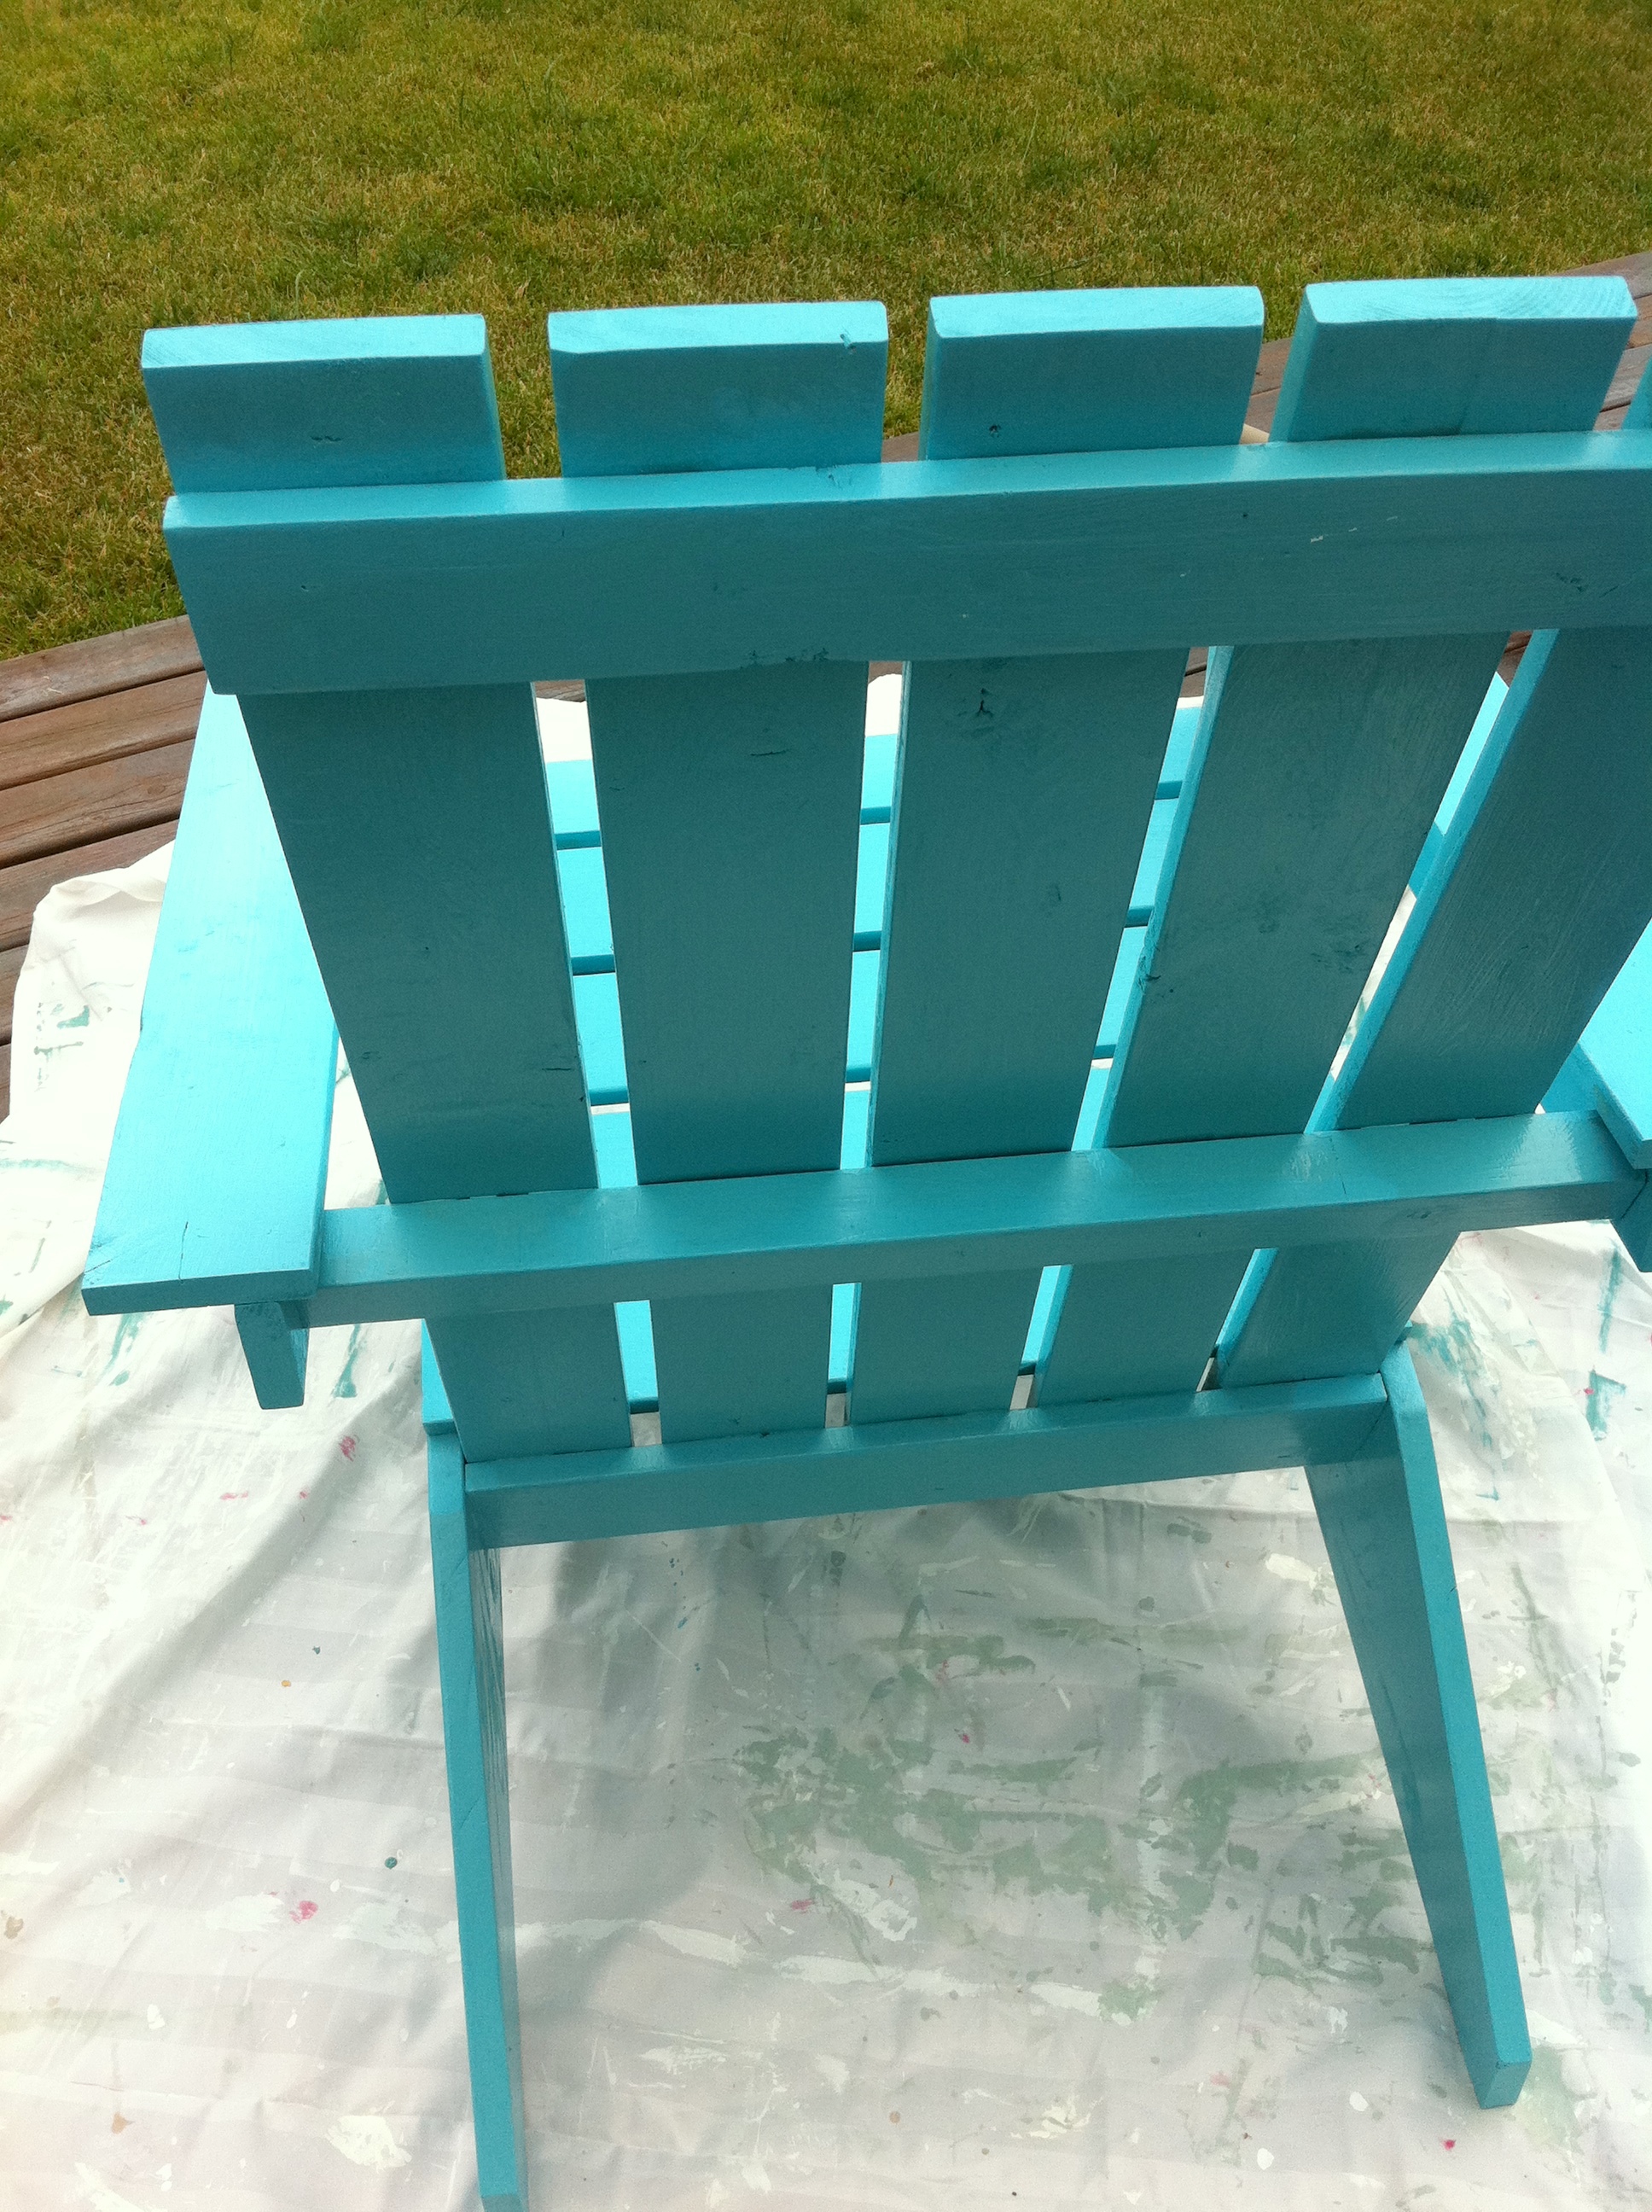
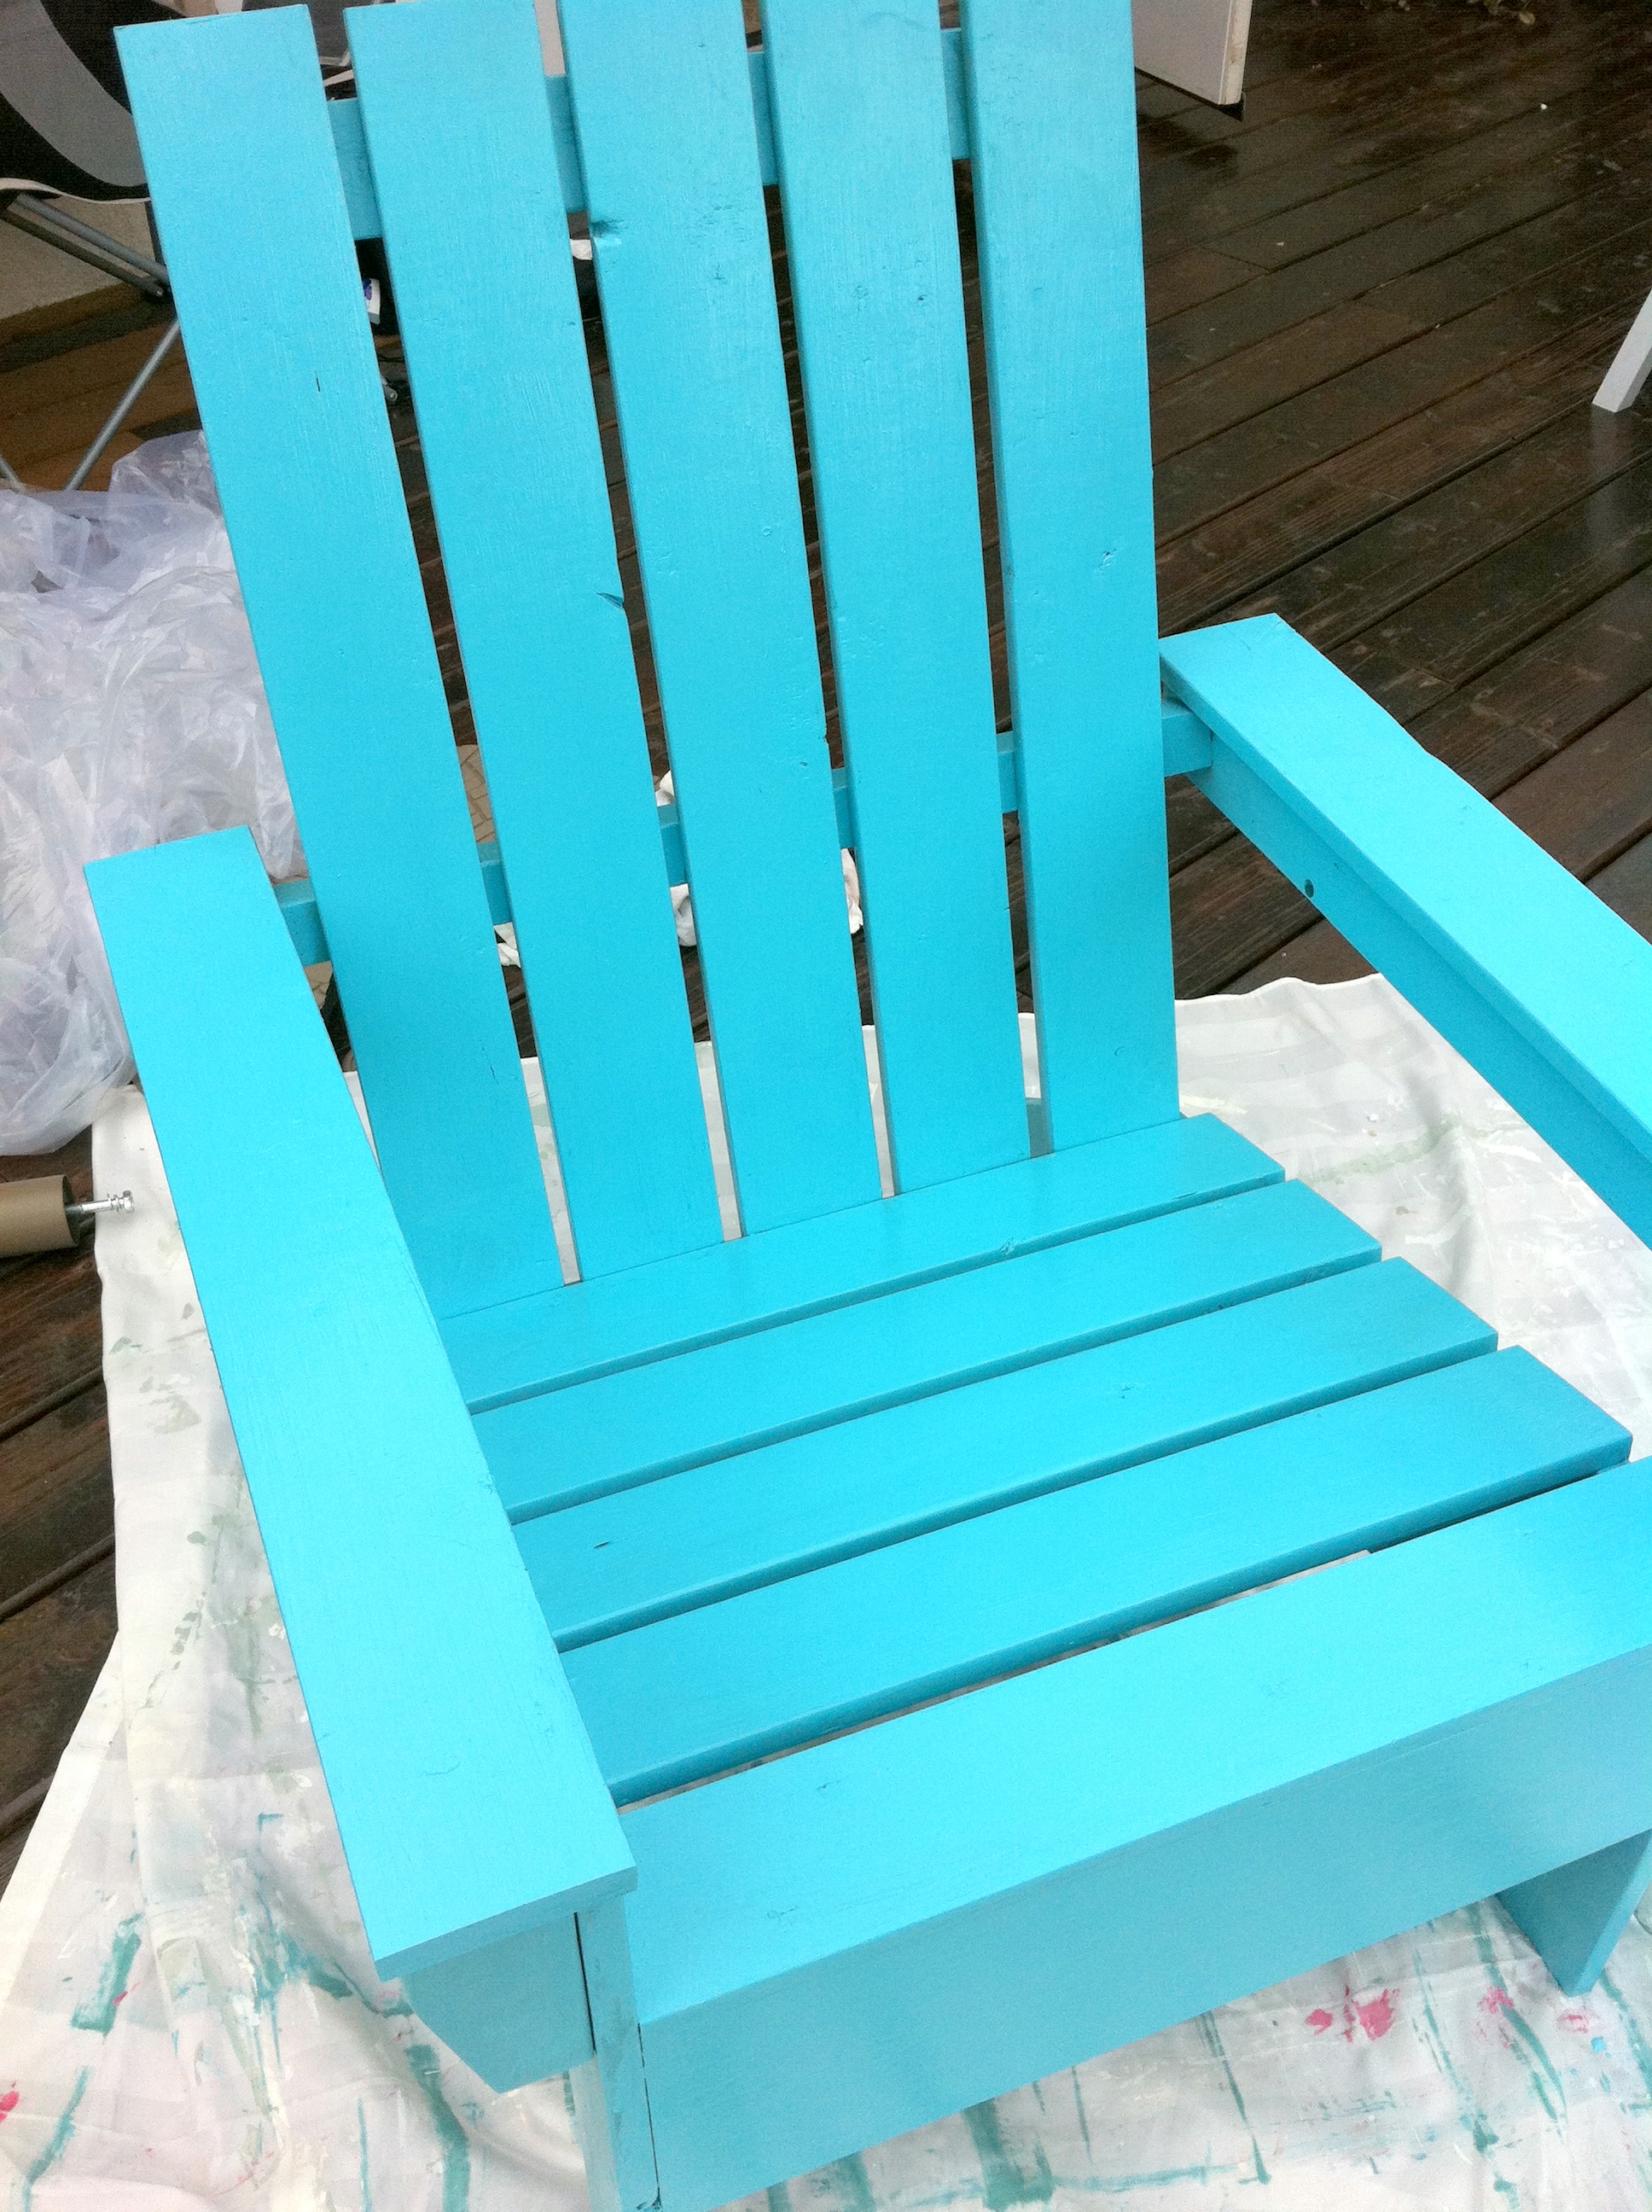
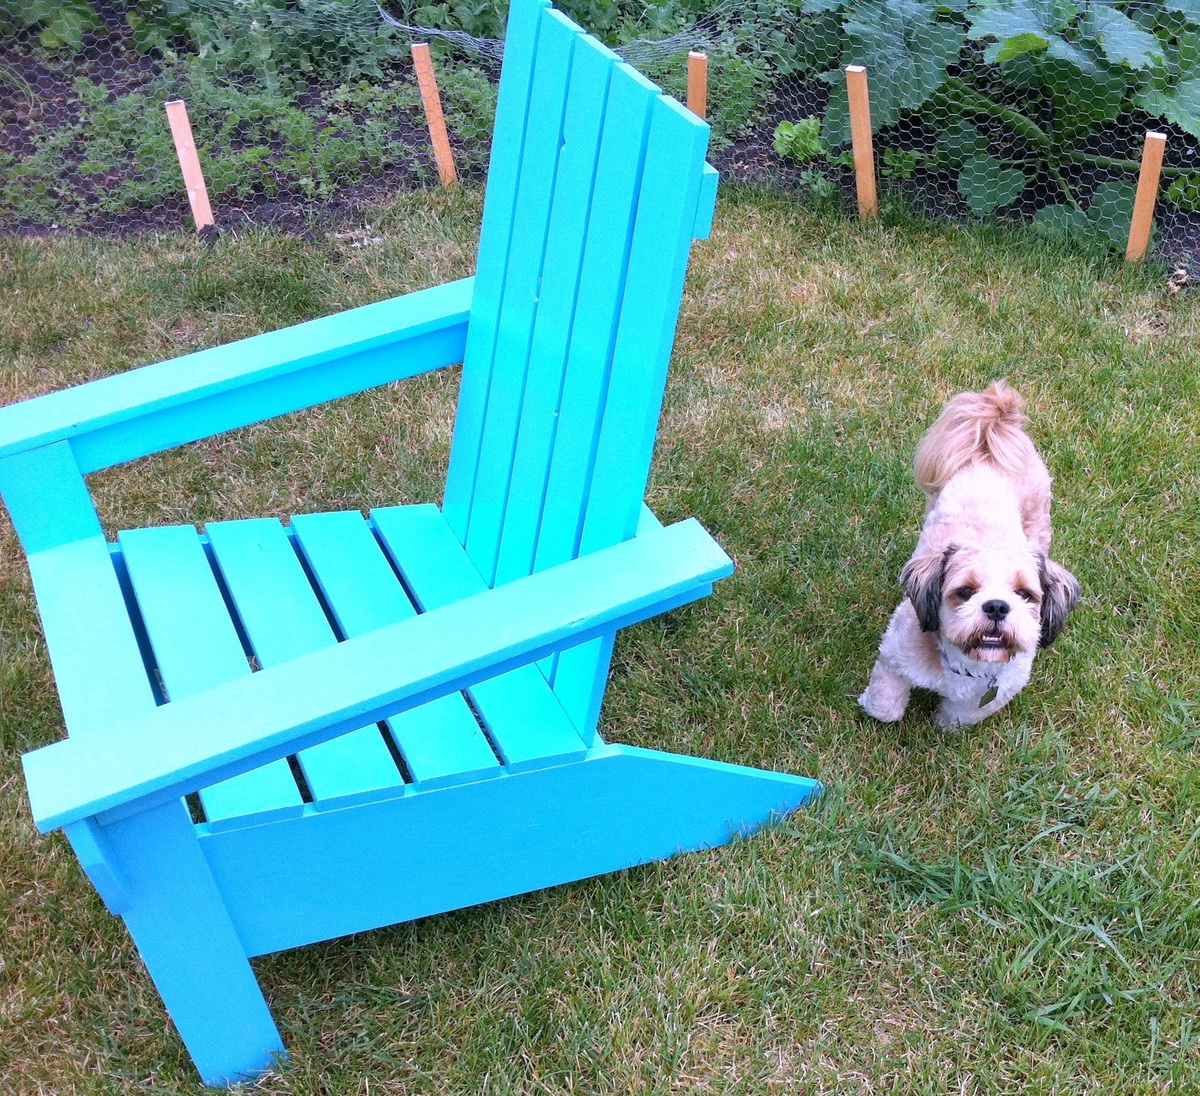
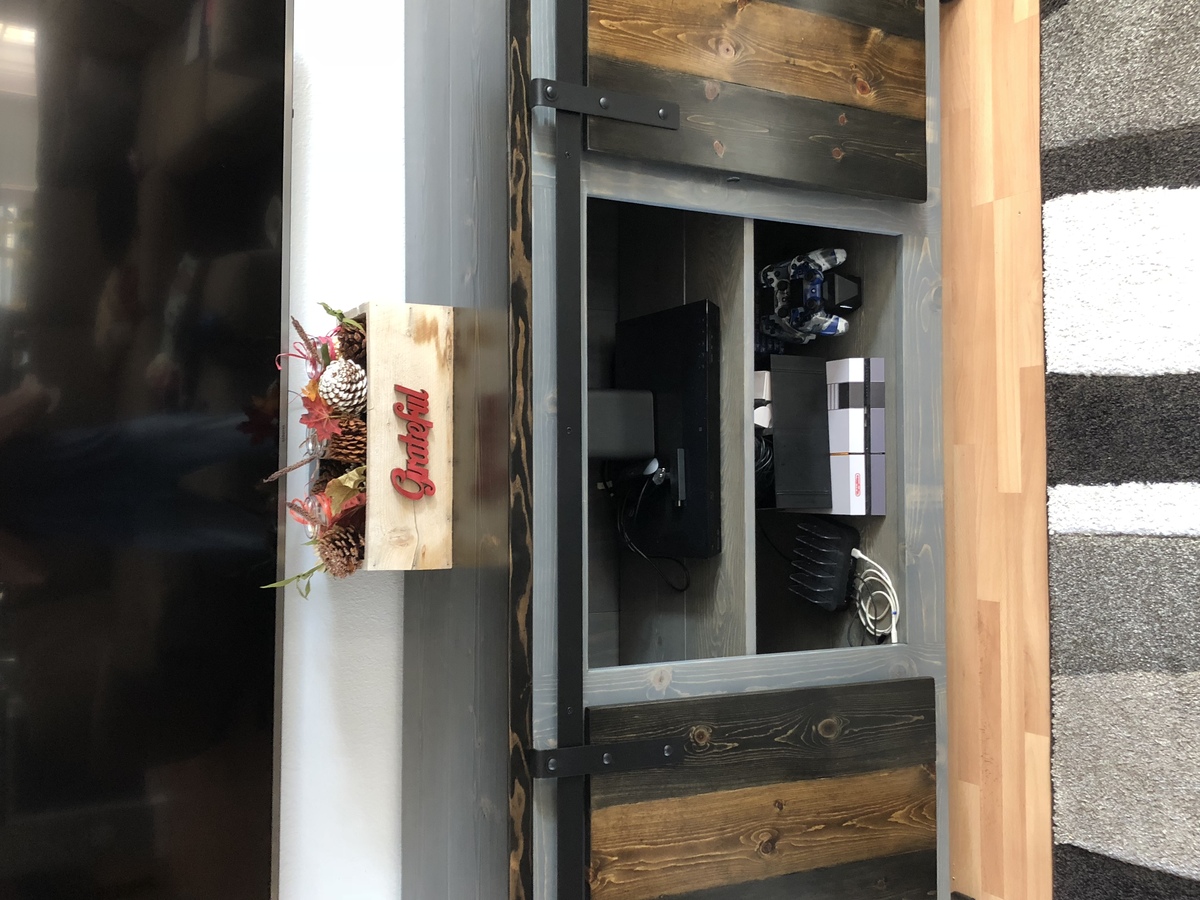
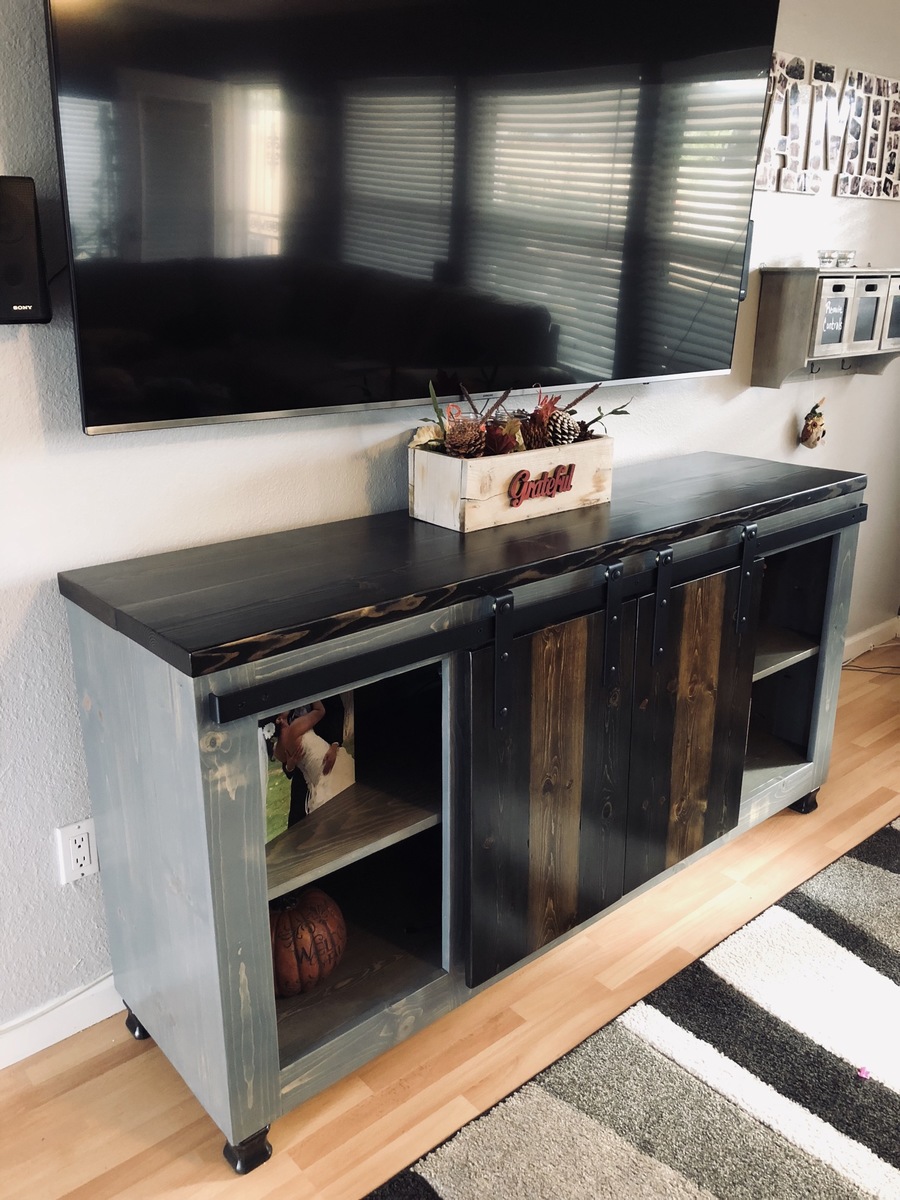
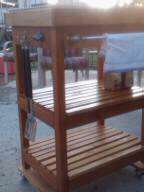
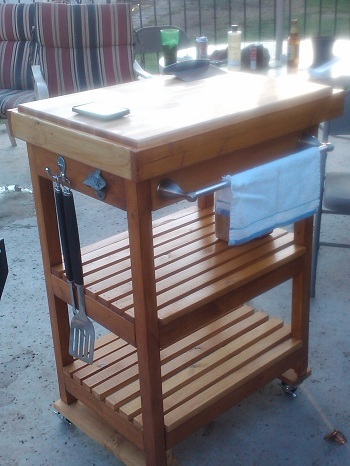
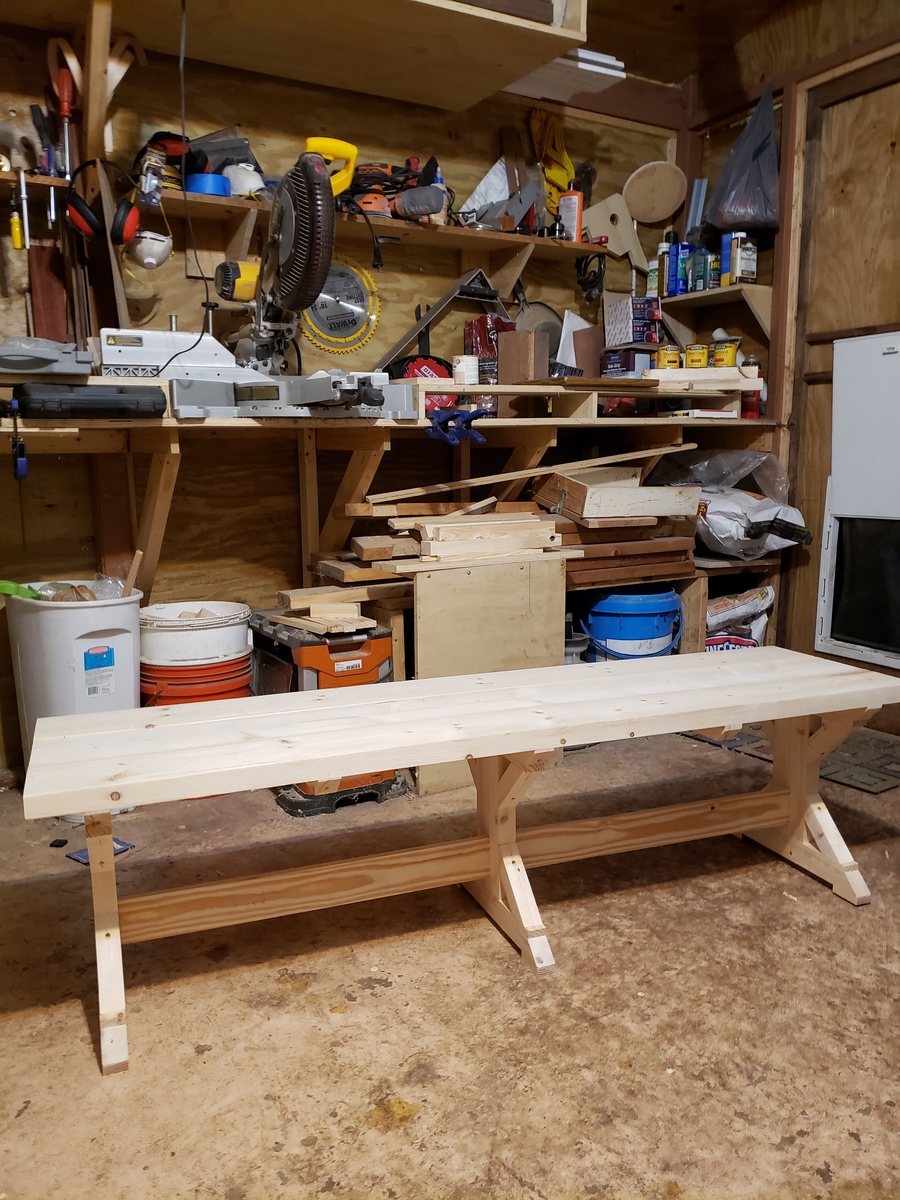
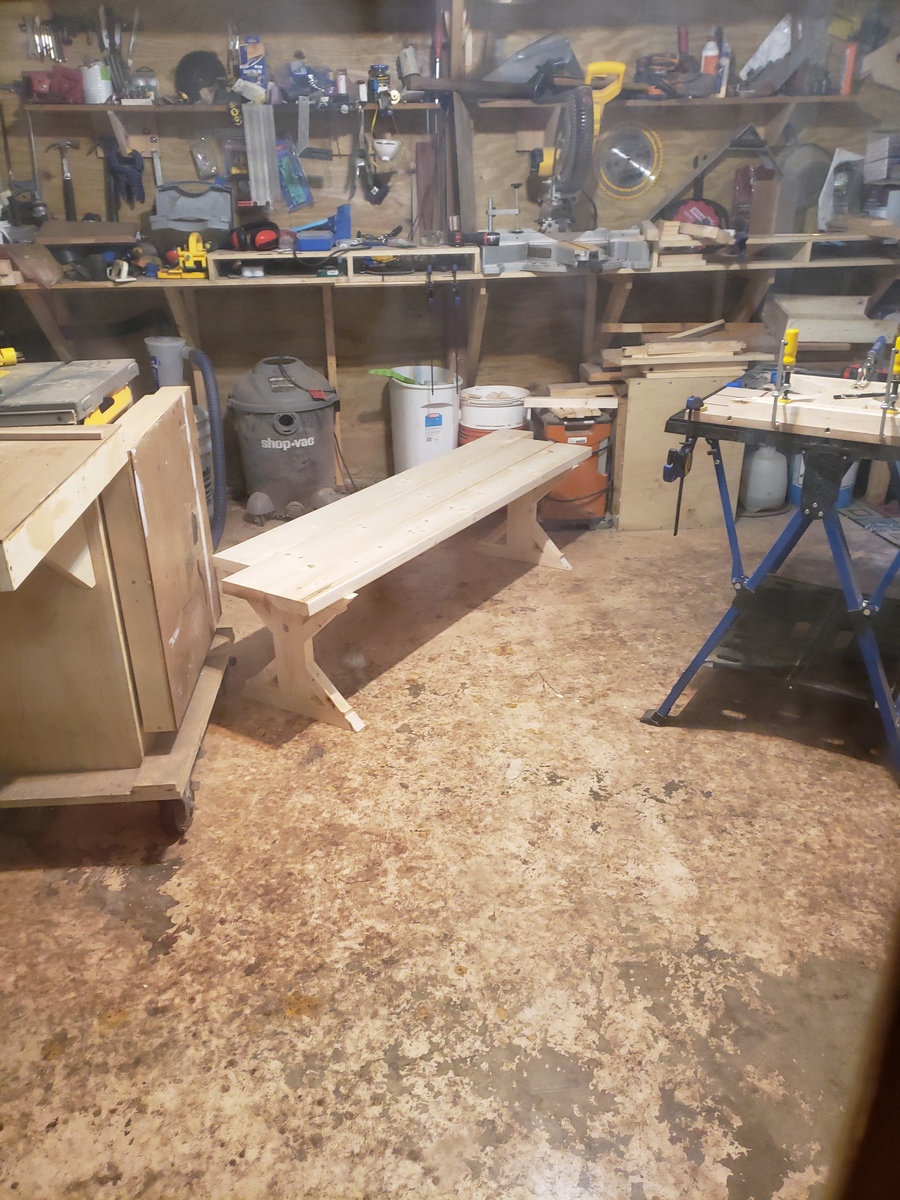
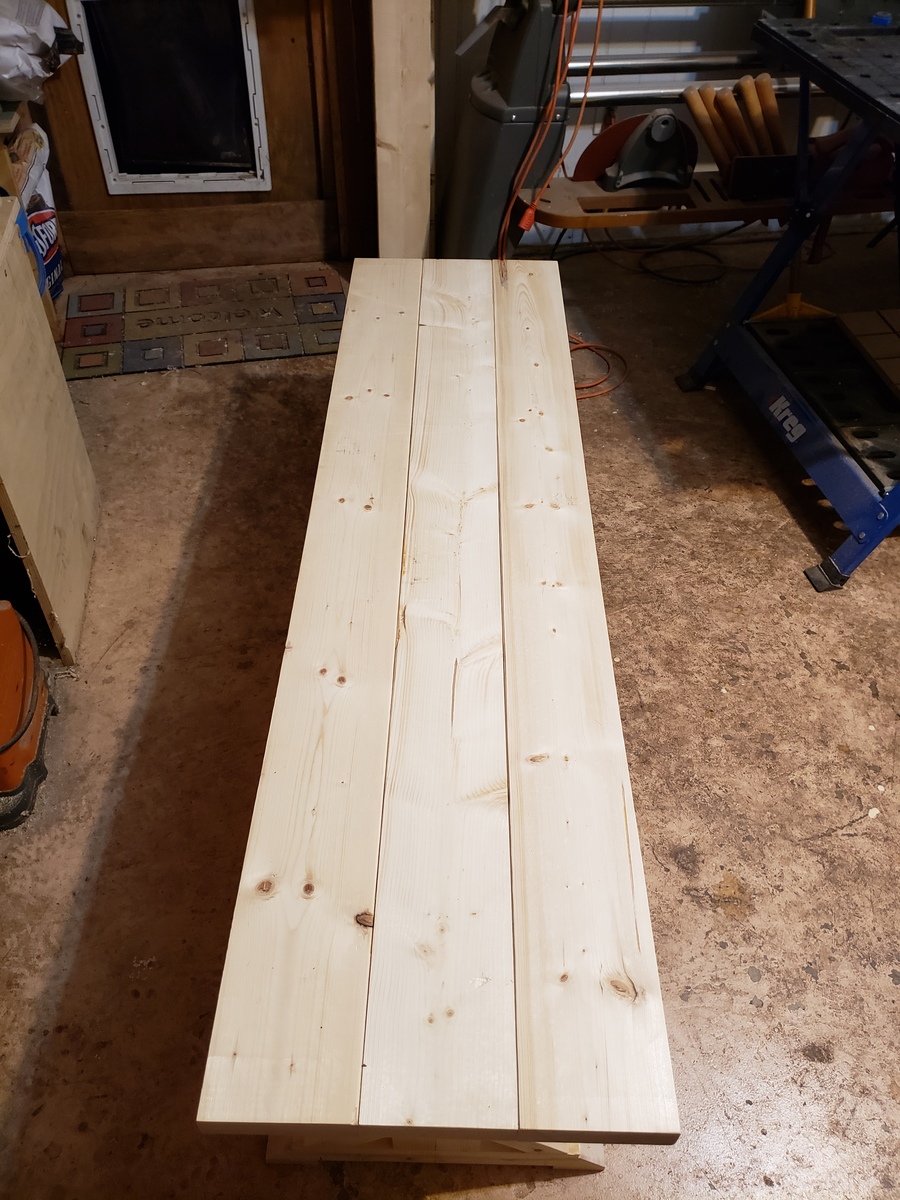
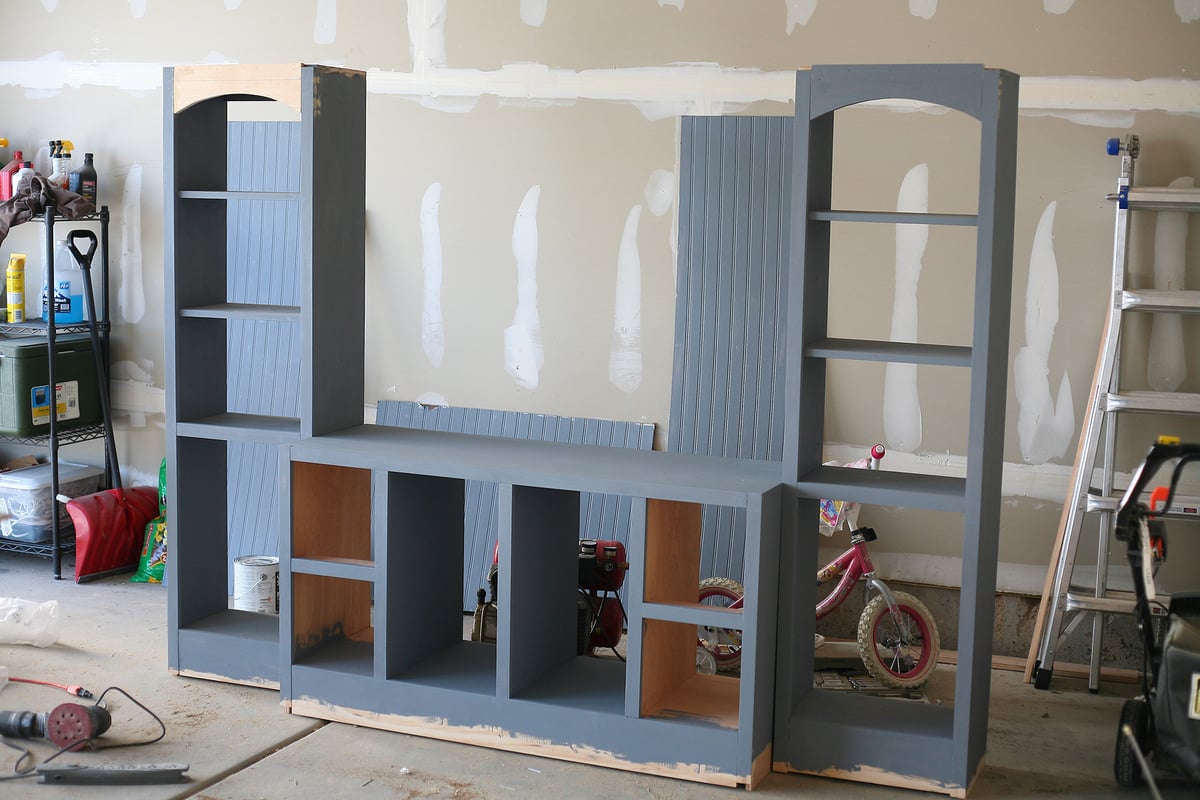
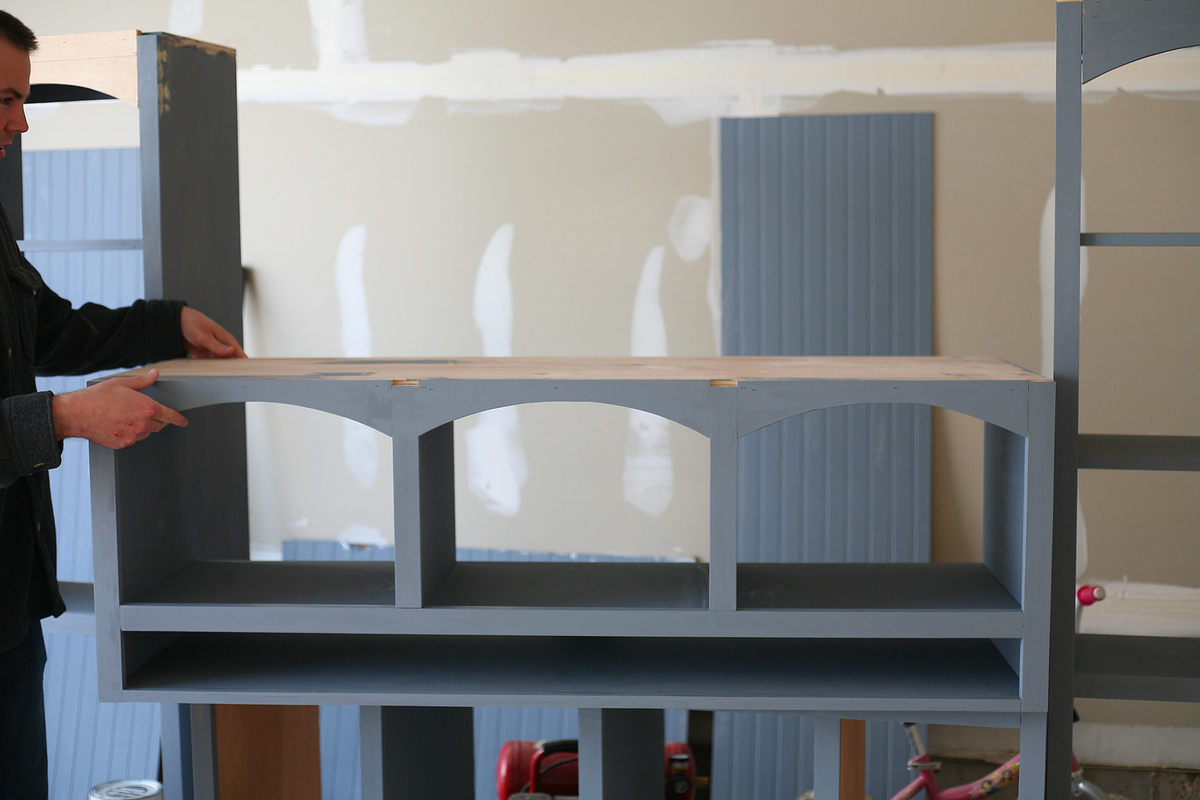
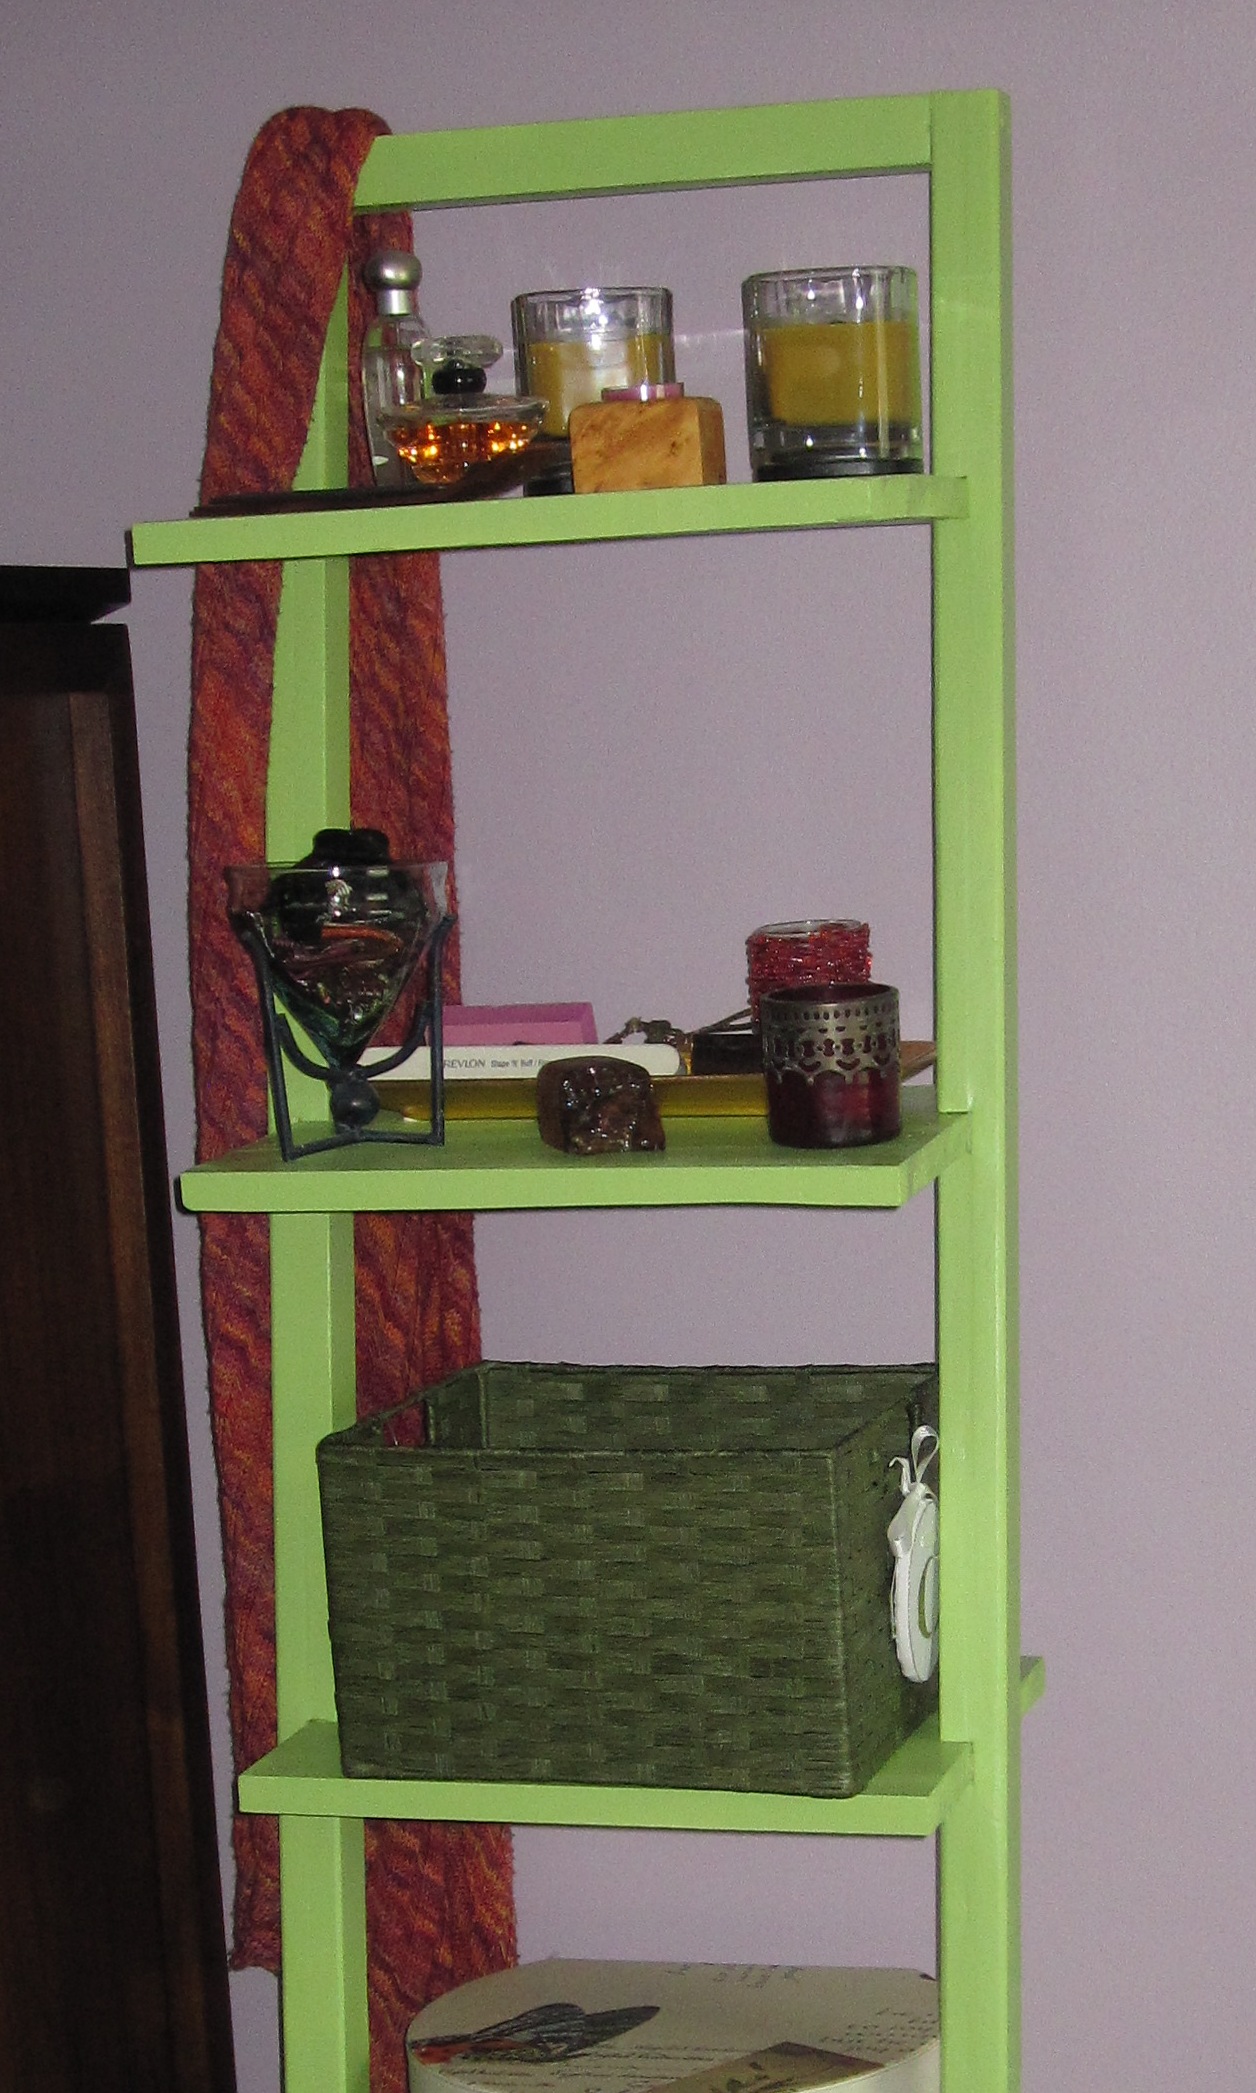
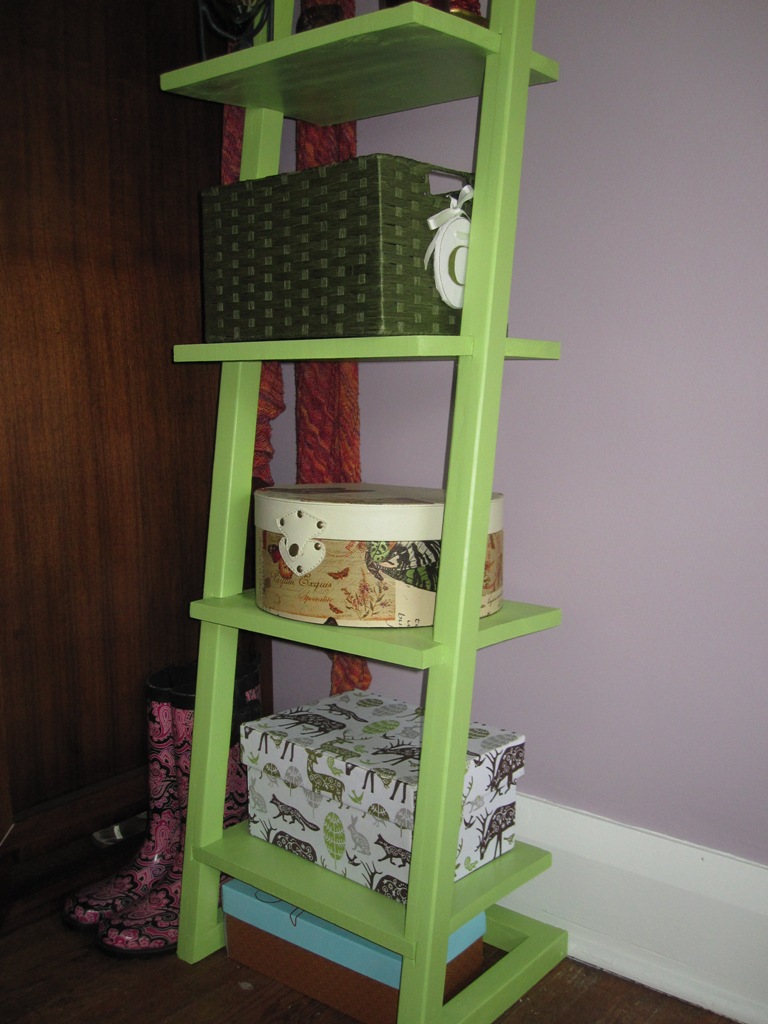
My firZt Ana White build

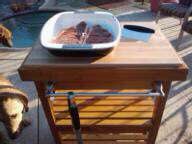
I moved from a big apartment to a small house and I needed more horizontal space. Shelves look great in use and are very stable. All the newbie mistakes in picking wood, cutting and sanding fade into the background.
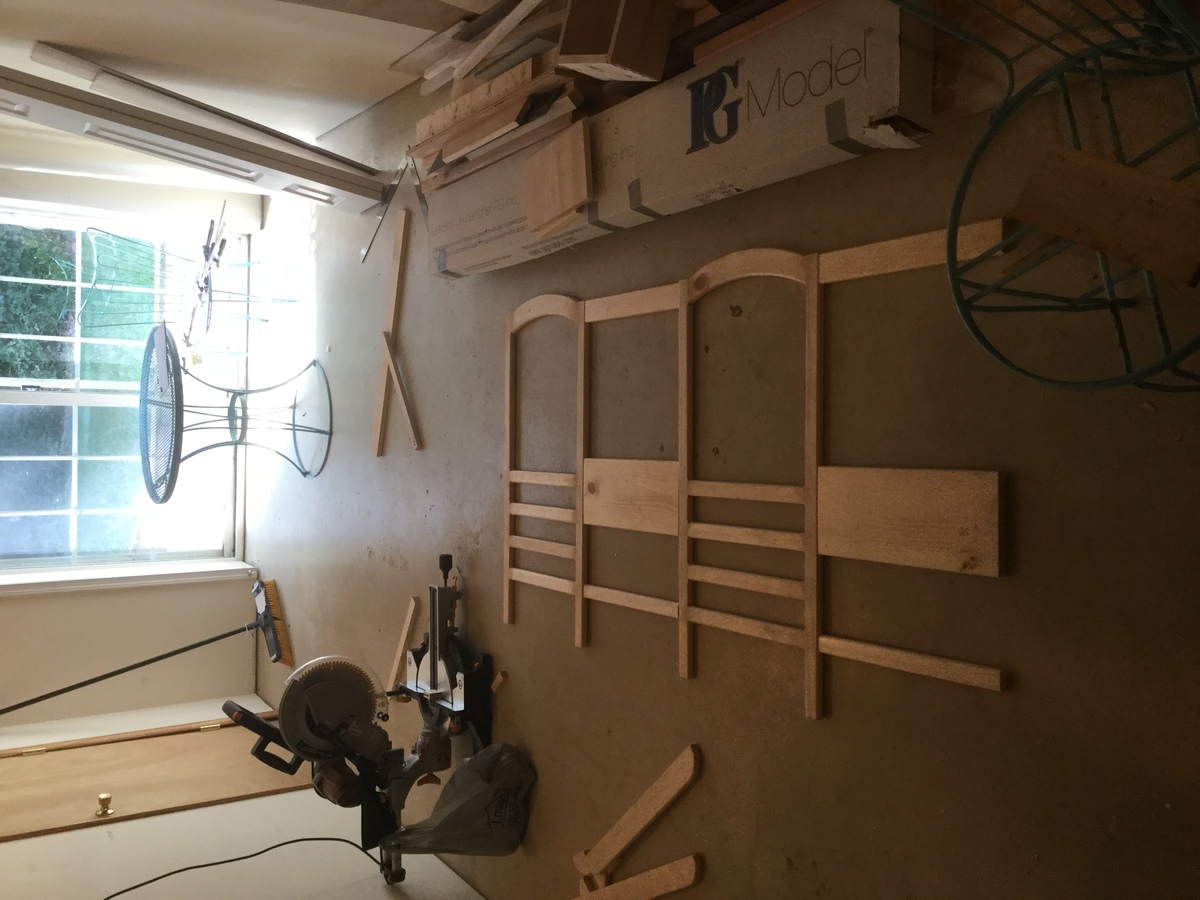
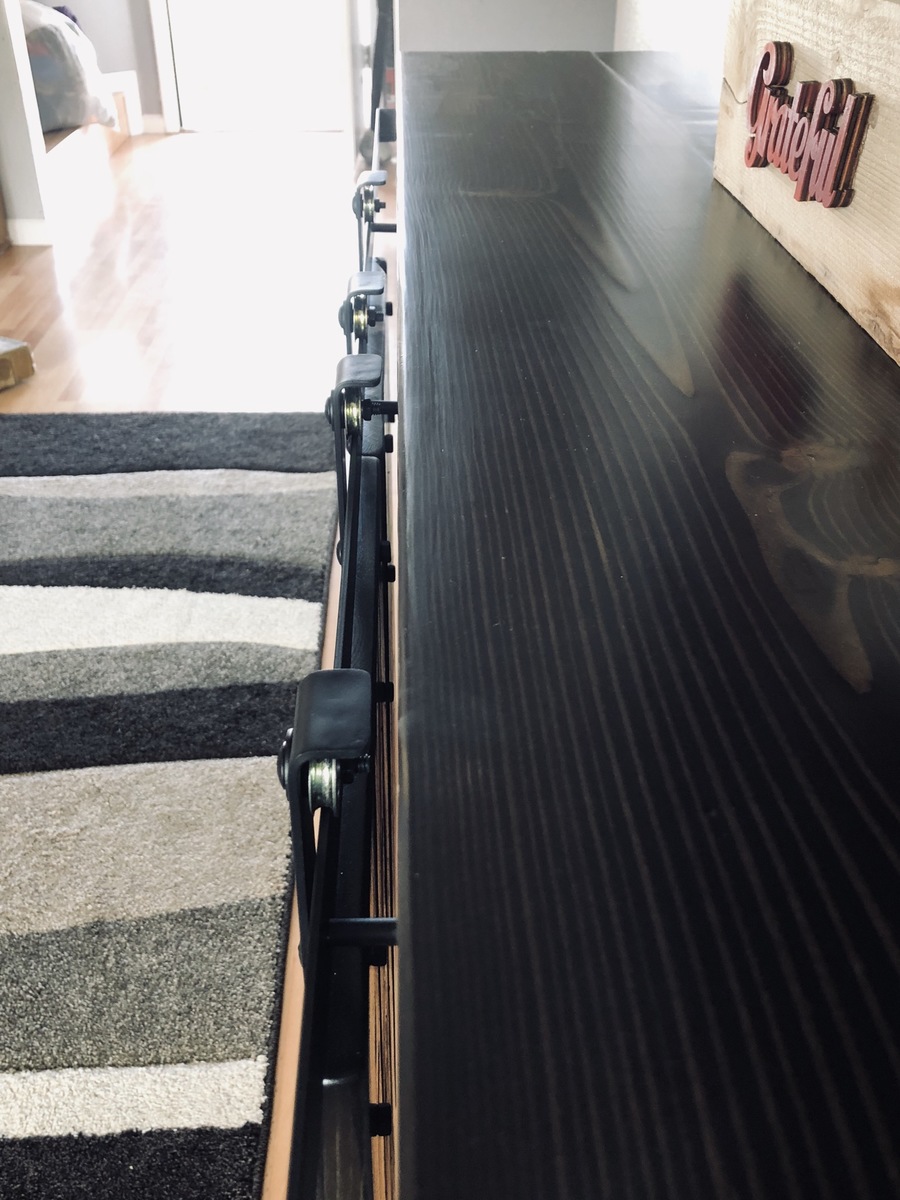
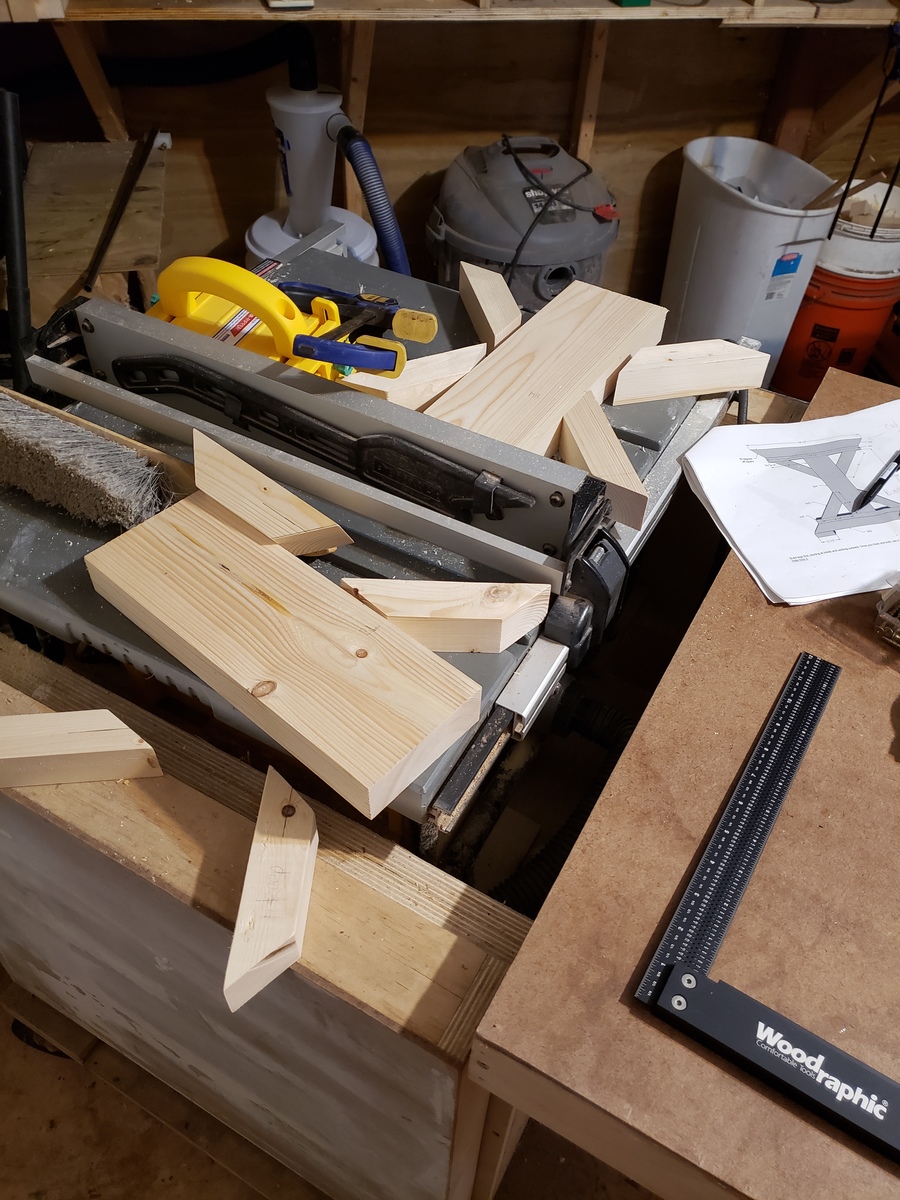
What did I learn? - This is one time when getting the nice dressed lumber is worth it since they laminate better. I spent a lot of (useless) time applying wood filler trying to get the gaps invisible. - Get the scraps out of the way ASAP so I don't keep confusing them with the cut pieces. - It's hard to set the miter saw to the "same" 10 degrees more than once since its not a preset on the miter saw, so do all the angled cuts at the same time. -For some reason, one shelf was shorter than the rest.
Built from Plan(s)
Finish Used
Rustoleum Spray Paint, 2 cans
Recommended Skill Level
Starter Project