Community Brag Posts
Laundry room closet shelves
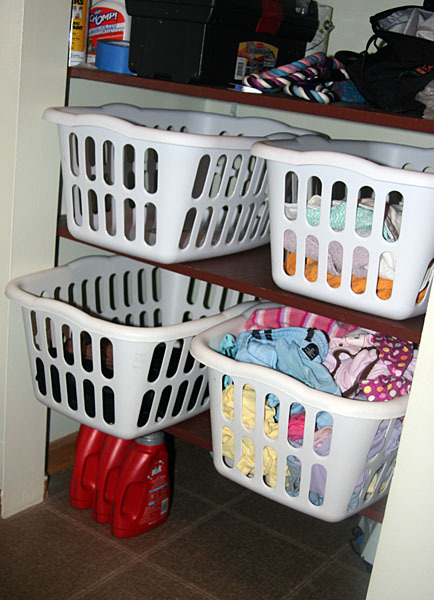
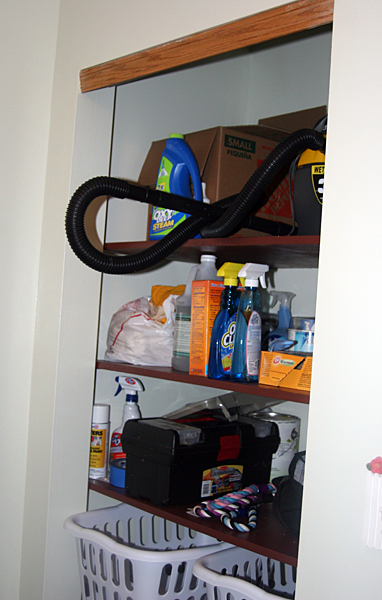
Our house came with a laundry room (yeah! : ) ) that had a small closet with a basic wire shelf and a door. I thought "how silly" and I knew there had to be a better use of the space. Inspired by Ana's laundry dresser I decided some shelves for dirty laundry would be better then putting it on the floor and the other shelves are nice for other things.
It took me weeks to complete because I have small children and needed them to not be near the saw or paint and I needed time for the paint to dry. Actual time was not long though. Could probably be done in a weekend (allowing paint to dry).
Materials-
2 sheetes of plywood. I got 4 shelves from one sheet so I have a large leftover piece
primer
paint
braces
self tapping screws
I cut the shelves with a circular saw to fit exactly then primed and painted. I found the studs and marked them at 13, 26, 39, 52, and 65 inches and then put in braces and put in a shelf. I had to do one set of braces and a shelf at a time or the next shelf wouldn't fit since it was a tight fit.
The 12" between each shelf is perfect for laundry items and other things we store there. It has made the whole laundry room feel much bigger and more organized.
Wall-Spring Bud by Benjamin Moore, similar to the lighter C11 from Olympic. A very light yellow/green
Comments
Tue, 07/05/2011 - 14:05
I never understood those wire
I never understood those wire shelves, our house is full of them! I have so much left to do. thanks for sharing!
Ikea Fort Bed
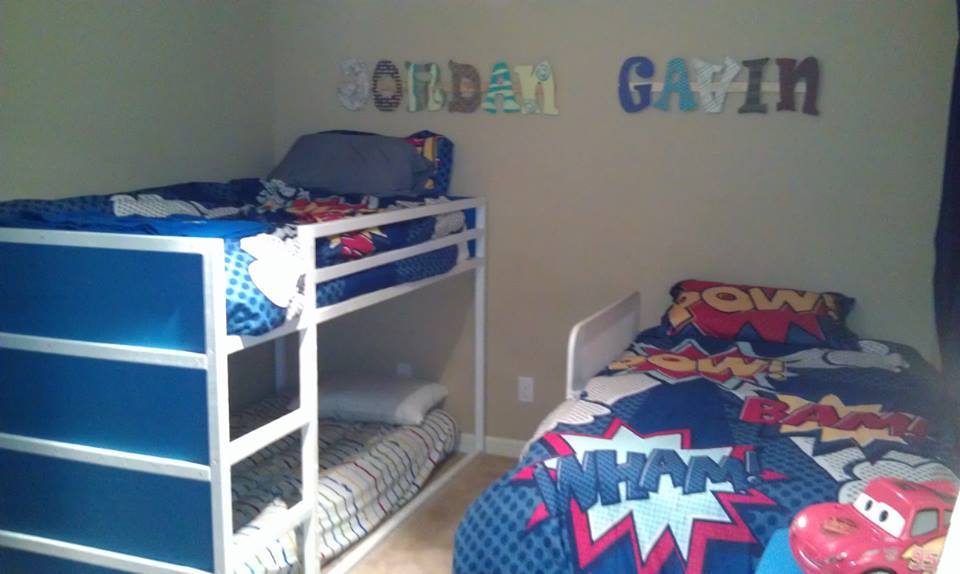
It was a fun project to work on. The hardest part was painting it and being patient enough to let it dry and giving it a second coat! It cost right around $100 to make!
Rustic X Coffee Table (Minus the X)
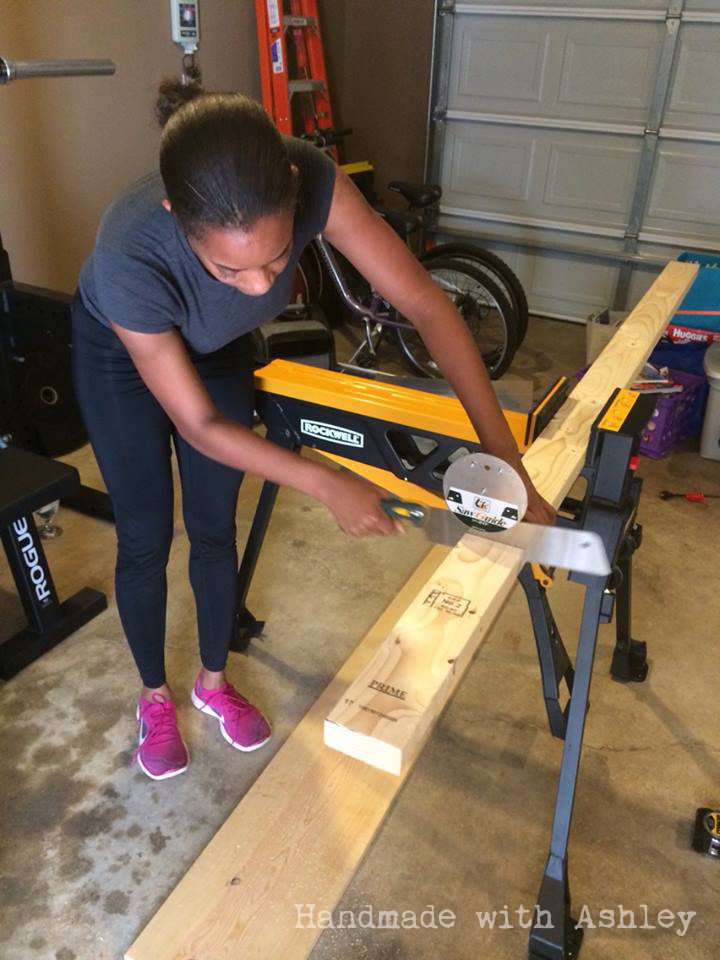
My sister came to me with a picture of a coffee table. She wanted to build it! Together we spent a weekend building the Rustic X Coffee table. She is a little disappointed with how dark the stained turned out, but I actually really like the color! She has found a new hobby in woodworking and I really look forward to building new projects with her. Next up, she wants a new tv stand. :)
Toy Chest
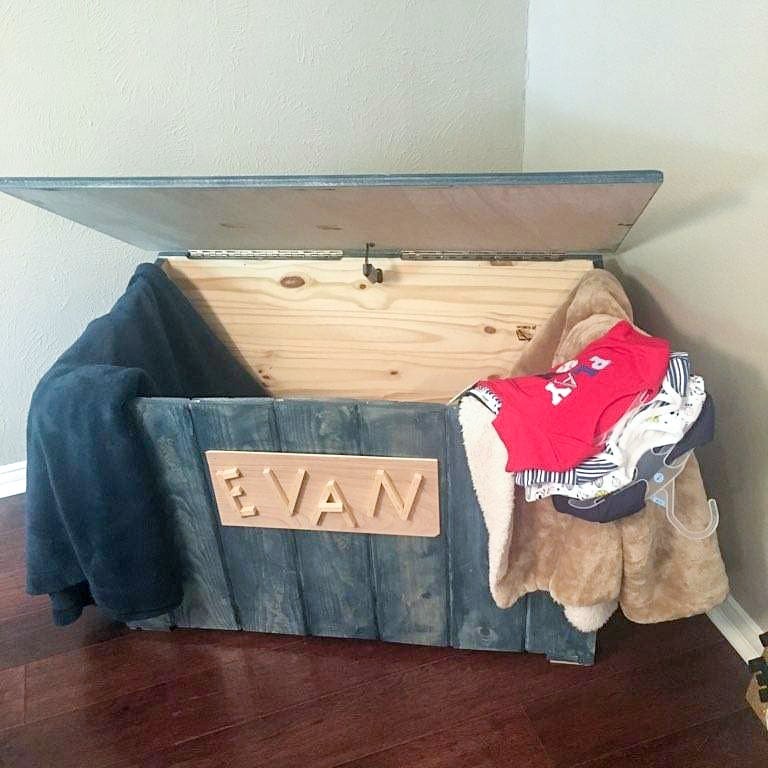
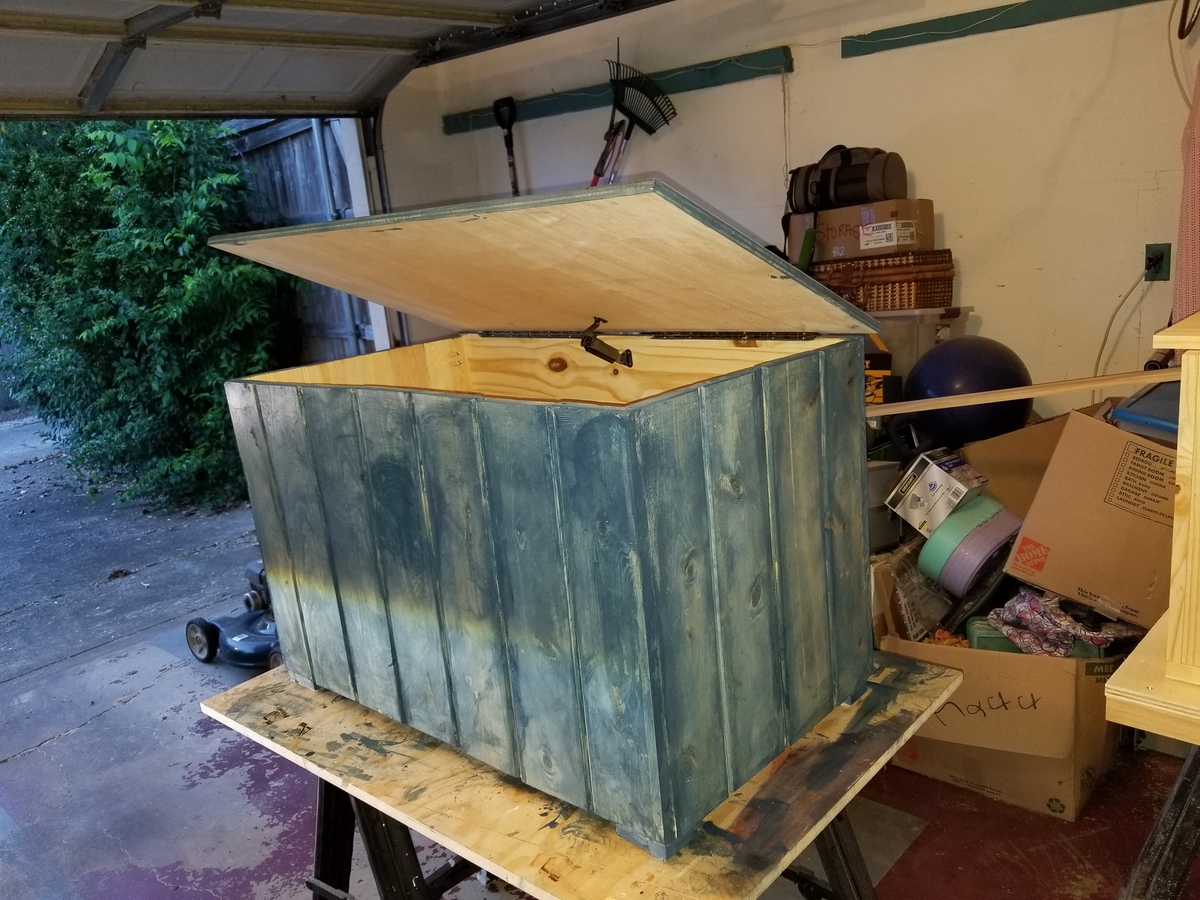
Toy chest made for grandson. The core made from tongue and groove boards. Lid supports hinge middle with two 90 Degree Stop Hinge on both sides.
Based off of this:
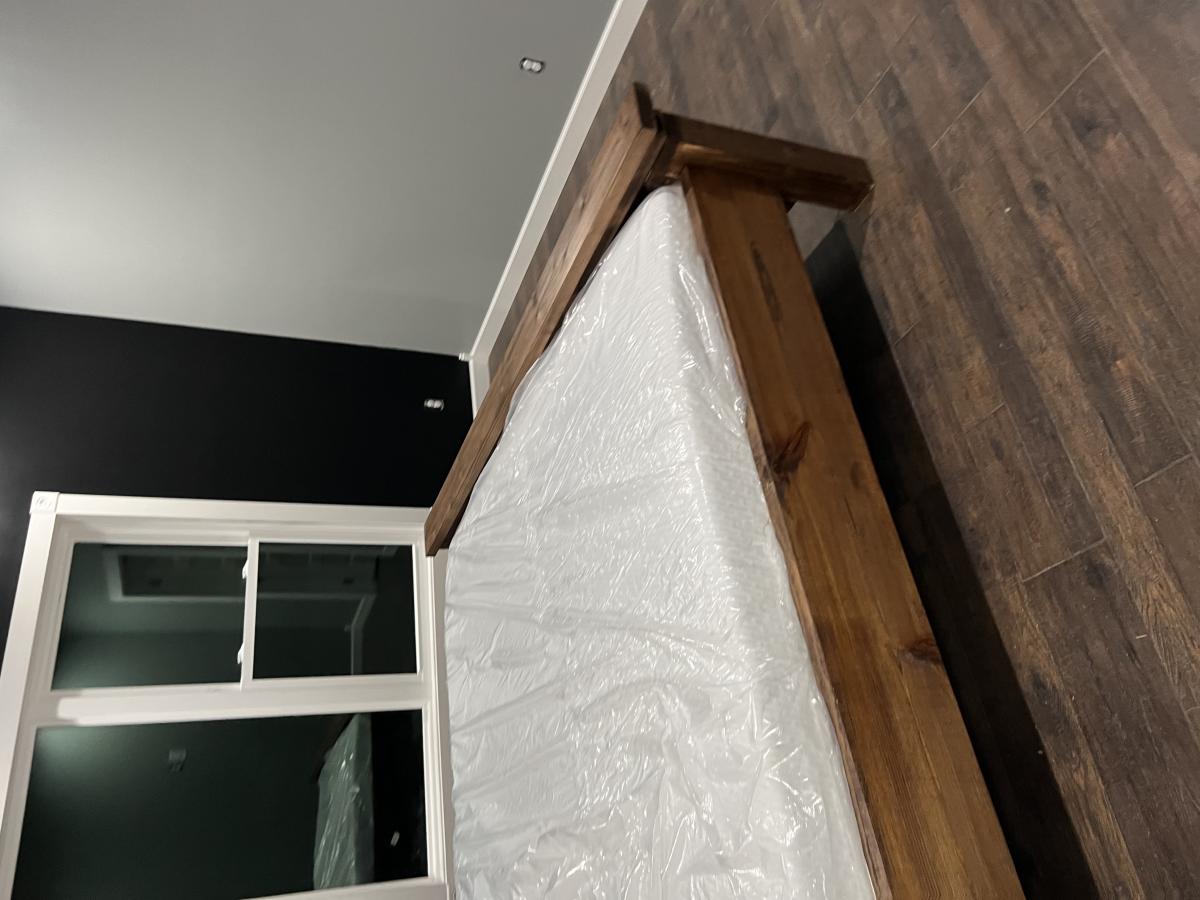
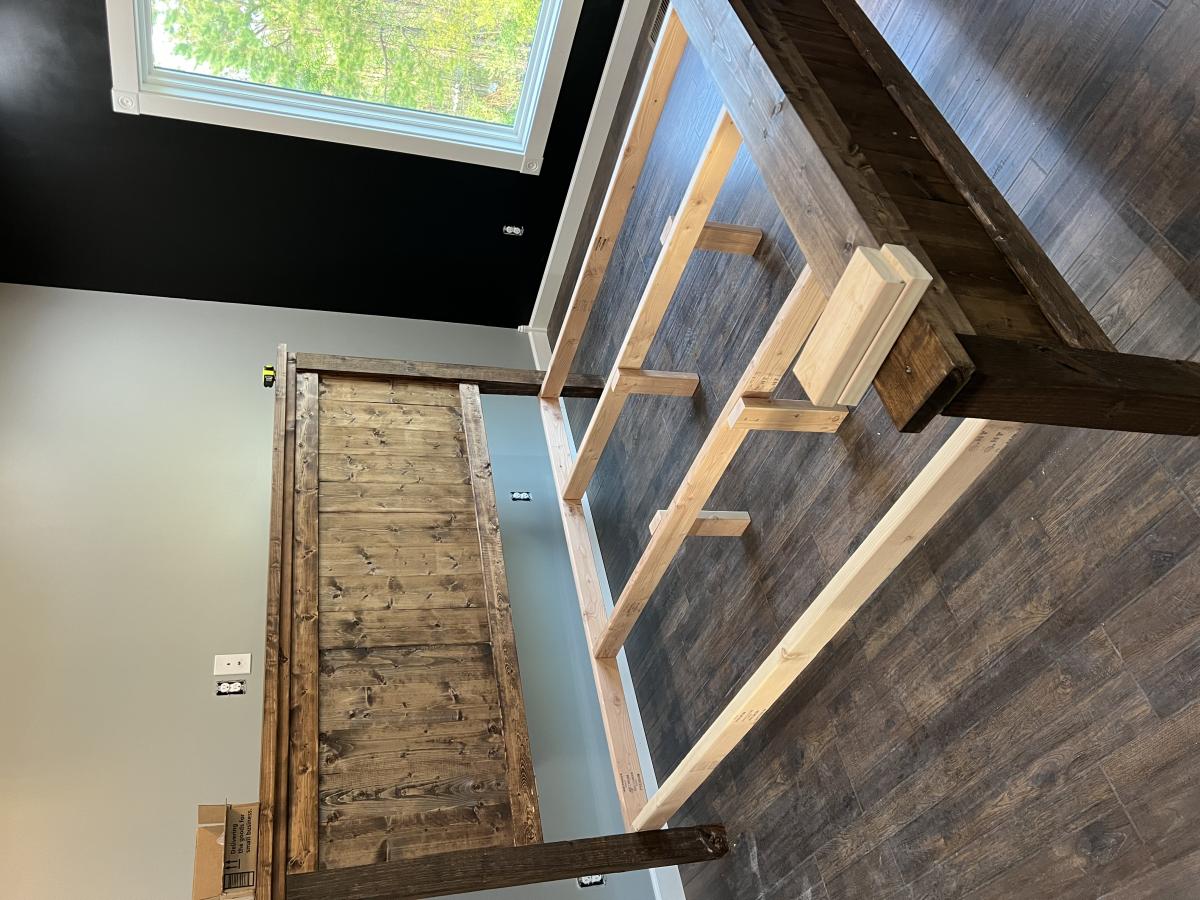
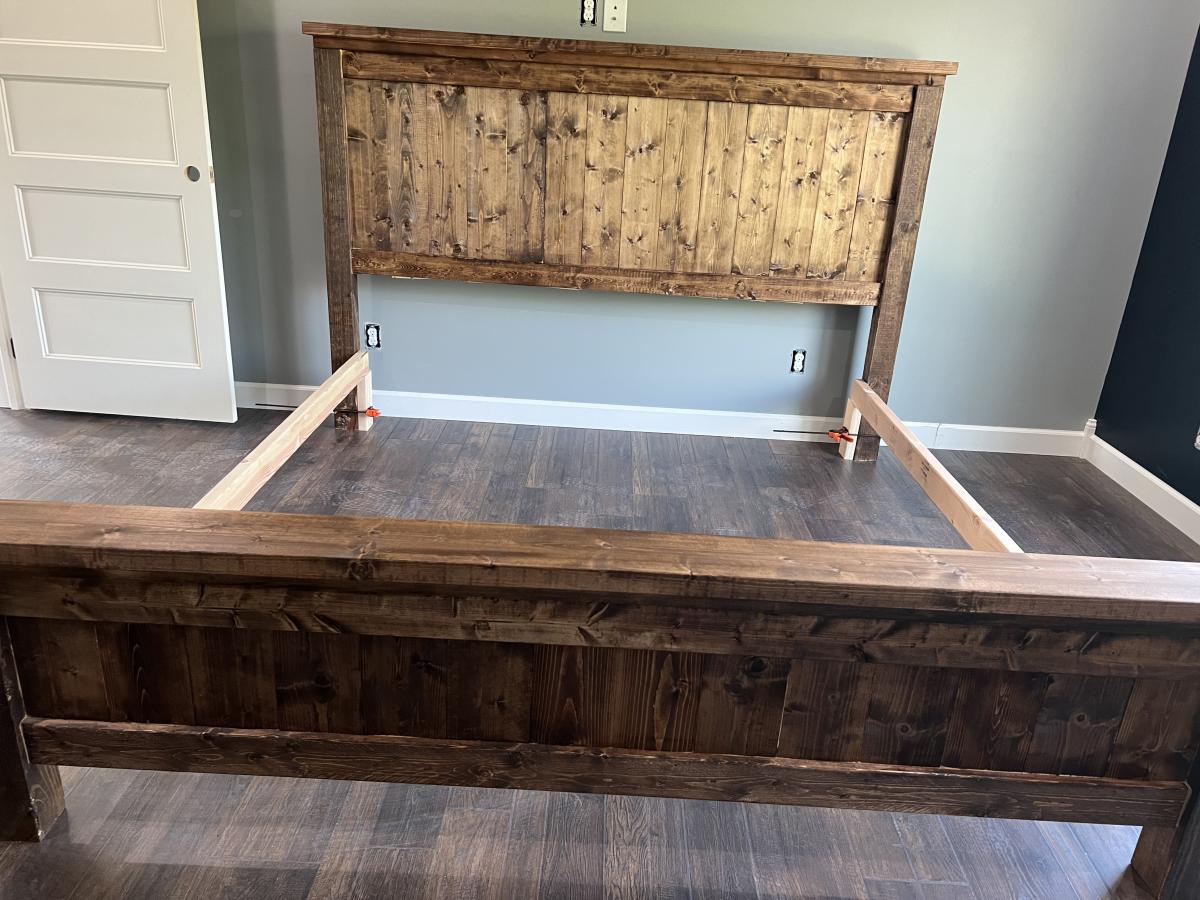
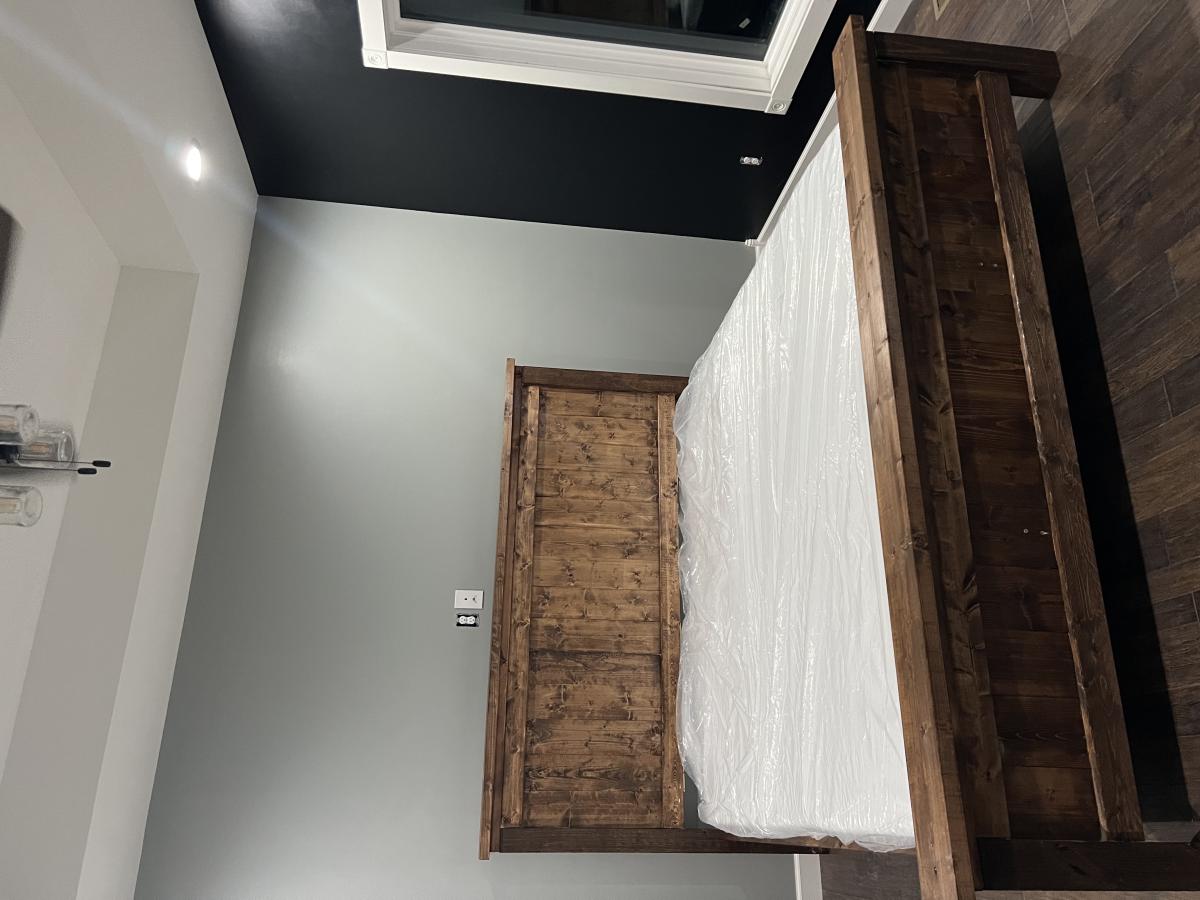
King Farmhouse Bed
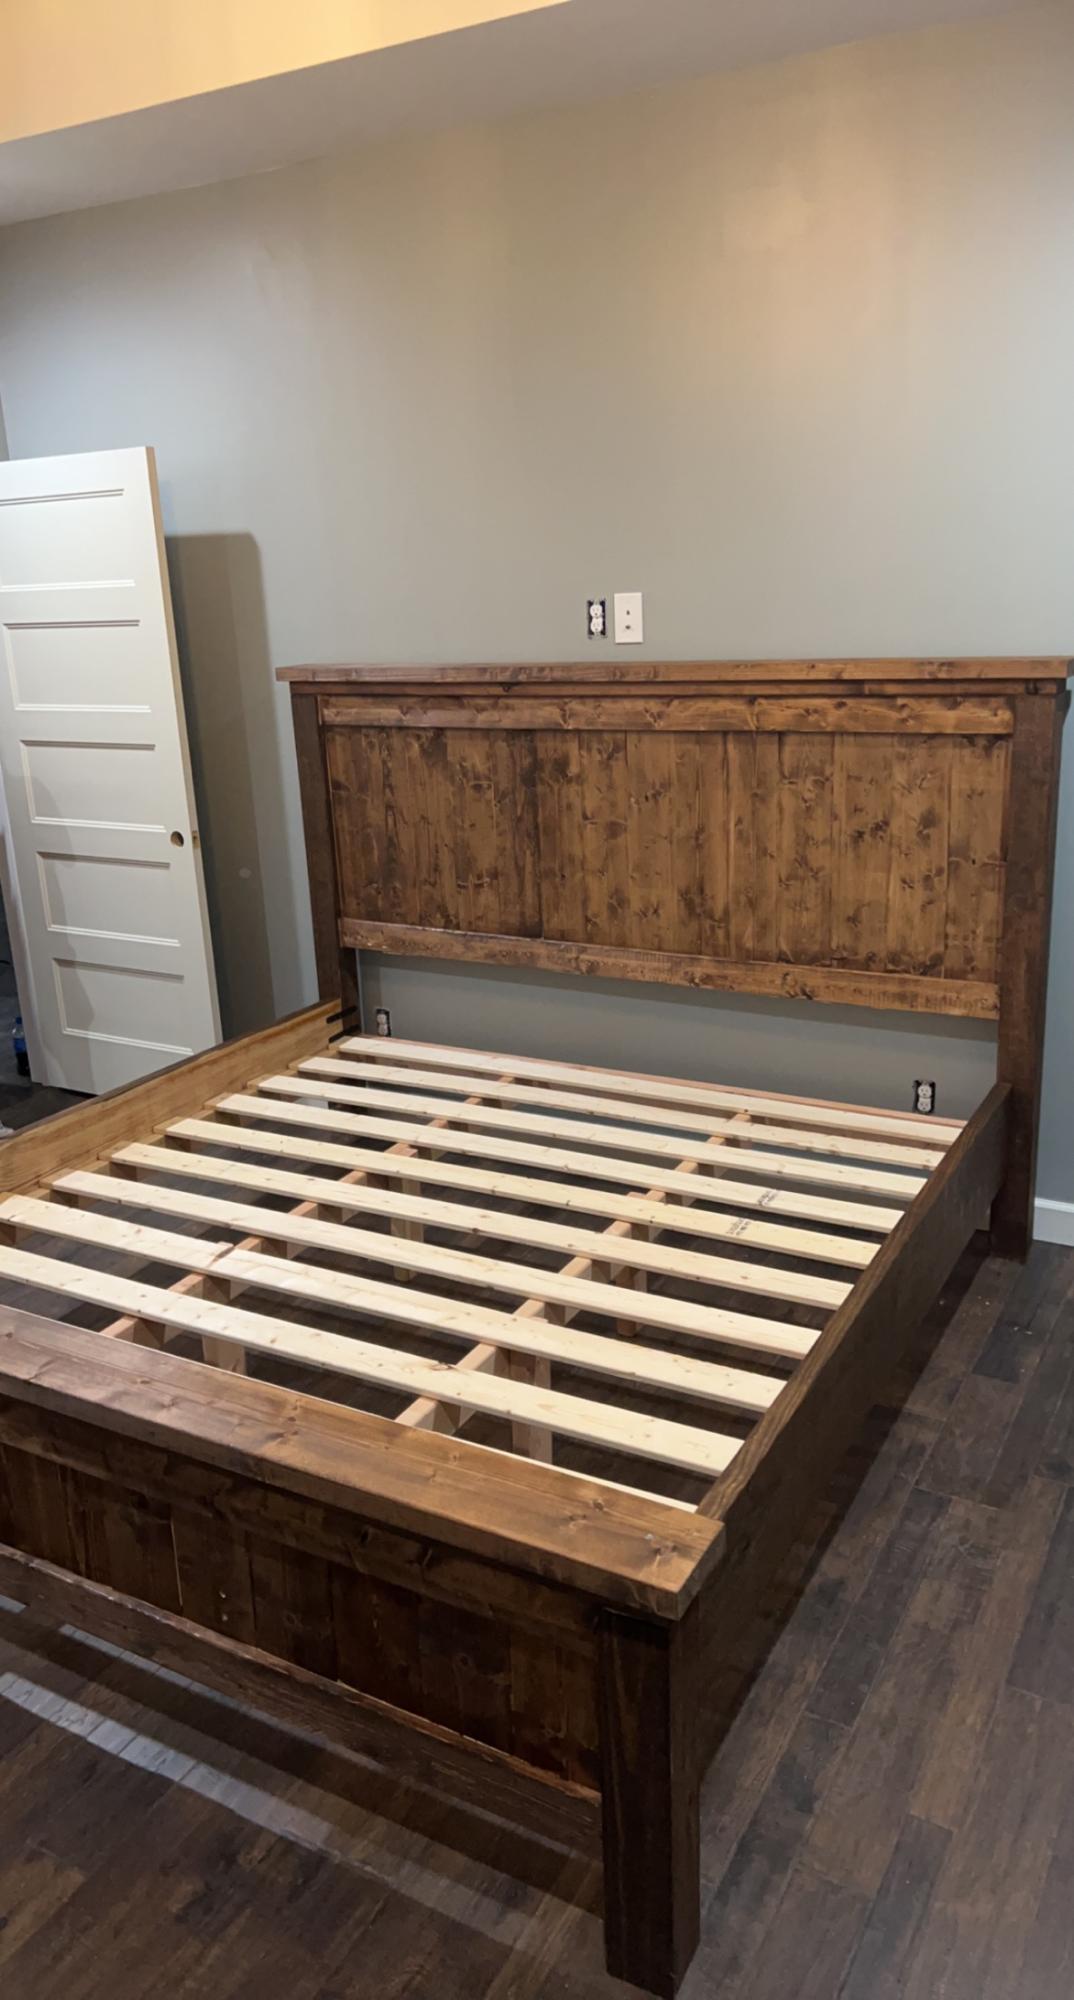
Easy build. Turned out beautiful
Comments
DIY Kitchen Island
or maybe I should say DDIFM?
Dad, do it for me?
I really needed a place to store my cake plates...
other than their current home on top of our fridge.
The rattling and shaking that went on every time we opened the freezer
was about to give me a heart attack.
I found this beautiful table that was constructed DIY
from plans on the anawhite website and fell in love.
So my dad got to building, and sanding, and building, and staining. Then he brought me this gorgeous table last weekend. I can't stop staring at it. I am obsessed with the wood grain. The slats. The perfect handmade storage solution. The contrast between the dark wood and my mostly white serving pieces. The height. The endless entertaining possibilities.
I promise the pictures do not do it justice...
Comments
child's airplane swing
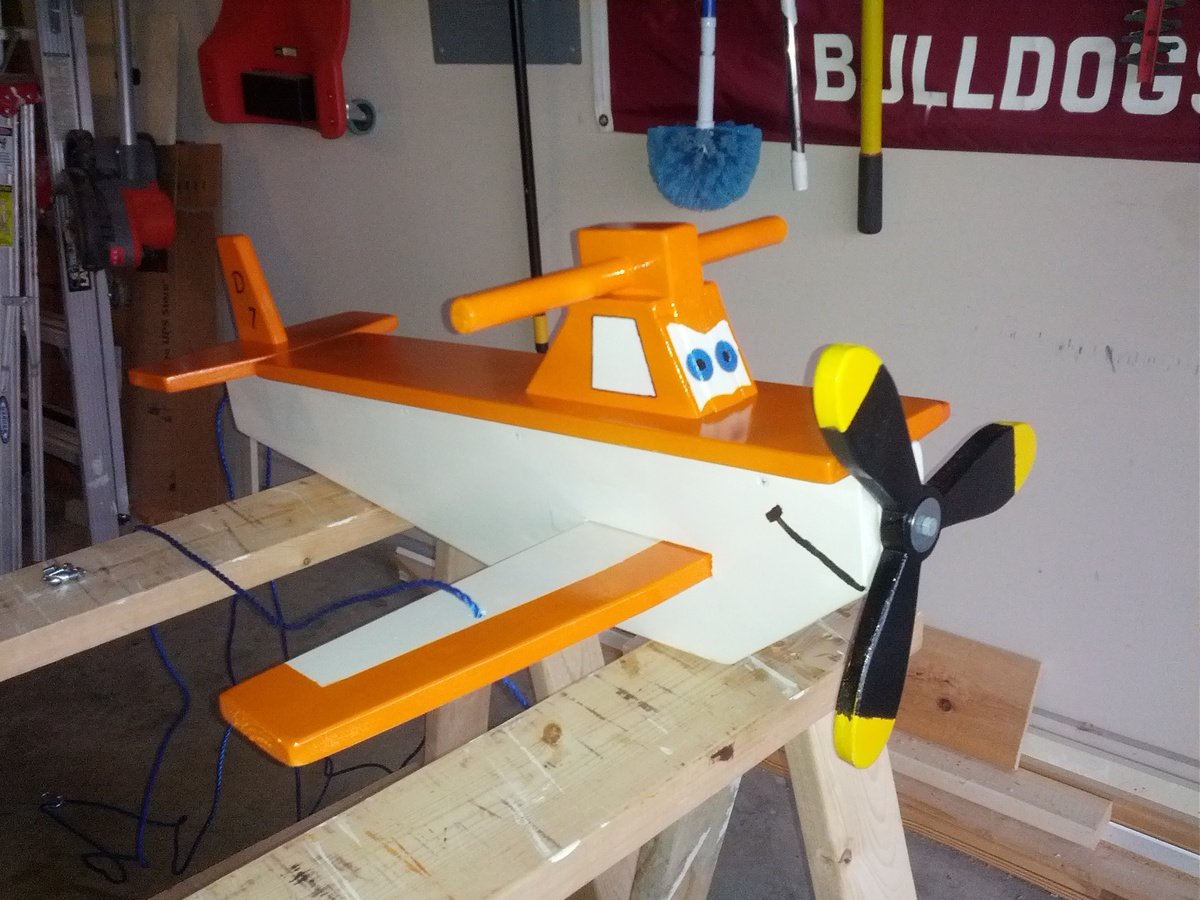
Thank you for the great idea!
I built this for my nephew's birthday.
I took the child's airplane swing and modified it to look like the character from Disney's Planes.
Comments
Sun, 08/11/2013 - 05:55
Super cute!
This is soooo cute, your nephew is going to love it!! I love how you gave it a Disney character's face!
DIY Oversized Pegboard Shelves
Hi Friends!
Jen Woodhouse from The House of Wood here.
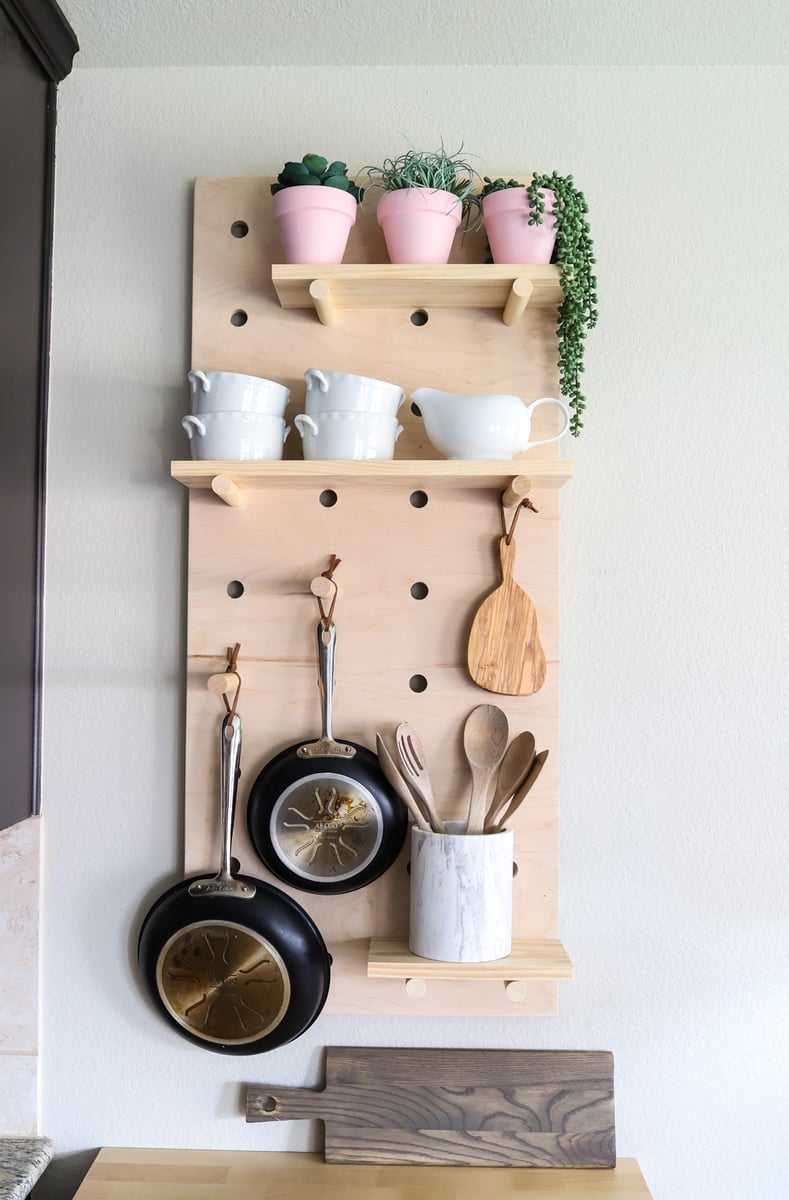
I'm going to share with you how to create these Oversized Pegboard Shelves. If you’re short on cabinet or drawer space in your kitchen, this wall-mounted oversized pegboard shelf is a clever and stylish solution. It’s renter-friendly too! What more could you need?
Be sure to tag me @jenwoodhouse if you share photos of your build on social media. I'd love to see it!
You can get all the details for this build on my website jenwoodhouse.com
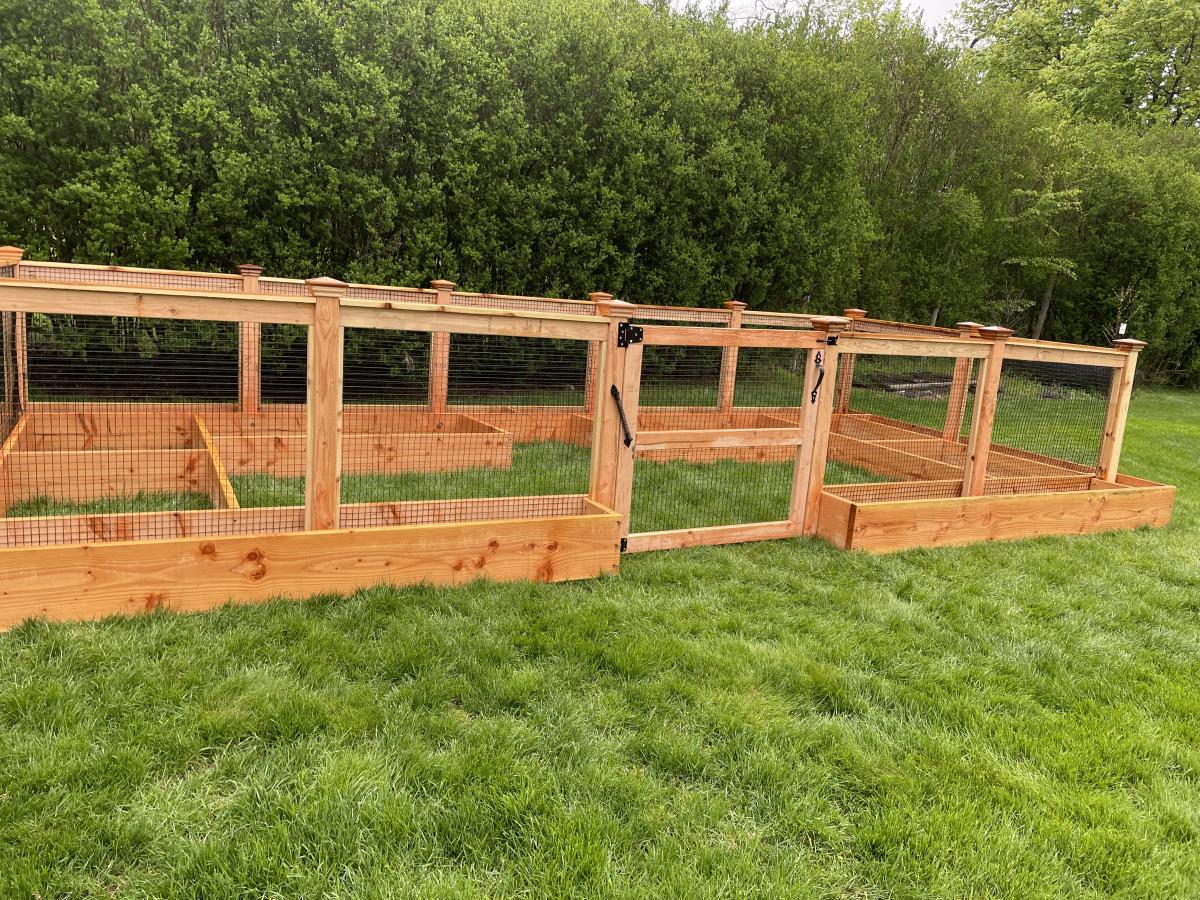
Nicole’s Garden
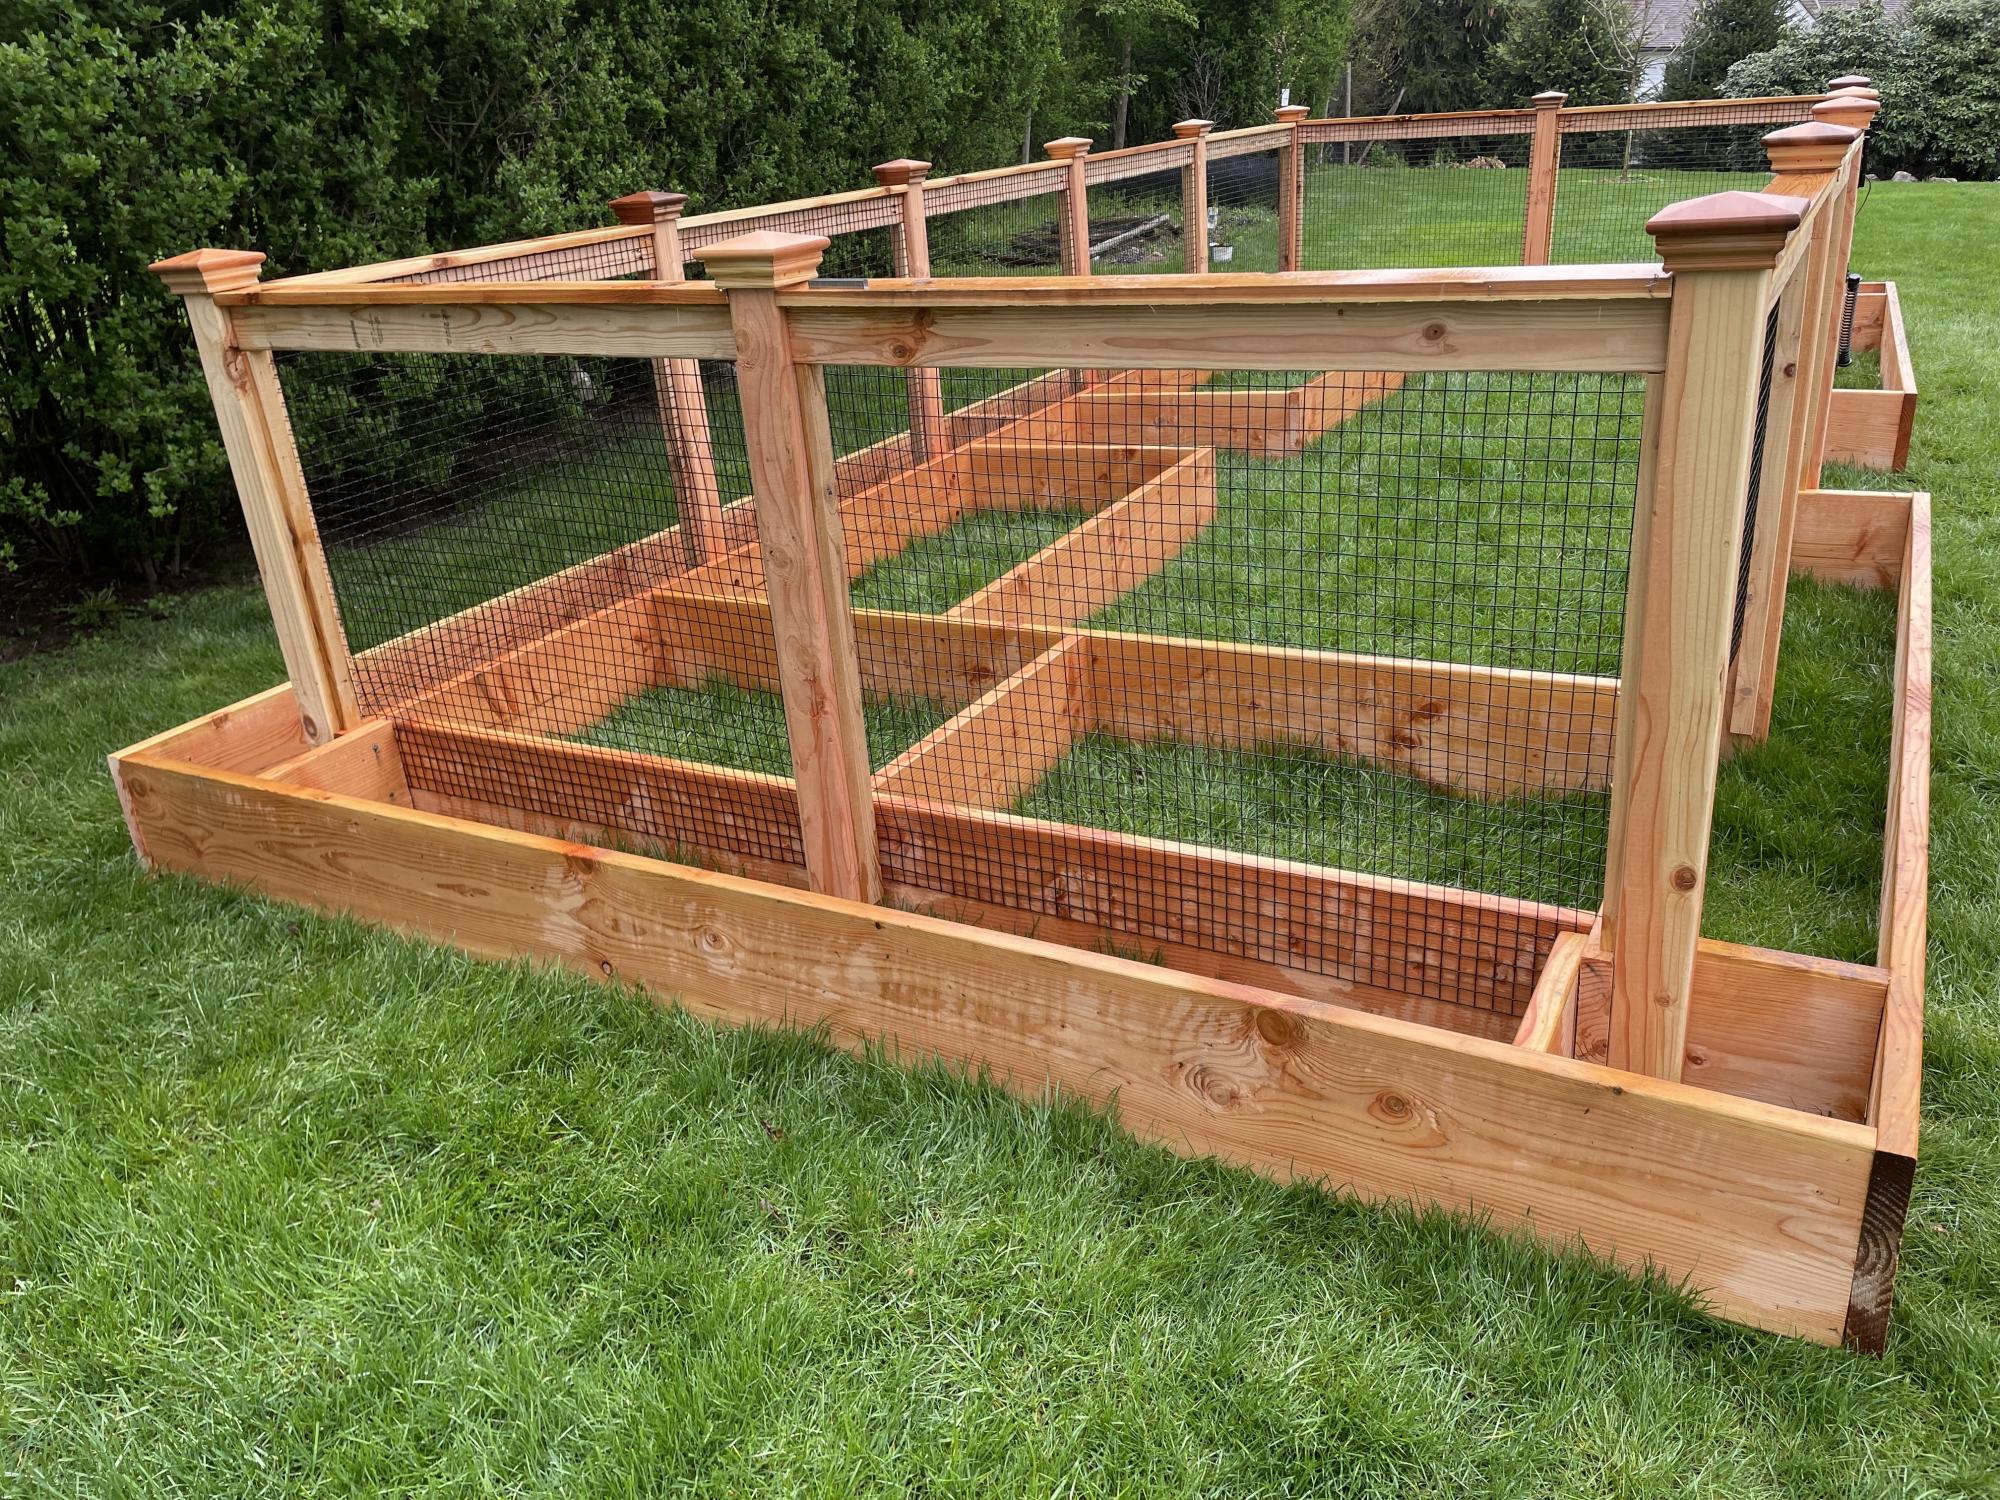
A vegetable garden with an outside ring to plant marigolds to keep deer away.

Comments
Simple Armoire - Courtesy Ana White
Second project we under took after stumbling over this blog. The armorie fit well in our bed room and has enough space for all my Indian sarees. Added a jewelery drawer in the middle. Love your blog Ana, thanks for the great work you do. Next project is to build a bed to match the armorie.
Comments
Sat, 07/09/2011 - 18:42
Beautiful!
Love the finish and detail, beautiful inside and out. The jewelry drawer is a super idea! Super job- Love it! :) J
Sun, 07/10/2011 - 09:34
It's beautiful! I had posted
It's beautiful! I had posted a comment earlier, but the site must have eaten it.
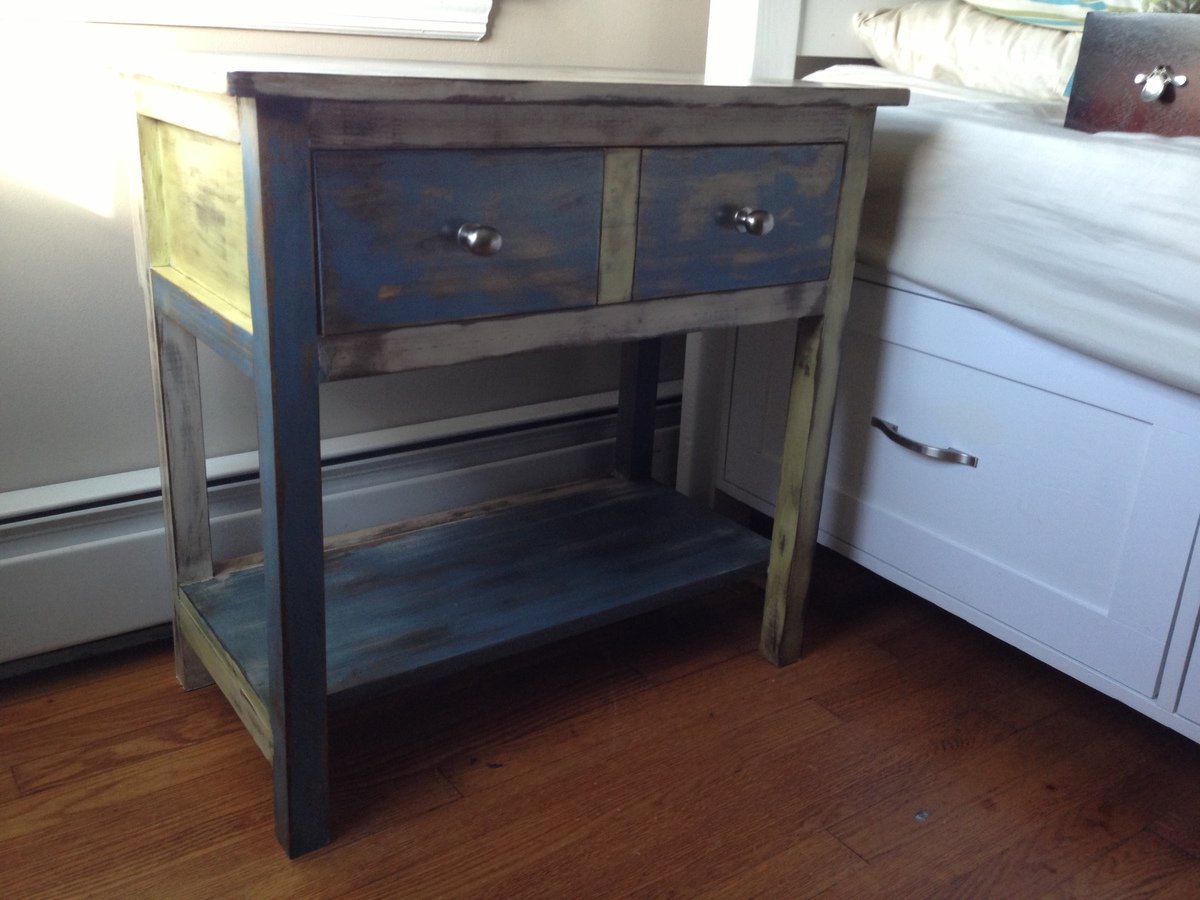
Night Stand
this project it was nice and easy to do it I had make the farm house bed then I saw this night stand and I had to have it
Comments
Mon, 08/12/2013 - 20:31
Oooh, I love the finish you
Oooh, I love the finish you applied to it! It looks so cool. Great job!
Board and Batten Fireplace
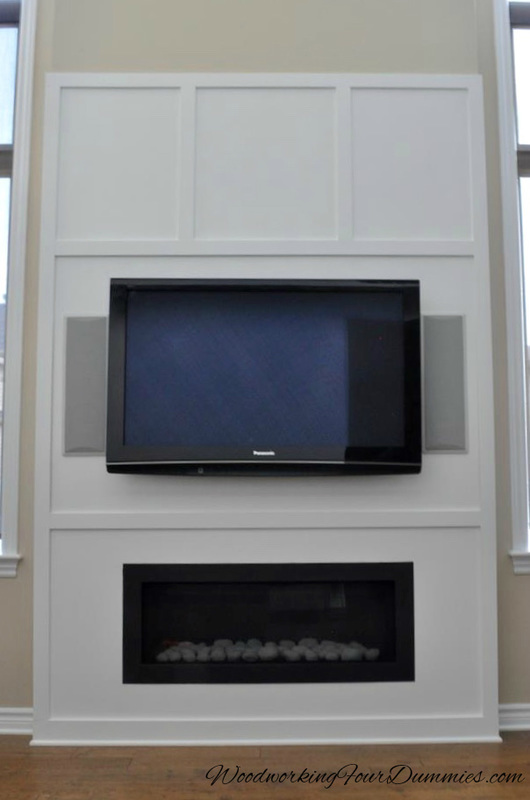
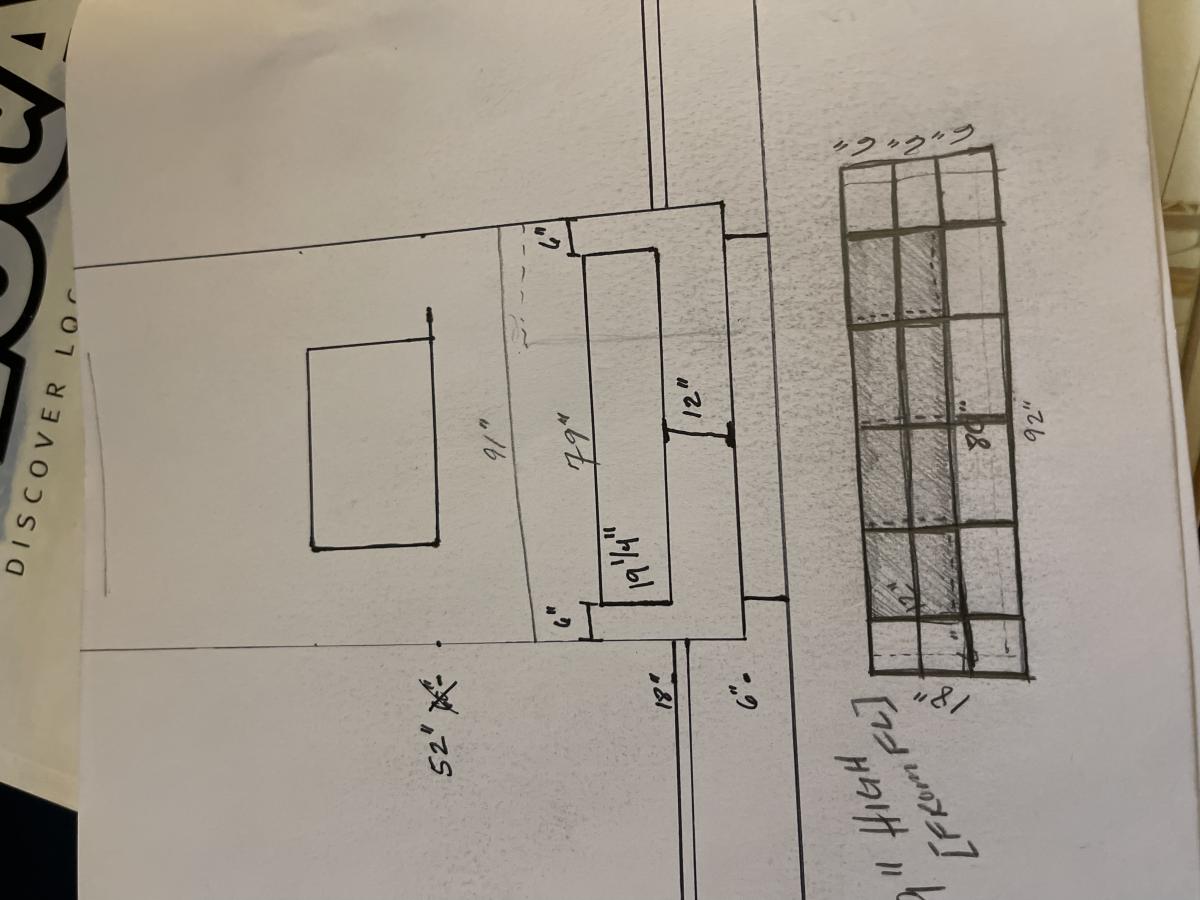
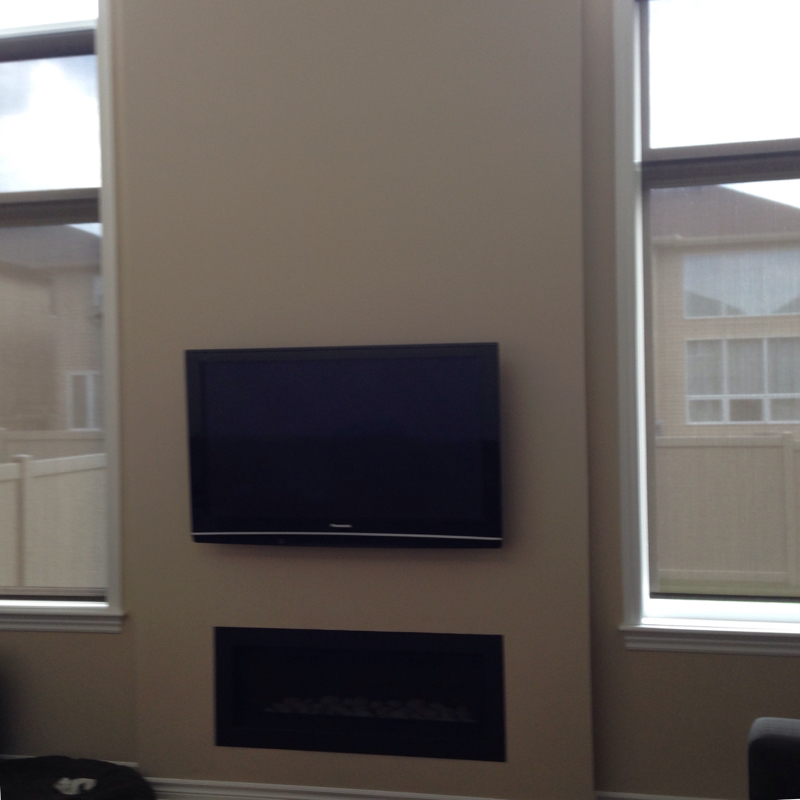
Our fireplace wall was quite plain to say the least. We thought about stone, tile but then ended up doing a simple and inexpensive board and batten wall. This is a simple DIY project, we kinda made up the pattern as we went.
More details on my blog - http://www.woodworkingfourdummies.com/blog/board-and-batten-fireplace
Cheers,
Ian
We Love our Sectional and Tables

We love our sectional built from the modern sectional plan. We also made the tables from an Ana White plan but we adjusted the size. My husband and I love projects.
Comments
Operation: Electric Panel

It's an awful eye sore builder's always seem to put in the most obvious places even when there's an attached garage, or a basement, or even a large closet somewhere.
Solution: Build a frame out of 2x2's around the panel. Build a smaller frame out of trim (or whatever you like as a picture frame). Attach the smaller frame to the frame on the wall with self closing hinges (ok, maybe paint everything first, lol) and insert a photo or painting of your choice.
Unfortunately you can't do anything about placement, hello 1 inch from my countertop and cabinets (also preventing me from building more upper cabinets on that wall)
But, it's better than staring at that ugly gray box :)


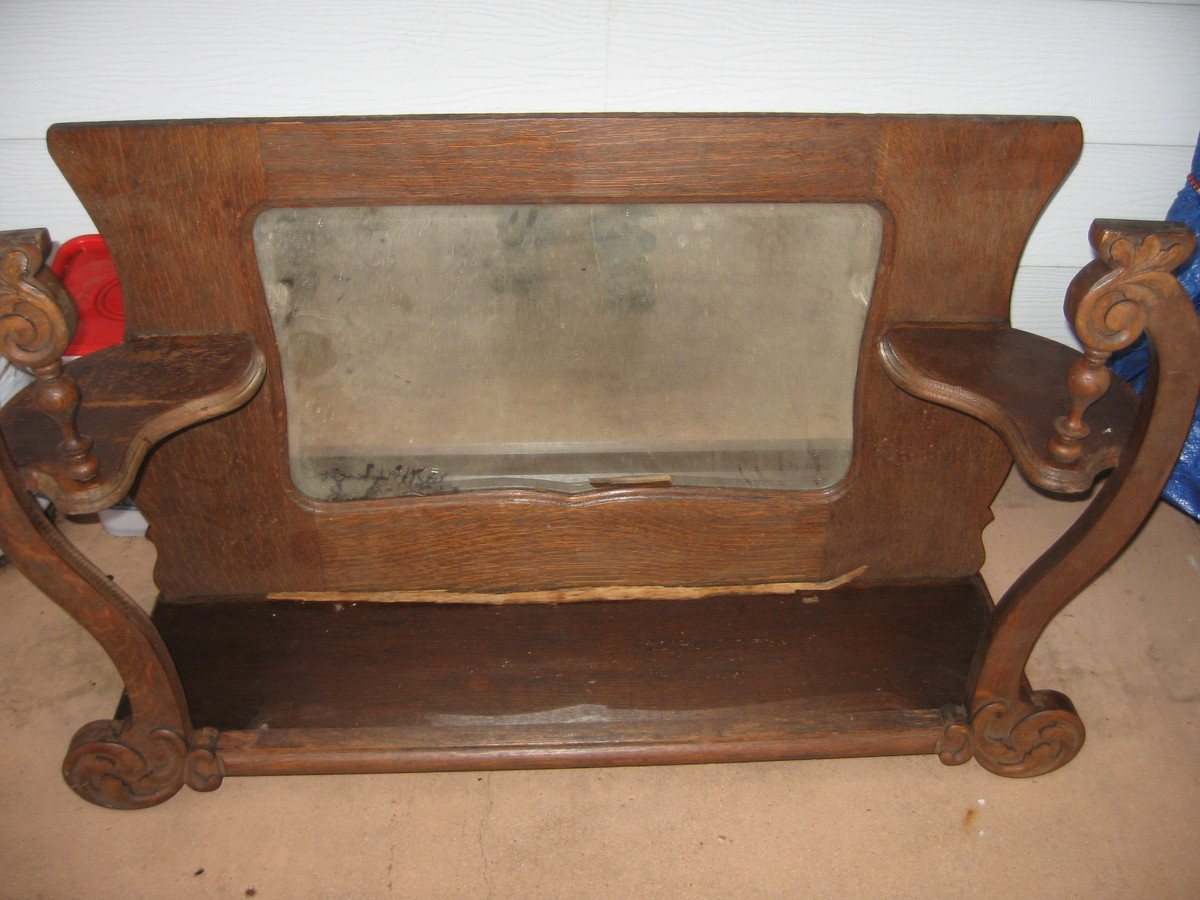
Antique quartersawn white oak buffet
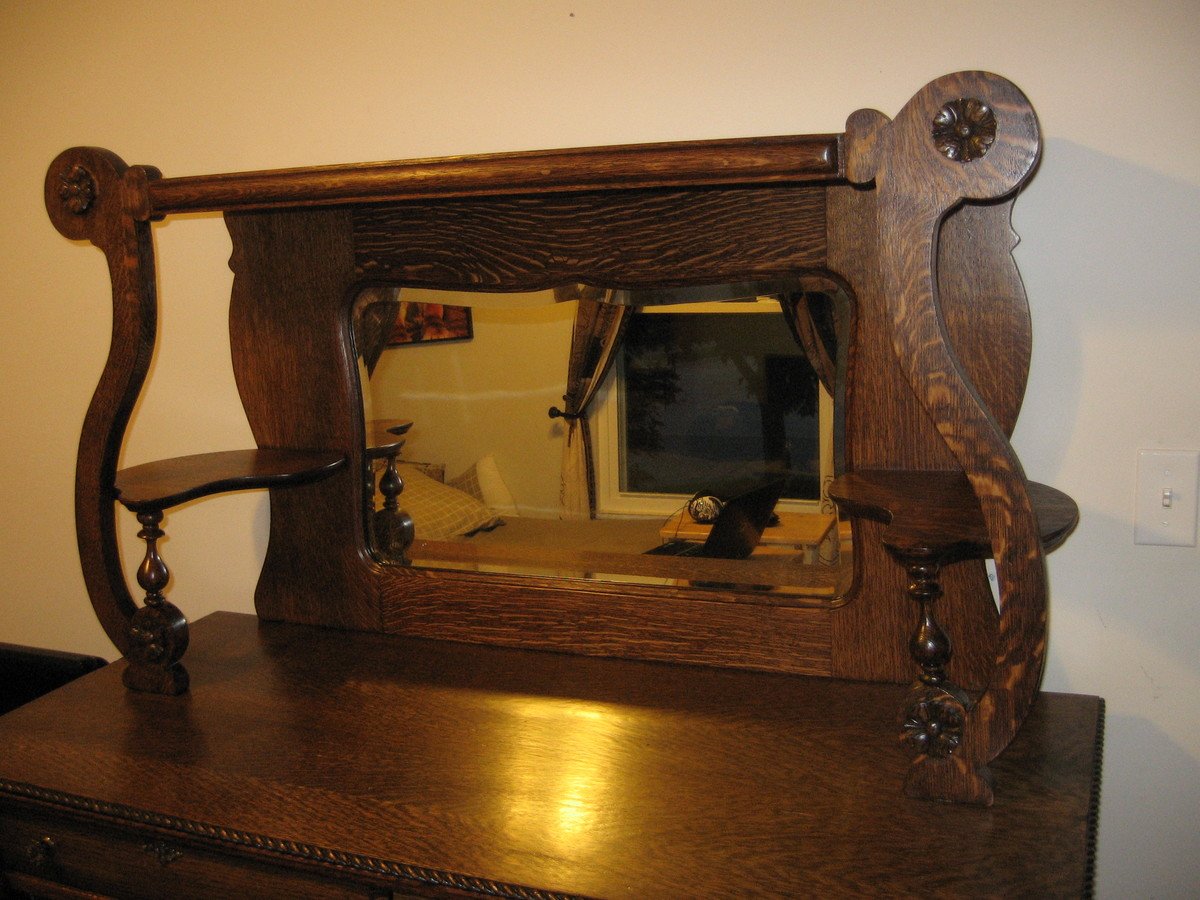
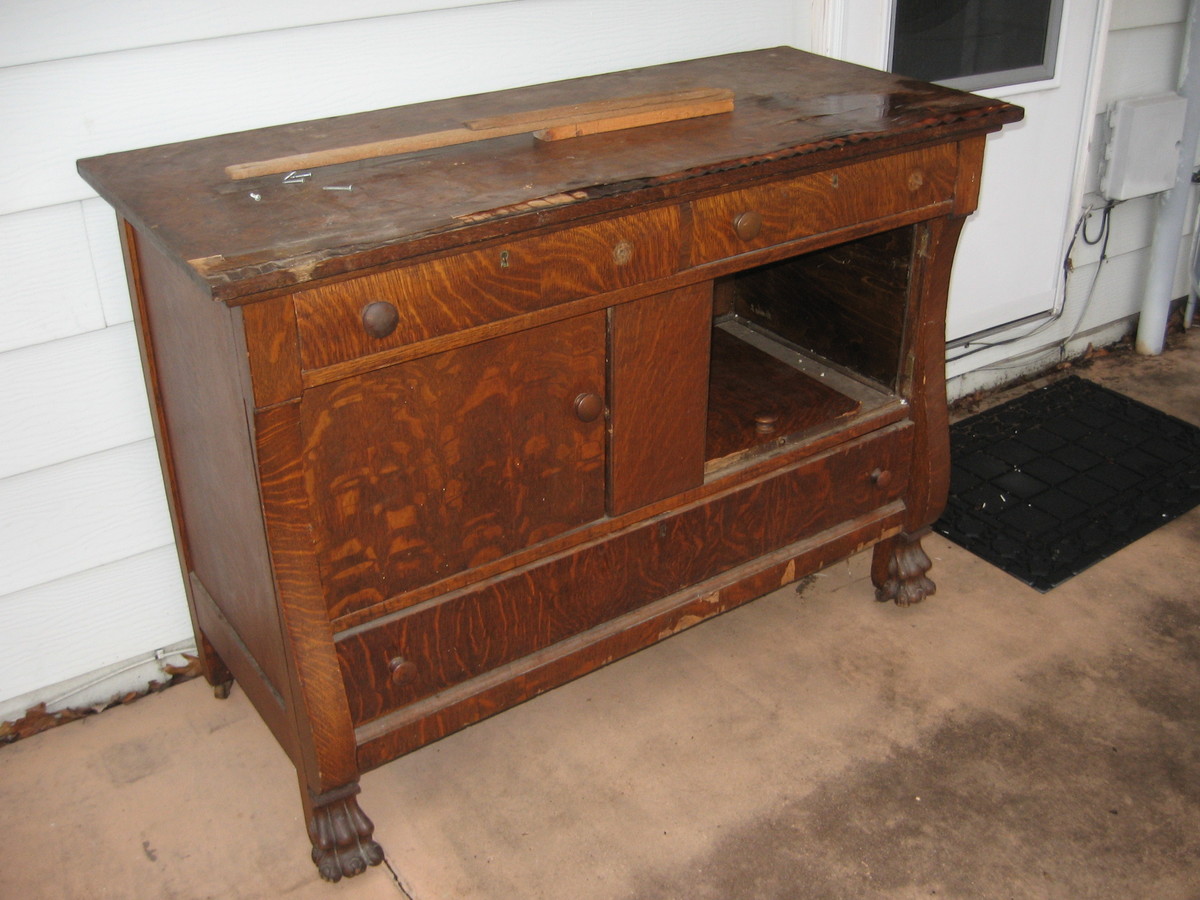
I found this buffet on Craigslist. I bought it from a young lady that told me her grandmother owned it prior to passing. It had obvious water damage, especially to much of the veneer.
Starting with the top portion, the mirror was removed. The silvering was shot and I shipped it to Madison Glass in Nashville, TN. I stripped it and repaired the cracks and splits it had. The appliques were all broken and brittle. These were replaced with four new oak rosettes. It was stained and polyurethane was applied. I made a new back to cover the mirror when I got it back.
The bottom section was in really bad shape. The water damage had ruined all of the veneer on the top of the bottom section. It also had an obvious sag. I took the top of the lower section off. I used a plate joiner and wood glue to put these back together. I then flipped it over to fix the sag. A 3/4" section was missing. So I used some oak rope trim to make up the difference.
I rebuilt all of the drawers which included new bottoms. I replaced the drawer stops. The cabinet door were all broken so I made new ones using 3/4" oak plywood. I put the nicest side facing in and put new veneer on the door front. In fact the fronts to all of the drawers received new veneer. I also rebuilt the entire inside with 1/4" oak plywood and oak trim. I also put new casters on the piece. I then stained and applied poly to the base.

Media Console
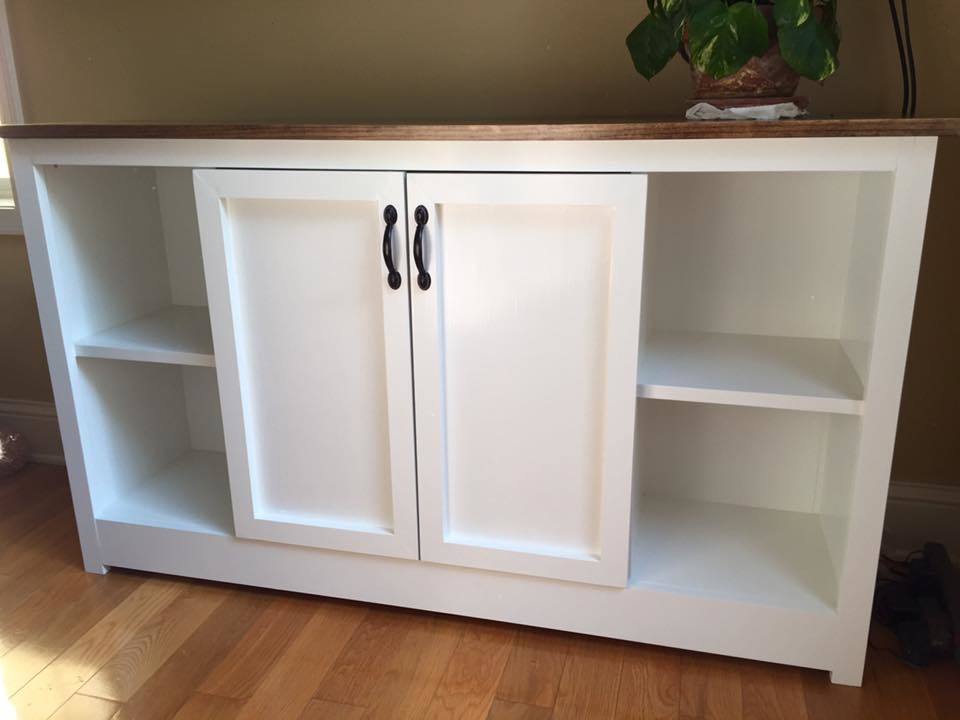
I based this off of the farmhouse media console plans, but made a lot of changes with dimensions, doors, etc. Originally we wanted the doors to slide sideways instead of opening outwards... but we couldn't figure out how to do that and still make it look nice! Very easy to build. I am happy with the end product!
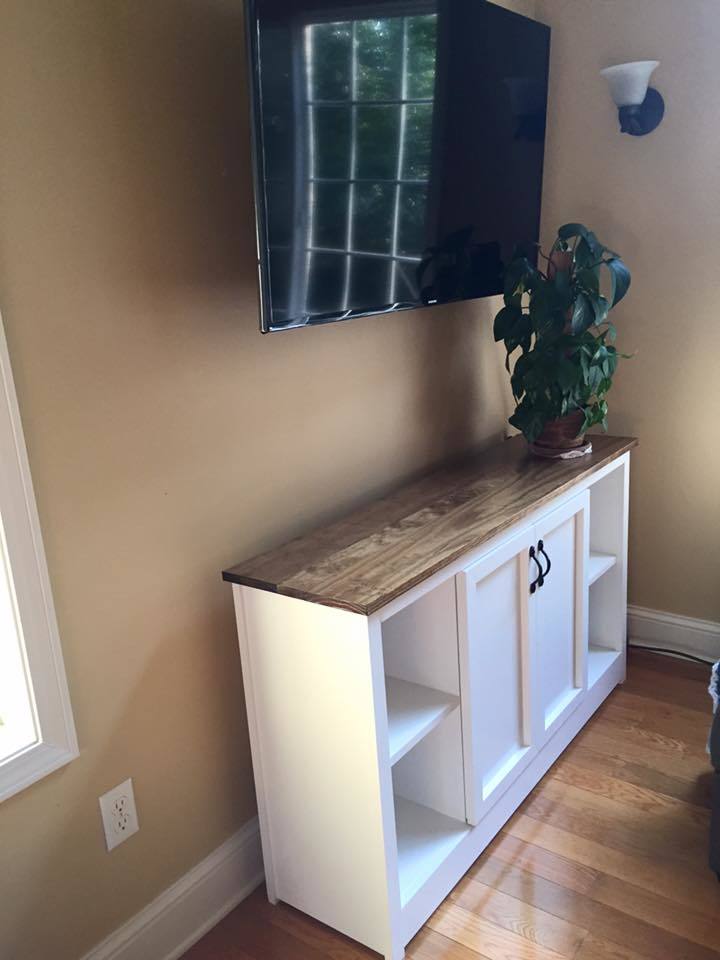
An off white paint I found in the basement. Polyacrylic over the shelves for protection.
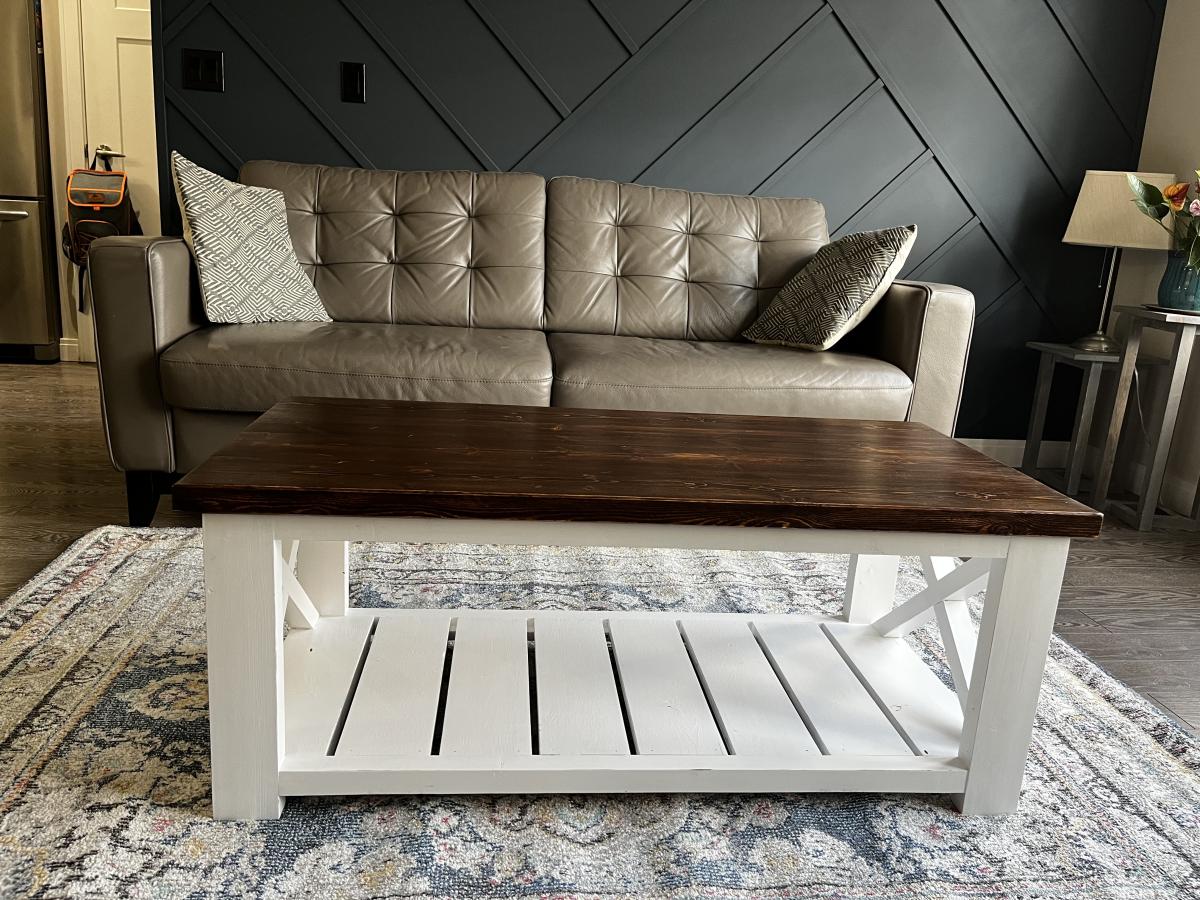
Farmhouse coffee table
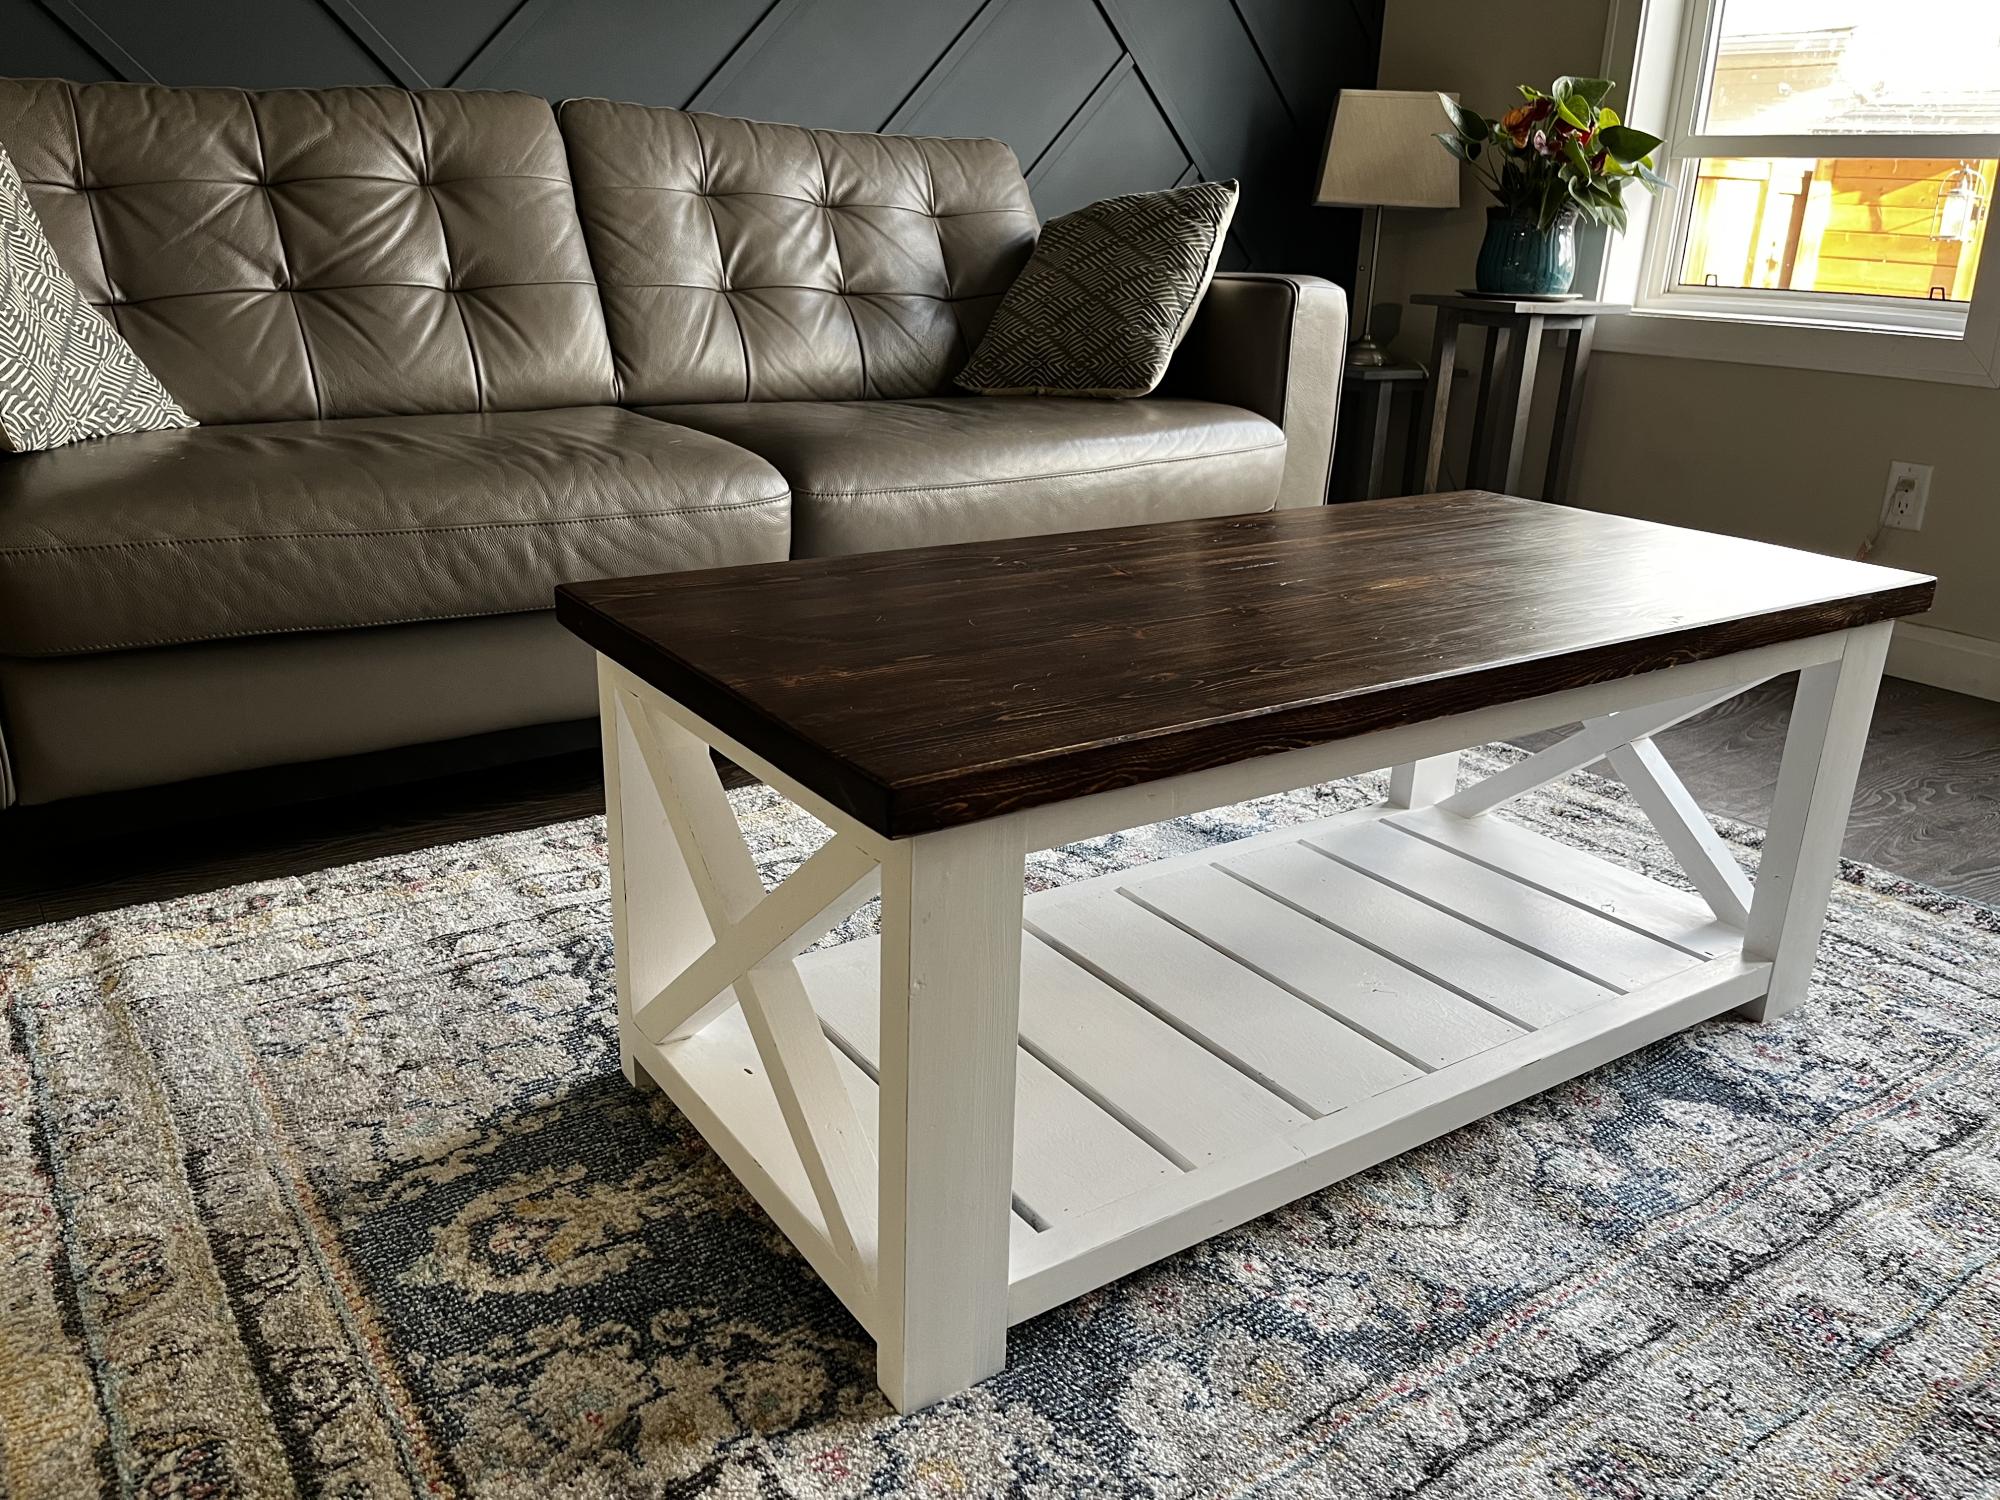
All pocket hole joinery
Base is painted shade of white
Top is dark walnut
Comments
Spa Bench
This is the bench that got me started! My very first Ana White project and I love it! Oh, and I'm also addicted! I've come a long way since this build and most importantly, so have my tools!

Farmhouse Table

This was my first project built from this site and I absolutely LOVE this table! Thanks Ana White!

Comments
Mon, 08/19/2013 - 17:10
Great work!
Nice work. I've been meaning to take pics of the one I did, which I paired with the exact same Tobias chairs. Love the look of modern and rustic together.
