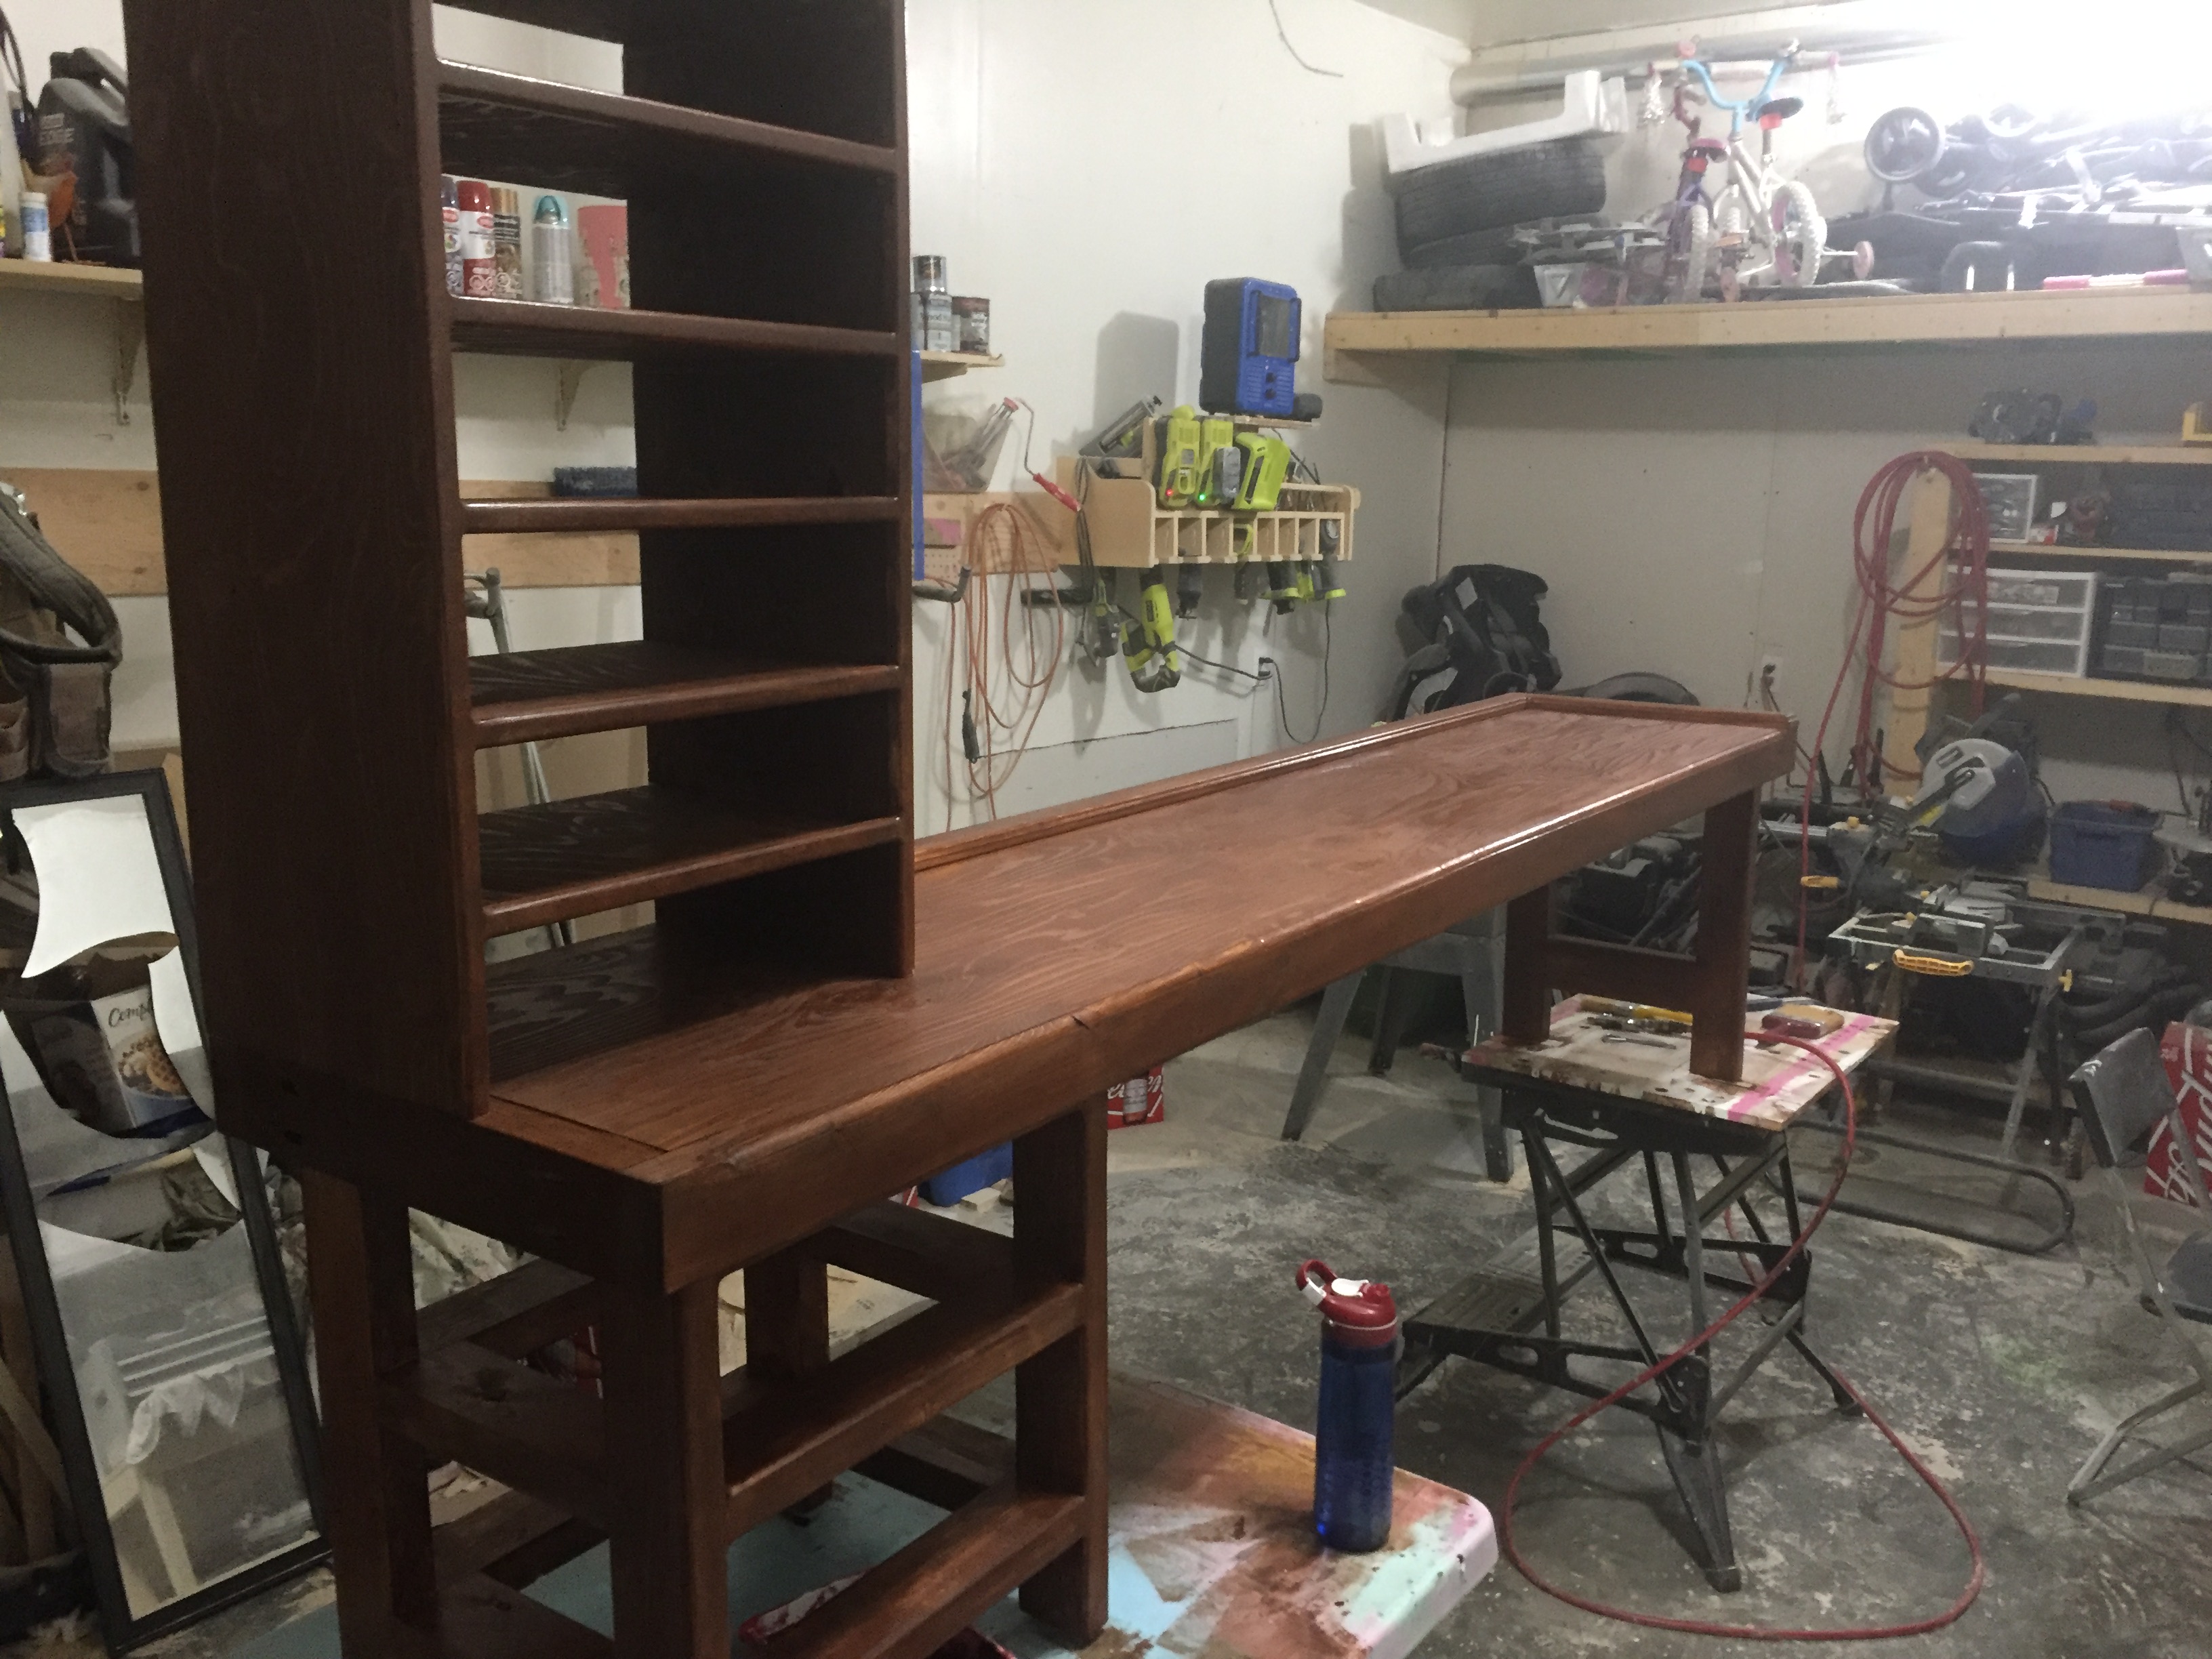
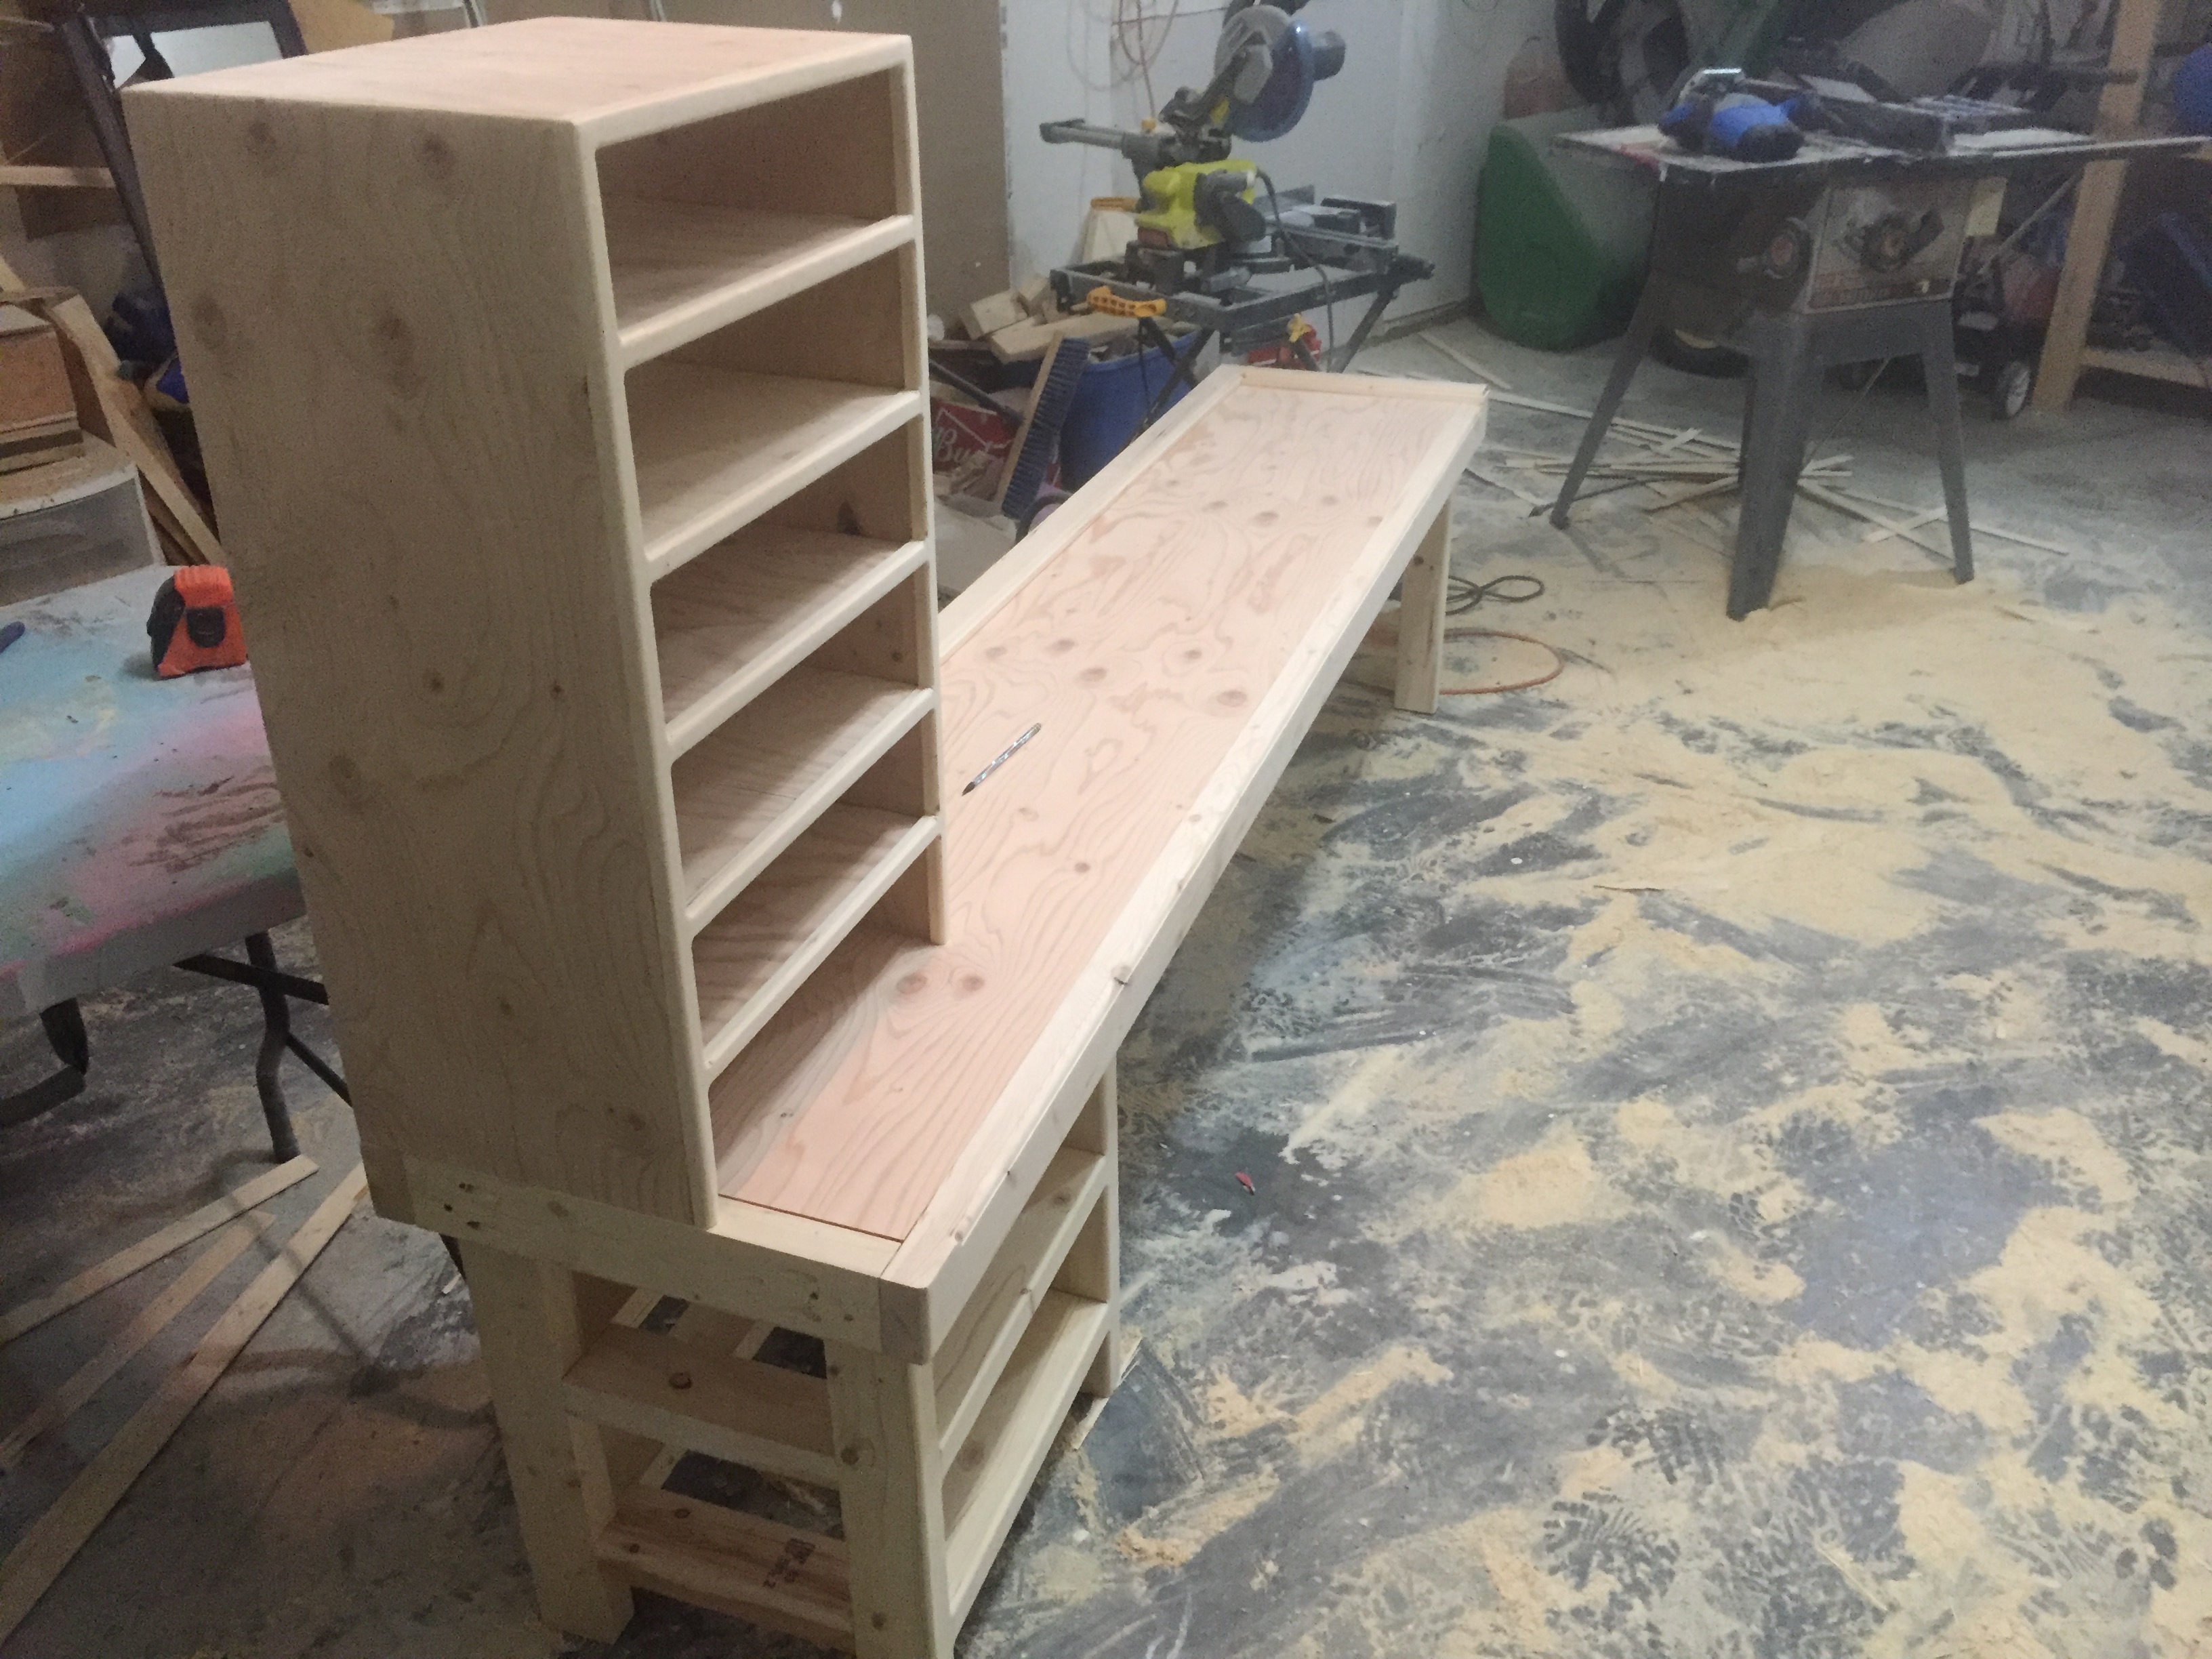
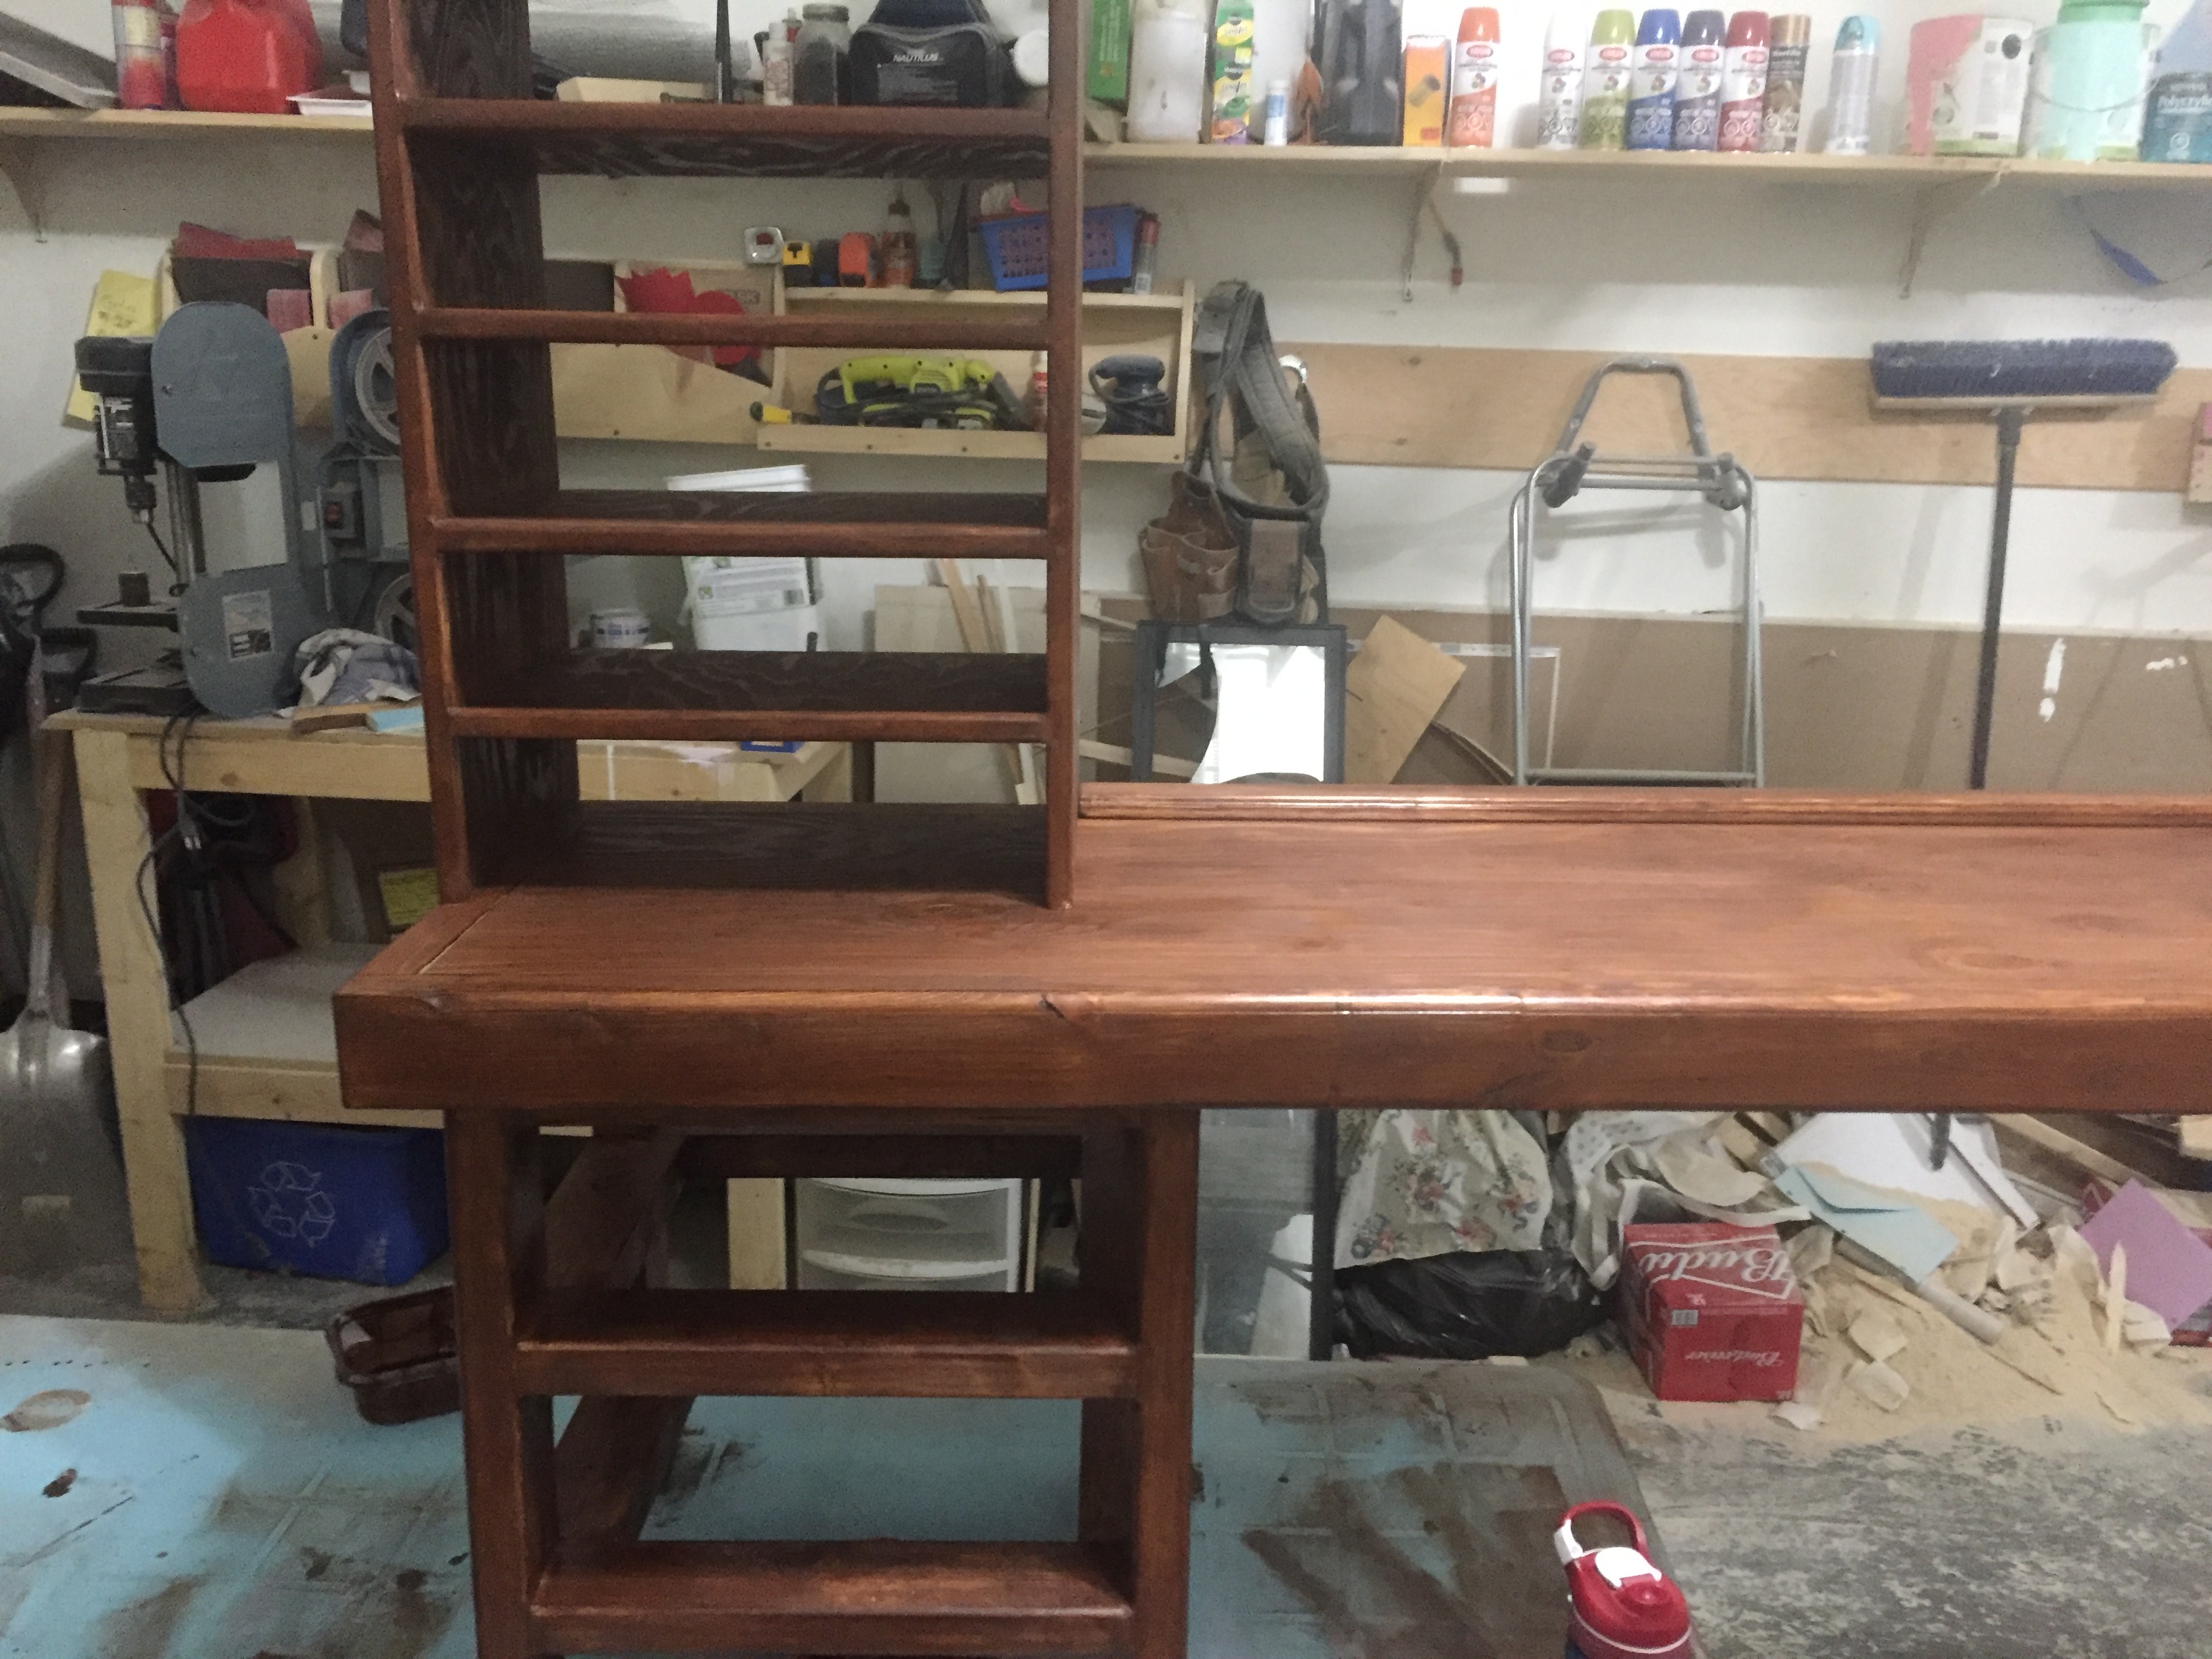
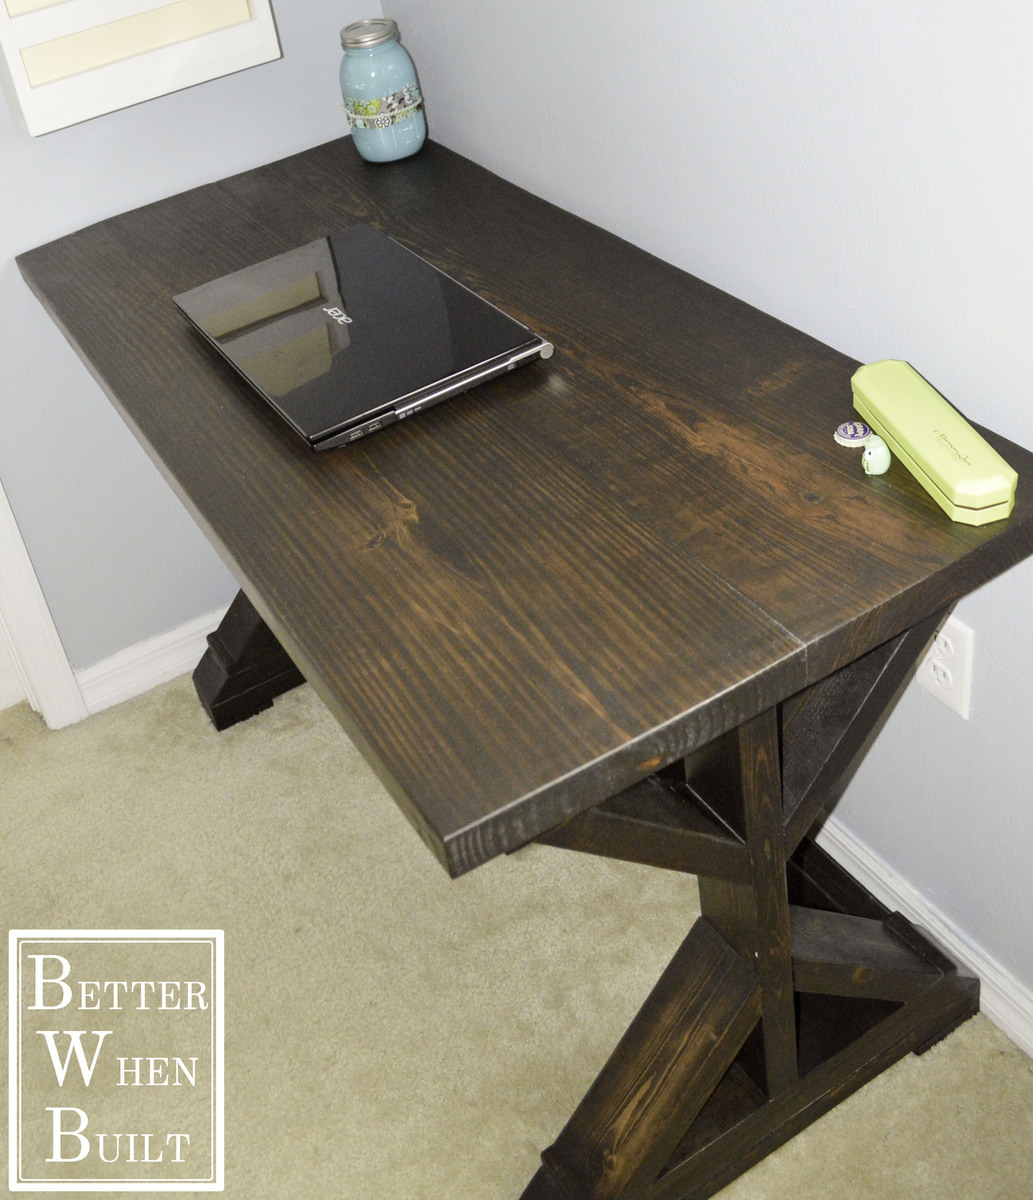
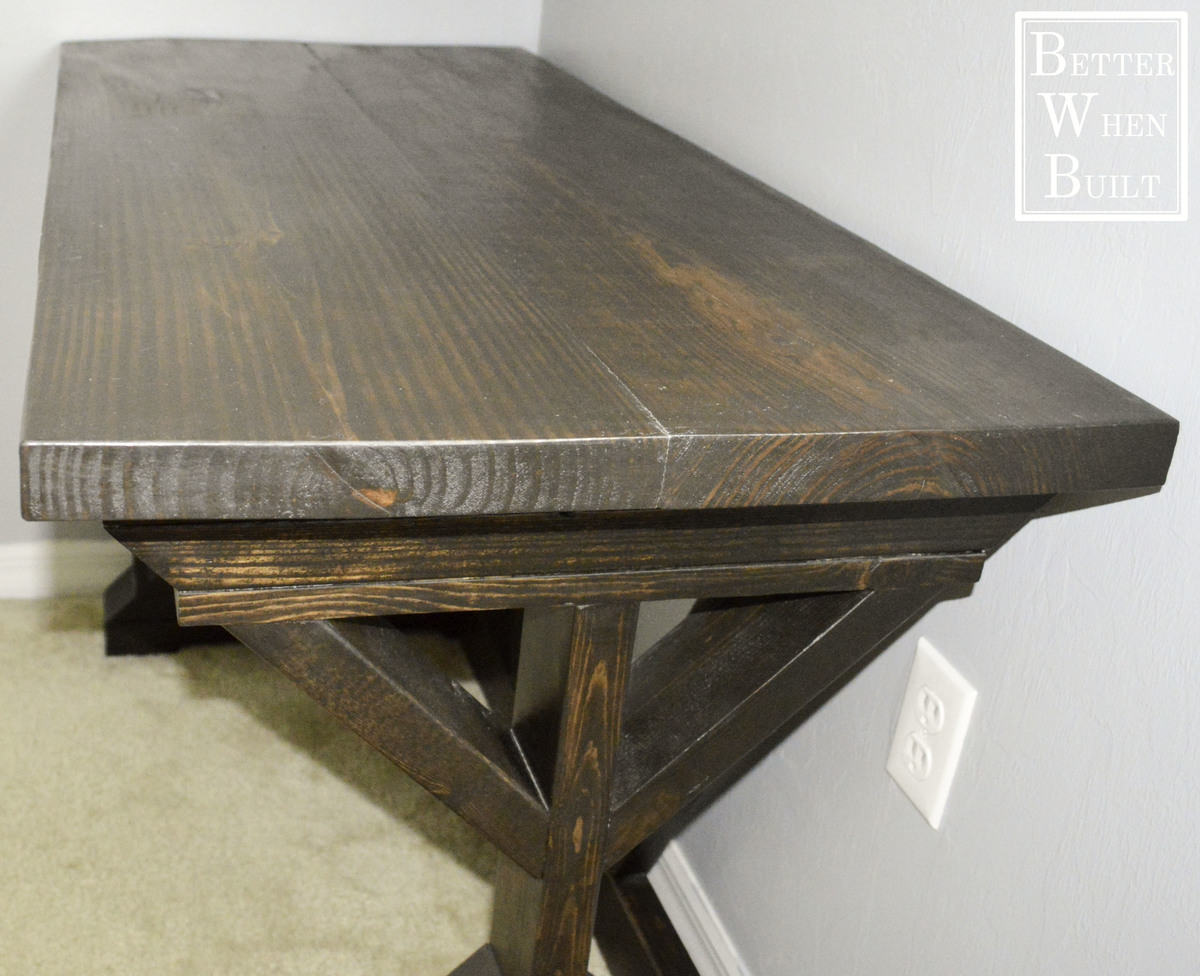
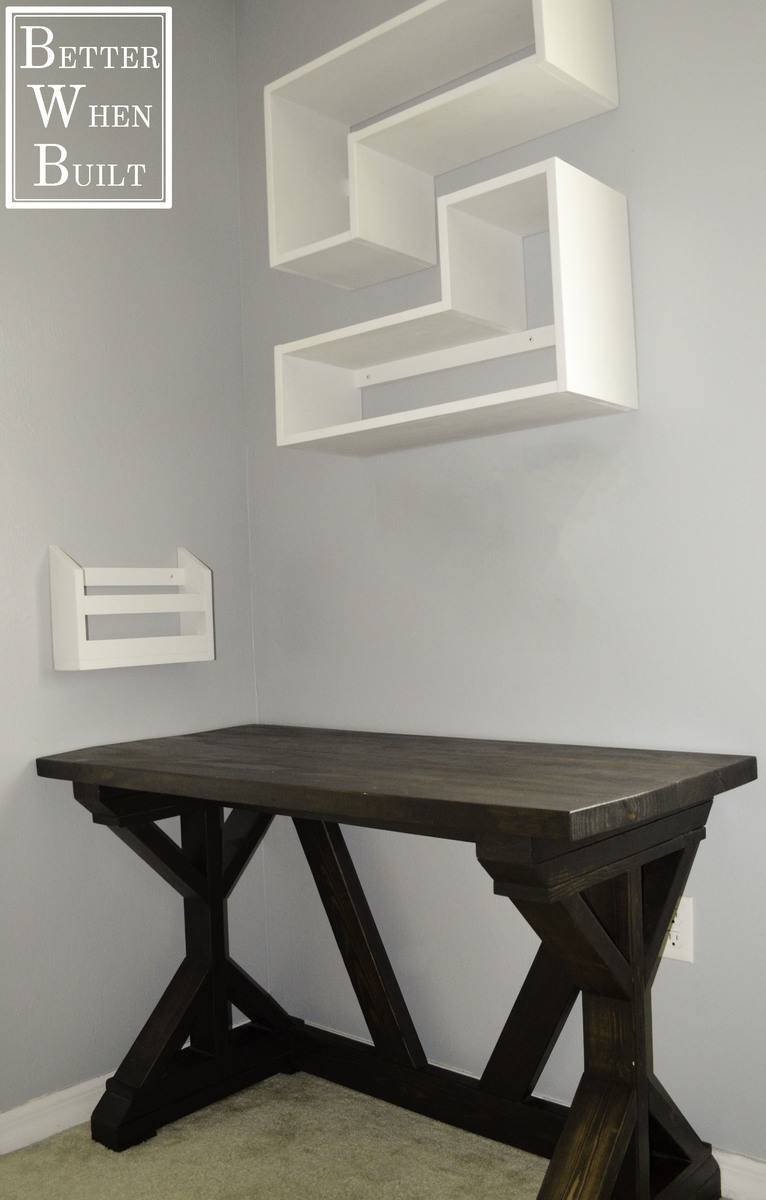
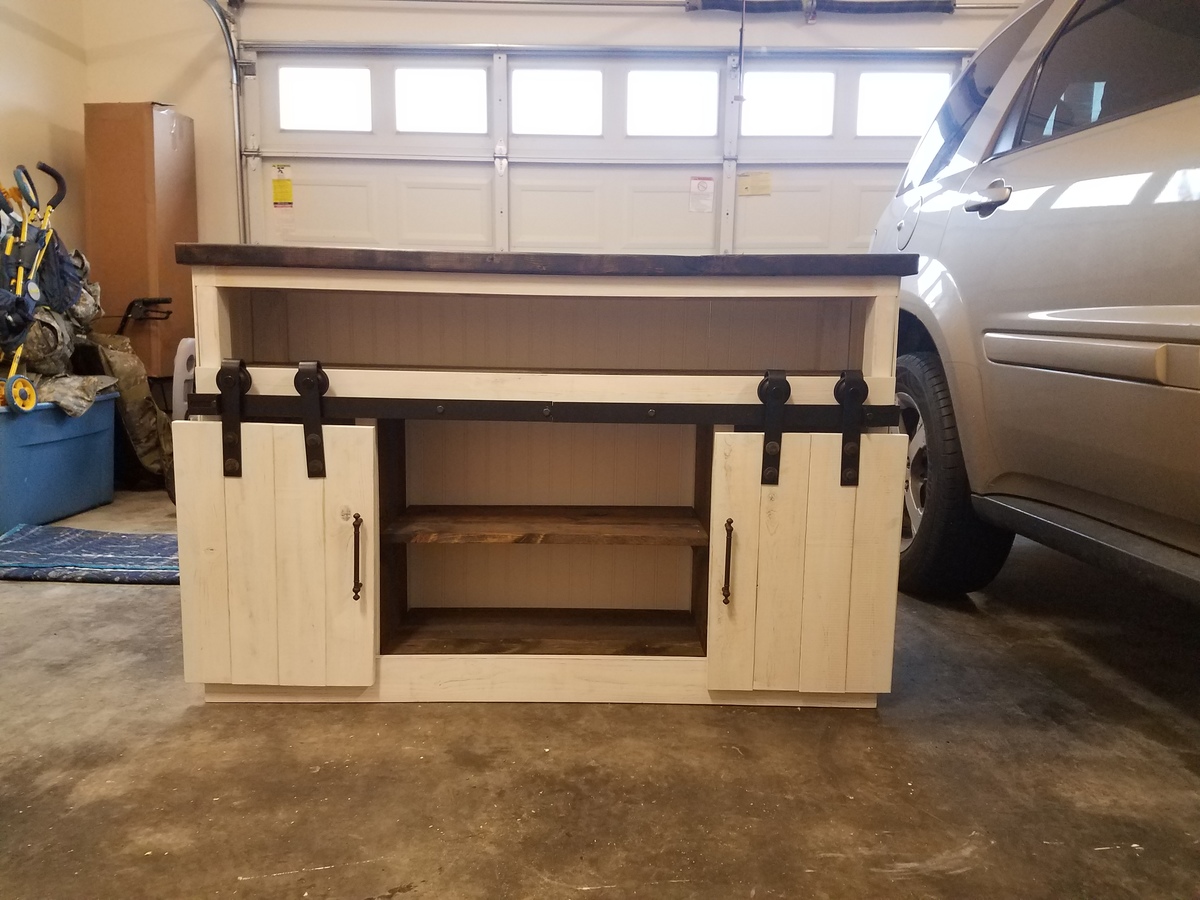
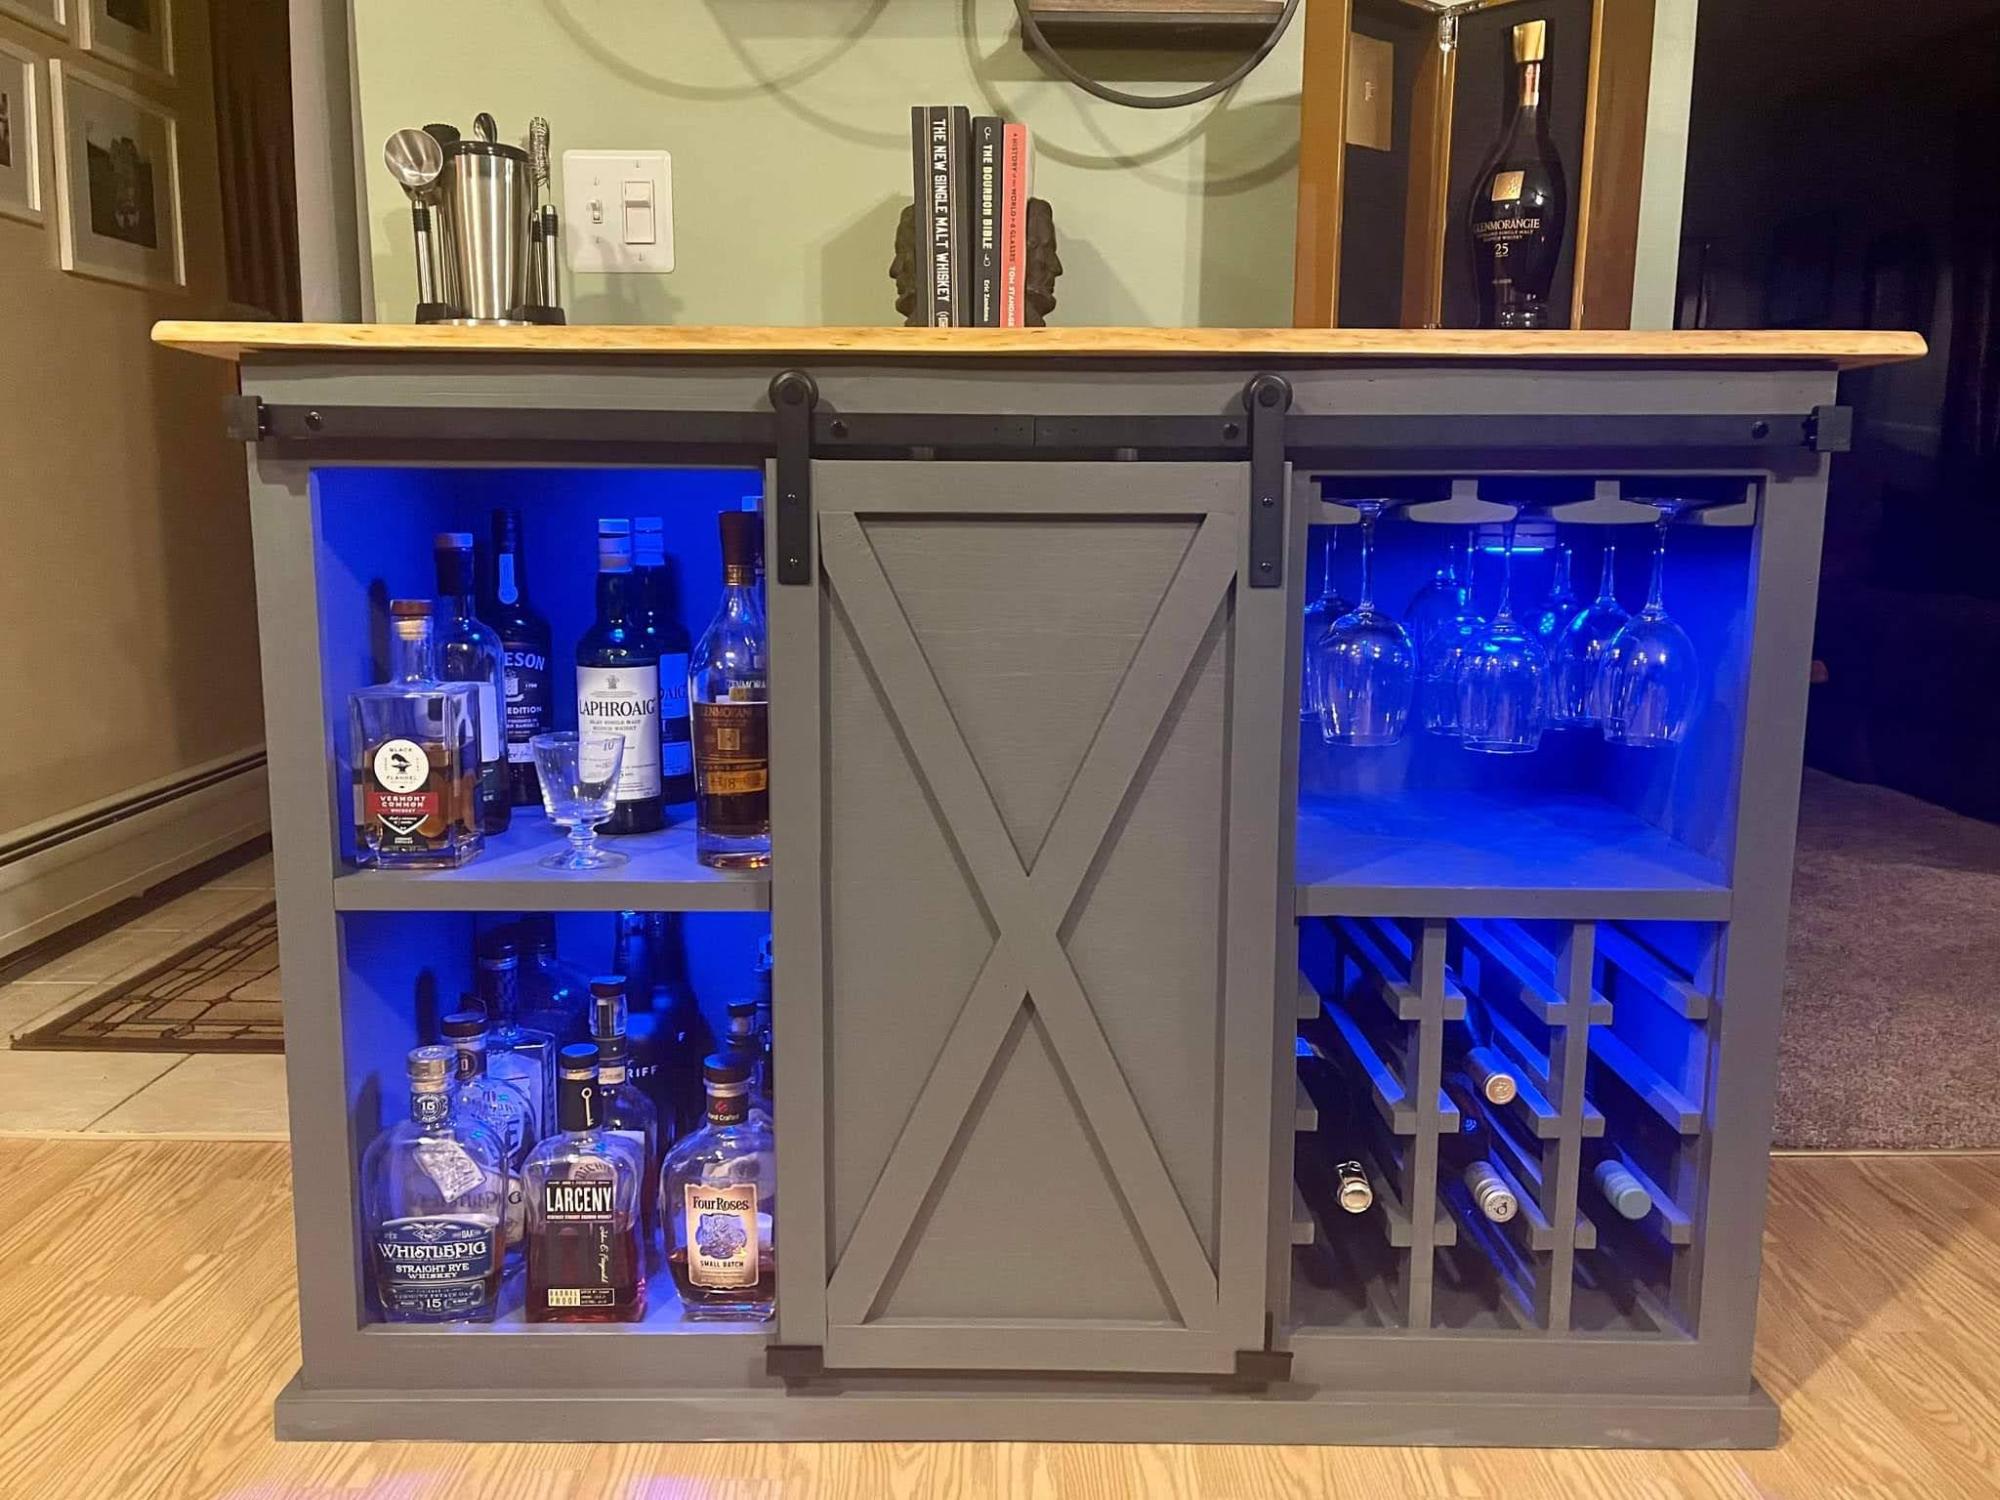
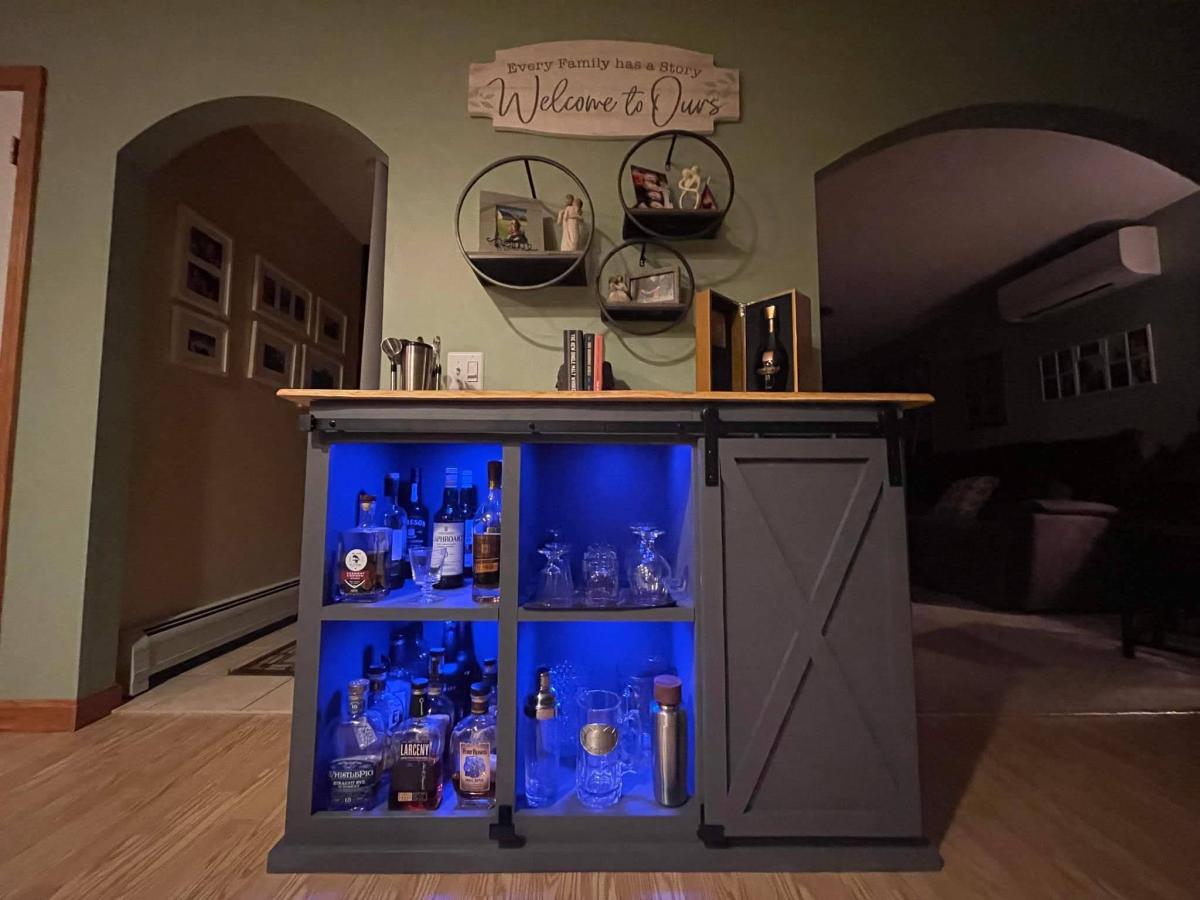
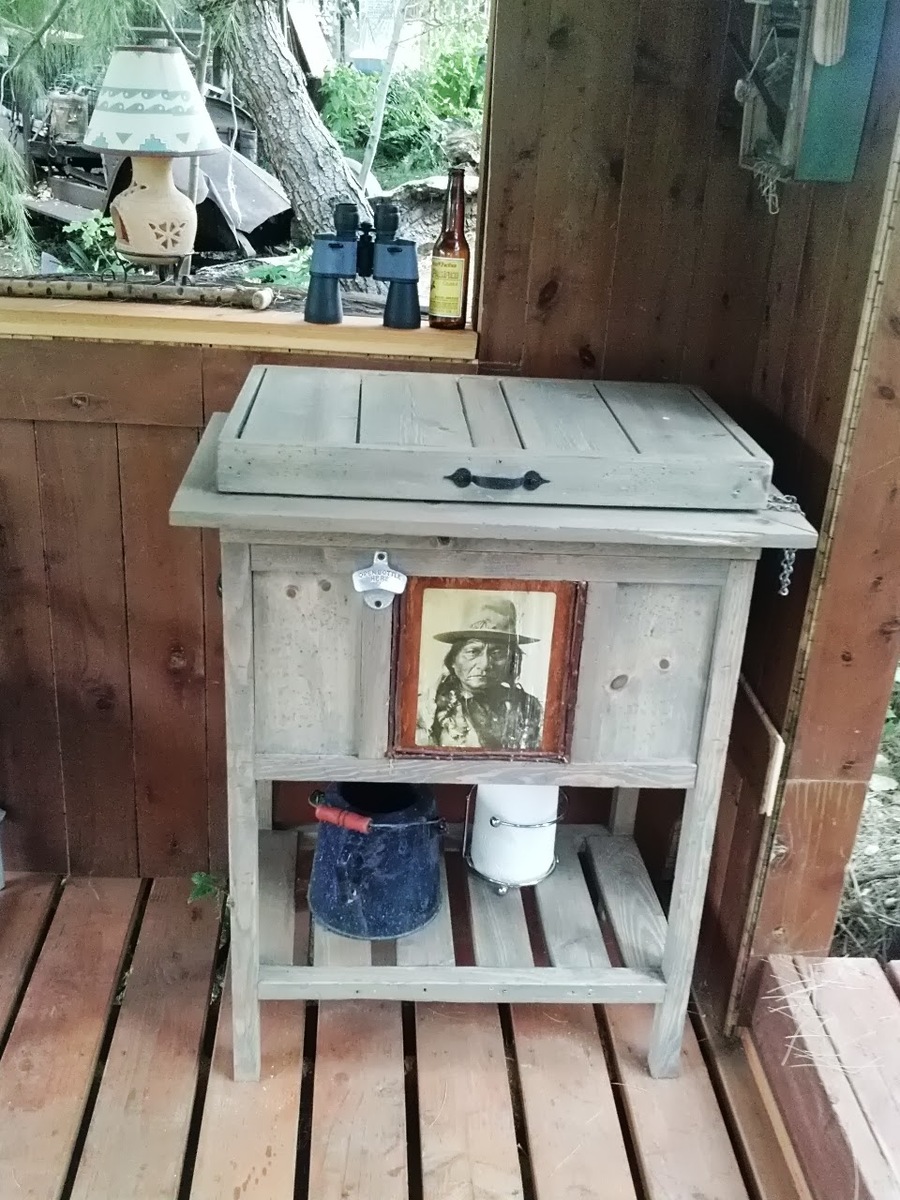
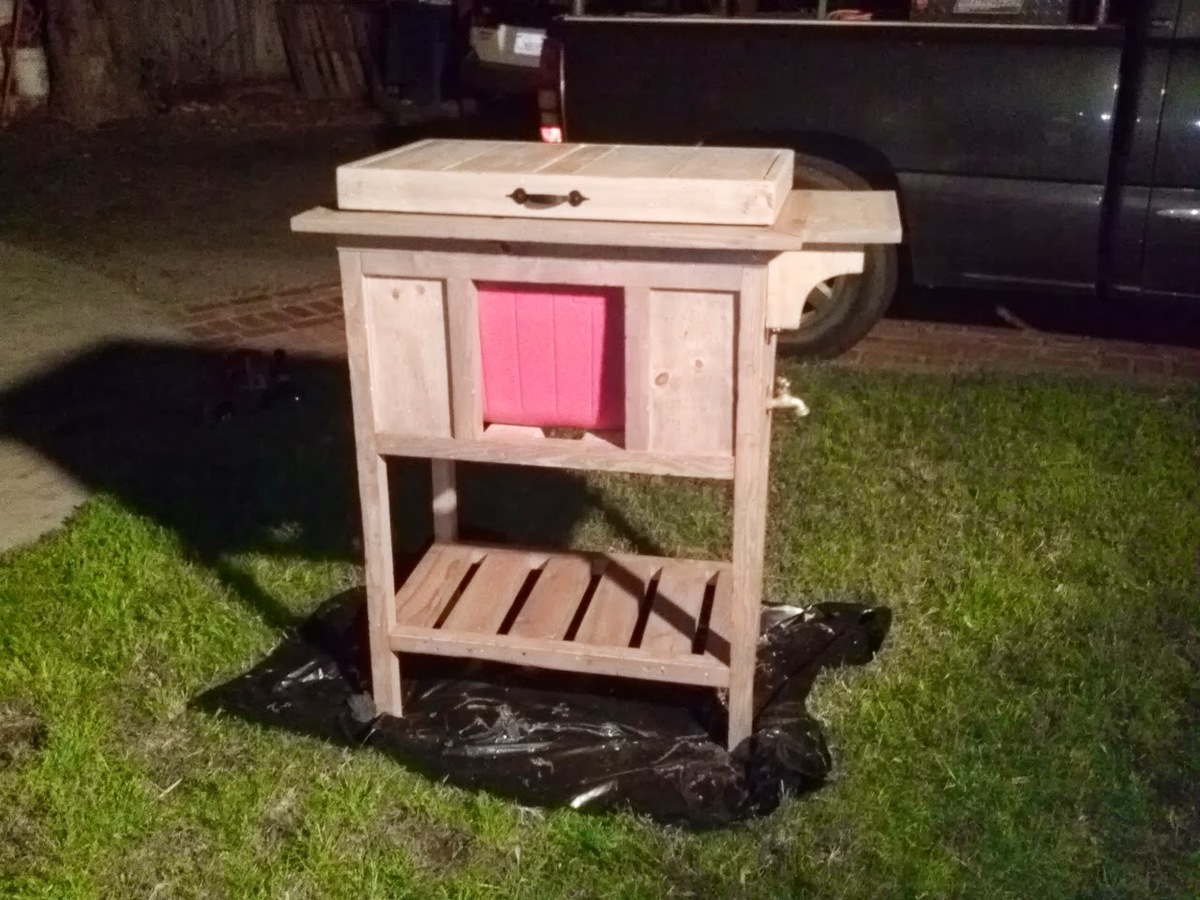
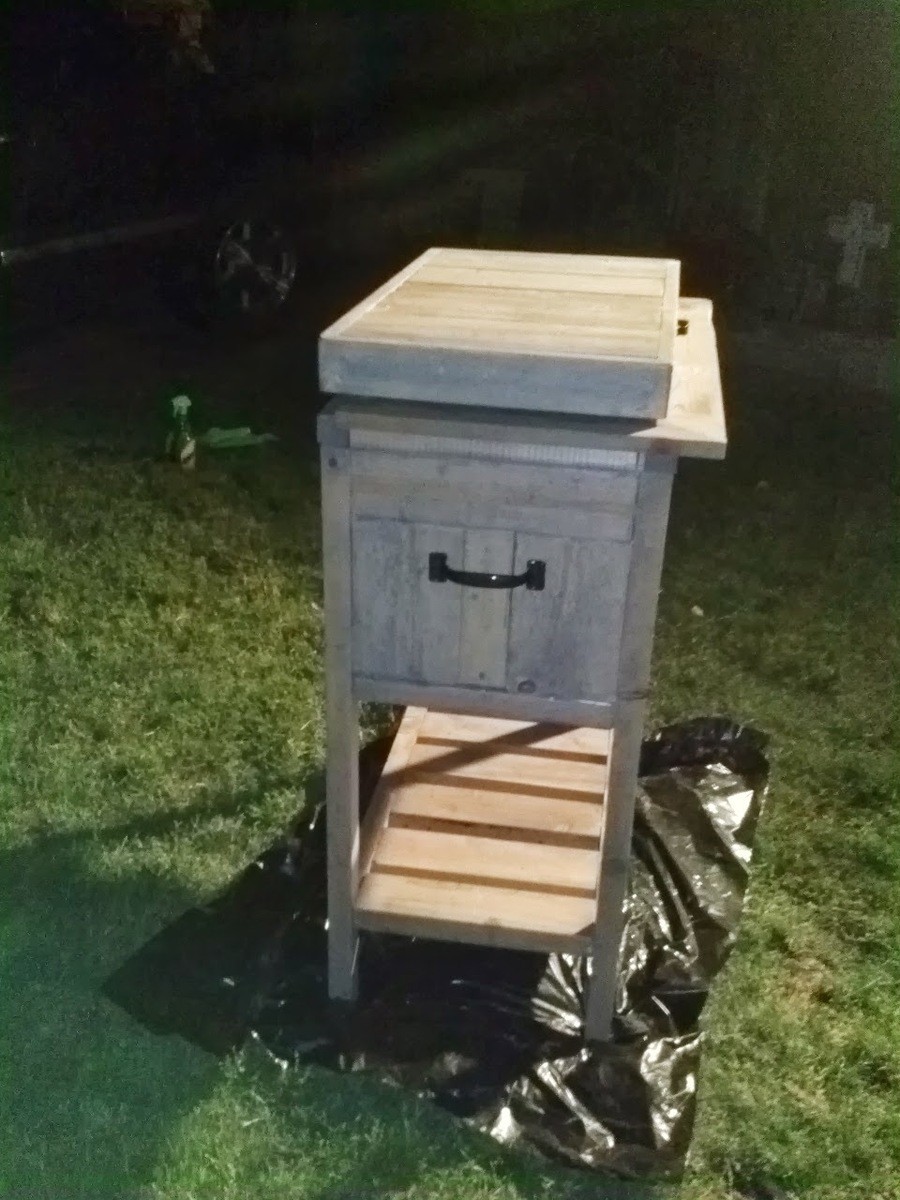
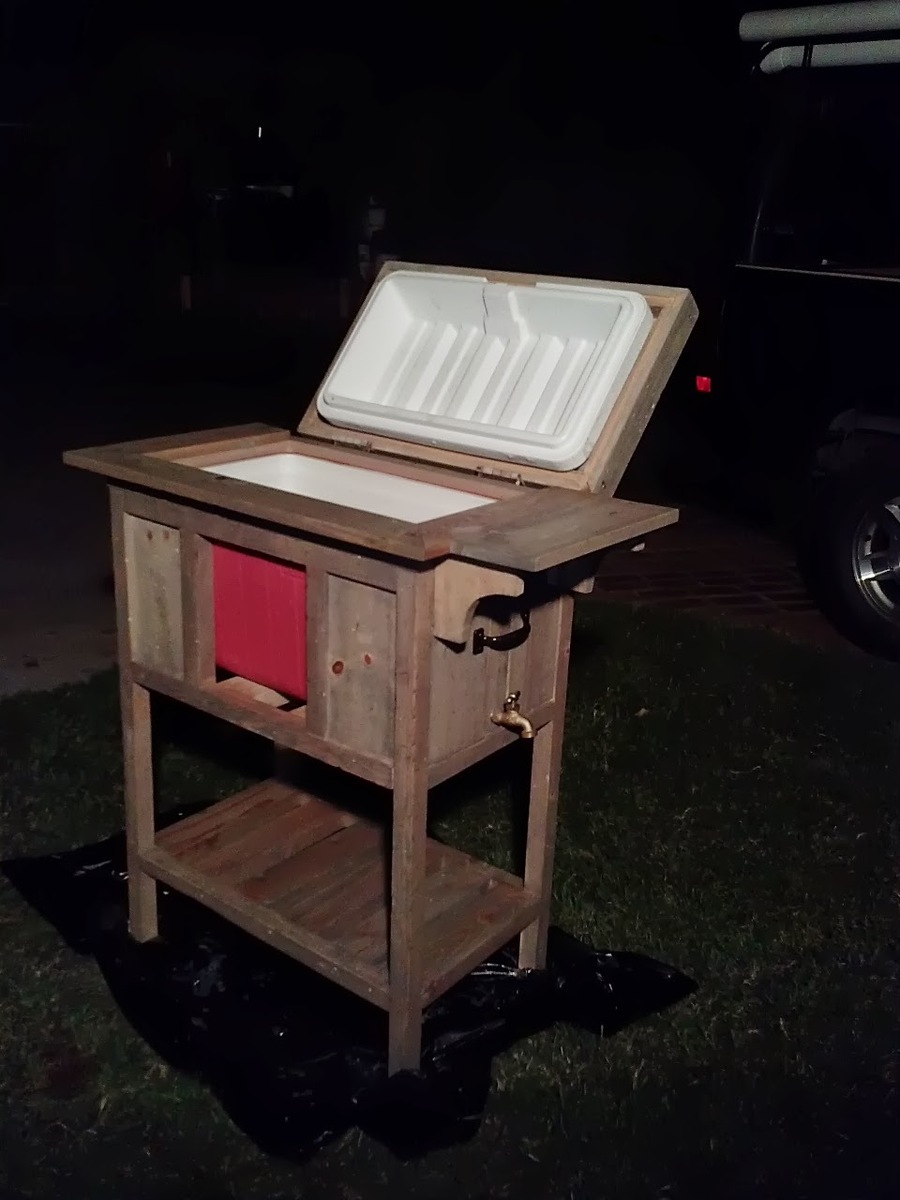
2x4 and Jalousie Console
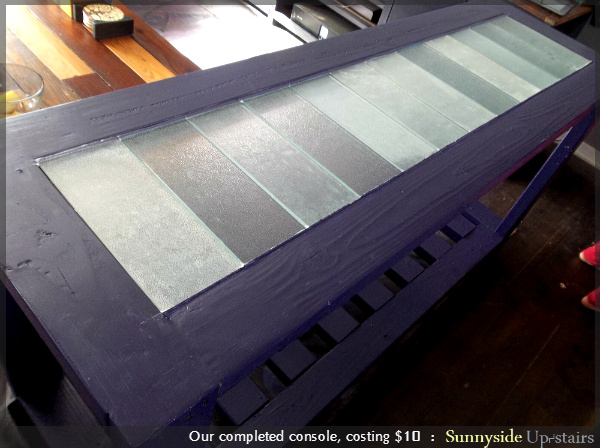
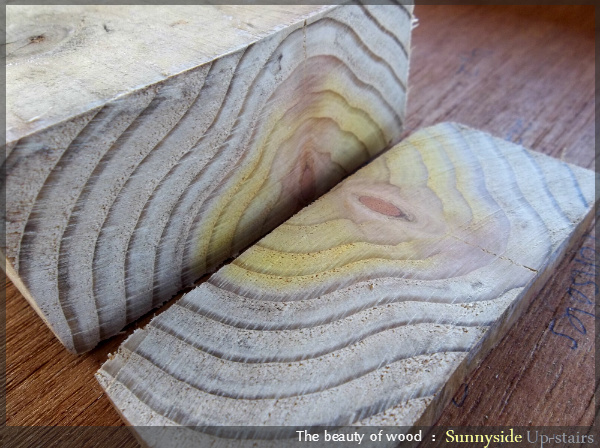
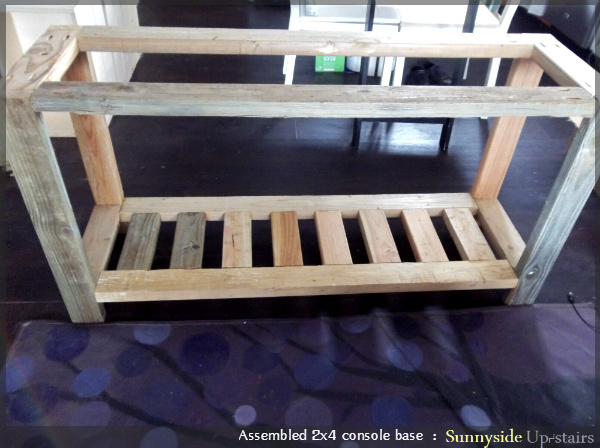
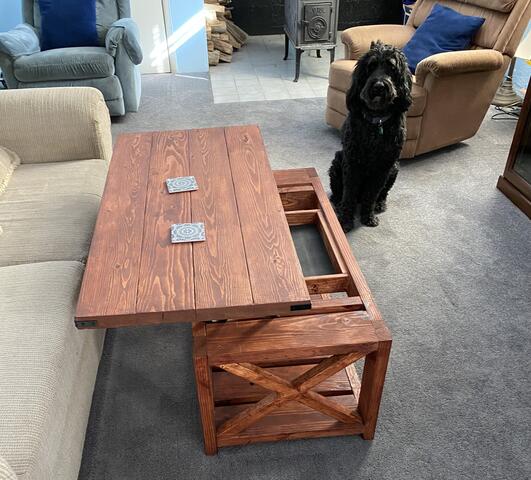
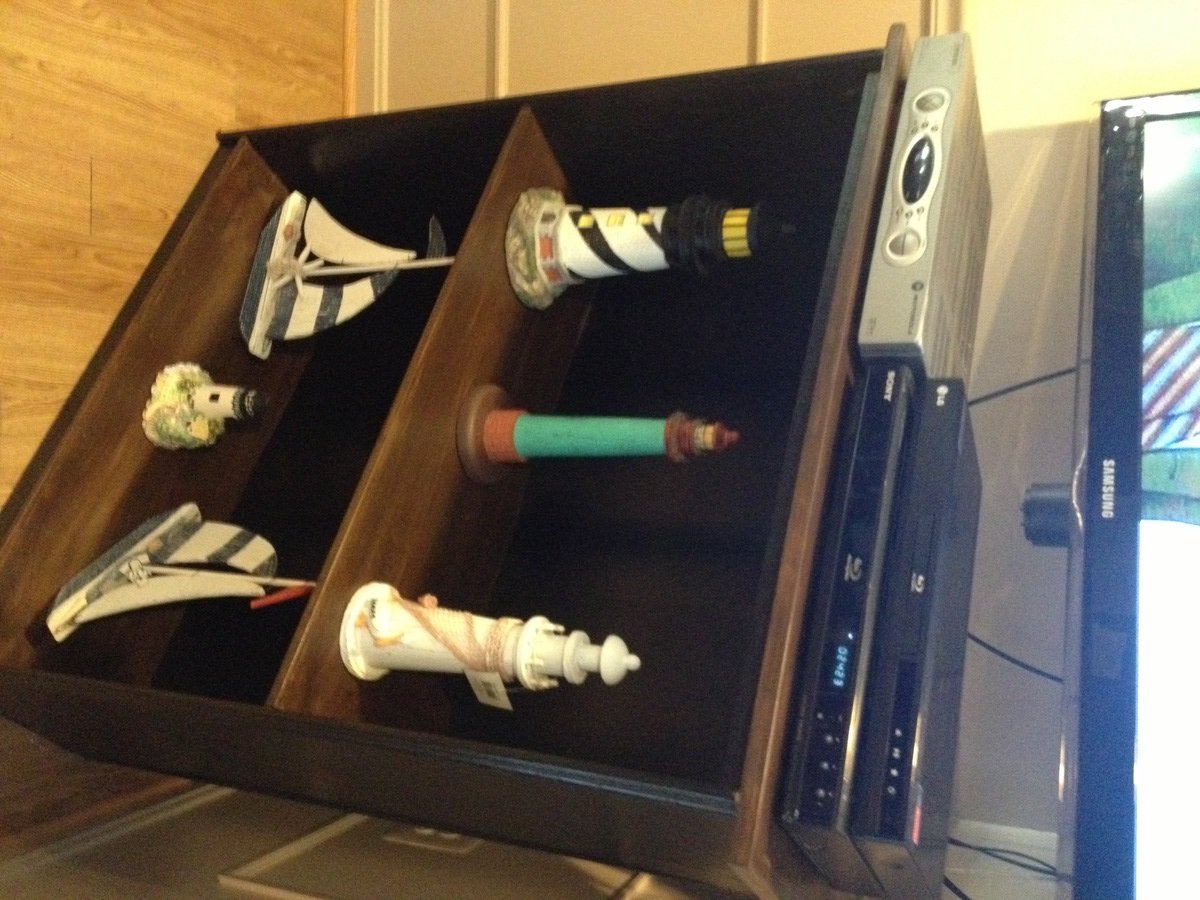
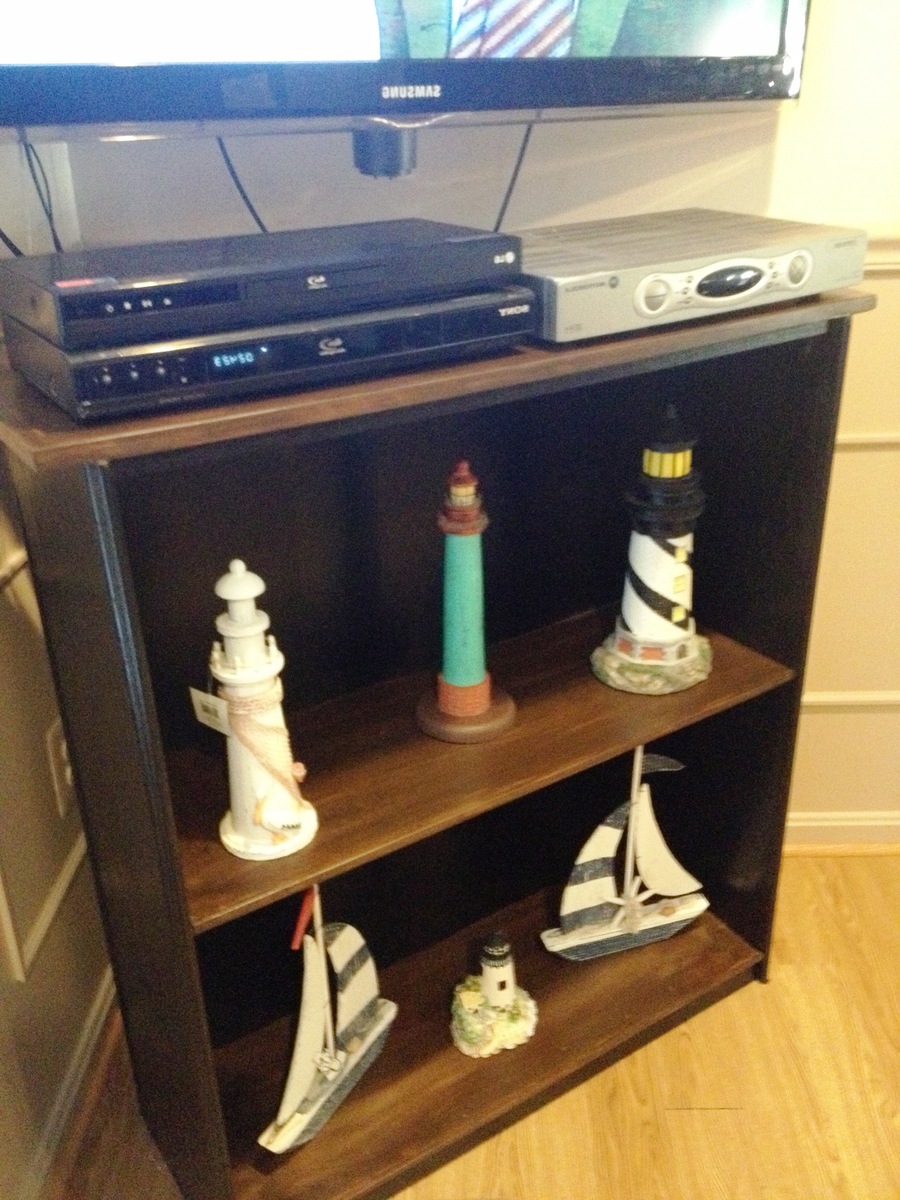
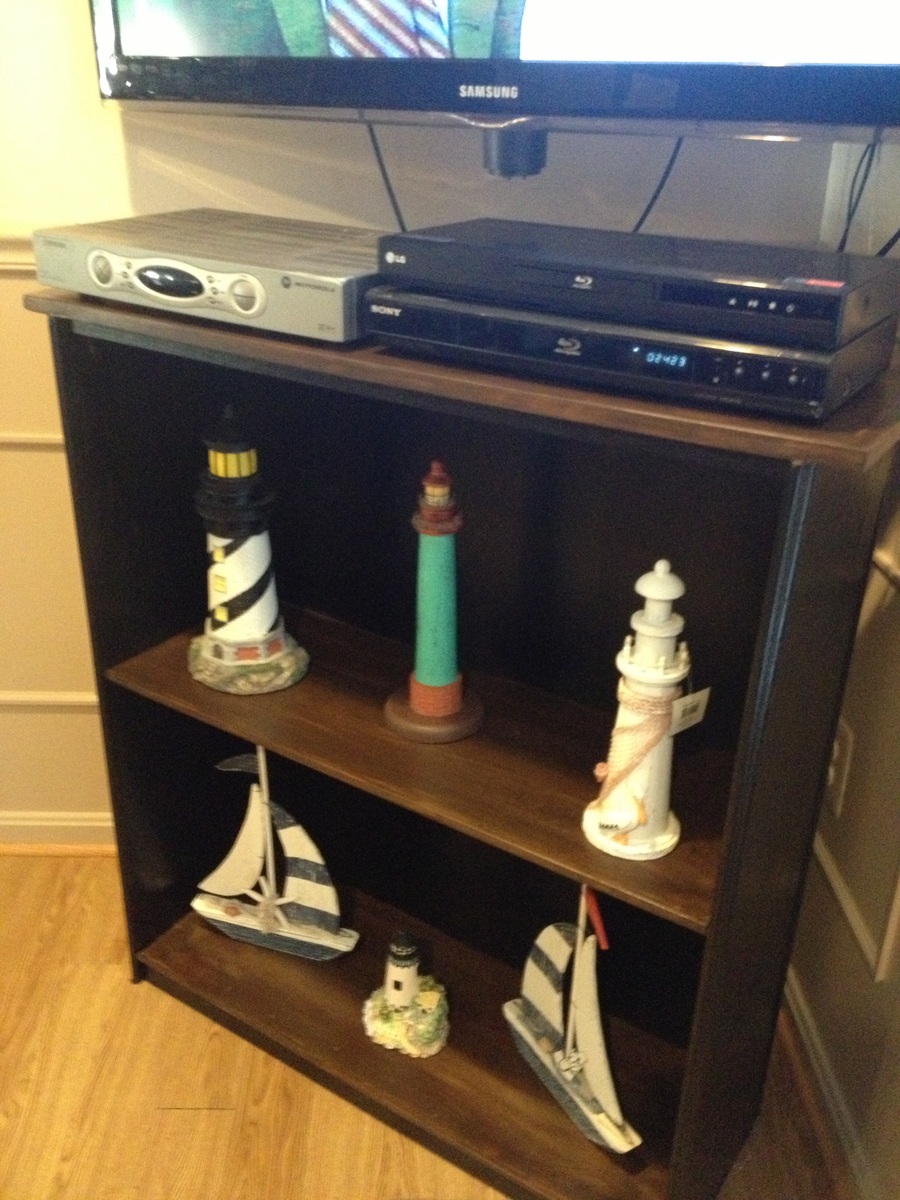
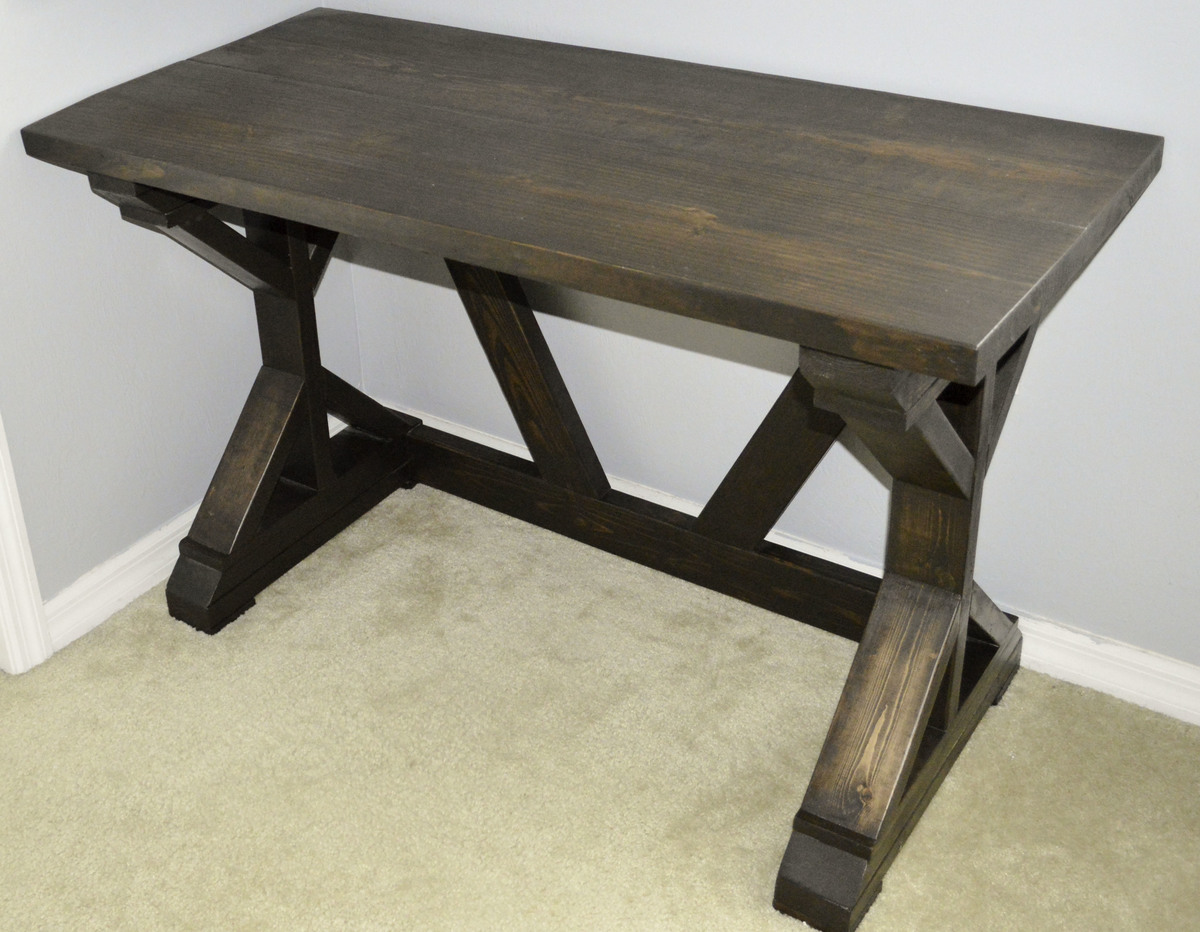
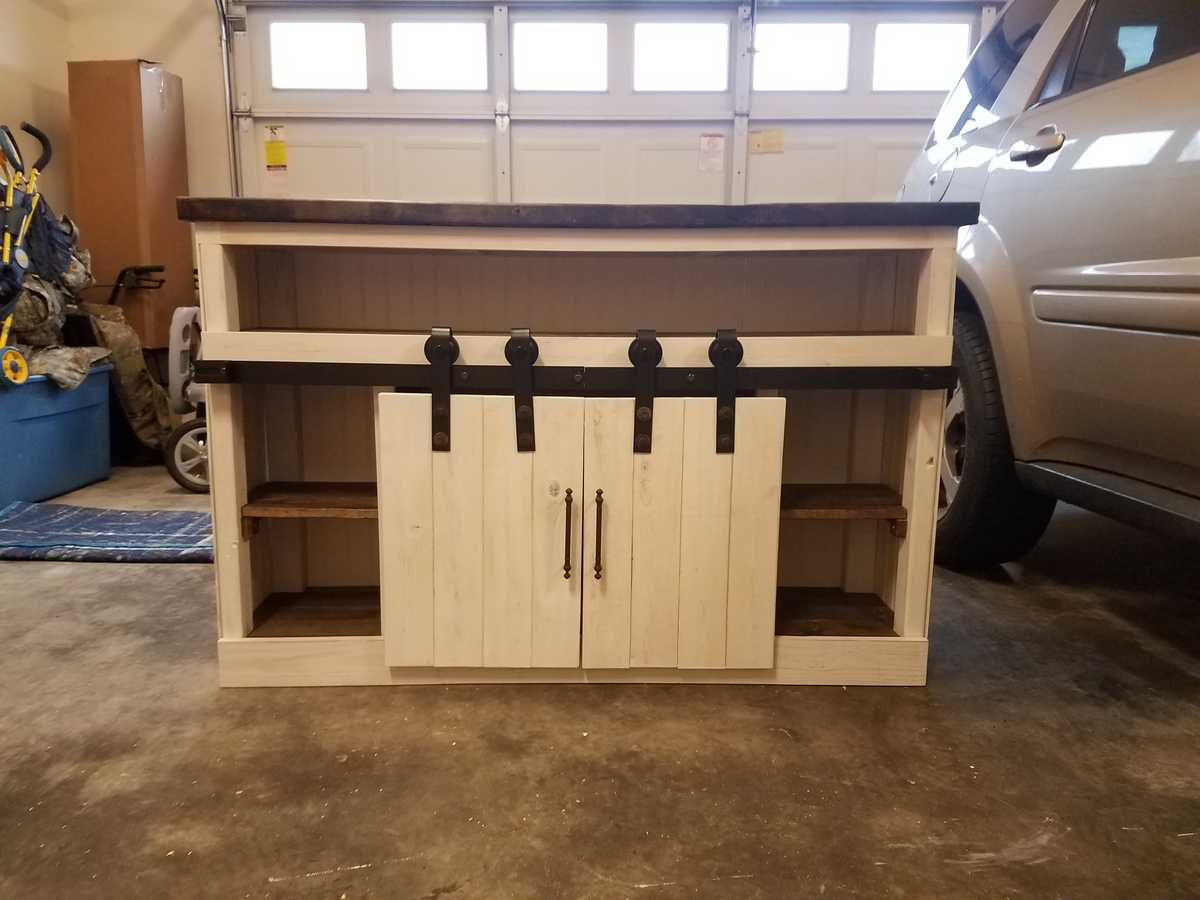
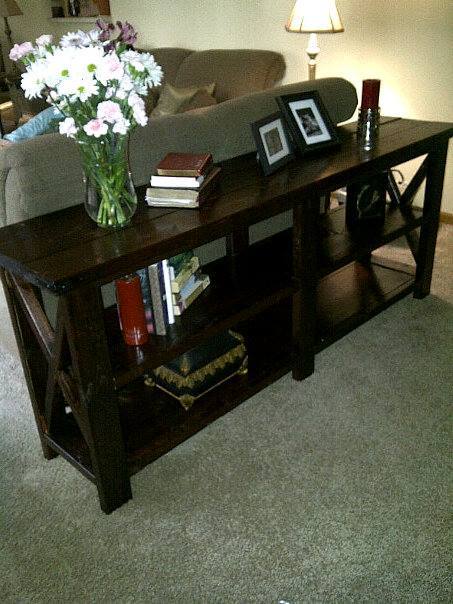
Using reclaimed 2x4s stored in our garage, old tempered privacy glass jalousies, and deep purple paint, I built a rear console to place behind our sofa in our home theater living room. :)
I consider this an Intermediate project, only because of the care needed to cut and install the glass. The items on the rear console top are fairly lightweight and the glass is short enough to hold firm on its supports.

Estimated Cost
$10 using reclaimed 2x4s, old jalousies, and supplies we already had
Estimated Time Investment
Weekend Project (10-20 Hours)
Finish Used
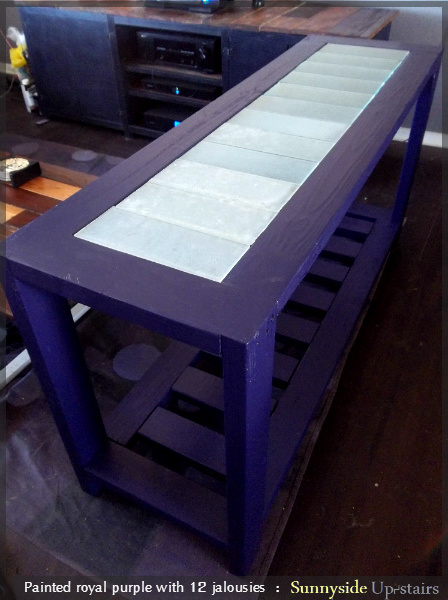
Royal Purple semi-gloss paint
Recommended Skill Level
Intermediate


Comments
JoanneS
Wed, 08/14/2013 - 14:41
Inspired!
This is beautiful! I'm inspired to try building something with glass! I have an old display cabinet that I was thinking of giving away, but after seeing this I decided to disassemble and save the parts and make something out of it. :)
In reply to Inspired! by JoanneS
yurra-bazain
Tue, 09/24/2013 - 09:24
Thank you, Joanne! =D I'm
Thank you, Joanne! =D I'm always impressed with how many projects you are motivated to work on in your home! =D