DIY Toyboxes!
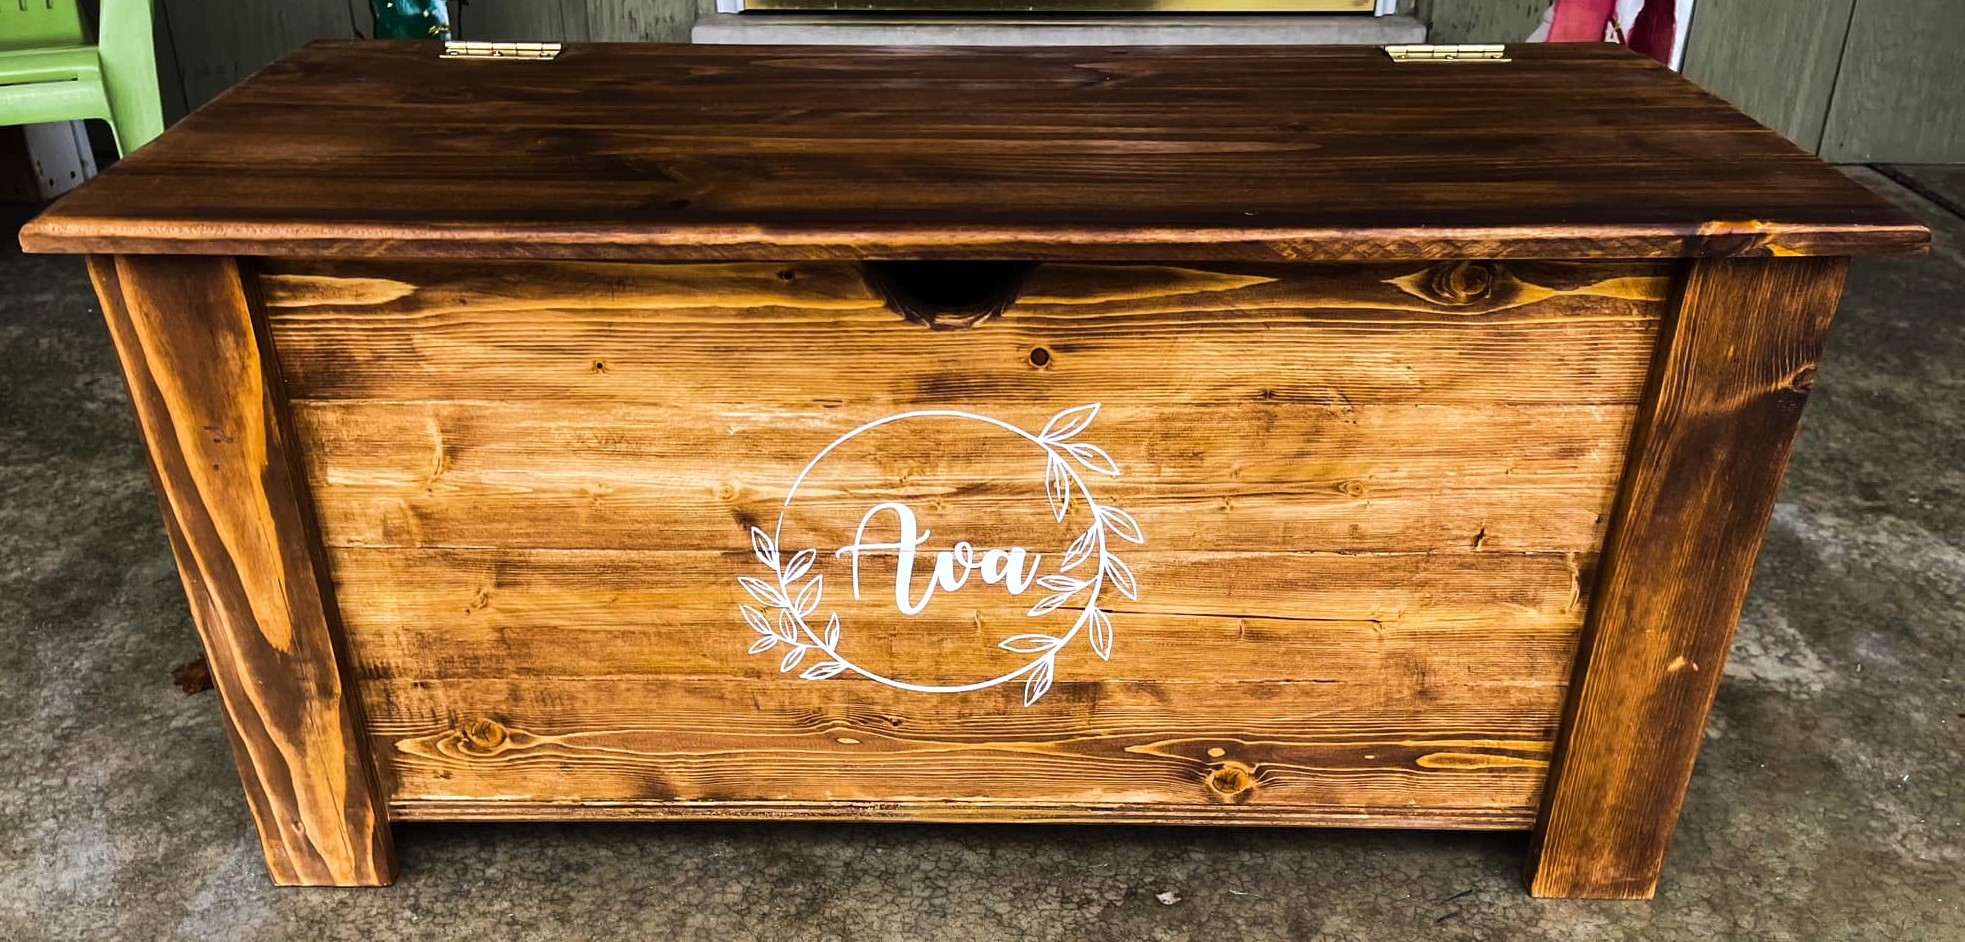
I love the toy box plans!! I've done some woodworking previously, but this was my first larger project. The first one was so simple and easy to make that I decided to make more!
Tiffanni
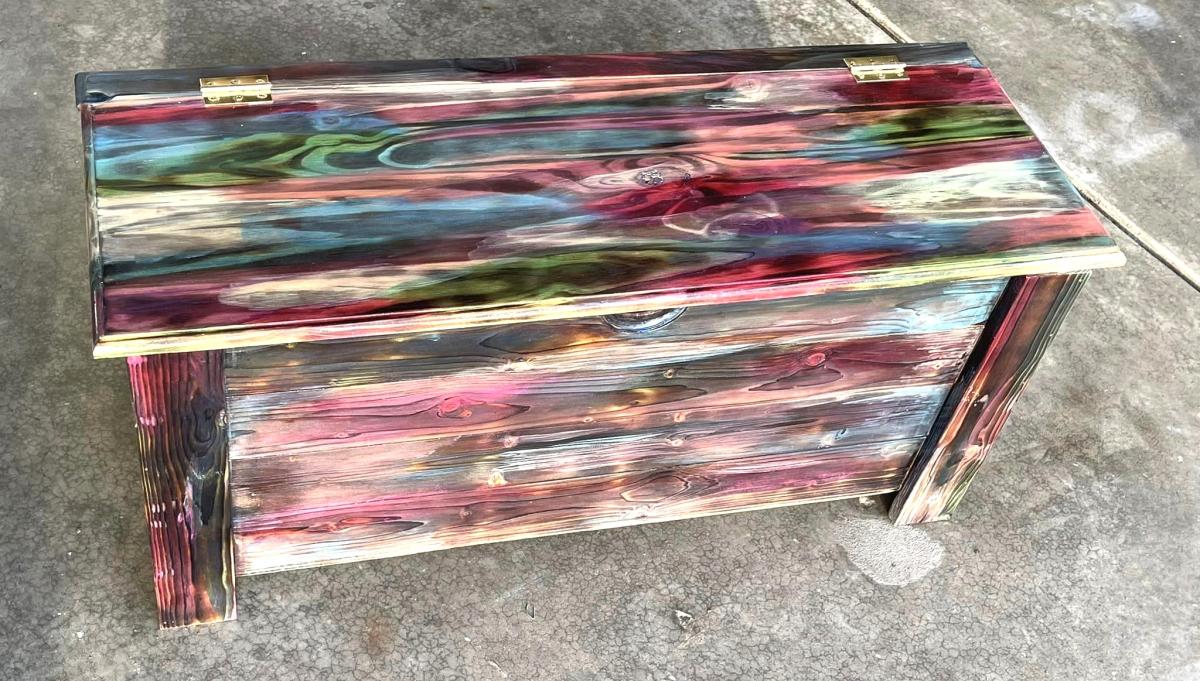
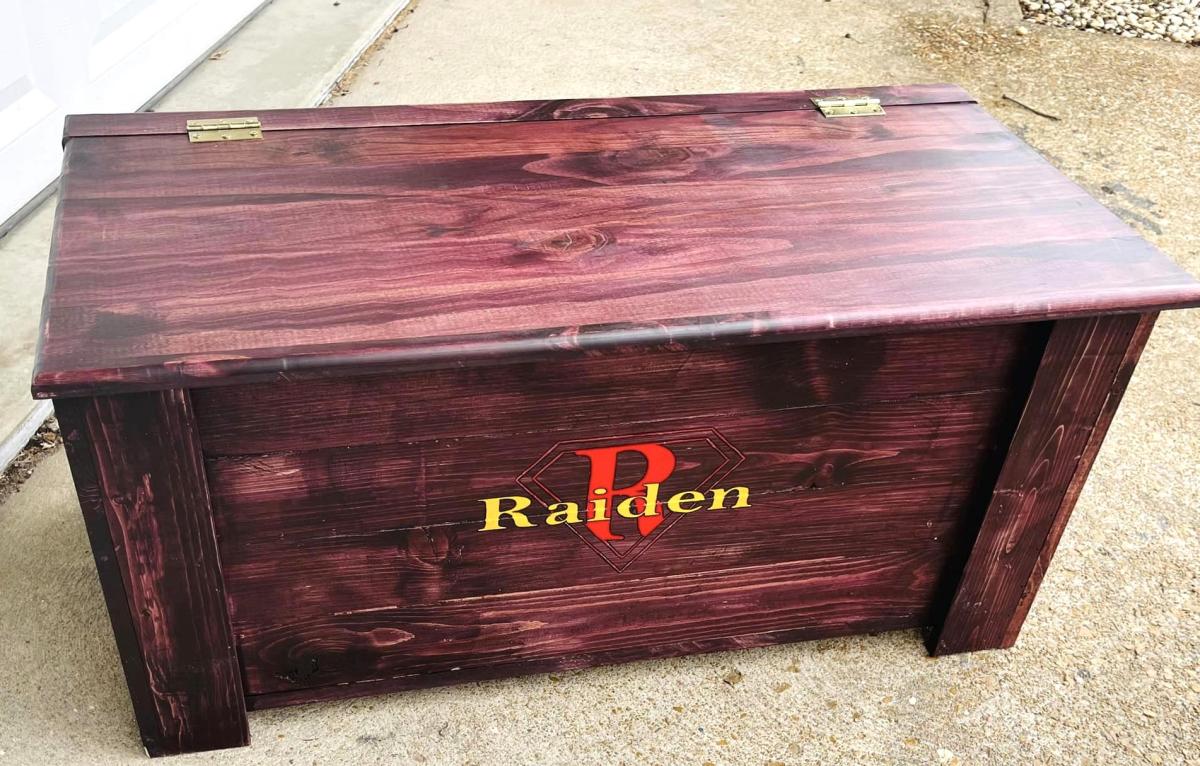
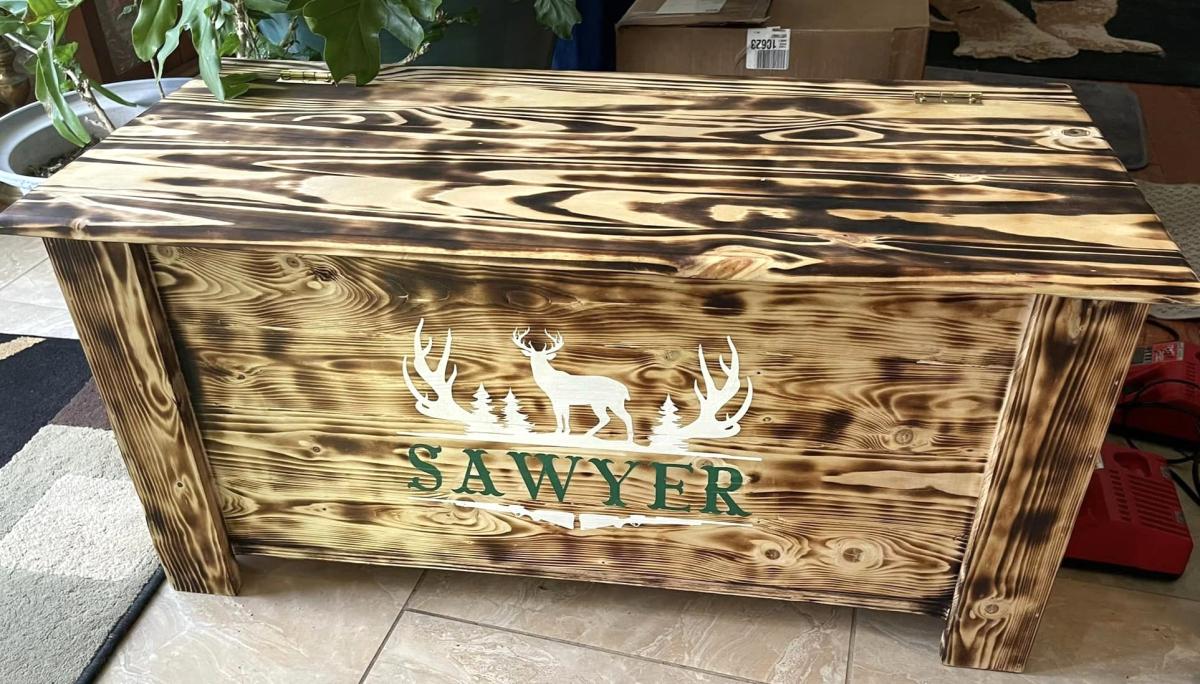

I love the toy box plans!! I've done some woodworking previously, but this was my first larger project. The first one was so simple and easy to make that I decided to make more!
Tiffanni


I was inspired to build this adirondack chair after I built a couple from Ana's child adirondack chairs. I love everyone of her projects and have a LONG "honey do" list to complete.
Tue, 02/14/2012 - 06:39
That is beautiful!
I want to build a pair of these for my husband, who has always wanted Adirondack chairs.
Tue, 02/14/2012 - 08:55
I agree, that's a beautiful chair. You did a great job.
Tue, 02/14/2012 - 12:52
This chair turned out great! For only $25? Can't beat that with a stick!
Wed, 02/15/2012 - 19:06
Thanks everyone for the nice comments. My plan is to build a double (side by side)Adirondack chair in the next few weeks. Right now i gotta finish my dining room table. Always something to do!
Tue, 06/19/2012 - 16:52
Gorgeous chair! But when I try to click the link to the plan, it says "page not found."ncan anyone direct me to where I can find the plan for this chair?
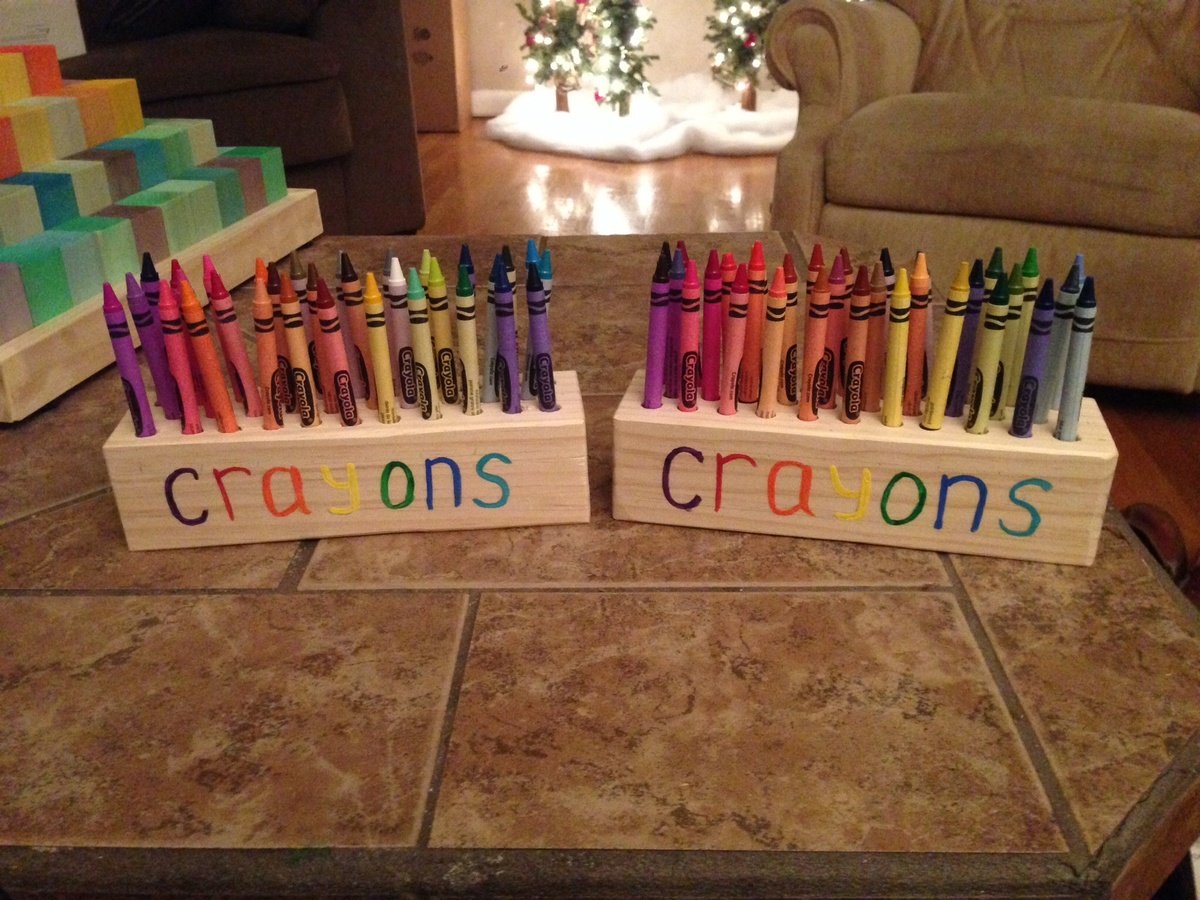
What a great little project. Each one holds 32 crayons. Since it's a quick project and there are 64 crayons I the crayola box, why not make two! It helps if you have a belt sander and drill press. Those two save a Lot of time on this one. Put a little round sanding bit on a Dremel or drill press and really save time with the holes and getting them smooth.
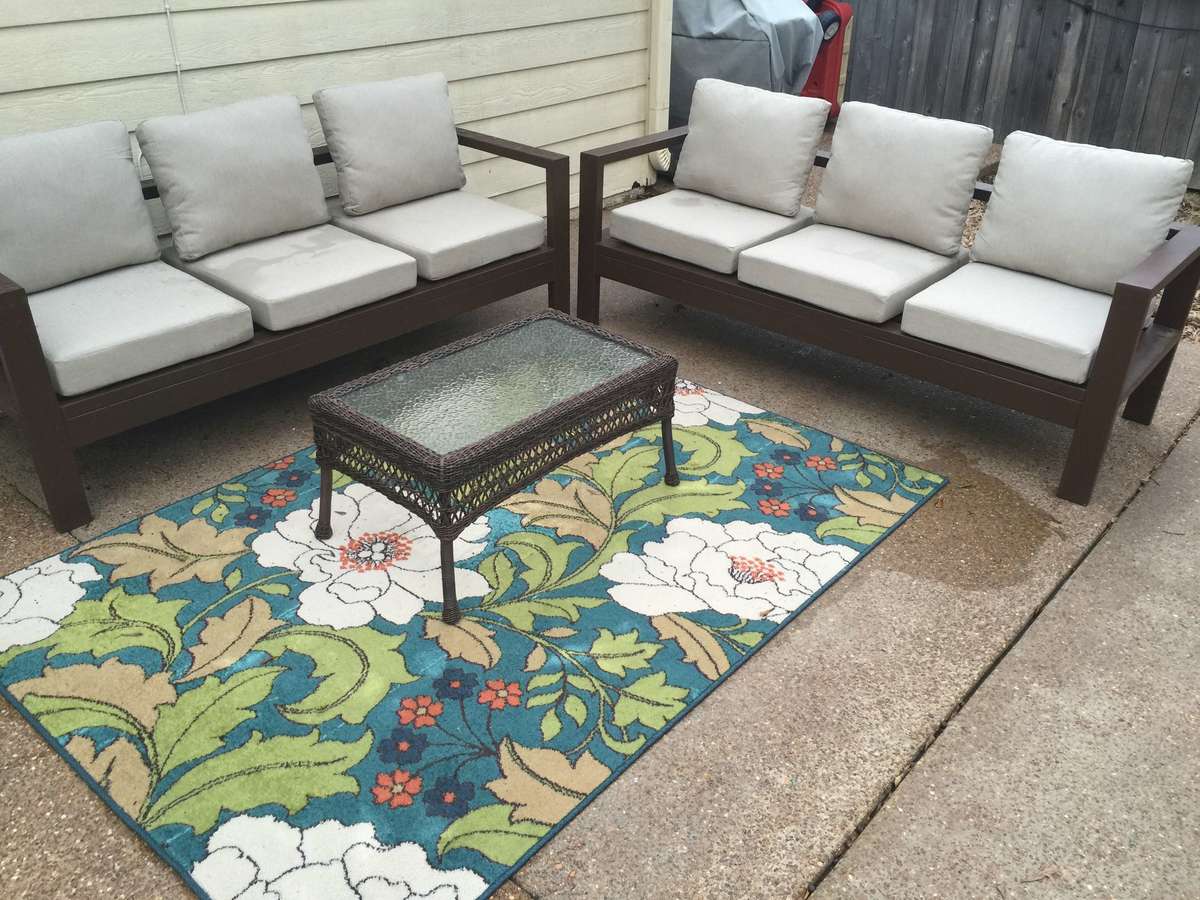
I have been wanting outdoor seating by my pool forever but couldn't afford anything I liked. When I came across Ana White's plans for the outdoor sectional I knew I had to build two. They are just what I was wanting and cost under $200. It took my brother & I one afternoon to buy the supplies and put it all together. Since this furniture is outdoors 24/7, I had to caulk the seams & paint the whole thing. That process took two days. The biggest expense was of course the cushions from Home Depot that Ana White recommends for this sectional. I have to admit, they are well worth every penny. They look amazing! Can't wait to spruce them up with some throw pillows.
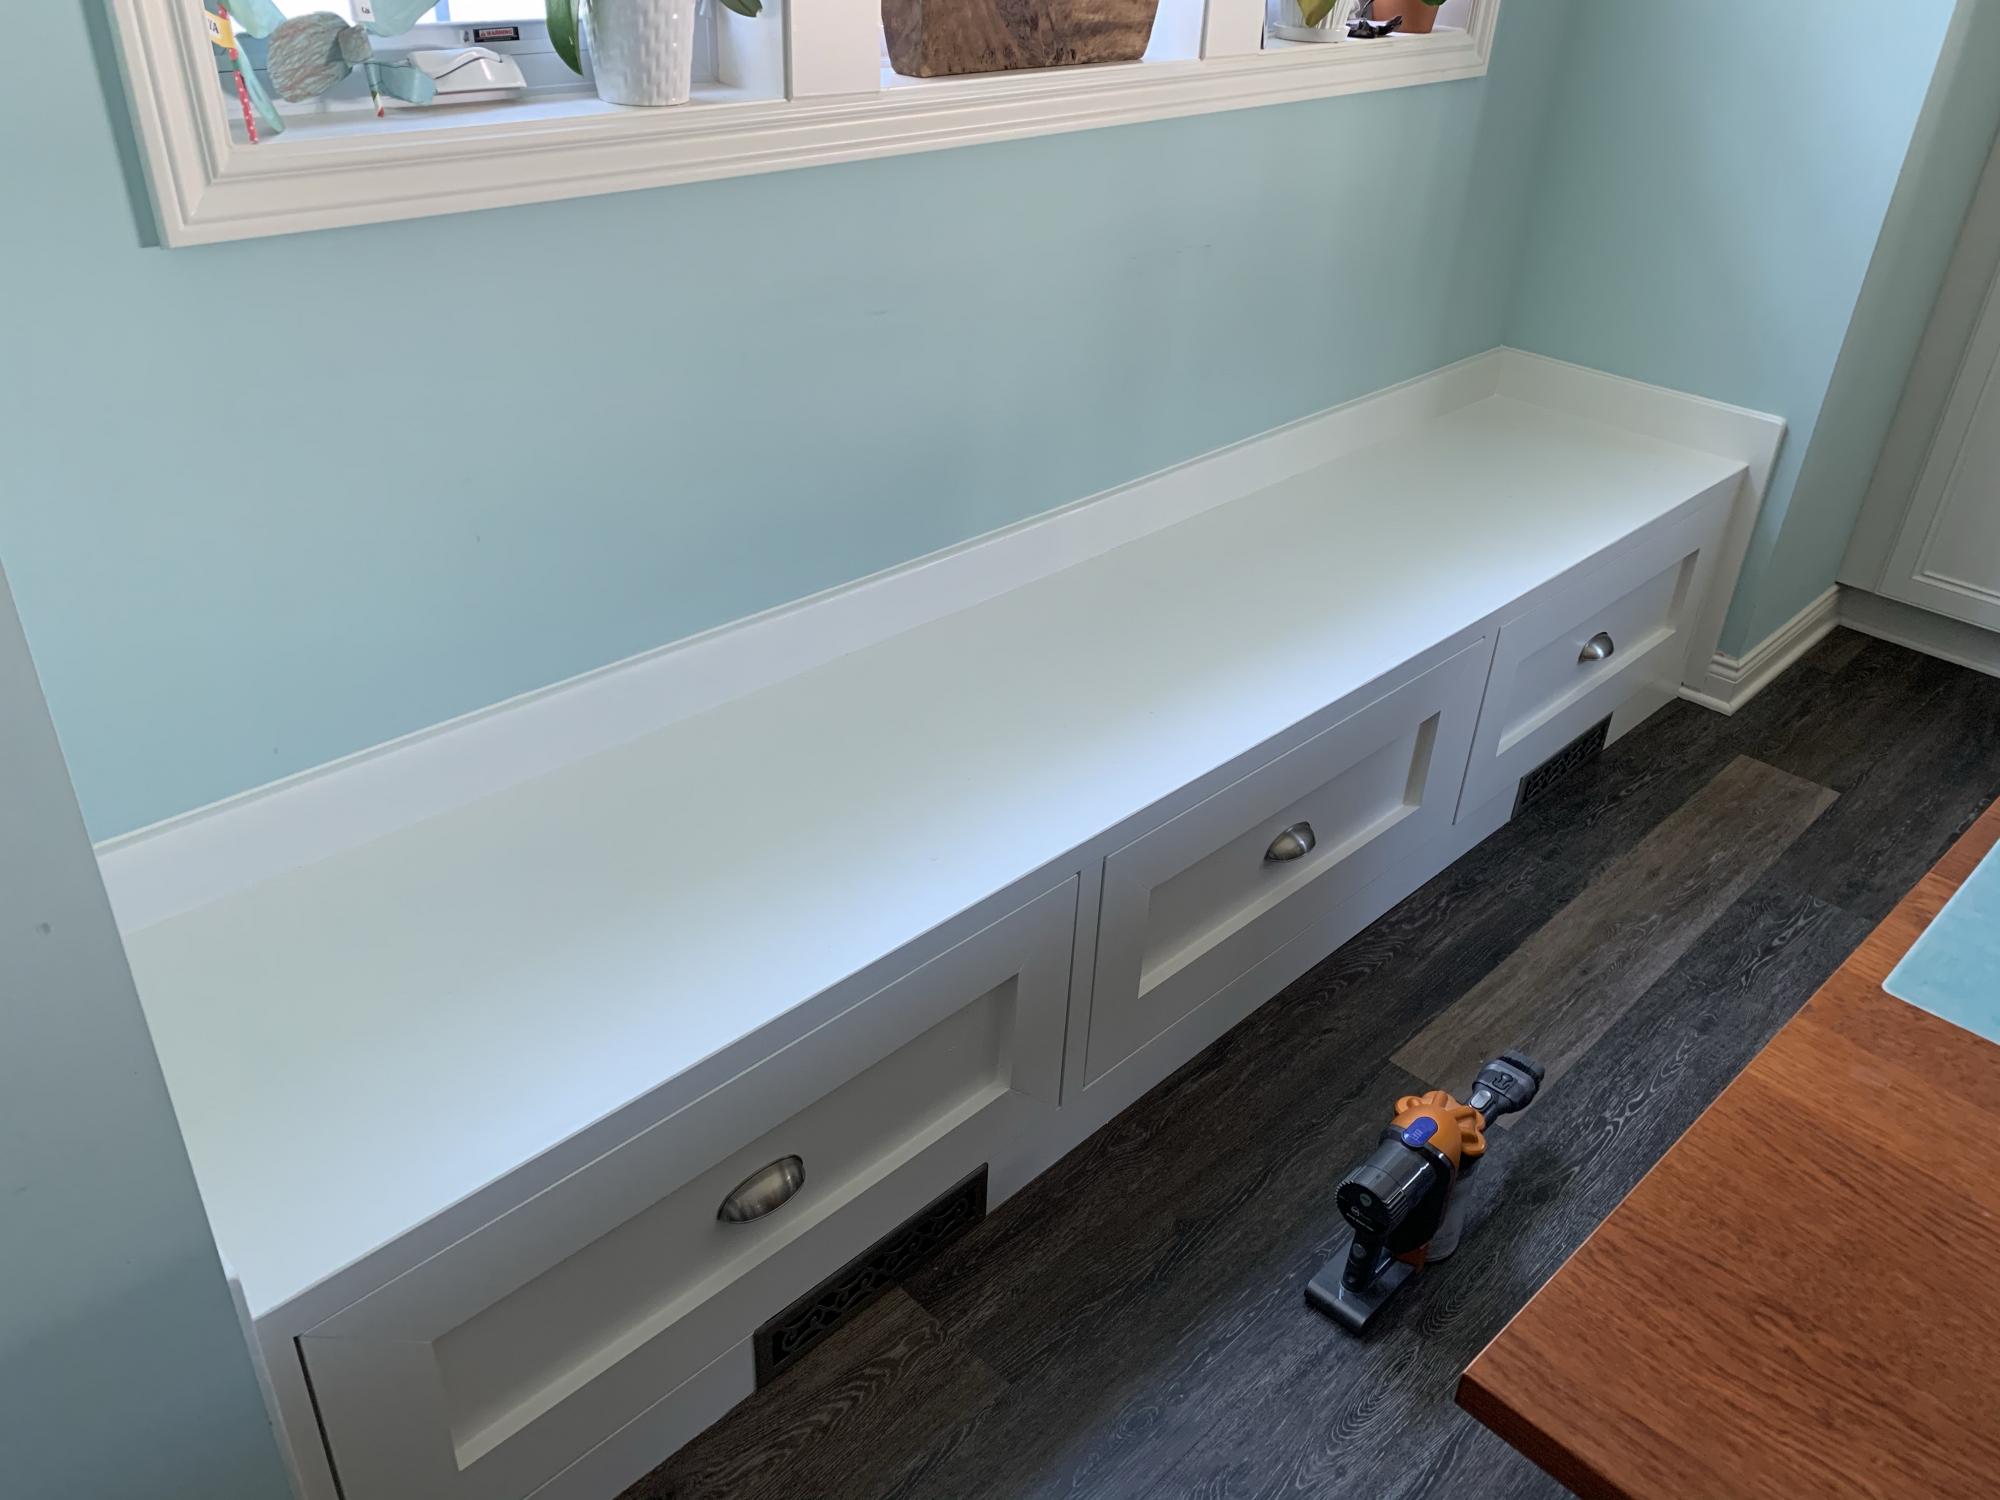
I used the mudroom bench plans and modified them slightly to account for the wider space and air registers underneath. Thanks Ana!
Mon, 10/14/2019 - 12:43
Awesome! I'm going to do something similar in our dining room too!
Yours turned out great!
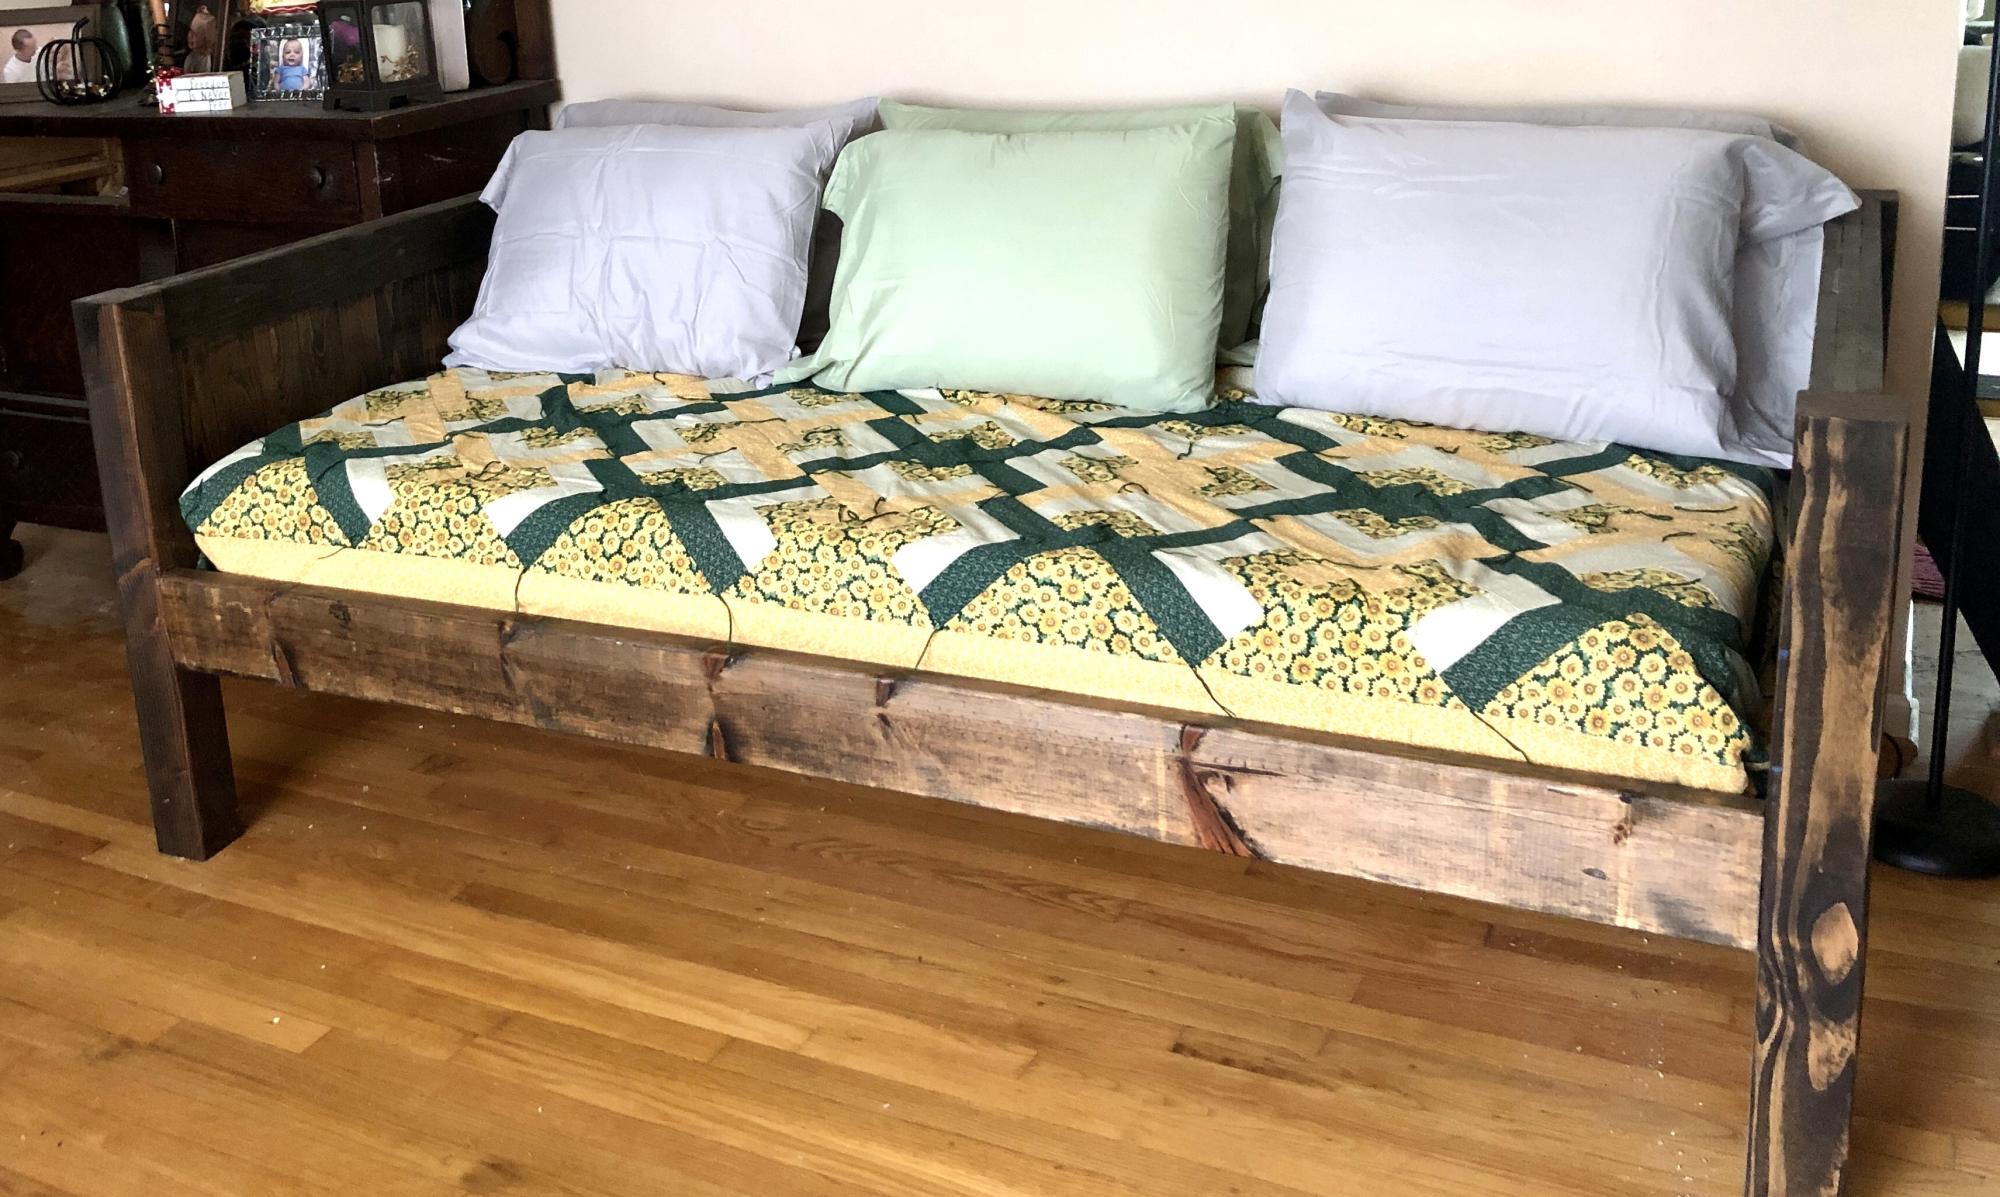
I mashed together several twin bed plans - farmhouse bed, simple twin bed and Hailey Storage bed to create this farmhouse style daybed. It's a very sturdy and heavy piece of furniture.
I meant to post this a long time ago, but I kept forgetting. Ignore the mess in the background, we were renovating our house. I roughly used Ana's upholstered toybox ottoman plan, but really, I just made it up as I went along. I constructed a plywood box the size that I needed it (i.e, big enough to fit my husband's video game accessories).
Wed, 02/22/2012 - 07:18
Fantastic job on the ottoman. And I love the fabric! Where did you get it?
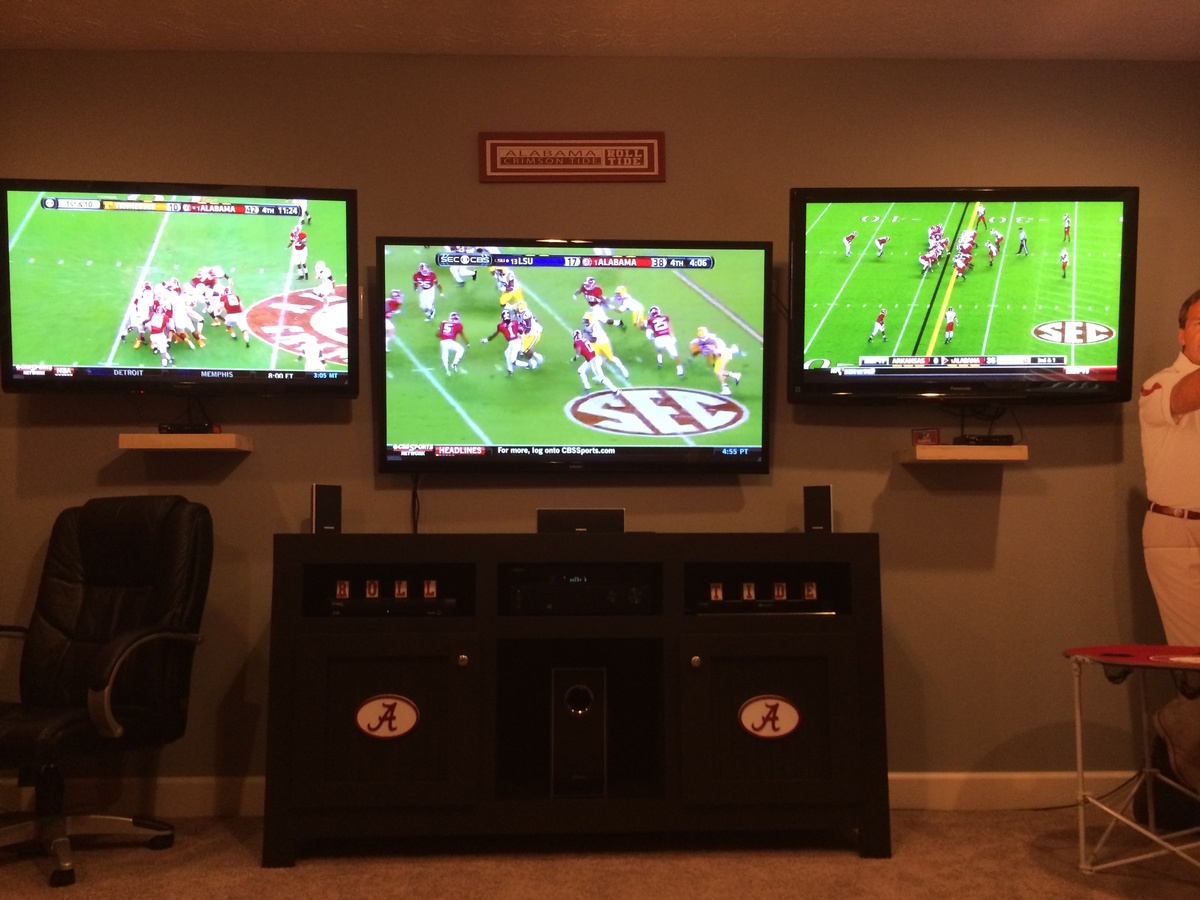
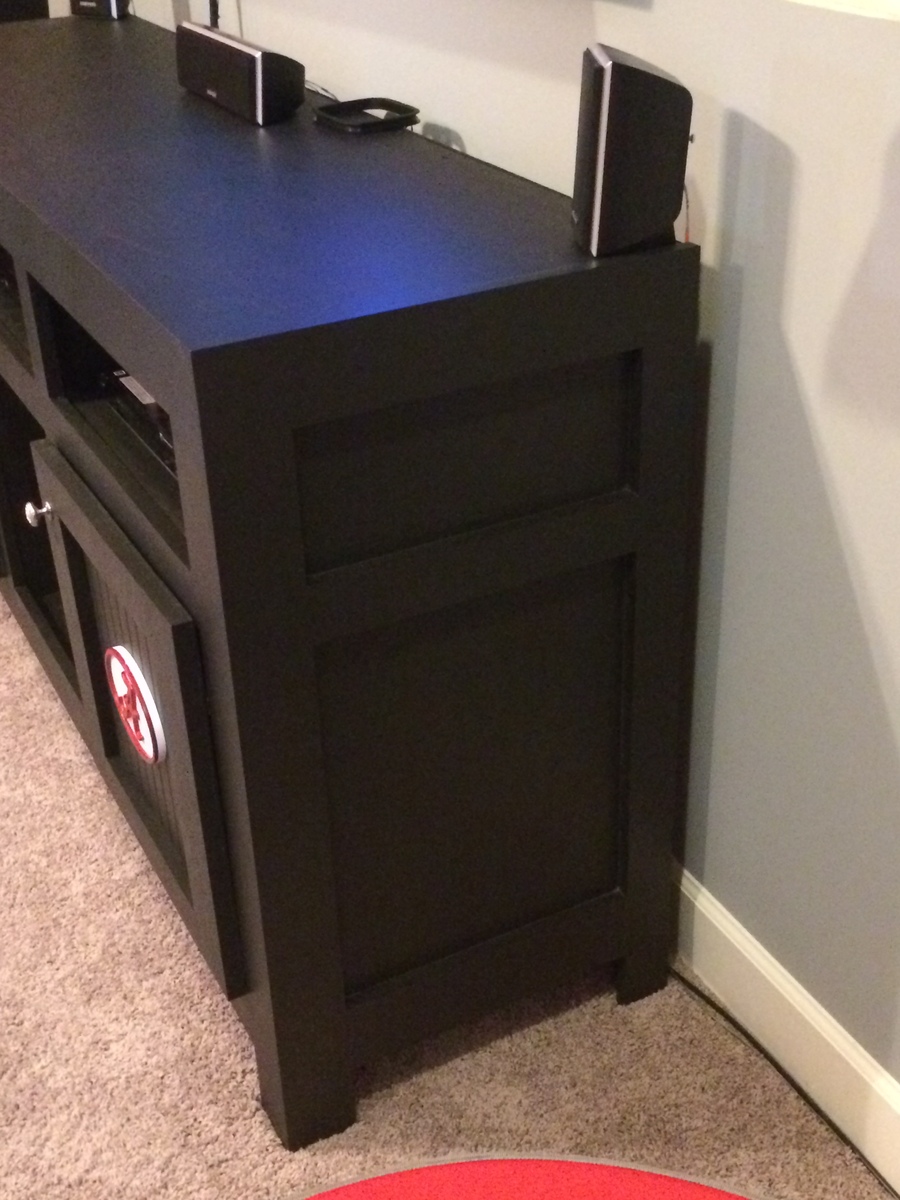
I built this media console for my dad for Christmas. He has a decked out Alabama room, but it was missing that one piece to tie it all together. I saw these plans and knew it would be perfect.
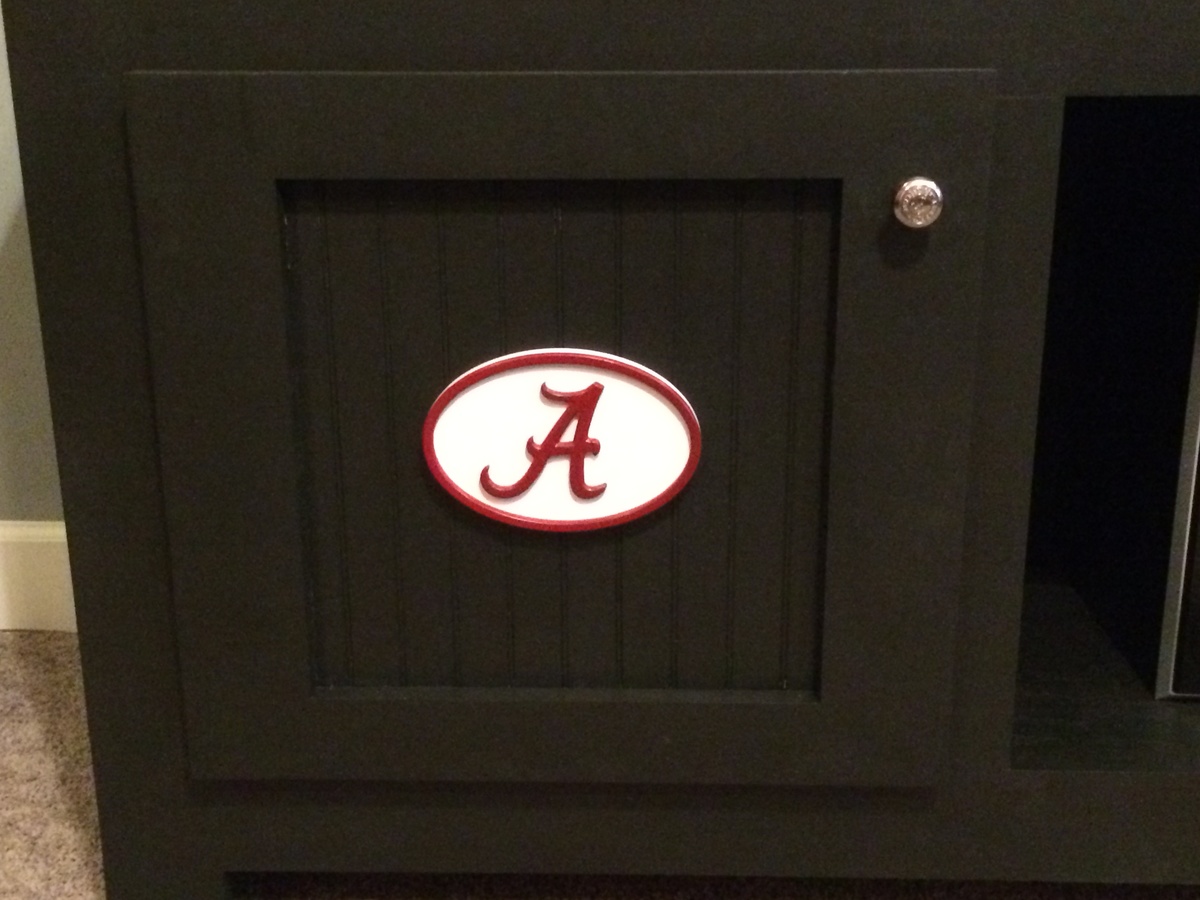
I added the Bama logos and door knobs which really set it off.
Platform bed and headboard
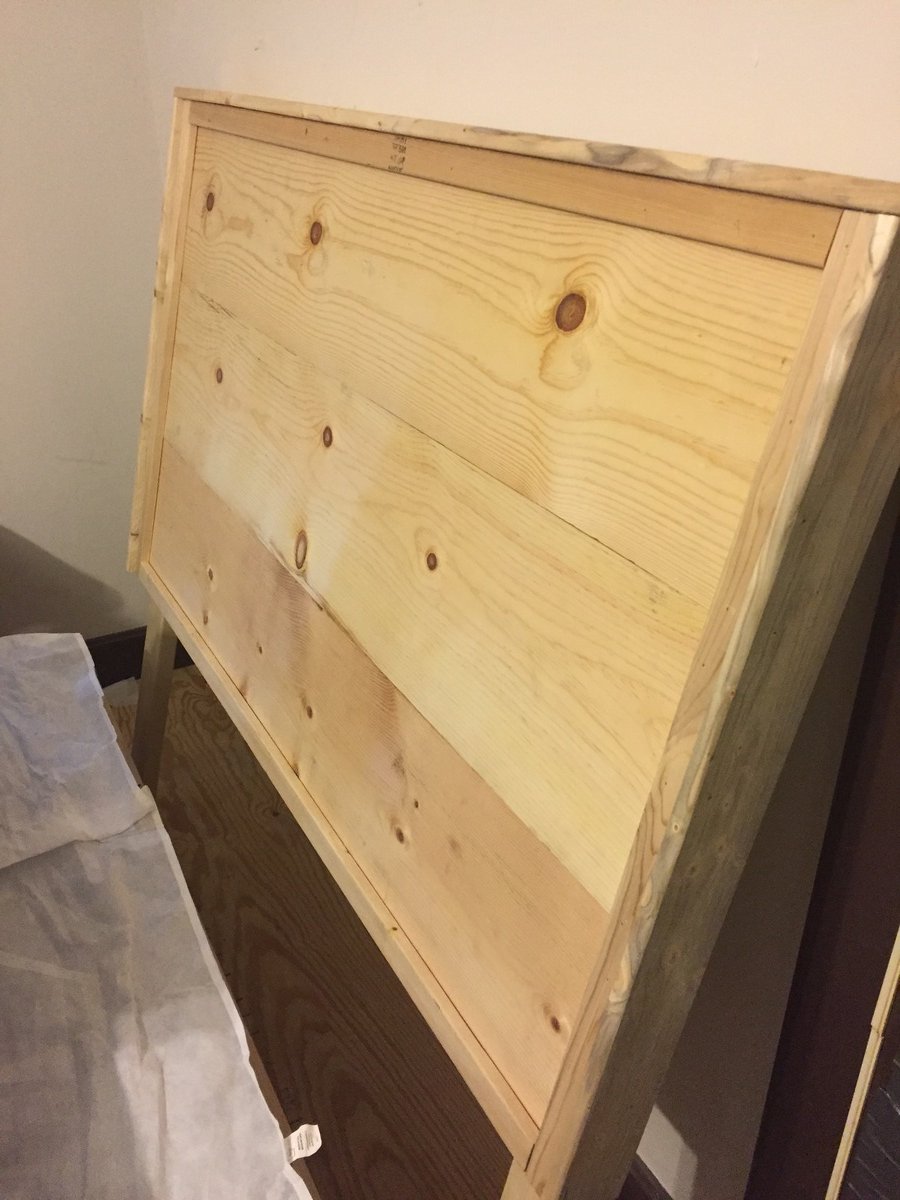
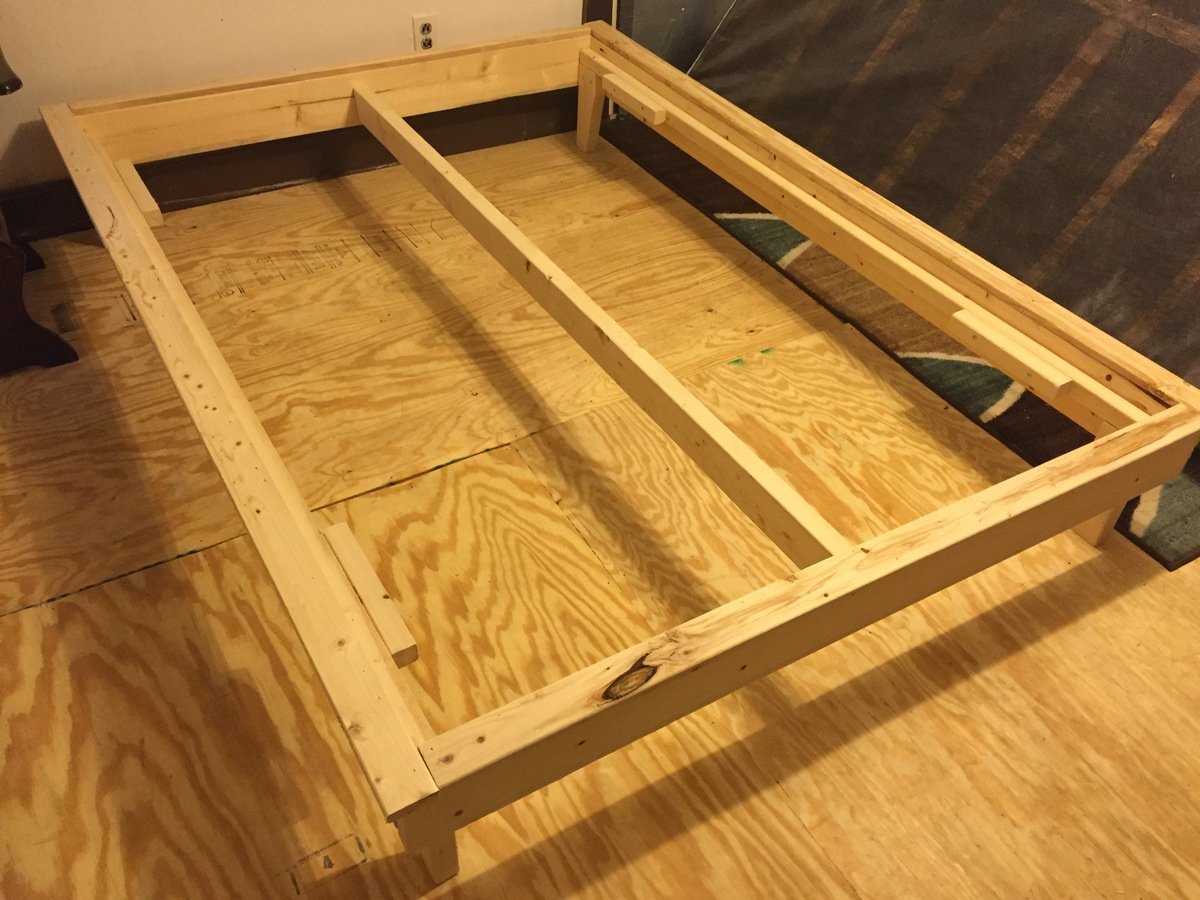
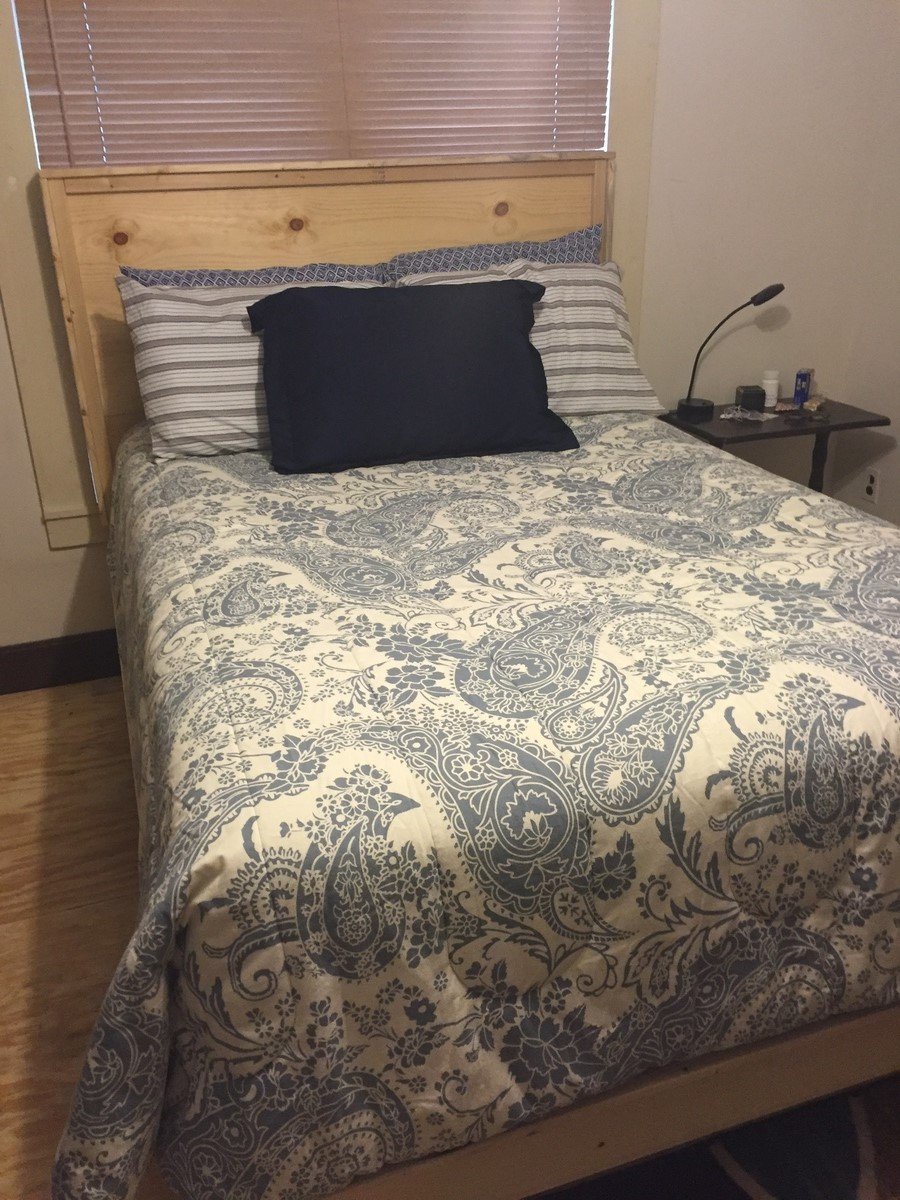
First real furniture project. Used pocket screws for just about everything and added some decorative 2" bread boards.
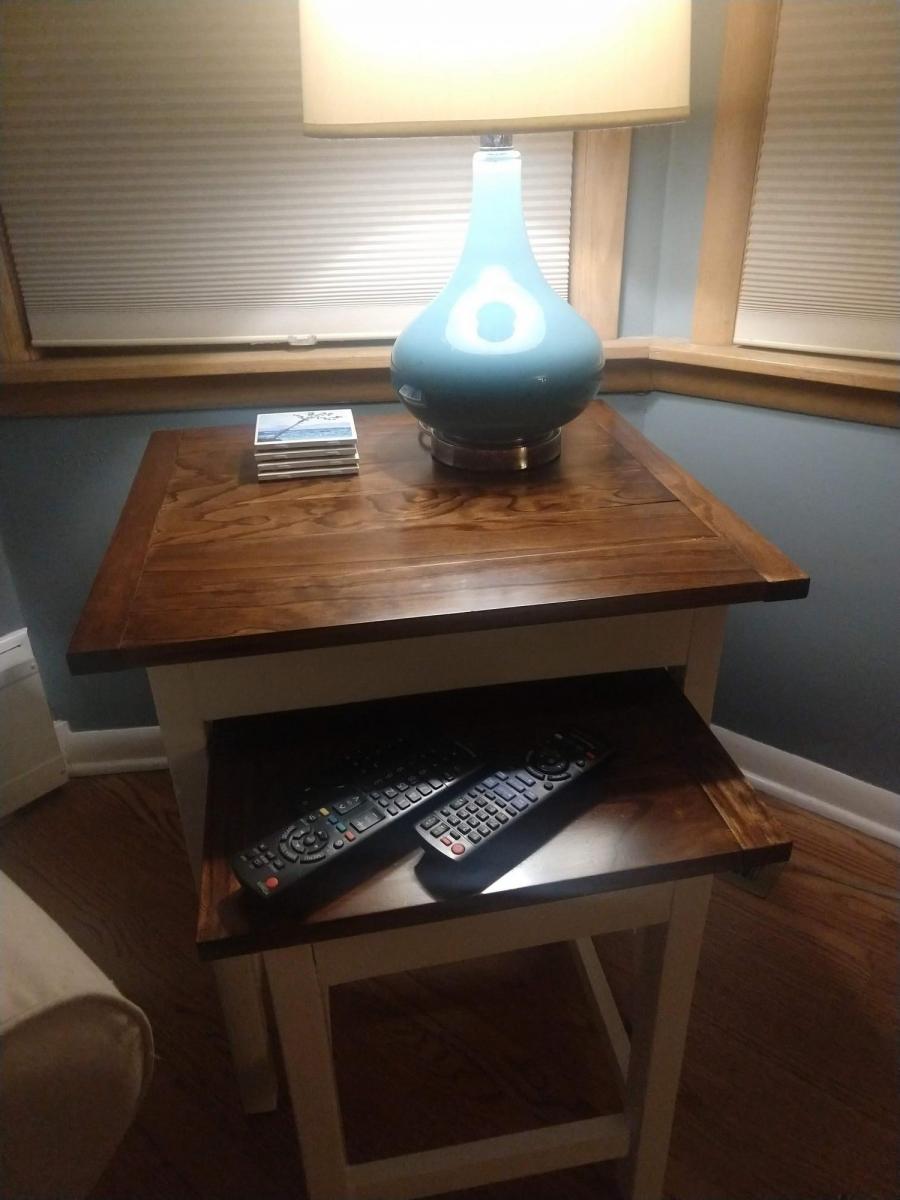
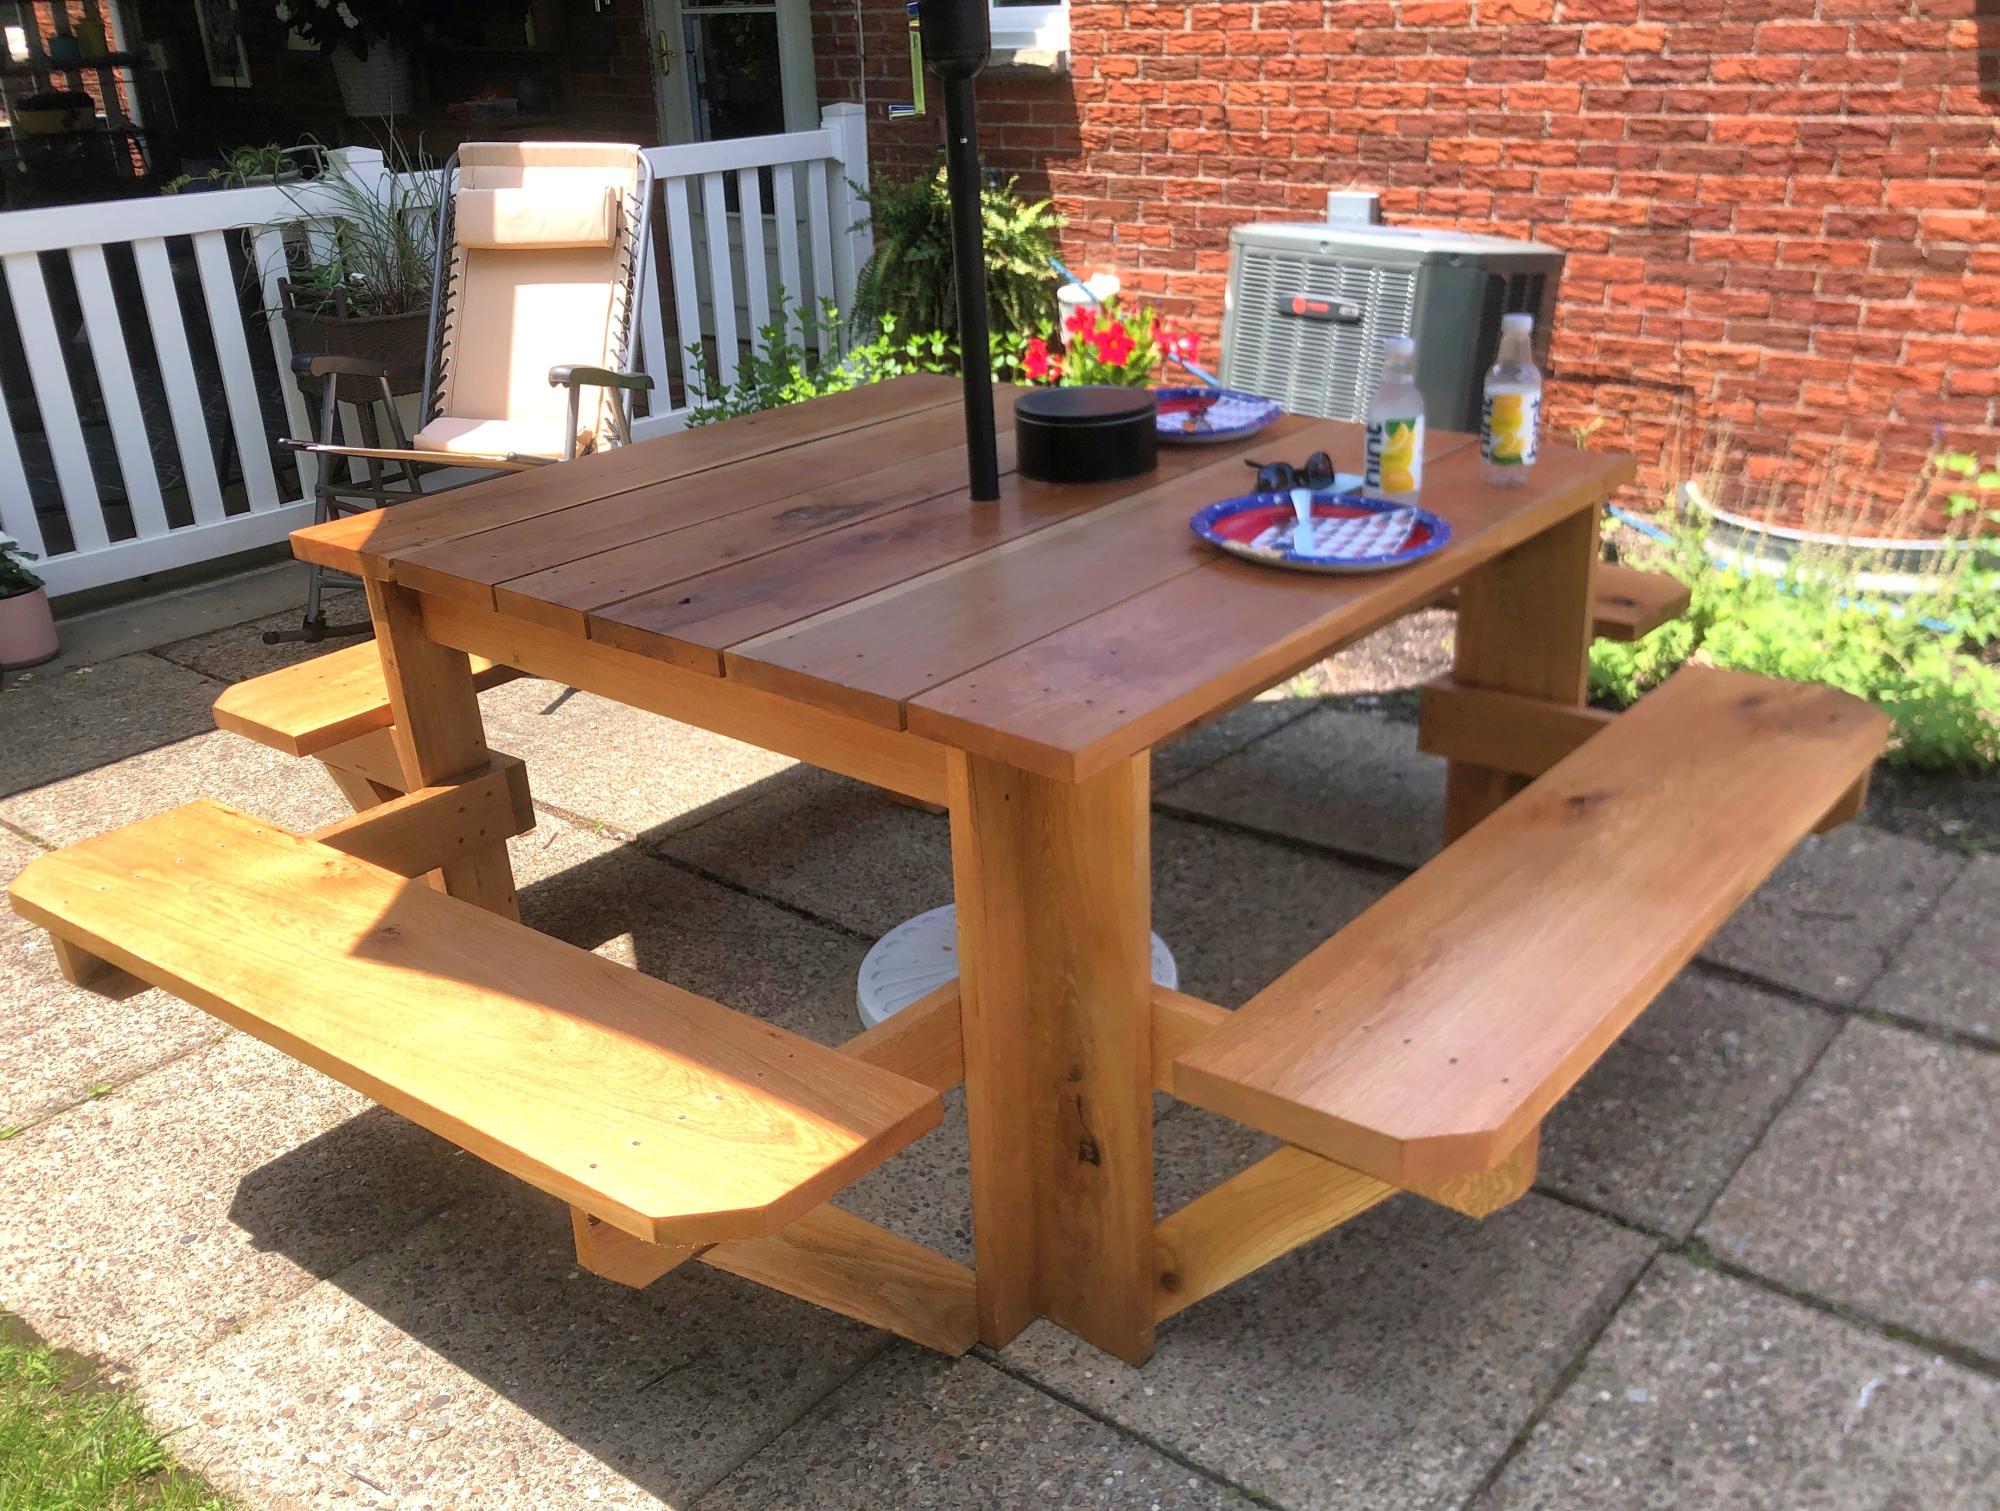
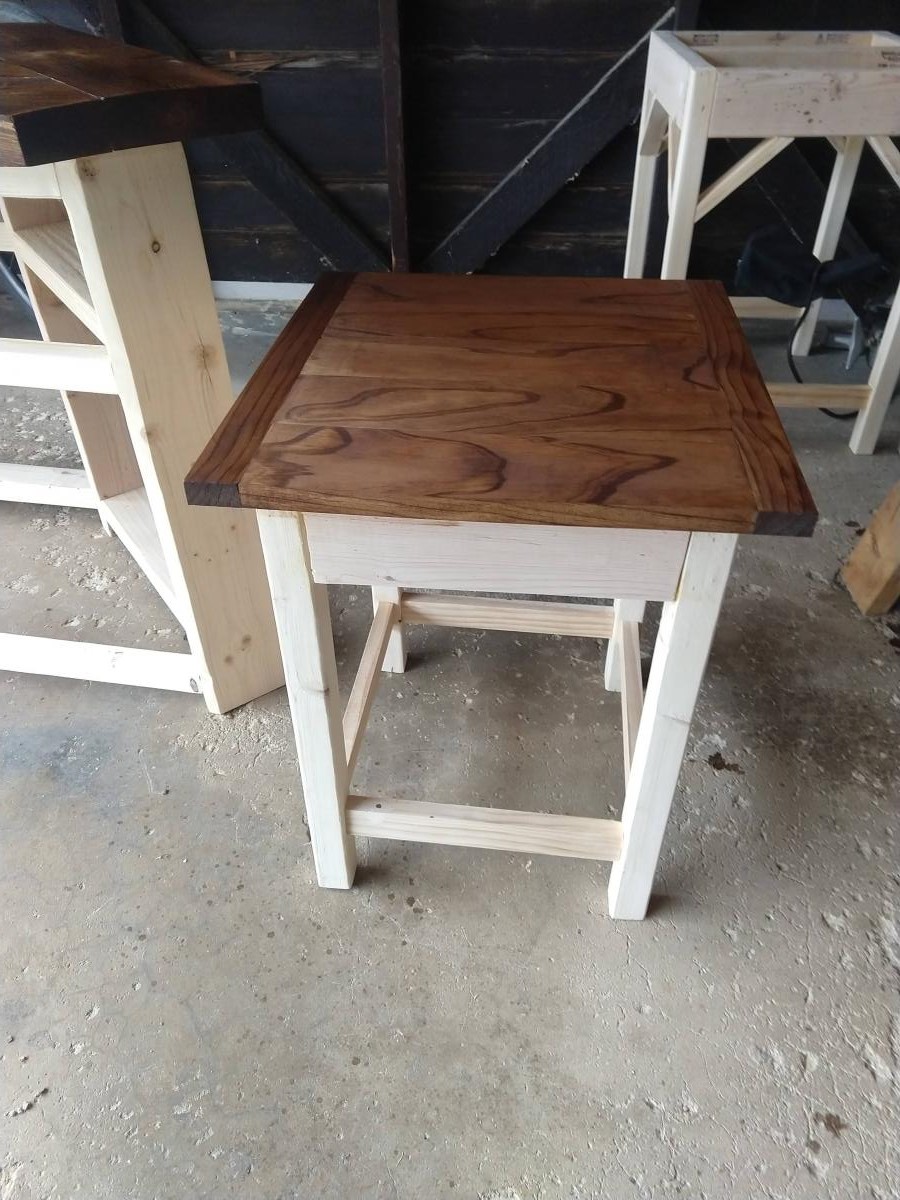
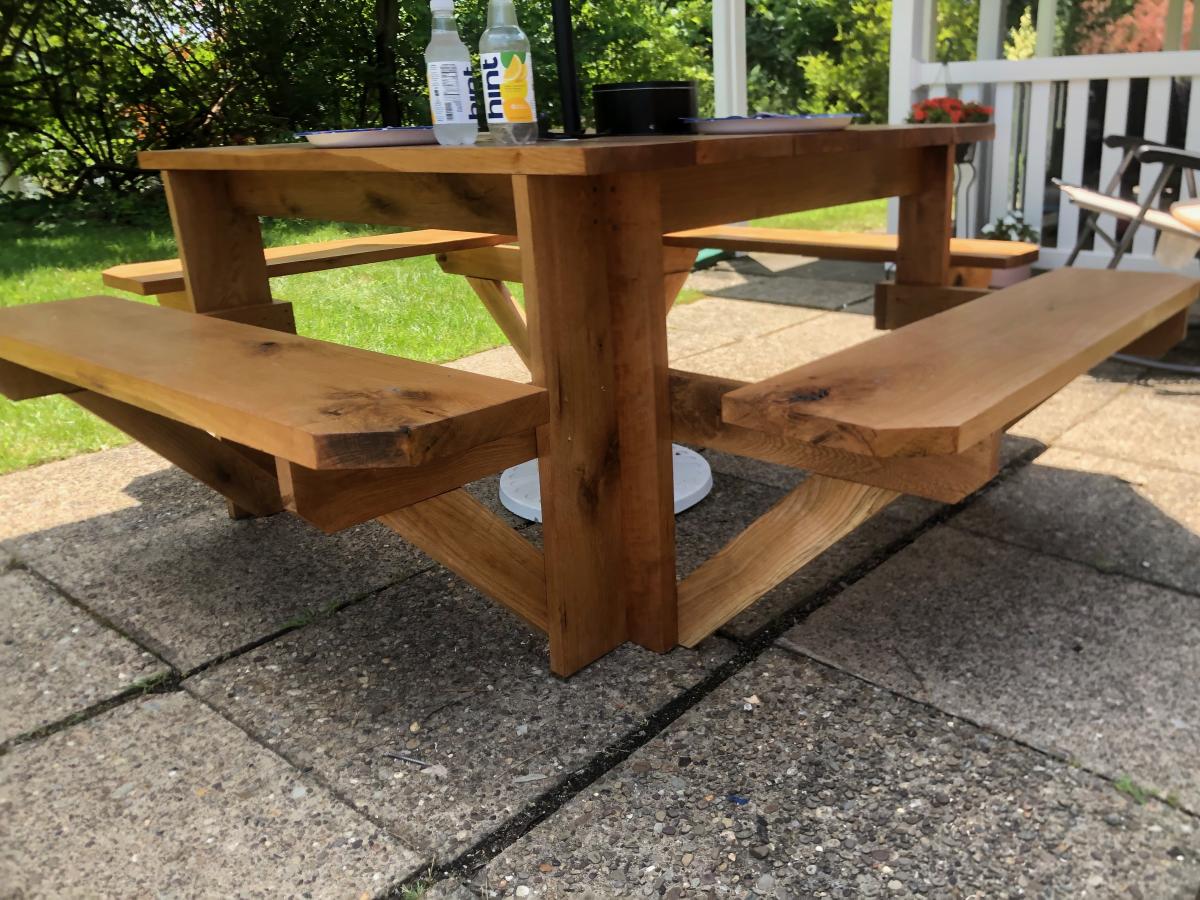
Used your plans to make a sturdy, durable hardwood picnic table for a friend. Top is black cherry (1 1/4") and base/seats are white oak (1 1/4"). The seats are one piece, 11" wide from a white oakoy cut and sawed on our property! Sealed with two coats of Spar Urethane.
Chip McCoy
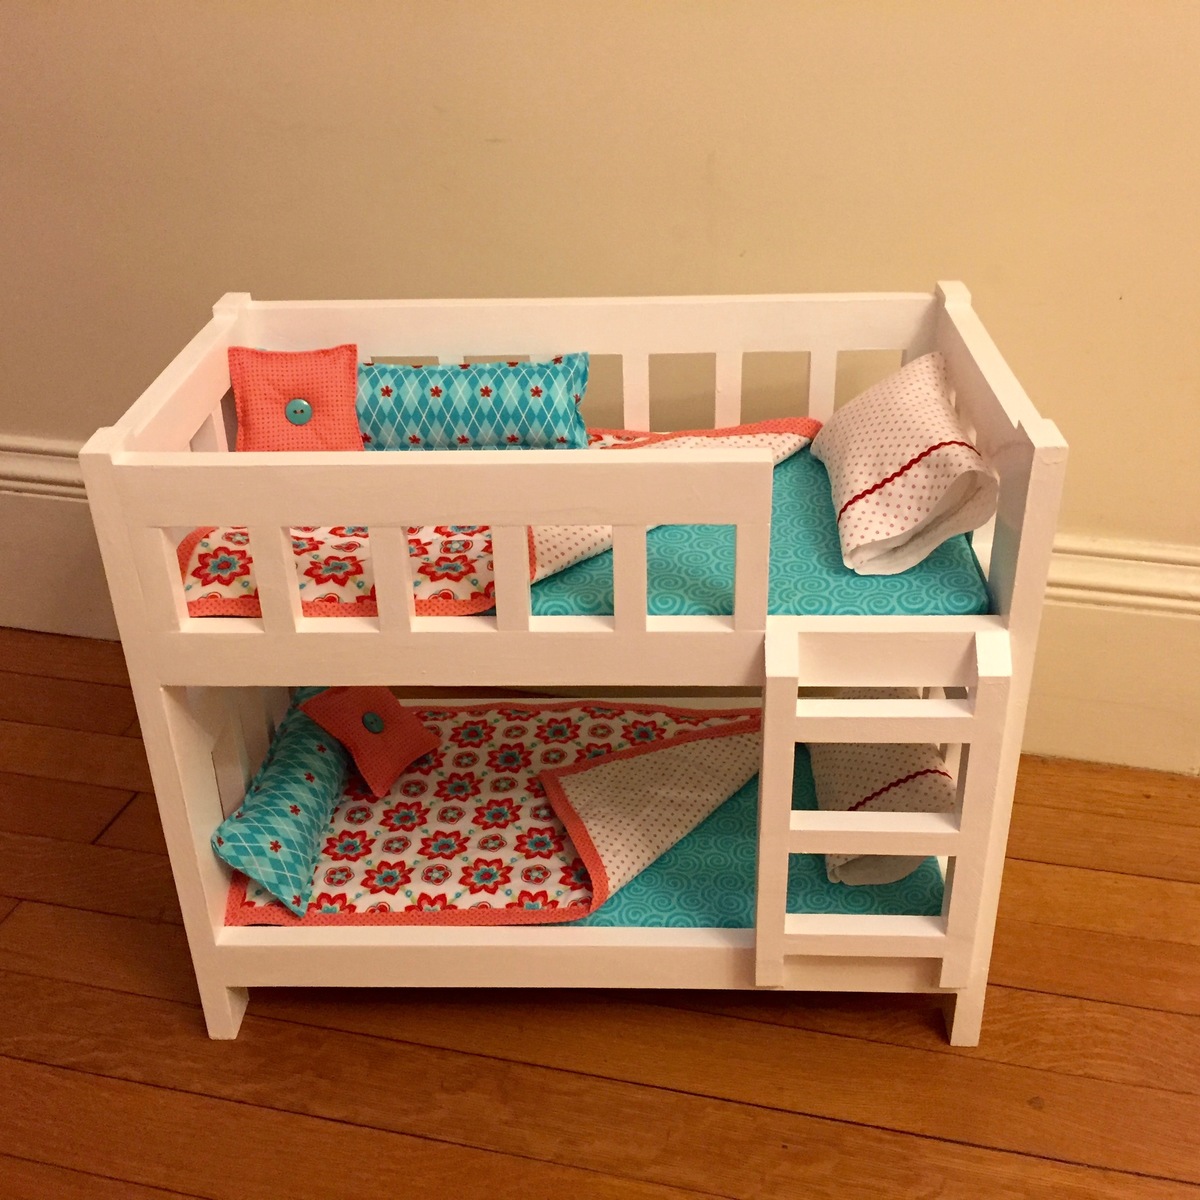
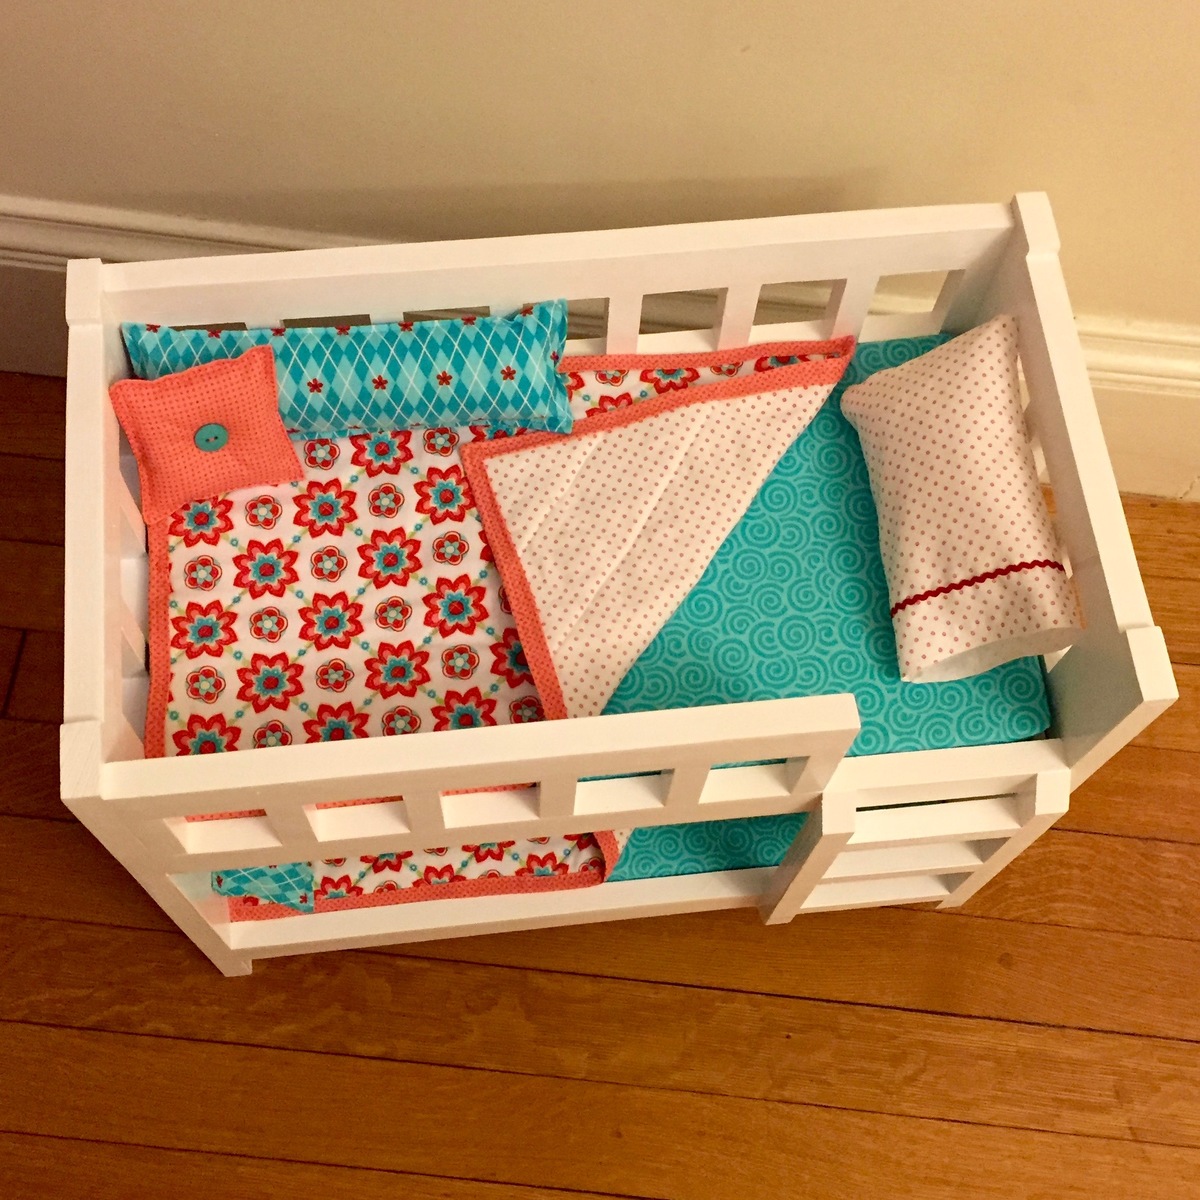
Built this bunk for a school fundraiser raffle. Hope it will be a hit! Followed the plans as written with only one change. I cut the tops and bottoms of the vertical ladder rails at 45 degree angles so they slant in towards the bed.
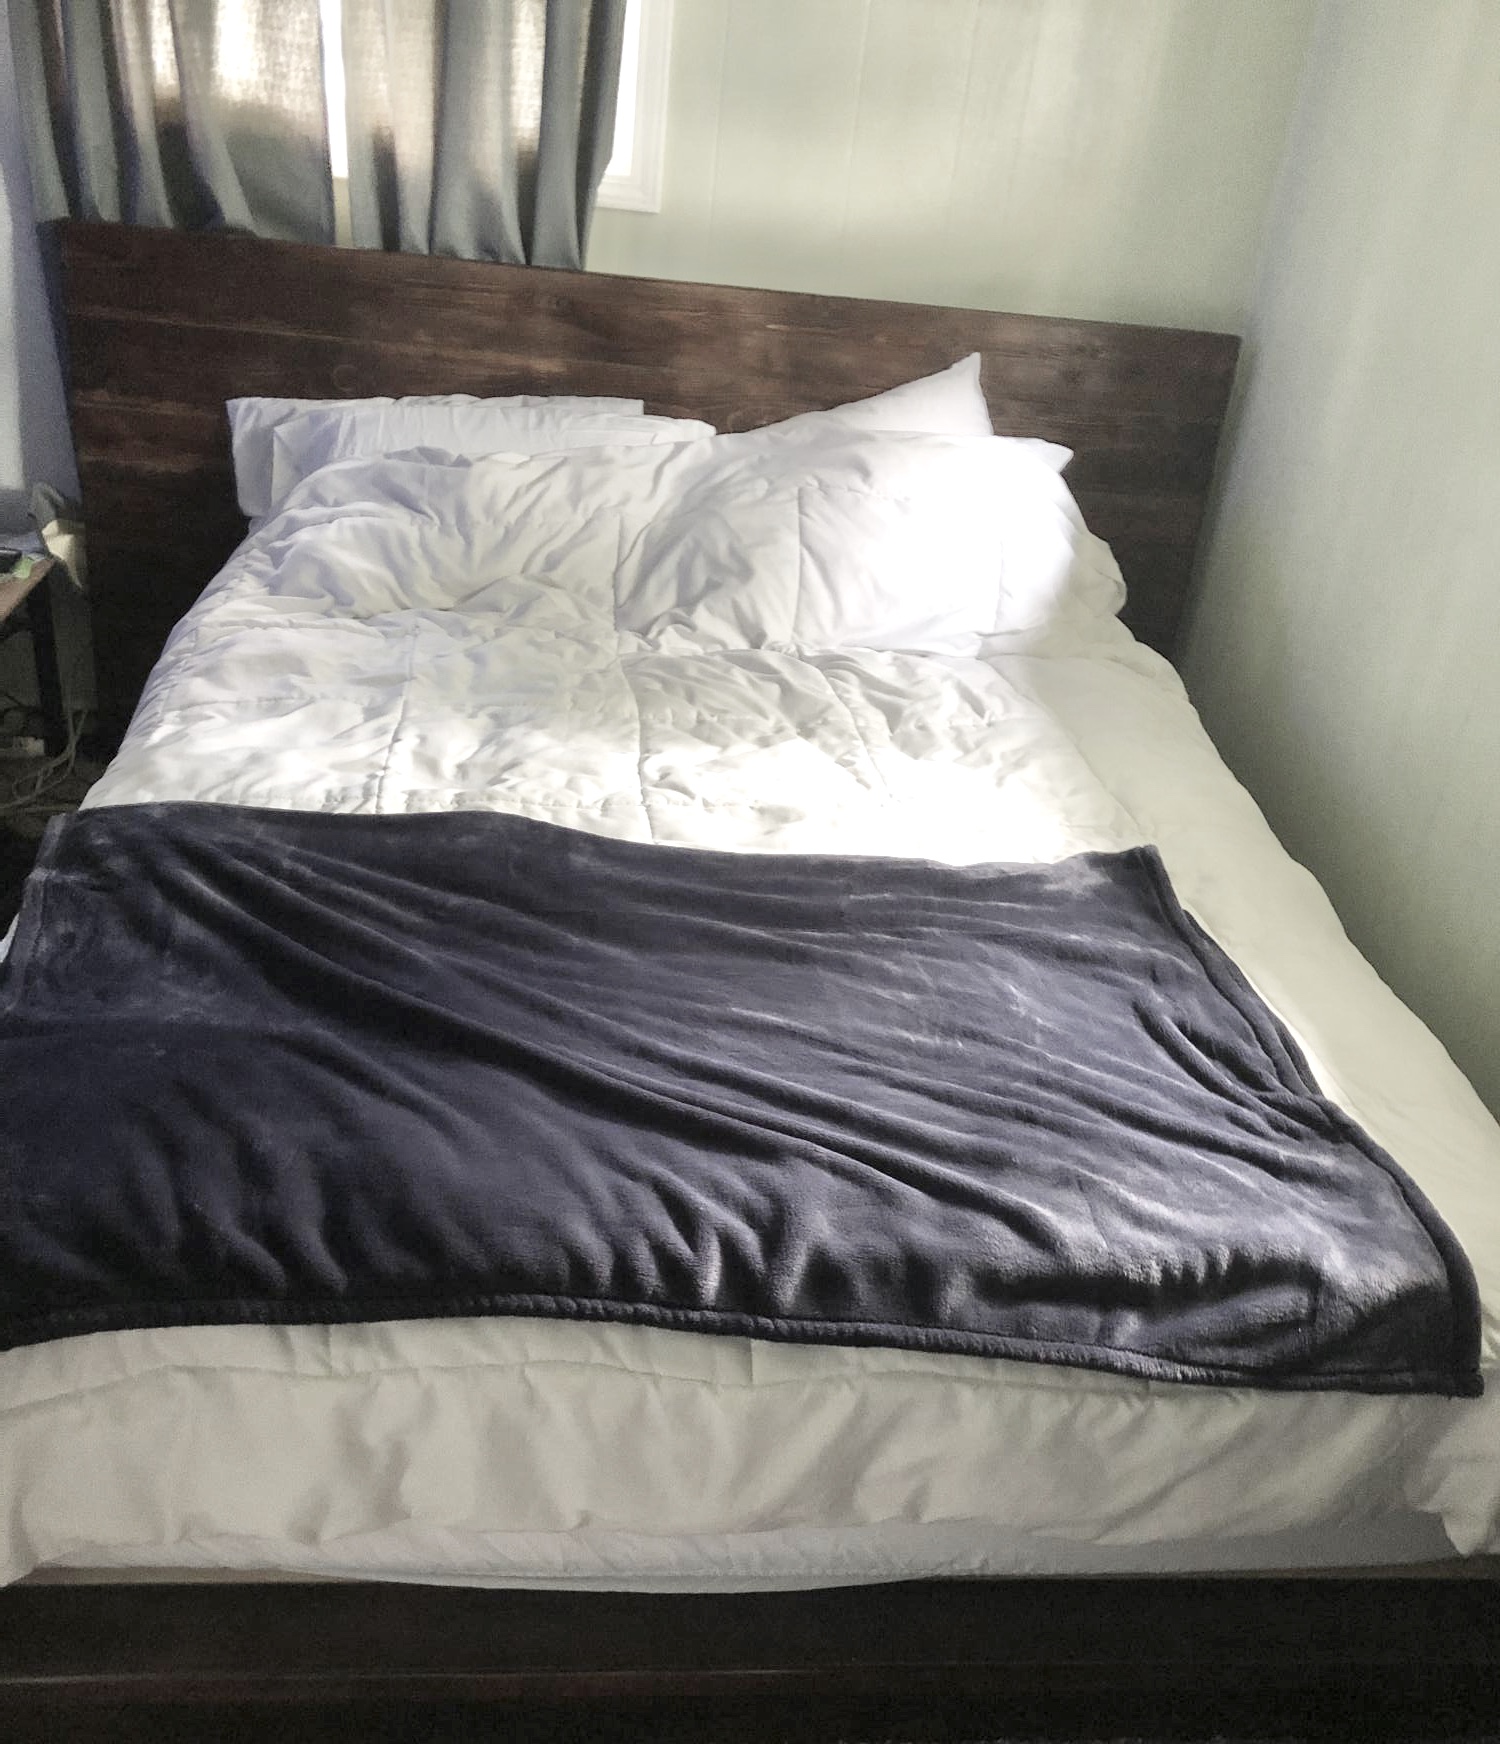
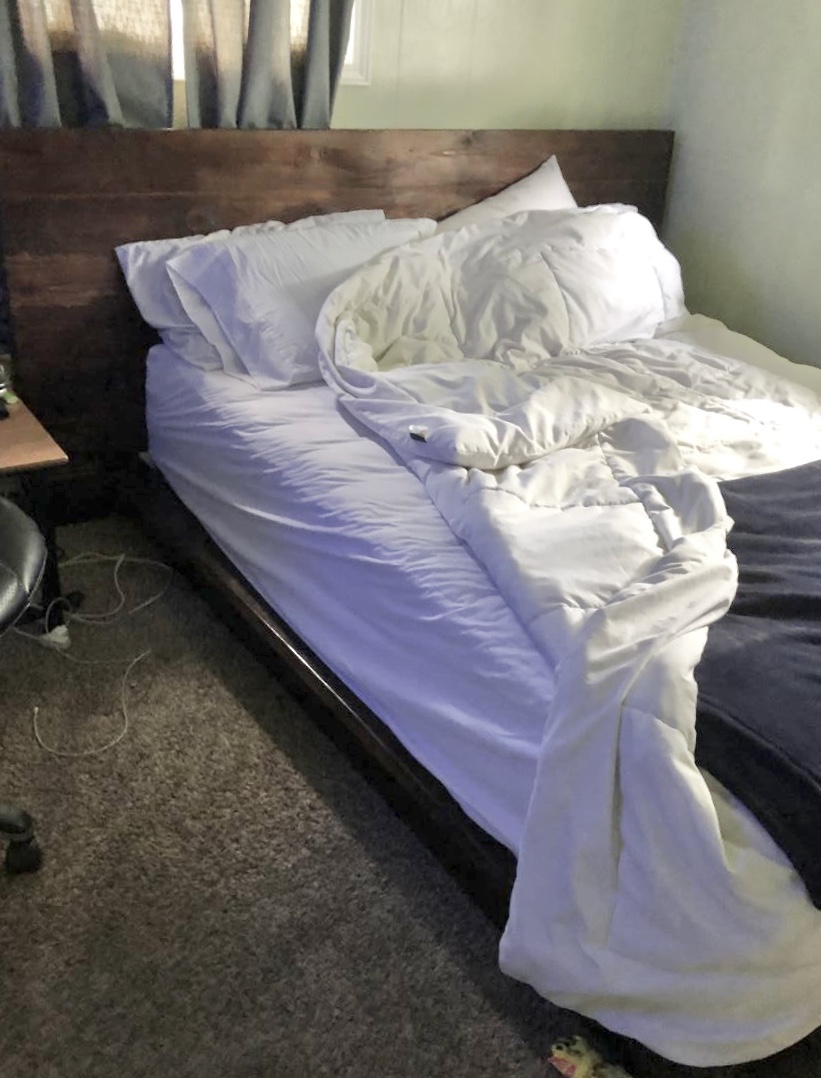
My son absolutely loves the platform bed I built him
For his birthday. Such a quick easy build thank you Ana for the plans
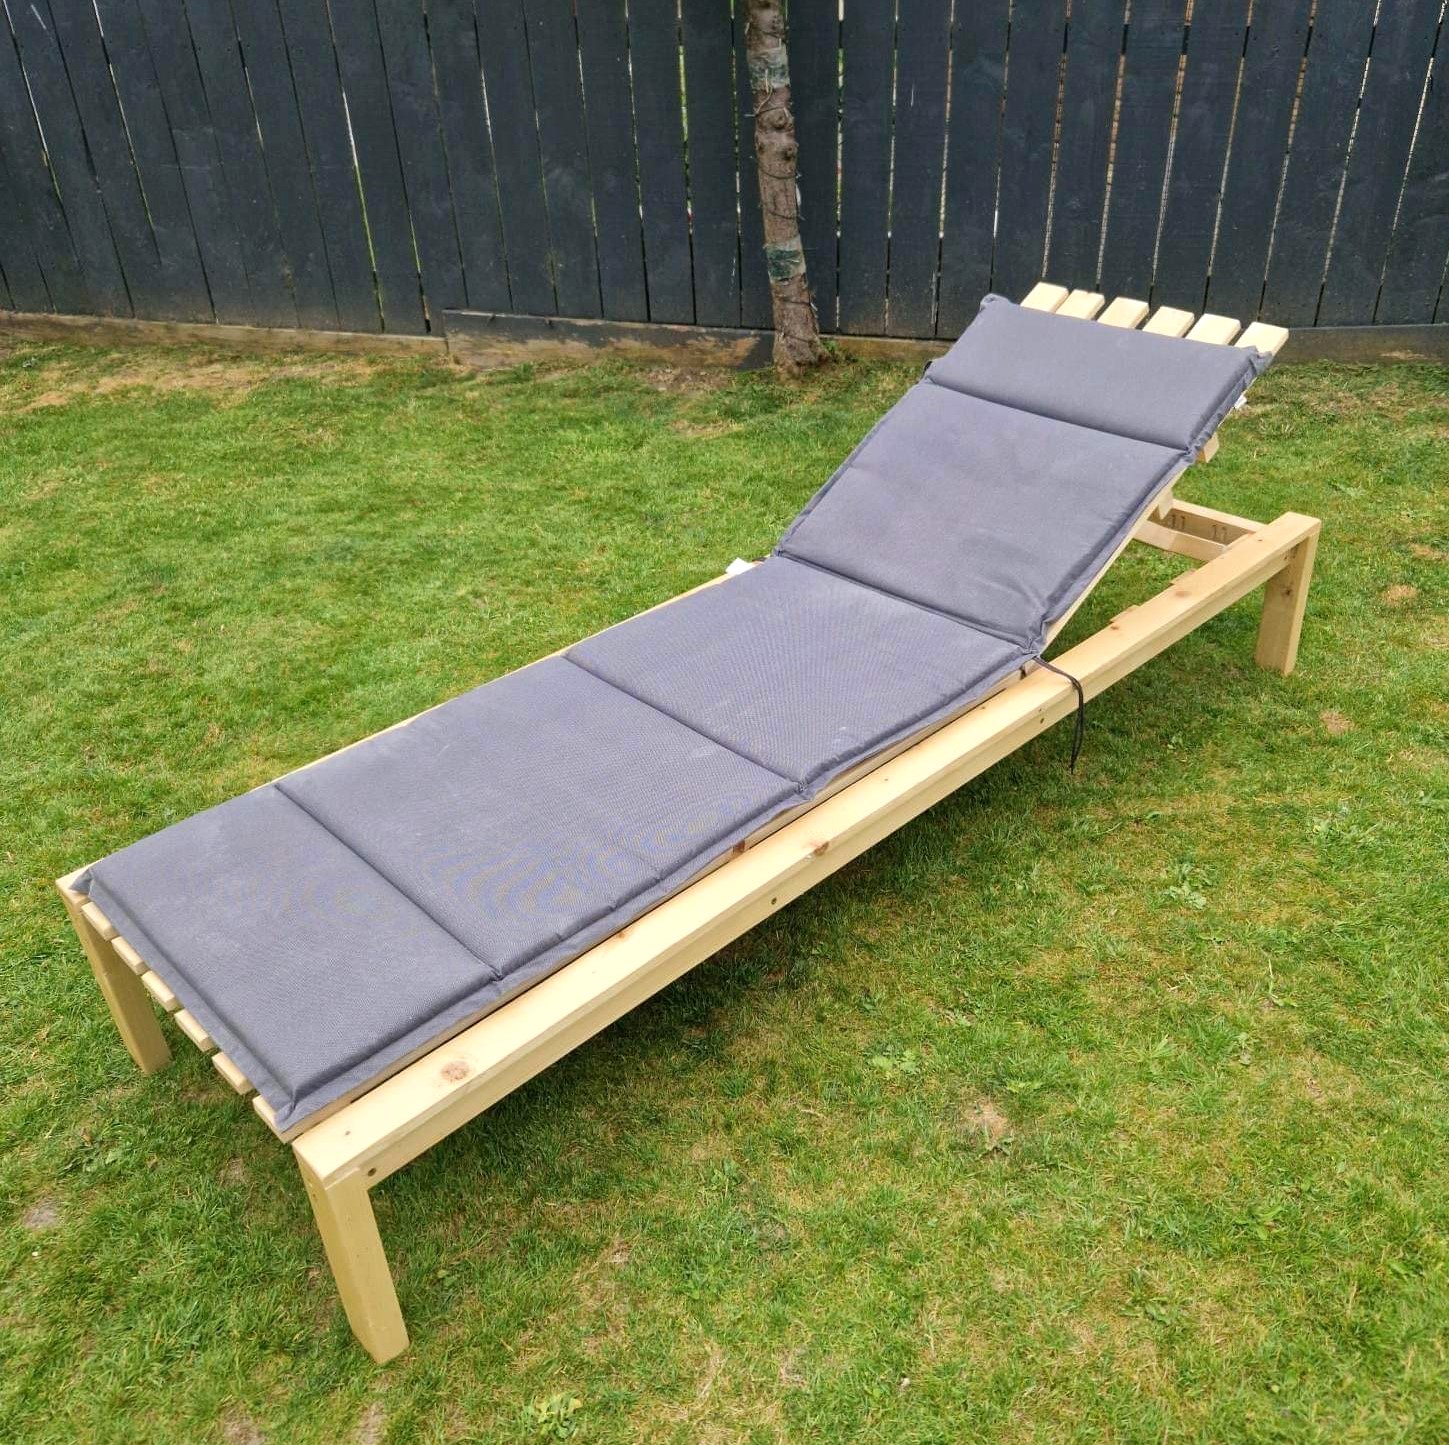
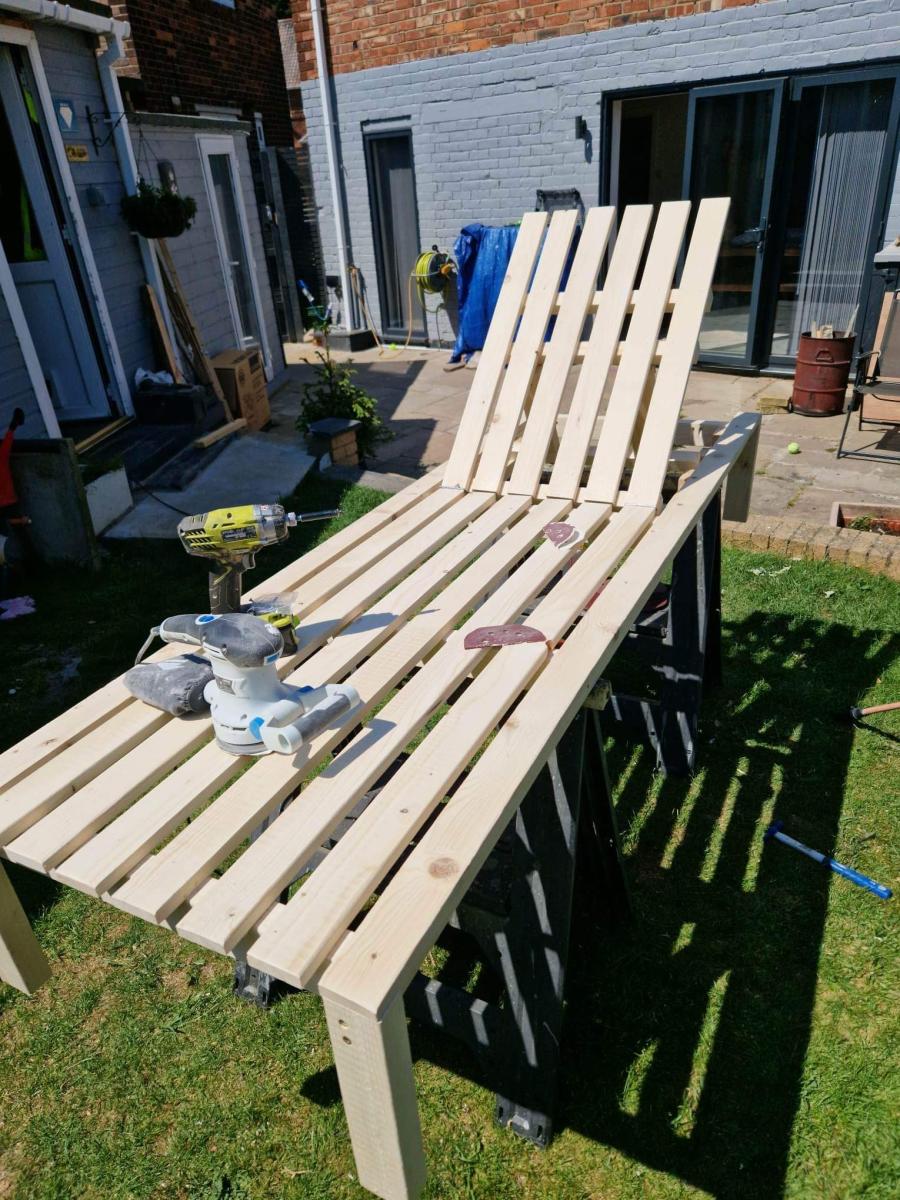
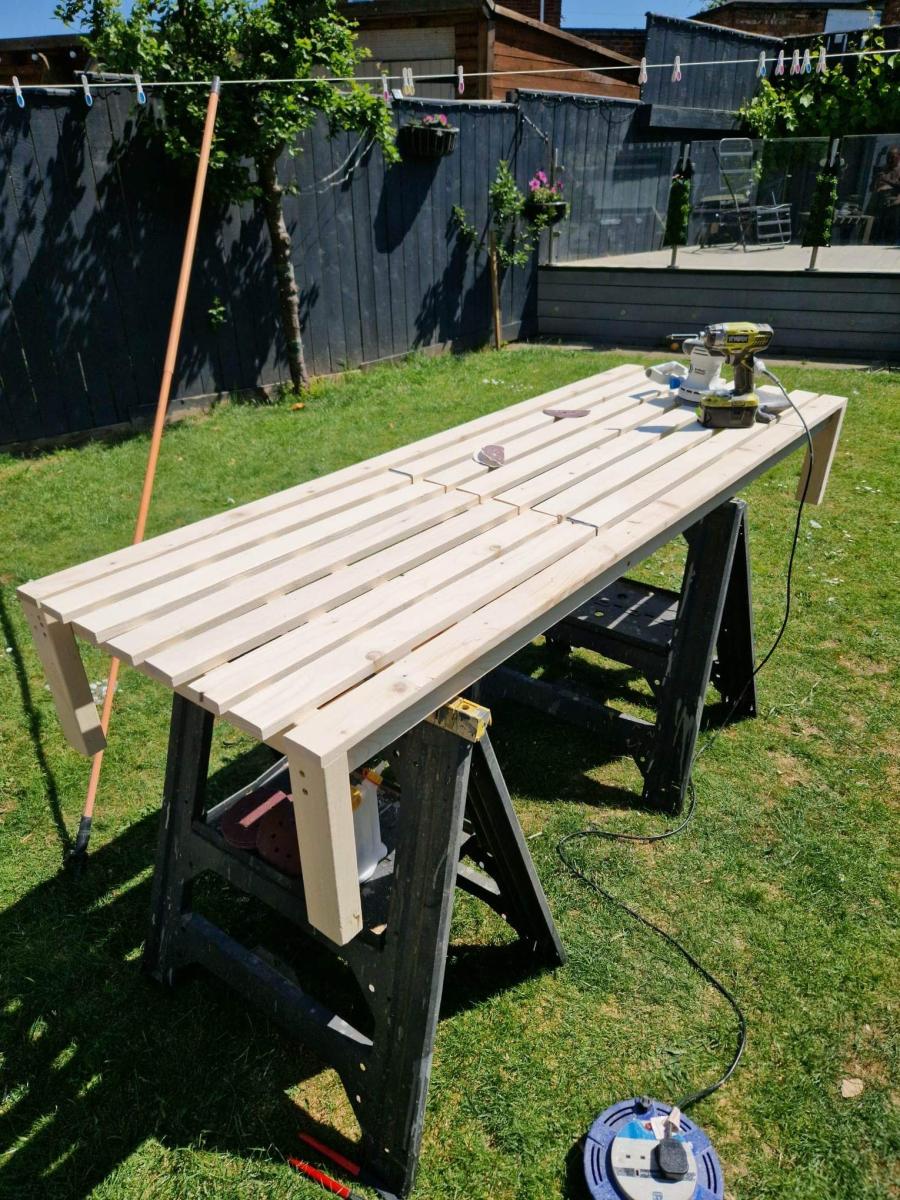
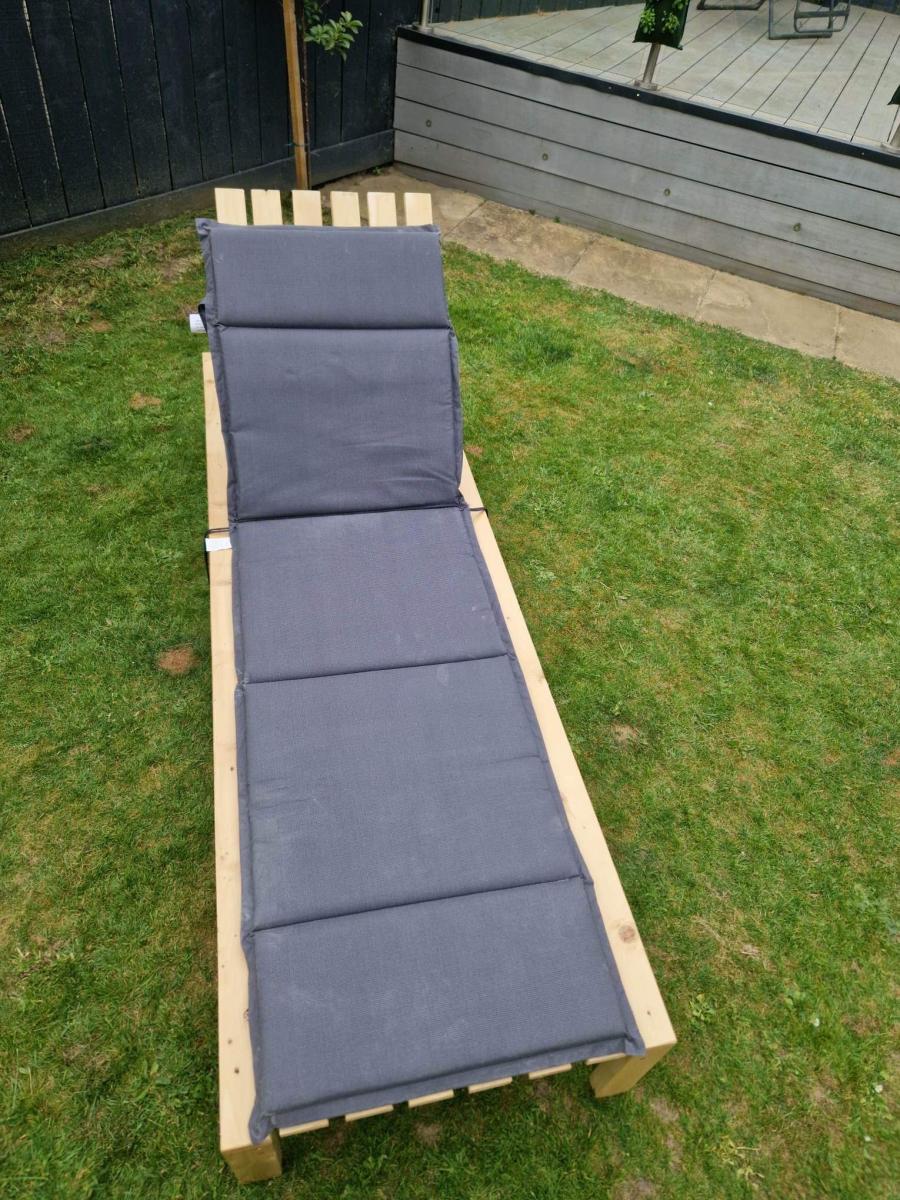
Modified lounger, made from 75mm x 38mm (cls) timber, sealed with 3 coats of exterior varnish.
Had great fun making this one, already on with making my second lounger.
A bit of wood
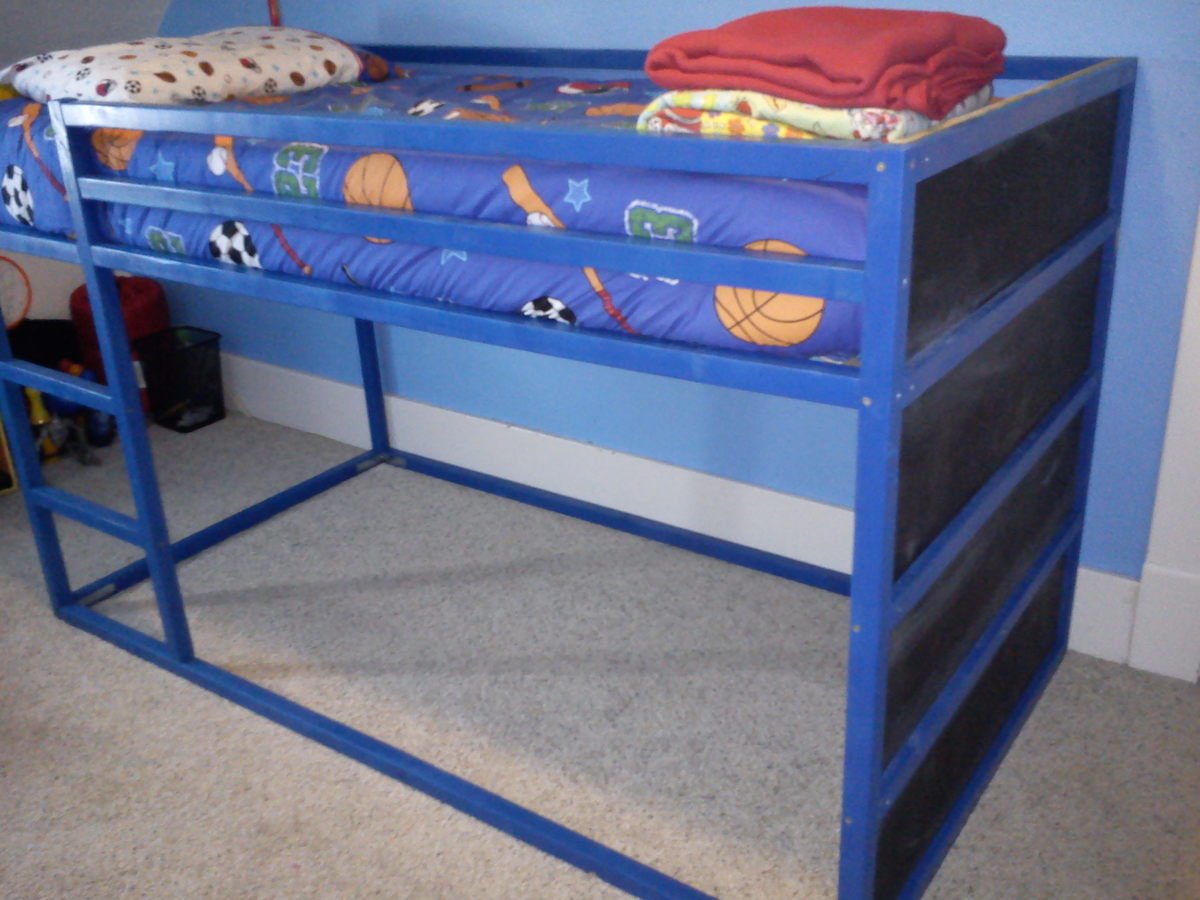
This was a simple project, super easy to do if you need an inexpensive bed for a young child. It freed up floor space in our son's small room, which he loves.
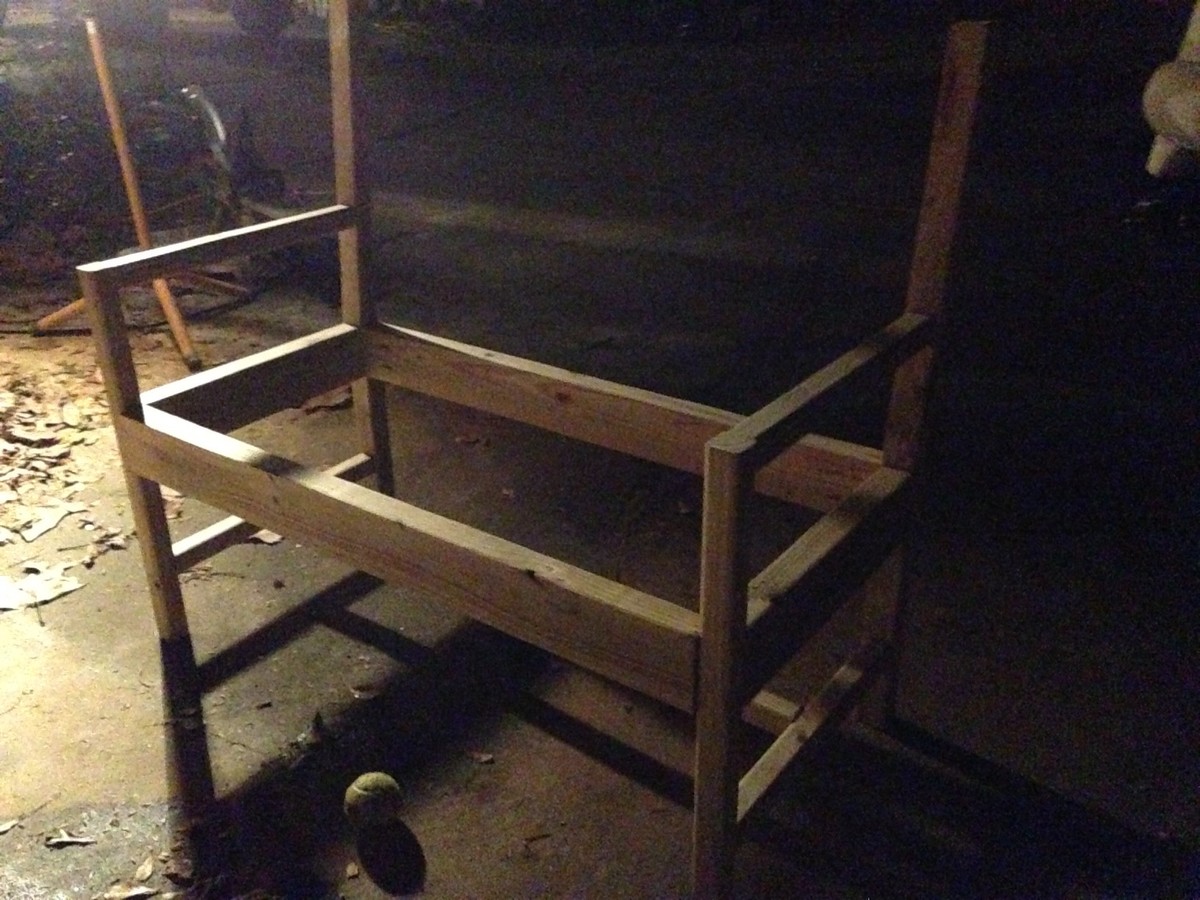
Built this bench for my parents for Christmas. They were super impressed and I had a lot of fun. Cost for the wood and screws is only about $40. Stain/Sealer can cost about the same.
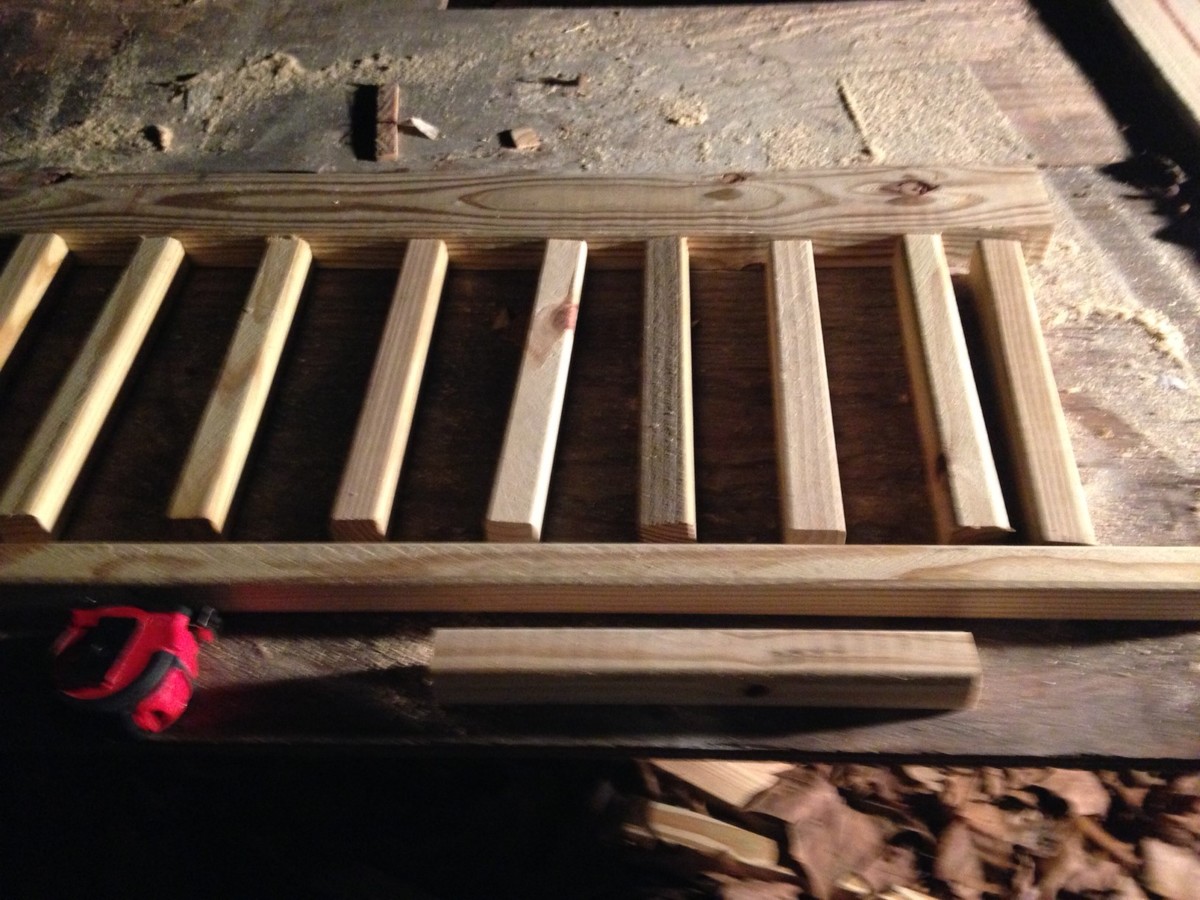
Obviously I decided not to do the woven back and go for the simpler straight slats. I prefer this look and I'm sure it was easier than cutting all those angles.
I was proudest of the armrests which I made using a jigsaw to round off the edges, a circular saw to make the thinner part, and shaped it more with a rasp and file, then finally a fine grit sandpaper. Super fun.
Thu, 02/13/2014 - 10:36
I am going to build this bench with a slat back as well. Yours looks great. Just 2X2's, right?
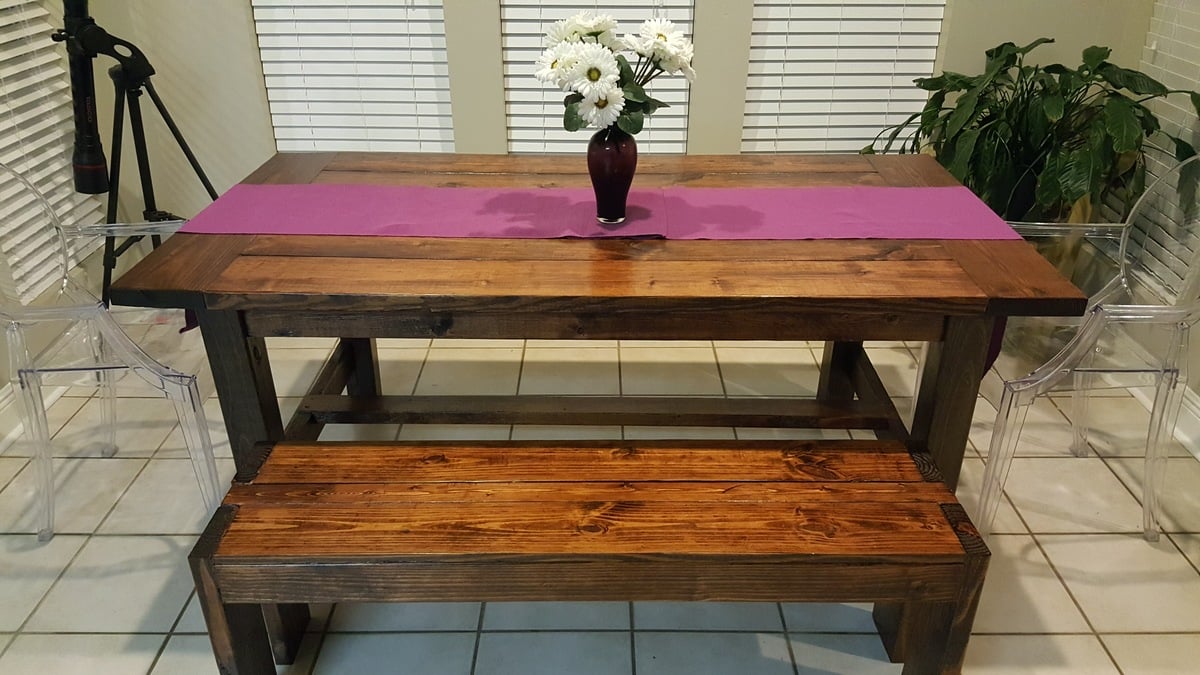
The table was my very first project and with the help of my Dad, we completed build, stain, and finish in 2 days. I've had it over a year now and of course it is still beautiful (I've learned not to move it around too much to clean because the legs have a few splits in them now!). Just finished the matching bench ($17 project). I adjusted the legs to make them longer, so that my kids will sit up higher at the table :-)
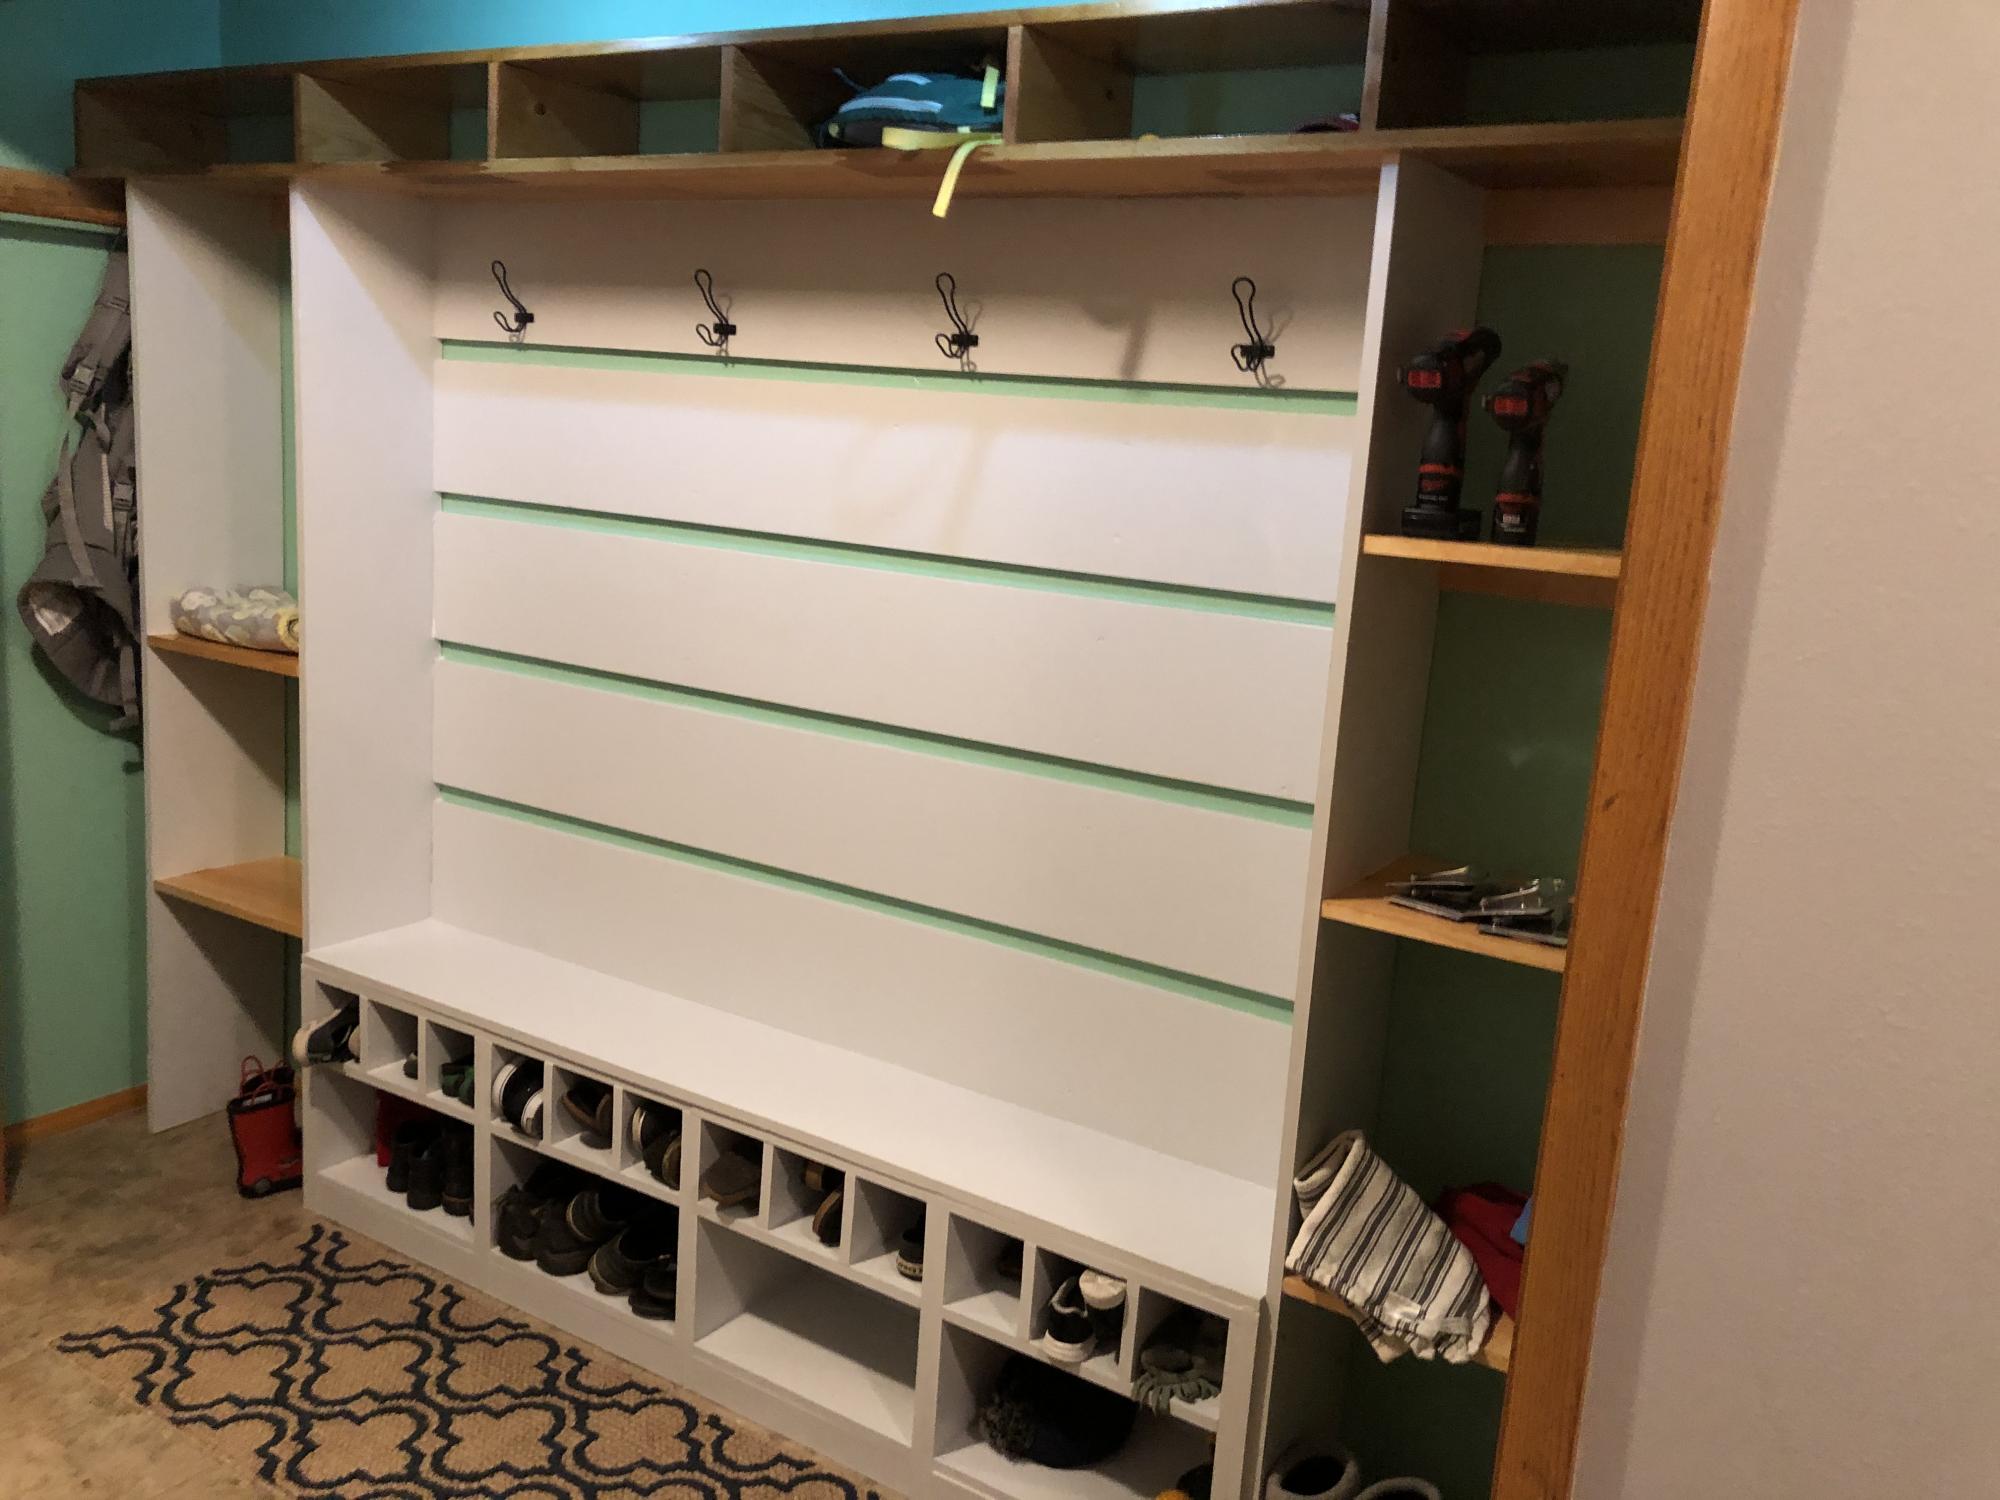
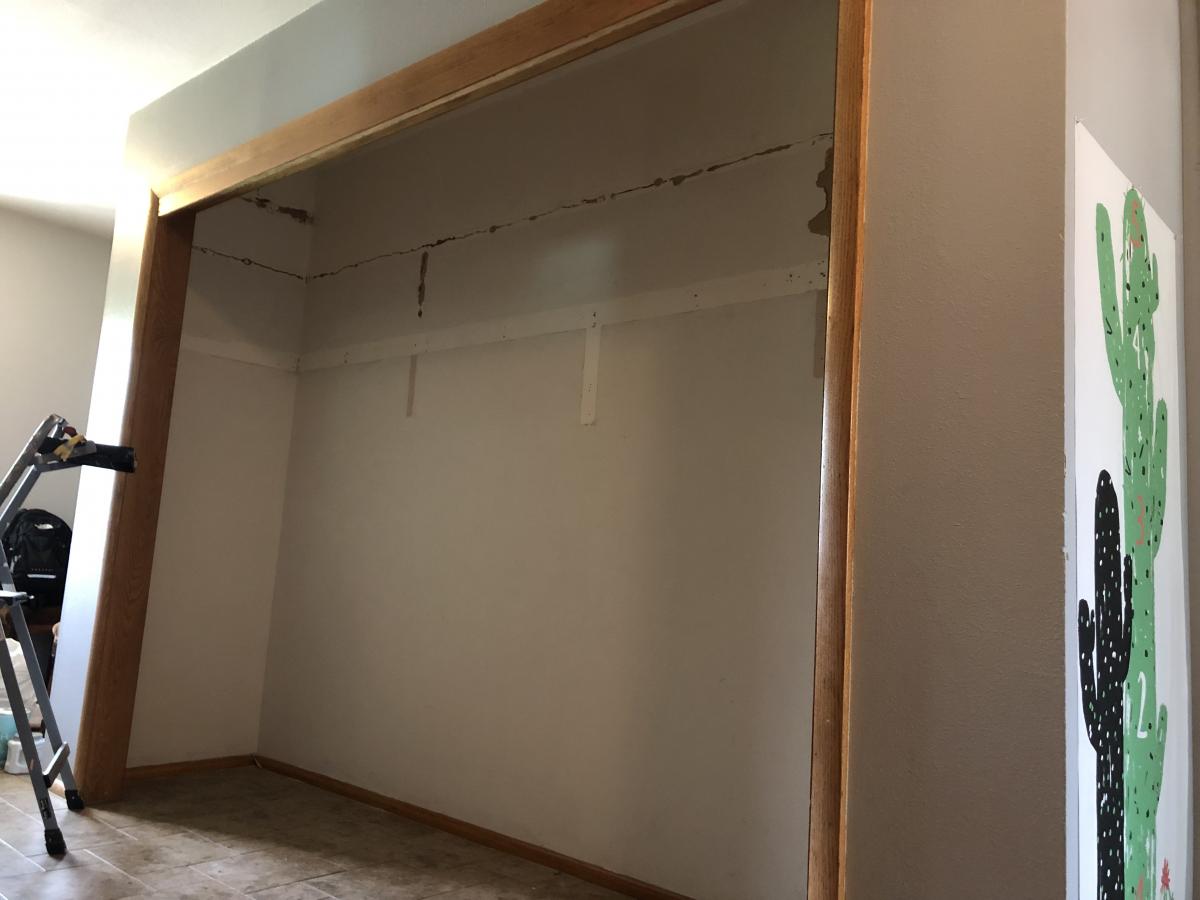
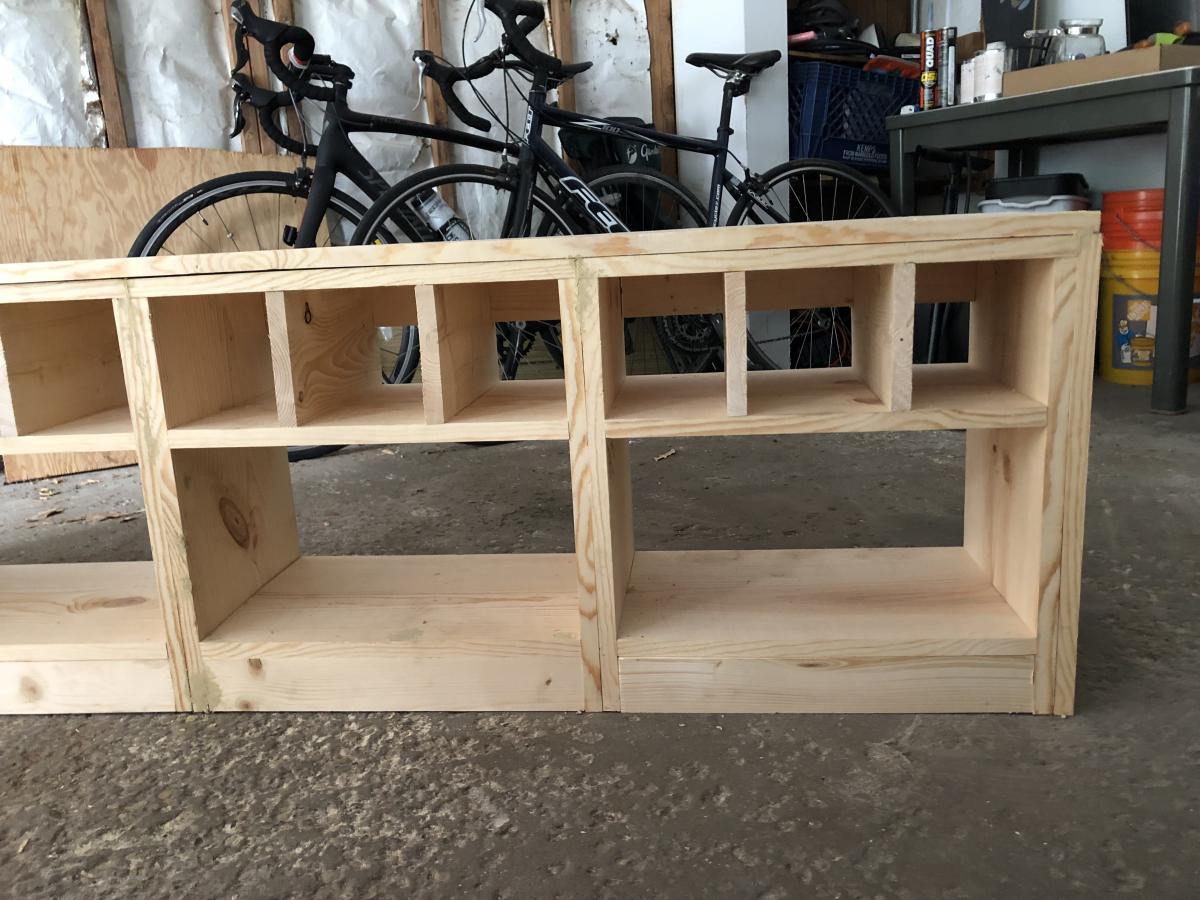
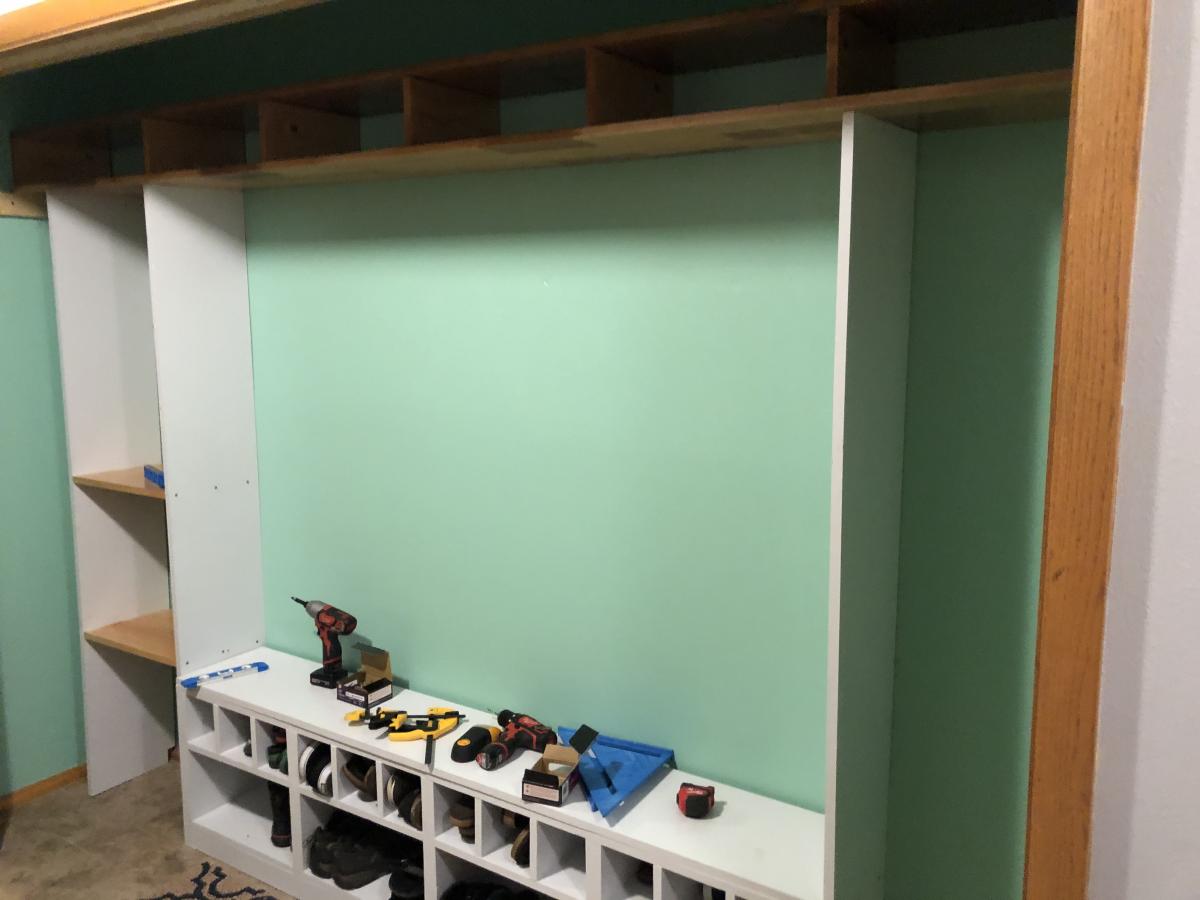
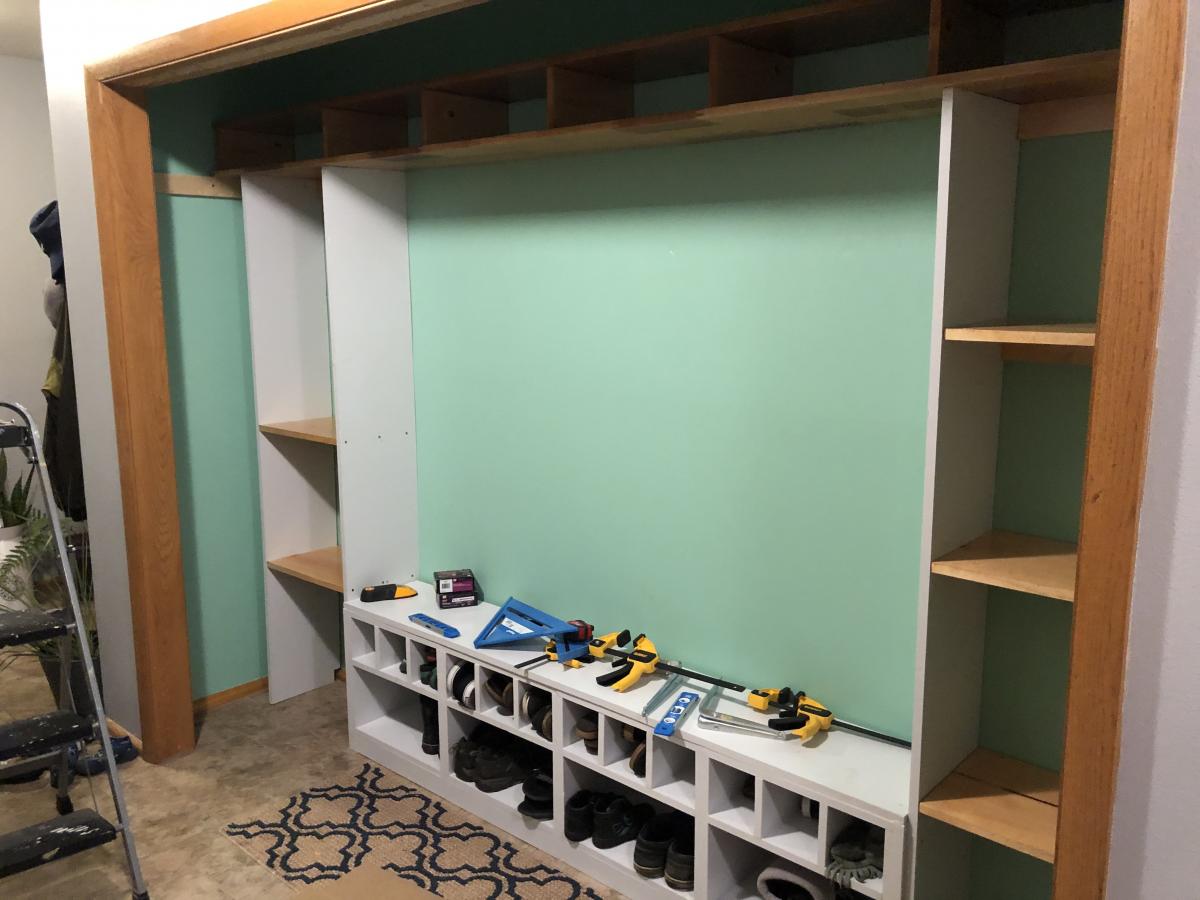
10 ft closet that had a lot of space but little organization. First attempt at building anything. Built the bench first in four different sections then attached together. Closet already had two long 10 ft boards so just added vertical dividers to match the cubbies for each person. Added shelving on sides using the concepts of making the original bench. Our baseboards have tile that was installed up to it so I didn’t attempt to remove them but notched out the backs of the wood to fit around. On the side left about 6 inches and installed the rod front to back using C hooks to hang things from them. Will be adding lots more hooks on the sides as well. Used a couple different plans but ended up making changes along the way based on my skill level and what I thought would work best for the family.
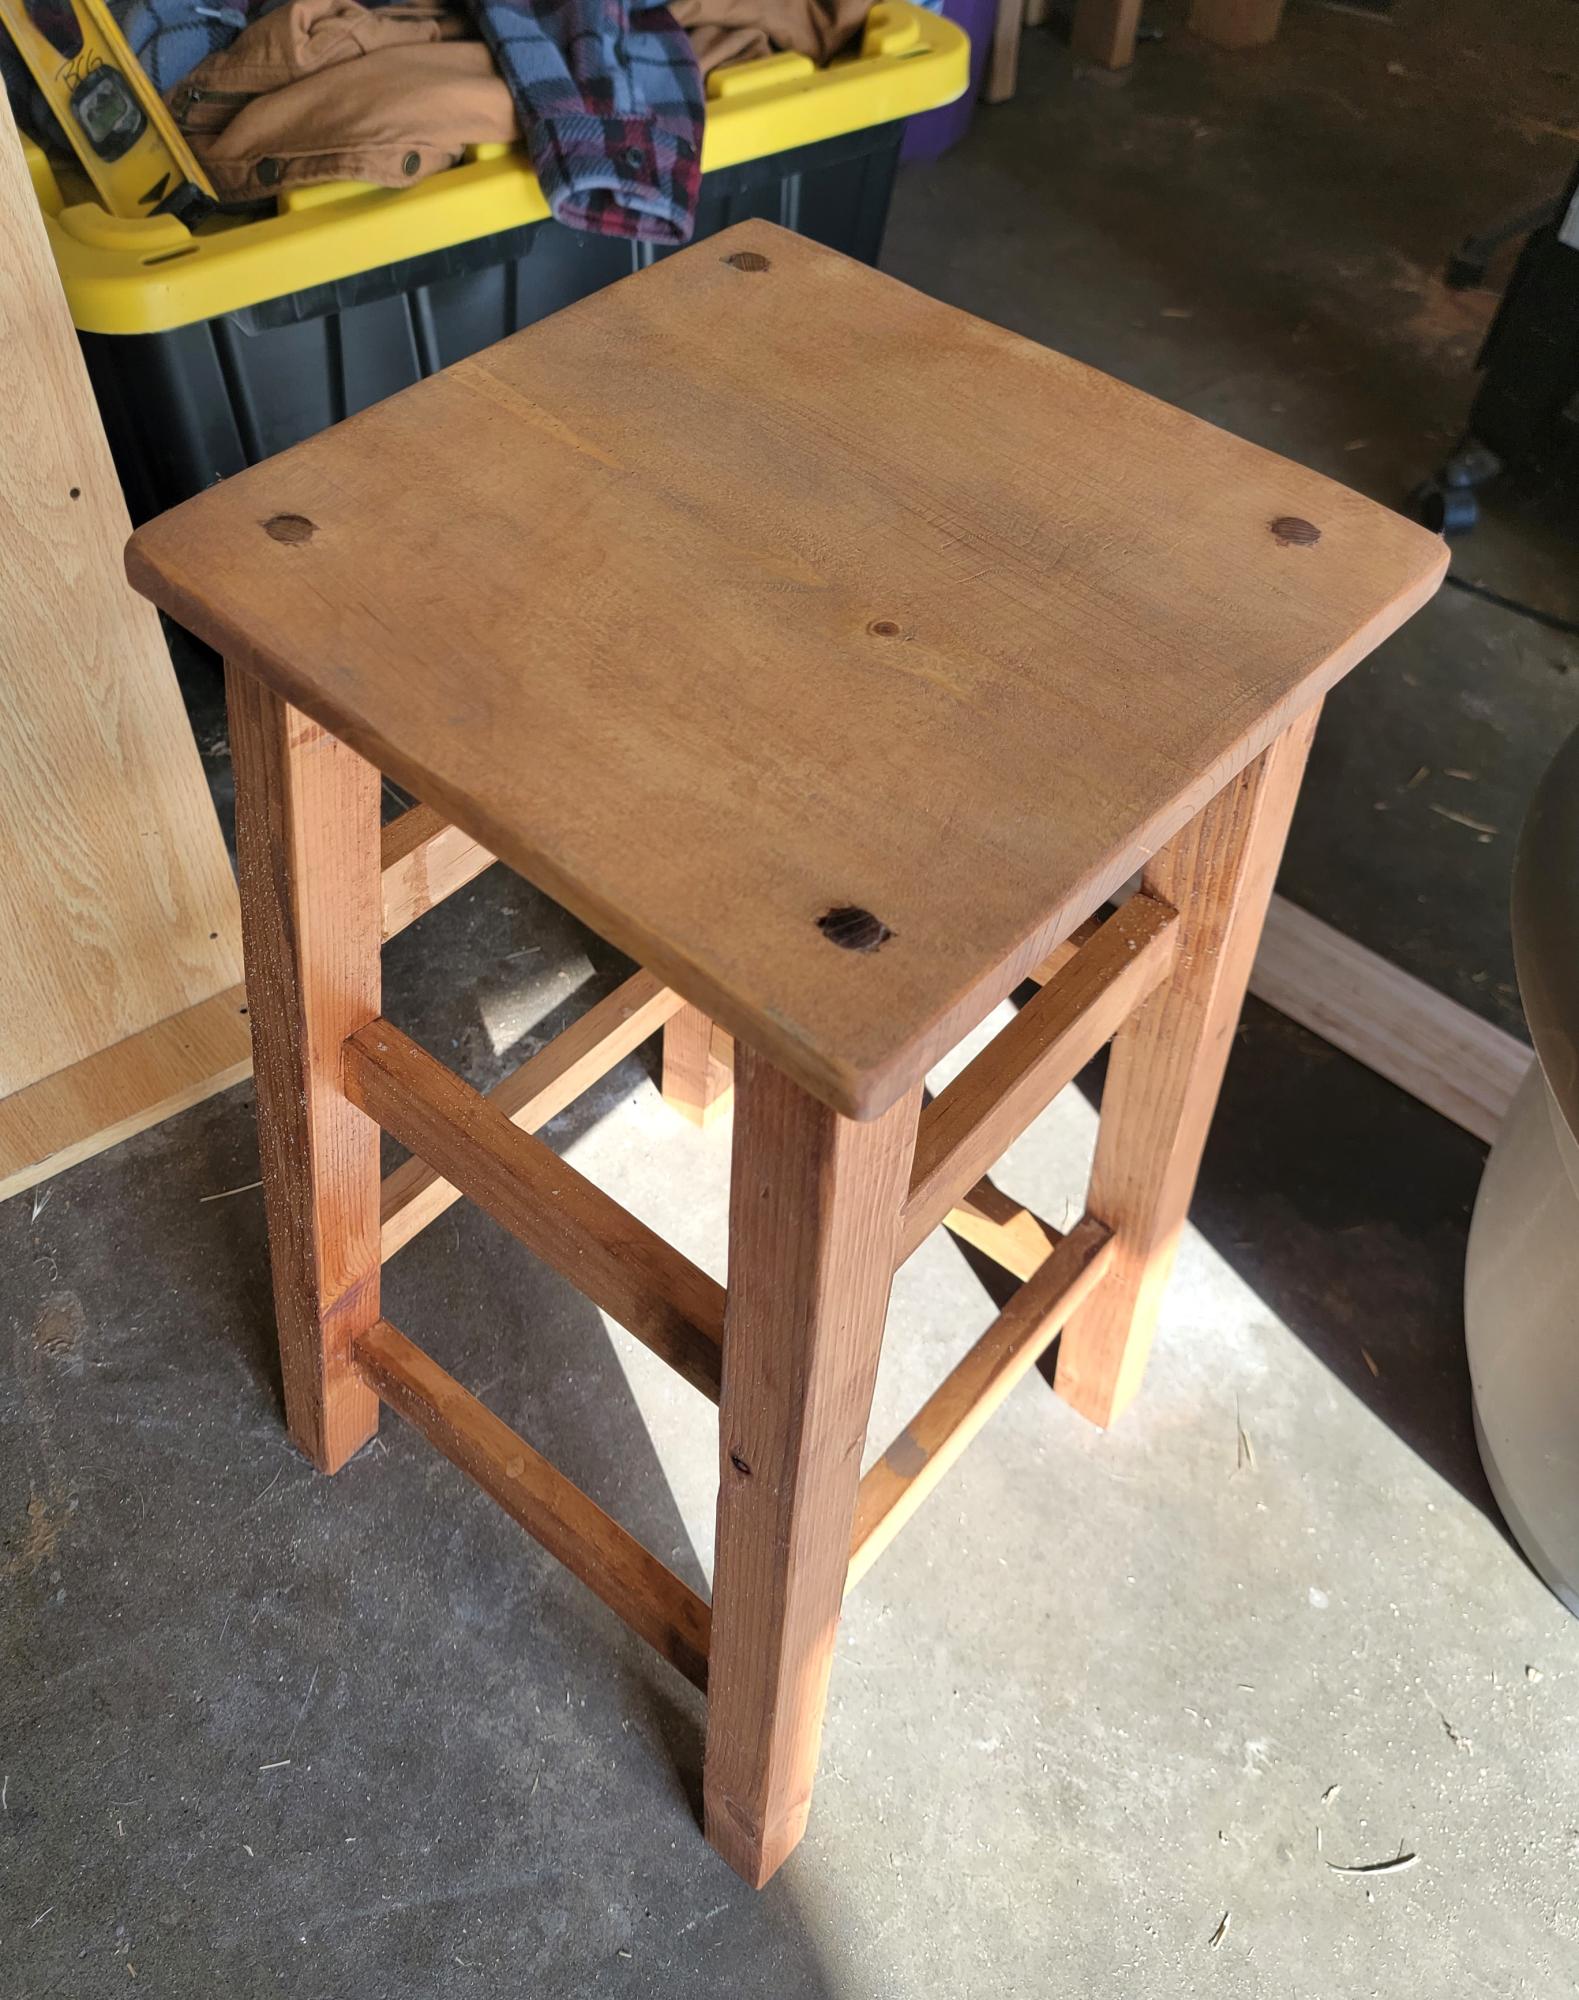
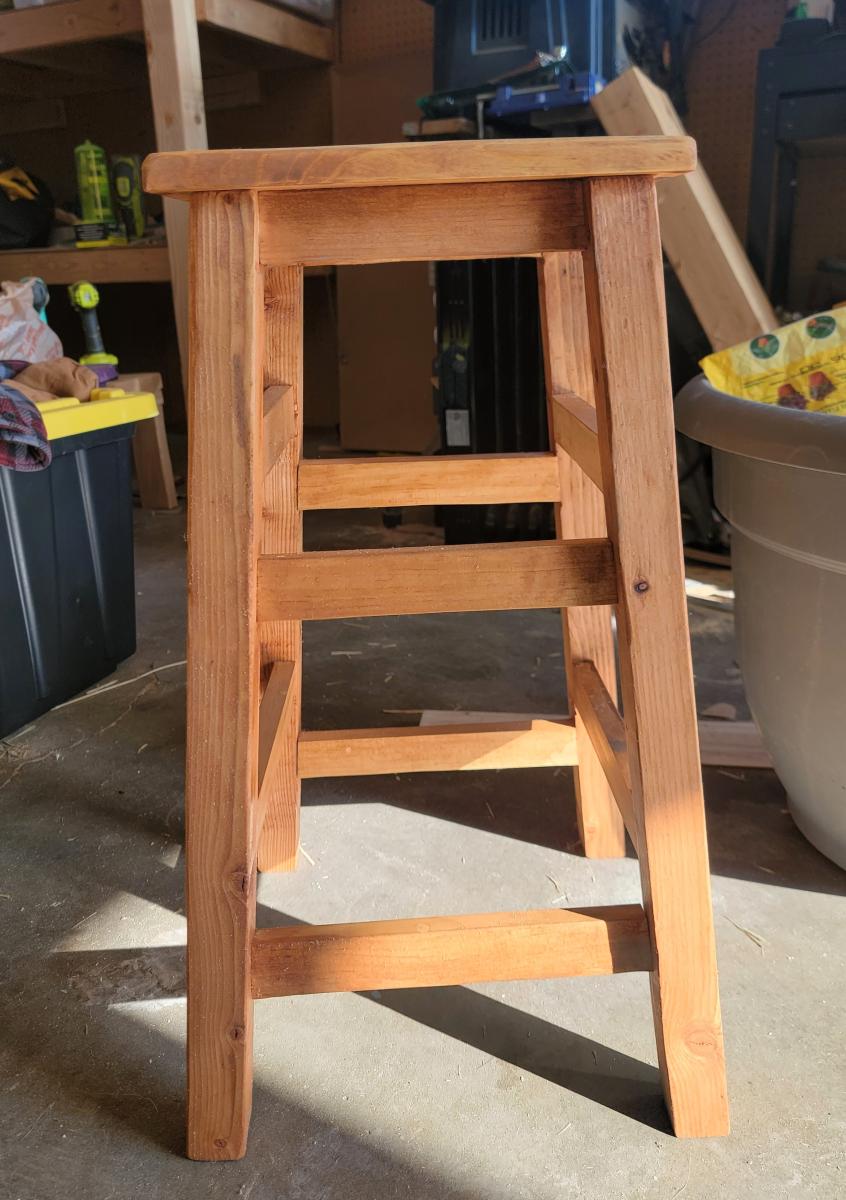
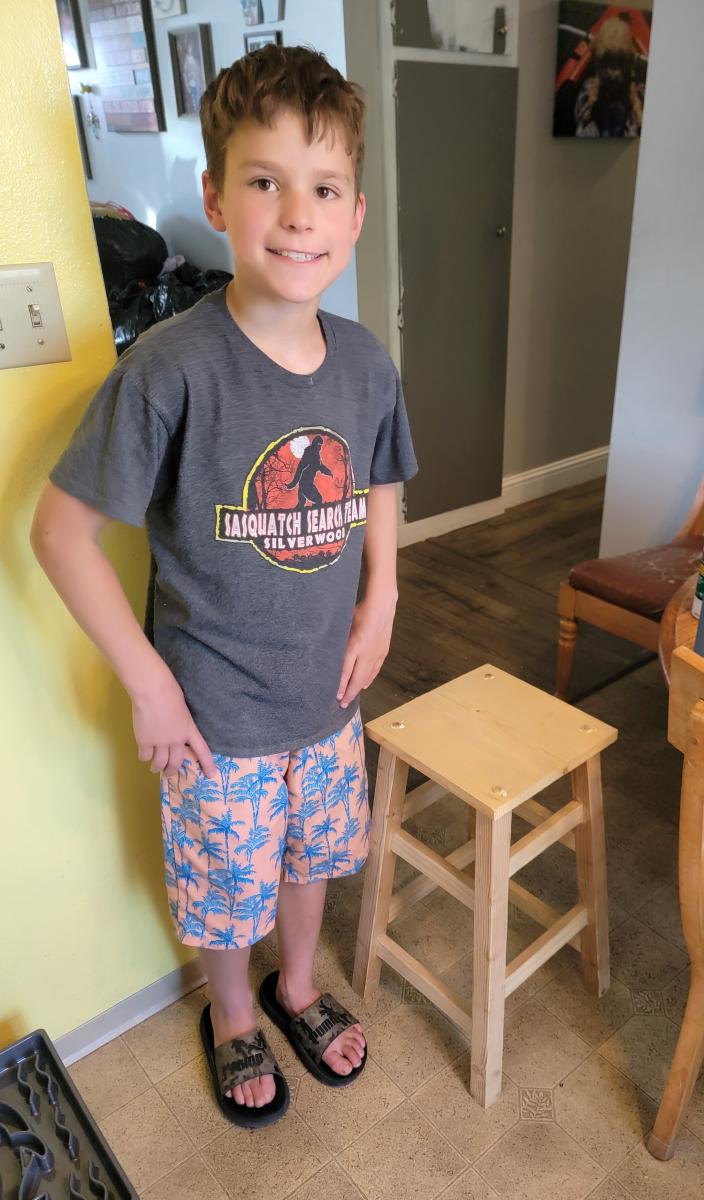
Summer lessons, had my 10 year old and 13 year old build. It was their first project and they did all the work. Great designs and easy to follow. We will do more this summer from Ana White.
Jerry
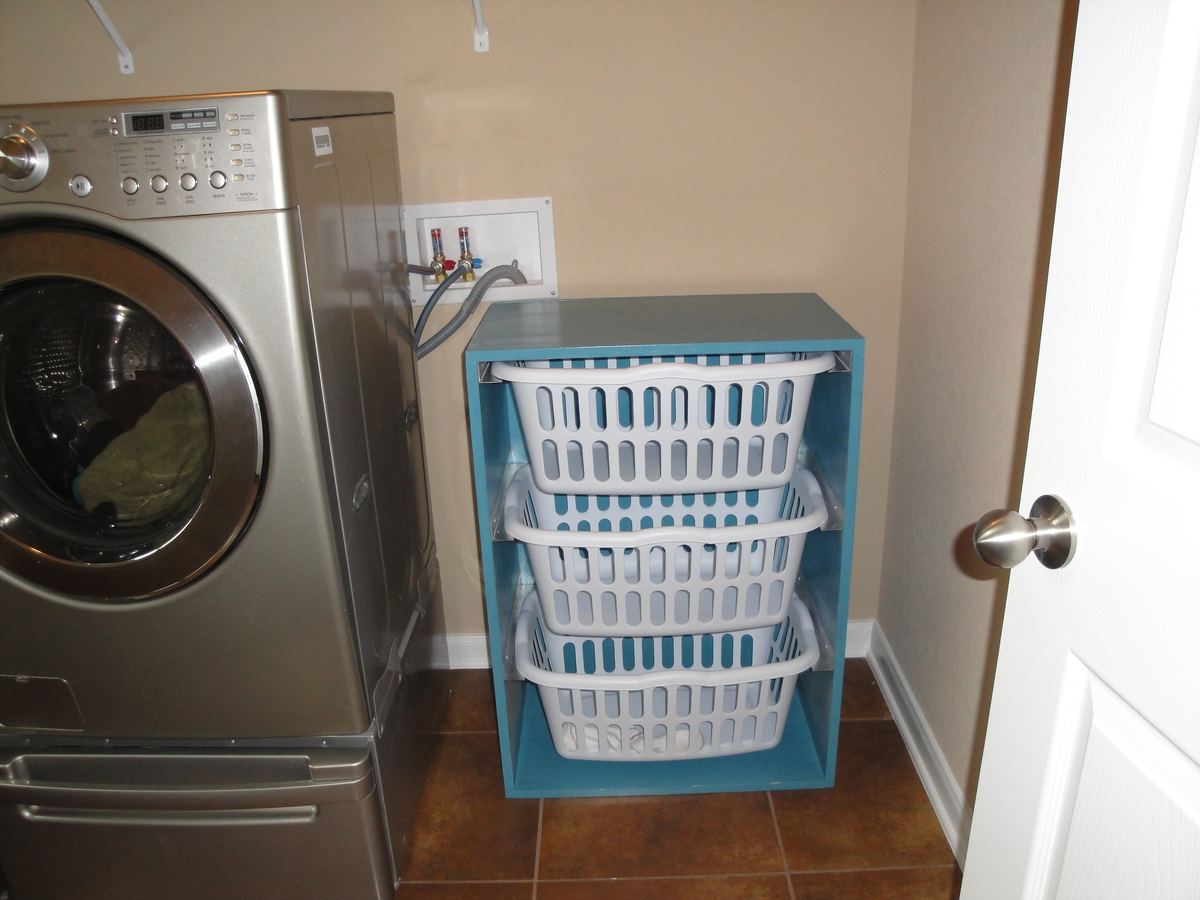
I love this for the laundry room! We actually had a pretty blue paint left over from a different project, so it was perfect. Thanks for the wonderful plans :)