Outdoor Sofa Seating and Coffee Table
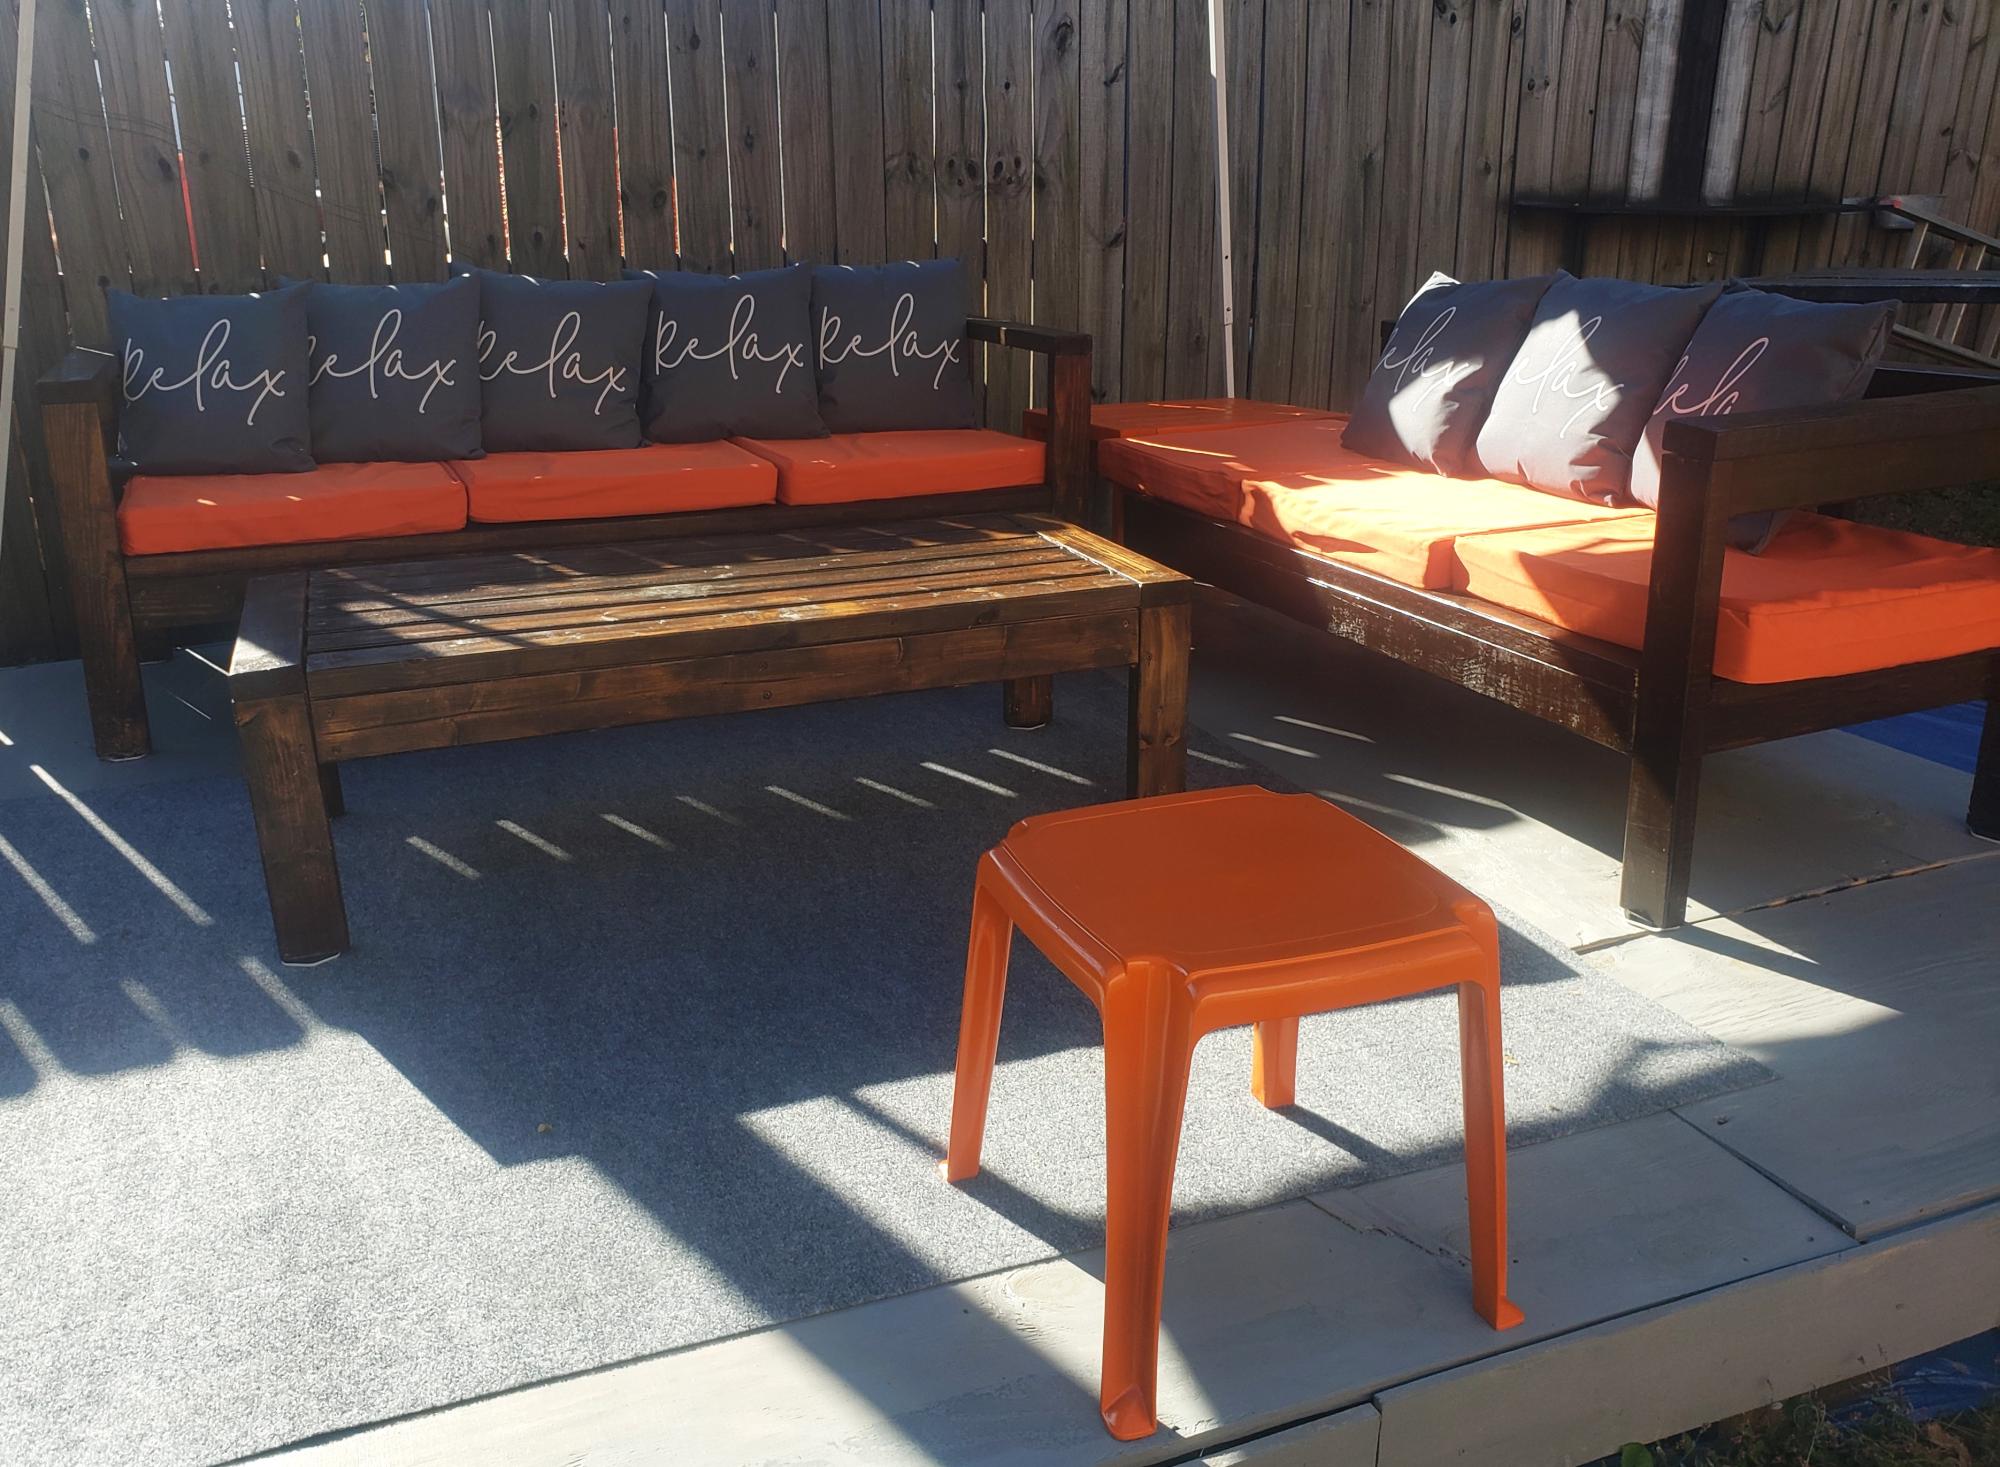
Had fun building this and and putting on the pillows and cushions.
Elite Motionz Buildz

Had fun building this and and putting on the pillows and cushions.
Elite Motionz Buildz
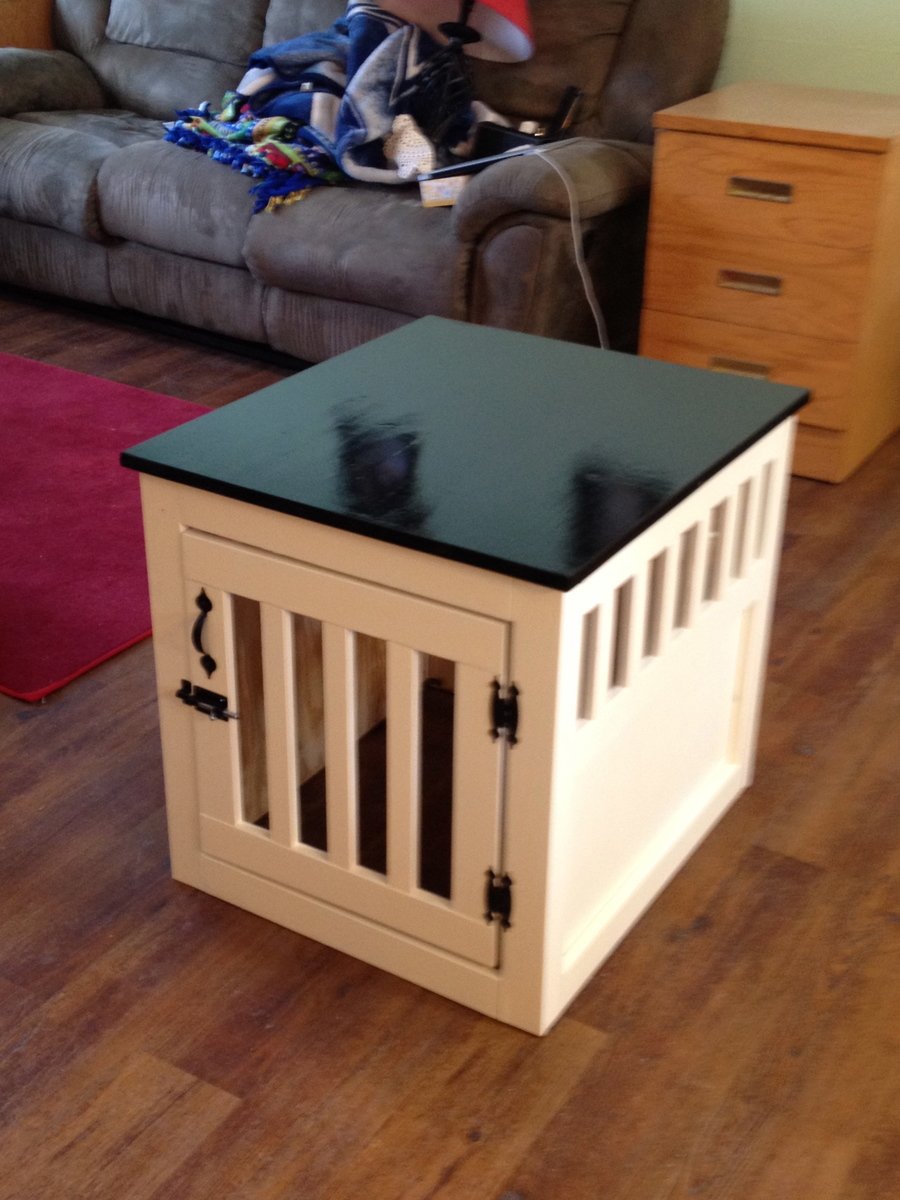
I just finished my first project with a Kreg Jig, I used the colors from another kennel project that we found on the site because we thought it would go well with our living room. I adjusted the plans to fit our furniture and dogs, so it is shorter and not as deep as the the original plans show.
Thu, 05/31/2012 - 18:35
This is a fabulous idea. We live in a small space and this is a two for one idea. I think we will be making this soon. Thanks so much for the idea. I would have never thought of this on my own.
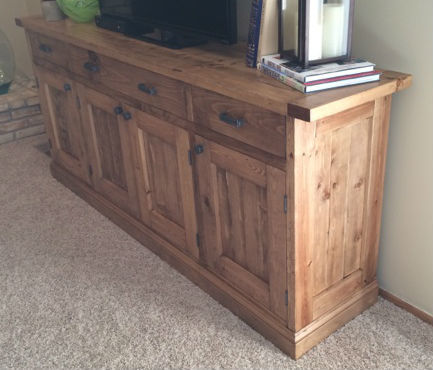
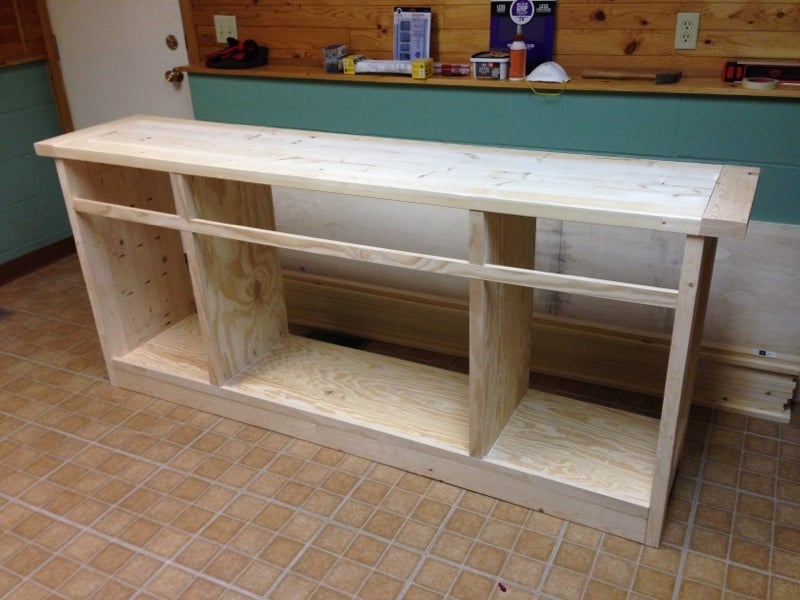
This was my first finished project using plans from Ana's site, and I am very pleased with the finished product. Every aspect of the finished sideboard is based on something from the site. I started with the plans for the Planked Wood Sideboard, and made no modifications as the dimensions were perfect for our basement family room. I decided to inset the back (http://www.friendly-home.net/2012/02/gigantic-rustic-sideboard.html) as Ana explained that Hillary had done, and love the final result. This will allow us to use this to potentially divide a room in an open concept space at some point in the future.
For the finishing process, I decided to follow the "Rustic Yet Refined" finish tutorial highlighted on both the Ana-White site (http://ana-white.com/2013/08/rustic-yet-refined-wood-finish) and Jen Woodhouse House of Wood (http://jenwoodhouse.com/blog/2013/06/07/diy-dining-table/). I fully intended to complete the 9 step process, but found that after we applied the Minwax pre-stain wood conditioner, followed by Minwax special walnut stain and wiped it off within 15-30 seconds, the finish mirrored the restoration hardware finish that we were going for. We decided not to proceed with layering on the weathered oak or applying the whitewash, and went straight to the spar urethane satin coats.
Overall, the project was a success, but was difficult to finish during the Minnesota winter as it was unbelievably cold and was forced to complete the finishing process in our basement/laundry room, which extended the length of the project. I am very excited to begin building other pieces from Ana's plans.

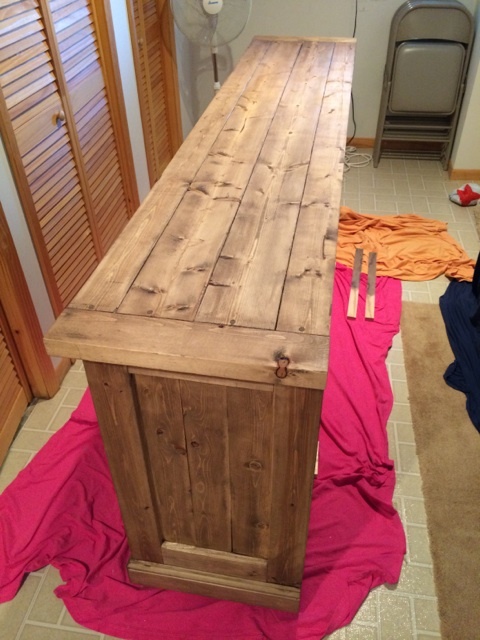
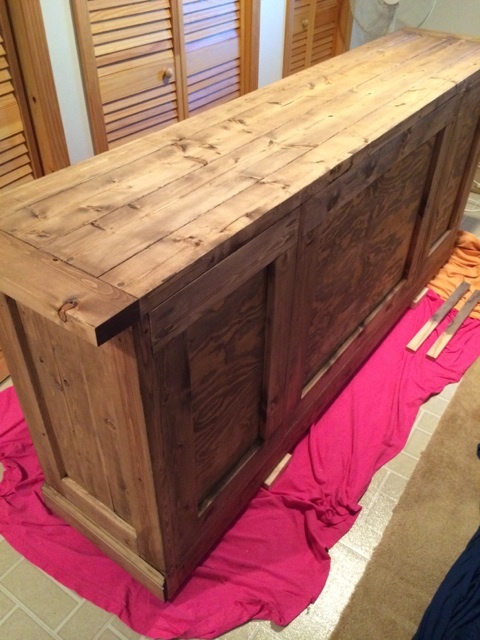
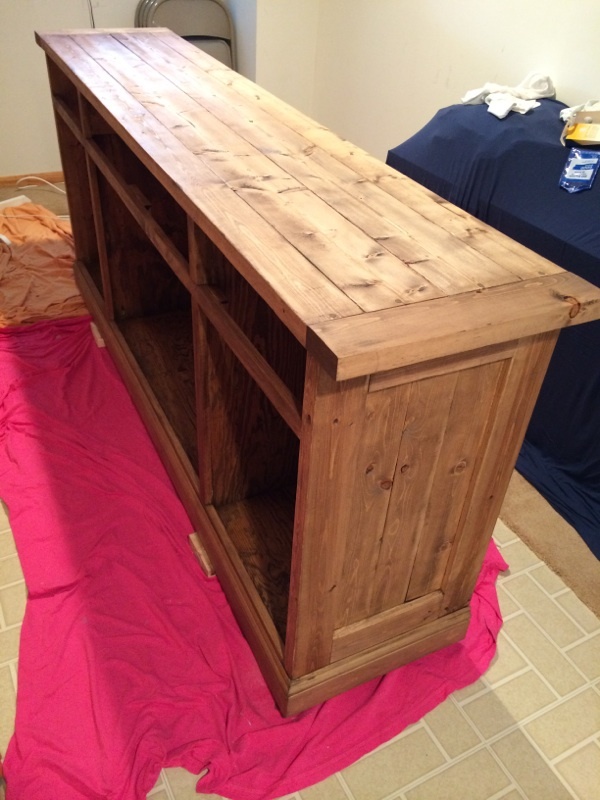
Mon, 03/03/2014 - 10:01
Absolutely beautiful! Thank you for all the details on how you did this!
In reply to Absolutely beautiful! Thank by moosmani
Thu, 03/13/2014 - 07:09
Thank you so much for your kind words. I am extremely impressed with your brag posts as well, and you may have been inspired to take on the picket storage shed project as soon as the snow melts.
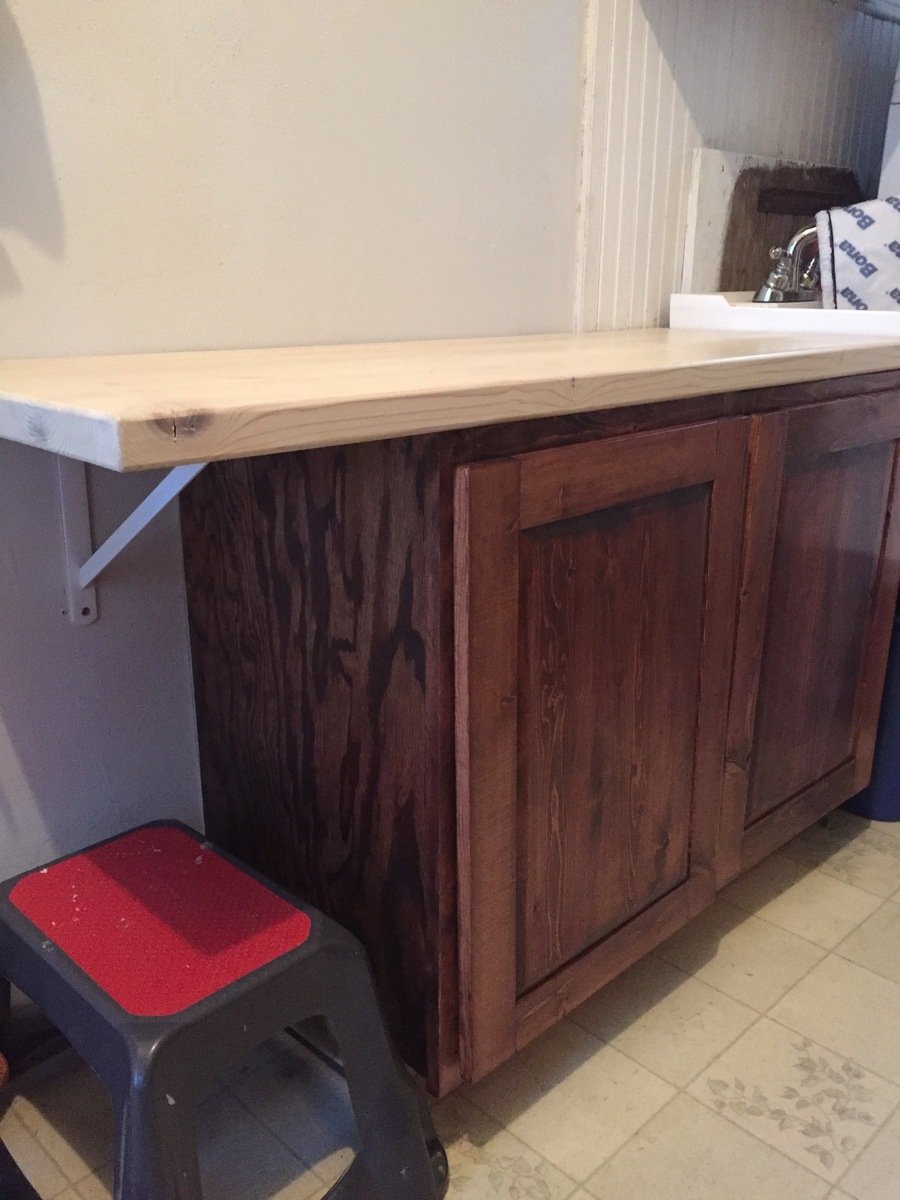
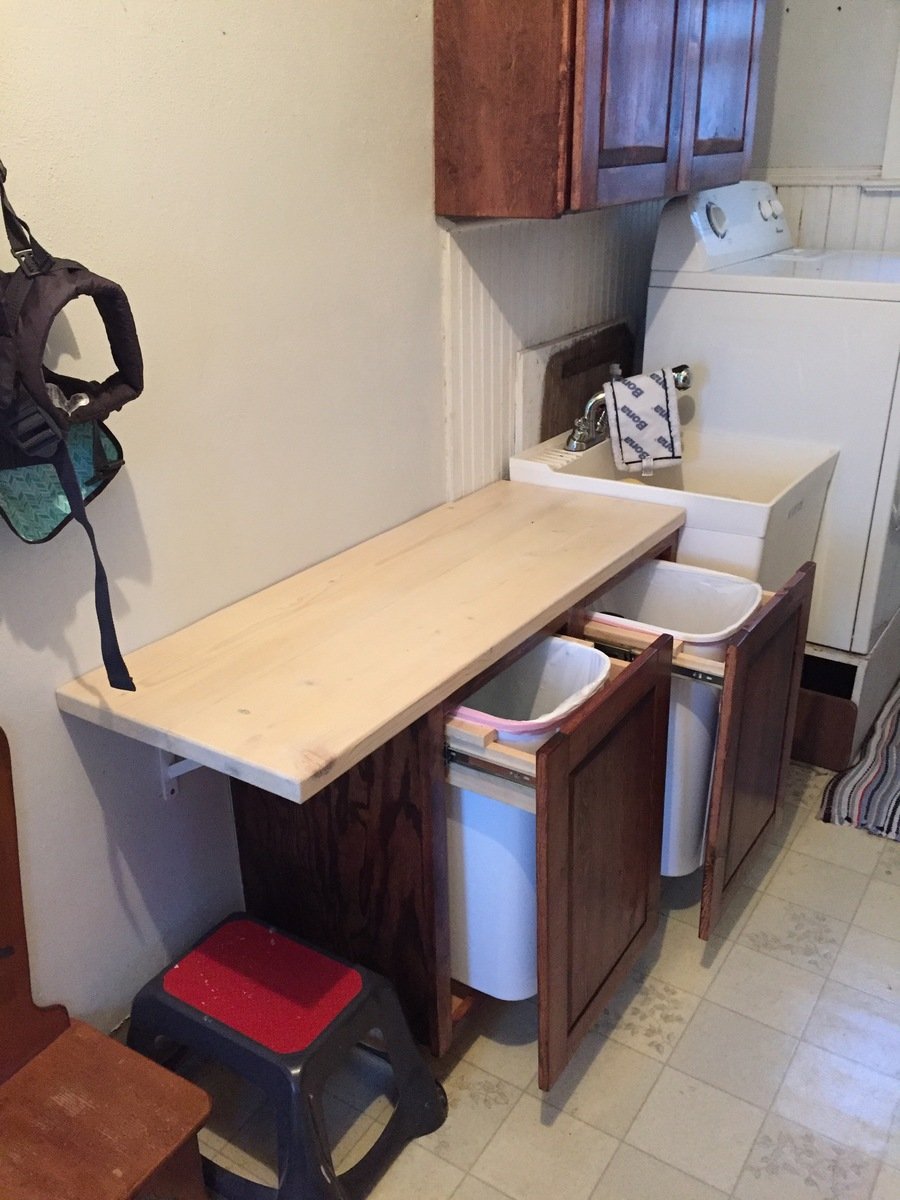
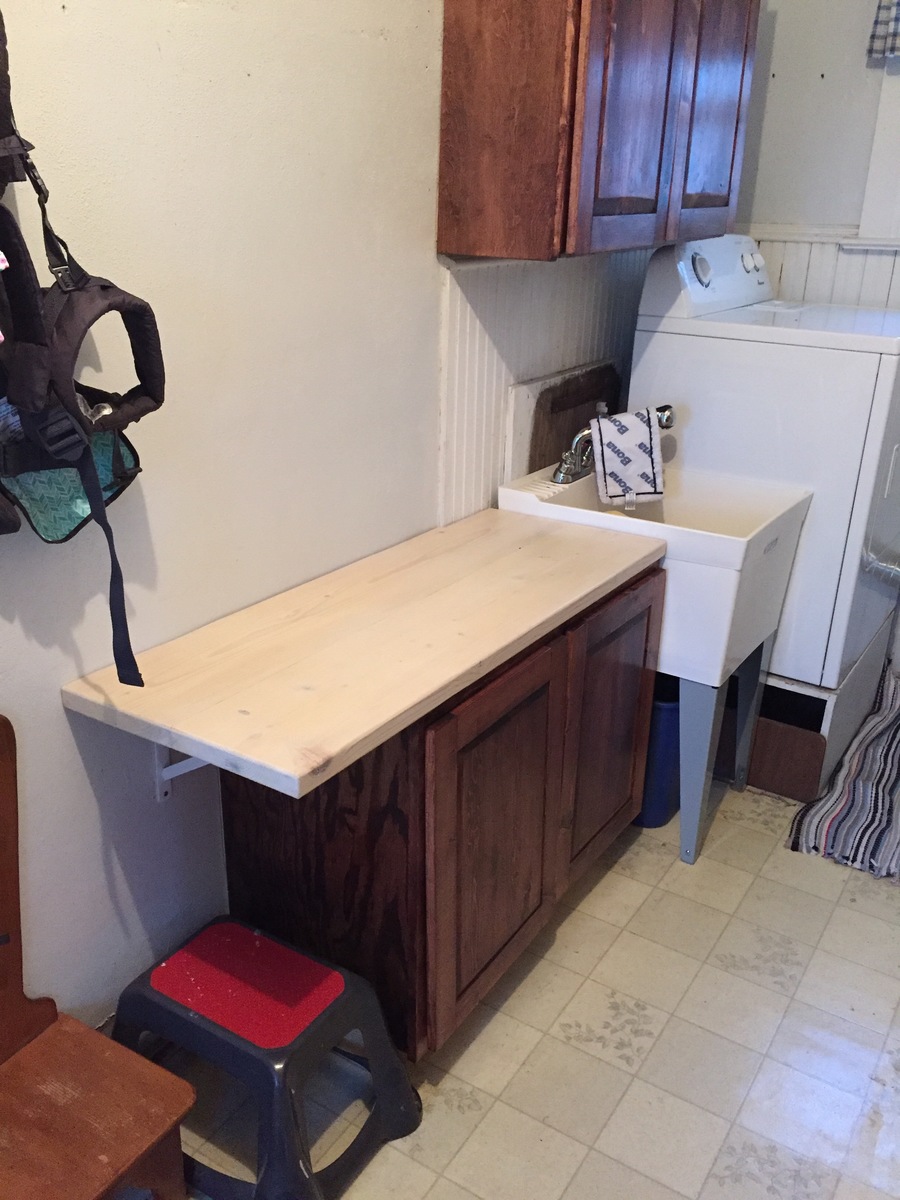
We are trying to tidy up our laundry/mud room and needed a place for the recyclables. I ran across Ana's plans for these pull out cabinets and raised panel doors, adjusted the measurements to fit our space, and had at it! It's kind of a tight fit in that room but these seem to help with the clutter. I also added that little table on top for folding laundry.
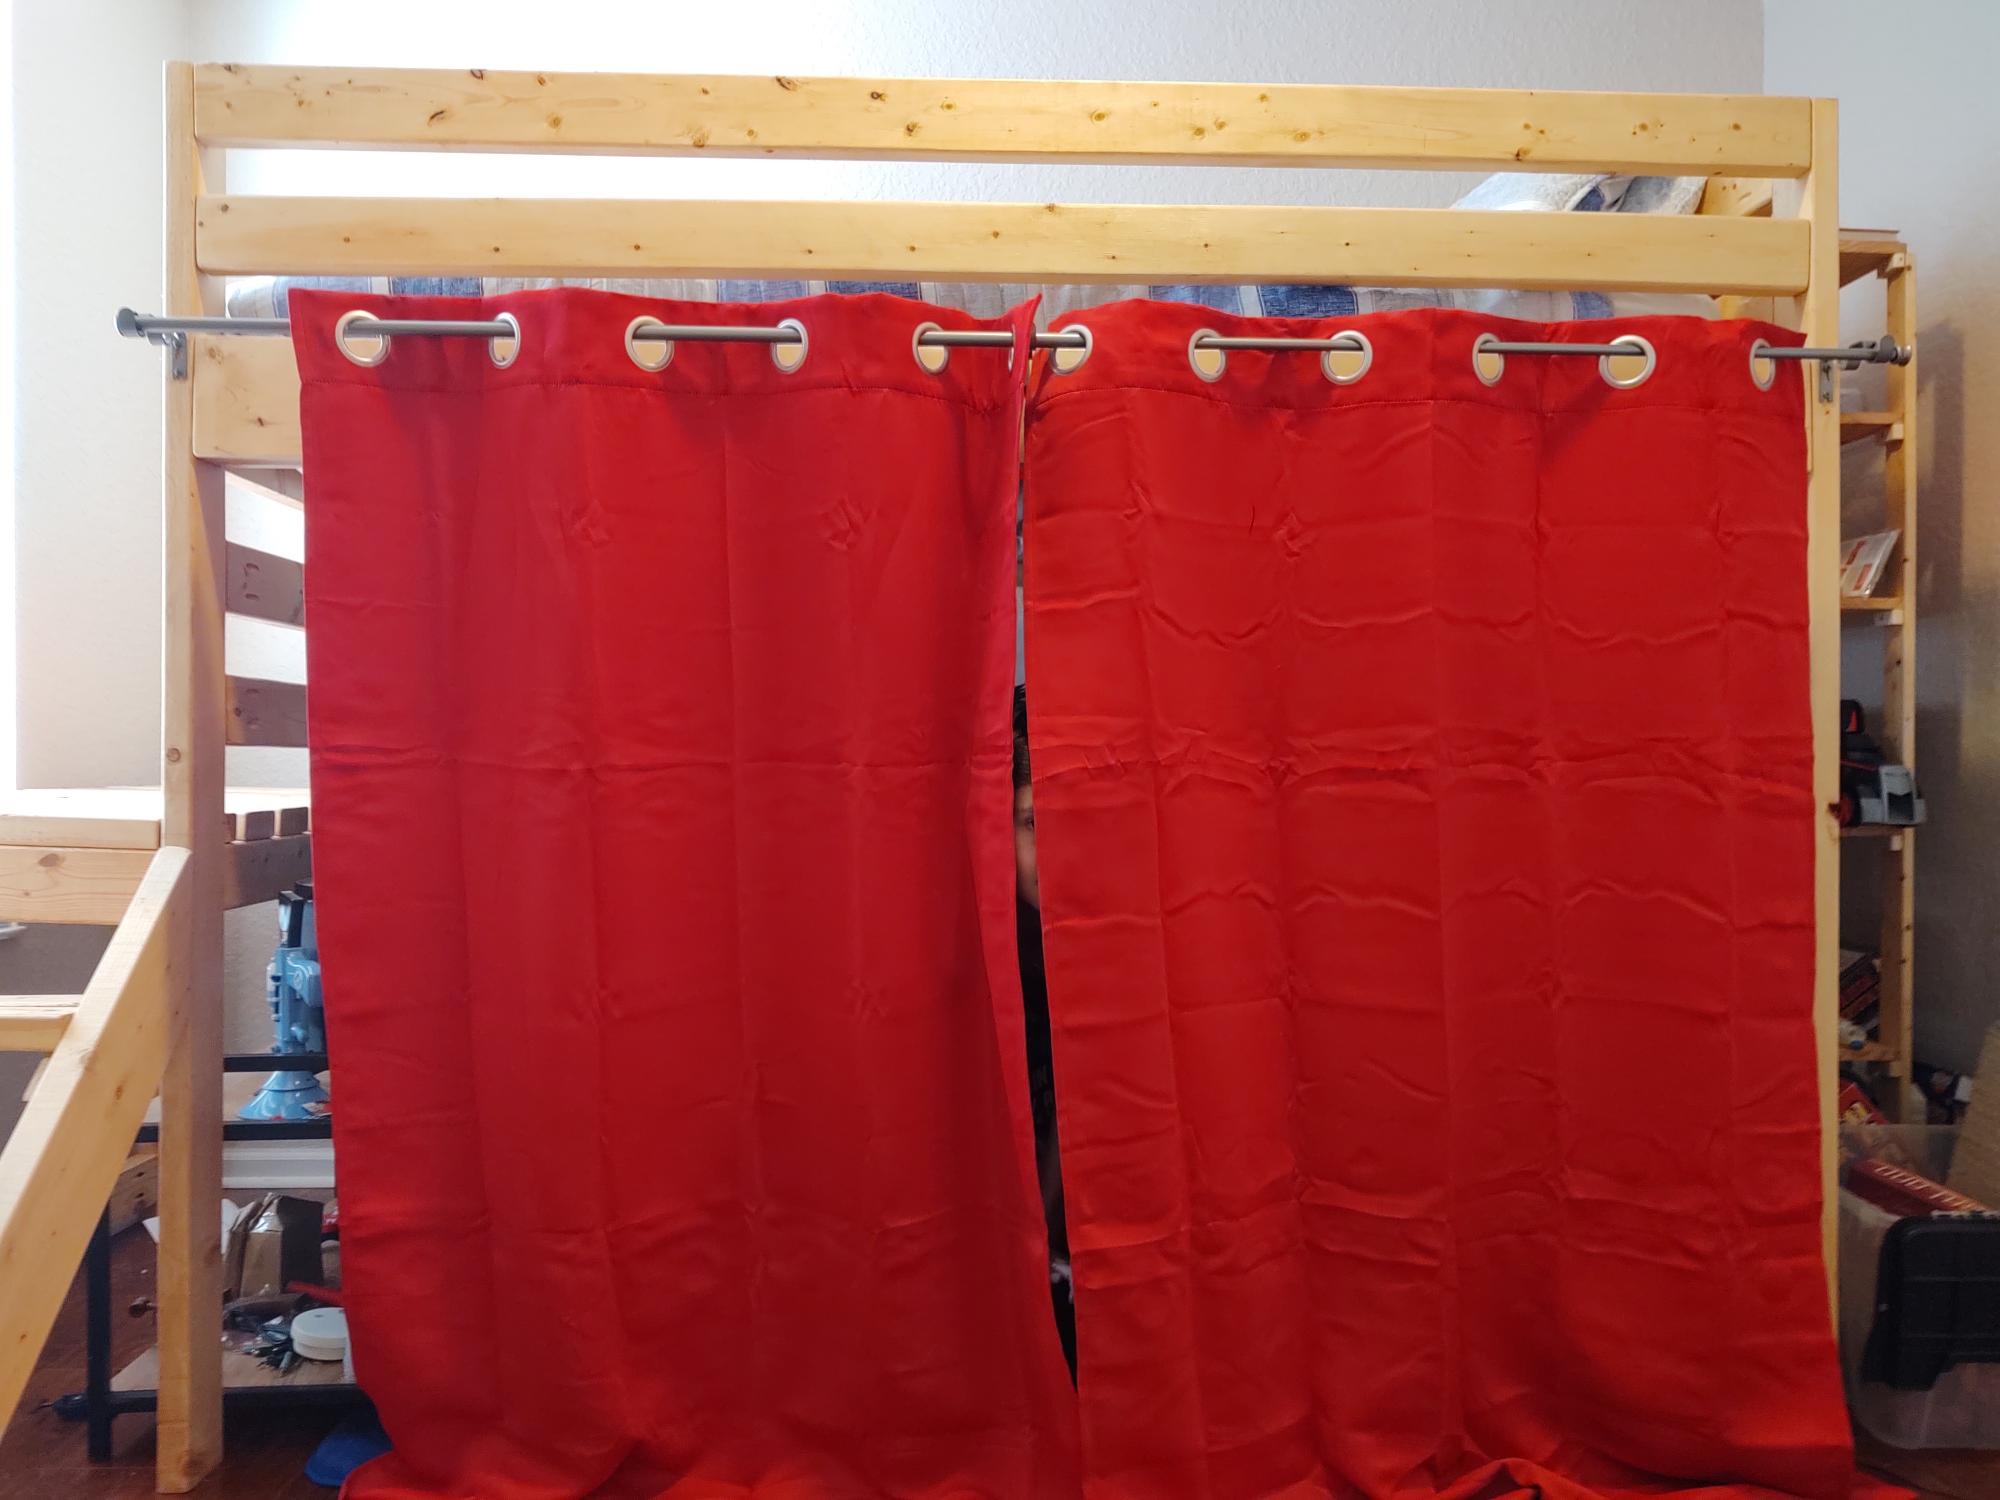
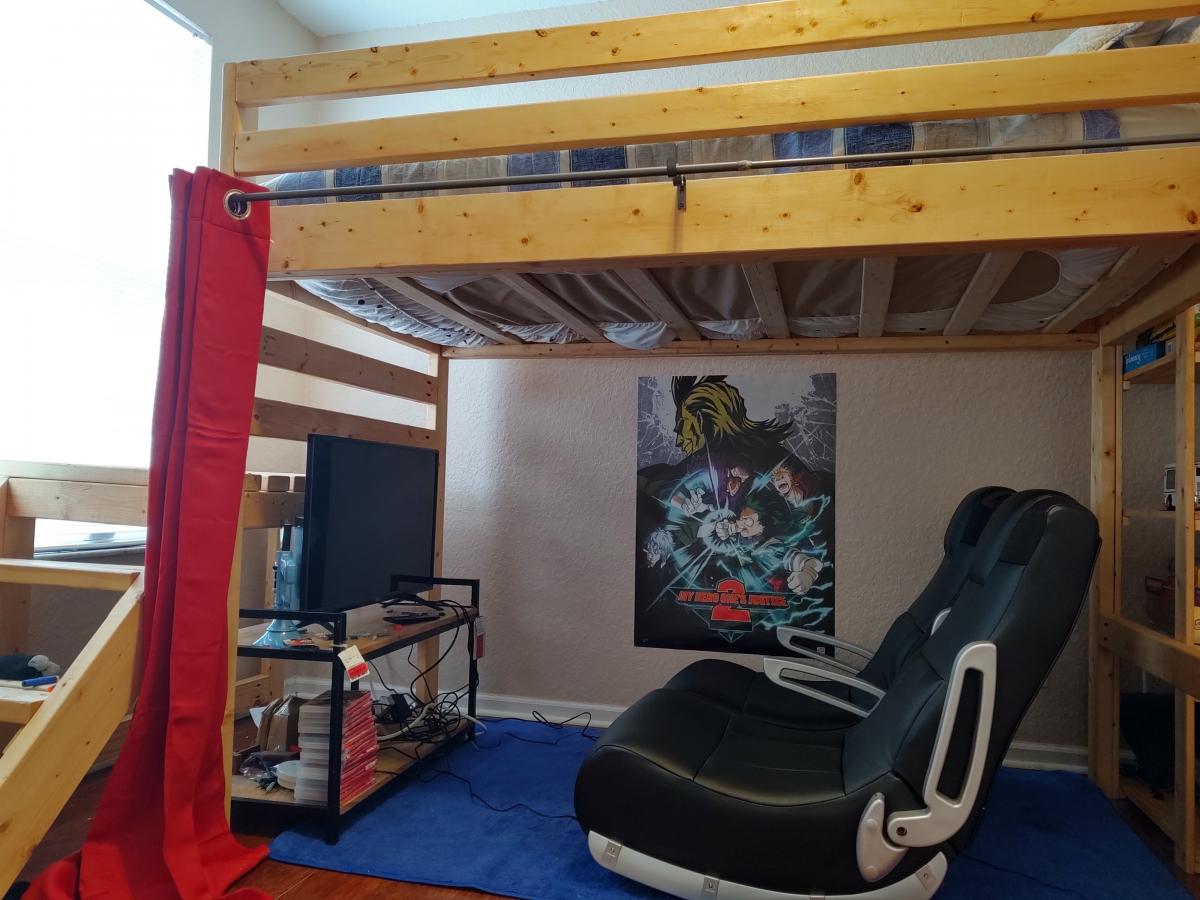
I built this for my 10 year old son. His room is not very big so this loft bed provides the perfect solution to freeing up floor space for playing.
I added some toy shelves to the side for additional storage.
The curtain, TV and gaming chairs turn the under the bed portion into his personal "boy-cave" gaming center.
Thank you for the easy to follow instructions. He loves it!
Wed, 11/06/2024 - 22:00
For Australian players looking to explore the world of online mobile casinos, mobile-casinos-australia.com stands out as a comprehensive guide. This site offers a curated list of trusted Australian-friendly casinos that provide high-quality mobile gaming experiences, combining convenience with security and entertainment. With detailed insights into each casino's features, allows players to compare options based on game selection, bonus offerings, and customer support.
What makes mobile-casinos-australia.com particularly valuable is its focus on safety and accessibility. Each recommended casino supports secure payment methods, including options popular among Australian users, such as POLi, credit cards, and reliable e-wallets. The site also keeps players updated on promotions, free spins, and loyalty programs, making it easy to find casinos that offer added value.
Whether you’re a fan of pokies, table games, or live dealer experiences, Mobile Casino Australia helps you make informed decisions. With this trusted guide, Australian players can find casinos that provide not only great games but also reliable service and secure transactions, ensuring a smooth and enjoyable mobile gaming journey.
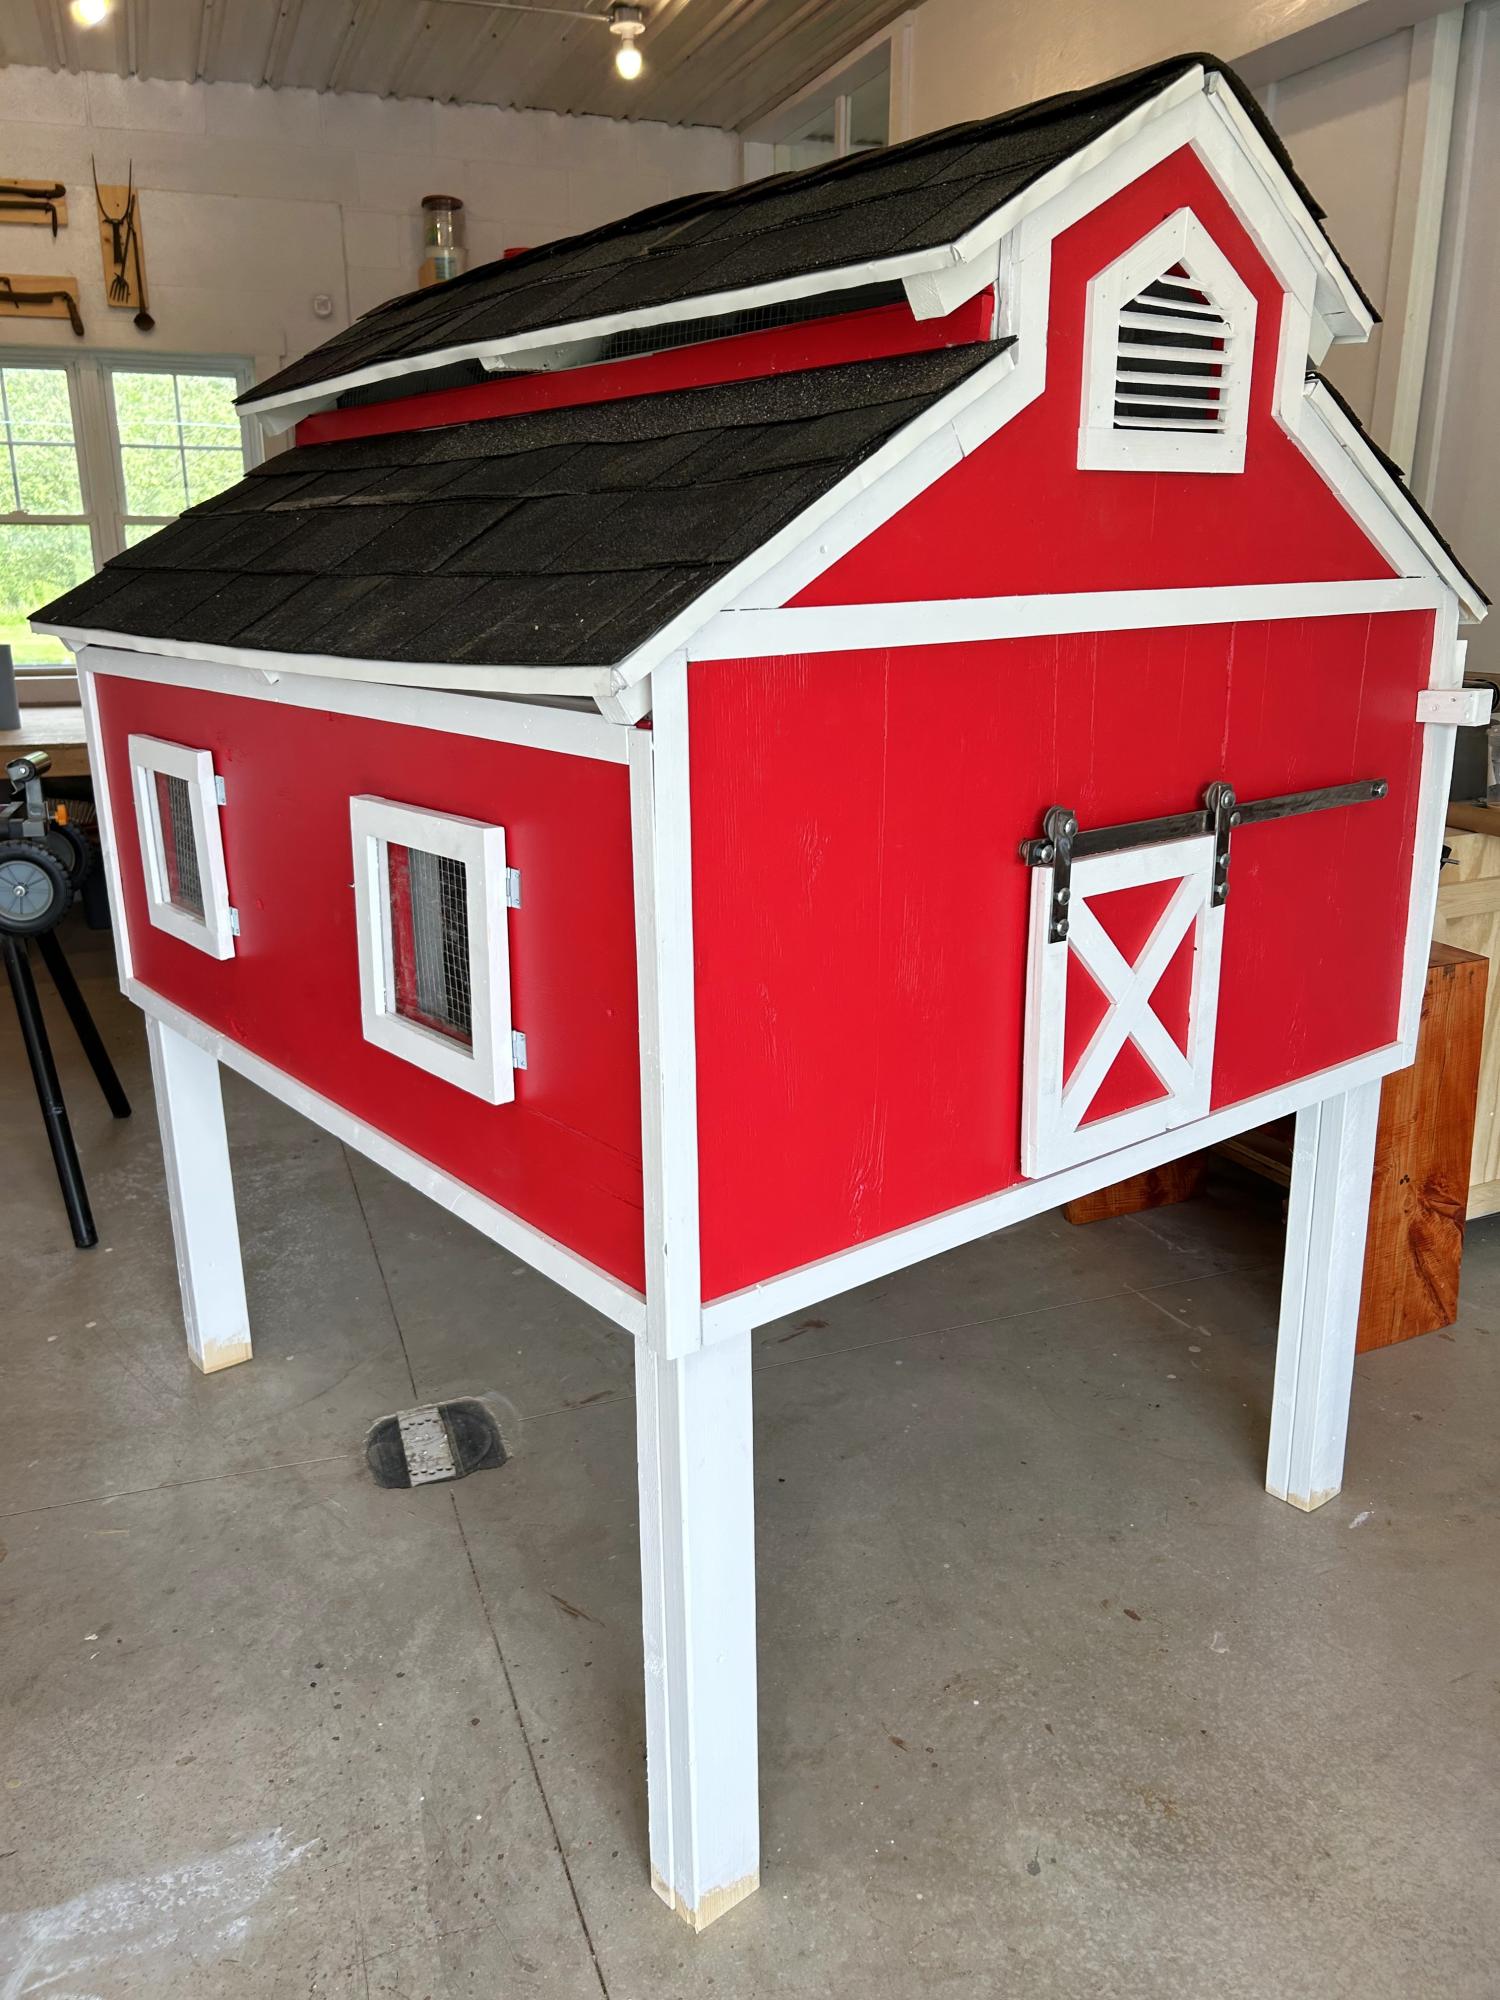
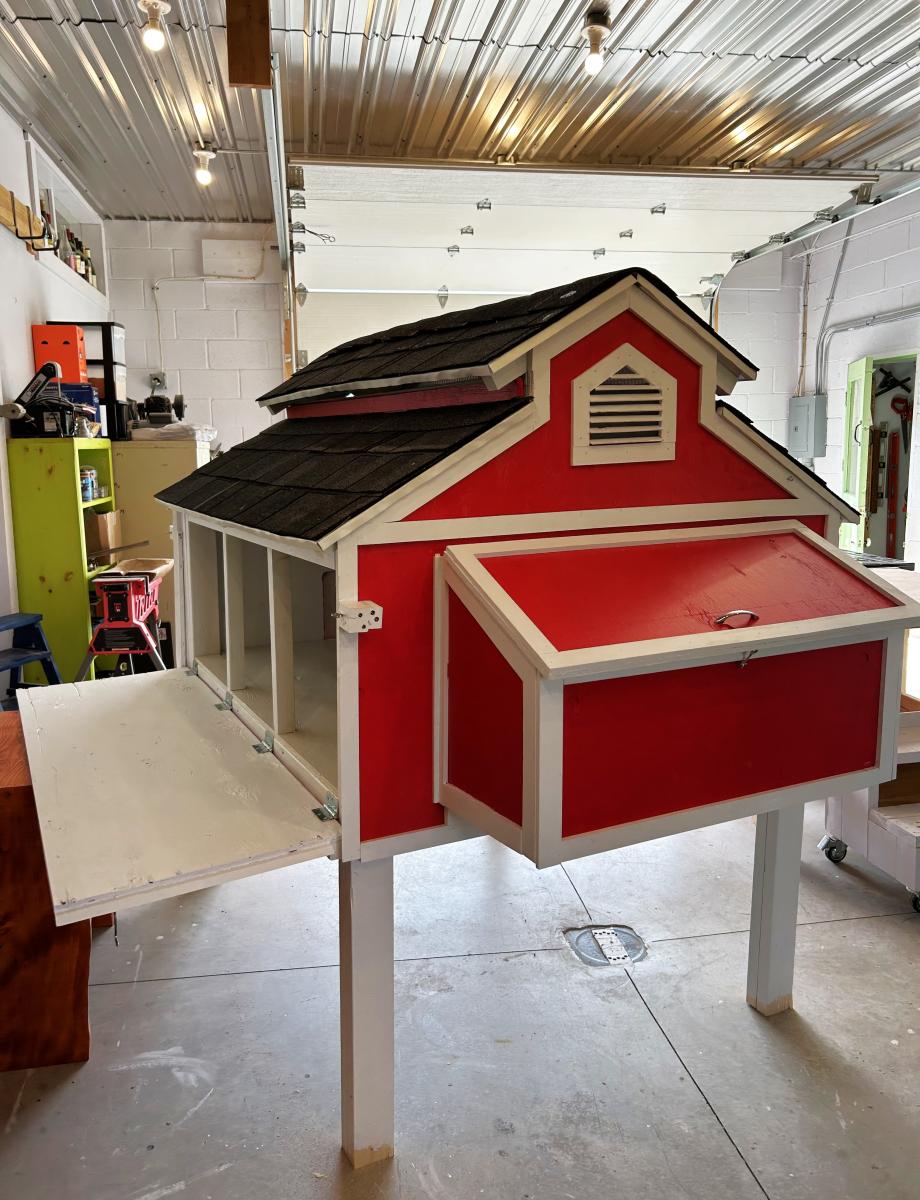
Chicken coop I made to look like a little red barn complete with a working barn door. We have seven girls and they love their lovely barn home.
Sue Laidacker
This is a smaller version of the easiest chalkboard shelf. We needed a smaller shelf to fit between the garage door and coat closet so this was it. It was also my first time using my Kreg Jig, which I love. Such a simple little project but I am excited.
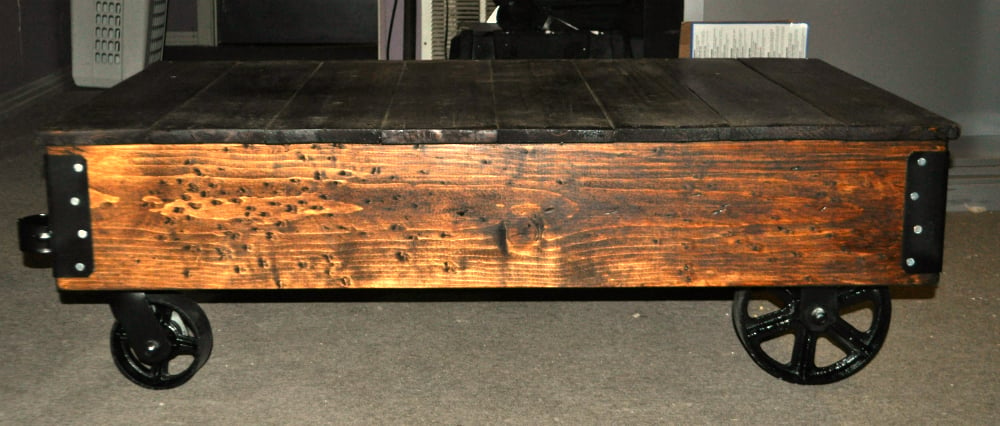
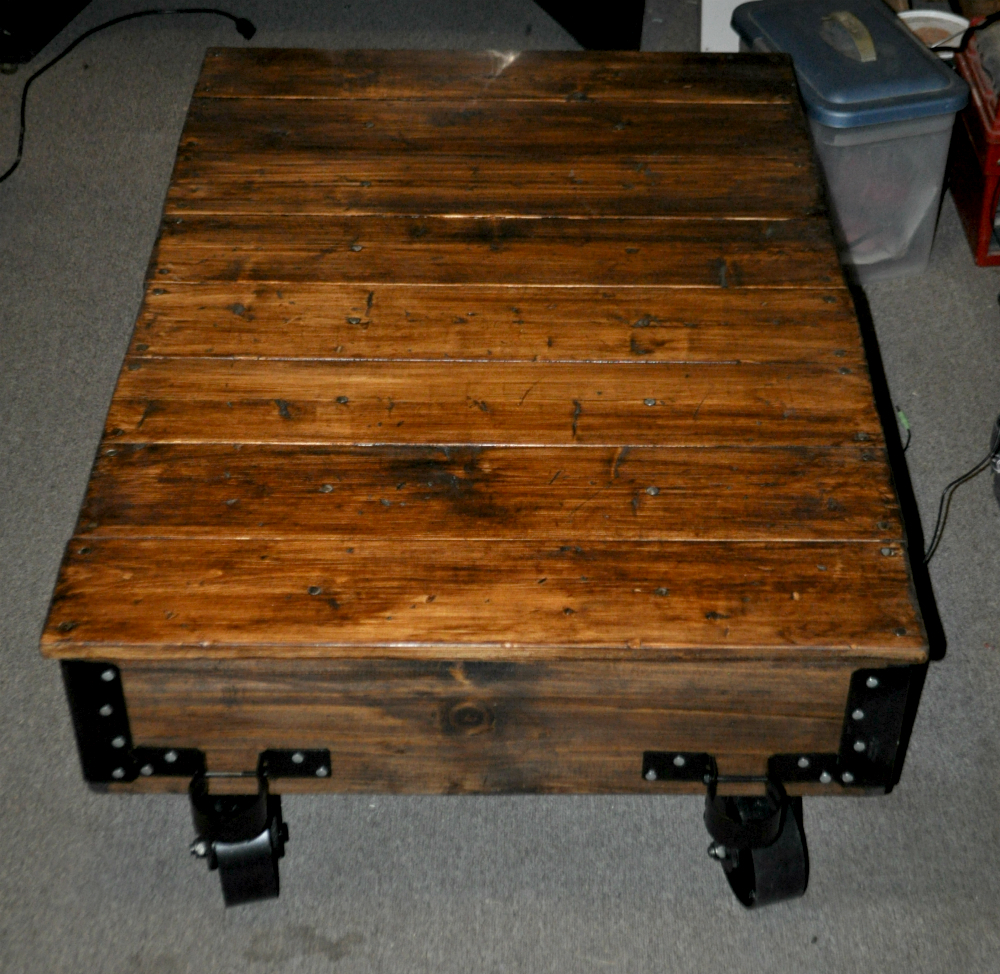
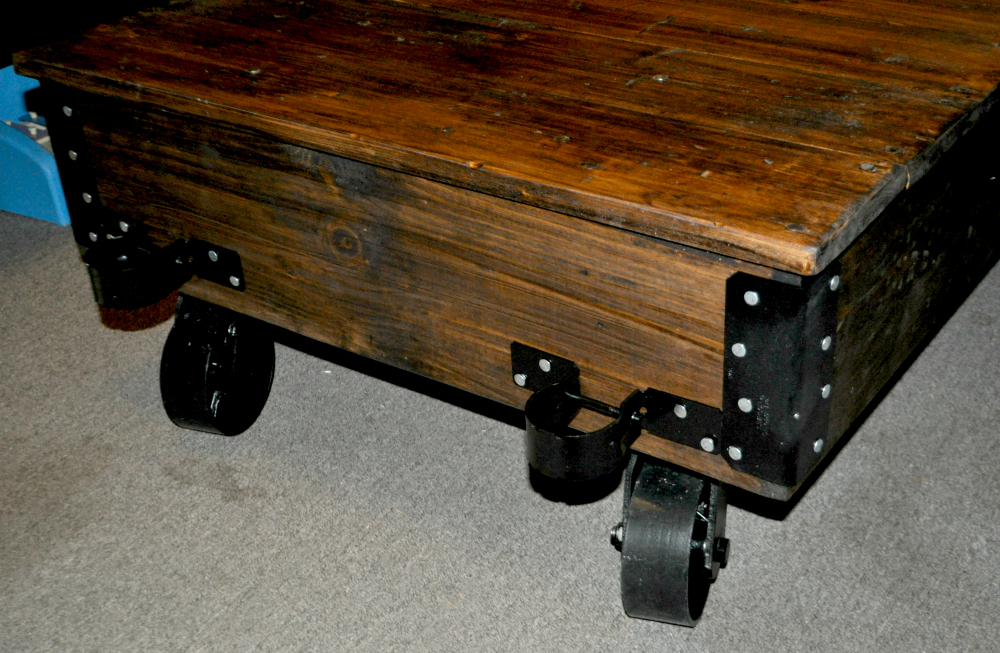
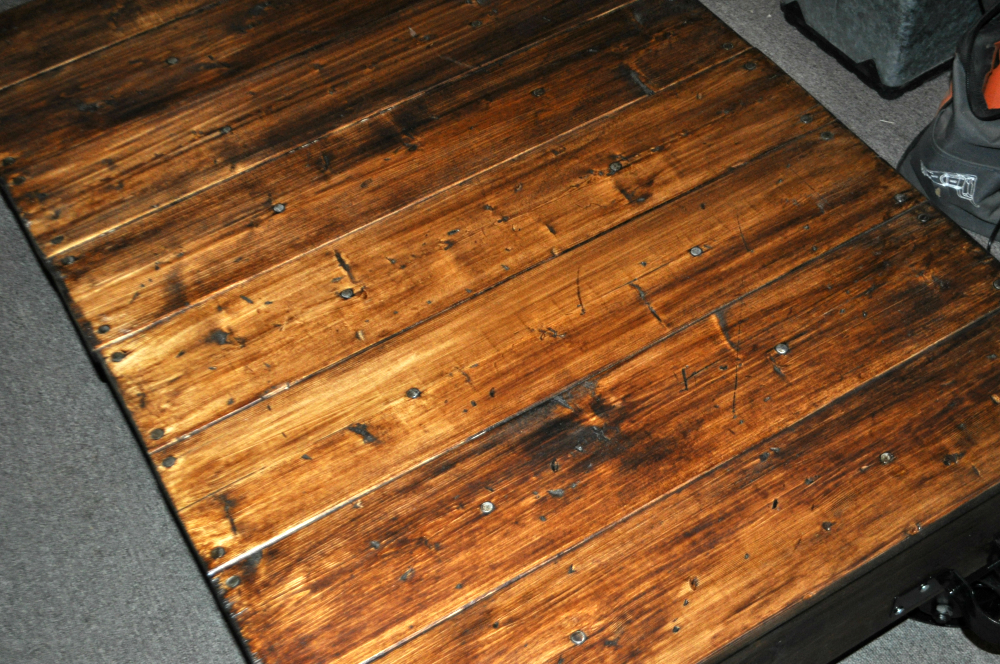
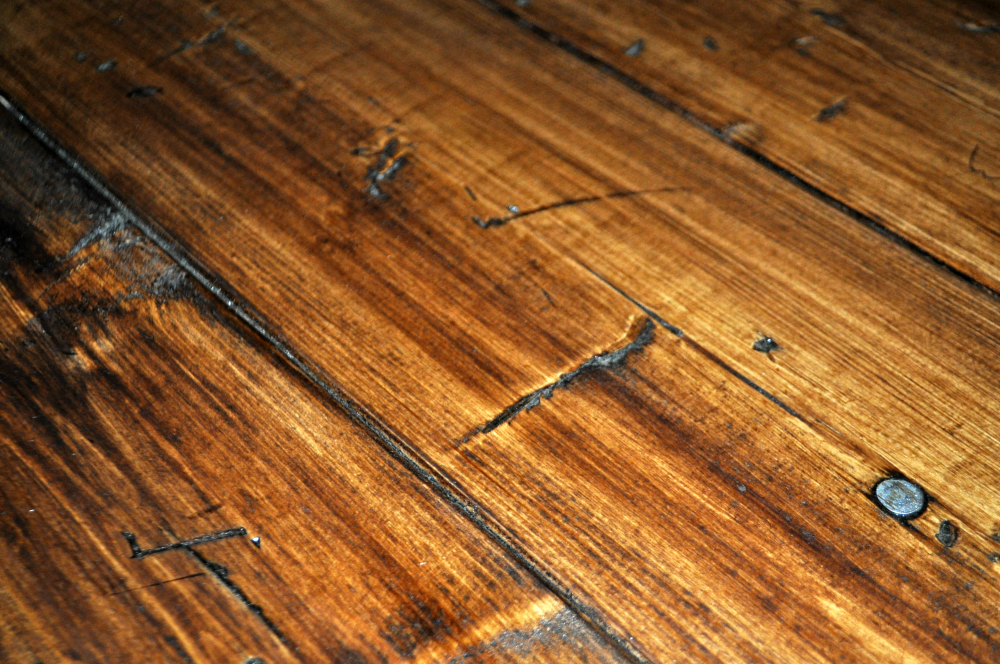
After seeing the plans for the Factory Cart Coffee Table on this site, I decided I should build one. I didn't actually follow the plans exactly...really just used them as "inspiration". I went with 5" swivel casters and 8" fixed casters, and the stain is Minwax hickory poly that has been sanded back a bit. I'm really happy with how it turned out.
Now on to the next project !
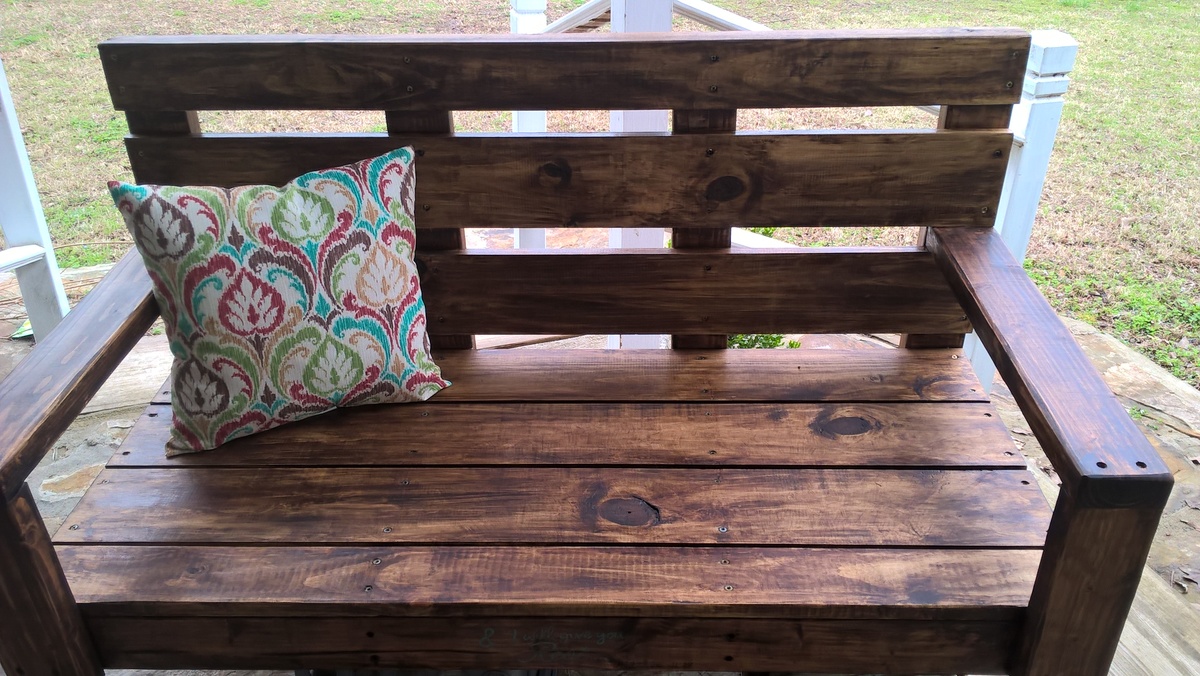
Very easy to read instructions... Excellent swing. You can build and stain in one evening. Love it.
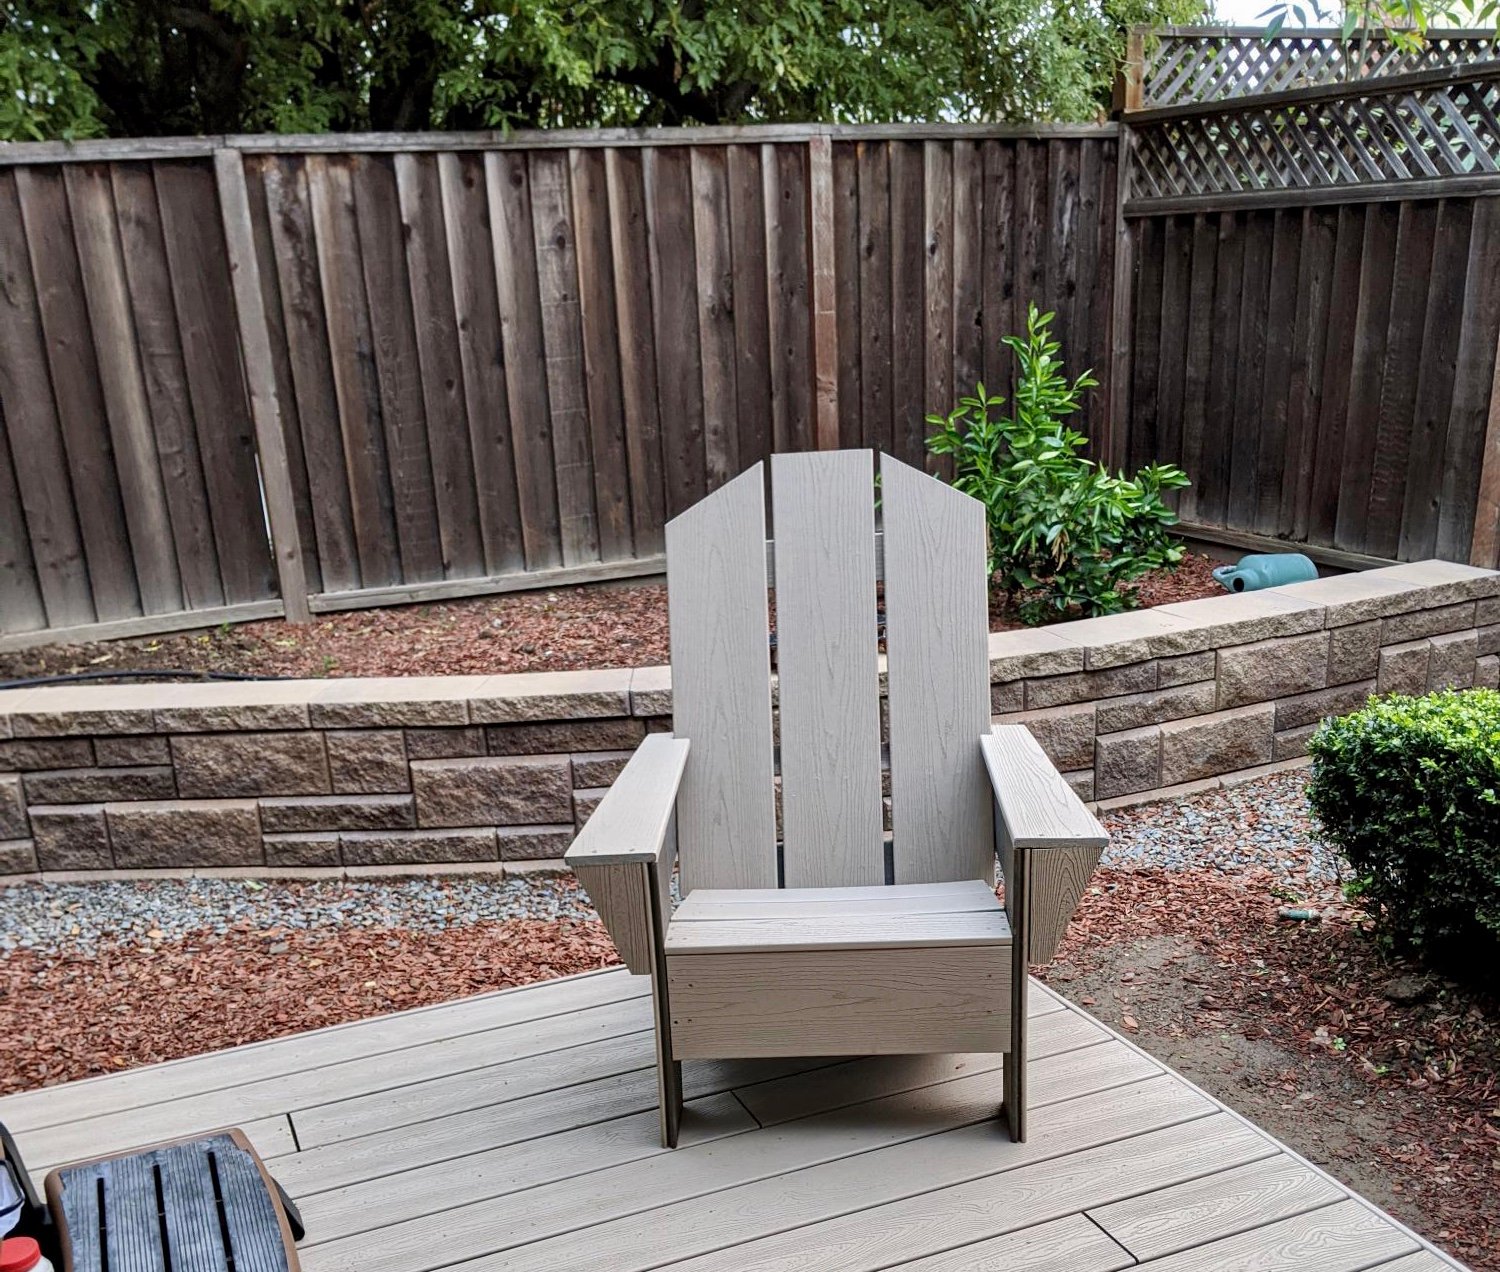
We are stuck at home for the Shelter-In-Place due to COVID-19 so we decided to use the scrap wood left over from our new deck. Because we didn't have the materials exactly meeting the specifications in the directions, we had to adapt the design significantly but we're really pleased with how it turned out. My 16-year-old daughter made it with me so it was a great to get her involved in building
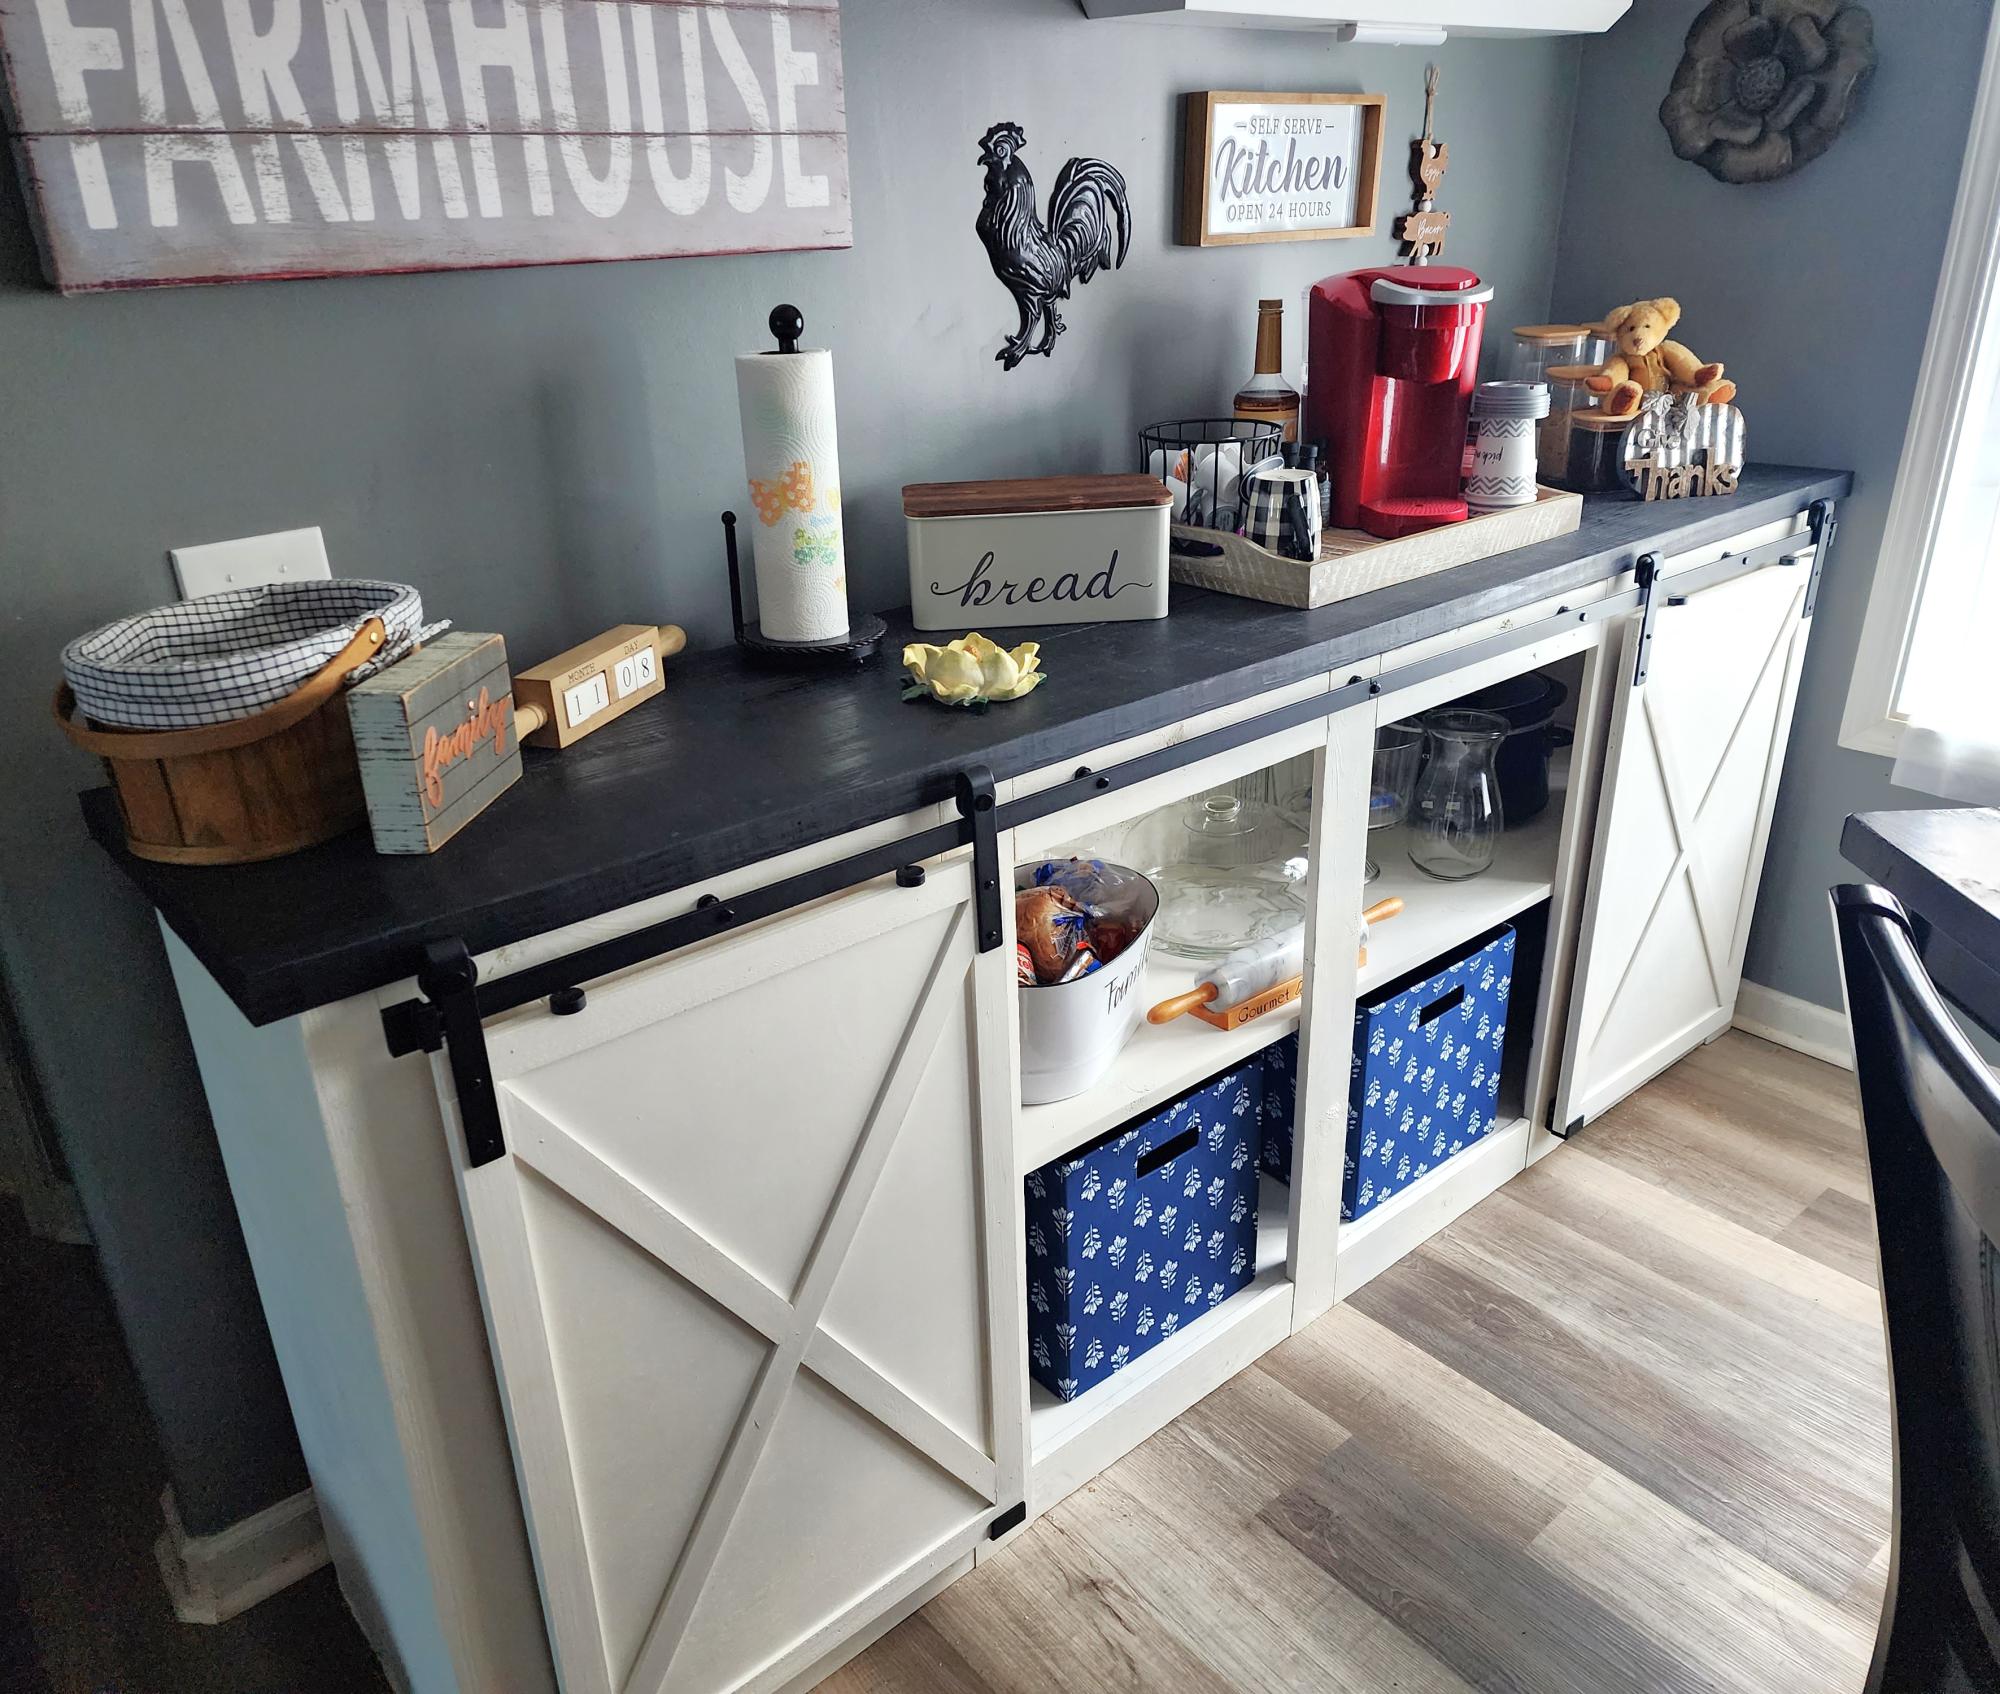
Barn door console I turned into a coffee bar. Great storage space. Love the way it turned out.
Dee
Thu, 11/09/2023 - 11:47
Fabulous build, so much storage and beautiful too!
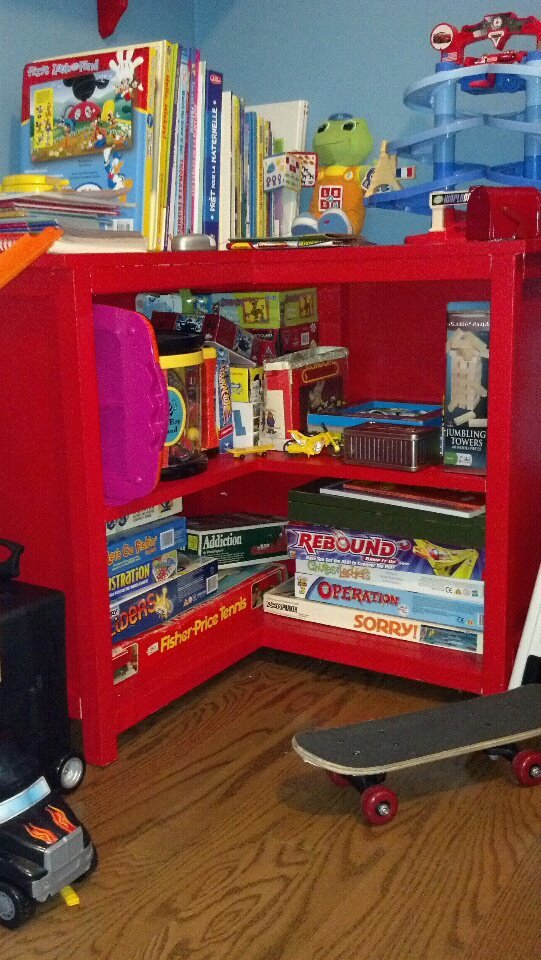
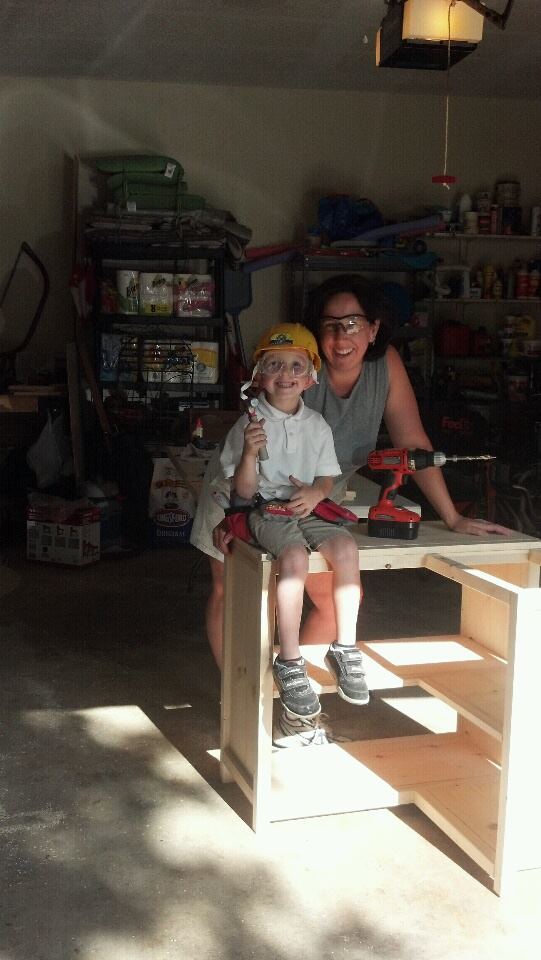
My son needed organization and of course instead of buying something I thought I could build one. I've been eyeballing Ana's site and found this project. This is my very first one. I only had a manual mitre saw so it took a long time to cut all the pieces but it did get done and in the process my hubby bought me a mitre saw! It wasn't hard to put together but the instructions are very detailed. As u can see from the photo, my little man helped me with it!
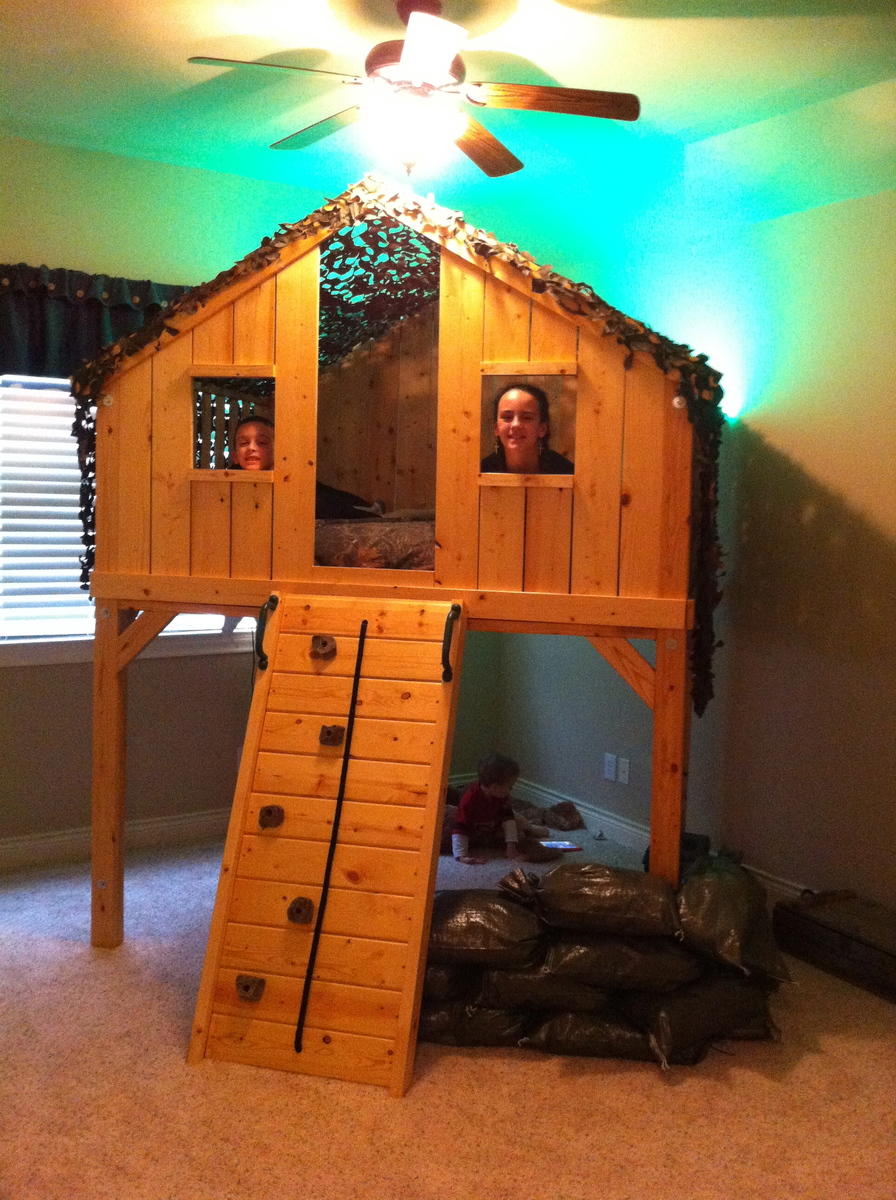
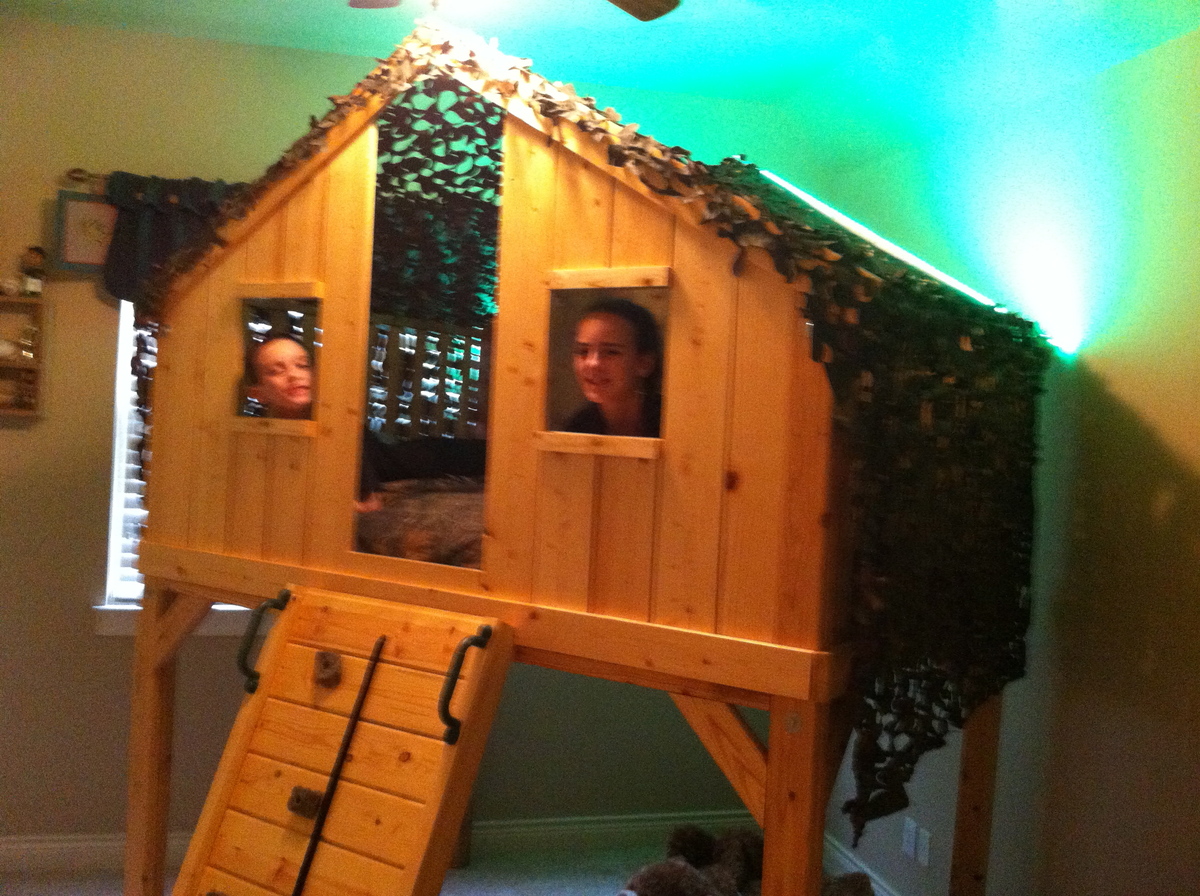
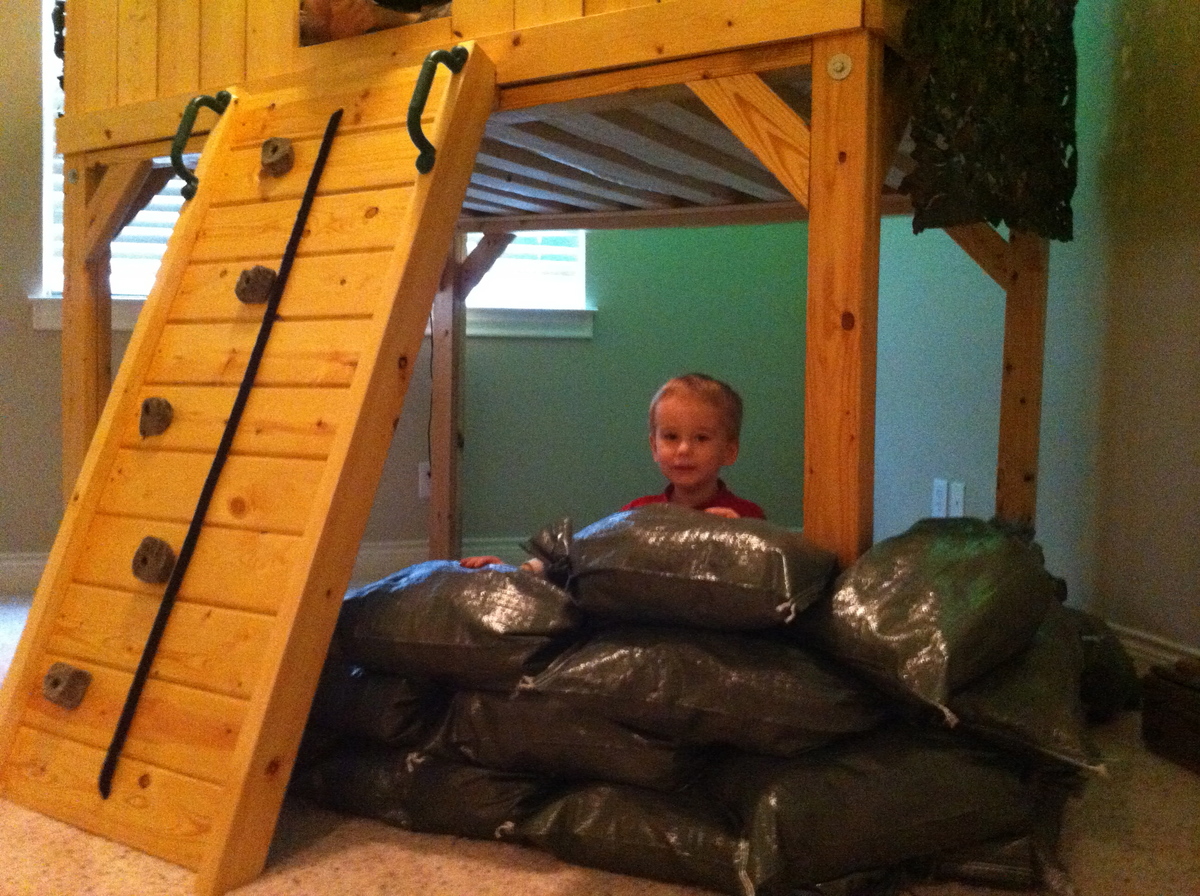
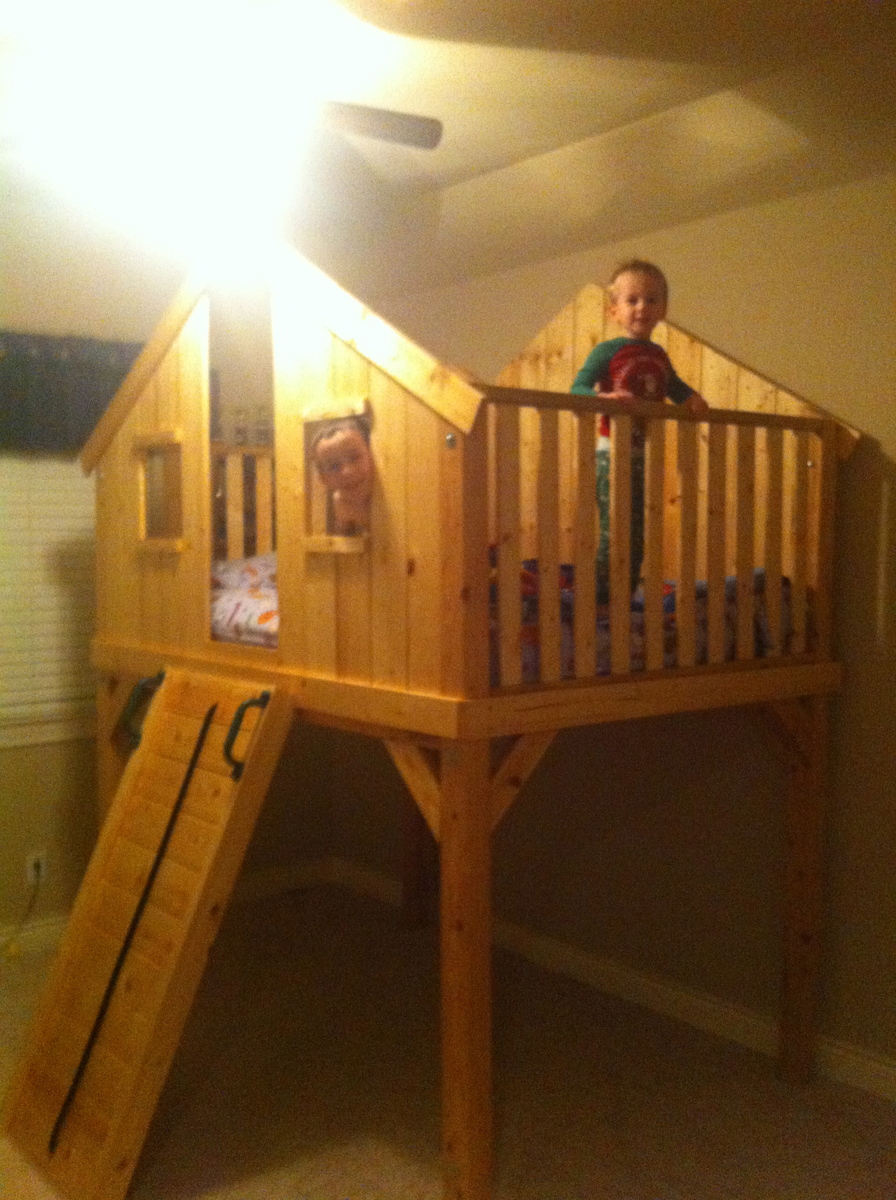
We decided to build this a bit bigger and taller. I will caution you to be careful as we came inches to not making it through our doorways. We expanded the depth 15" to make it a full bed and we extended the length of the legs to allow for 48" clearance underneath.
We also went with a rock wall instead of a ladder. I 1st built the angle too steep; recommend at least a 30 degree angle on a wall. Kid's love it; mom not so much when attempting to make the bed! :)
We went with military theme - green rope lights, camo netting for a roof, and sandbags filled with old clothes from my high school years for a bunker underneath.
Great project! Thanks for the idea!
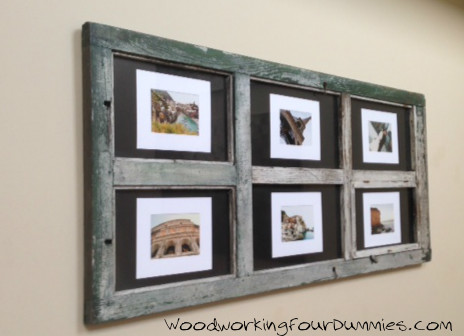
Our house walls are still pretty bare, we wanted some artwork. We bought an old door at a flea marker last summer and decided to turn it into a large picture frame.
More details and photos on my blog:
http://www.woodworkingfourdummies.com/blog/door-picture-frame
Cheers,
Ian
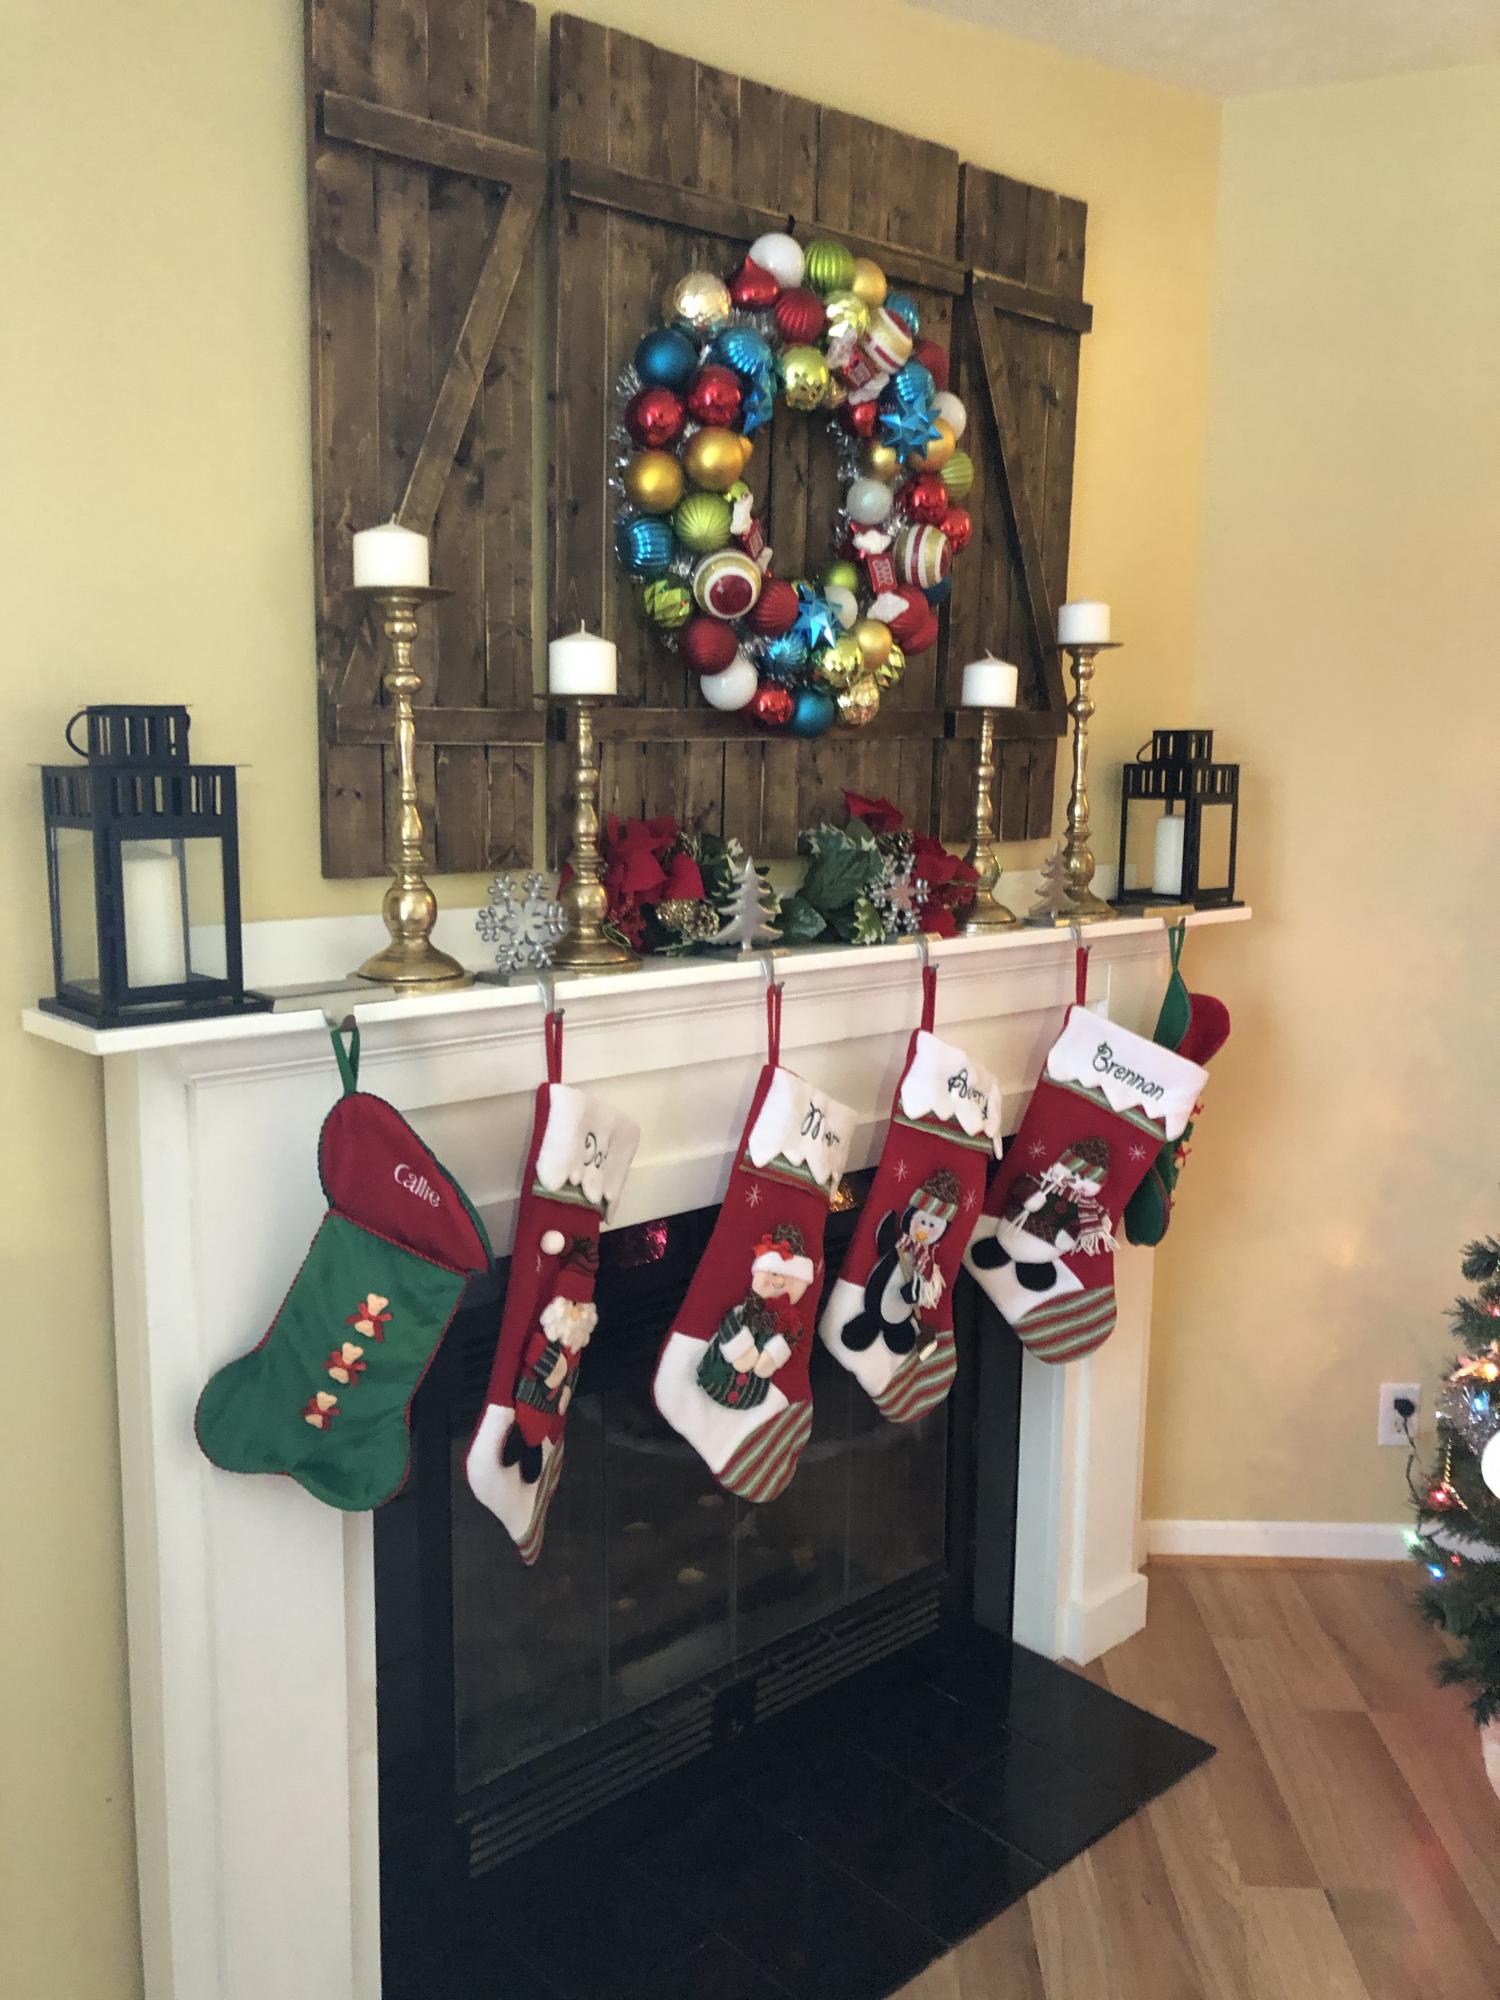
I really wanted a mantle to hang our stockings and to have some decorations. When we moved in there was just a shelf above the fireplace which was fine but I wanted to make more of a statement. This was a pretty easy project after all of the math was calculated. I made to follow guidelines for the fireplace as well. Thanks dad for that :)
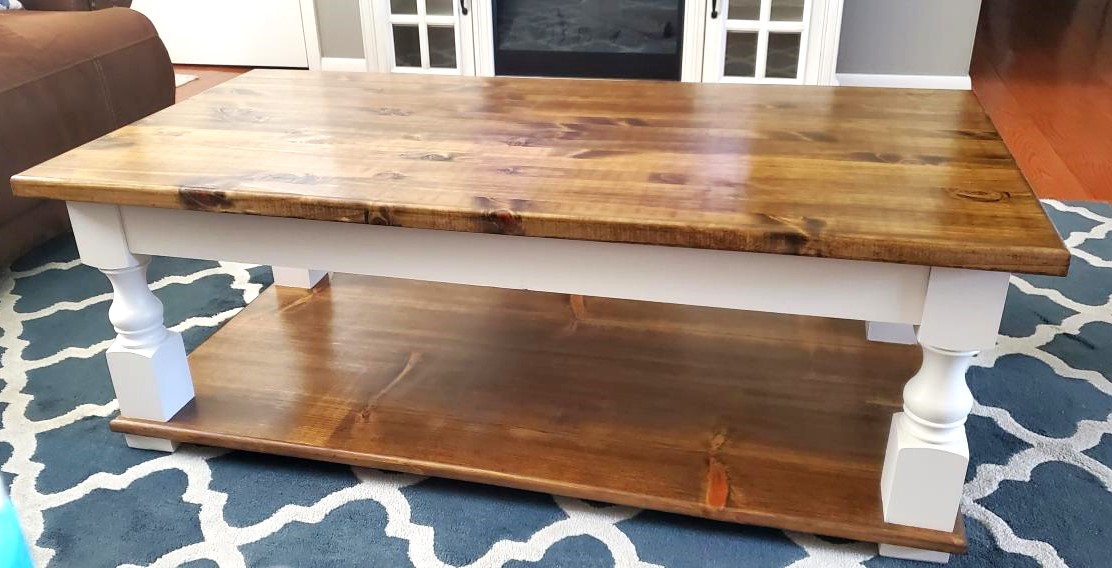
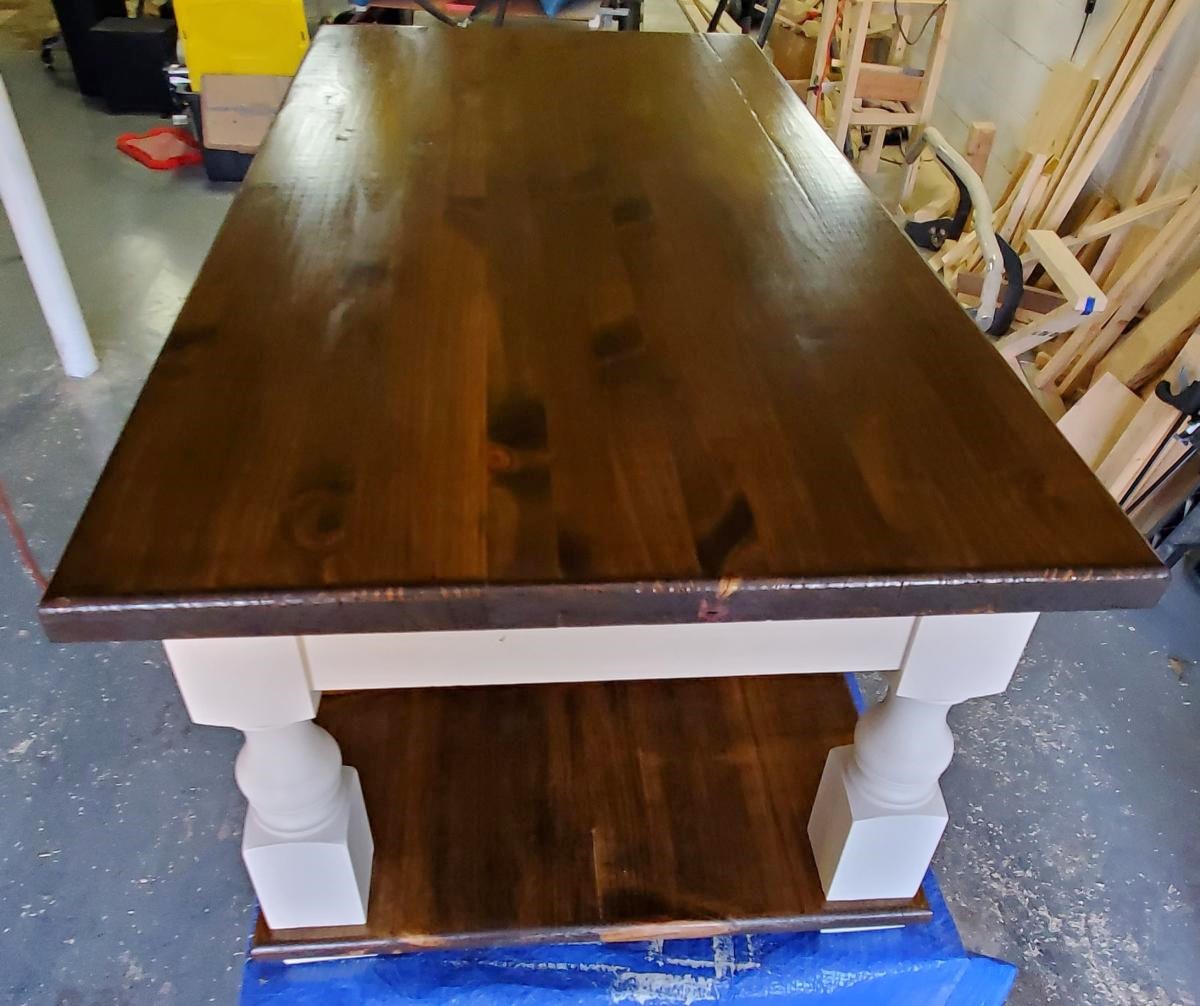
I have built several furniture pieces in my home several coming from you.
I have done quite a bit of wood working never being great at any of them . But I truly love furniture building.

Built this for our Daughters 4th birthday. Both our girls love it! If we had not painted it with outdoor paint we would have been done in a few hours. It took awhile for the paint to dry and we did multiple coats.
Sun, 05/27/2012 - 11:39
So awesome!!!!!!! I love the paint too! But nothing beats those smiles!
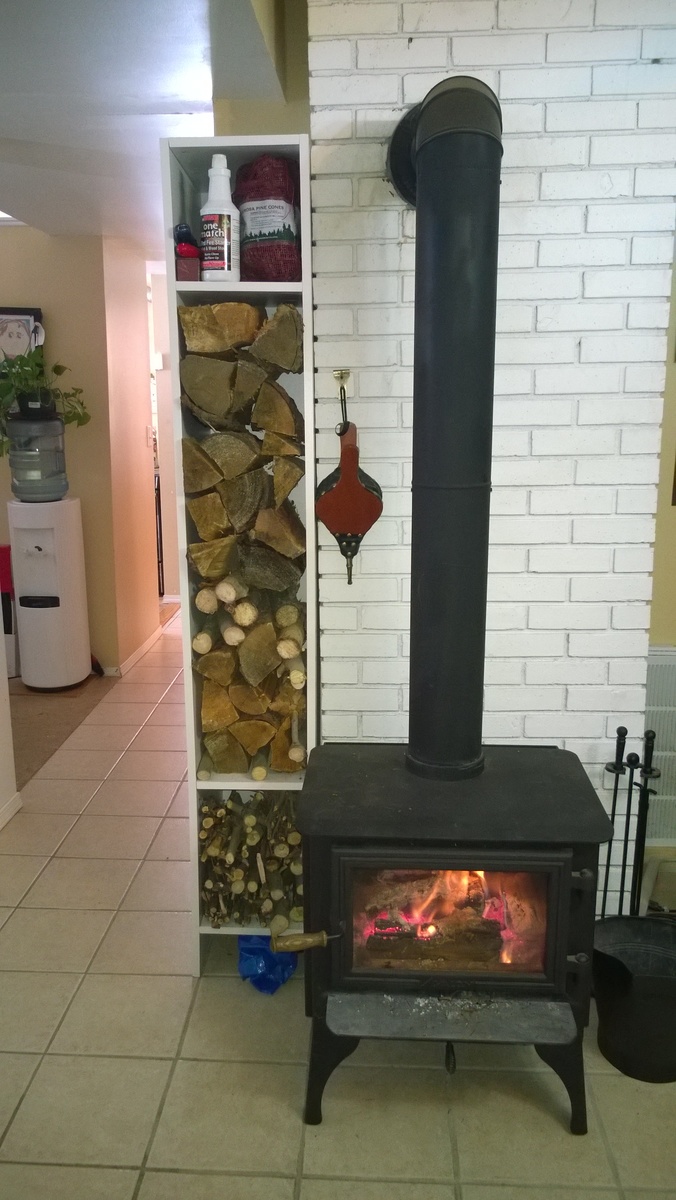
I needed a better way to store my fire wood. The rack that we had only held enough wood for to load the fire place and add 2 or 3 as needed before the wood was gone. I wanted something that I could hold more wood.
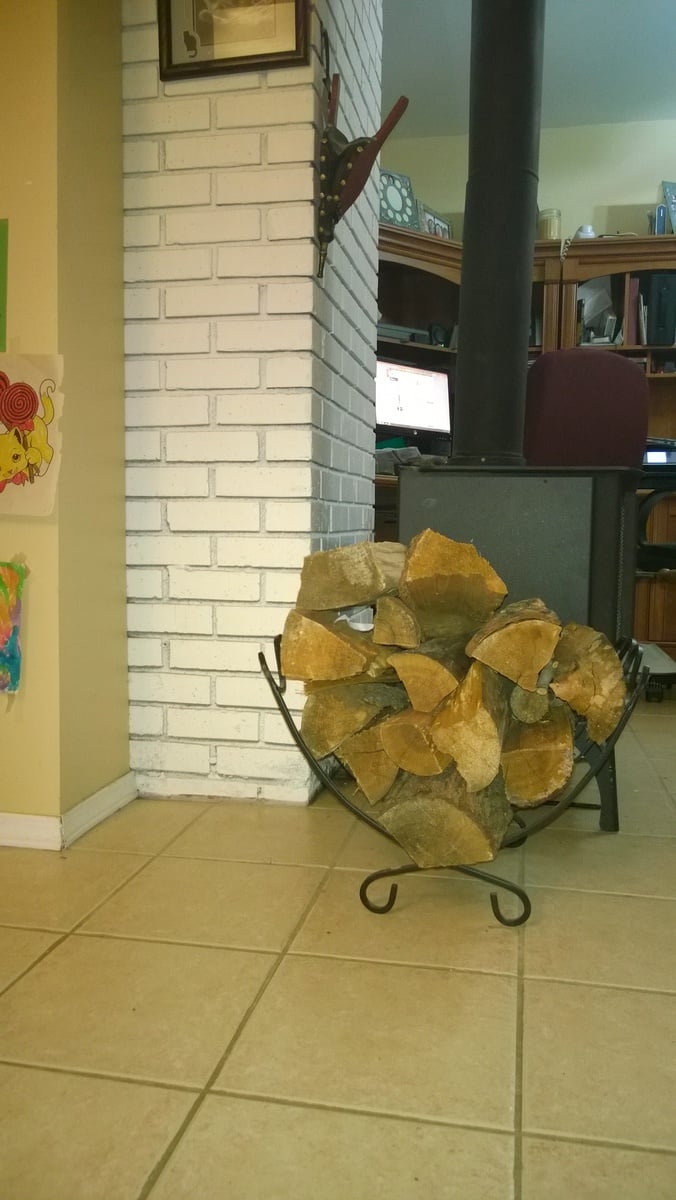
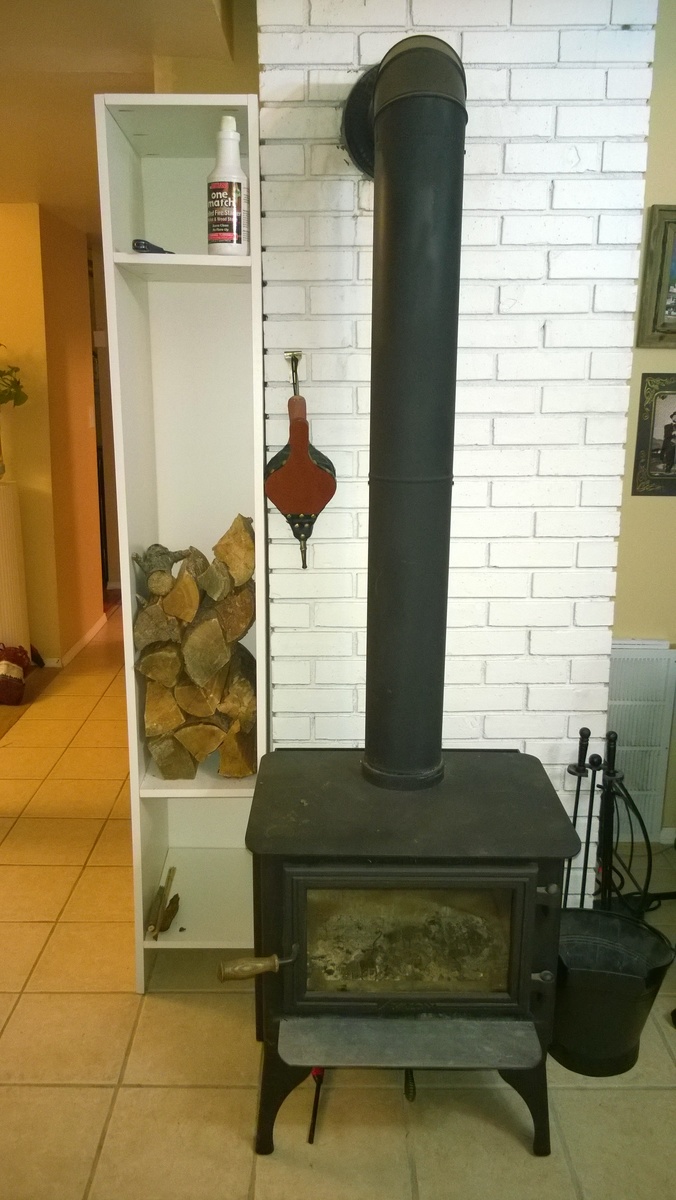
I was looking online at different racks and came across something that looked like a bookcase with no shelves filled with wood. I then looked at where I had my wood and saw that I had a nook to put something like that in. The photo of the shelves with only a little wood is all the wood that was in the metal holder. I had a lot of space left.
After looking at various store for bookcases and shelving, hoping in vain that I could find something cheep that would fit the size I needed, I came to see what plans I could use from Ana's site. I looked at the cube tower and the locker cabinet and finally used the pdf from the locker cab resized to fit my needs.
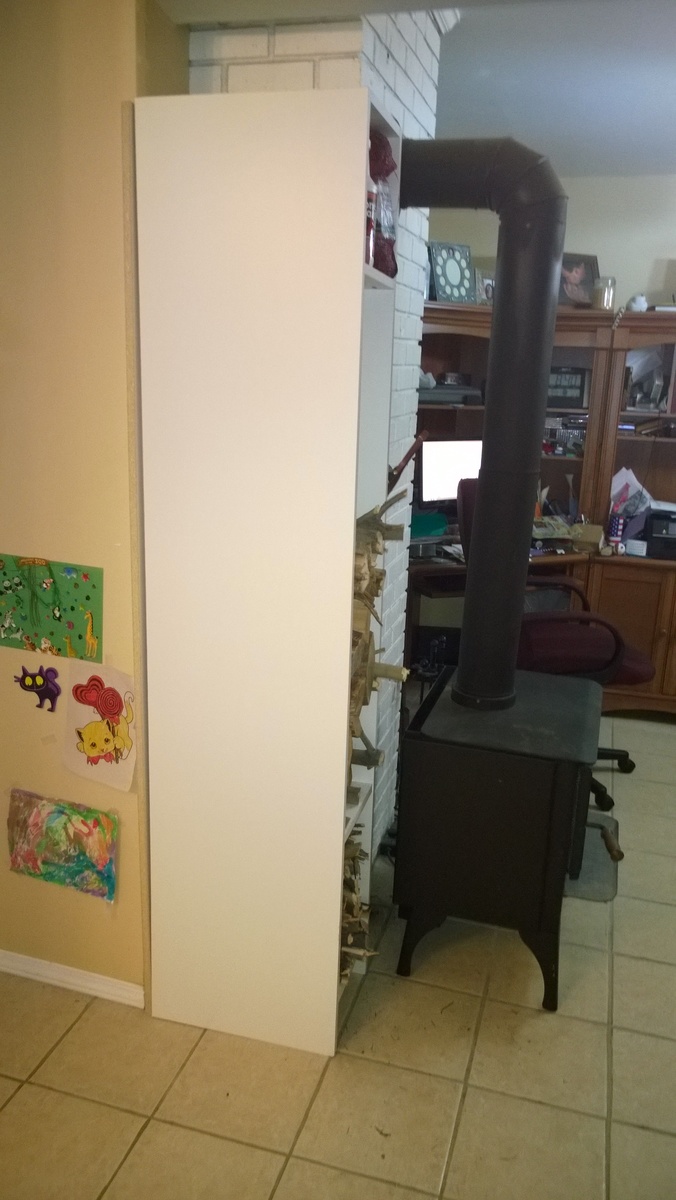
My wife remembered seeing something about banding on here,( http://ana-white.com/2013/11/momplex/finishing-plywood-edges-edge-bandi… ) So we found some white to match the wood. I think the banding turned out good.
I did have a hard time getting the drill in to the pocket holes for the second side of shelf. I started to look on line and found 3" bits at Lowes and HD, but it was 10:30 at night. After looking some more I found a great post on Kreg's site for using a ratchet with a 1/4" socket to hold the bit. http://kregjig.ning.com/photo/ratchetasrtangledriver-1?context=user
My wife also said I should add one more shelf for keeping the wood stable. I told her that I would be fine. Now that I have filled it up all the way I think another shelf would be good to keep the wood rotated. Have one stack of room temp wood, and one of just from outside trying to warm up. So she was right that I should put in another shelf. ;)
I think it has opened the space by the fire place and should help my daughter not to stub her toes like she did with the rack.
The wood was $30 and HD cut if for no charge. It only took one sheet. The banding was around $5 and I had to buy some more Kreg screws.
The Size is 12 1/2"W 18"D and 79" high.
The blue bag under the shelving is an Ikea bag. It is just the right size and strength to carry the wood in.
Mike

The wife has a hard time bending down so she wanted pedestals for the washer and dryer. The metal ones with a drawer were too tall. I showed her Sausha's and she really loved that design. I basically used the same construction plans idea from Sausha's project and some tips from Ryan's brag post. But, I wanted to beef it up some. I didn't like the L-bracket to attach the top and 4X4 legs. It didn't seem sturdy enough for me. I used my table saw to square the edges on the 4X4 posts and the 2X6 rails. Then I used my Kreg jig and glued and screwed everything together. I liked Ryan's trim ideas, so I used baseboard trim for the bottom and flipped it for the top trim. I made a 1/2" lip so if it were to vibrate, the washer/dryer would not fall. I put the trim on the bottom of the legs and was considering putting on the top but I put some different trim all the way around the bottom of the 2X6 rails. The wife liked that. I also added some carpet on the top to cut down on vibration and to help keep the units in place. I also put some 4X4 pieces of carpet on the bottom to keep the noise down and to help in moving it. I primed and used an gravity sprayer to paint it. Then I put 3 coats of polyacrylic to help in cleaning and to cut down on scratches from the laundry baskets.


Wed, 06/29/2016 - 14:31
I think you could probably drive a truck on top of yours. :) I was a bit concerned about the strength of the construction when I first decided to build it, but I decided that since it would be stationary once I have it in place and the only force would be straight down, it would be fine. Once I got it put together, it was actually sturdier than I thought it was going to be...from a horizontal force perspective. Virtically, that thing could hold 100 washer/dryer pairs...the plywould would give out before the 2x4s and 4x4s would even budge.
Anyway, nice work! I love the Kreg Jig...I need one of those.
Sun, 01/29/2017 - 16:23
Great looking build, thanks for the detailed photos!
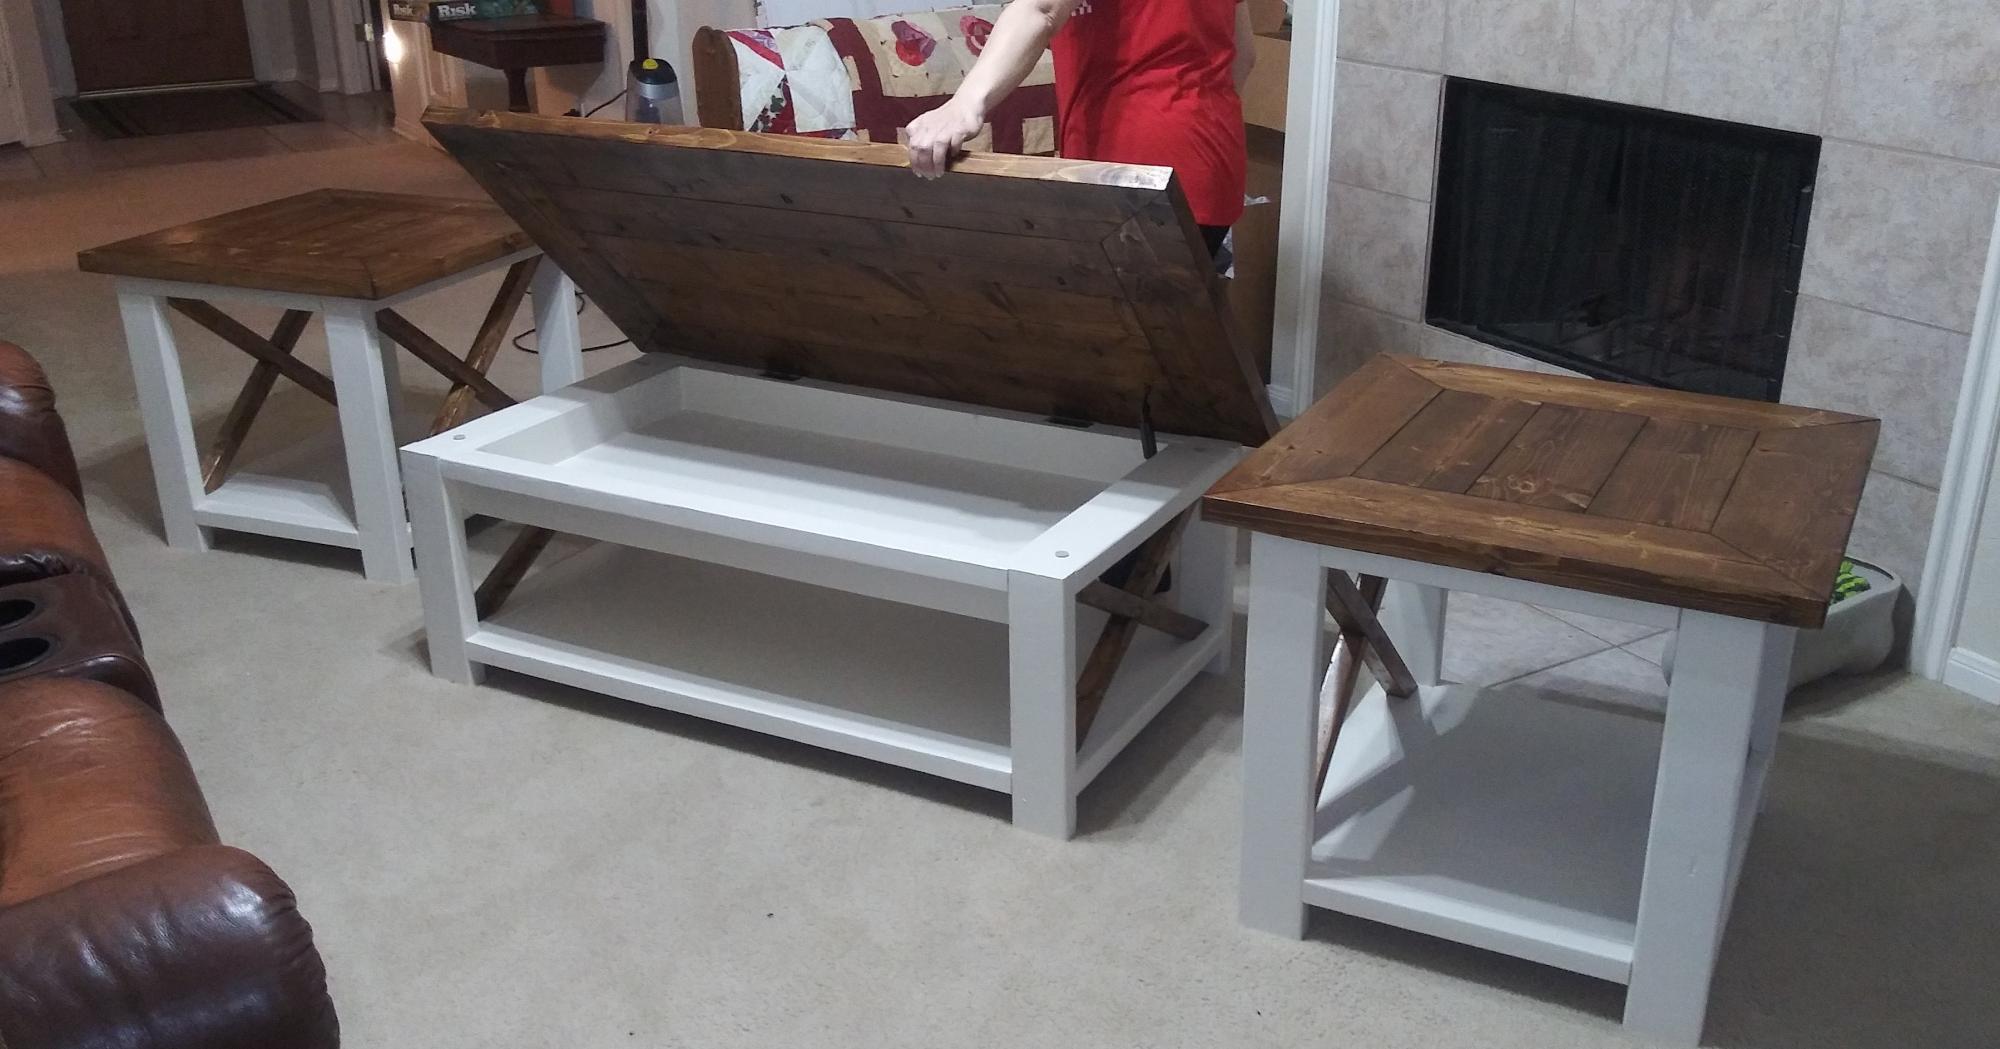
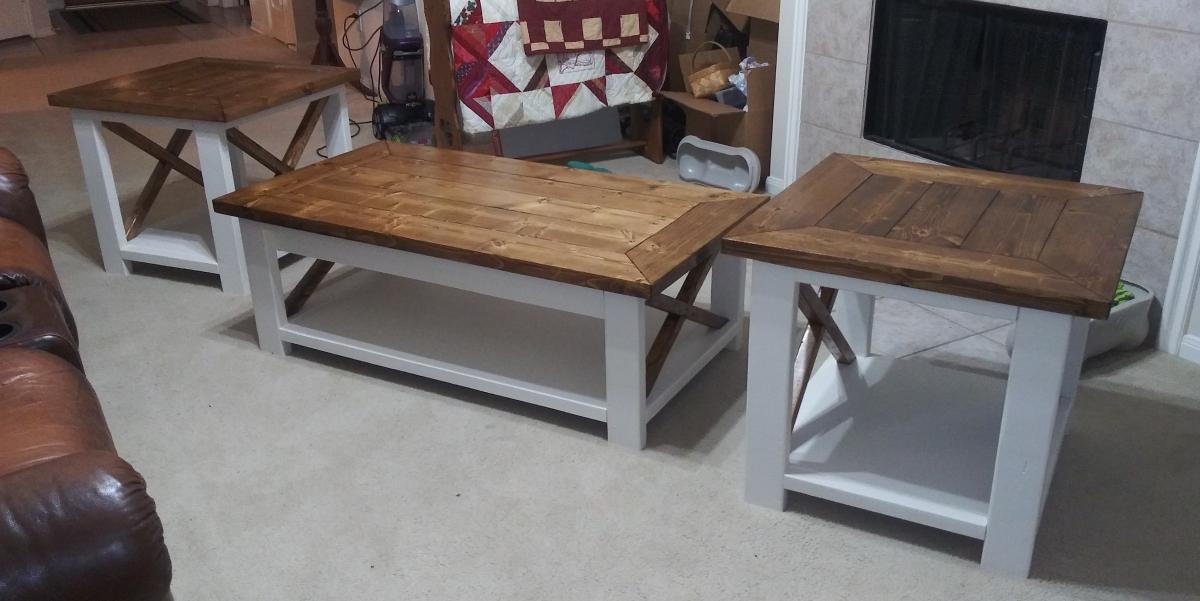
I used the Rustic X Coffee Table plan to make a living room set. I added a 3.5" deep lift top storage area out of plywood, and also used plywood on the bottom of the table as well instead of 1" by 12".
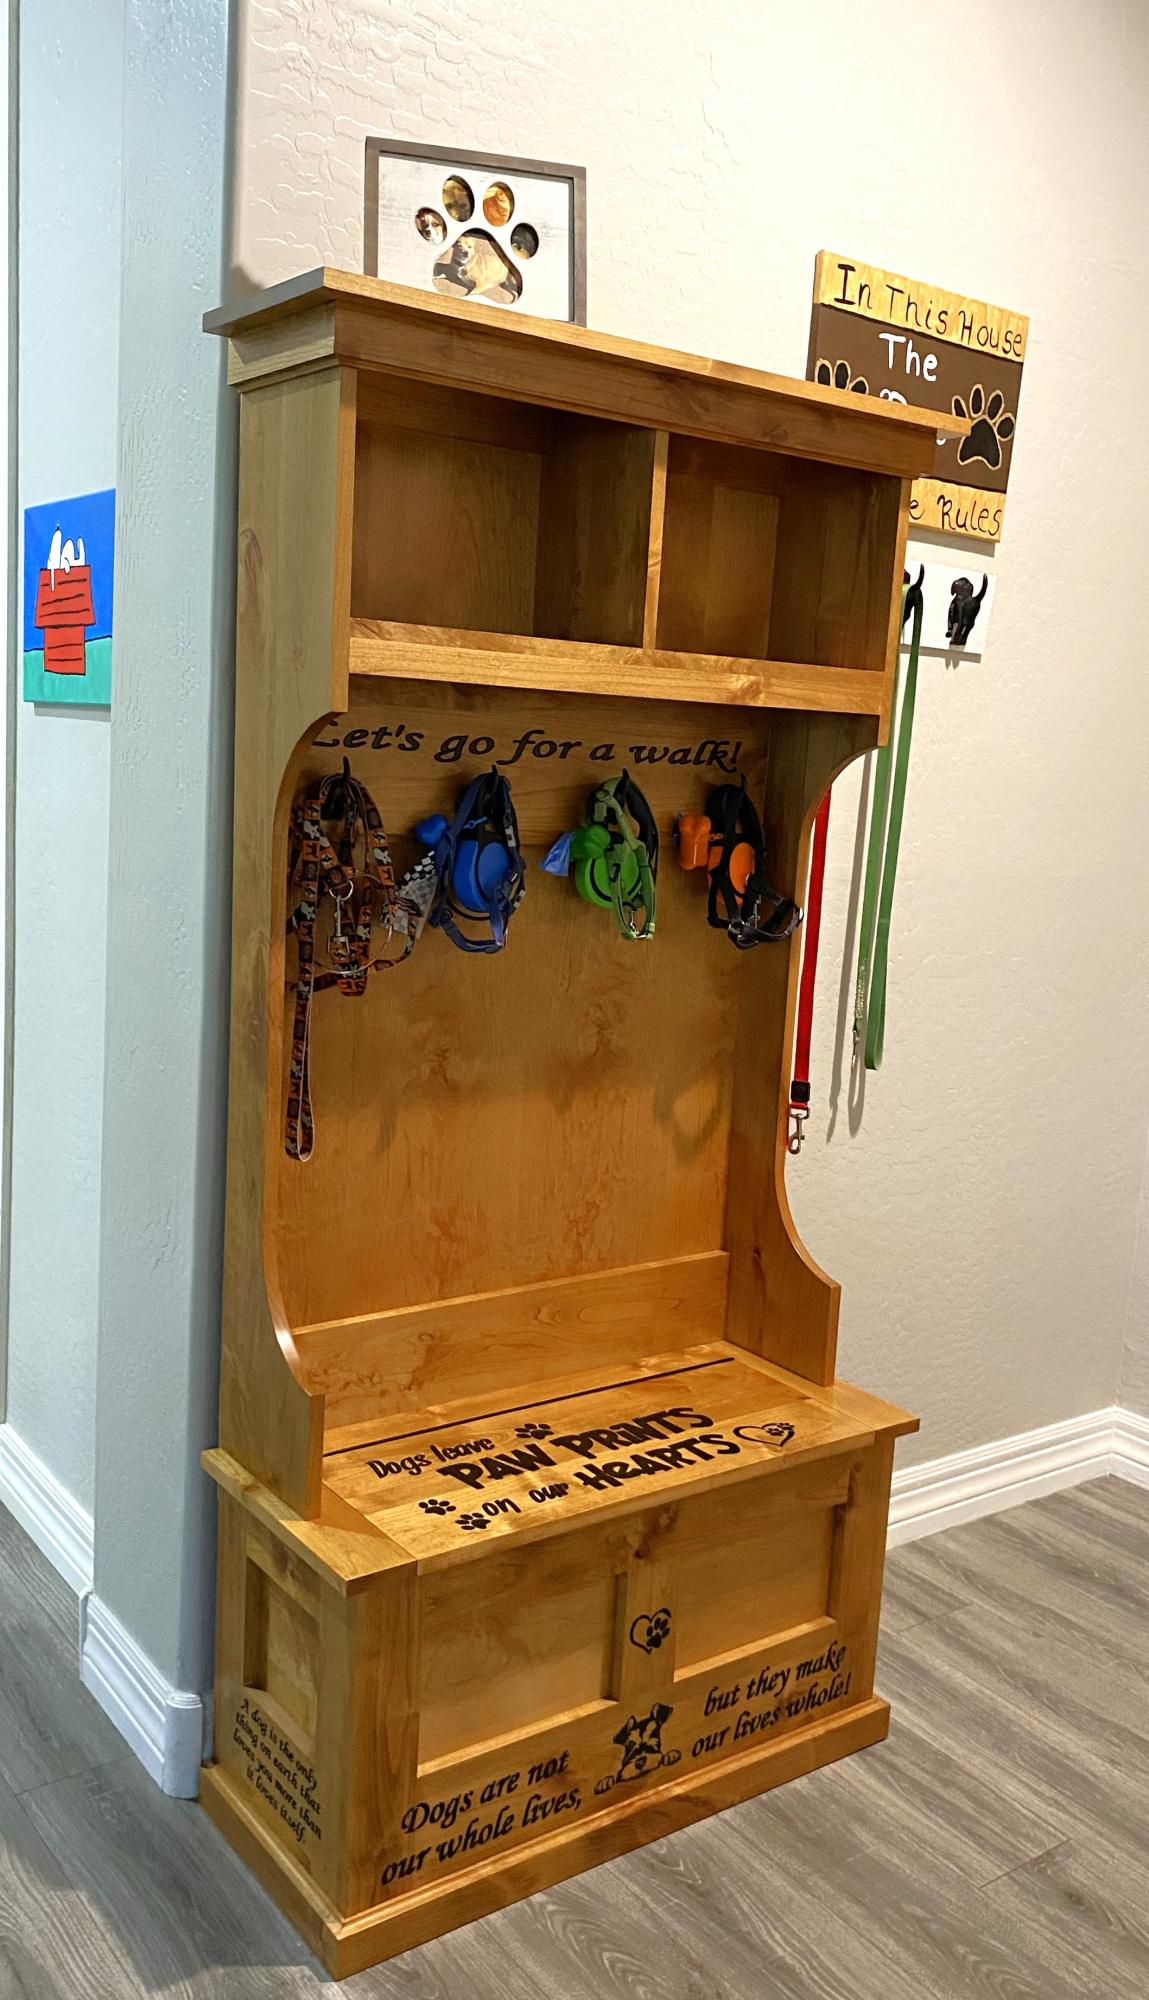
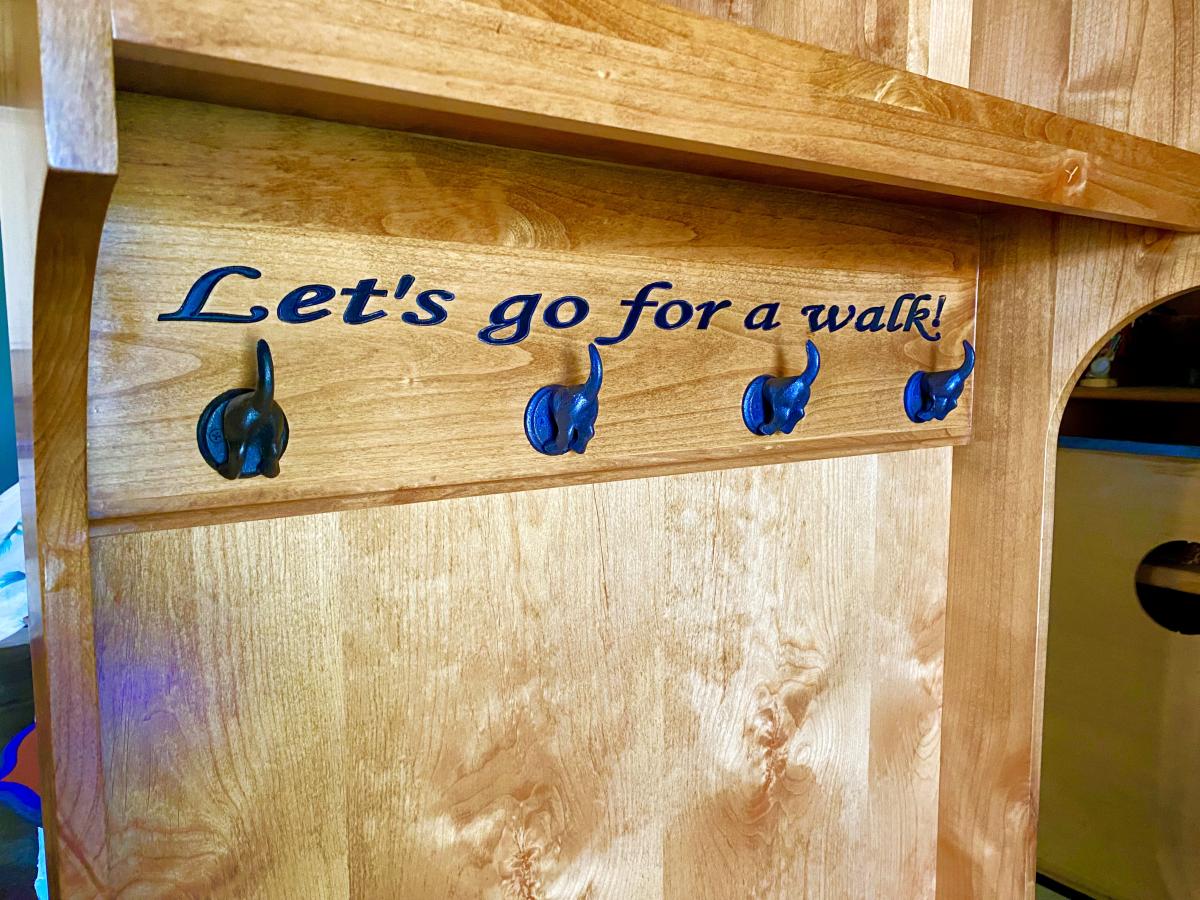
I made this for some friends who are fellow dog lovers. I used the Mimi’s hall tee and storage bench plans. They were very happy with it. This is the second time I’ve used these plans. It’s a very fun project to build.
M. Wold
Sat, 11/18/2023 - 12:48
Love this, such a great storage solution for a pet walking station!