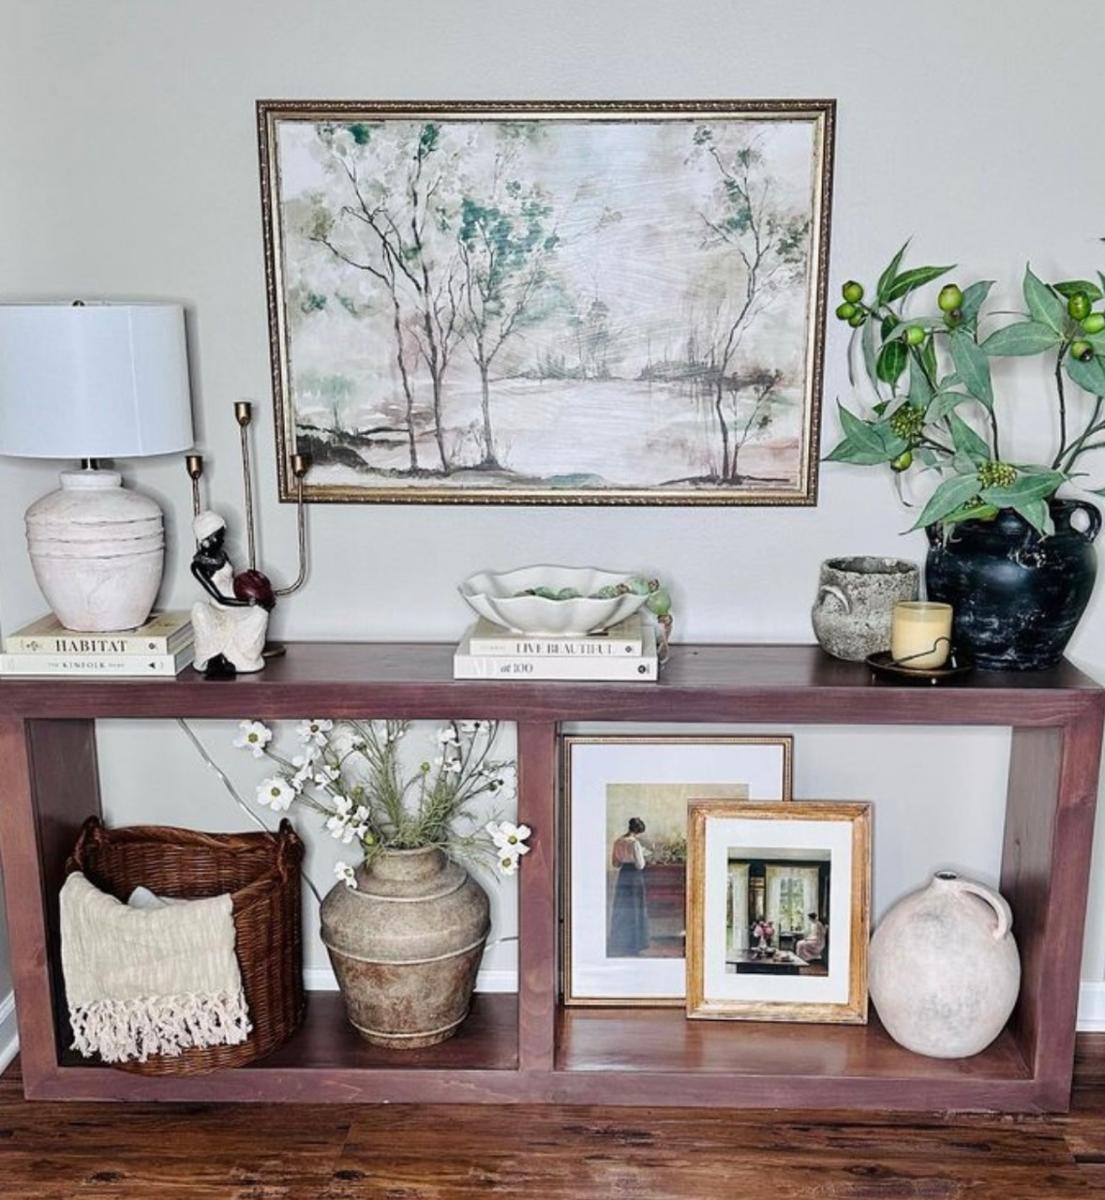
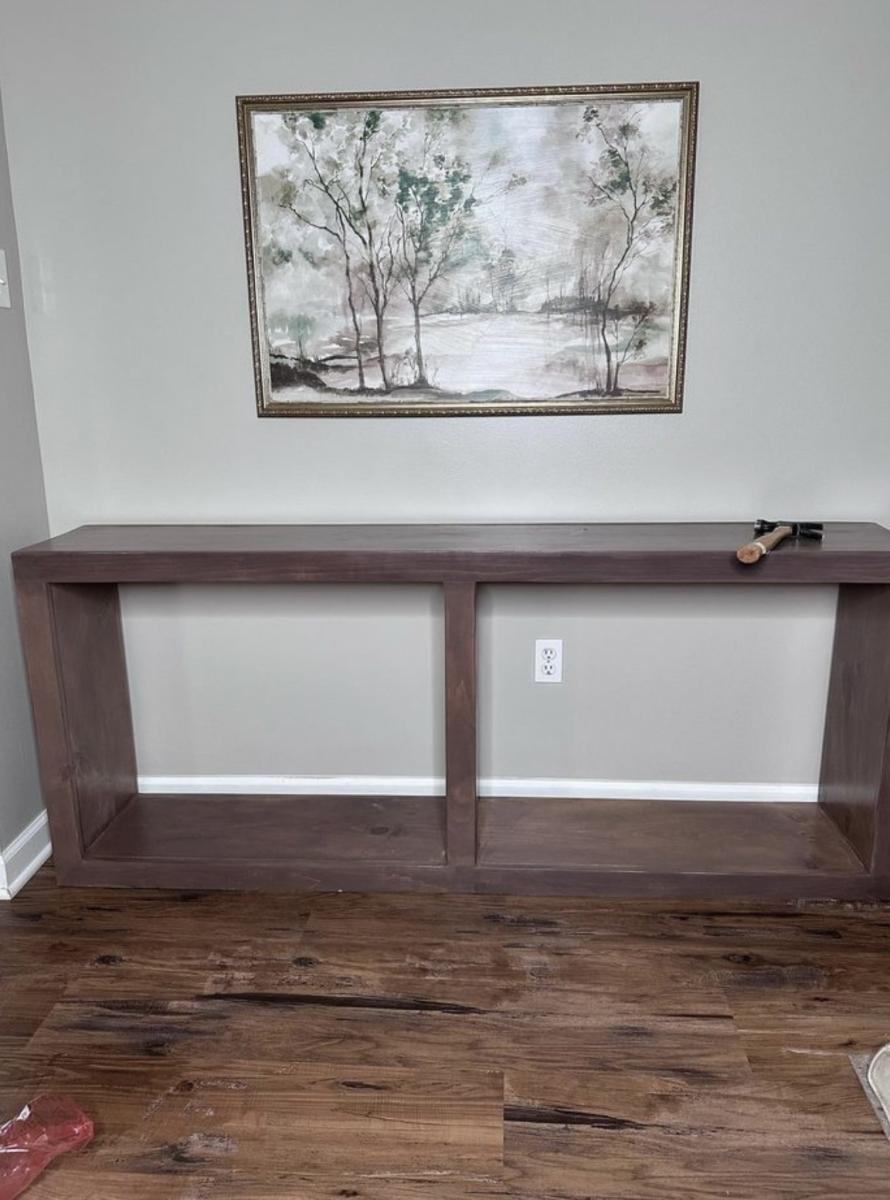
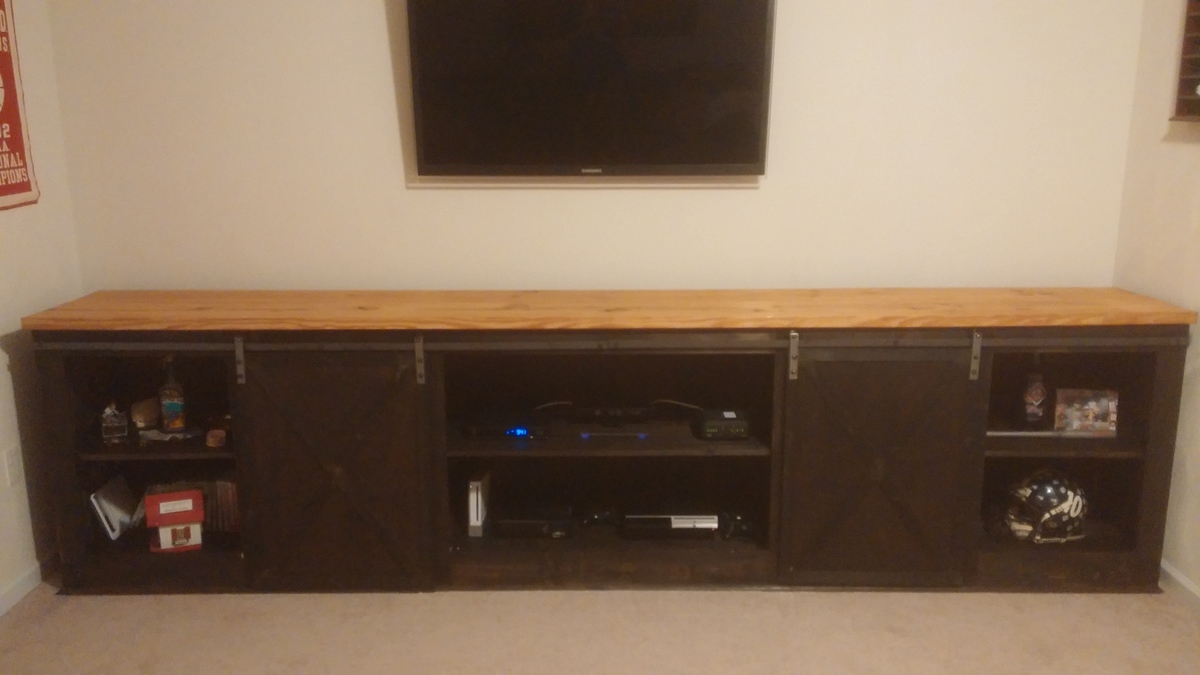
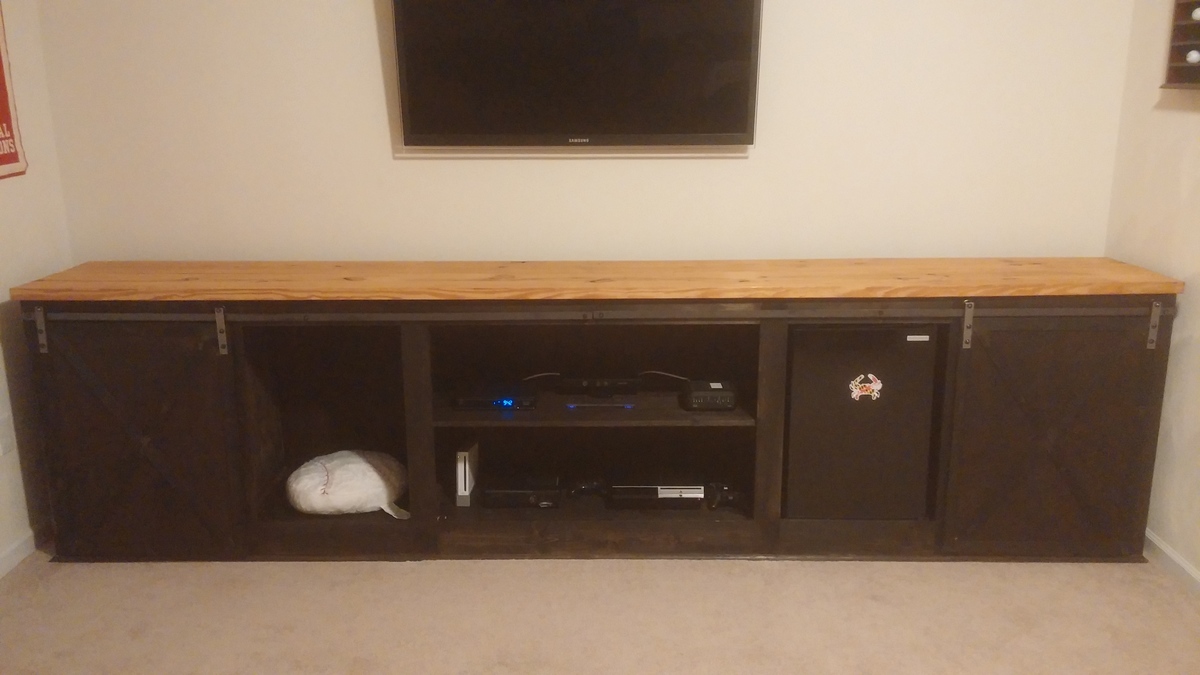
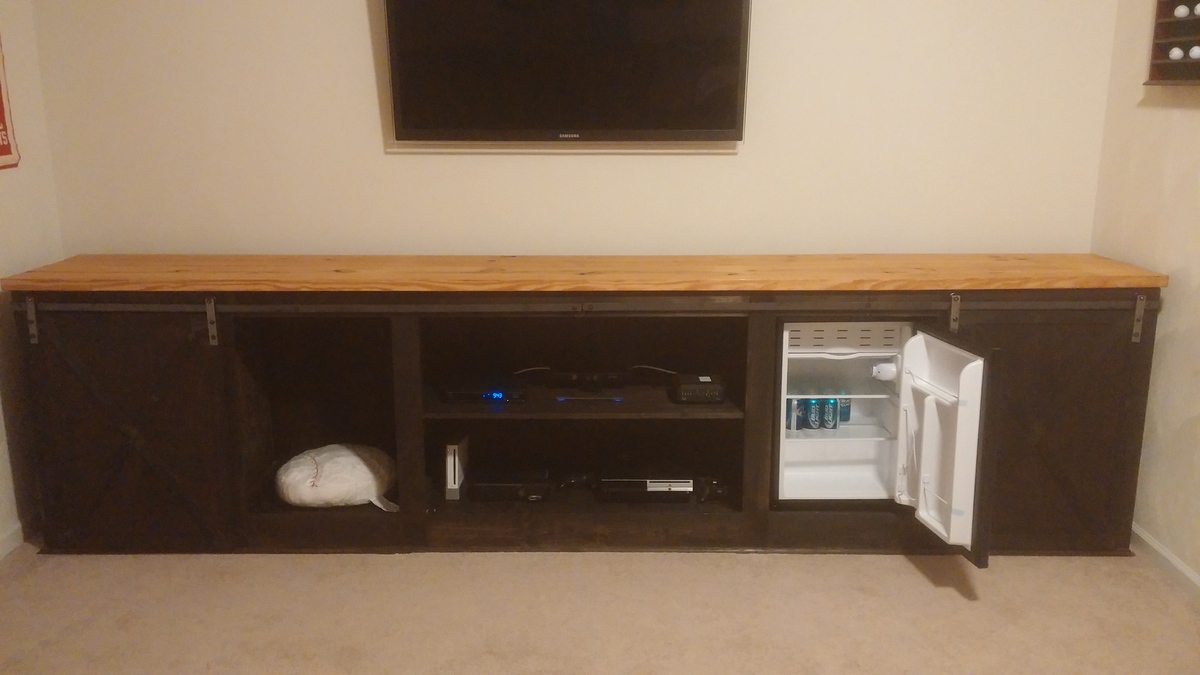
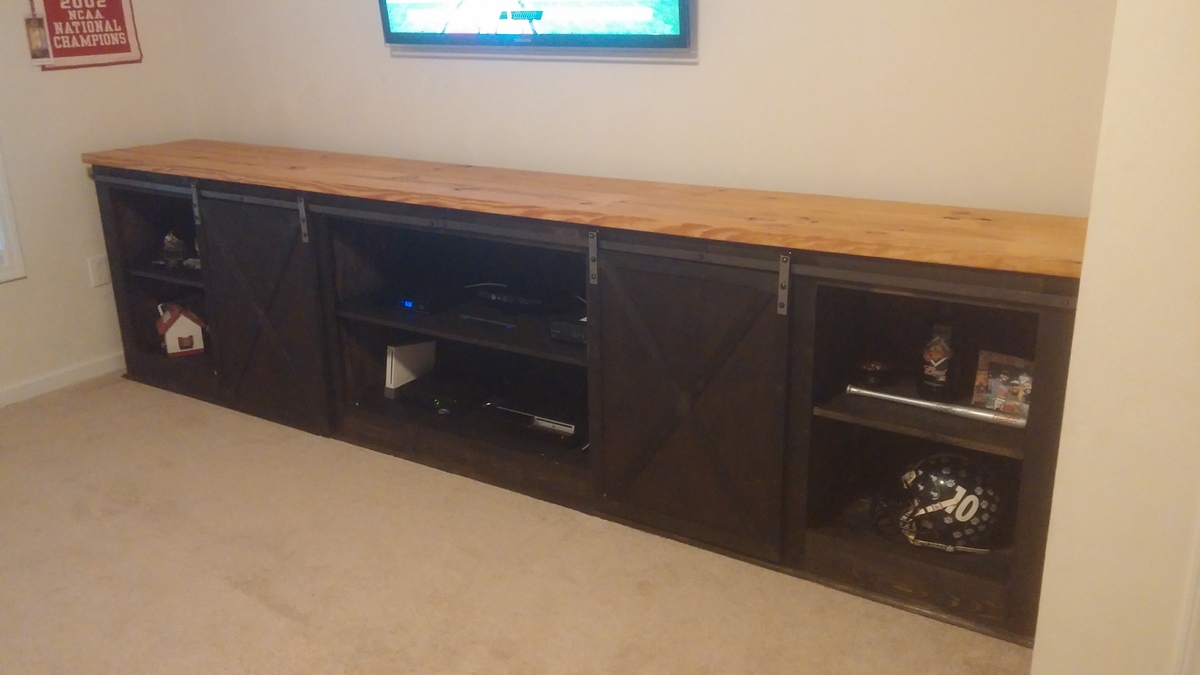
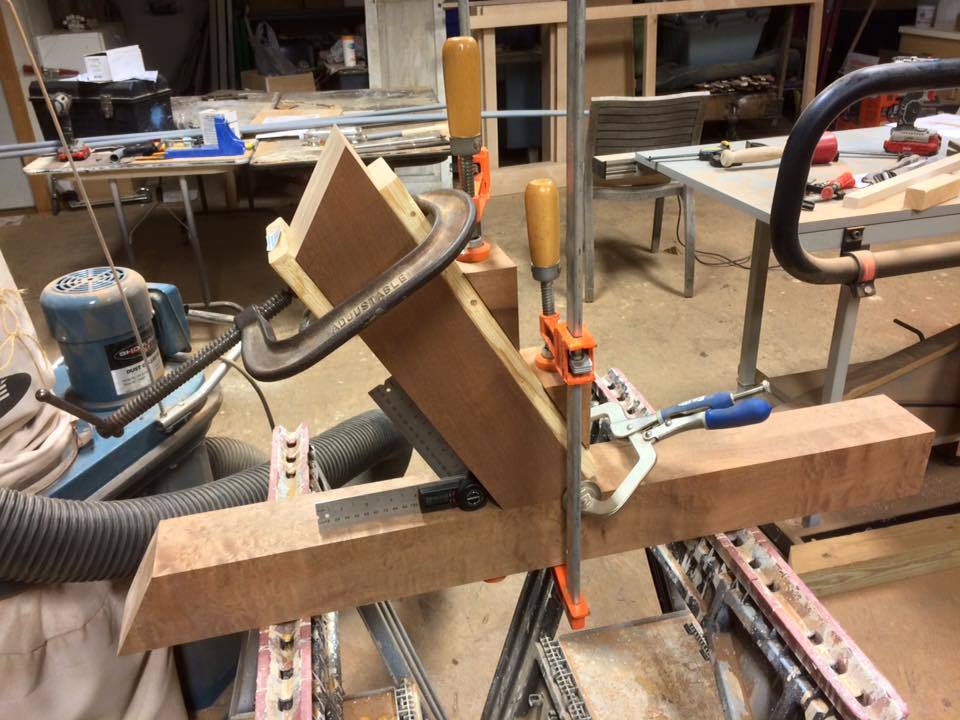
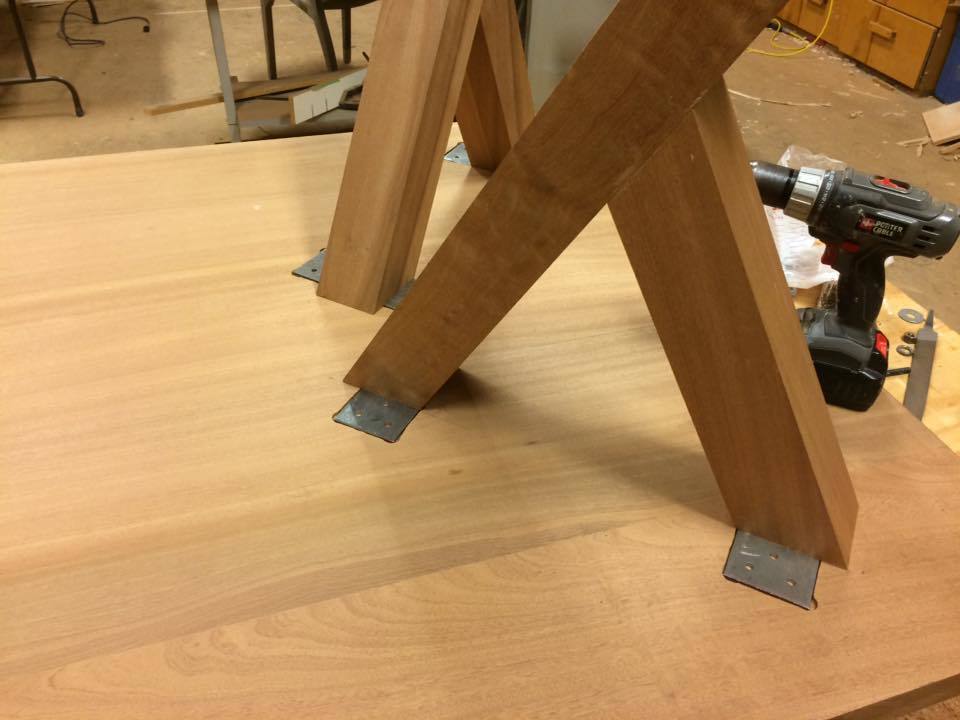
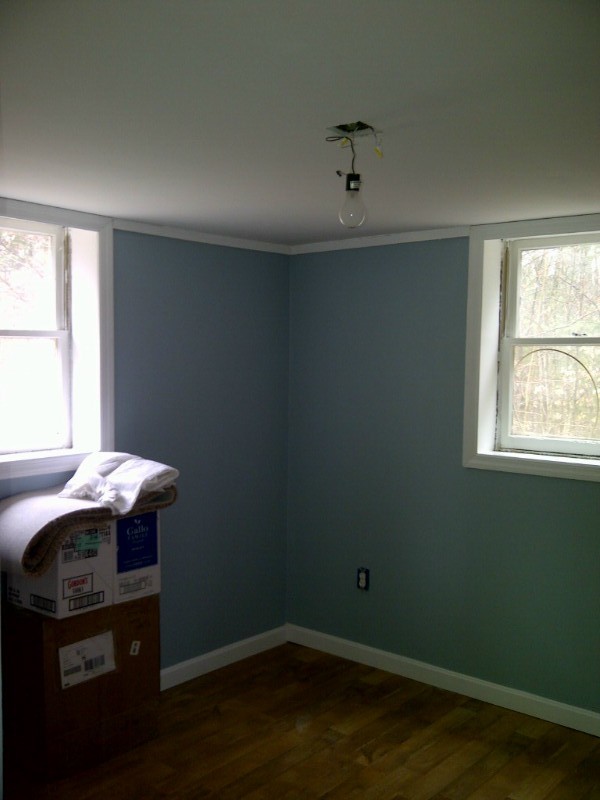
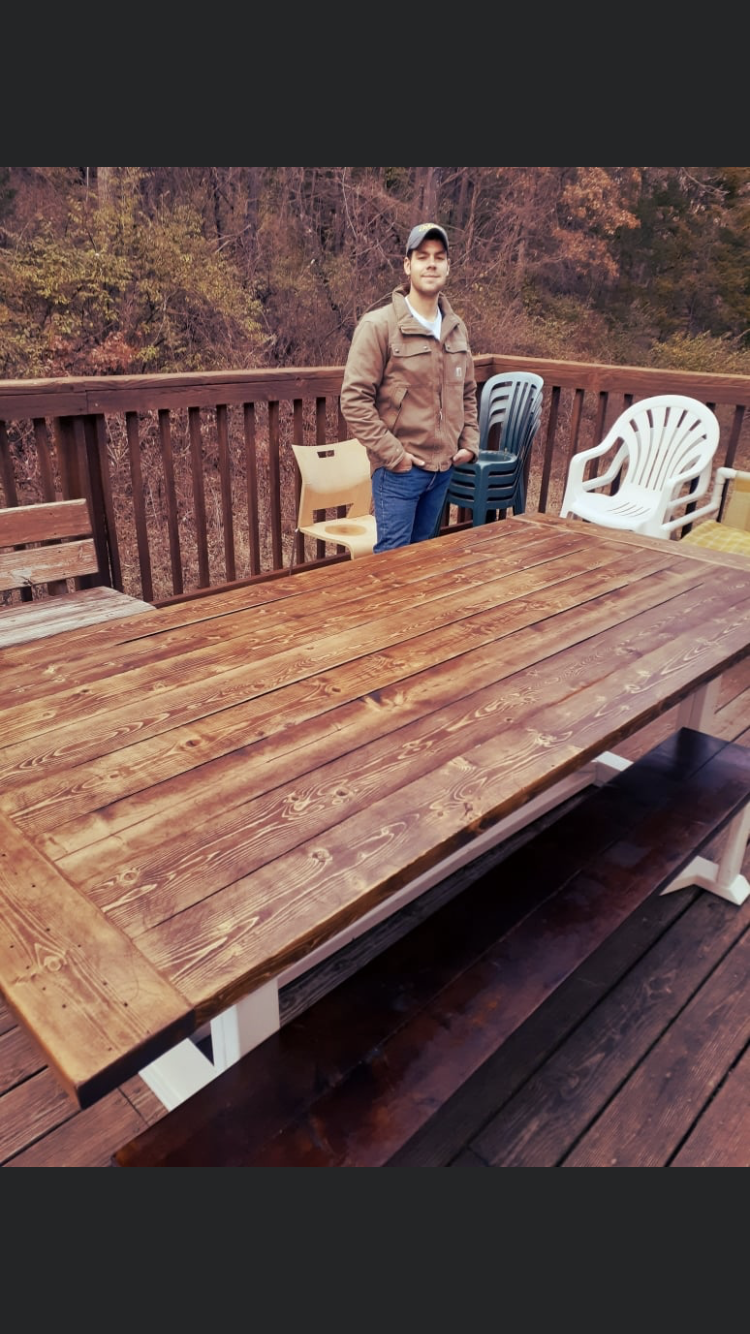
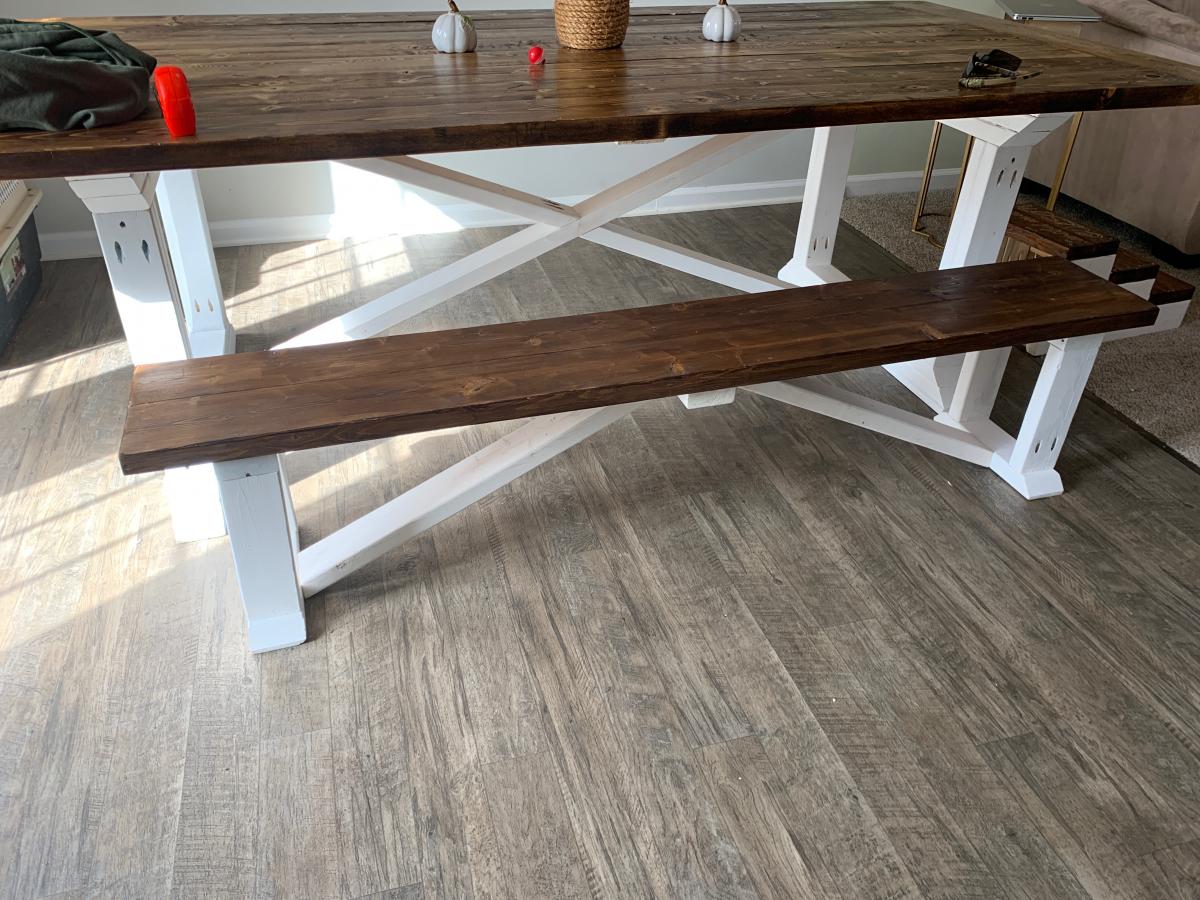
Narrow Console Table (Modern Farmhouse)
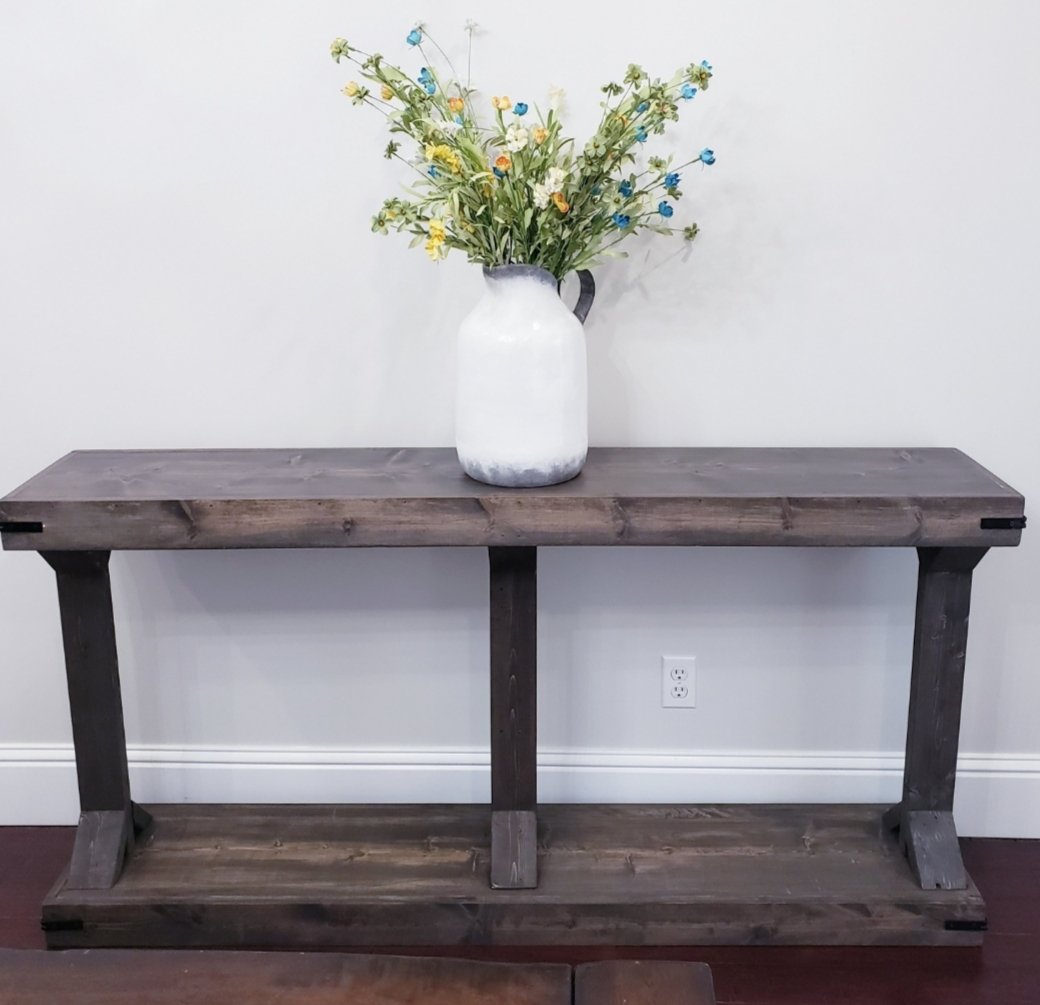
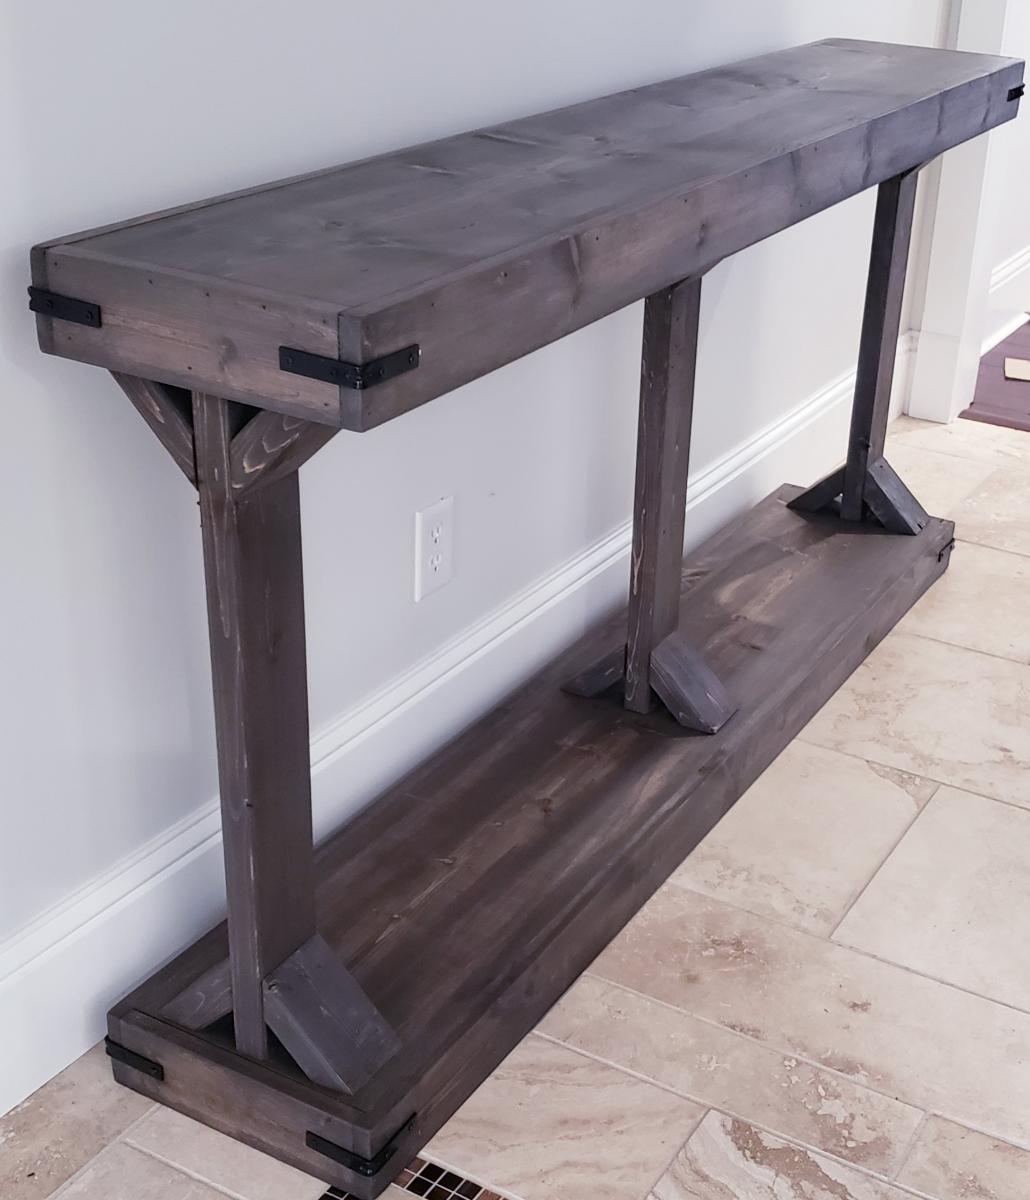
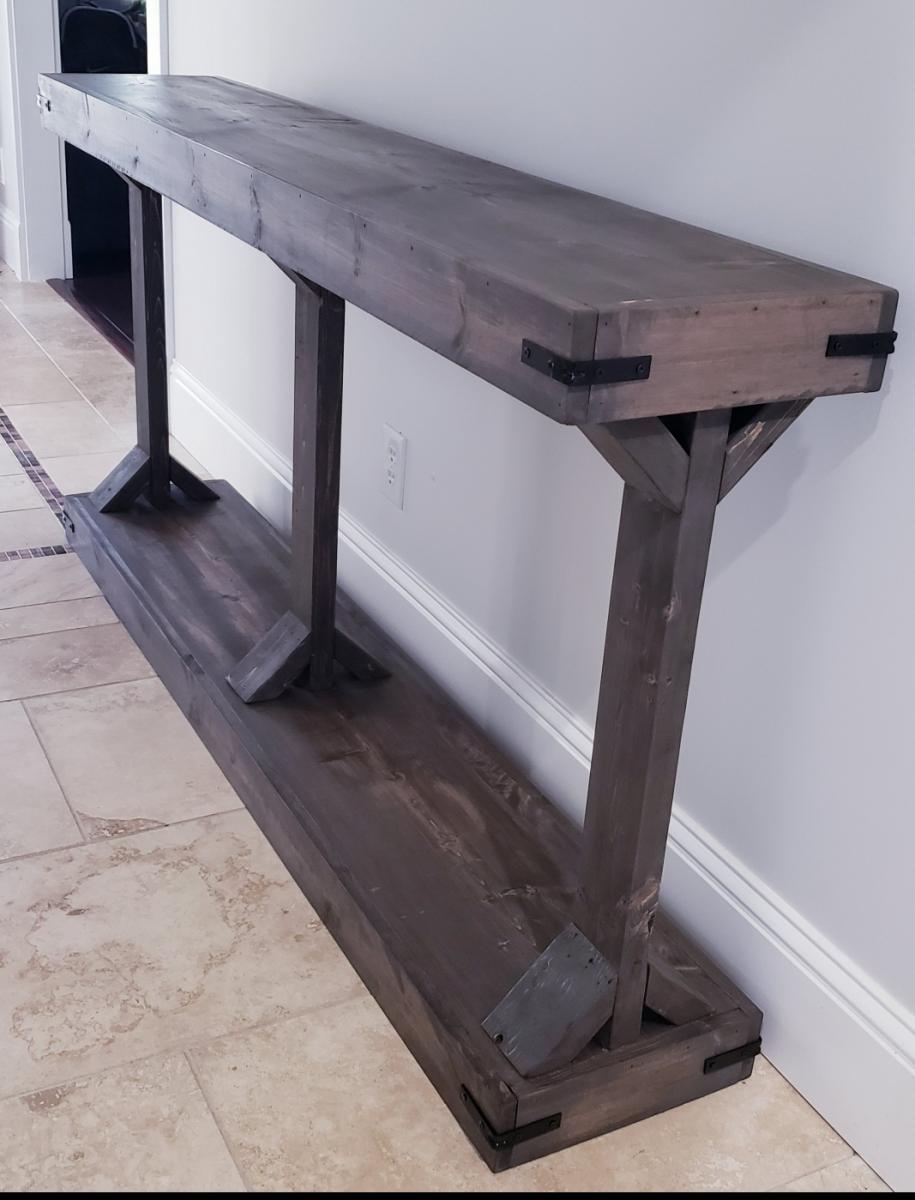
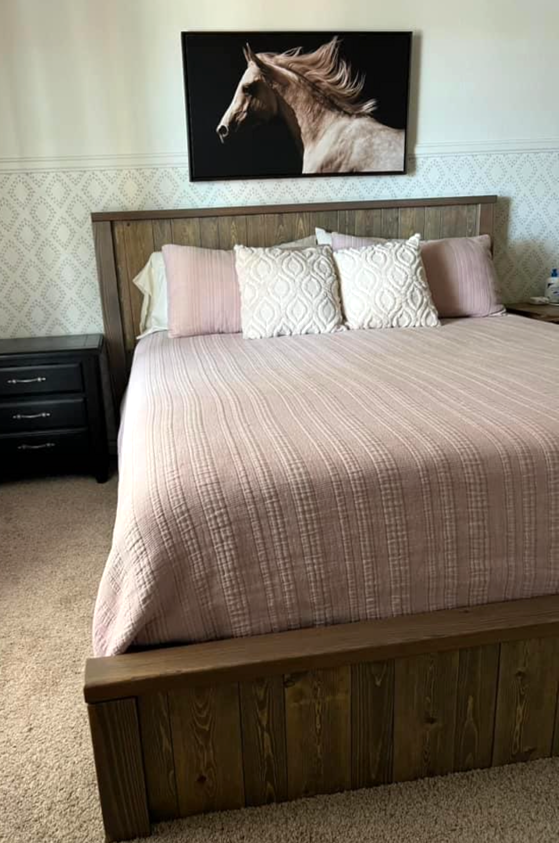
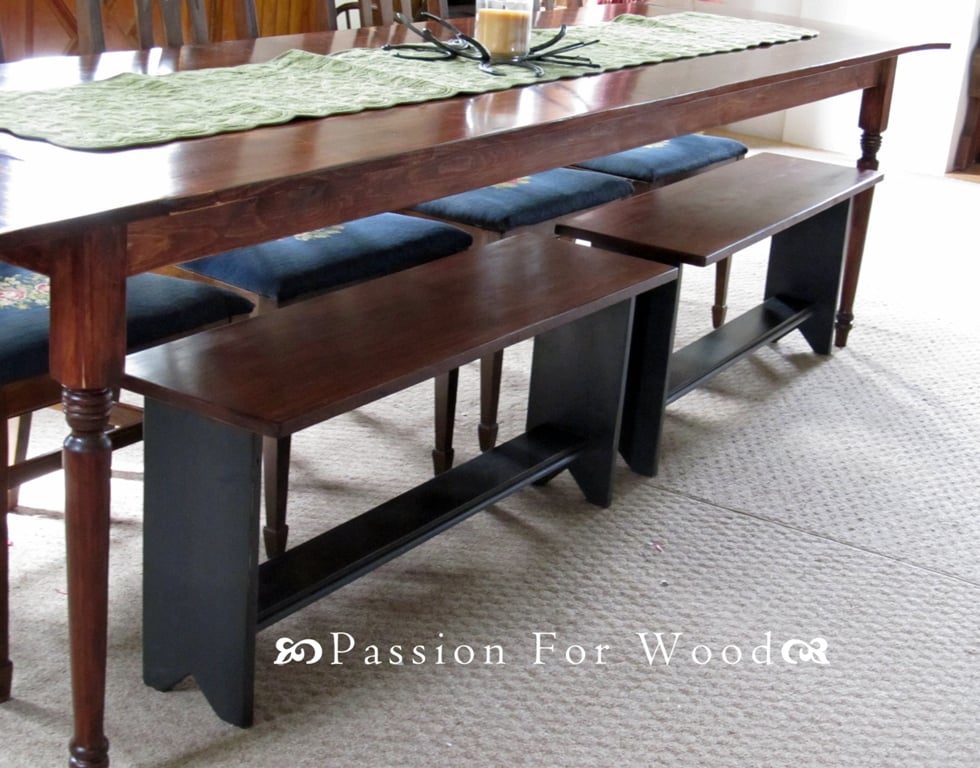
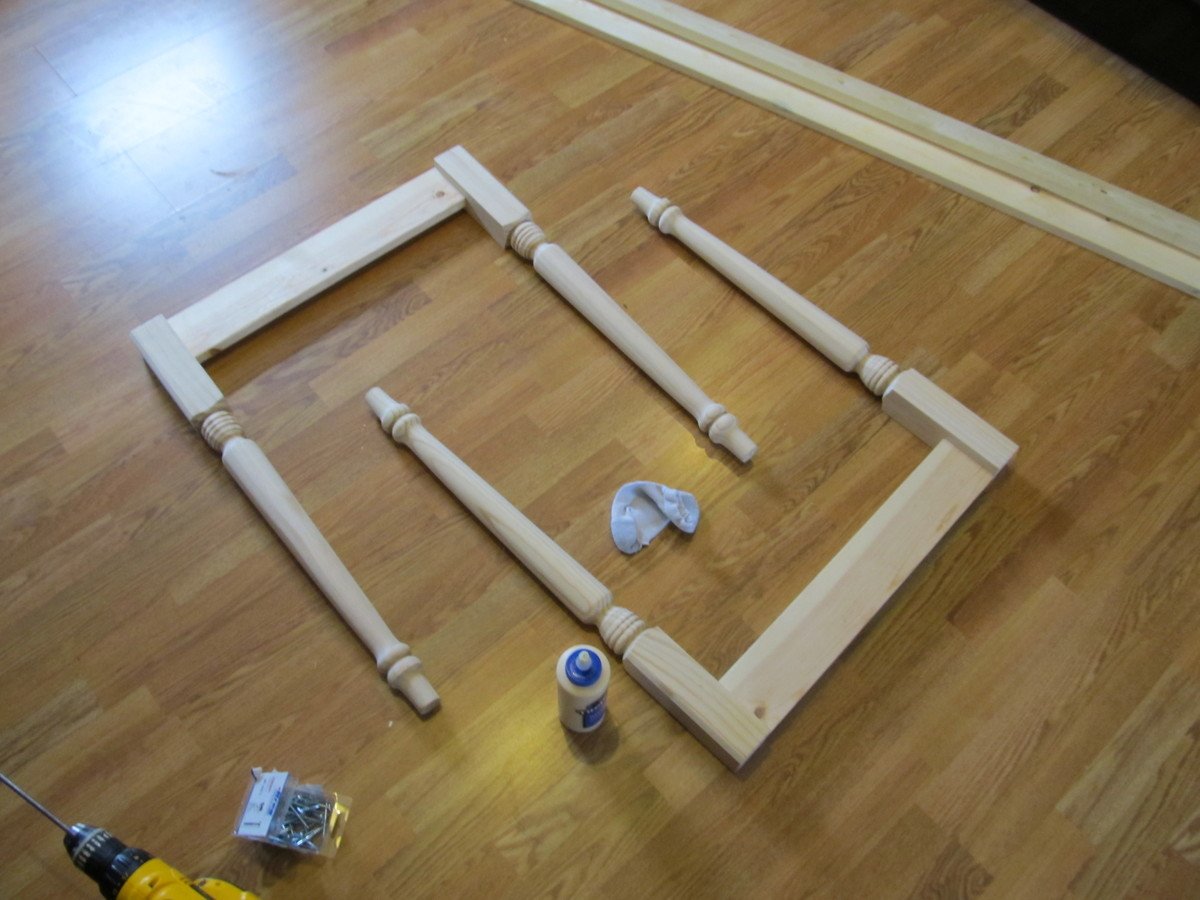
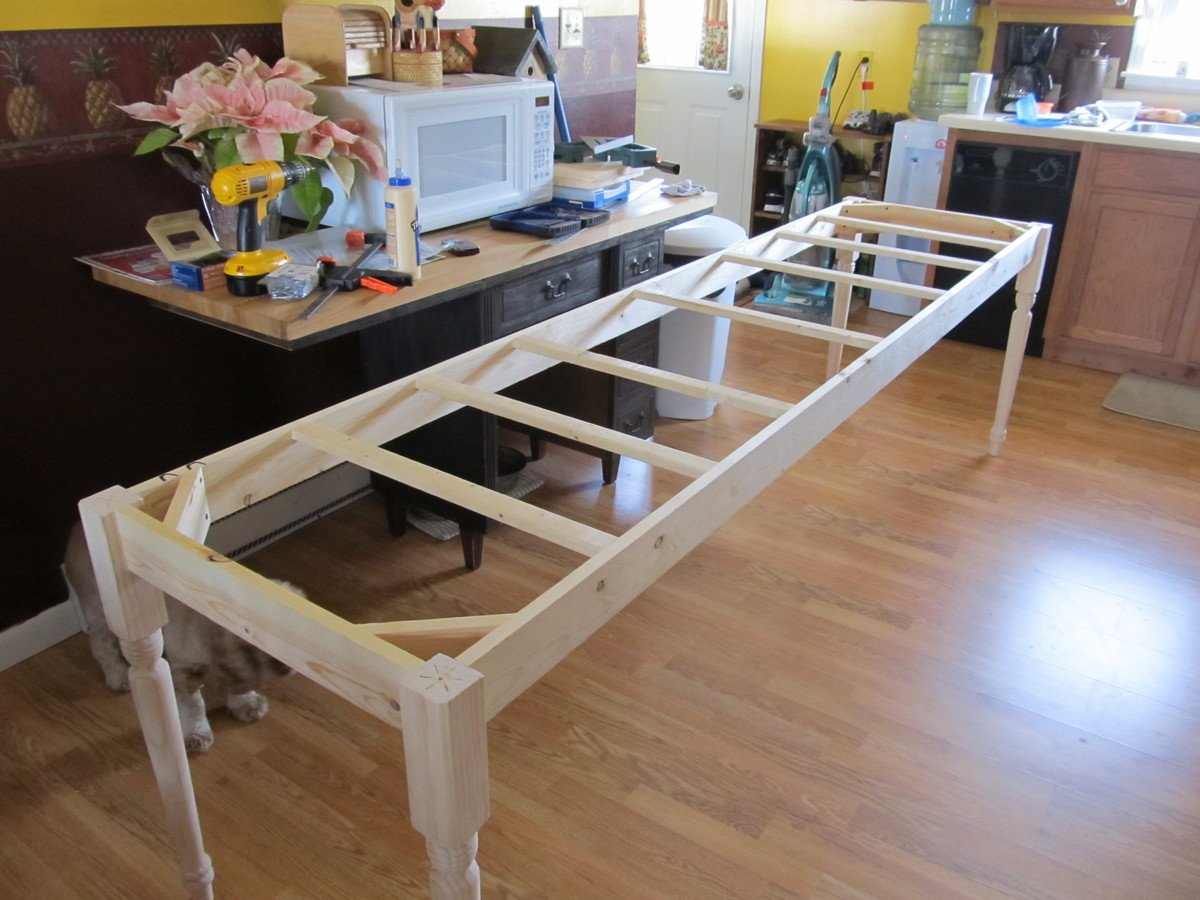
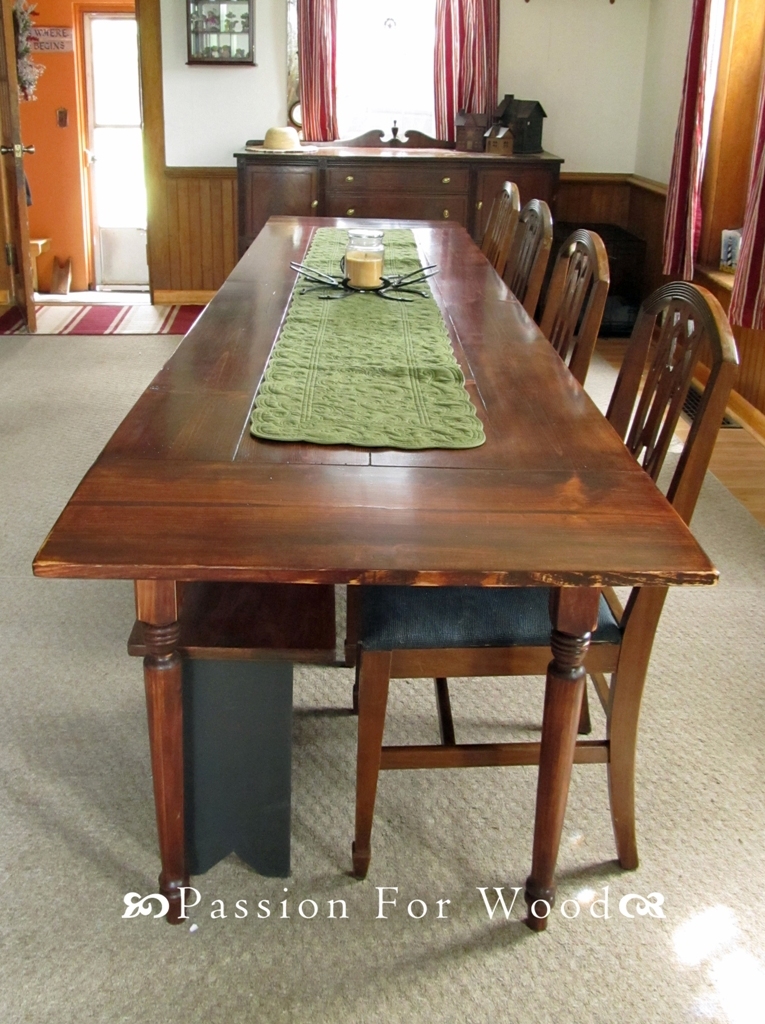
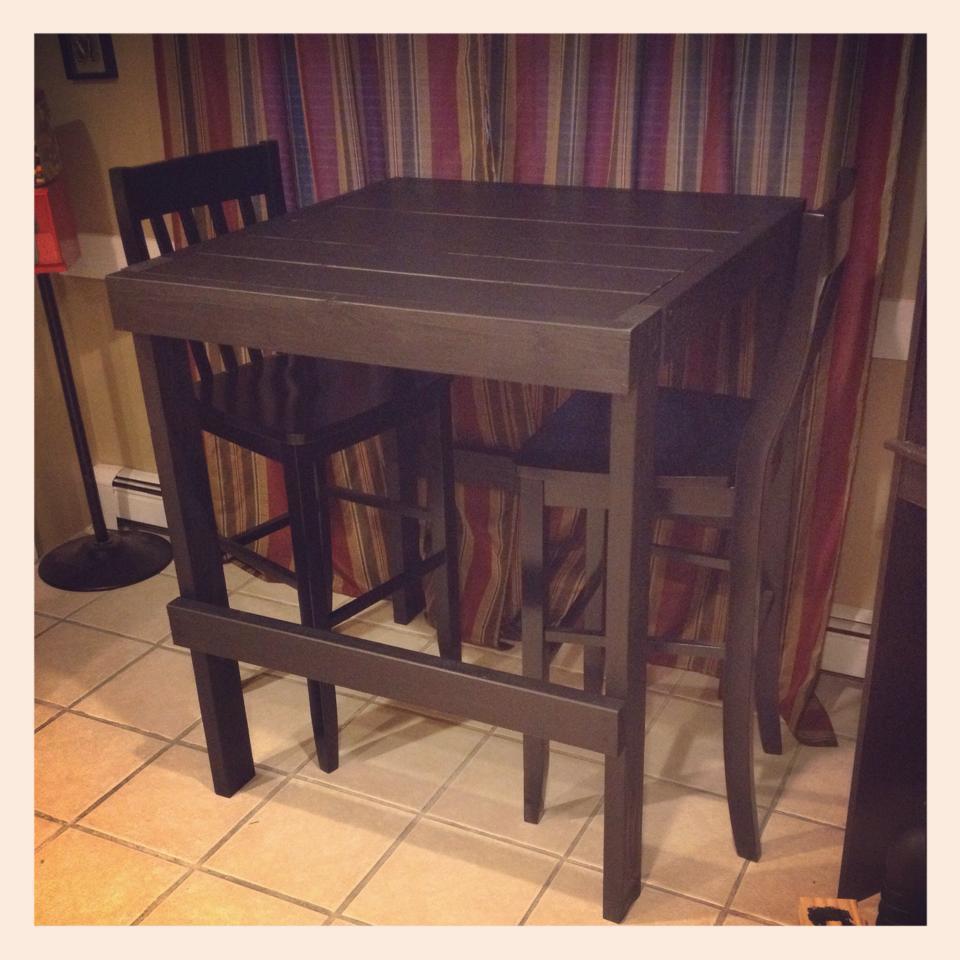
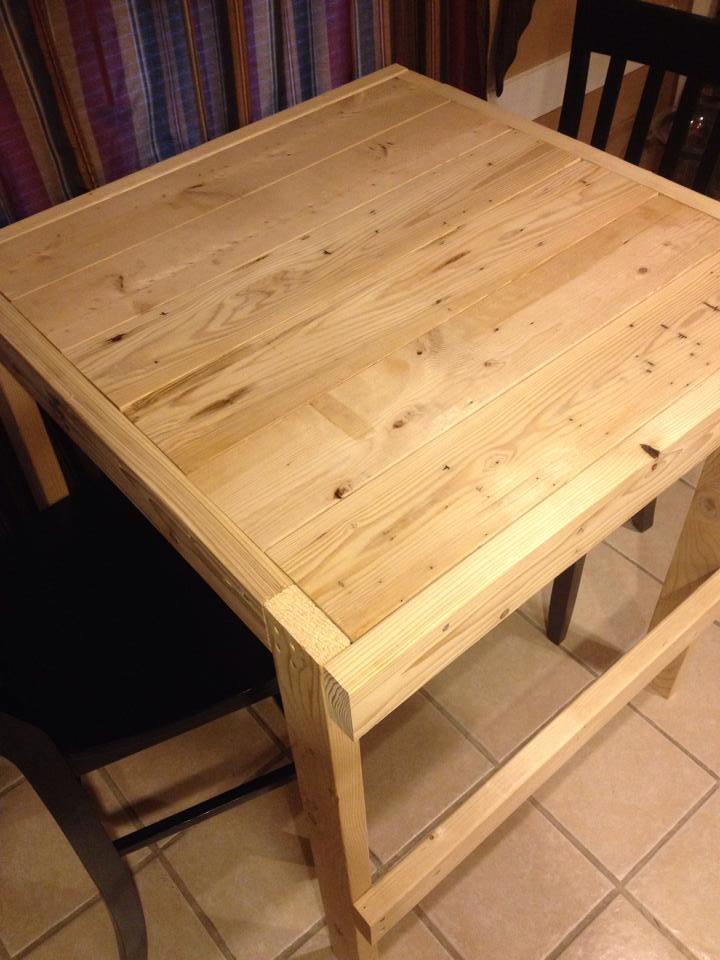
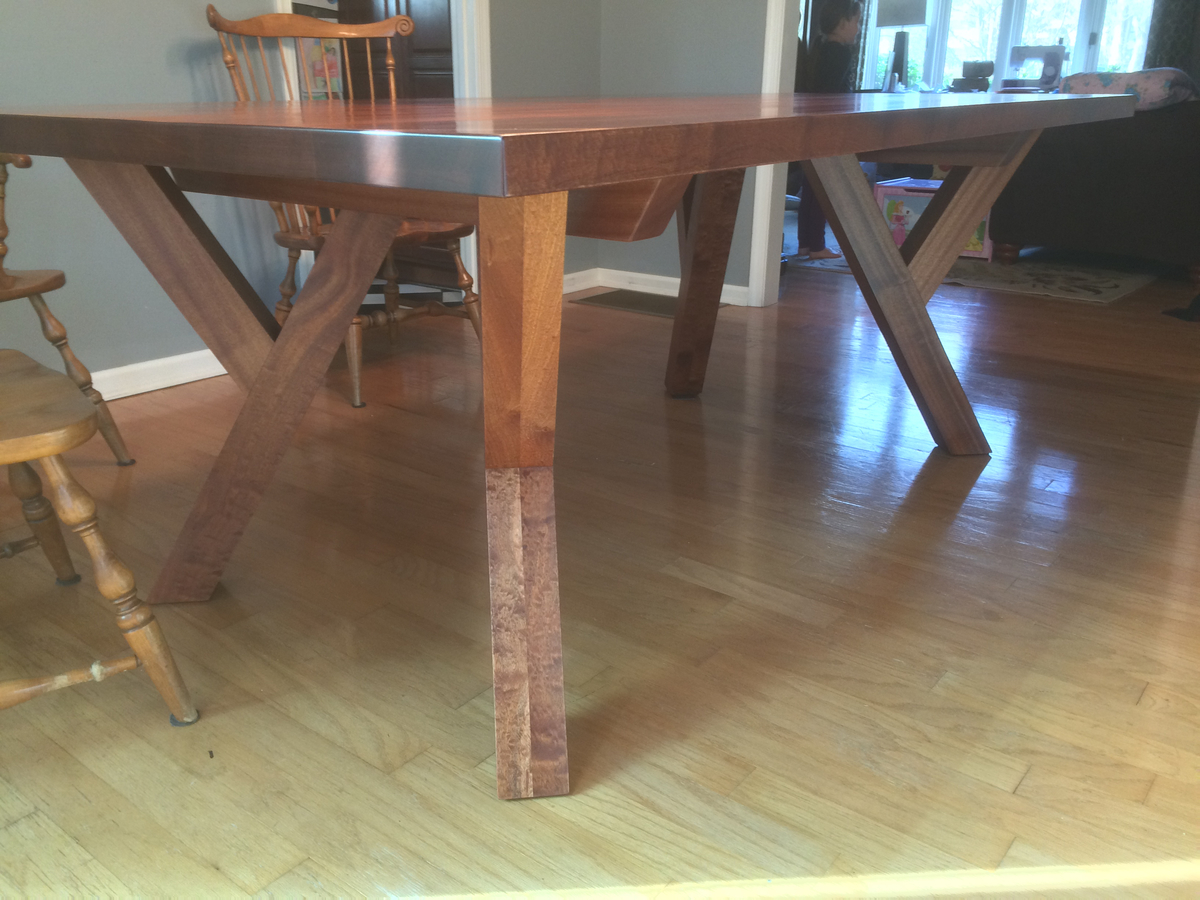
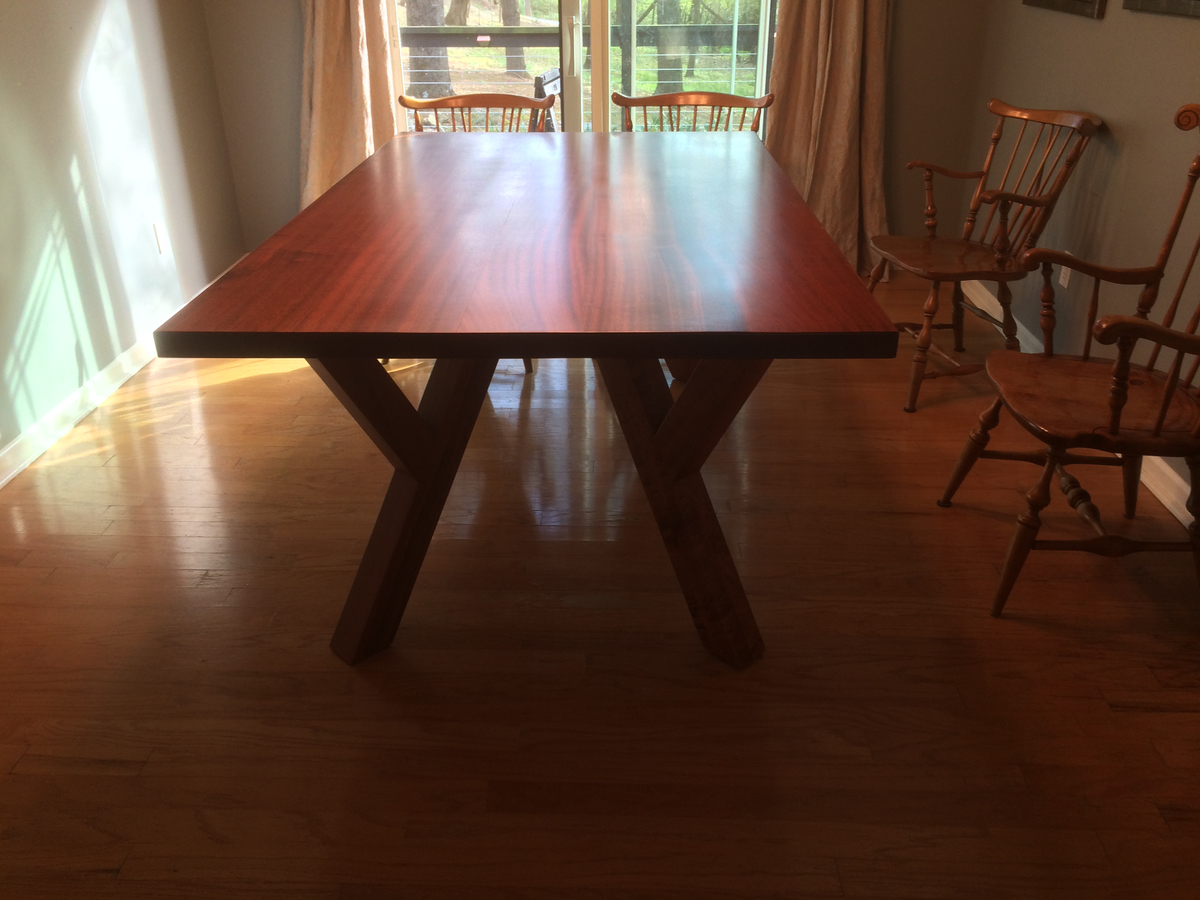
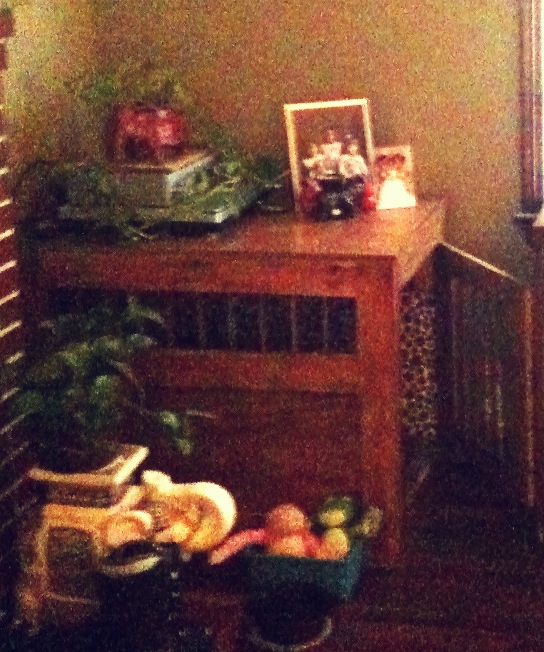
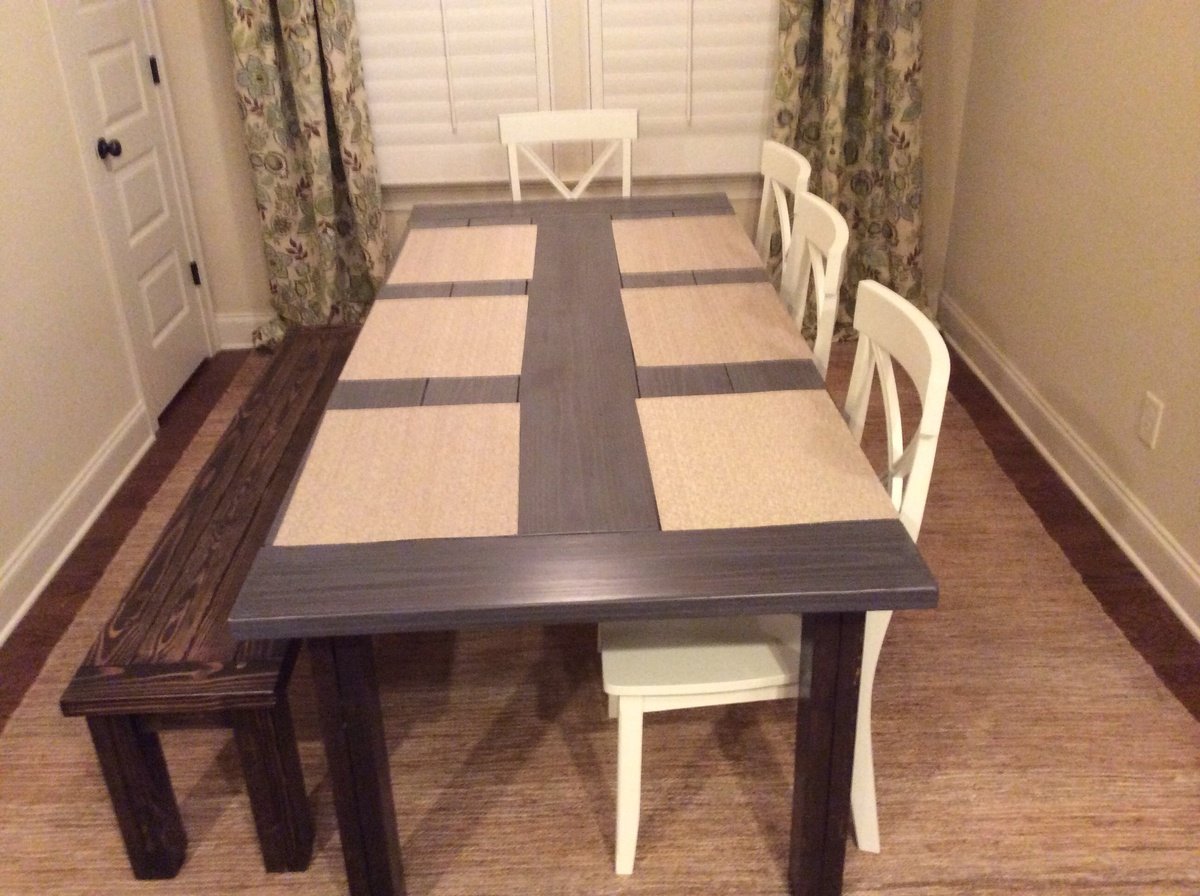
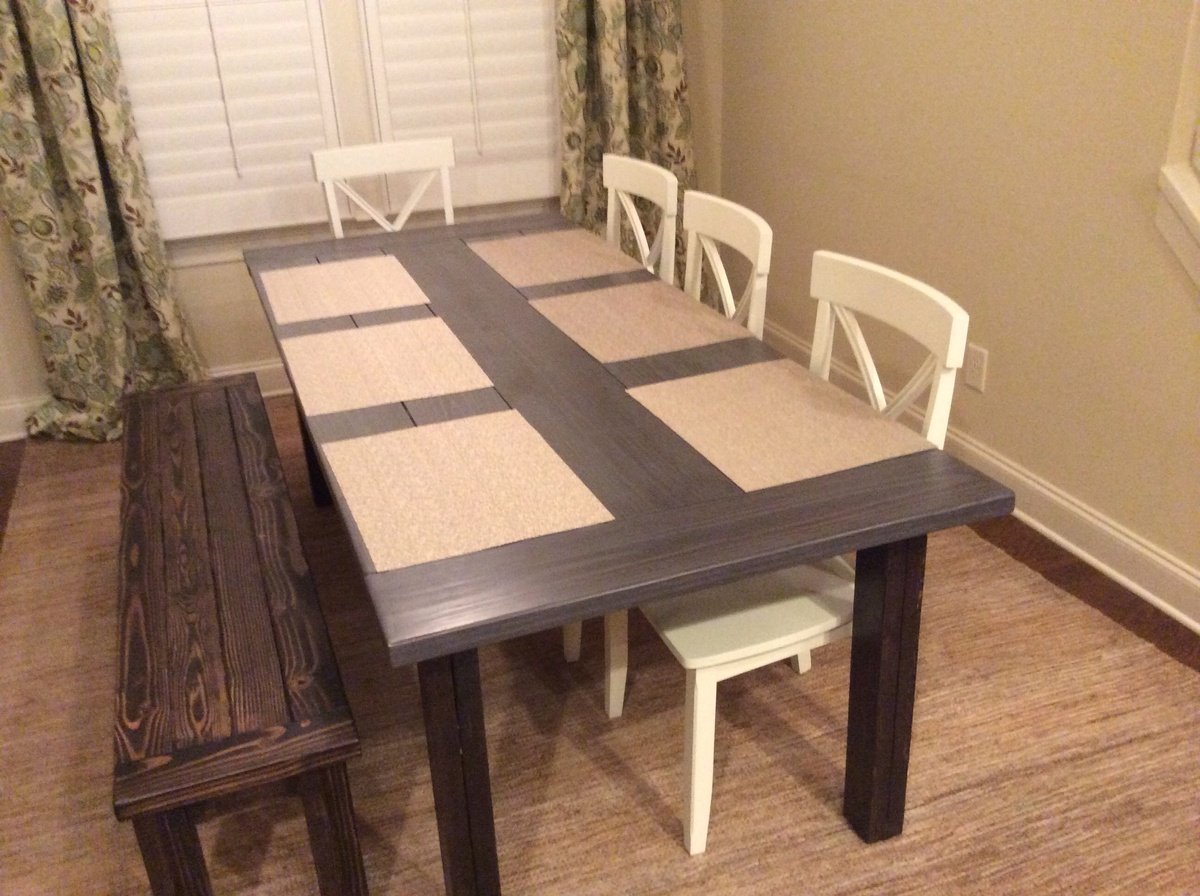
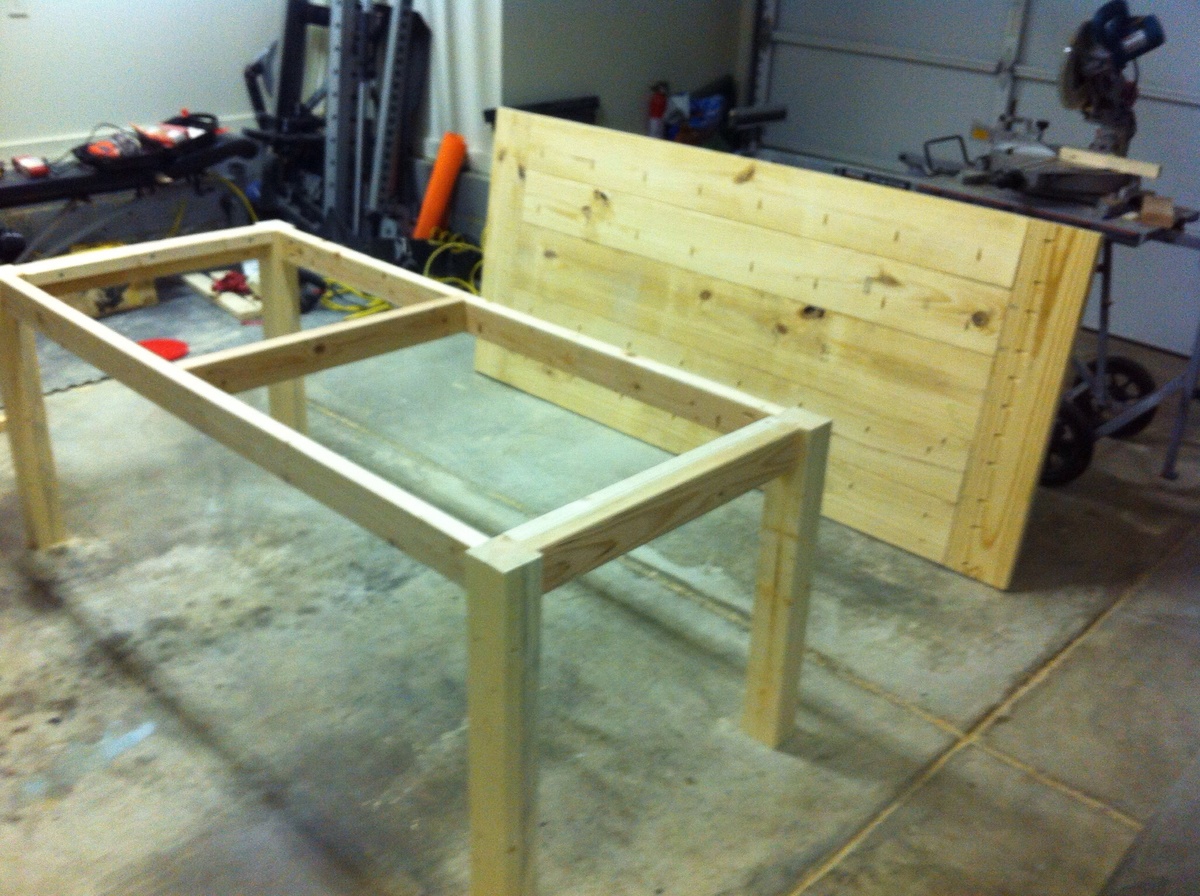
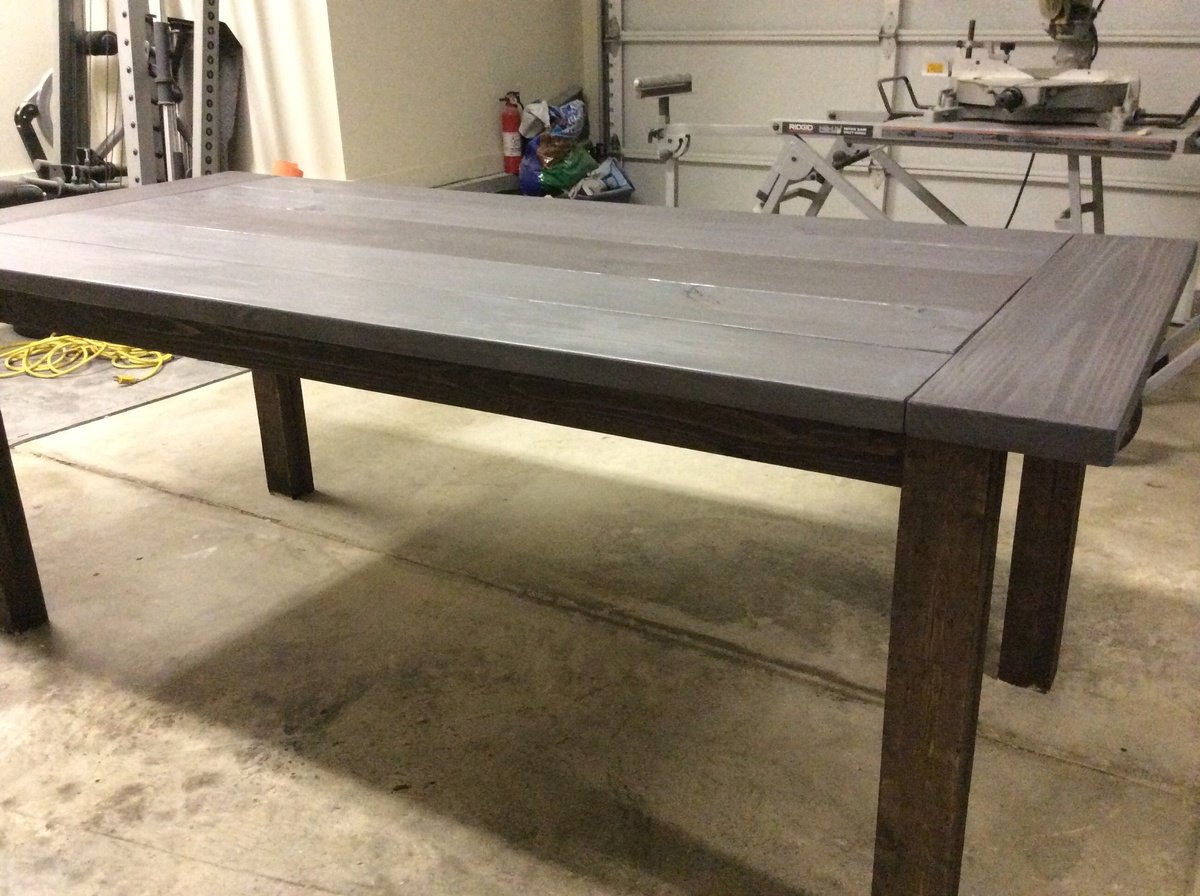
This is a beautiful console table built using the Narrow Console Table (Modern Farmhouse) plan. This is modified to be slightly wider, longer, and taller than the original plan. The dimensions are 68" long, 34" high, and 12.75" wide. The plan was very easy to follow and it was simple to adjust the measurements.
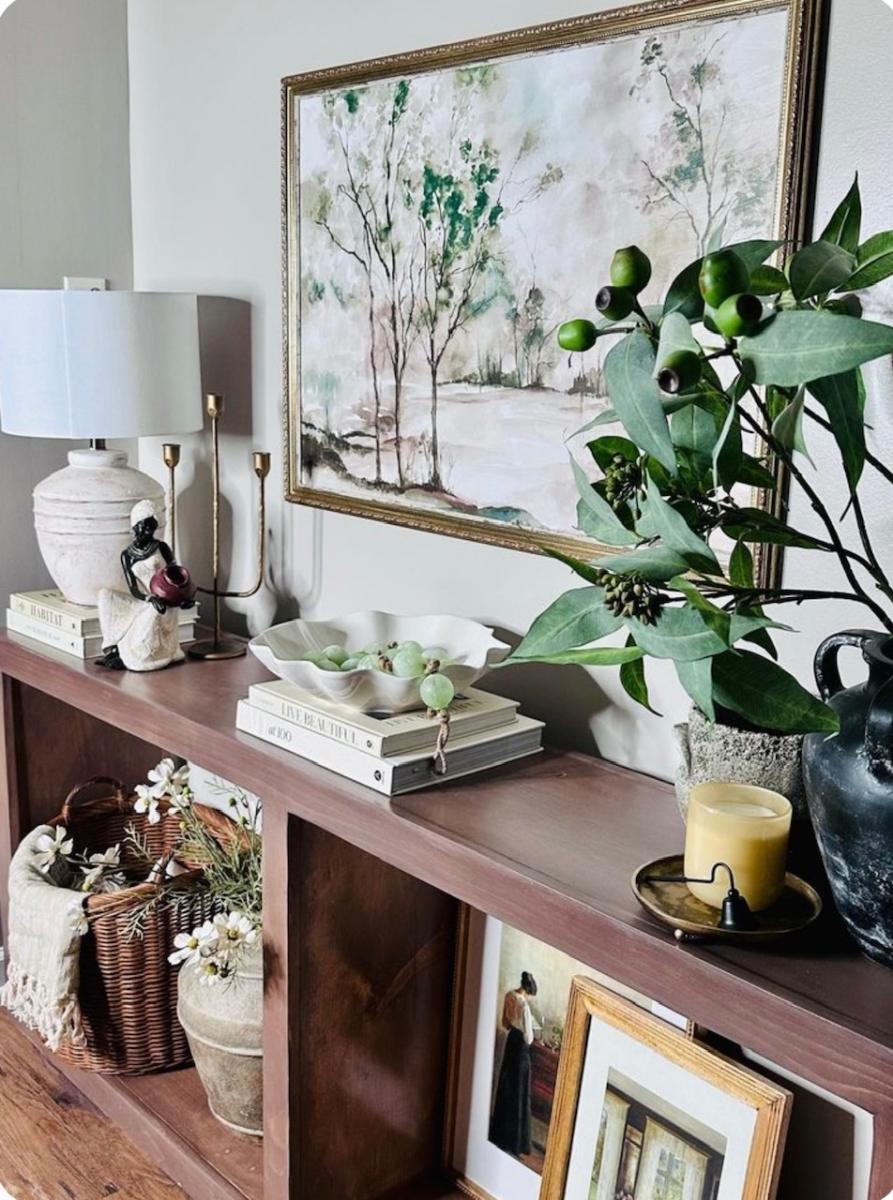
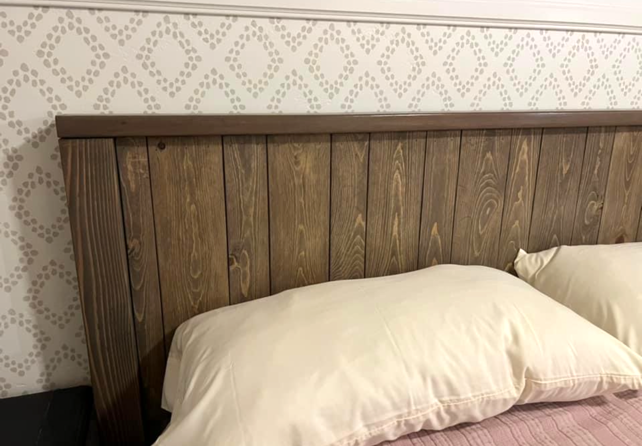
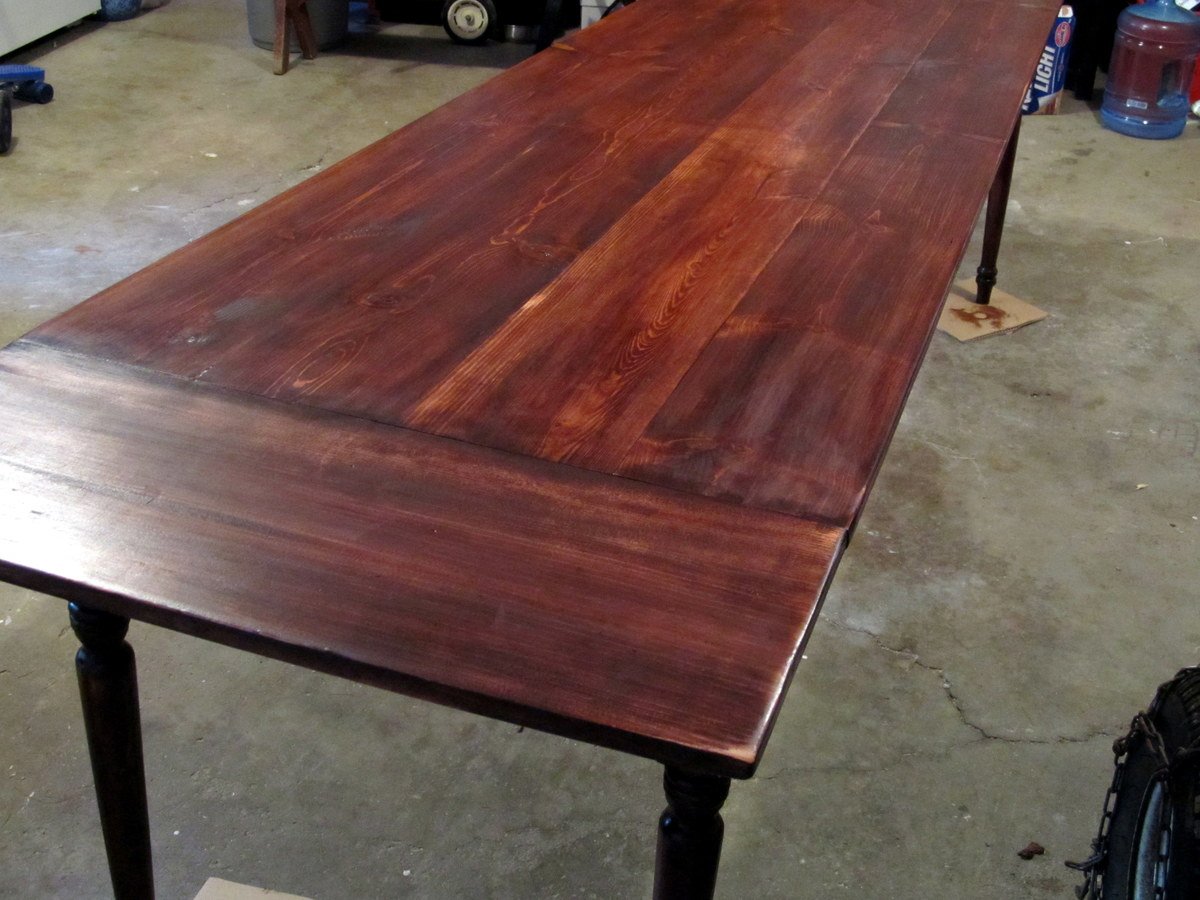
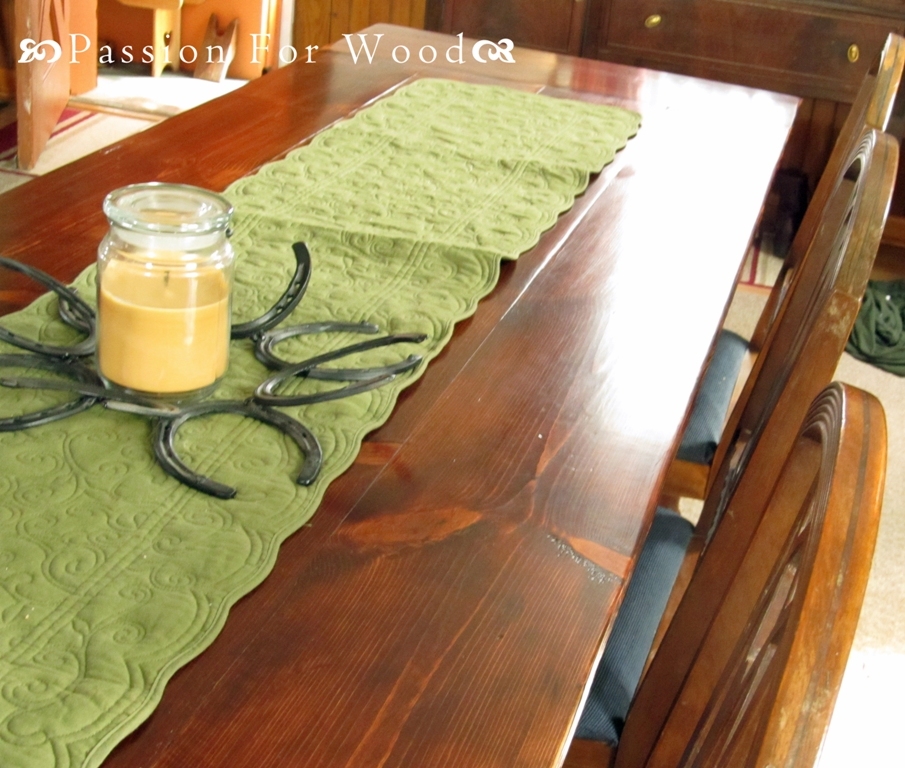
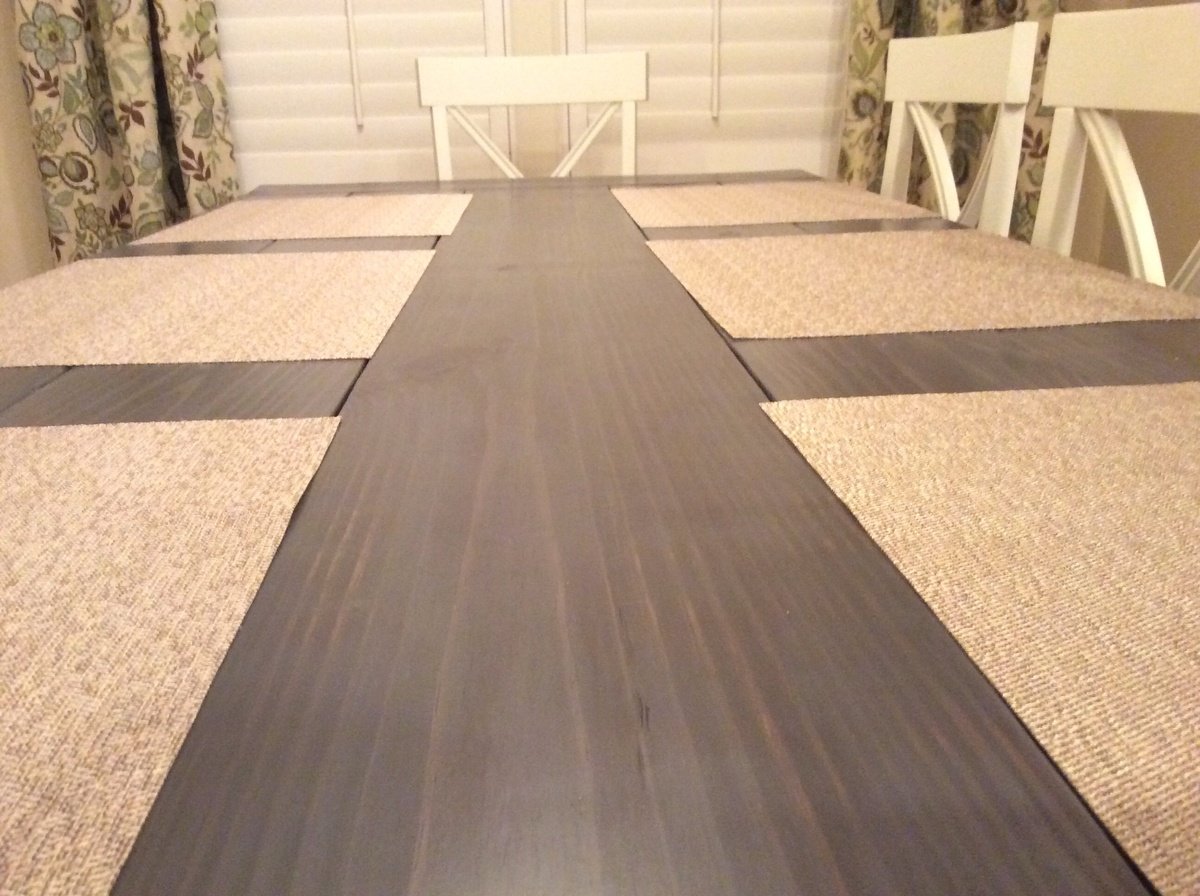
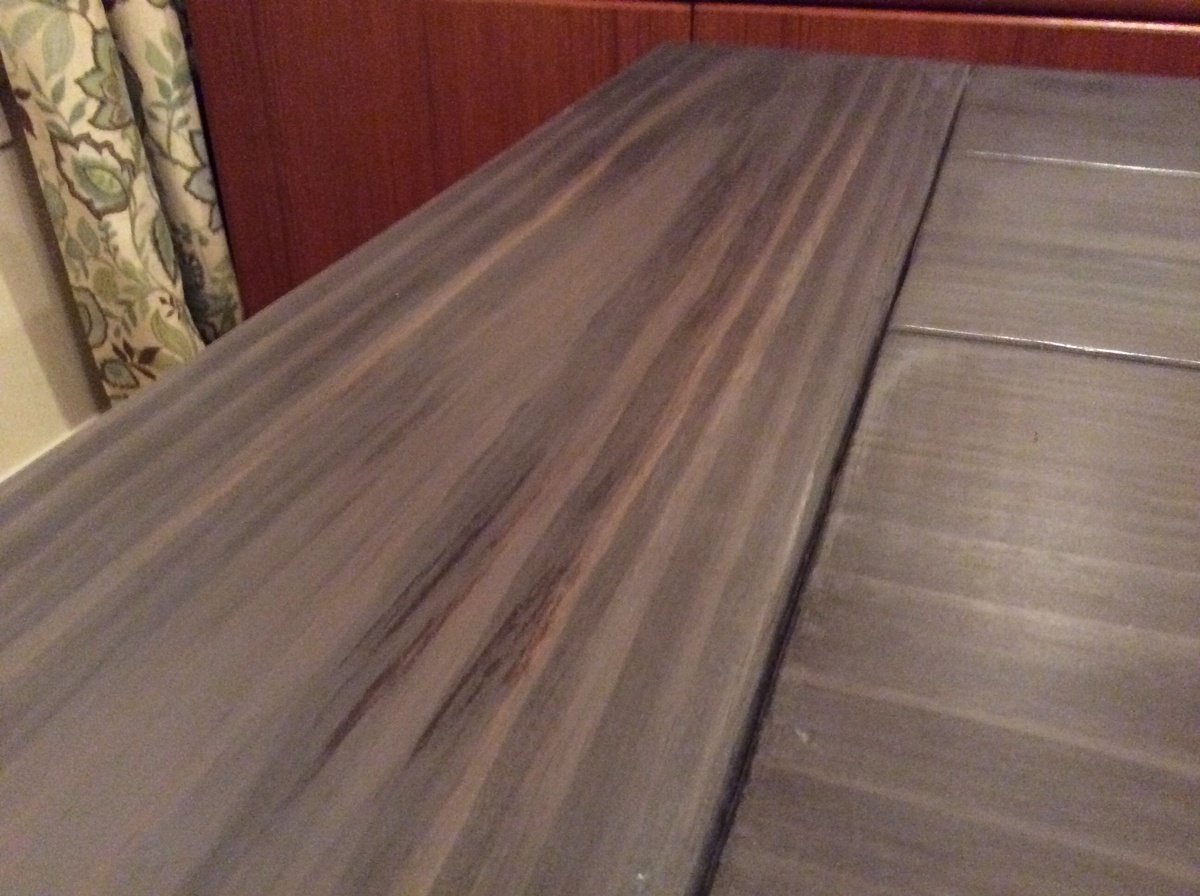
I used Varathane Dark Walnut Stain and once that was dry, I went over that lightly with Varathane Classic Gray stain. The final finish is Minwax Dark Wax and buffed.
More photos available on my facebook wood shop page at the link below.
Built from Plan(s)
Estimated Cost
75
Estimated Time Investment
Day Project (6-9 Hours)
Finish Used
Varathane dark walnut fast drying stain with Varathane gray classic wiped lightly over the dark walnut after it dried. A final coat of Minwax dark wax and buffed.
Recommended Skill Level
Beginner


Comments
ladybug'13
Thu, 12/05/2019 - 12:06
Love this!
Beautiful! I really like the finish you did on this table, thanks for sharing the details. I may need to try this myself.
kwildman
Fri, 01/03/2020 - 14:21
Thank you!
Thank you!
OlgaB
Tue, 02/02/2021 - 19:09
Great color. I have never…
Great color. I have never gone over color 1 with color 2 - I will now try it. Great look!
OlgaB
Tue, 02/02/2021 - 19:13
How do you wipe paint 2 over…
How do you wipe paint 2 over paint 1? Do you use a cotton cloth?