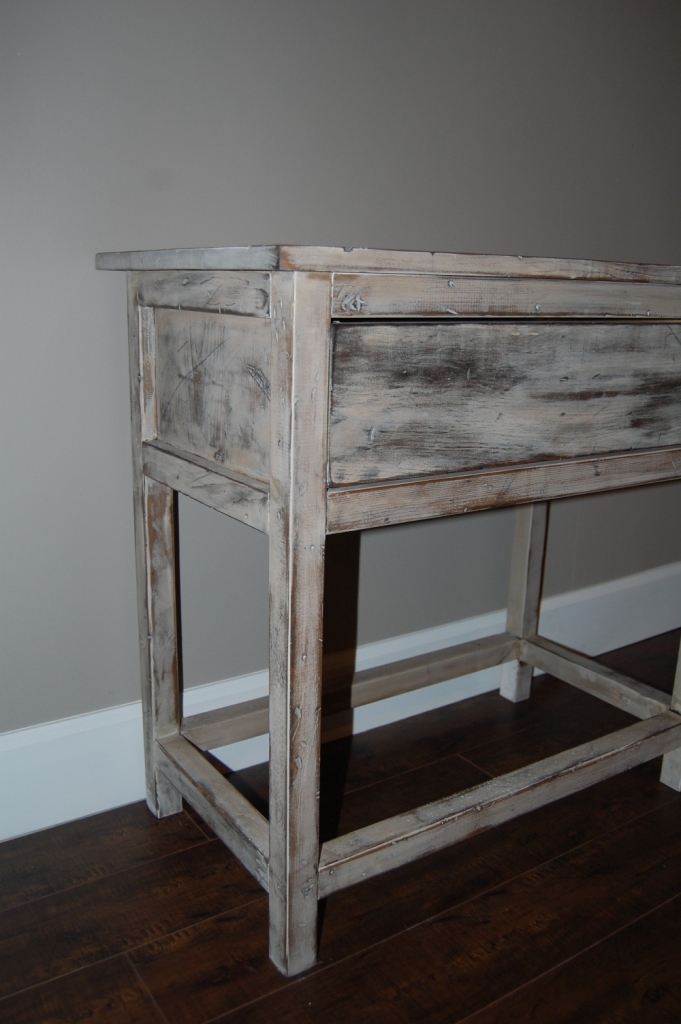
Gray Barn Door Console
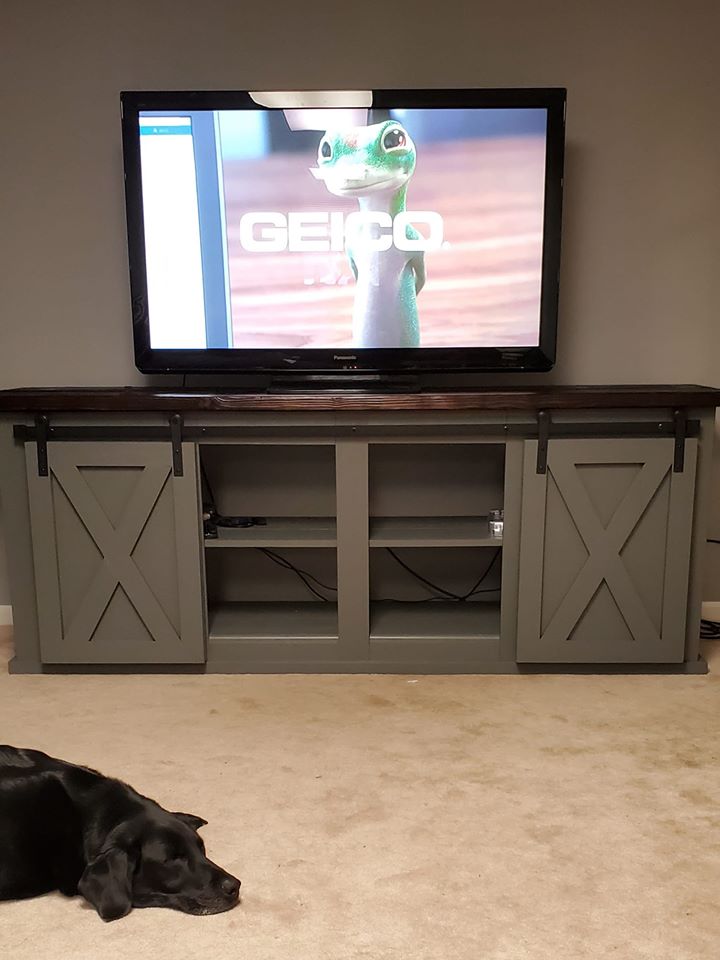
Built by Renee Boone

Built by Renee Boone
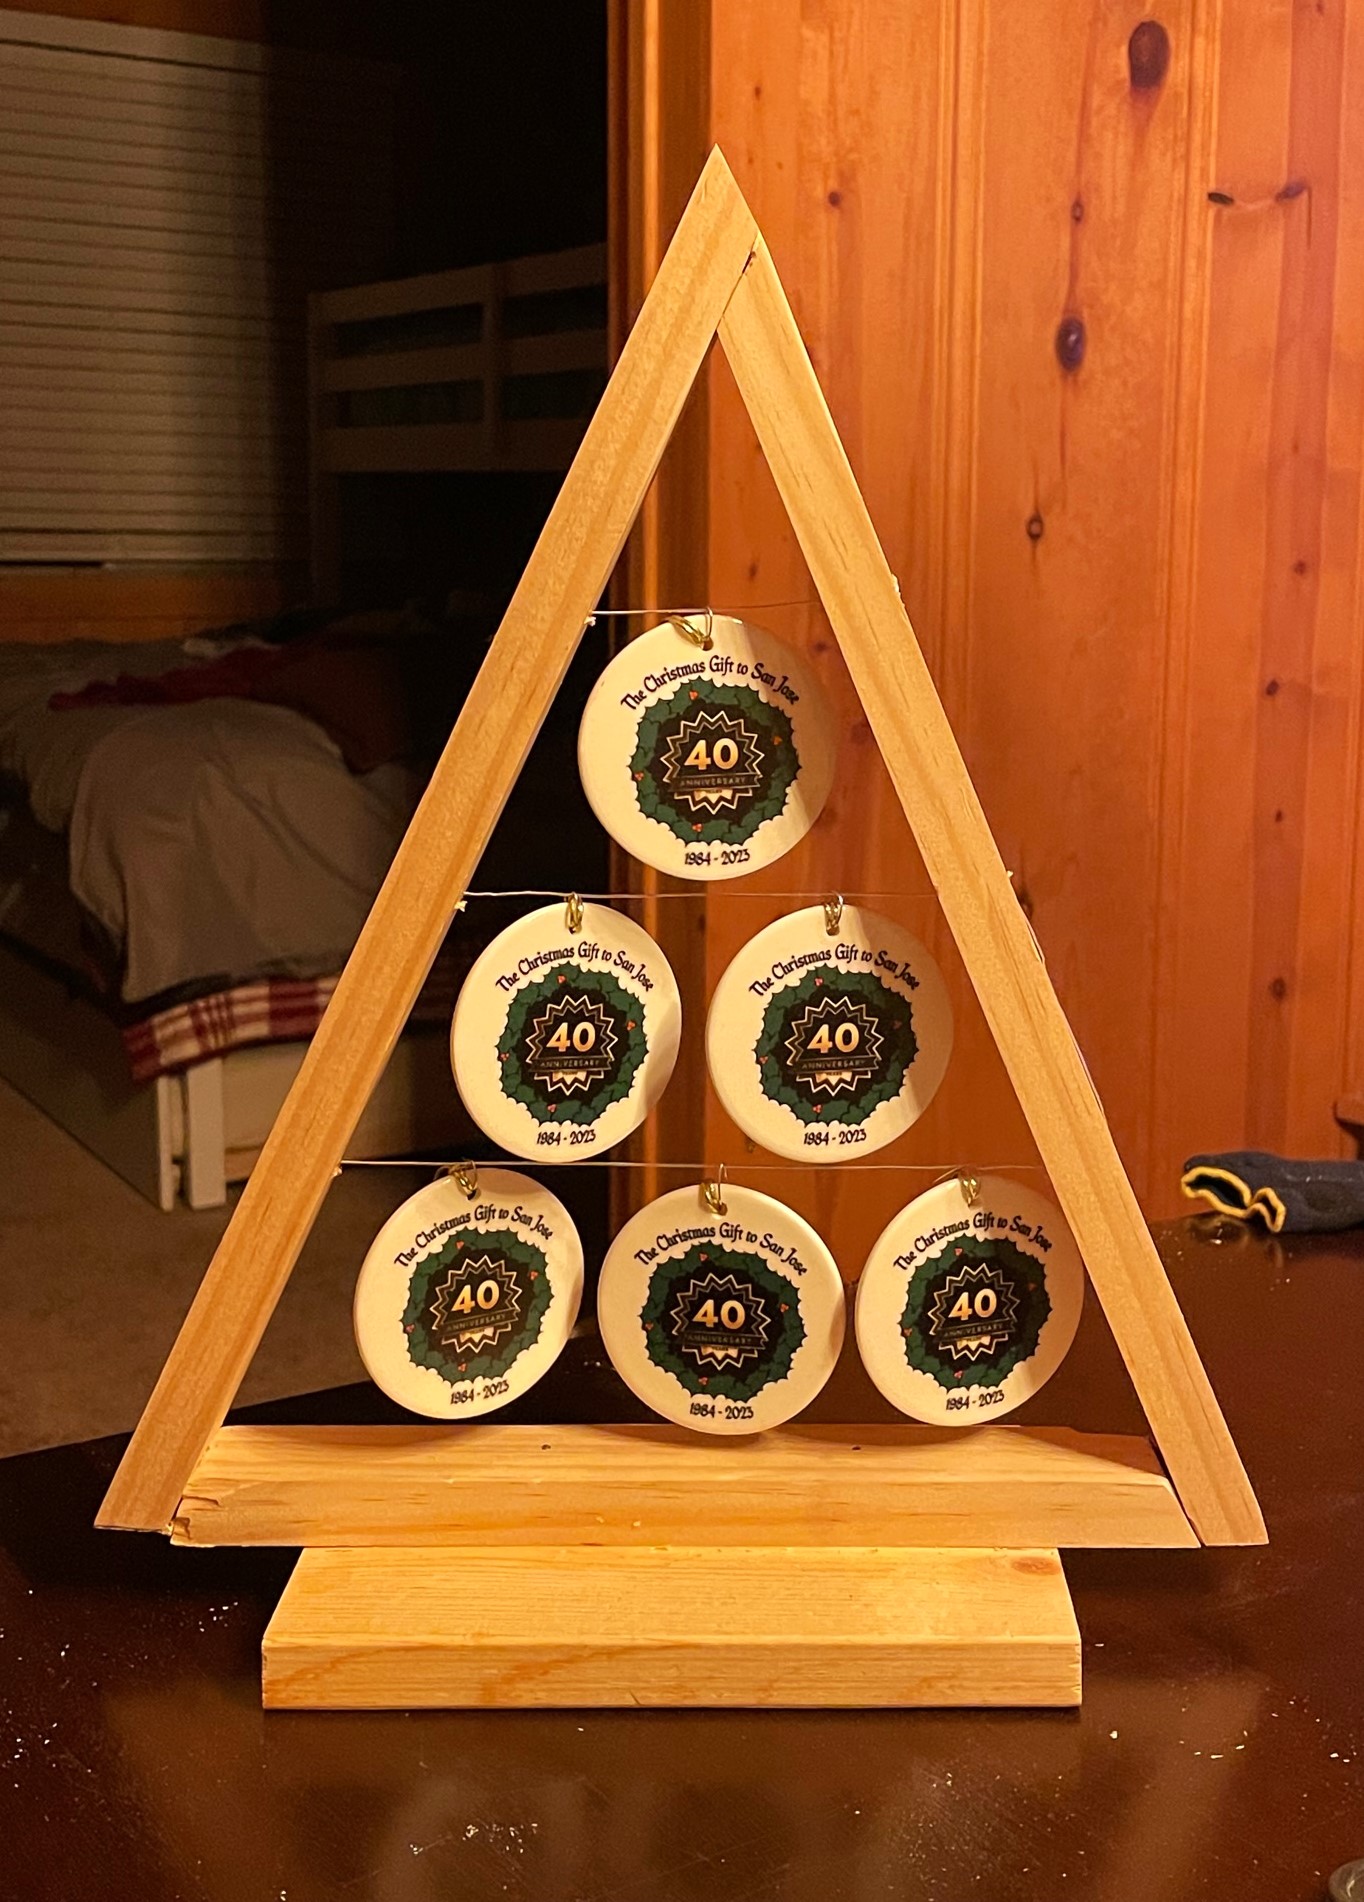
I made 15 of these ornament trees for our church's Christmas banquet. We adjusted the height to 14". I locked the wire in place with 8 x 3/4 screws that were countersunk. I plan to paint the trees gold.
Don Fugate
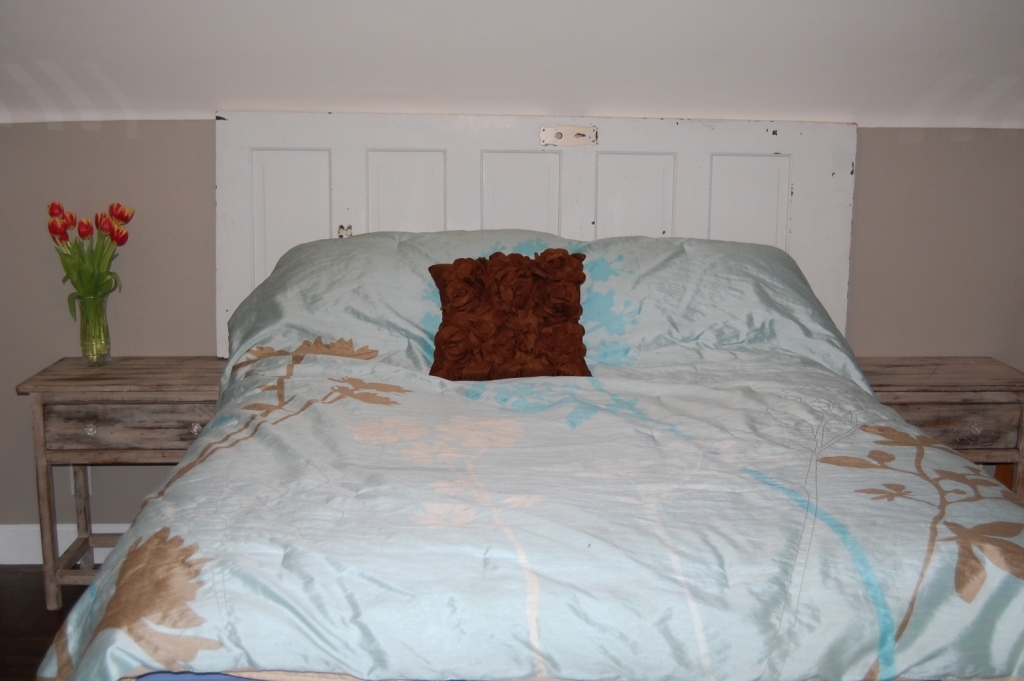
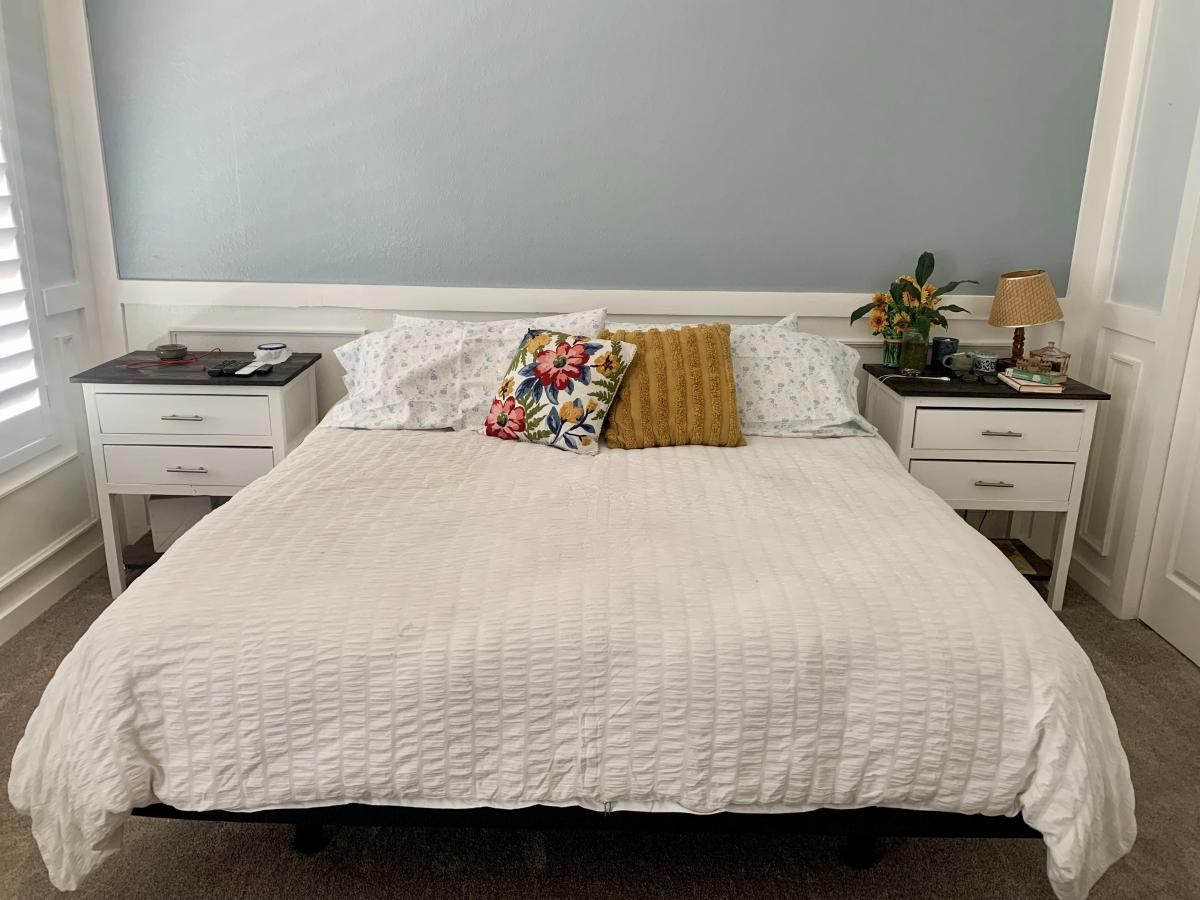
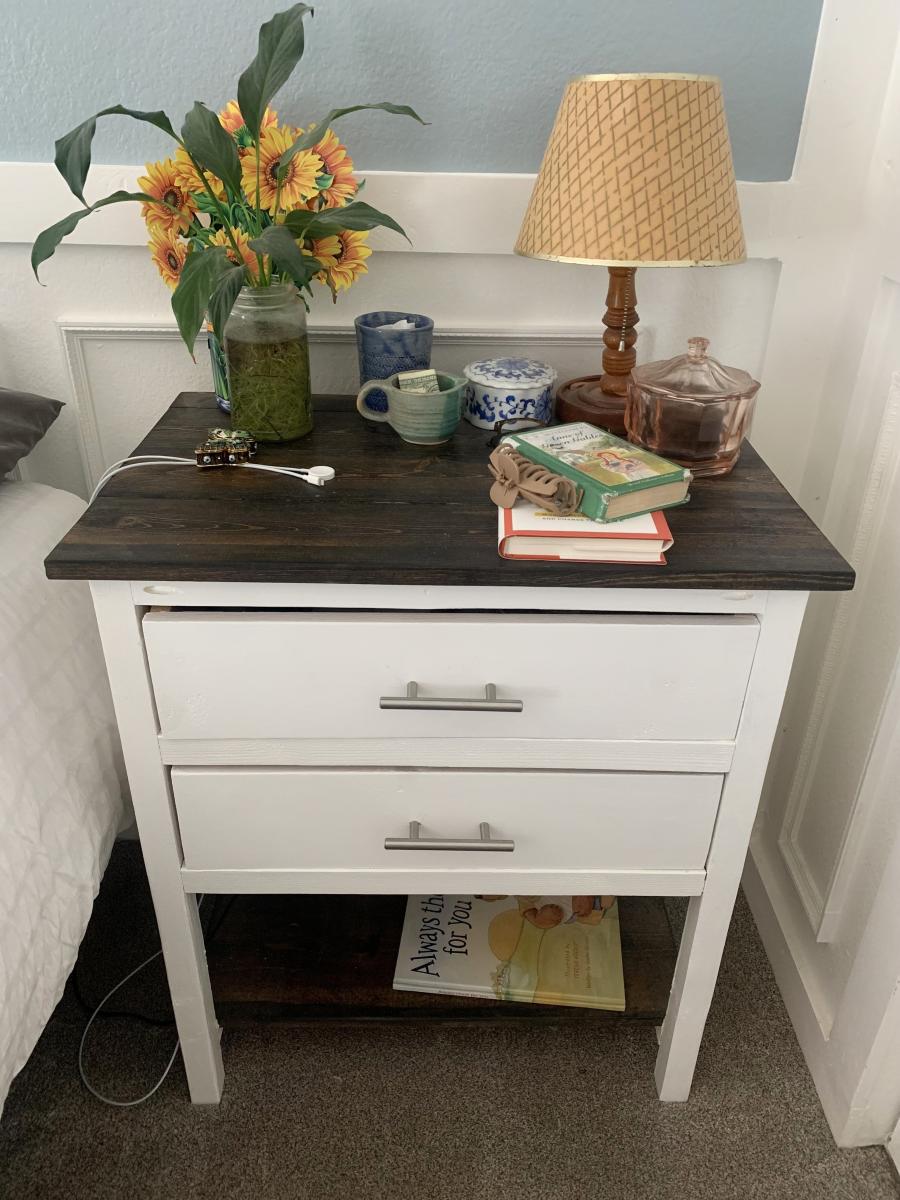
We have been using TV trays as bedside tables for two years. The room is a work in progress... I was waiting to find the perfect pieces...or a plan to build the perfect pieces! So glad I found that plan here. Too impatient to wait for nice weather to head outside, I built this in February on my kitchen floor. It was a little messy and a little dusty, but I am a lot happy with the result :). Cheers.
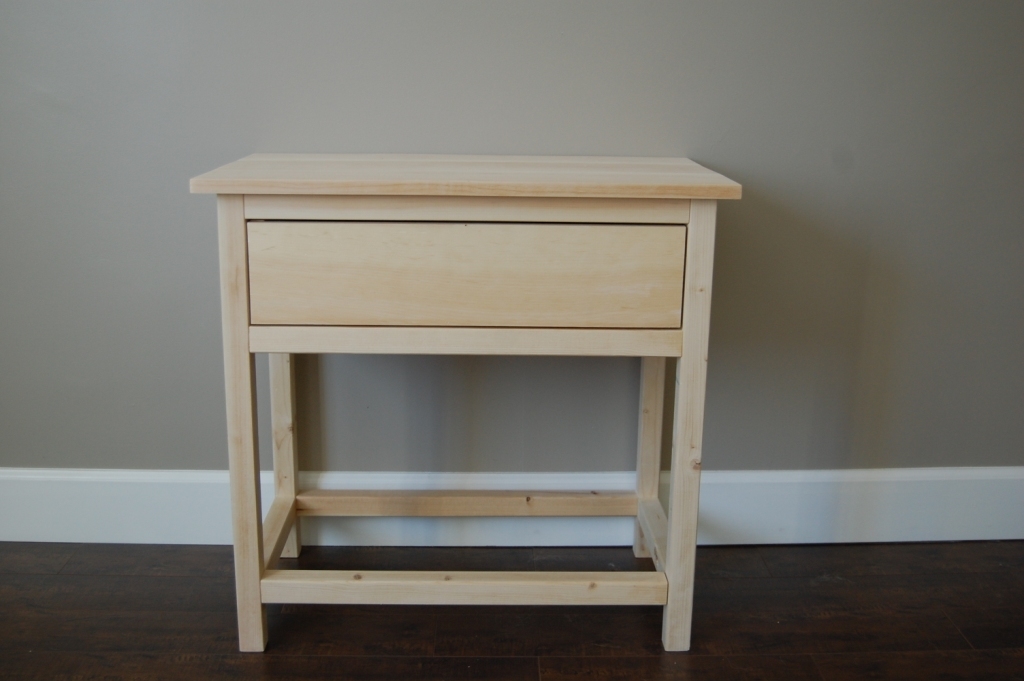
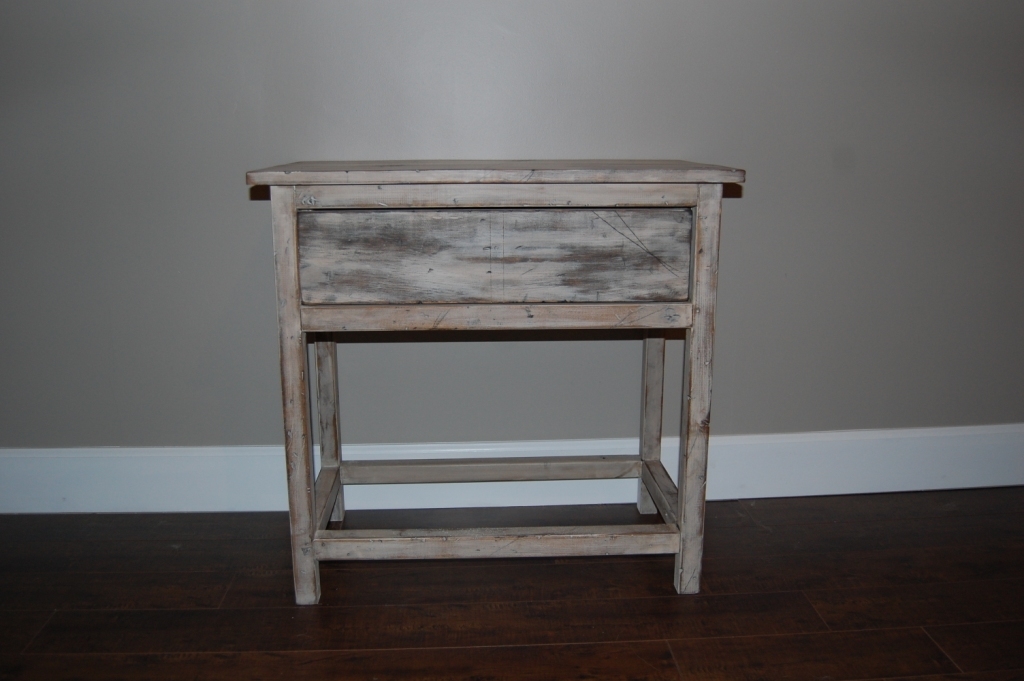
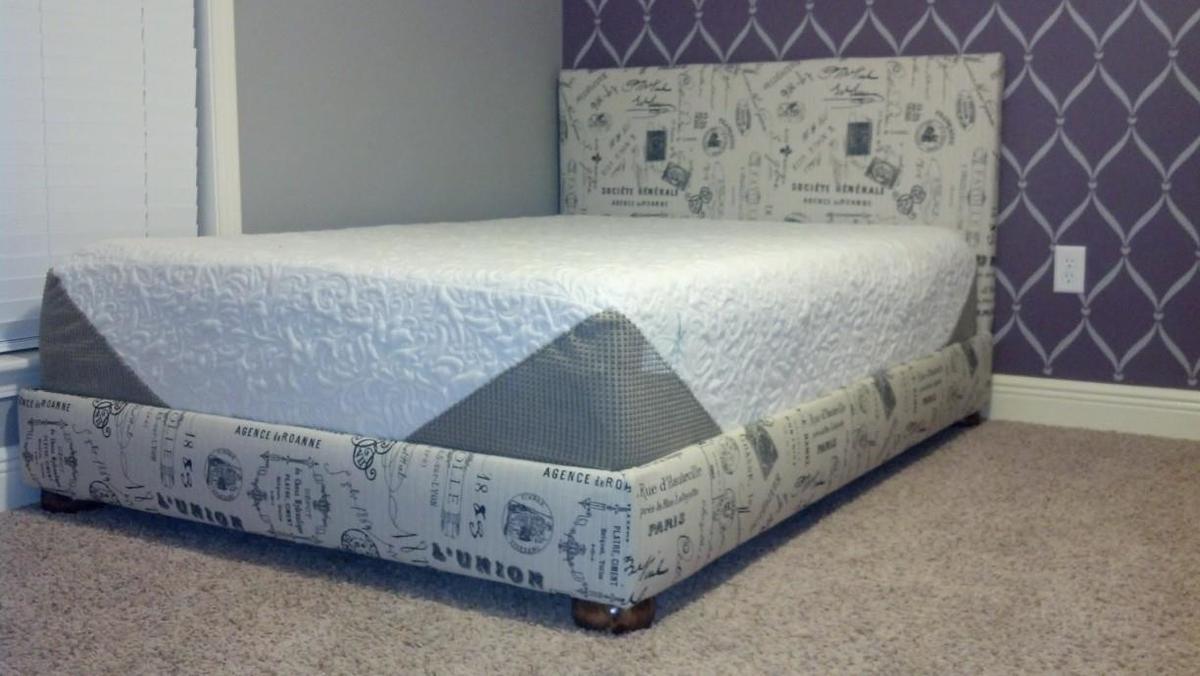
We modified the plans a little so that our little girls bed would fit snug into the bedframe. We also cheated and bought round short legs from Lowes and stained them with Rust-Oleum Dark Walnut. We wanted the bed to sit low since she is only 3 and I also didnt want her to be able to stuff things under her bed!!
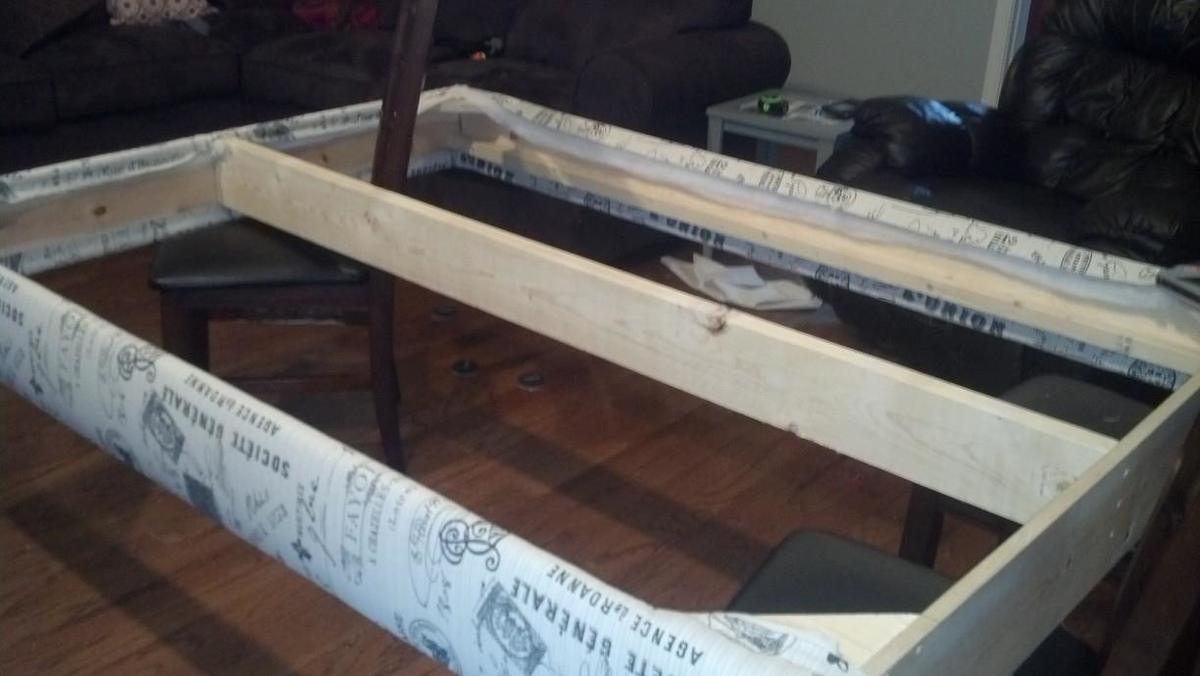
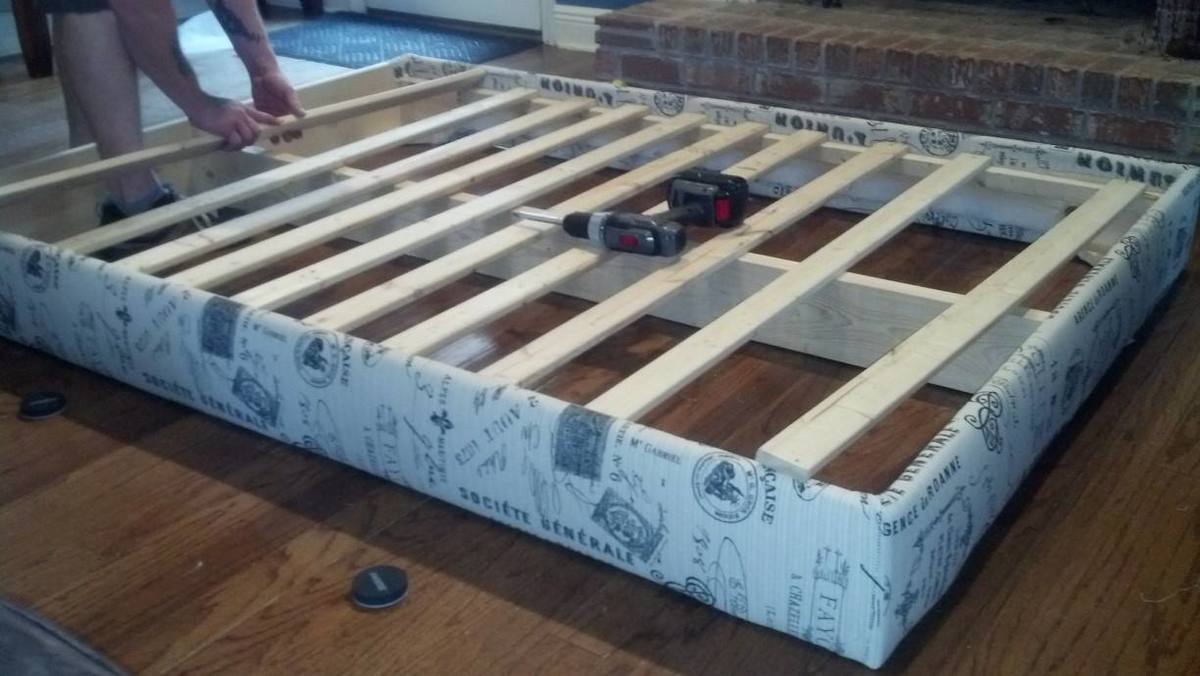
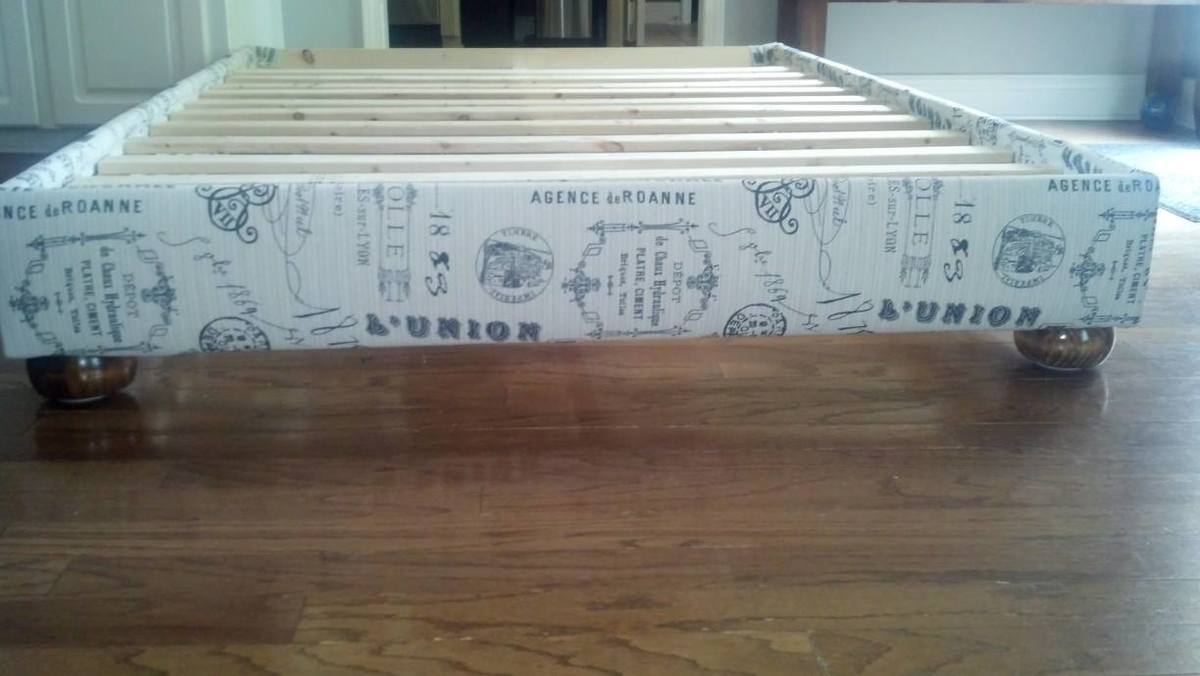
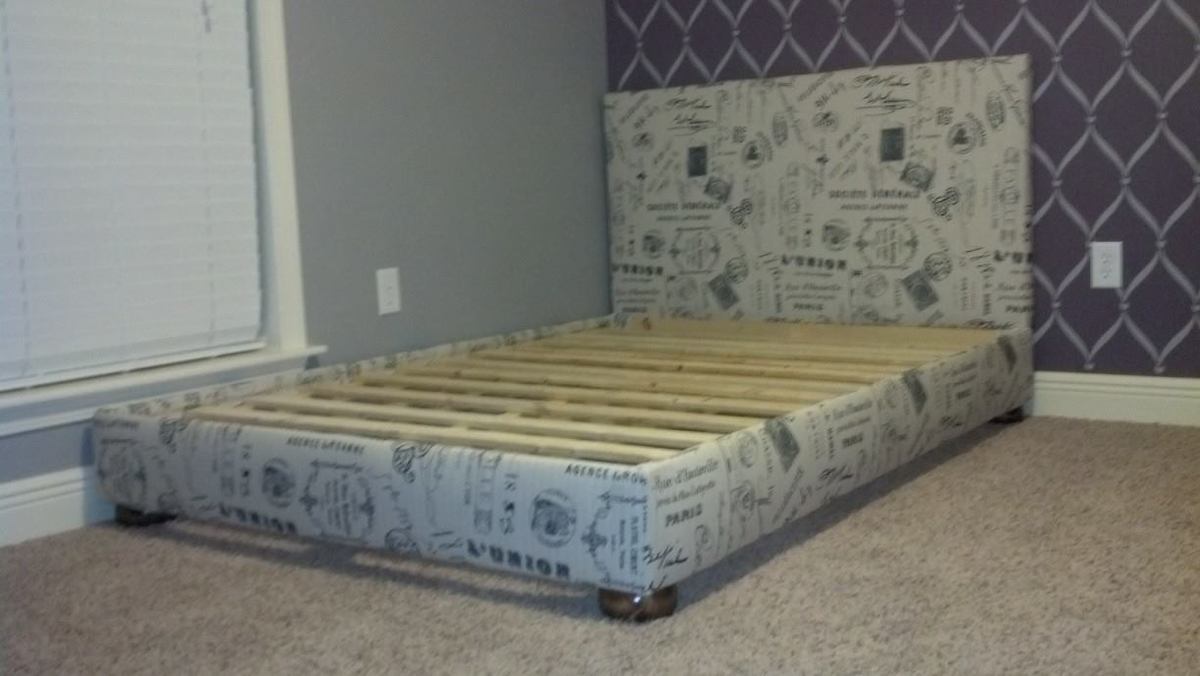
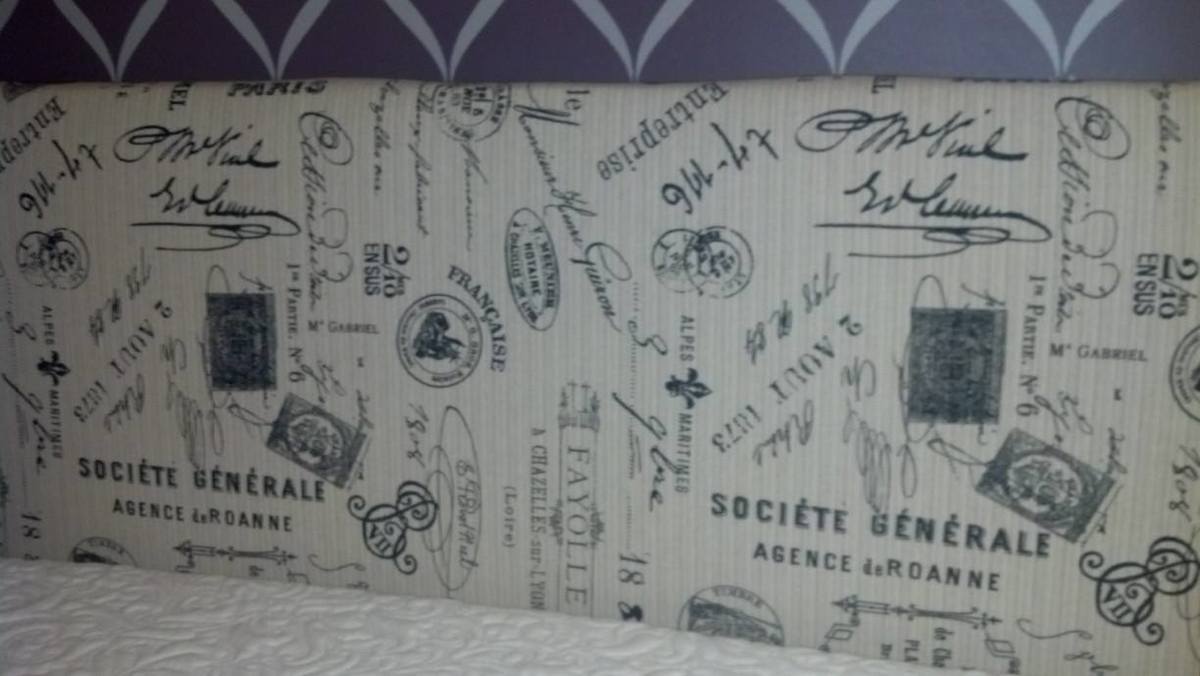
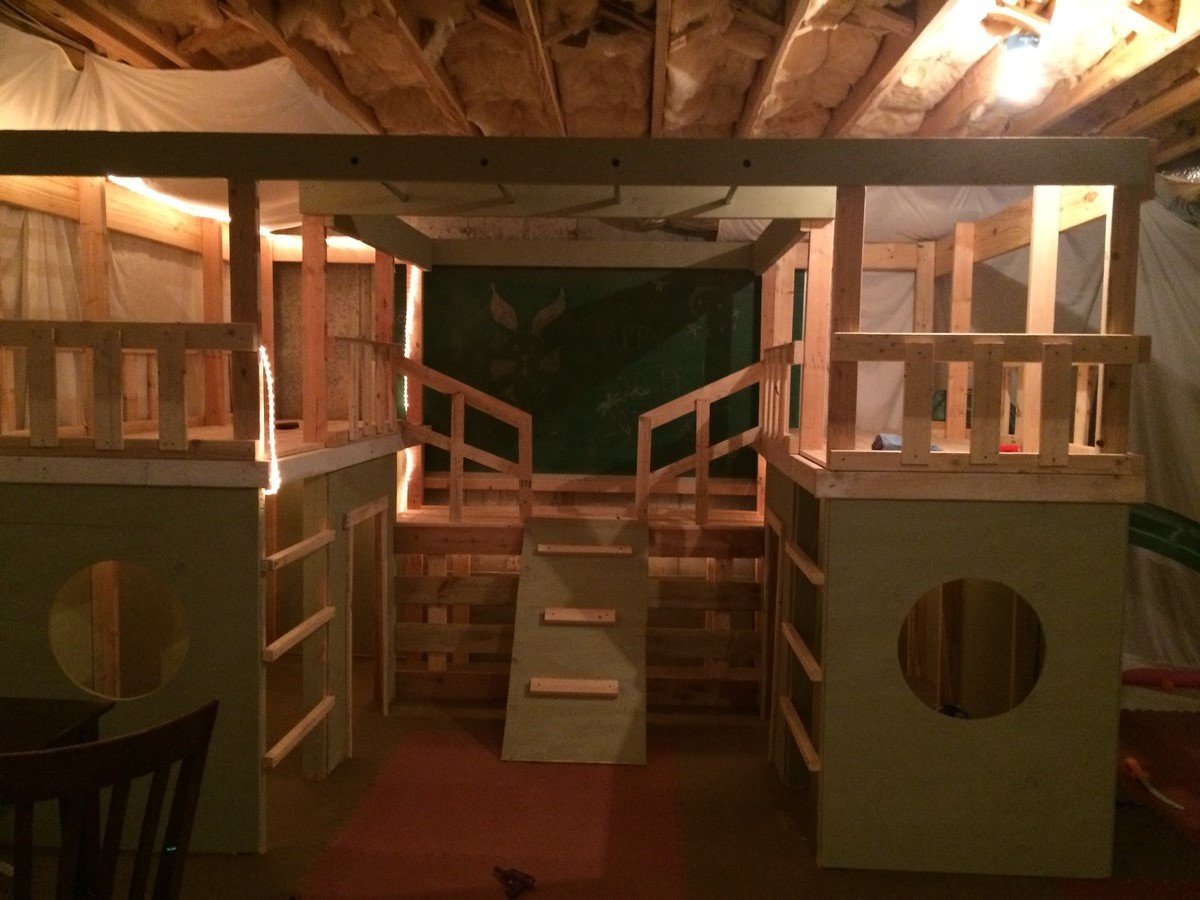
This project was a success!! I had a week of vacation that I dedicated to this great project! The directions were easy to follow...thank you Ana!
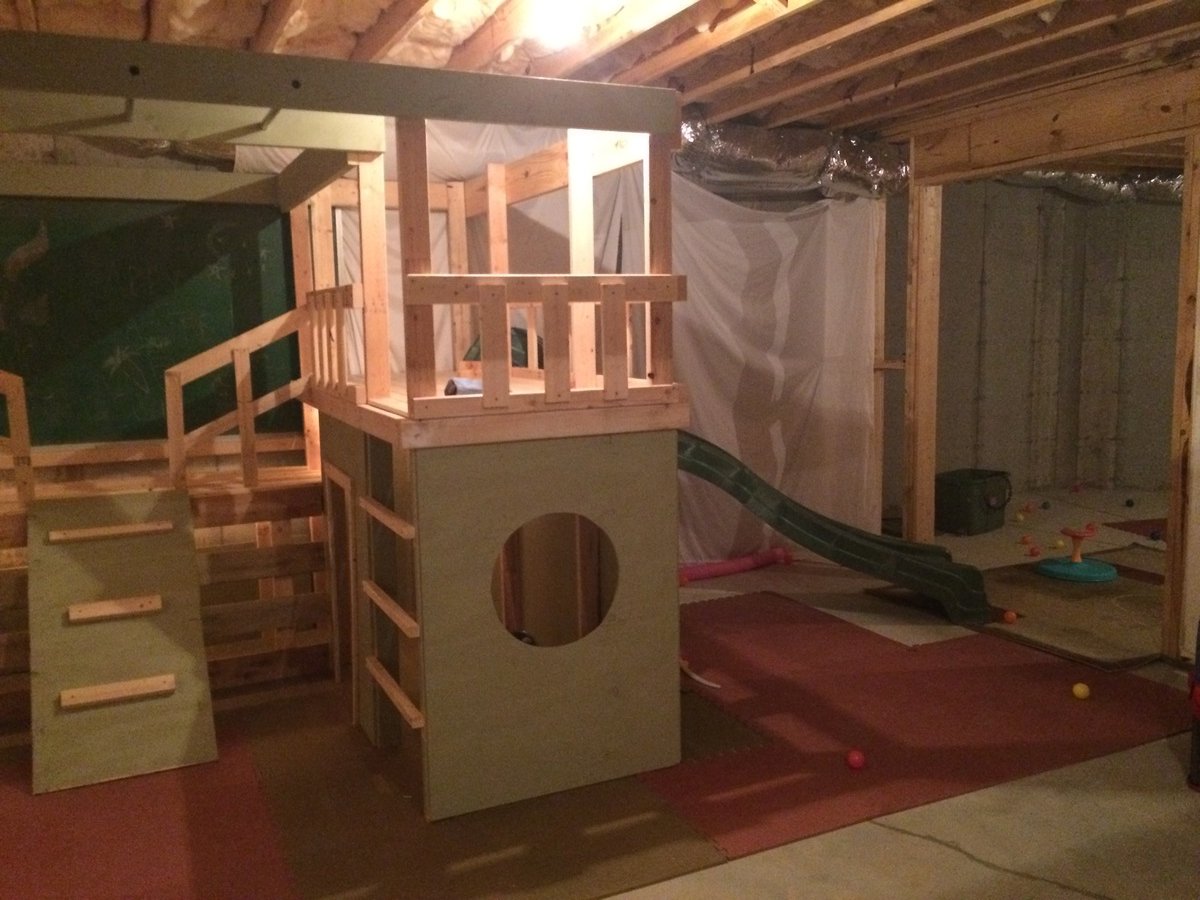
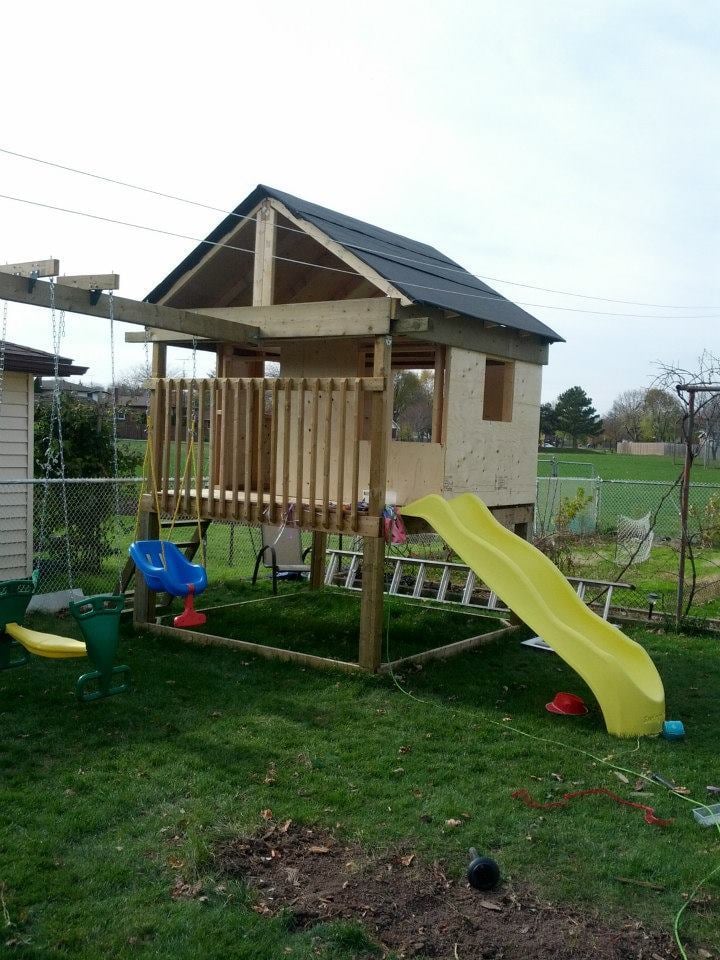
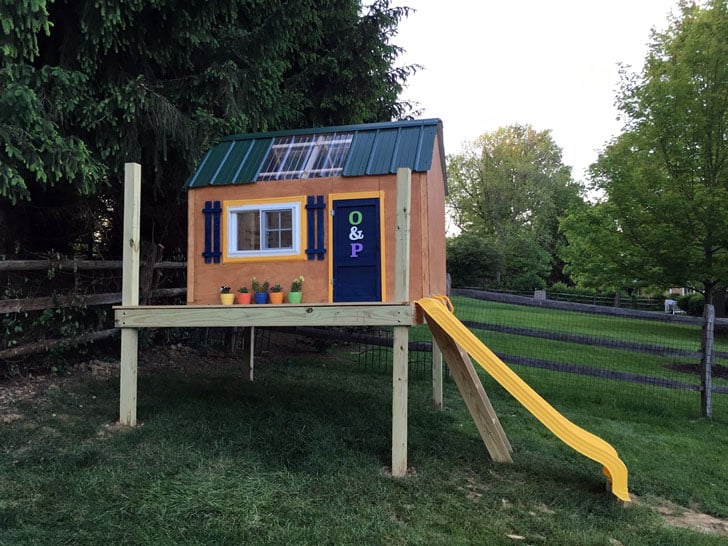
I managed to get the slide from someone's outdoor play set that they were giving away :) I secured it to the side of the upper level. It's been the kids favorite part!
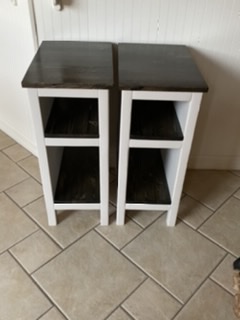
I built these for outdoor. Made them narrower than actual plan. Love them! Thank you for the plan!
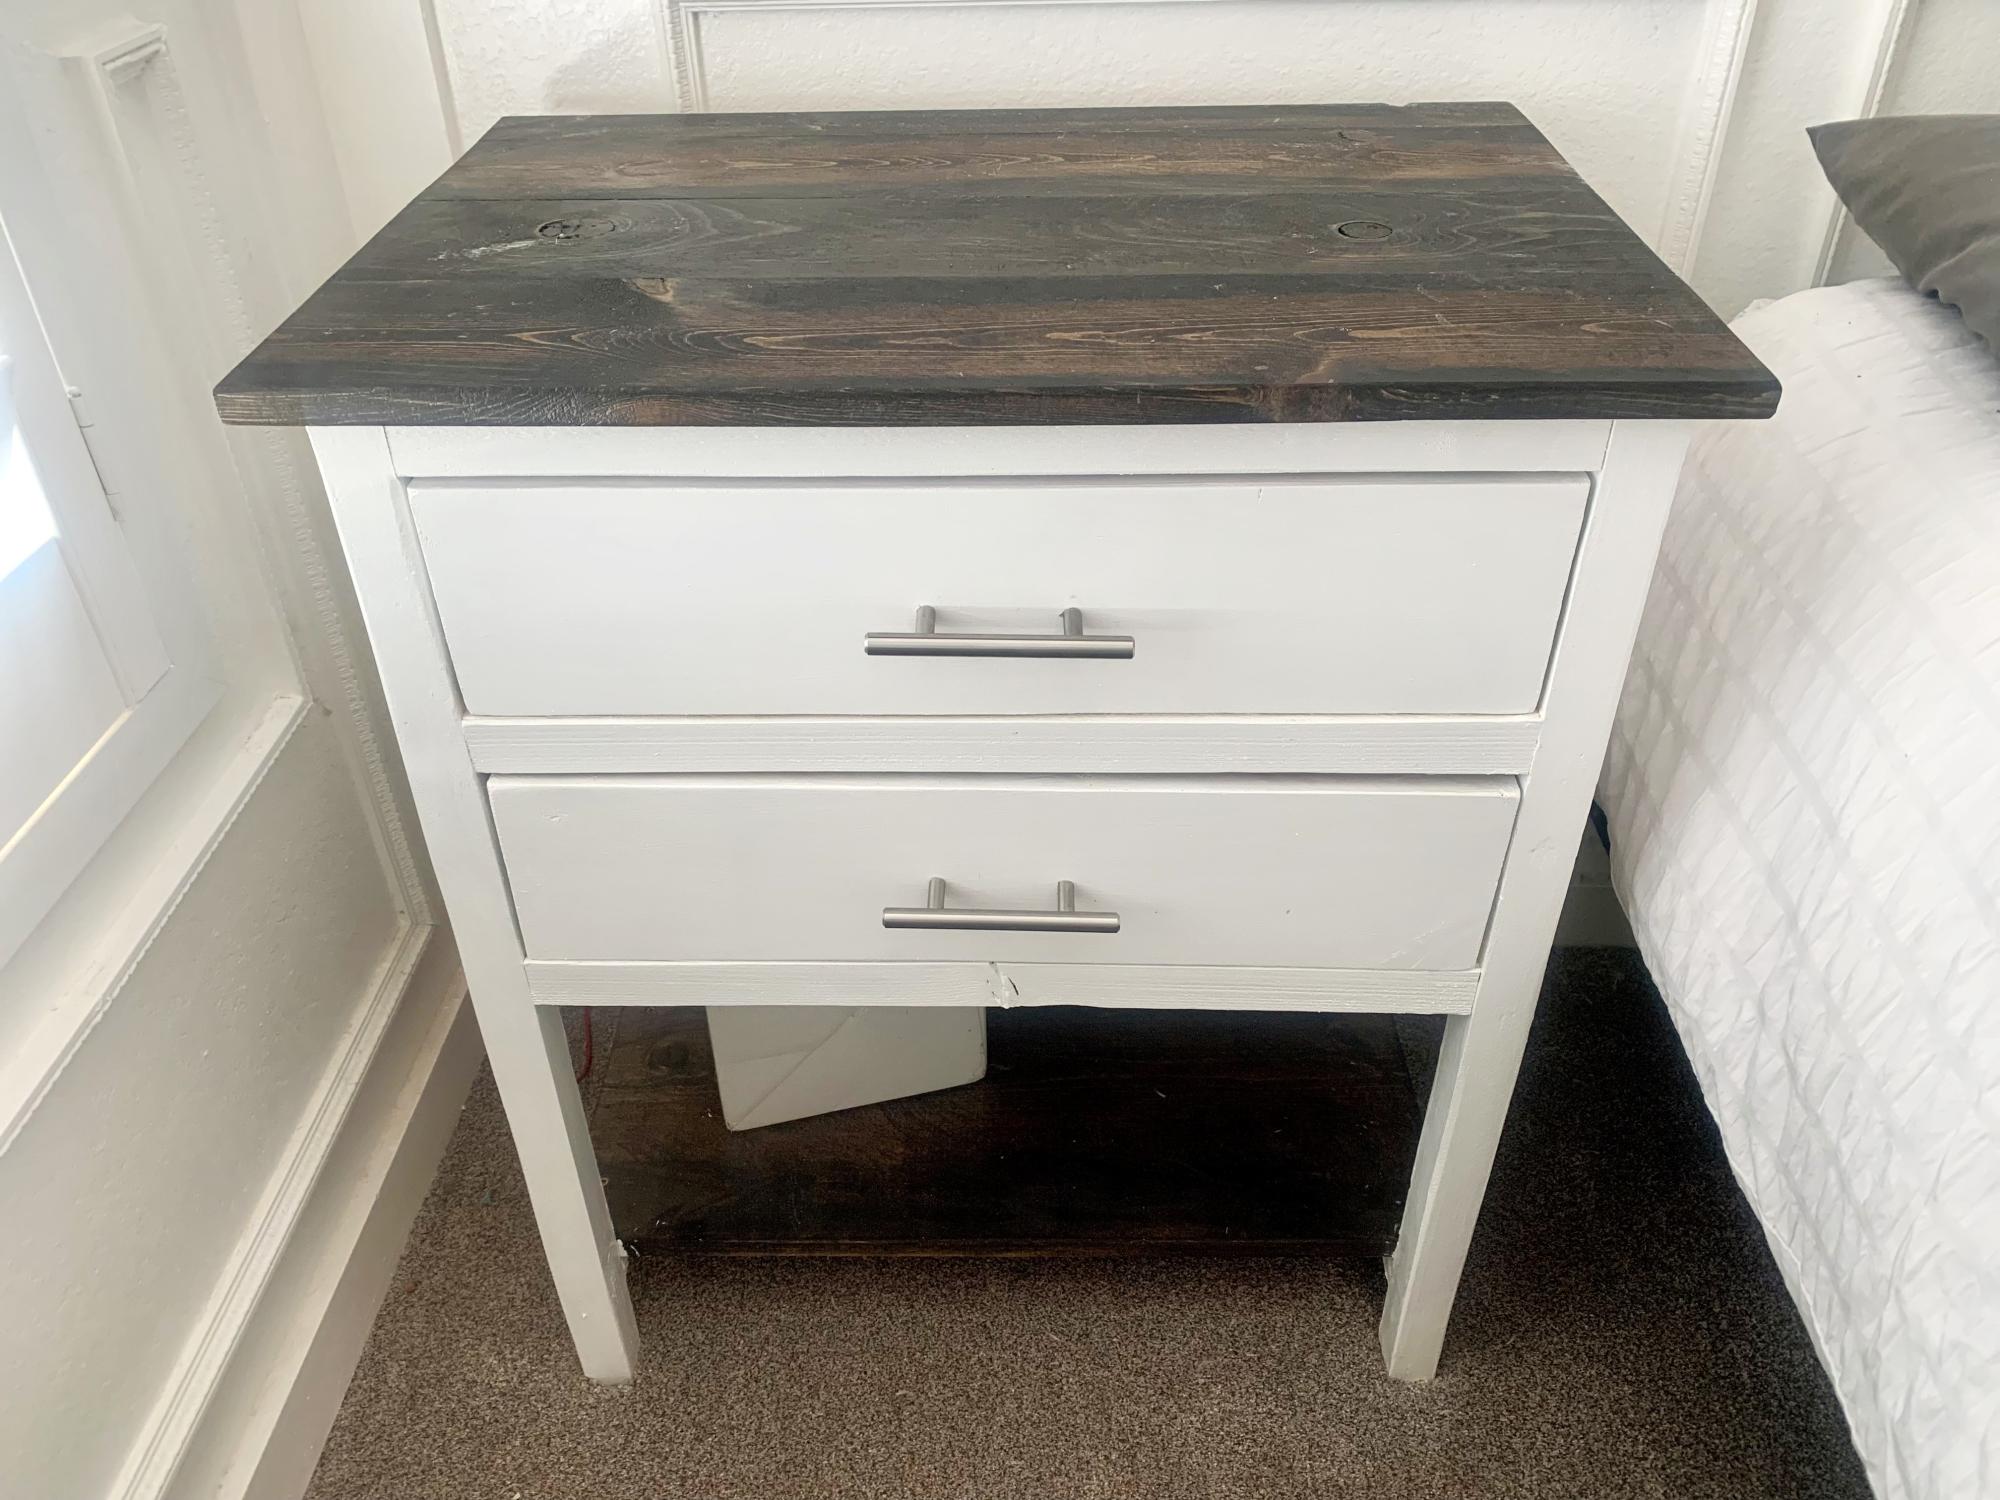
I have always wanted to build some furniture. So, when we were looking for some nightstands for our bedroom and couldn’t find any we liked I found your Farmhouse Nightstand plans and decided to build them as a surprise gift for my husband for Valentine’s Day. I personalized them by adding an extra drawer and making them a little taller and wider to fit the space we had. We absolutely LOVE them! Thank you, Ana, for helping to make a dream of mine come true!
Toni Imlay @ toniimlay.com
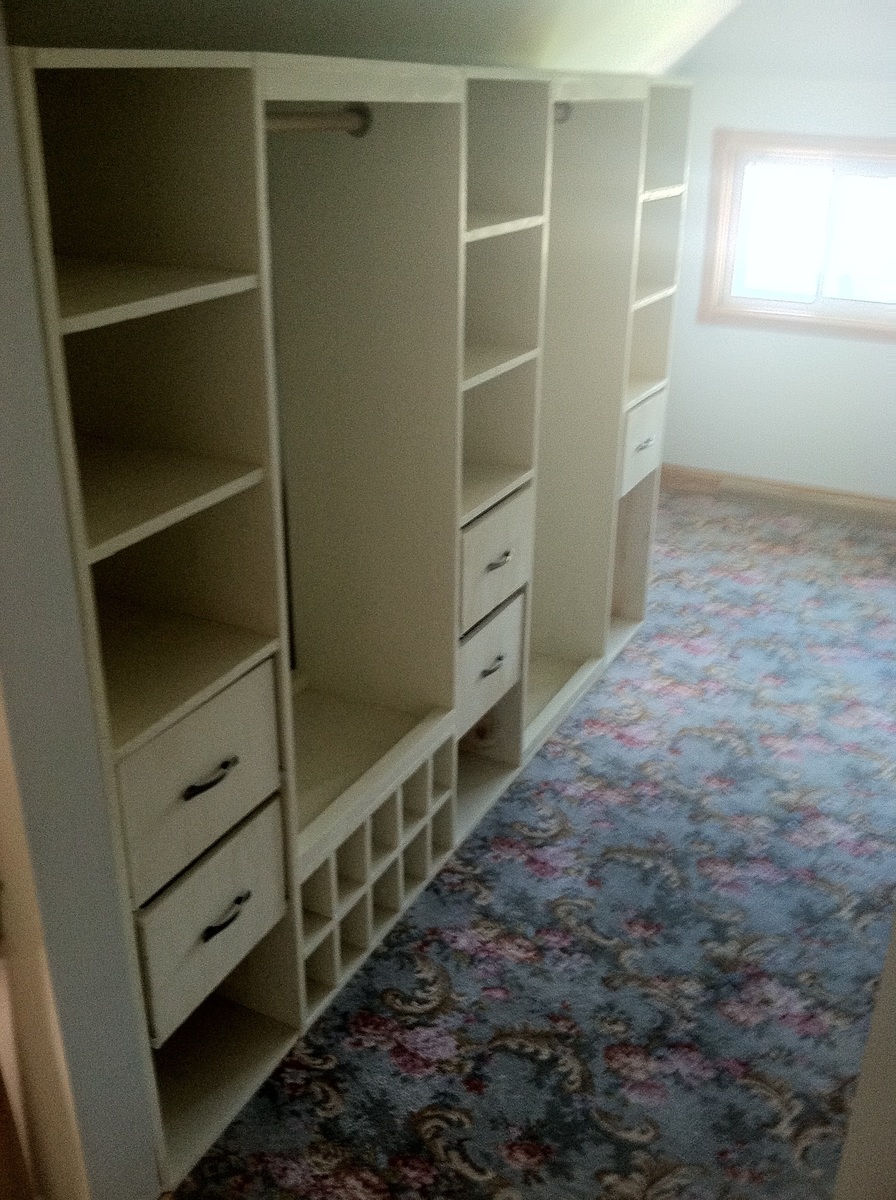
When we bought our bungalow, the entire attic was refurbished as a master bedroom. With so much space in such a narrow and somewhat awkward area, we thought we should convert the nook at the end of the room into a master closet area.
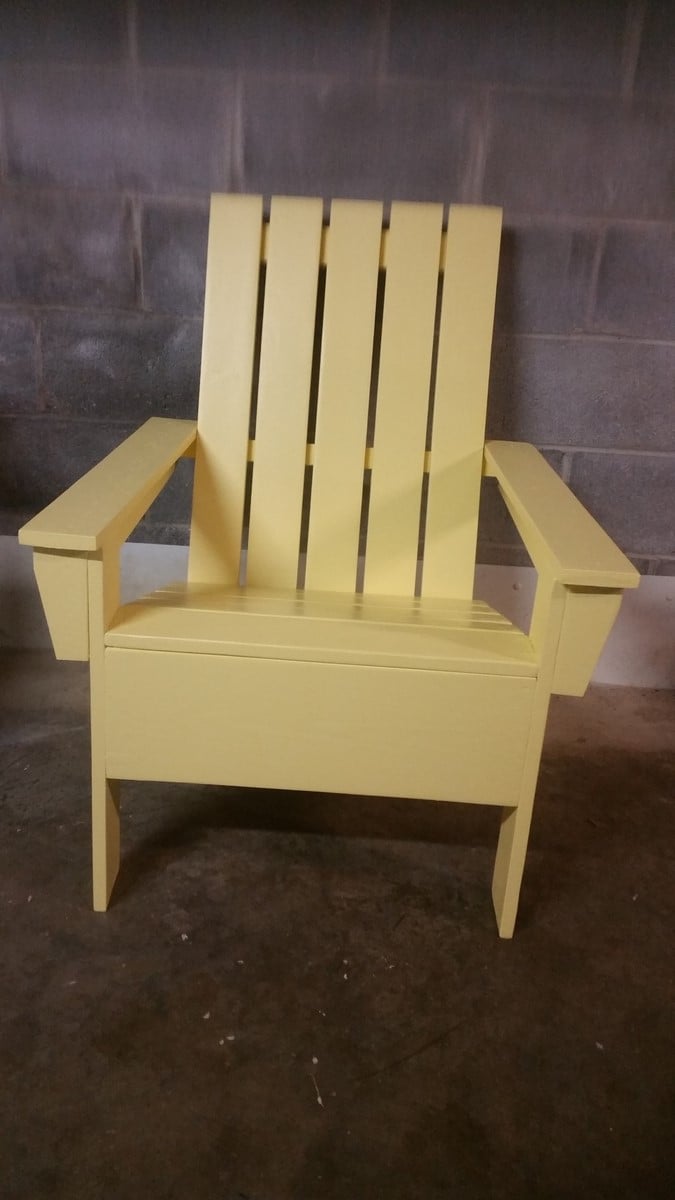
My first attempt at building an Adirondack chair. Ana's plans were easy to follow and very accurate. I would classify myself as a Beginner+.. Recently suffered bad thumb cut making cedar planters. Always think safety first.
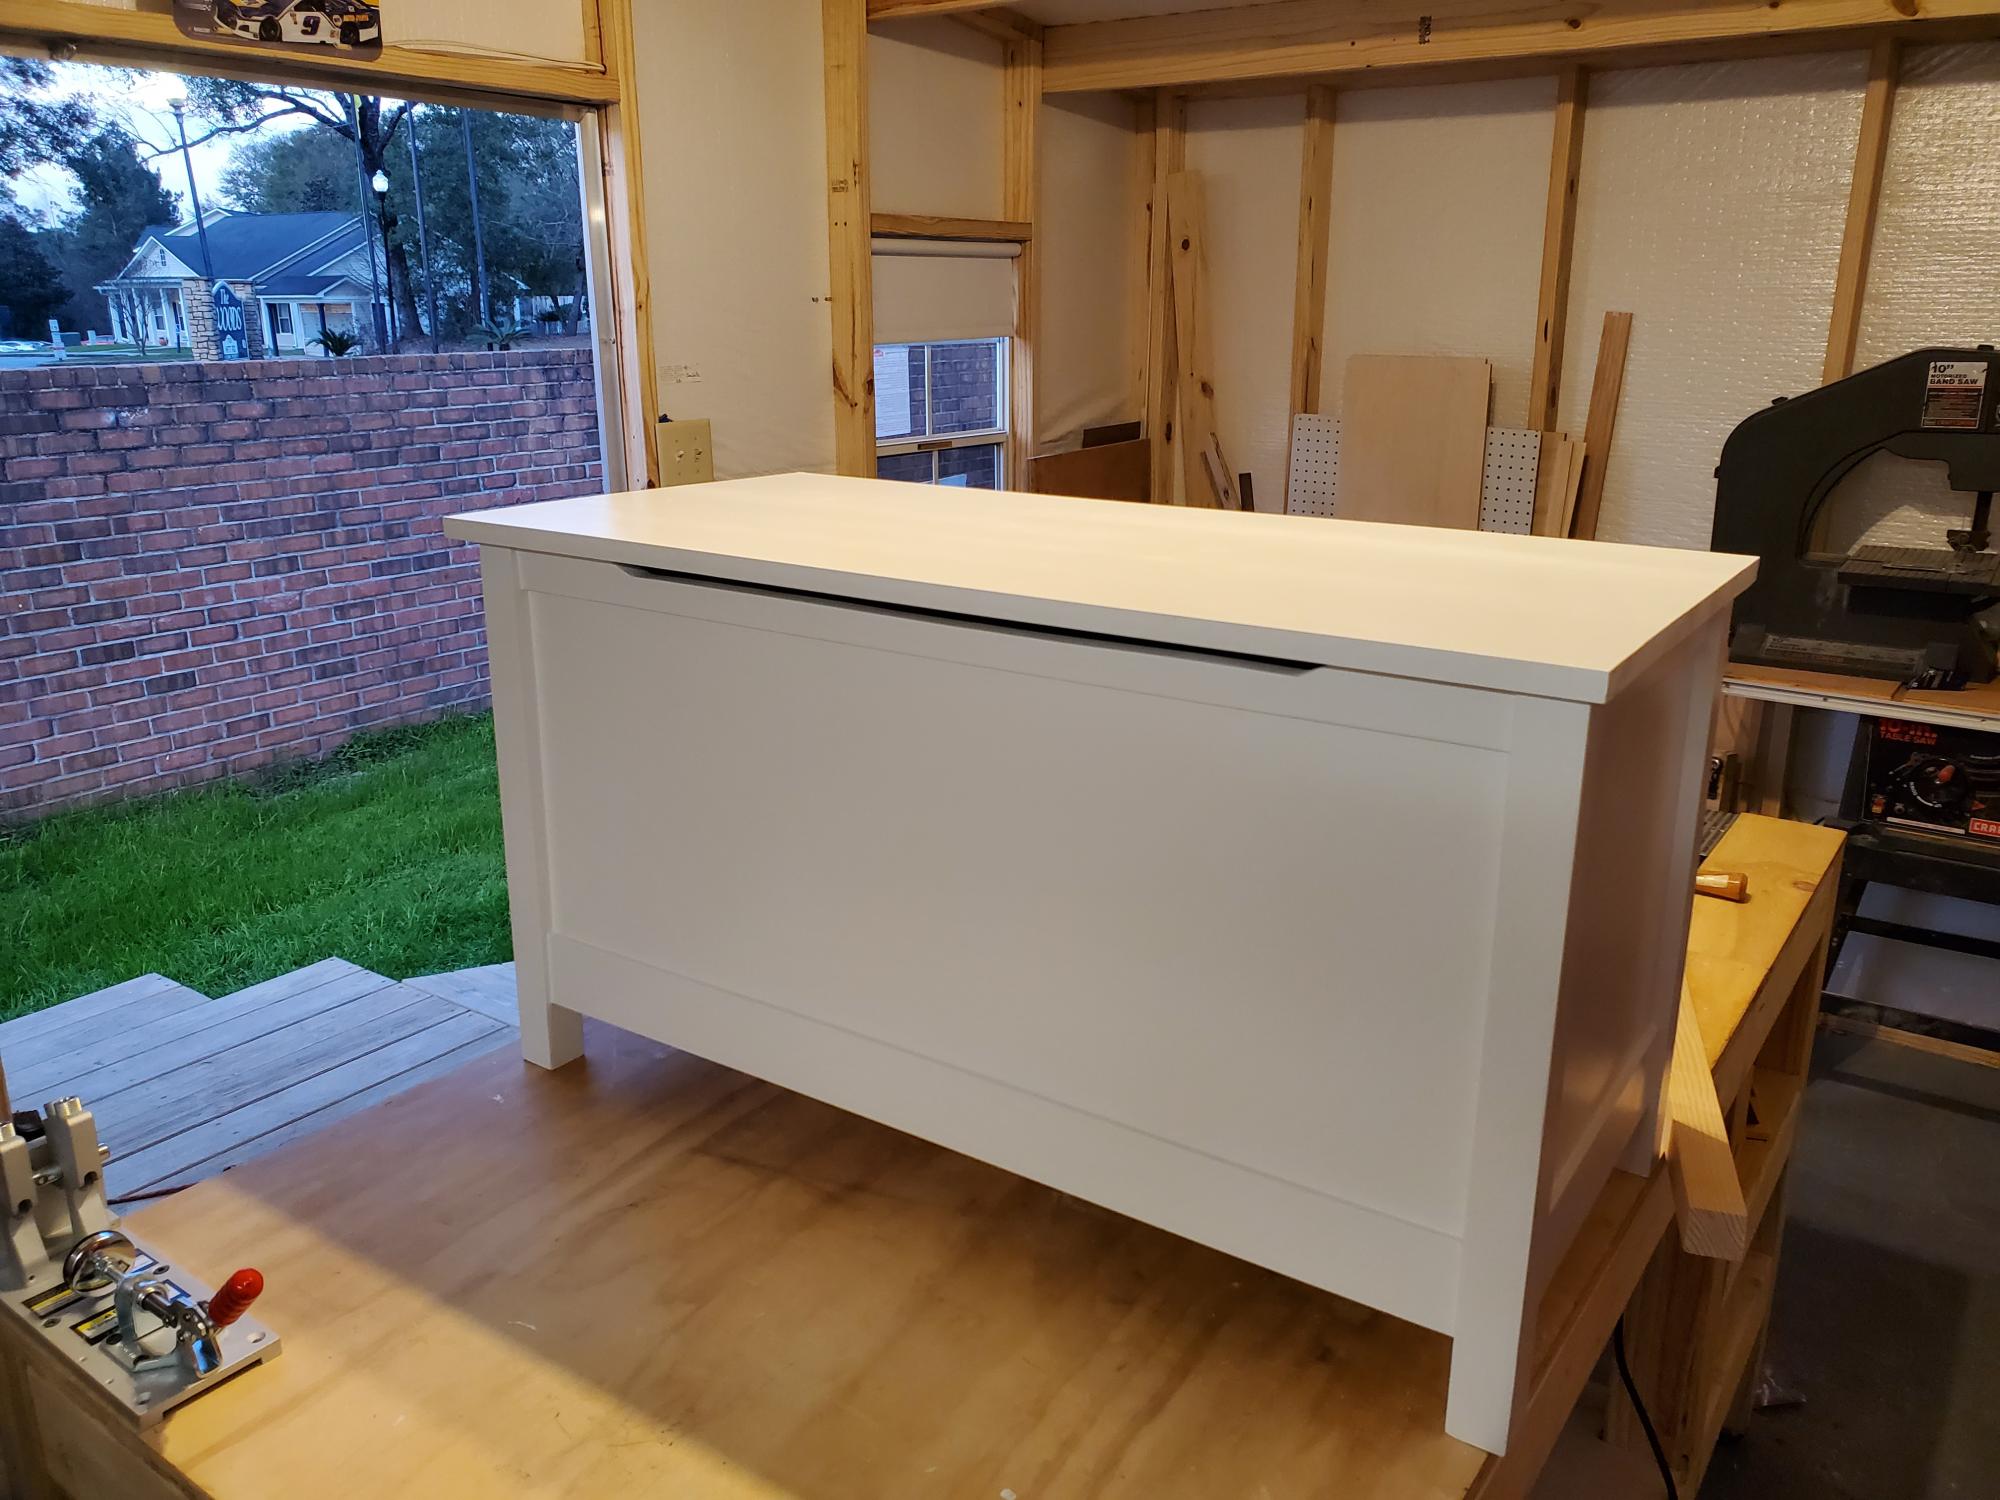
So proud of how this turned out. Plans were so easy to follow. Thanks for such a wonderful site.
David Akridge
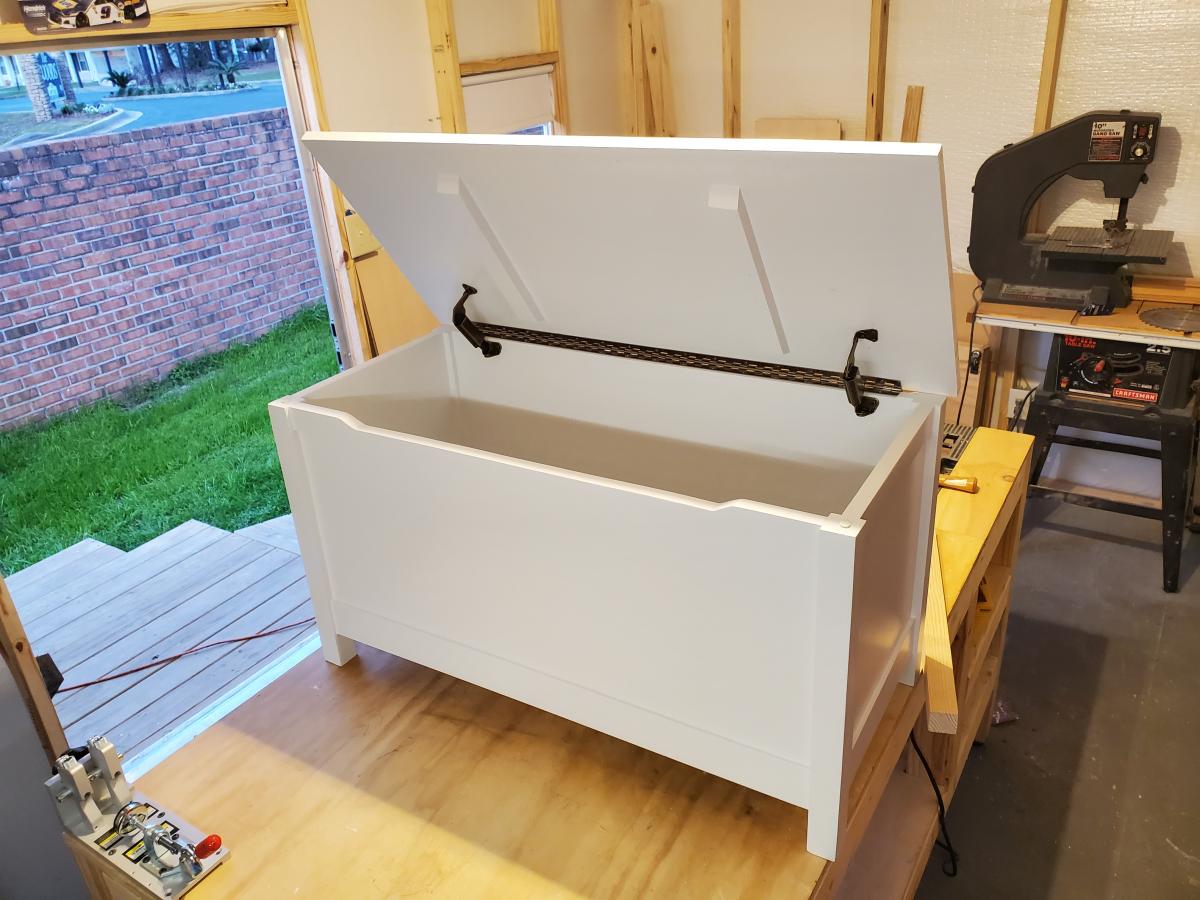
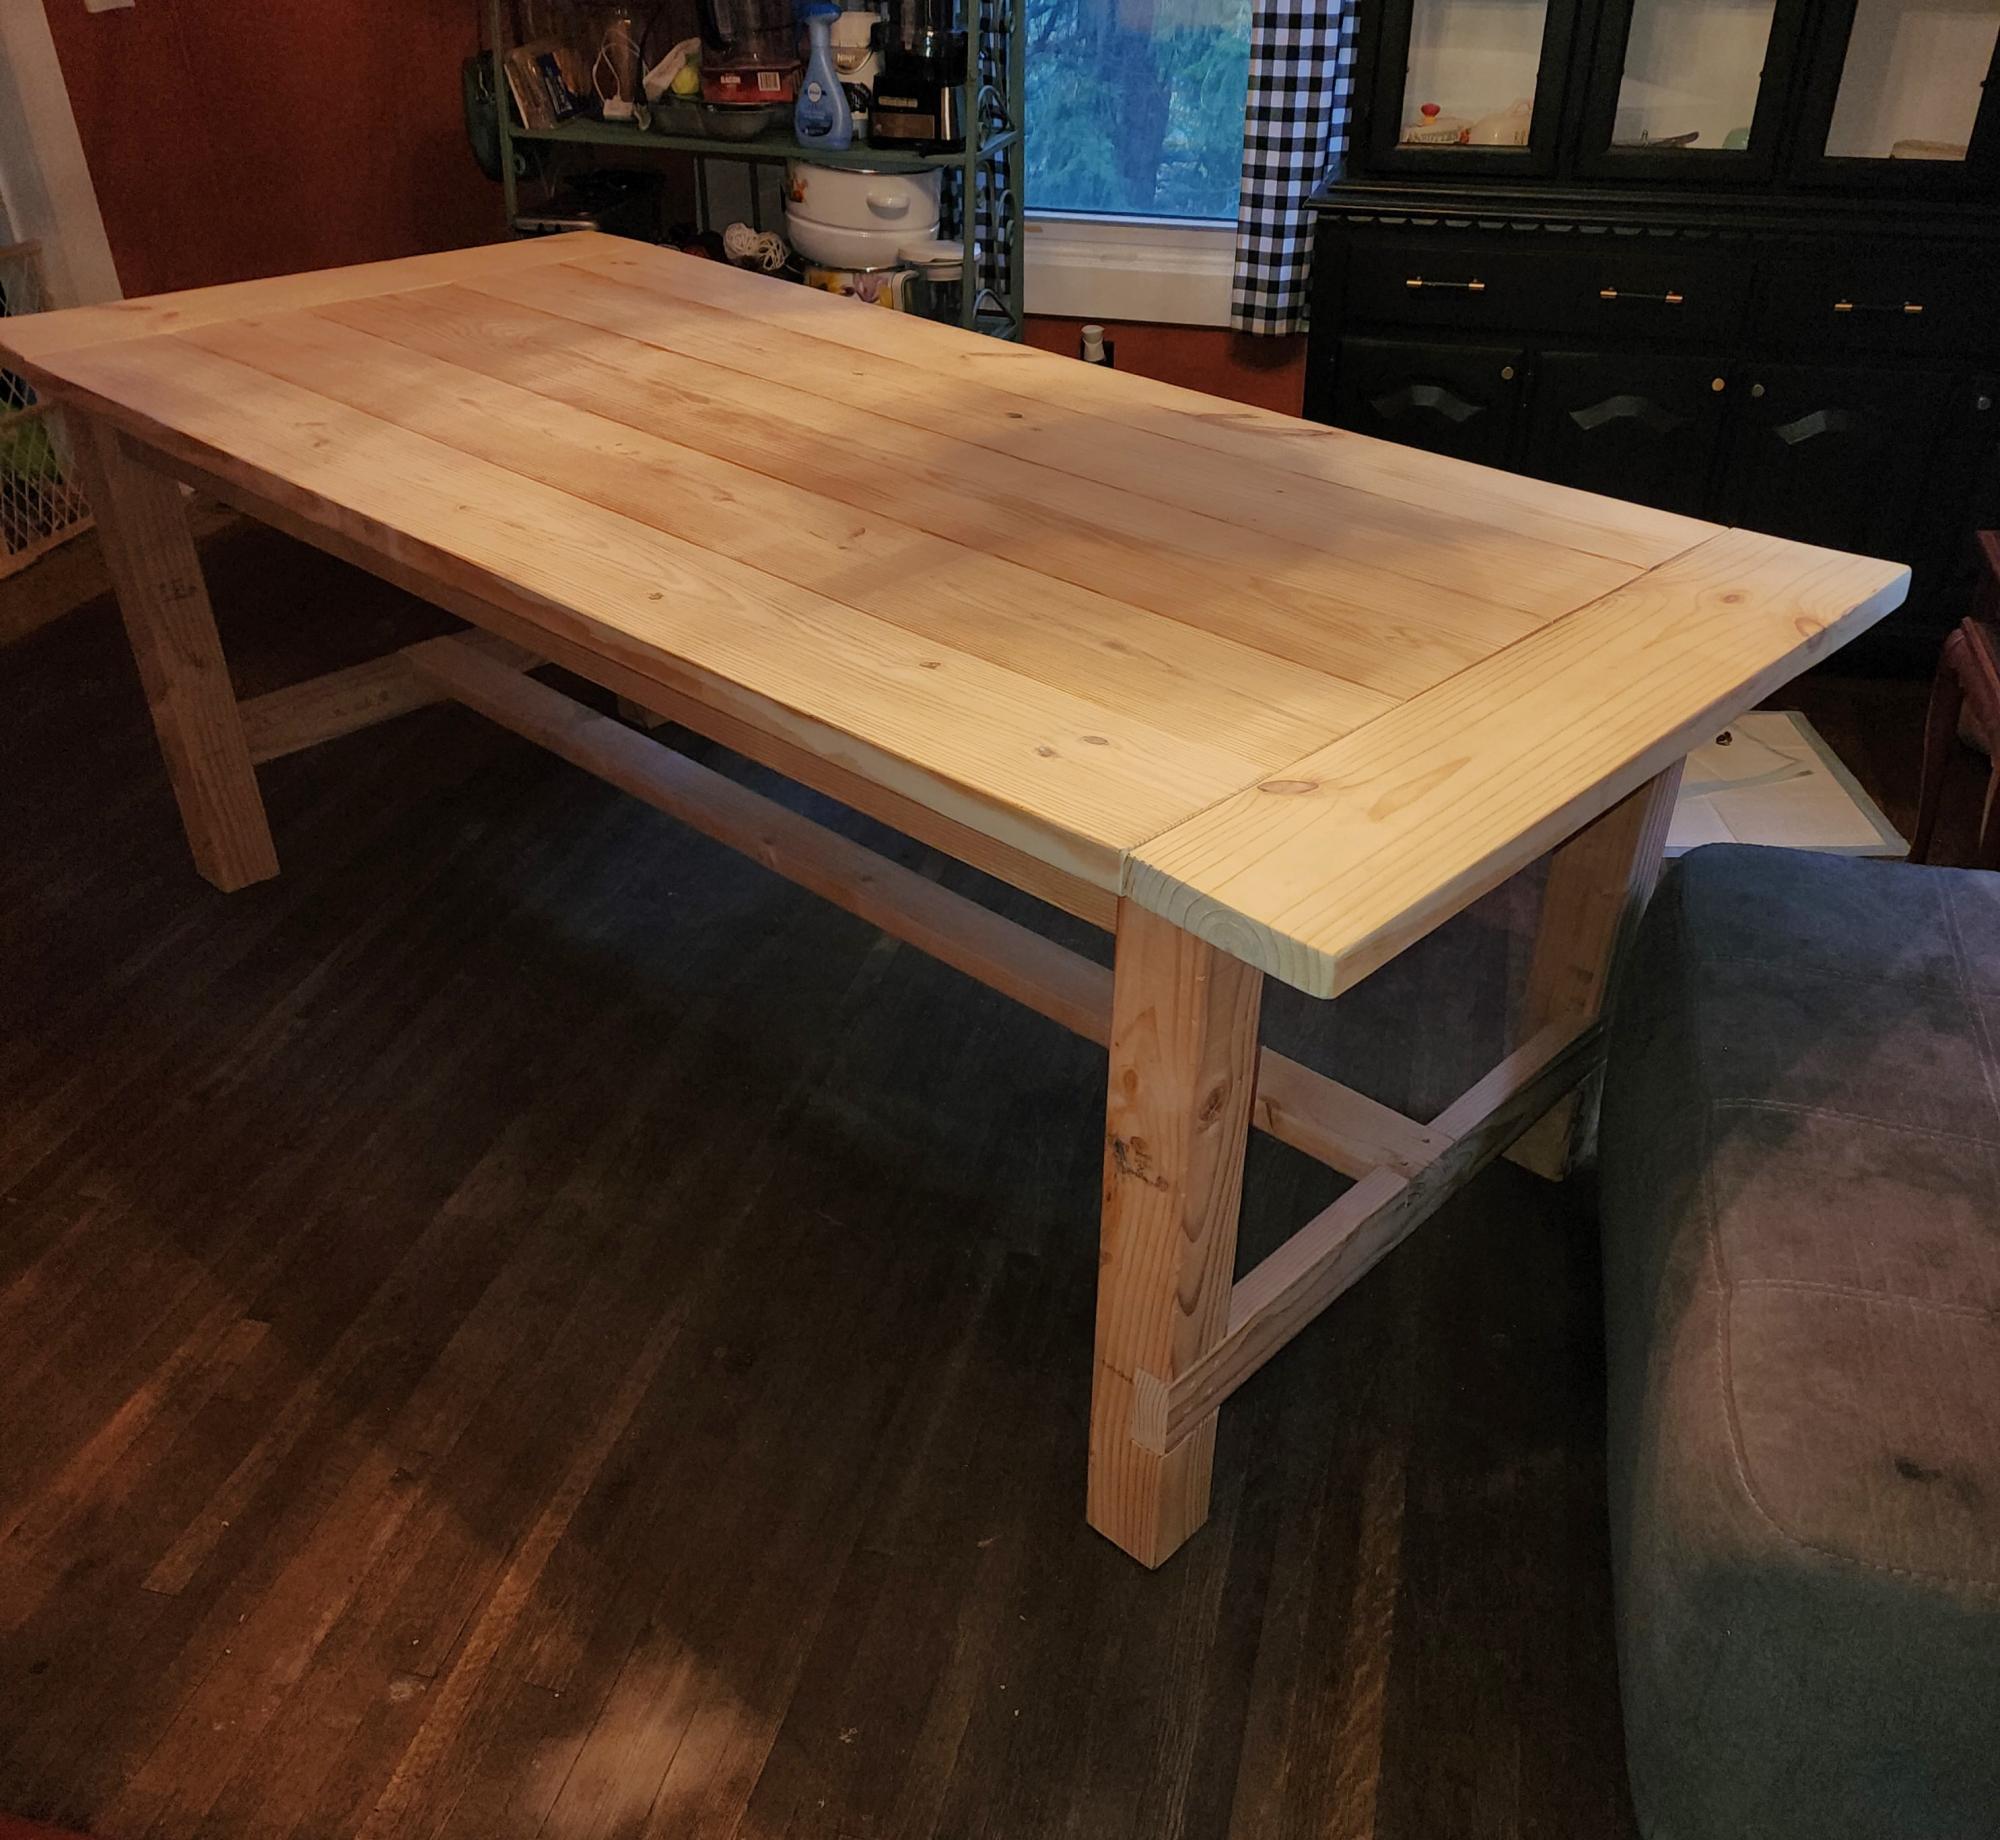
Loved building this table. Look forward to building more! Thanks Ana!

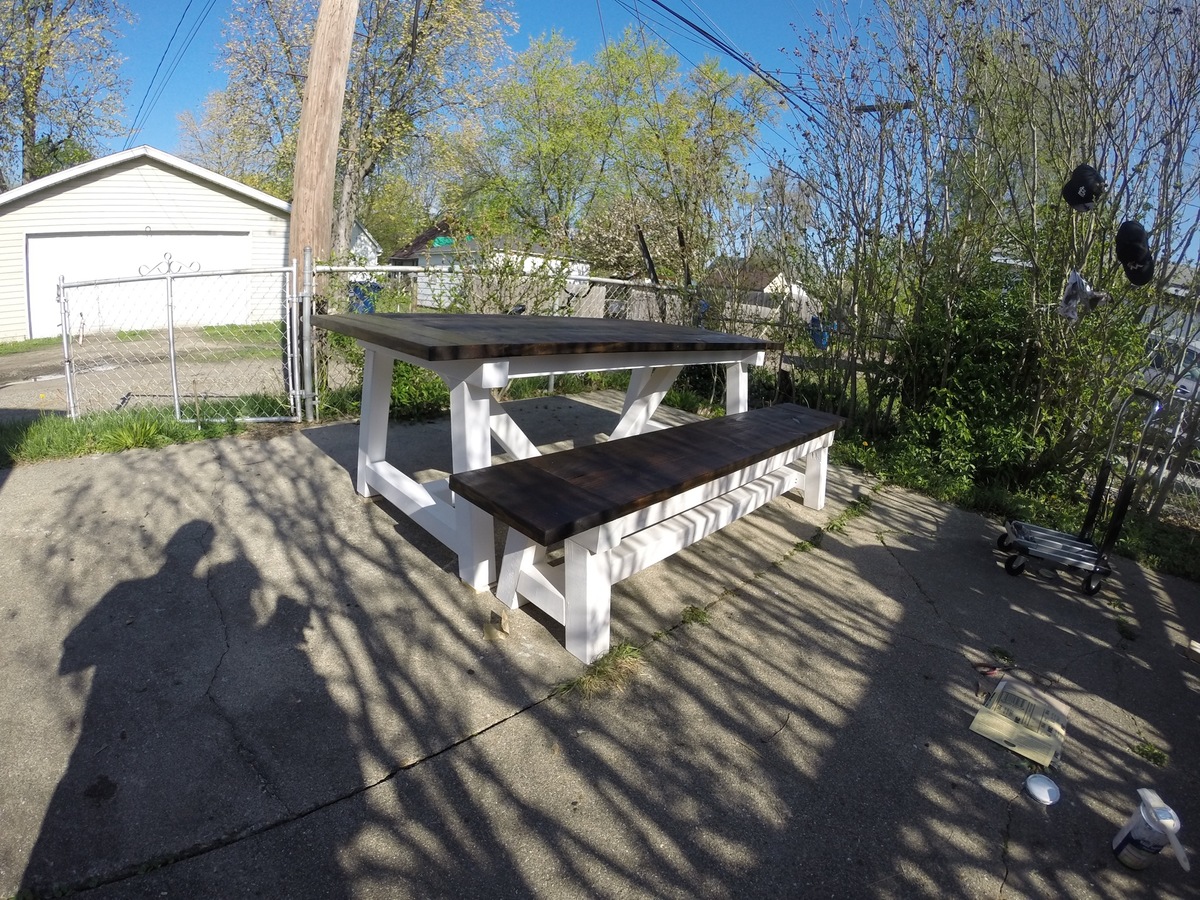
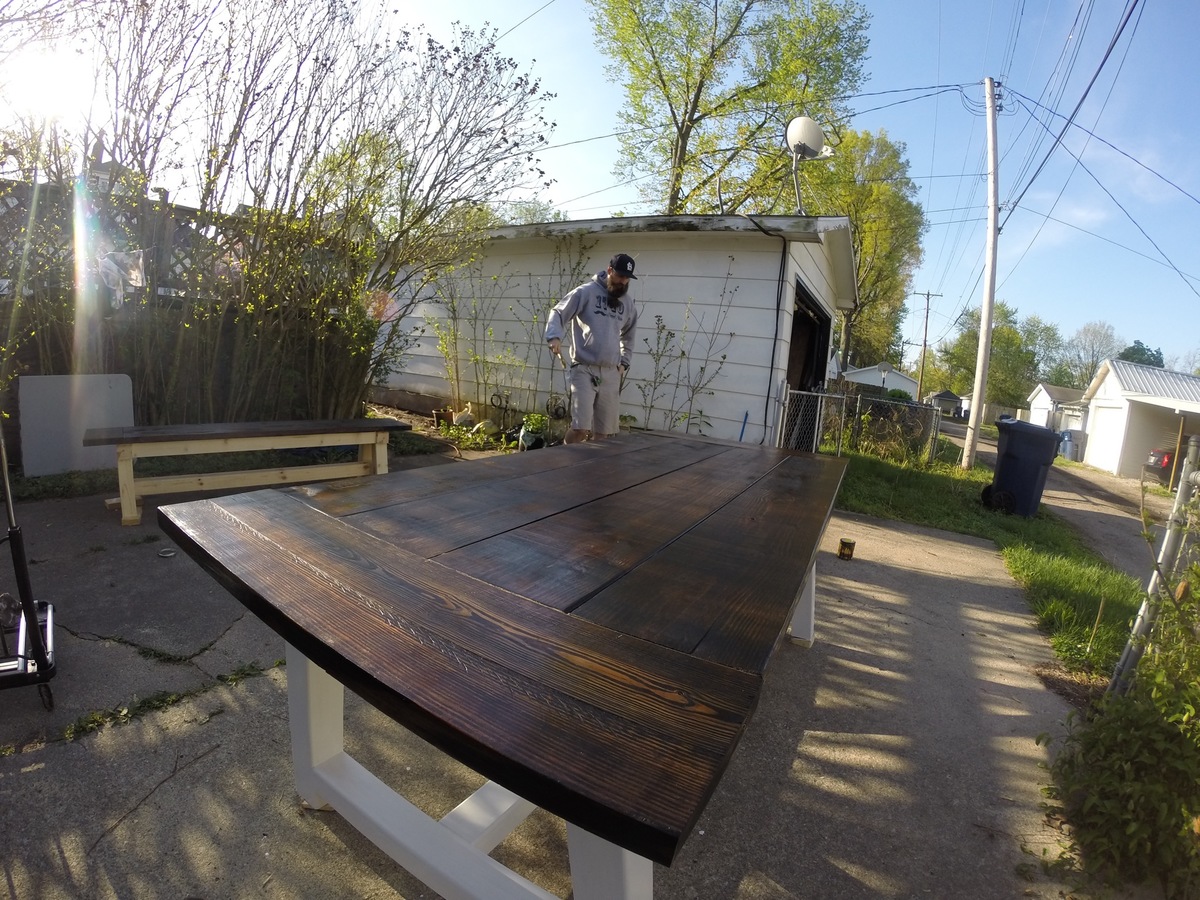
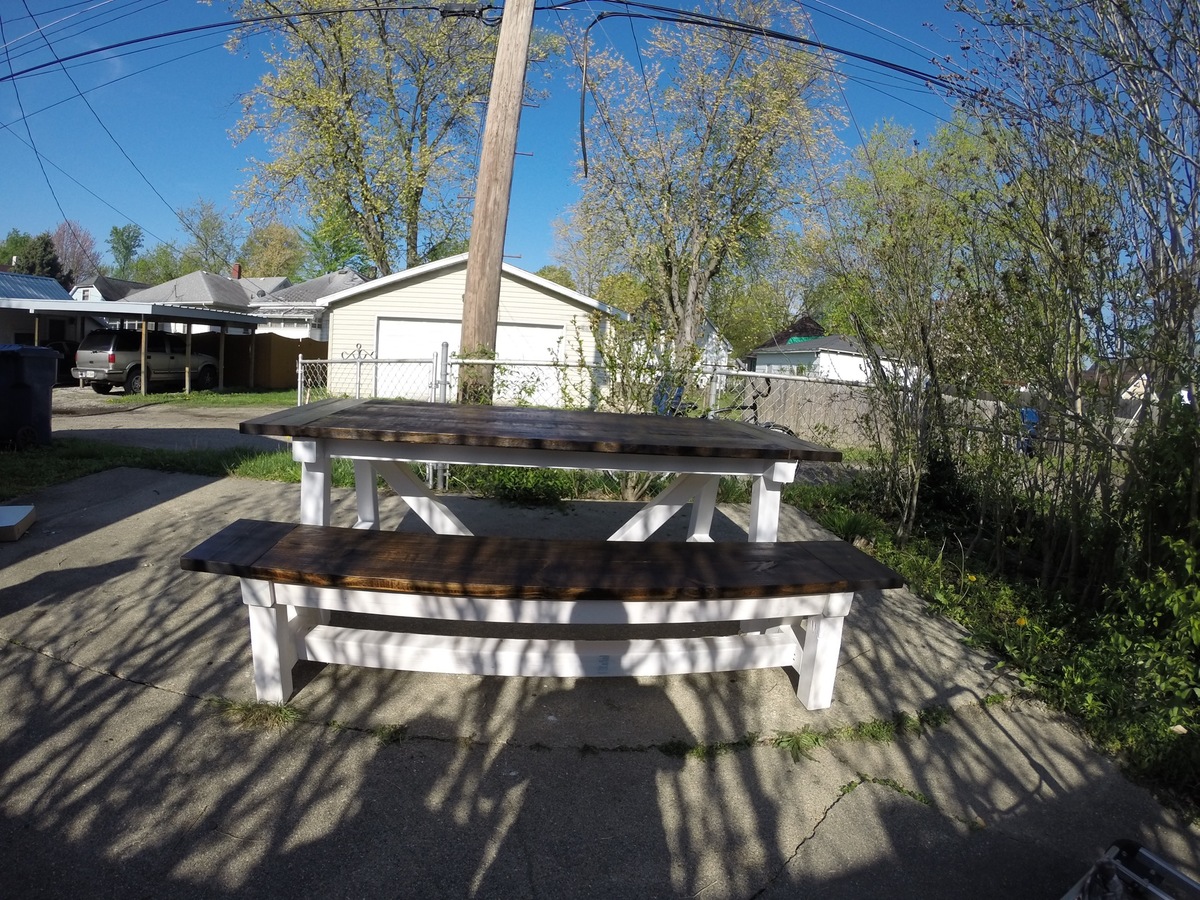
This was our first build. I have always wanted a rustic table and bench set, but they are so expensive. We already had a miter saw and jig saw, so I thought why not. We did not use a pocket jig when we built this, so we had to brainstorm for the bread boards. I found these really long screws at Lowe's and they worked great. I actually love the way they look. We are going to use the screws on the next bench even though we have a Kreg Jig now. Soon I will have my dream table without spending $2,000!


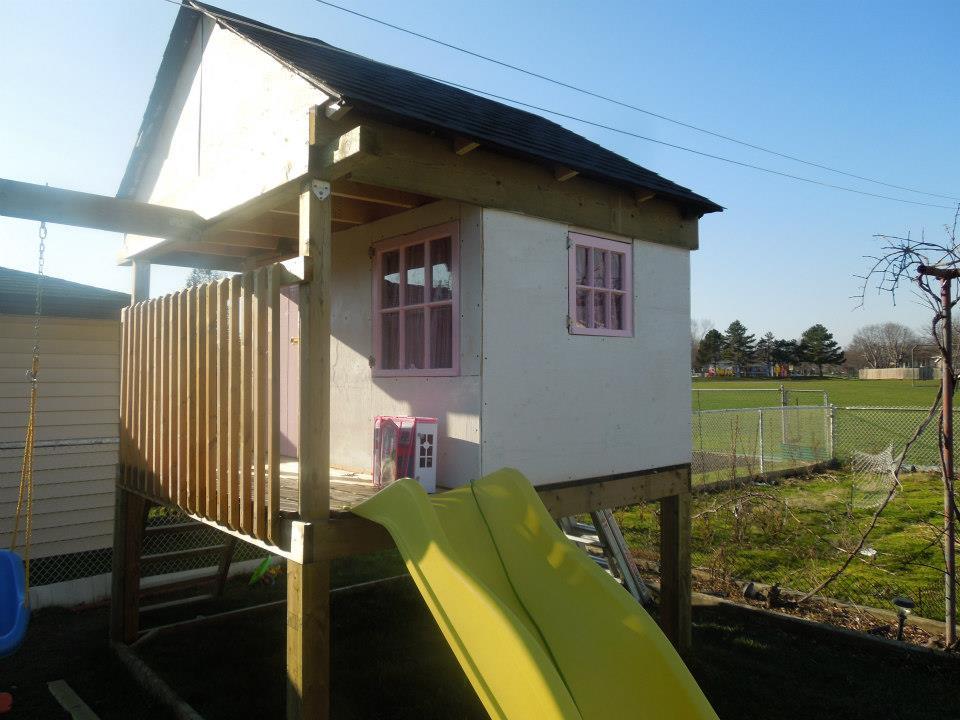
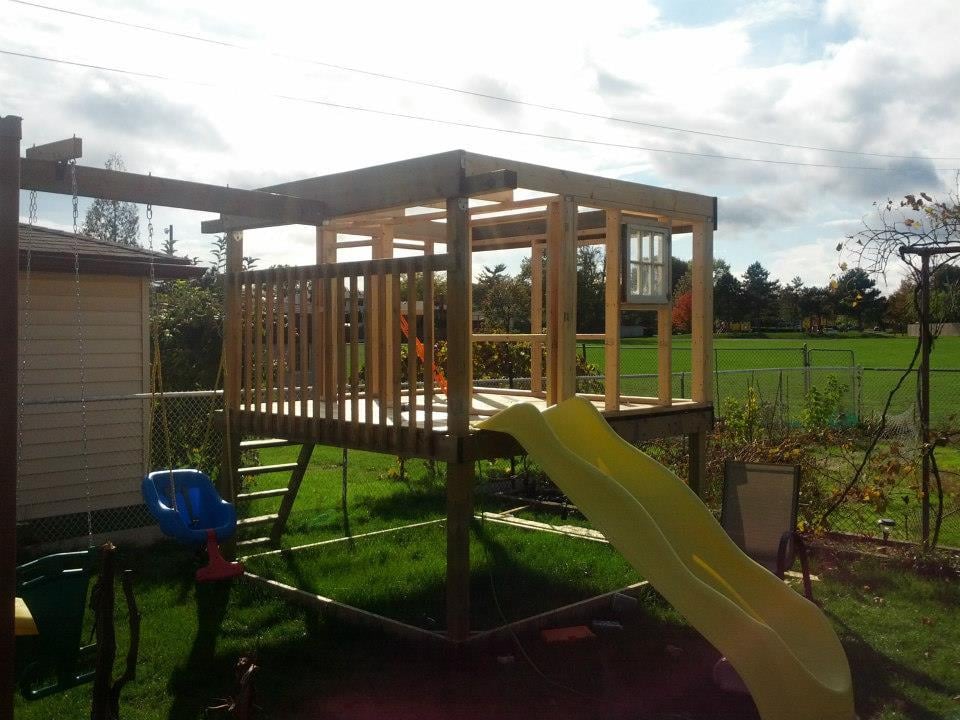
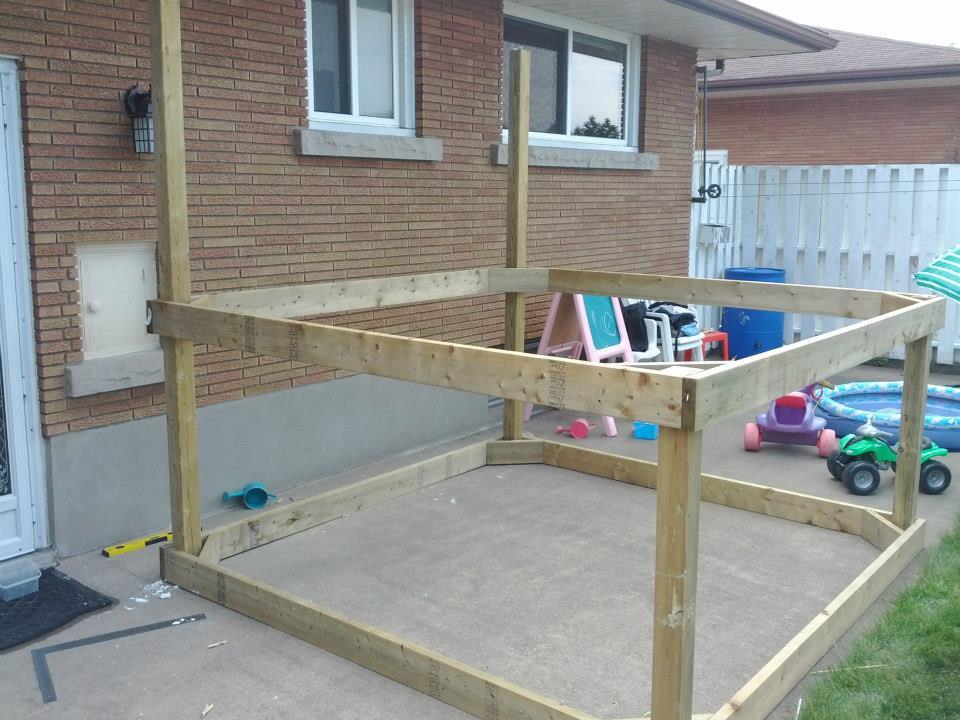
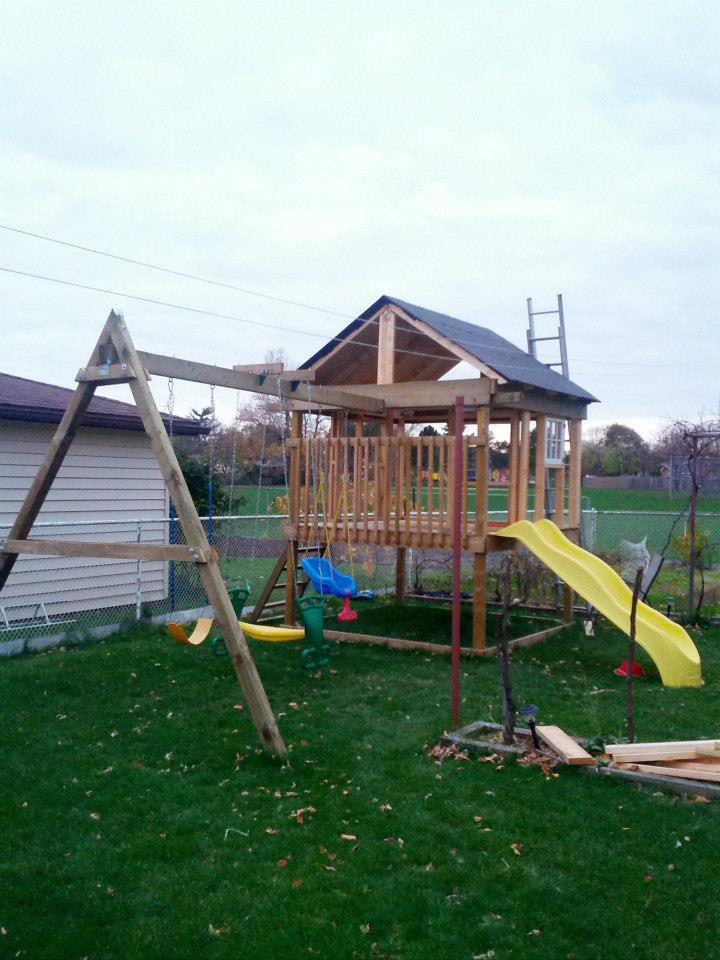
I combined a few different plans here, mostly the Playhouse deck, swingset.
I haven't finished it yet, this spring I want to finish the exterior as it's just primed plywood right now. Still going to add a window above the balcony (there is a loft up there).
I insulated the roof/ceiling and will insulate the walls when we finish it. In the bottom we'll be putting in a sandbox with a cover that folds up into benches.
It was a fun project and should give our girls many years of fun.
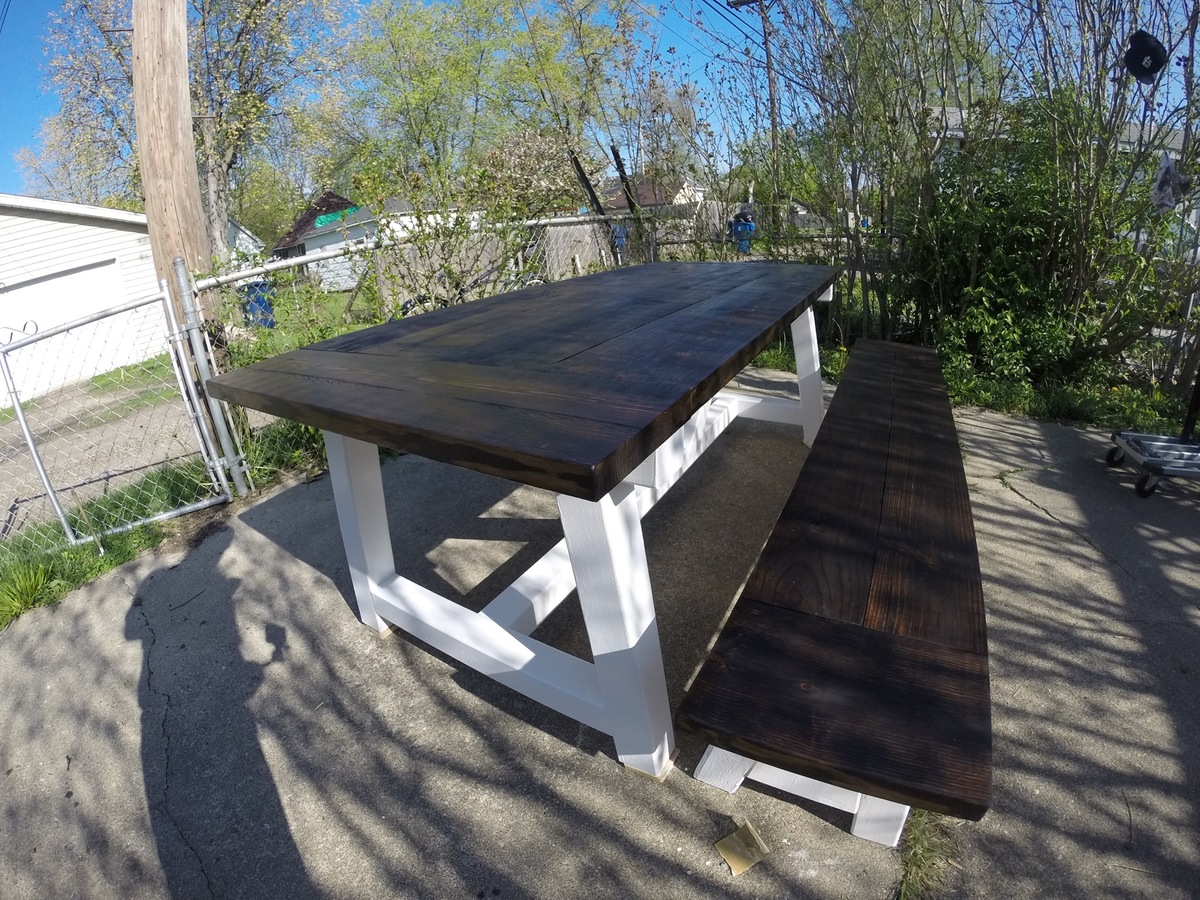
Built this for a friend of mine and his fiancé. They just bought a house and thought I would help them fill it. This is my 2nd farmhouse table. I really like the thickness of the table.
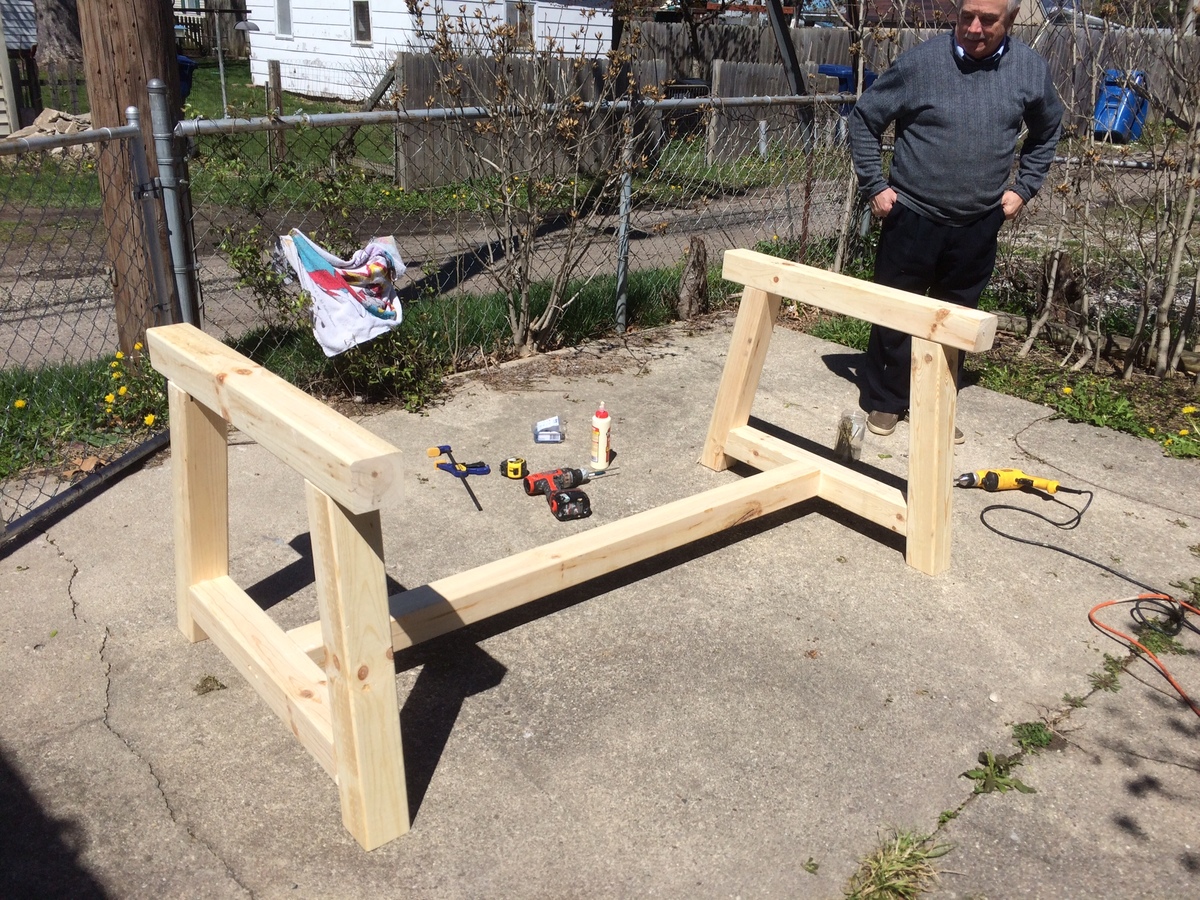
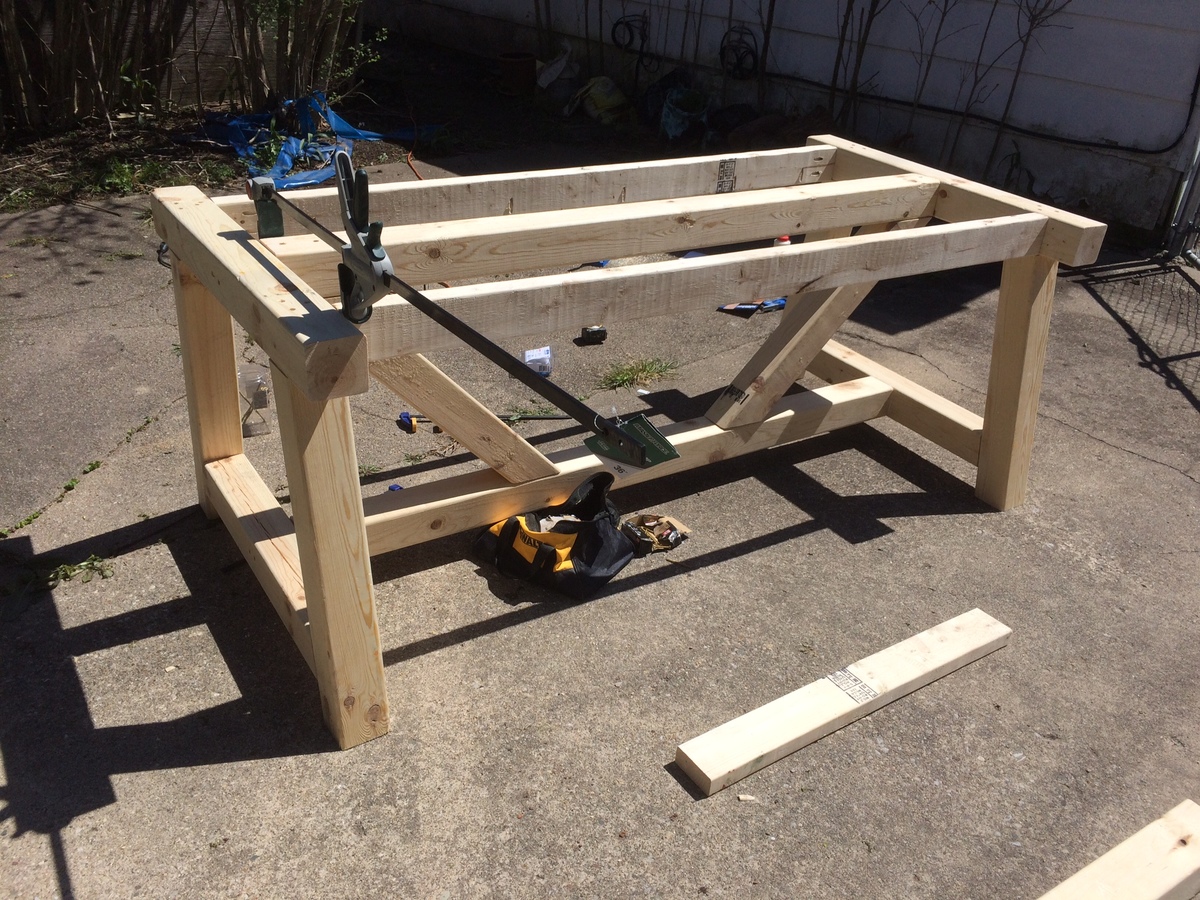
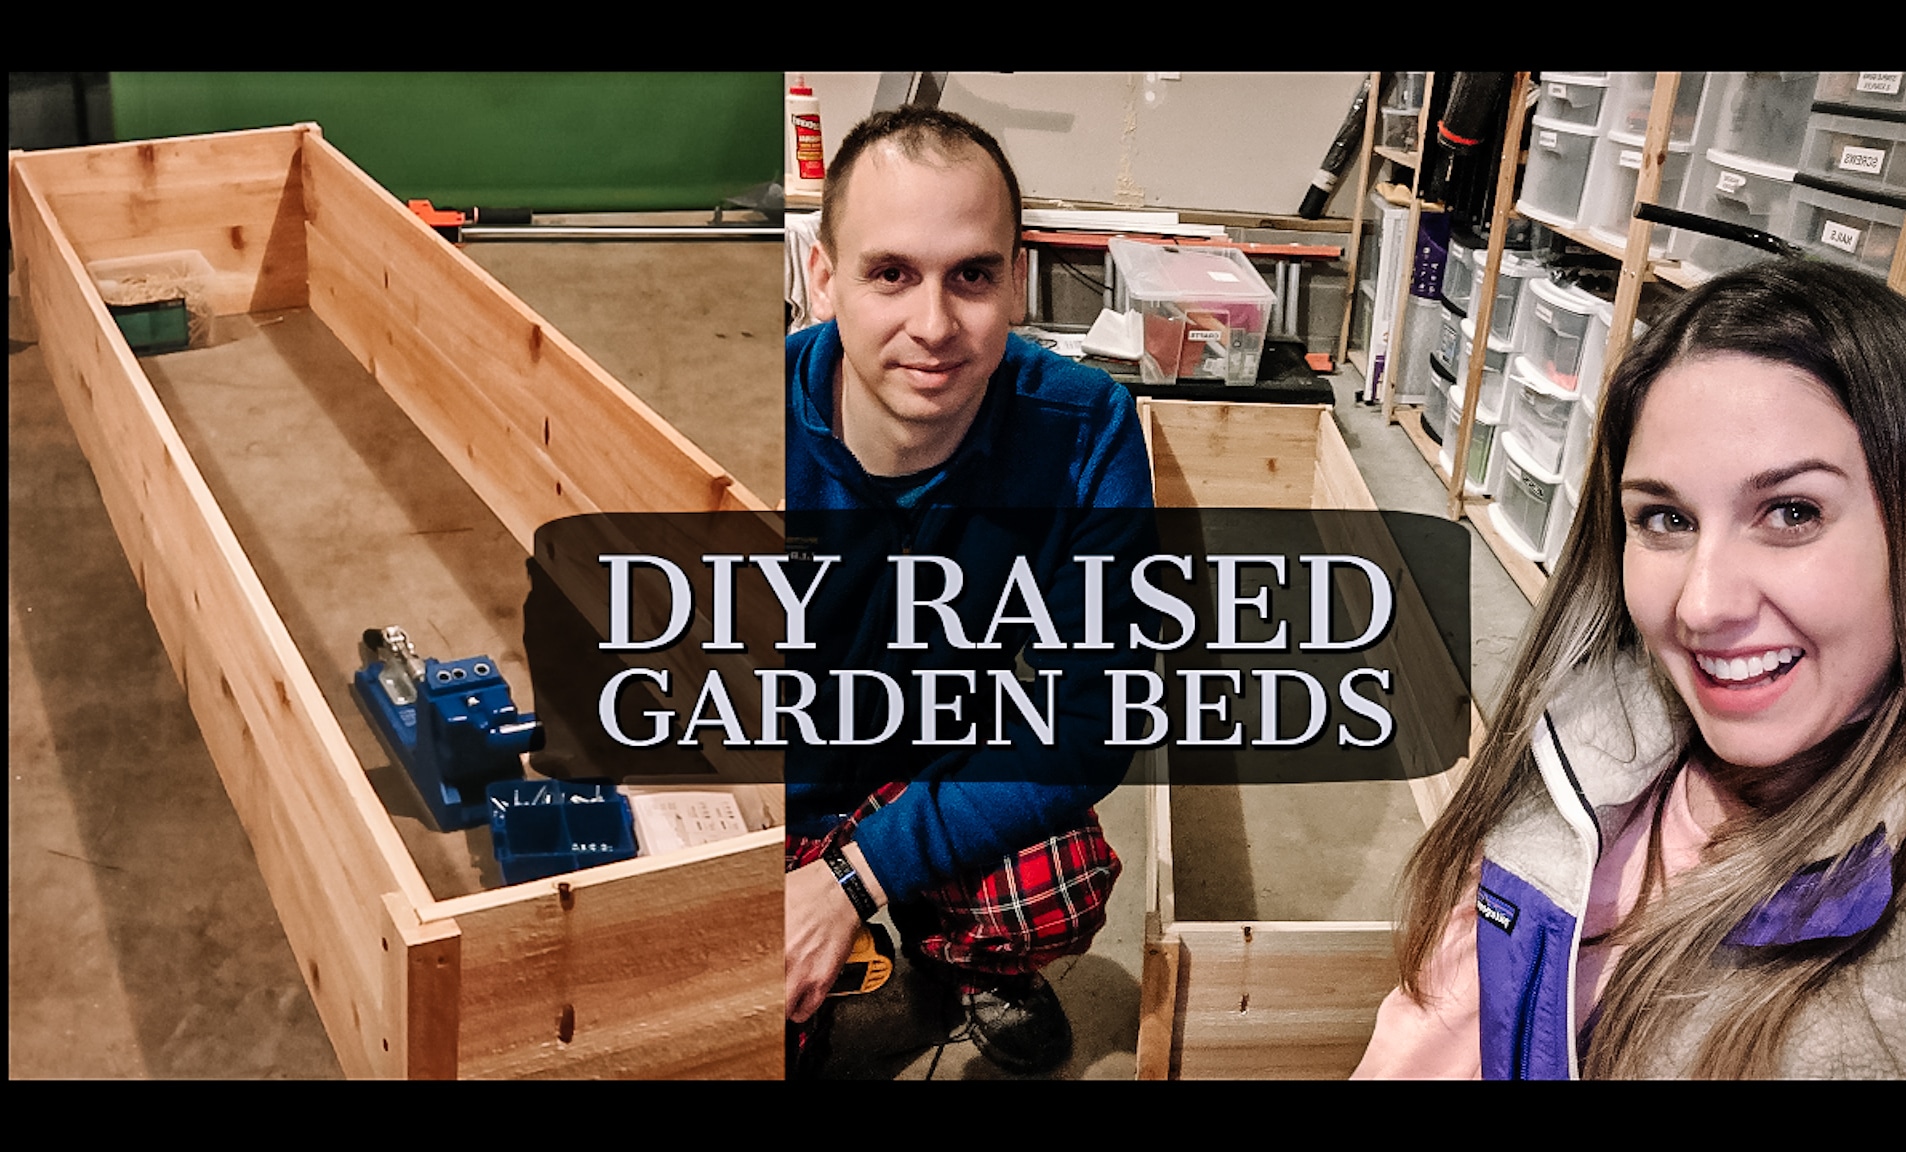
We made two $10 raised beds last weekend and can't wait to get them in the yard!
The cedar fence pickets ended up costing us about $15 per bed with another $15 for screws, so total cost was about $30 per bed.
We found it tricky to do the 1x2 pieces in the order recommended and when we make these again, will form the full box and then add on the 1x2s for support.
We made a YouTube video detailing the process - hope you'll check it out!
HI all!
This is my first project and brag post. I really like this website and reading all the blogs and brag posts. The information is very informative and inspiring.
I really liked DirtSquirt's Loft Bed (Double Mattress), so I decided to give it a try! I contacted DirtSquirt to get a copy of the plans (Full size Farmhouse Bed and How to Build a Loft Bed) and the Google Sketch up. I pretty much followed the plans except I made the area underneath the bed taller (approx 58 inches), I chose to stain, and I did not secure the slats to the side rail as they are pretty were pretty snug. I'll probably go back and secure in the near future for uniformity in the spacing.
To be honest, I think the staining was the hardest part...LOL. I had never stained before so in hindsight I probably should started off with a way smaller project. Eventually, I got the hang of how to putty the holes with wood filler and then stain to get a consistent look and feel without the blotches!
My future plans are to build a desk to create a study area underneath.
Sugarpig1
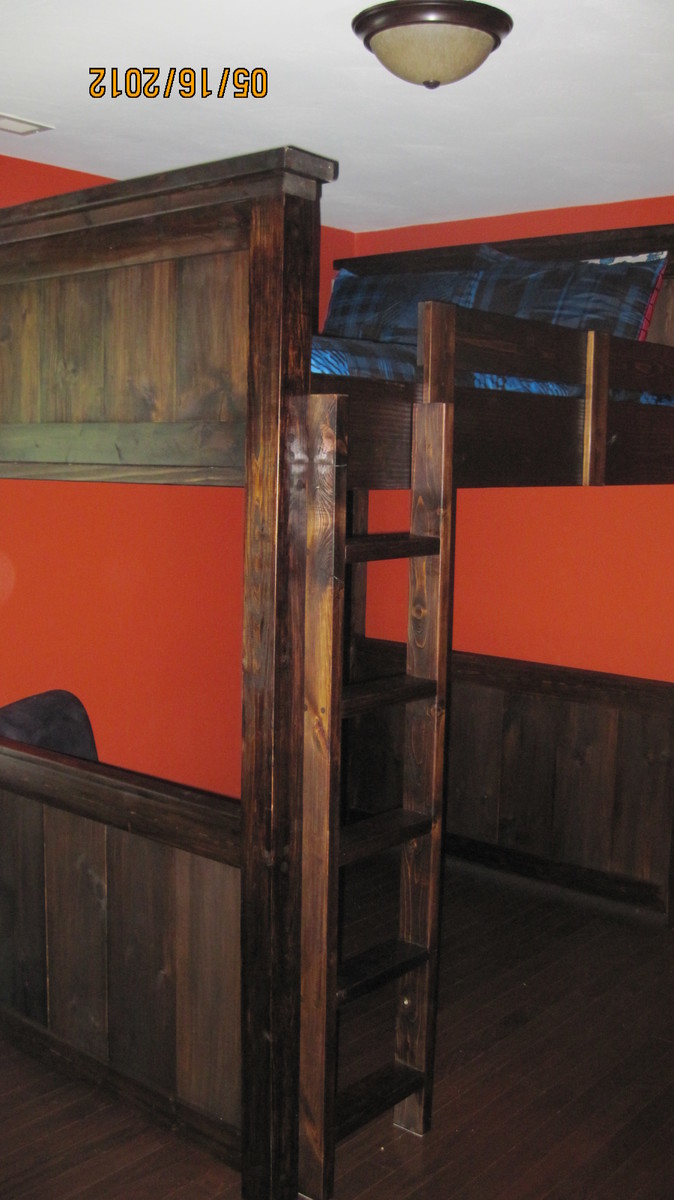
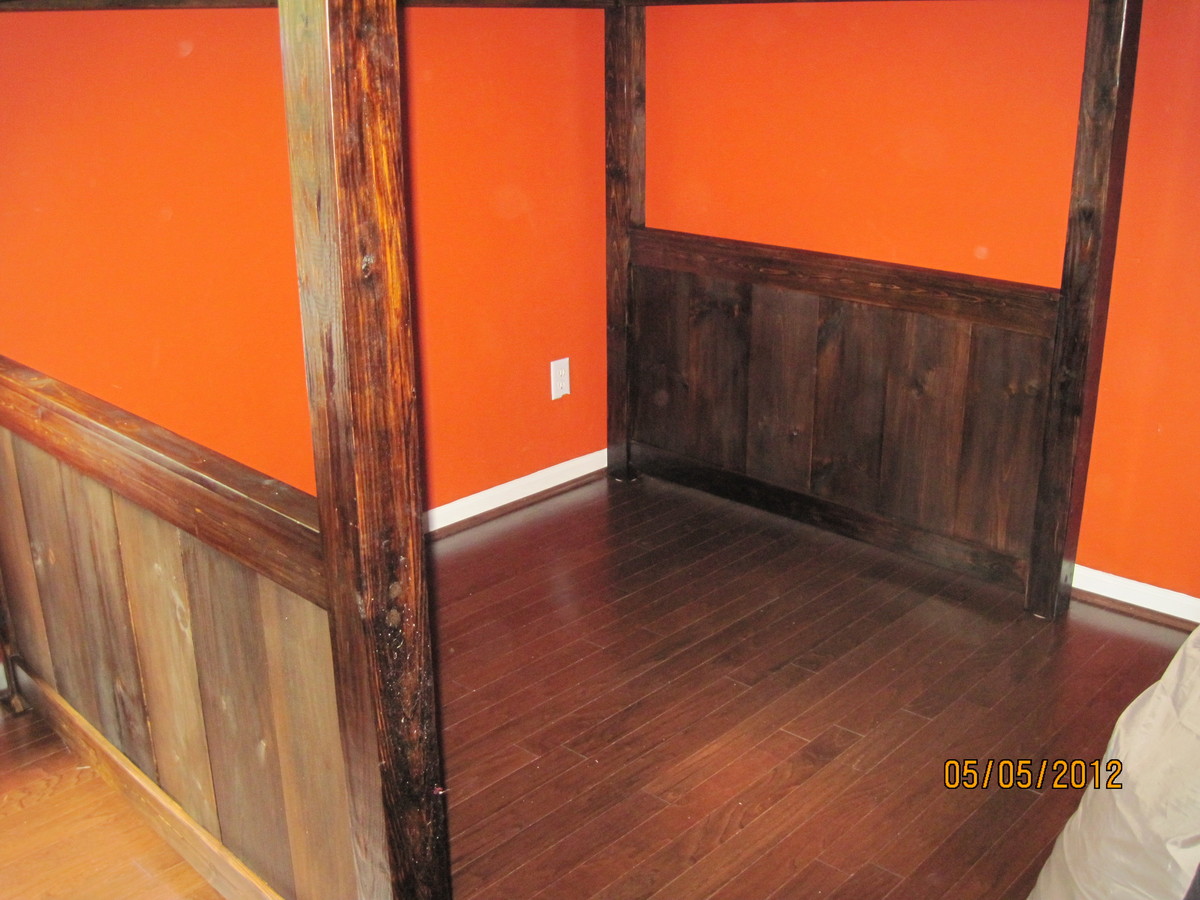
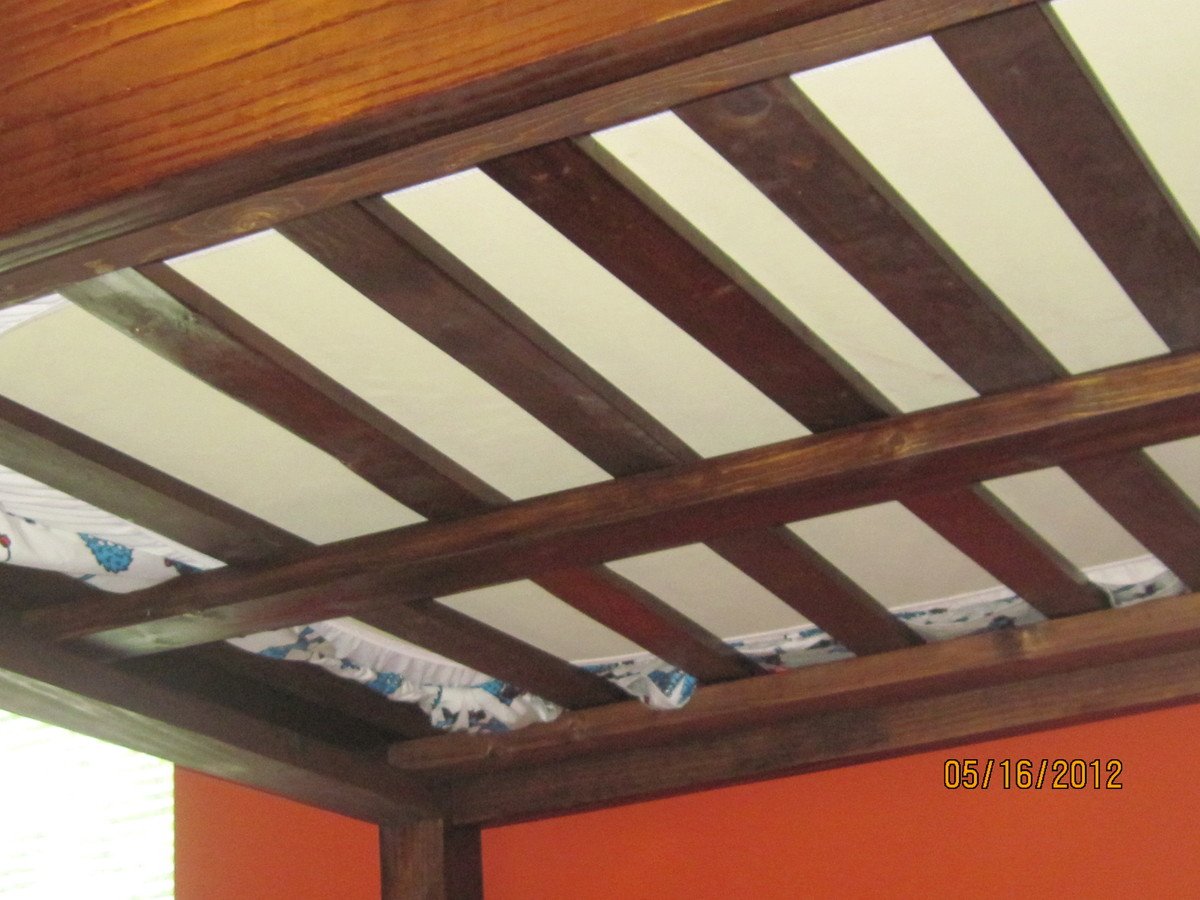
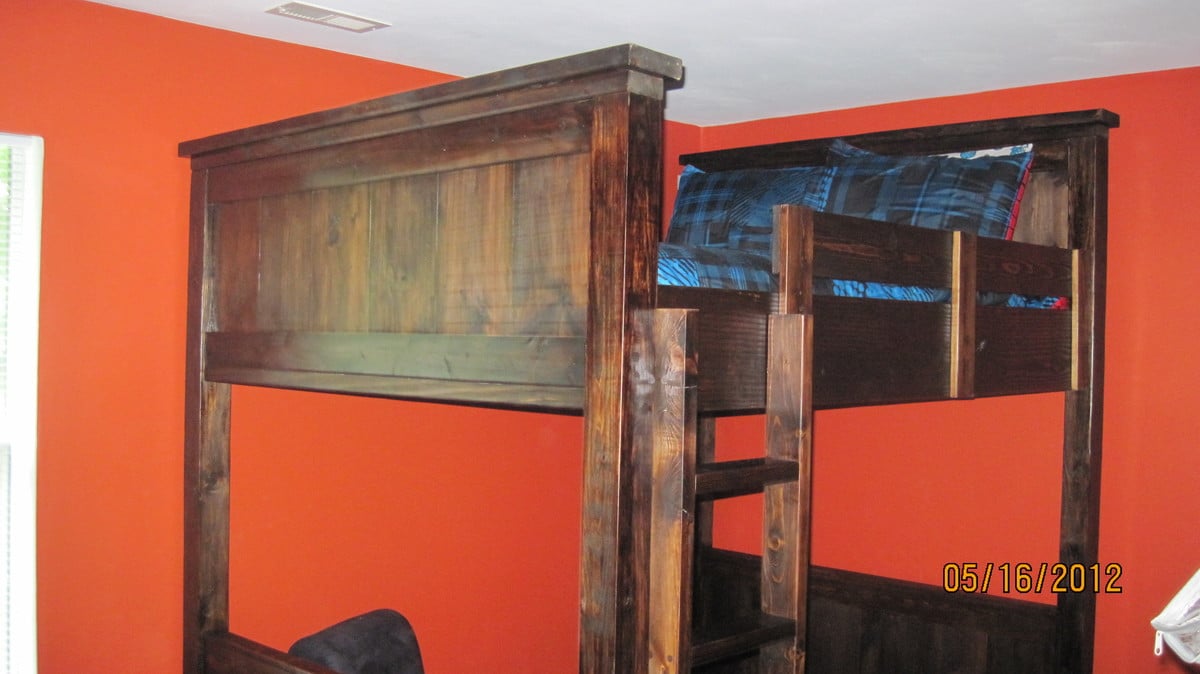
Thu, 06/21/2012 - 20:02
This bed is amazing! It looks so sturdy. I am in love with the farmhouse bed, but I have been looking to build a full size loft bed for my daughter. I just haven't found a design that I'm 100% in love with. This is the perfect melding of a farmhouse bed with another loft design that I really like. Love, love, love it! I'm definitely going to have to design this for her now. Thanks for sharing your work!
Tue, 08/07/2012 - 08:05
I couldn't really tell from the pics, but did you use mortise cuts?
Thu, 09/26/2013 - 08:17
I have contacted dirtsquirt several times to get the plans for this bed. Did they get back with you right away or did it take them awhile? If you have the plans would you mind emailing them to me? Lplus10 at yahoo dot com
thanks!
Sat, 05/17/2014 - 08:40
I've also contacted dirtsquirt and haven't had luck getting the plans yet- could you share them with me? or does anyone else have a copy they can share? my e-mail is [email protected] - thanks!
Sat, 05/17/2014 - 08:40
I've also contacted dirtsquirt and haven't had luck getting the plans yet- could you share them with me? or does anyone else have a copy they can share? my e-mail is [email protected] - thanks!
Fri, 07/04/2014 - 23:36
I would love a copy of the plans as well.
Thank you! [email protected]
Tue, 11/04/2014 - 20:26
I too would like a copy of the plans if you can send them to me at [email protected].
Thanks,
Mon, 01/26/2015 - 09:03
Tue, 05/19/2015 - 02:00
Not sure if anyone checks this blog post. But I have contacted dirt squirt too and have never been able to get the plans.
Please send me the plans you used to build this bed... I am dying to build it. Similar to yours with the bottom wood there, as it is for boys. But this is my first time building anything and I need plans....
Mon, 08/26/2019 - 19:25
Has anyone ever been able to get dirtsquirt’s original plans for the loft house full sized bed? I’m in desperate search of them!!! Please, PLEASE, please message me and I’ll provide you with my email! PLEASE and thanks. :)
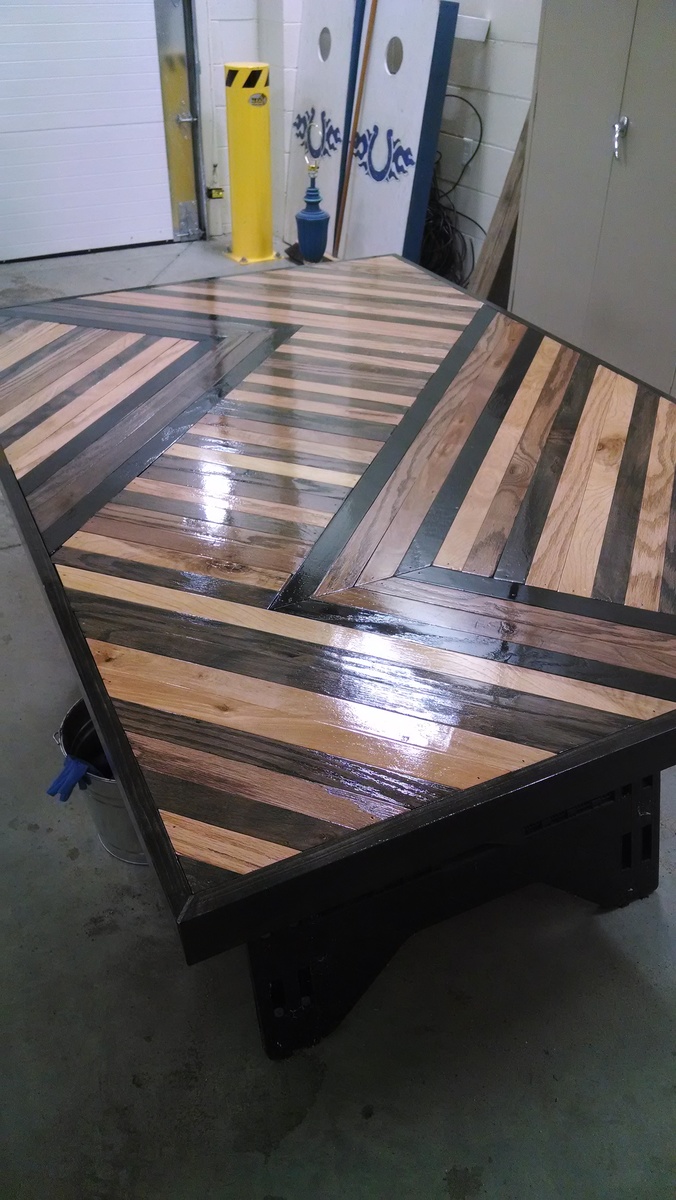
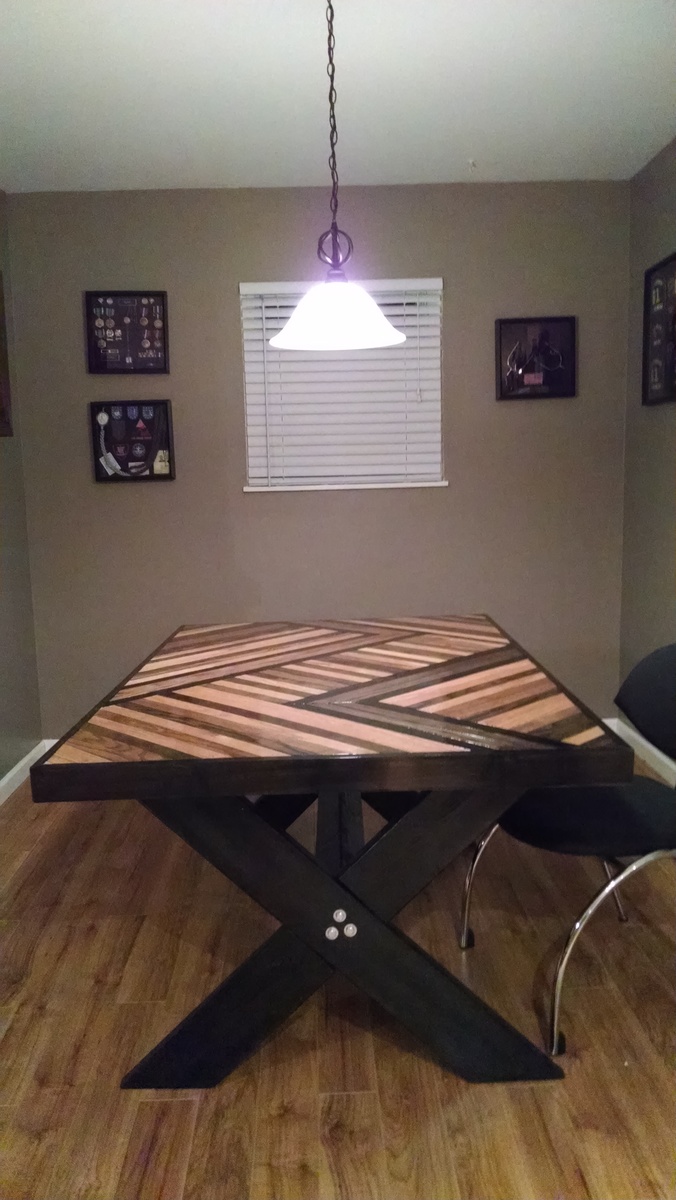
I found this table idea on:
http://diy-my-homes.com/stunning-purebond-plywood-dining-table/
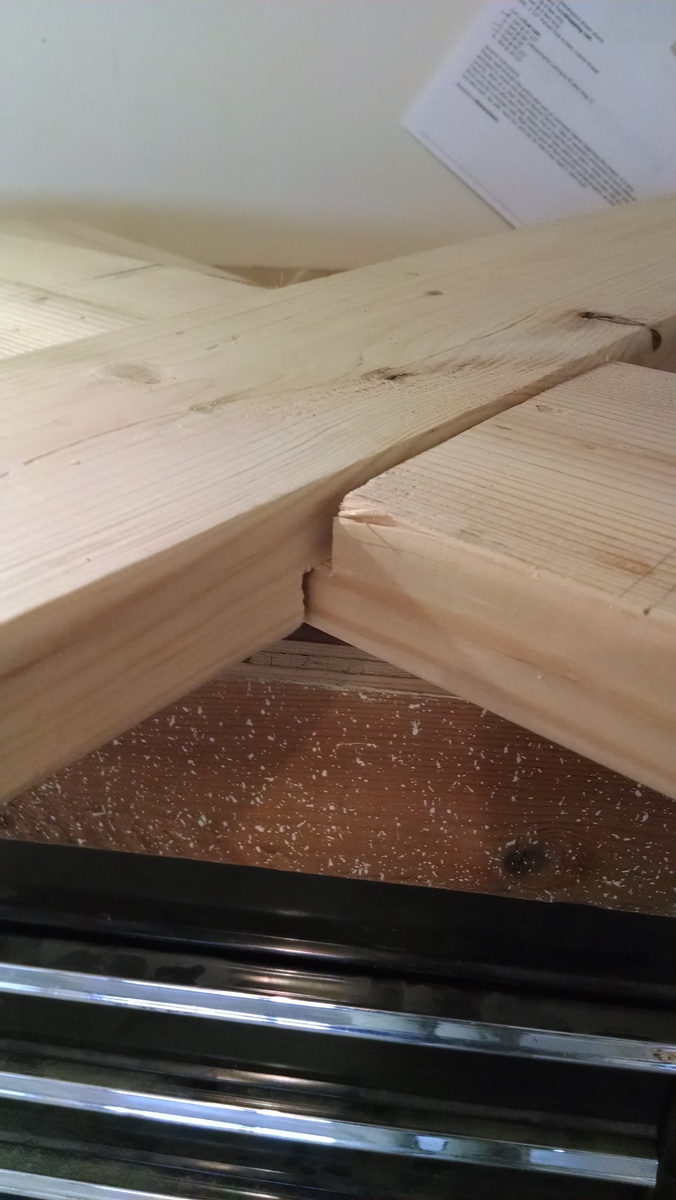
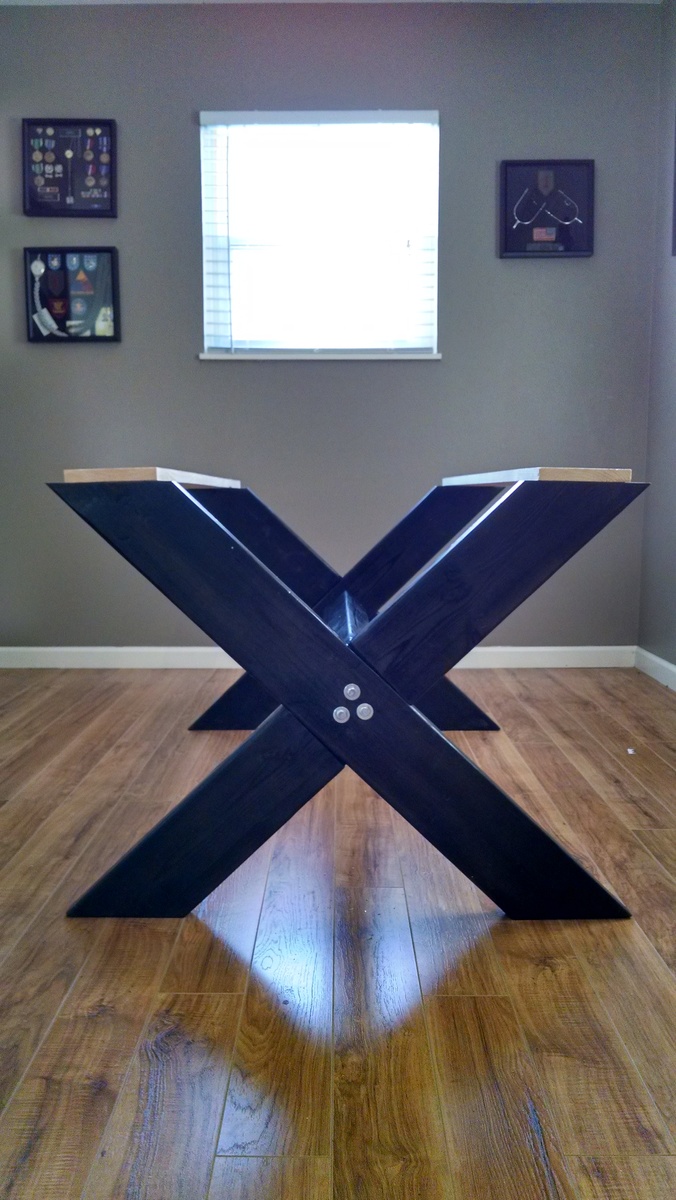
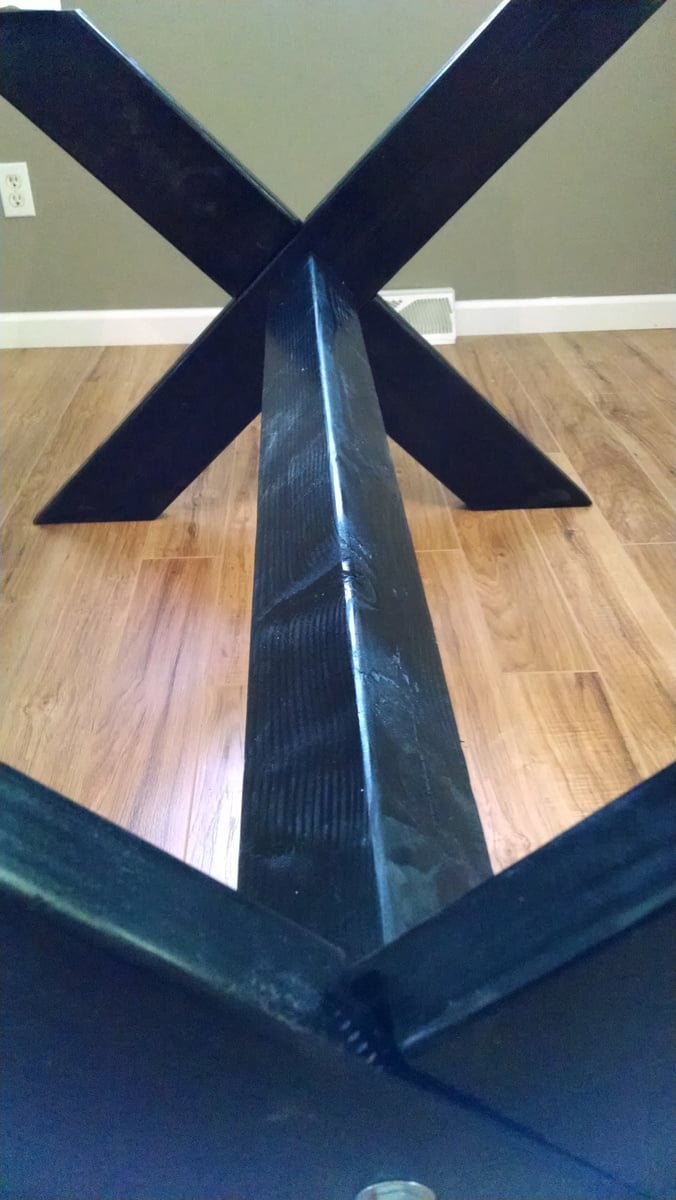
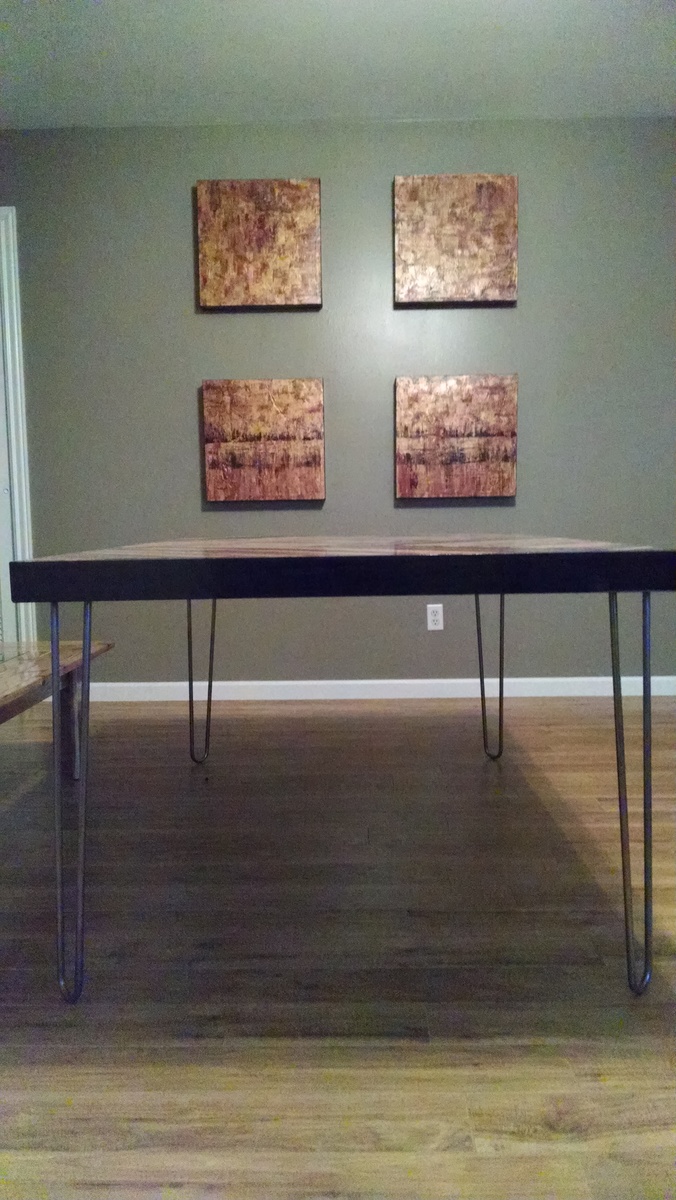
...then went for it. This is only the third thing I have built so it was one of those "Sure, I can do that" projects. At first I tried the hairpin metal legs, but they just didn't look right so I went with another design which I feel came out much better. Did a mix of 1 1/2" Birch and Oak strips on top of 3/4" MDF for the top. 2x6 routed out X for the legs bound together with 3 1/2" lag bolts and a 4x4. The chairs you see I picked up for $10 each from IU's surplus warehouse and the before/after are in the picture. All in all I am happy!
Thanks to Ana, Kelly and Dave for sharing their plans.
Thu, 03/20/2014 - 04:00
Impressive for a first project. I love how you used the different stains.
Thu, 03/20/2014 - 04:00
Impressive for a first project. I love how you used the different stains.
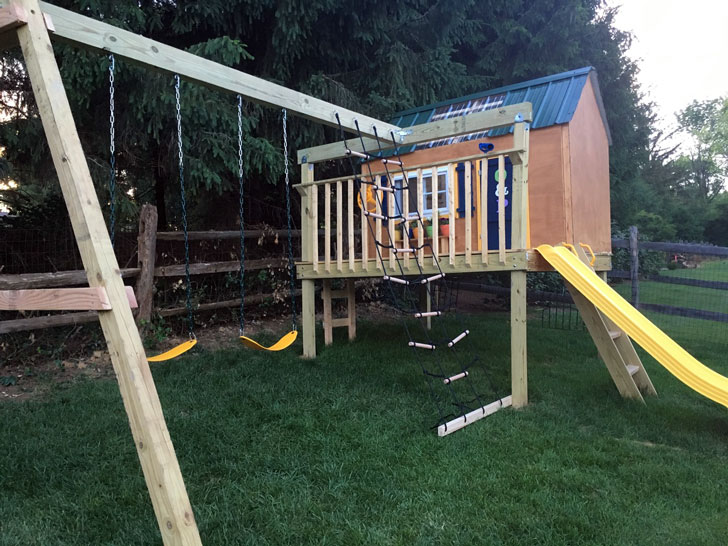
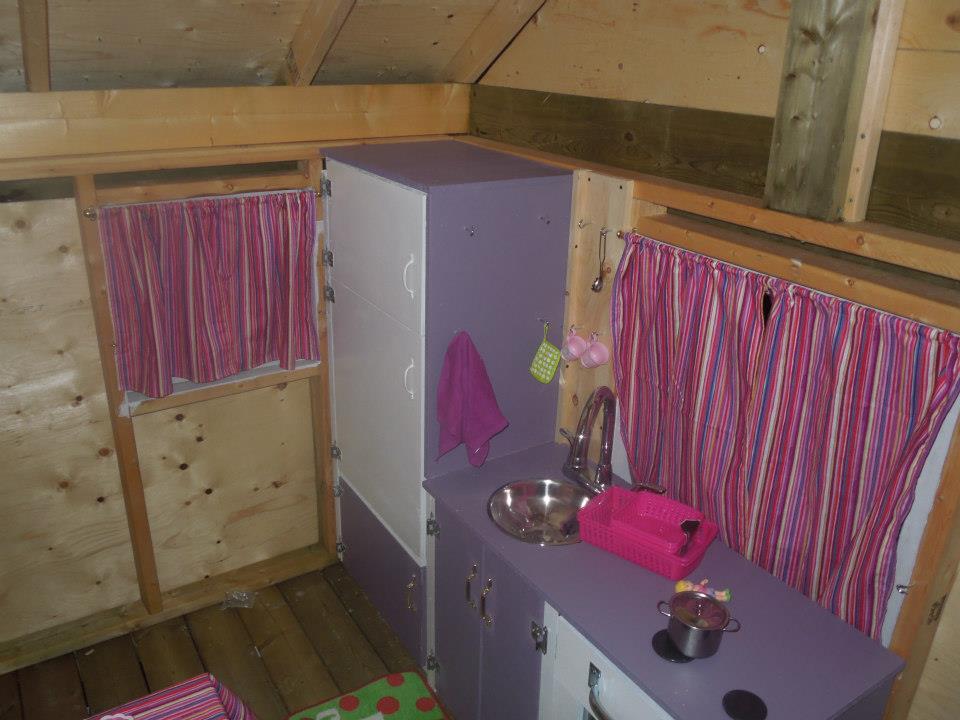
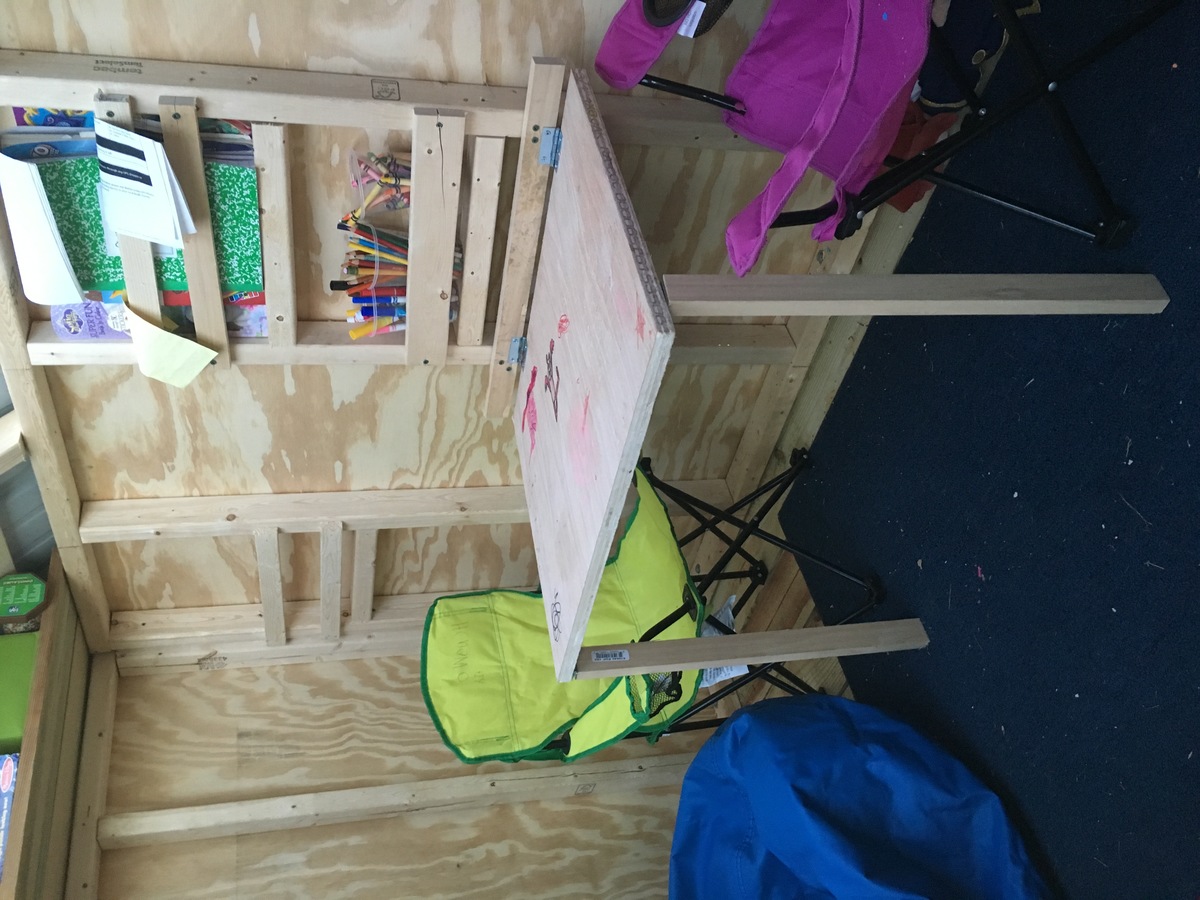
We really enjoyed building this playhouse swing set for our kids. We have a decent slope to our backyard, so we needed to sink our posts, which required a bit more work thank Ana's plans. We also used a real window (my dad just happened to have in his garage) instead of the 3 open aired windows Ana's plans called for. Inside we built a fold under table, shelf, and a chalkboard for thier entertainment.

Both me and my partner work from home, where we share an office. It’s nice to be together all day, but not always. Sometimes we get on each other’s nerves, and sometimes we can’t stand the sight of each other. We’re a happy couple - it’s just that working from home together takes its toll from time to time.
First, I considered renting an office together with a friend. That idea did not last for long, unfortunately. The overall expense, as well as the ins and outs of council permits, forced me to scrap the idea.
In the end, I decided to go for a backyard office in the form of a log cabin. I put two and two together - these things are perfect garden offices and both me and my husband have some of that DIY enthusiasm in us. Why shouldn’t we give it a try?
Once we found the right backyard cabin company, everything went pretty smoothly. It took them six hours to build the whole thing. Granted, it’s a 4 x 3 sqm cabin, which I chose for three reasons.
Firstly, I thought it was big enough to give me the needed space. Secondly, a cabin of that size doesn’t dominate the garden. Finally, the guys from the company assured me that it doesn’t need council approval.
The cabin came fully installed. I got it with an insulated roof, fitted windows and doors, light sockets, and a deck. All that I needed was some furniture for a home office. Which is when I decided to check out the plan catalog on Ana White.
We decided to go for two projects - a simple office desk and a file cabinet. These were the only two things I really needed. As we’re both handy with tools, it took us two afternoons to complete the projects.
Once I got the furniture I needed, I started organizing everything. Here, I realized that setting up a functioning home office is a bit more complicated. Here’s a list of things I had to take into account:
A View
One of the first things I remembered was how important it is to have a view. Just like in the office in our home, I needed to have some natural daylight while I’m working. Moreover, I like opening the windows for fresh air in good weather. I put the newly-built desk close to the window.
Lighting
Having good natural light inside your home office is one thing. Having a good lighting solution is another. The lighting in our shared office was pretty good, so I wanted the same in my cabin.
Since it’s pretty small, we solved the issue with a ceiling LED lamp and a brass lamp for the desk.
Plants and Decorations
I love plants! I have a bunch of them in and around the house. Naturally, I decided to bring some into my new home office. I also brought in a couple of paintings, and I intend to start using essential oils, too. All of this makes for an atmosphere of a stimulating office, which I think is really important.
A Second Monitor
With new space that’s only my own, I decided to upgrade some of my techs. The first and most important thing was to purchase a second monitor. I always wanted some extra screen real estate, as I hate juggling windows.
I advise buying the same model as the one you already have. You’ll get the same screen fidelity and user experience.
A Sound System
Some people find music to be too distracting when they’re working. I’m not one of those people. My husband always nagged me about this. I finally managed to shut him up by finding out that work plus music equals productivity.
For that matter, I’ve decided to invest in a good sound system. I’ve set the speakers at the strategic spots around the desk. It’s a bit weird without my hubby around, so music also helps me feel less lonely while working.
The Right Chair
If you’re someone who works from home, do not underestimate the convenience of a good chair. It should be the core of your productive home office. Make sure to choose comfort over style.
I decided to avoid buying the chair online and went to a store. After testing nearly a dozen of them, I found one that provides the right arm, thigh, and back support.
Wire Management
Since my computer setup includes a lot of wires and cables, I was worried about them getting tangled up in such a small space. Clearing up this mess was pretty easy - I only needed a couple of zip ties and clamps.