Community Brag Posts

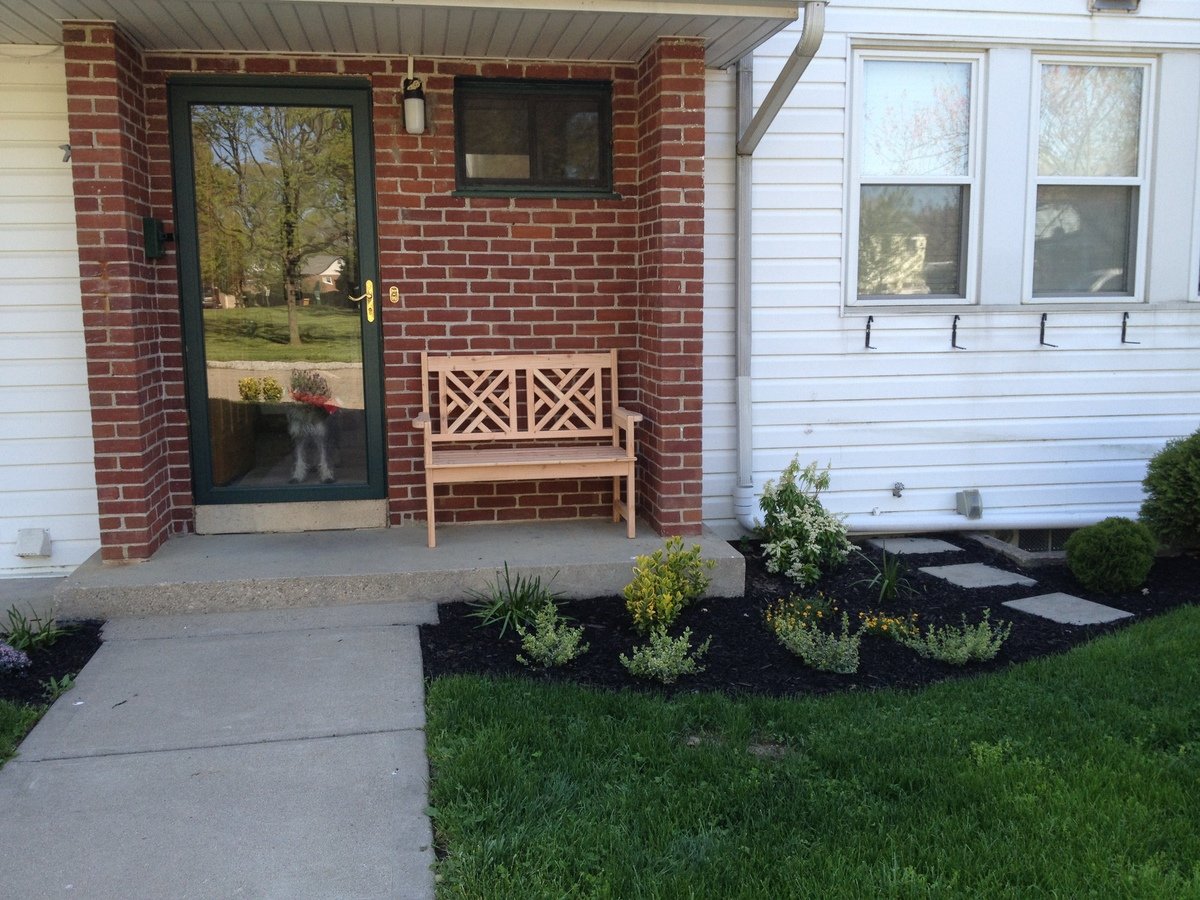
Woven back bench

Submitted by JoshMonroe on Tue, 04/30/2013 - 15:30

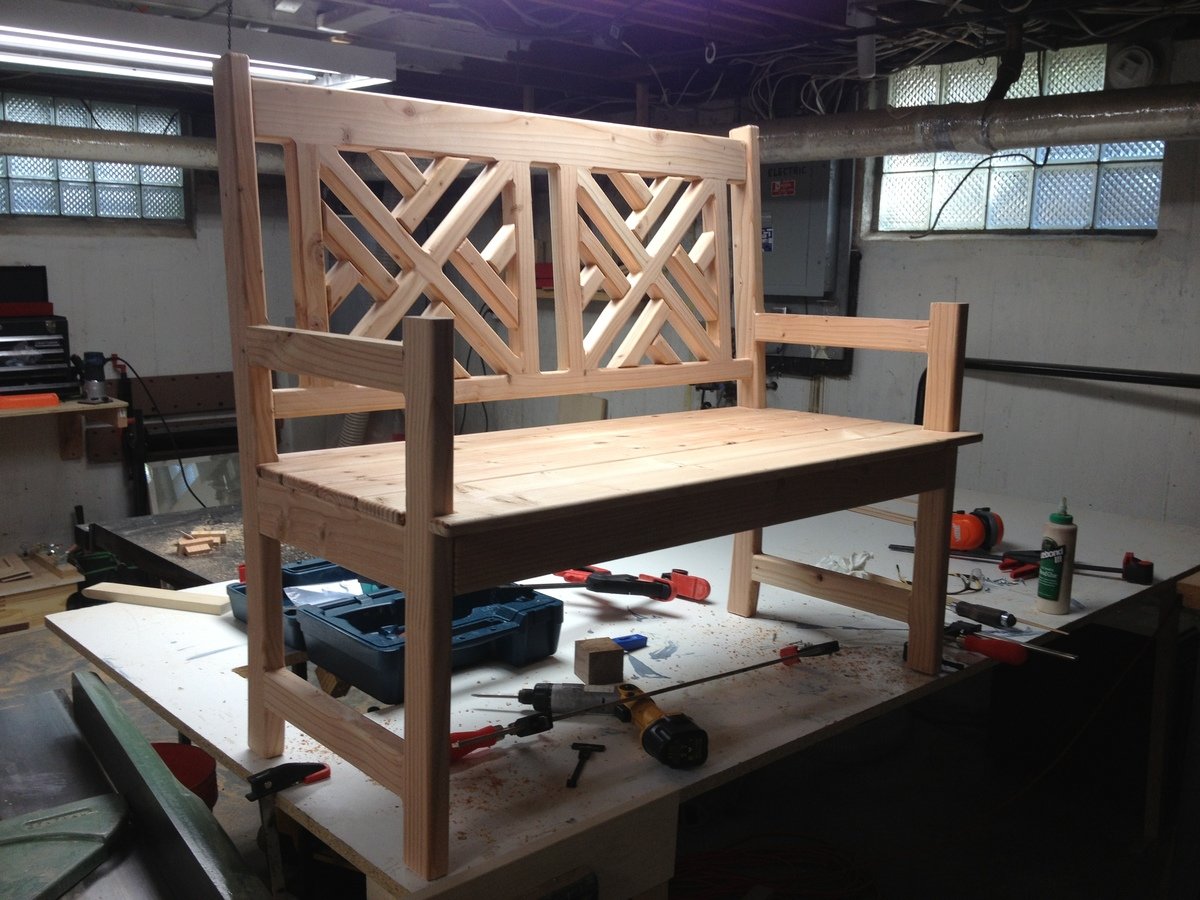
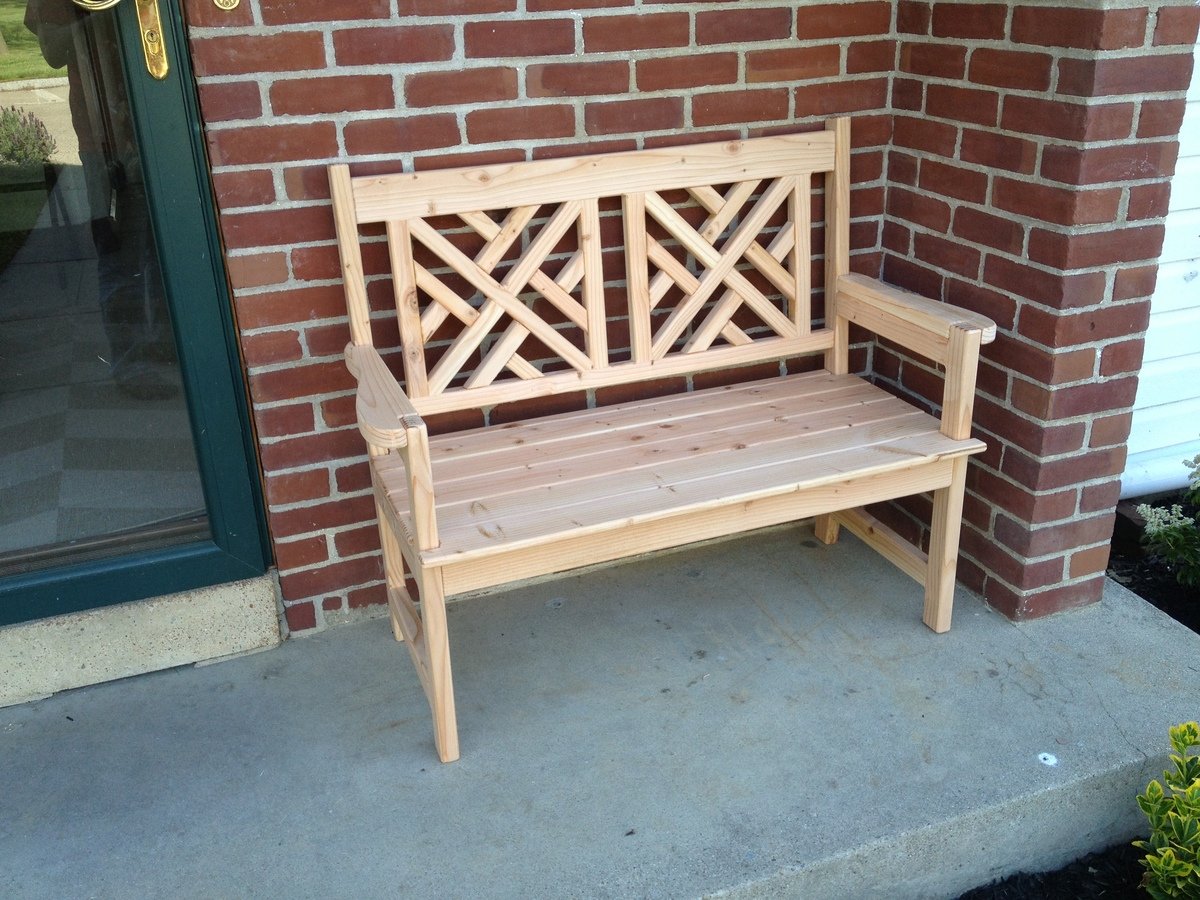
I started building a different bench, but I decided halfway through that I didn't like my design. I found this, and loved it, so I modified my partially built bench to incorporate the woven back design. I substituted in a few mortise and tenon joints for strength, and used either kreg or waterproof glue for the non-structural joints. The seat bottom is made from 2x4's I resawed in half. I also rounded over the edges of the 'Y' pieces, which I think makes it look a bit more like they're woven together. Thanks for the plans, this is a great addition to my front porch!
Built from Plan(s)
Estimated Time Investment
Day Project (6-9 Hours)
Finish Used
None yet, will be painted.
Recommended Skill Level
Advanced

Comments

spiceylg

Wed, 05/01/2013 - 05:35

Beautiful build! I love the details such as the edges of the Y pieces as you said. It definite adds more dimension and the curves on the arms as well!
JoshMonroe

Wed, 05/01/2013 - 11:01

Thanks! I saw a cabinet in a book on wood finishing that had adjoining edges routed like that. It looked so good there, I decided to try it here, and I'm glad I did!

Simple White Outdoor Coffee Table

Submitted by gfranq on Sat, 03/21/2015 - 14:39

This table was a cinch to put together and only took a couple of hours

Estimated Time Investment
An Hour or Two (0-2 Hours)
Finish Used
oil based primer and Behr Ultra Premium Outdoor Paint satin finish
Recommended Skill Level
Beginner

Comments

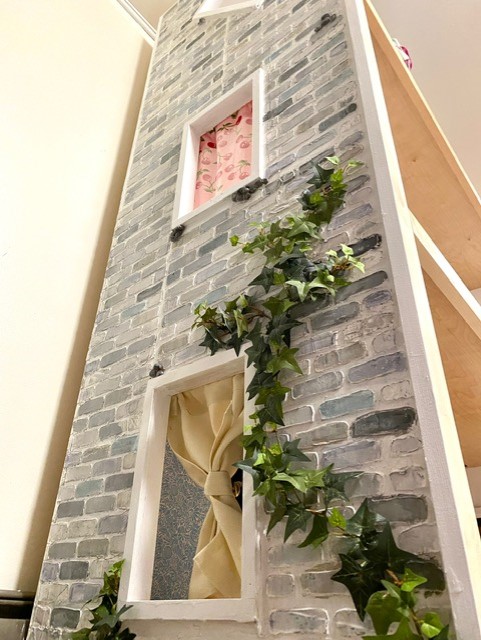
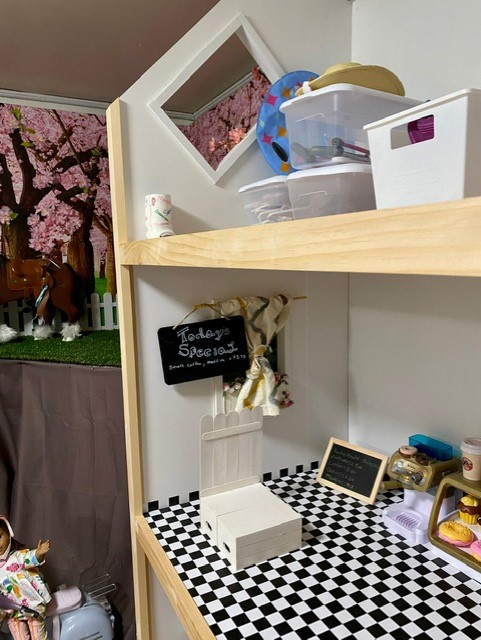
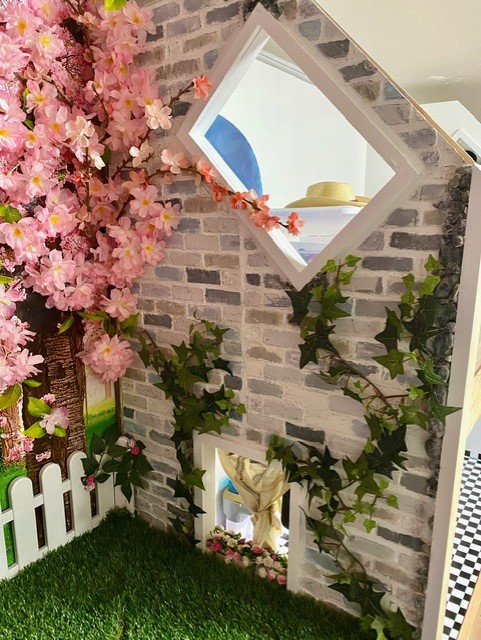
American Girl Dollhouse

Submitted by jhoulihan on Wed, 09/22/2021 - 10:09

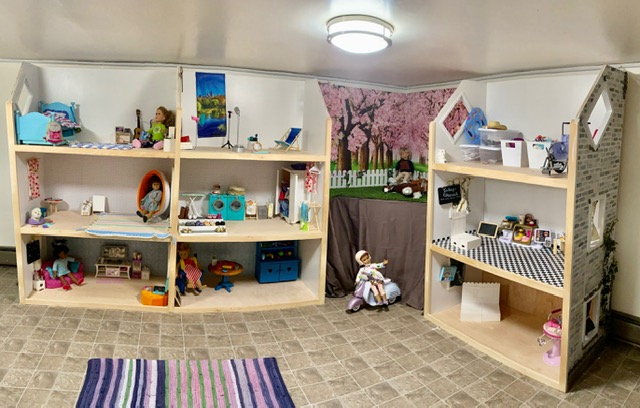
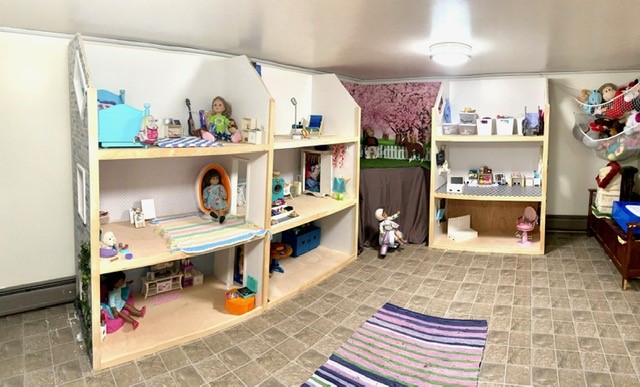
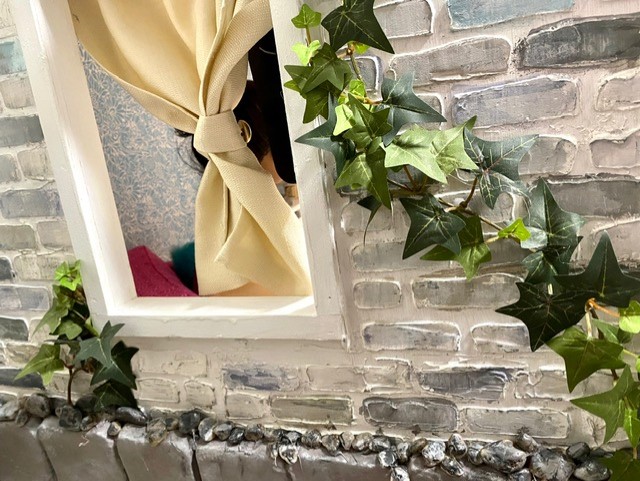
American Girl dollhouse built using PureBond Plywood, Kreg K4, and Ryobi tools!

Comments

pcook67

Wed, 01/25/2023 - 11:11

Do you have more detail on the materials for the outside of the house?

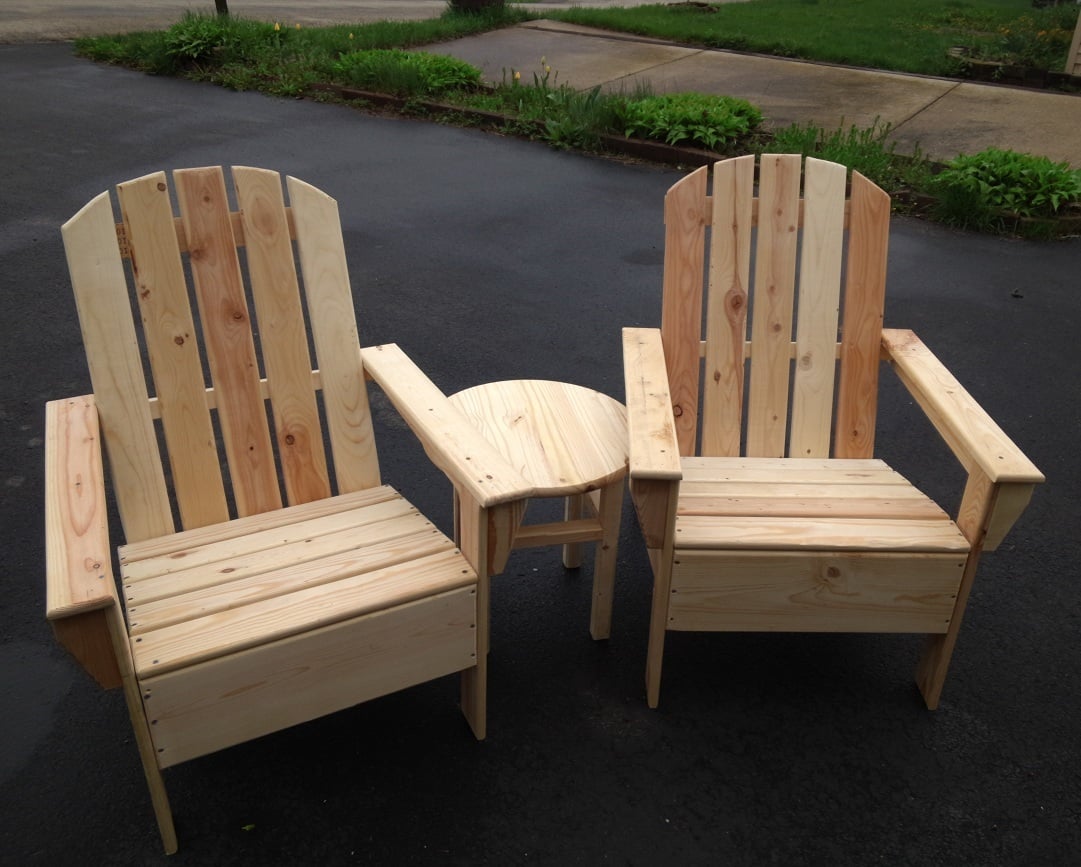
Chairs and Round Side Table for the yard!

Submitted by tbman7 on Fri, 05/03/2013 - 15:38

My dad and I built these chairs by following Ana's Adirondack plan, and then adding our own curved back. We also routed all the edges to give the entire chair a rounded feel. We also built the simple little round side table to use with the chairs.

Built from Plan(s)
Estimated Cost
$25 per chair
Estimated Time Investment
Day Project (6-9 Hours)
Finish Used
unfinished, but plan on using an outdoor finish
Recommended Skill Level
Beginner

Nightstand in two colors

Submitted by Anonymous (not verified) on Sat, 06/24/2017 - 23:41

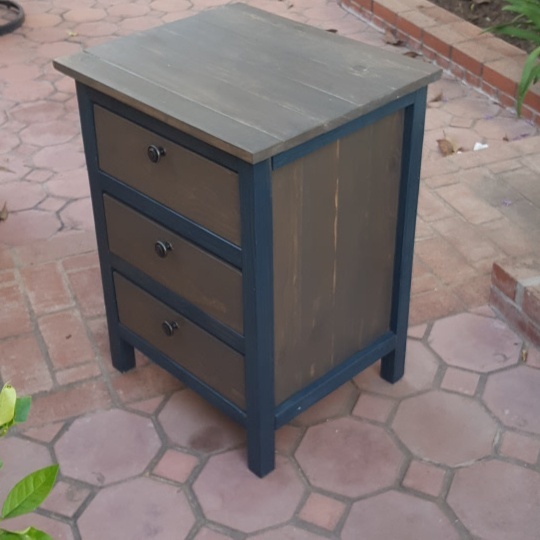
Followed the plans closely. Stained before assembly for the two color look.

Estimated Time Investment
Weekend Project (10-20 Hours)
Finish Used
Varathane briarsmoke and worn navy. Satine finish triple thick poly.
Recommended Skill Level
Intermediate

Sofa and coffee table.

Submitted by Anonymous (not verified) on Mon, 10/04/2021 - 12:22

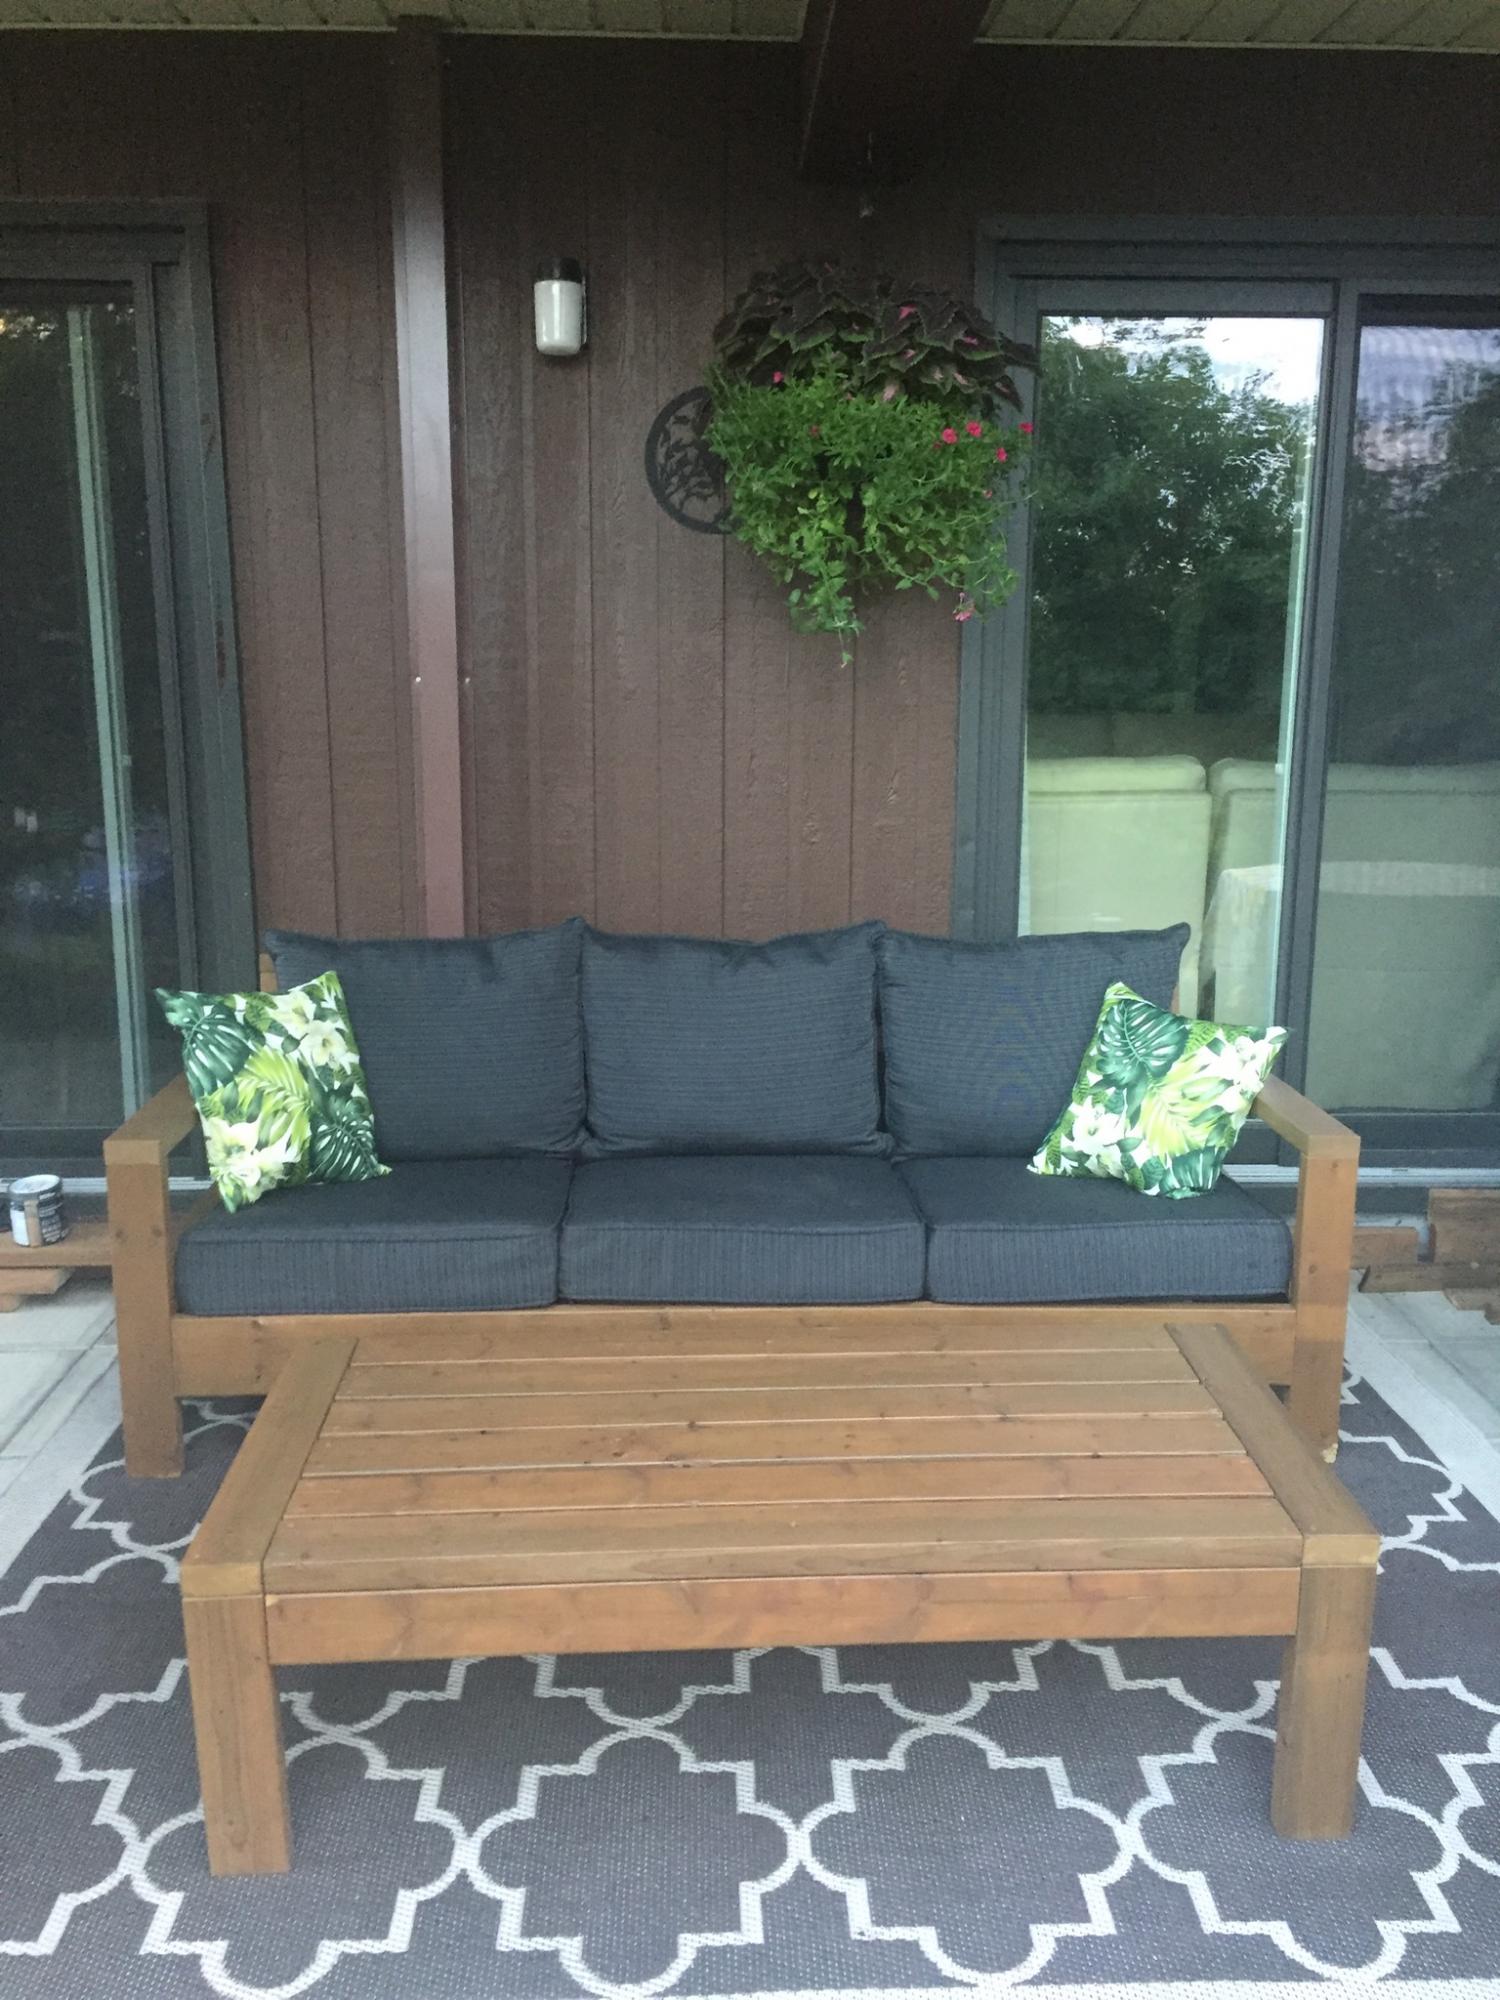
I love my Sofa and coffee table!

Comments

Picnic Table

Submitted by Medickep on Mon, 05/06/2013 - 07:39

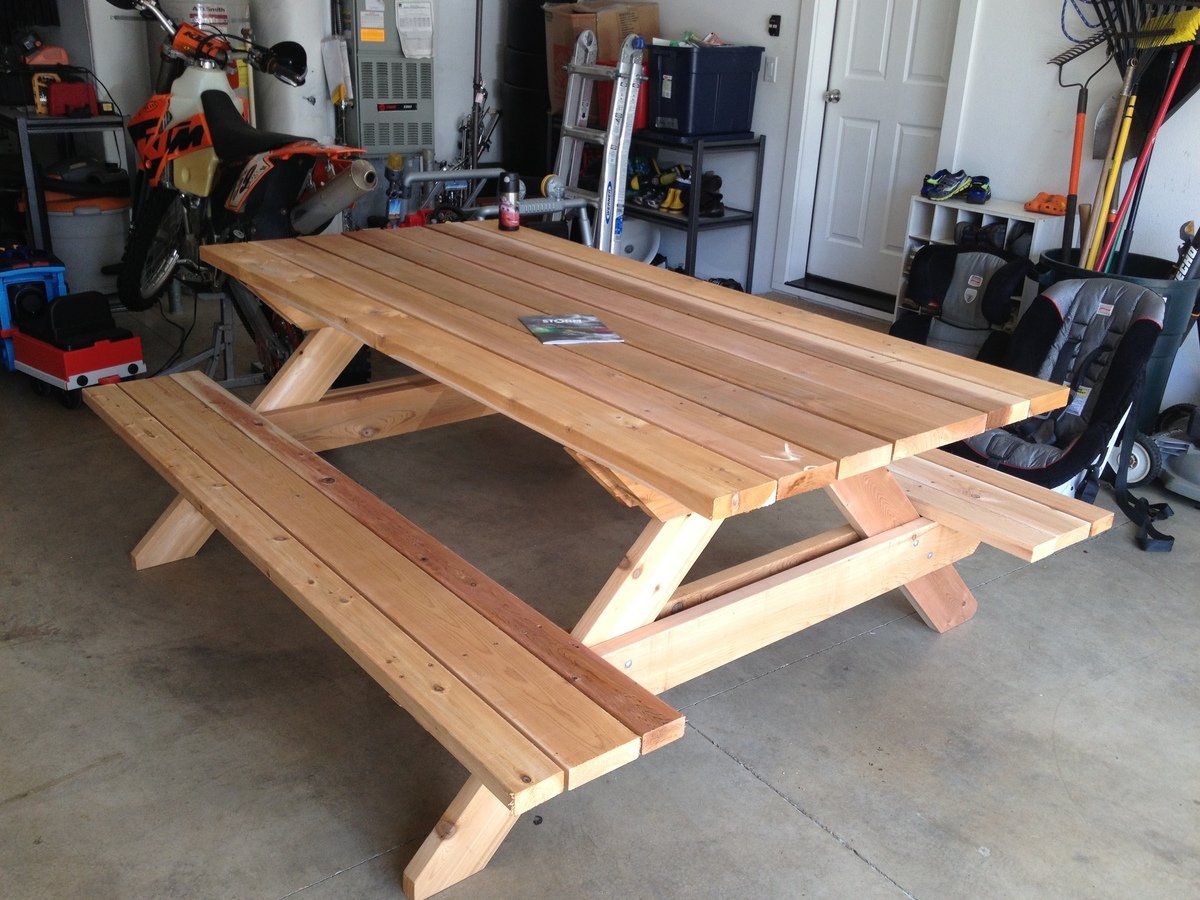
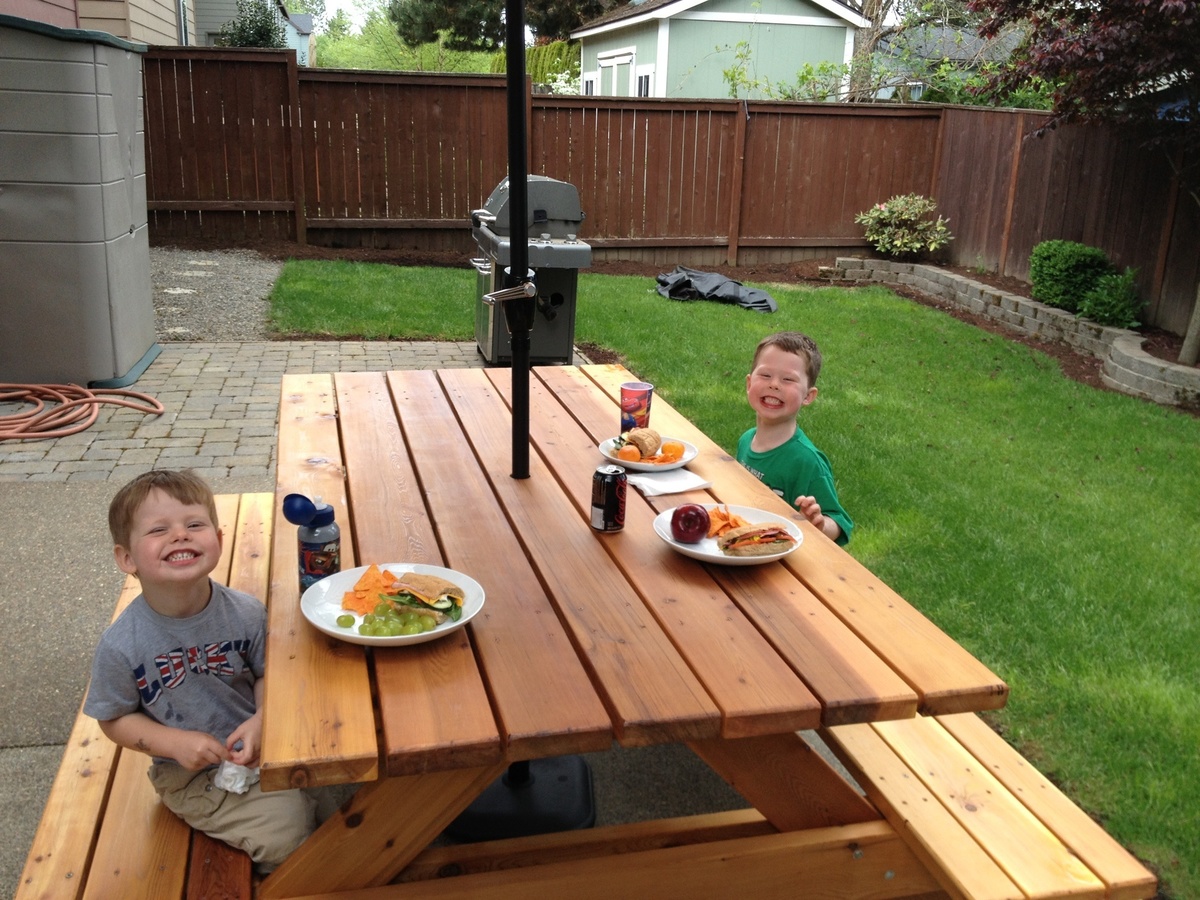
My wife started looking at expensive patio sets, which I thought were not worth the price, so I decided to build a picnic table. This is not the cheapest table out there, but it's built to last for years!! I used a high quality cedar as I got a price cut from a friend. I also used deck screws, so there would be no rusty screws!! The table top measures 7' long and looks like one you would see at a state park, notHome Depot!

Estimated Time Investment
Weekend Project (10-20 Hours)
Finish Used
Cabot Australian Timber oil: For this project I went with an oil project so I wouldn't have to sand it every year, like so many in my area with their decks. With this product, you simply clean the table and reapply!!
Recommended Skill Level
Beginner

Comments

Medickep

Thu, 09/05/2013 - 13:04

Thank your hanks for the kind words! This was my first real project and I was pleased with the results!

Gerry Czerniawski

Thu, 08/25/2016 - 09:48

Really like the picnic table - do you have plans for this? (I'm new to this site so apologies if they are here but I just could not see where?).

best wishes

Gerry

Farm House Table

I took the original plans from the Farmhouse Table - Updated Pocket Hole Plans - and I modified it so that my table could be countertop height and join up to my counter -  like a modified breakfast bar, so this table it countertop high, and is also more narrow and alittle longer.  I can easily pull it away from the wall and sit 6 people around it.  It is now my favorite place in the house!  

Estimated Cost
$200
Estimated Time Investment
Weekend Project (10-20 Hours)
Finish Used
Oxidizer (steel wool and vinegar) and then sealed with Water Polyseal and then Miniwax Paste Furniture Wax

I added extra metal supports underneath to help avoid wood movement over time and added metal corner guards.
Recommended Skill Level
Intermediate

Comments

outdoor sofa with one arm piece to make sectional

Submitted by Anonymous (not verified) on Tue, 06/27/2017 - 15:53

My husband and I built this on Sunday- I love how it turned out!  The hardest part was finding cushions, and carrying it up a flight of stairs!

Estimated Time Investment
Day Project (6-9 Hours)
Finish Used
this has not been sanded or stained yet
Recommended Skill Level
Beginner

Comments

Slightly modified all tree

Submitted by Anonymous (not verified) on Mon, 10/04/2021 - 12:25

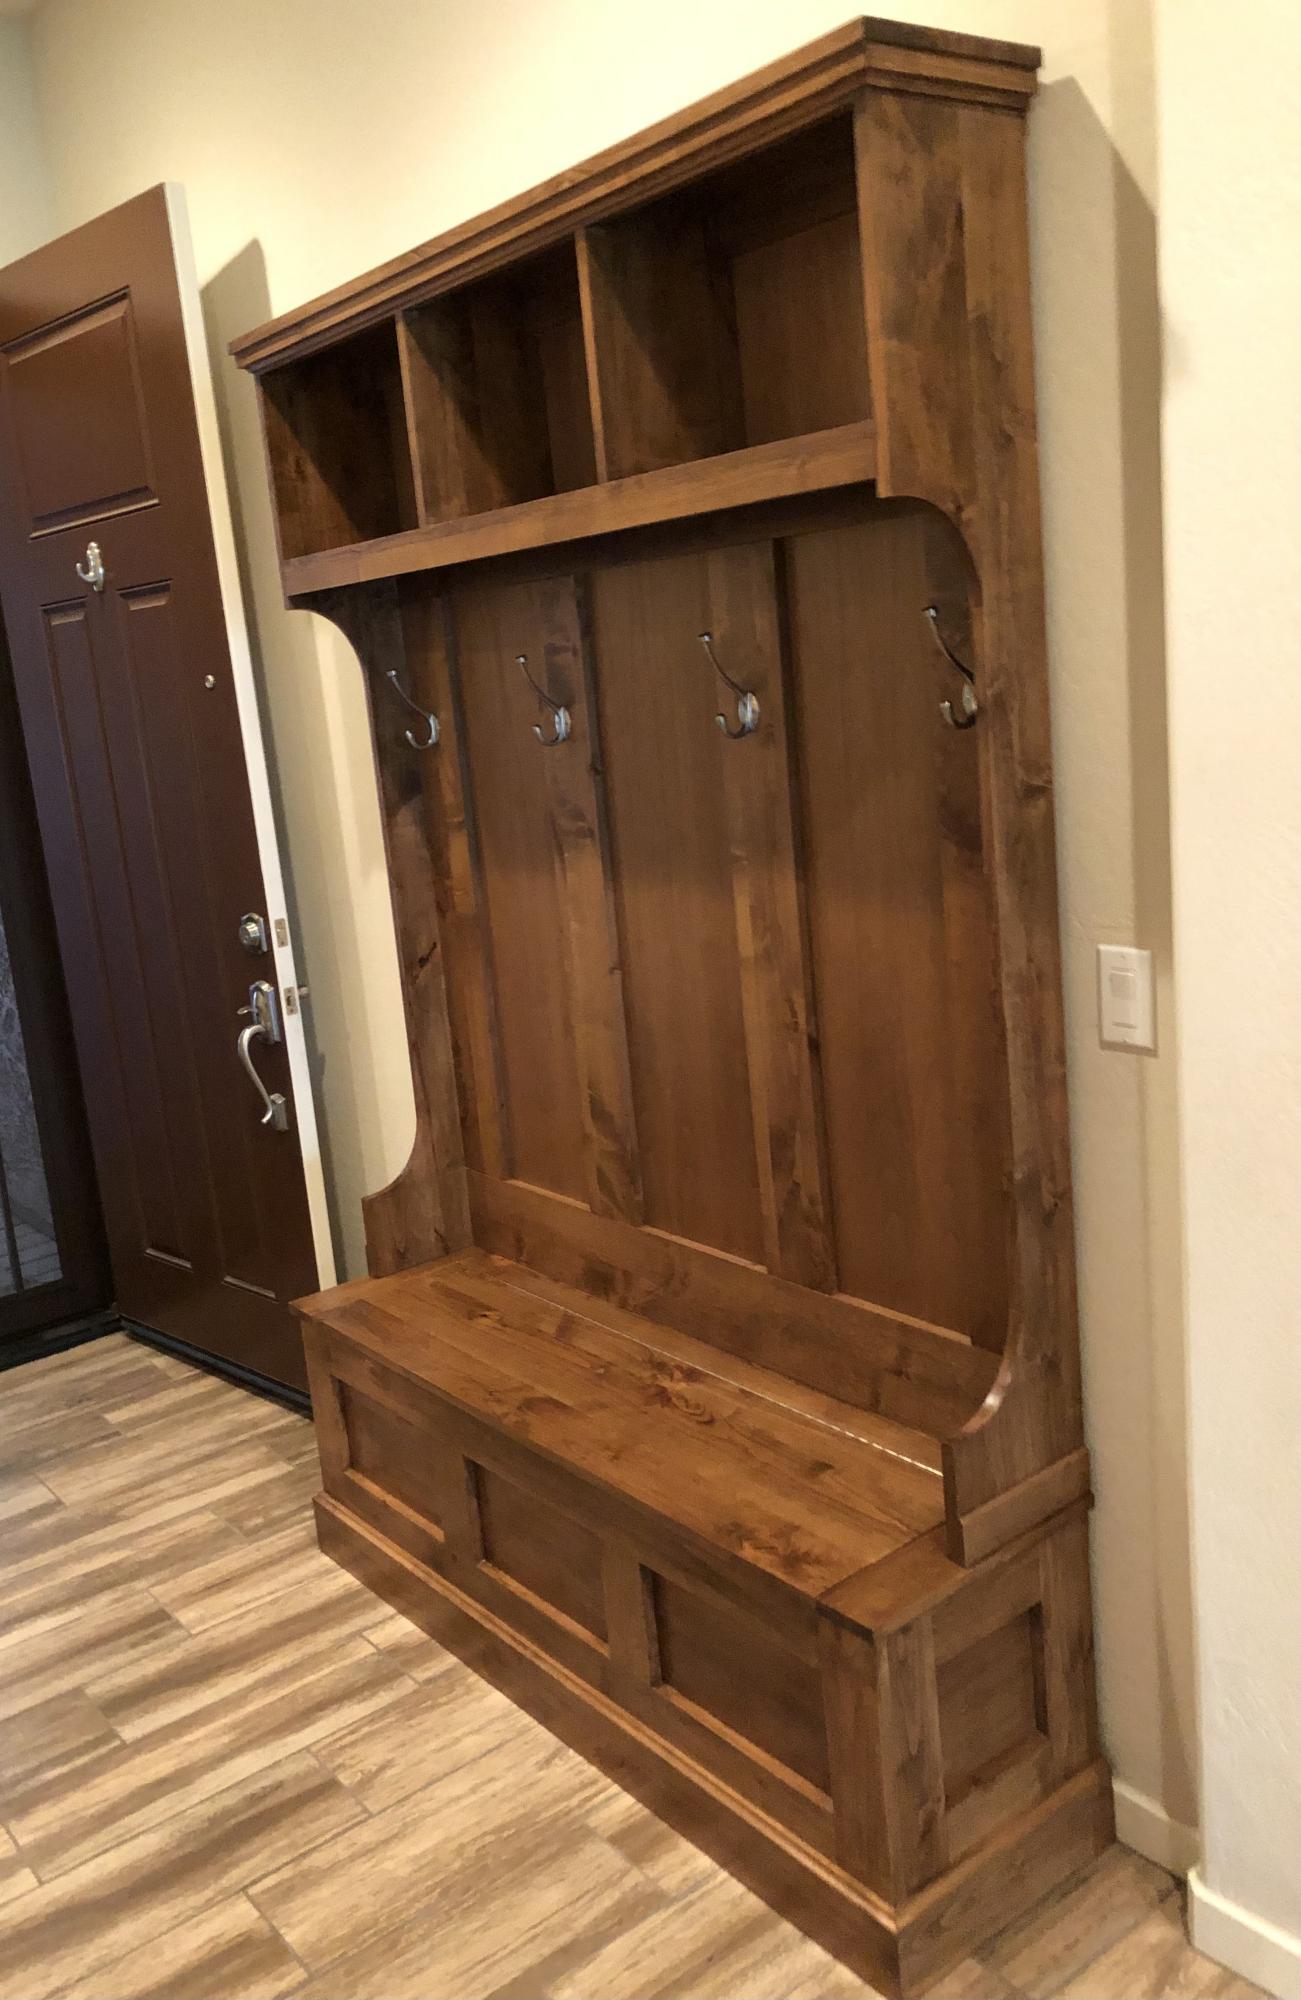
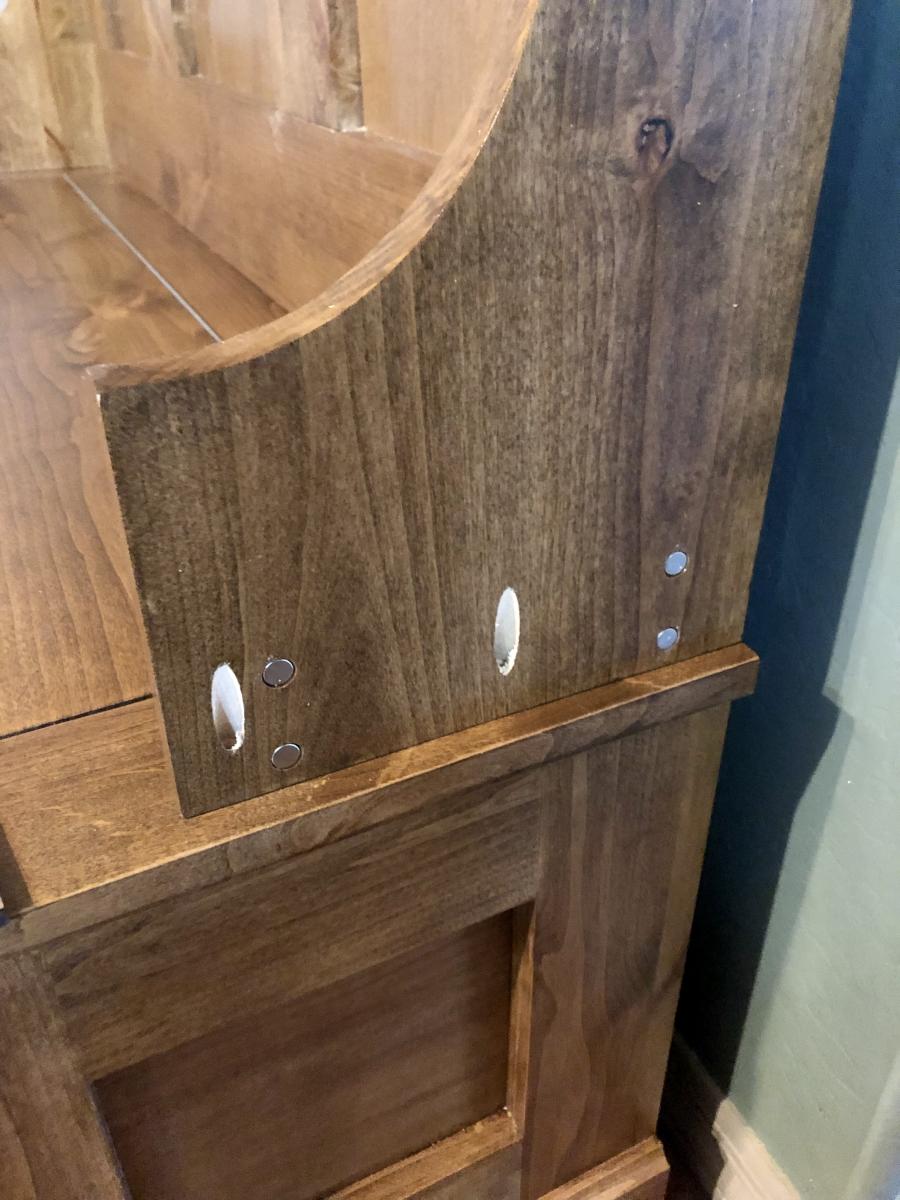
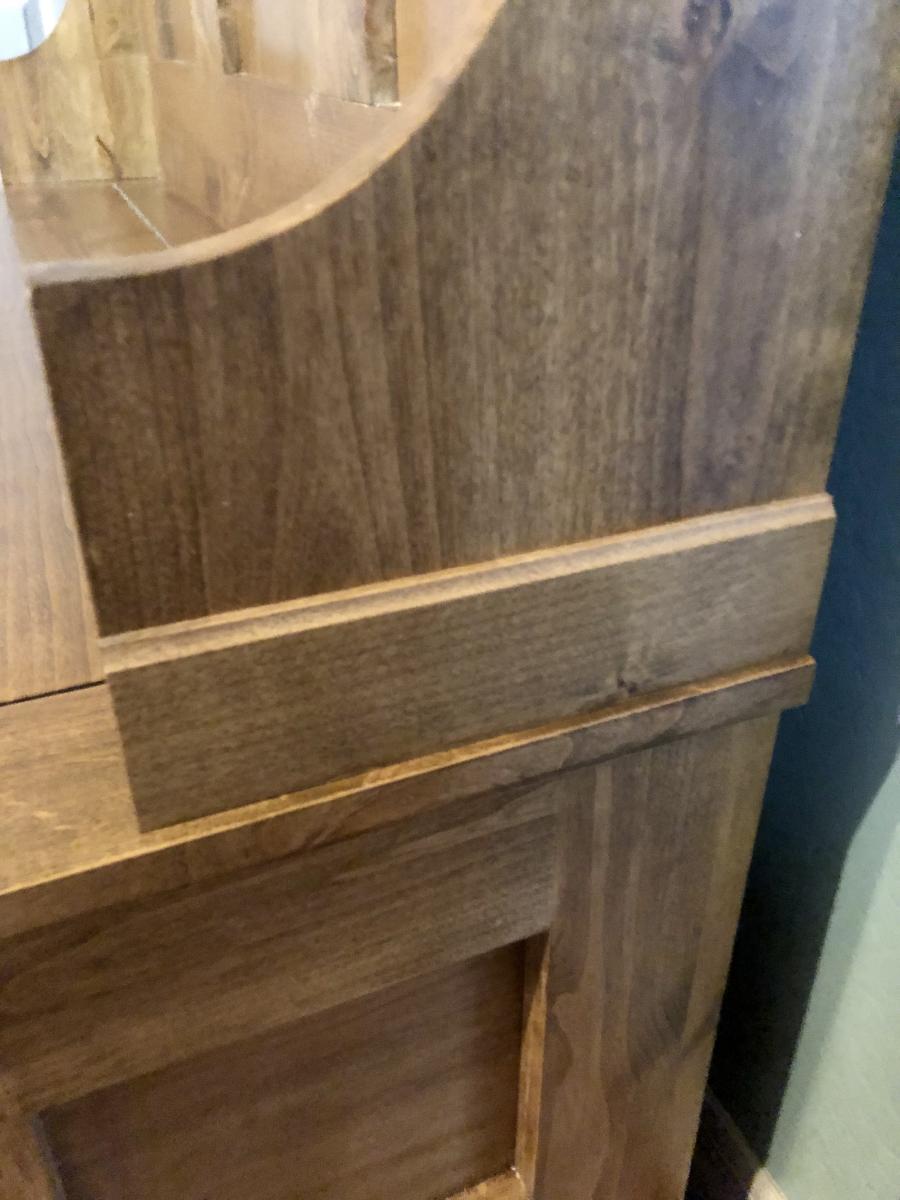
A friend asked me to build them a hall tree for their entryway because they couldn’t find one big enough to suit the area in their home. Thankfully I found the plans here for Mimi’s hall tree bench and hutch. I had to modify them slightly to make it a little wider and taller. They were very happy with the finished project!
Thank you for providing woodworkers with these excellent plans for all skill levels!

Comments

Console table

Submitted by enzweicm on Wed, 05/08/2013 - 15:08

I built this using the plans for the Perfect End Table. I made it a little taller and jazzed up the shelf a bit.  The whole project cost me less than $35!

Built from Plan(s)
Estimated Cost
$35
Estimated Time Investment
Afternoon Project (3-6 Hours)
Finish Used
RustOleum Ultimate Stain in Cabernet for the red!! LOVE THIS COLOR!!! Everything else was oxidized using the steel wool/vinegar combination found on The Friendly Home blog. Everything was sealed with 2-3 coats of semi-gloss polyurethane.
Recommended Skill Level
Starter Project

Shabby Chic Bunny Box

Submitted by EAnderson on Sun, 03/29/2015 - 19:01

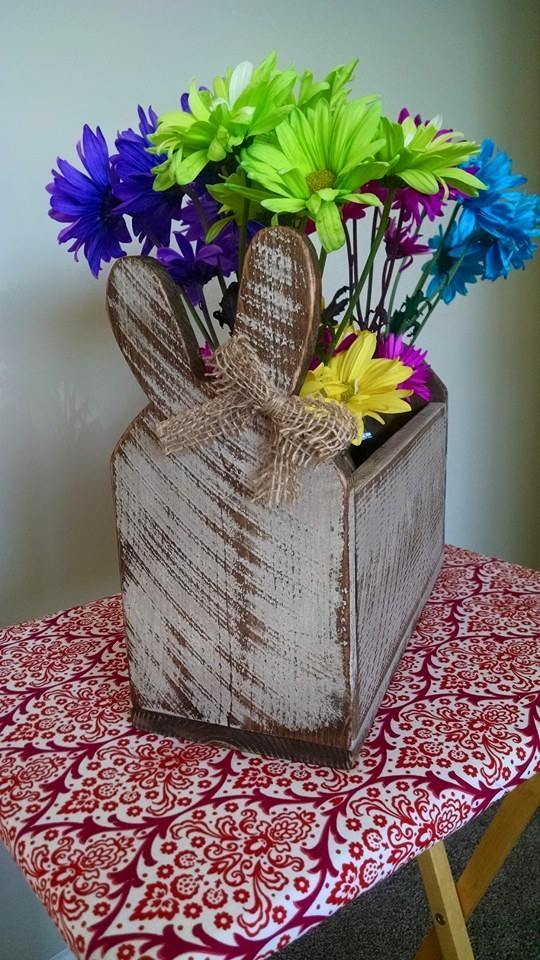
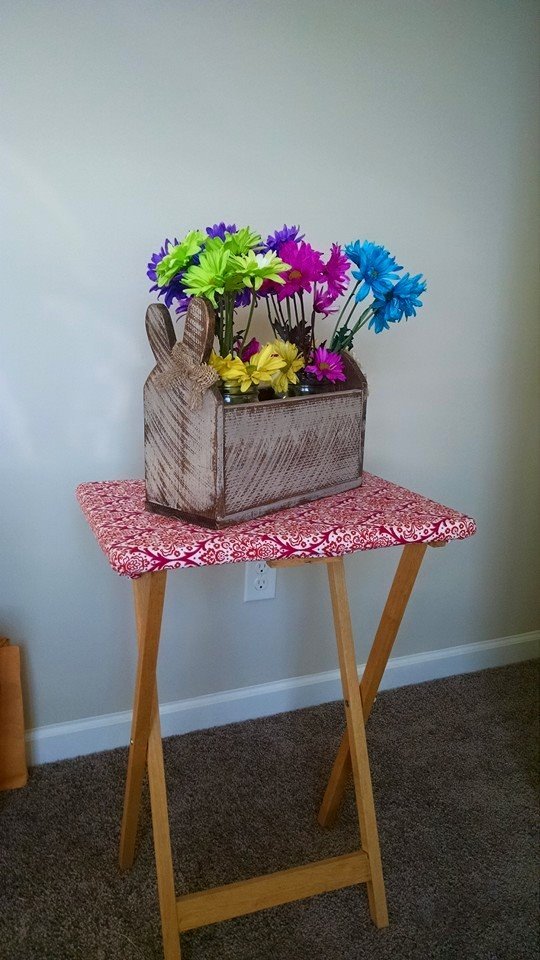
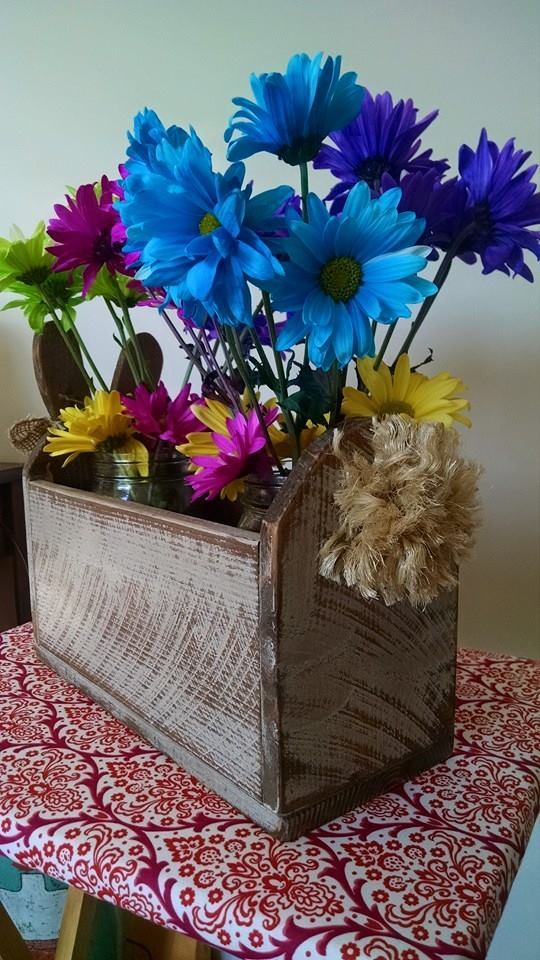
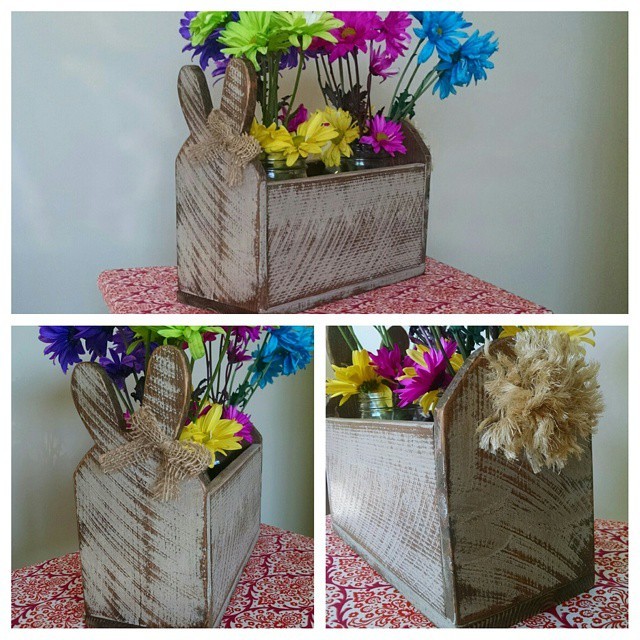
I had a lot of fun with this project! It was quick, and I already had everything I needed on hand. I have been wanting to get more practice with my jigsaw and this project was perfect for that. I used one cedar picket for the whole box and still had some left over. I added a burlap bow and made the tail with some extra pieces of rope and my glue gun. It was a breeze!

Estimated Cost
FREE! I made this with a leftover piece of cedar fence picket and paint/stain that I already had. If you wanted to purchase a picket they are around $2.75 each.
Estimated Time Investment
An Hour or Two (0-2 Hours)
Finish Used
I first sanded and whitewashed the picket and then cut the pieces. After I had assembled everything and let the glue dry for a little bit, I roughed up the paint with my sander and applied stain.
Recommended Skill Level
Starter Project

Comments

Harold Webb

Tue, 03/31/2015 - 06:47

Excellent! I doubt that I will make it in 2 hours, but I'll try. I really like this kind of product, especially given the fact that my wife loves in flowering :). By the way, if someone need help in writing of any type of works, you can visit my website http://www.trusteddissertations.com/ and get a decent discount.
Have a nice day!

My handmade farmhouse table and benches

Submitted by Anonymous (not verified) on Thu, 06/29/2017 - 20:32

This is the table I made for my wife using 2x lumber...I used the epoxy resin finish and it gives it a beautiful look and finish...my wife, family and friends love it...I'm very pleased with how well it turned out...

Estimated Cost
300 dollars
Estimated Time Investment
Week Long Project (20 Hours or More)
Finish Used
Epoxy resin
Recommended Skill Level
Intermediate

Full Size Storage Bed

With a new baby on the way, my husband, Steve and I had to move our 2yr old son out of the nursery and into his big boy bedroom. After casually looking at storage beds and falling over in shock at the prices, I came across Ana’s plans for the storage bed. Knowing that Steve is extremely handy but had not attempted to build furniture before, I started talking him into building this bed. He was sold the moment I told him that we would save close to $2400 by building it ourselves. This was a longer than anticipated project mainly due to Steve’s full time work schedule, my inablility to handle stain fumes, allowing a toddler to “help” build his bed and working around said toddler’s nap schedule. We modified Ana’s plans by adding some trim to the cubby hutch, omitting the doors on the small hutch and sizing everything to a full size bed. We also omitted the shelves on the storage headboard since we weren’t going to use them with the side towers. I am absolutely in LOVE with the final result and have a long list of other projects that we will be building in the near future.

Built from Plan(s)
Estimated Cost
$600
Estimated Time Investment
Week Long Project (20 Hours or More)
Finish Used
Paint or Stain Color/Type: Minwax Polyshades in Pecan Gloss

Finishing Technique: Steve primed the wood first with Minwax Pre-Stain Wood Conditioner then, added two coats of Minwax Polyshades in Pecan Gloss.

Recommended Skill Level
Intermediate

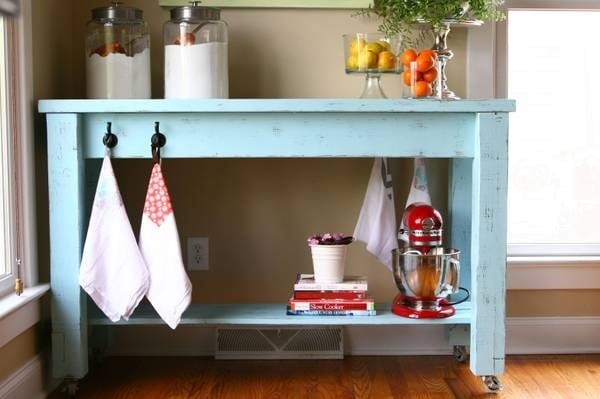
So fun. So easy. So beautiful.

This table was so easy and so much fun, even for a beginner. In fact, it's so easy I've built it three times. The latest one is my favorite. I think it's the beautiful blue color...

Built from Plan(s)
Estimated Time Investment
Weekend Project (10-20 Hours)
Finish Used
First I stained it in a dark color. Next, I painted it with a watered dawn blue. Then, I sanded for a distressed looked. Lastly, I coated it with a finishing wax.
Recommended Skill Level
Starter Project

Comments

Entry Built in and Board and Batten

Submitted by anb80 on Tue, 03/31/2015 - 11:42

Entry board and batten treatment with hooks, cabinet with doors and drawers and bench.  Made from plywood. 

Estimated Time Investment
Weekend Project (10-20 Hours)
Recommended Skill Level
Intermediate

Comments

anb80

Wed, 04/01/2015 - 06:55

Thanks! We just sold our house in under 48 hours and I think all these built-ins helped! Thanks Ana for all the great plans and inspiring me. I learned so much coming from some one that had never built anything. You're awsome!

American Girl Doll Closet

Submitted by Anonymous (not verified) on Mon, 07/03/2017 - 09:18

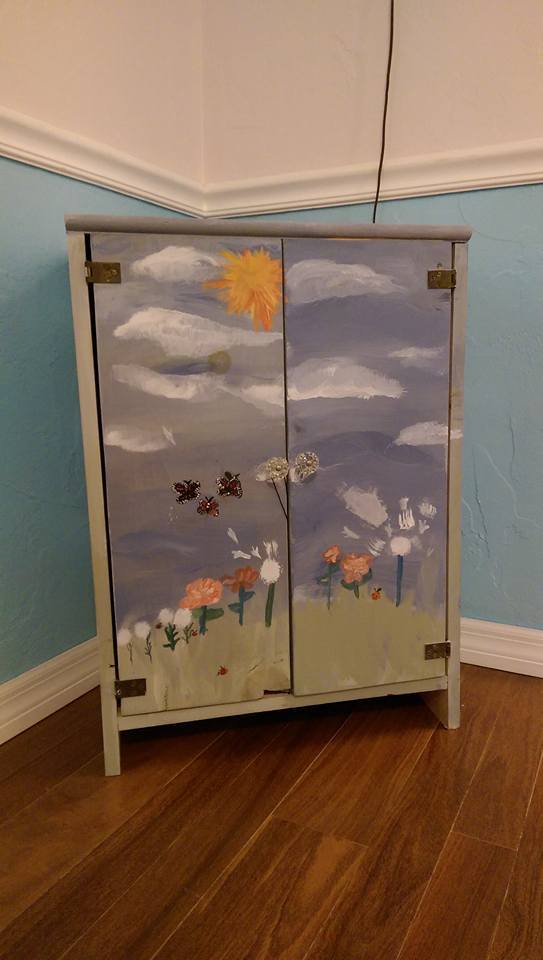
This was fun and easy. I had some of the wood already so I didn't spend that much. My girls painted it to add a personal touch. I would consider adding a magnet to help the doors stay closed a little better. Its been a couple of years and they are still enjoying this. At the time I had no idea how to make a star. Now I know it woudl be easy with a jig saw. 

Estimated Cost
$50
Estimated Time Investment
Day Project (6-9 Hours)
Finish Used
Paint
Recommended Skill Level
Intermediate

Outdoor Hot Tub Table

Submitted by Anonymous (not verified) on Mon, 10/04/2021 - 13:33

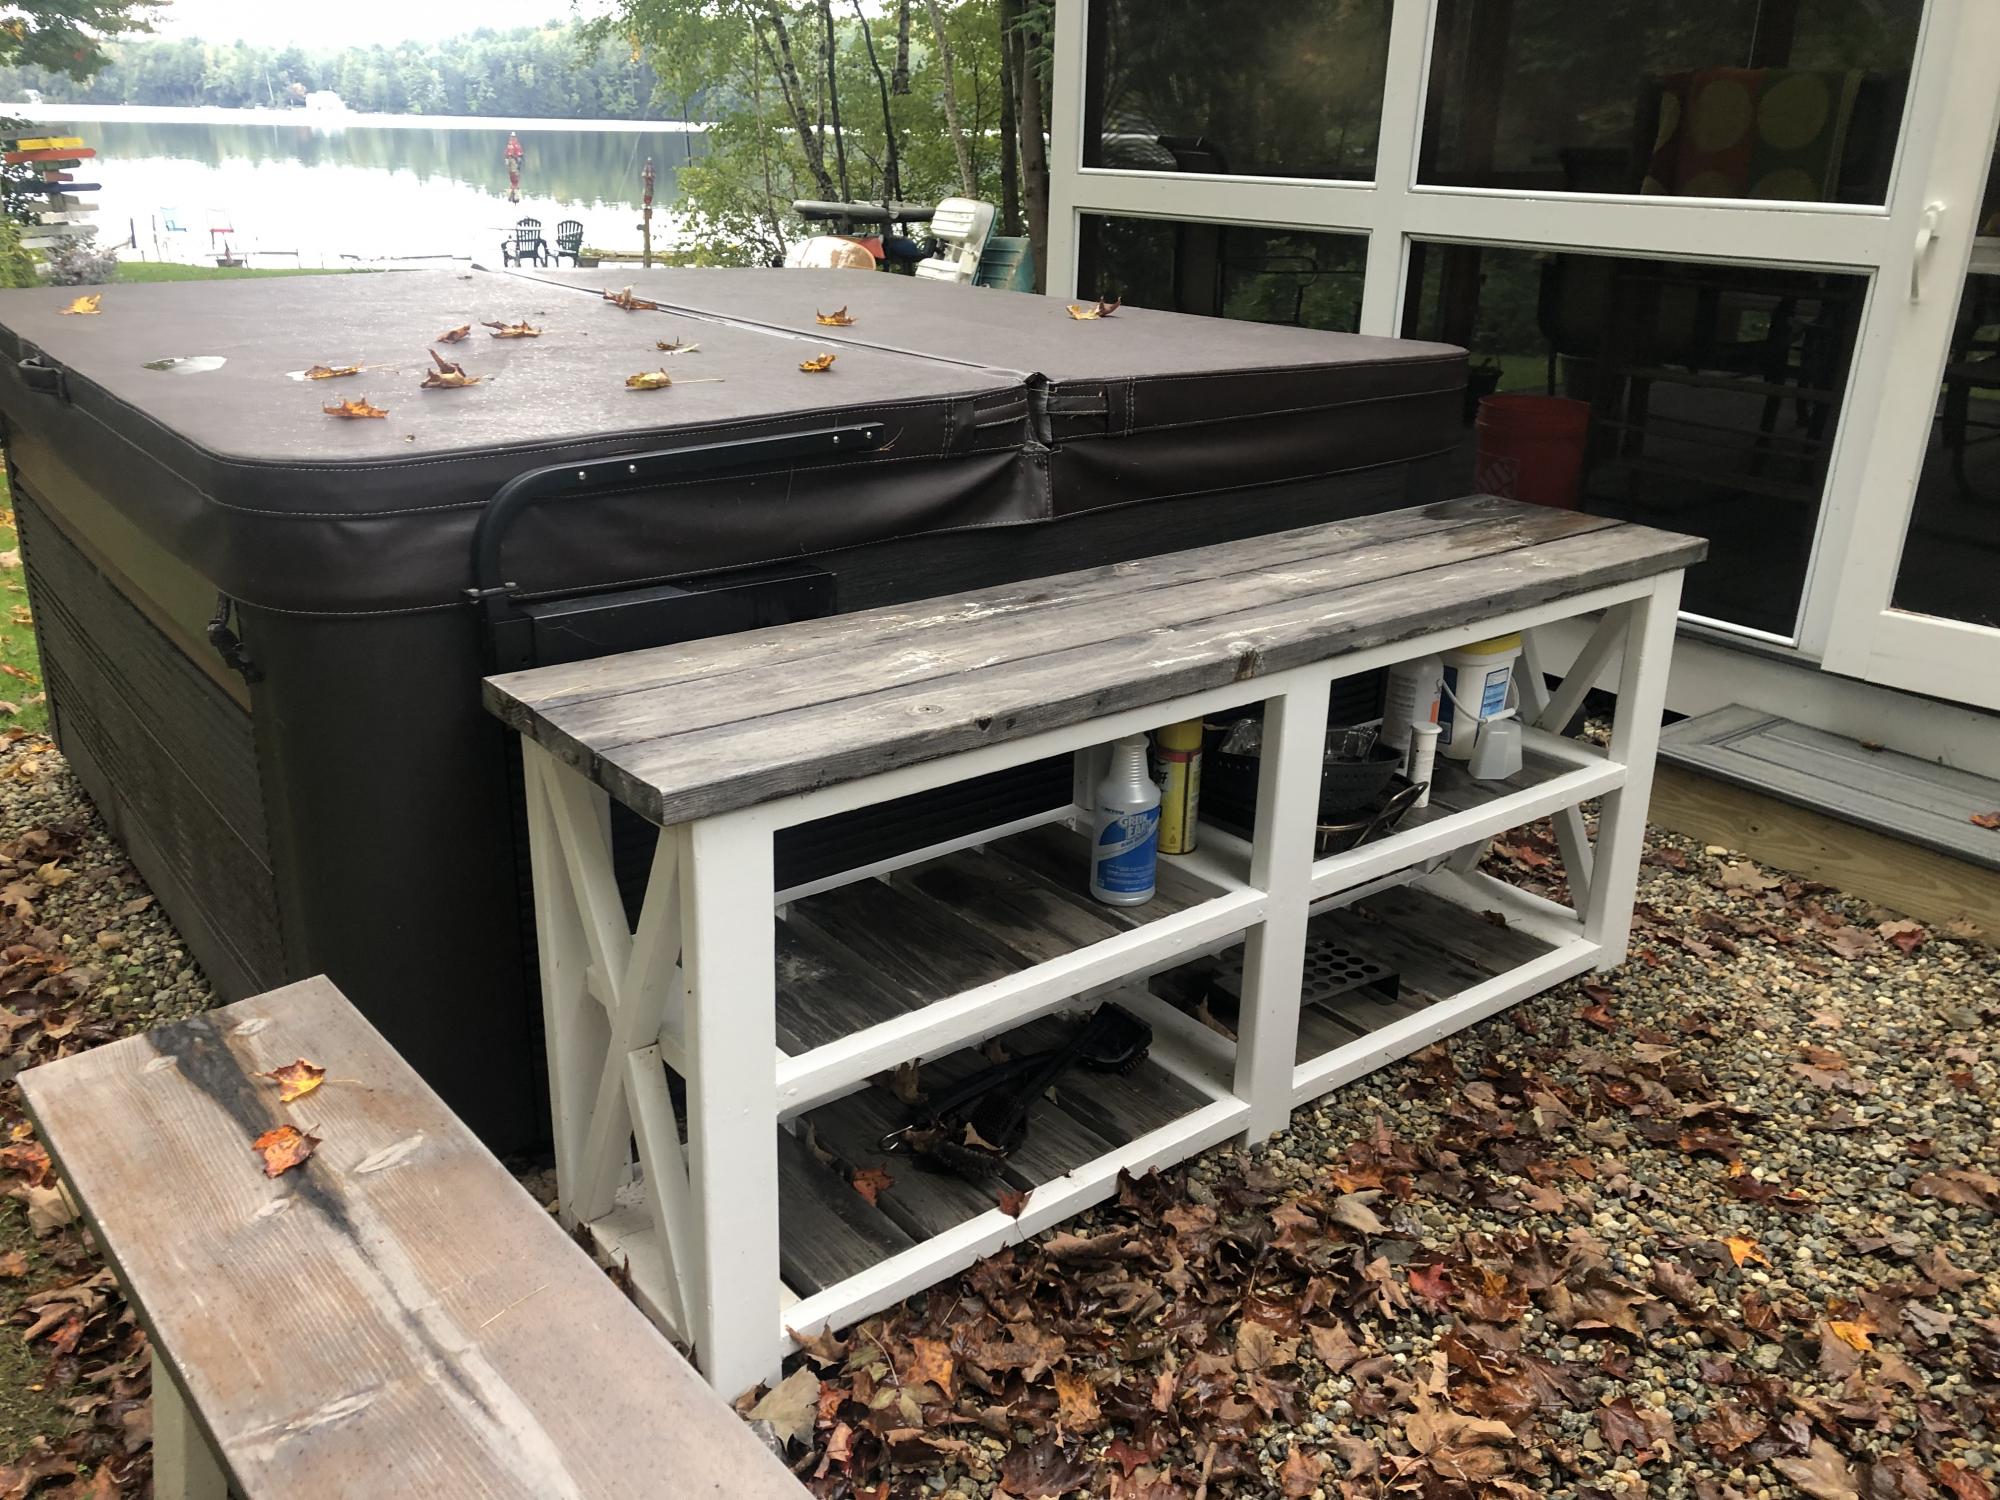
I needed a table along side our hot tub, primarily for drinks or appetizers while using the hot tub. The farmhouse table plan worked out perfectly to its height and how it fit in well with the structure of the hot tub. It also does double duty with my grill directly across from it allowing me some storage shelves or grill items.

Built from Plan(s)

Comments

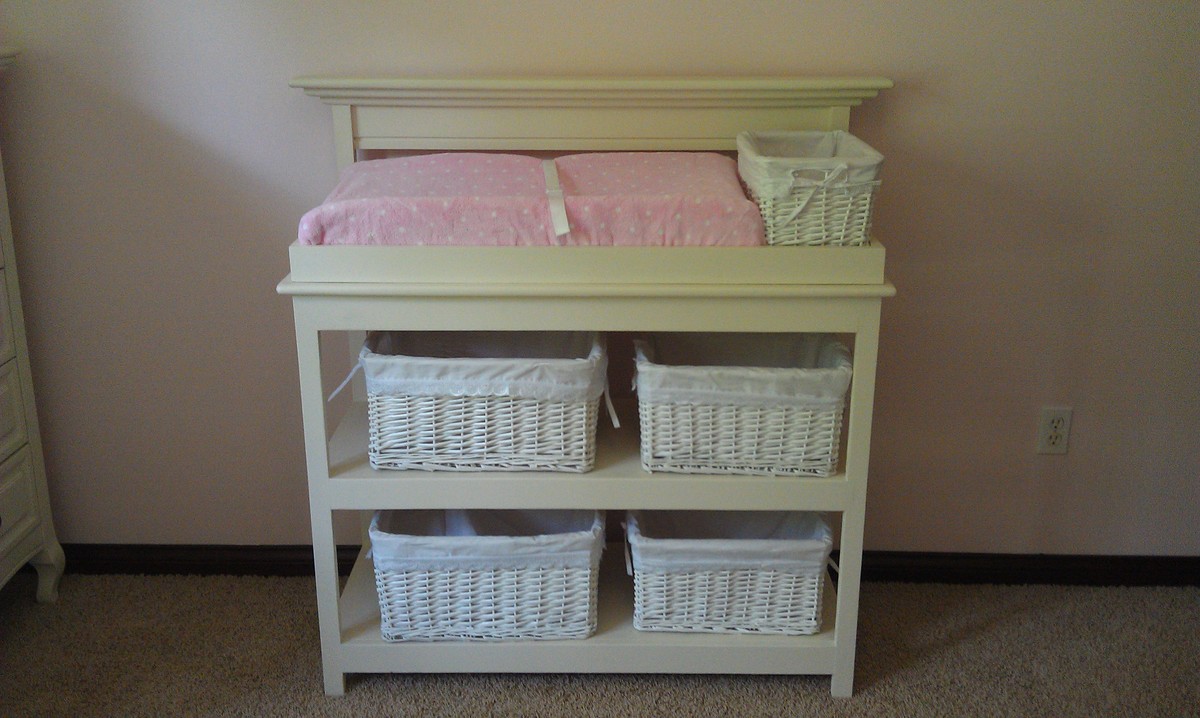
built by Grandpa

Submitted by jsanders on Sun, 05/12/2013 - 10:25

Grandpa modified the simple changing table to match the rest of our nursery furniture.

Built from Plan(s)
Estimated Cost
$100
Estimated Time Investment
Weekend Project (10-20 Hours)
Finish Used
Paint
Recommended Skill Level
Intermediate

DIY Minecraft Torches

My favorite 7 year old recently had a Minecraft themed birthday party.    For party favors, I made Minecraft torches from a 2×2 board.   Painting each pixel of the torch was an incredibly time consuming process.  This is definitely not a project you want to procrastinate on.   I would budget two hours per a torch.   The torches are 1.5″ wide and 7.5″ tall.  The scale for the pixels is 0.75 inches.  I am pretty happy with how the torches came out.  It is a great way to use leftover 2×2 boards in the garage and a neat treat for fans of the game.

Estimated Time Investment
Afternoon Project (3-6 Hours)
Finish Used
Acrylic craft paint sealed with Mod Podge (Matte Finish)
Recommended Skill Level
Starter Project