Tryde Coffee Table
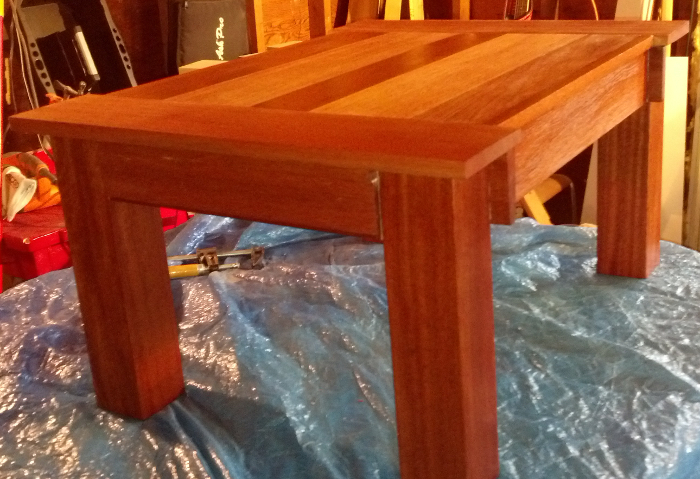
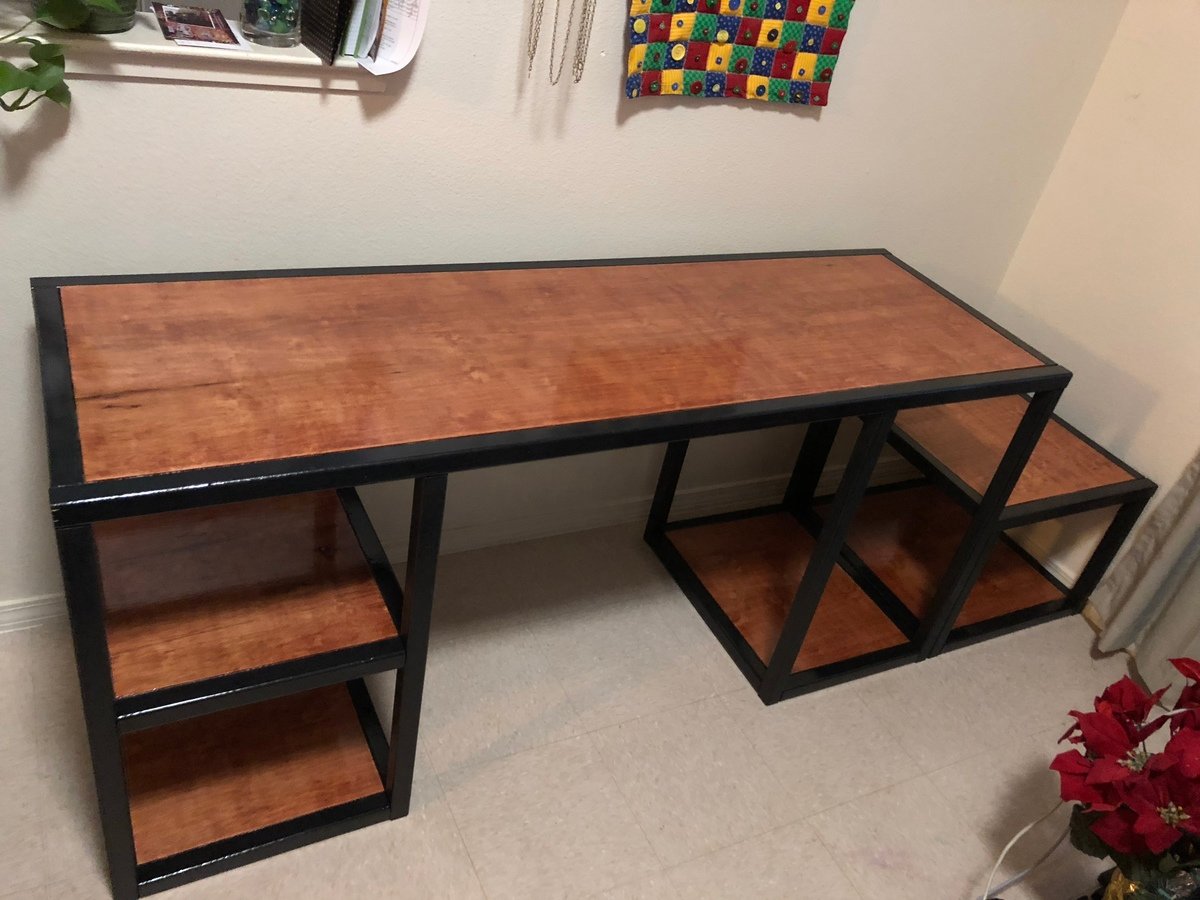
Tryde Coffee Table made of mahogany and stained used several layers of boiled linseed oil and a few top coat layers of wipe on satin polyurethane. It came out really nice. This is my first project.

Tryde Coffee Table made of mahogany and stained used several layers of boiled linseed oil and a few top coat layers of wipe on satin polyurethane. It came out really nice. This is my first project.
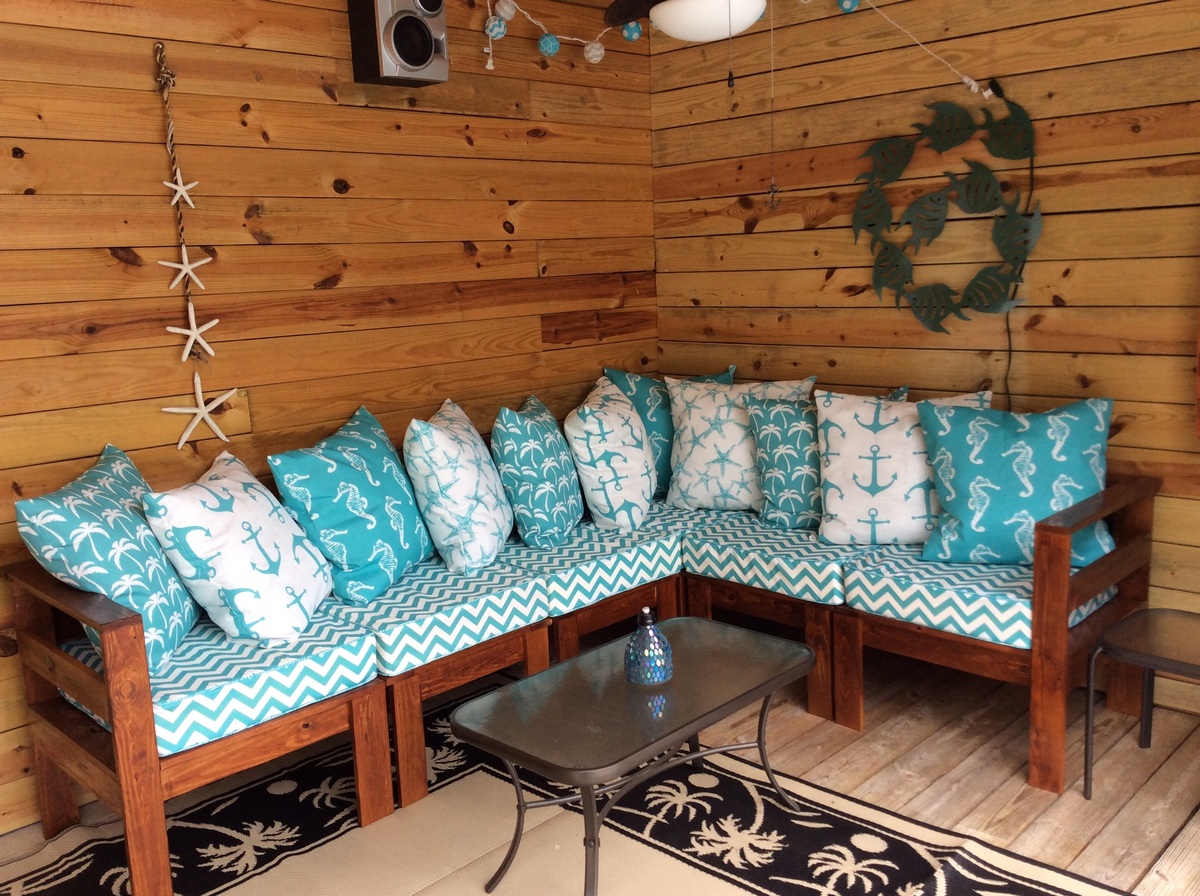
This was our first diy furniture project but definitely not our last. We were looking for furniture to put by our pool but everything that we liked and was comfortable was way out of our budget. I came across the post on pintrest and recruited my husband to do the woodworking for me. I the meantime I made the cushions and back pillows using outdoor fabric from fabric.com. The sectional is stained using Olympic Elite semi transparent exterior stain in kona brown.
Thu, 05/21/2015 - 08:04
That looks like a great place to relax! I love your fabric choices, Premier Prints are the best!
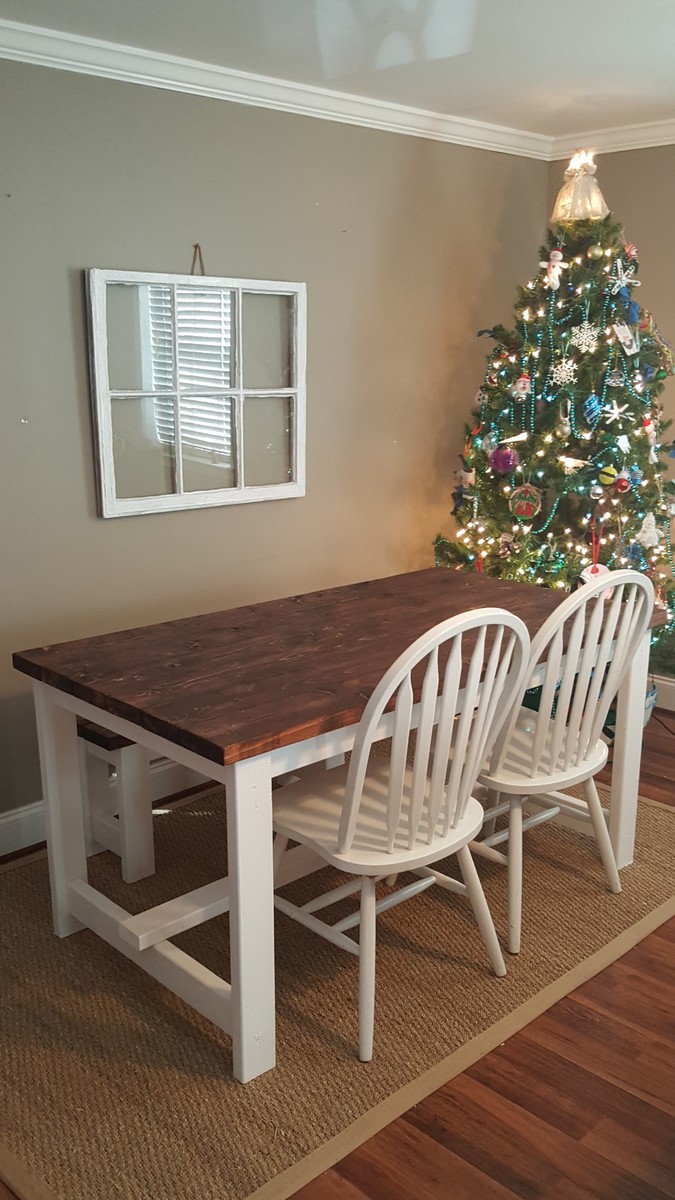
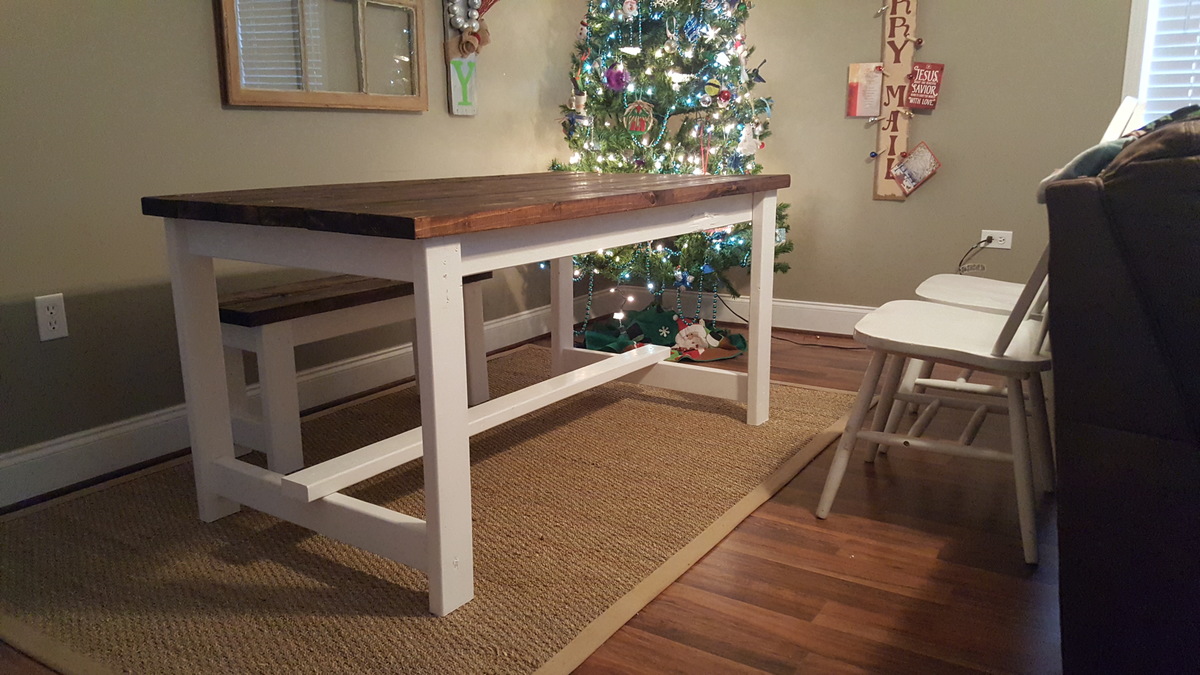
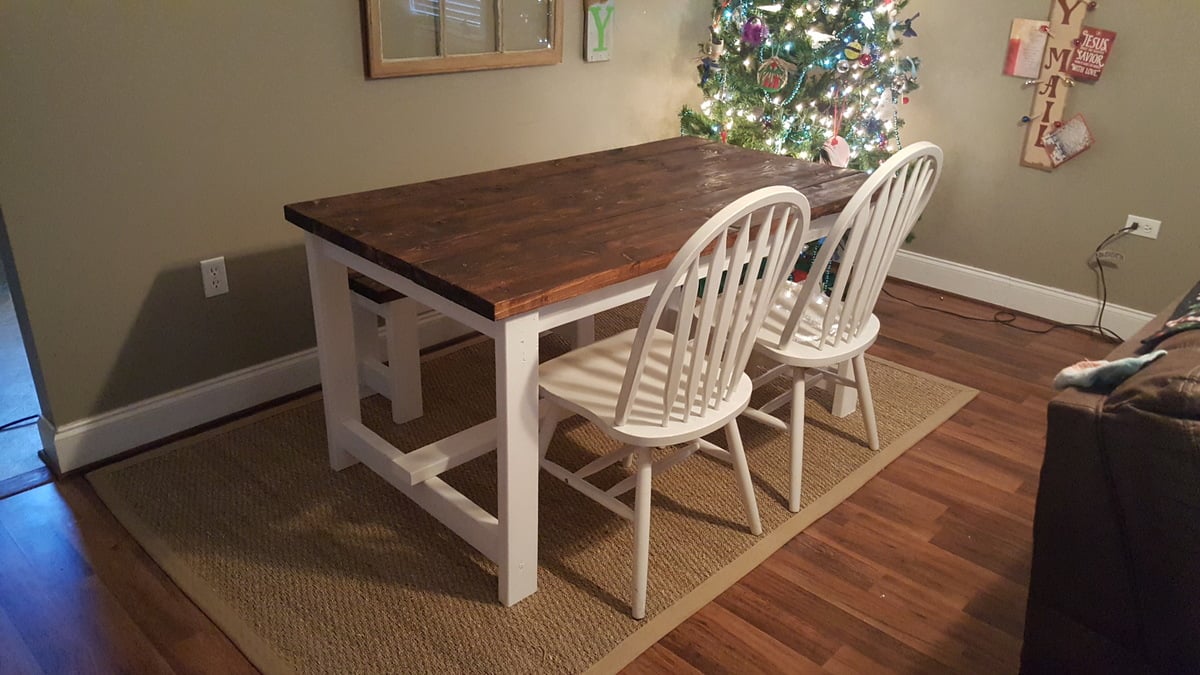
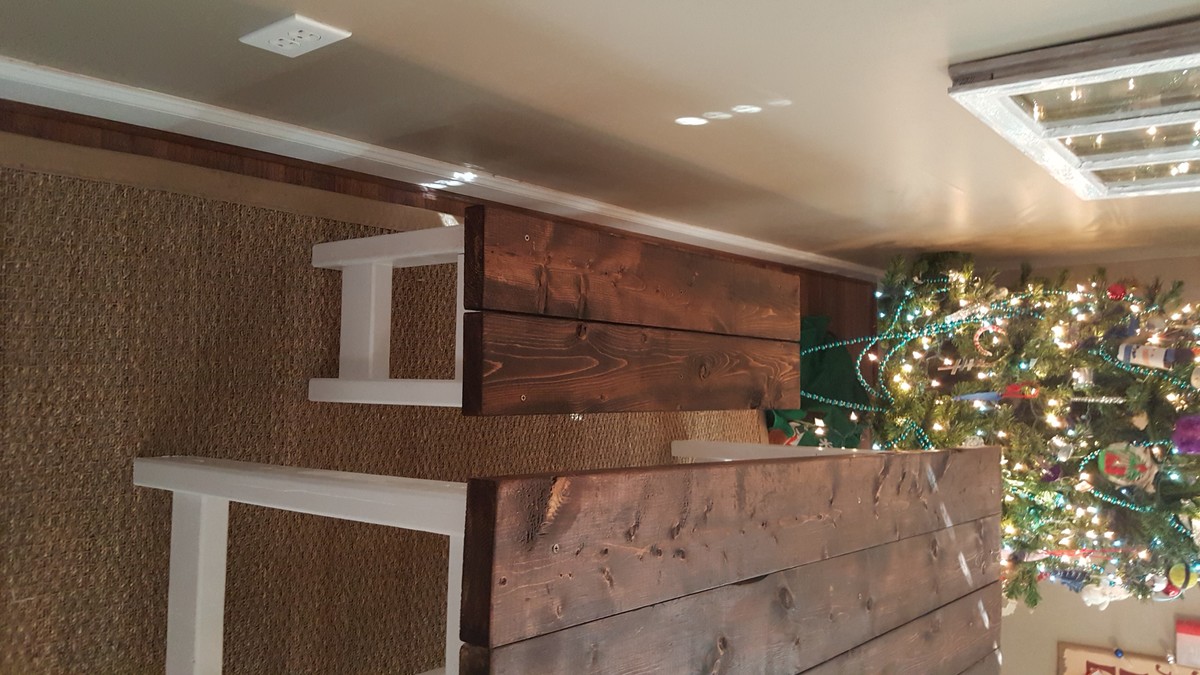
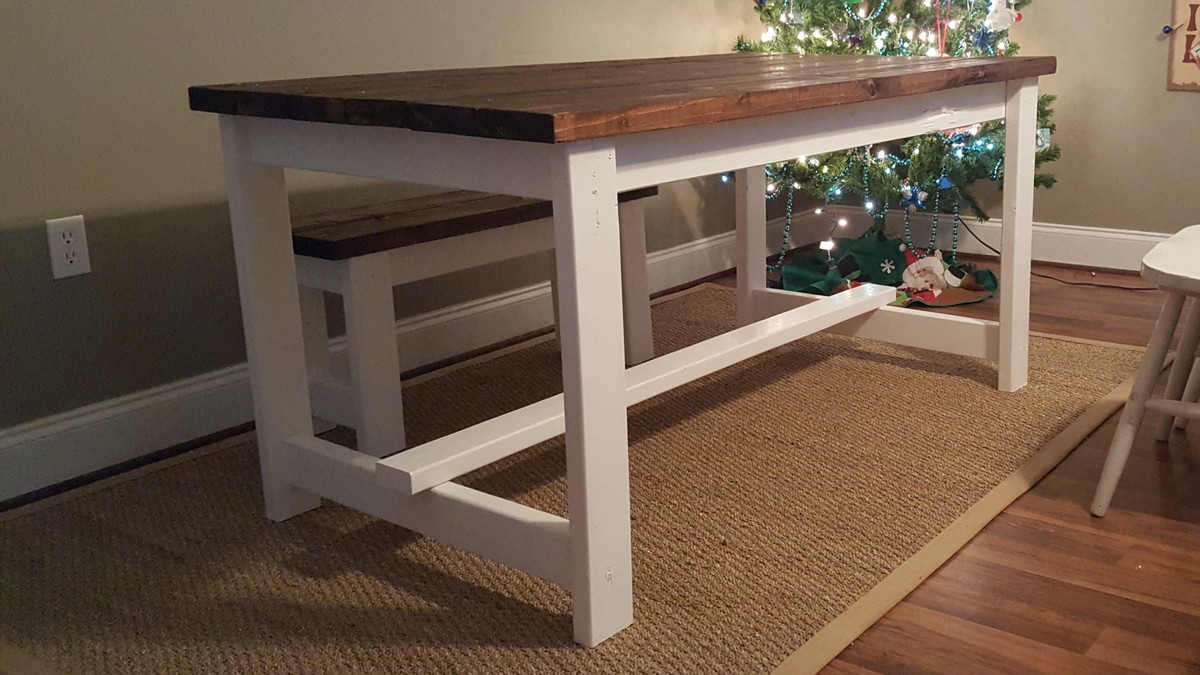
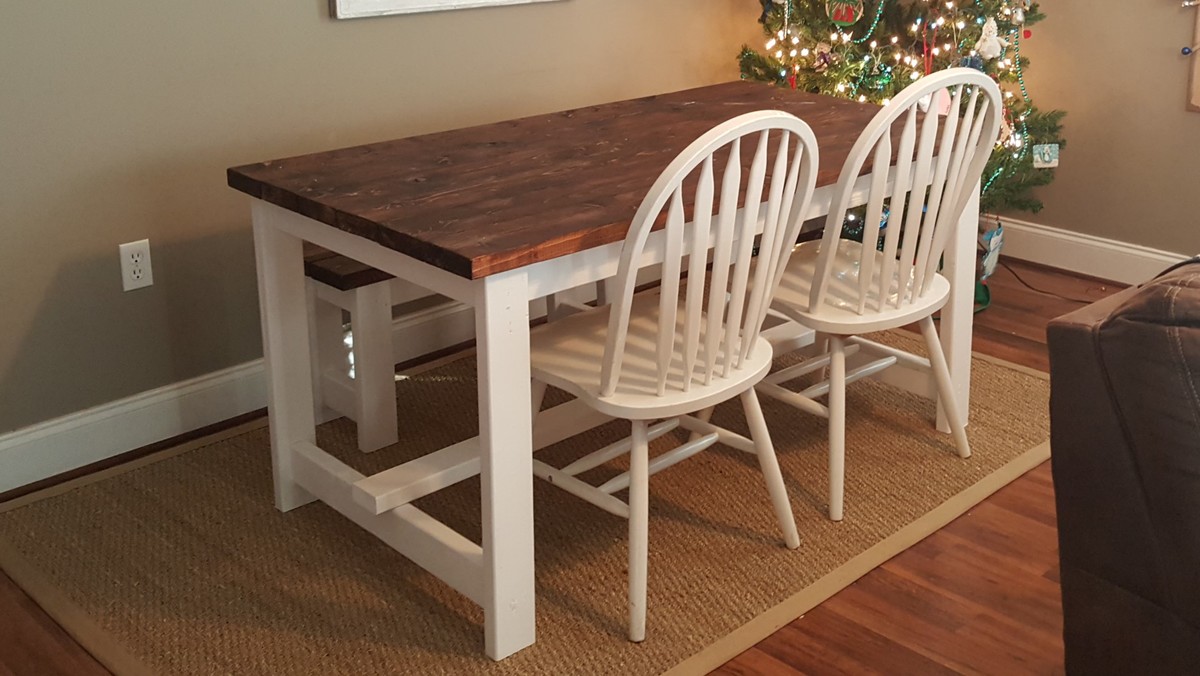
I got the plans from Anna White $50 beginner farmhouse table build. Changed from a 6 ft table to a 5 ft. Built in a few hours but took longer to paint than anything because it took 2 coats.
Thu, 12/28/2017 - 16:23
Hi,
I really like the colour you chose! Did you use "SPF" lumber or something else? I am using SPF, so I am curious to see what the stain will look like once dried, etc.
Thanks again,
- Mike
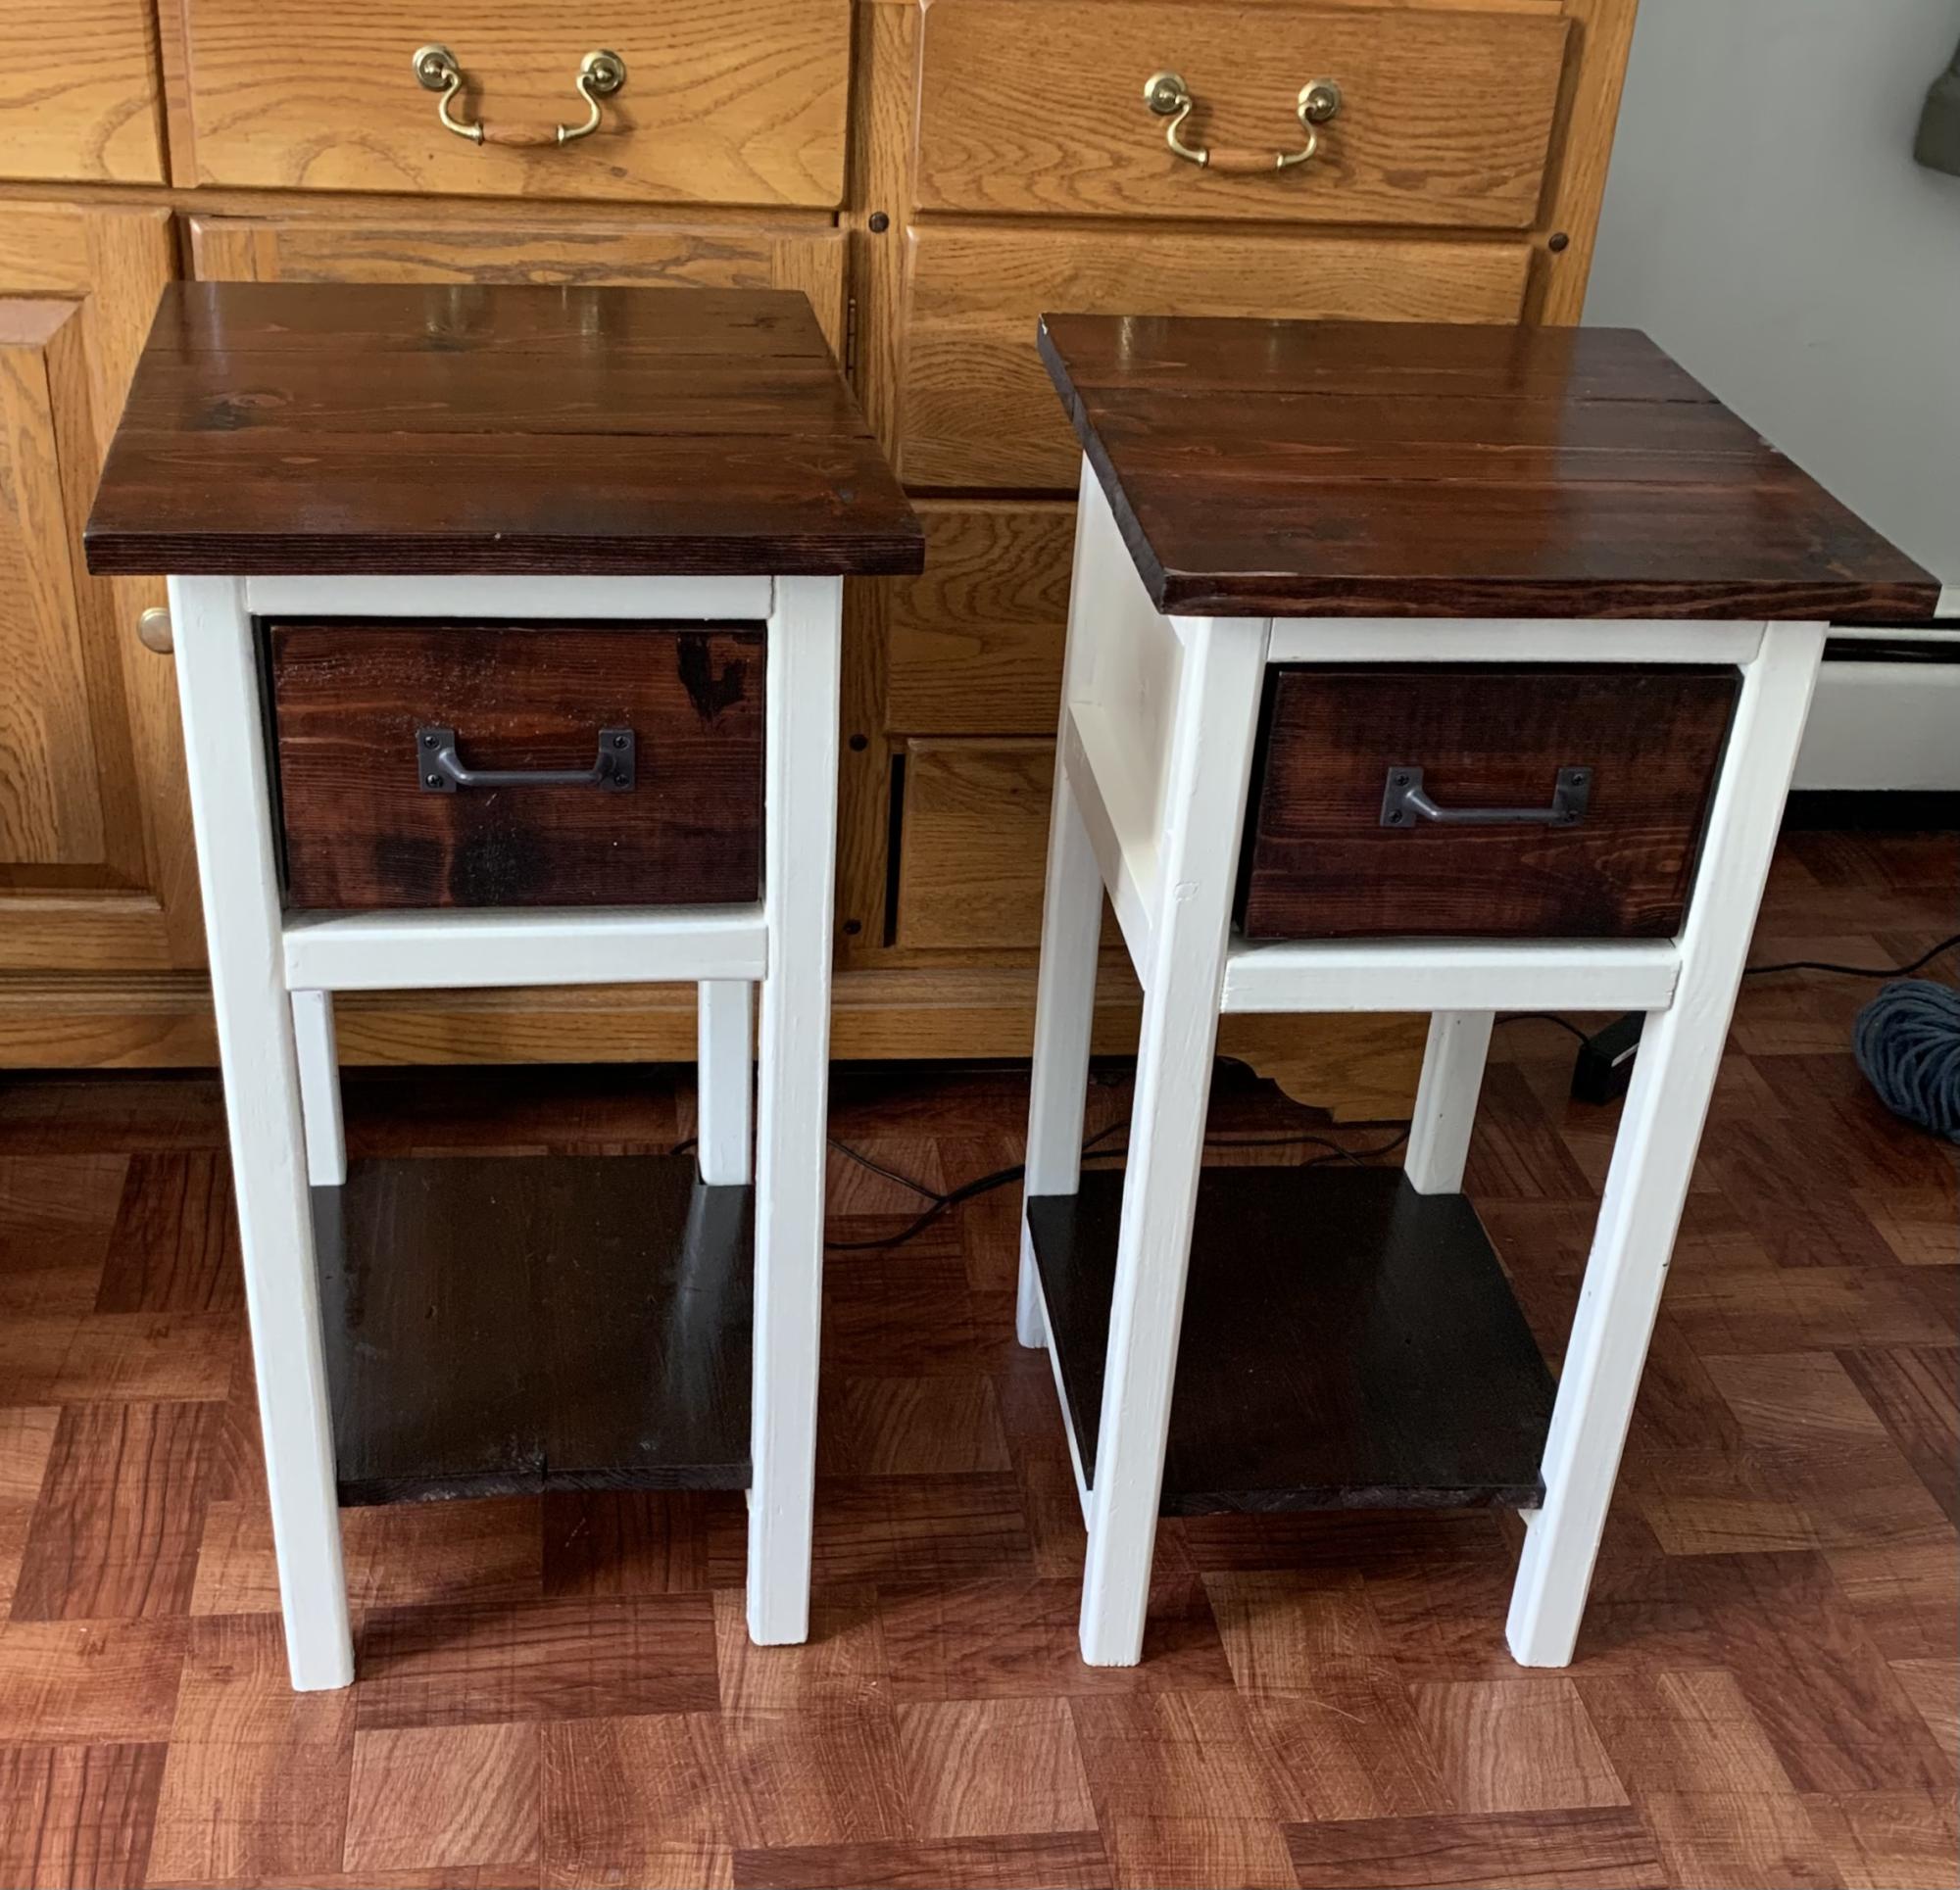
I have previously made side tables for our master bedroom but after two grown kids came back we had to move to the smaller of the two bedrooms we have. So here’s my 13” width version !
Nice easy build, thanks again Ana. Took longer to figure my new measurements for my cut list than actually building them!
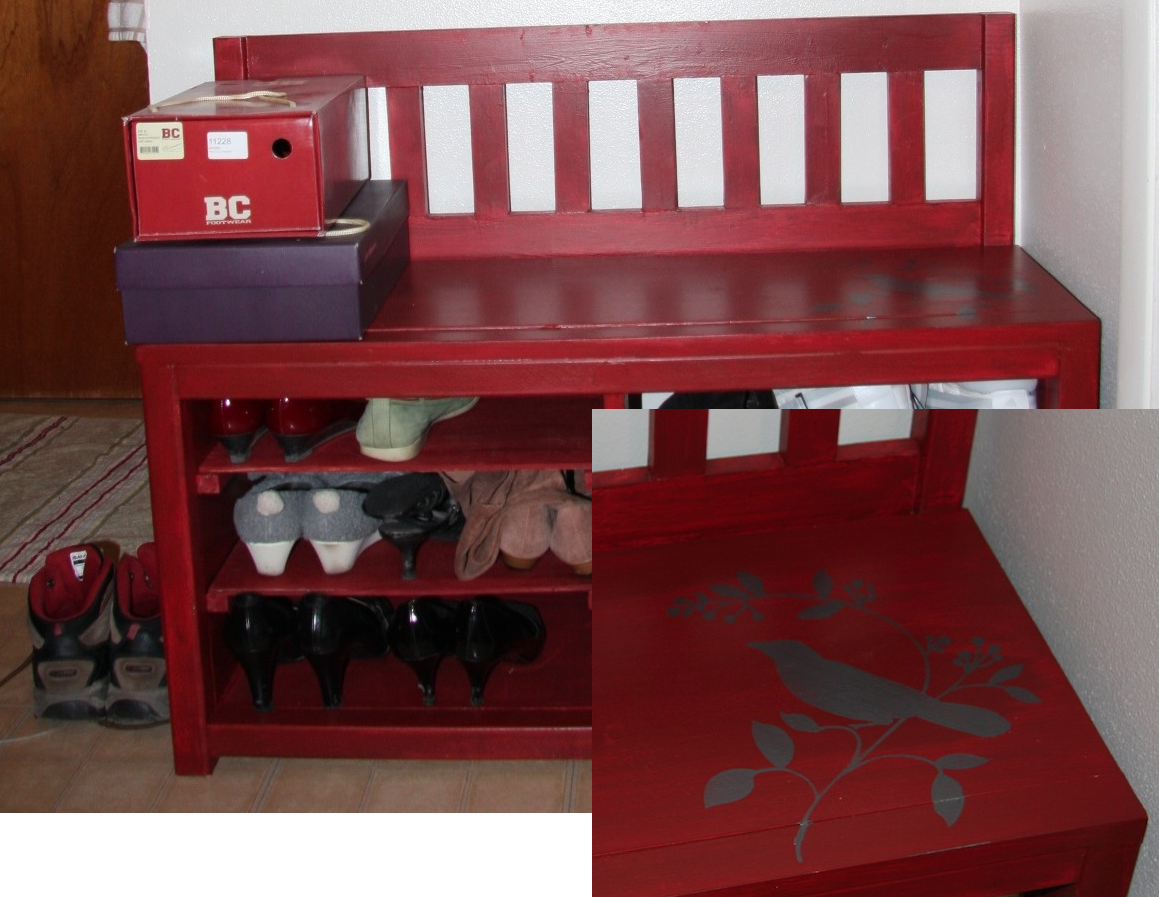
Only slightly modified cottage bench - I made the storage area bigger and added shelves to put my shoes. Only my second project so it's not perfect (especially the paint job) but I loooove it! Sure, the shoe rack I had was perfectly functional and bigger, but this is waaay prettier.
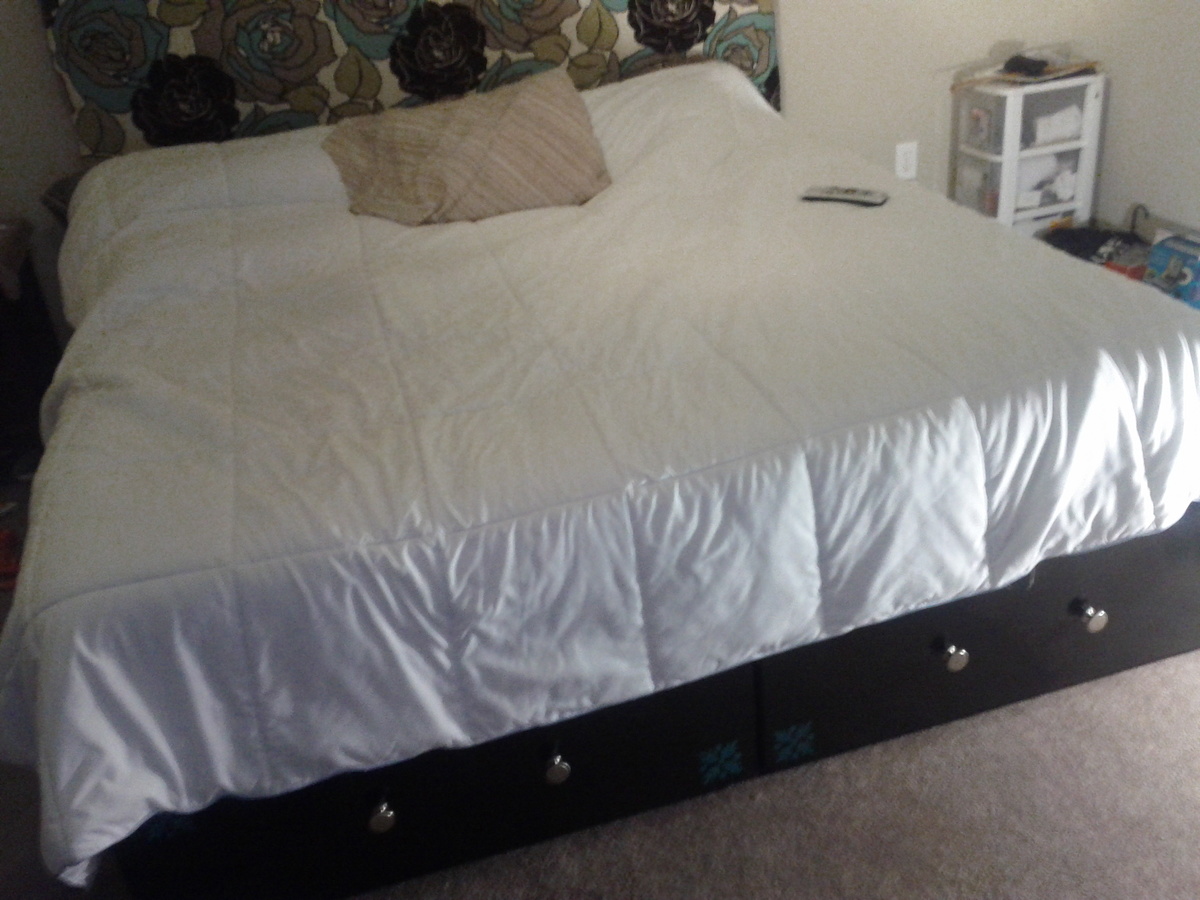
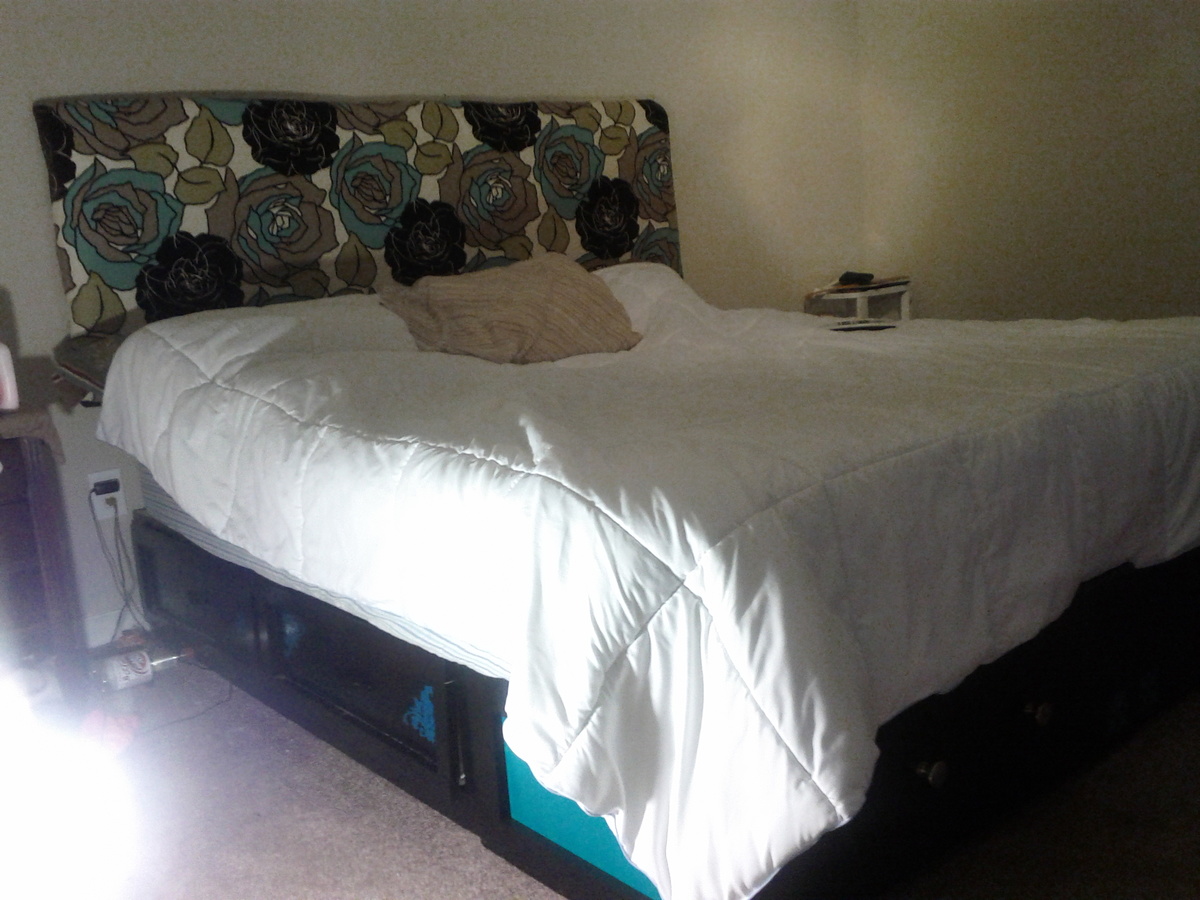
This King size storage bed has 6 large pullout drawers. It's made by the plans we got from Ana's queen size and Twenty five to life's plans we found on this site(THANK YOU). Just like they say in their plans I'm not sure how much I actually spent because I made some mistakes and had to rebuild my bottom piece. But I loved putting this together, and it's worth every penny and beyond. The compliments from visitors and the swollen chest pride I get when I hear my wife say, "My husband built this for us." Can't put a price on that.
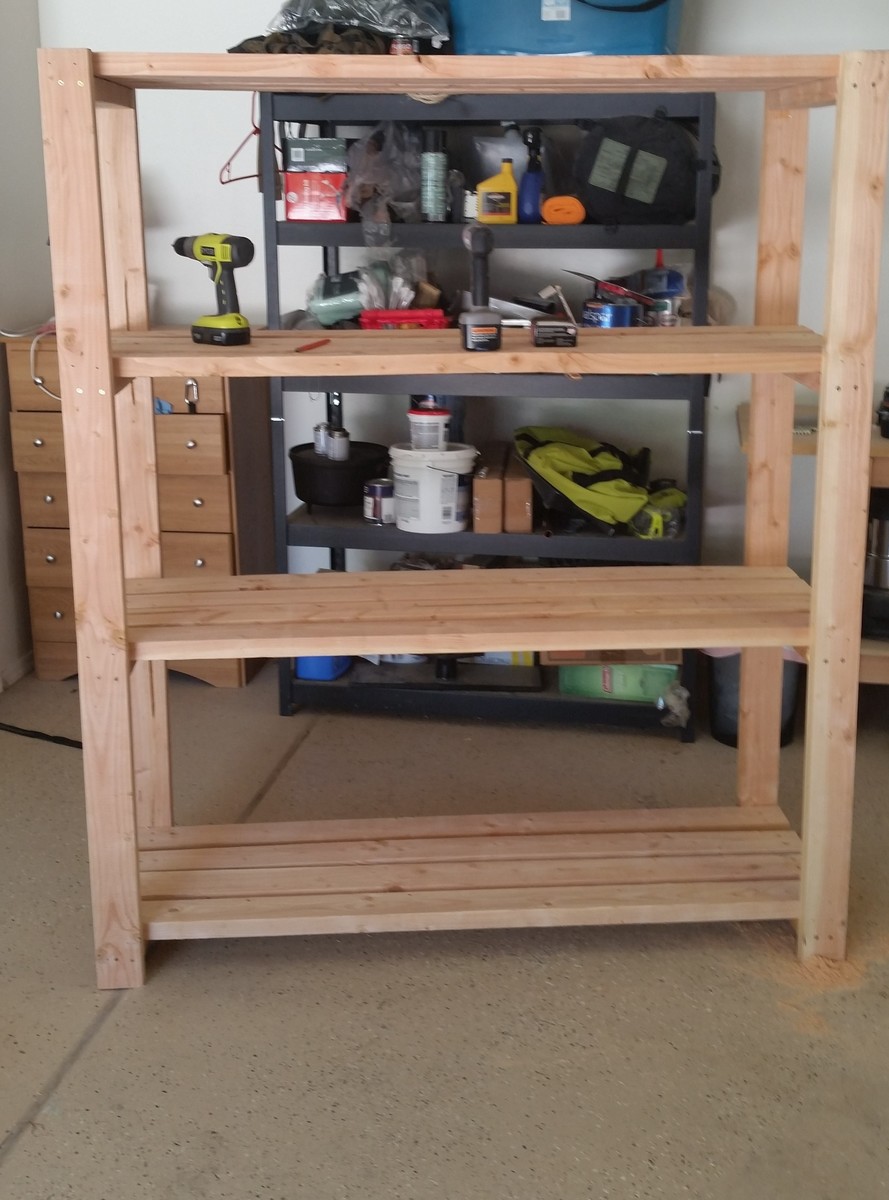
I built this to fit inside a closet that I have in my garage to store all my camping stuff. I built it 5 feet long so I only had to buy 2x4s that were 10 feet long. I also built the bottom shelf closer to the ground to allow just a little bit more space between the first and second shelf. All in all it was a very easy and fulfilling project. I was a little worried about how sturdy the shelves would be but they are very solid. Thanks Ana!
Sat, 05/23/2015 - 15:14
For some reason when I upload the photo it saves sideways....sorry
Wed, 08/12/2015 - 06:11
Your version is exactly what I'm planning on building. Nice to see it before I get started.
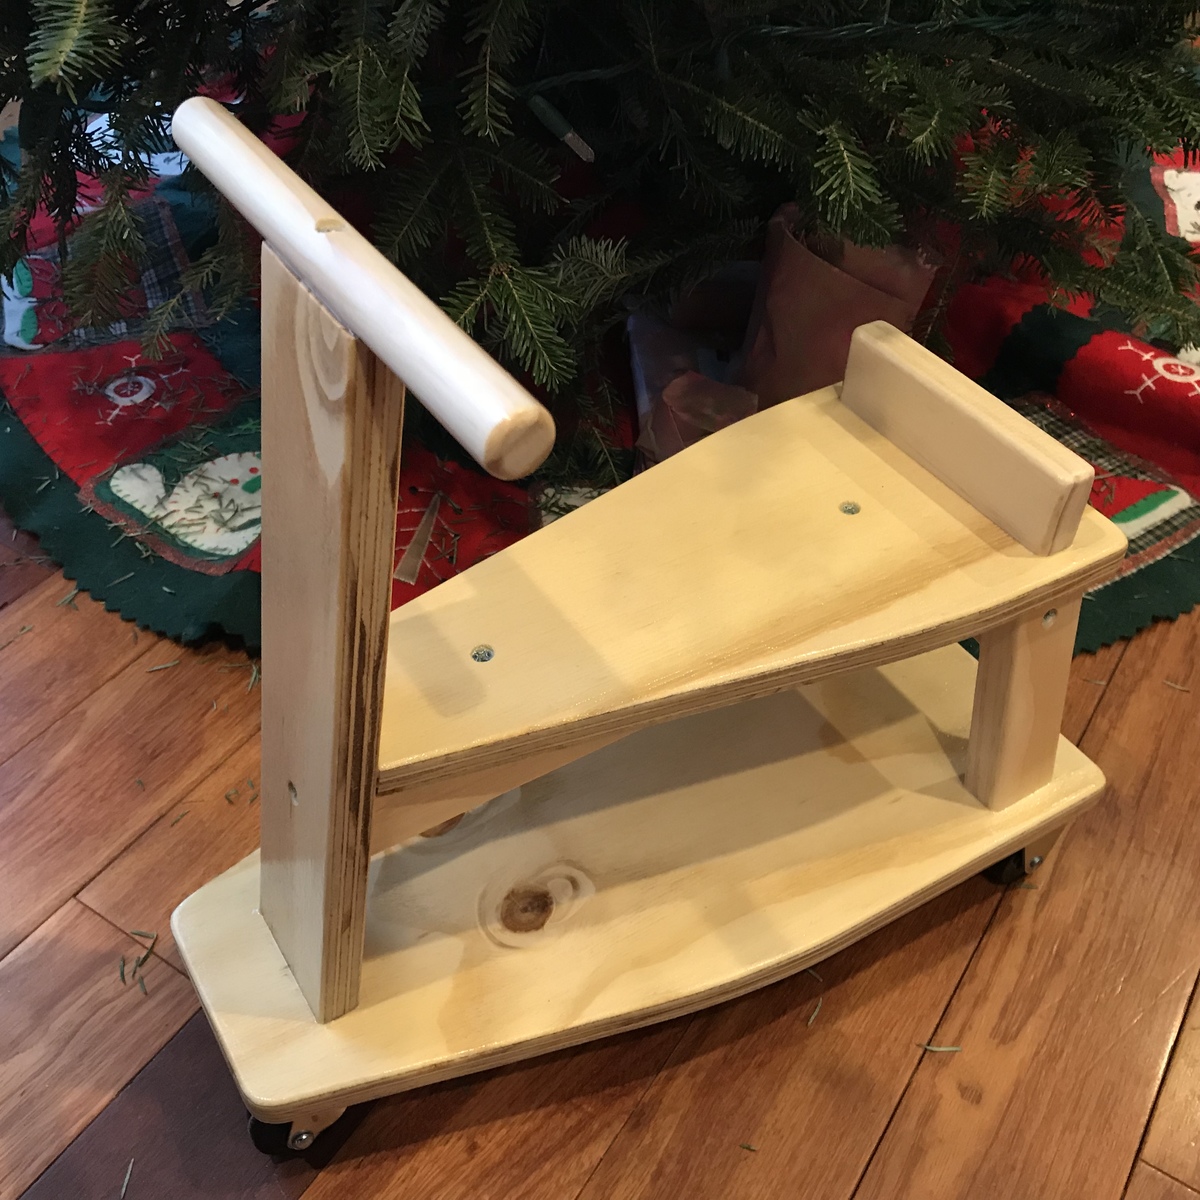
Great plan! I curved the edges with a French curve and a bench sanding disk, and then used a router on all exposed edges. I used a dremel router table with a small bit for the small pine pieces and a full sized router for the two main platforms. If I were to do it again I’d be far more careful with angle accuracy.. I think my miter saw is a little off. My table saw was spot on for the plywood cuts. I also used smaller wheels and only have spinners on the front, preventing collision.
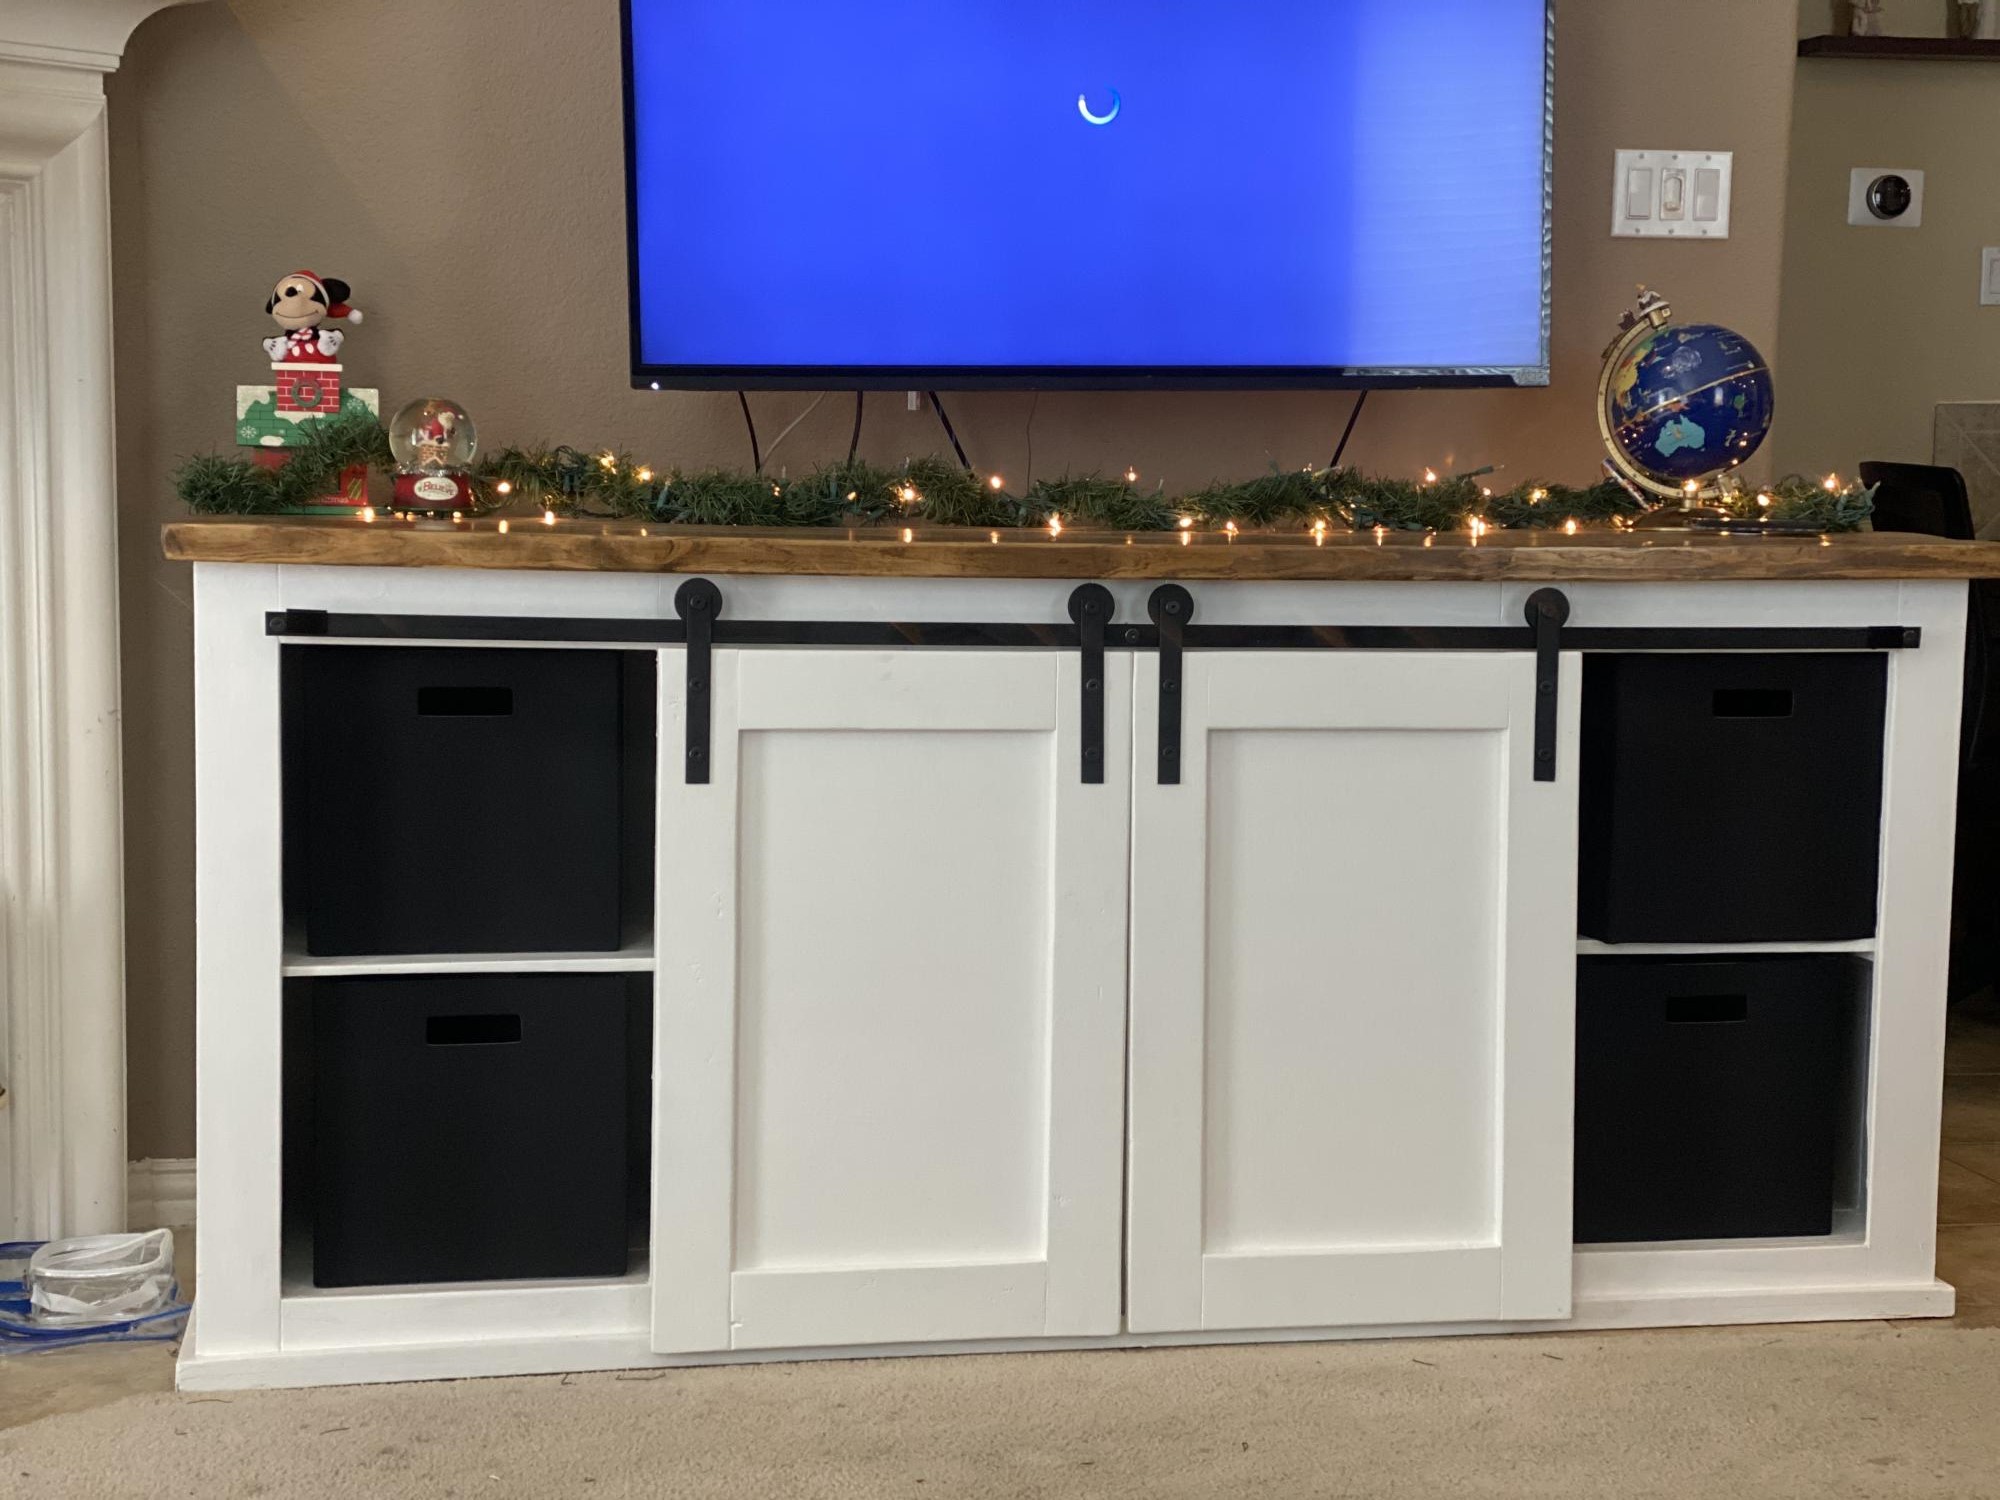
This is my 1st wood project and I wouldn’t have tried it without your plans, thank you!
Took about 3 weeks between work and 3 kids. (My 2 year old wanted attention and pulled down what I put up in one pic) I also made some planter boxes in the middle to complete something and a side table that slides under the couch to test the finishes on before I completed this massive entertainment console.
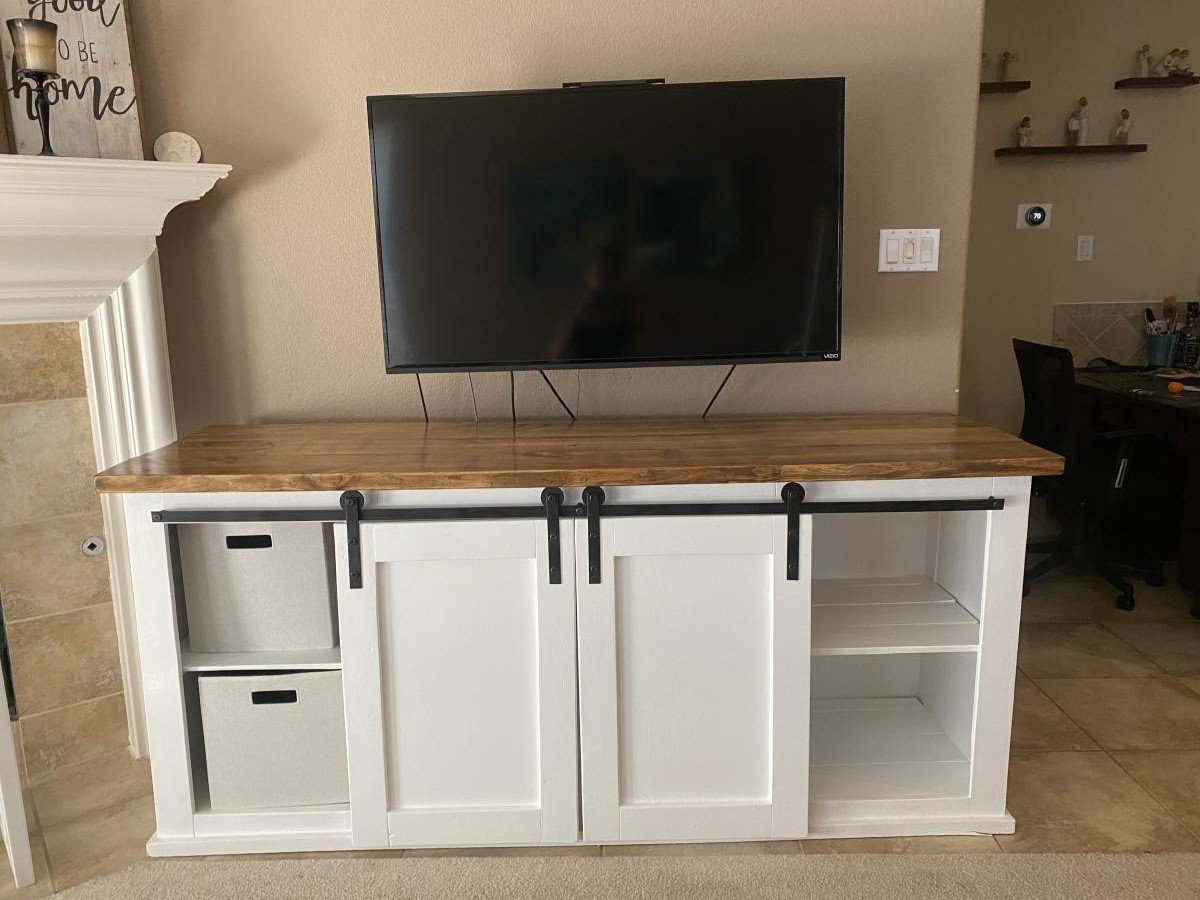
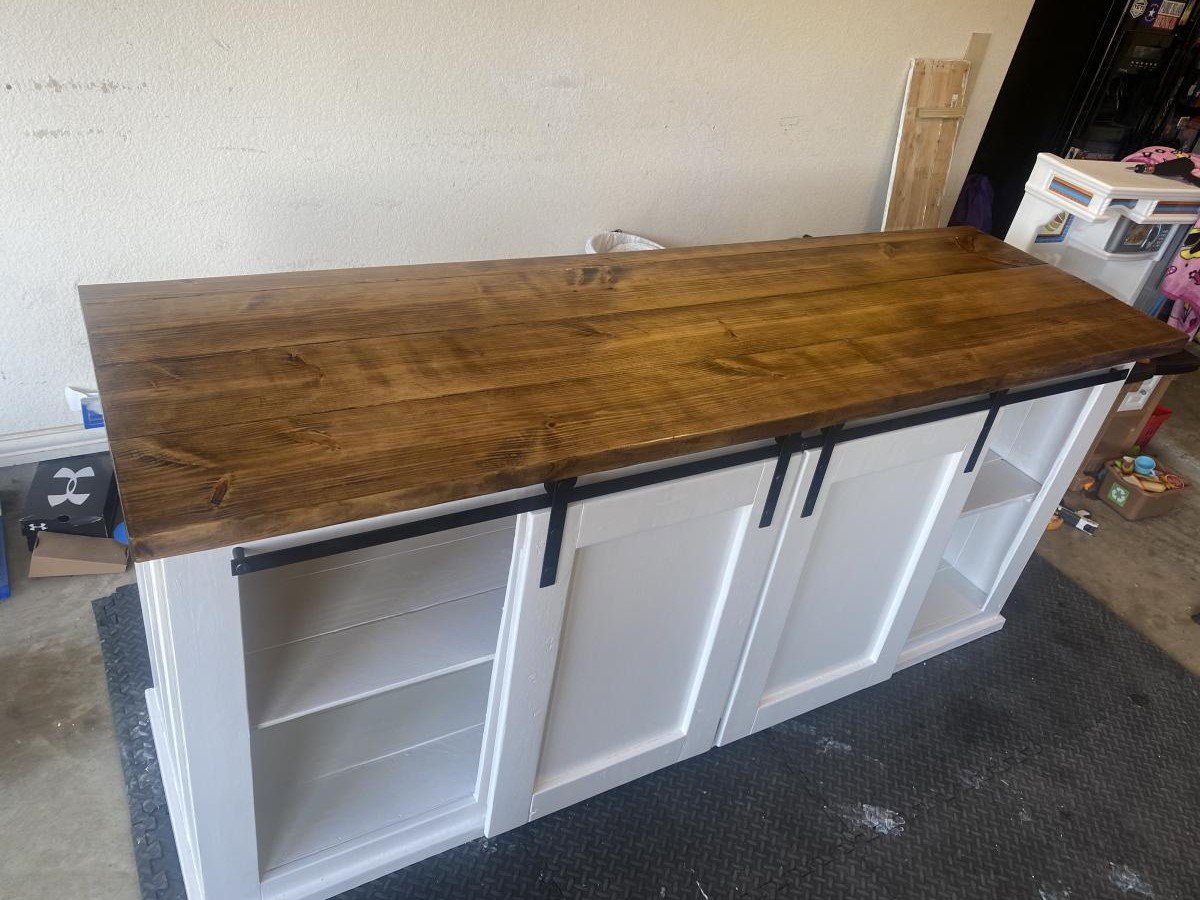
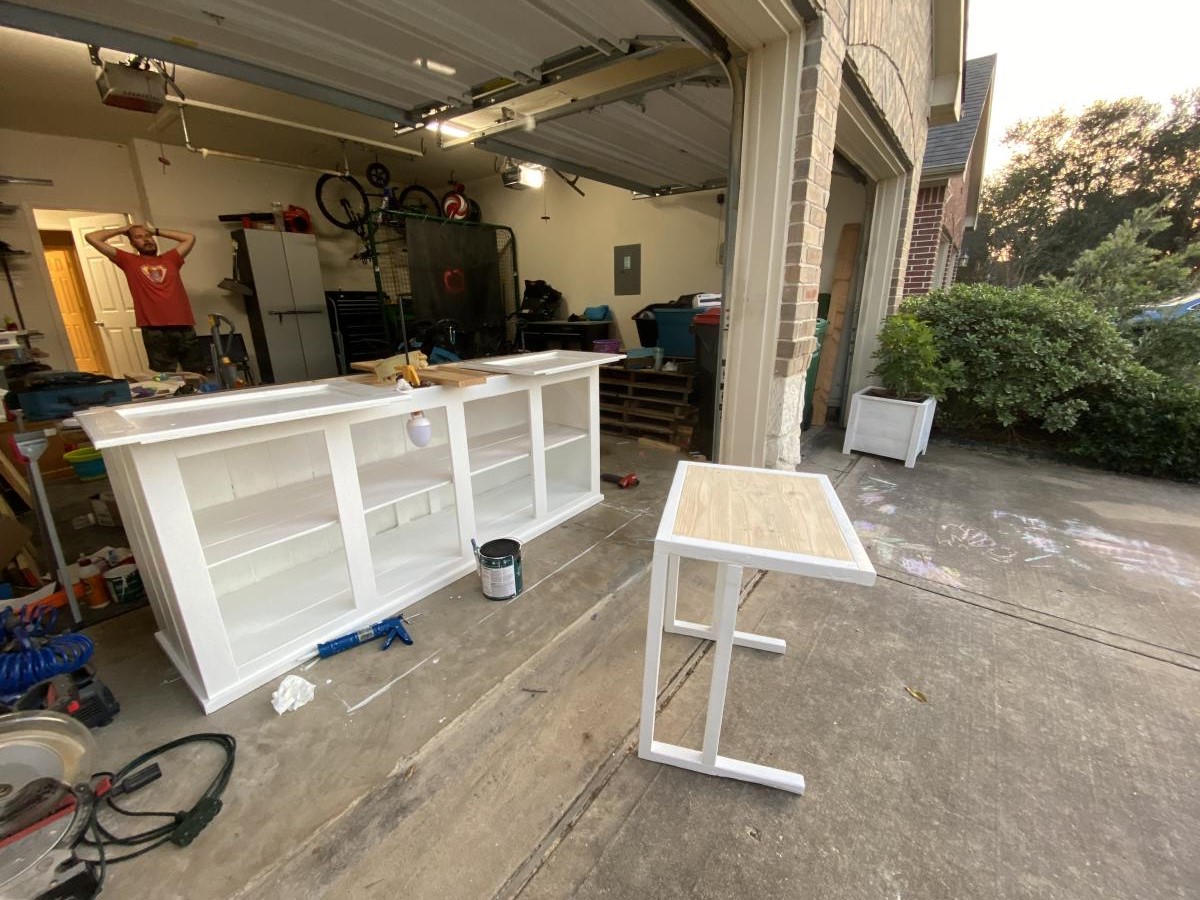
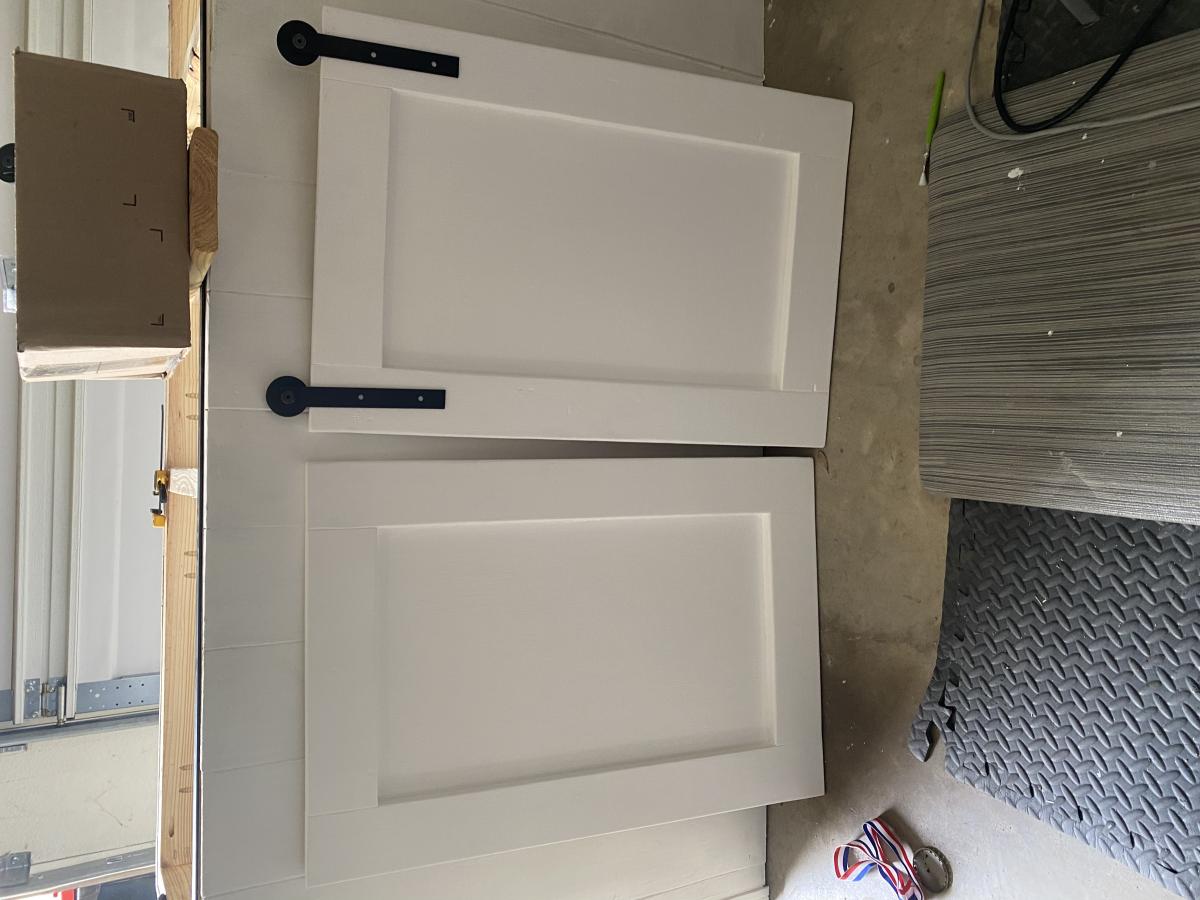
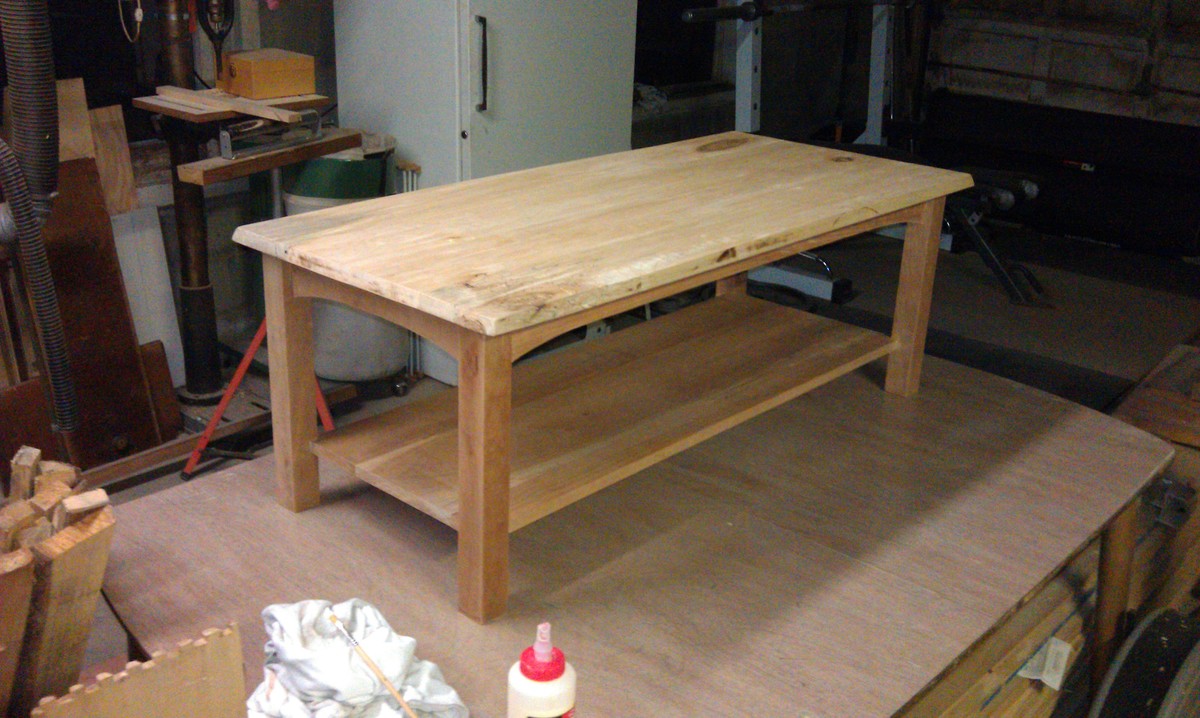
This has been a work in progress for about 4 years. My wife and I started this project before we were married. Between a wedding, moving into our first house and having our first child we've had a real hard time getting in the shop to finish this project. I'm proud to say that's it's finally together and just needs a few coats of poly. Any feedback would be greatly appreciated.
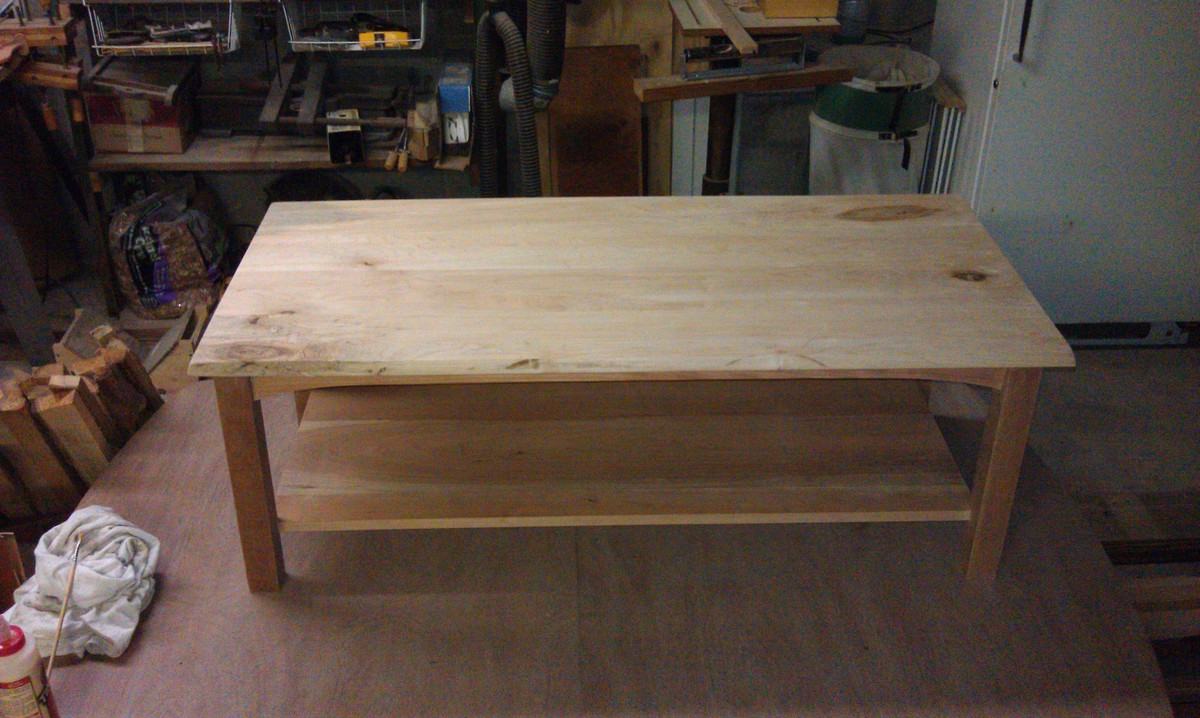
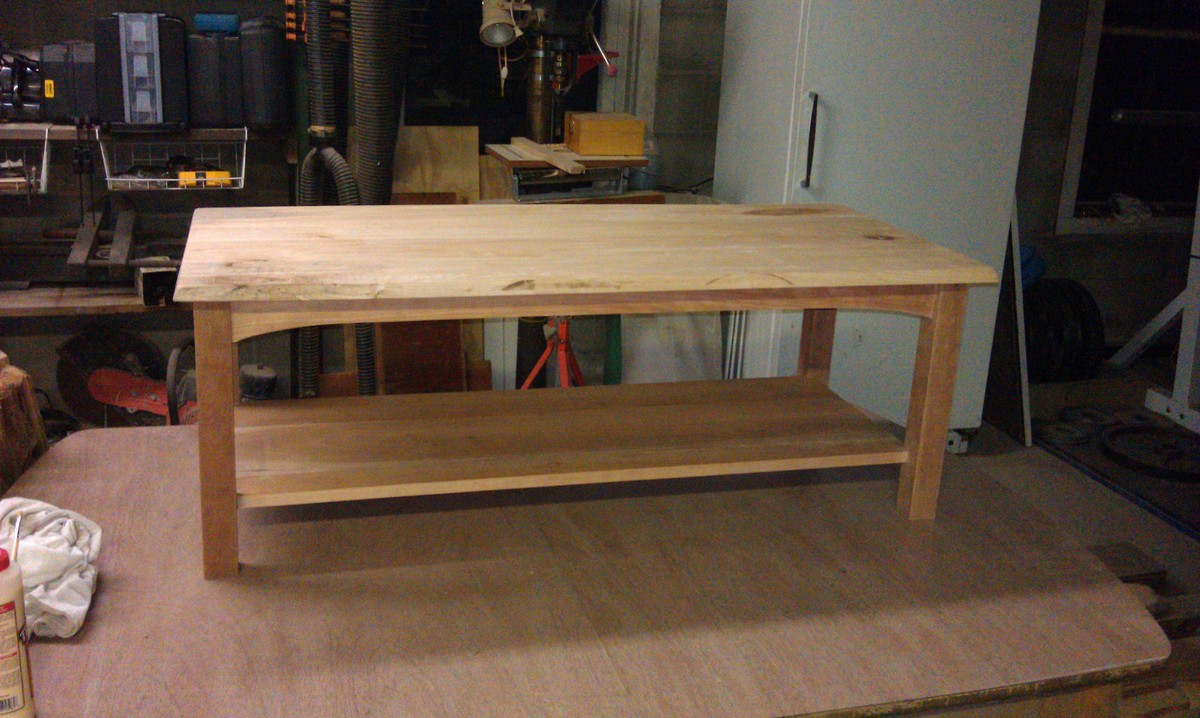
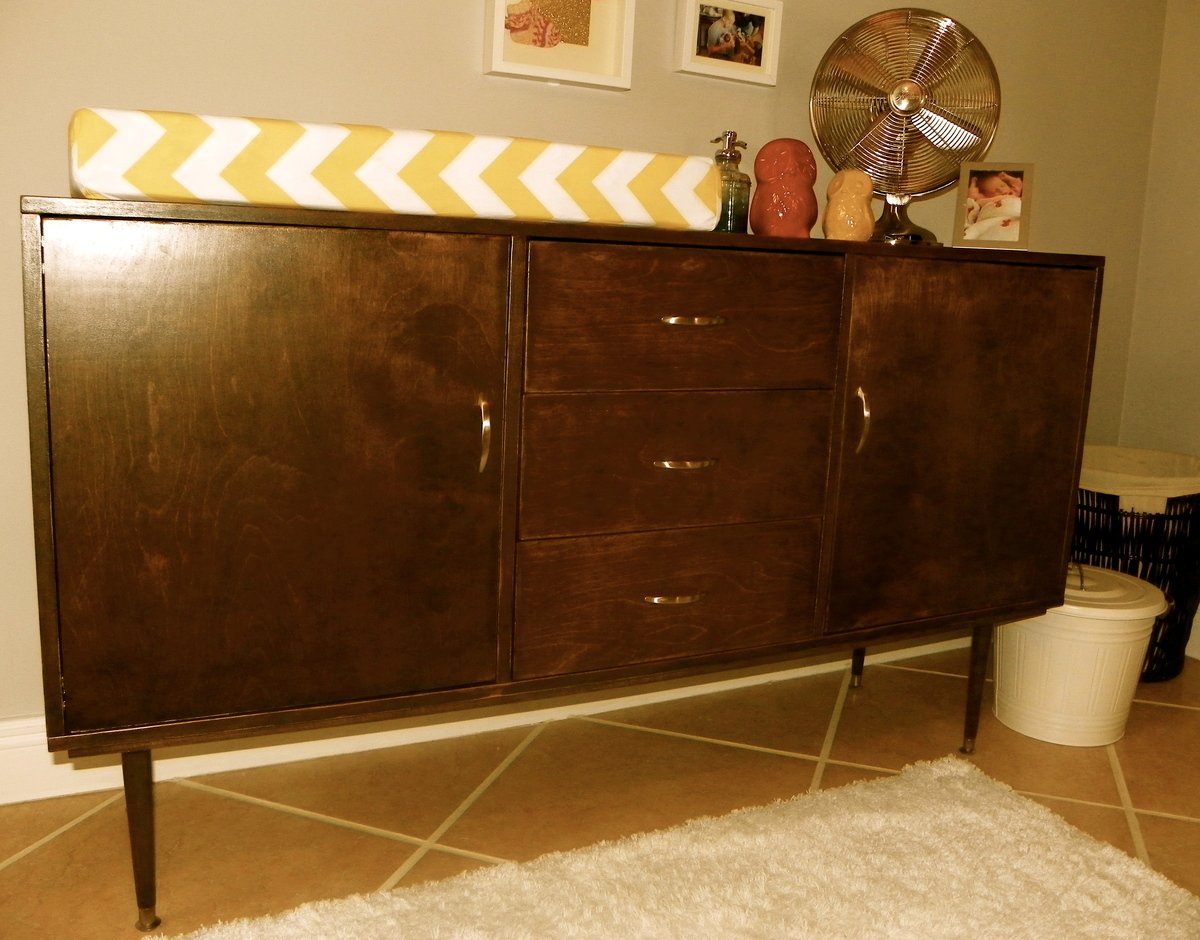
I had been looking everywhere for an antique Mid Century Modern buffet table to use as a changing table for my daughter but found that these vintage pieces ran about $1200 to $3000 and still needed refinishing. That was out of my price range so I came here and found plans for a console table that had the look I was going for.
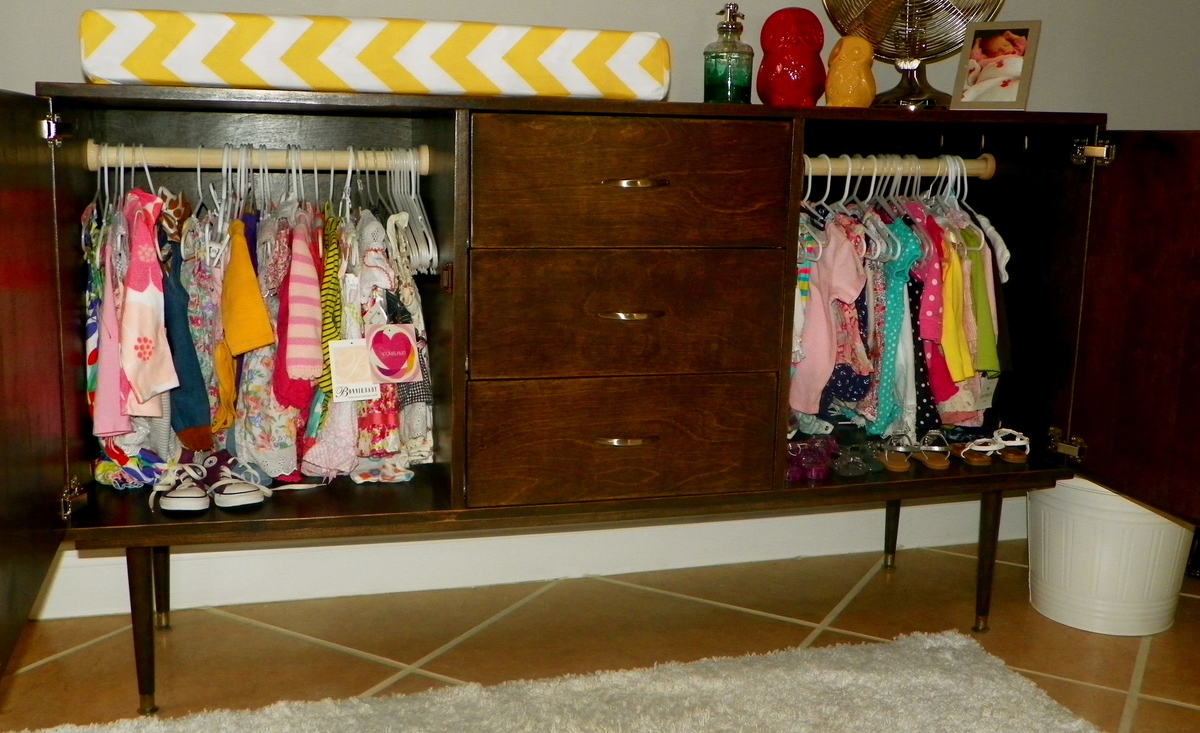
The plan I found was too short in length and height so I reworked them a little to fit my needs. I just added a second cabinet in the same dimensions as the first onto the other end of the drawers to increase the length and bought 12" legs instead of 6" ones to increase the height. I used the same hardware that was recommended in the original plans but added a magnetic door stopper to make the cabinet doors flush with the frame when closed. I also added dowel rods in the cabinets because my daughter doesn't have a closet and I needed a place to hang her clothes.
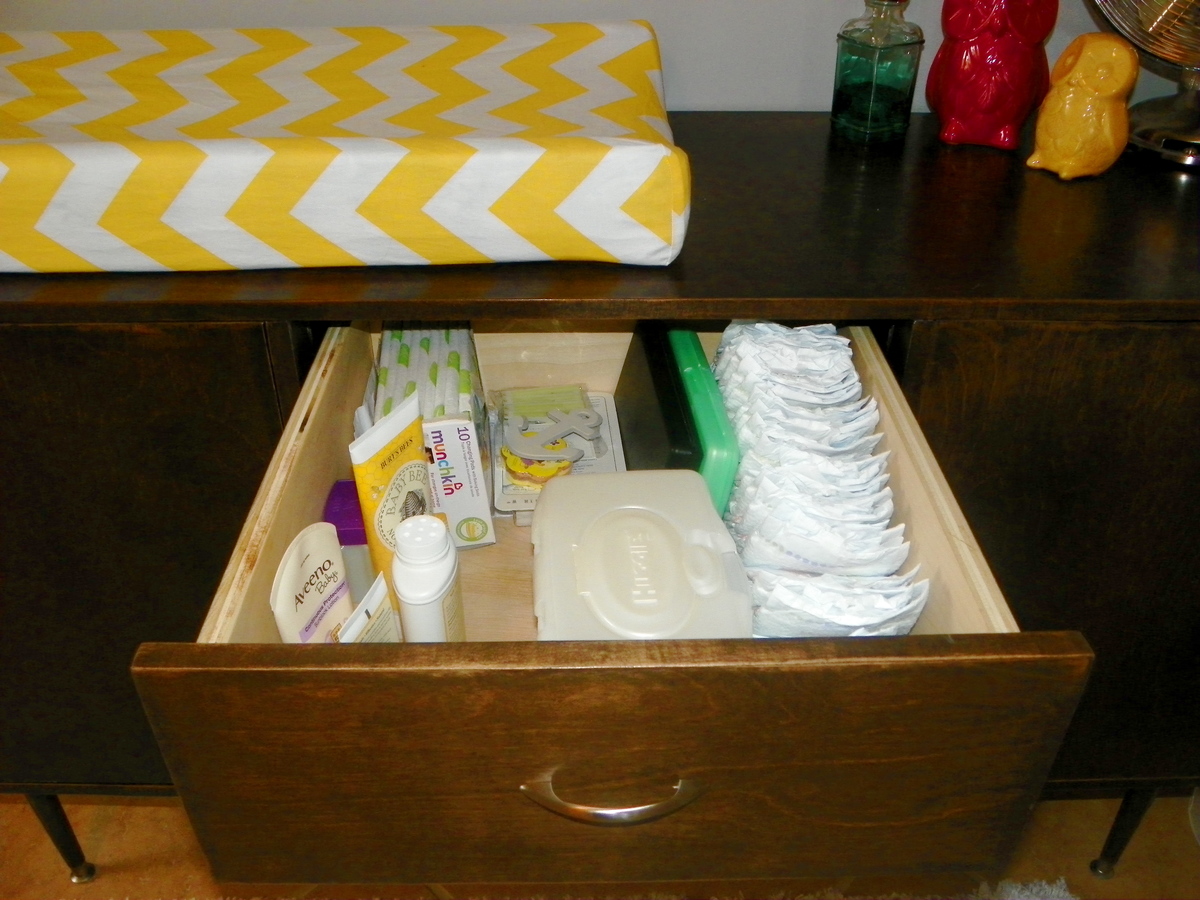
It is great to have 2 cabinets because the left side holds clothes that are too big for her and the right holds all of the clothes she wears now. The drawers are nice and deep so I can put all her changing stuff like diapers and lotion in the top and fit all her socks, diaper covers, and pajamas in the other drawers.
I will say that I used 1x6's to make the drawers first but found that I am really bad at picking straight boards as there were a lot of gaps between the sides and the bottom of the drawer. I went back and used scrap pieces of 3/4" plywood for the drawer sides and they came out much better with no gaps, plus, the exposed top of the drawer sides look better.
This was a fairly fast project. I put it as a weekend project due to the down time between staining and poly coats. It was my first time working with edge banding and I loved it. It was super easy and kind of relaxing! Over-all, this project was easy and fun! This table meets all of my needs AND it looks great! Thanks Ana for the plans and thanks Brooke for the inspiration and tips!
Fri, 06/28/2013 - 11:02
Wow, really great job. I love mid century mod, and you pulled it off perfectly!
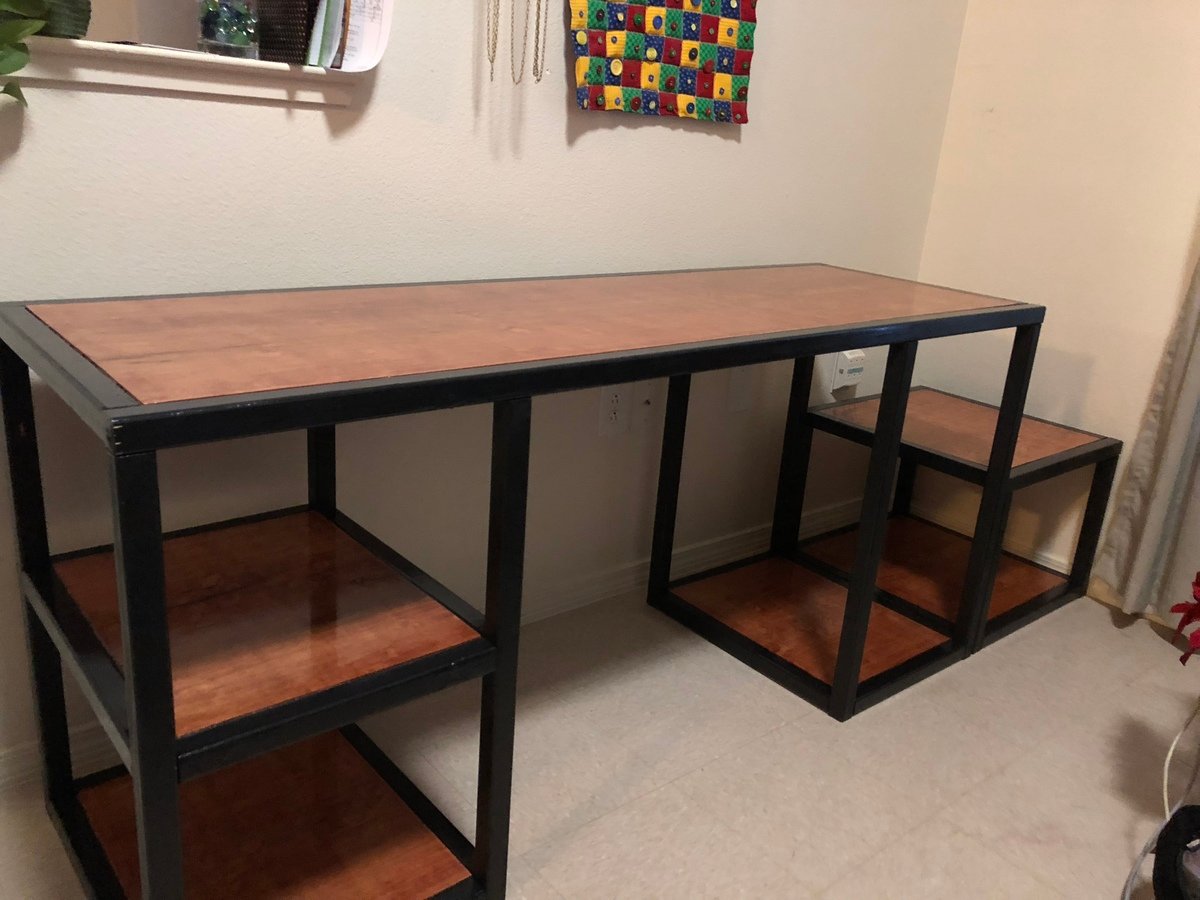
I added an additional detached shelf so we can change the setup anytime. I also increased the space between the two main shelves to 30 inches and extended the depth to 22 inches overall. I left one shelf off to make room for the computer tower. The top is made from maple with a gunstock stain. This desk will mainly be for my kids gaming station.
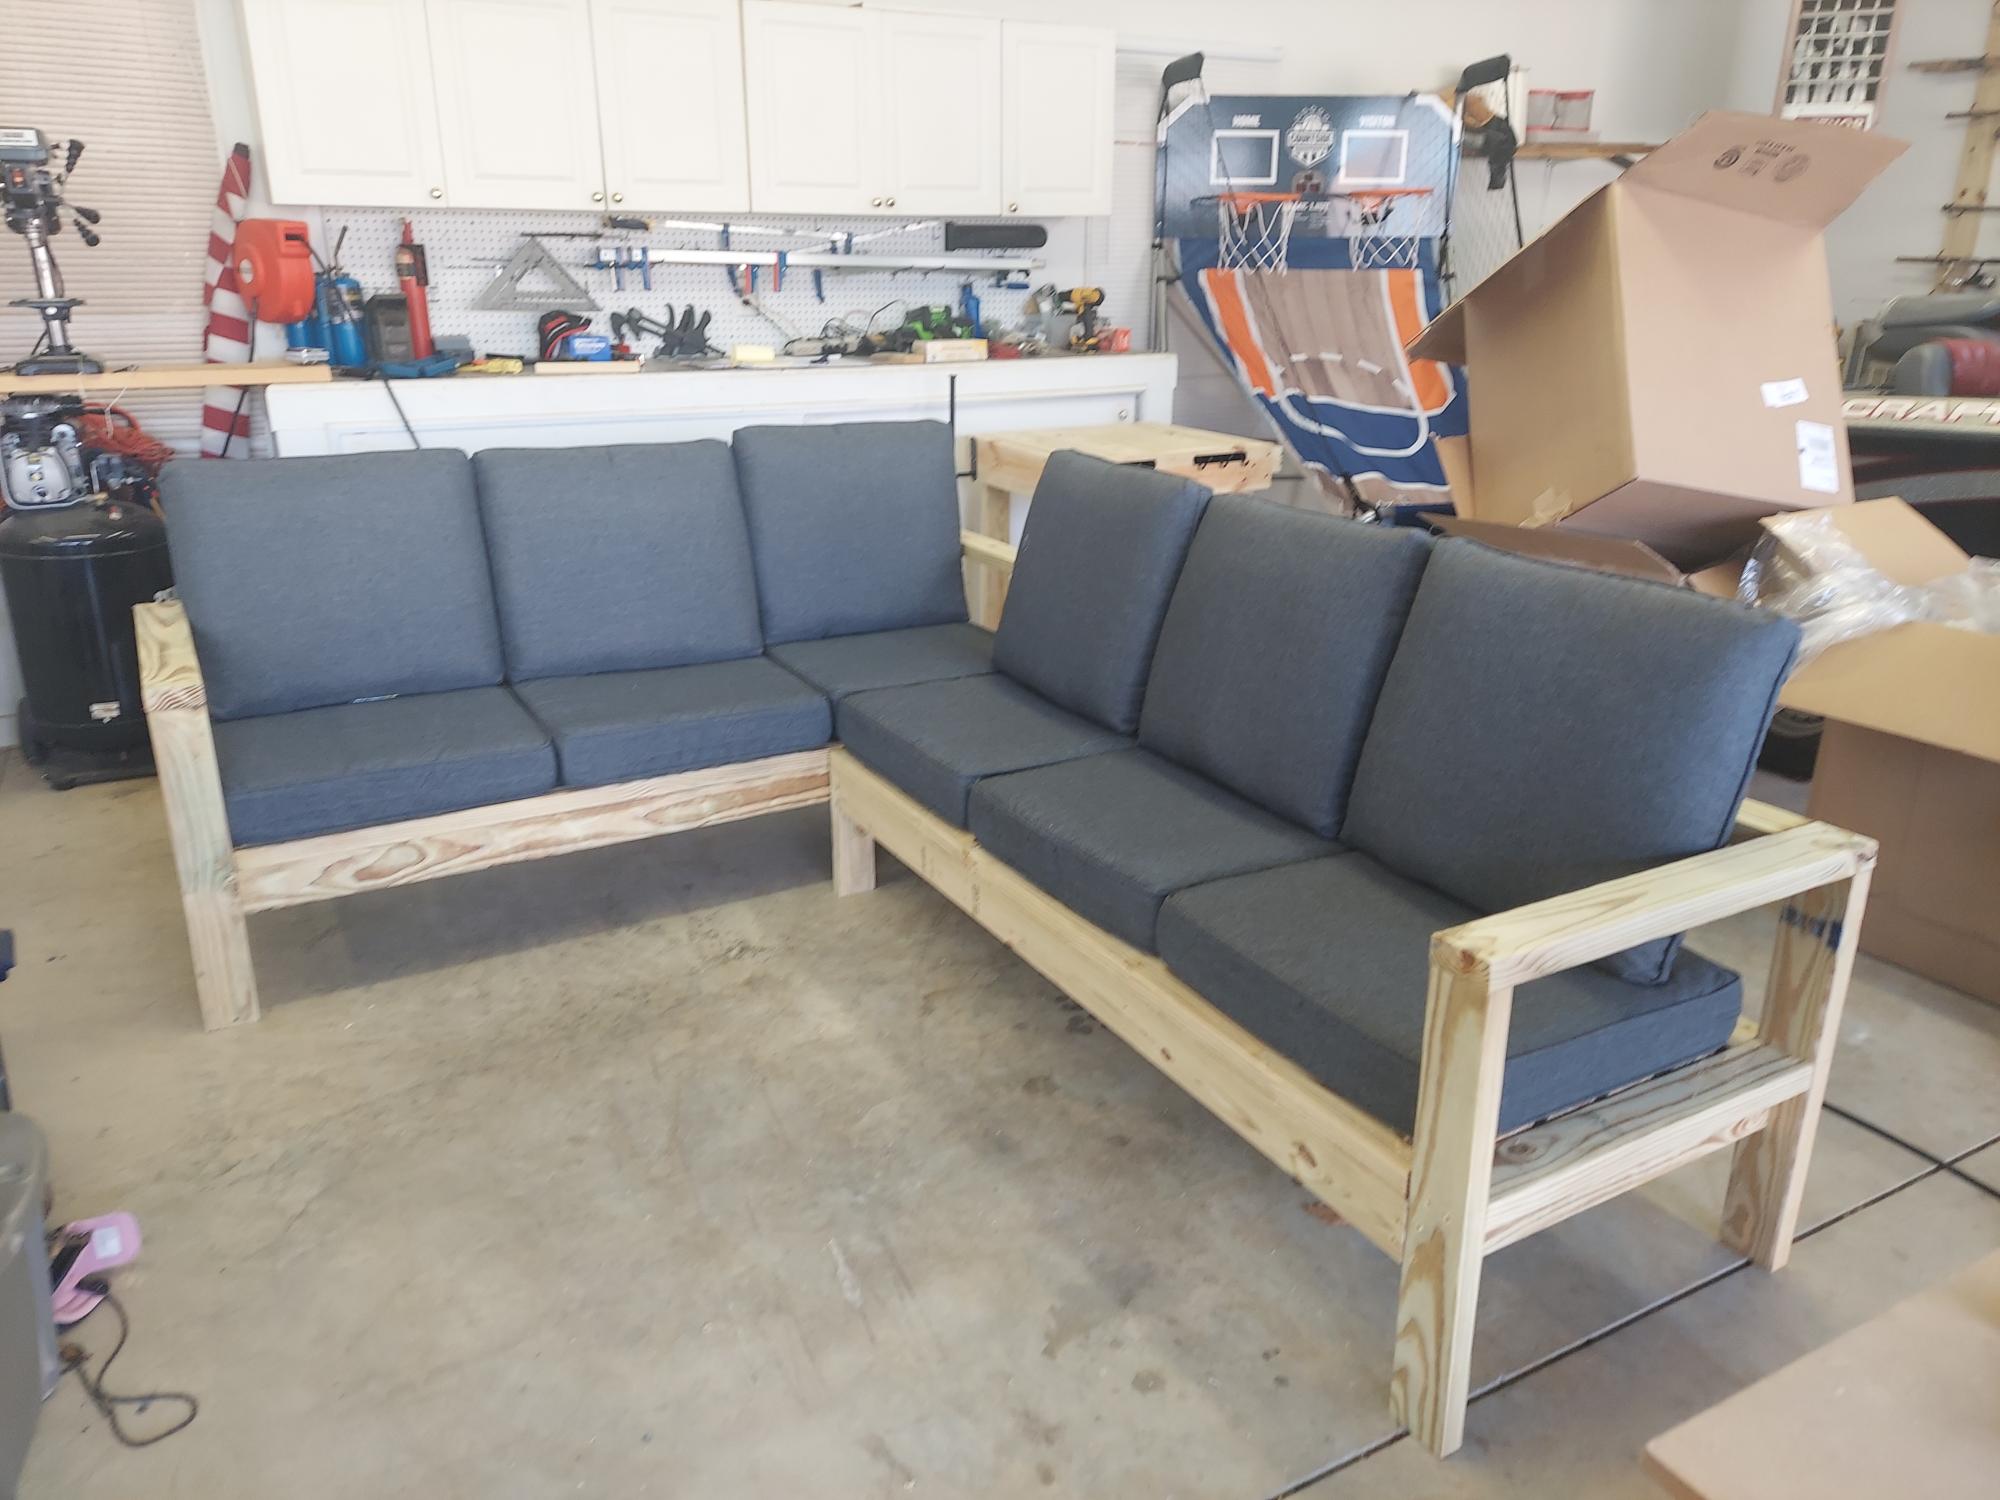
Built this for my daughter in law for Christmas. Turned out awesome. Plans and directions were great!
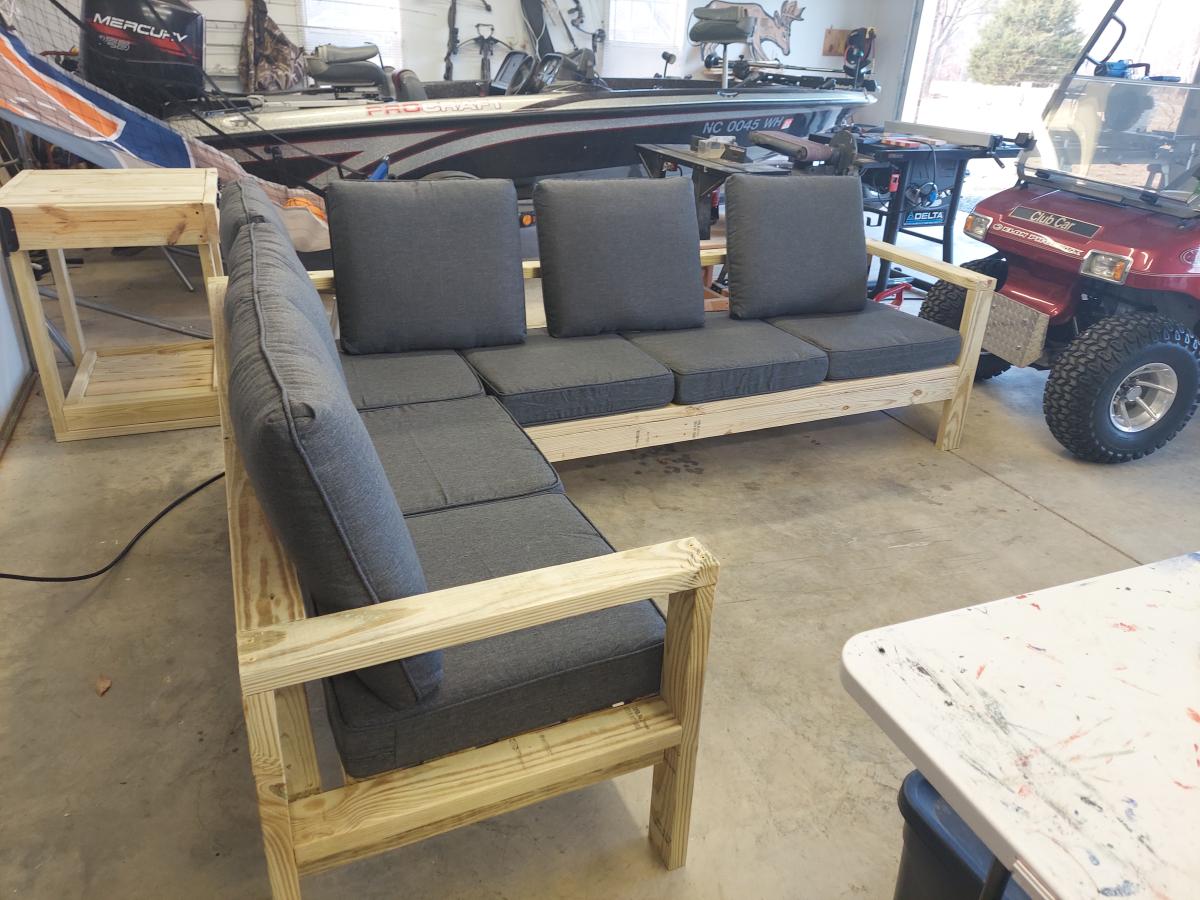
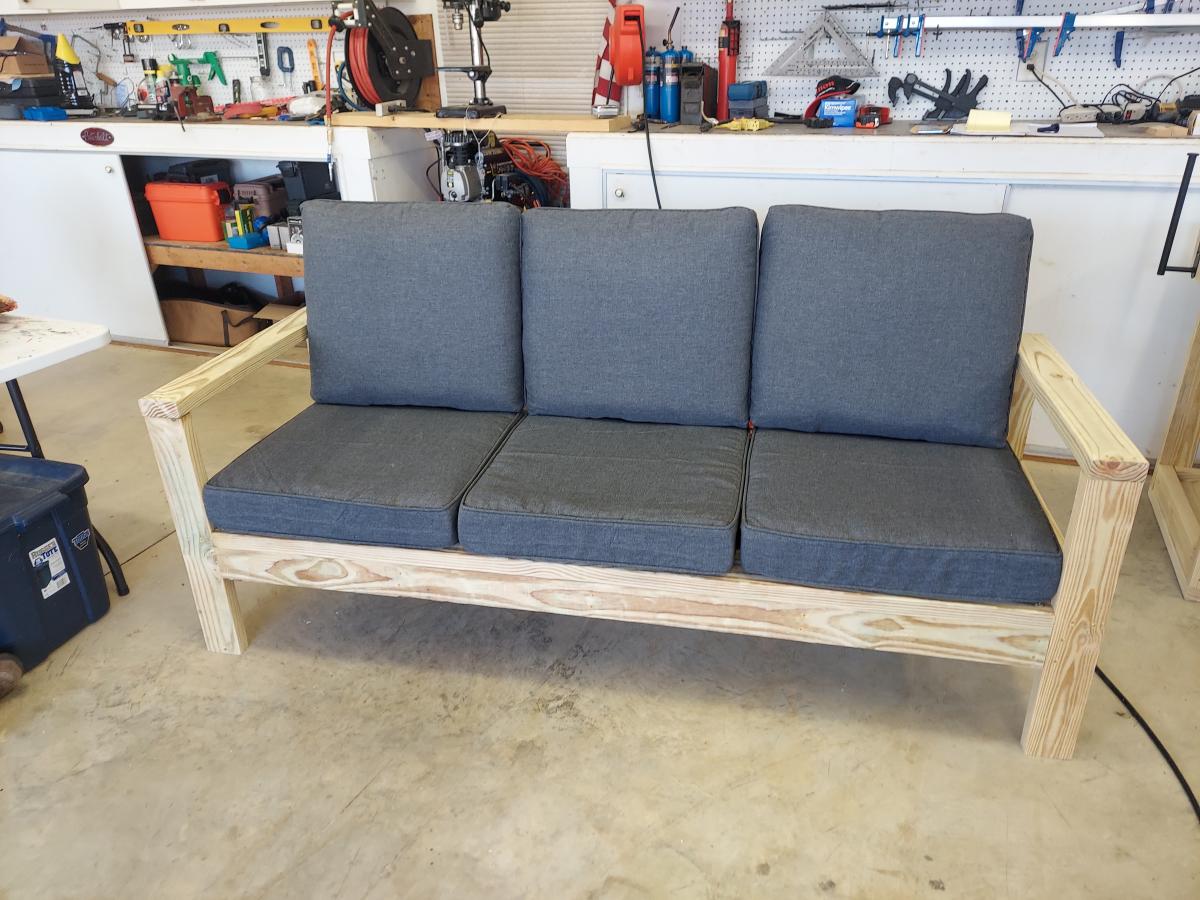
I still need to level the legs out, file down 2 screws I put in backwards, fill some spots, stain and apply poly coat, but this is a start! =)
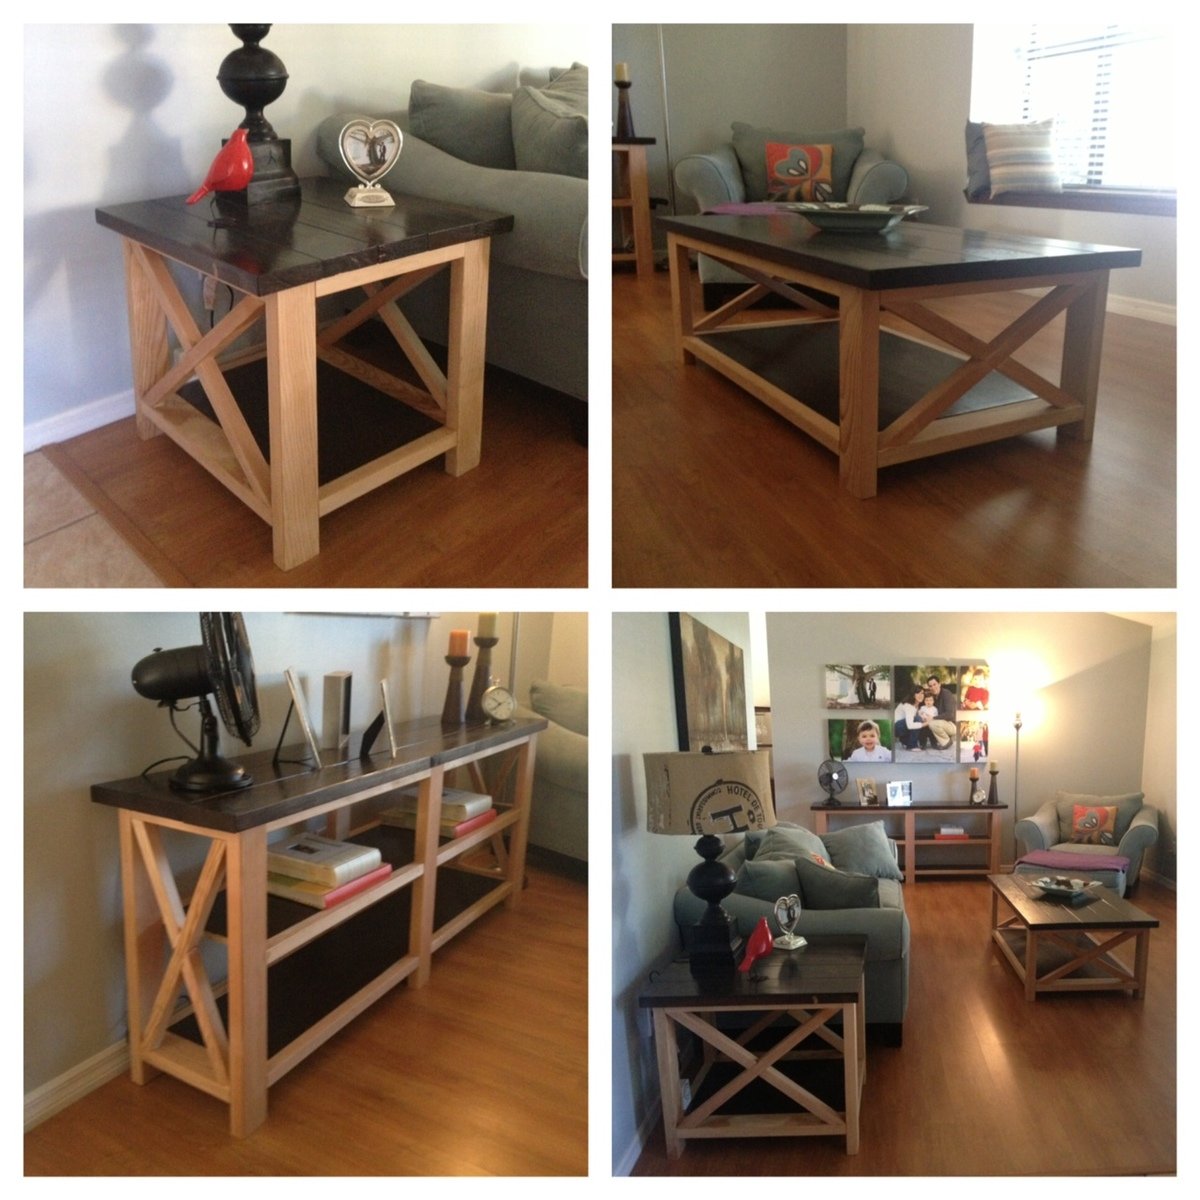
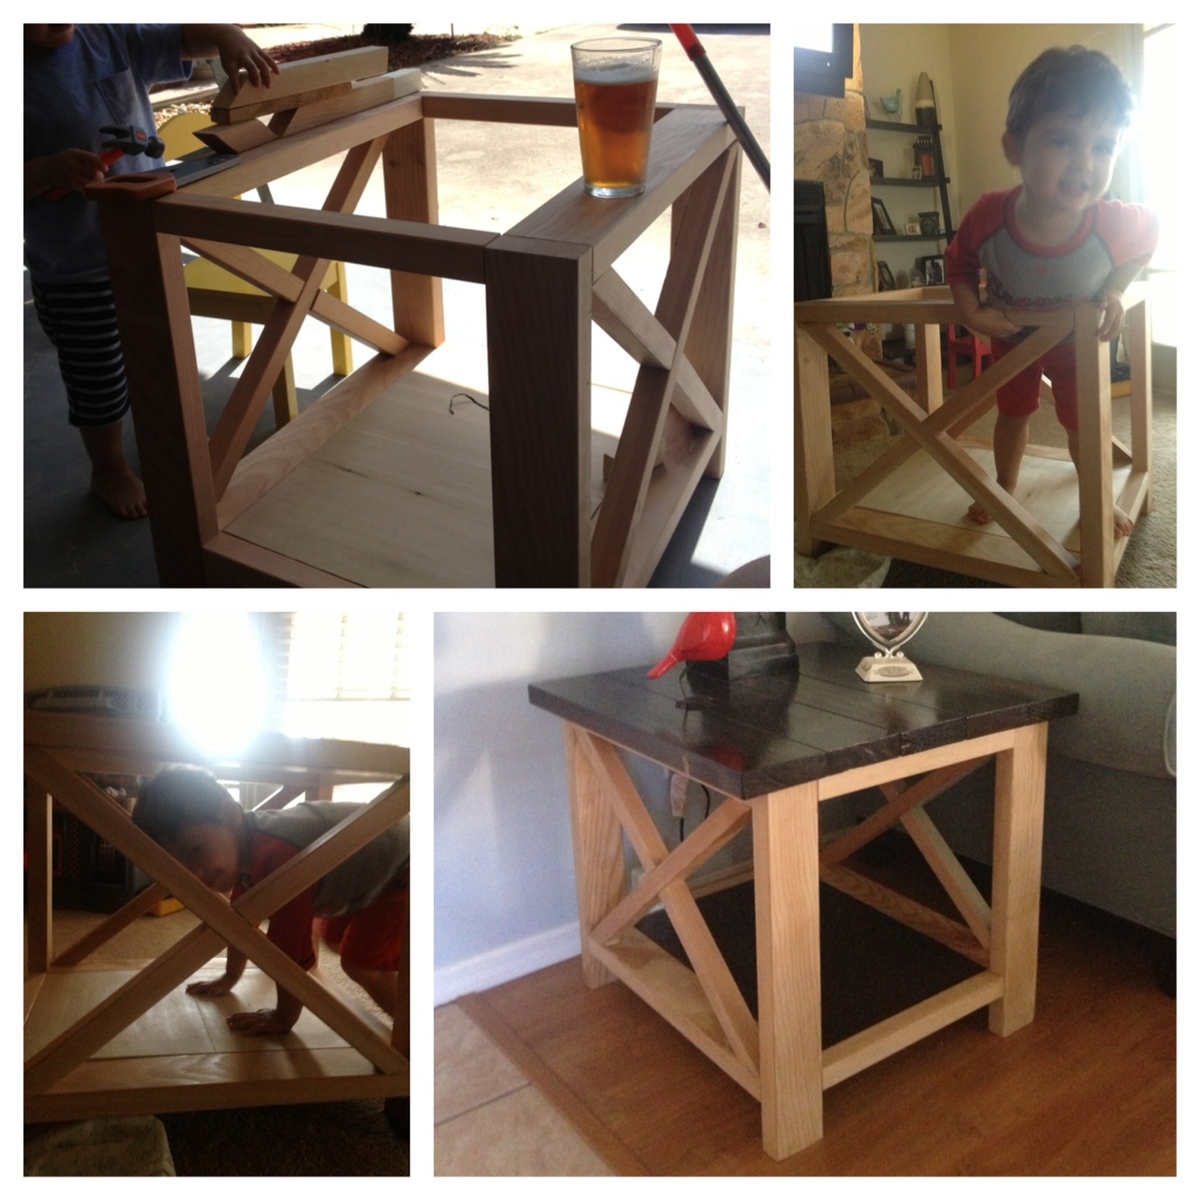
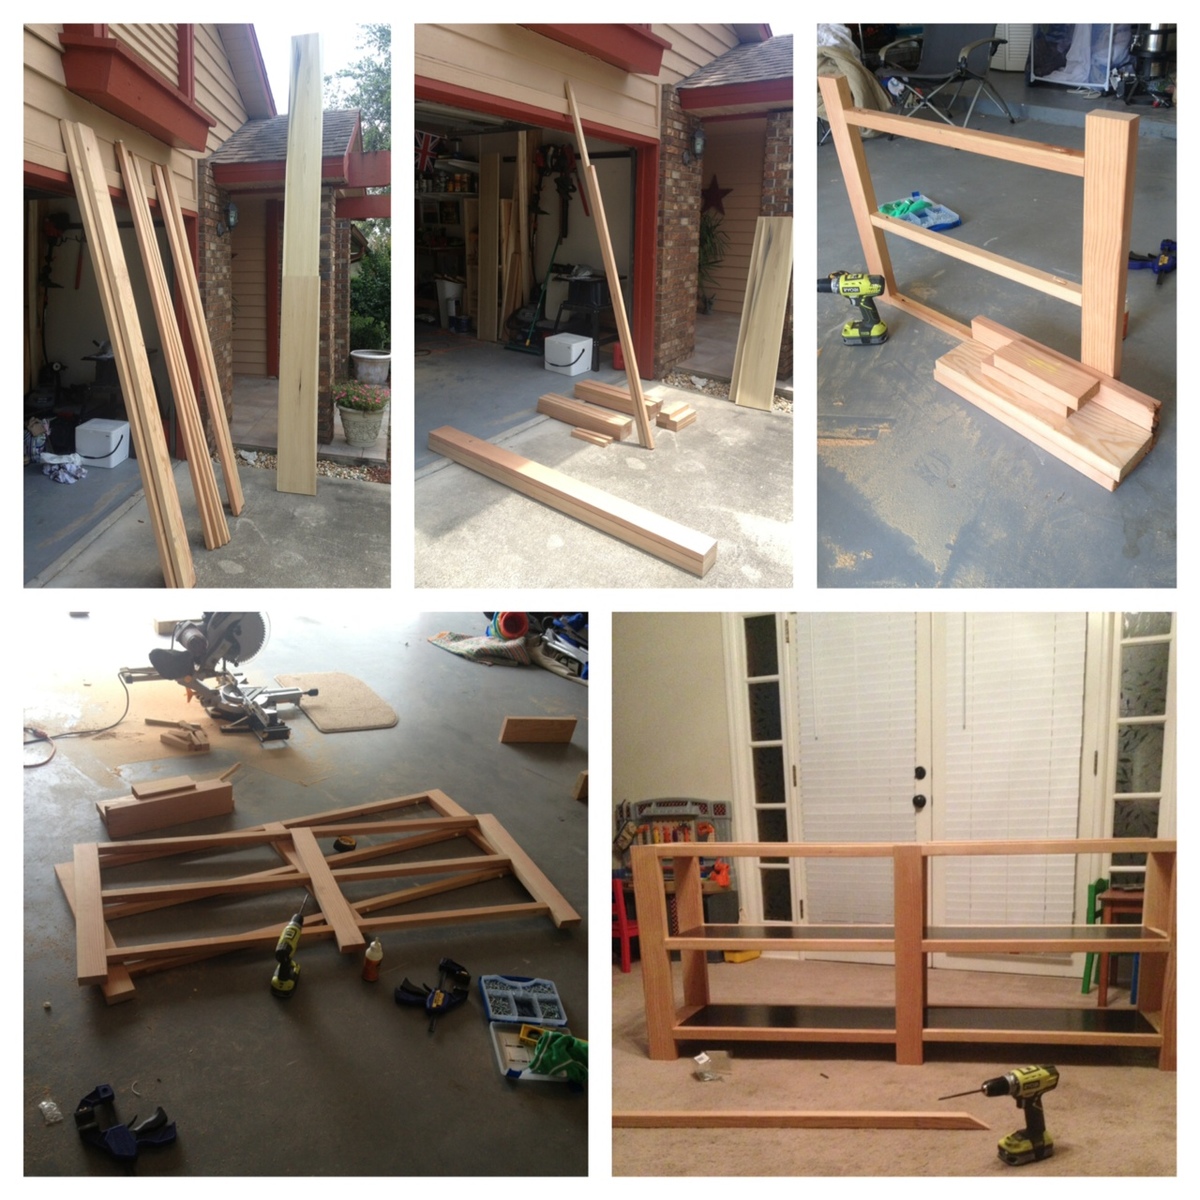
This was a blast to build. This was all a gift for my wife since the traditional 5th anniversary gift is wood.
The coffee table and console are both awesome! The only thing I would change/modify is the end table, because its kinda big and doesn't really look its part of the set other than the "X". I would maybe take about 2 or 3 inches off all sides or maybe 3 off the sides so its not such a box.
Thu, 06/20/2013 - 07:31
I'll start one! Go for the poly. You're absolutely right, it will bring up the beautiful grain, and show off the "X" accents. Nice work, by the way!
Thu, 06/20/2013 - 07:32
I'll start one! Go for the poly. You're absolutely right, it will bring up the beautiful grain, and show off the "X" accents. Nice work, by the way!
Thu, 06/20/2013 - 08:39
Beautiful builds! Wow, they look wonderful. What an amazing gift! From the pics, the end table looks fine, too, as the furniture isn't a small scale. I love the two-tone so I say go for just the poly!
Thu, 06/20/2013 - 12:08
I think you did an amazing job :) love the contrast of the two tones. Using poly for the rest would be beautiful. I cant wait to do this project myself.
Thu, 06/20/2013 - 15:47
What a wonderful gift! These tables are beautiful, great job on this build! I love the two-tone - One more vote for the poly! :)
Fri, 06/21/2013 - 13:04
I'm going to go with only the Poly over the bare wood. Thanks for the comments and advise! It will be a few weeks due to work and travel but I'll send updated pics once its done.
Sat, 02/24/2018 - 21:18
I like the naked/poly look too. The other option I think would look good would be painting it white. The contrast between the white frame and darker kona top and shelf would be cool.
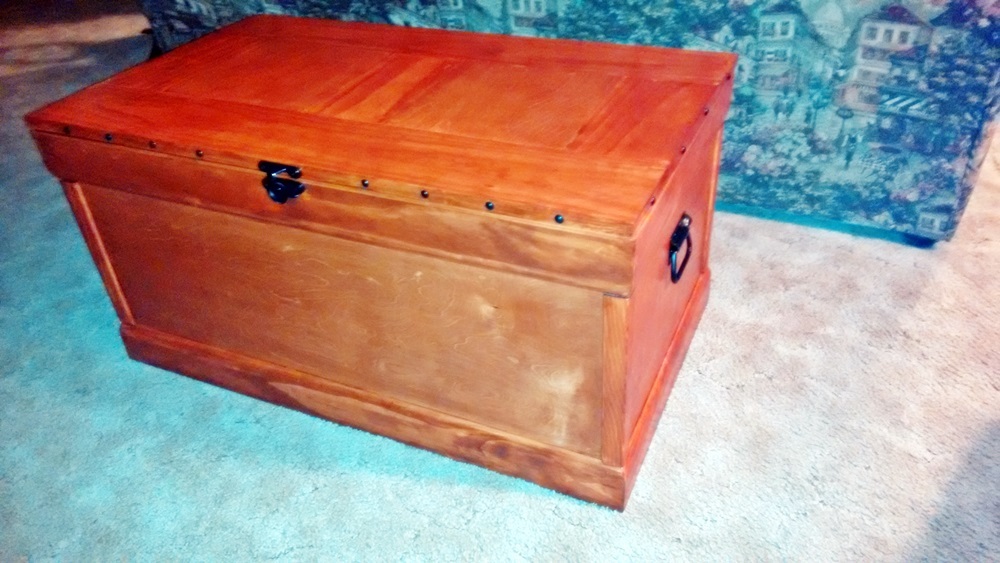
I built this trunk for my grandson’s high school graduation, and filled it with a lot of things he might need as he begins his life in the U.S. Air Force. Here are a few hints:
• Build the top after you place the moulding around the top of the box so you can measure exactly how long and wide the top needs to be.
• Don’t forget to measure the width of the 1” x 6” boards; if they are not exactly 5 ½”, adjust the length of the vertical boards on the trunk top or it could be slightly too small.
• Because of the extra width the moulding creates around the perimeter of the box, use narrow utility hinges, piano hinges, or Beverly of bzhays used black decorative strap hinges from Amazon.com.
• I used black handles from Amazon.com: Reliable Hardware Company RH-0540BK-2-A Set of 2 Chest Handle, Black
• For a more finished top on the inside, I filled the holes with wood putty and sanded it smooth, then stained and polyed like the outside of the trunk. The kreg holes are still visible, but not too much.
• Before screwing the box together, I recommend finishing the inside surfaces first; cover the edges that will meet with painter’s tape so the glue will have bonding surfaces.
I love the rustic look most have used in their finishes, but since I used a traditional stained finish, I used the ideas from Justin of jeverette1 who covered the exposed plywood edges with scrap. Since I didn’t have that, I used corner moulding for the corners, and lattice strips to cover the top edges of the box. This gives the trunk a more finished look if you are not going for the rustic/distressed look. I notated below a week-long project - I spend a lot of time in the finishing and do so over several days. Others could certainly finish in a weekend.
I’d like to thank Ana for the wonderful plans, and Whitney of Shanty 2 Chic for the great step-by-steps. Also, a big thank you to Beverly of bzhays and Justin of jeverette1 for responding to me with my questions; you were both so helpful.
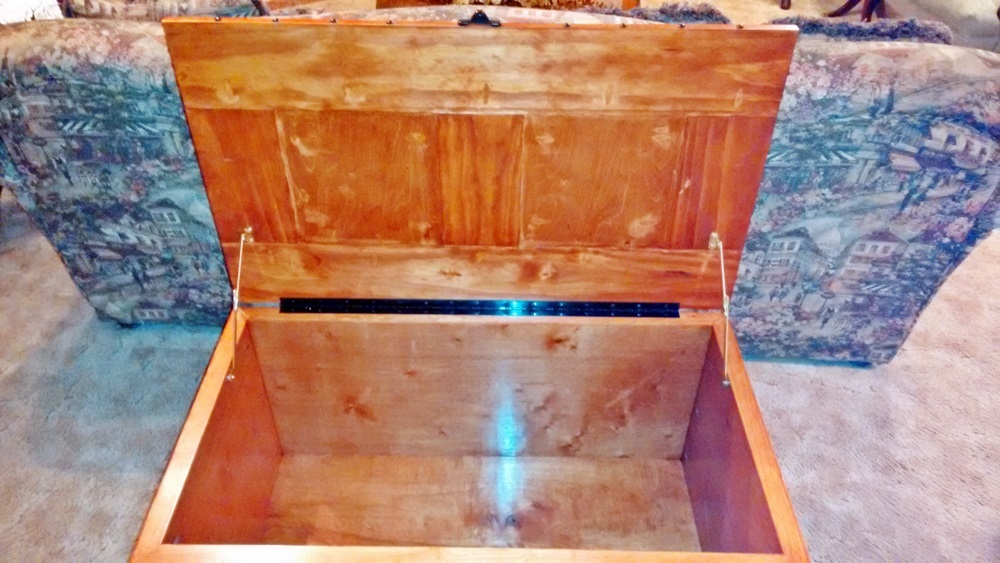
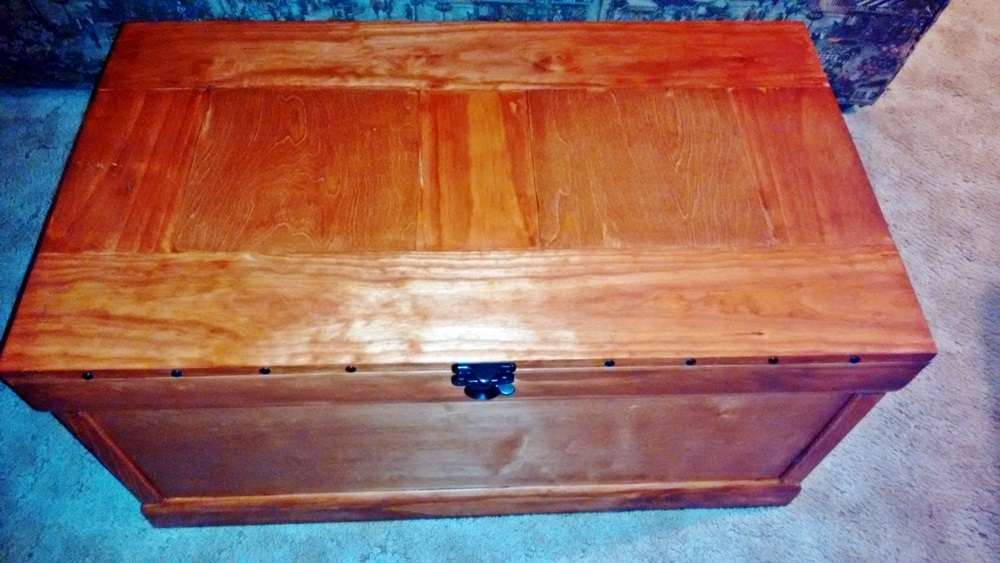
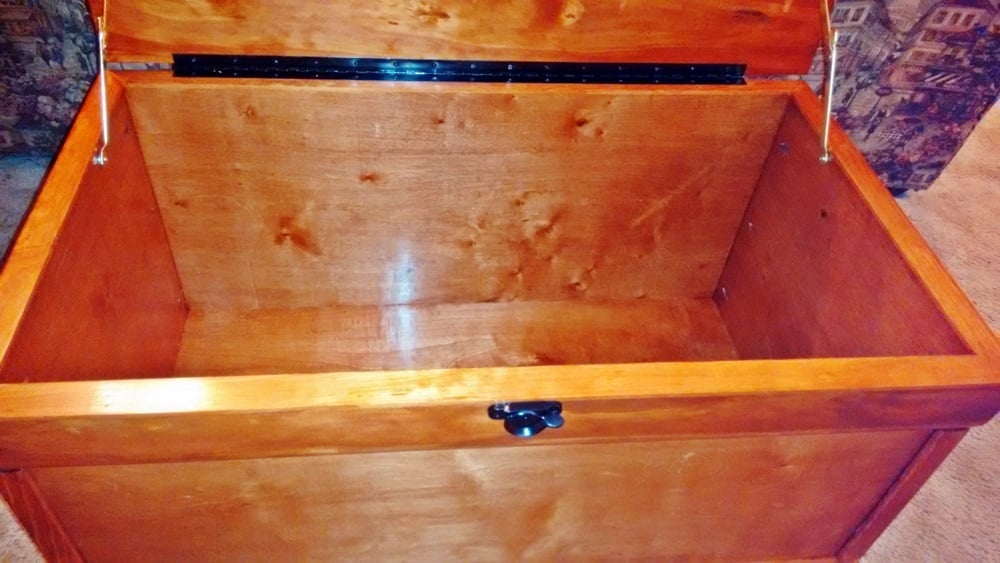
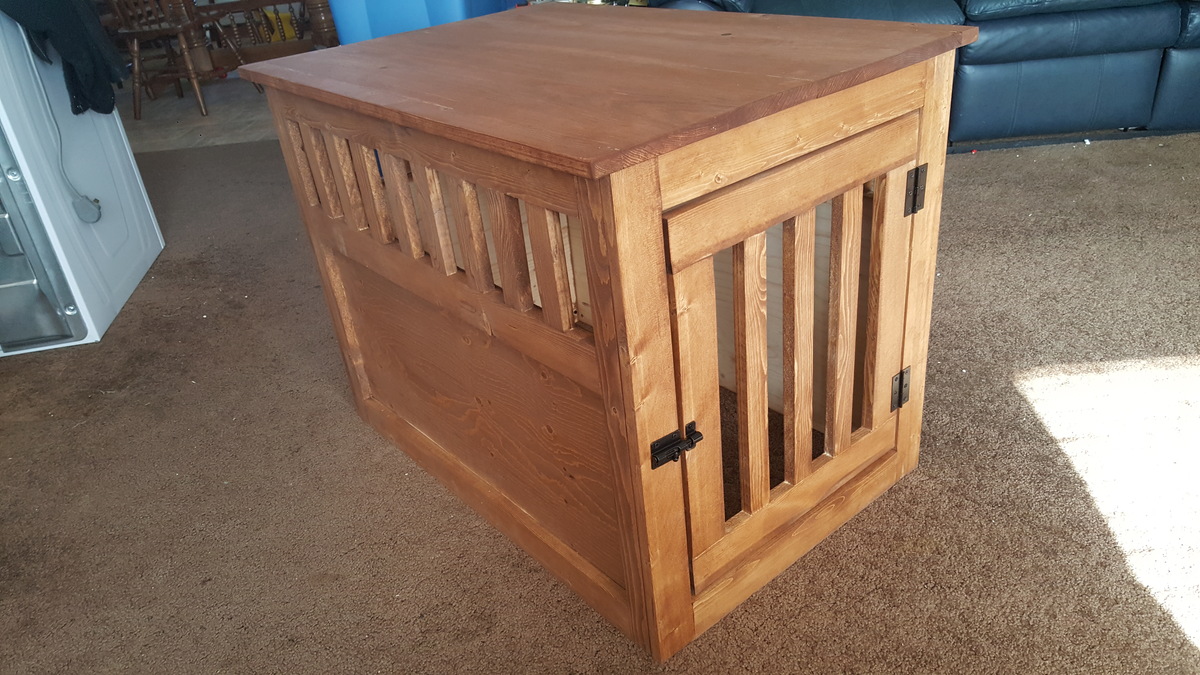
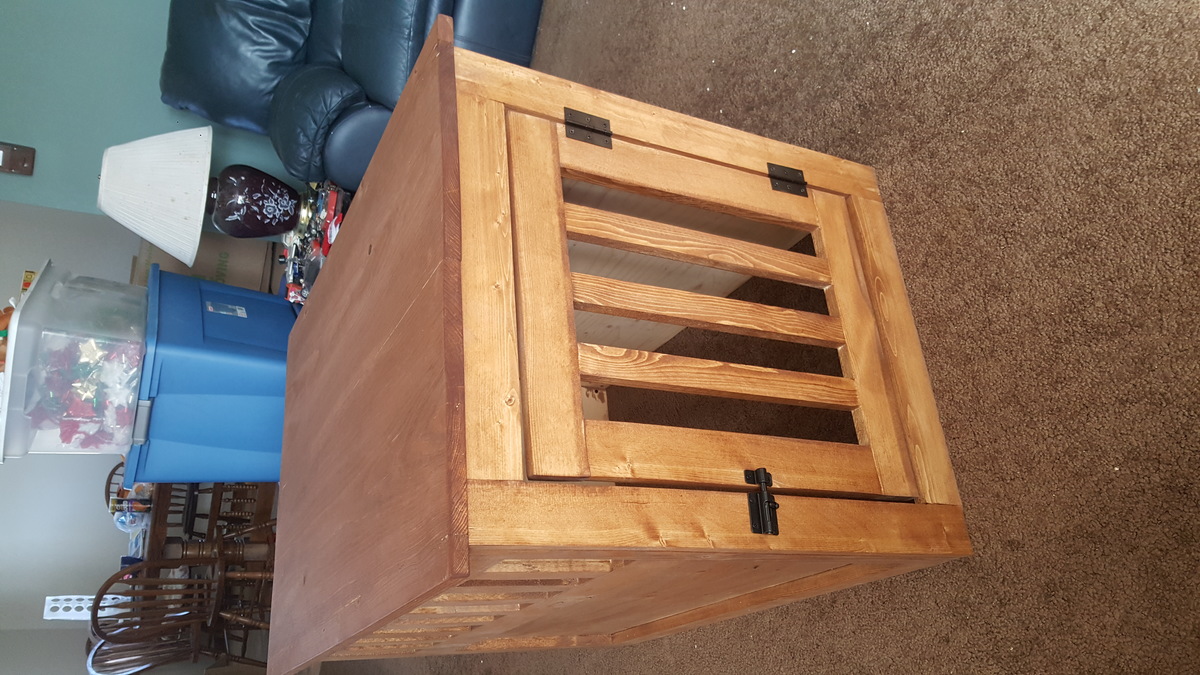
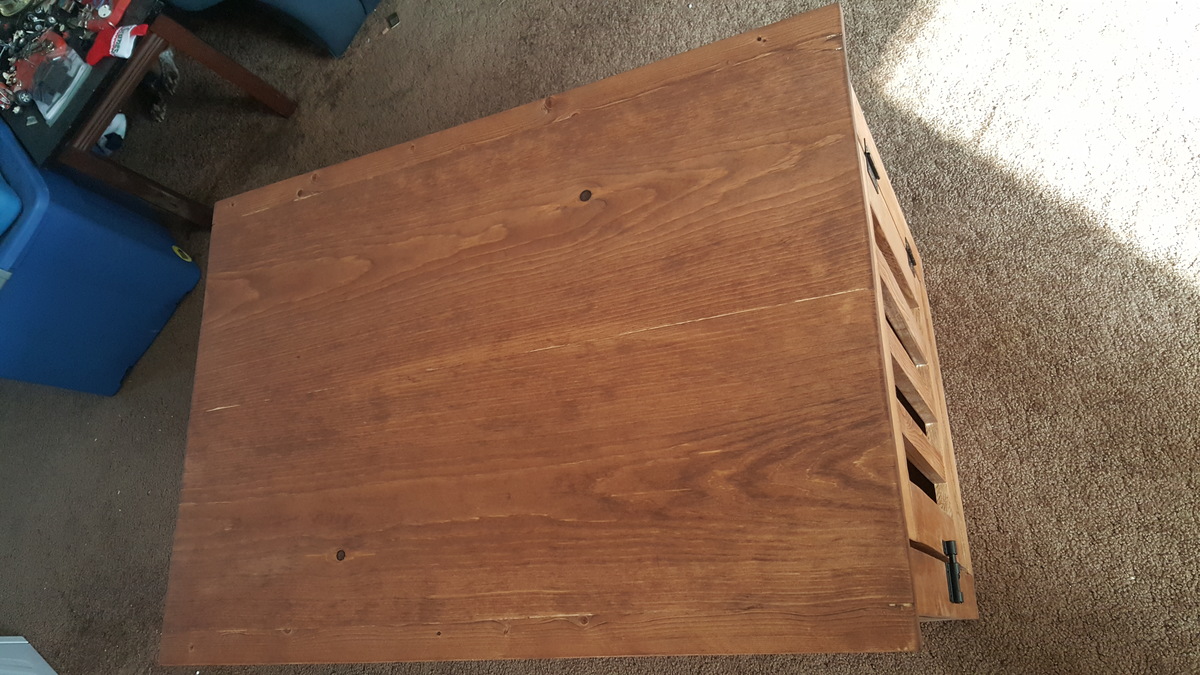
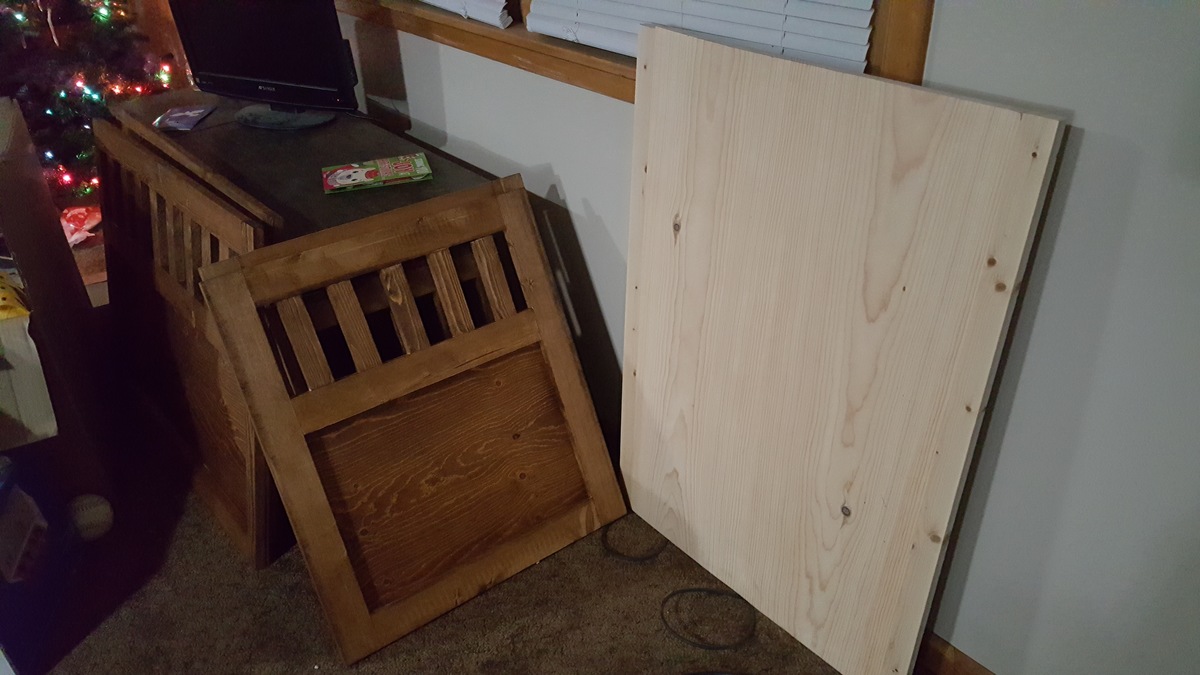
This project was really pretty easy. The hardest part was holding the pieces just right so they ended up where we wanted once the kreg jig hole screws went in. Also, we had to be sure not to overtighten the screws and cause splitting.
We did have to make two adjustments to the plans. I think the first was a typo...where it says 2 - 1x2 @ 15 3/4" (door sides) they should actually be 1x3 based on the images.
The second adjustment was the plywood for the back 17 3/4" x 21" ended up too wide for the end to fit on, so we made it 17 3/4" x 20"
Sun, 12/24/2017 - 17:17
This was my first wood working Project! I learned alot about what to do and not to do for future projects. We are excited about how it turned out!
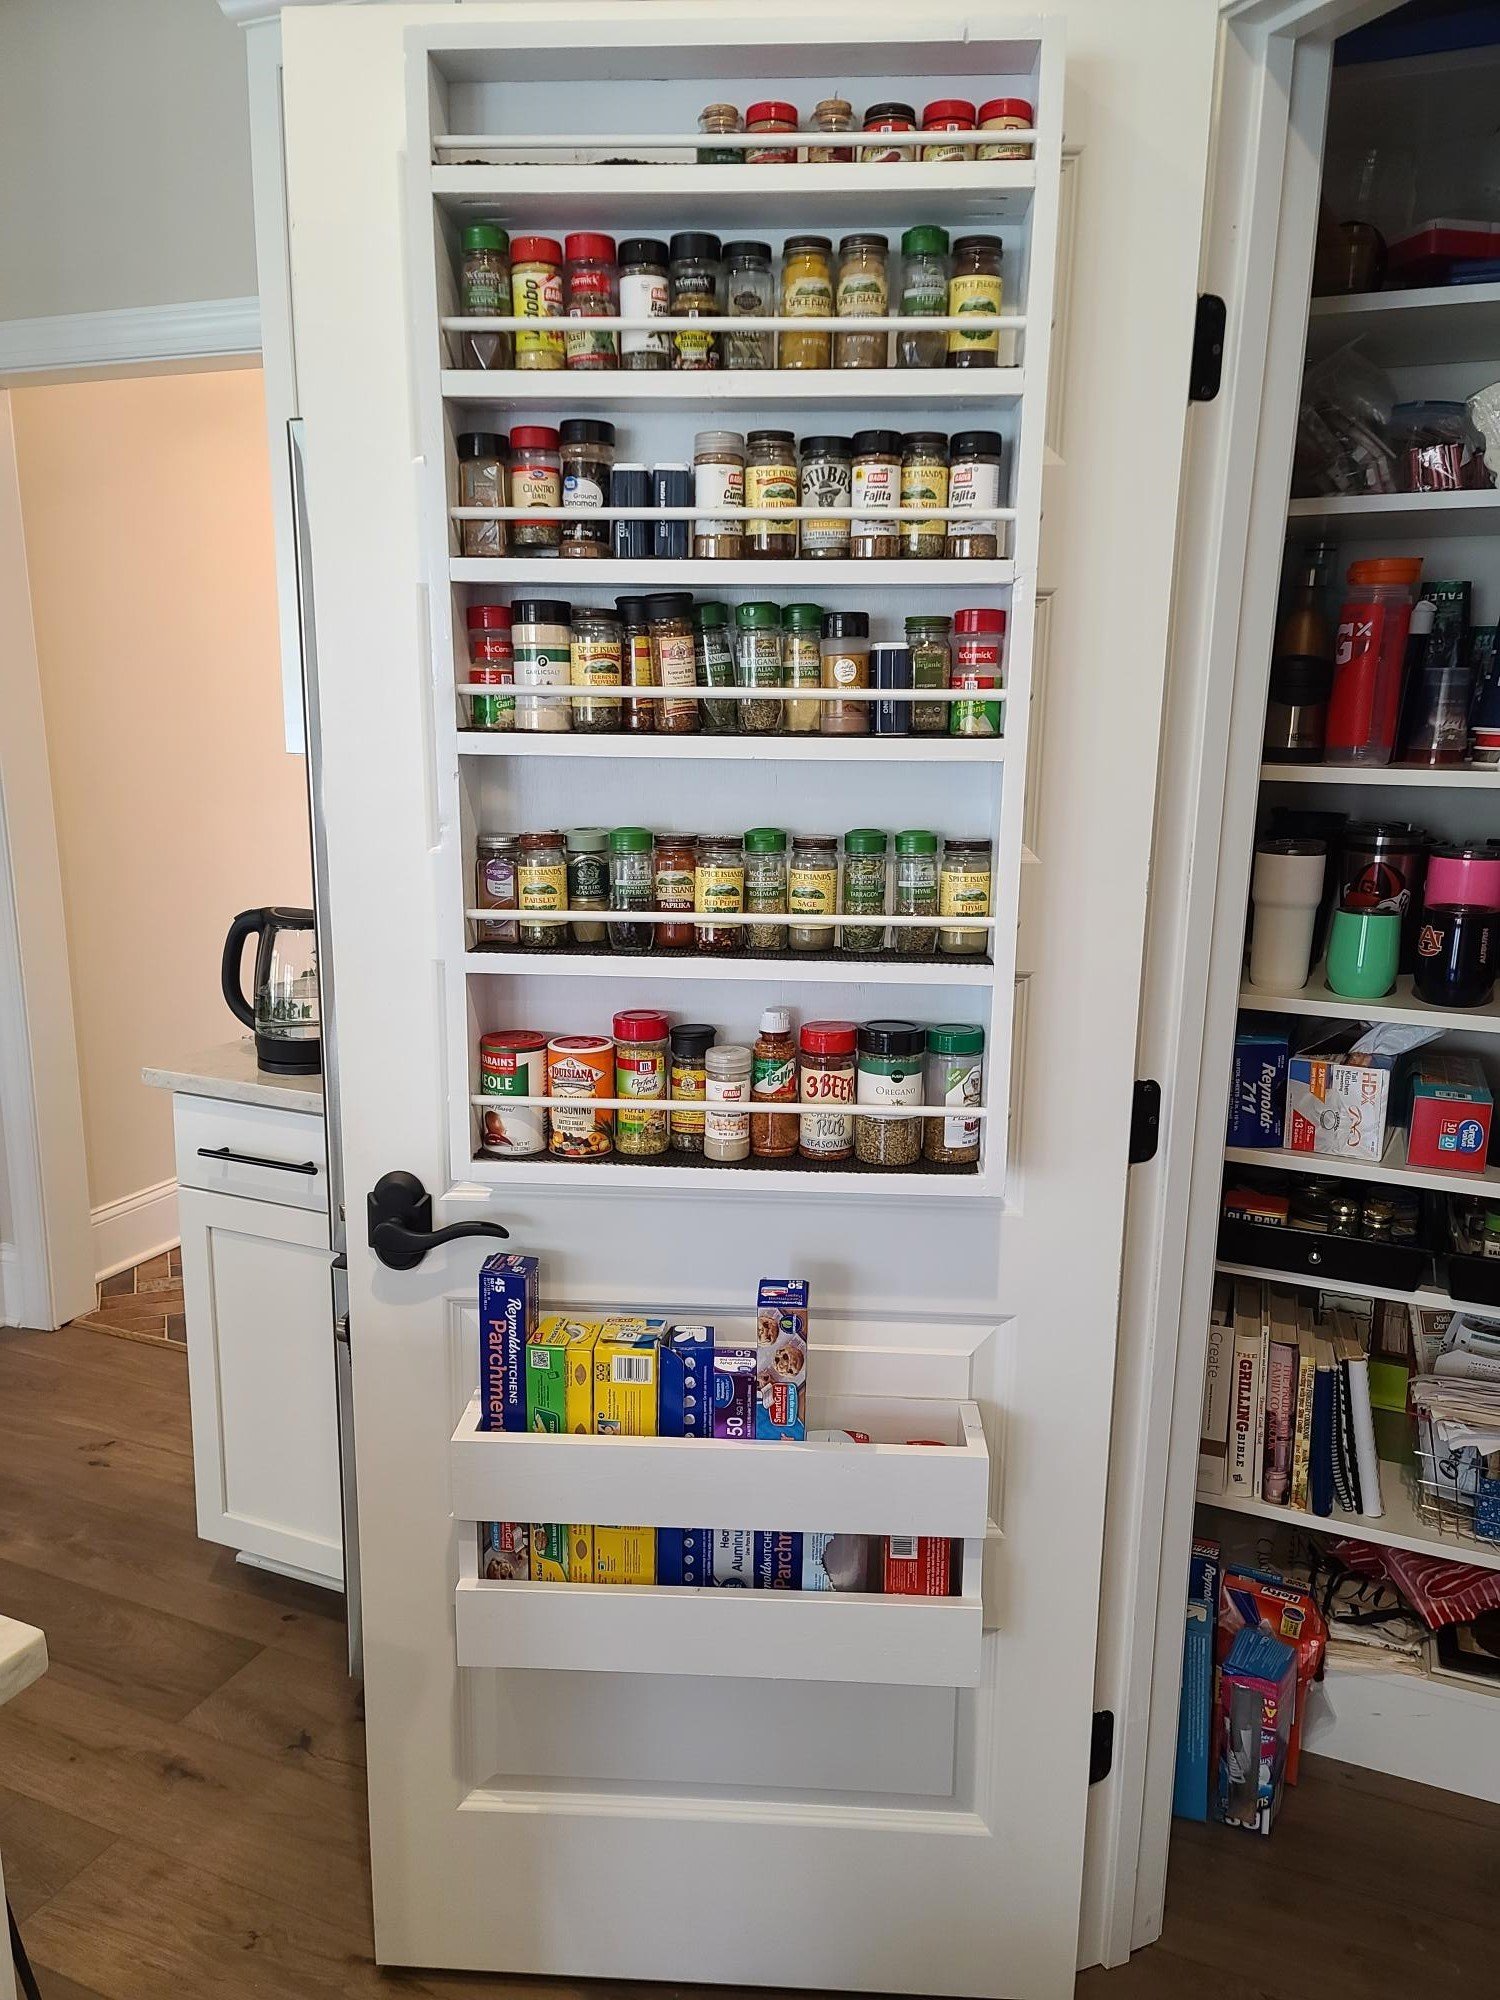
Love to cook, didn't have enough space in the pantry for all my spices. Used the spice cabinet plan and it was perfect.
I first came across Ana's site while looking for a table and chairs set for my little ones. Their room is Jungle themed so I decided to take on the project and build the set myself. My wife and I ended up painting it in the Jungle theme to match my daughter's dresser. We added a checkerboard on one side of the table, and a bamboo tic-tac-toe board on the other side. We had previously painted the dresser so we had experience with the finish. I had a great time building this, and I can't wait to start my next project! I just got my hands on some pallets, so we will be tackling a preschool picnic table next! Bring on the Miter Saw!!!
Made with western red cedar from Lowes. So pretty!
Wed, 08/21/2019 - 09:00
Did you use any kind of finish on the cedar? I’m making one as an indoor end table.
What grit sand paper did you use?
Looks great by the way. Excellent job!
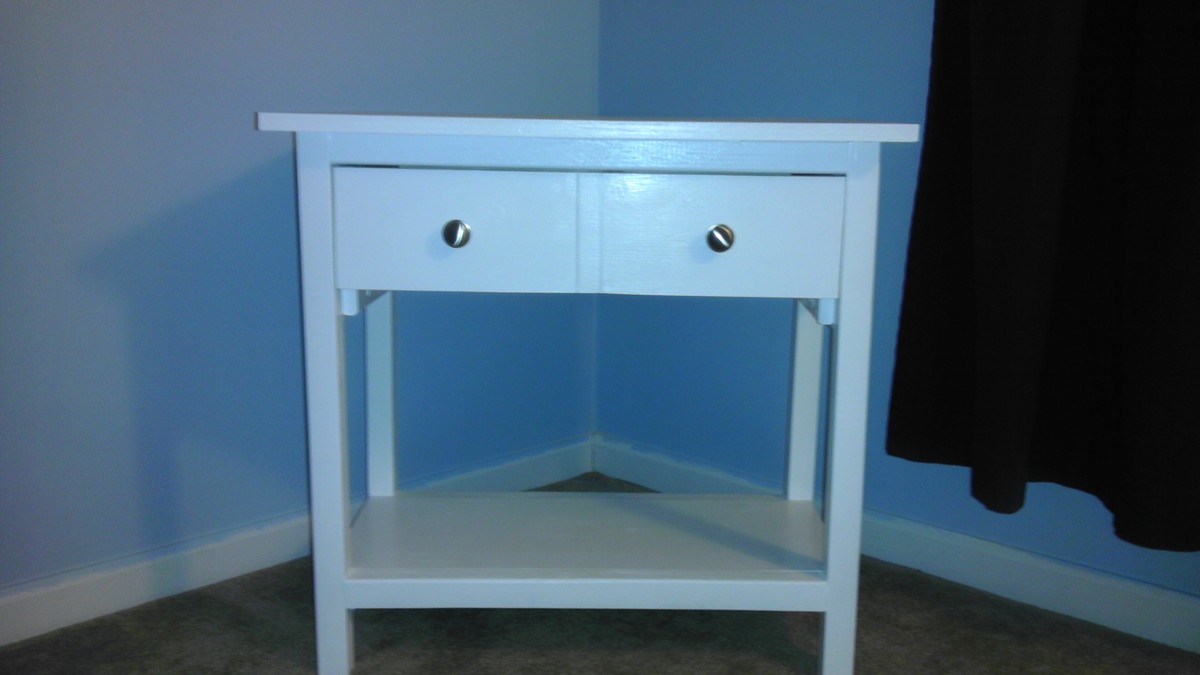
This project was very fun, and it was my first nightstand. The directions are so easy to follow. Thanks Ana : )
Wed, 06/03/2015 - 22:59
Do you have a cut list that you used to modify the original plan? I love this version of it, very well done!
Comments
bishop2001
Fri, 06/14/2013 - 07:01
Tryde Coffee Table
Tryde Coffee Table Plans