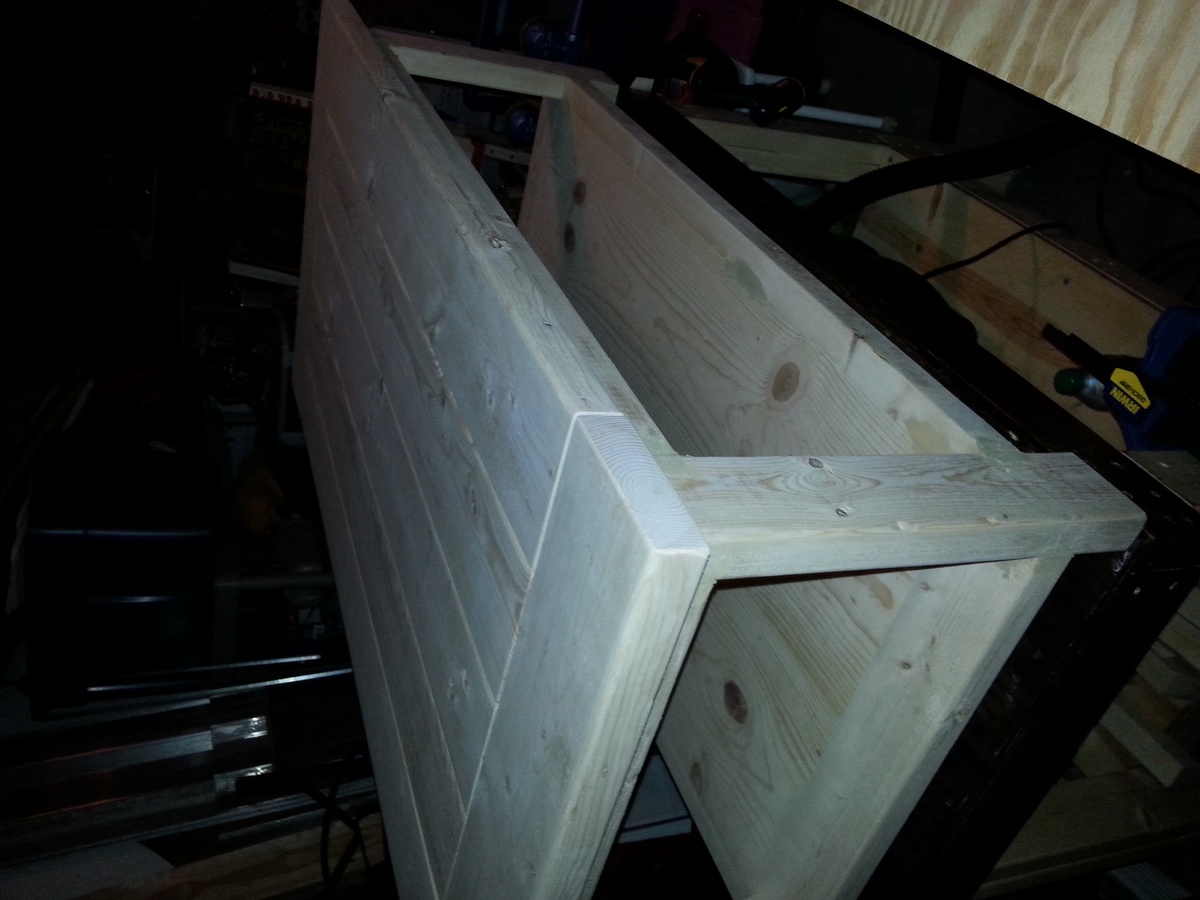
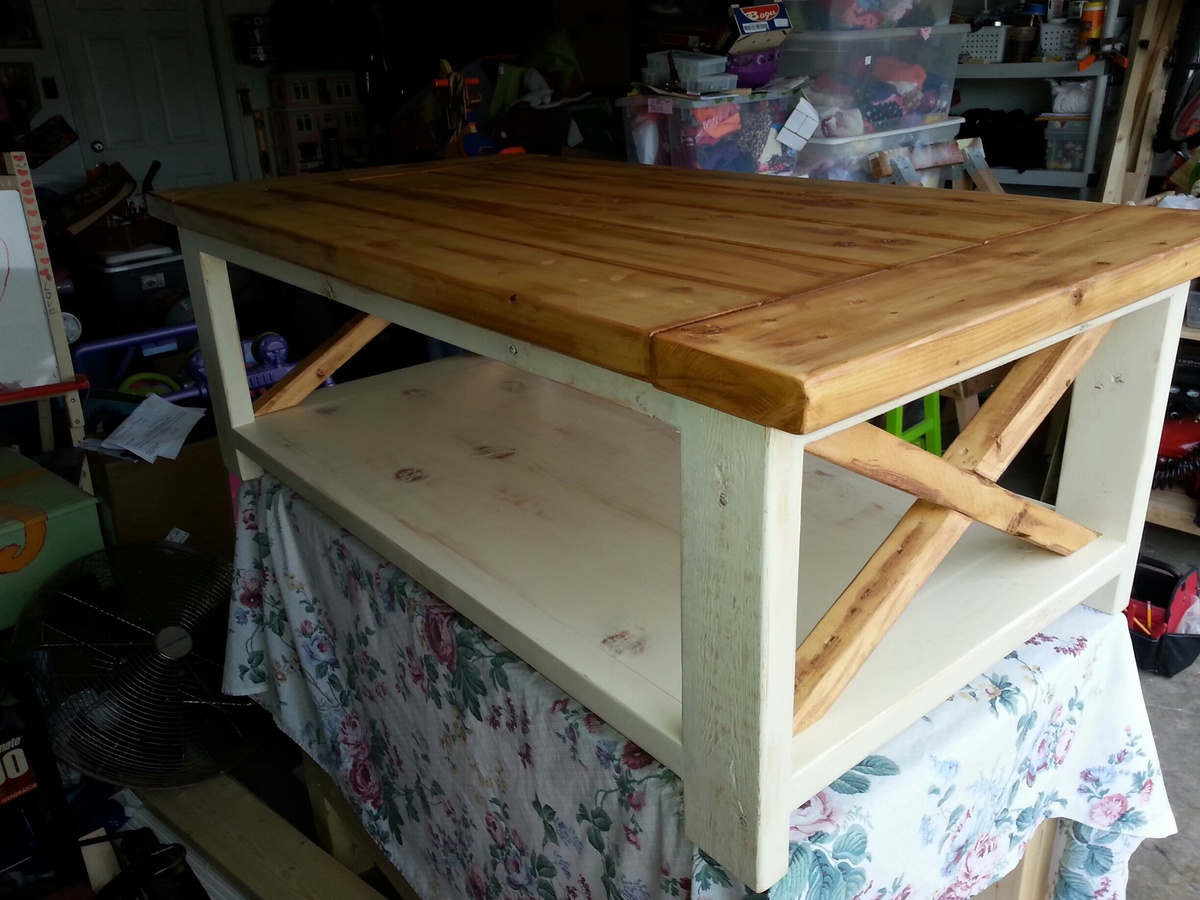
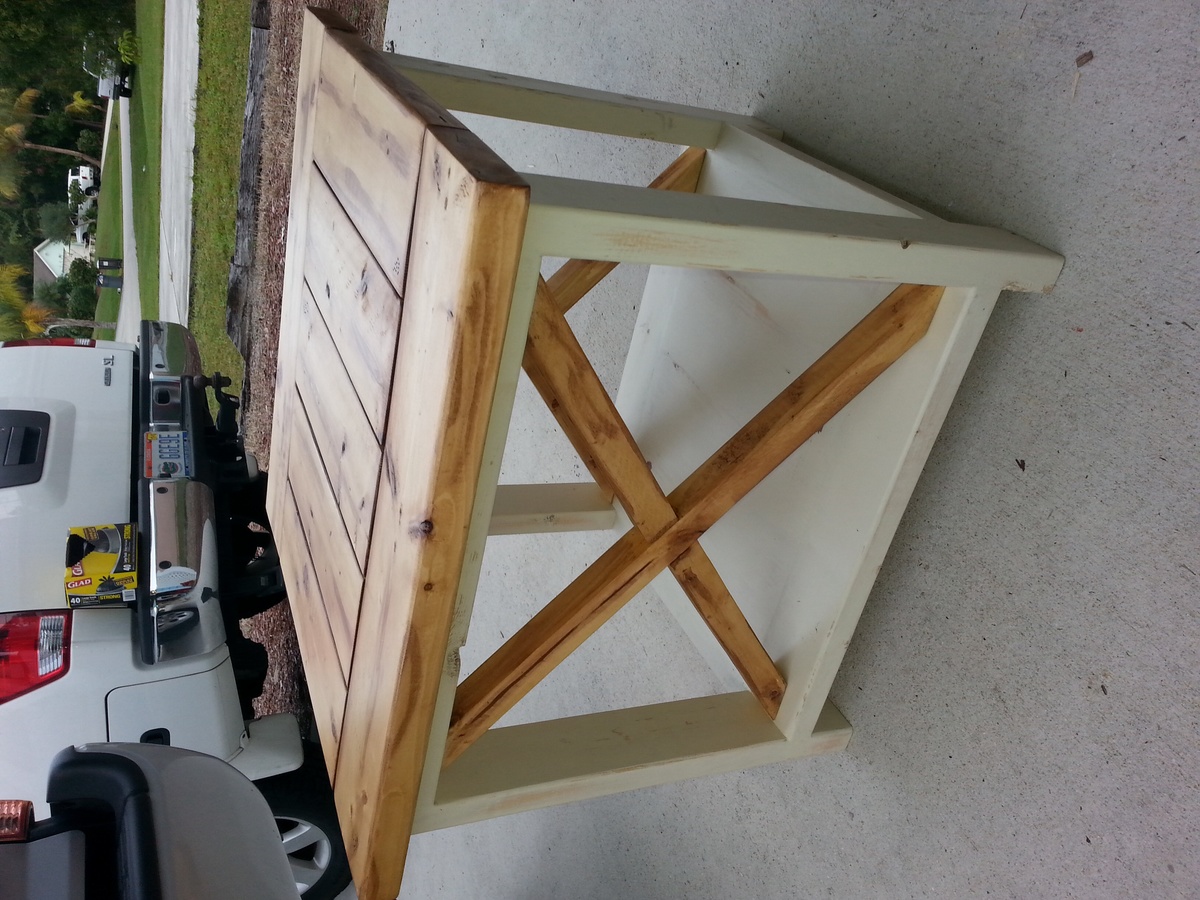
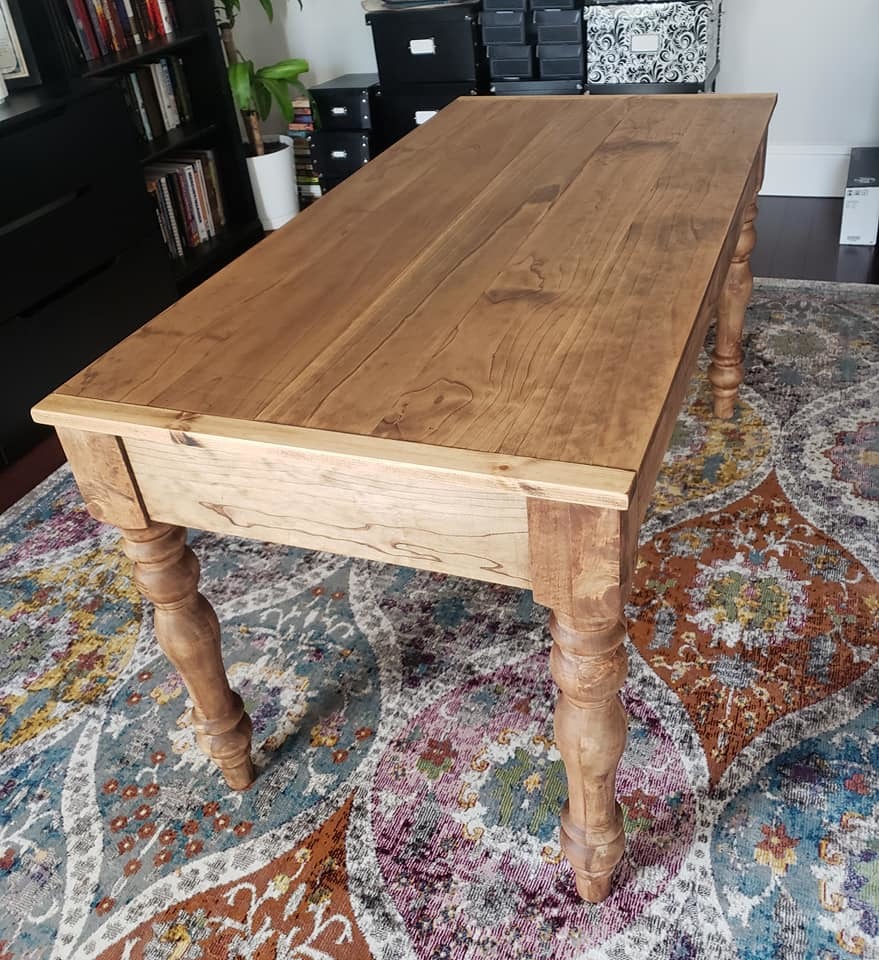
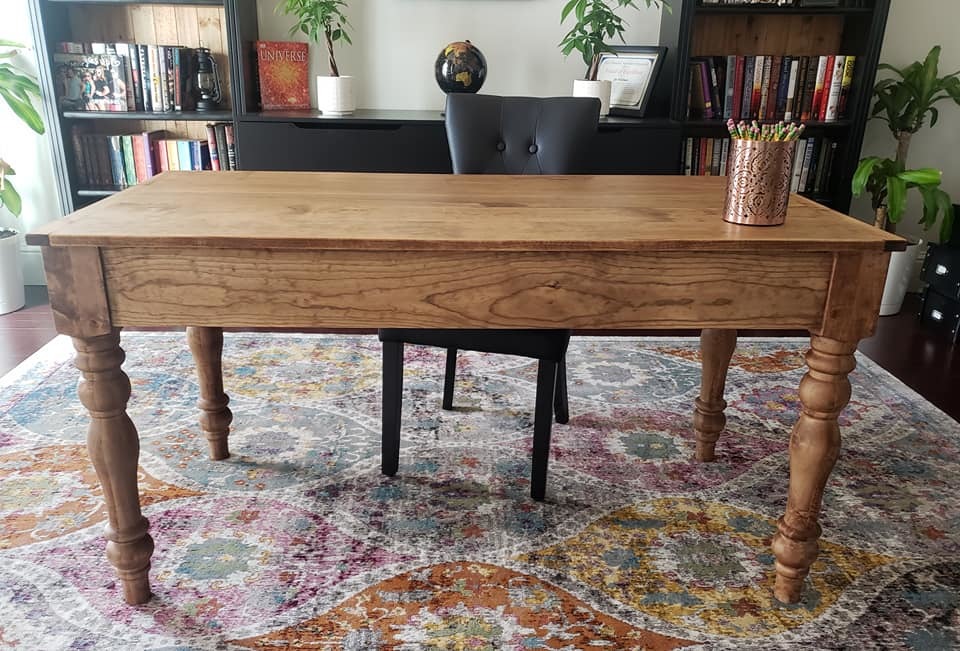
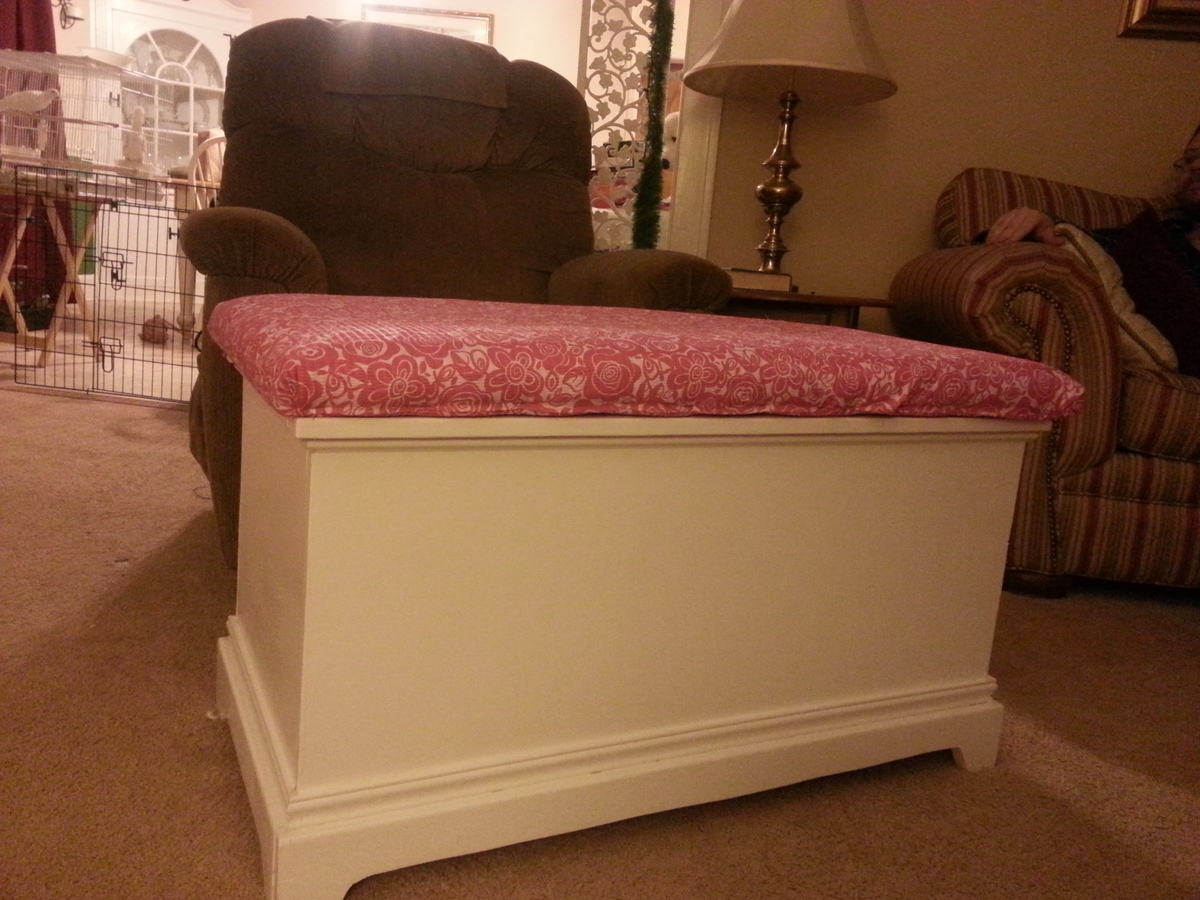
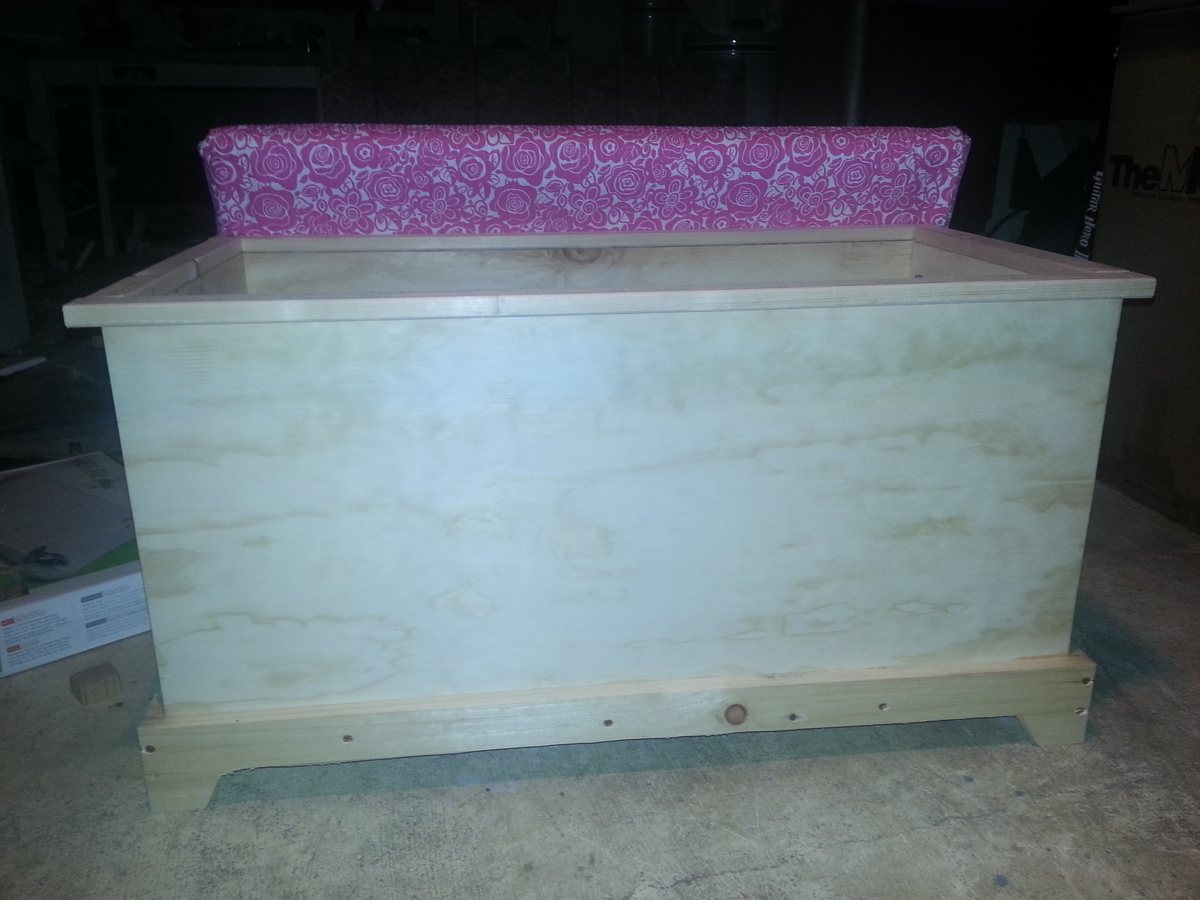
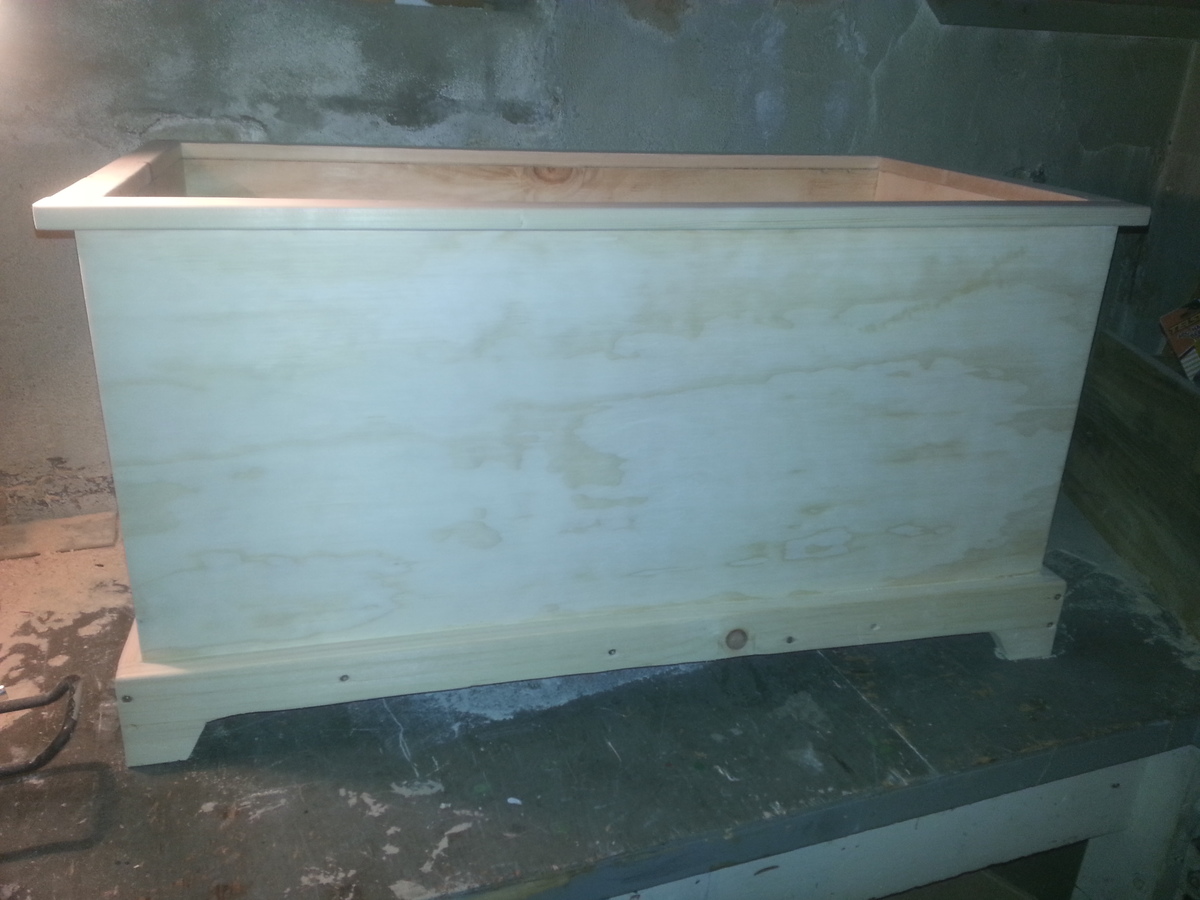
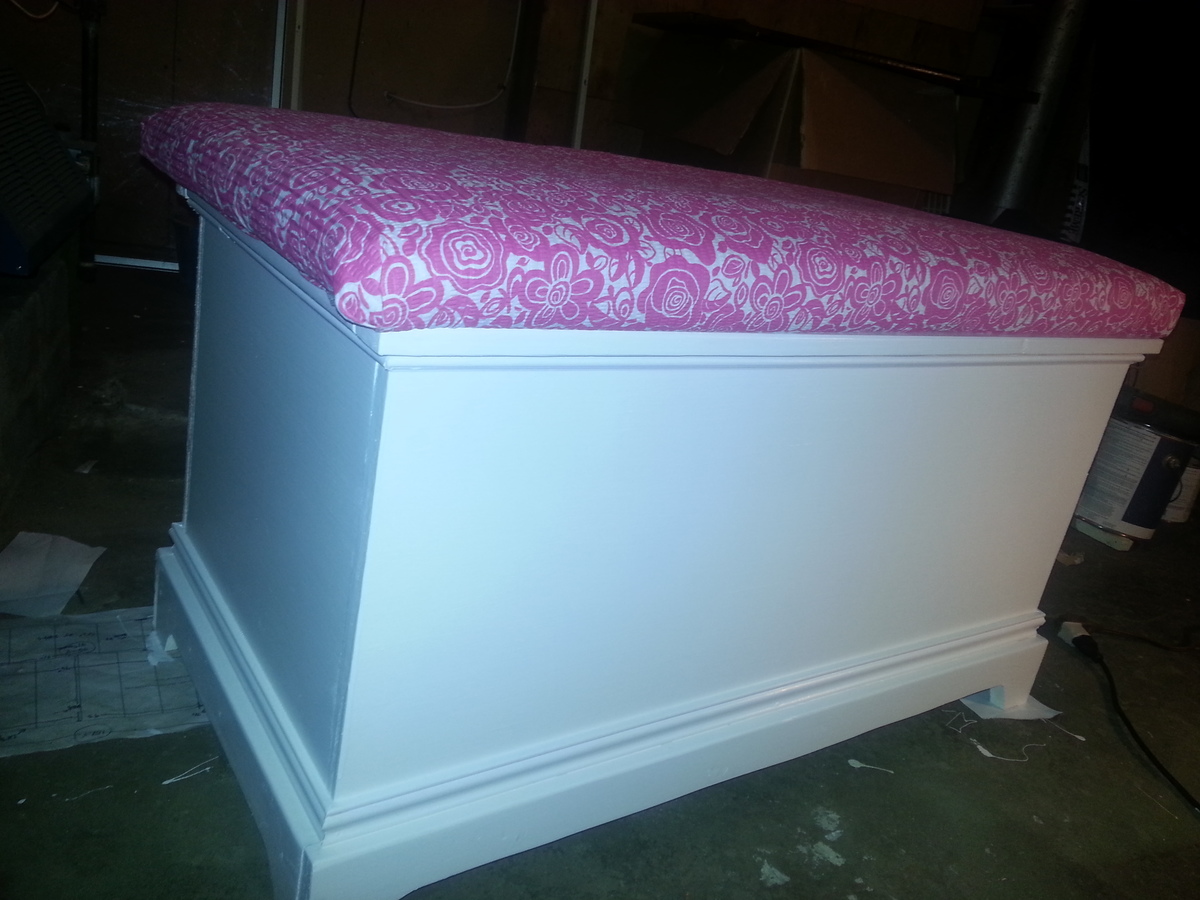
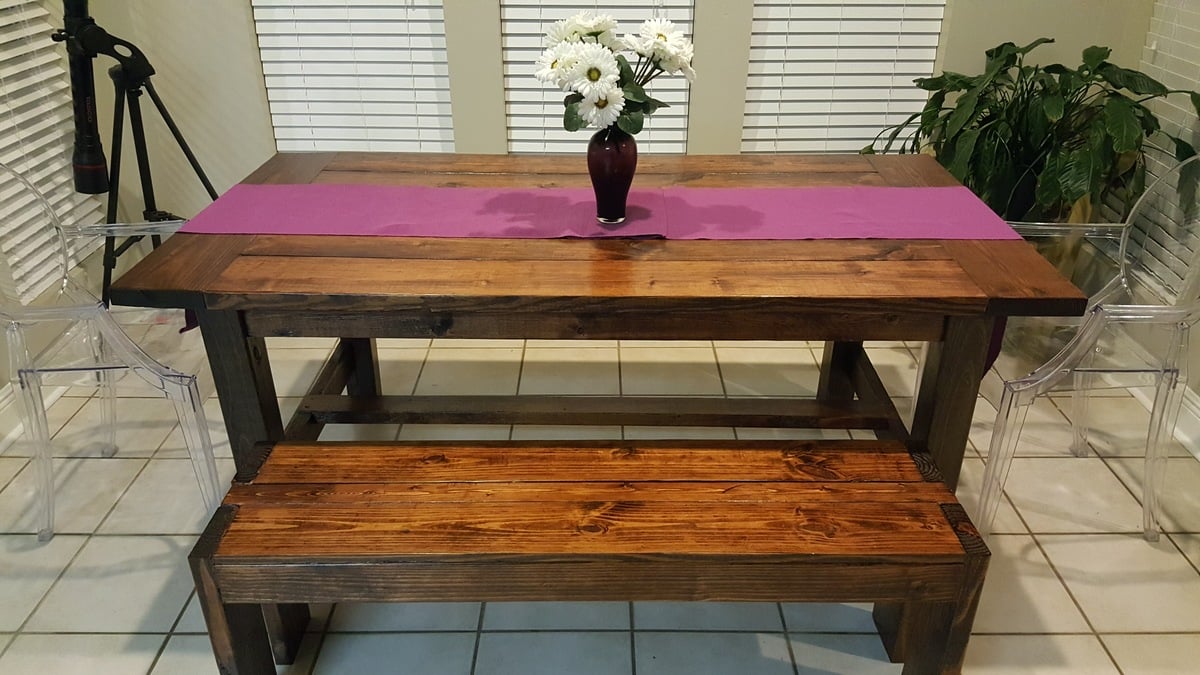
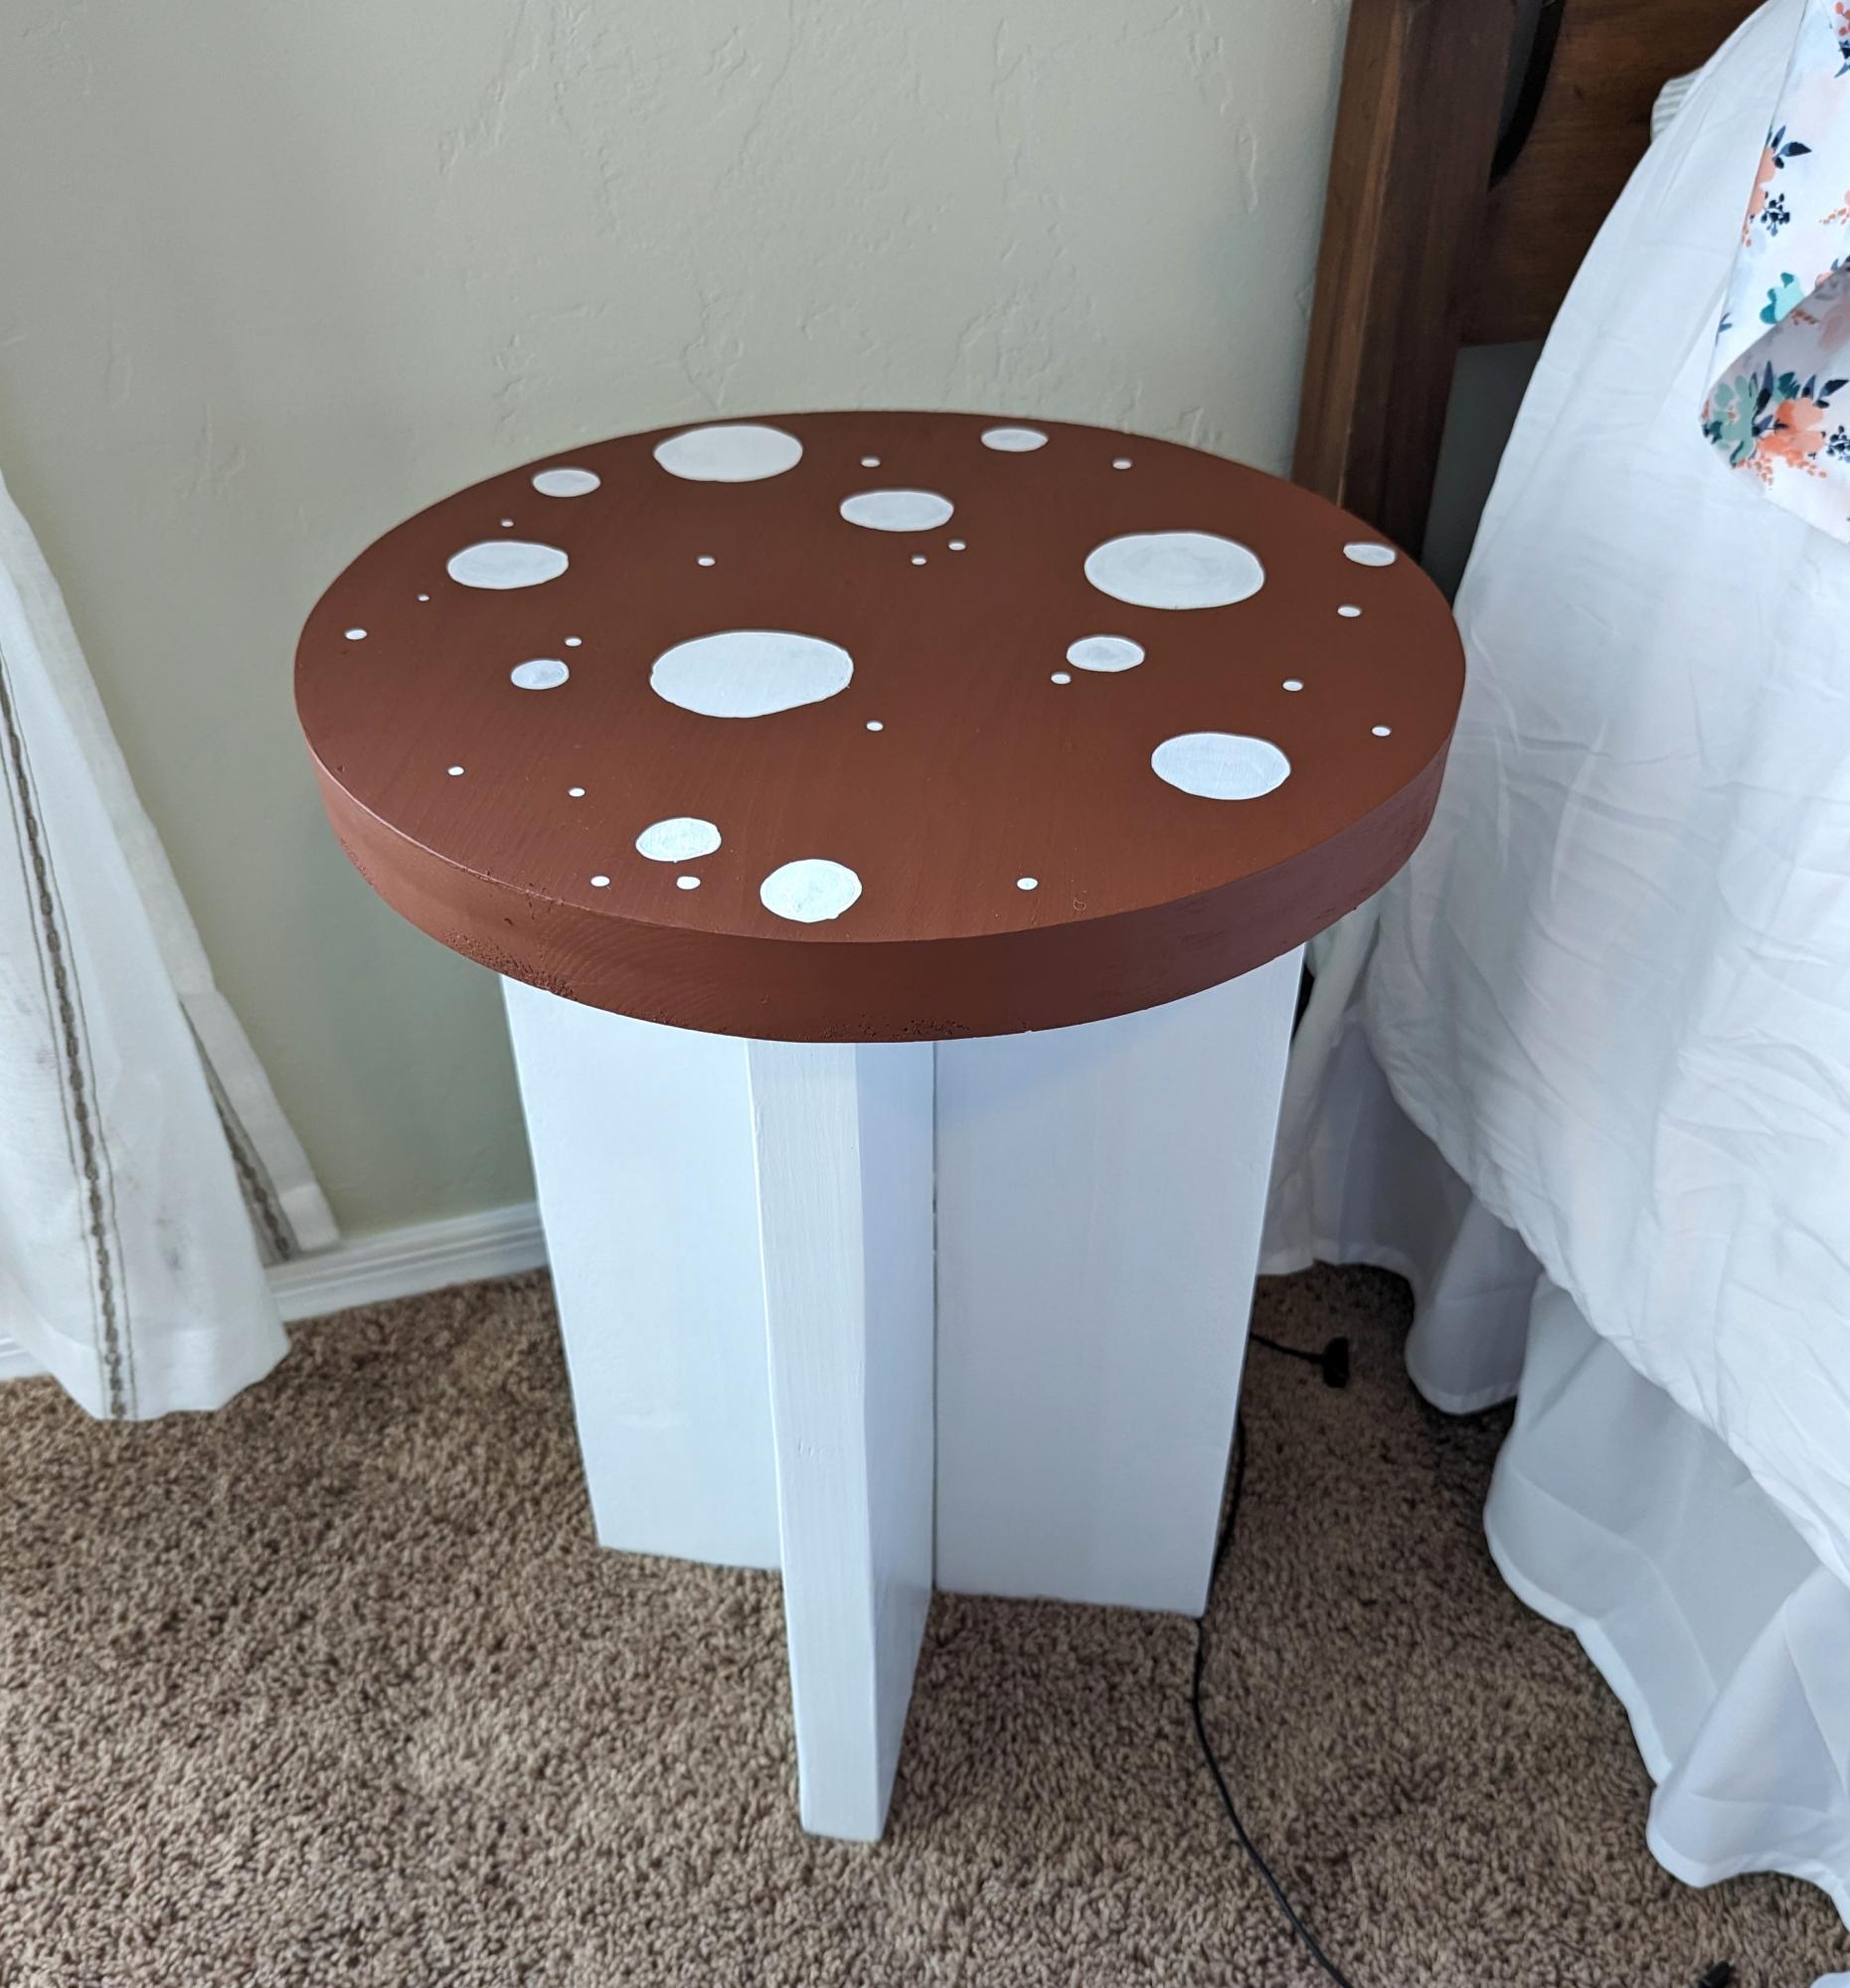
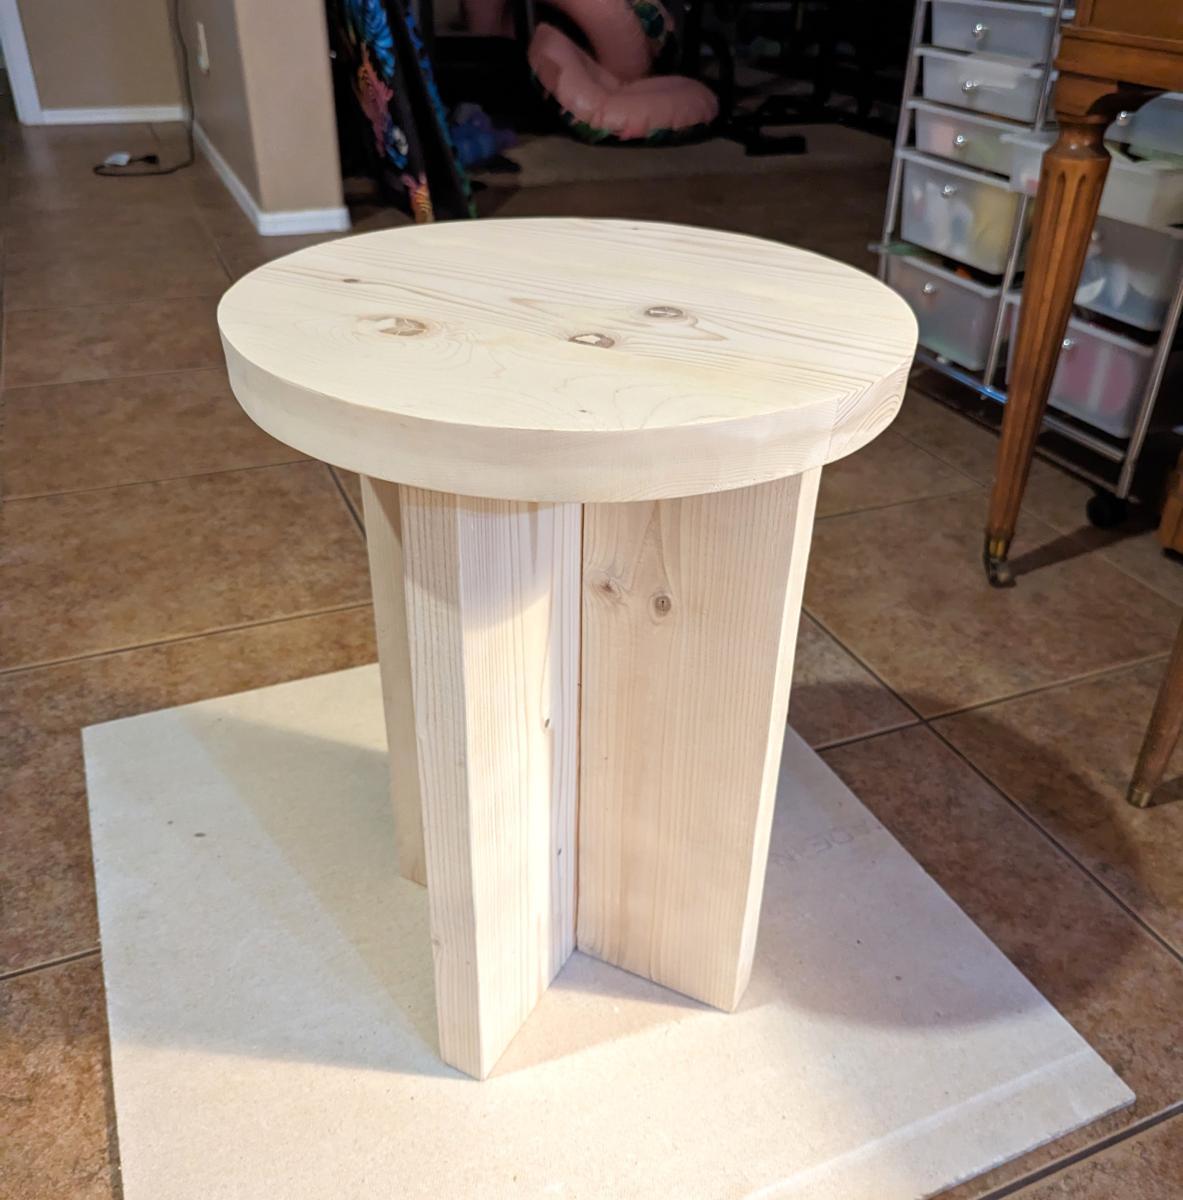
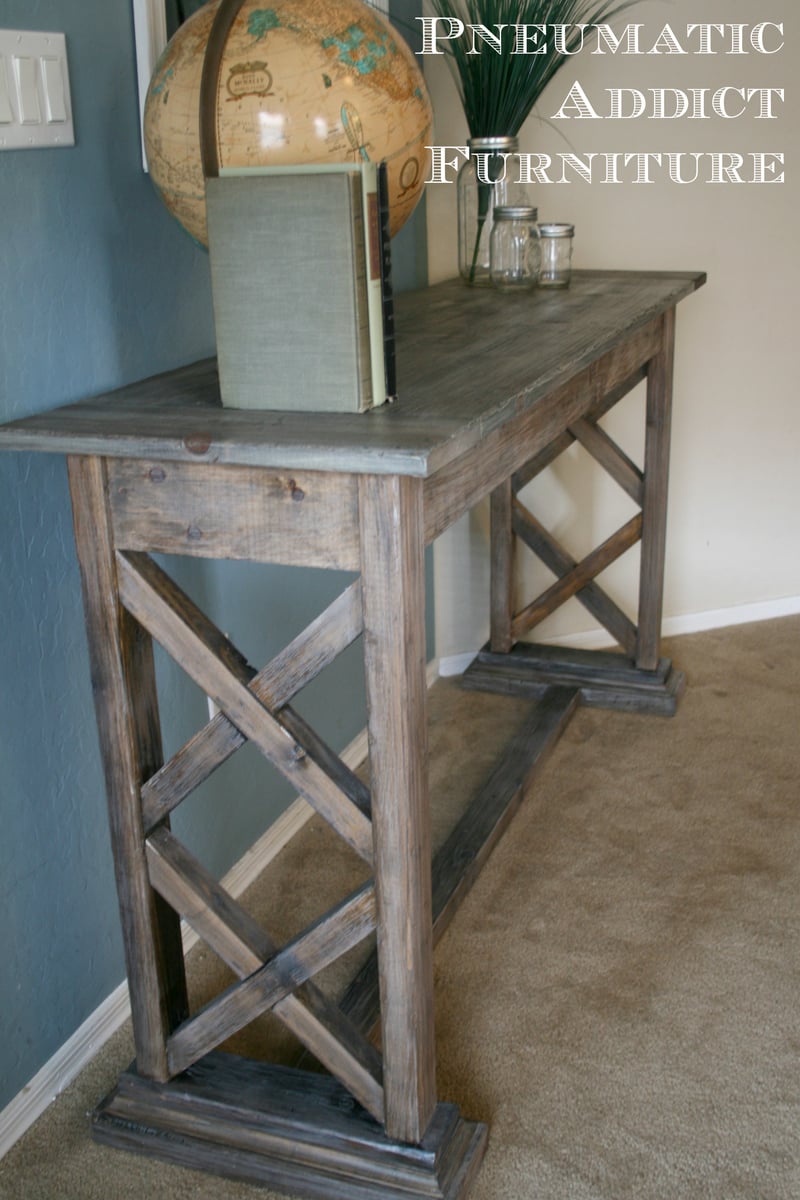
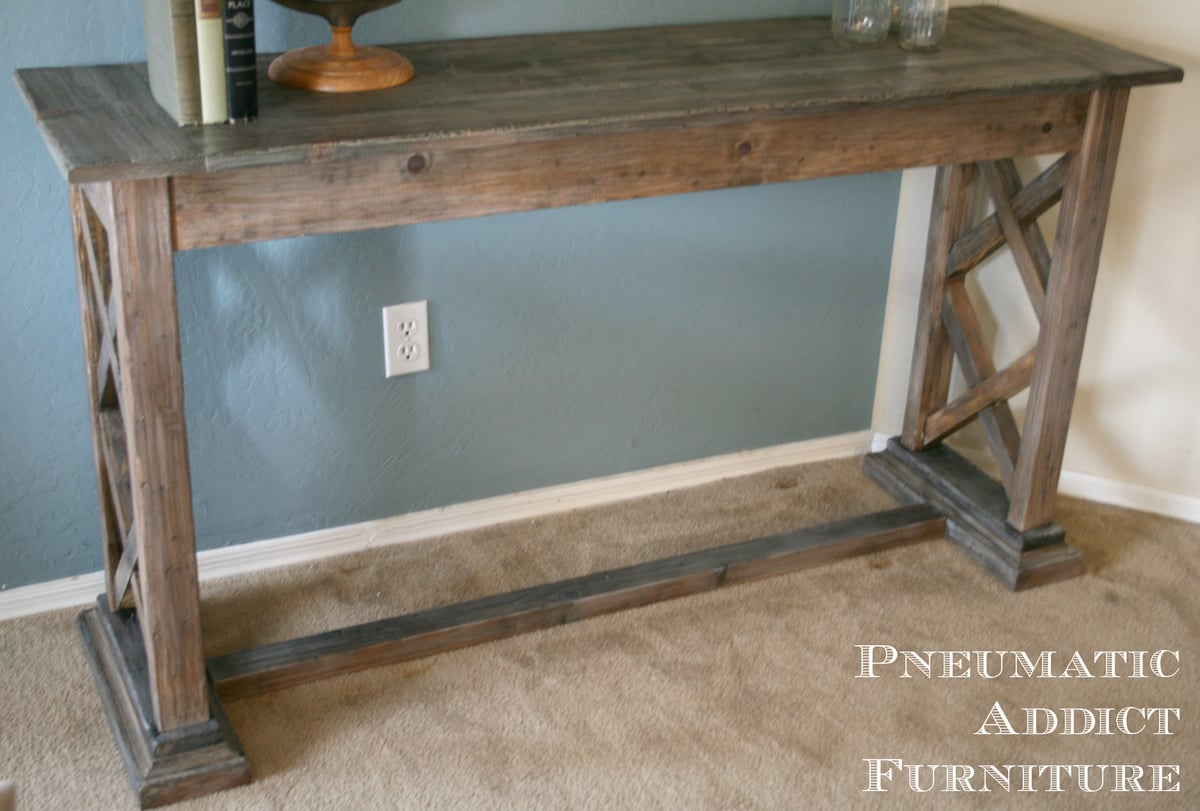
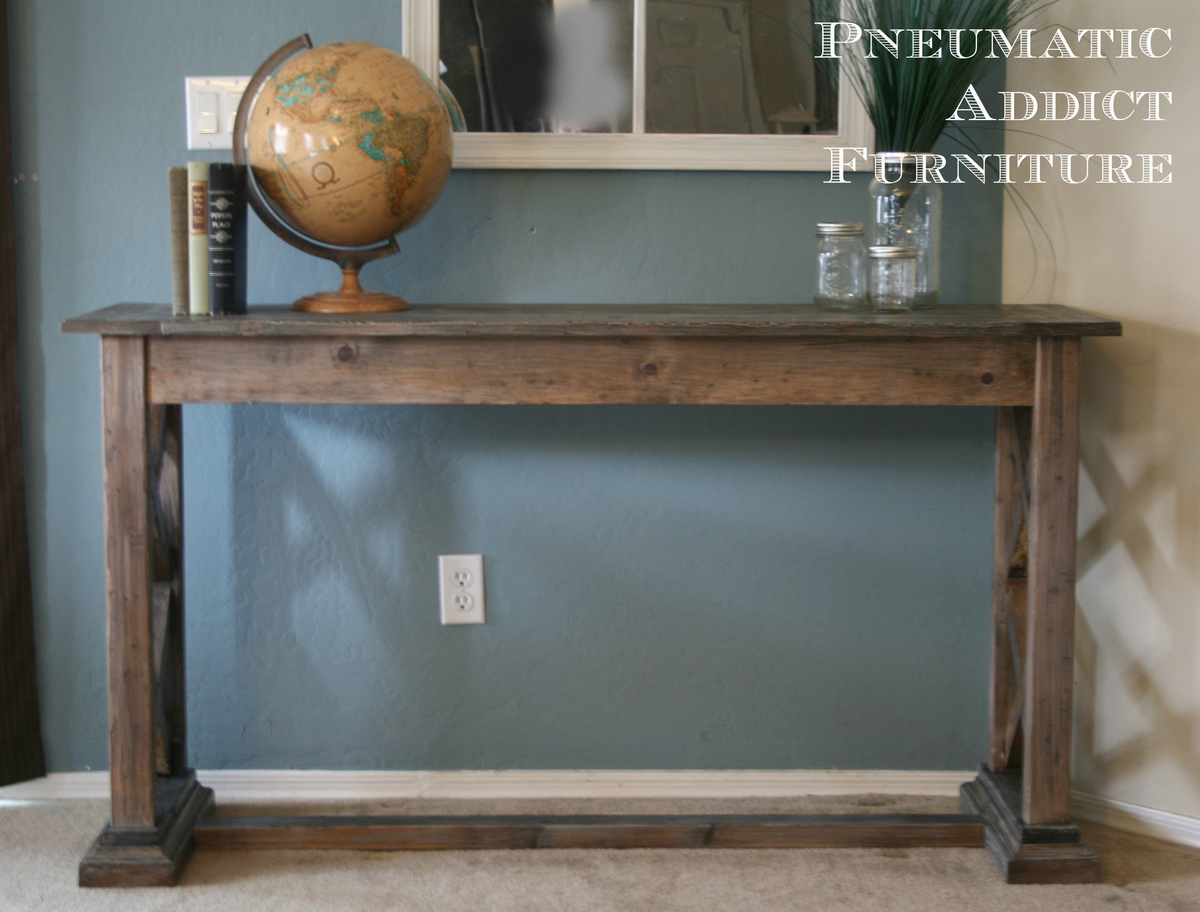
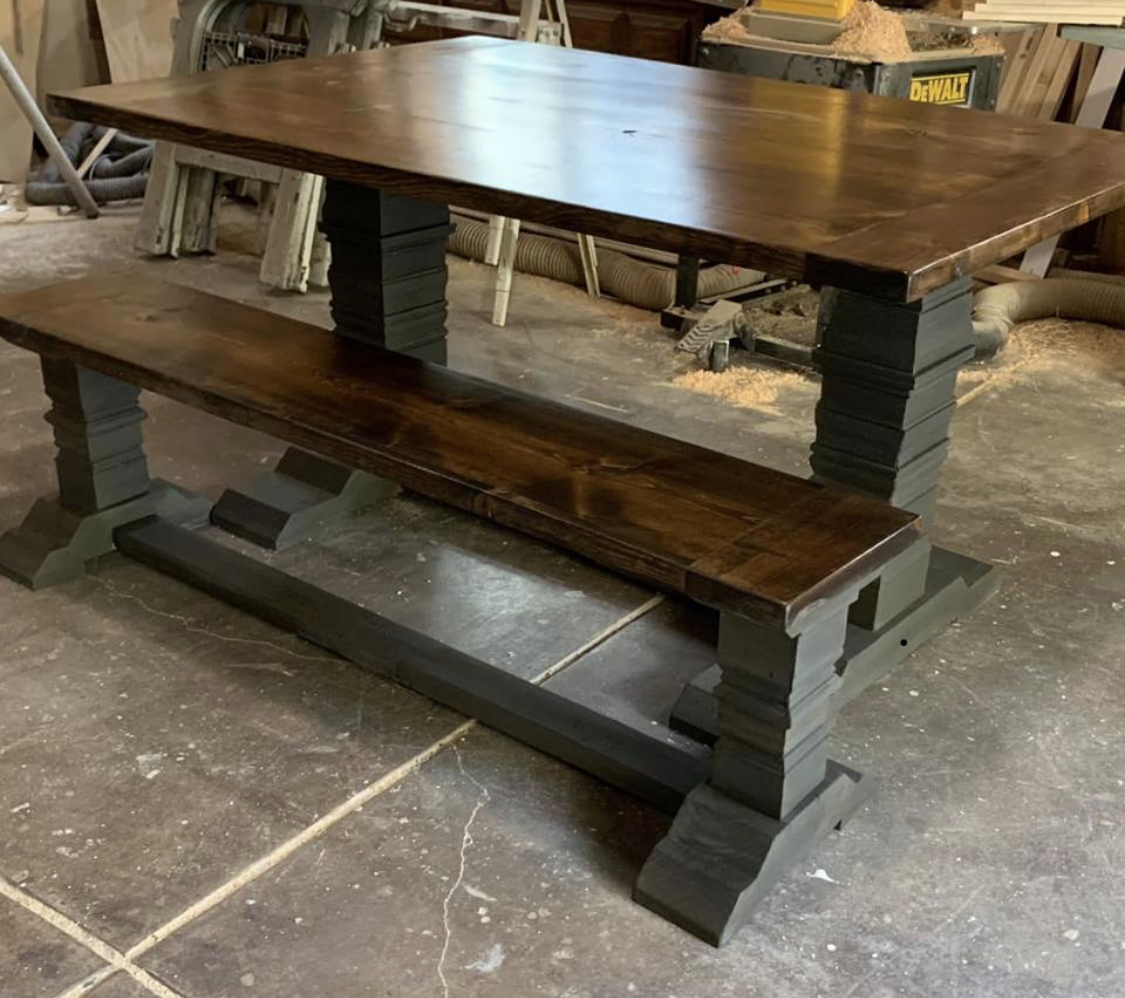
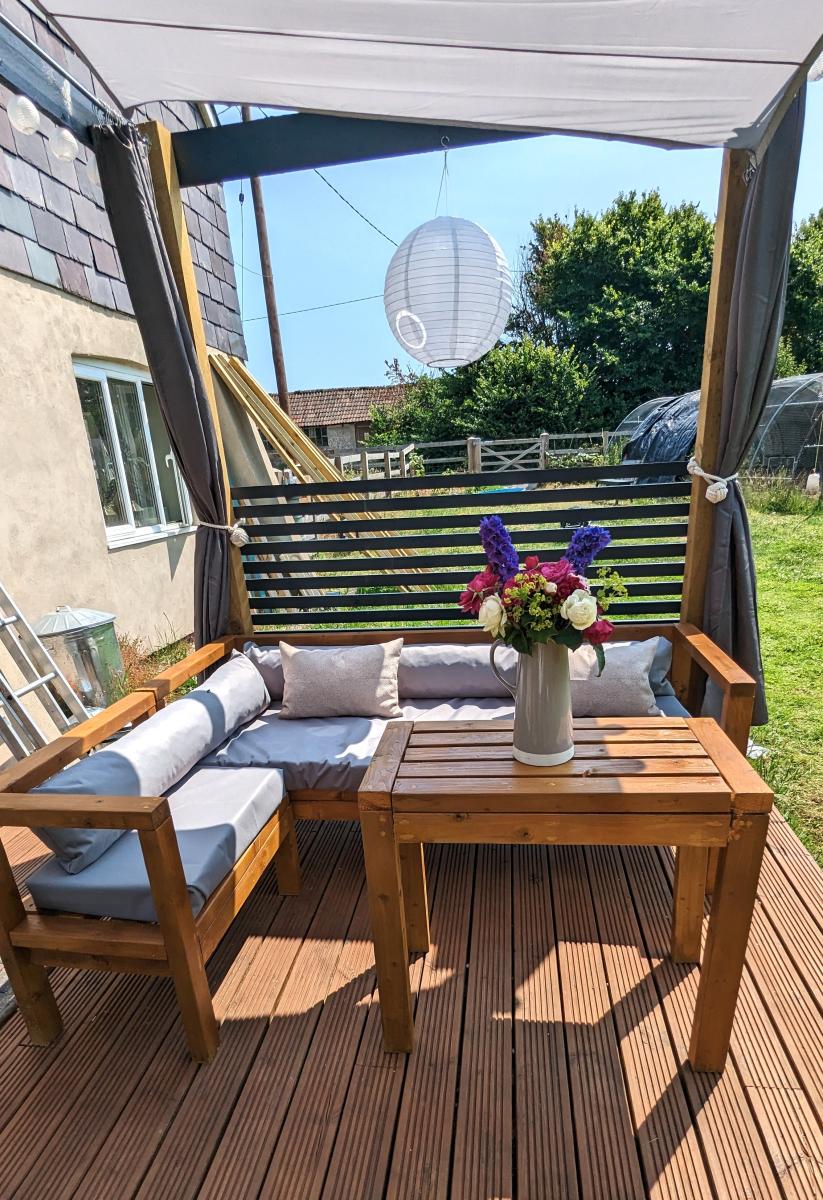
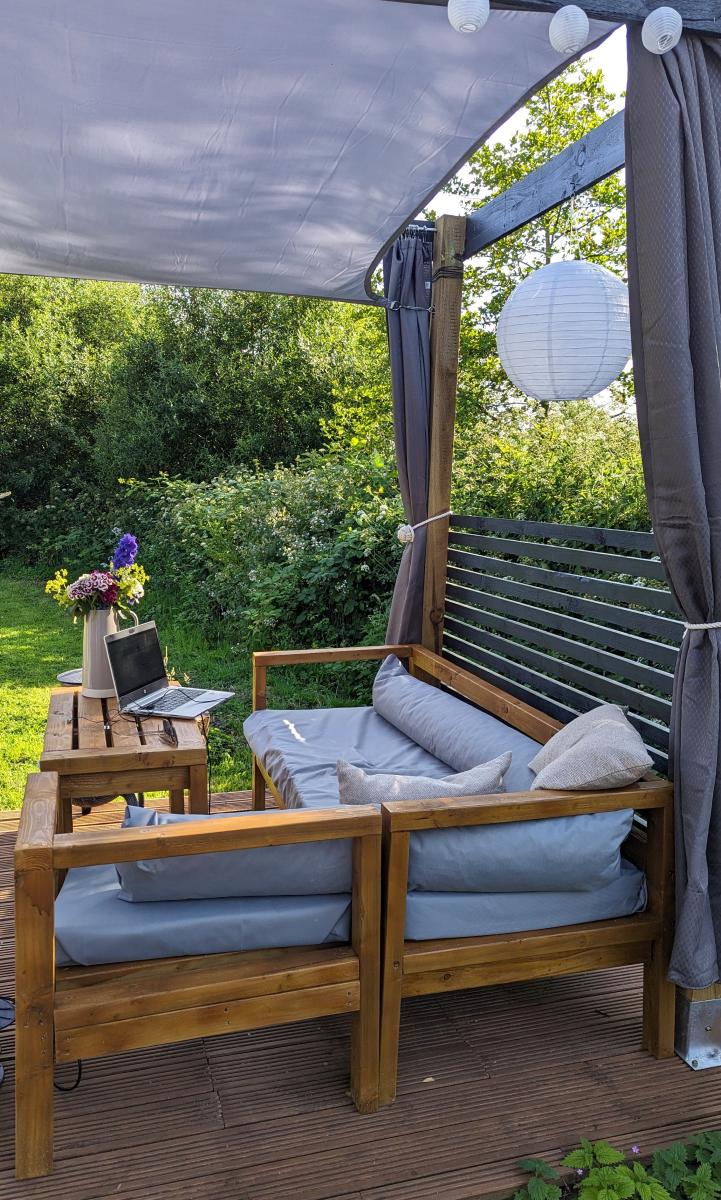
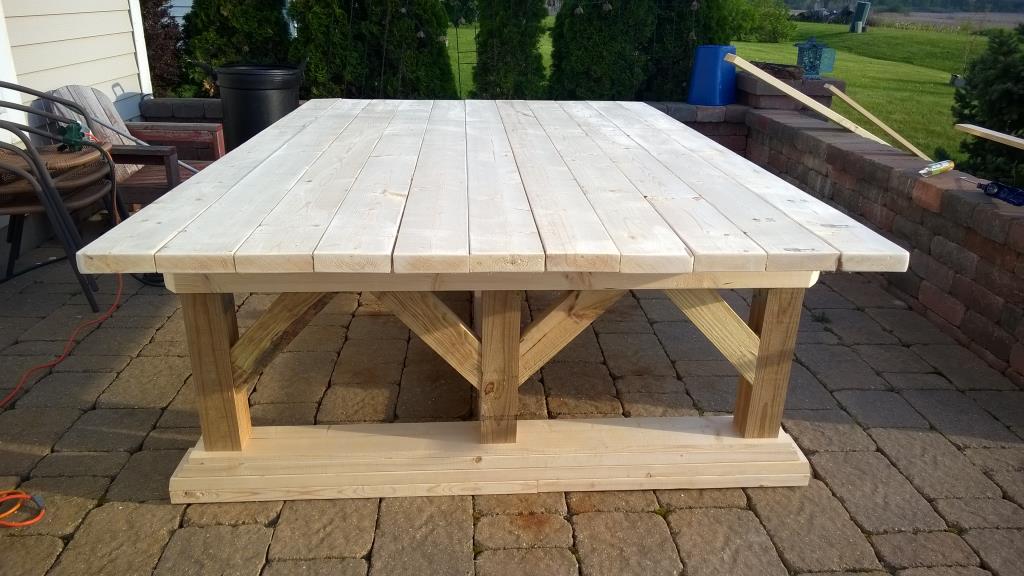
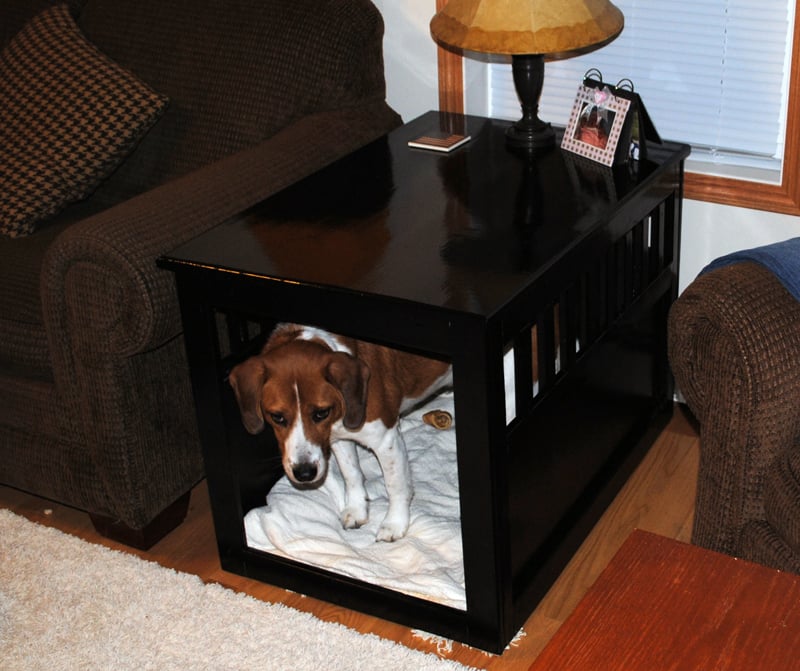
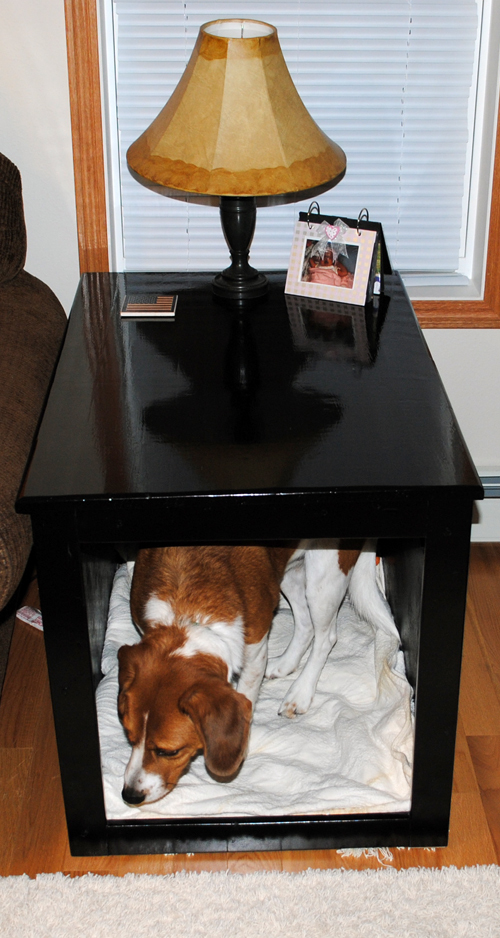
Rustic x coffee and end table
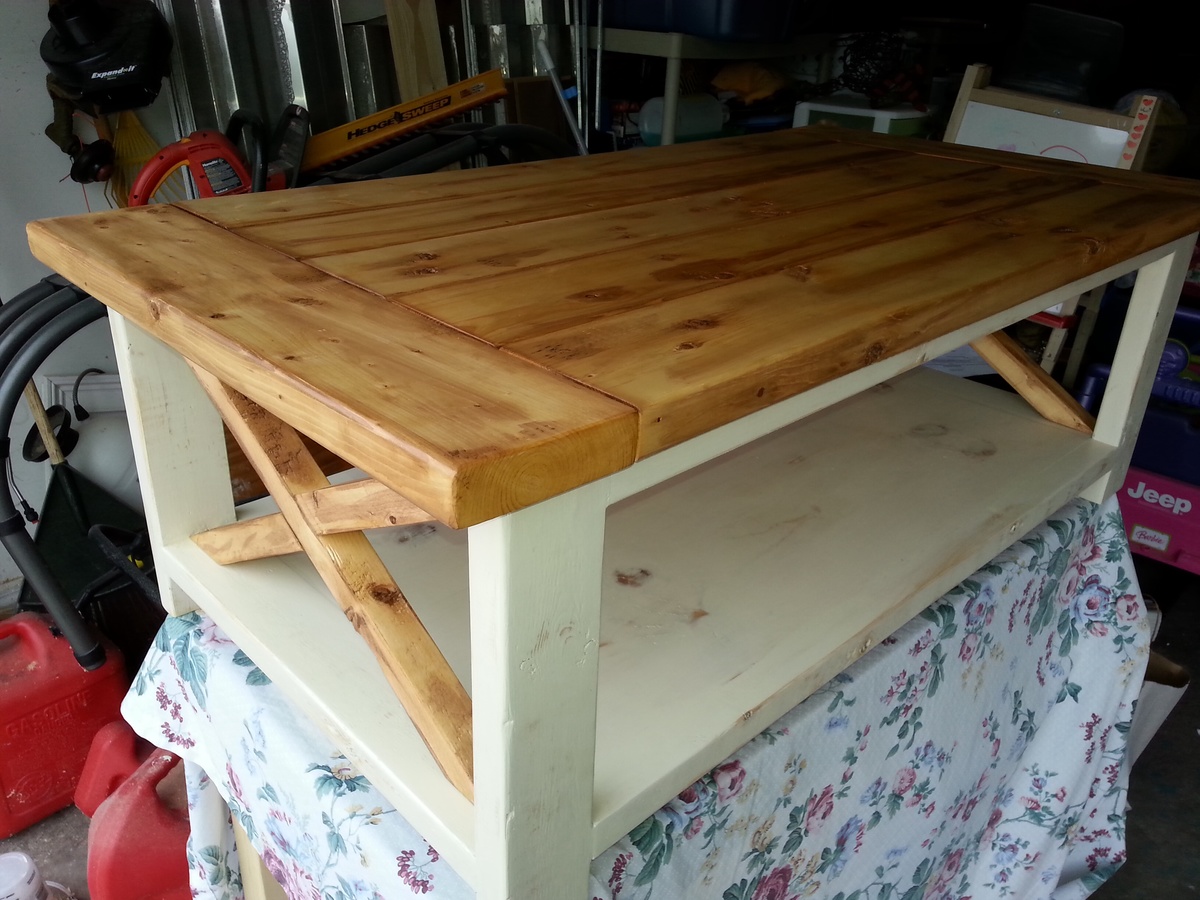
My sister n law and her family were moving and sold a lot of their furniture, so I built these as a Christmas gift. They came out great and I think they really appreciated it!
Built from Plan(s)
Estimated Cost
150.00
Estimated Time Investment
Weekend Project (10-20 Hours)
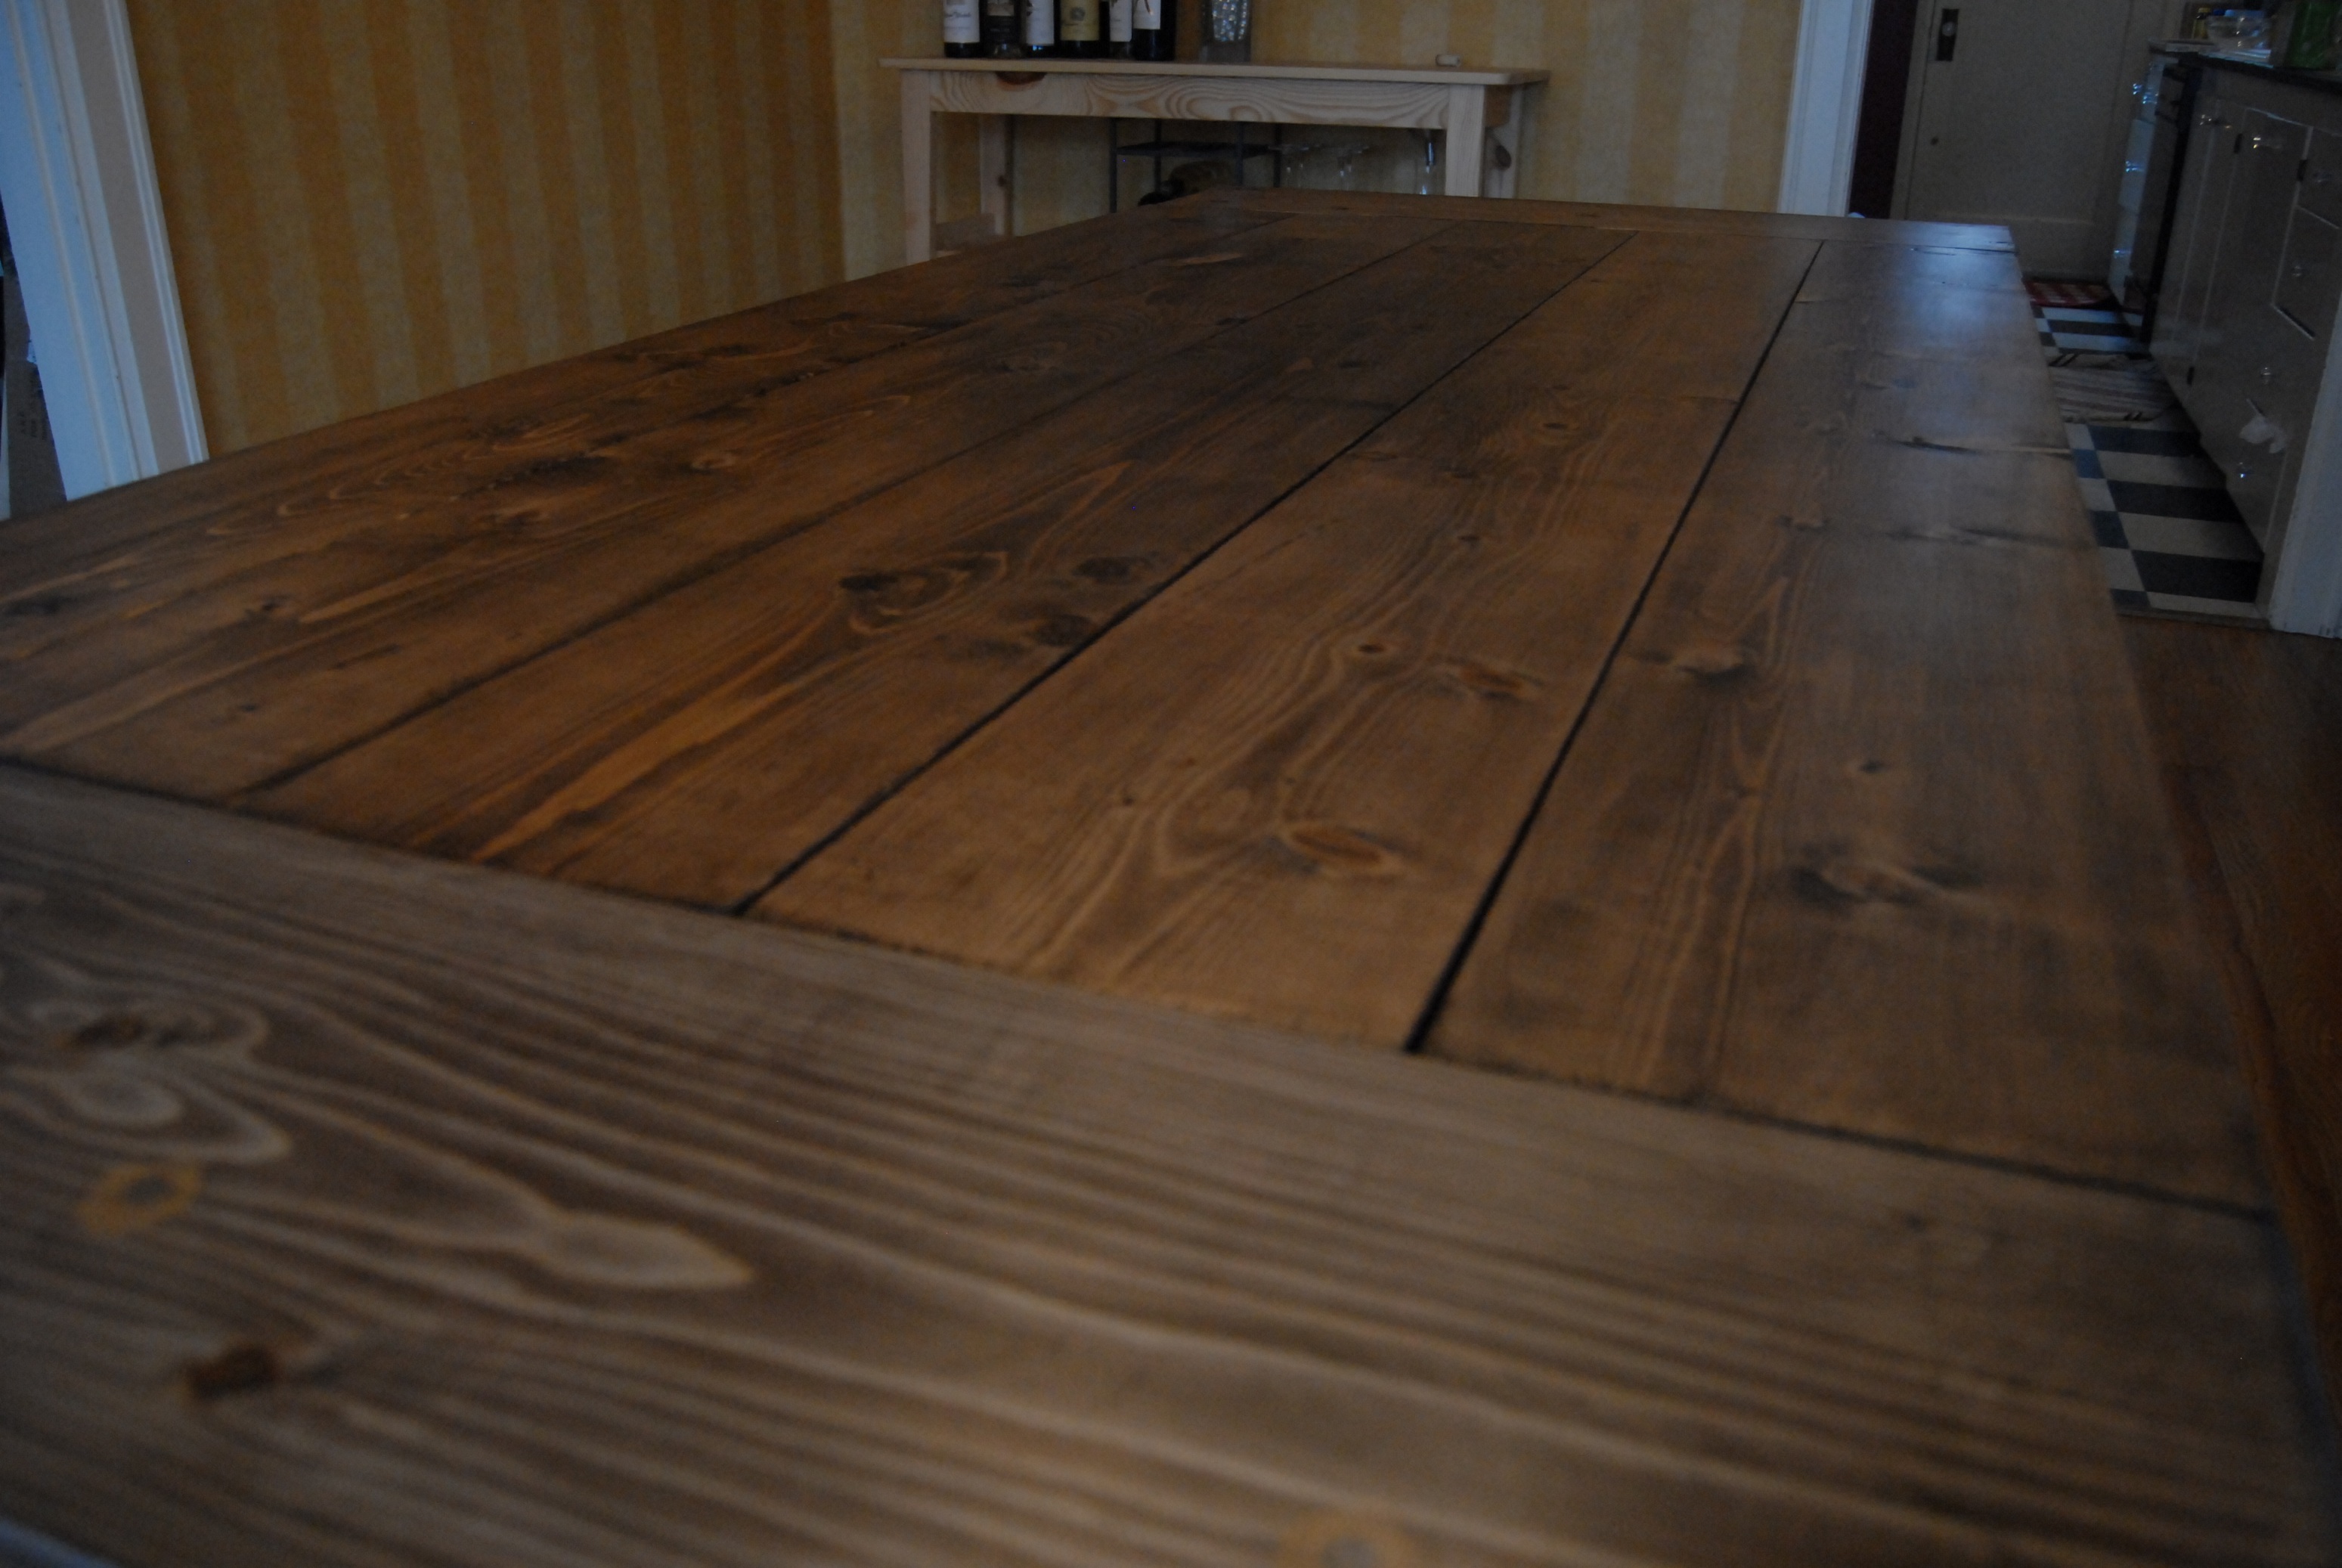
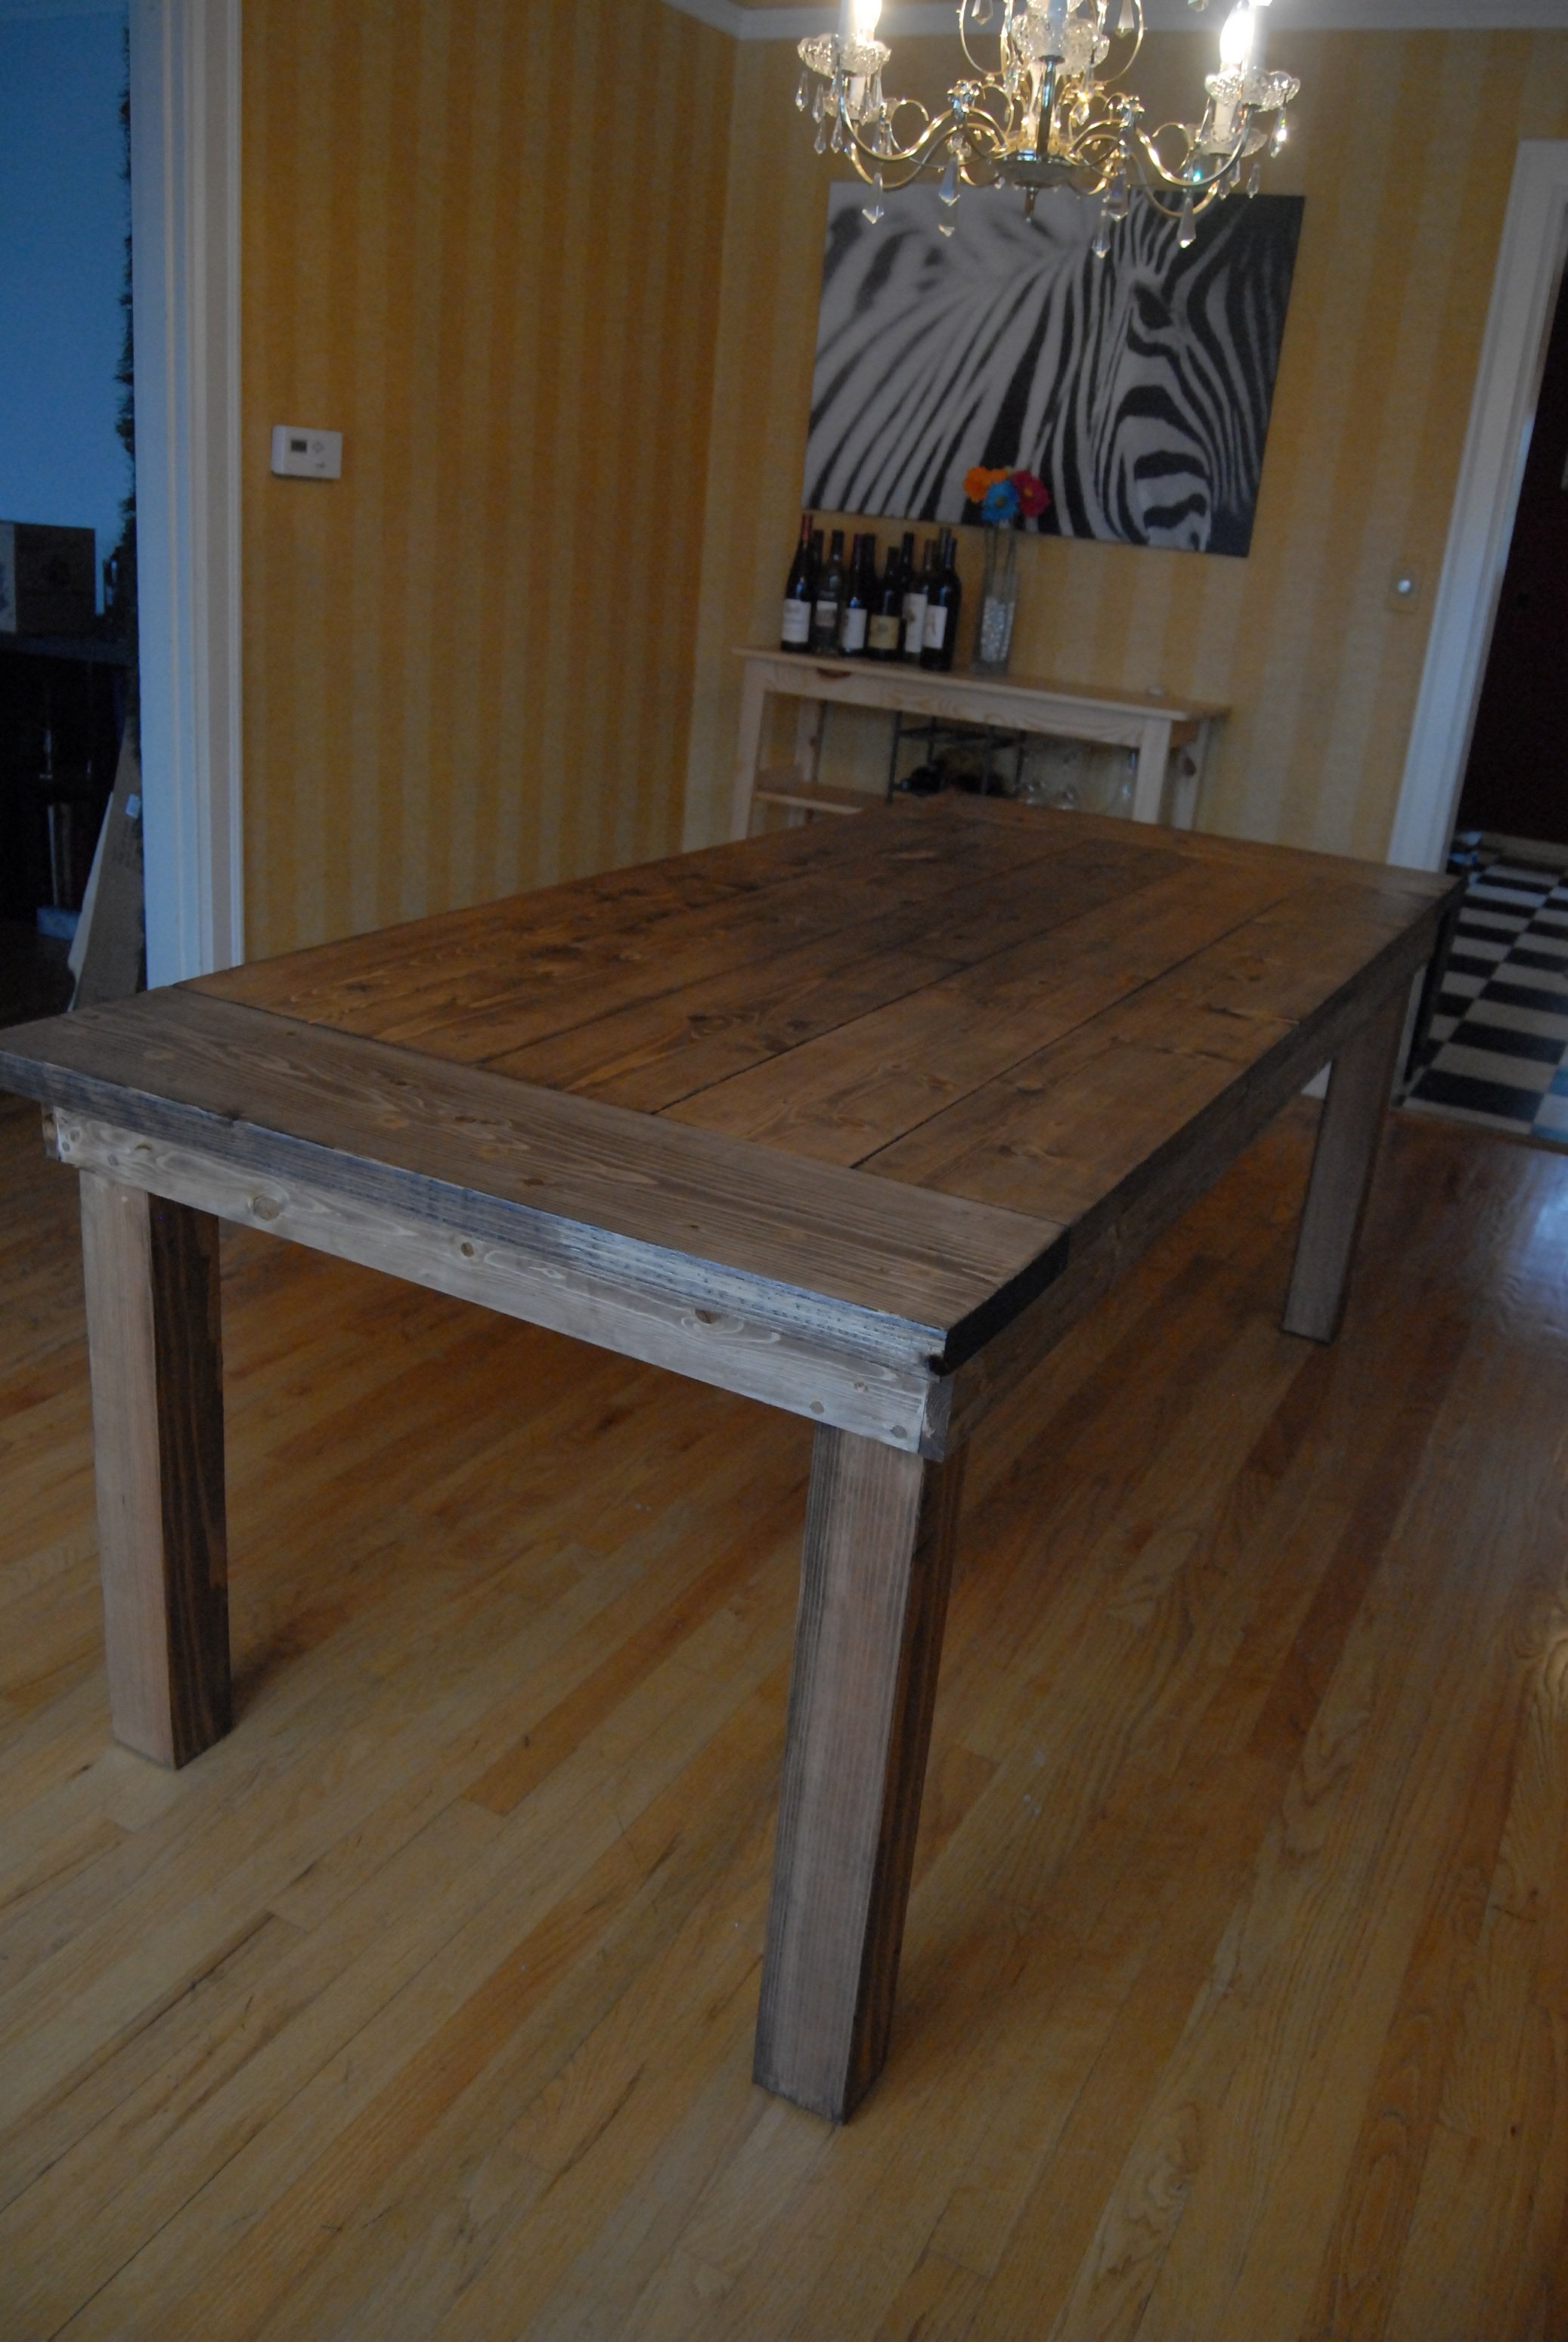
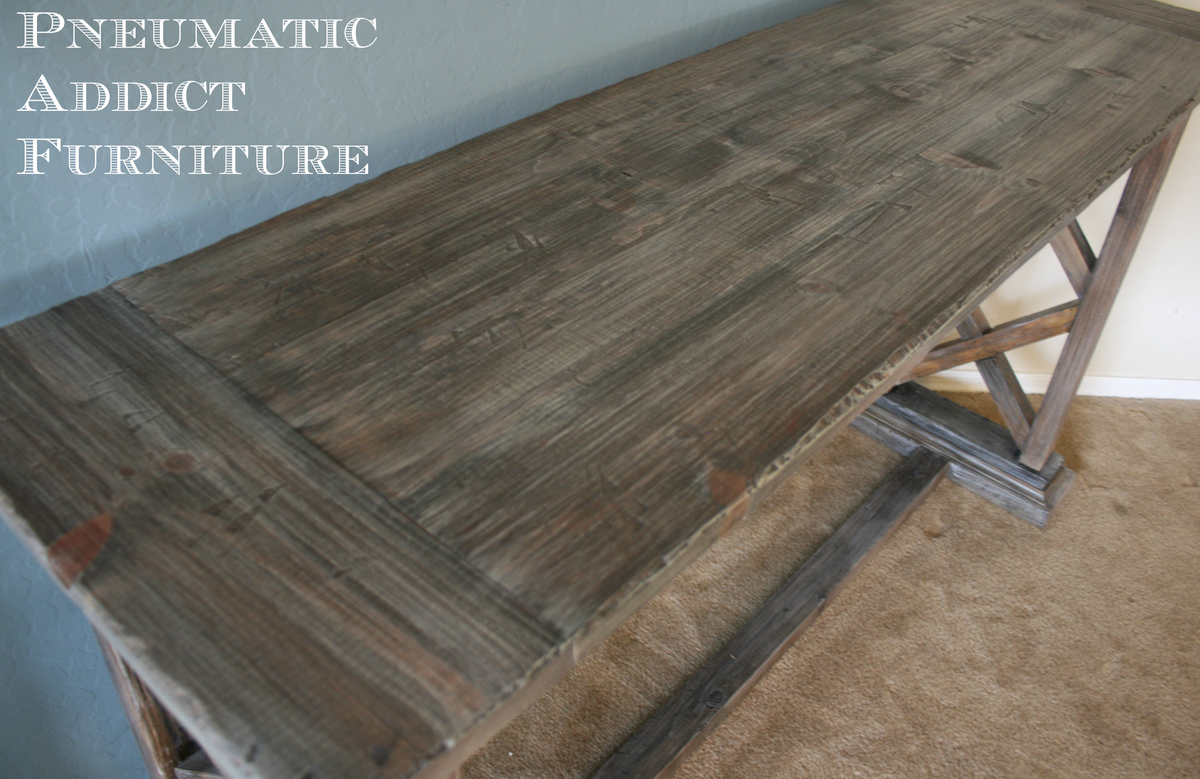
Finish Used
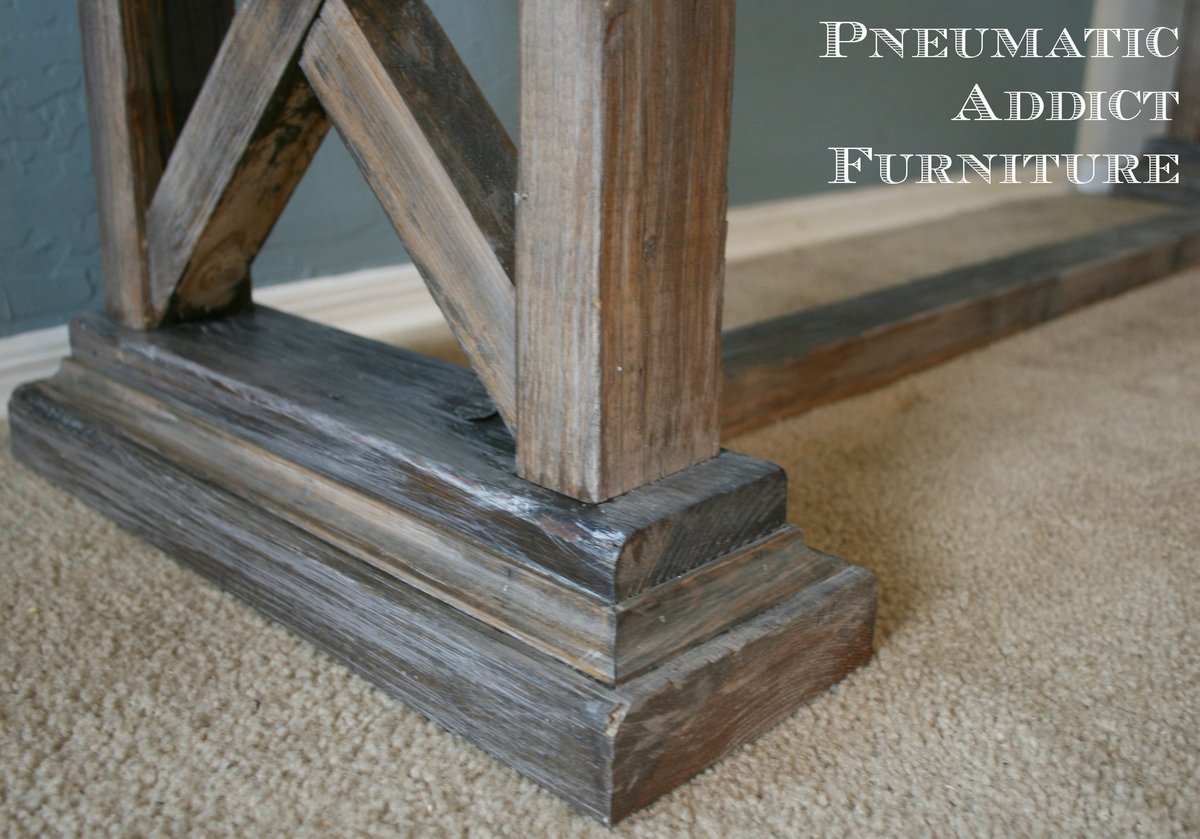
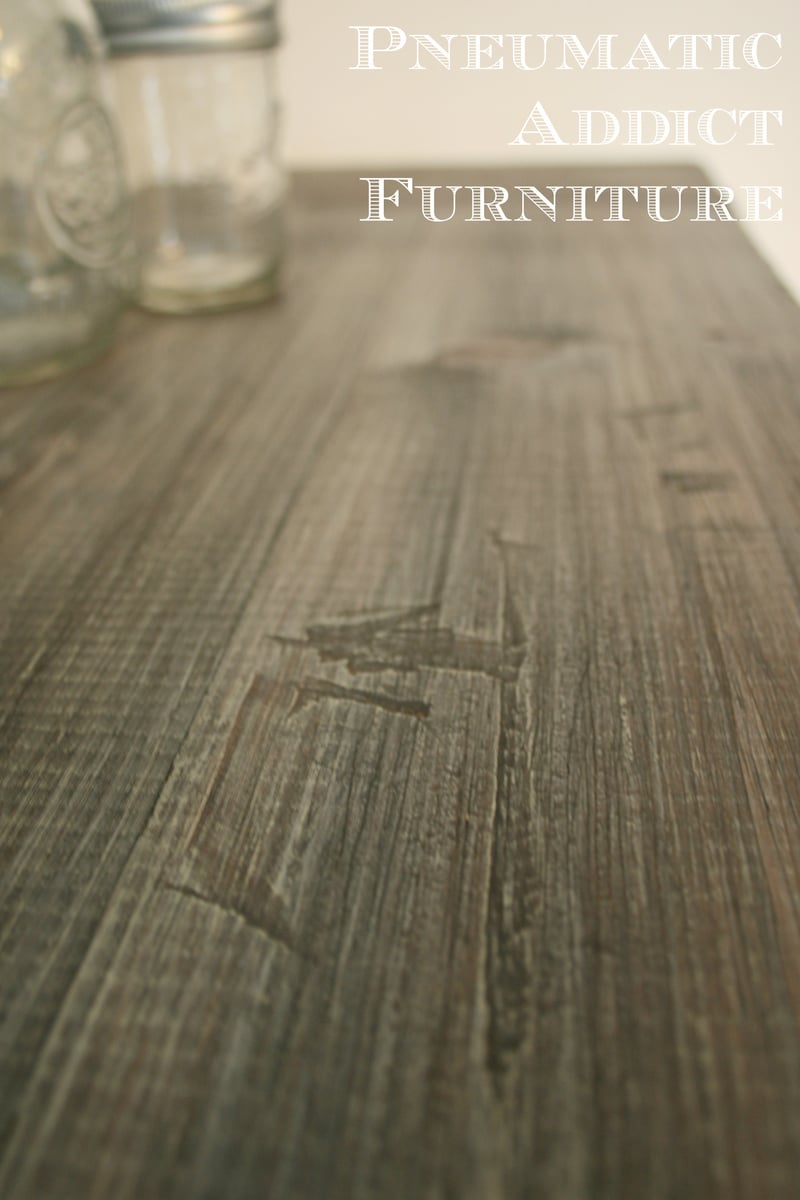
Varathane golden pecan and American walnut on the tops and the "X's". For the bases I used golden pecan and then painted flat cottage cream behr paint over. The whole project was topped with varathane satin finish polyurethane.
Recommended Skill Level
Intermediate


Comments
Brad Wills
Sat, 12/28/2013 - 18:48
.
.