Community Brag Posts
Adirondack Chairs
These chairs are fairly easy to make. The side boards were the hardest part.


Sand very well. Any base primer will work and use any color of paint that you choose.
My Leaning Bathroom Shelf
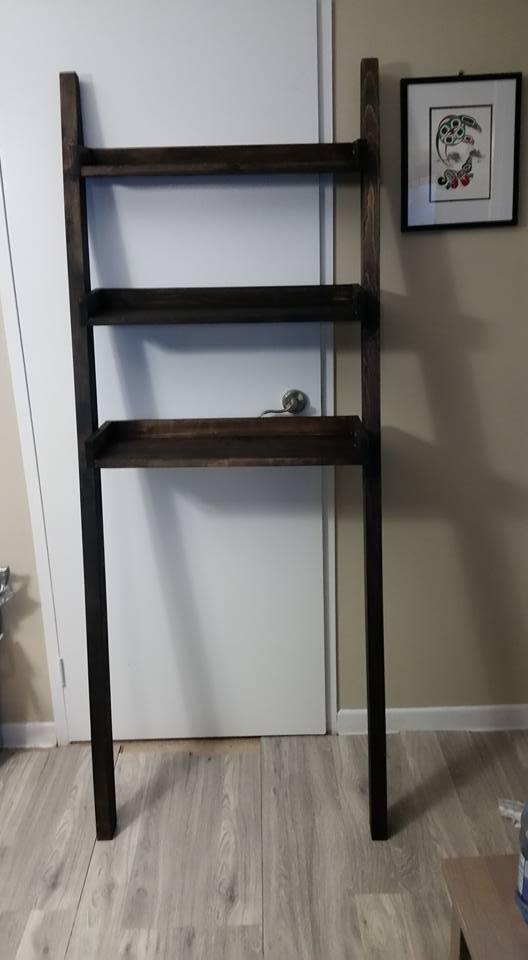
I followed the directions and made two of the same shelf -- using a expresso gel stain. I love it in my bathroom!
Firehouse Loft Bed
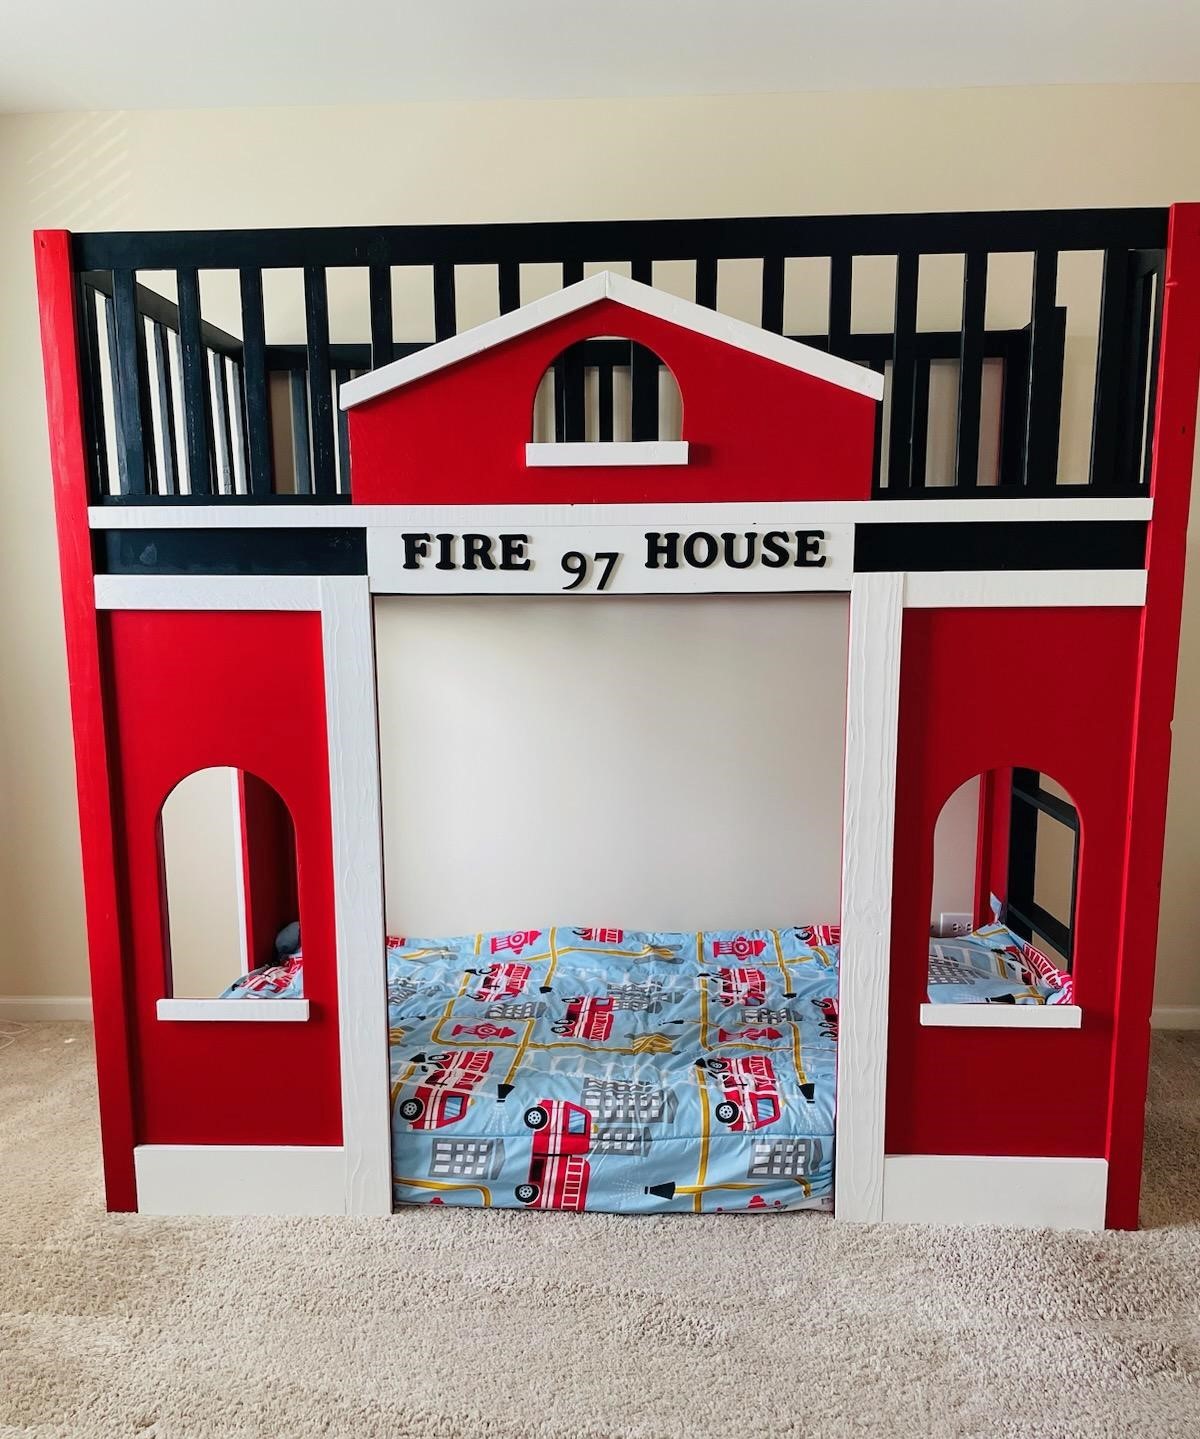
Our son moved up to a big boy room and we made him the Fire Station bed. He LOVES it. Not quite ready for him to use it as a loft bed so he is sleeping on the bottom for now.
Kaity
childs adirondack table and chairs
This is a Christmas gift for my granddaughters, and it was a huge hit! It is white pine 1x4's with 4 coats of polyurethane for a smooth finish.


Comments
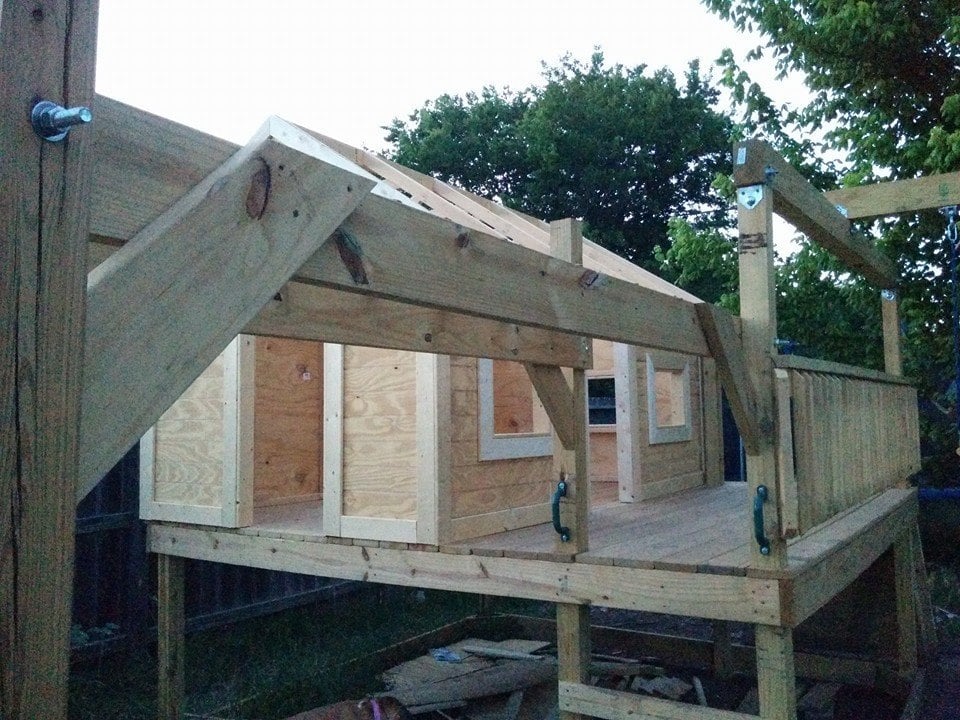
Linzy's outdoor play escape
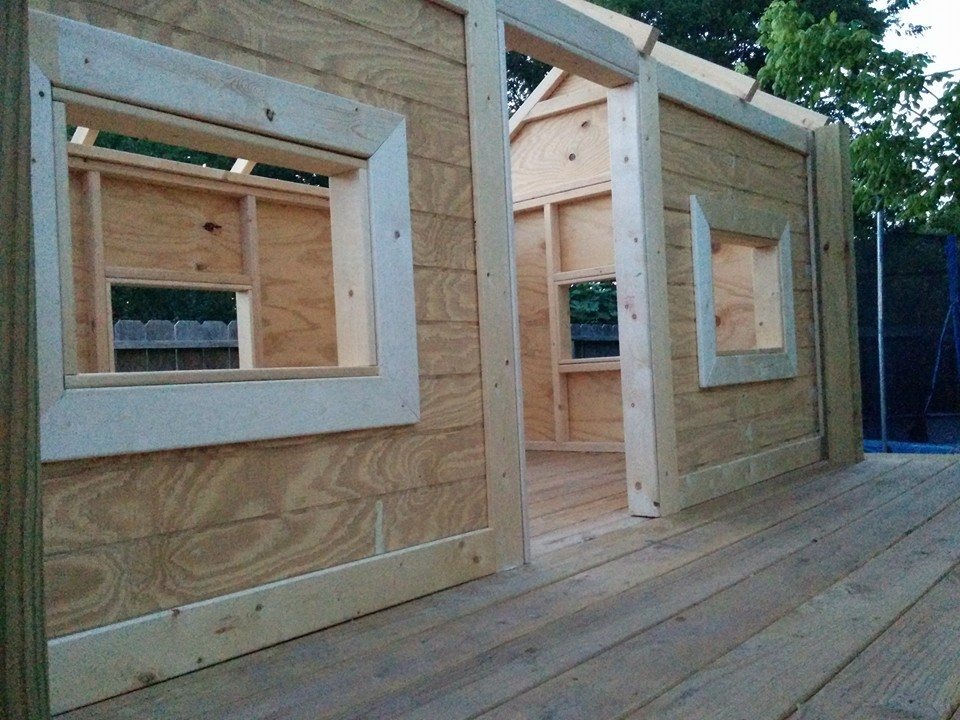
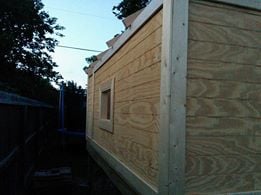
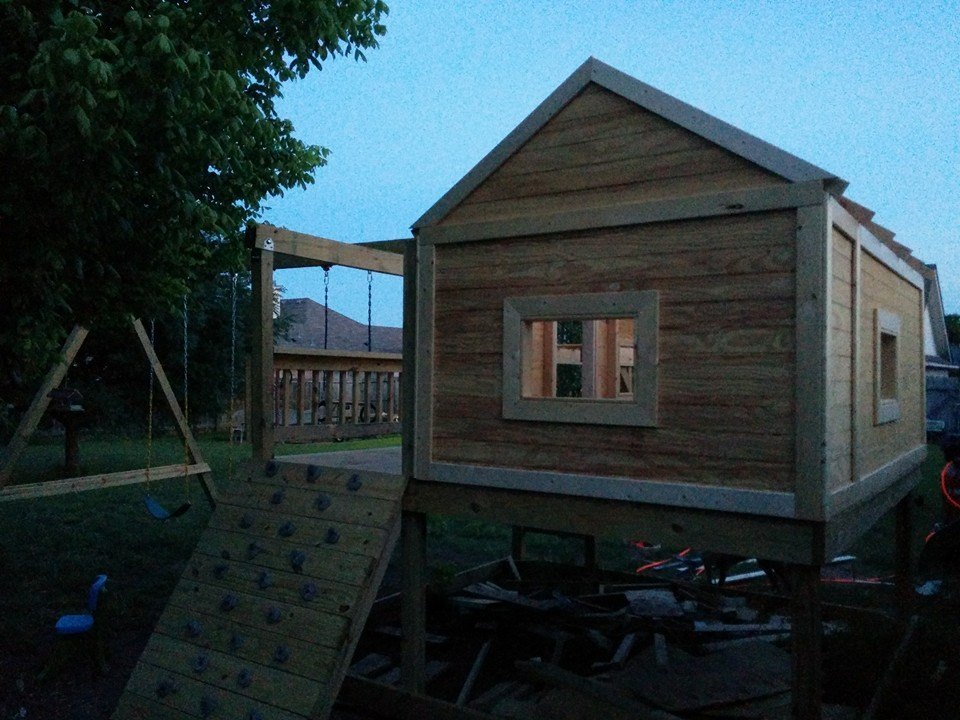
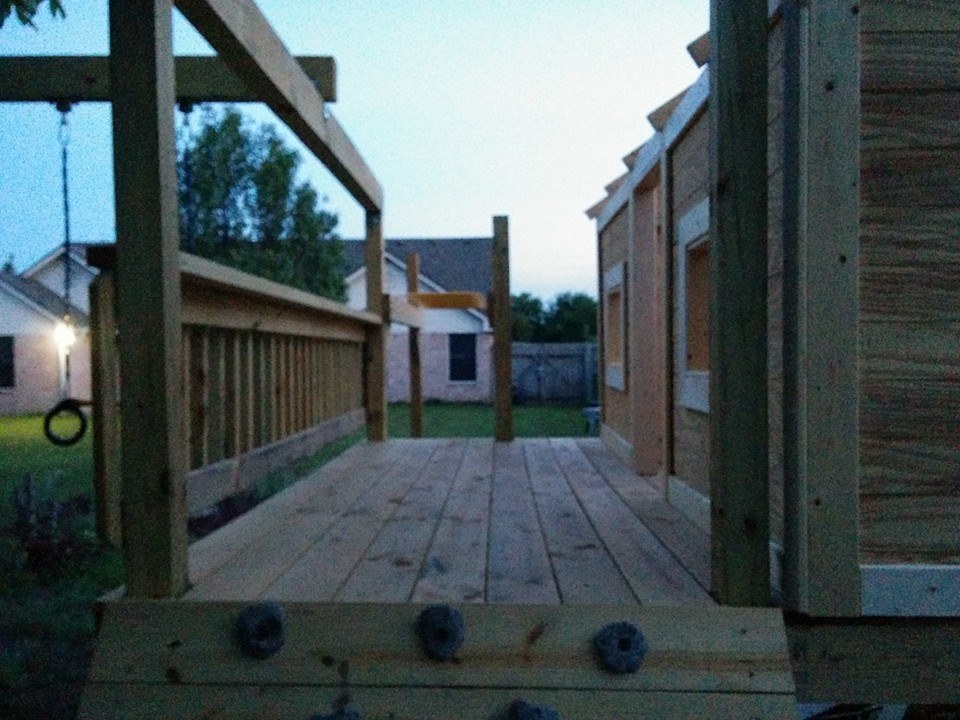
Built using the plans as a starting point and built it bigger than the plans called for.. The deck is 10x10 and the playhouse is 6x10. I used pressure treated lumber for everything but the playhouse. I still need to paint the house and stain the deck, then put the roof on.. if it would stop raining.. Once i'm done staining the deck I can put the slide back on also. ''
Swings, monkey bars, and rings / trapeze was ordered from Amazon.
Children's chair
Our son is learning cello and we were told he needed a 14" chair for practice, so this plan looked perfect.
Other than tweaking some of the dimensions as the plan didn't seem to quite work, the only other change I made was to use wooden dowels instead of screws to give it a cleaner finish.
Seems stable enough for me to sit on.
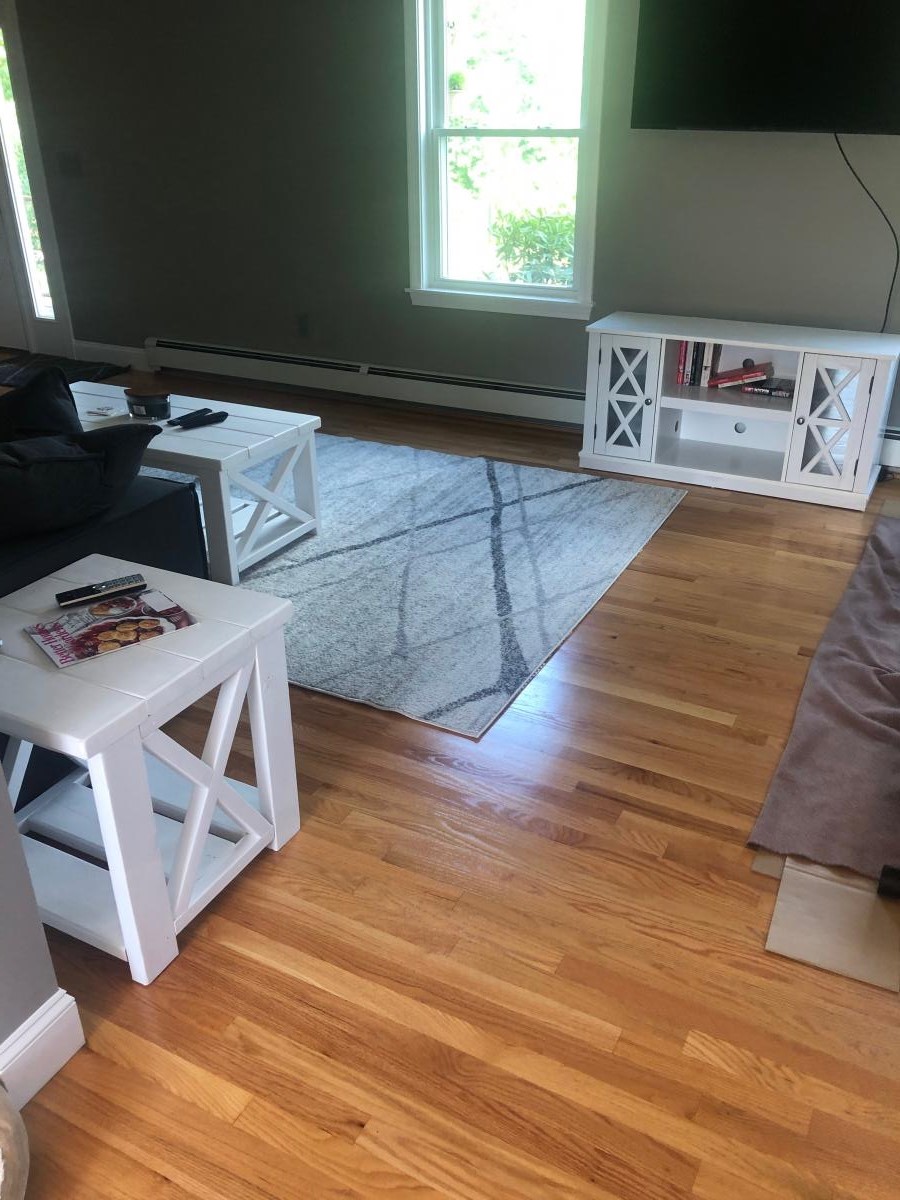
X-style coffee and end table
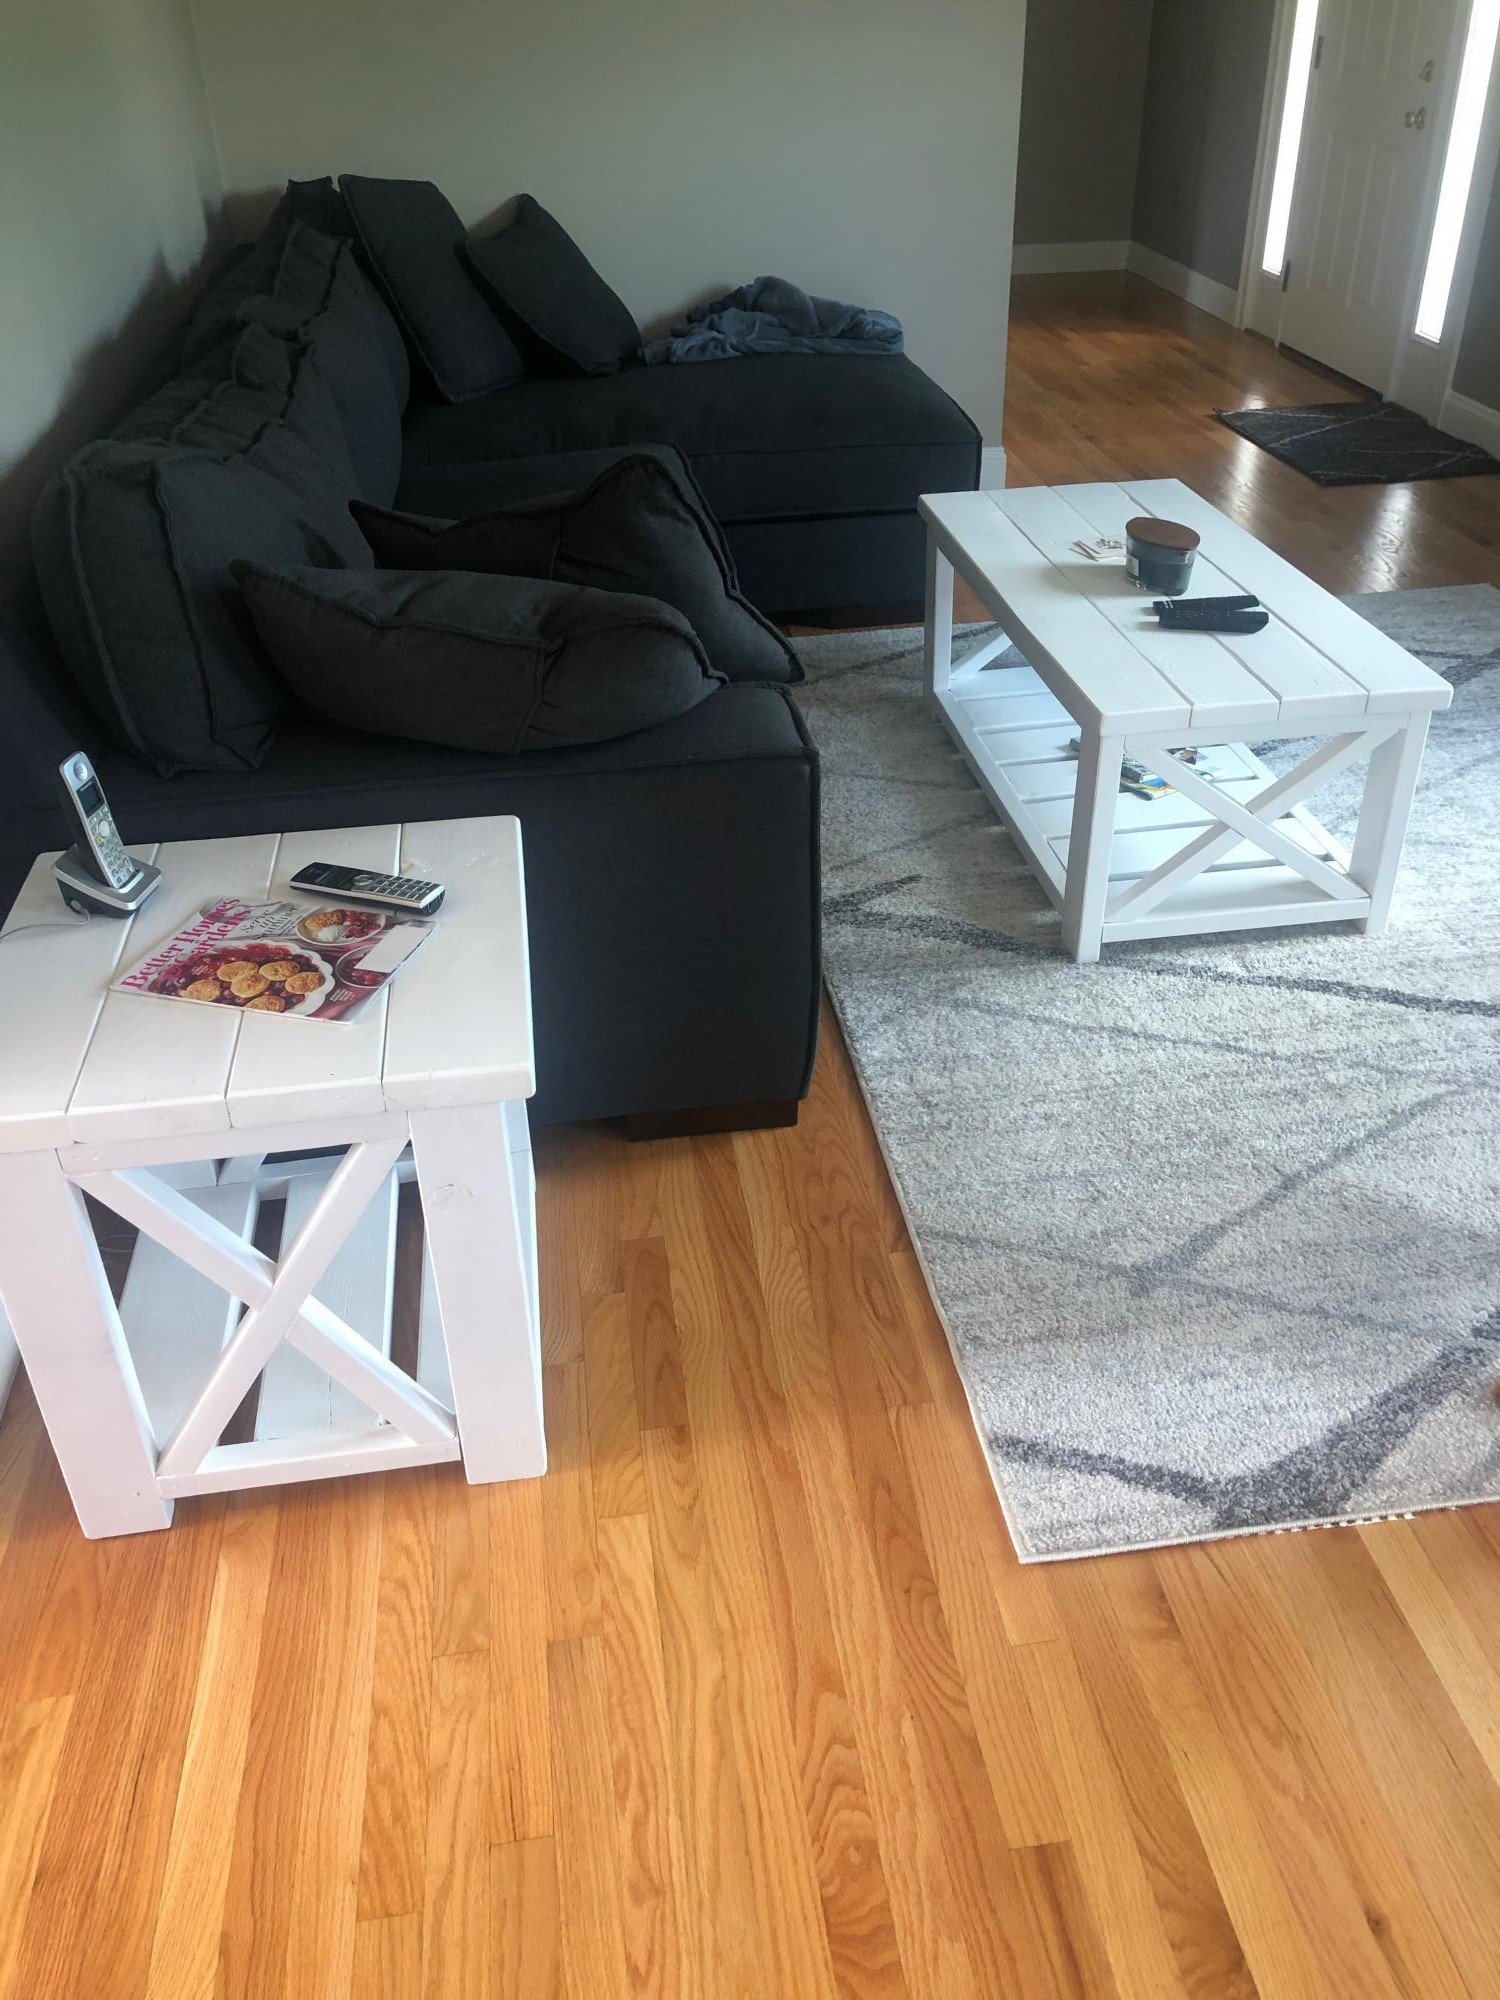
My mother wanted something to match the table she got for under her TV, and I found the plans here for the x-style coffee table and small end table to be very fitting. The crosses were pretty difficult with just a hand saw, but with the help of my brother in law we got these done in a few days.
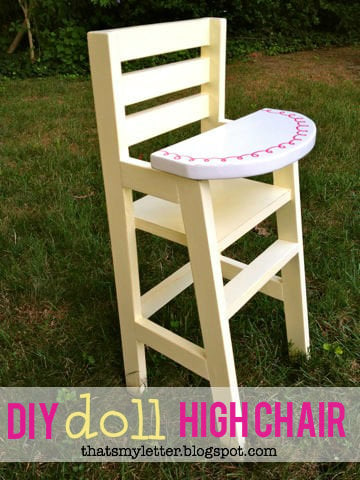
doll high chair
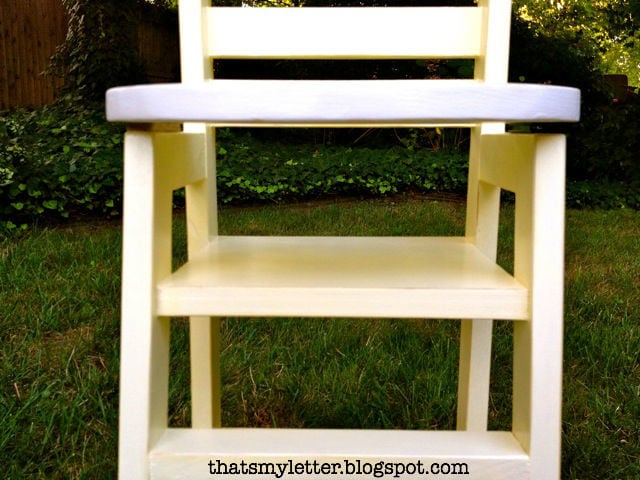
doll high chair with movable tray
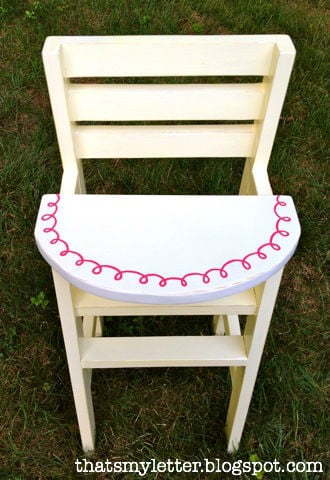

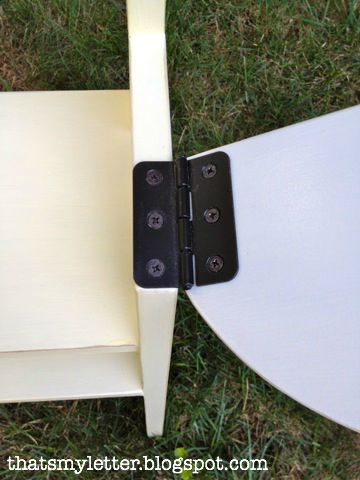
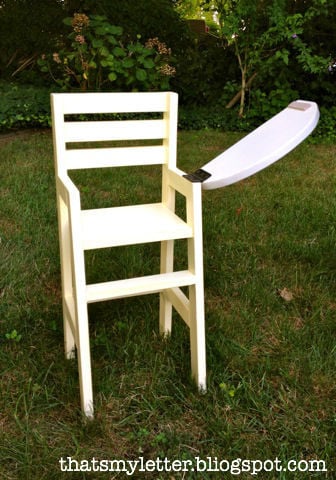
2. tray: Behr swiss coffee
3. chair: Behr frosted lemon
4. seal Minwax clear stain
Dawsen media console
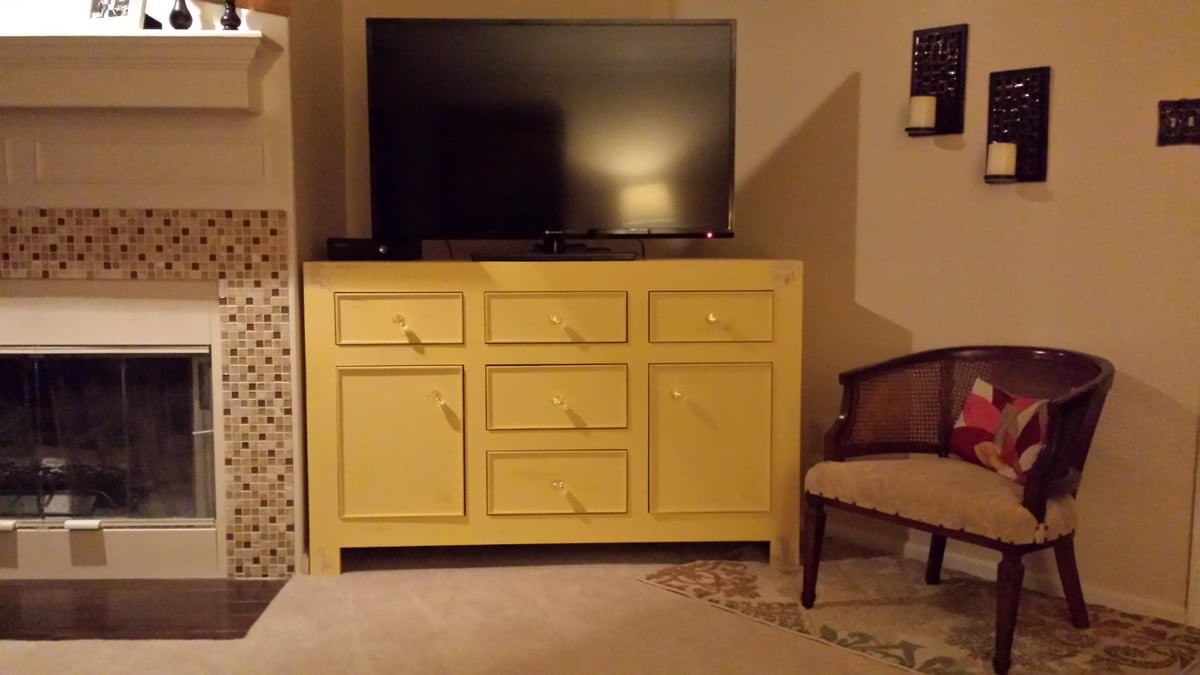
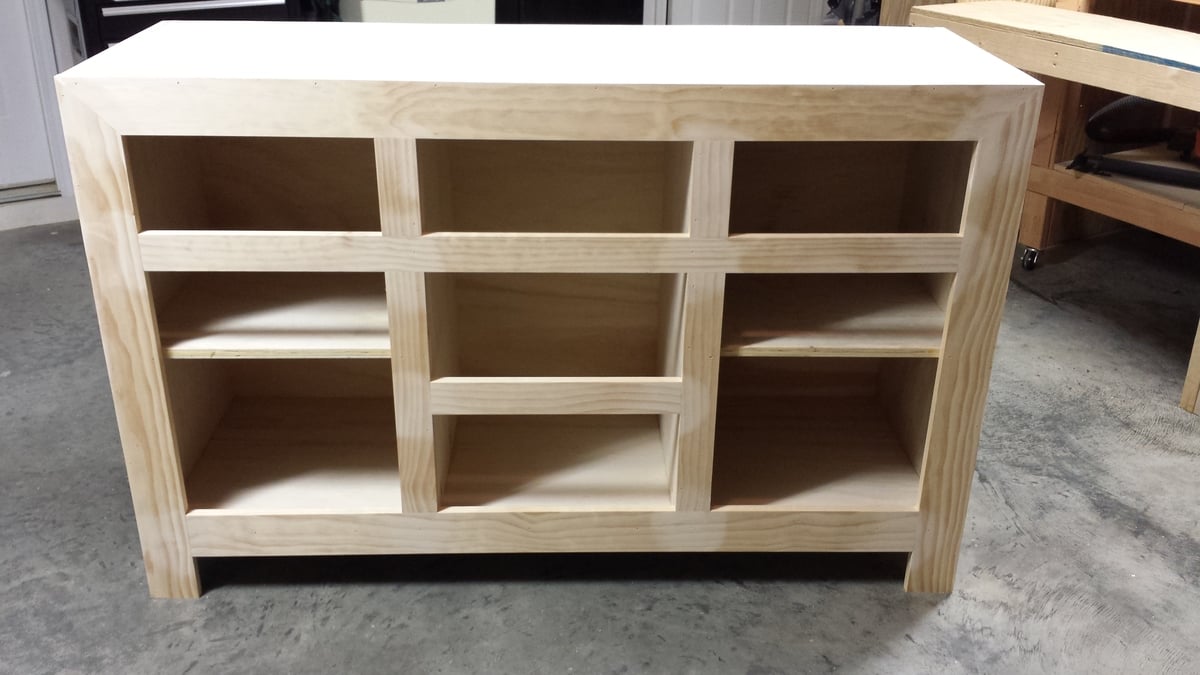
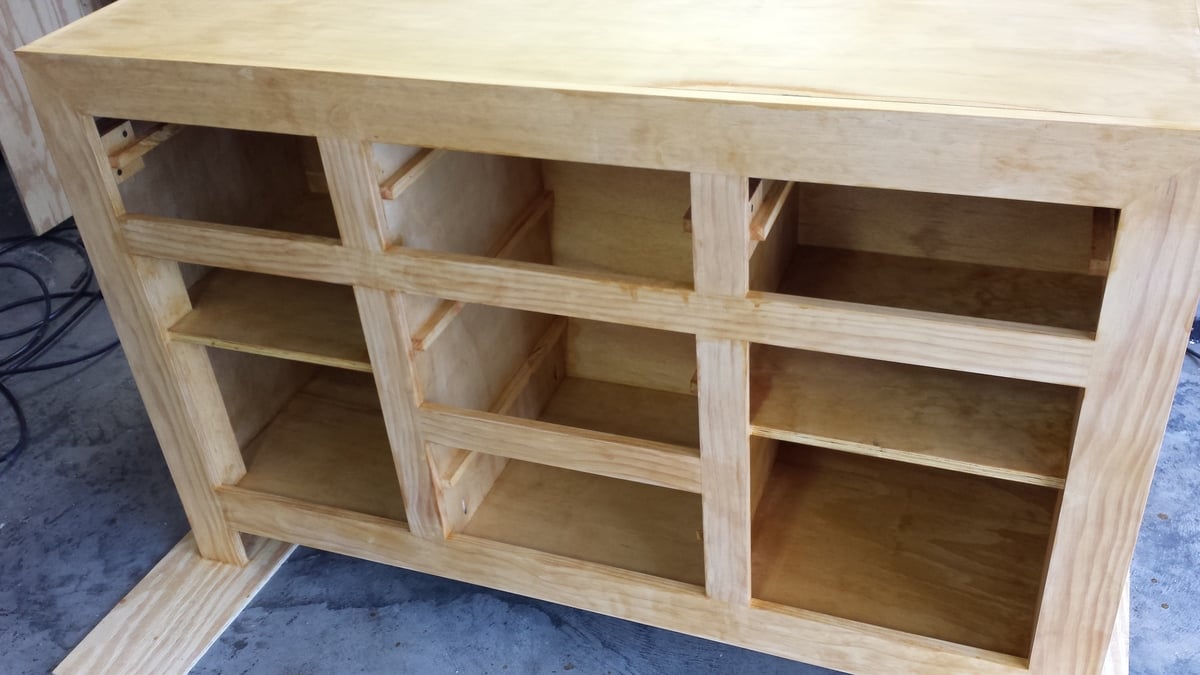
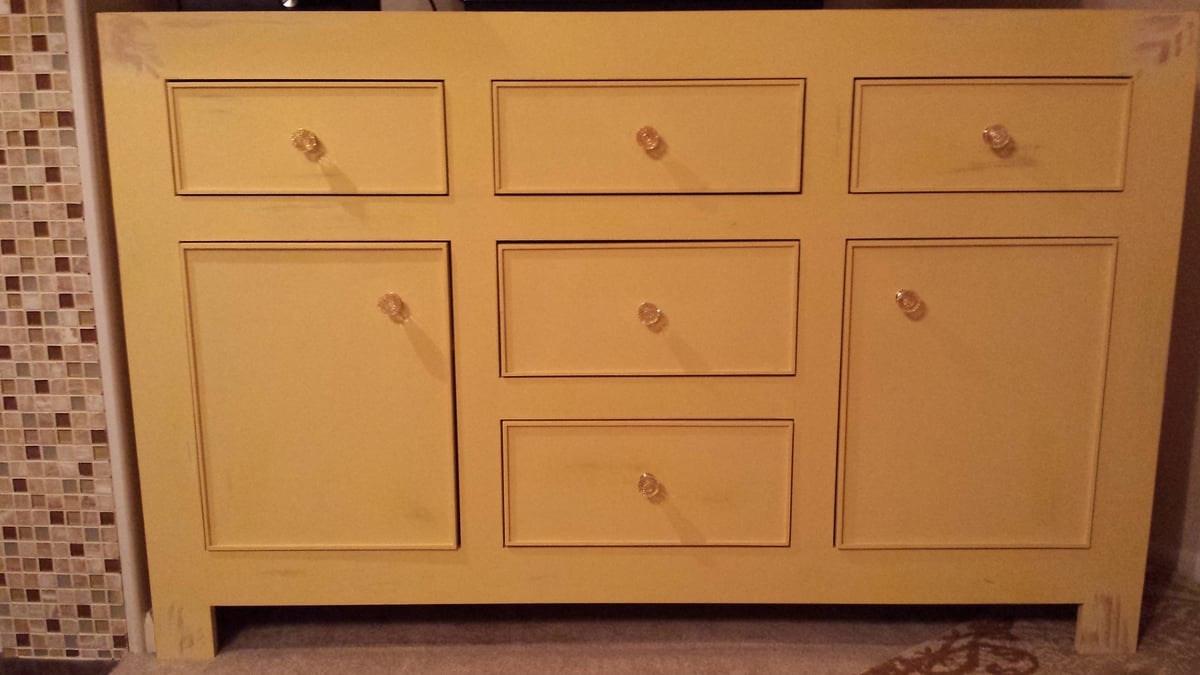
This is the first piece that I have built from your website. The plans were easy to follow. I had to change the dimensions to fit the console where we wanted so it made the parts list a little more time consuming to figure out with a few mishaps in the original plans. After that it was smooth sailing.
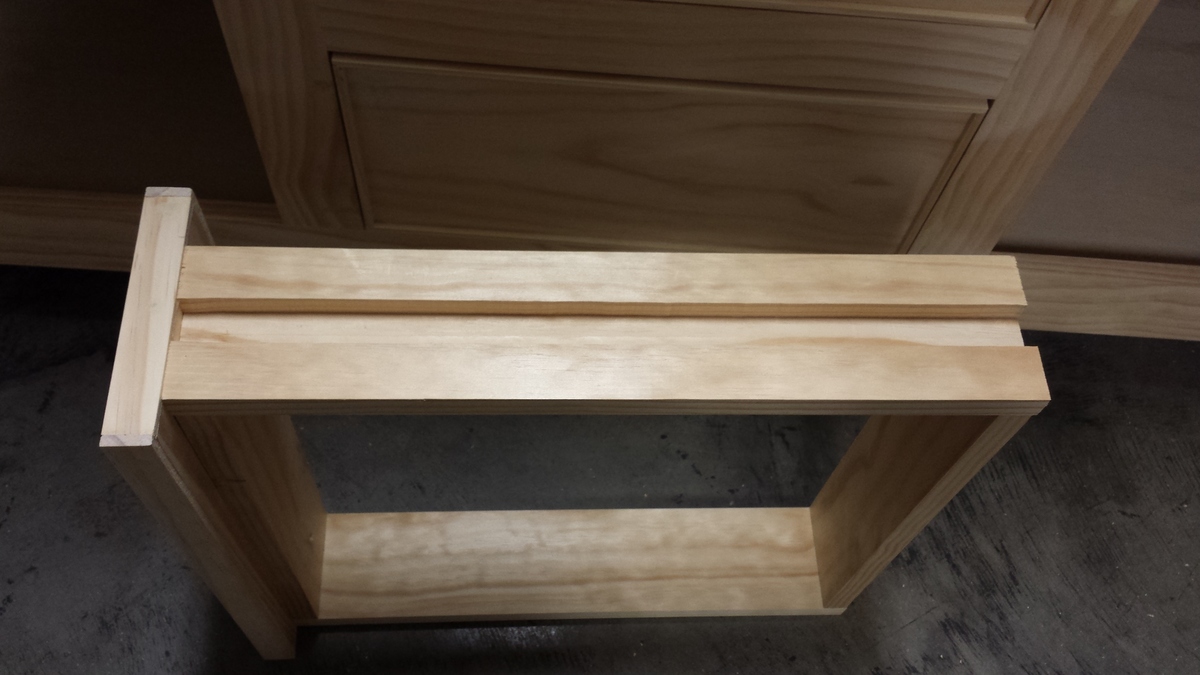
I tried to save money where I could so I created my own slides for the drawers rather than spending $100 for the slides. They turned out great. I also made the chalk paint with plaster of Paris since the cost of chalk paint is pretty high.
My wife and i were very pleased with the outcome. Thank you Ana for the great plans. With a little basic wood working knowledge and the proper tools, just about anyone could make this piece.
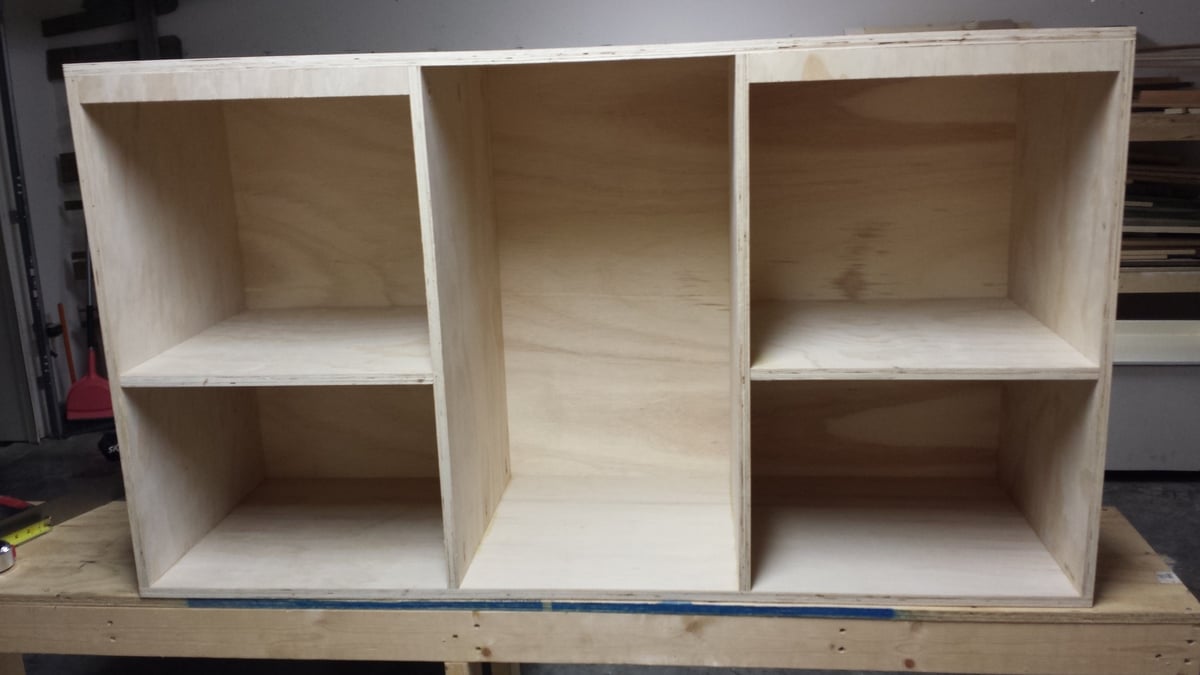
First Time Woodworker
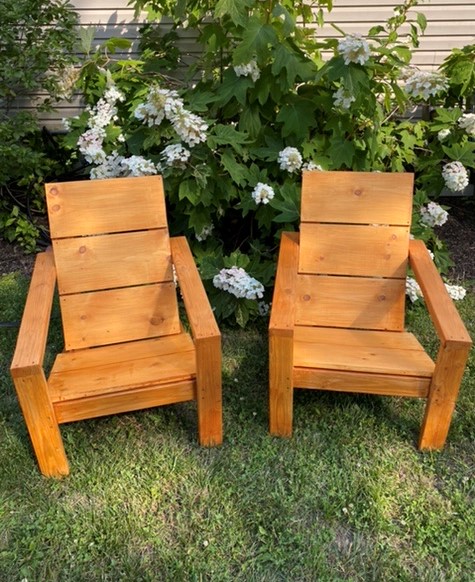
This was my first time building something and I was thrilled with how they turned out. Thanks to Ana for creating such easy to follow plans. I look forward to many more projects to come!
Two Tone Console Table
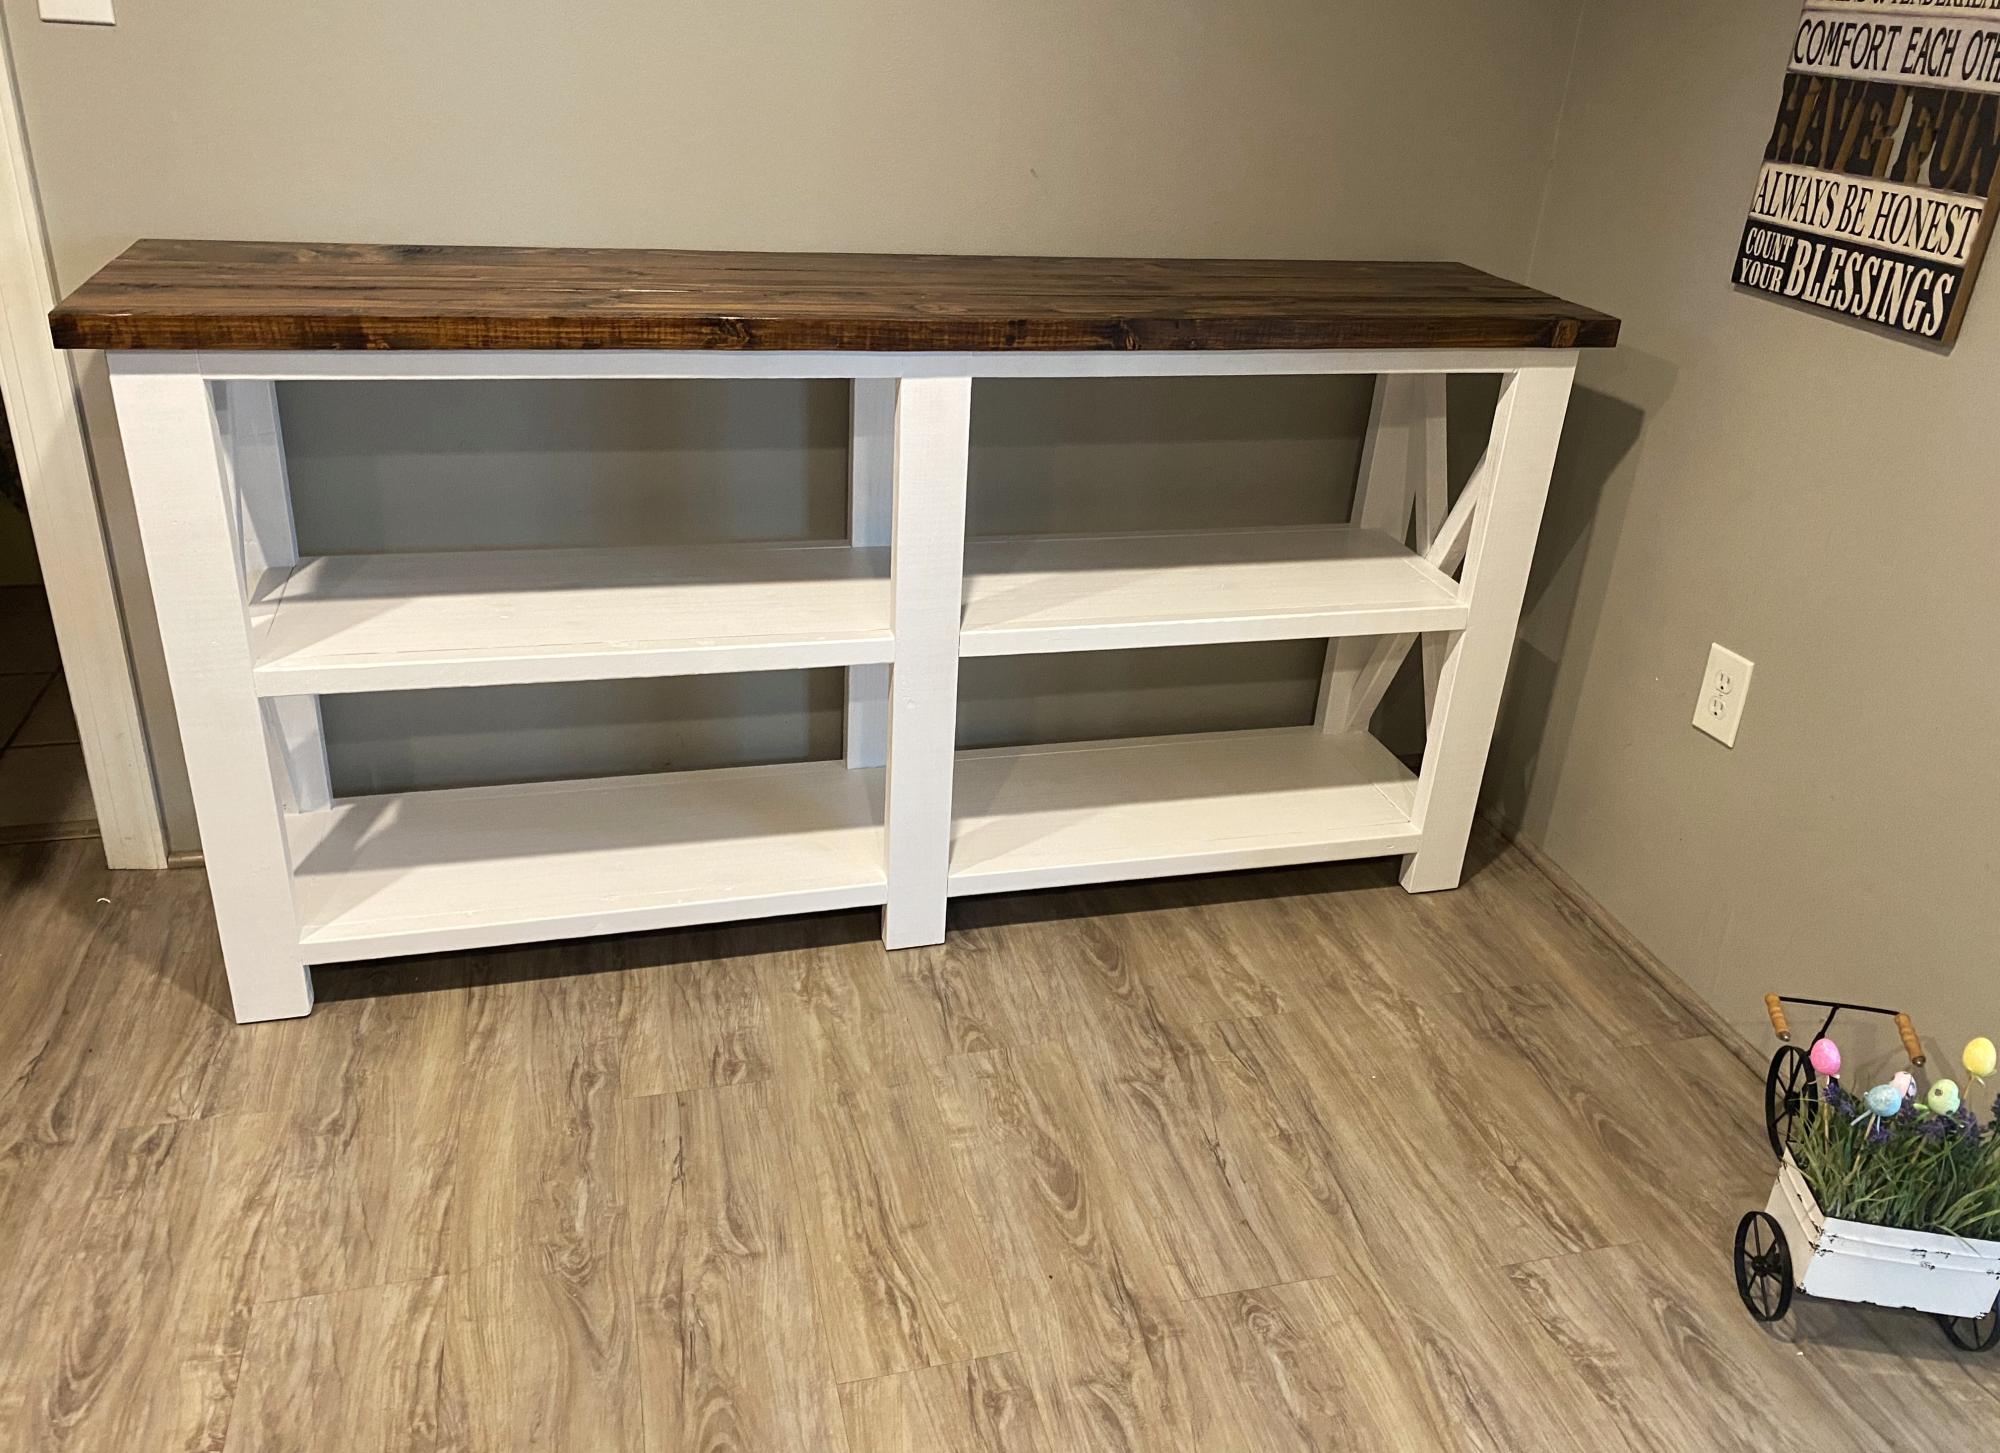
This is the 3rd table I built. Love all of your work. Ross
Console Table
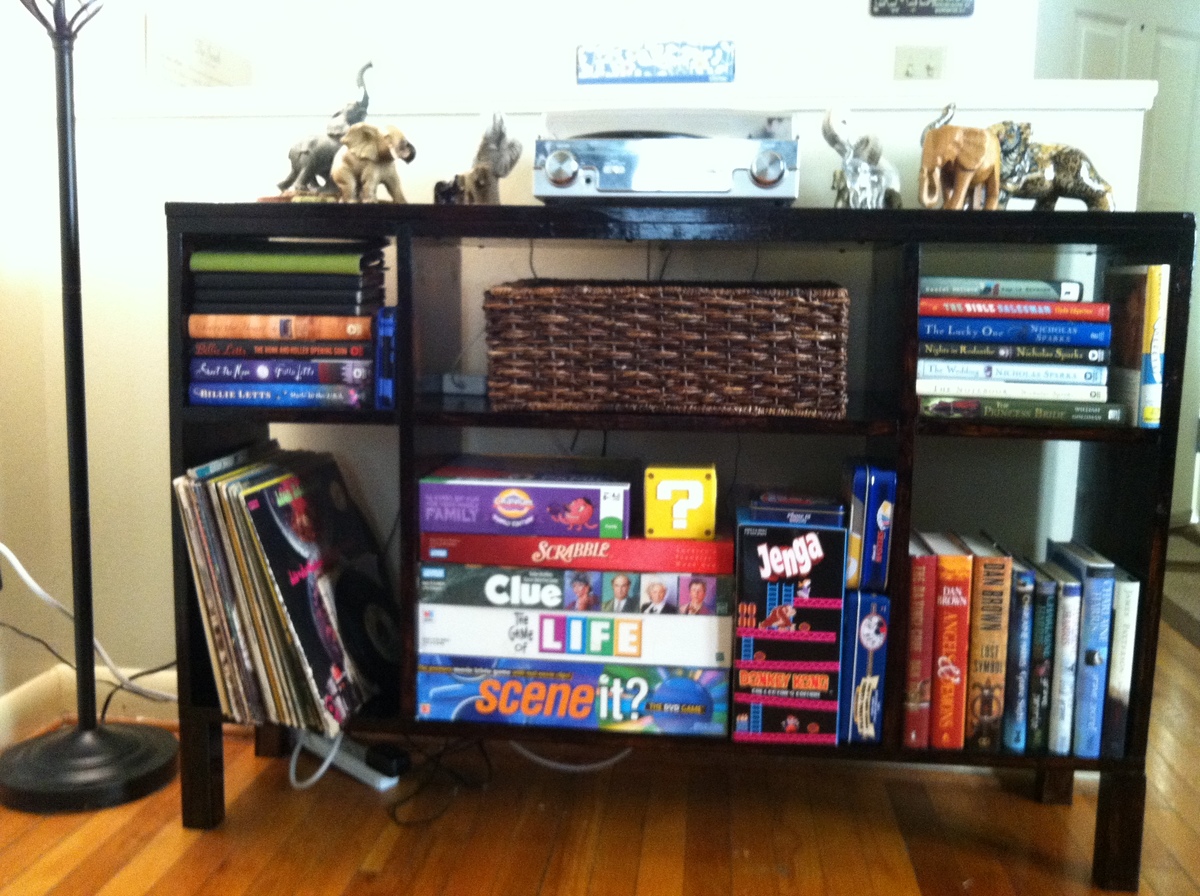
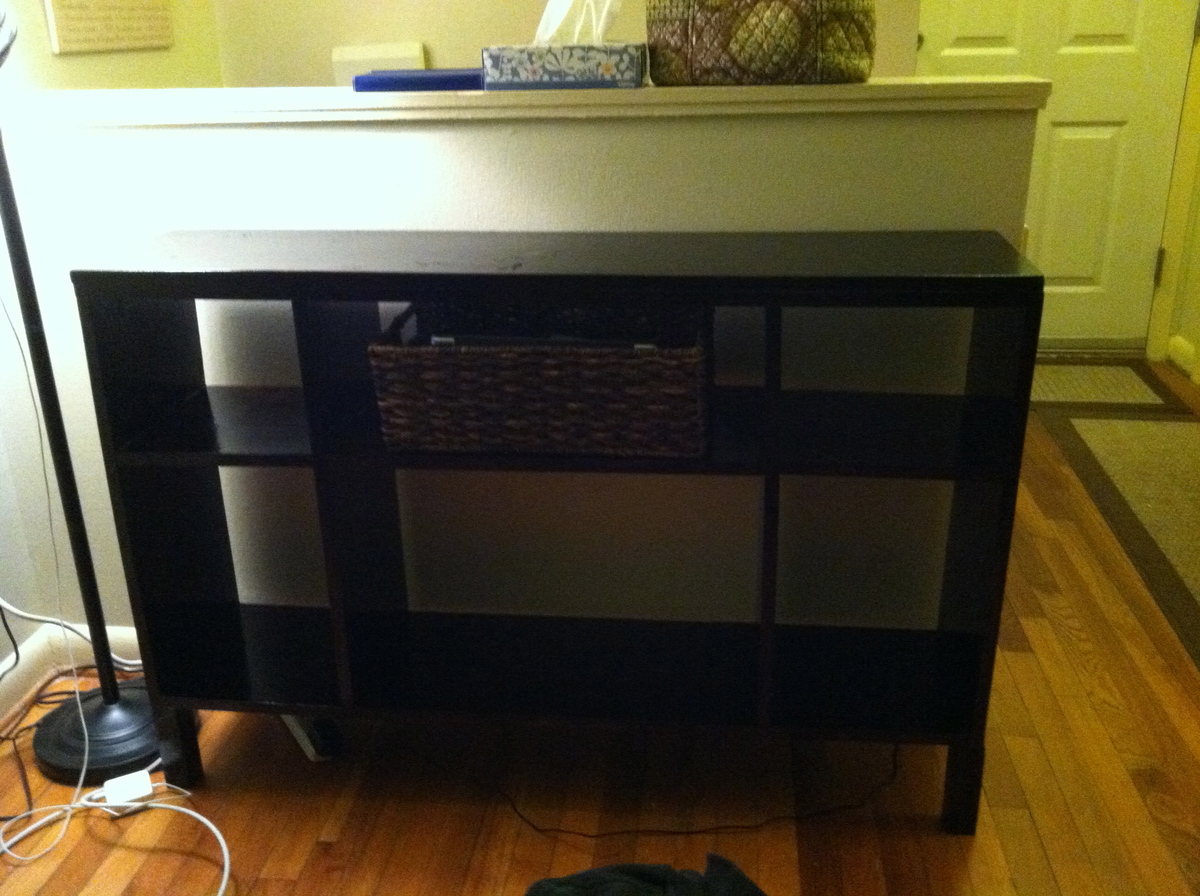
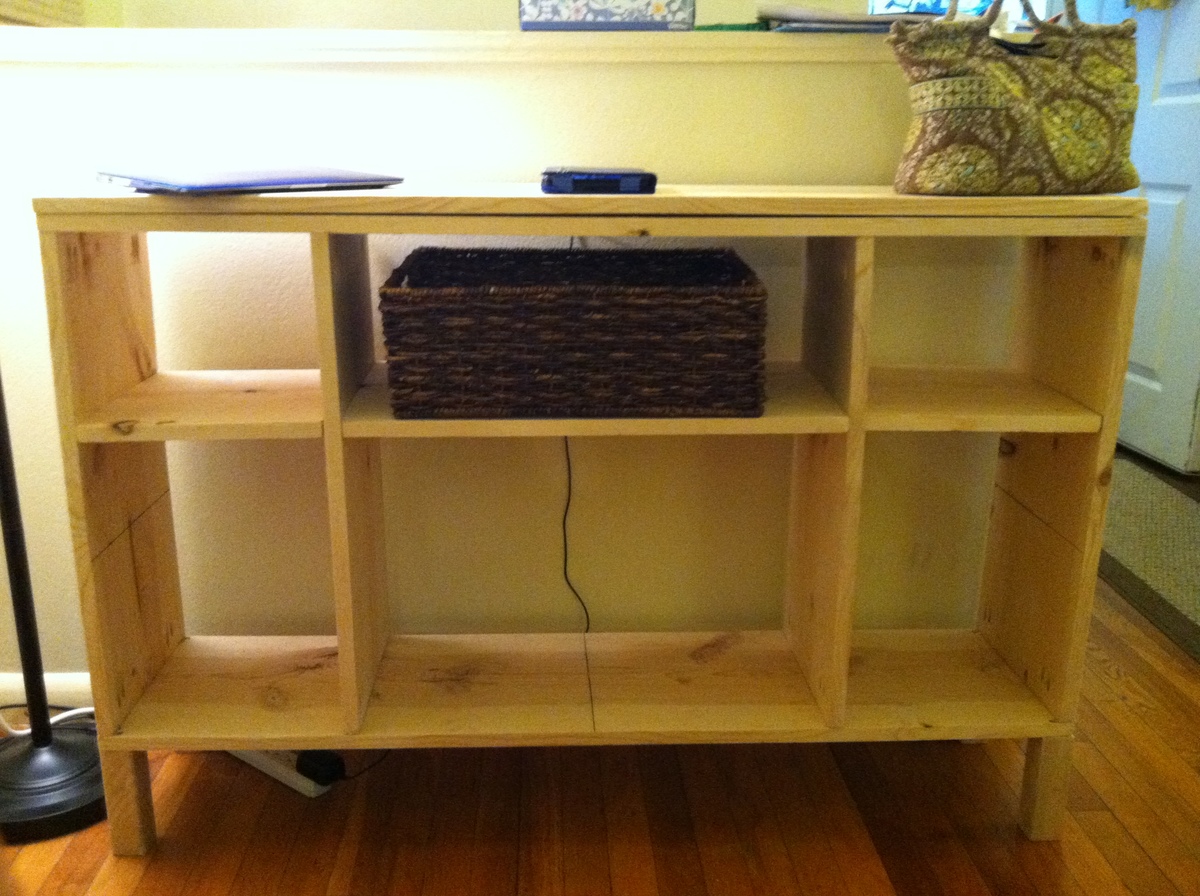
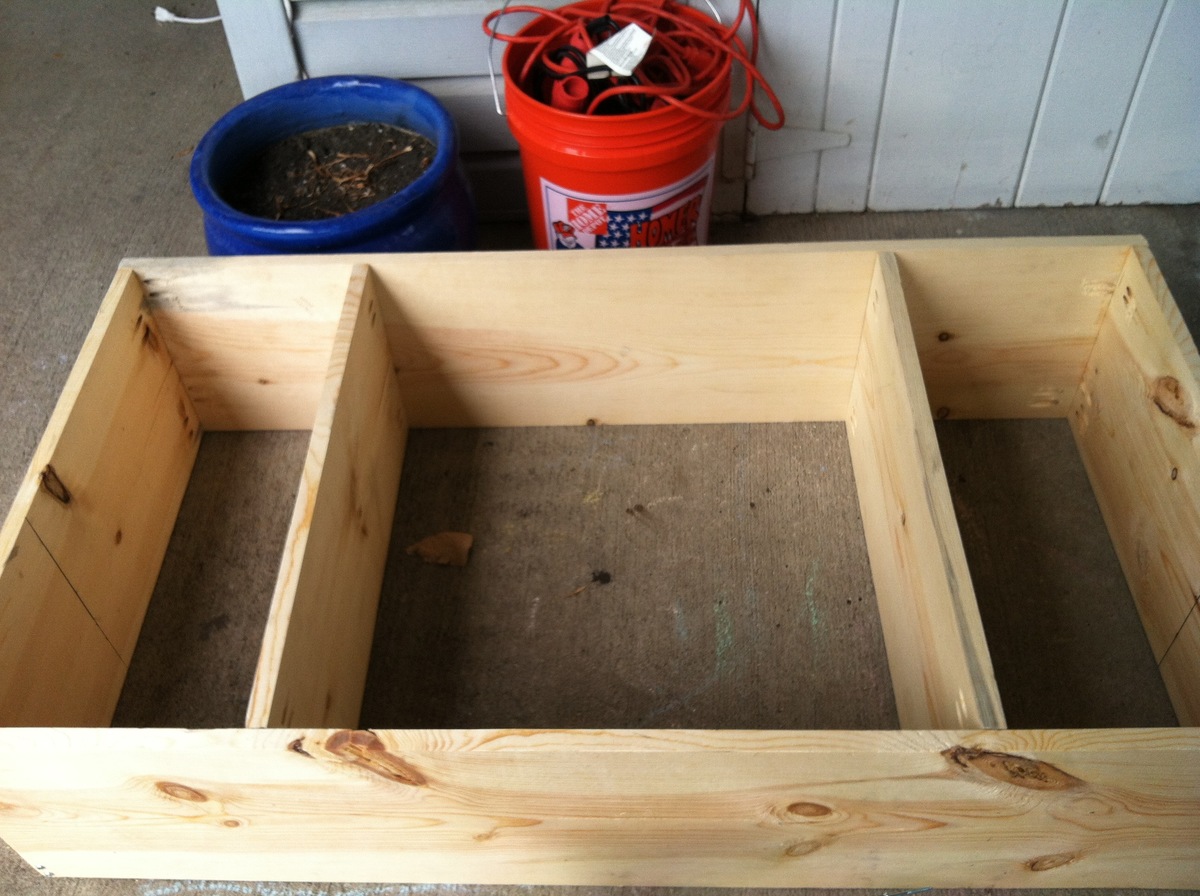
This was my first BIG project. I was inspired by a console table from a blog Take the Side Street and the Ikea Hemnes Sofa table. I didn't use any plans, so just winged the whole project. I was a bit afraid taking on this project, so I used 89 cent utility boards (roughly 1'x4') that I found at Menard's. So I wouldn't feel bad if it turned out like crap or fell apart. Little did I know how wonderful it would look. I added parson legs to the bottom that I bought from the Home Depot and finished it off with a coat of Minwax Ployshades in Mission Oak.
I'm really excited about how it turned out and have less than $20 invested in the whole project by using the utility wood. This console table holds it all.
The table measurements are 48"x32 1/2"x11 1/2"
Pallet style outdoor platform sectional (variation) with patio table
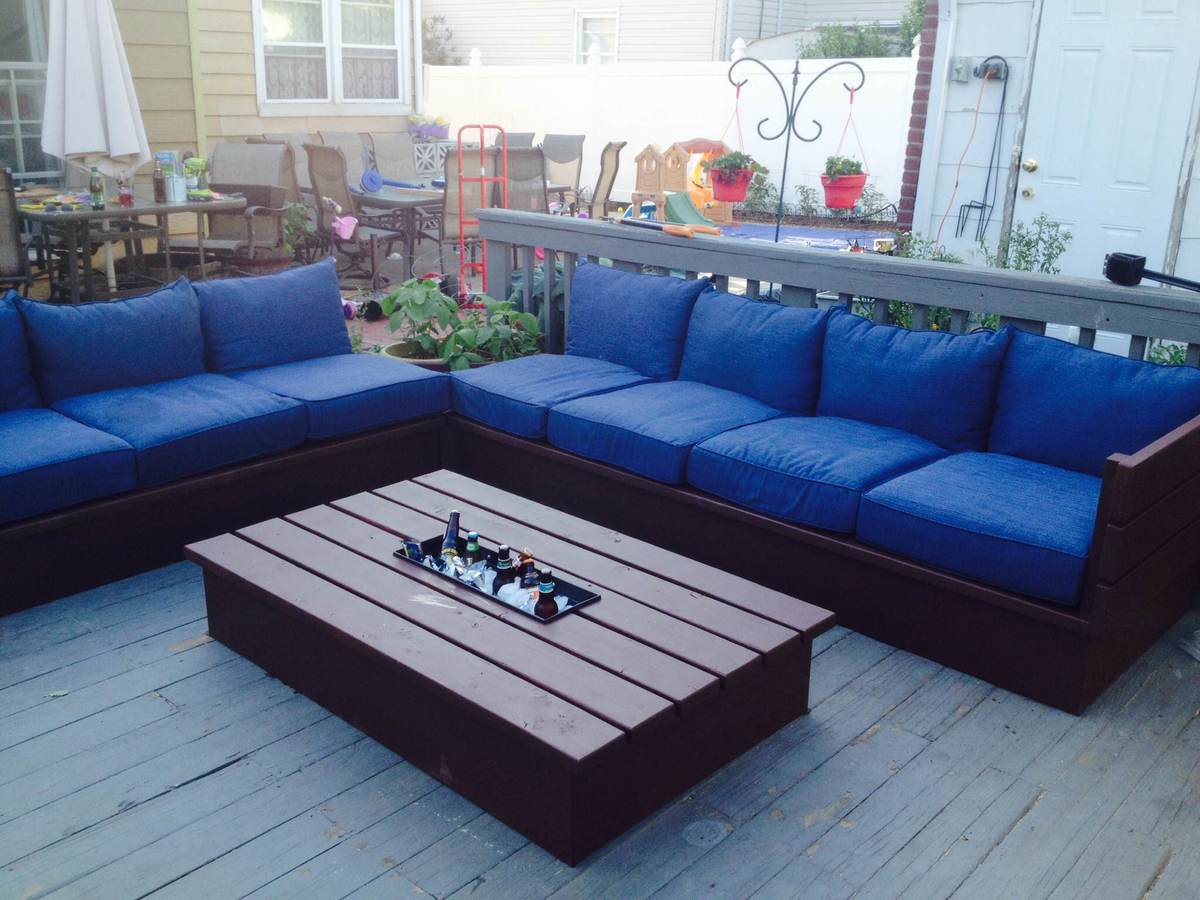
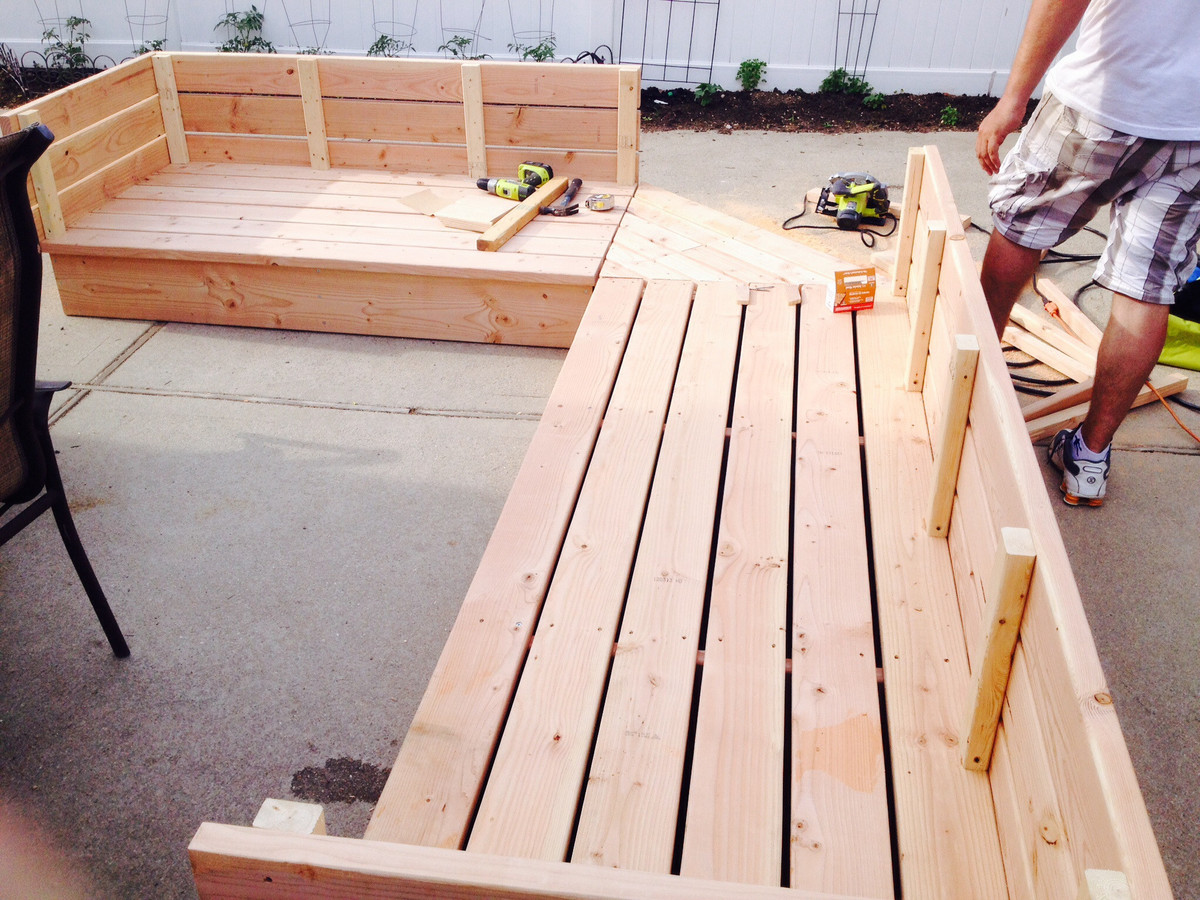
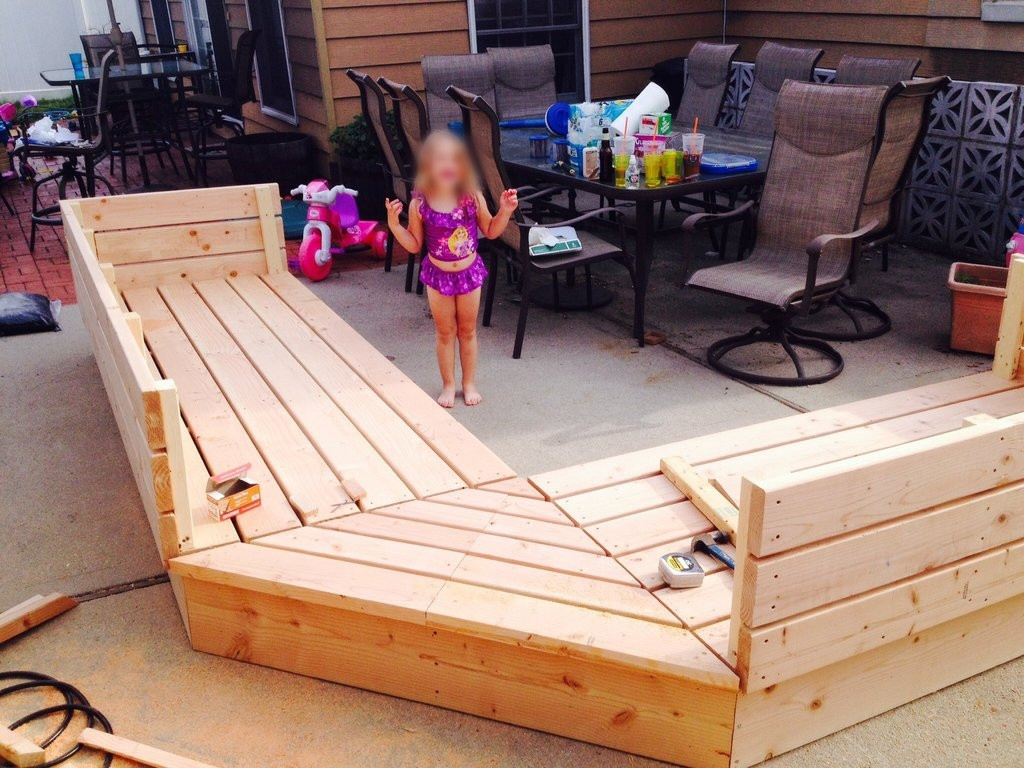
Saw the Outdoor sectional on your website and I just had to build it! Made some variations to the original plans, one being making it higher off the ground and the other was a necessity because Home Depot didn't have the right size wood and I wasn't about to go running around from store to store, so I used scraps to make a corner piece that fits perfectly. The most timely aspect was the sanding and removing all the rough edges. Also used Bondo to fill in all the holes that were on the outside to give it an all around smooth finish. The end result is just about the same though and the family and friends are in love with it! Thank you so much for the plans! Really could not even come close to justifying what it would cost to buy a sectional like this. Cushions were a huge concern and rightfully so. After building, I started searching and was mostly getting prices in the plus $800 range. It was breaking my heart knowing I was going to have to pay more than double what the entire sectional cost me. In the end though, was able to land some 25 x 25 x 6 cushions at Lowes for 50% off ($50 a piece).
Comments
Tue, 06/17/2014 - 14:11
Simply Awesome!
You sure have outdone yourself, love the space! Thanks for sharing!
Mon, 03/16/2015 - 09:06
Modification Questions
I love this modification. Did you use 2x8s or 2x10s for your base? It looks like you angles the back. How did you go about doing that? Thank you for posting this?! Great work!
Mon, 06/29/2015 - 18:00
Plans?
nice build, when you get some time can you put up your modifications please:) would love to build this! Love the colours you used and how it looks!Me too..you cook like me, i make it my style...thats how i do my salsa ..my way i like it...
Mon, 06/29/2015 - 18:00
Plans?
nice build, when you get some time can you put up your modifications please:) would love to build this! Love the colours you used and how it looks!Me too..you cook like me, i make it my style...thats how i do my salsa ..my way i like it...
Mon, 06/29/2015 - 21:50
Last comment
sorry about the end of my comment, must of pasted a message in their somehow? My bad.
Modified Rustic X End Table
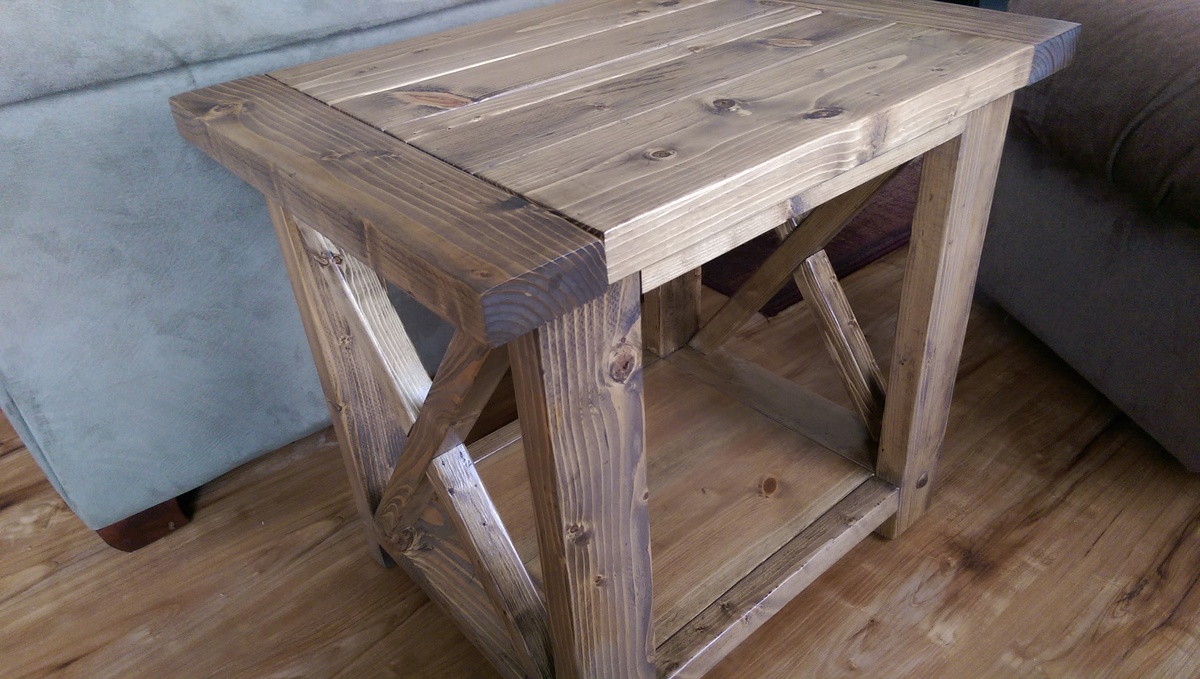
Modified to dimensions 23"H x 19.5"D x 27"W.
Adirondack chairs for Canada Day!
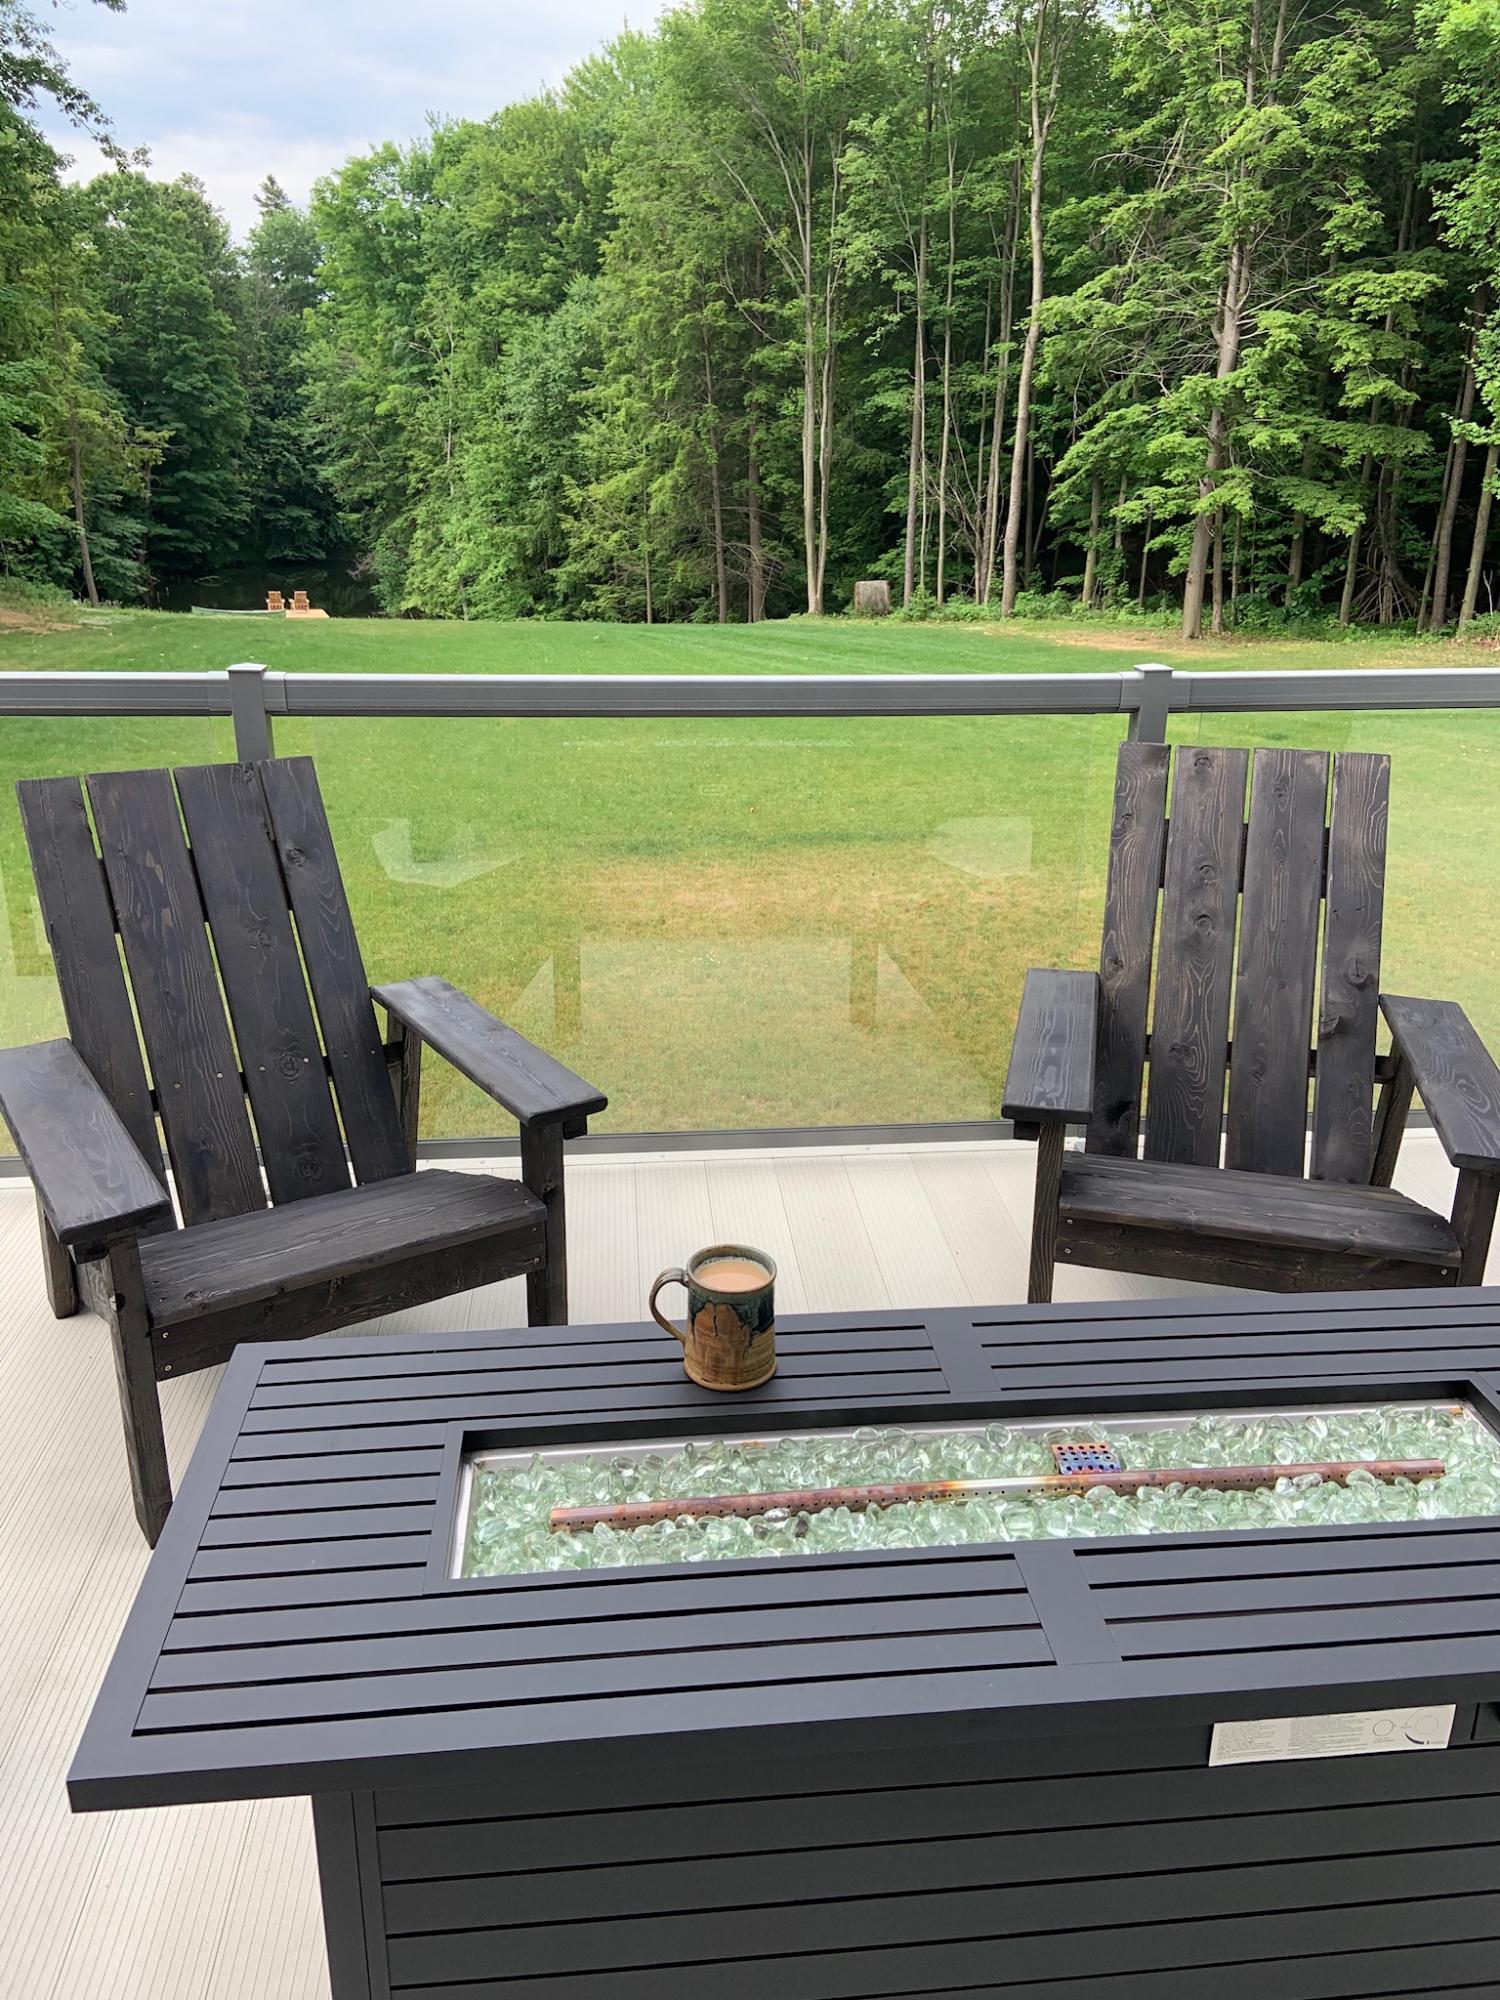
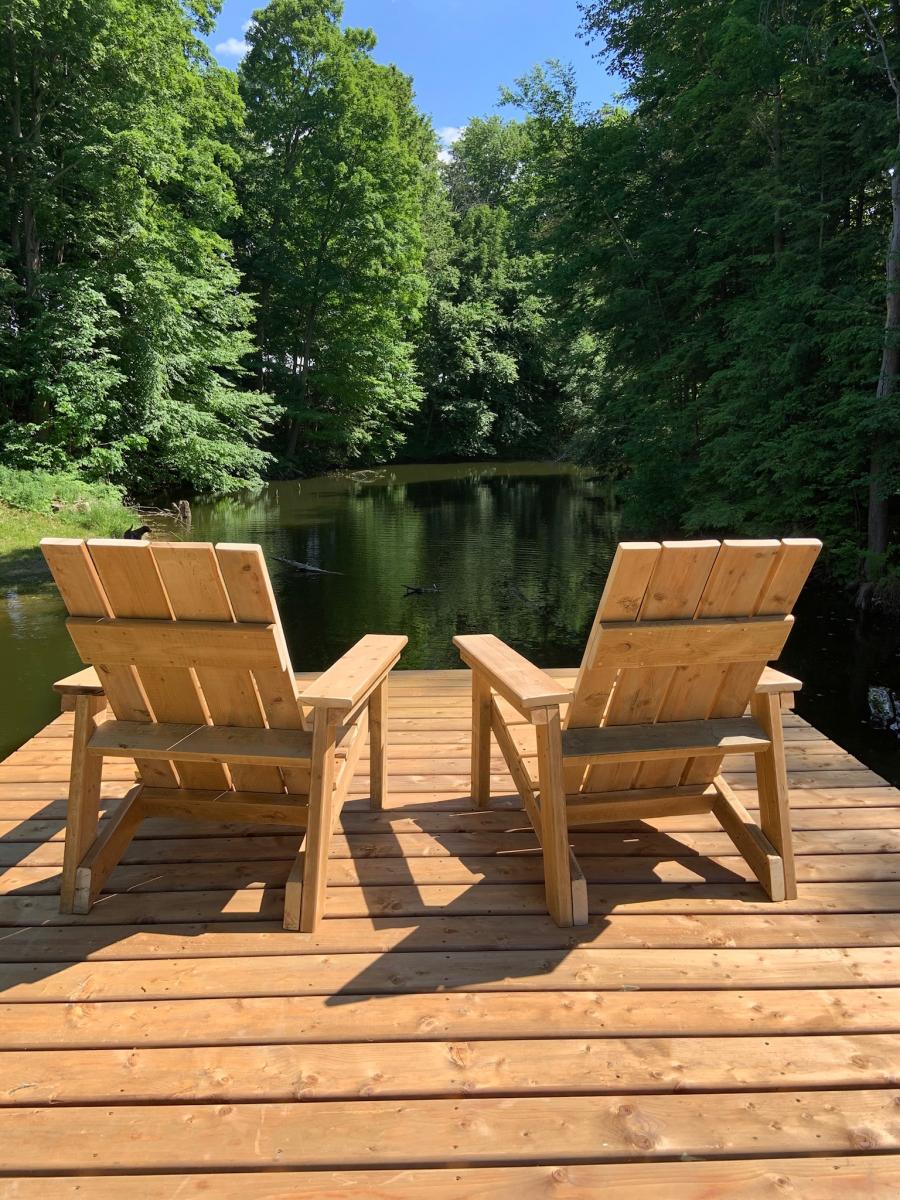
made 2 sets of these 2 x 4 Adirondack chairs (with the occasional guidance from my woodworking hubby) and they turned out awesome! I went with a more modern look by not rounding the tops and love how they look! They’re sturdy and comfortable and my only complaint is I’m 5’3” and my legs don’t quite reach the ground so I’ll just have to make a footstool!
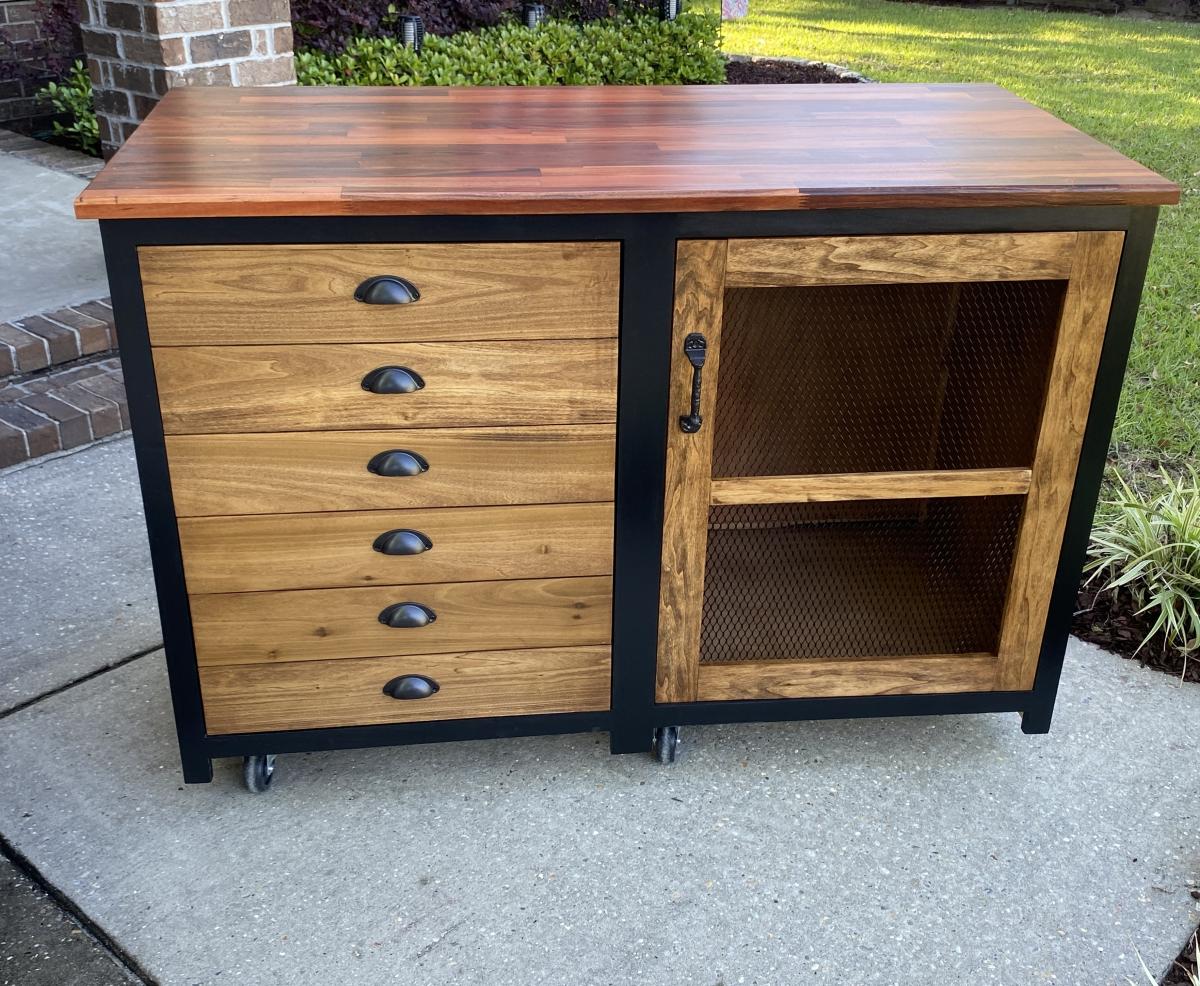
Modern Printer's Cabinet
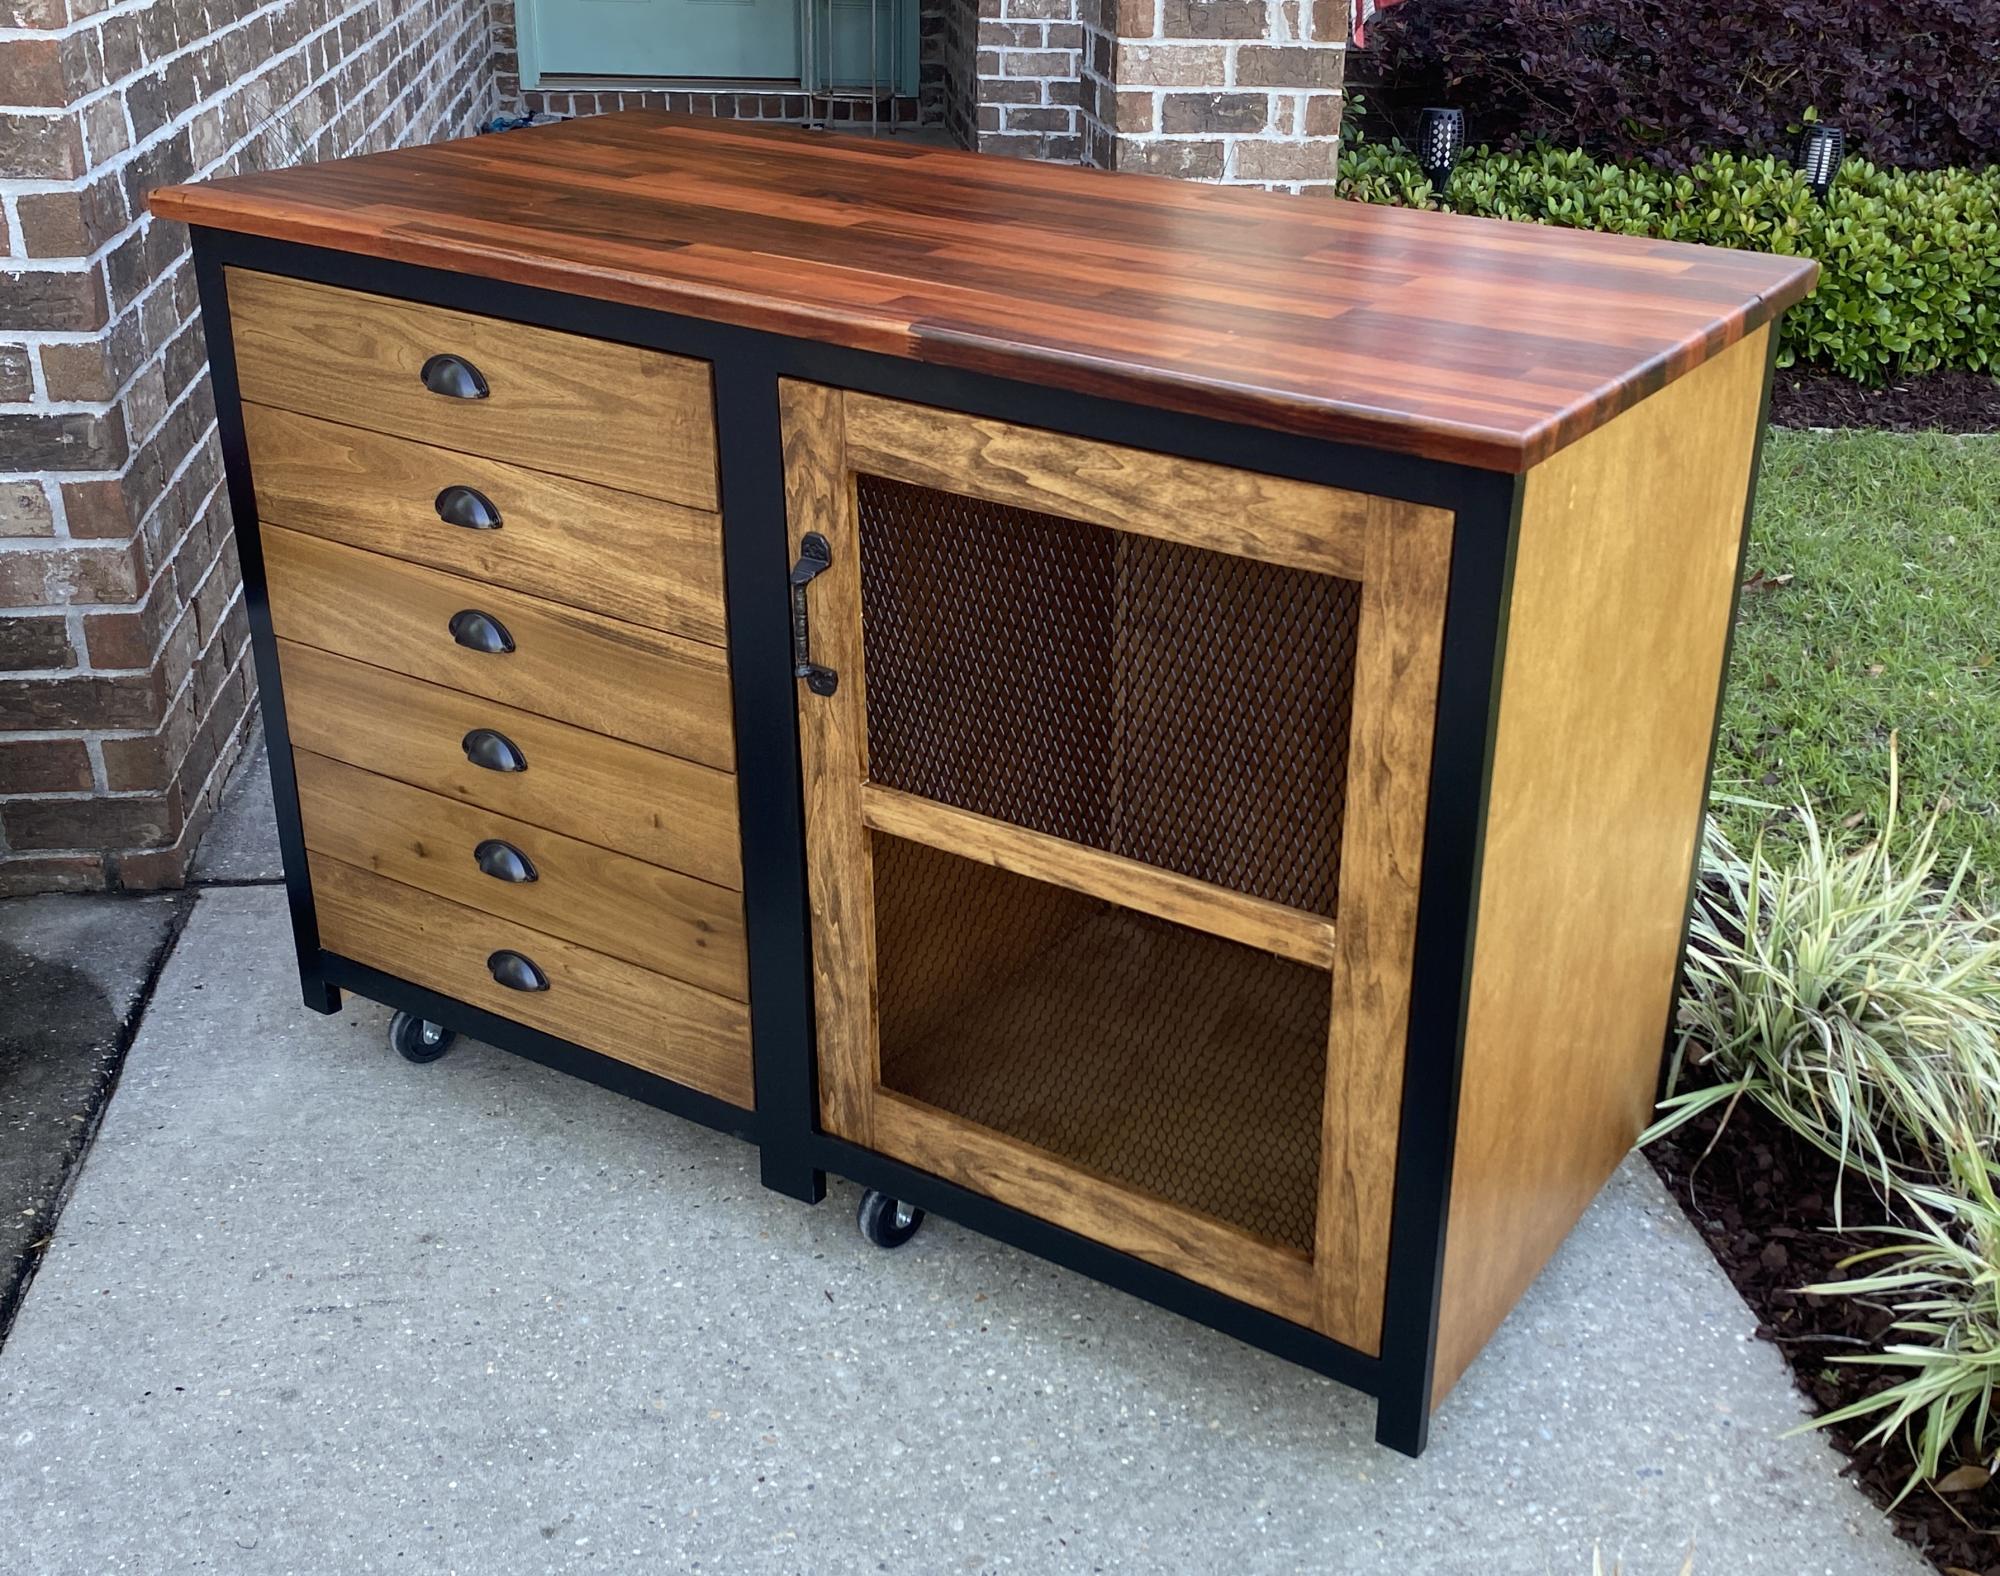
My interpretation of the printers cabinet. Needed something for my office that was deeper for my printer, 3D Printer and a few other items.
Donna's reclaimed bed
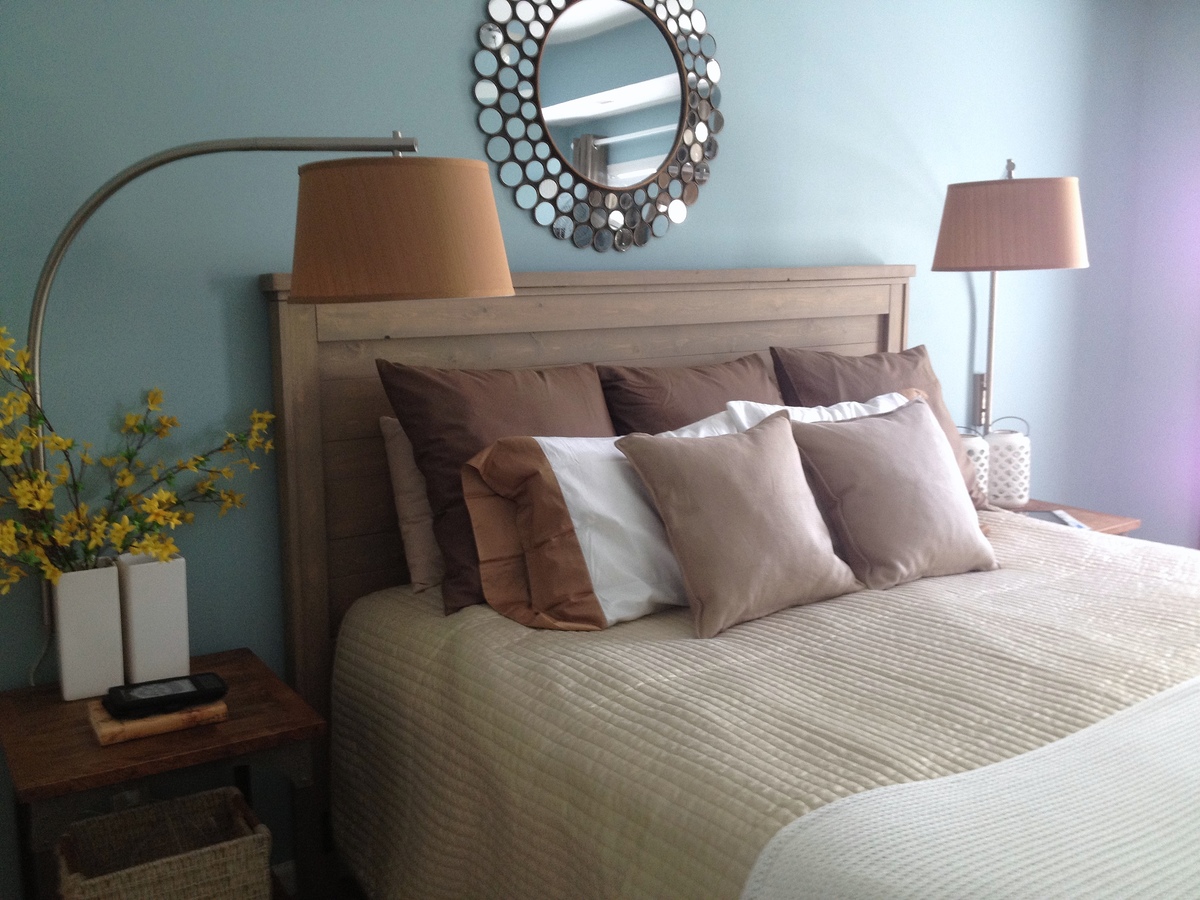
My Awesome husband made this great bed from one of Ana's plan and I stained it!!
Comments
Simple White Sofa

This was a great collaboration between a designer and an engineer, me being the designer and my dad the engineer. I recently moved from a small condo to a single family house with a nice wrap around porch. My father is recently retired and believes idle hands are the devil's playthings so I thought this would be a good project to undertake. Full disclosure, we built this in my father's wood shop and needed to purchase no tools.
I took on this project because every couch I looked at was either very expensive or did not meet my tastes. When searching for a design online this one really stood out to me for a couple of reasons, the first being the design looked great, the process was easy to follow, and the construction methods seemed pretty solid. The only drawback I found was that standard lumber at a big box store had to many knots and shied away from it for the slats and arms and went with 'select' grade pine, this change increased the price. It also took some convincing my dad to use big box store lumber as most of it is warped and knotty, he wanted me to purchase cypress from a high end mill so that it could truly weather the elements. His theory is a good one, you are putting a lot of work into building this why not spend a $100-200 more and get a very long lasting wood? My answer, my wife will kill me if I spend $500 on this project!!!! In the end this was much easier than I thought it would be. The chop saw made quick work of the cut list, and the Krieg jig worked great. Painting took the longest, I used a power sander to sand it down. I then used left over wood conditioner and the shellac primer. This took about 4-5 hours. After the primer dried I sanded out a few areas where the primer had pooled. Using a paint sprayer we sprayed at least 3 coats probably more like 5 coats of white exterior semi-gloss. This took about 3 hours. I attached the back to seat after I painted them.
Modifications:
I reduced the overall depth in order to accomodate a 24" cushion instead of the 27.5". I researched online buying foam and fabric as suggested, but this in my opinion made the project too costly. I found outdoor cushions at Ikea which work very well with the style and layout. They are not super cushy but do the trick for a 1/3 of the price.
I also added heavy duty rubber furniture slides to the bottom to prevent any marring to my deck and hopefully reduce moisture wicking up the end grain.
Costs:
Lumber and screws: $190
Cushions: $120
Paint: I used an expensive shellac for the primer $42.00
and exterior grade latex for $25, plus a few paint bushes $10.00
Grand Total: $387
Timing:
1. Acquiring lumber - 1 hour
2. Measuring, cutting and labeling - 1.5 hours
3. Krieg drilling - 3 hours
4. Assembling - 3 hours
5. Sanding - 1 hour
6. Conditioning and Priming - 4 hours
7. Painting with sprayer - 3 hours
Total 16.5 hours


