Community Brag Posts

DIY Star Wars Themed End Table

I build a Star Wars themed end table from a sheet of plywood and some scrap pine. Eventually, I'll add lazy susan hardware to make it spin. The top is glitter covered with a layer of resin.  Click on the blog post link for a full tutorial on how to build it. :o)

Estimated Cost
$100
Estimated Time Investment
Weekend Project (10-20 Hours)
Finish Used
Black paint, ECOS Paints Woodshield in Pine Needles, Epoxy resin
Recommended Skill Level
Intermediate

Farm table, with bench

Submitted by Daniel B on Wed, 06/09/2021 - 11:44

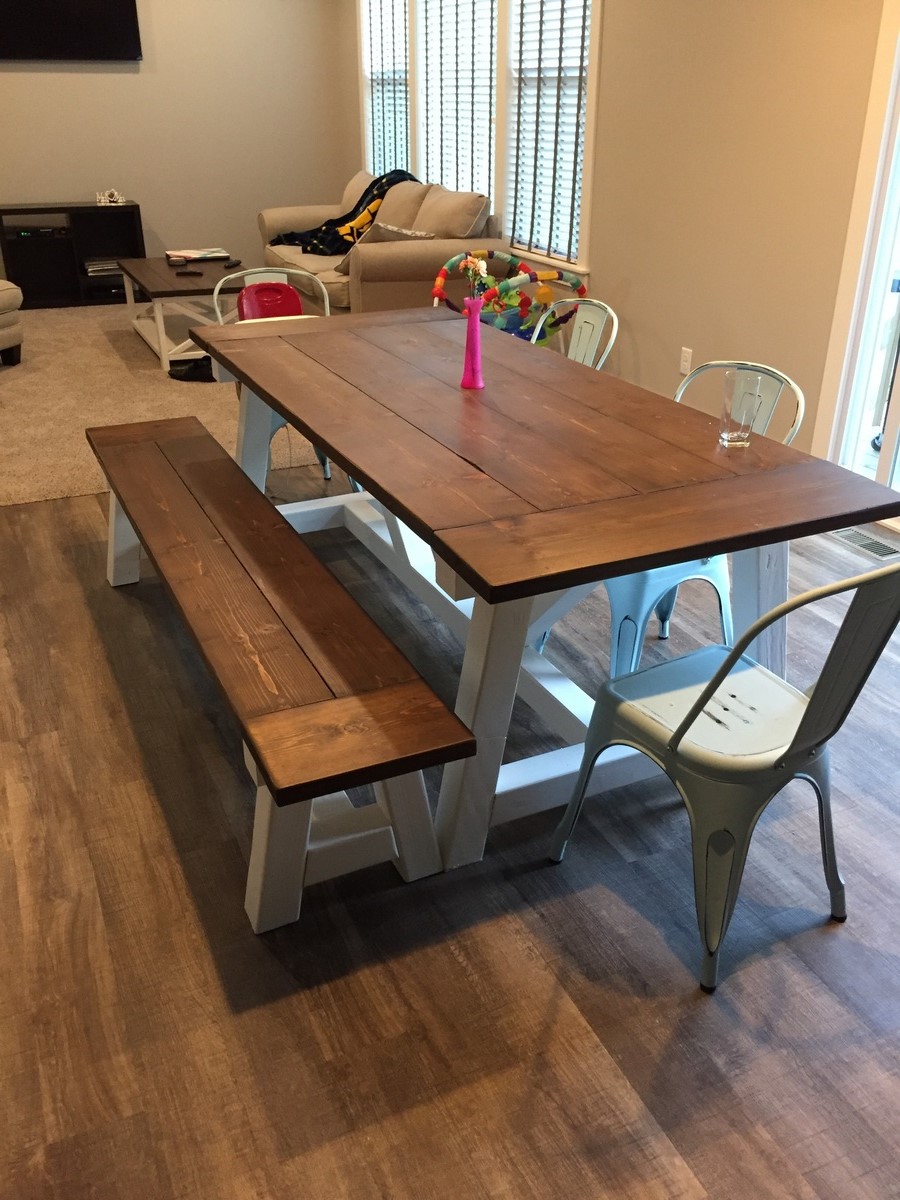
I started with the no pocket hole plans. I then shortened them to fit my kitchen, and modified them to use the pocket holes.

Estimated Cost
Around $200.00
Estimated Time Investment
Weekend Project (10-20 Hours)
Finish Used
Minwax stain, Varathane polyurethane.
Recommended Skill Level
Beginner

Workbench

Submitted by Binda B on Thu, 04/11/2013 - 10:34

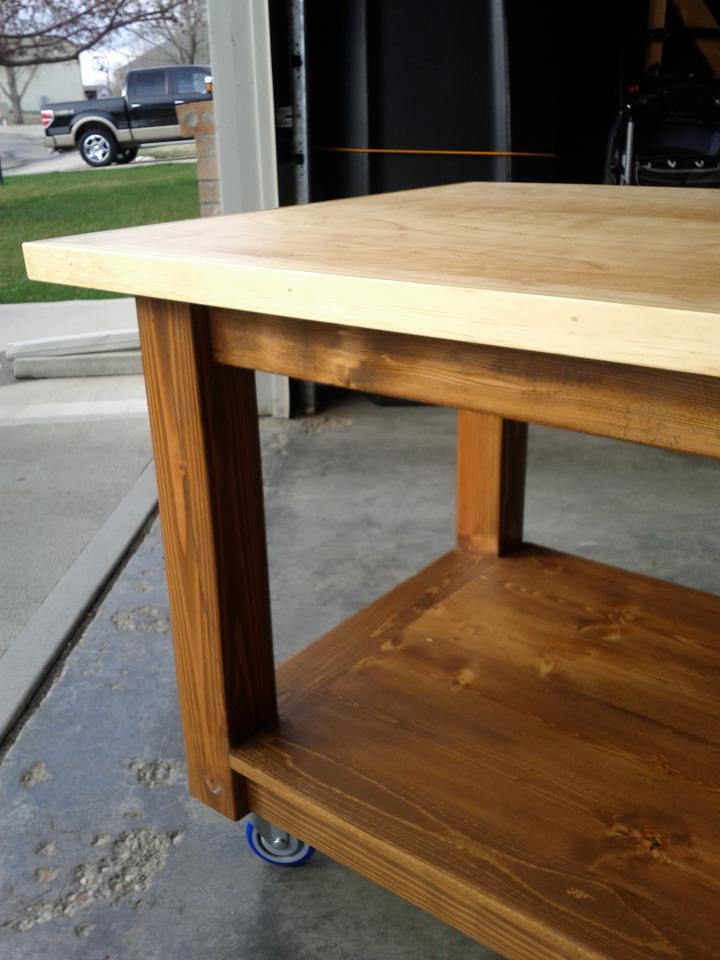
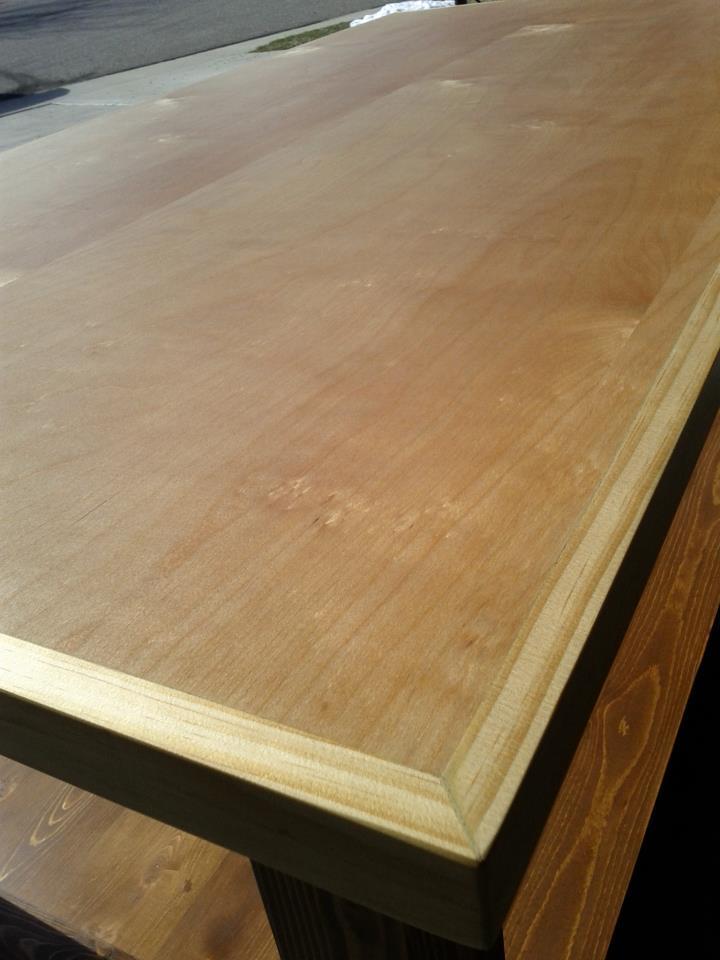
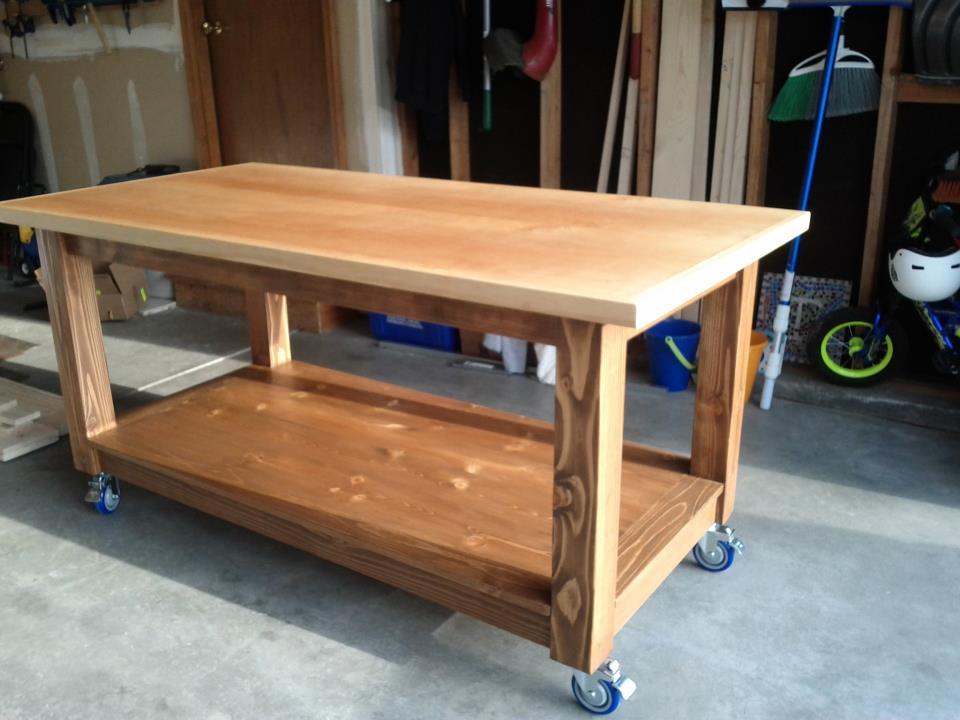
I needed a workbench to be able to create all of these wonderful plans. I used one of Ana's table plans and modified a little. I followed exactly, then I added a second top made out of birch pure bond plywood. I then put 1x2 edging to hide the edges. I used some pretty heavy duty casters with the double locking feature, I had to buy this off the internet.
This was my second build, the first being a 10 dollar ledge.
The plan is from Ana's book, the kitchen island. I can't seem to find it online.
This took me a long time due to limited time, because of work and kids. About 4-6 hours per week, for 2 1/2 months.

Estimated Cost
$ 250, this includes expensive casters, stain and extra plywood. $100 dollars for the wood if doing the table from the plan
Estimated Time Investment
Week Long Project (20 Hours or More)
Finish Used
I needed experience in staining and wanted some protection, so that is why I stained this workbench. I used Minwax pre stain, Rust-oleum early American on the base, and left the top raw (I figured it would get scratched up). Then I used Tung oil 5 coats on the bottom and 6 for the top. Finished with one coat of furniture wax. It is a bit slick, I should not have had so many coats of Tung oil, but I was experimenting :)
Recommended Skill Level
Intermediate

Comments

"Cube" storage unit

Submitted by kds199 on Fri, 10/14/2022 - 09:49

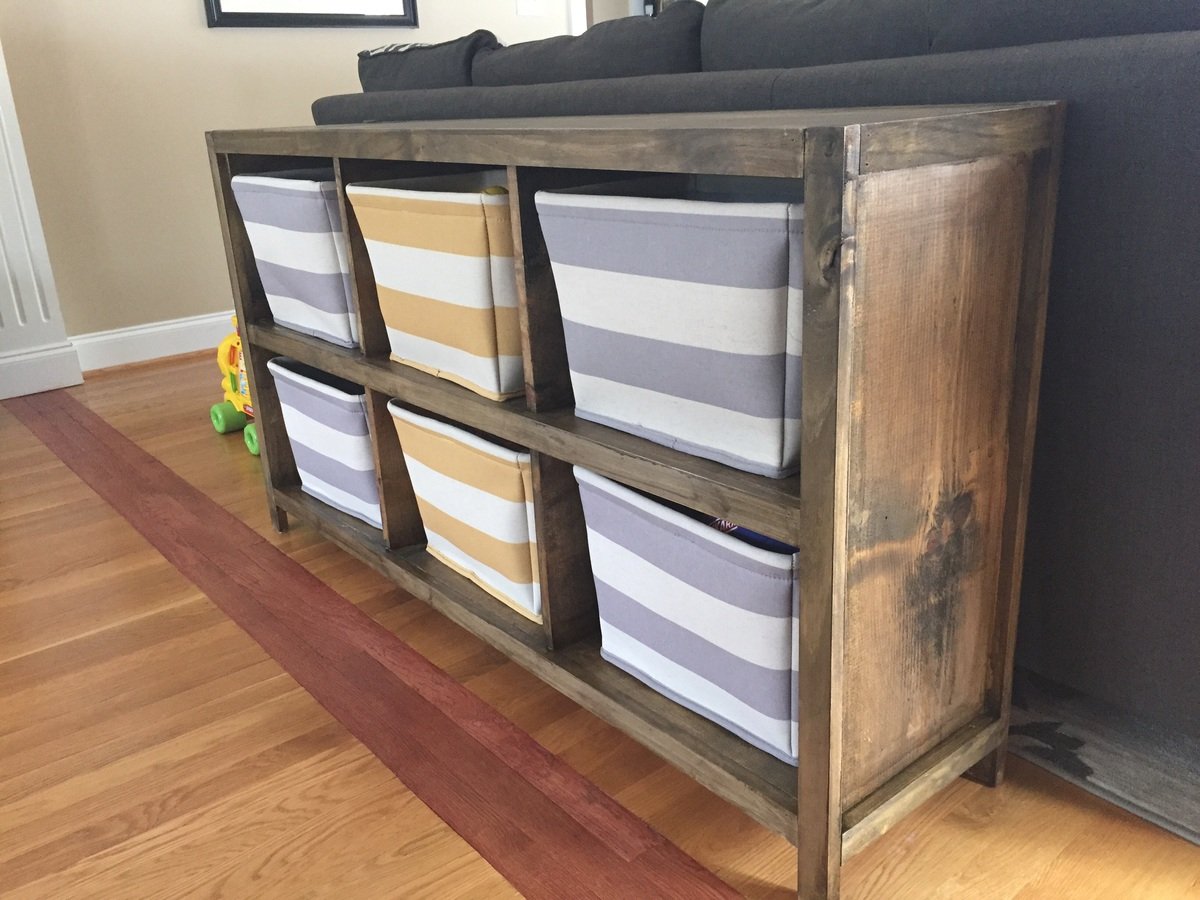
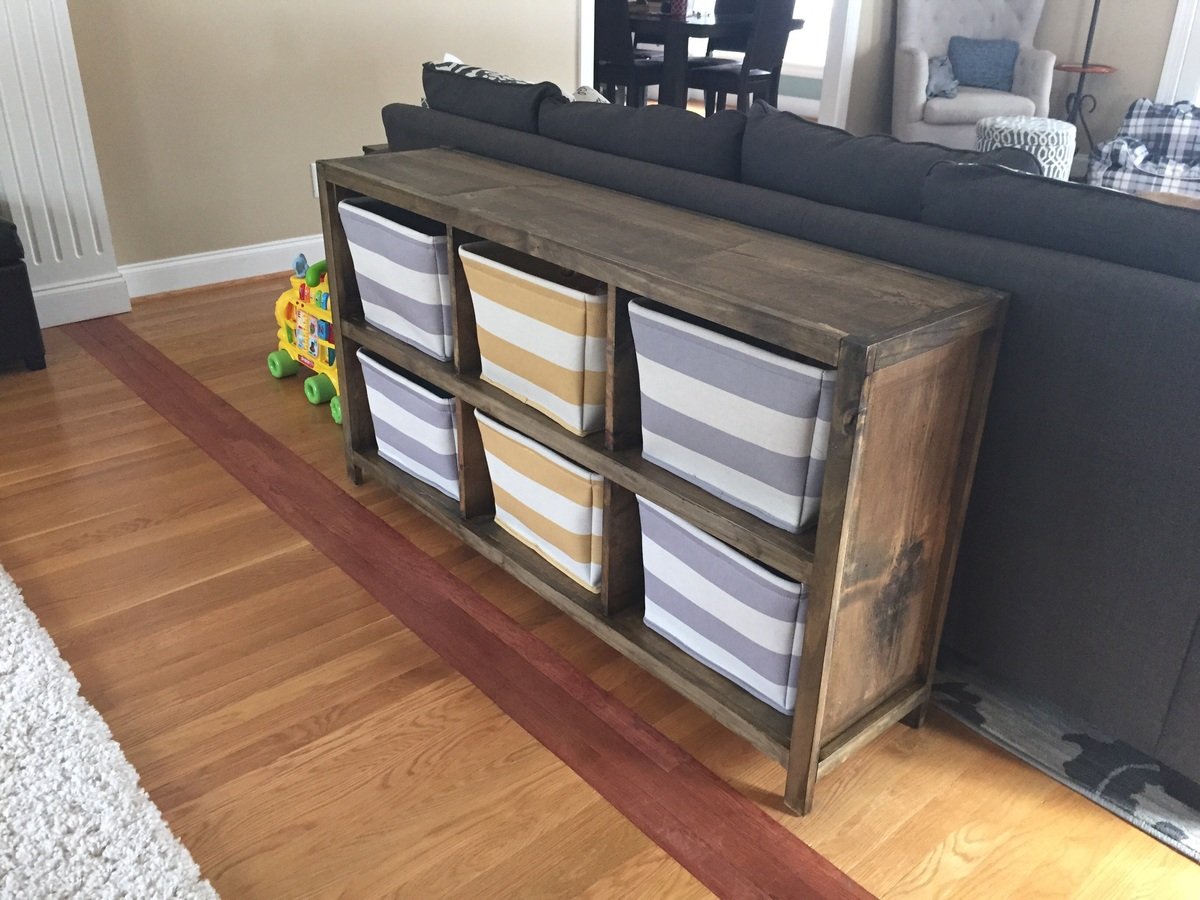
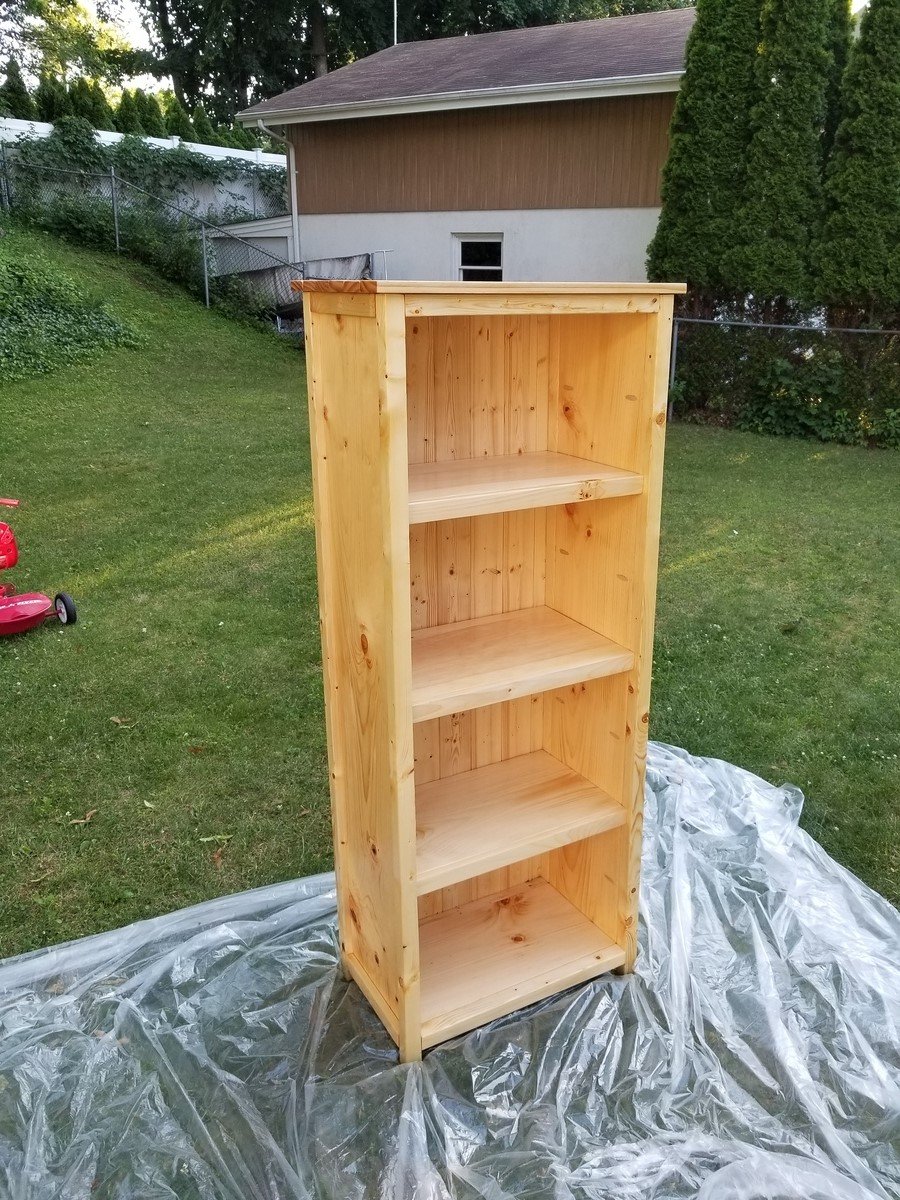
My wife and I wanted a nice way to hide more of our son's toys in the living room that didn't look tacky. We actually bought the cubby bins before even deciding what to make. (From target of course.) I made the bookcase out of wood shelving that already looked kind of beat up when I bought it knowing that the wood stain wood bring some character to it.

I only changed the plans slightly by making the legs flush with the inside so I could trim the ends and customizing the size of the cubby openings to fit the bins. (Mine aren't actually cubes.)

Built from Plan(s)
Estimated Cost
$60
Estimated Time Investment
Afternoon Project (3-6 Hours)
Finish Used
2 coats of stain...minimal sanding to keep the surface looking rough
Recommended Skill Level
Beginner

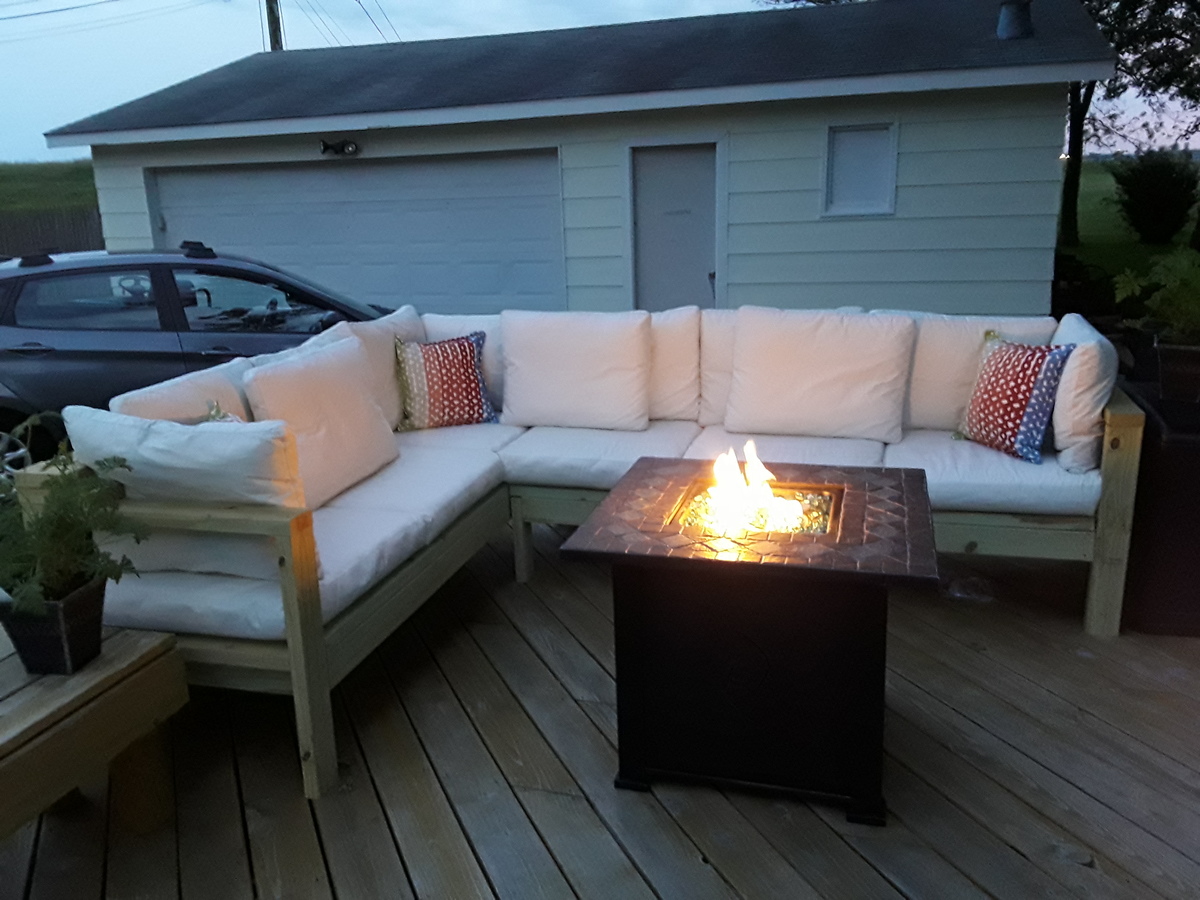
My new couch

Submitted by Anonymous (not verified) on Sat, 05/27/2017 - 18:23

I love this couch project. I can finally enjoy my deck in the evenings the way I envisioned. Thank you Ana White!

Estimated Time Investment
Day Project (6-9 Hours)
Finish Used
Not finished yet, likely a paint.
Recommended Skill Level
Intermediate

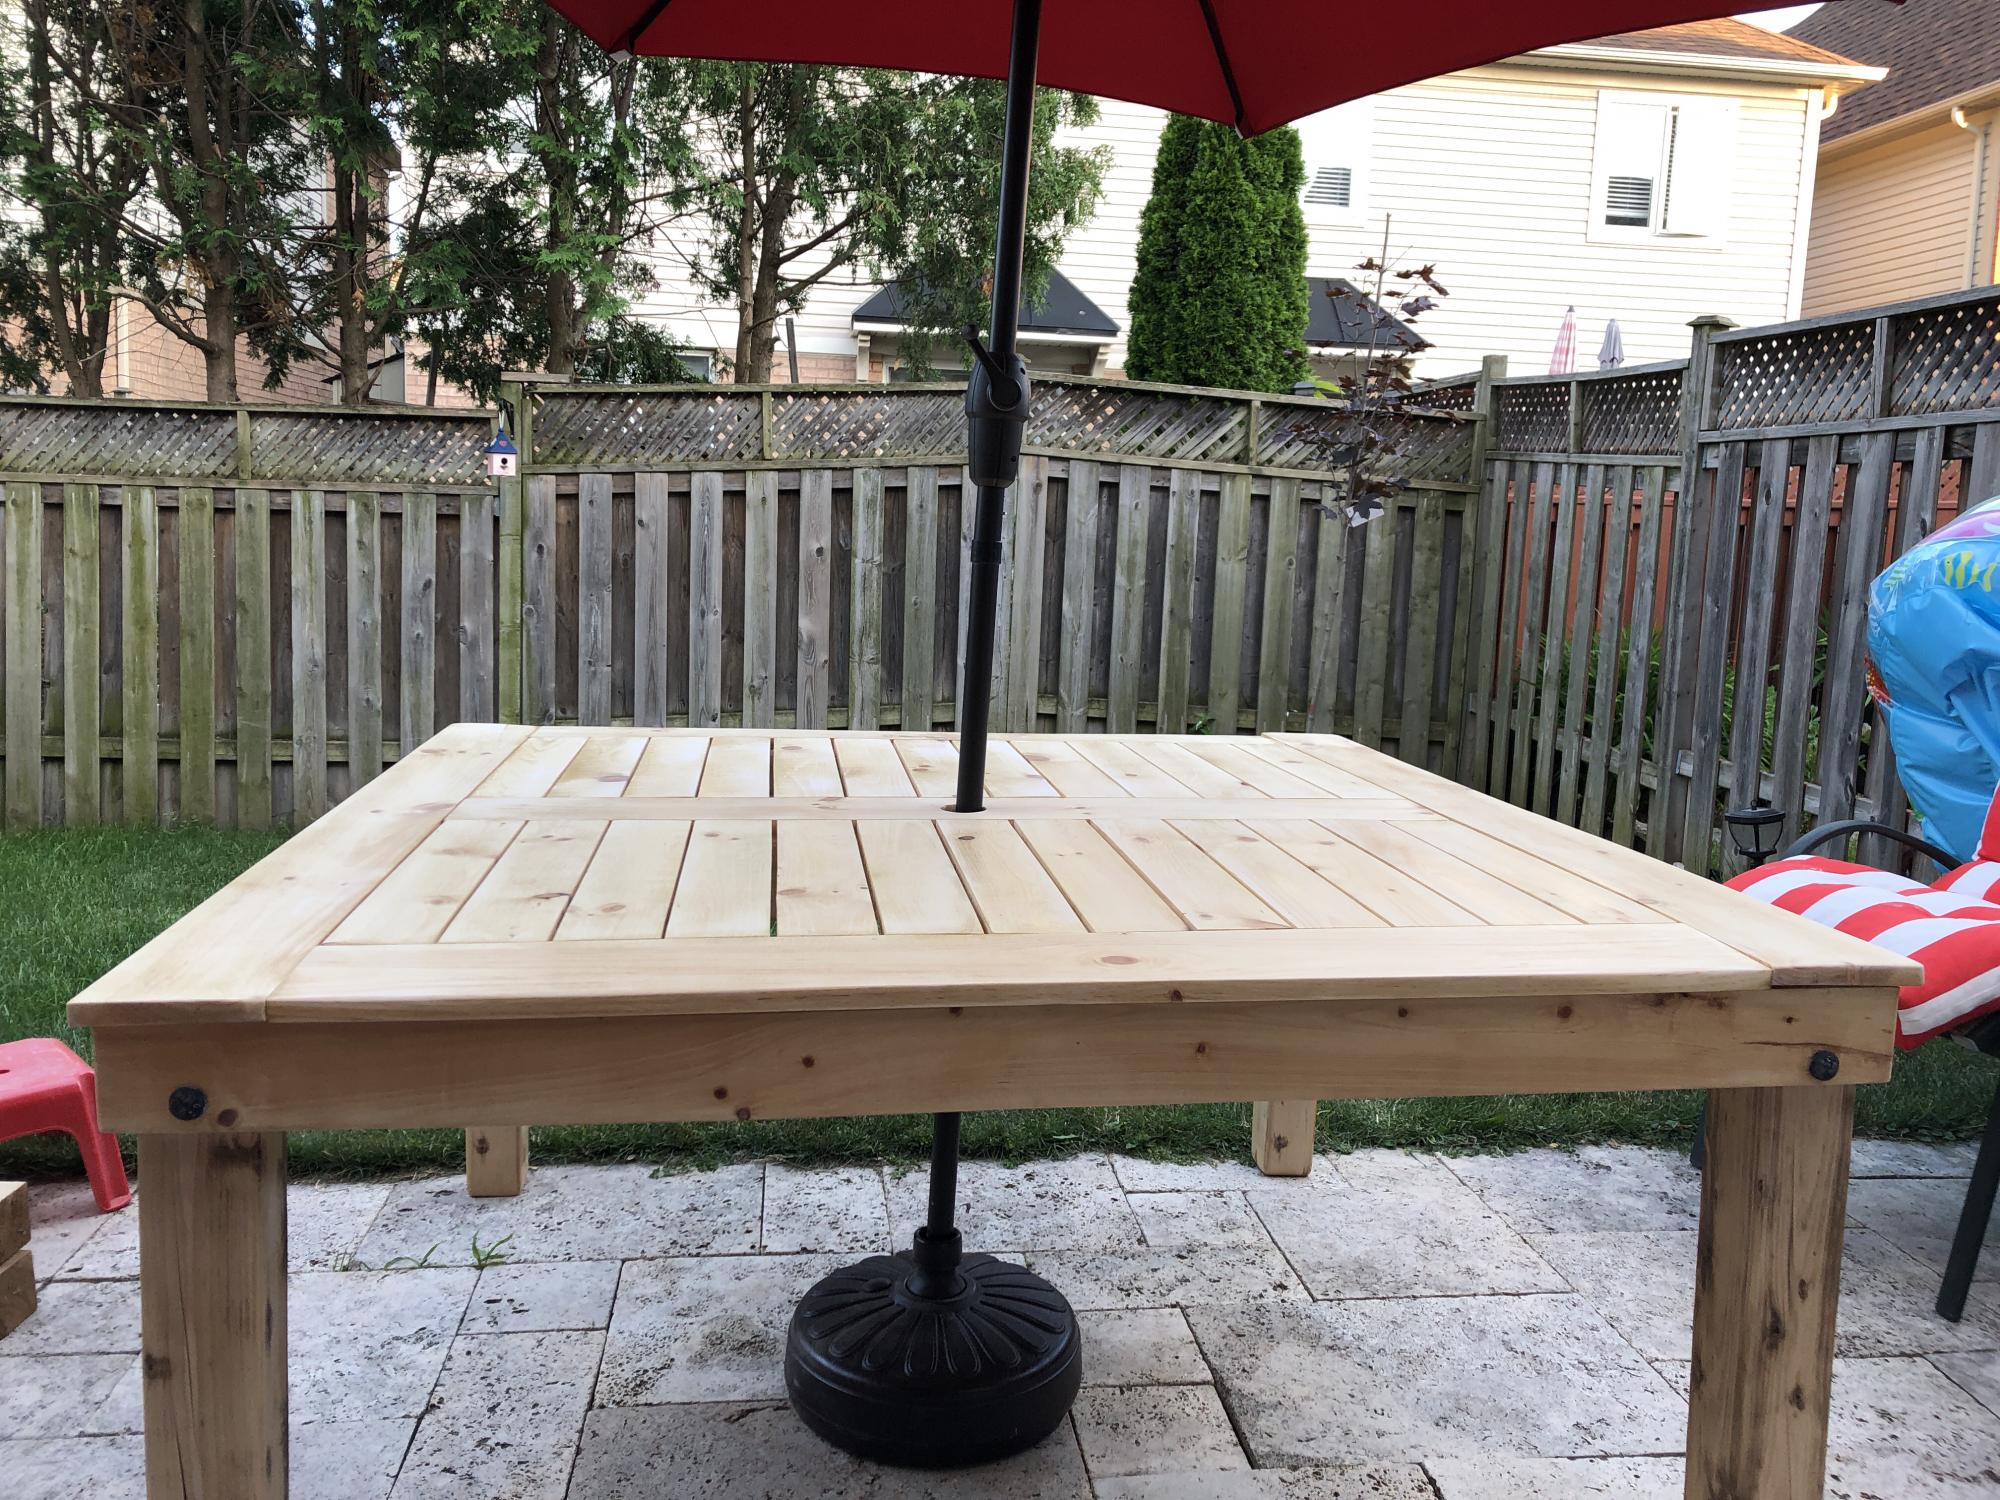
outdoor patio table

Submitted by dboy on Thu, 06/17/2021 - 17:31

Just finished my very first wood project ever . I think it turns out pretty good . But if I did it again I’d make some adjustments . This version is made from pine as cedar has been unavailable for weeks . Thank you for the plans

Built from Plan(s)
Estimated Cost
500
Estimated Time Investment
Week Long Project (20 Hours or More)
Finish Used
Helmsman spar urethane satin finish
Recommended Skill Level
Beginner

Comments

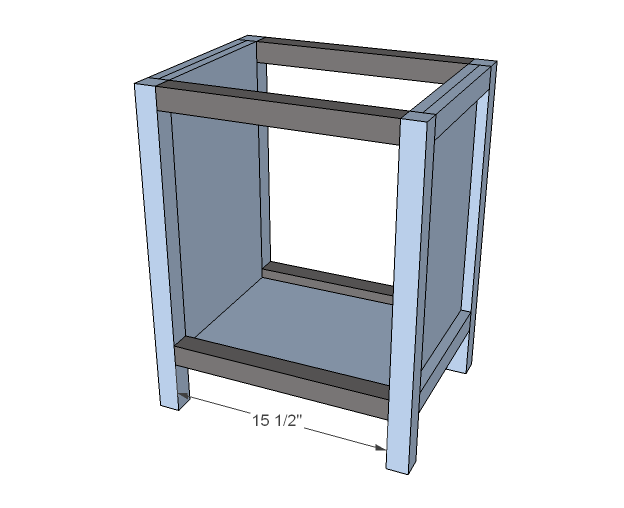
Katie Nightstand Open Shelf

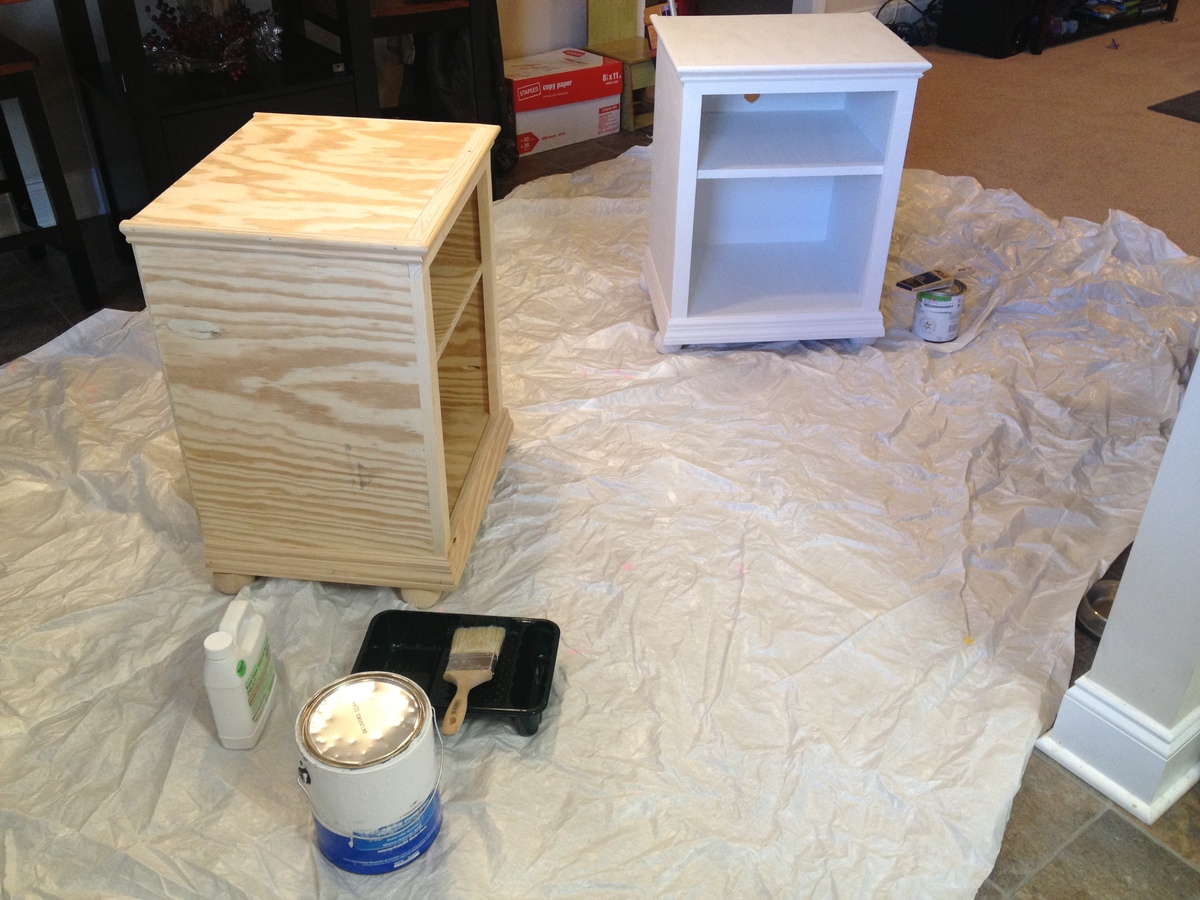
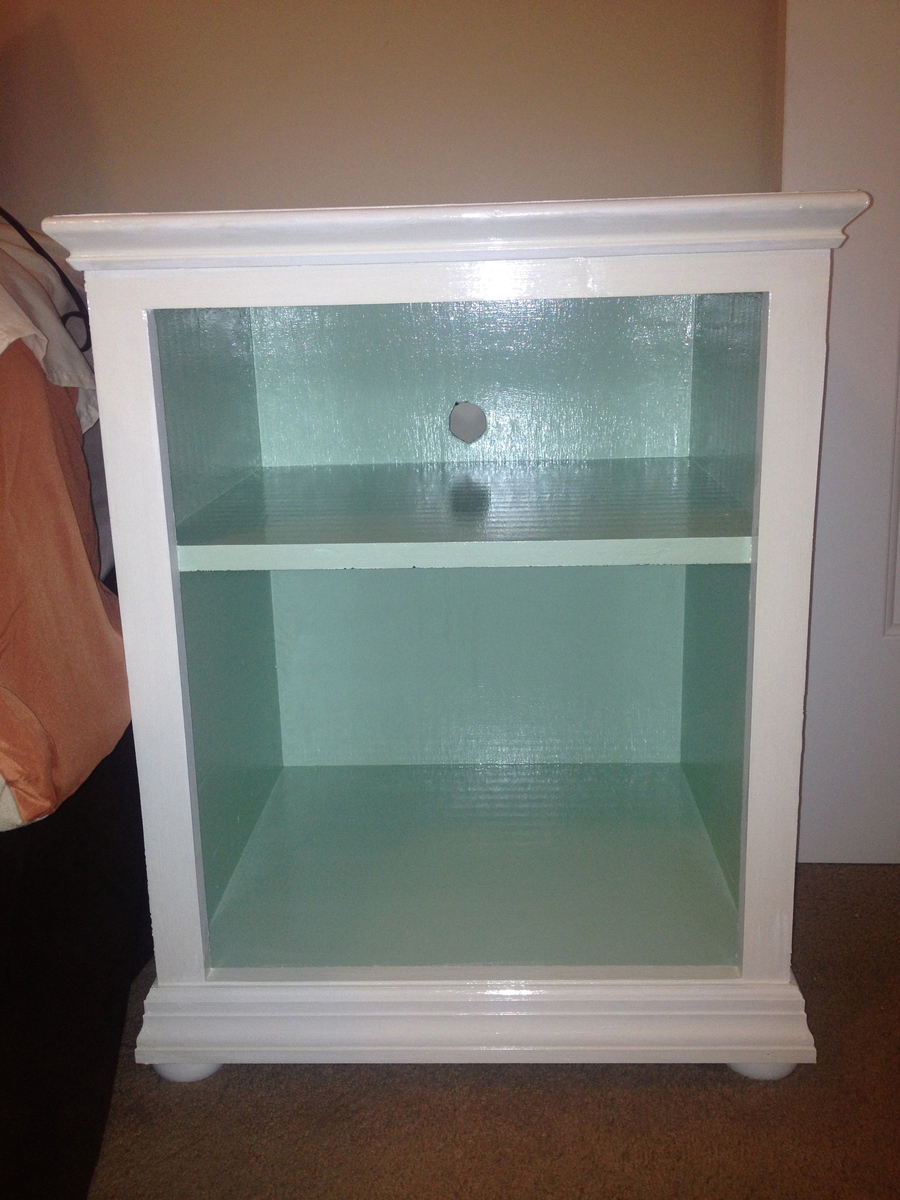
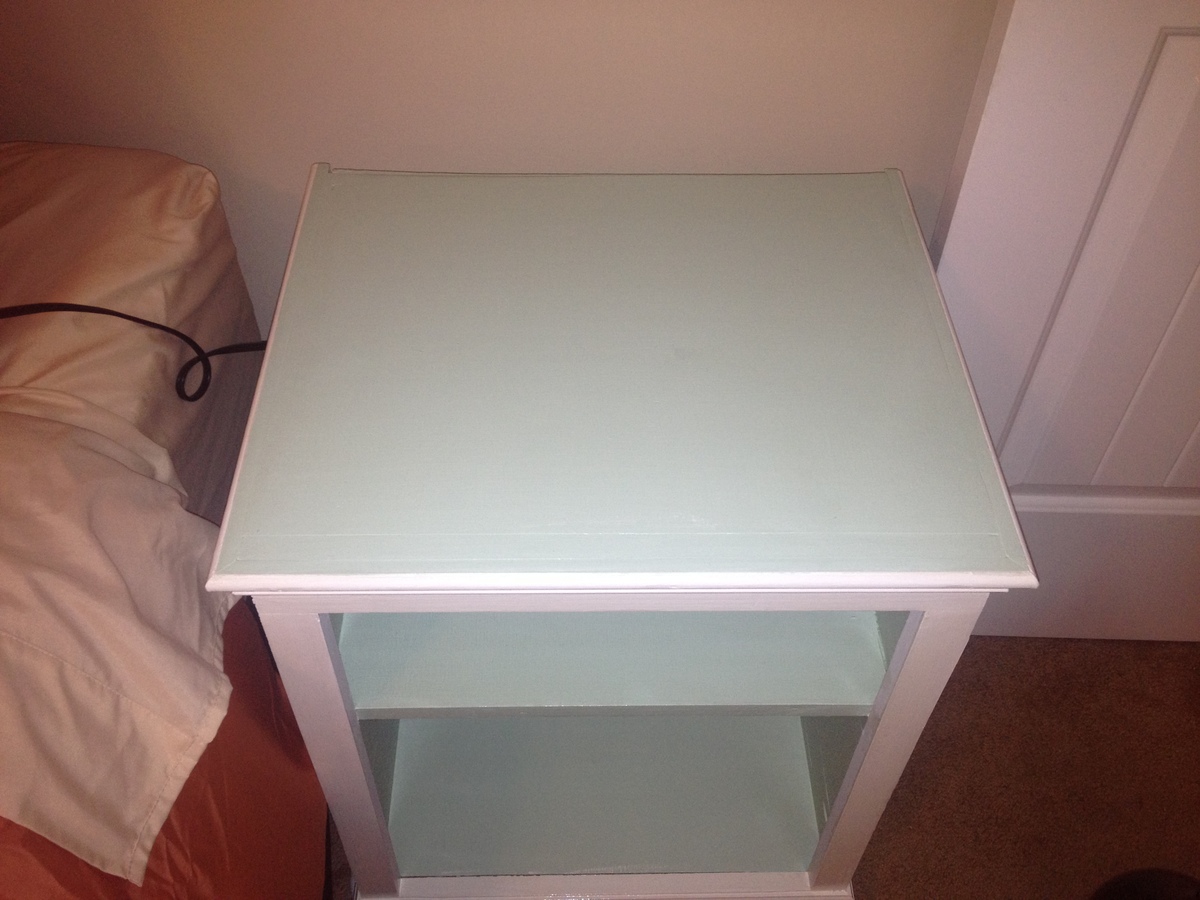
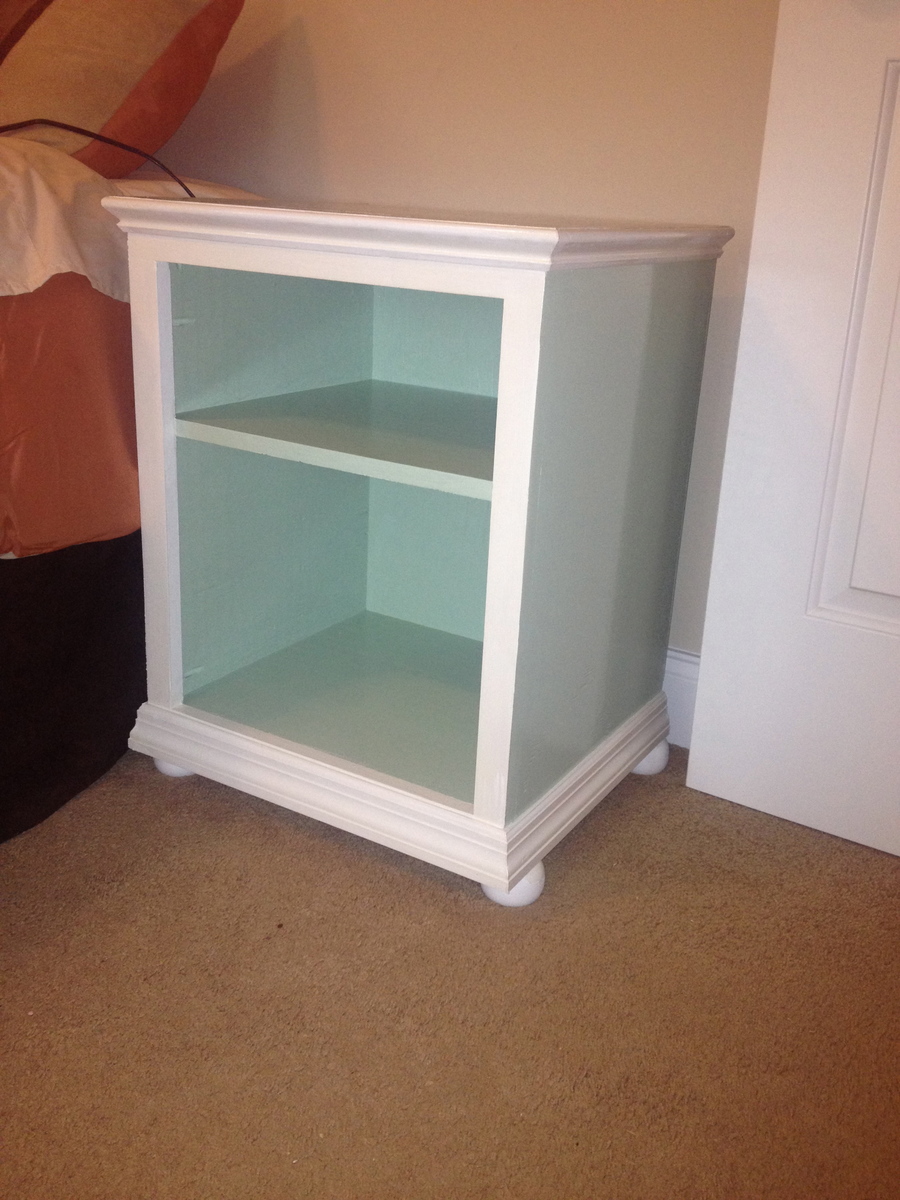
My husband built these for me and it was his first time building anything. LOL. They turned out perfect for me. It takes a little bit because we had to wait through the coats of the finish. Also, the gloss coat has to set for 24 hours before you can use it. It is highly recommended to wait the full 24 hours, we did not on the dresser I refinished of my daughters, and it started to chip. It was so easy and turned out beautifully!

Built from Plan(s)
Estimated Cost
60-75 for both
Estimated Time Investment
Weekend Project (10-20 Hours)
Finish Used
The finish is Kiltz primer (2coats). Then use Ultra White paint on areas to be painted white. The mint green color is called Sweet Mint from Lowe's spring collection. Be sure to tape off the areas for nice straight even lines. Then add a coat of MinWax Polyurethane High Gloss and you're done!
Recommended Skill Level
Beginner

Comments

bethhamstra

Tue, 05/28/2013 - 12:29

I am in the middle of this plan myself. Its been about 6 months in the making since I am pregnant with two small children and hardly can find the time to get out there and build!

How did you start the box and ensure they were square? I have drilled my pocket holes but I'm nervous about drilling the first screw! Did you use a Kreg square clamp??

Your project turned out great and I love the mint green!

britpatt2010

Wed, 06/19/2013 - 12:51

Yes I did use the Kreg clamps. It was very scary as my first project to make sure the boxes were even. I am sorry it took me so long to respond. How did yours turn out? Mint green and coral are my favorite color combo and Lowe's just happened to have the perfect one! I am glad you think I did a good job!

Storage daybed with bookshelf

Submitted by Quinnfire on Mon, 03/02/2015 - 14:18

I made 3 cubbies underneath and left off the doors. I'm still looking for fabric bins to go under there. Instead of doing the bottome arm, I made a bookshelf so there would be more storage space in this little room. I love how it turned out.

Estimated Cost
$150
Estimated Time Investment
Week Long Project (20 Hours or More)
Recommended Skill Level
Intermediate

Planked Wood Sideboard

Submitted by Anonymous (not verified) on Wed, 05/31/2017 - 16:01

Great buffet for any dining room. Made with pocket hole joints. Built by mgwood_work on instagram 

Built from Plan(s)
Estimated Cost
$250
Estimated Time Investment
Weekend Project (10-20 Hours)
Finish Used
Minwax Jacobean
Recommended Skill Level
Intermediate

Farmhouse hall tree

Submitted by Anonymous (not verified) on Sat, 06/26/2021 - 09:49

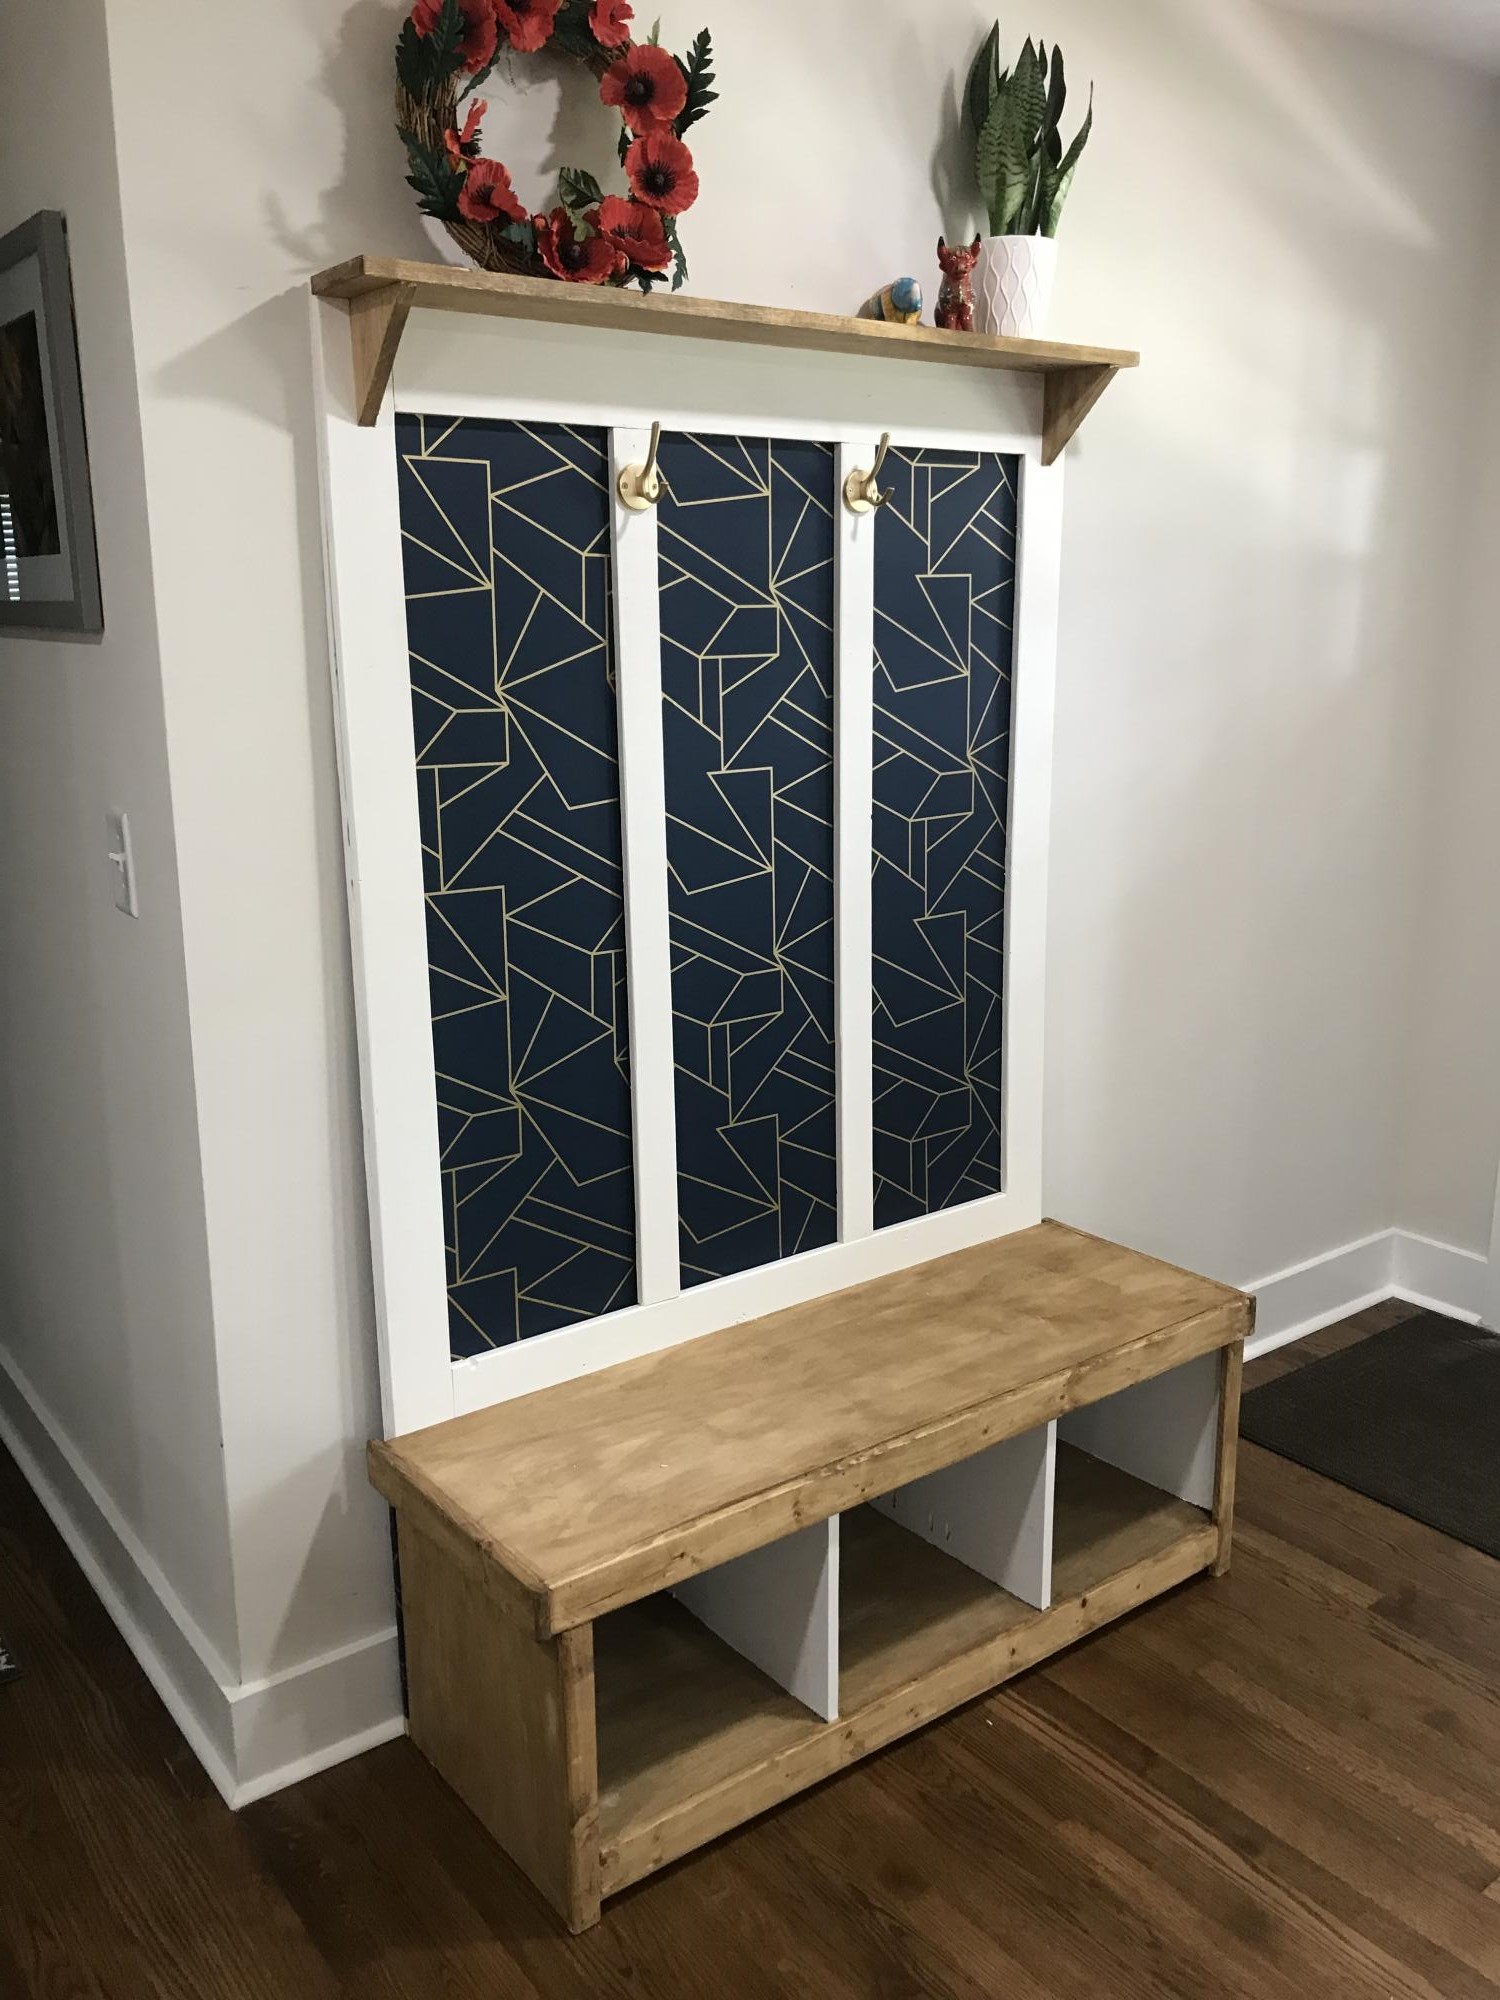
Made the farmhouse hall tree from the plans on the site. I added wallpaper in front of the panels and it looks wonderful!

Built from Plan(s)
Estimated Time Investment
Weekend Project (10-20 Hours)
Recommended Skill Level
Advanced

Farmhouse Chic Bench

Submitted by cdlwin on Mon, 04/15/2013 - 15:26

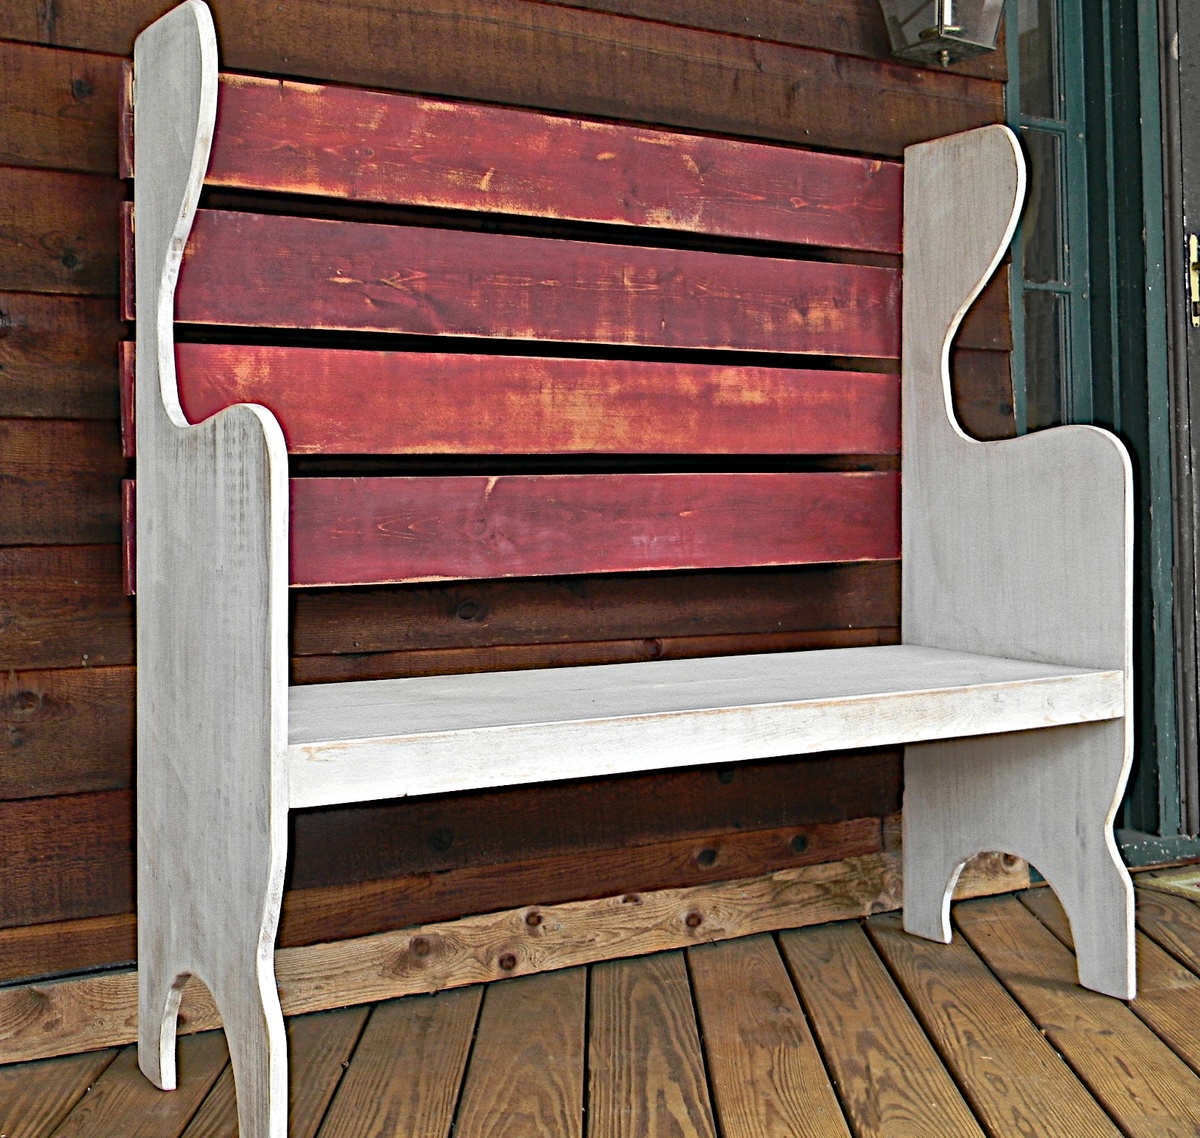
This was the first piece I ever made and I was very excited about how it turned out. Last summer I spent a weekend with a friend and she had a bench almost identical to this one in her entryway-- I just had to have it. I took pictures of it from every angle and went home, telling my husband he had to make it for me (he does some woodworking). As time went by and my bench was not made, I finally told him to teach me how to use the power tools... he did and this was the result. I wish I had plans for this, but I do not. I made this bench by looking at the pictures I took of the one I saw at my friend's house. Eventually I hope to get it together in order to make some up-- it was very easy, and I do think someone with some skill (since at the time I had none!) could most likely do the same. I was able to do it about 3 days.

Finish Used
Combination of acrylic and milk paint in Linen and Barn Red
Recommended Skill Level
Beginner

Comments

dmcarwin

Tue, 04/16/2013 - 09:35

Congrats on your first project! It really is a fun bench you did a great job!

My First Project Farm House Table

Submitted by iceman0941 on Thu, 03/05/2015 - 10:22

Thanks Anna White for your plans and for your great website!

Estimated Time Investment
Weekend Project (10-20 Hours)
Recommended Skill Level
Beginner

Comments

Rustic X End Tables

Submitted by Anonymous (not verified) on Sat, 06/03/2017 - 19:39

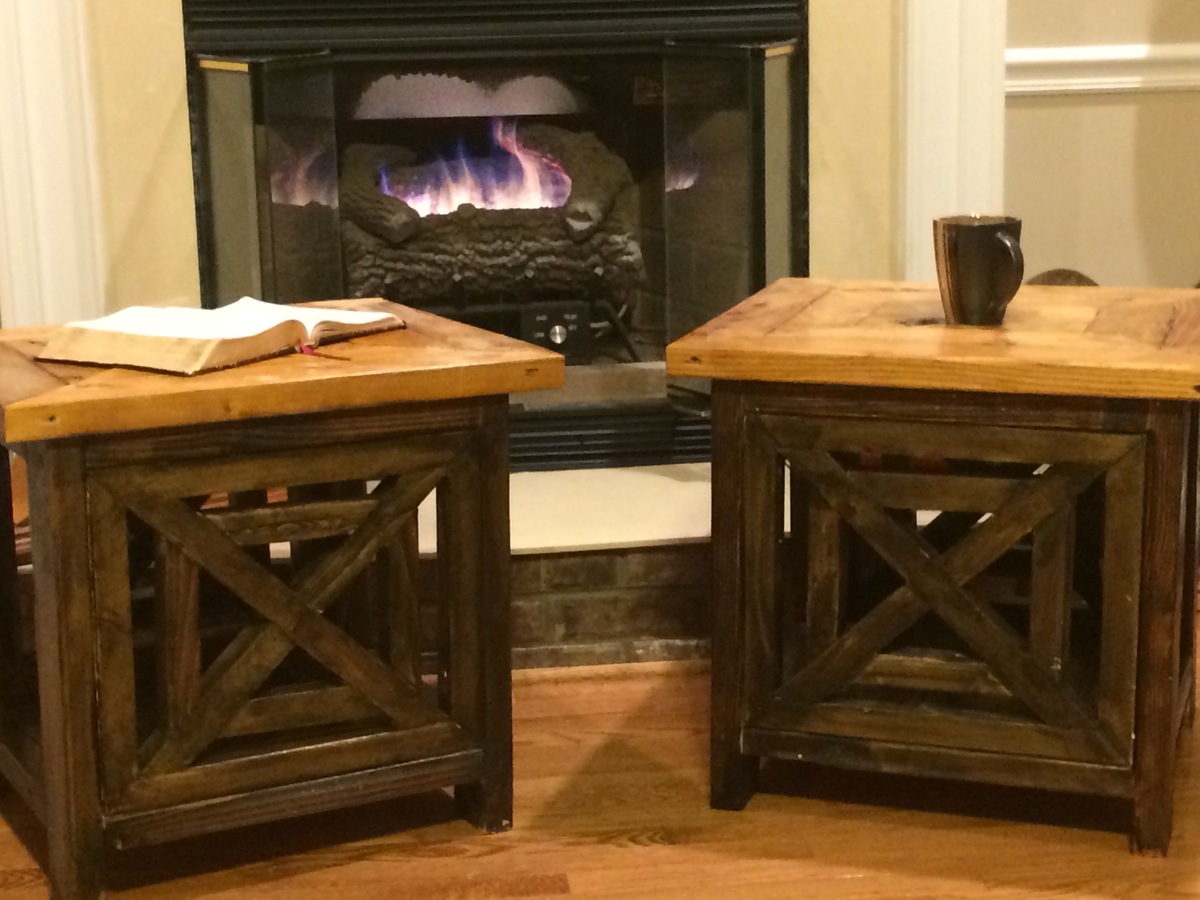
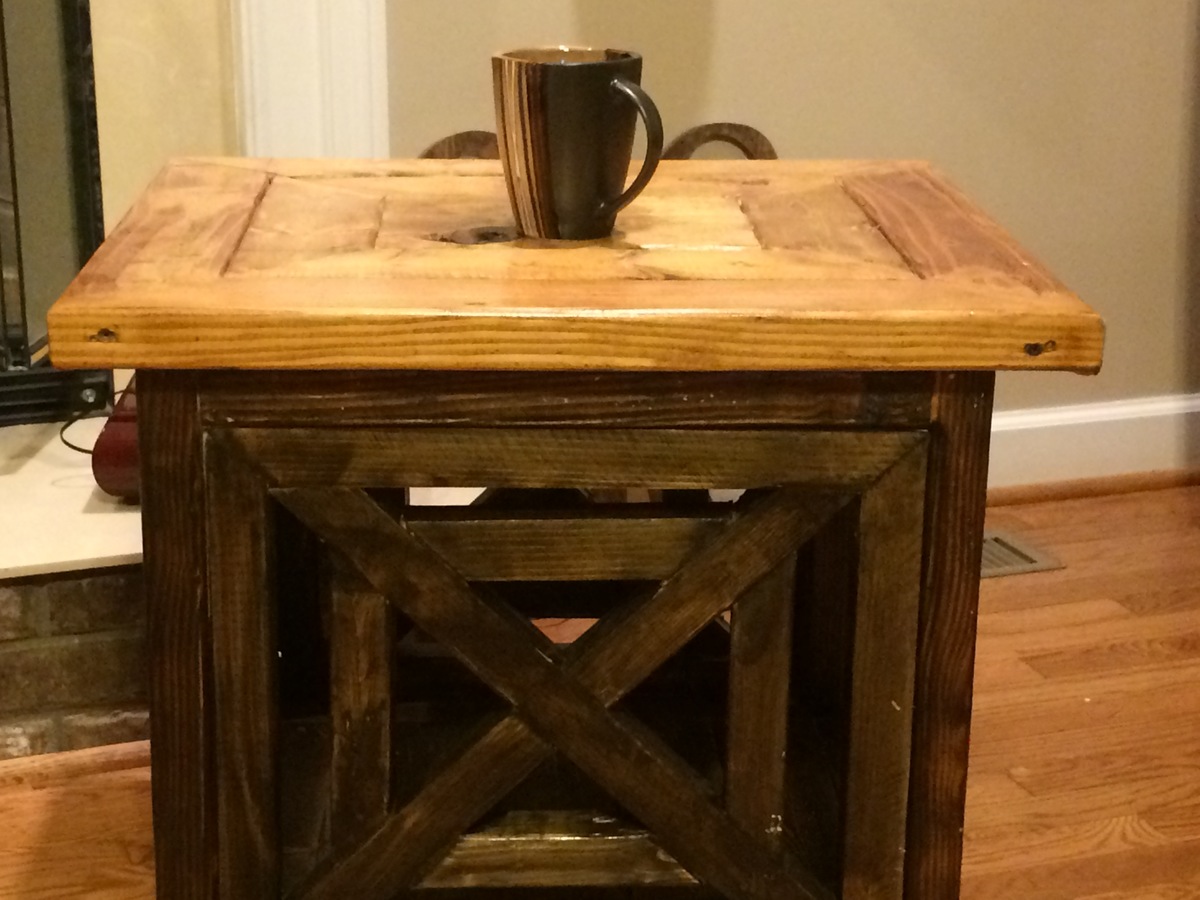
I took the base plans from your Rustic X end tables and added a little more detail on the sides and experimented with the stain combination. I stained the entire table in Golden Oak and for the based I stressed in an Ebony to give it a slightly burnt look in the base. Turned out really well. 

Built from Plan(s)
Estimated Cost
$75
Estimated Time Investment
Weekend Project (10-20 Hours)
Finish Used
Golden Oak
Ebony
Clear Gloss Poly
Recommended Skill Level
Intermediate

Patriotic Cornhole Boards

Submitted by ae1ret99 on Fri, 07/16/2021 - 13:30

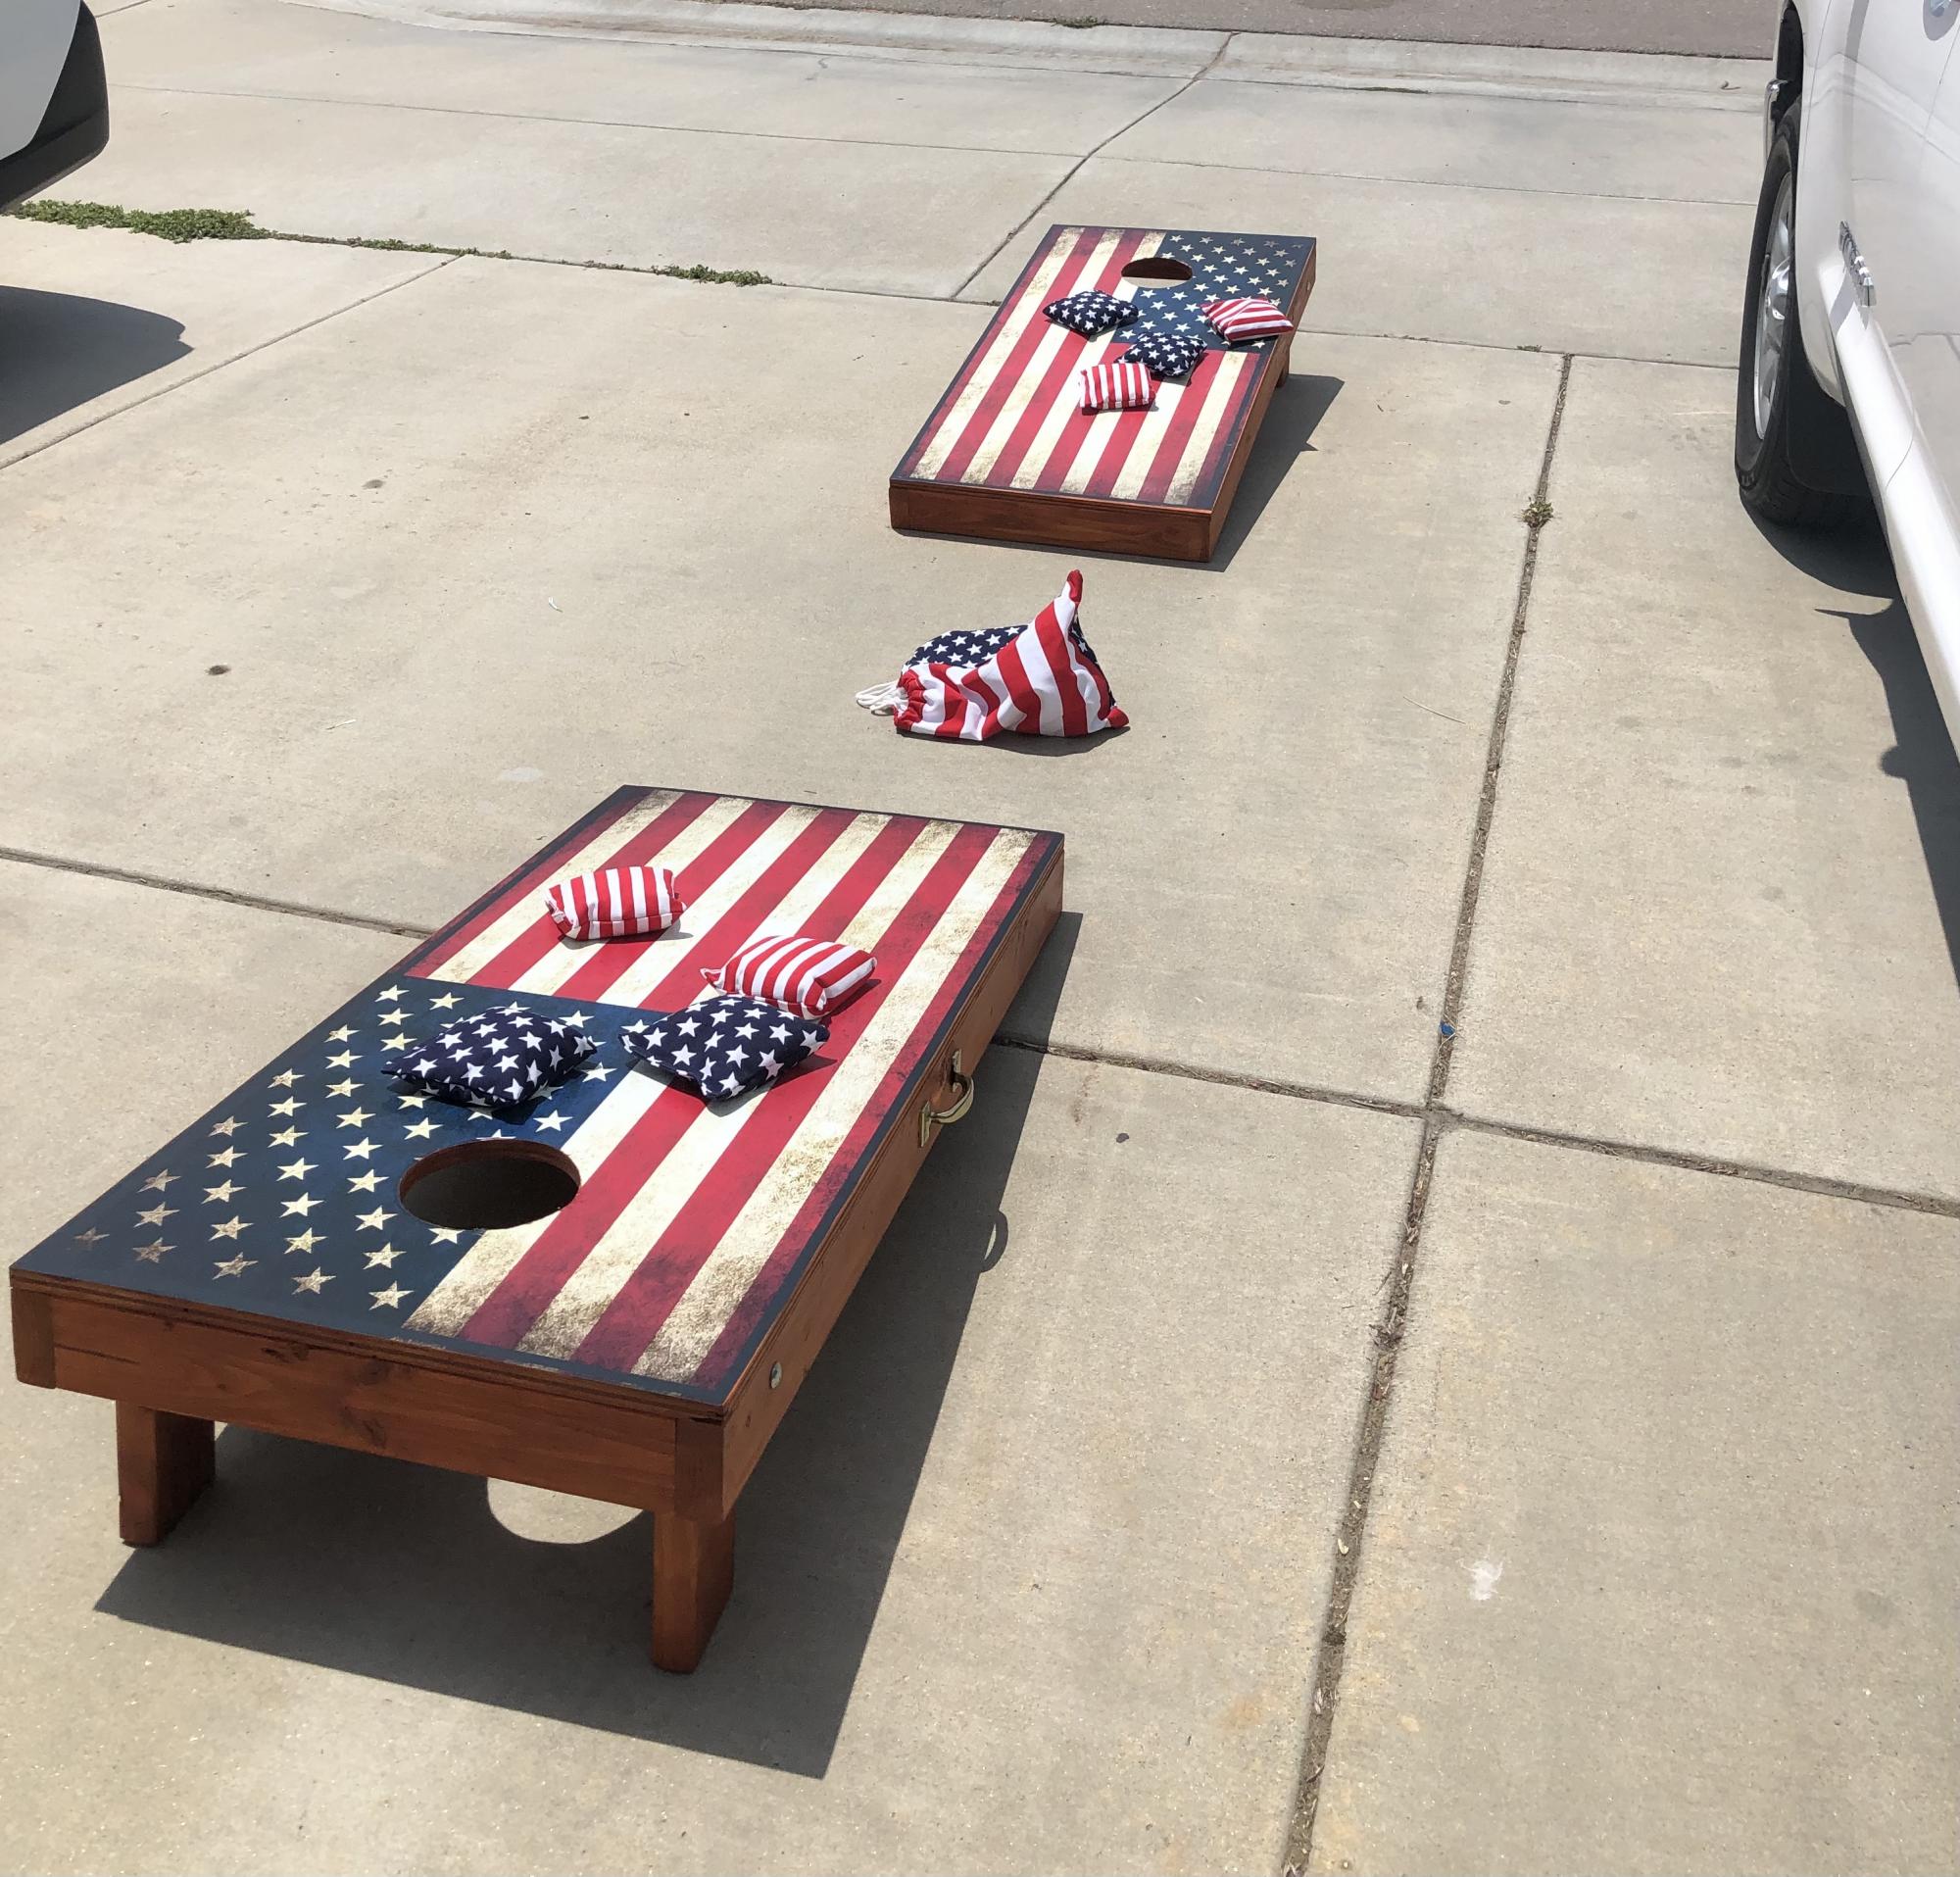
I wanted some Cornhole Boards and I wanted to make them myself. I used some vinyl stickers (distressed American flags) that I got on Amazon! I also bought the Cornhole Bag set on Amazon as well! I added some carrying handles from hardware At Home Depot. I found the link here on Ana's website! I love them!

Estimated Cost
$150
Estimated Time Investment
Weekend Project (10-20 Hours)
Finish Used
Stained the base with Valspar Redwood tone from Lowe's. Then applied some water-based poly over the top.
Recommended Skill Level
Intermediate

Comments

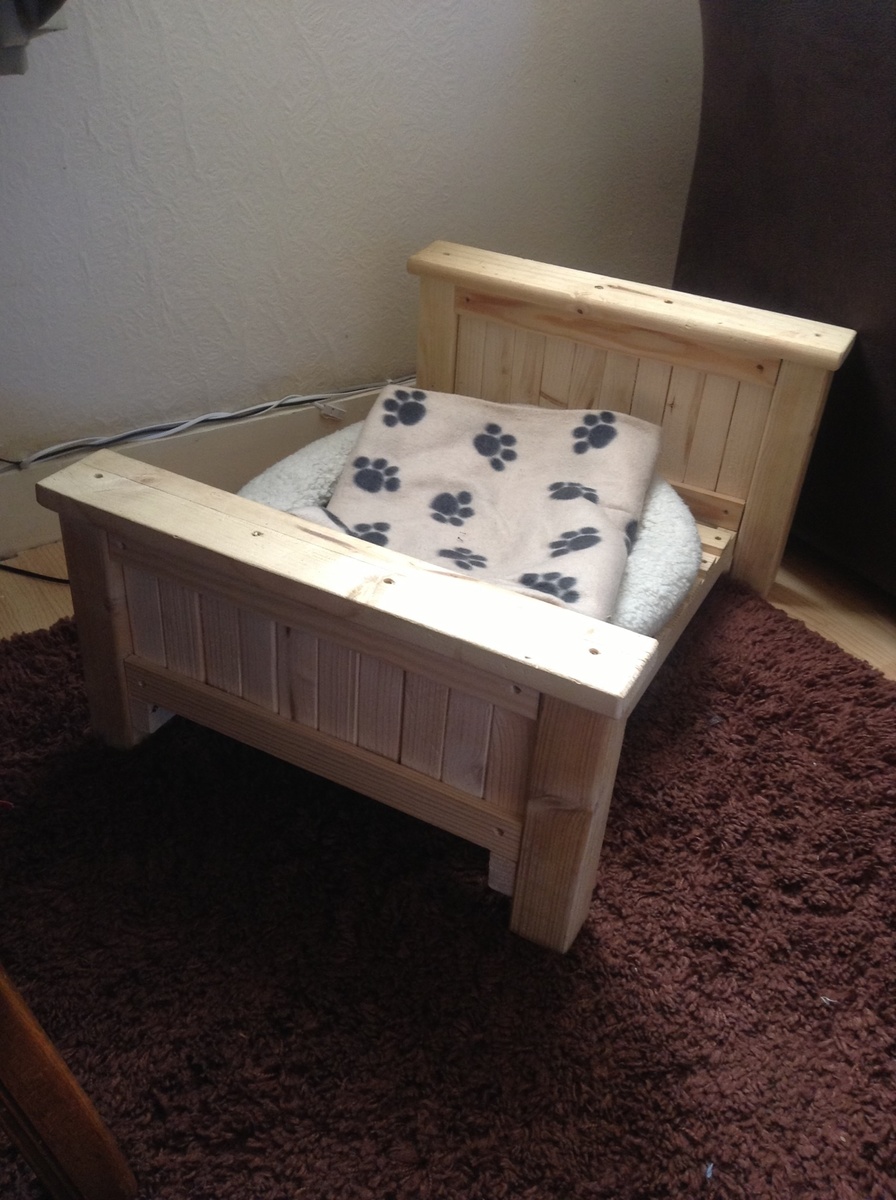
Pussycat bed

Submitted by Sebastien on Thu, 04/18/2013 - 01:21

Want to make a king size version but didn't want to waste material.
I made this bed for our cat to see if I could do it.
Since I made it a million kids have played with it, stood on it, ext...I'll post a picture when I make the king size.
Thanks ana

Estimated Time Investment
Afternoon Project (3-6 Hours)
Recommended Skill Level
Intermediate

Comments

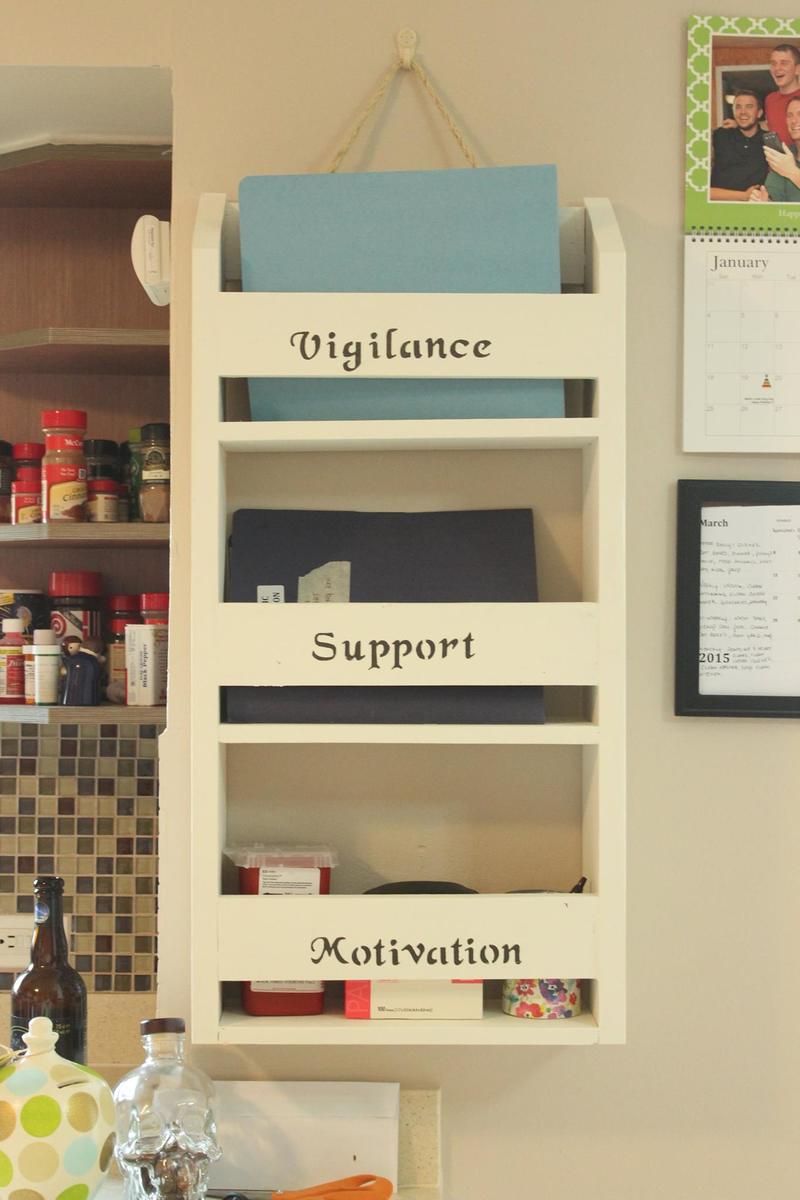
Kitchen Shelf Organizer

Submitted by oadsitt on Sun, 03/08/2015 - 16:50

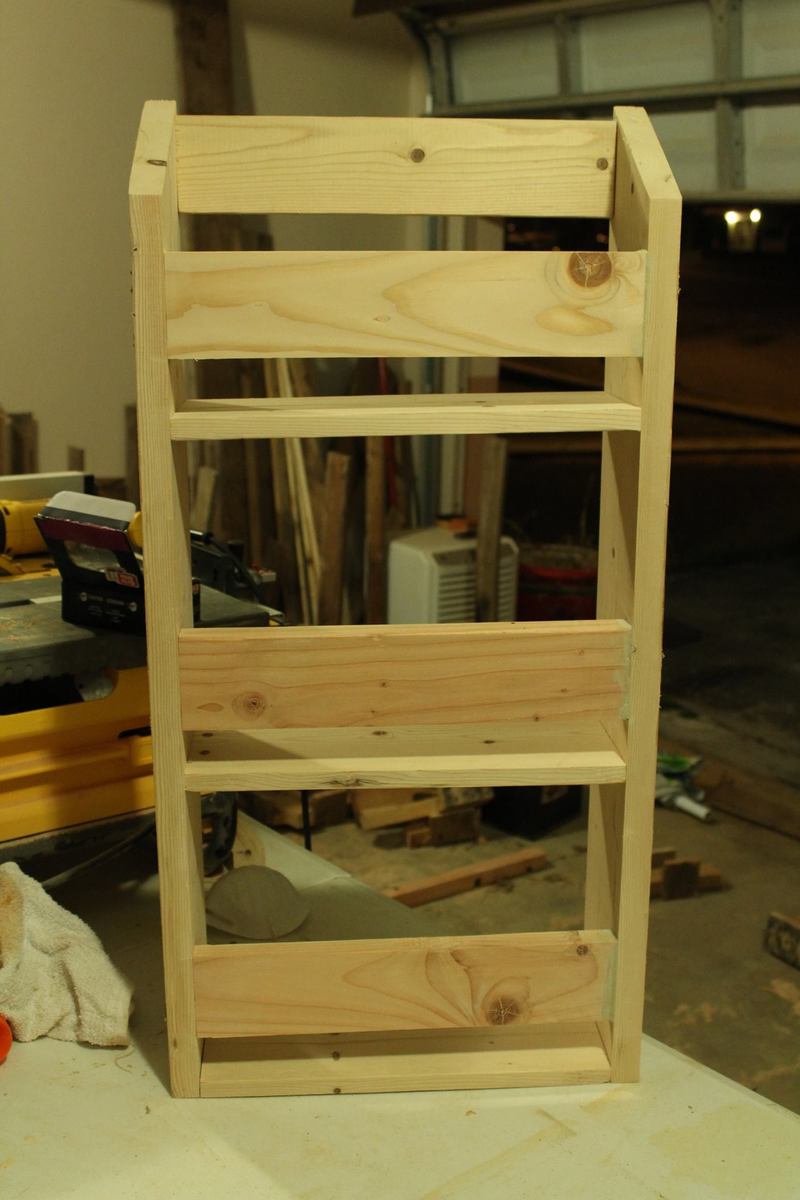
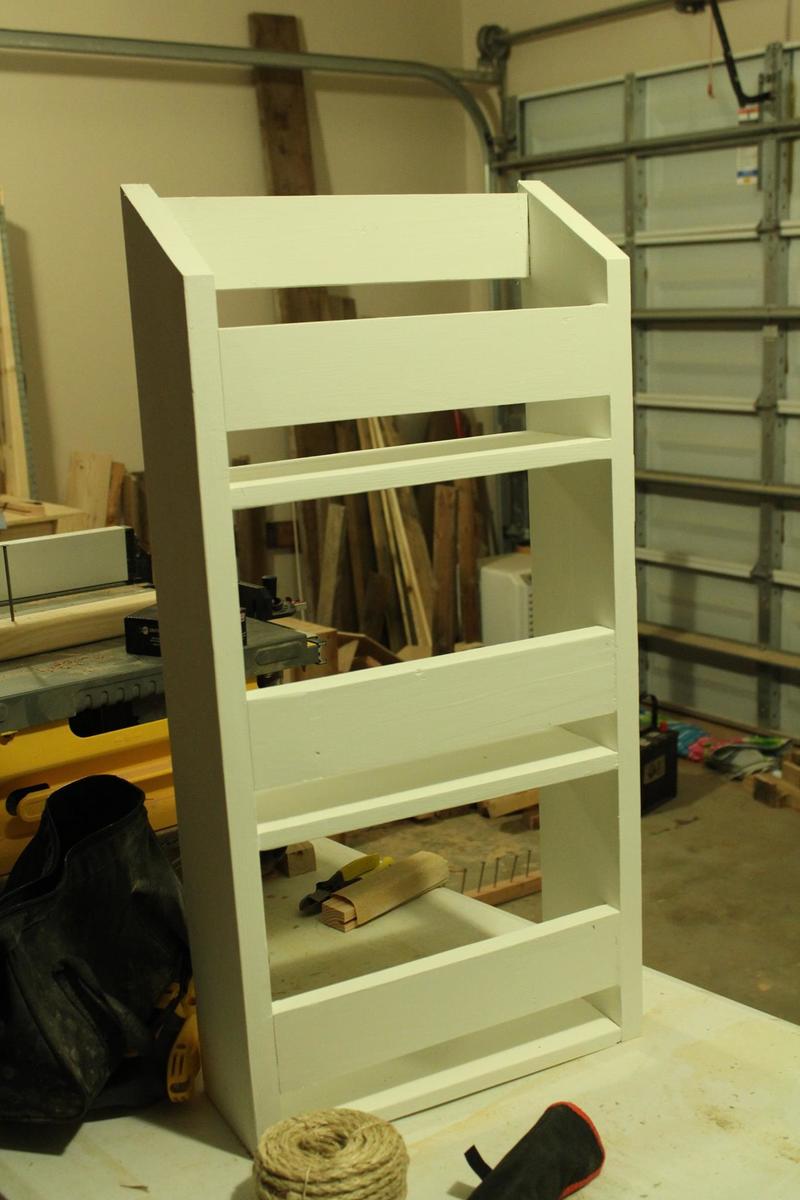
A few weeks ago I was diagnosed with type 1 diabetes and little did I know how many papers and supplies come with having it. For a couple weeks our kitchen counter was just littered with testing supplies and literature, it got the where I couldn't take it anymore. I decided to build this little set of shelves; so darn cute and a quick, inexpensive build.  It took me about 5 hours total to complete the assembly and paint job and another hour or two to finish the stenciling. I am using it for all my diabetes accessories but it would work great as a little organizer for all that clutter that inevitably congregates in little piles on the kitchen table and counters.

One modification I made from the original plan was the angled cuts at the top; we unfortunately don't own a jigsaw so I just cut the side boards at a 30 degree angle to the corner instead. My shelves are also only 3/4 of an inch instead of 1 inch because I miss measured and did not buy enough supplies. So instead of waiting until I could get back to the store I ripped one of the 2X6 boards in half so I could utilize both sides.

To save a little money as lumber is pricey where we live, I bought 1- 2X6, 1-2X4, (both of these I match booked and ripped to create more material) and utilized 2 inch drywall screws which I countersank and filled before painting. Total cost was about $16 (I utilized paint was already had)
Recommended Skill Level
Beginner

DIY Vintage Farmhouse Table - Arhaus Copycat

Submitted by Anonymous (not verified) on Mon, 07/26/2021 - 18:12

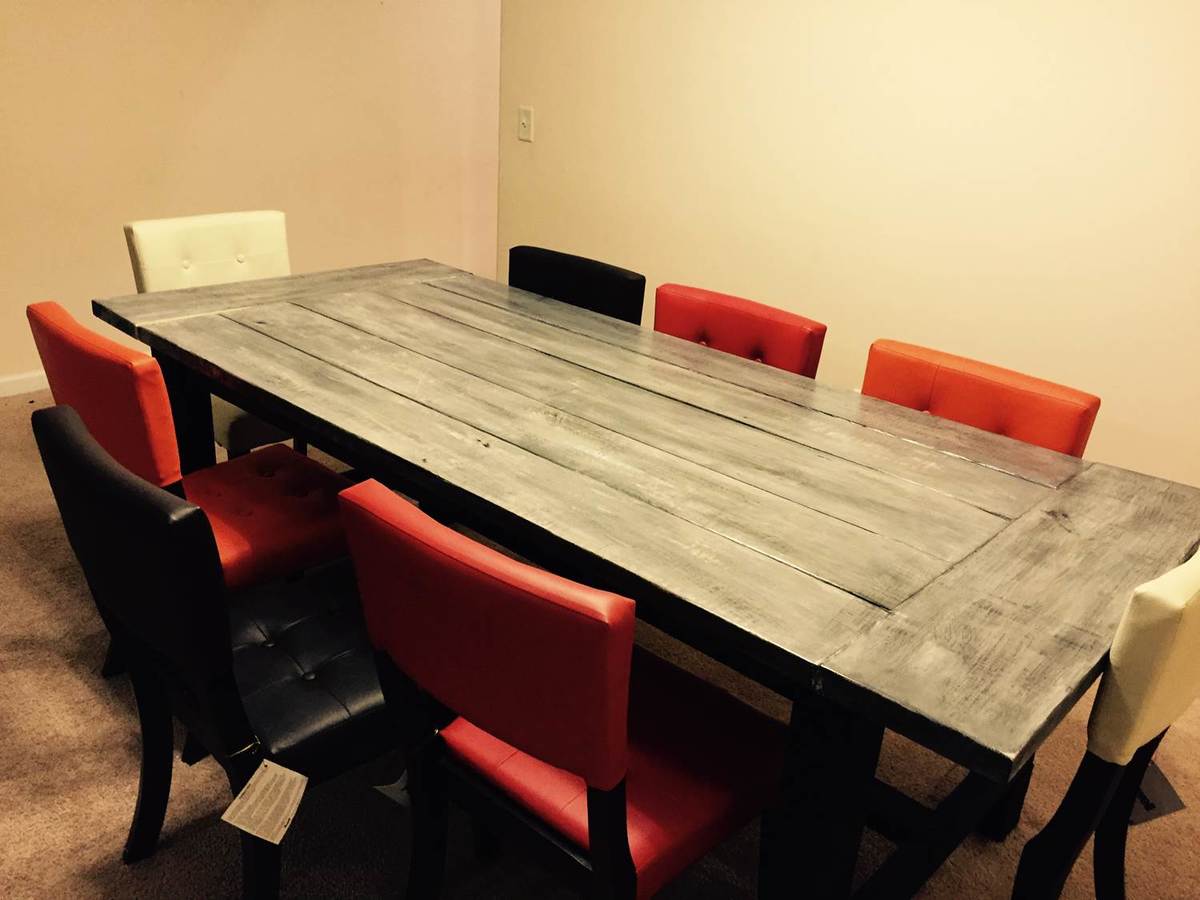
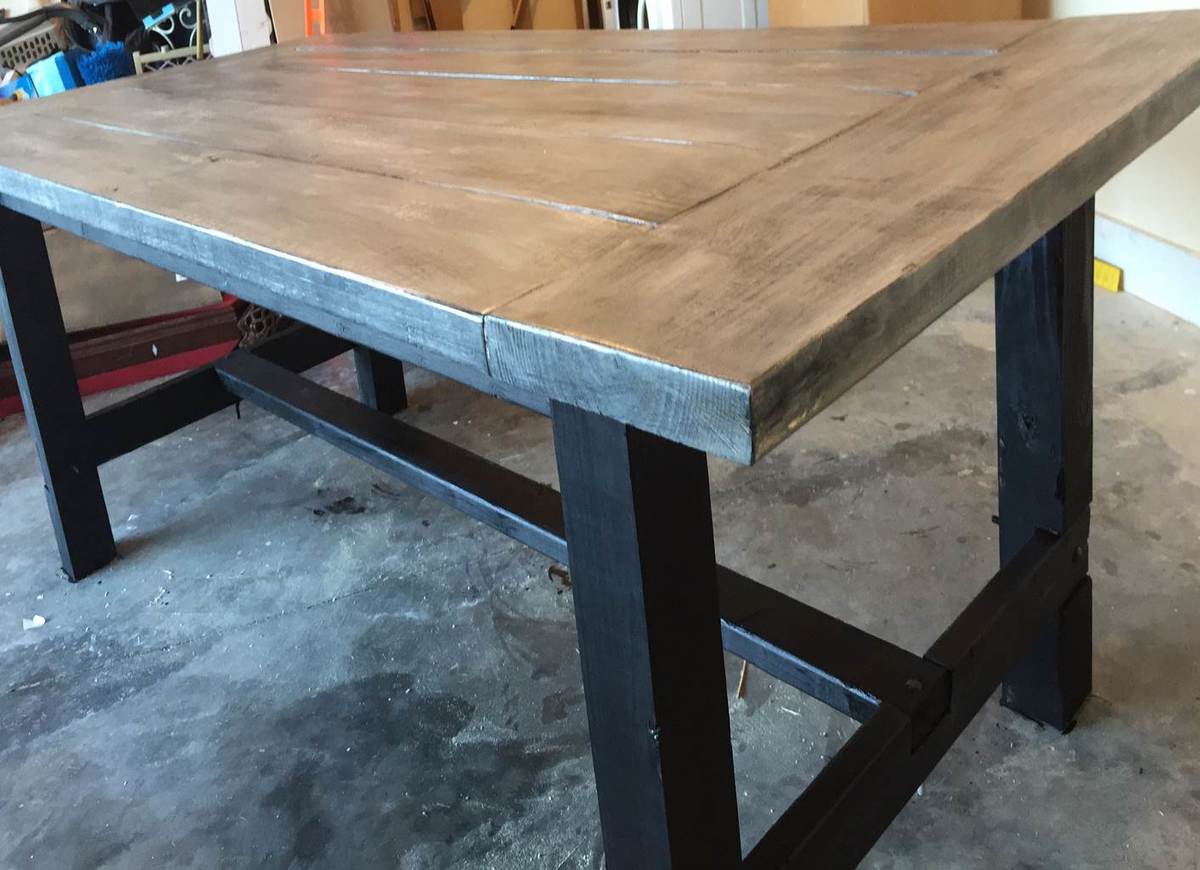
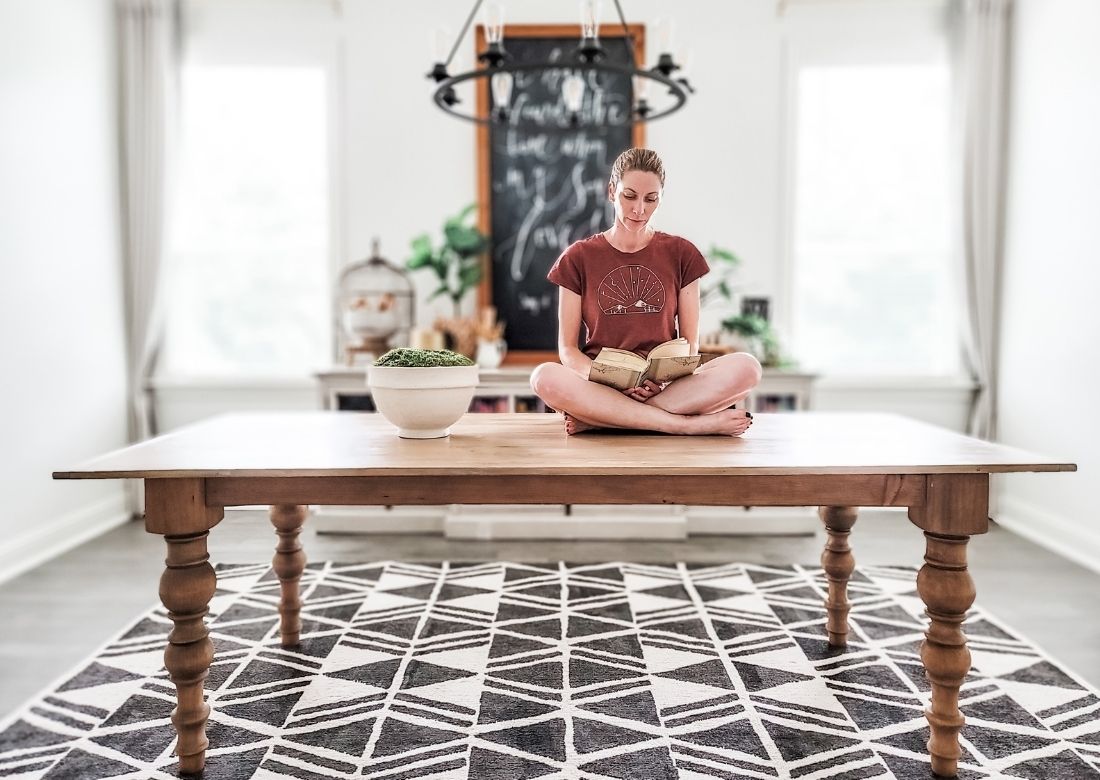
The Francis dining table by Arhaus was out of my budget, but with the table top plan by Ana White and the table base plan by Jen Woodhouse, I was able to create my own copycat version of the Francis table. It took me some time to figure out the stain order and combination, but I couldn't be happier with the vintage farmhouse stain I achieved with just a few layers and some wax. The table is light enough to carry upstairs, but it's also incredibly stable and solid.

Estimated Cost
$350
Estimated Time Investment
Day Project (6-9 Hours)
Finish Used
Old Barn Living stain, white wash, weathered oak, and waxes
Recommended Skill Level
Beginner

Comments

Miter Saw Cart

Submitted by keribeth on Sun, 04/21/2013 - 06:46

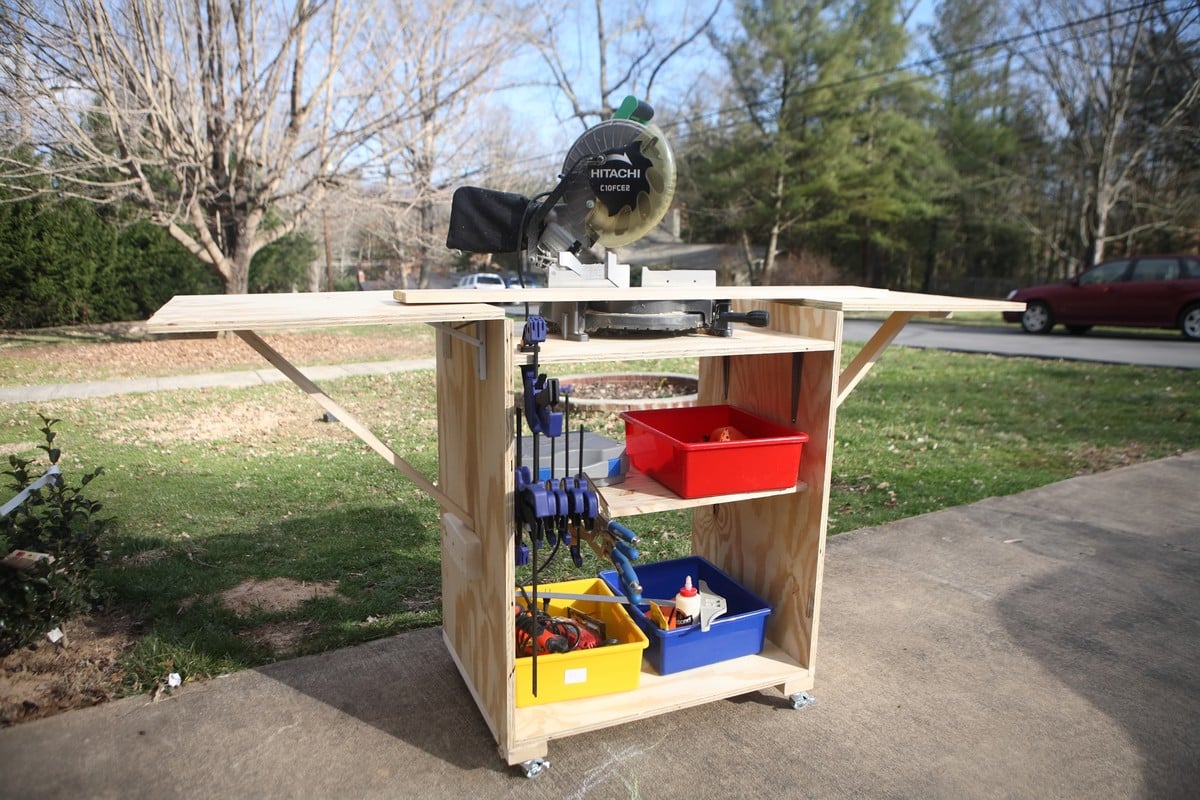
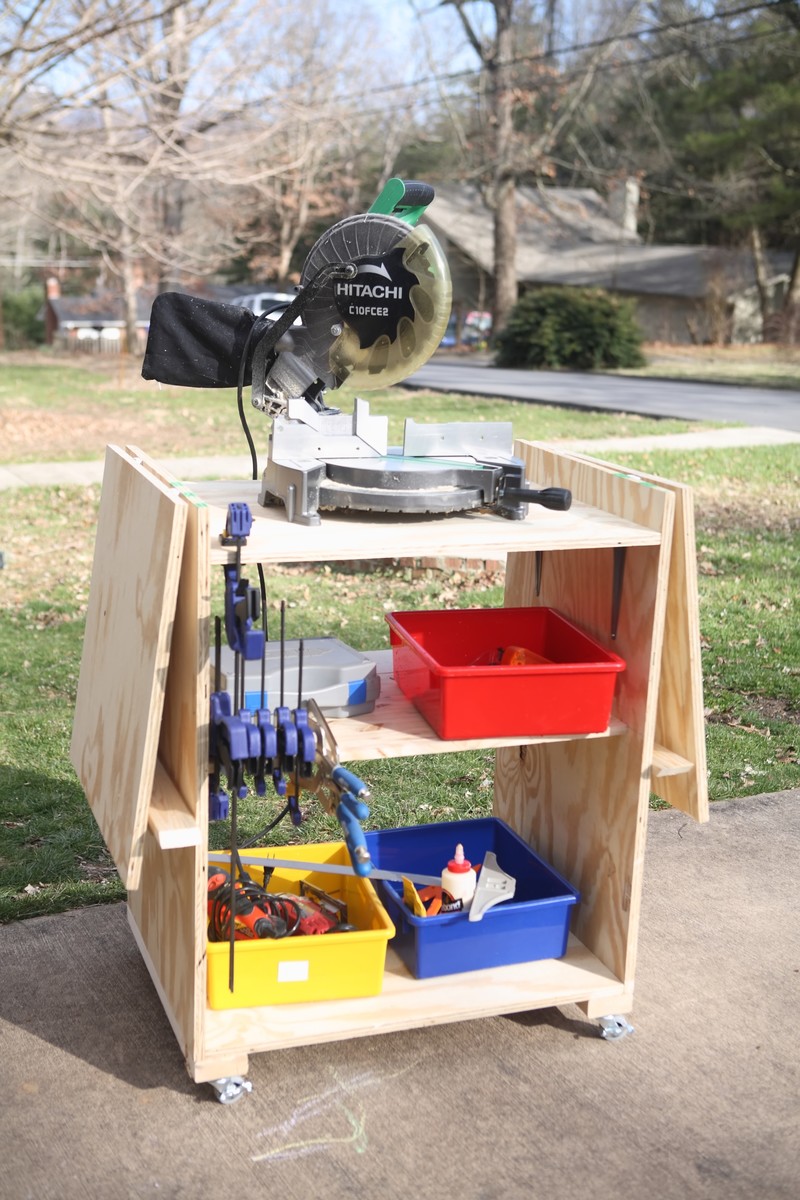
This is so much nicer than cutting boards on the floor! I altered the plans by adding extra supports out of 1x3s and adding a shelf to add storage and make it sturdier. Since I added the shelf and assembled the box with my Kreg jig, I skipped the boards along the top and bottom. This project cost me at least $100, between the sheet of plywood, a little extra lumber for the shelf, and all the hardware (the casters and folding hinges were maybe $60, including shipping for the hinges), but it's worth it for the ease of using the saw and the tool organization.

Built from Plan(s)
Estimated Cost
$100
Estimated Time Investment
Day Project (6-9 Hours)
Finish Used
None. I didn't even sand. I'm lazy like that.
Recommended Skill Level
Beginner

Classic Bunk Beds

Submitted by Vee.R on Wed, 03/11/2015 - 23:05

Classic Bunk Beds painted blue.

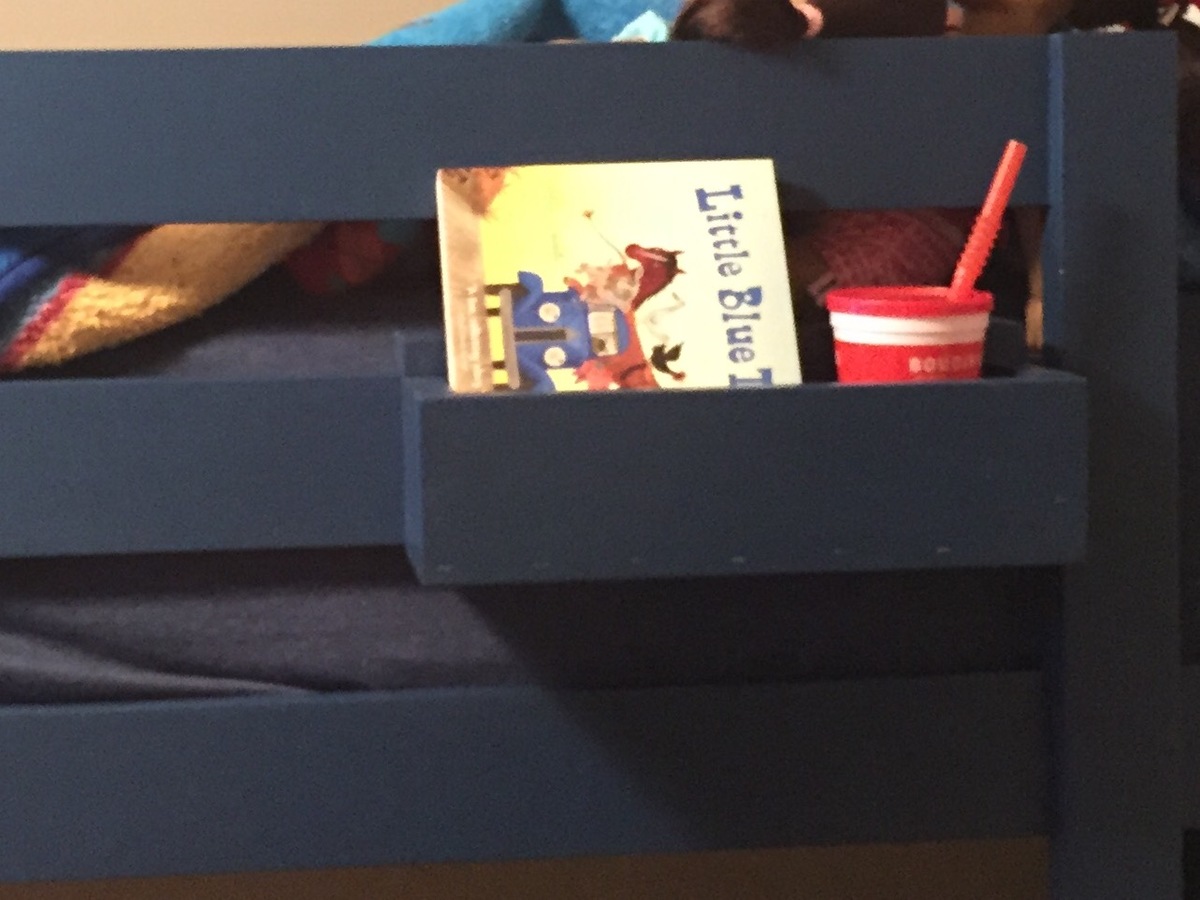
I used some scrap wood to build a small custom box so my kids can keep a water cup or book close by.

Built from Plan(s)
Estimated Cost
200
Estimated Time Investment
Week Long Project (20 Hours or More)
Finish Used
sand with 80 grit, primer, sand with 120 grit, 2 coats of blue paint and 1 coat of polyurethane.
Recommended Skill Level
Beginner

Comments

Rustic X Collection

Submitted by Anonymous (not verified) on Sat, 06/10/2017 - 17:31

I'm building them all... this table is next! 

Recommended Skill Level
Intermediate