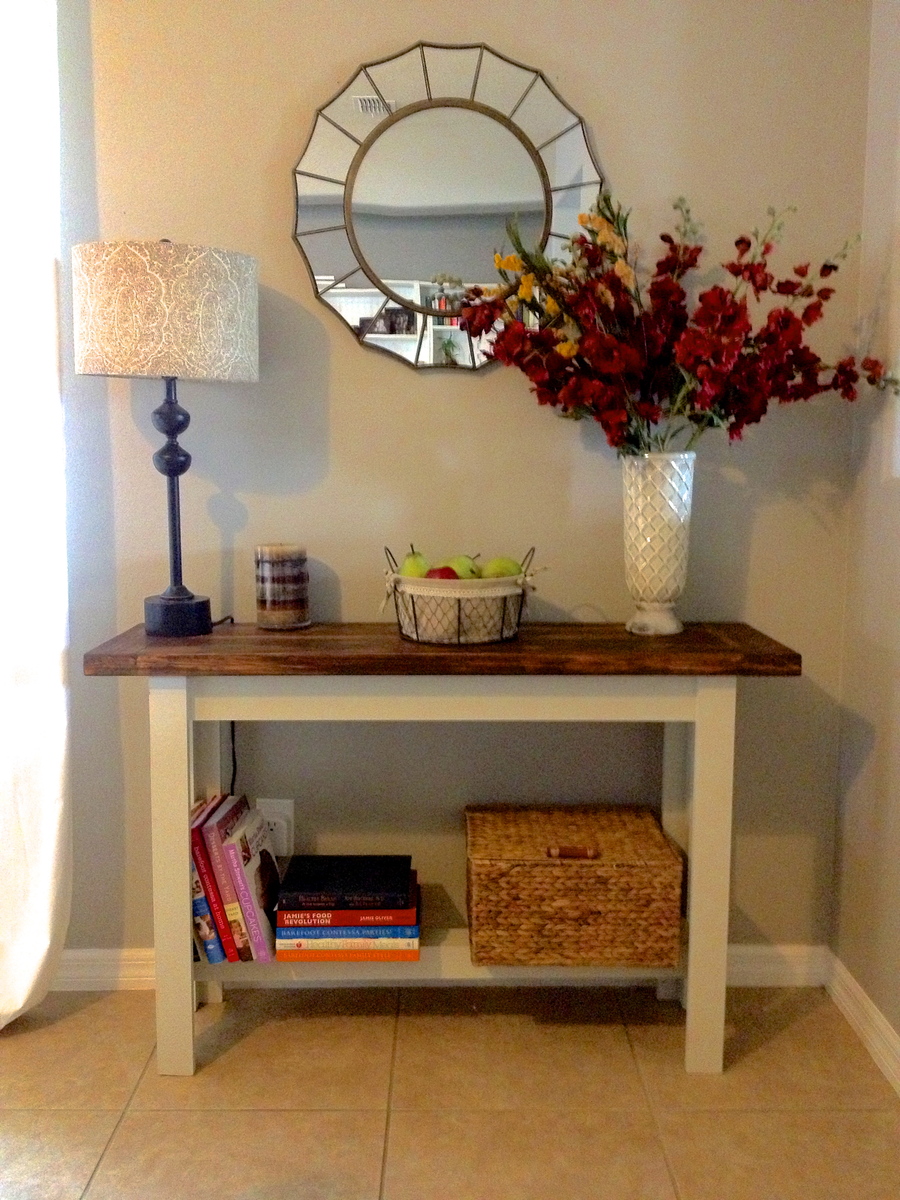
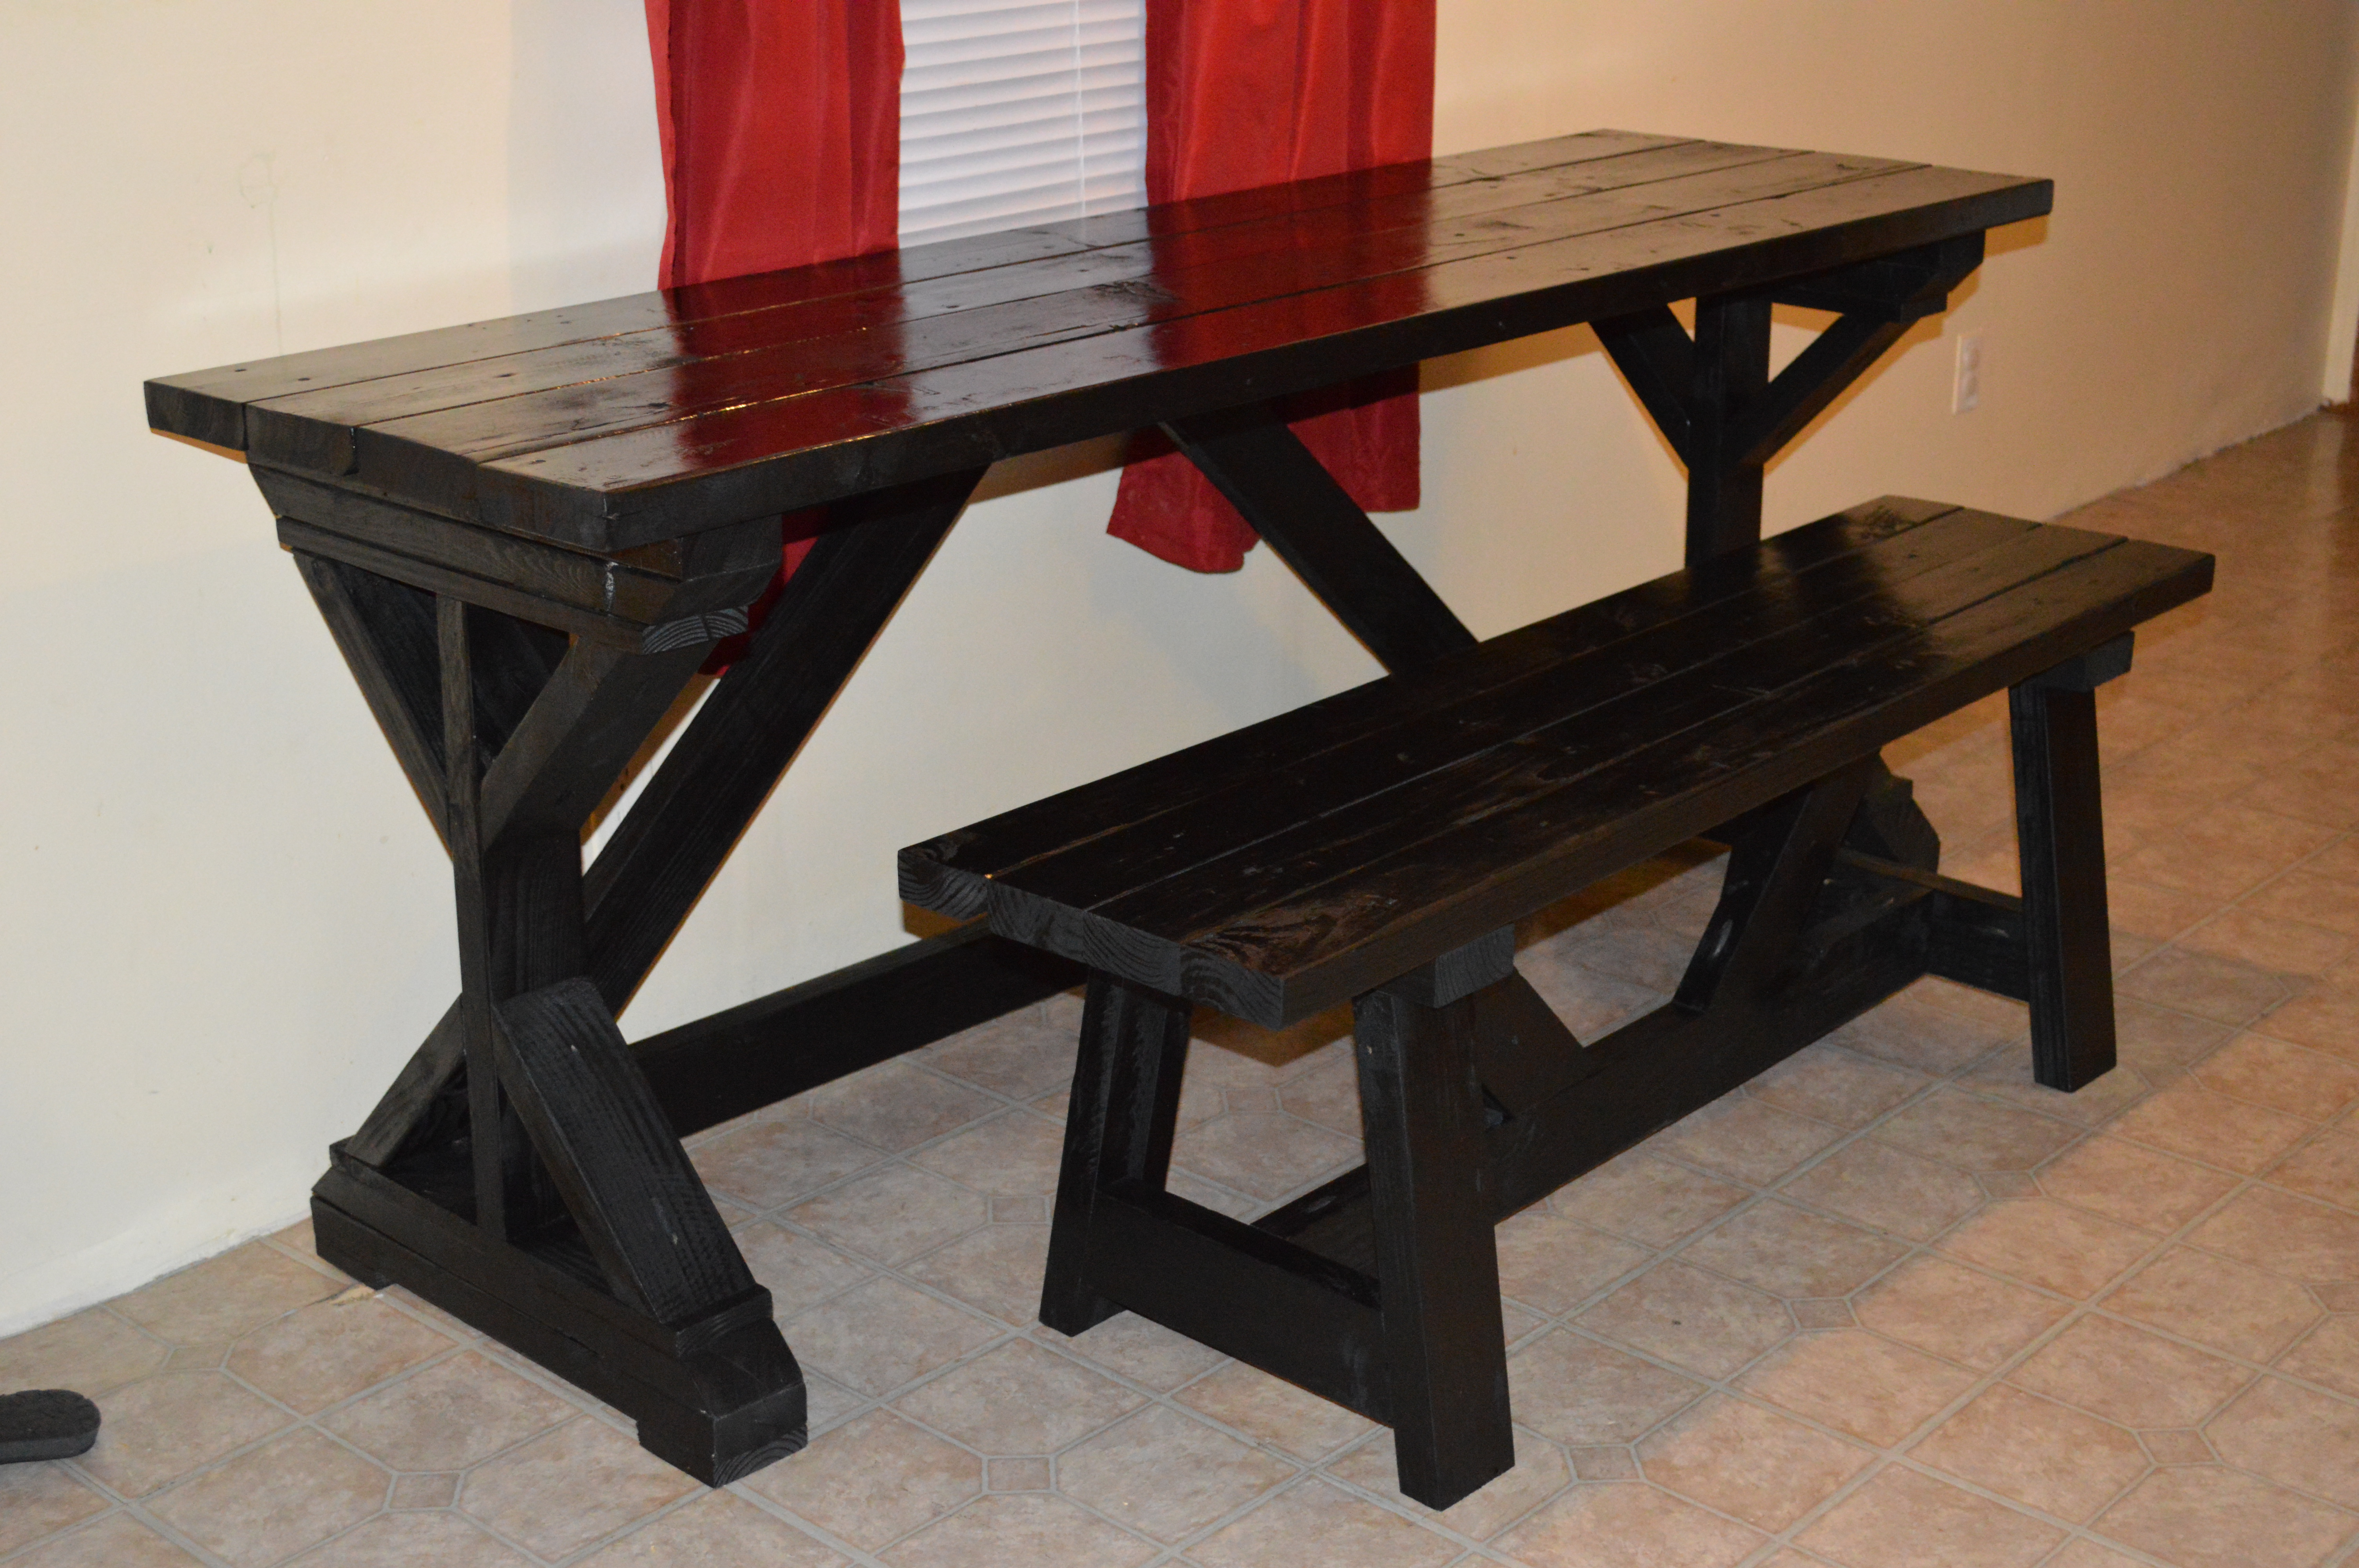
The Best addition to our home!
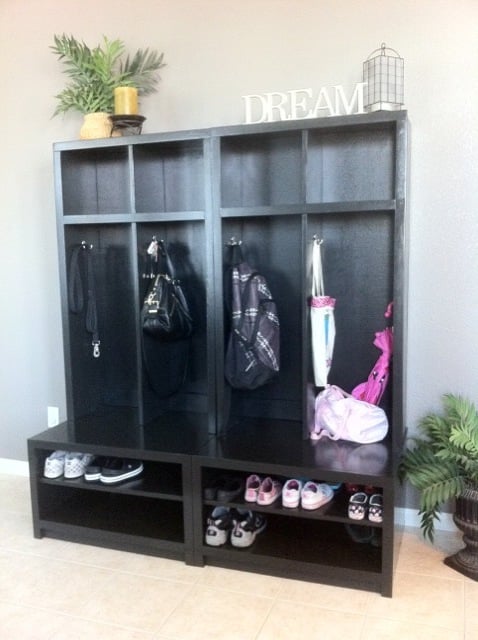
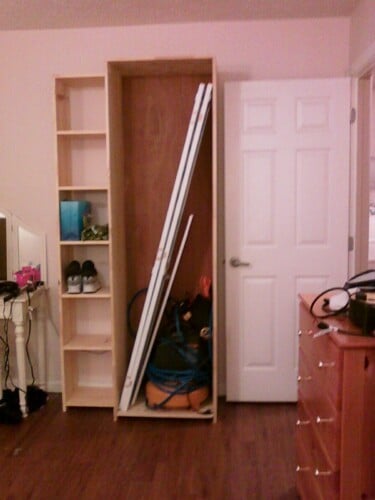
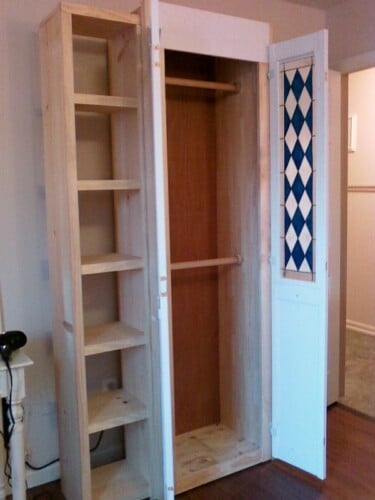
This by far has been my favorite build. Our front room is in the process of being revamped, and this is just the beginning. With our garage now dedicated to building, our cars have been kicked to the street. This means we actually use the front door now, so I took full advantage of making a piece of furniture that would allow for all the various items that get dumped on the floor when we walk in.
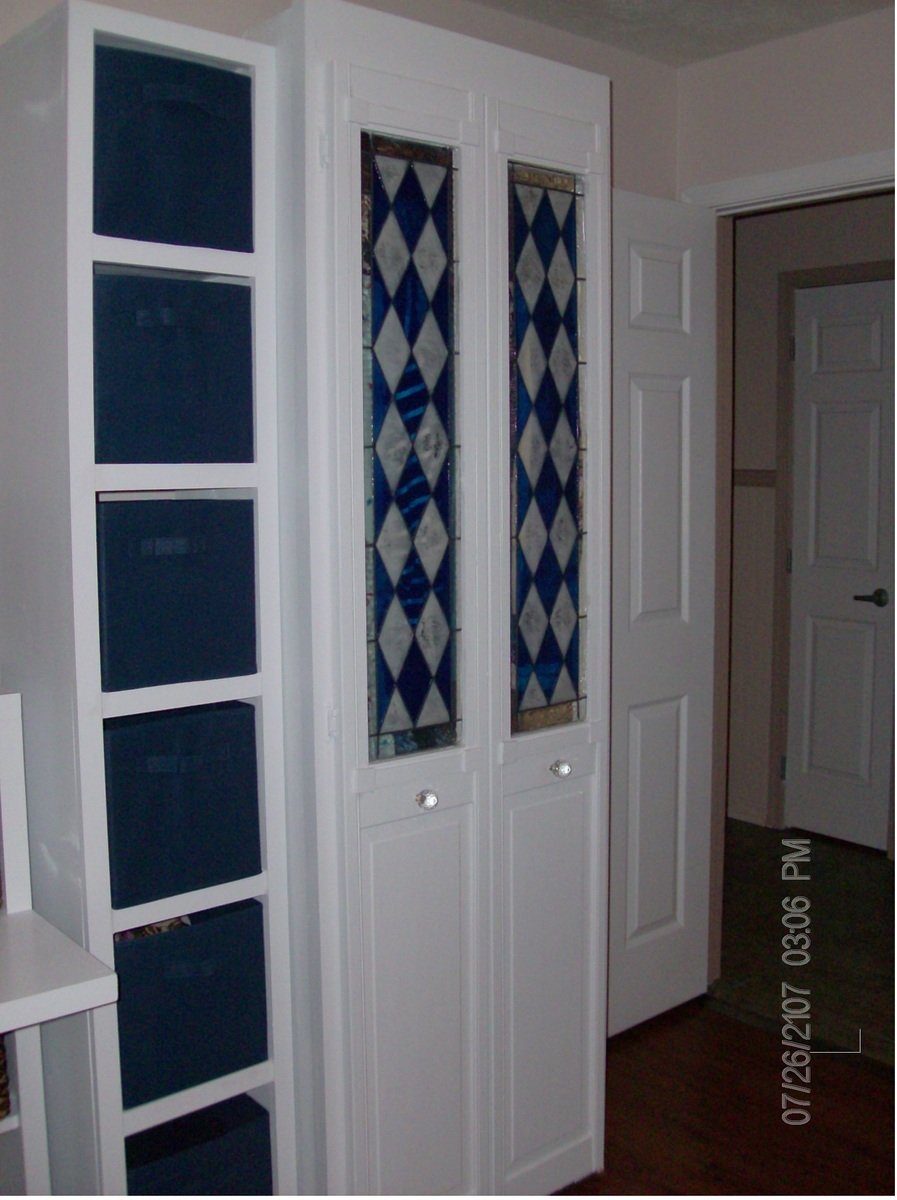
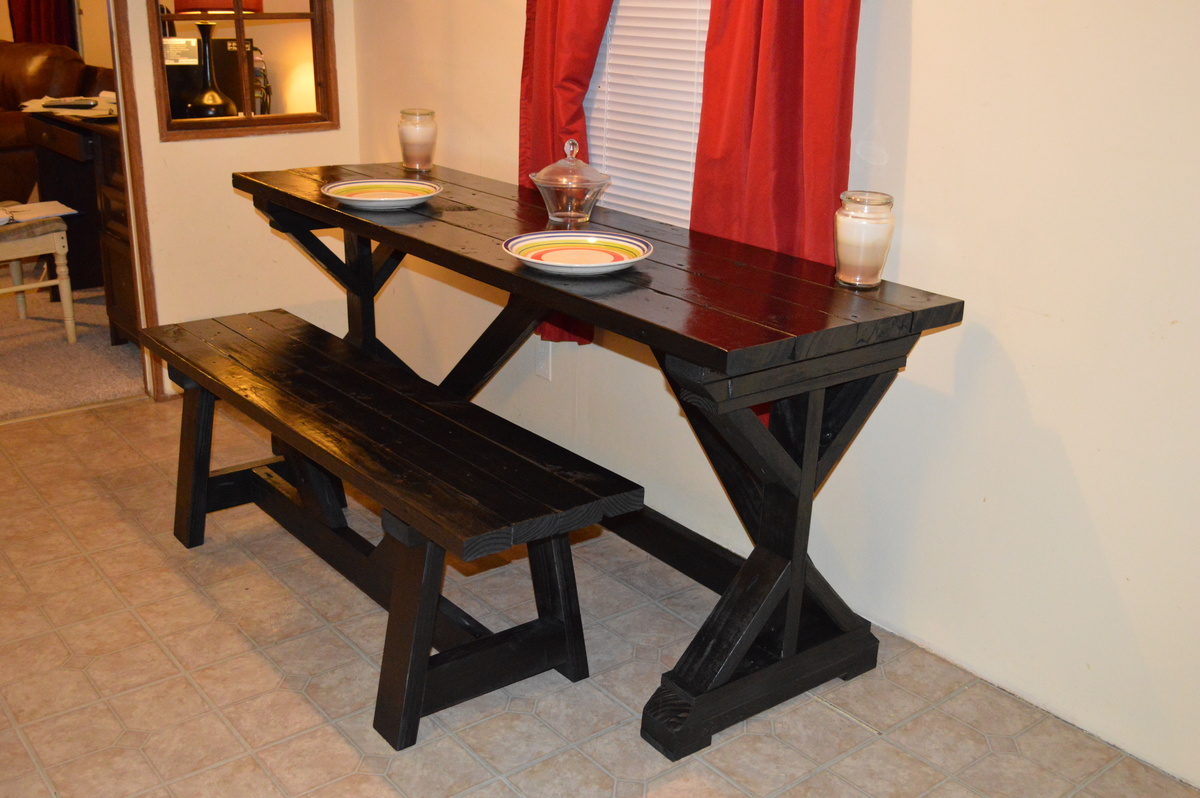
I love that everyone has a cubby and shelf for the shoes. My kids actually hang their backpacks up now when we get home from school and my husband can find his keys, wallet and sunglasses now!
This was one of the bigger projects I have tackled, but well worth it. I don't think my husband would have ever allowed me to buy this at PB for over $1000